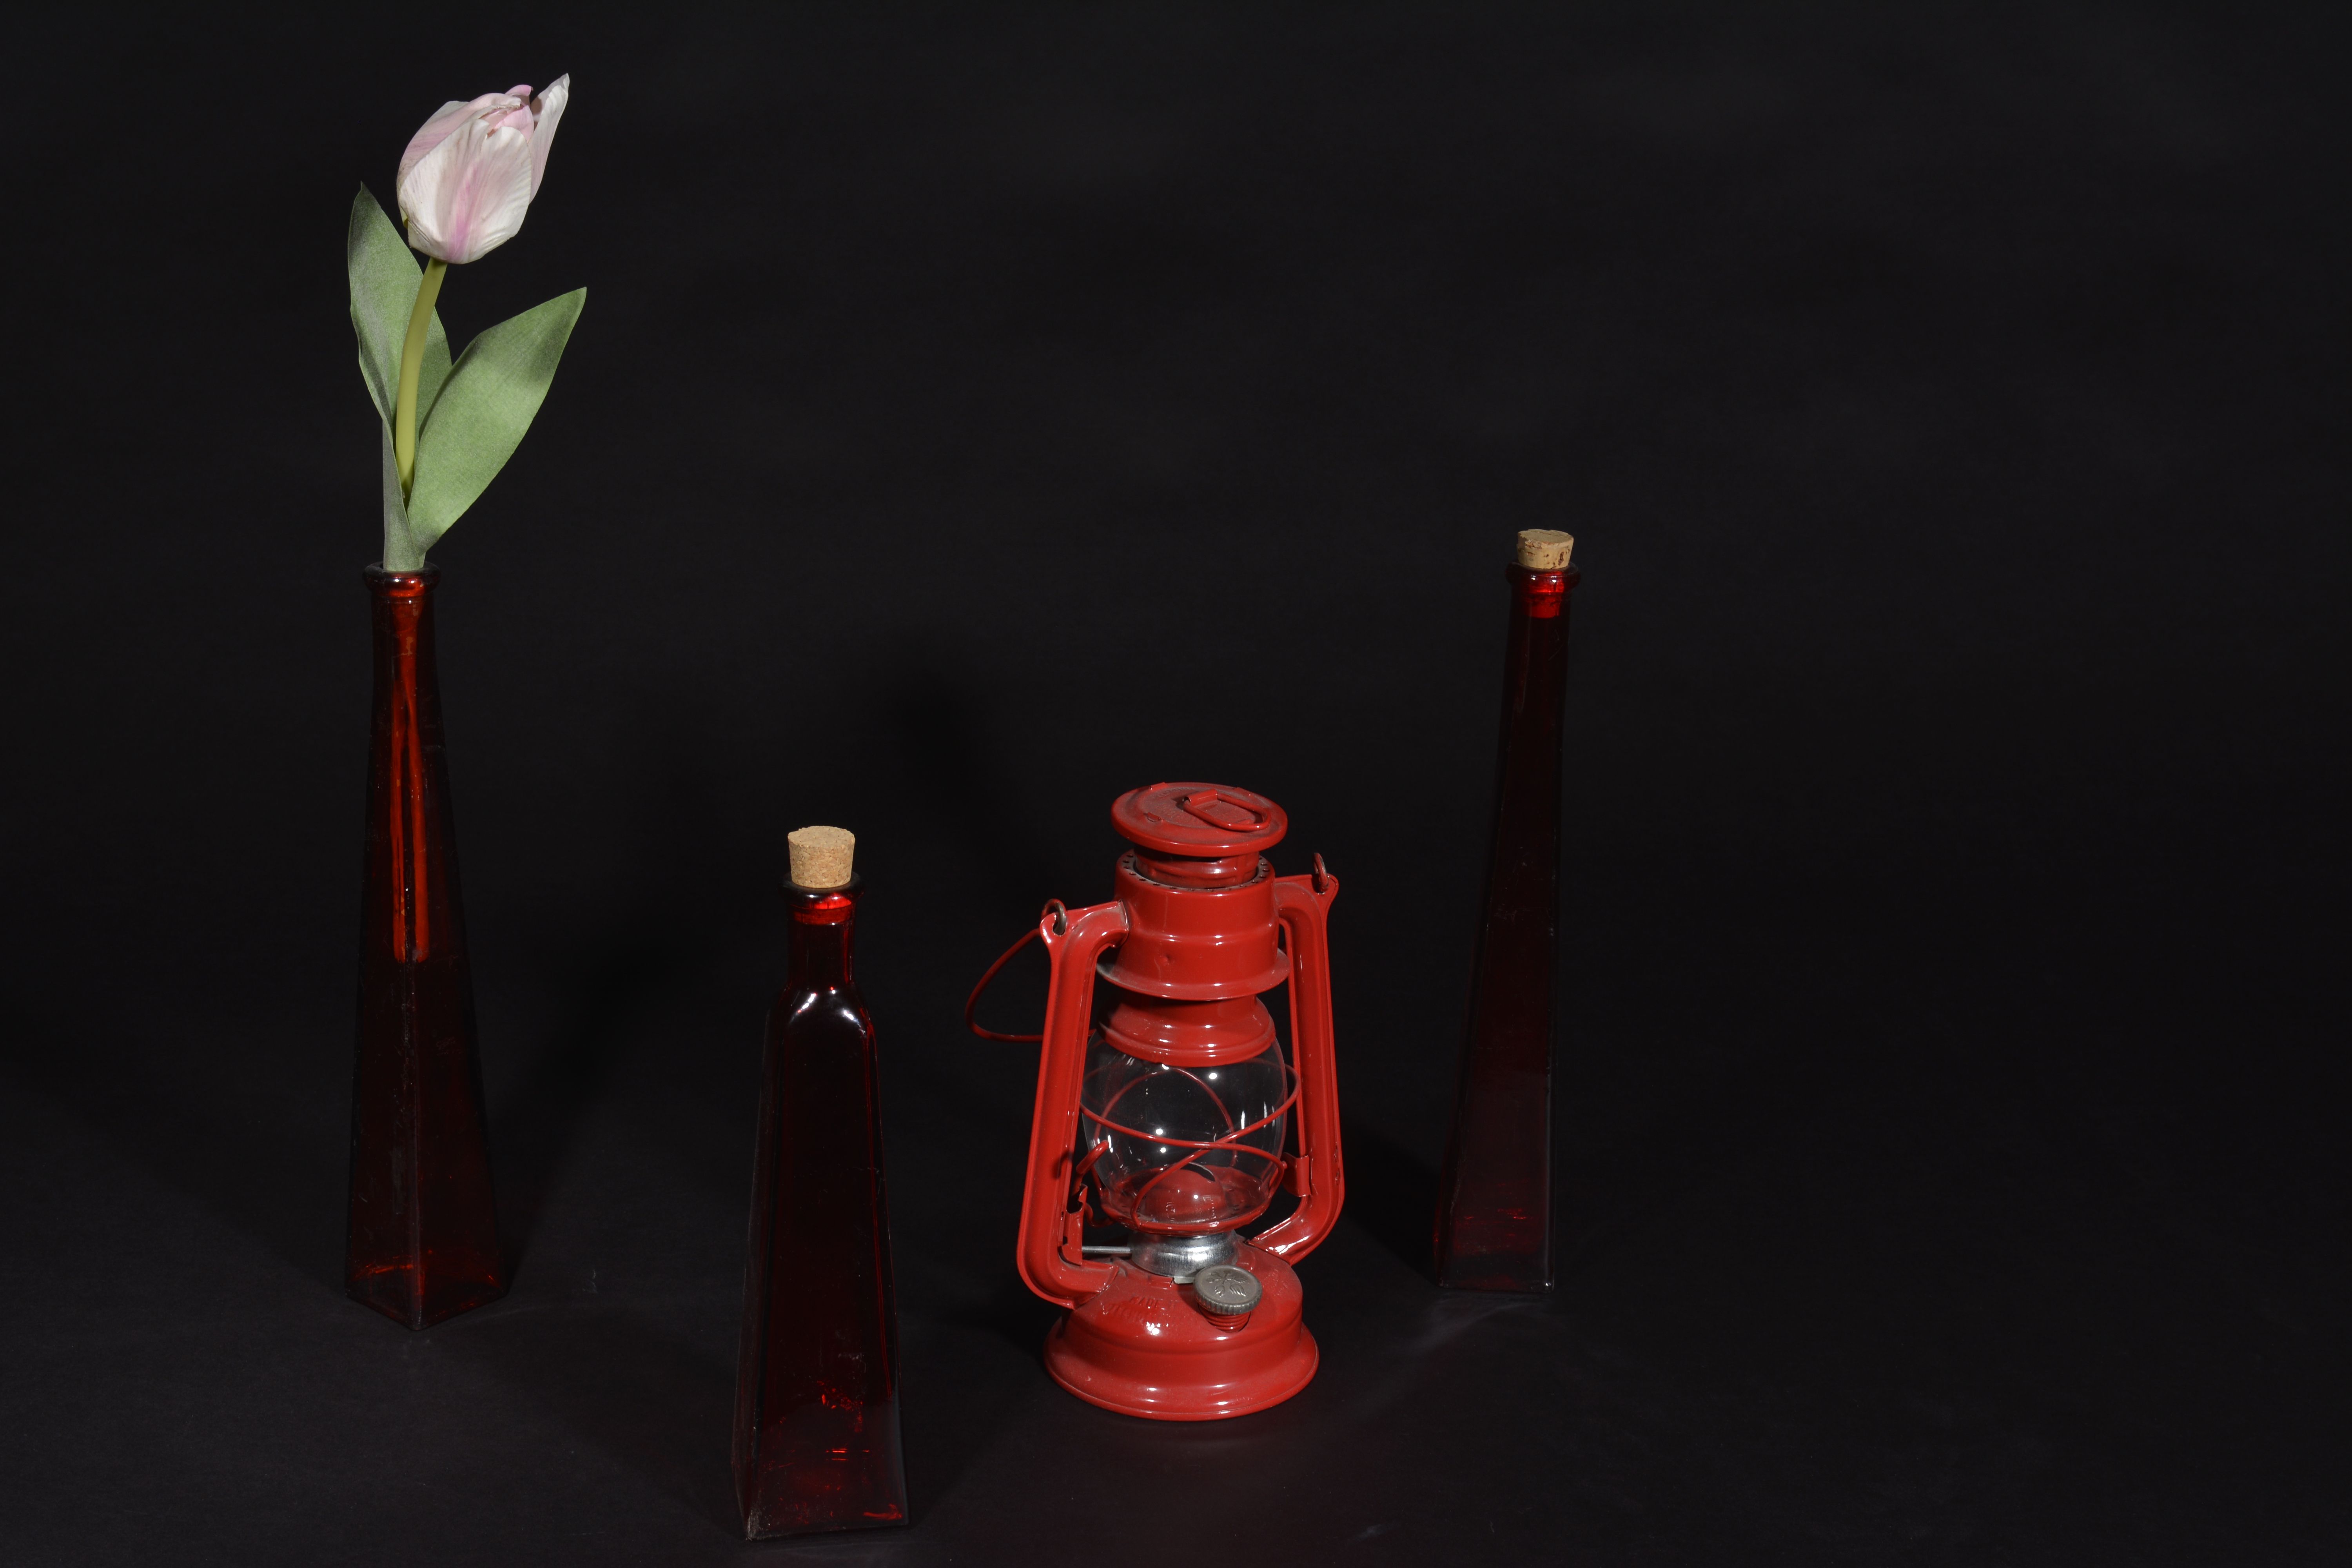
To try to correctly expose the still life, I took several shots at different Apertures. As you can see, the higher the Aperture, the darker the photograph.
F-8 F-9 F-10
F-11 F-13
F-11 F-13 F-14
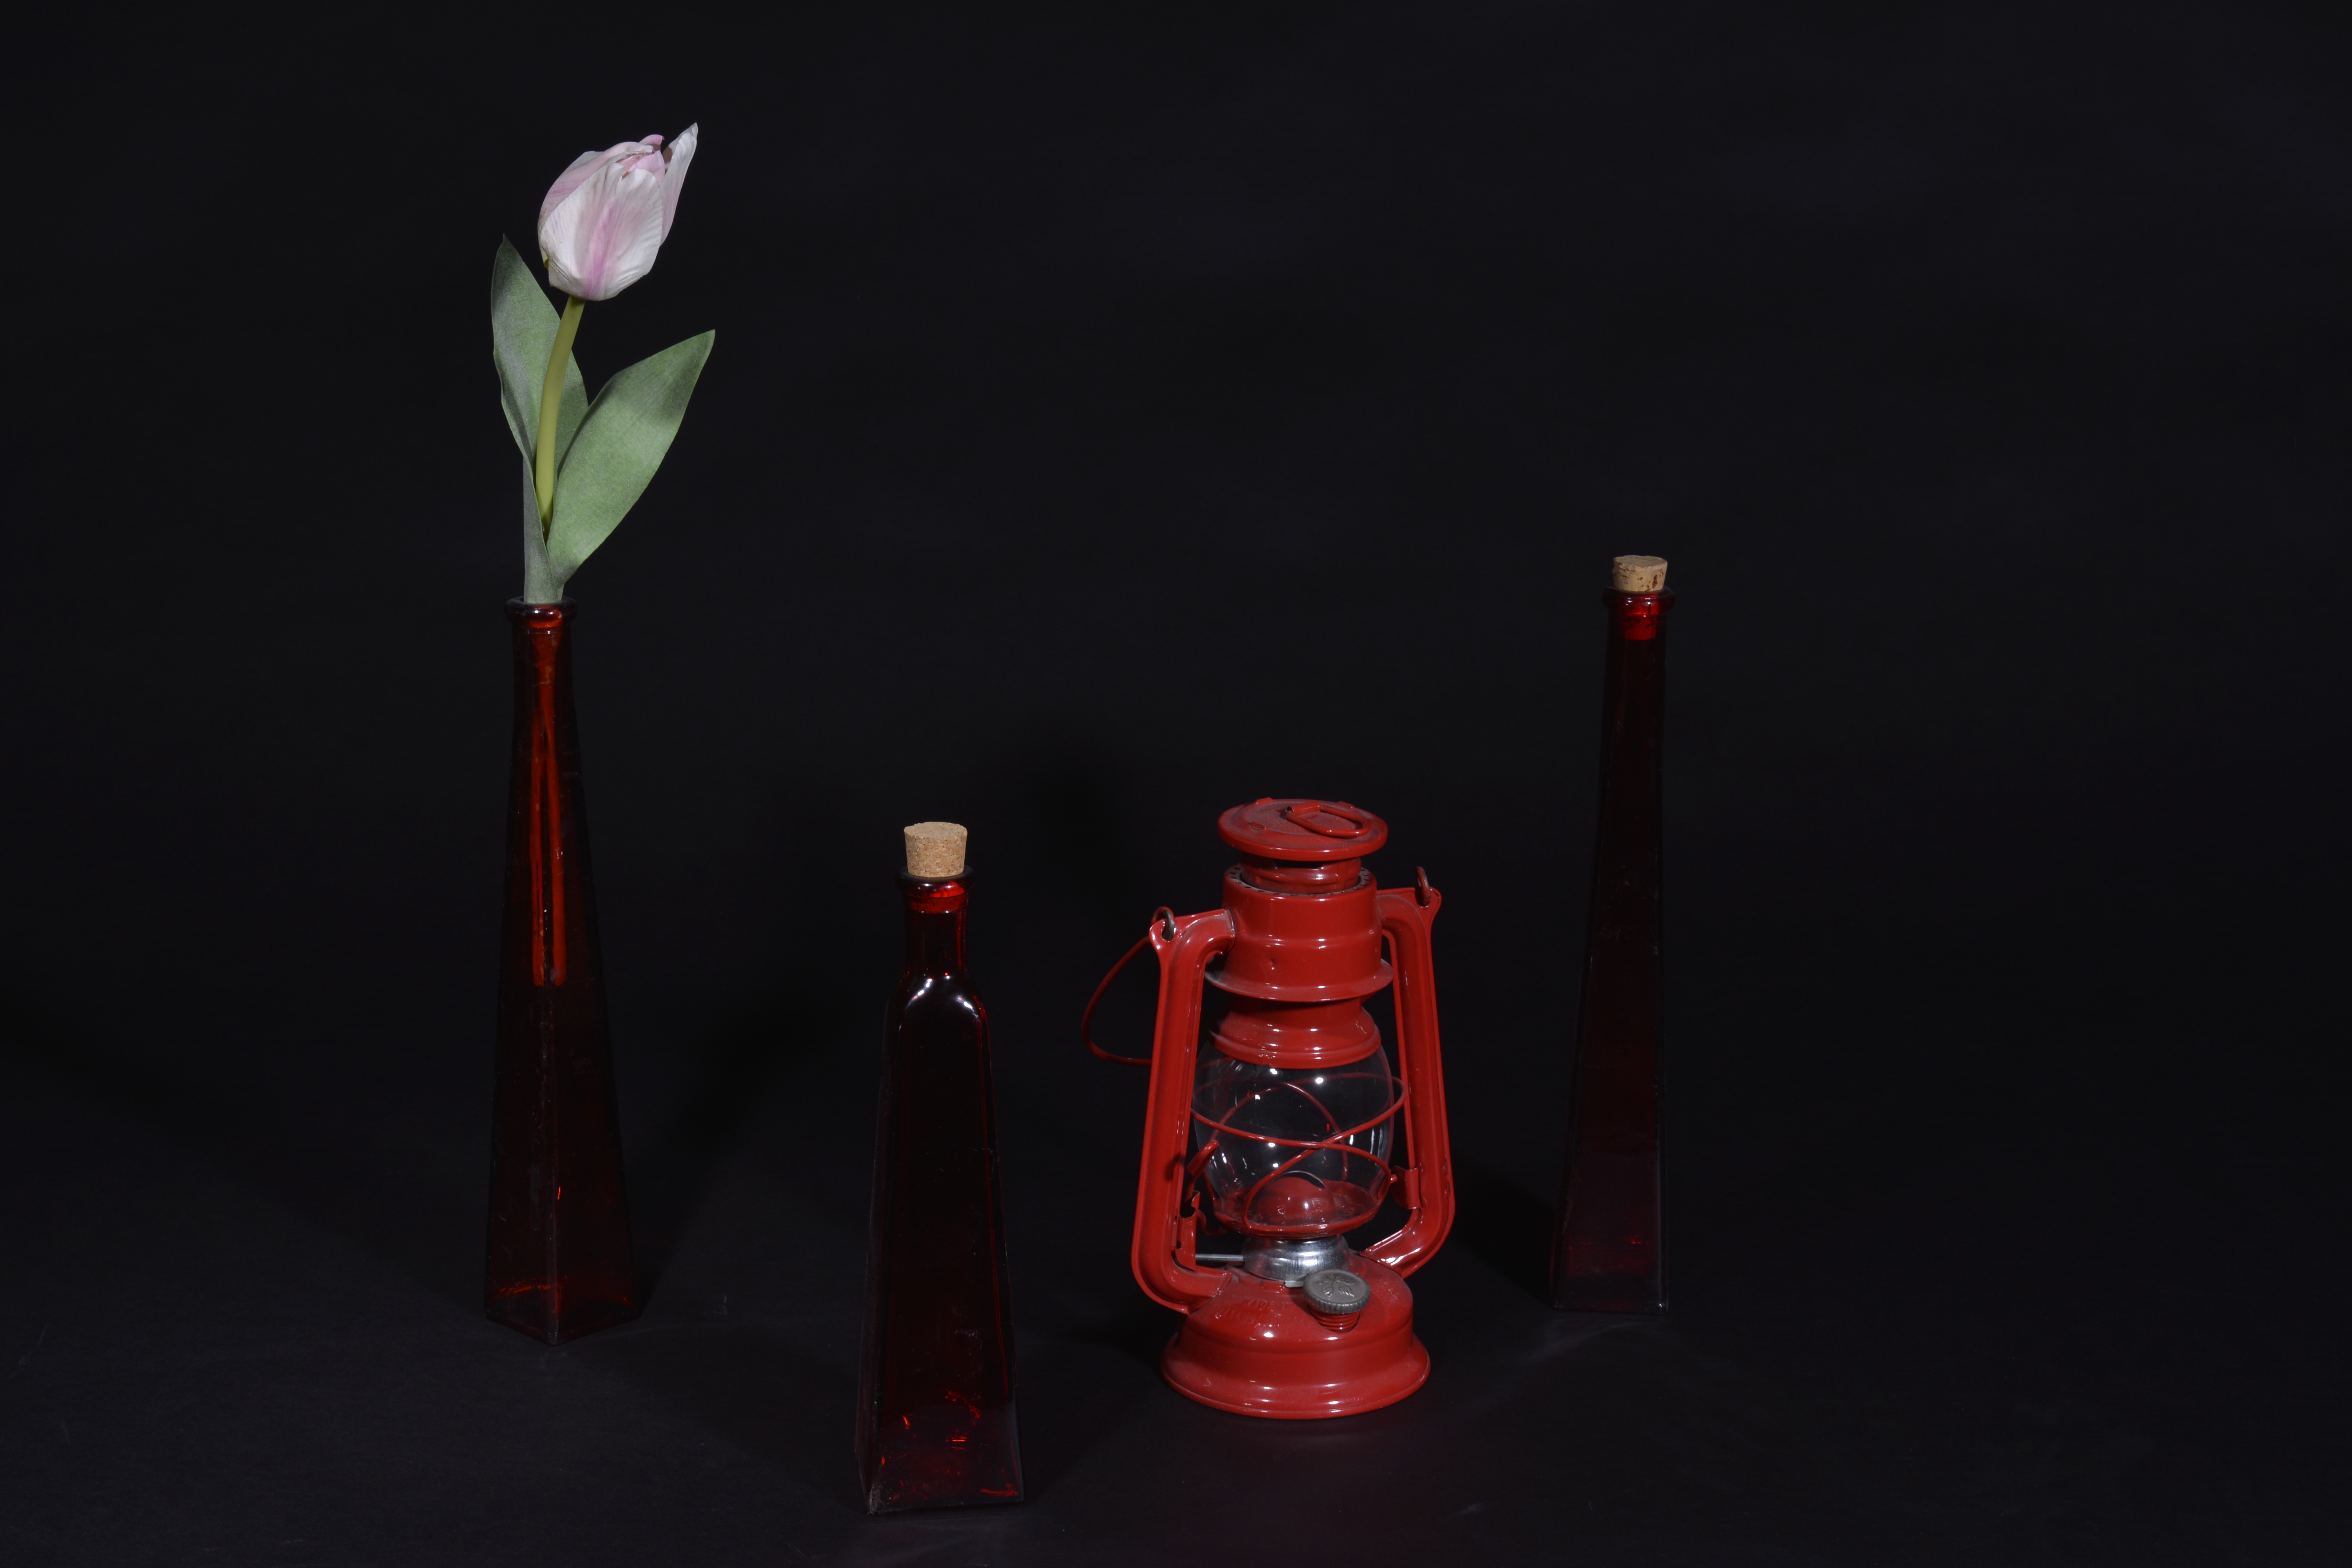
I think that using an aperture of F-11 achieves the best exposure for the left hand side of this still life set up, however it does leave the right hand side slightly under exposed. I don’t mind it too much, as it’s like the light is shinning bright from the apple. Also the catch lights on the shinny surfaces are just right.
F-11 F-11
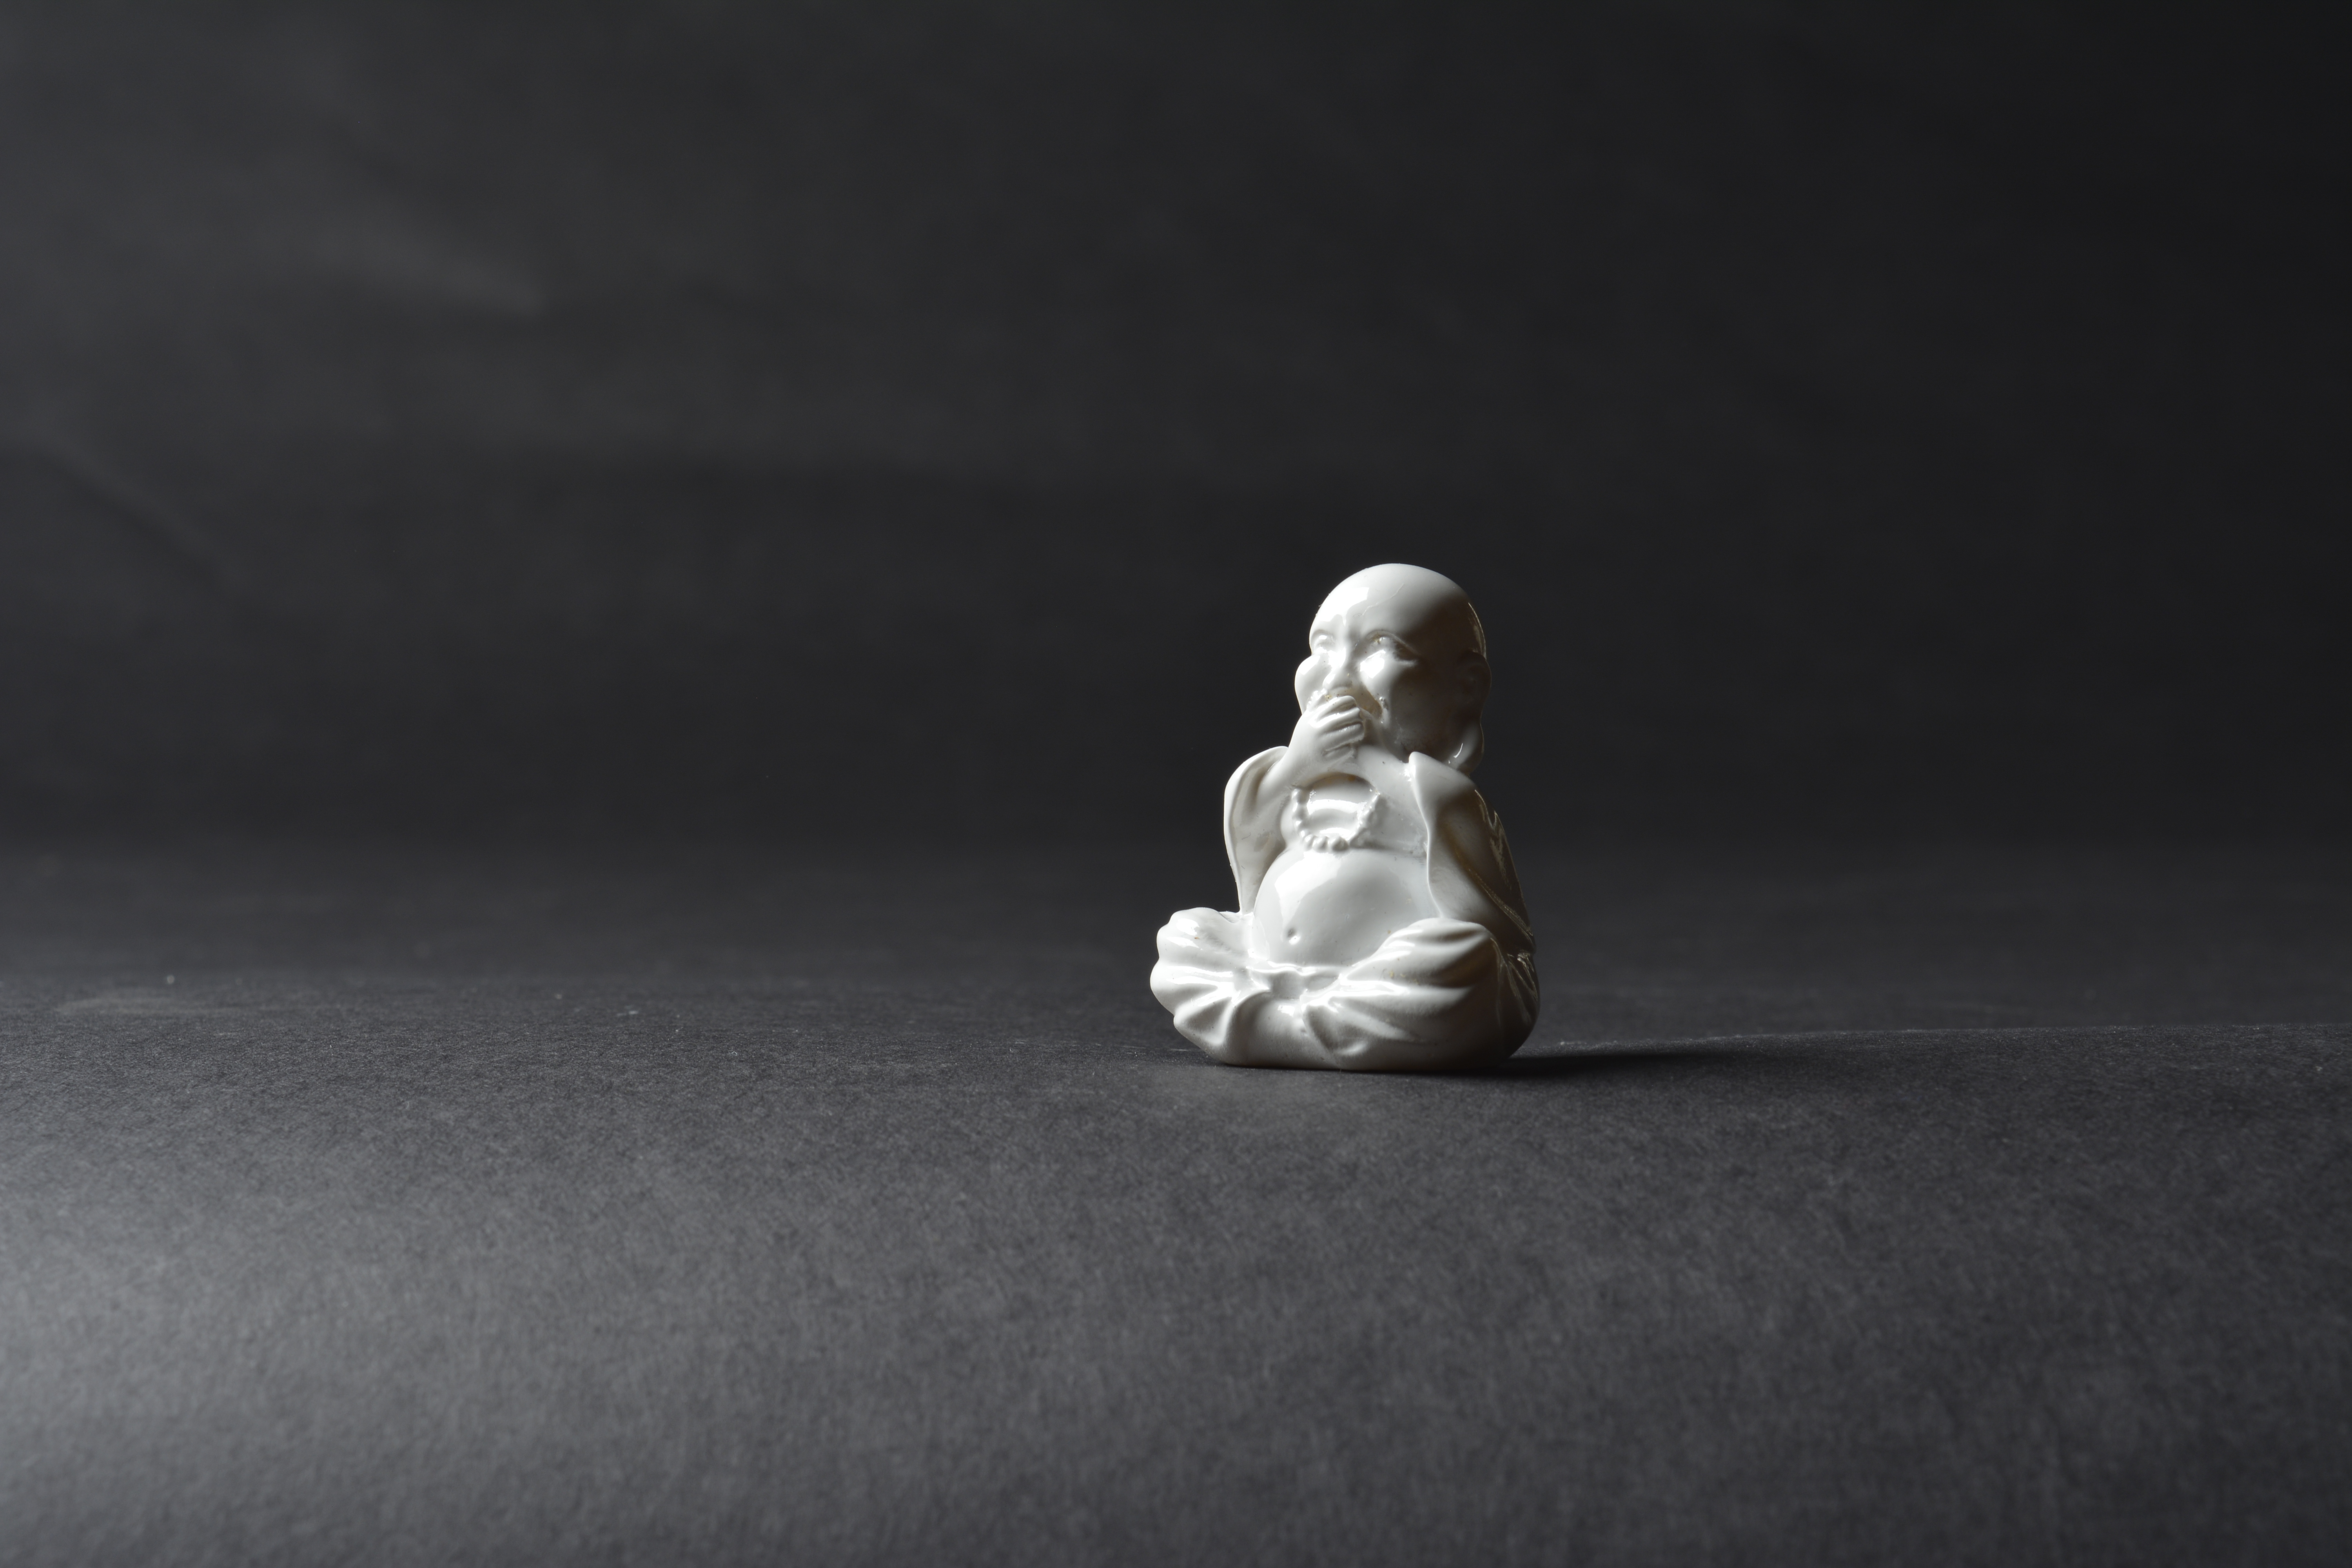
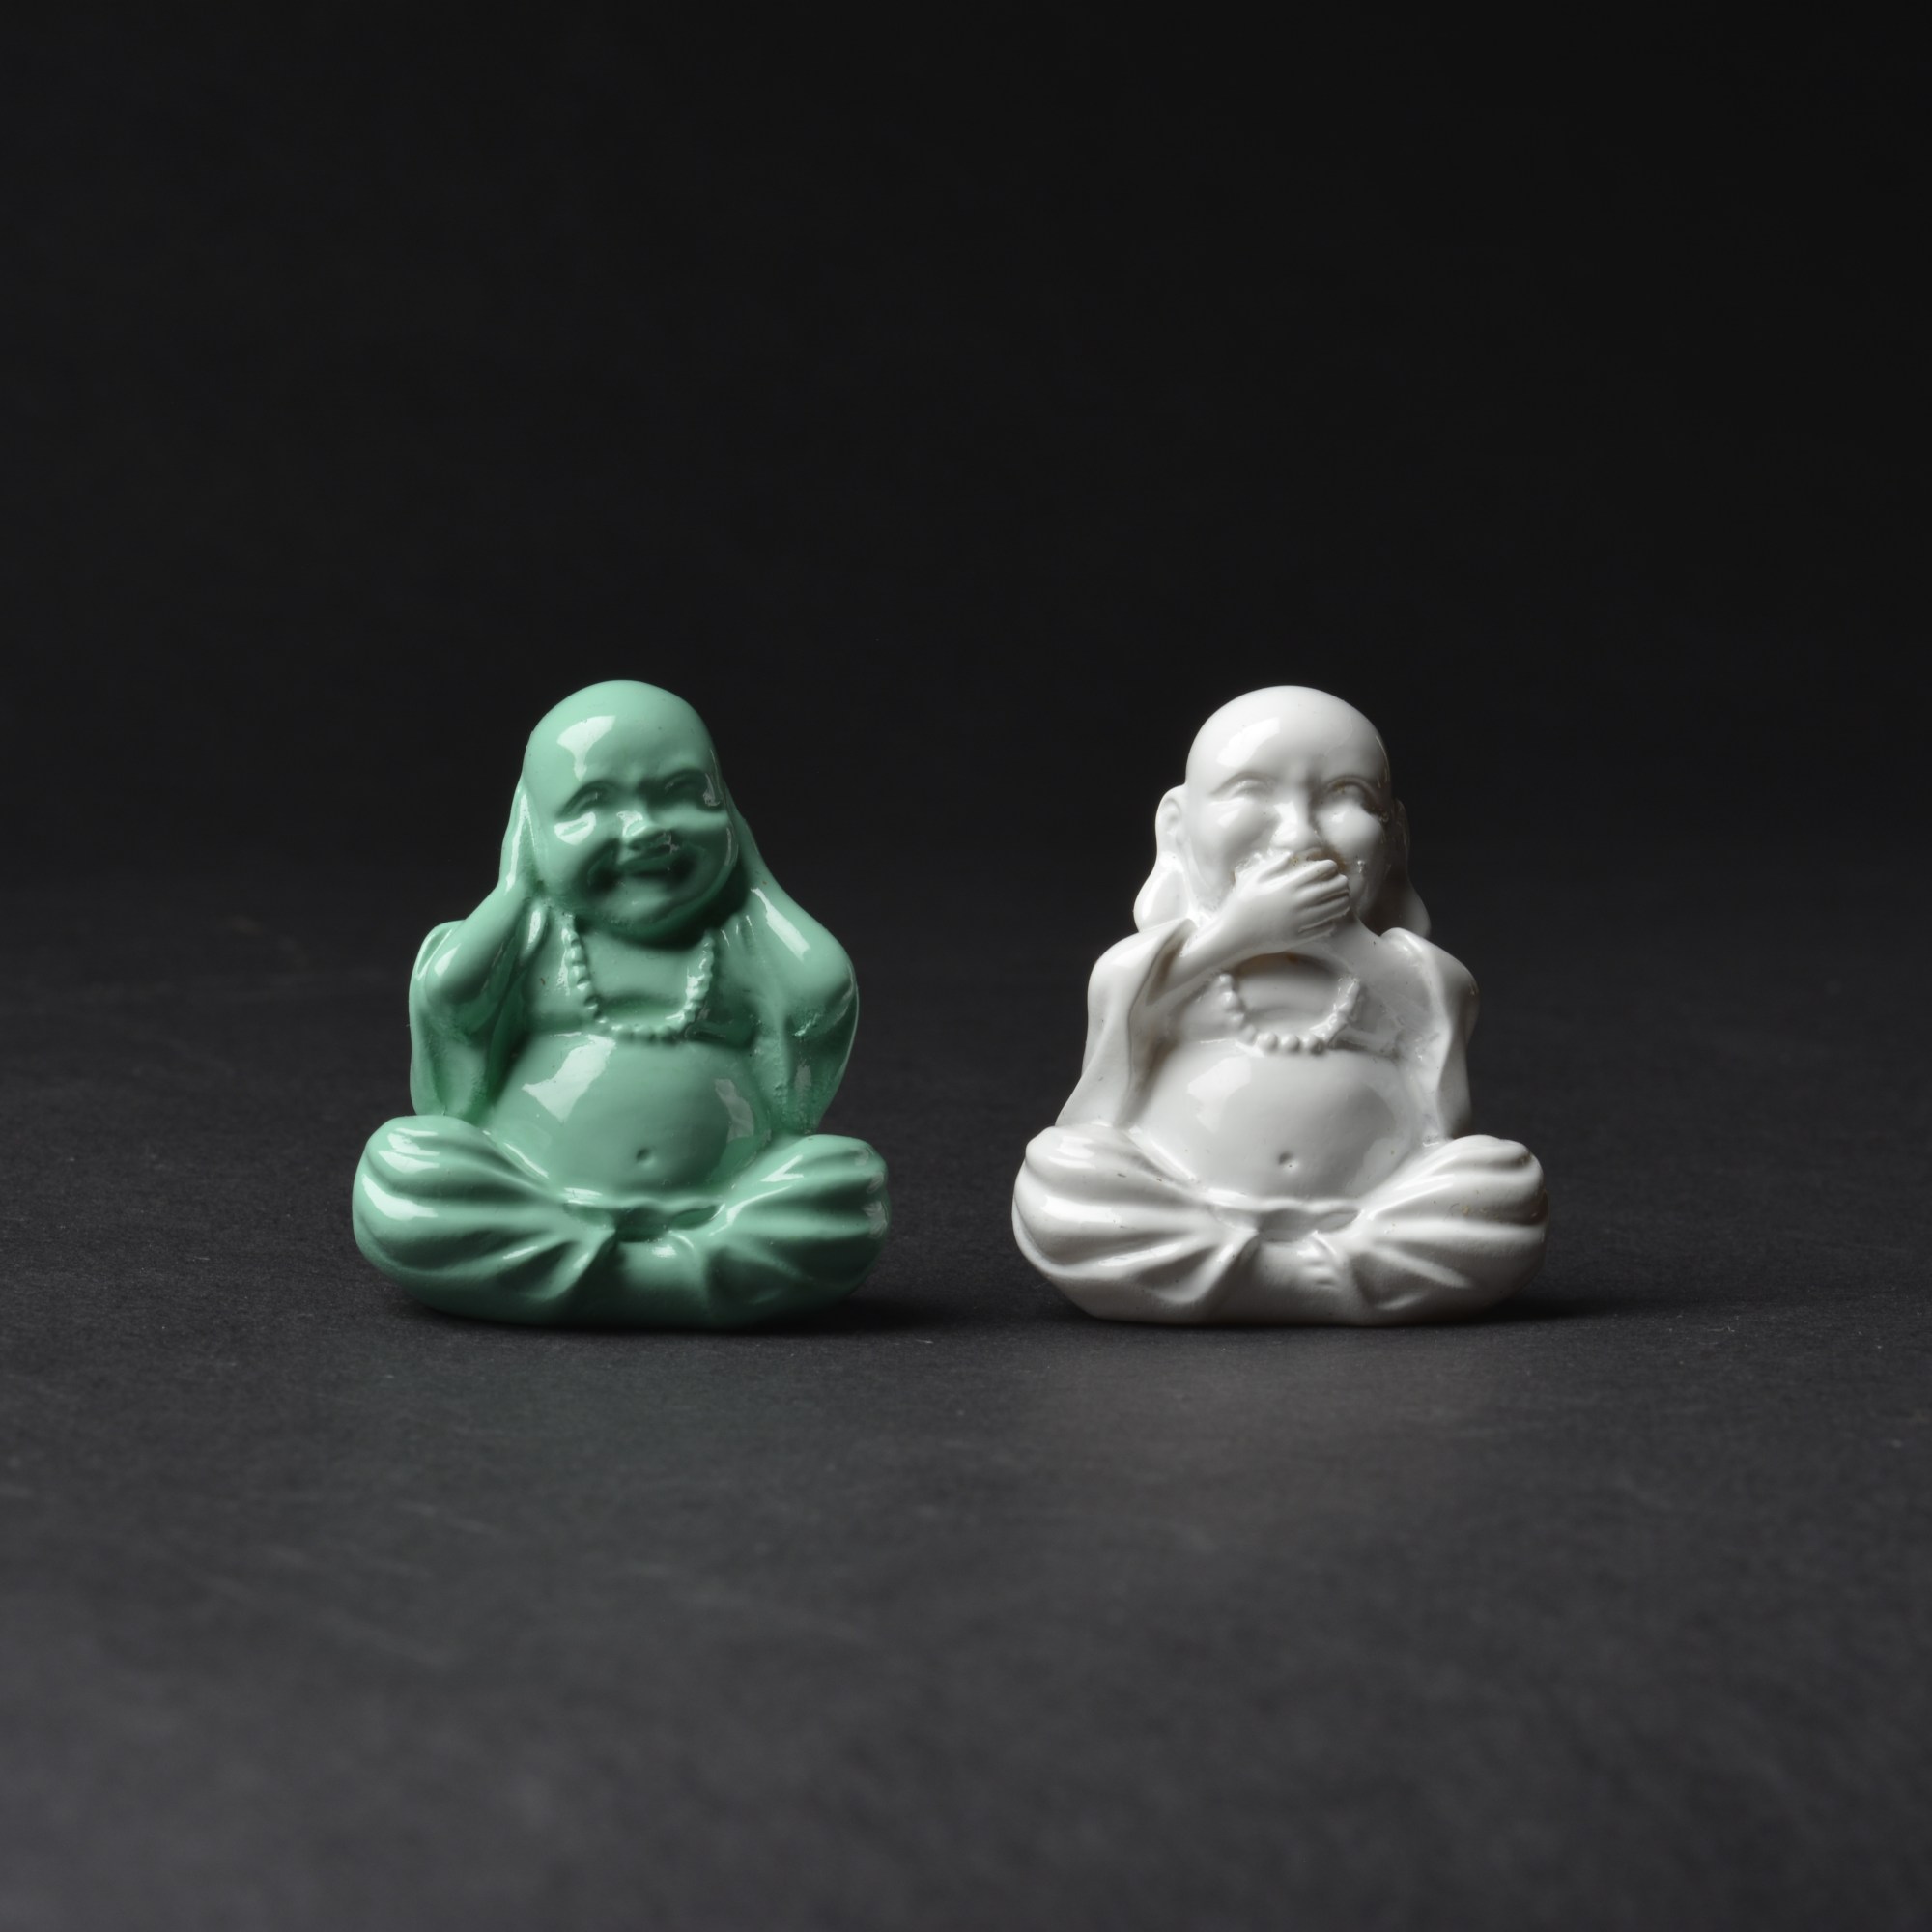
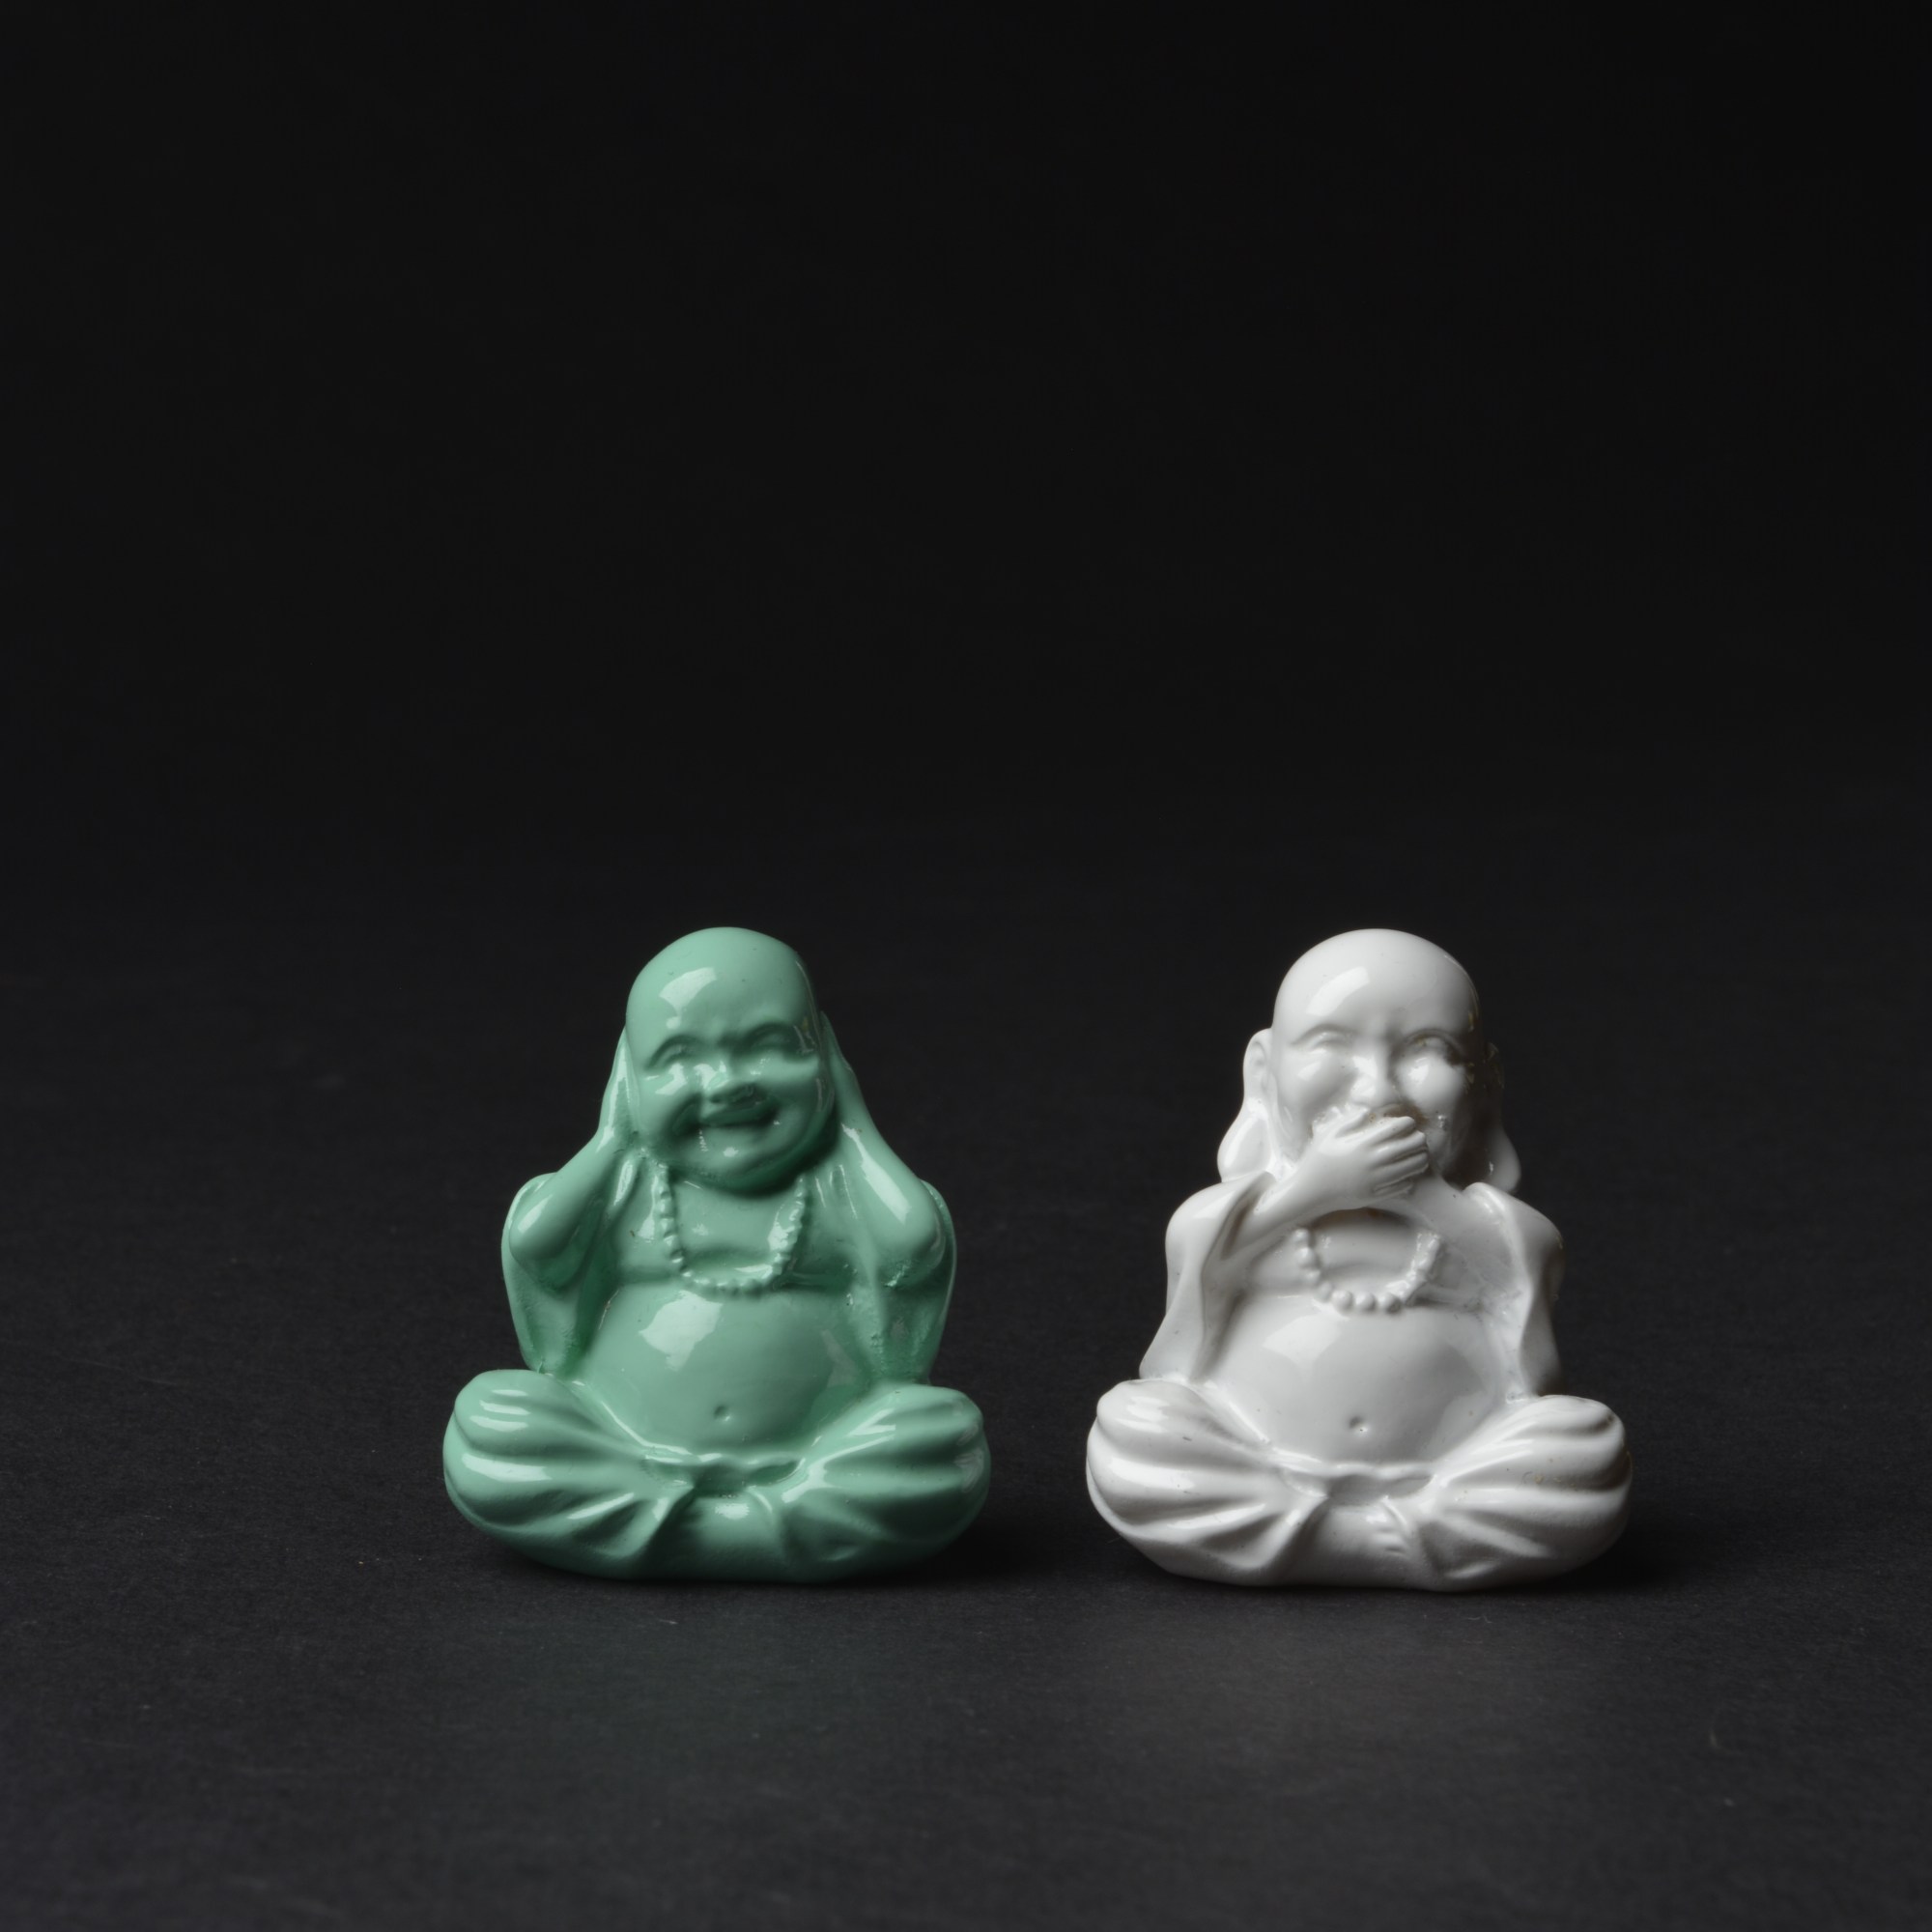
Below, I needed a really high Aperture so not to over expose the white Budda.
F-11
F-13 F-14
F-16 F-18
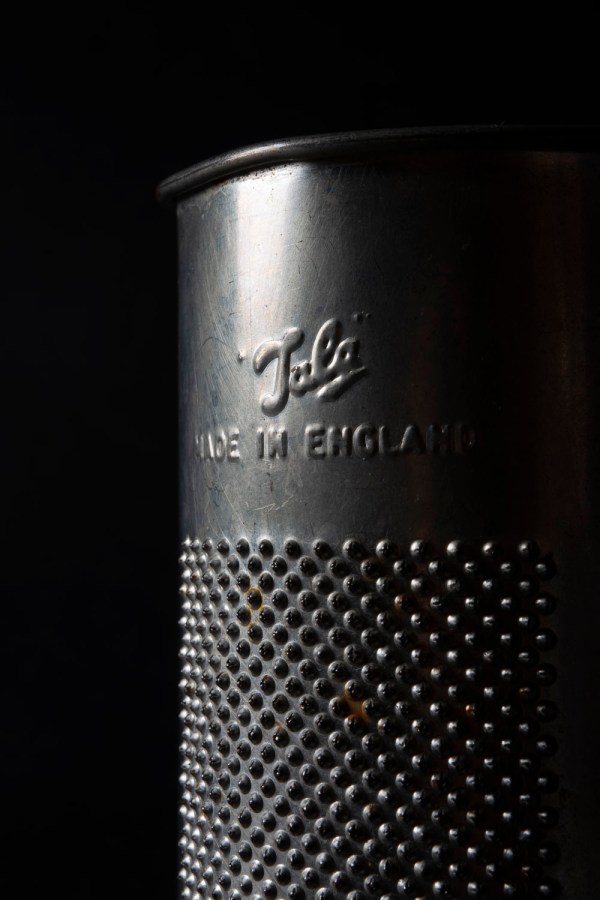
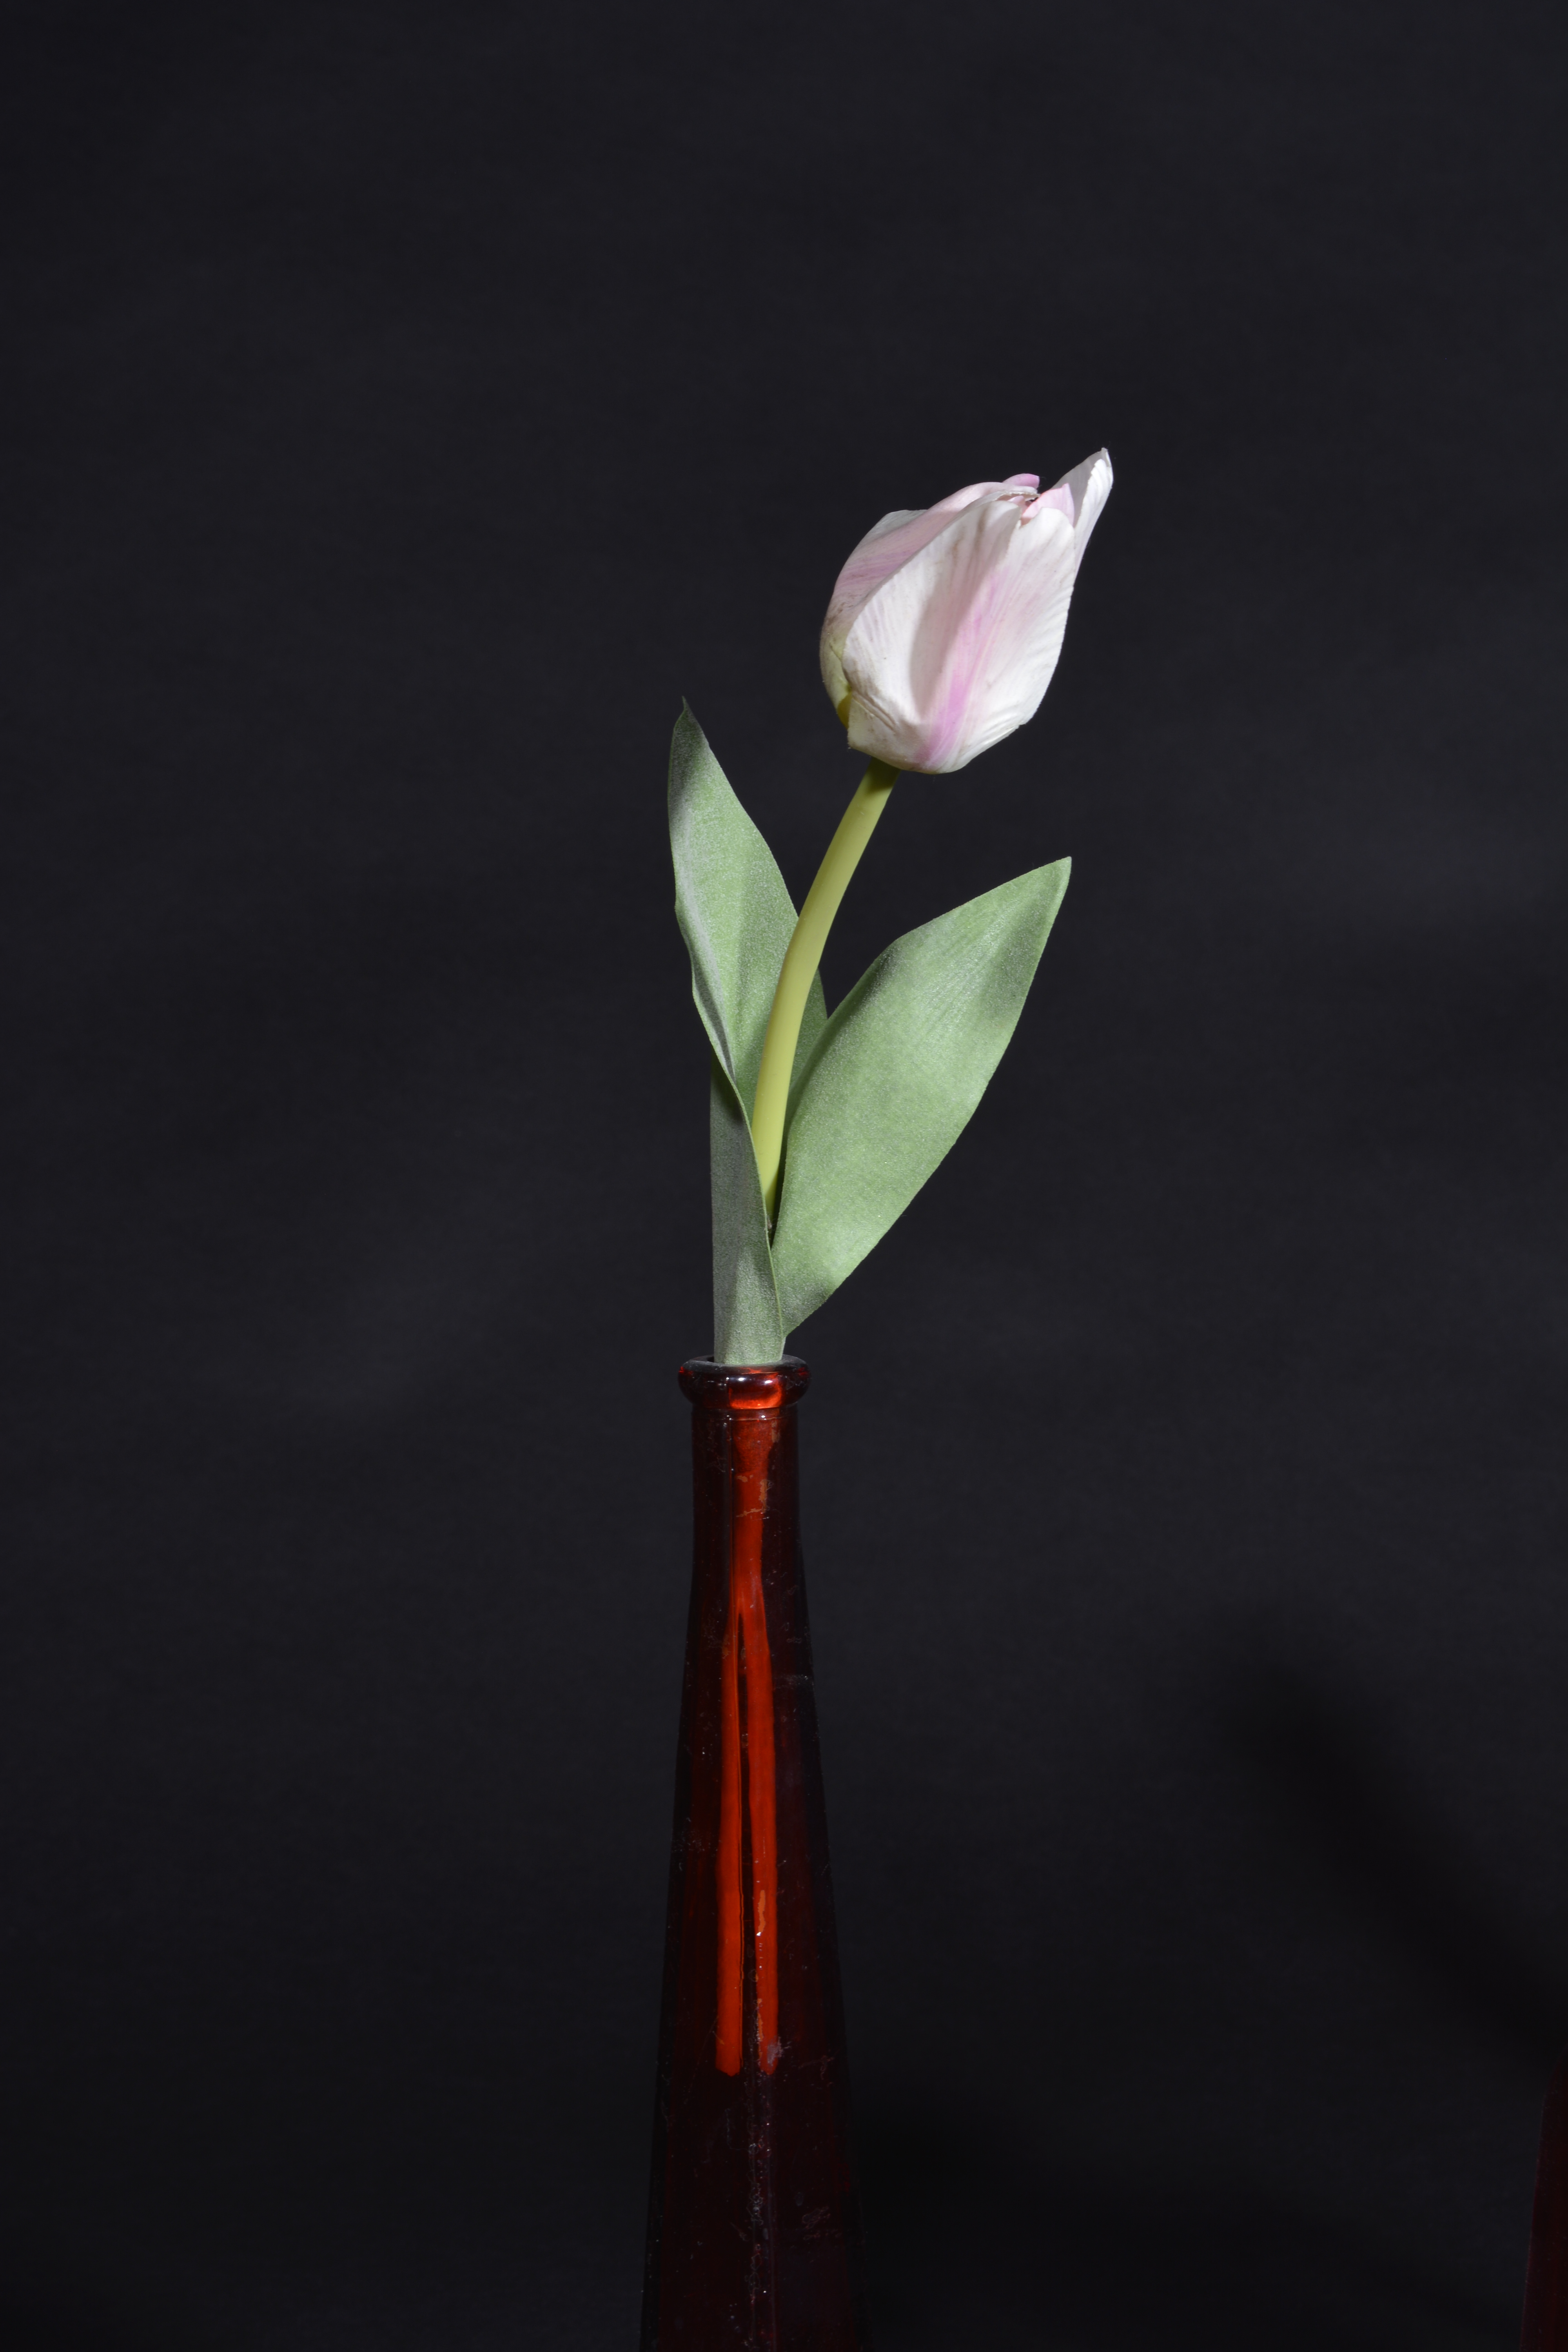
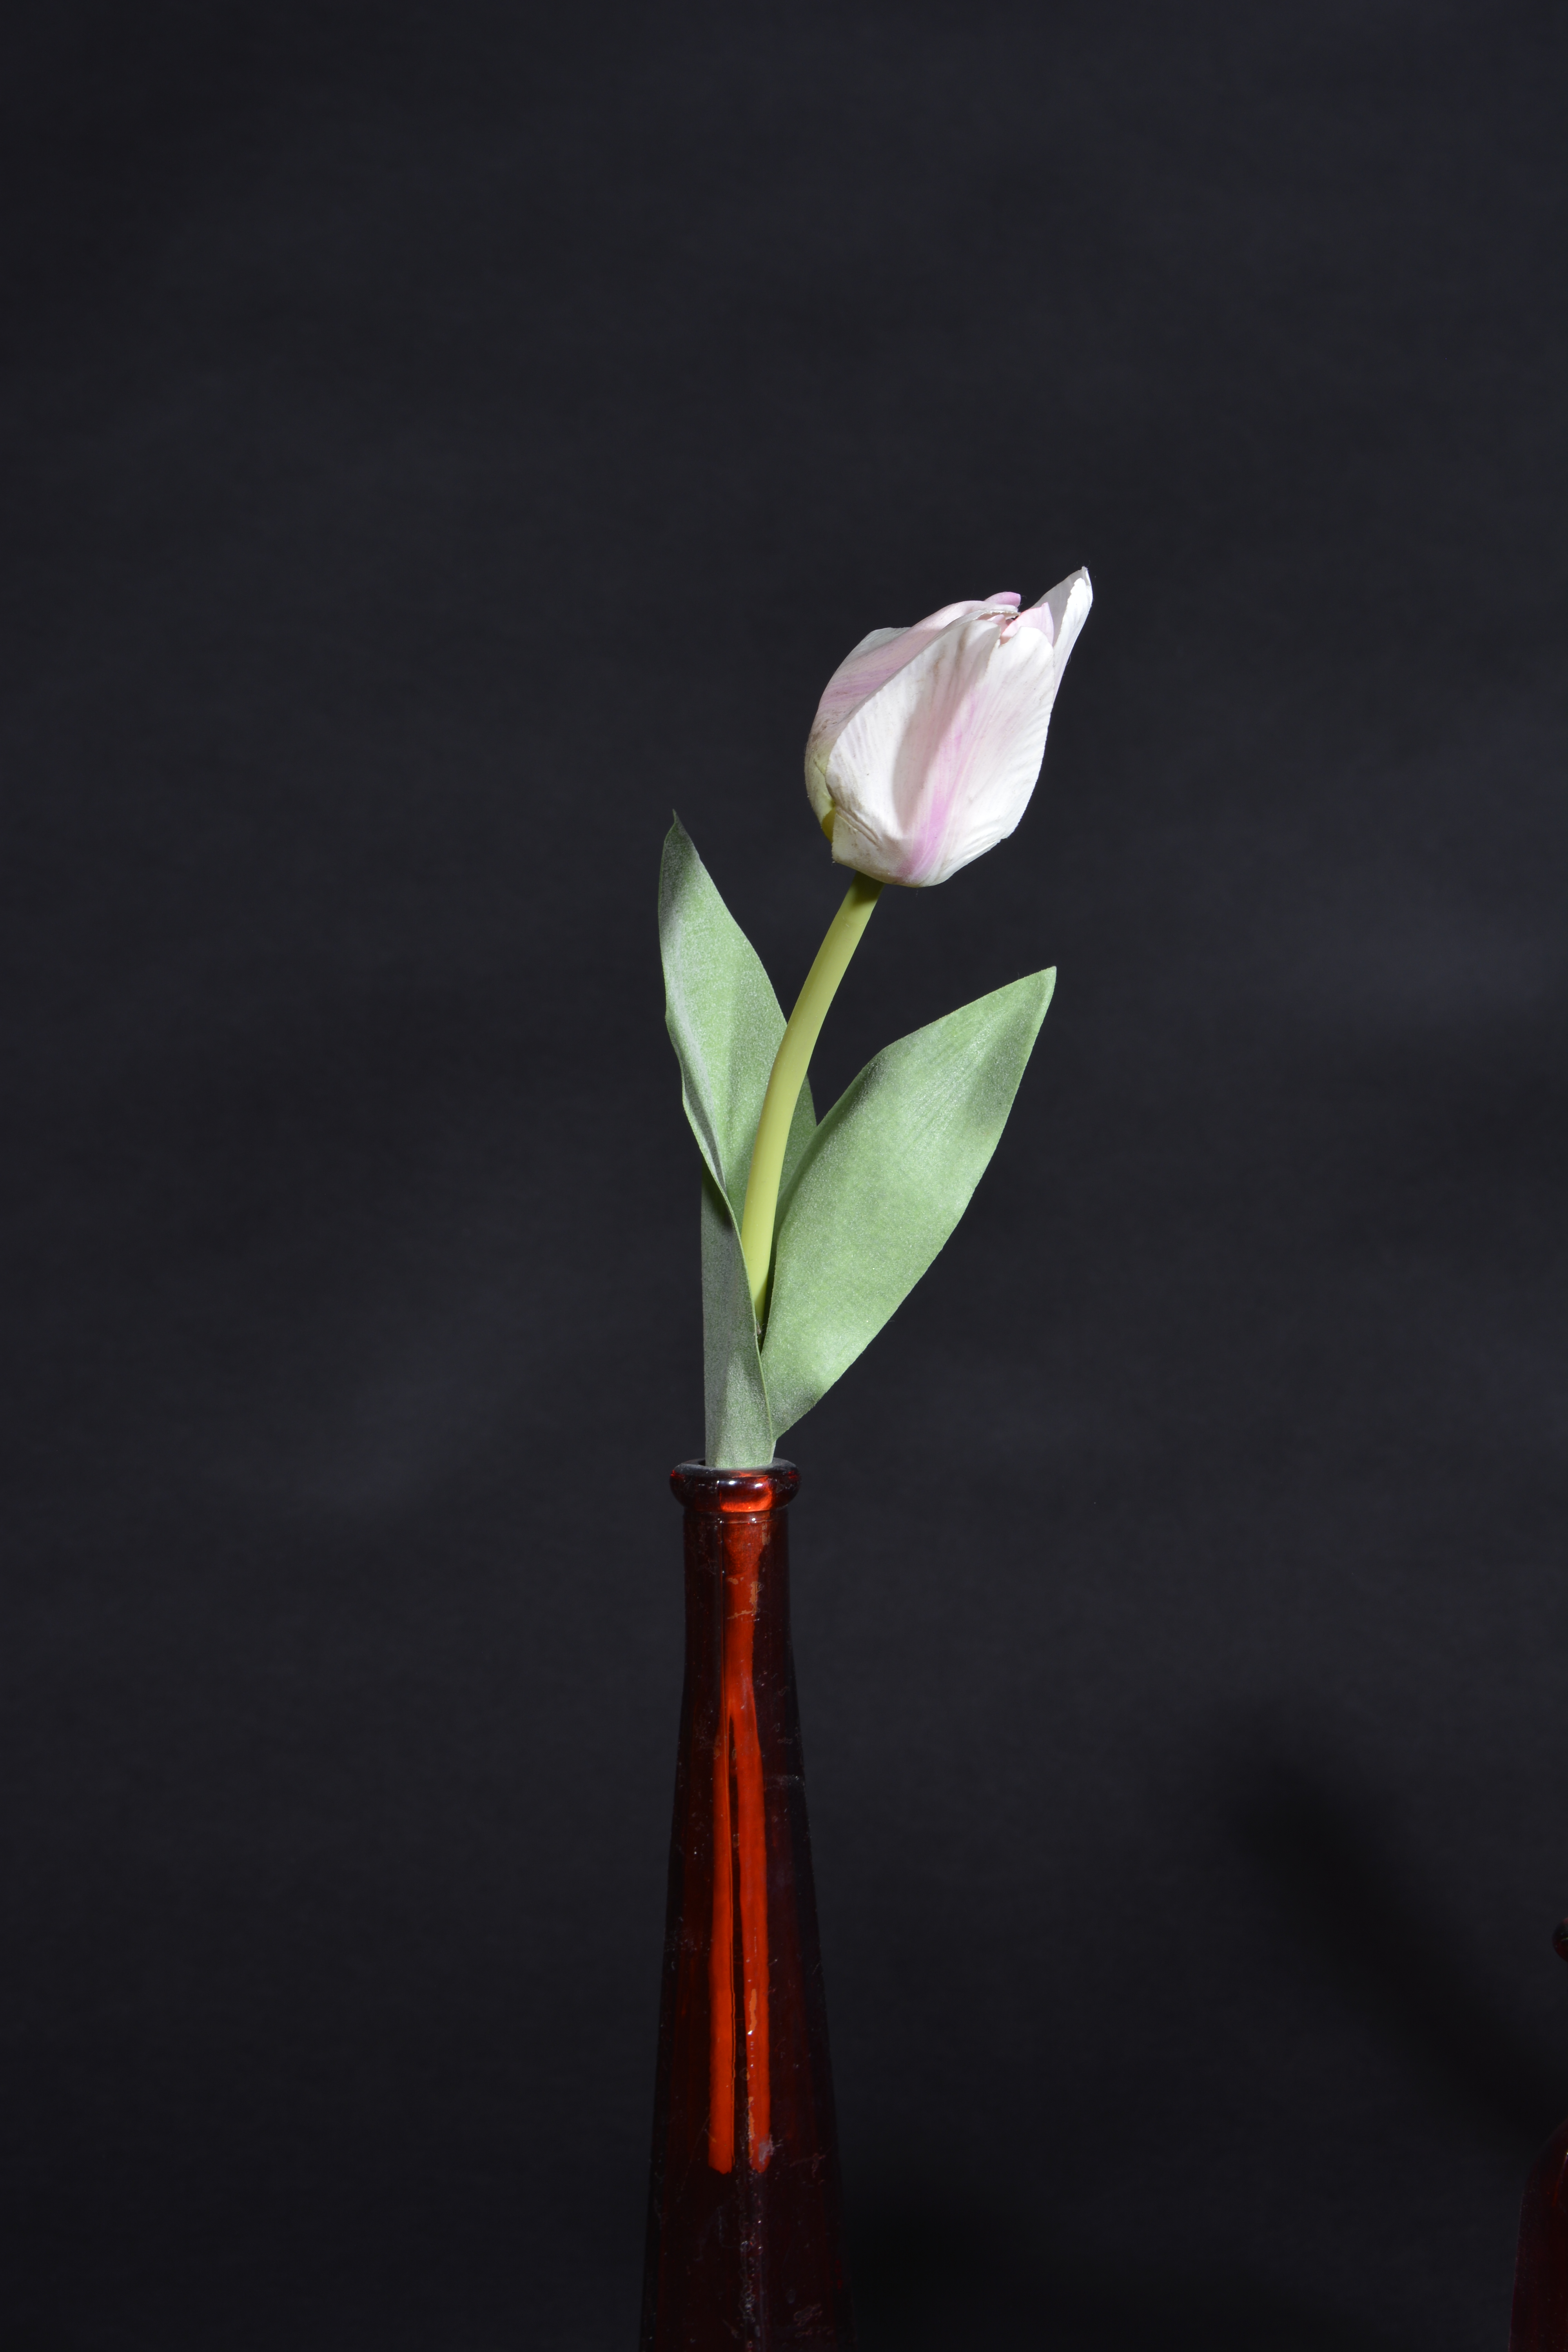
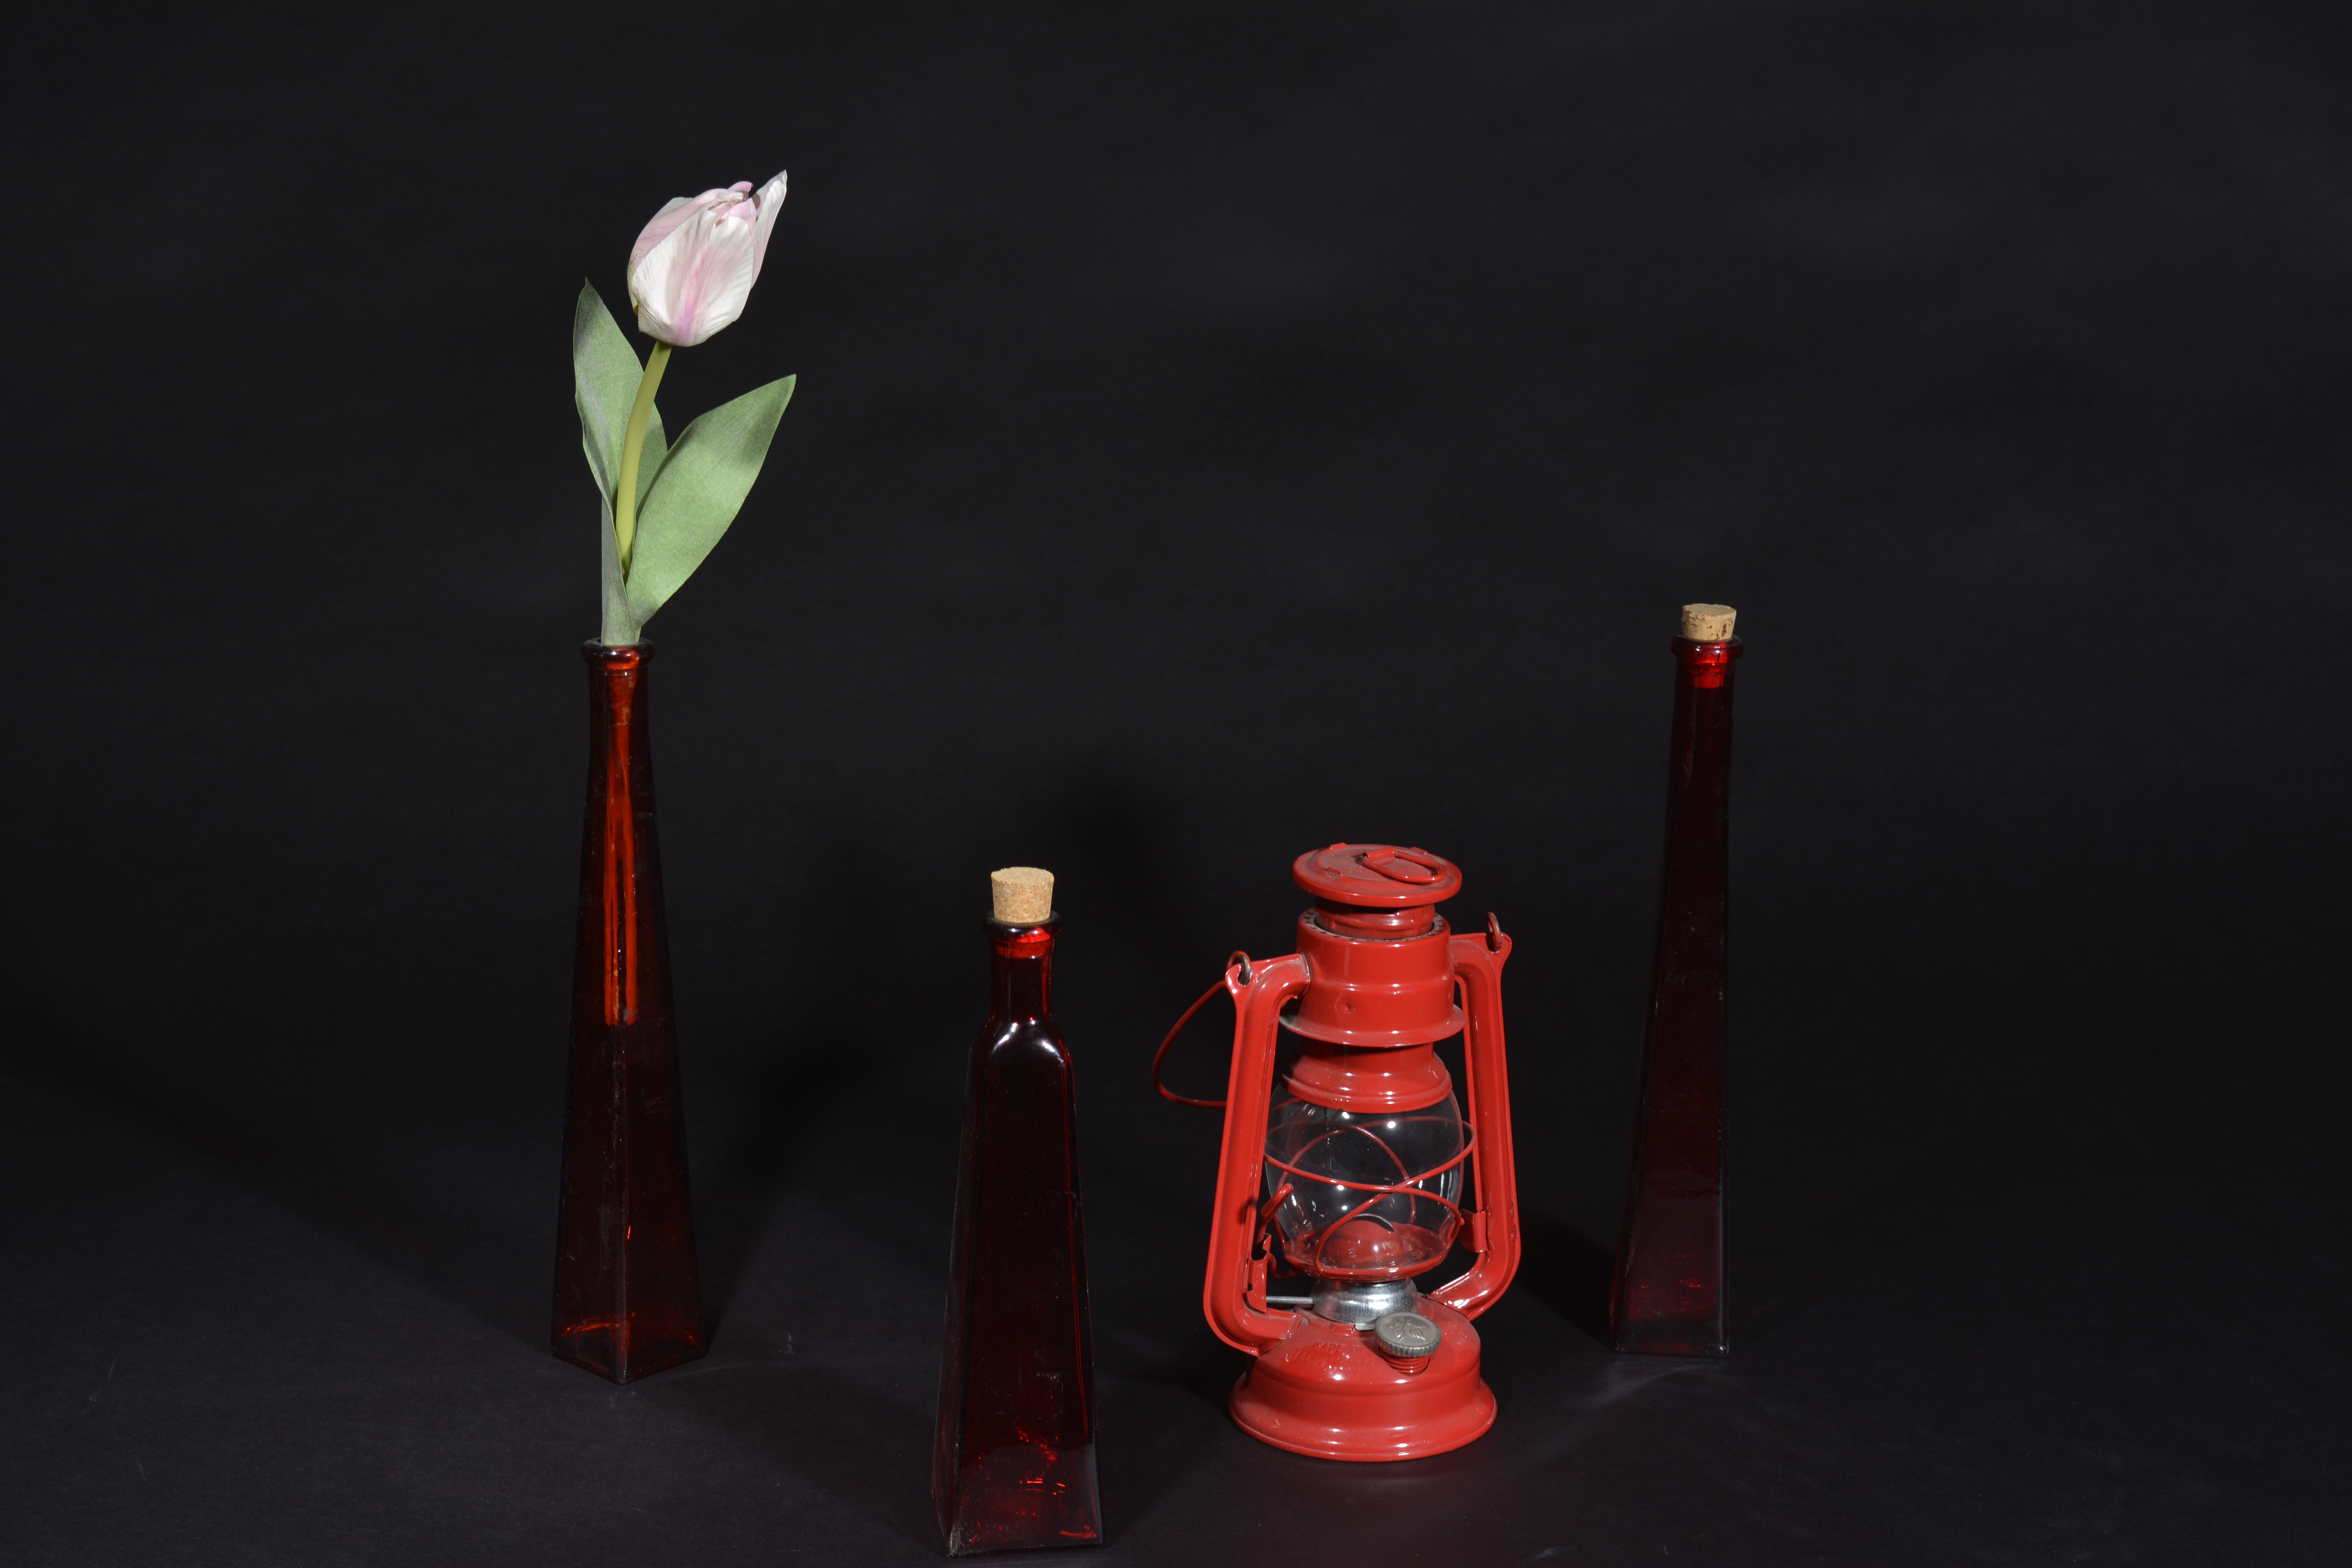
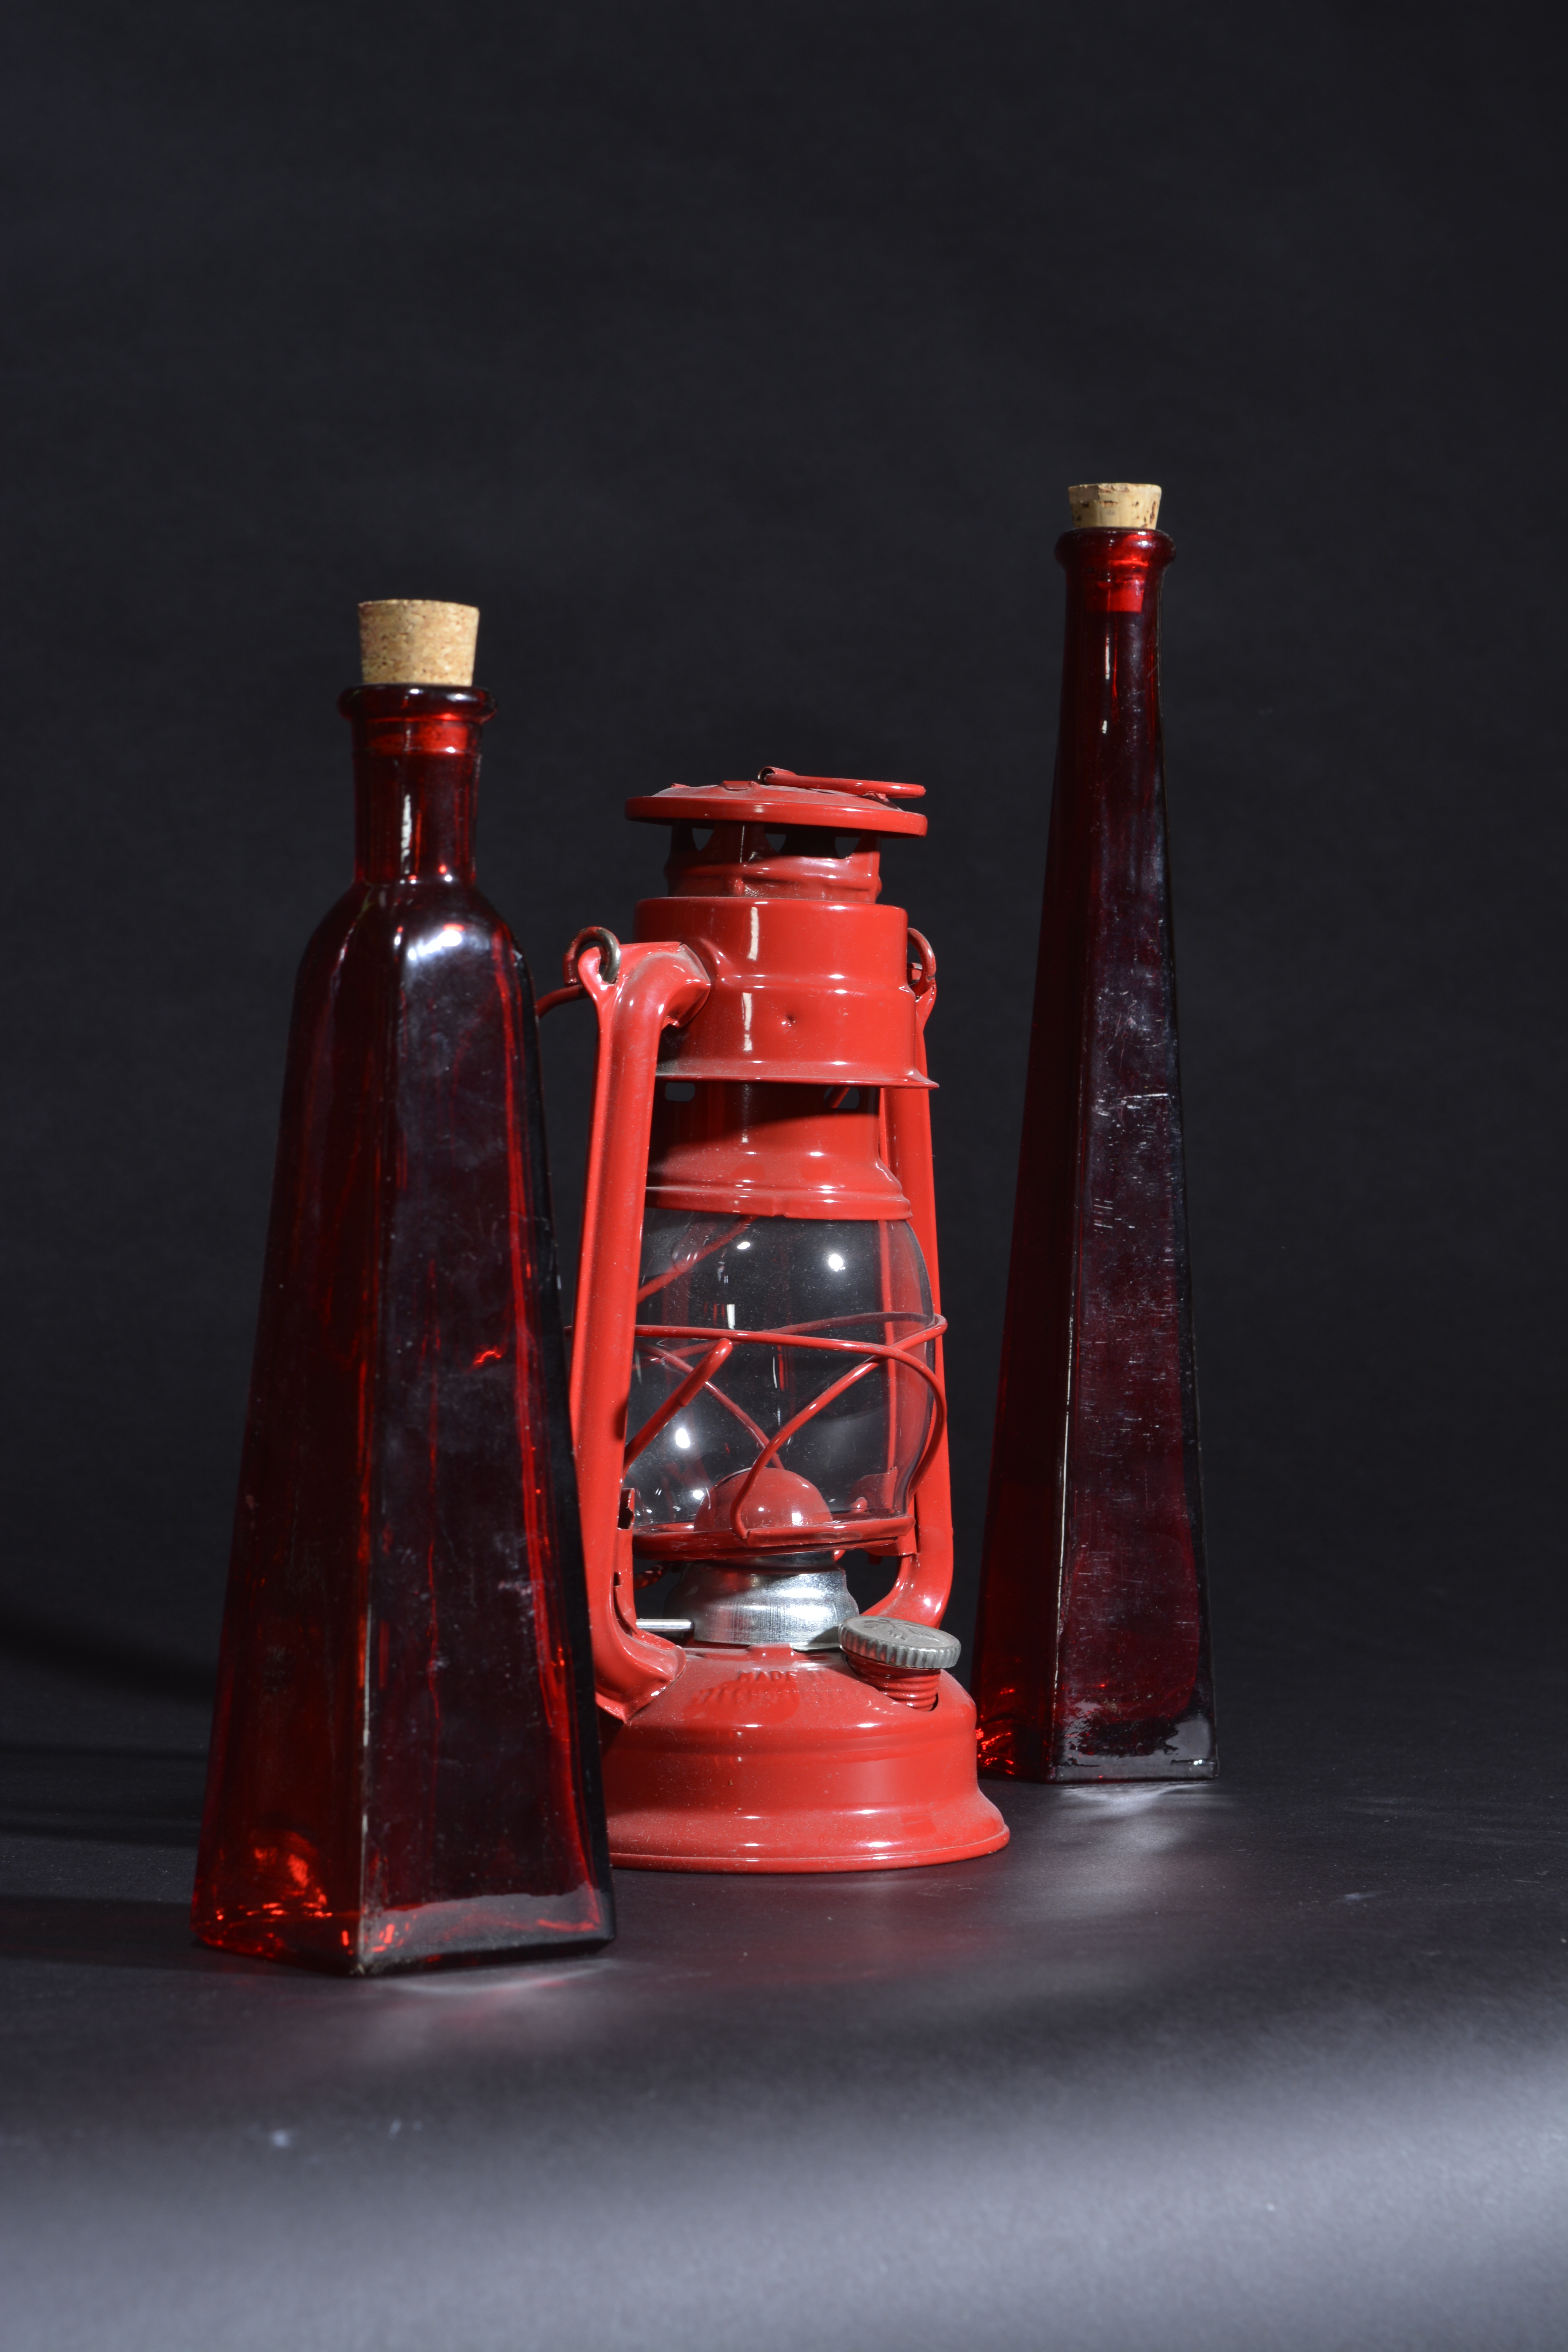
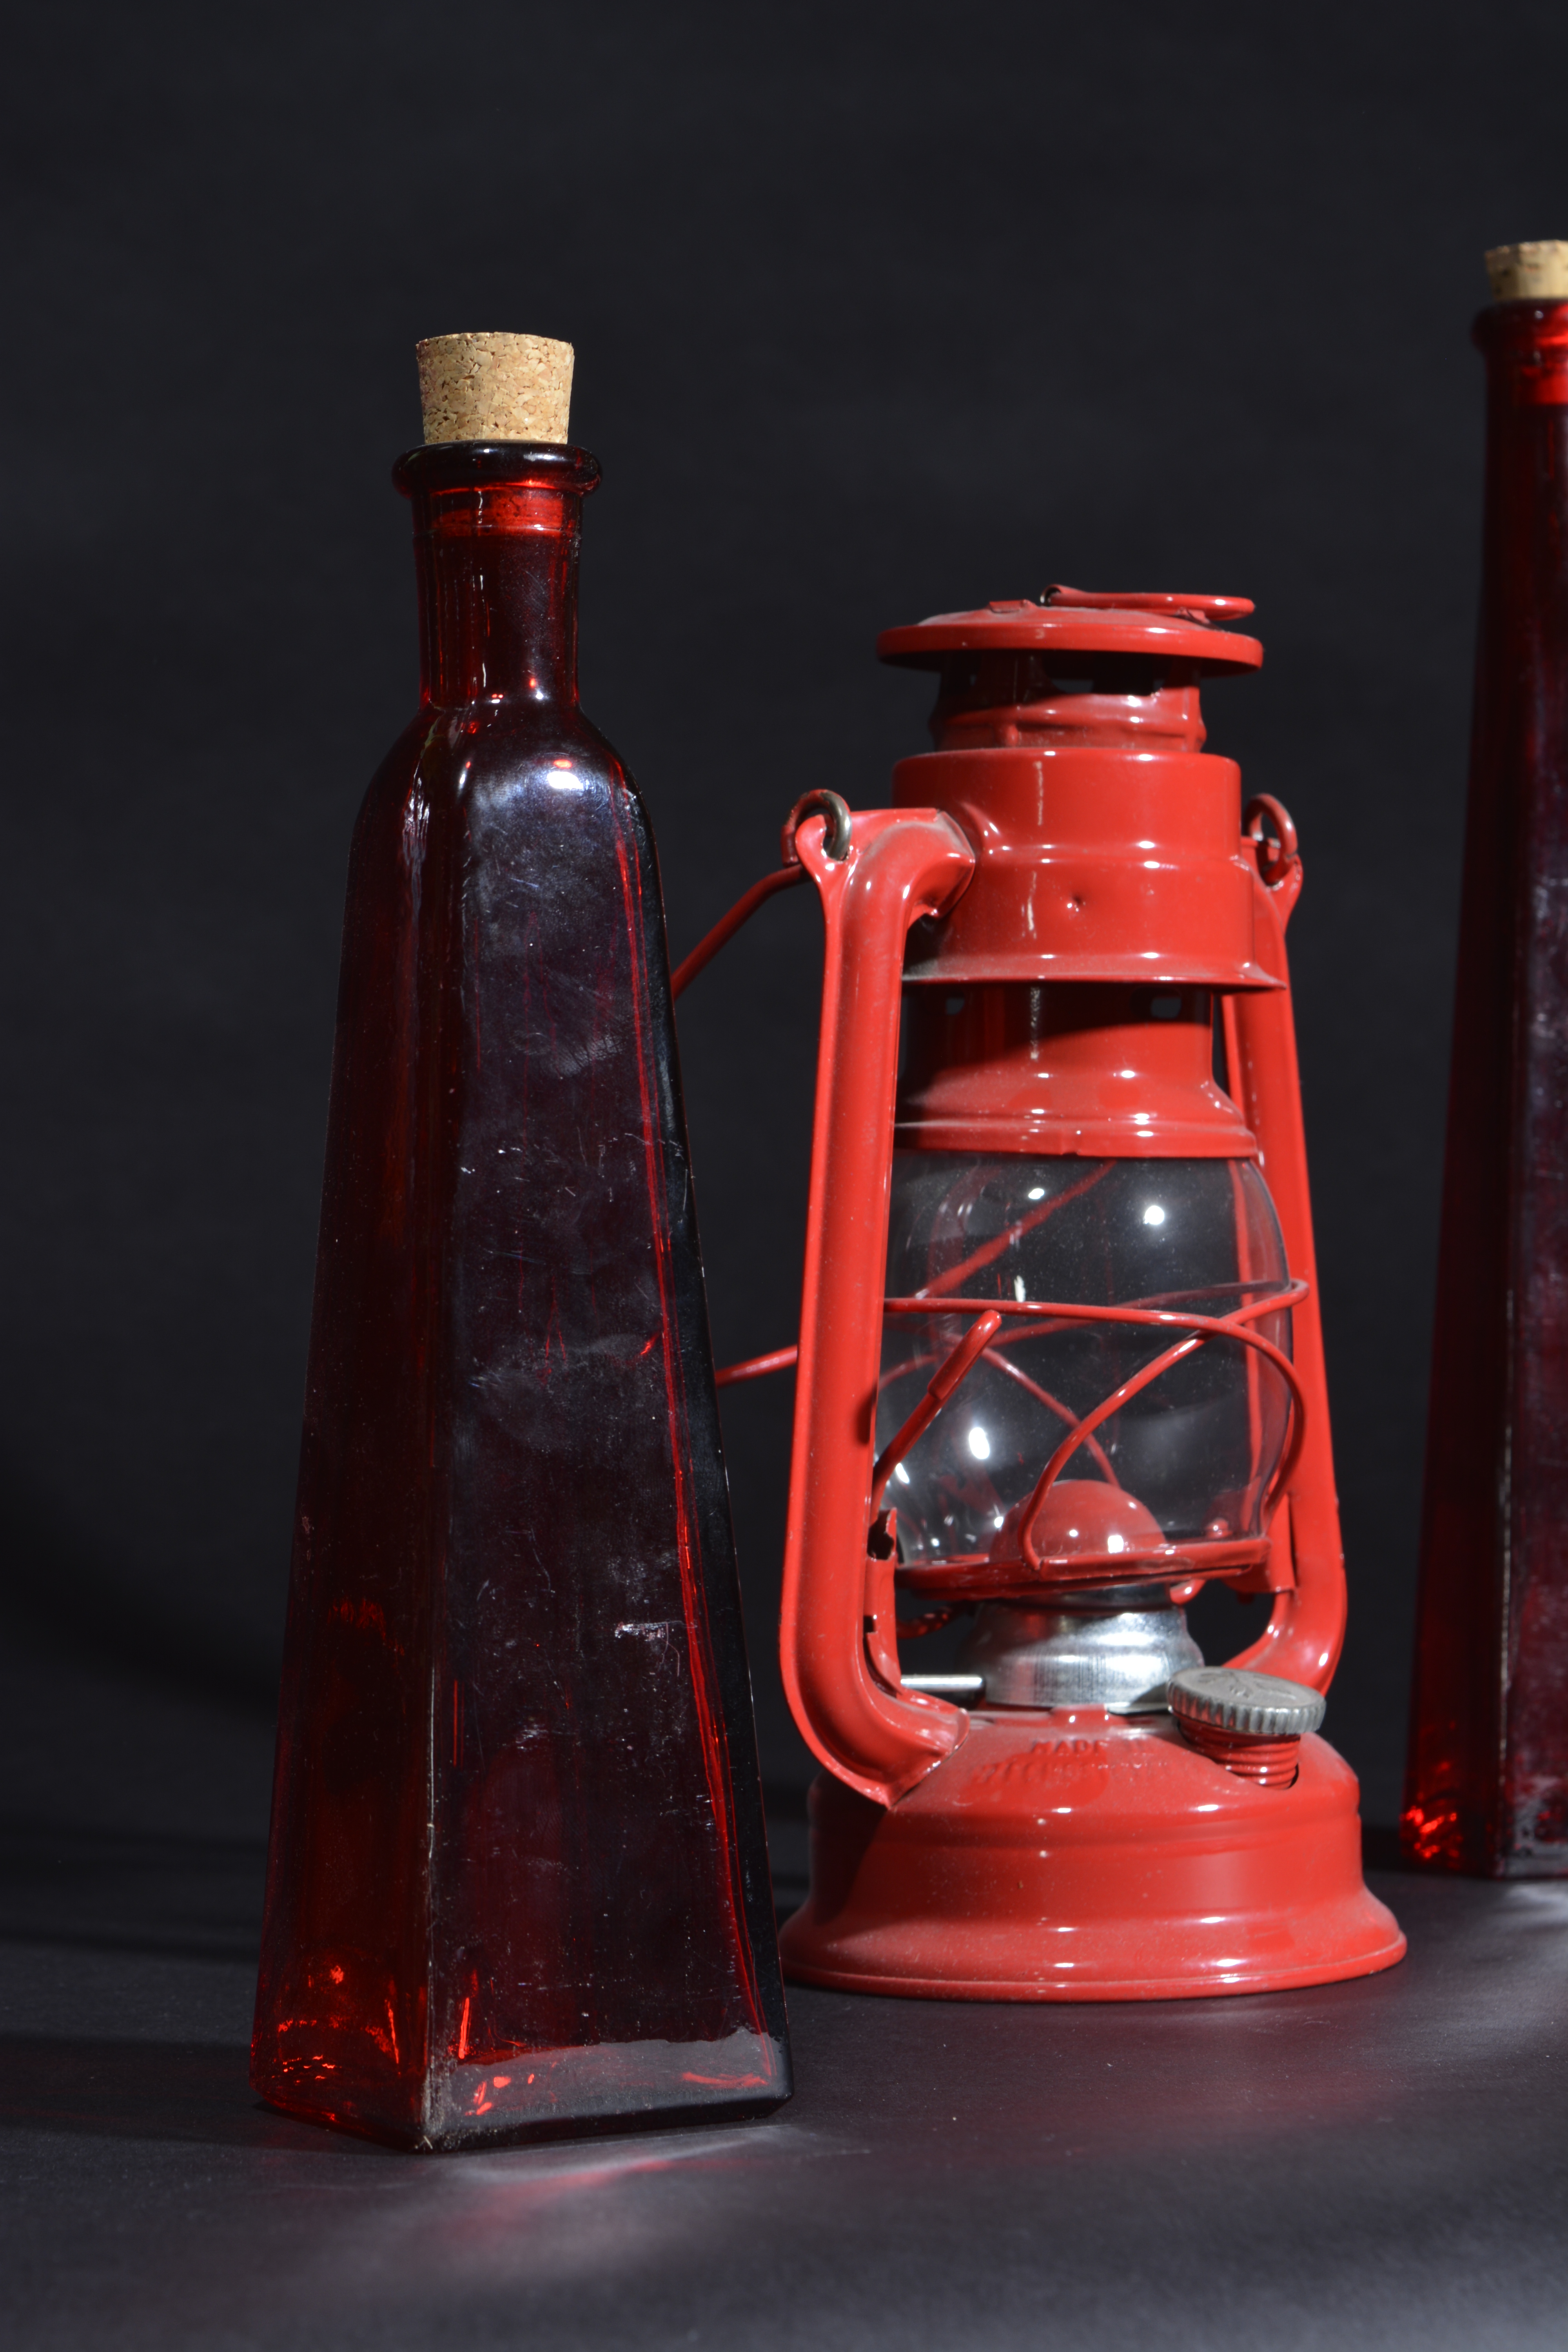
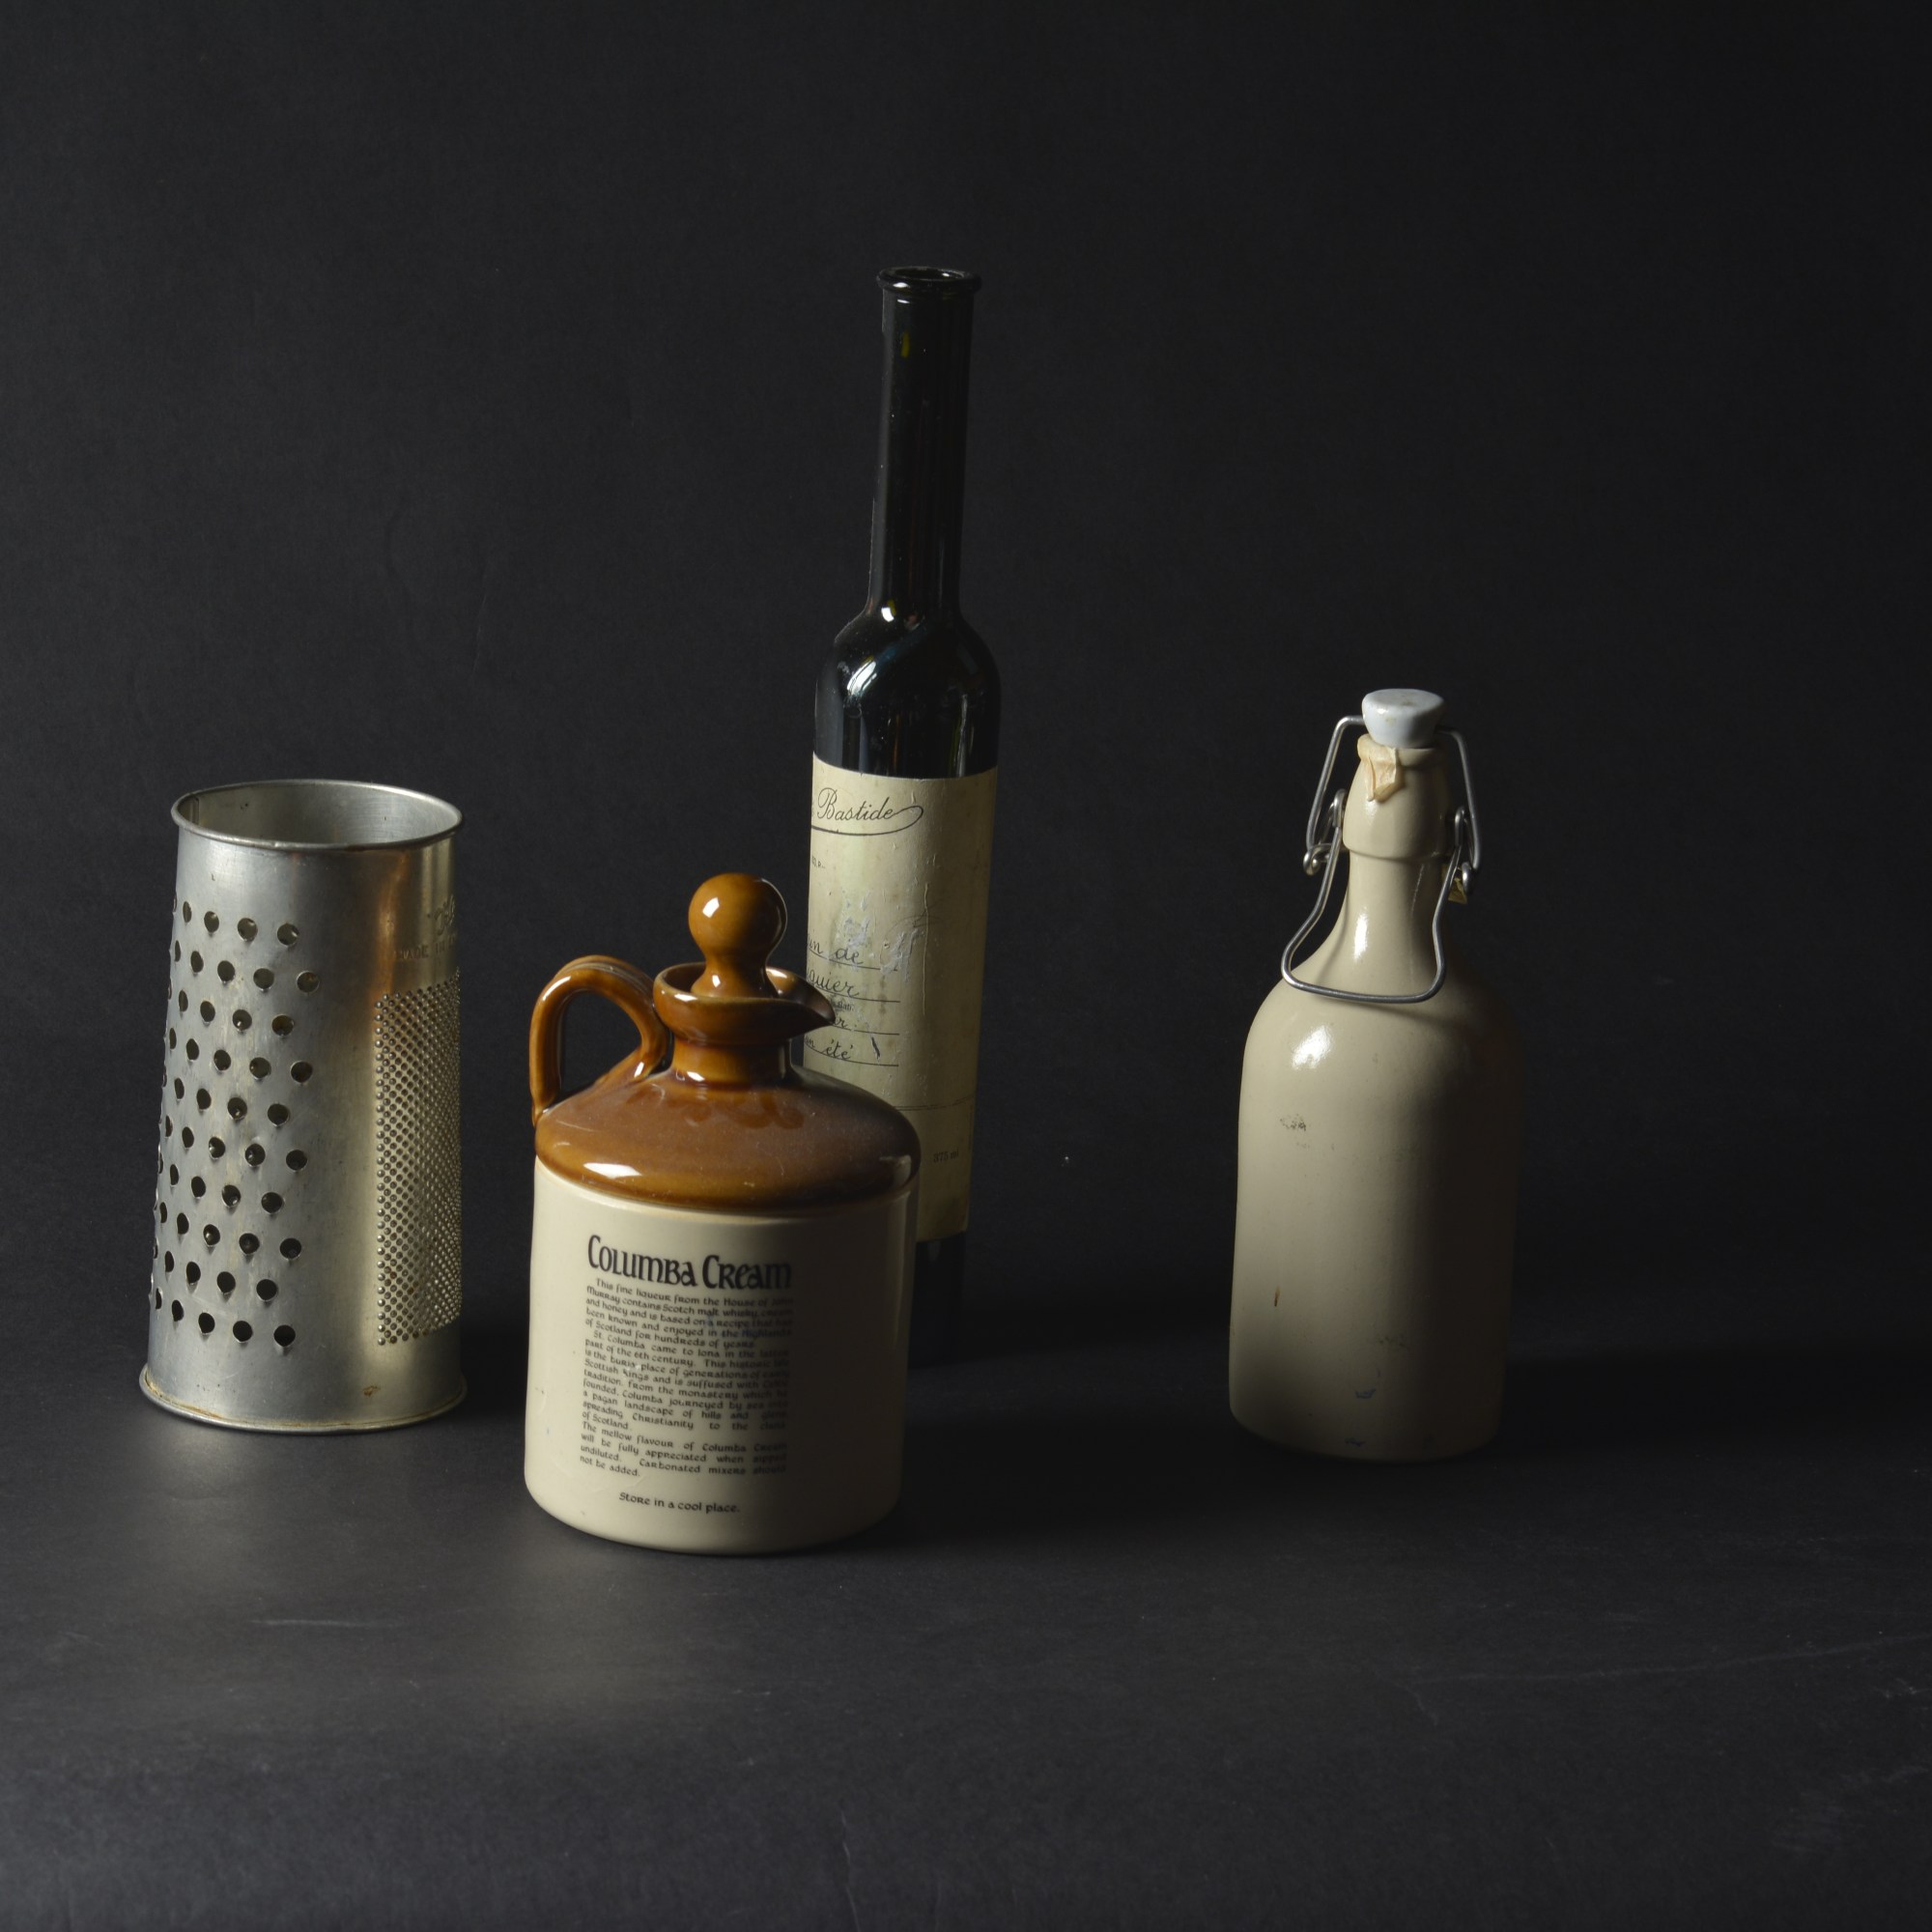
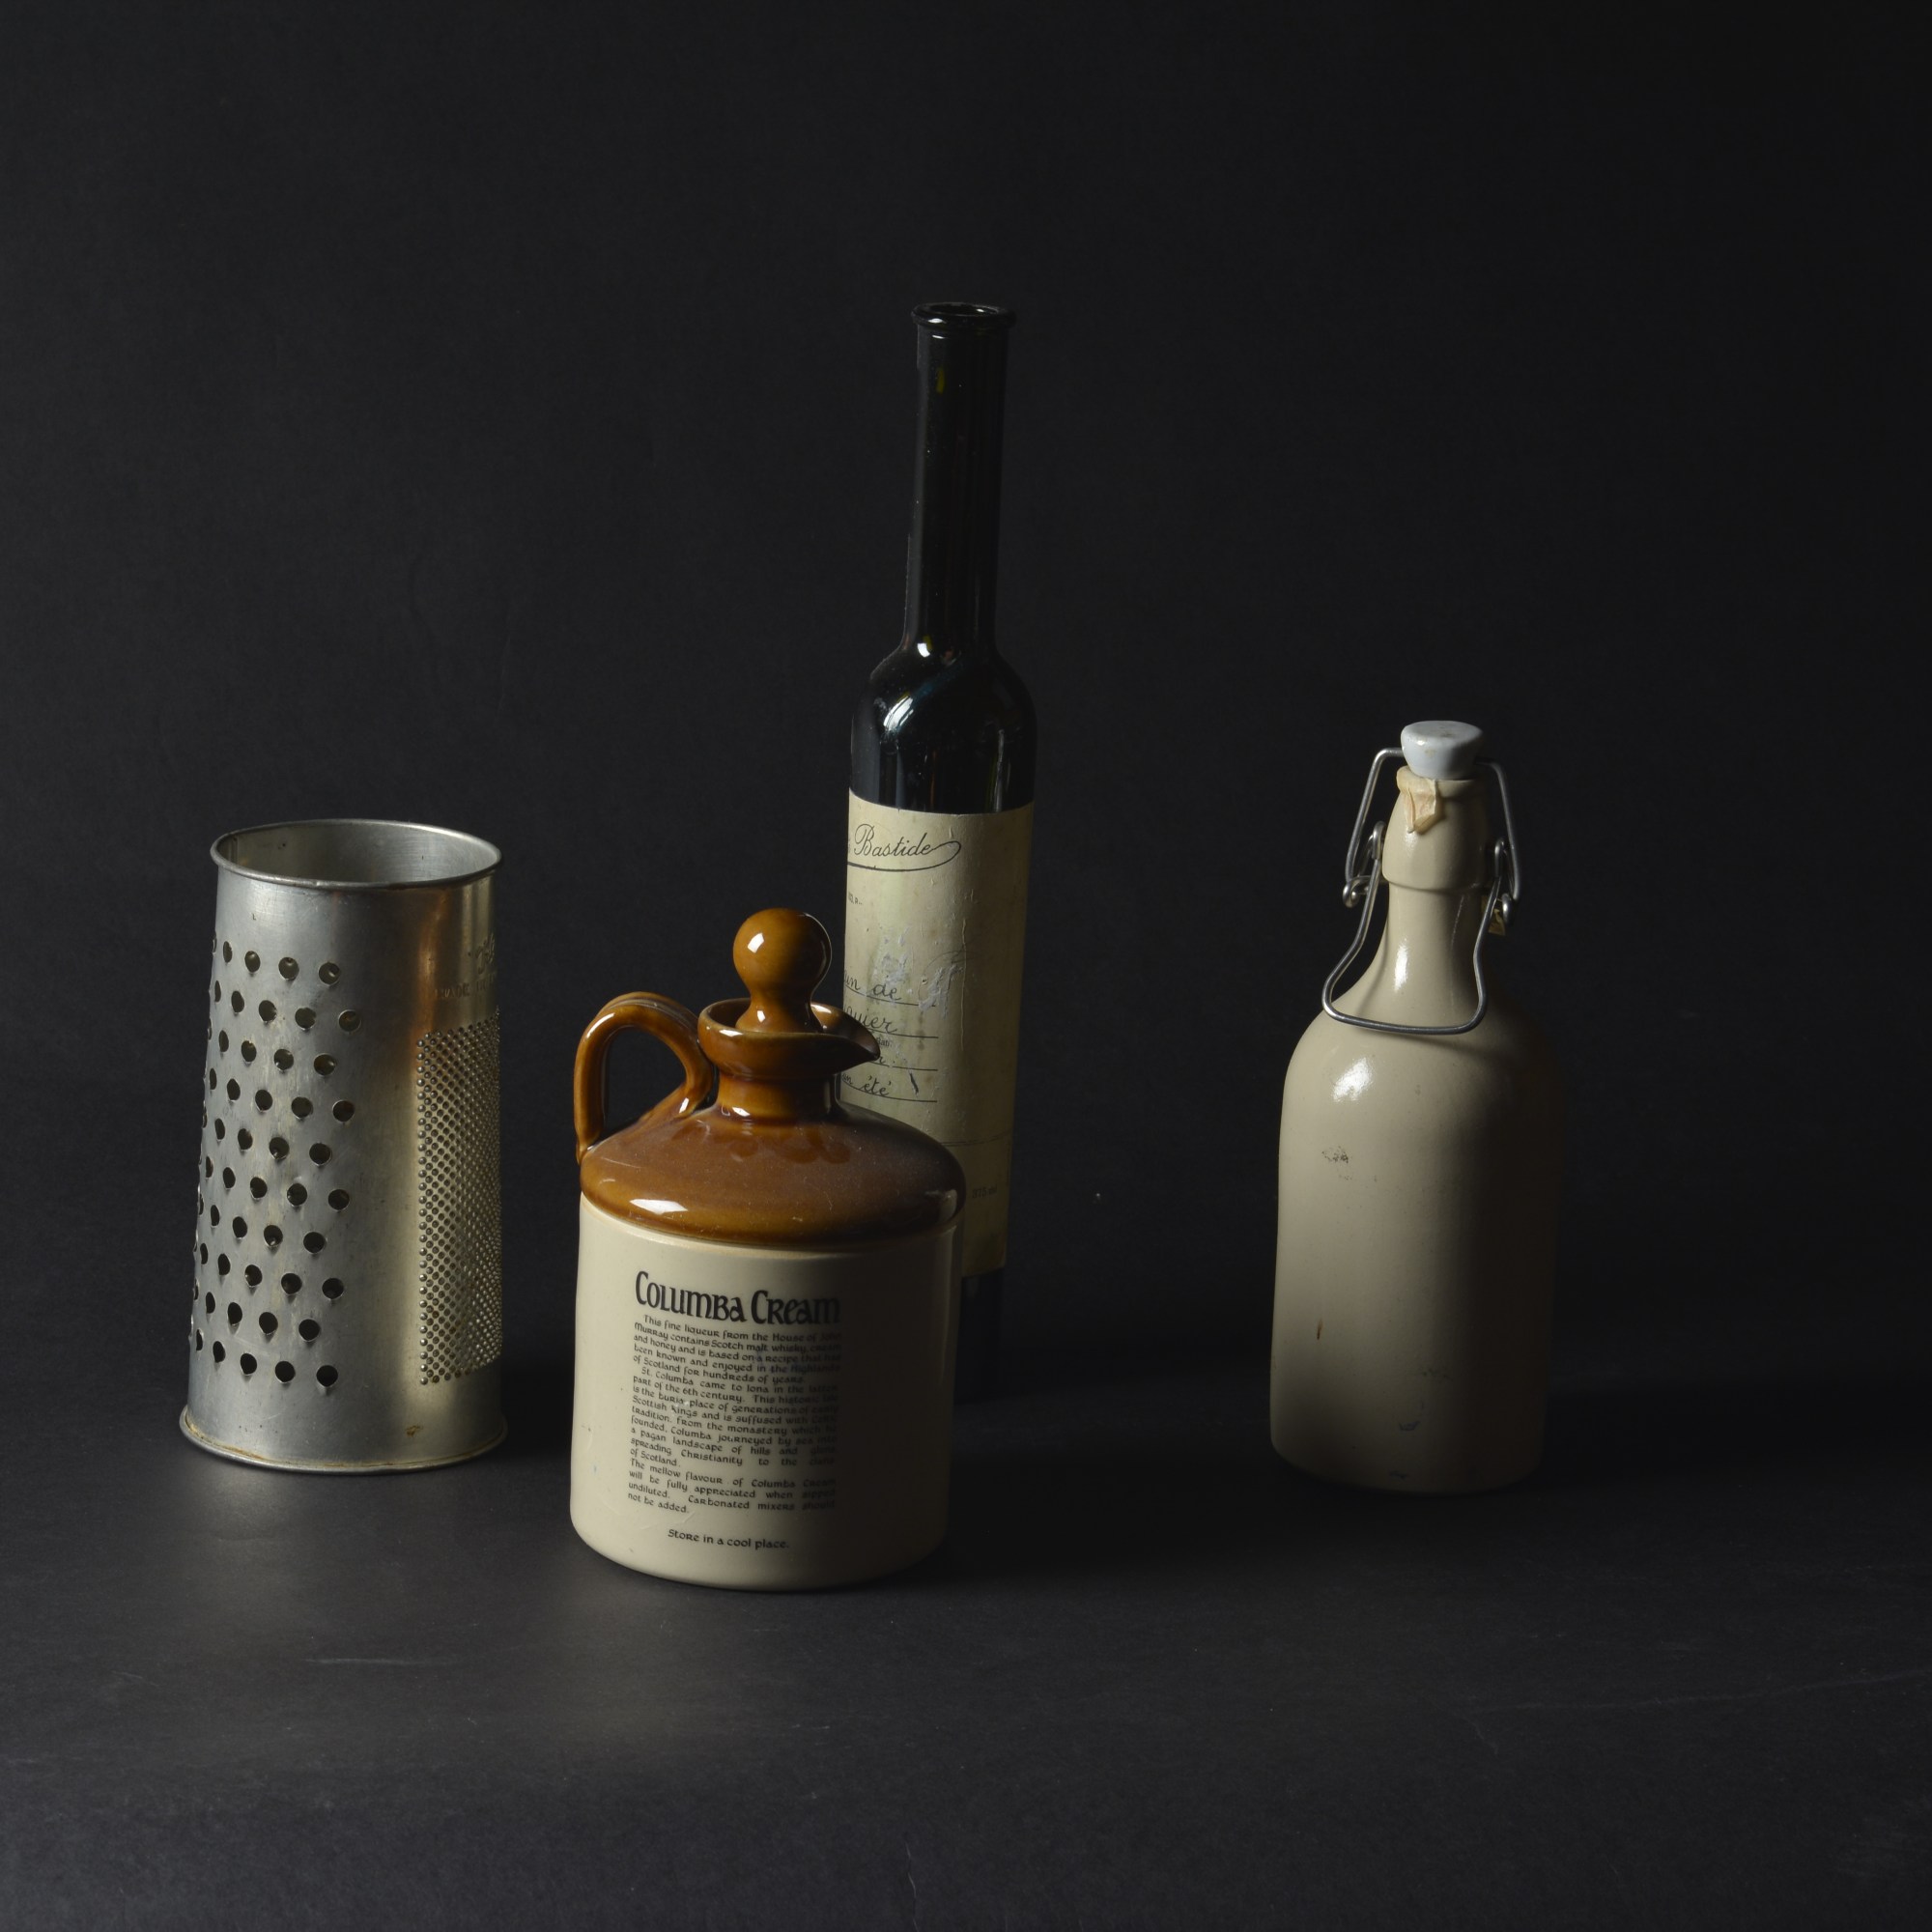
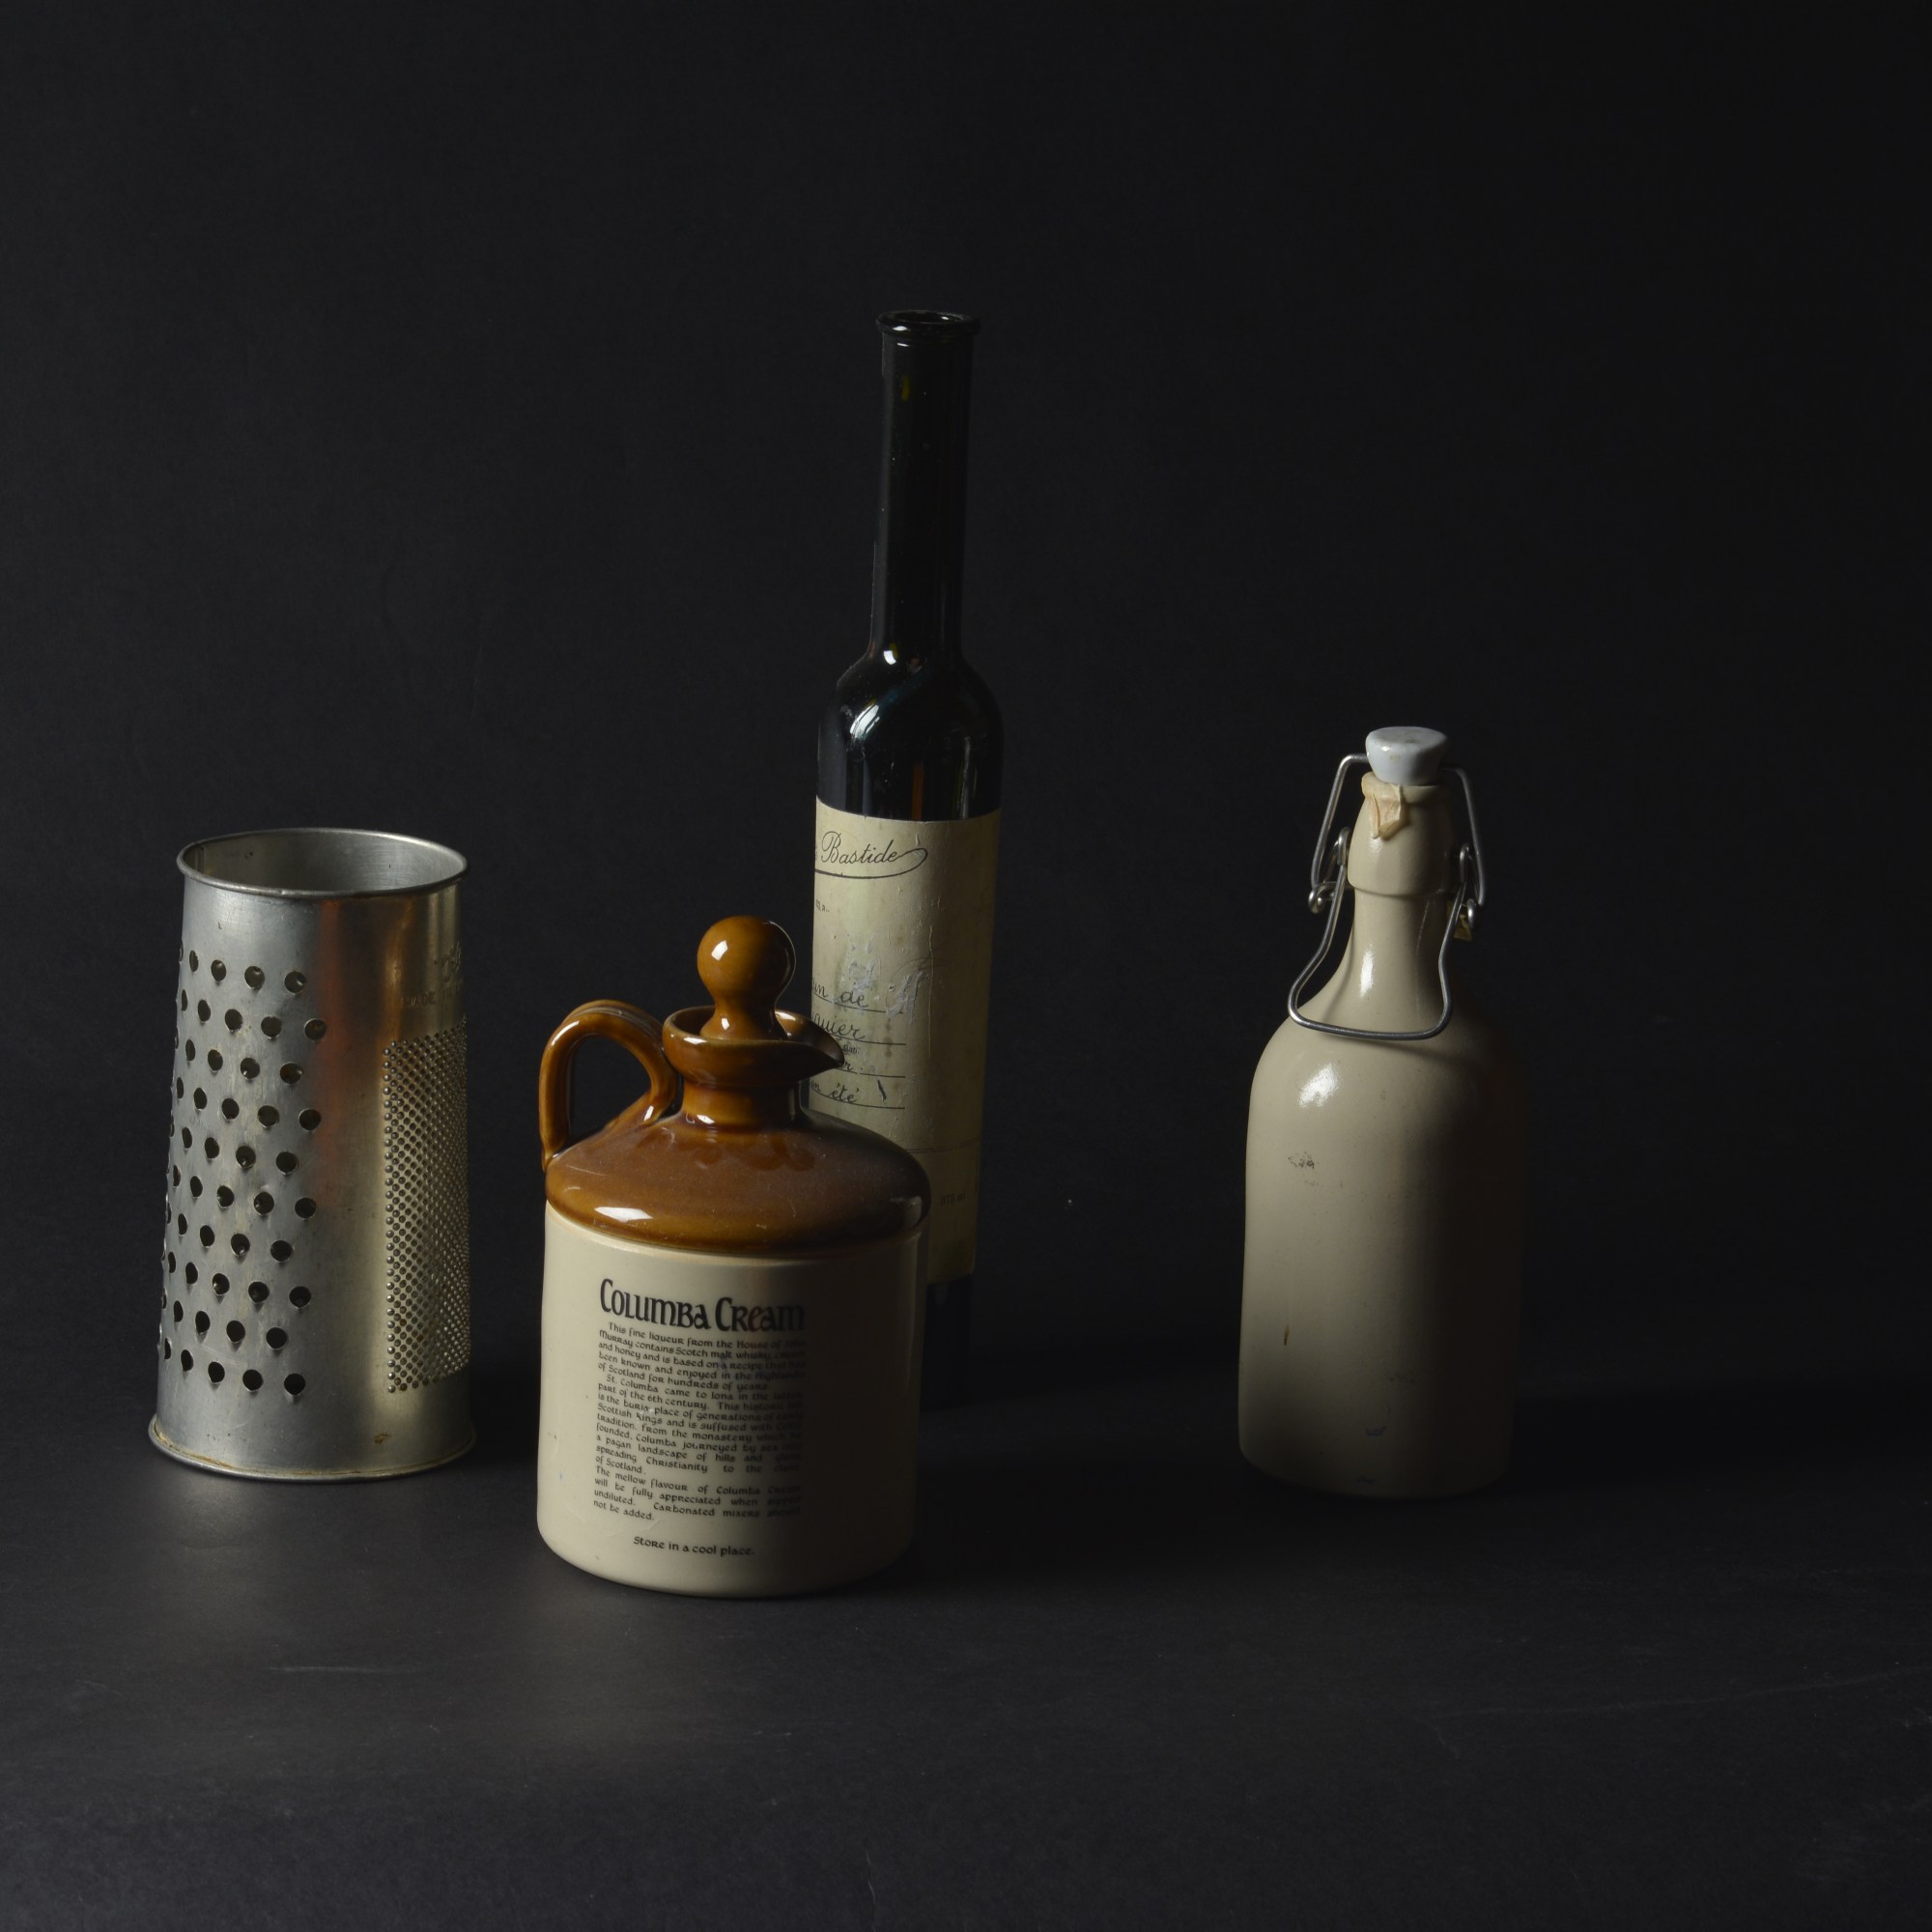
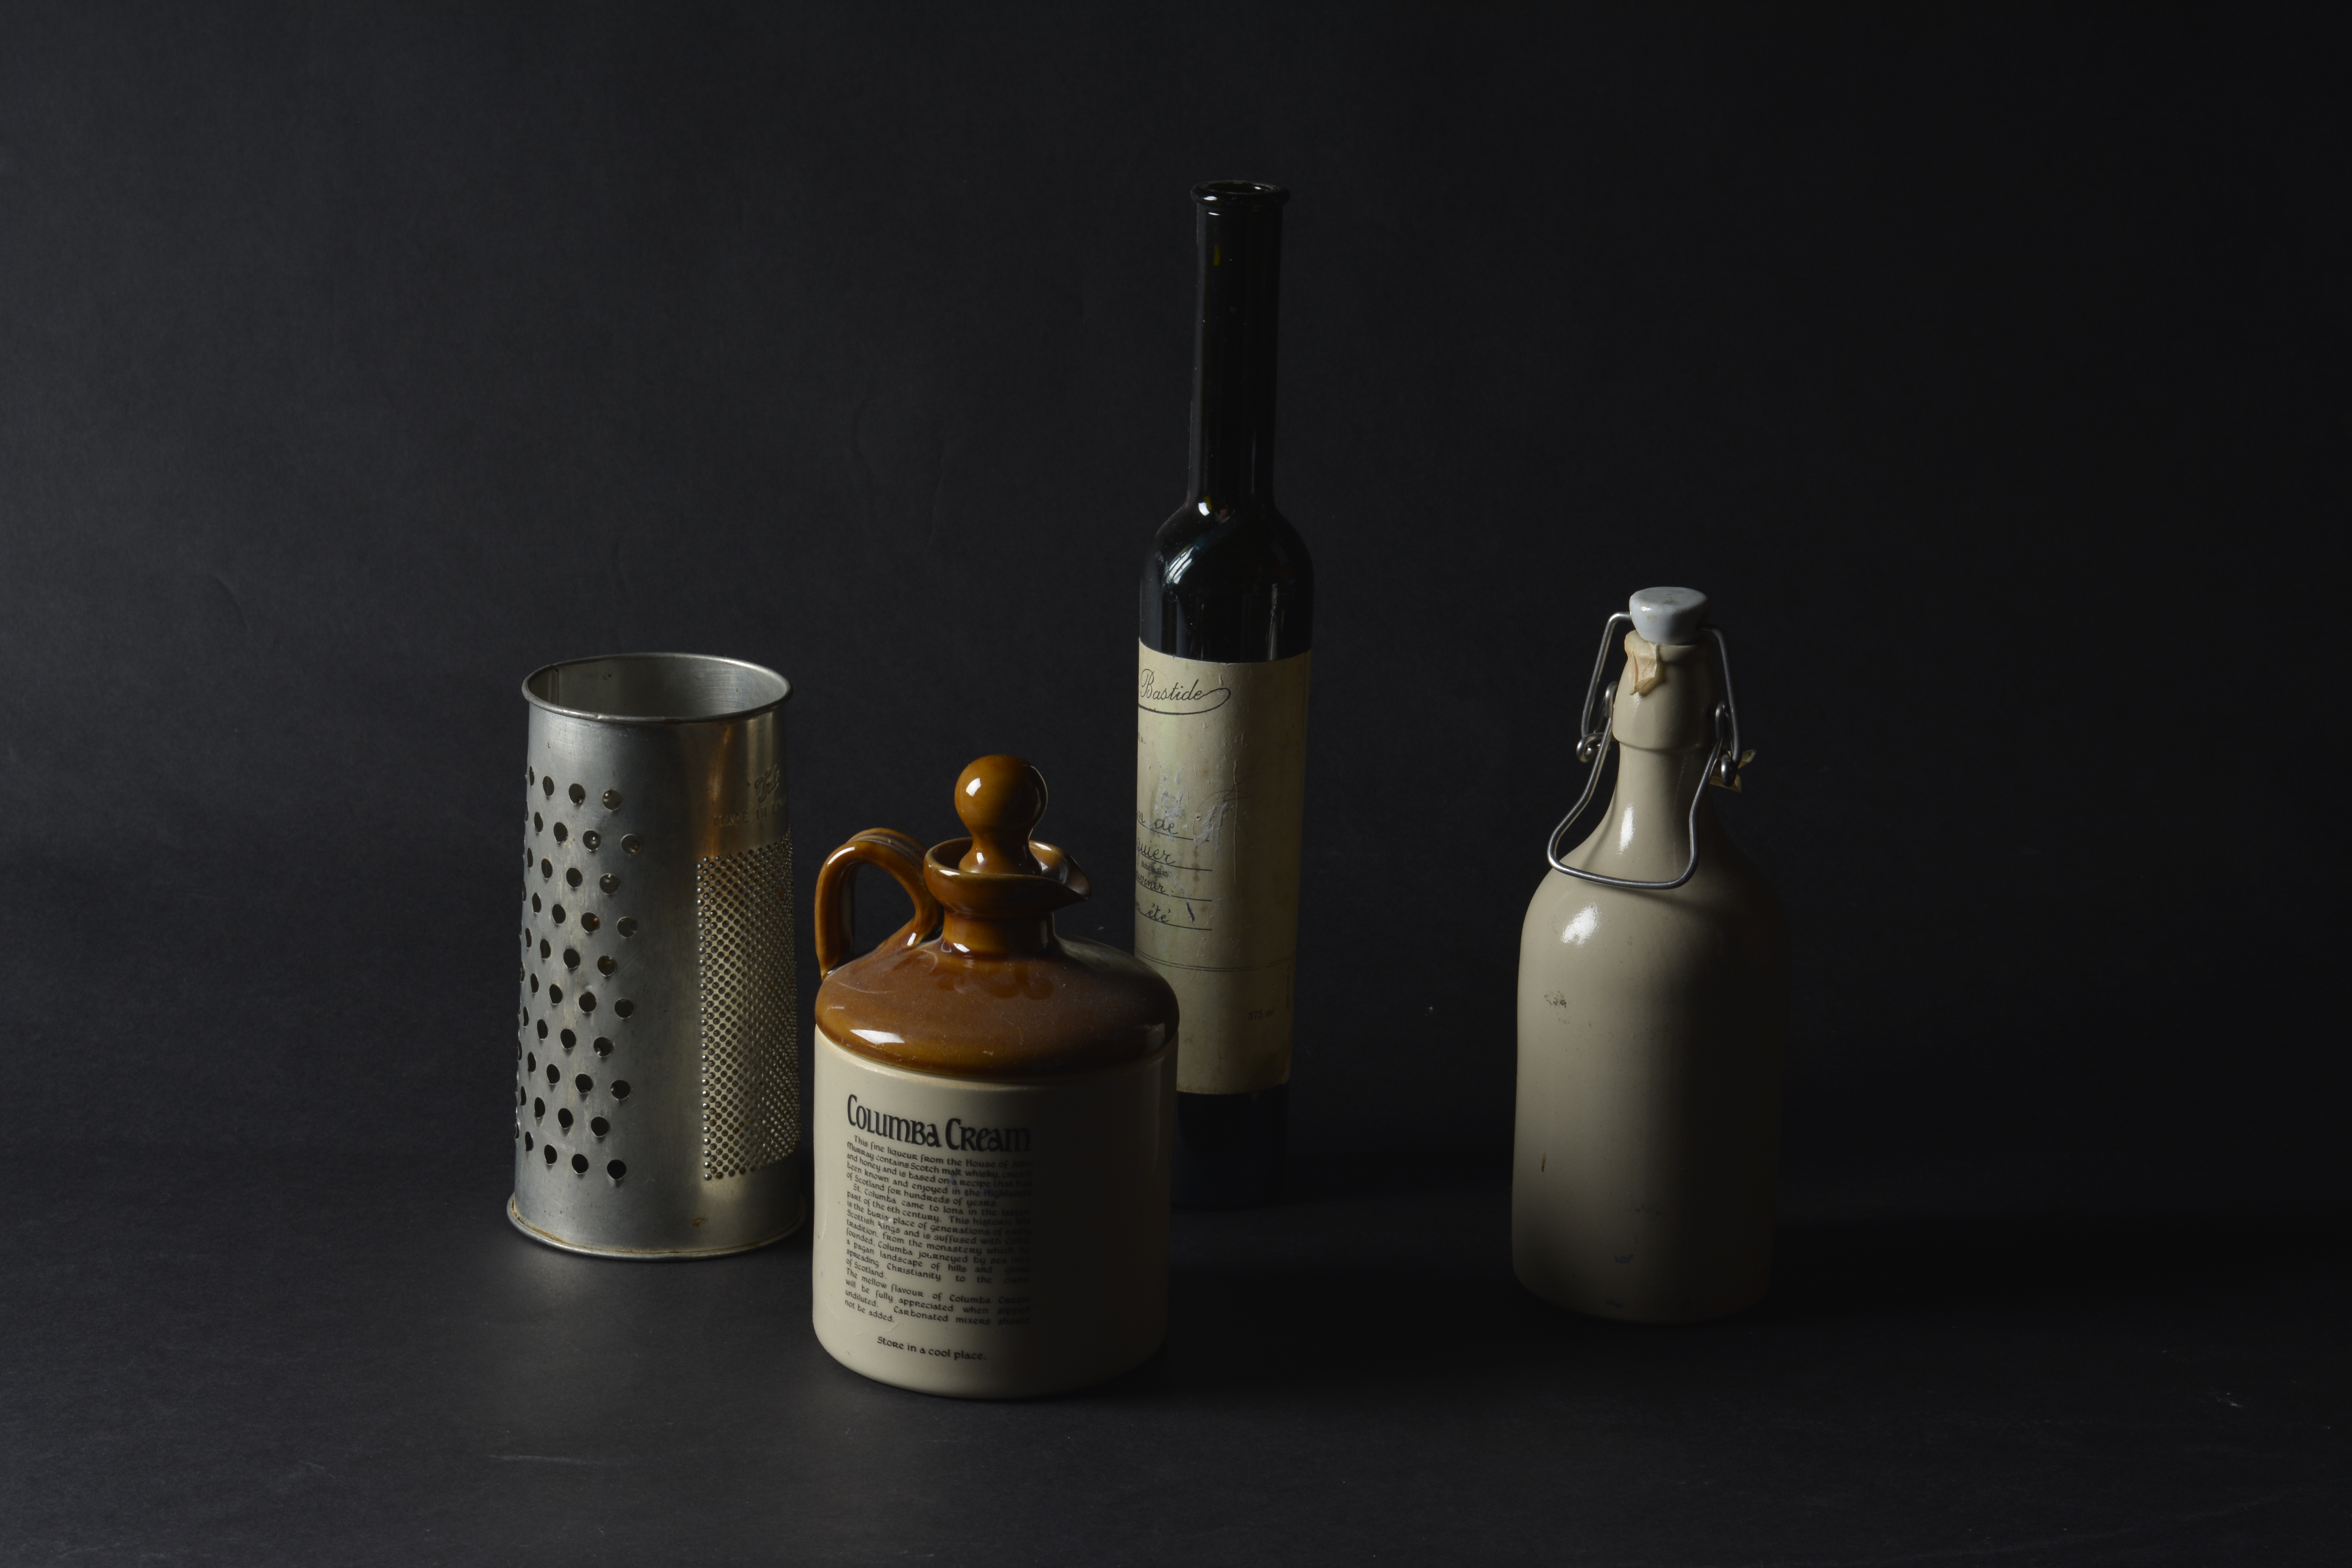
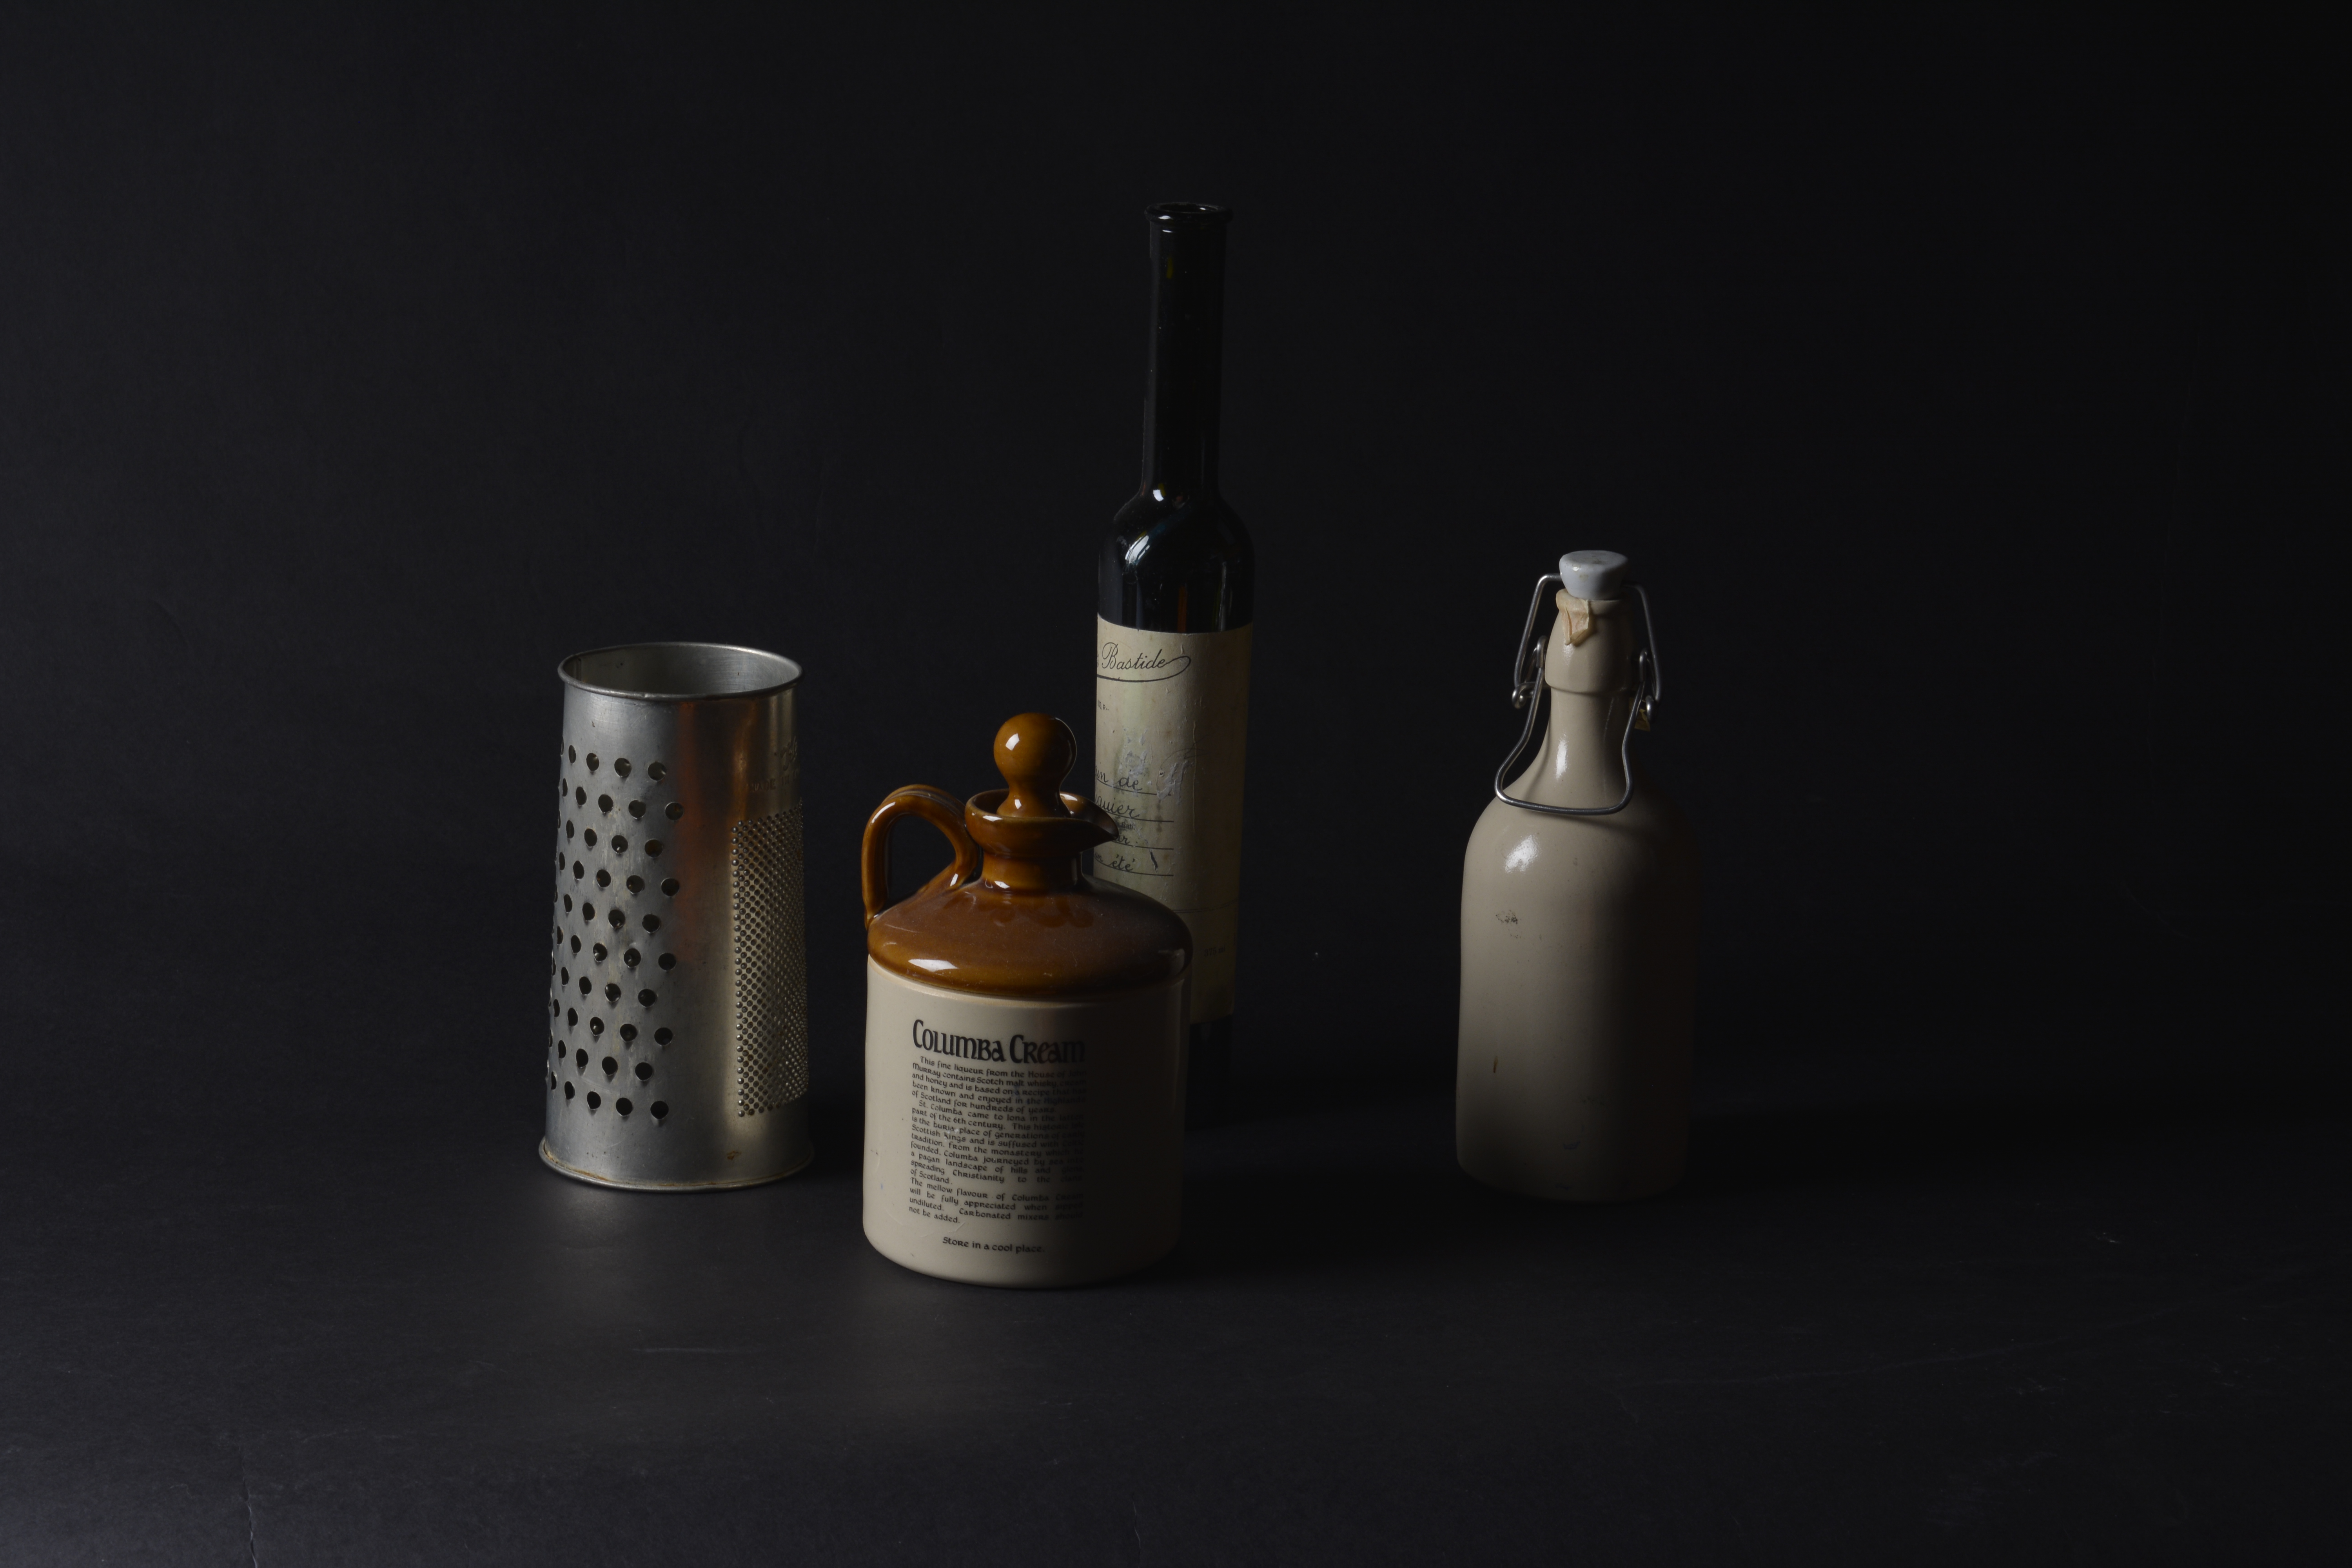
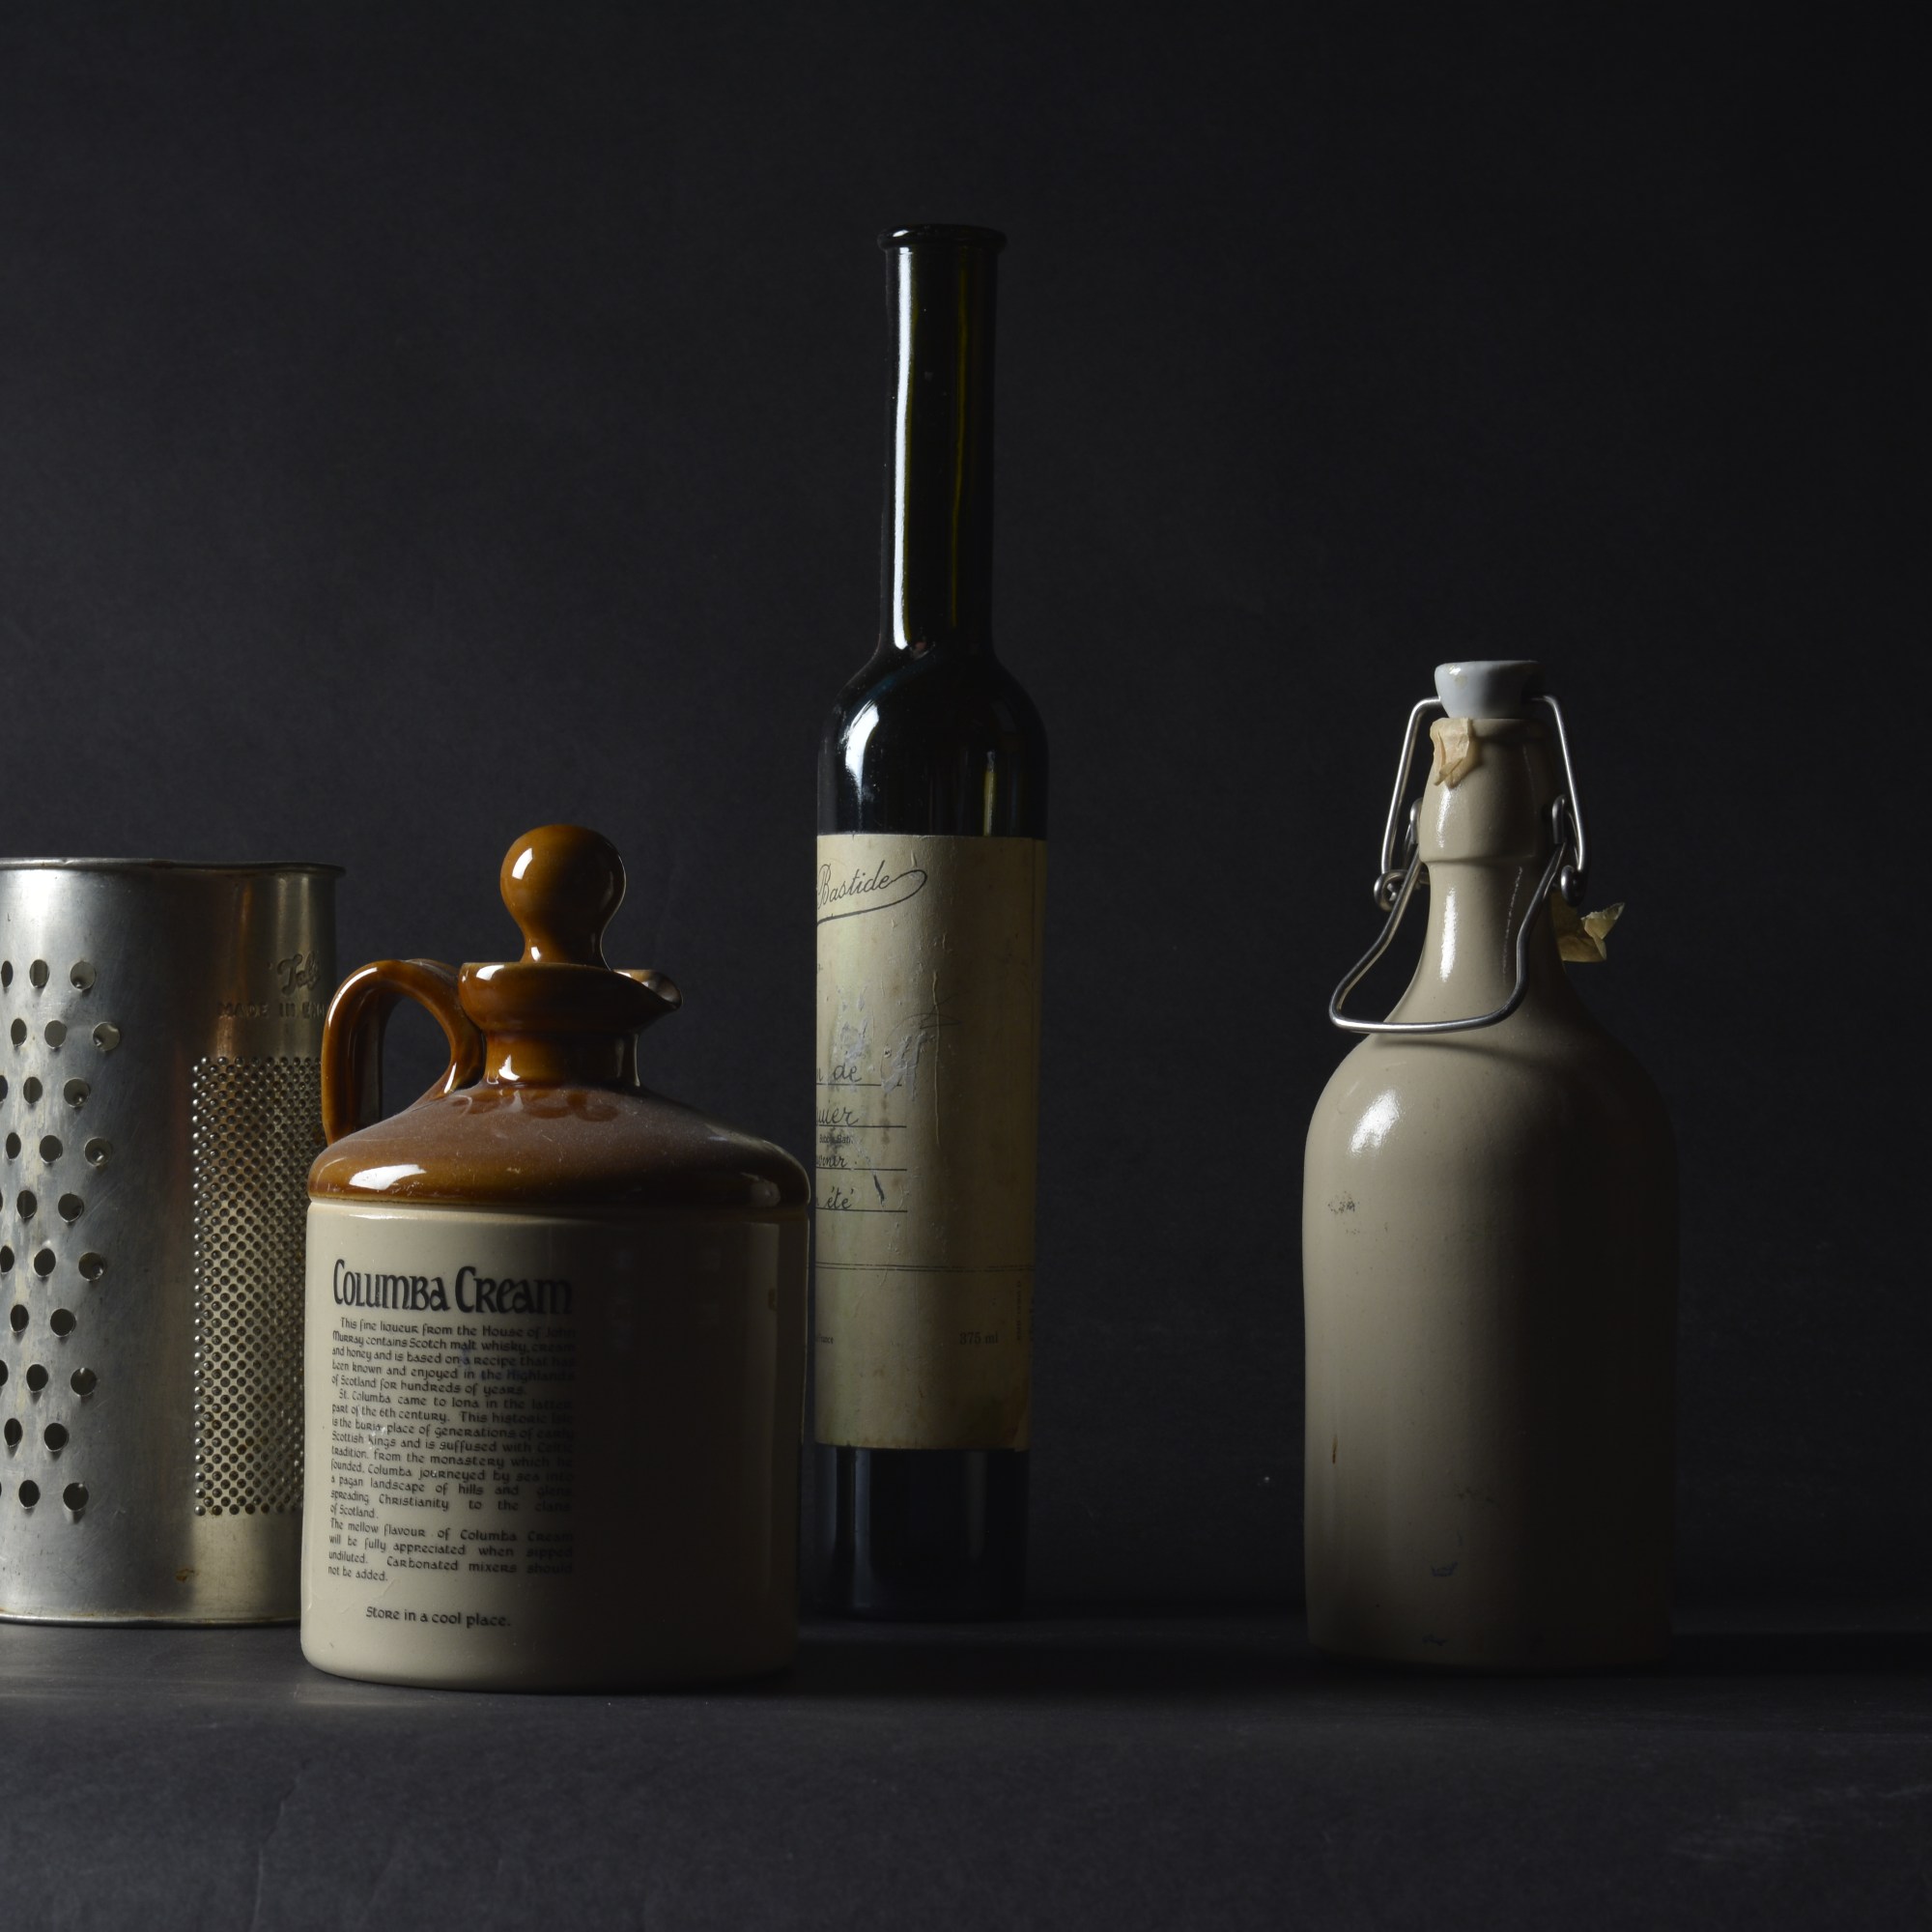
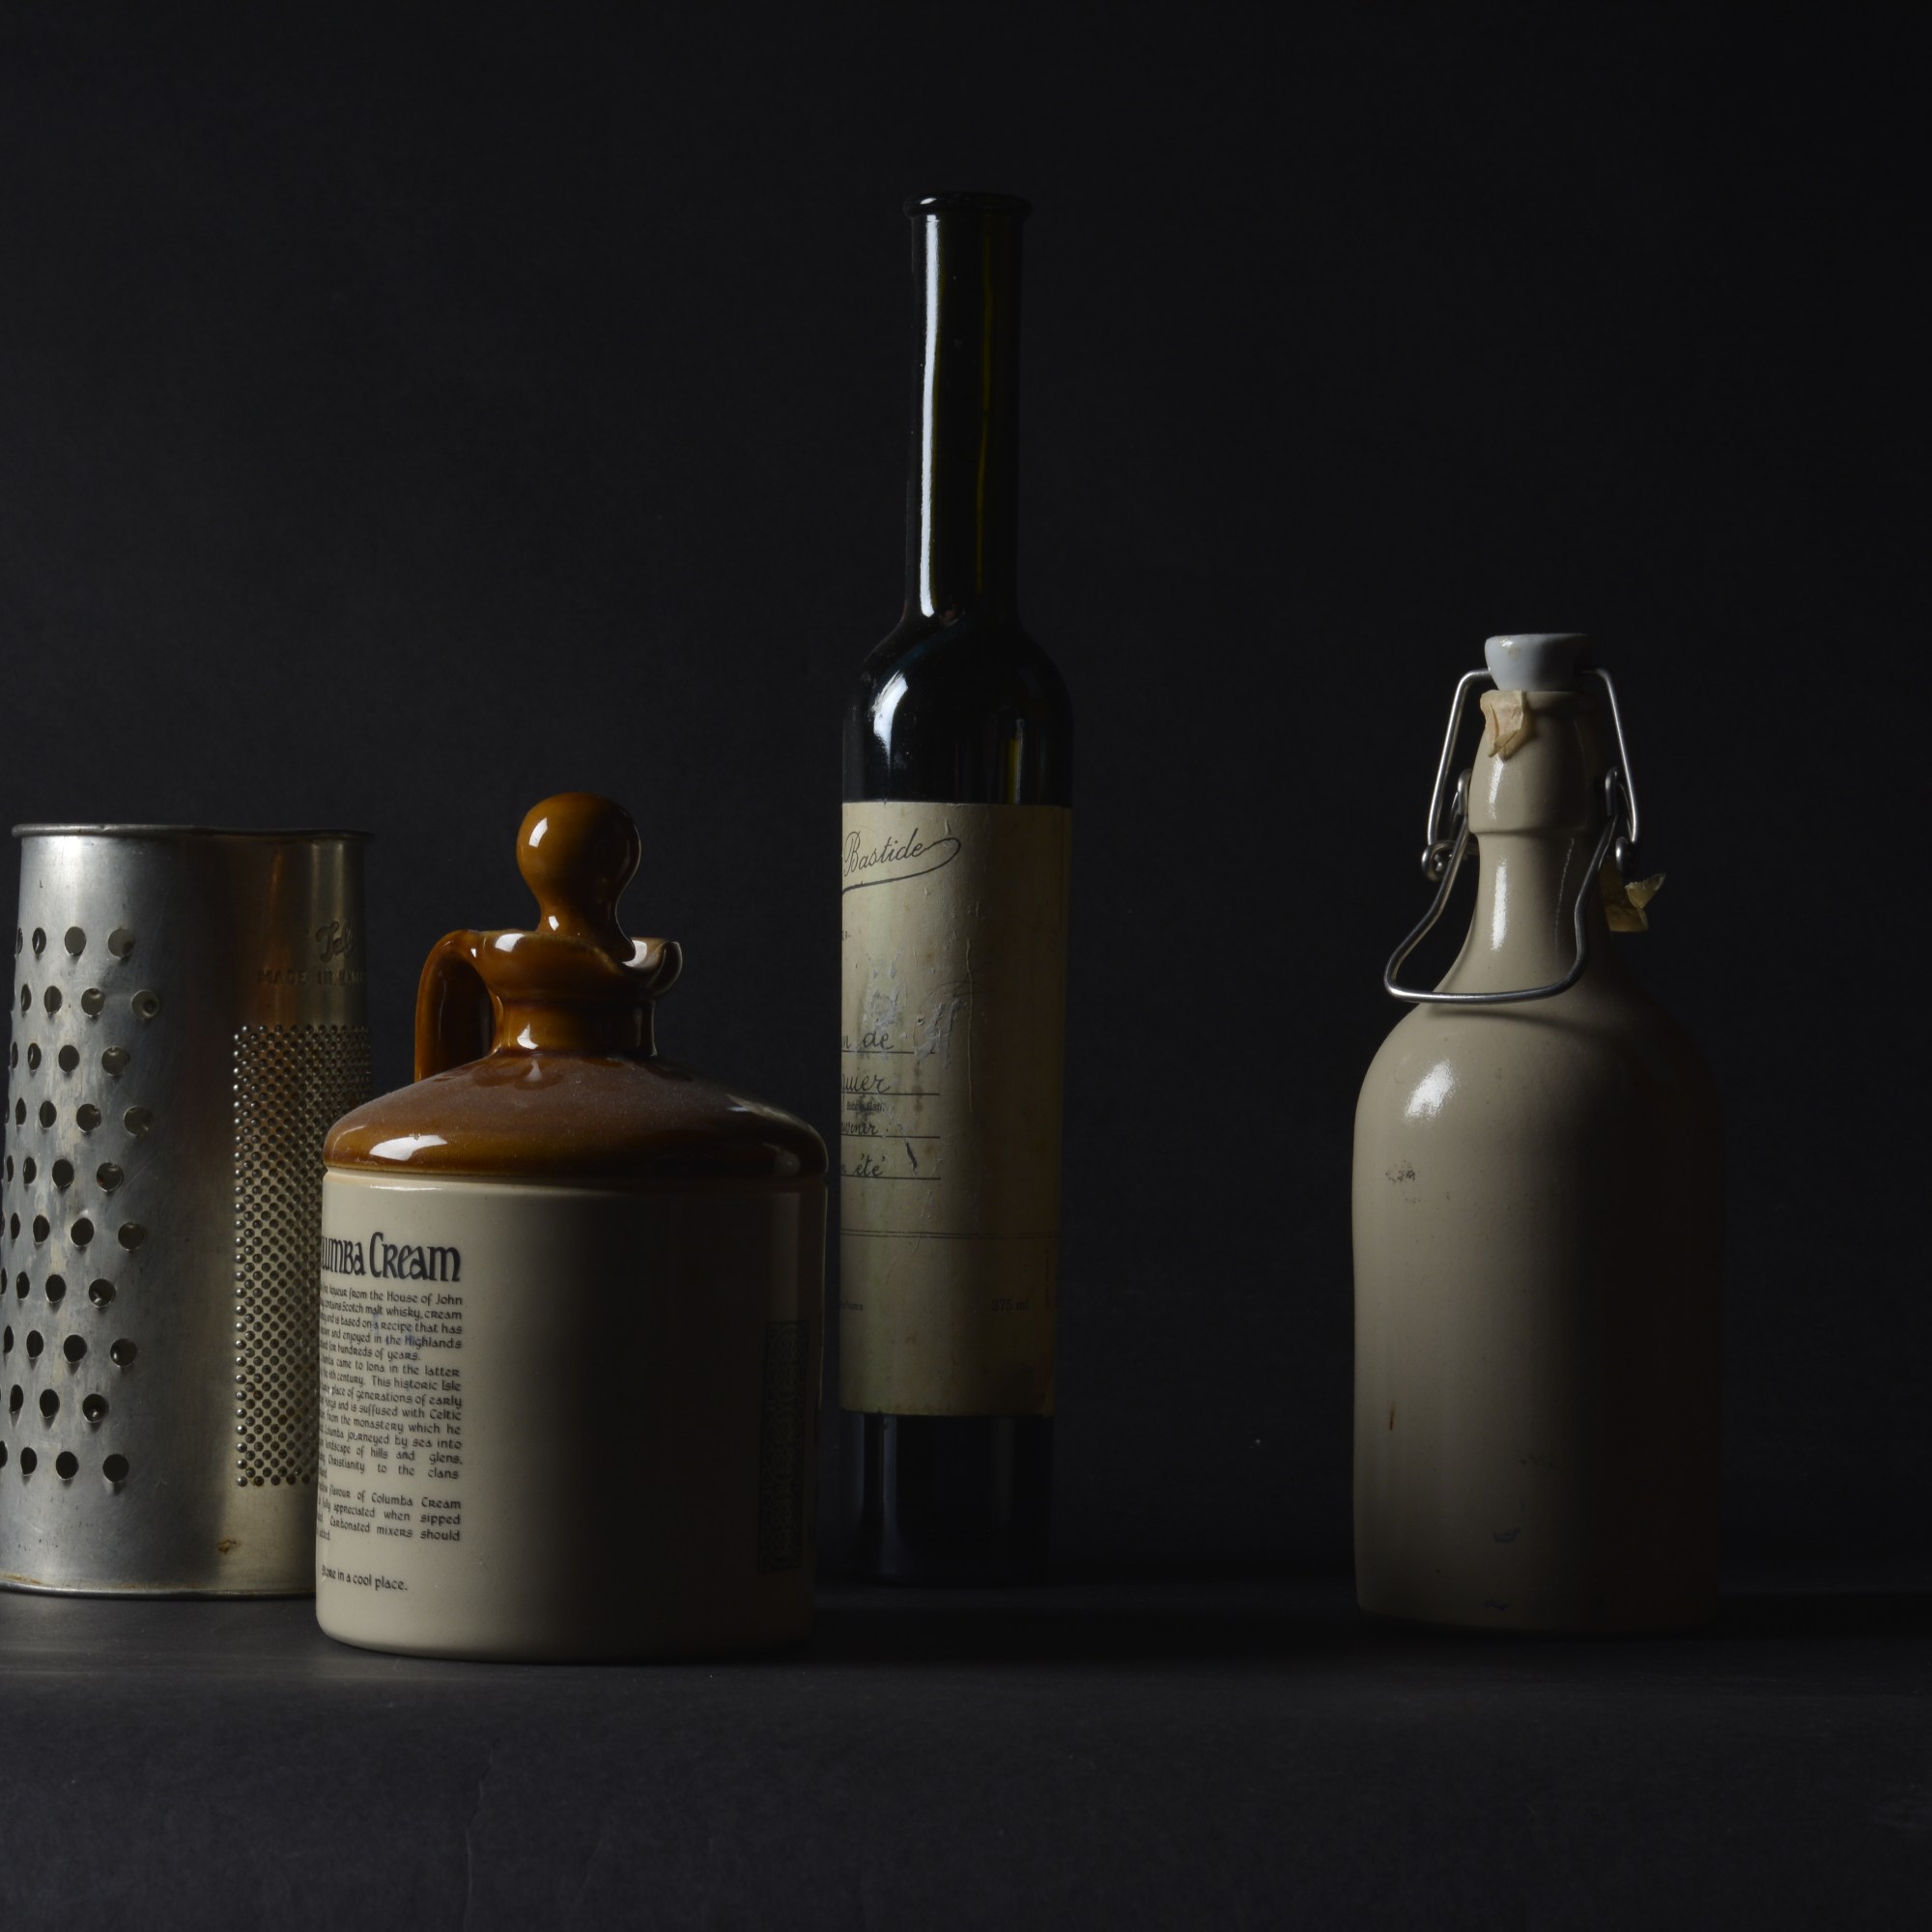
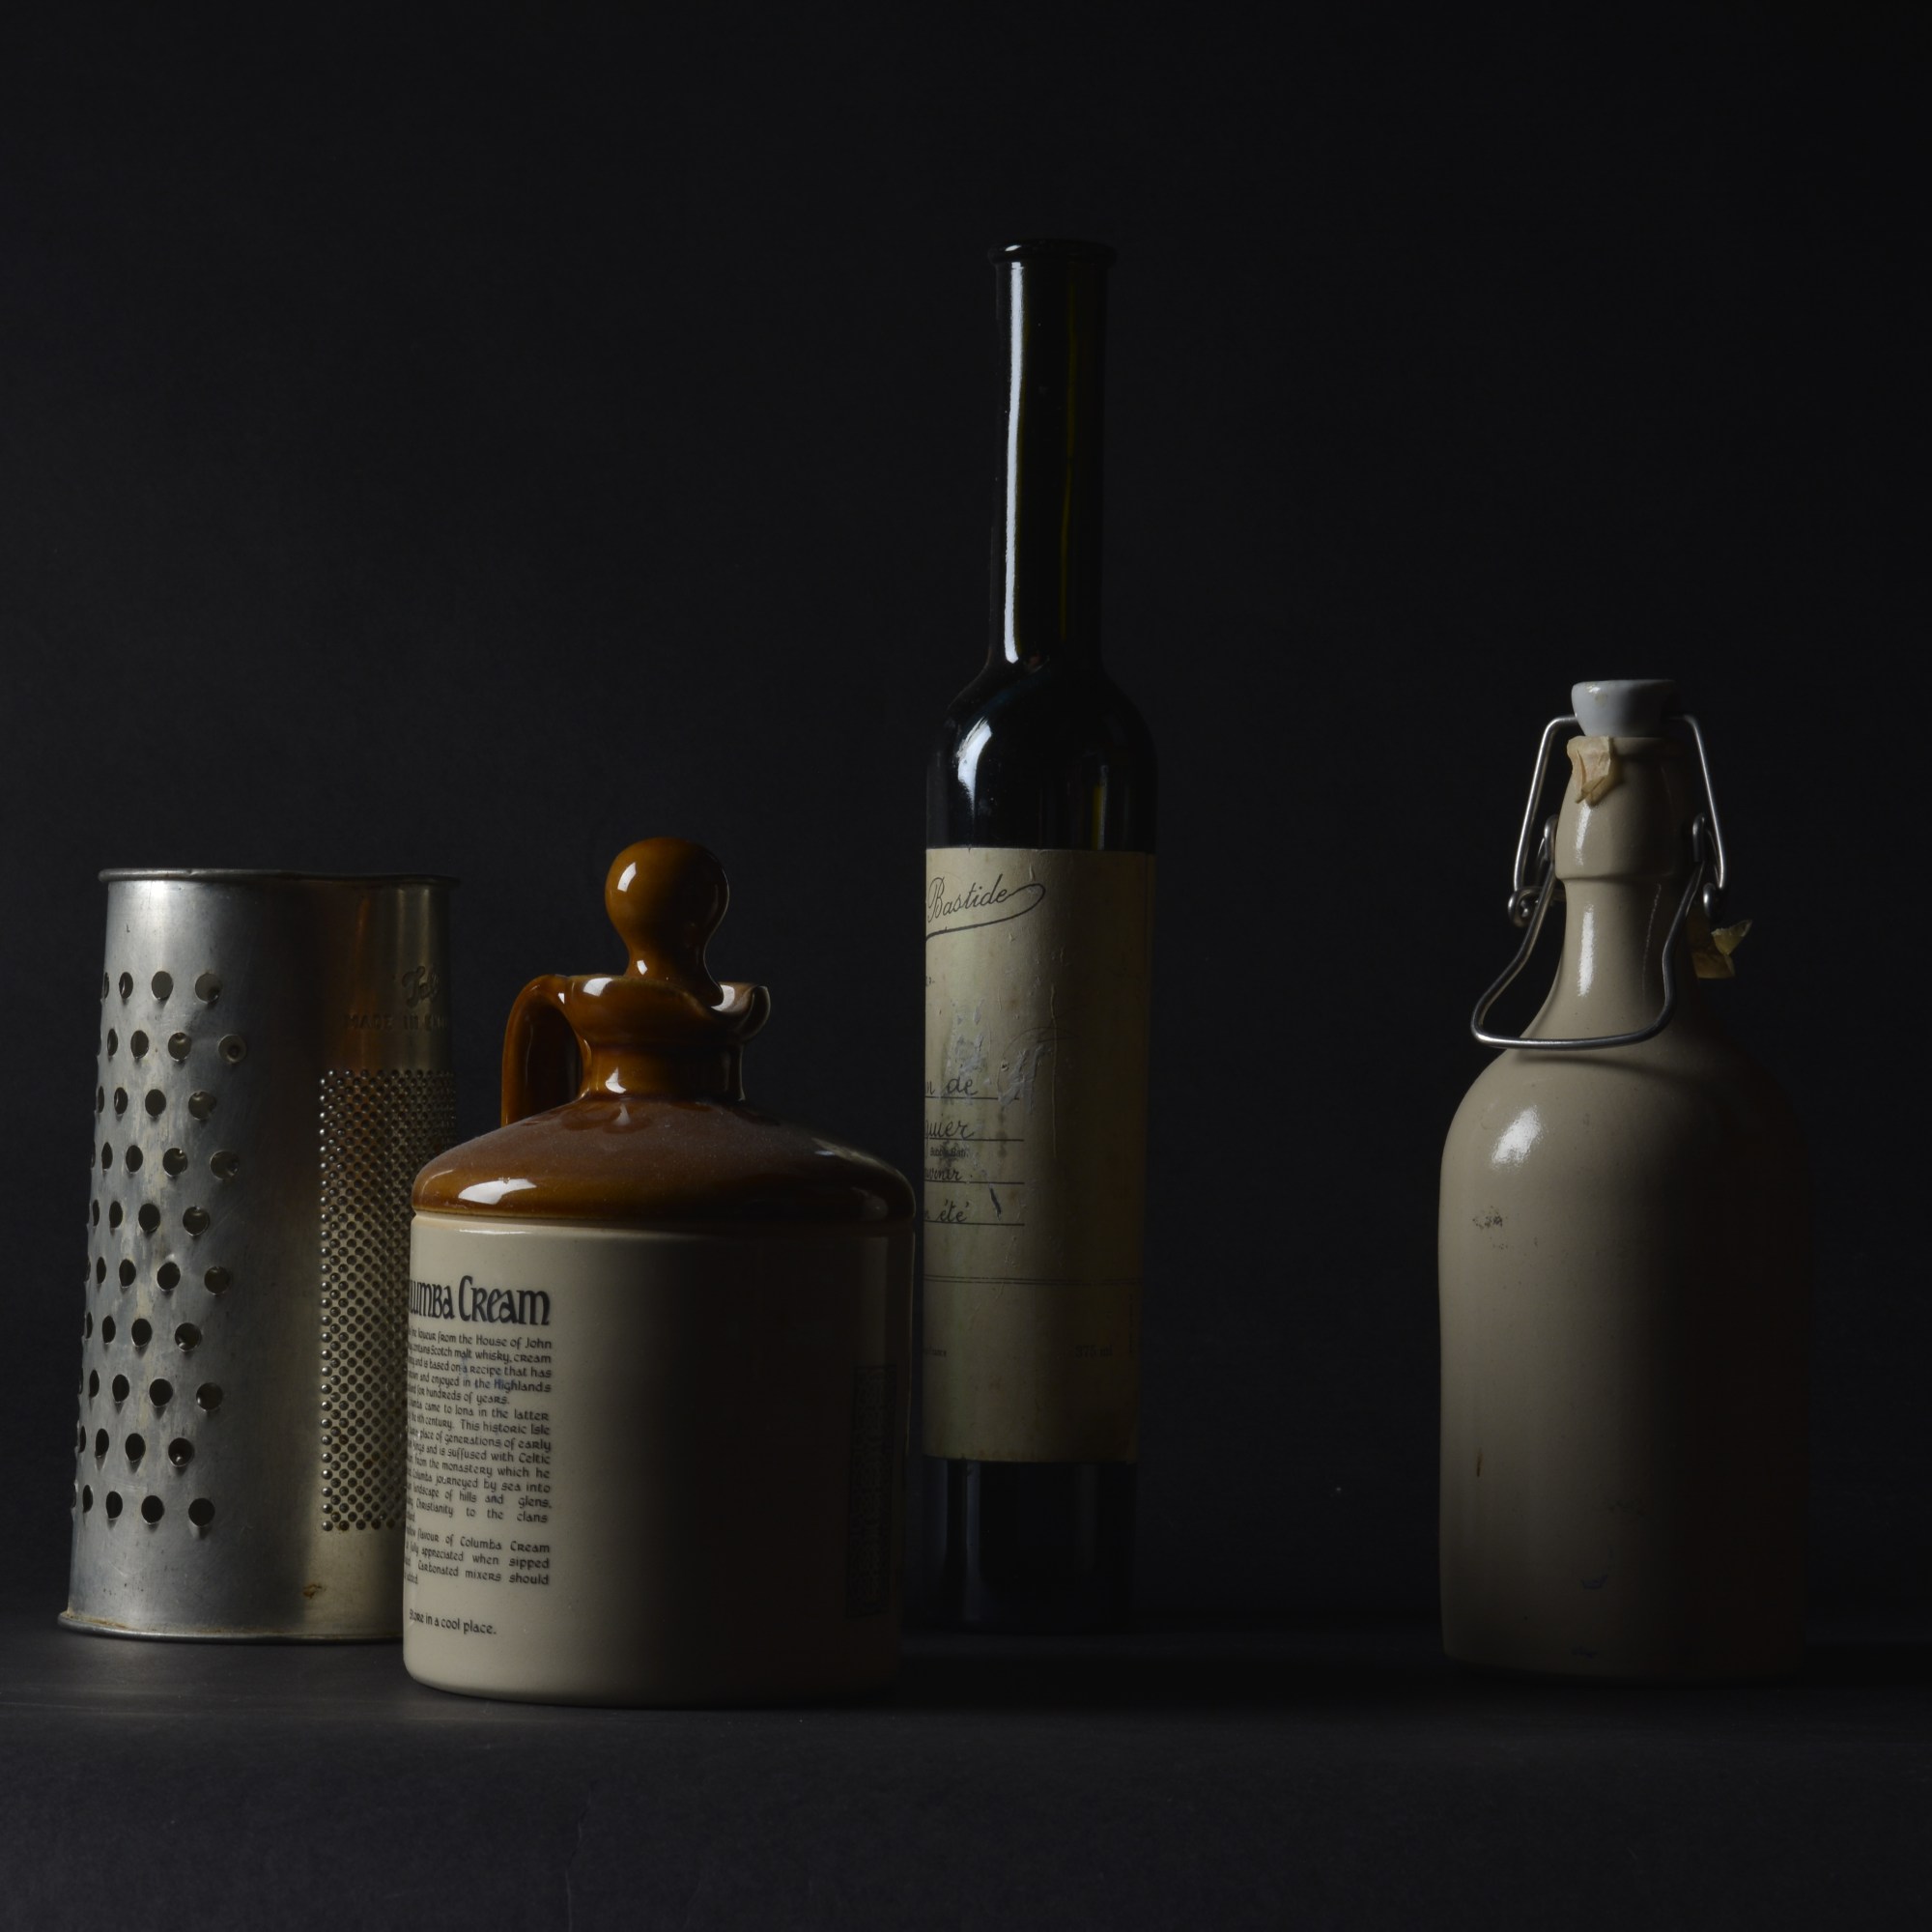
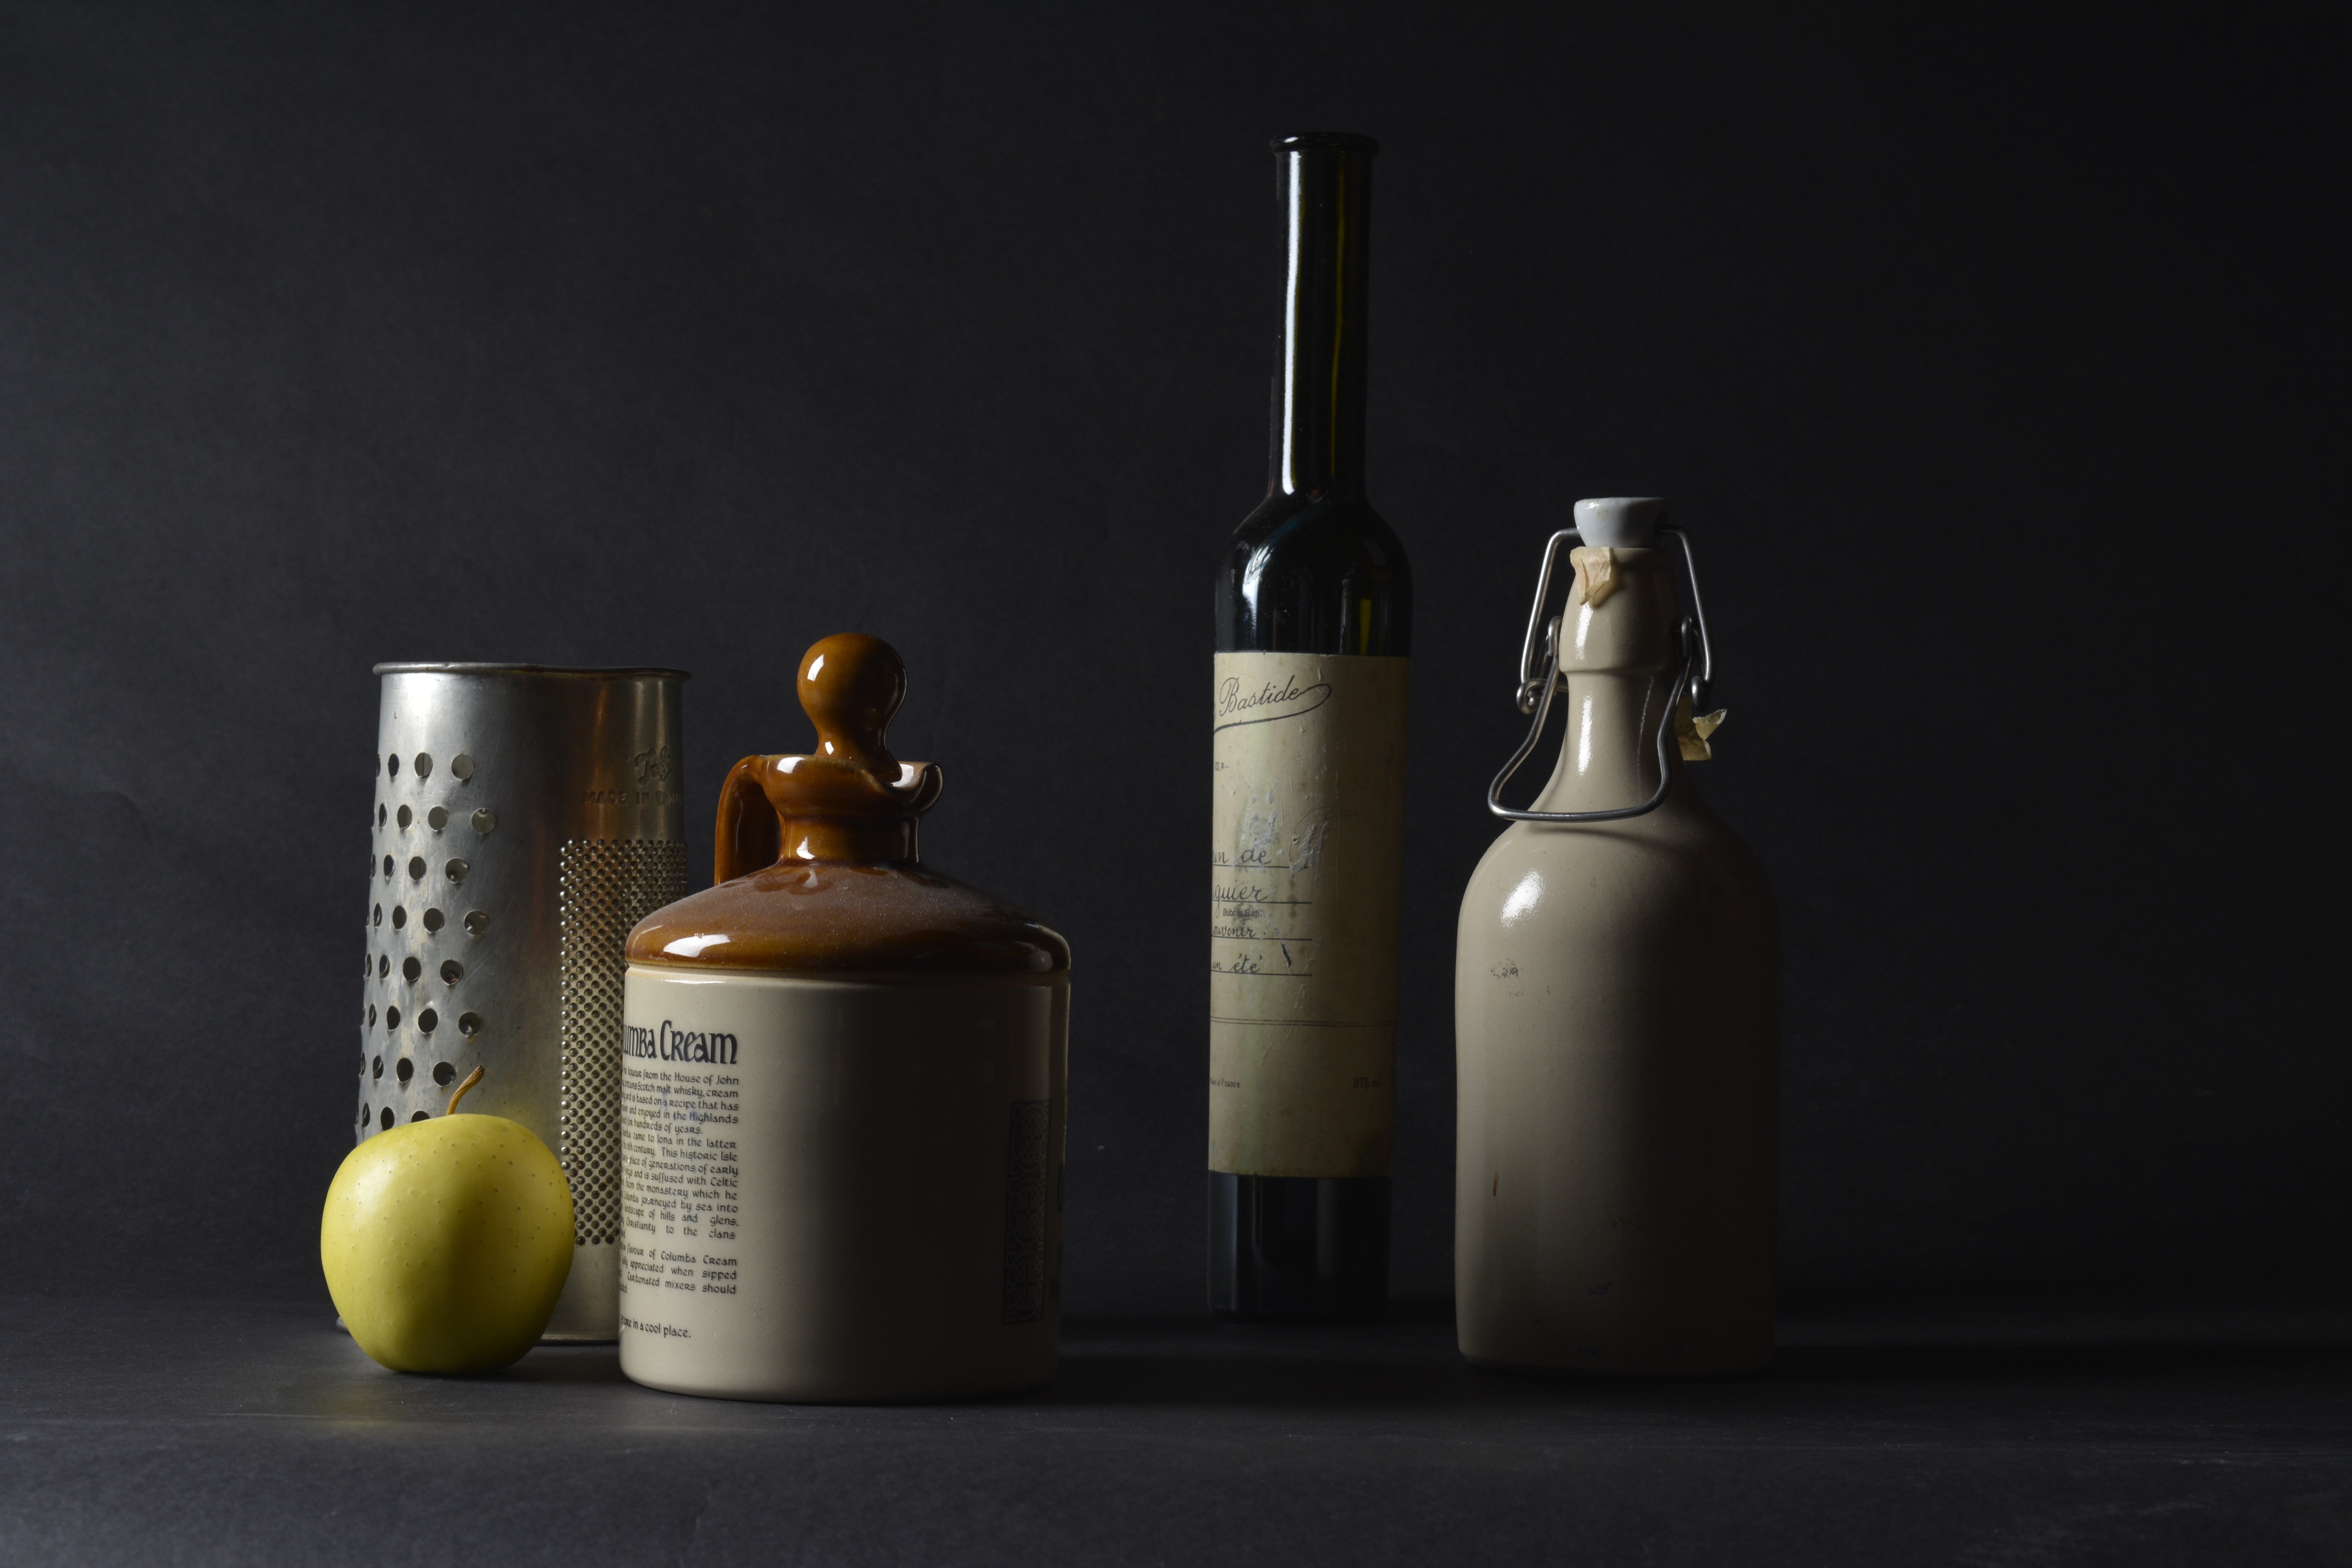
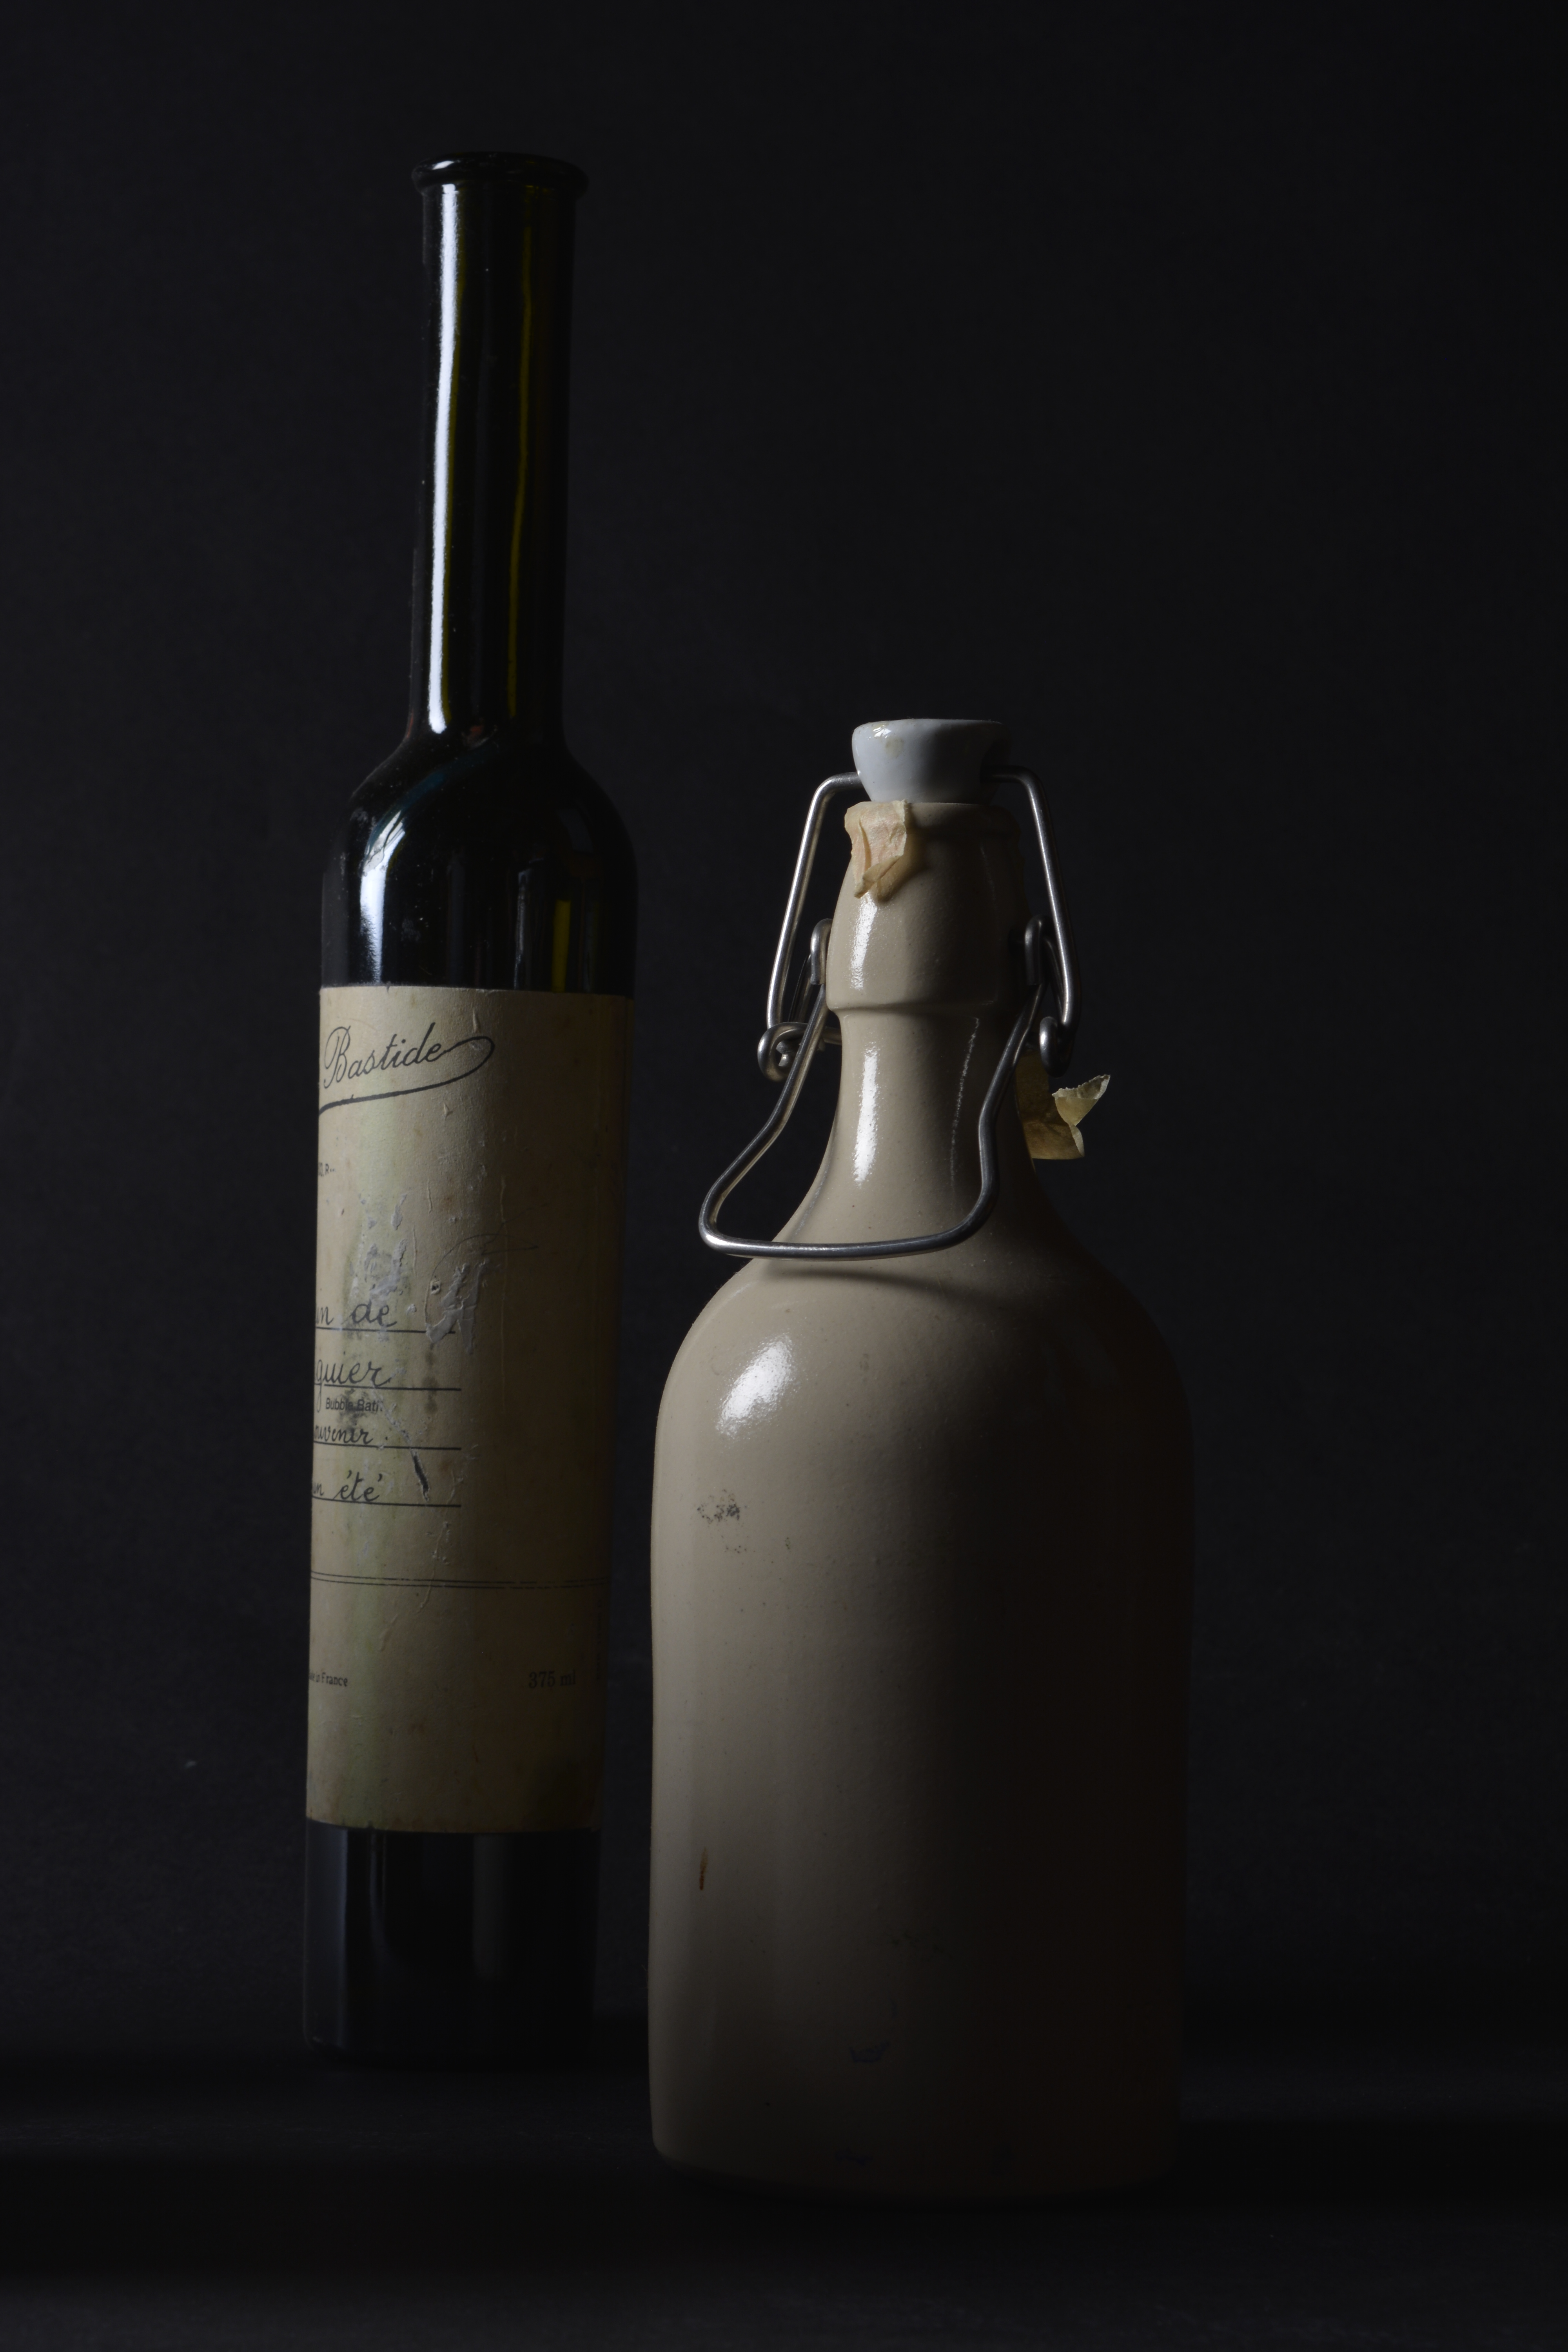
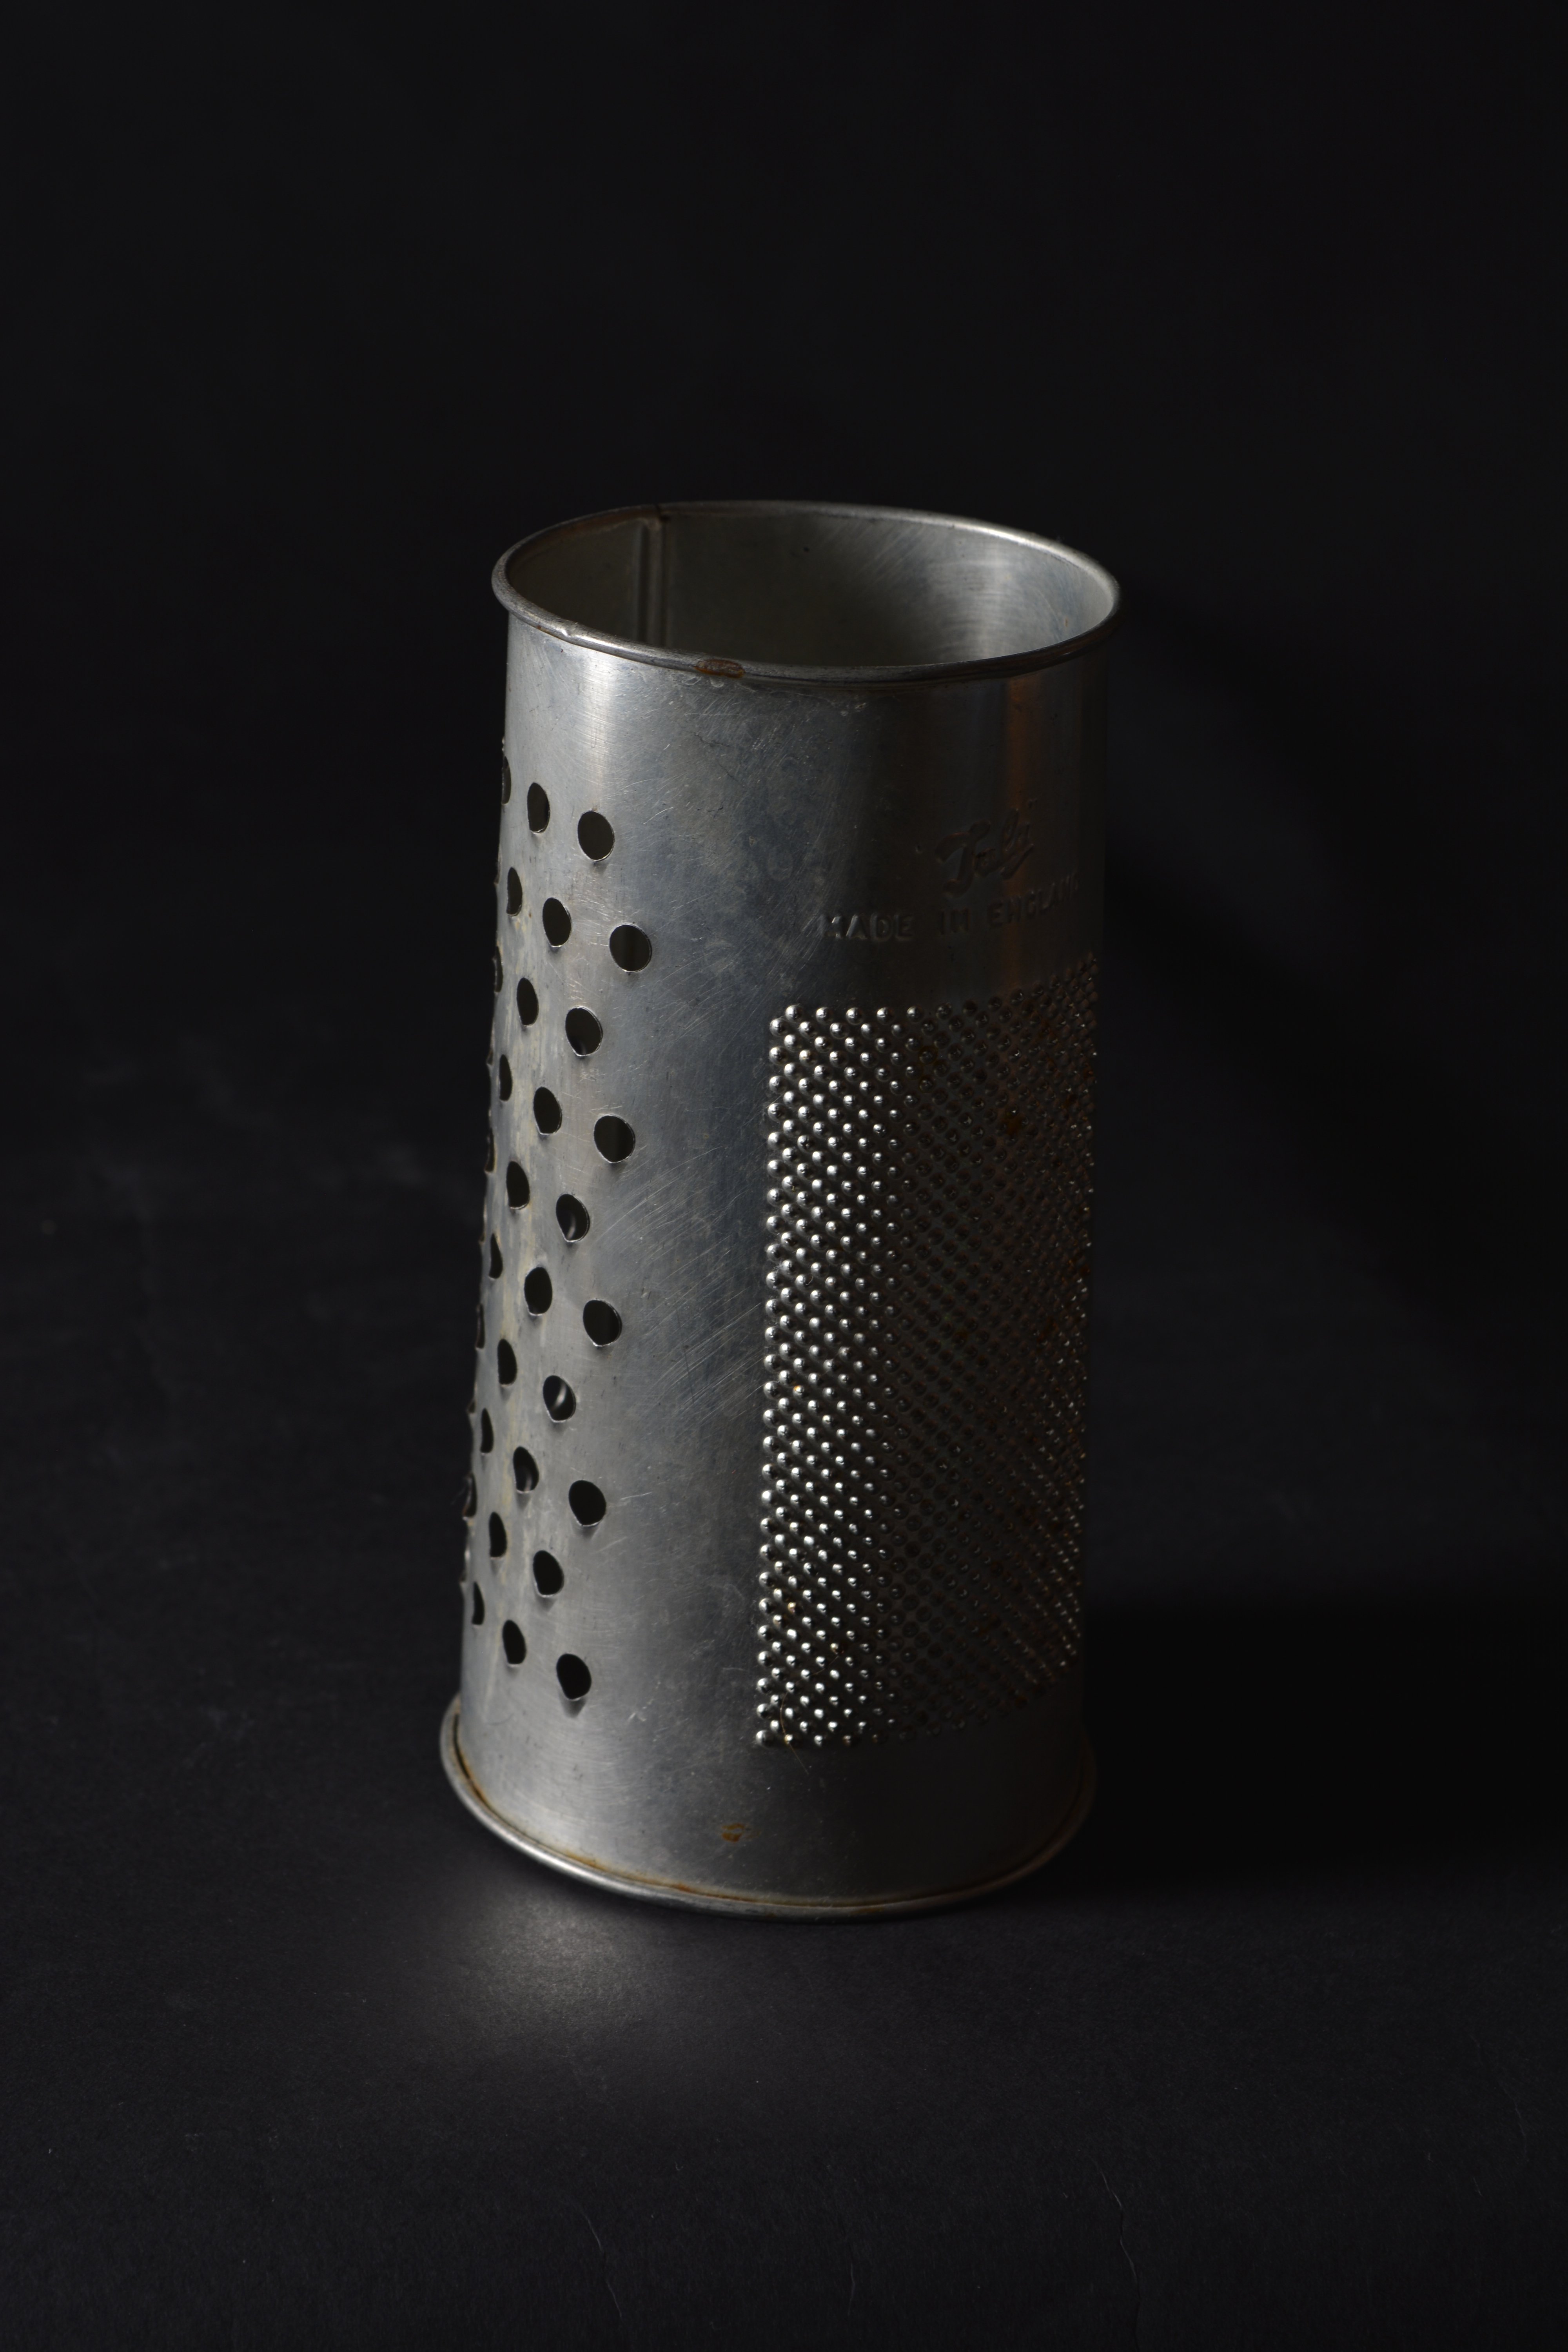
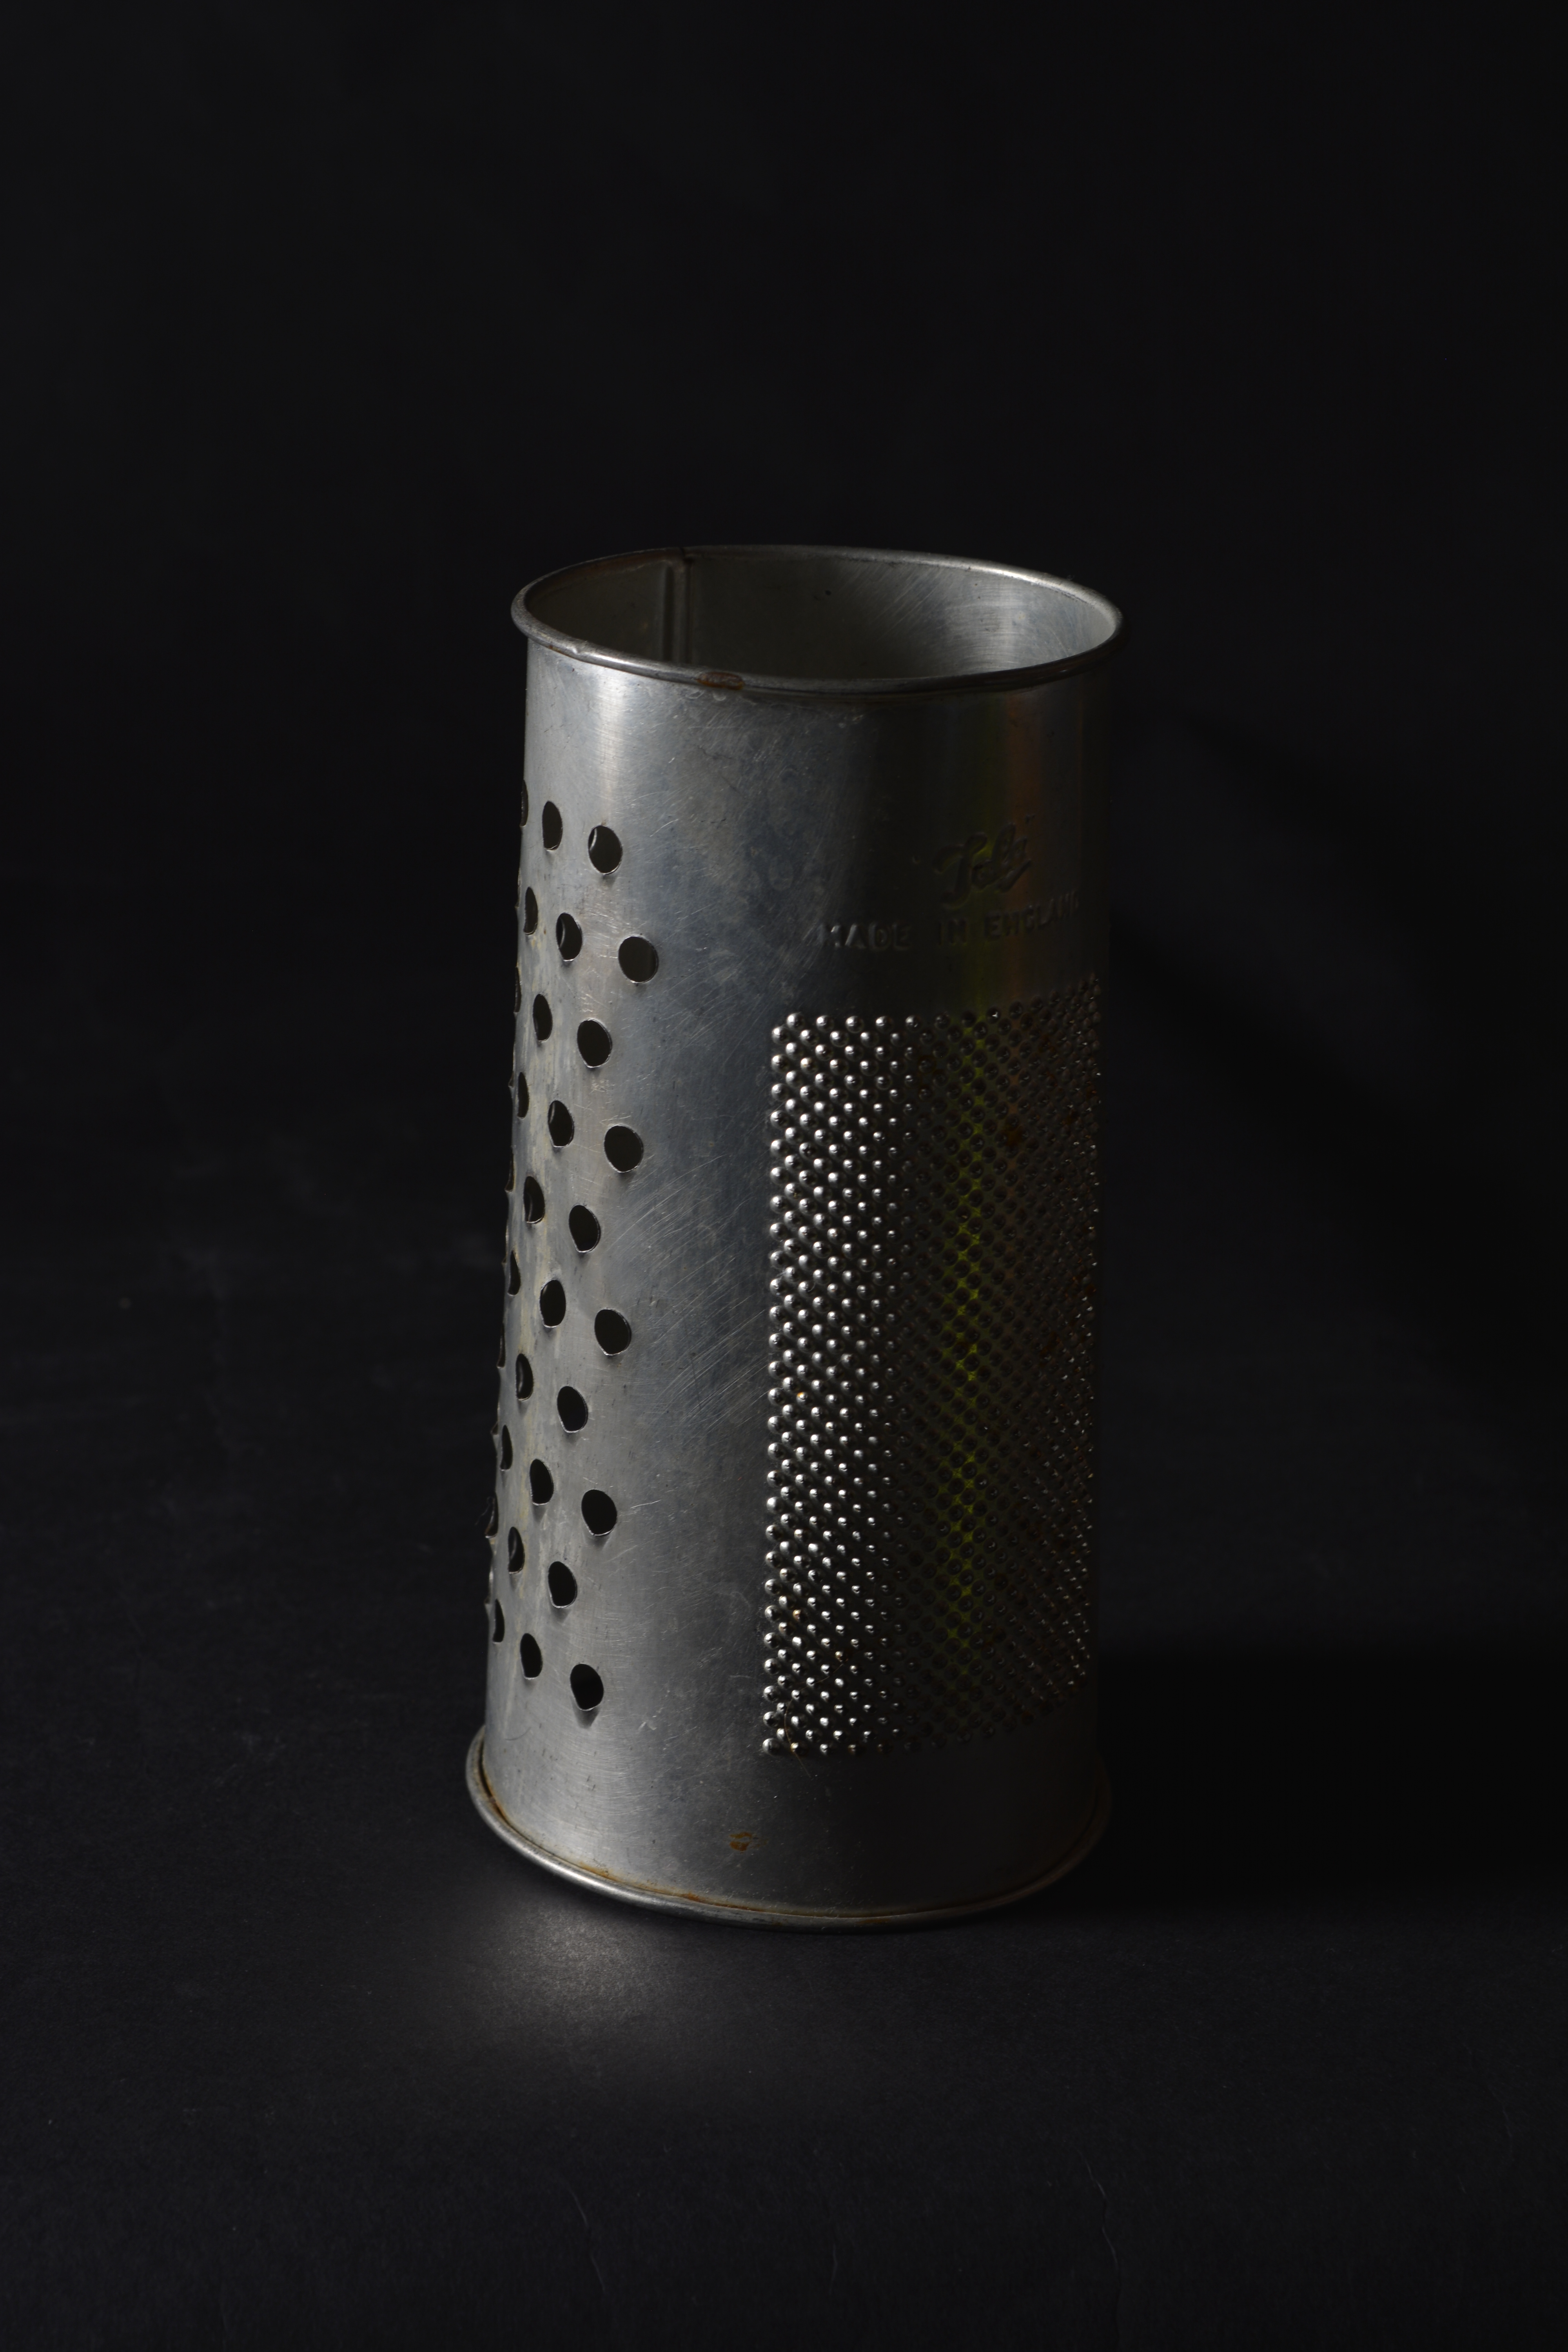
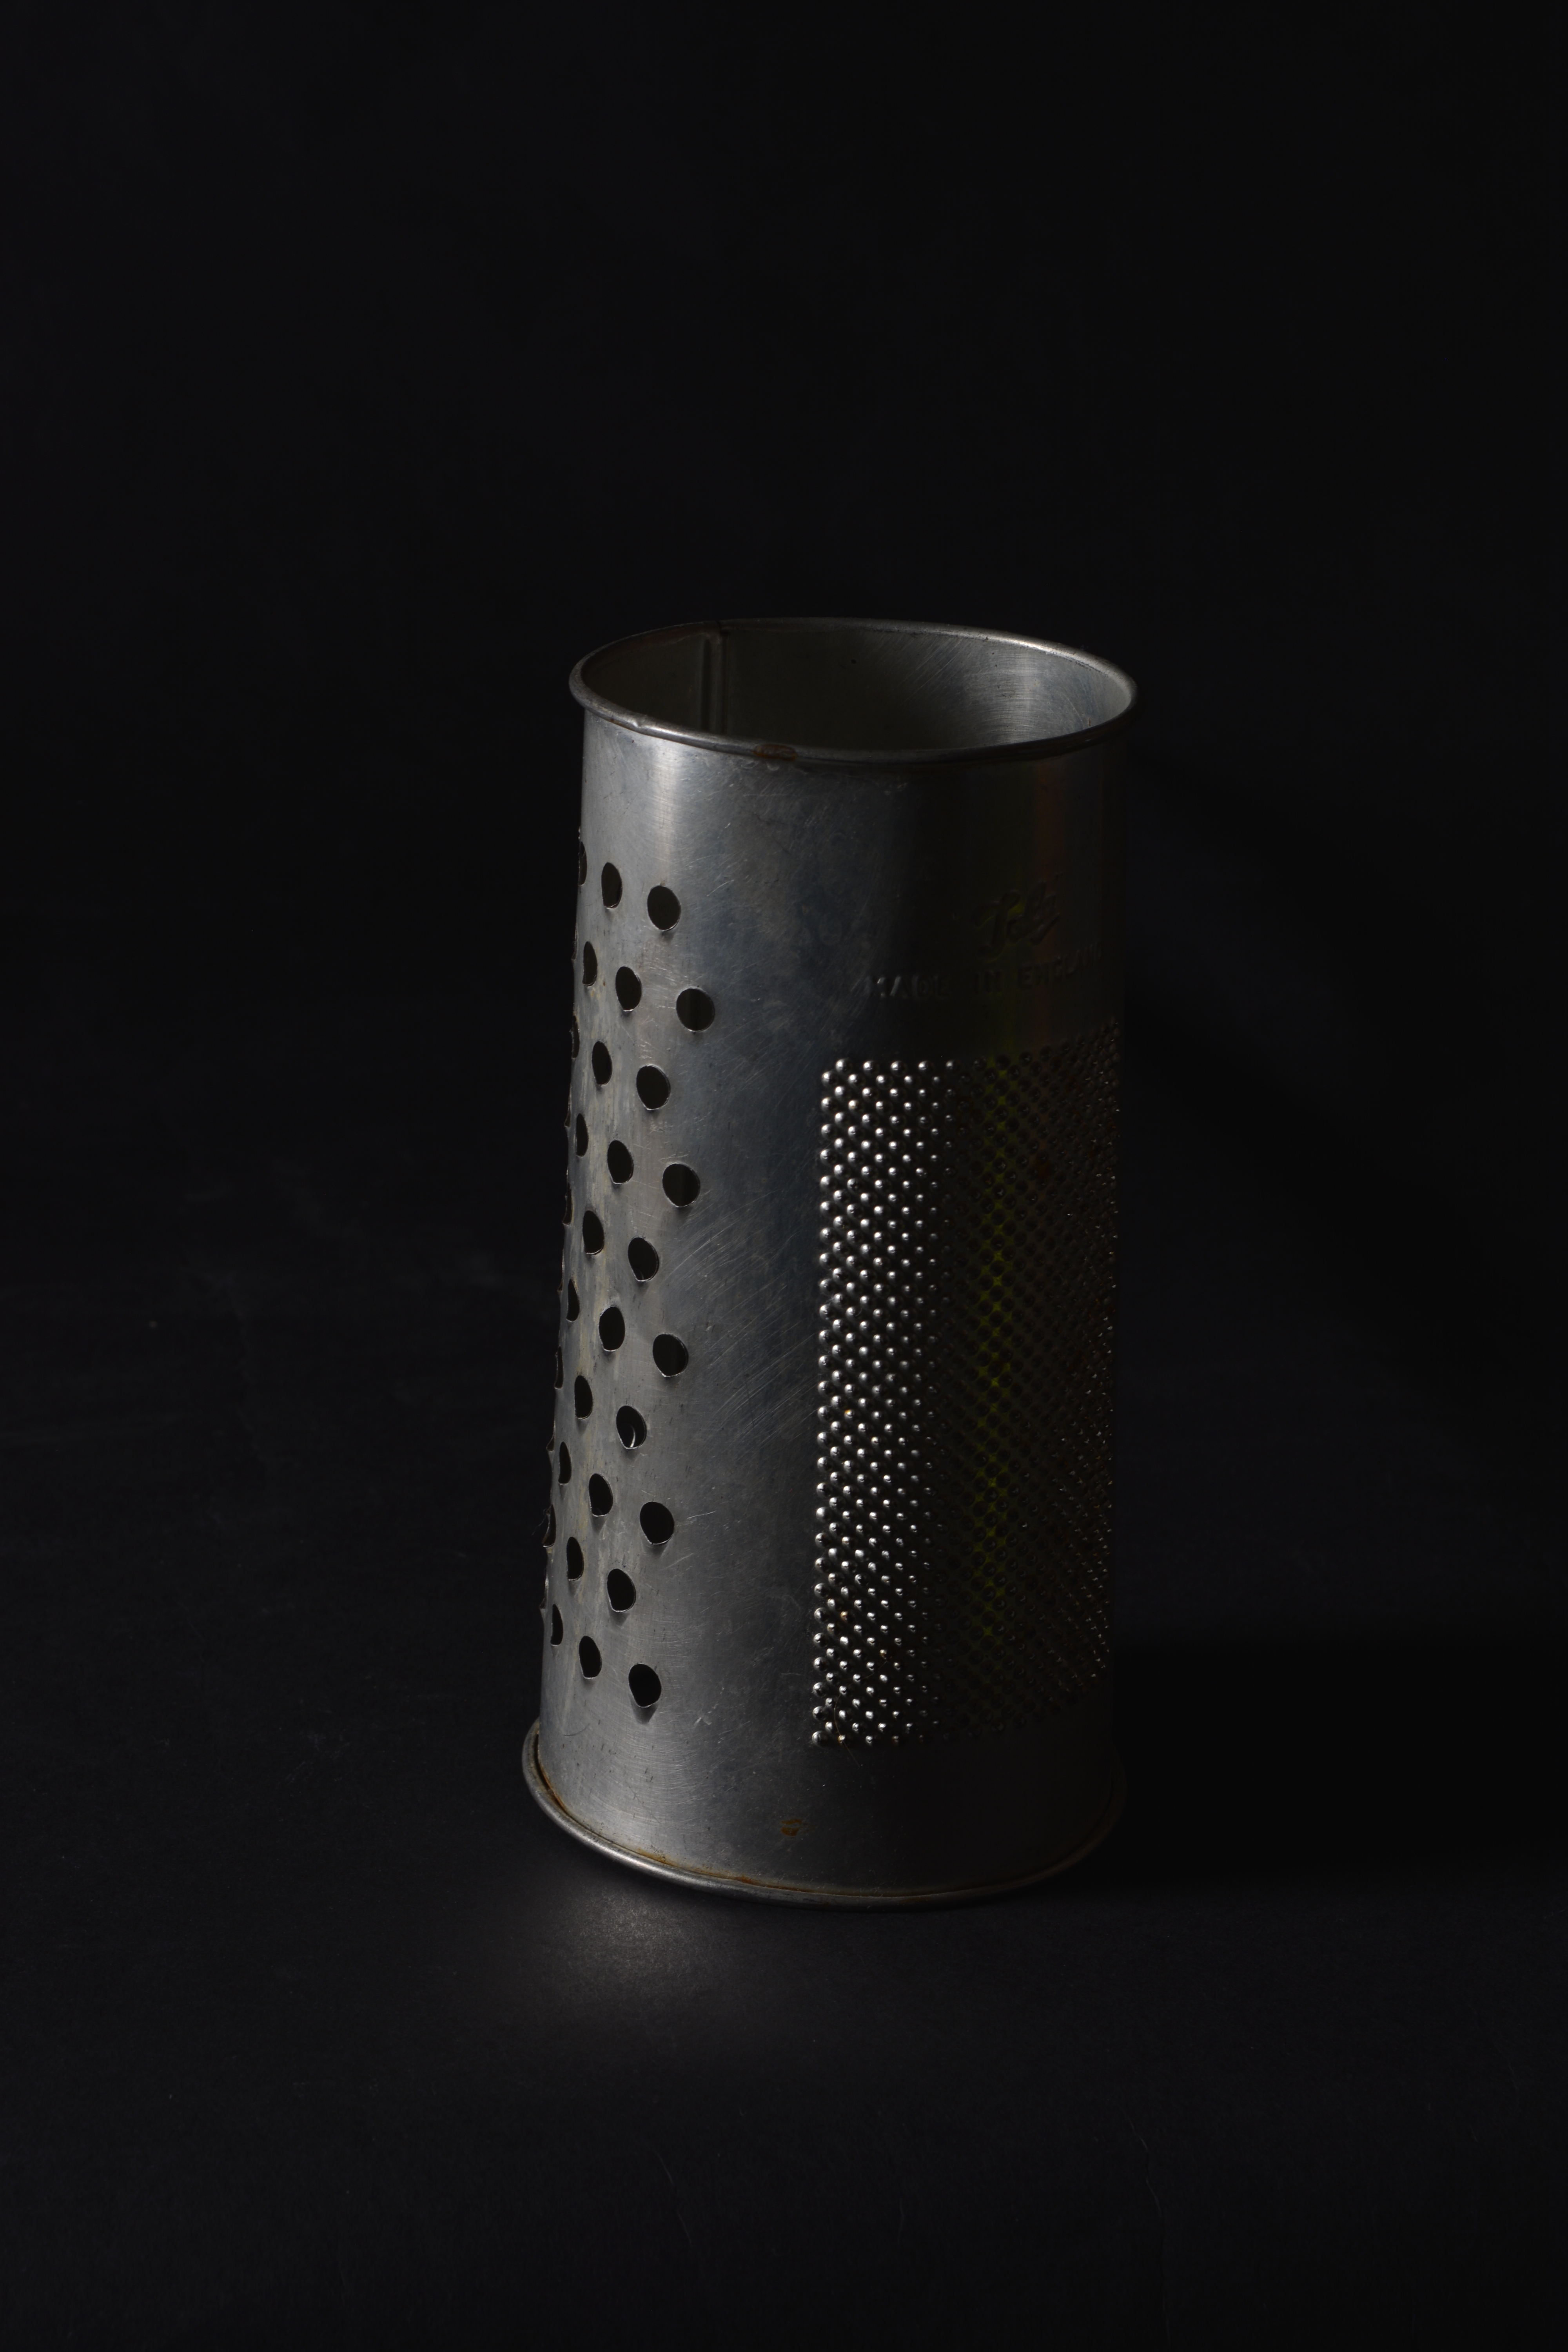
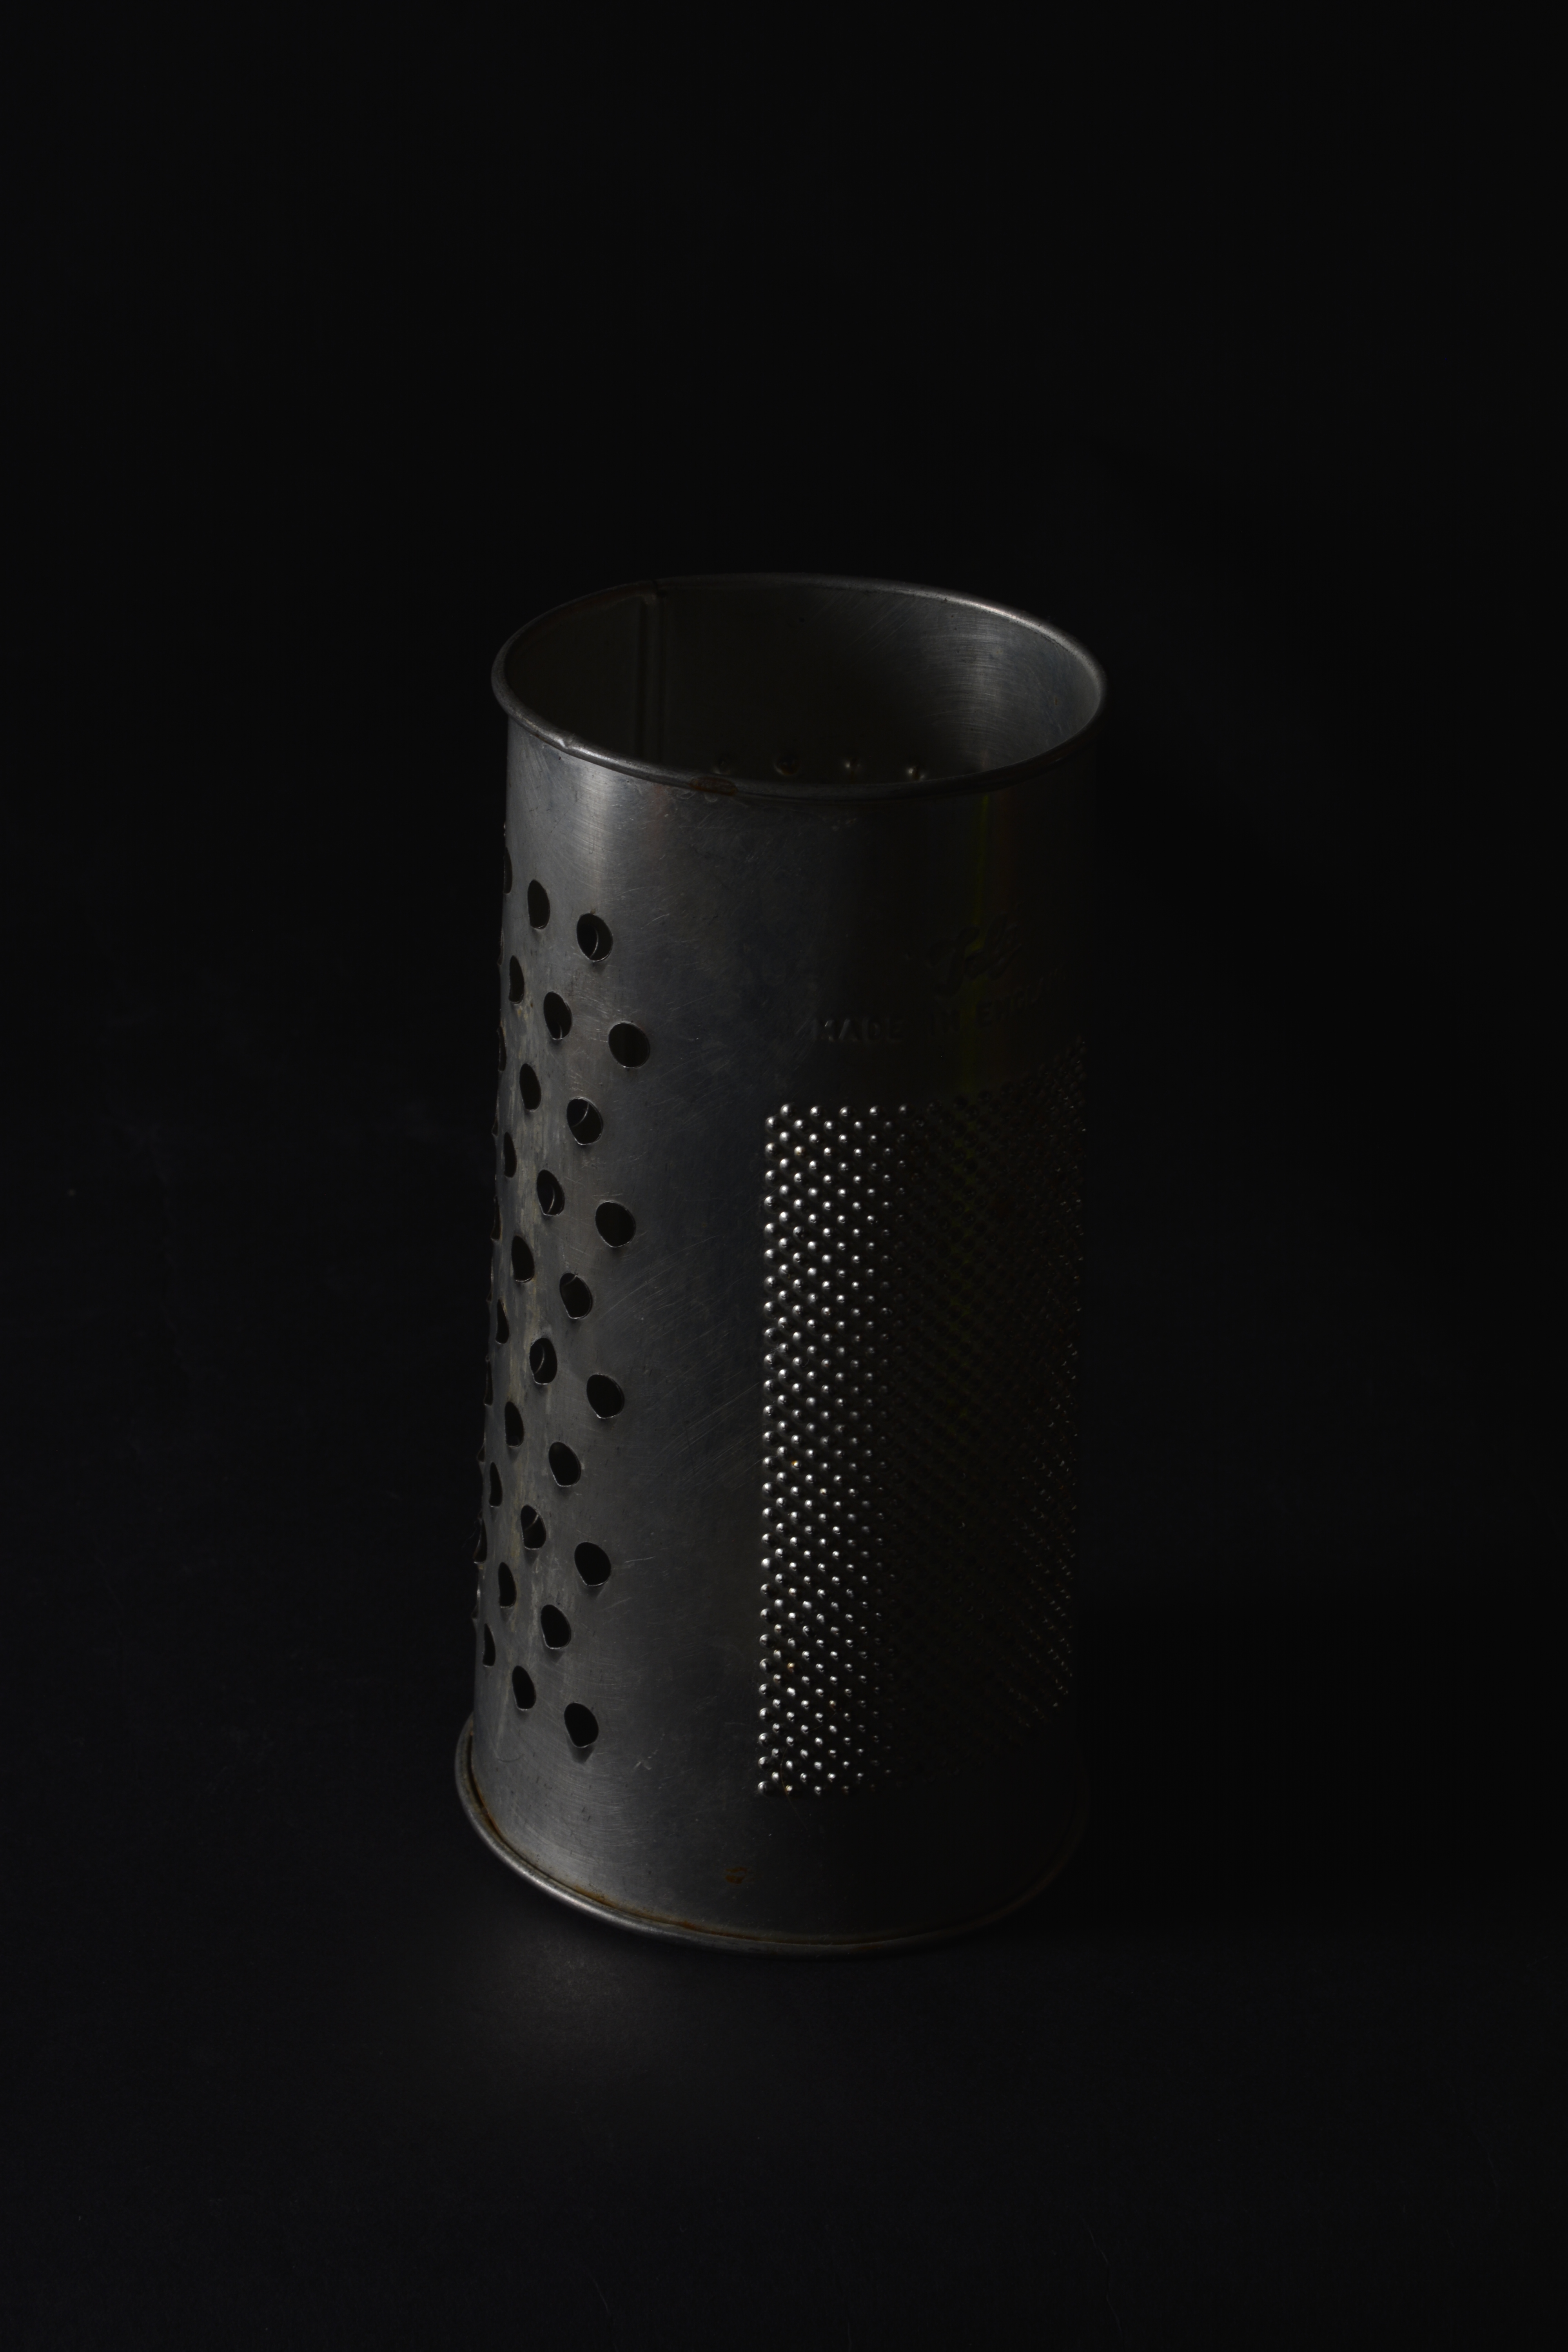
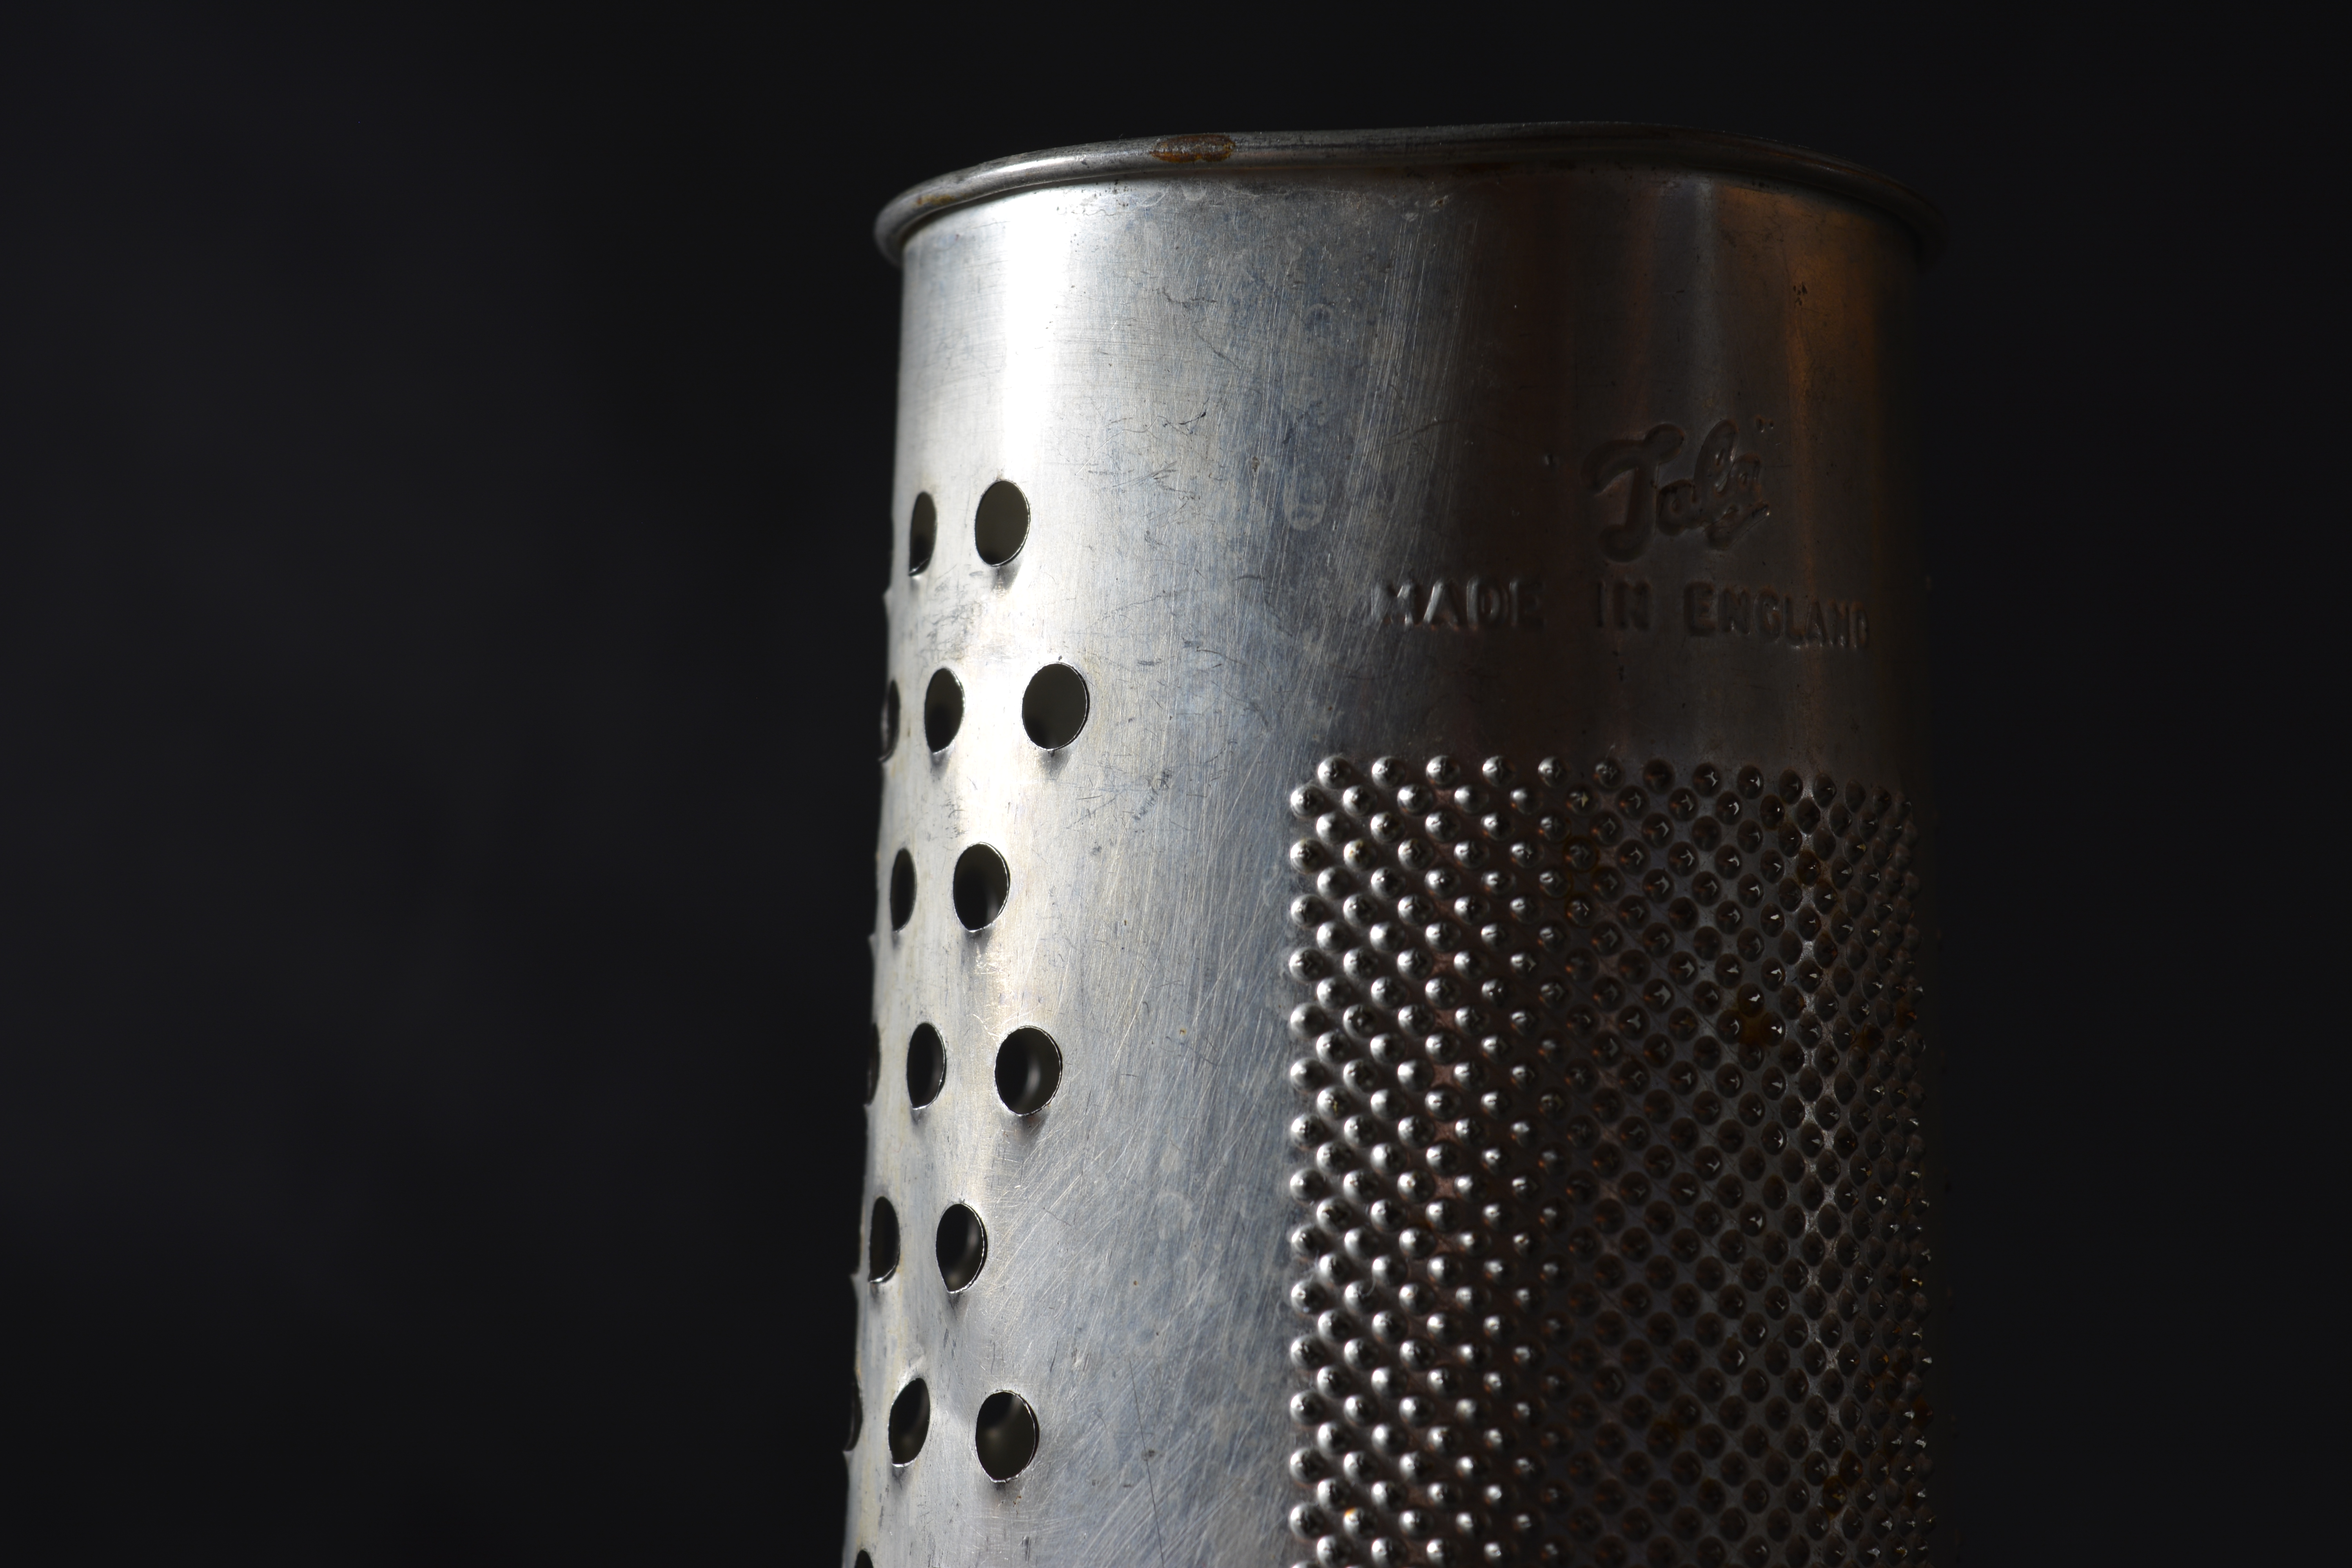
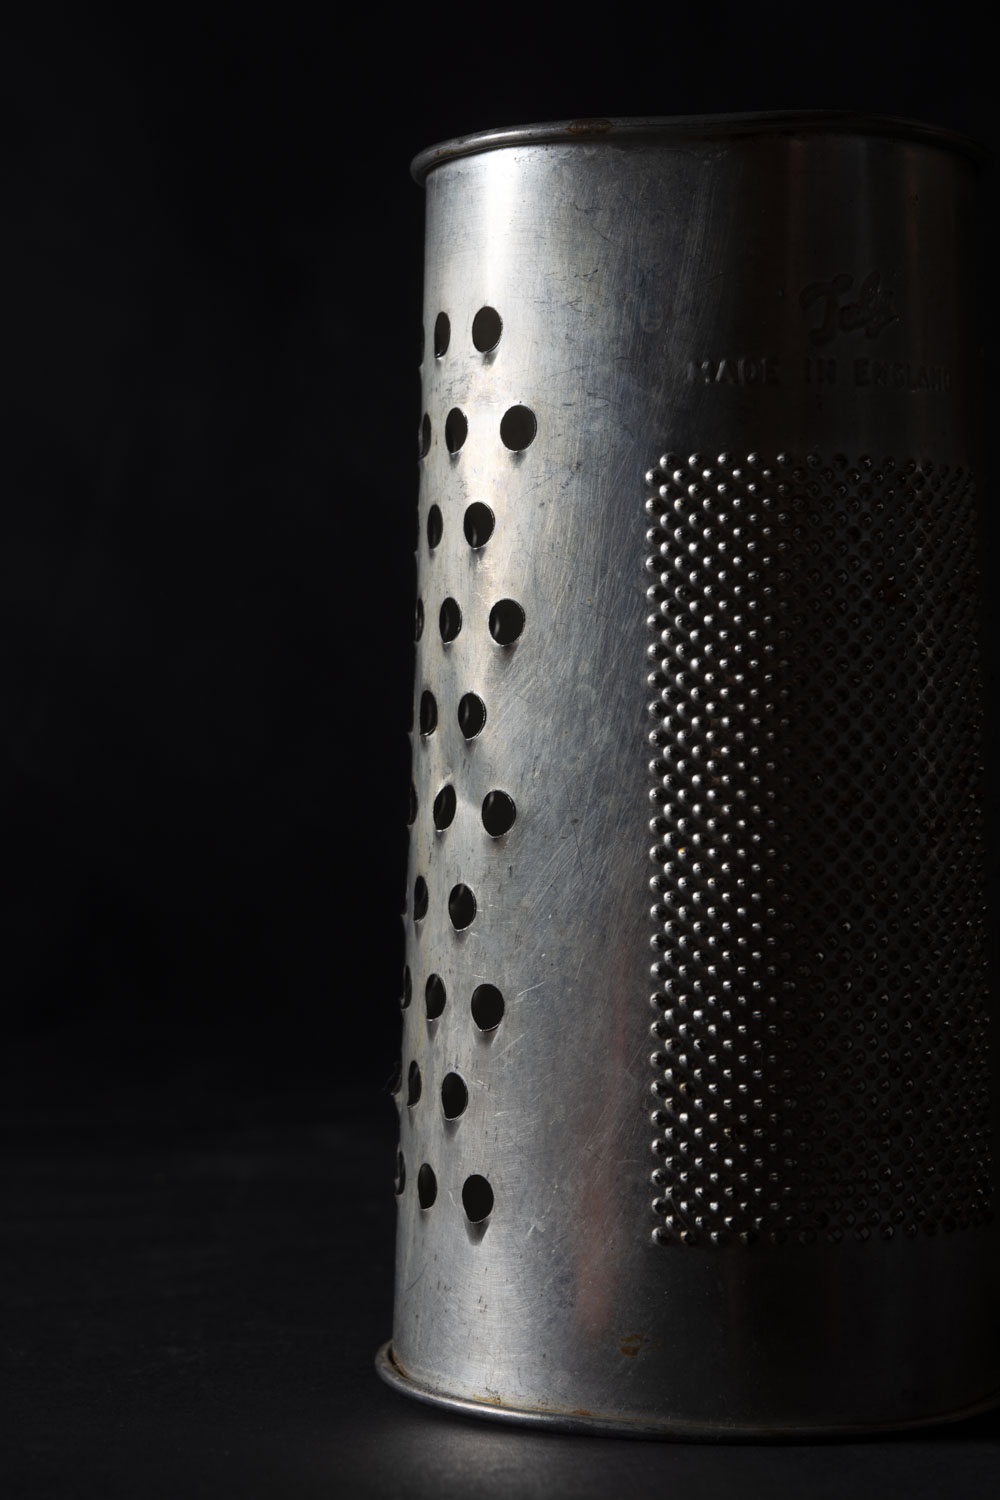
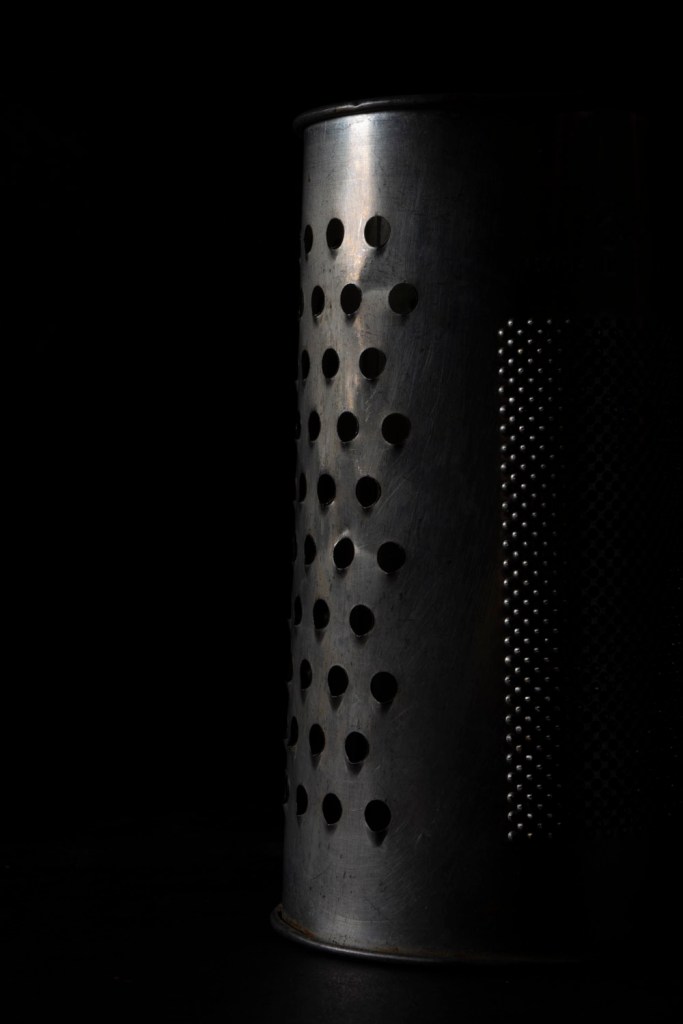
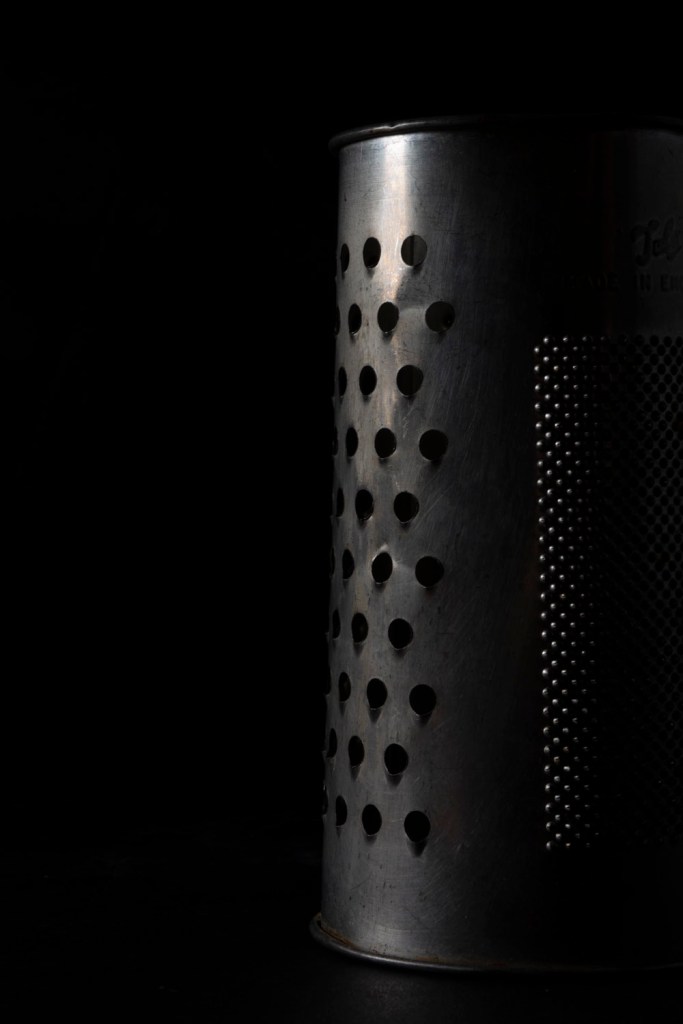
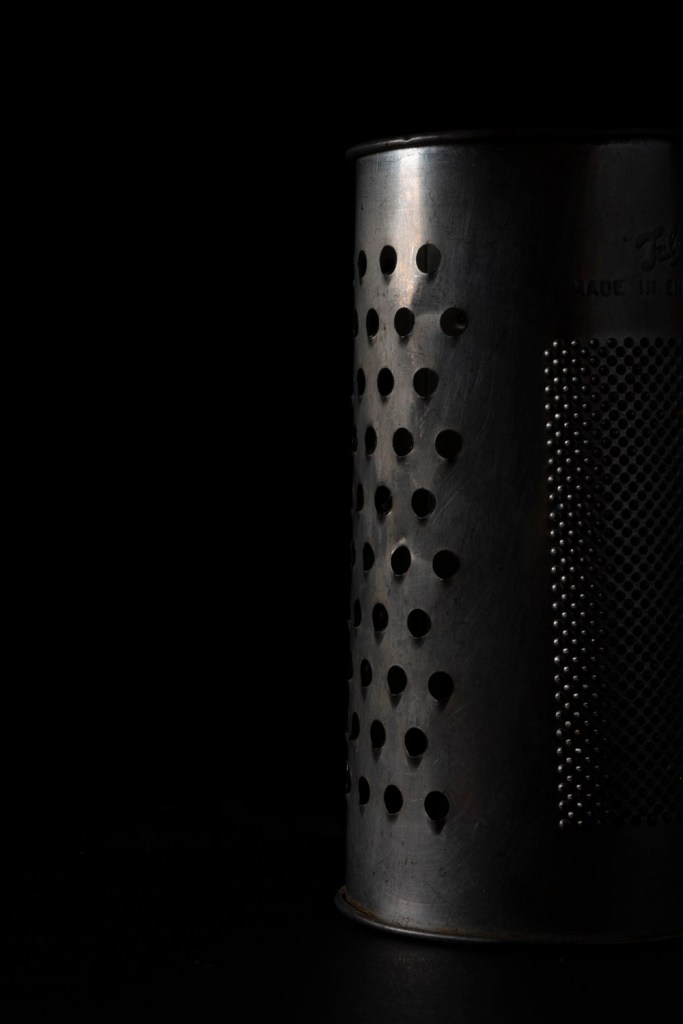
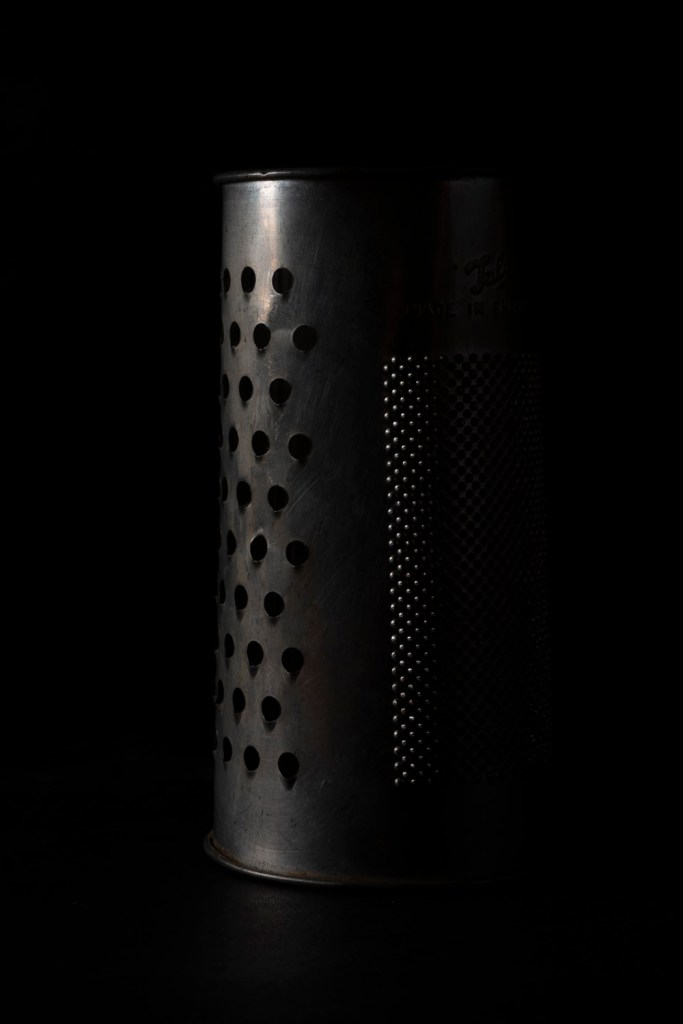
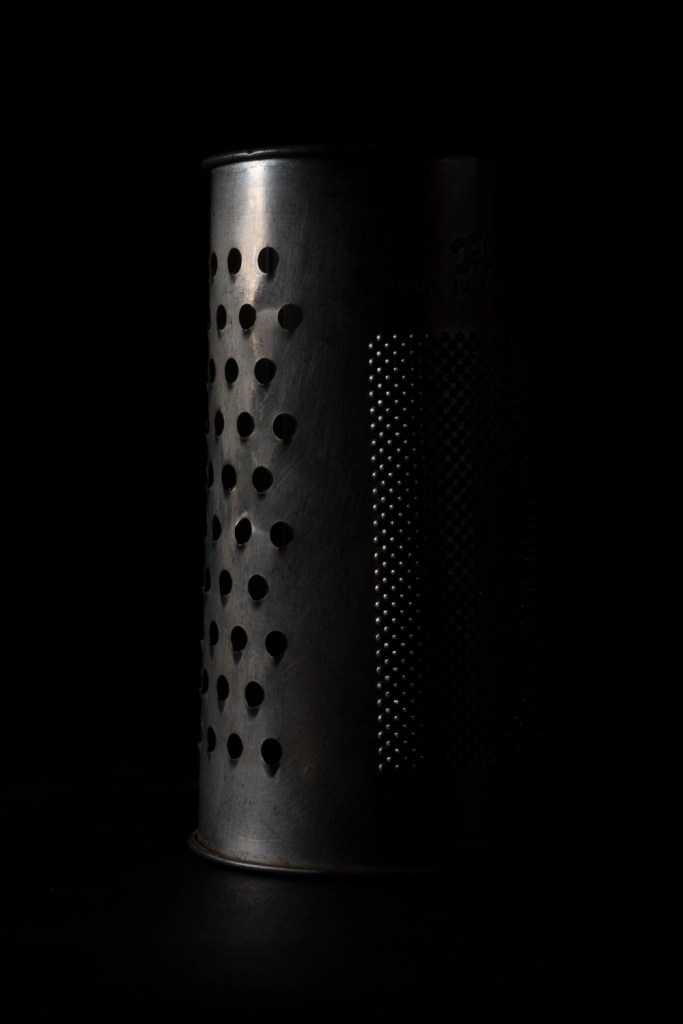
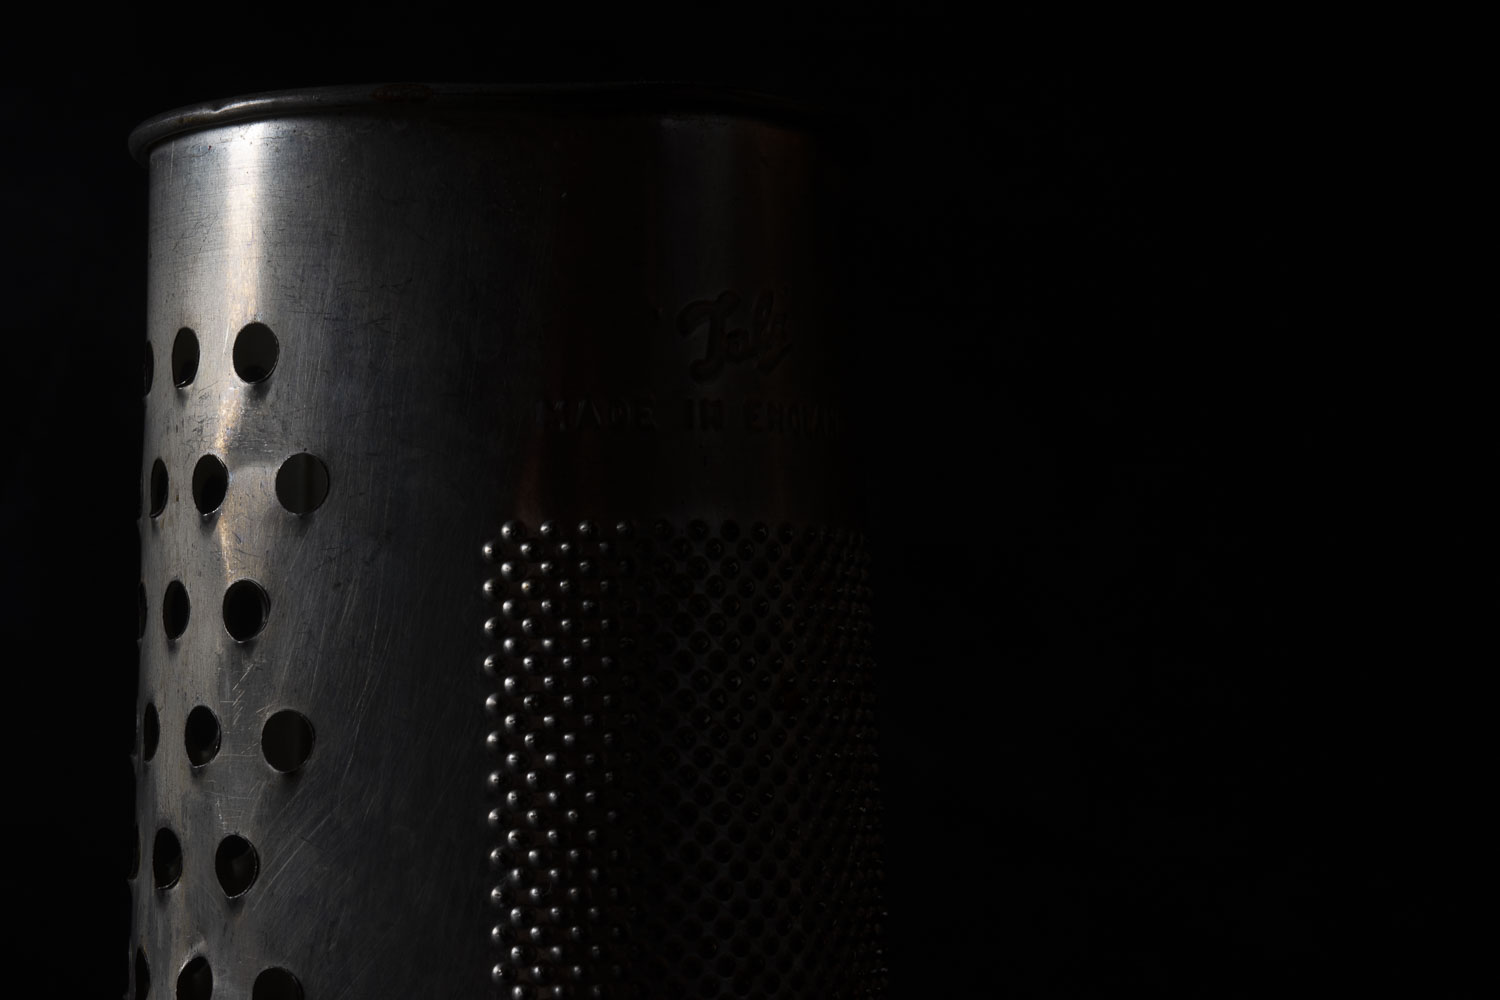
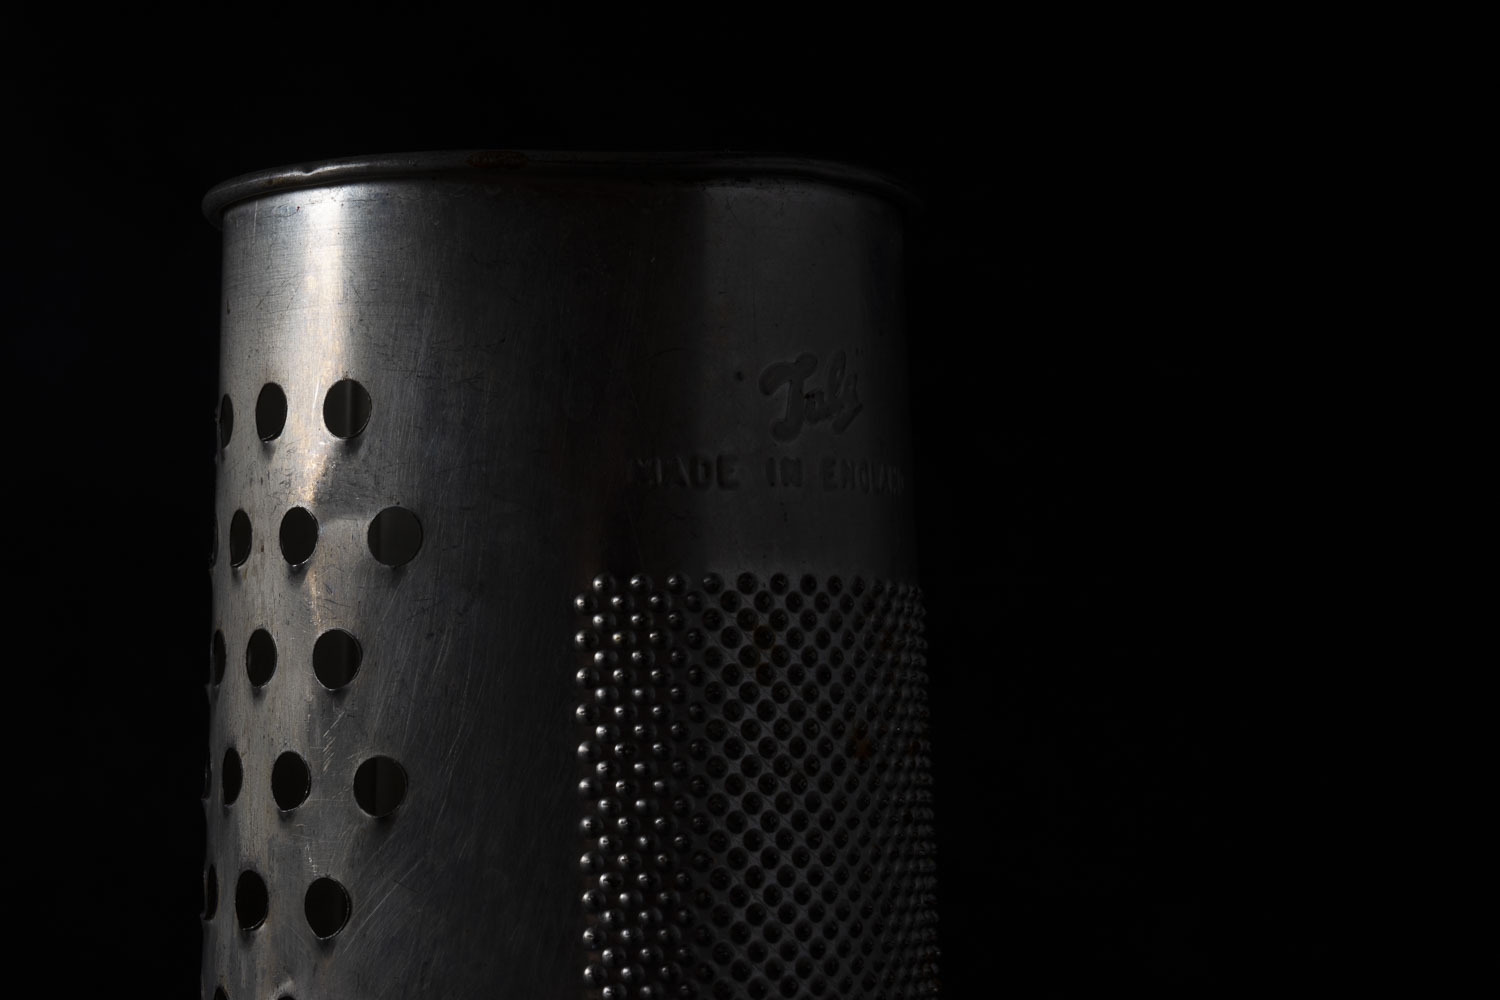
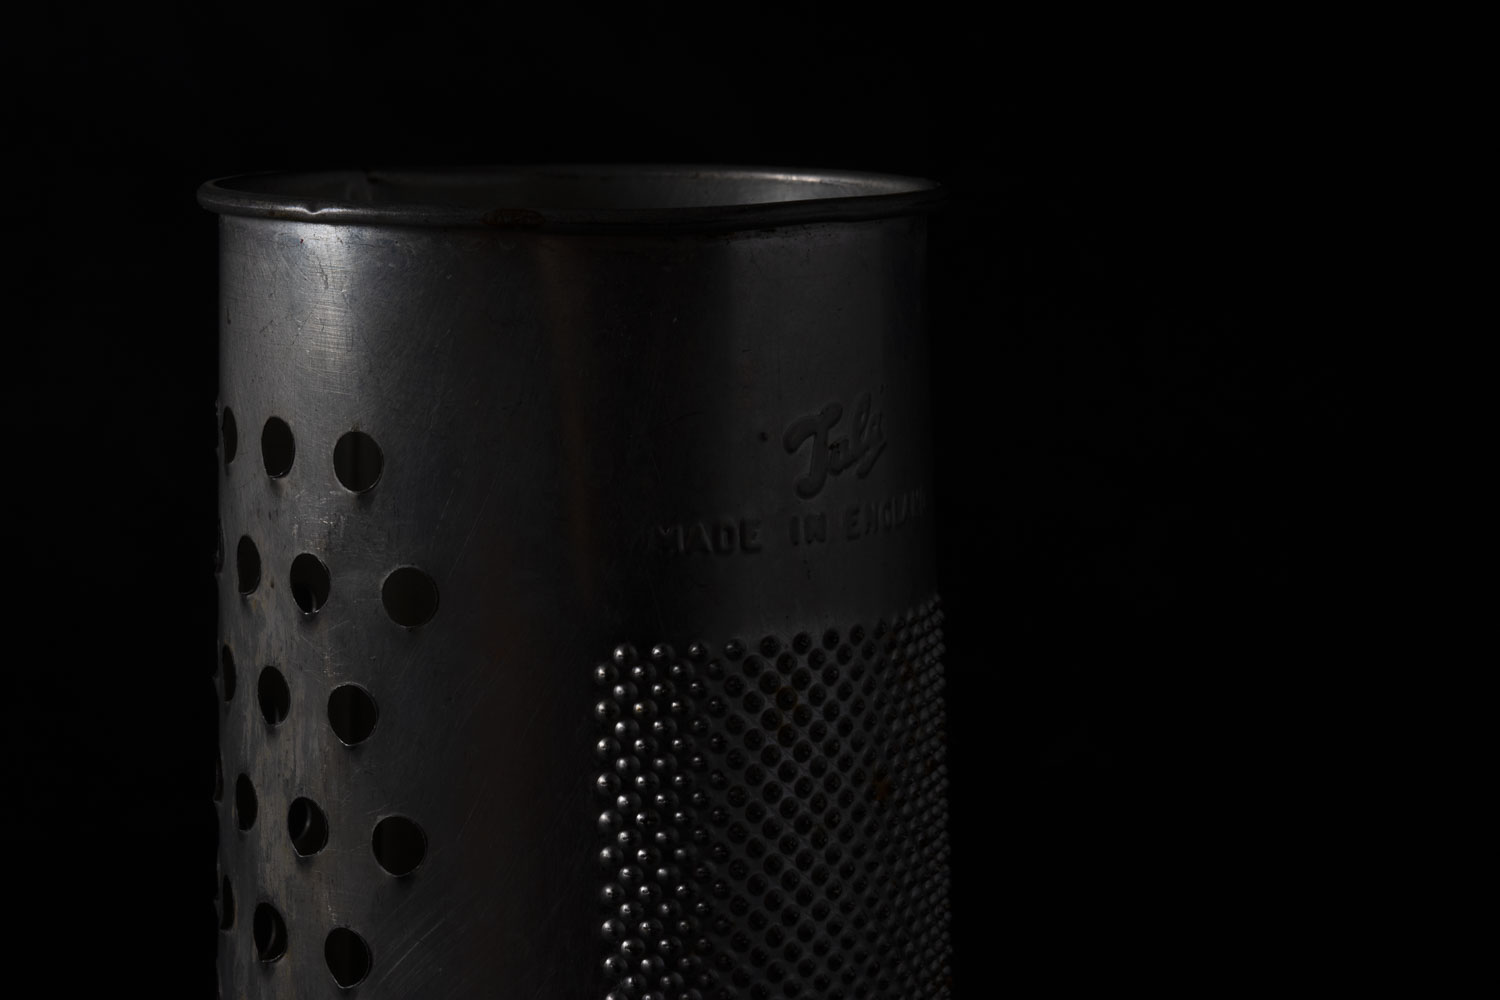
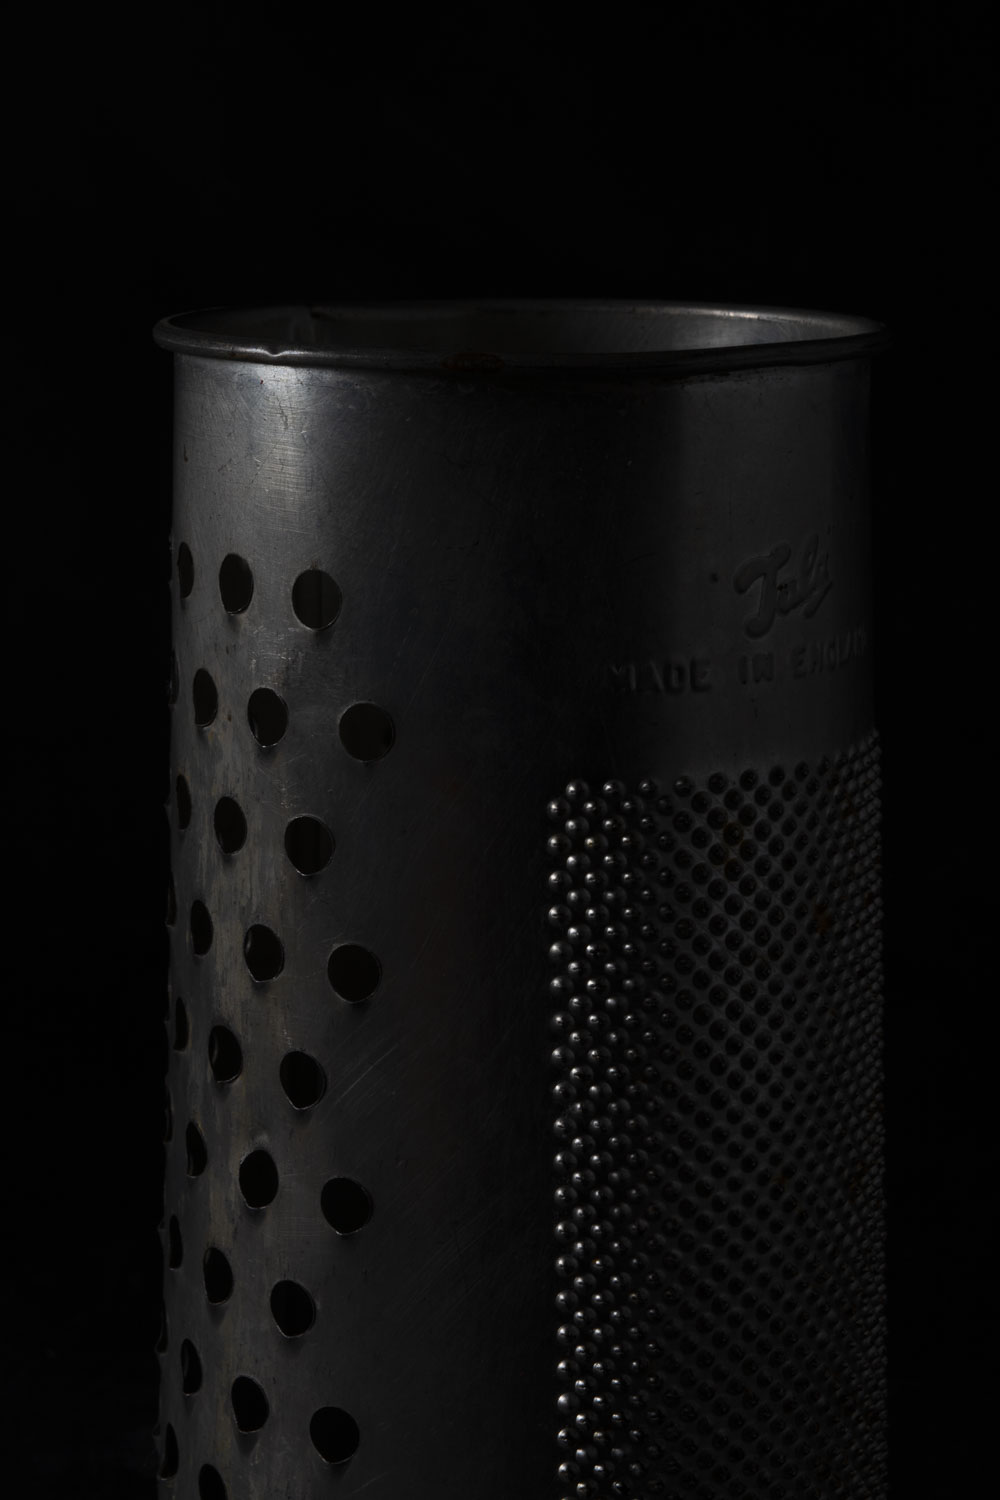
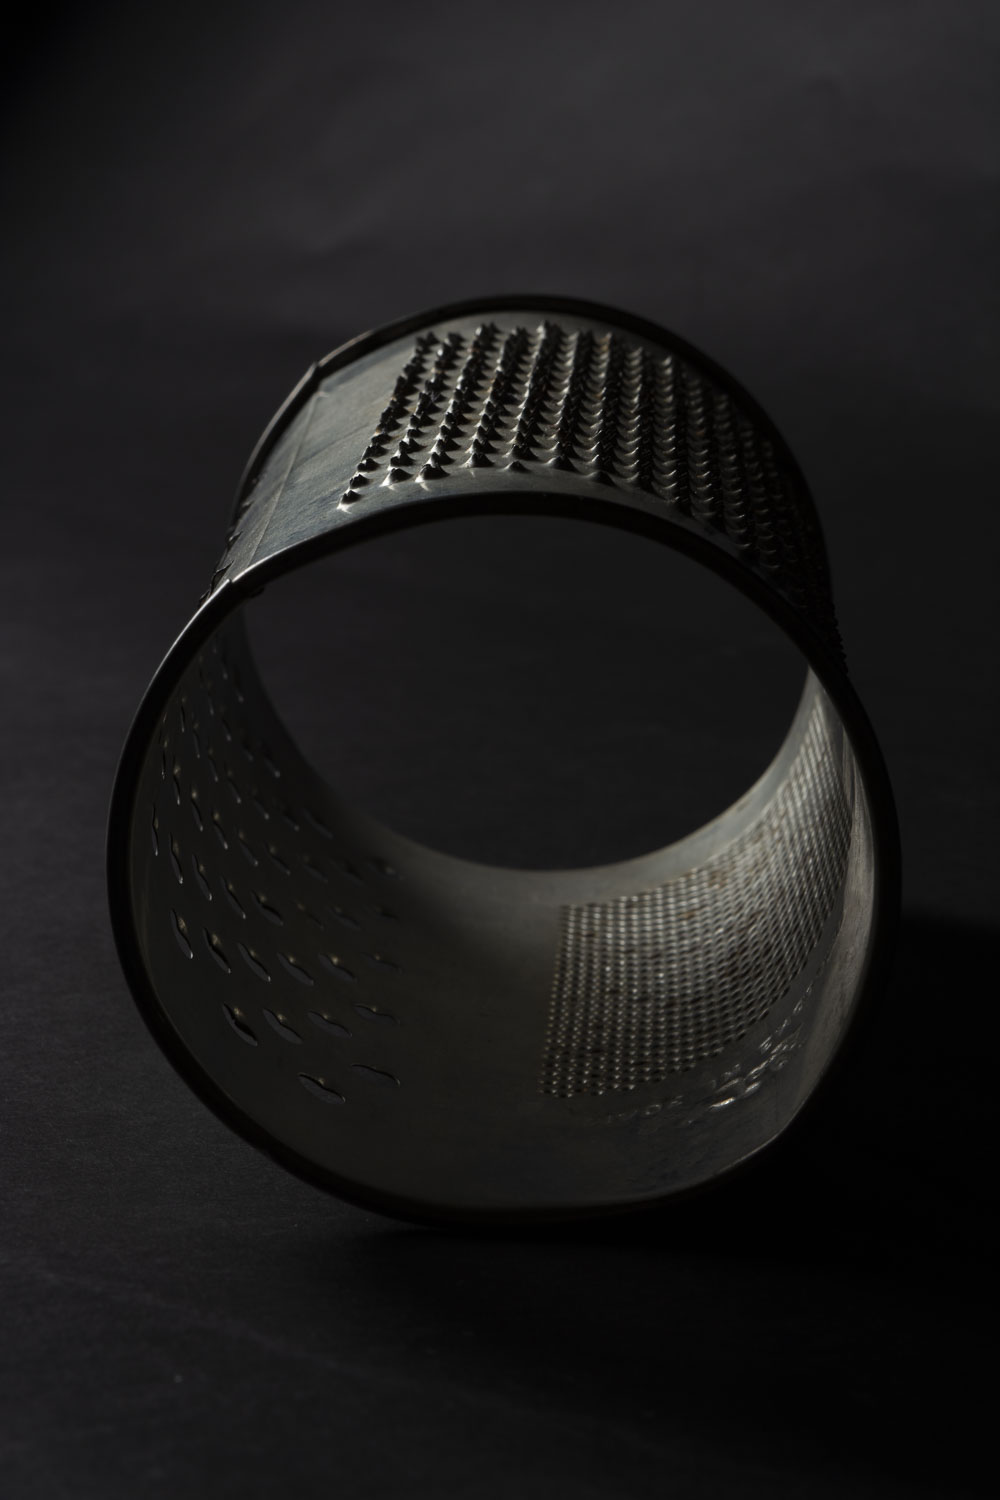
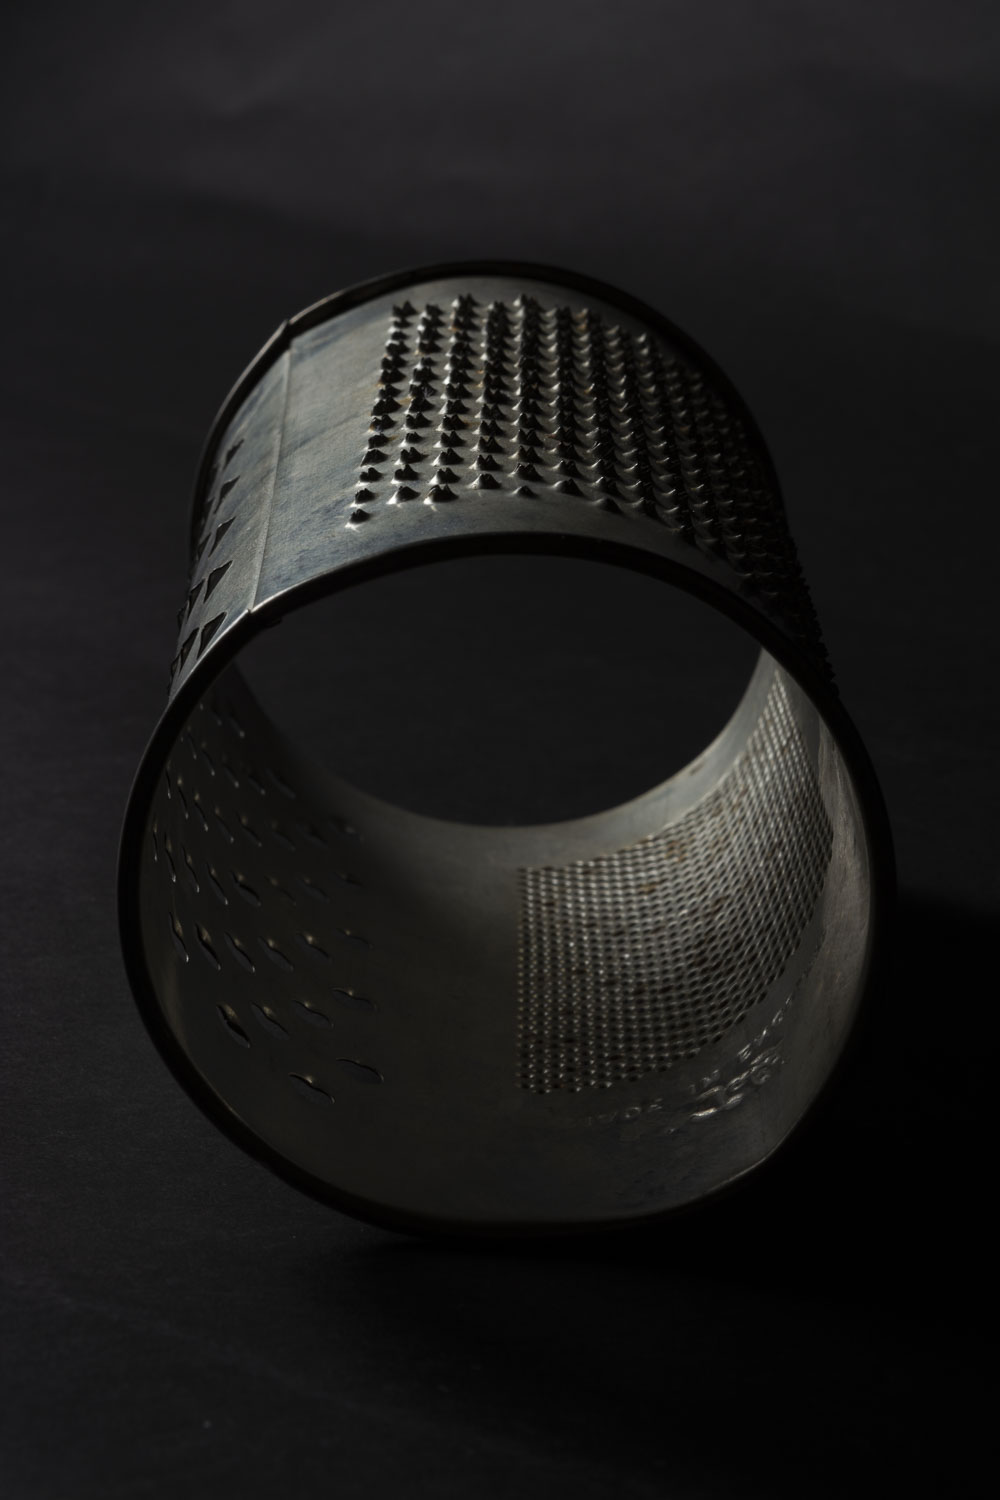
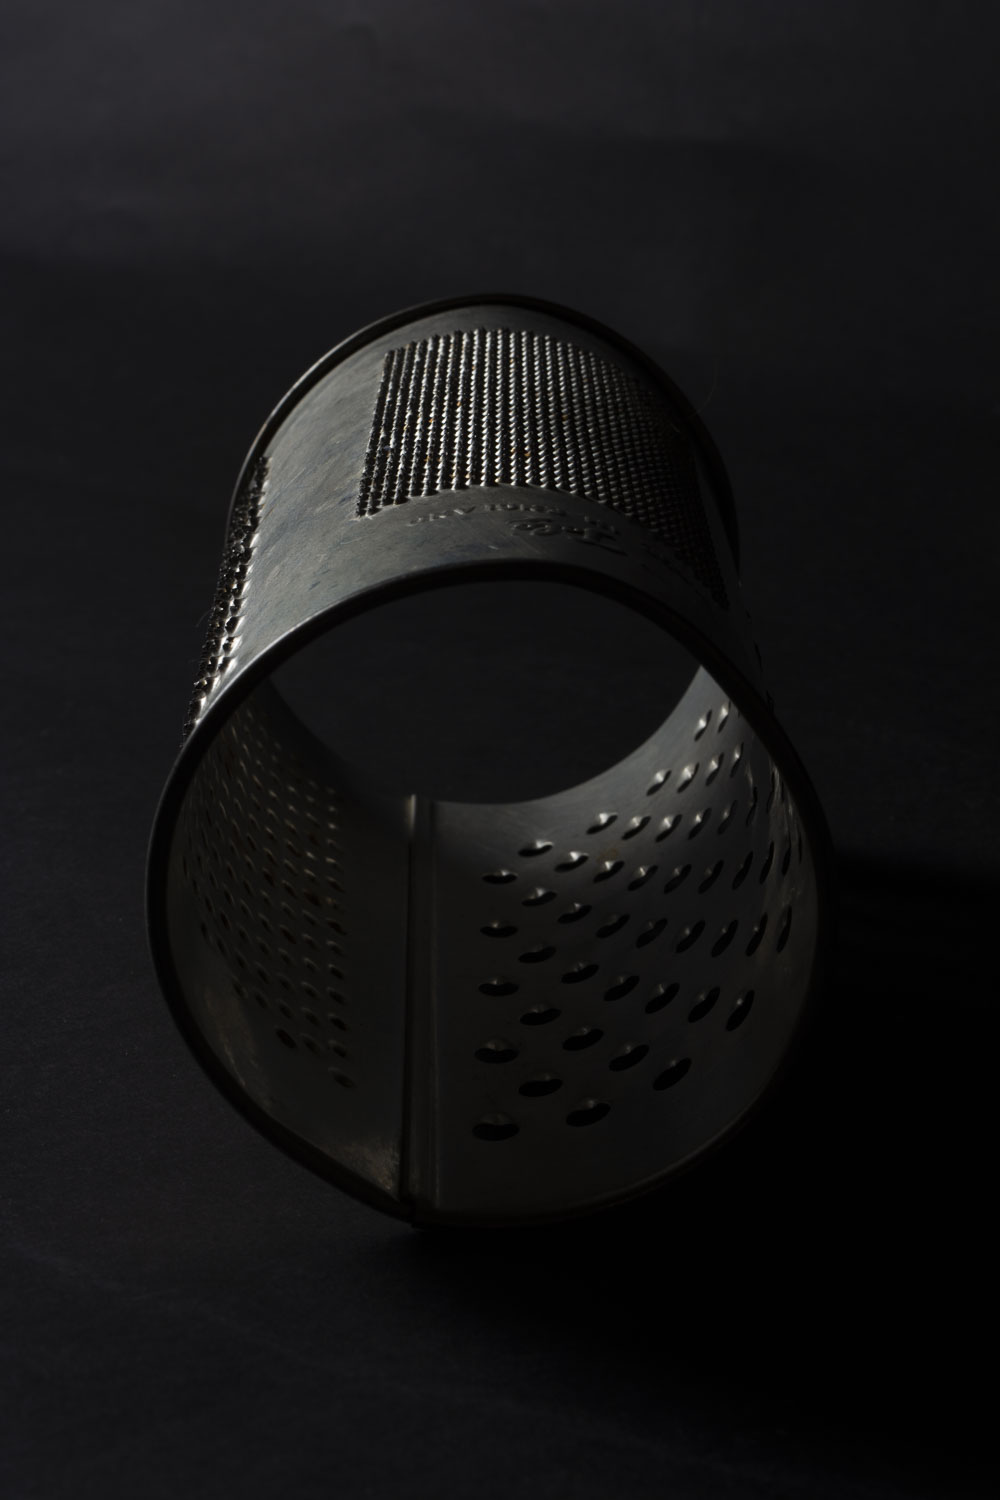
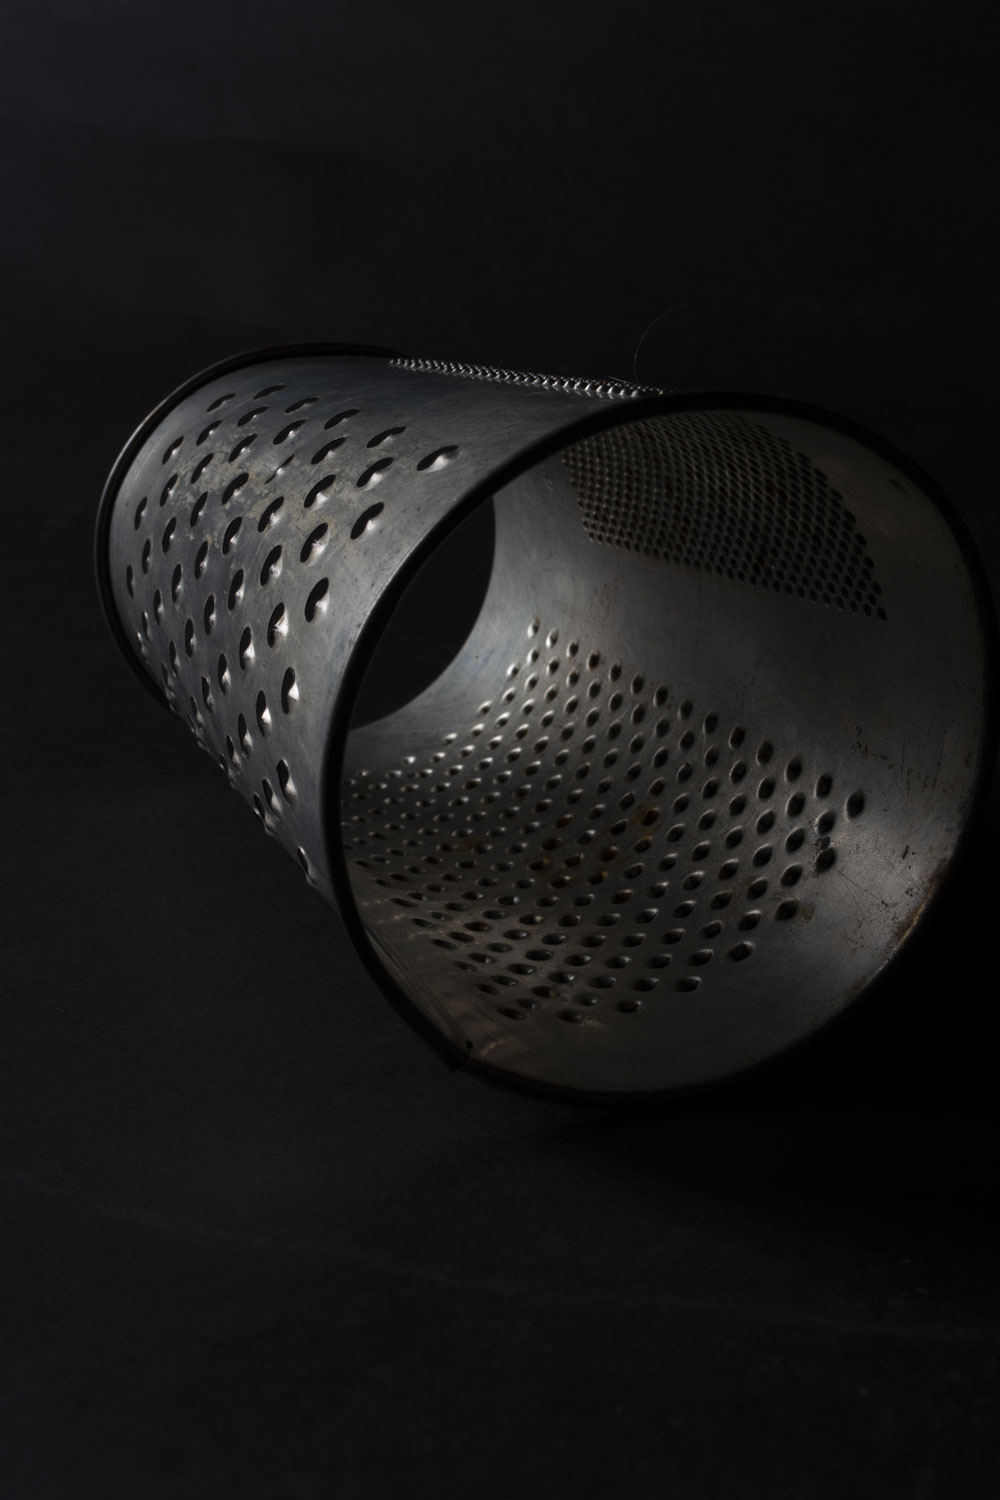
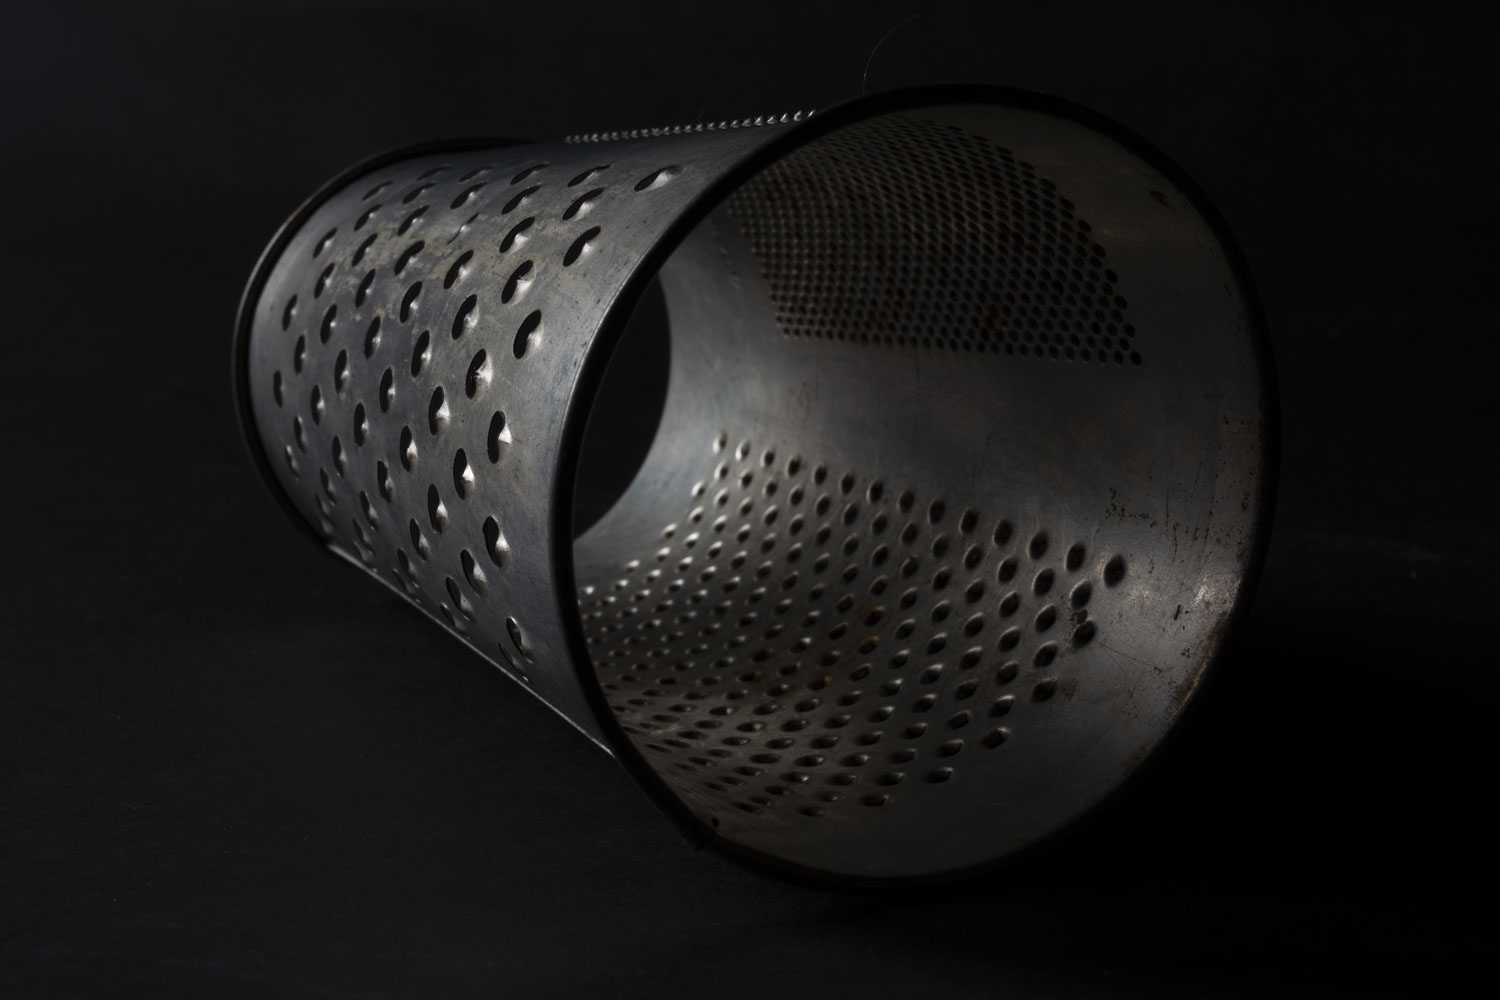
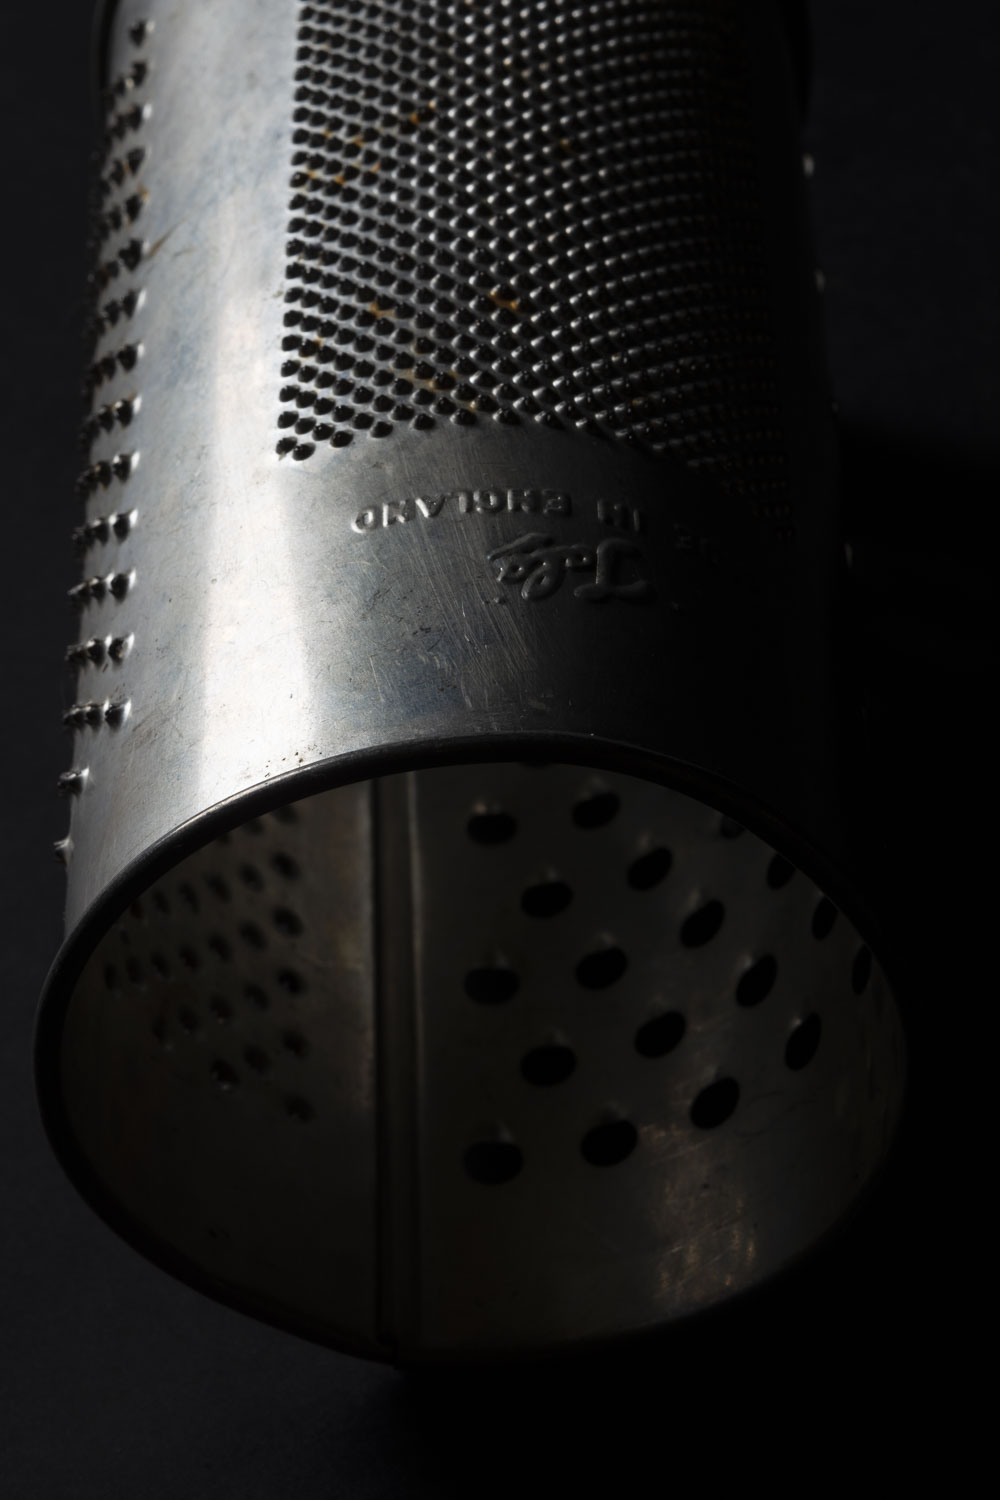
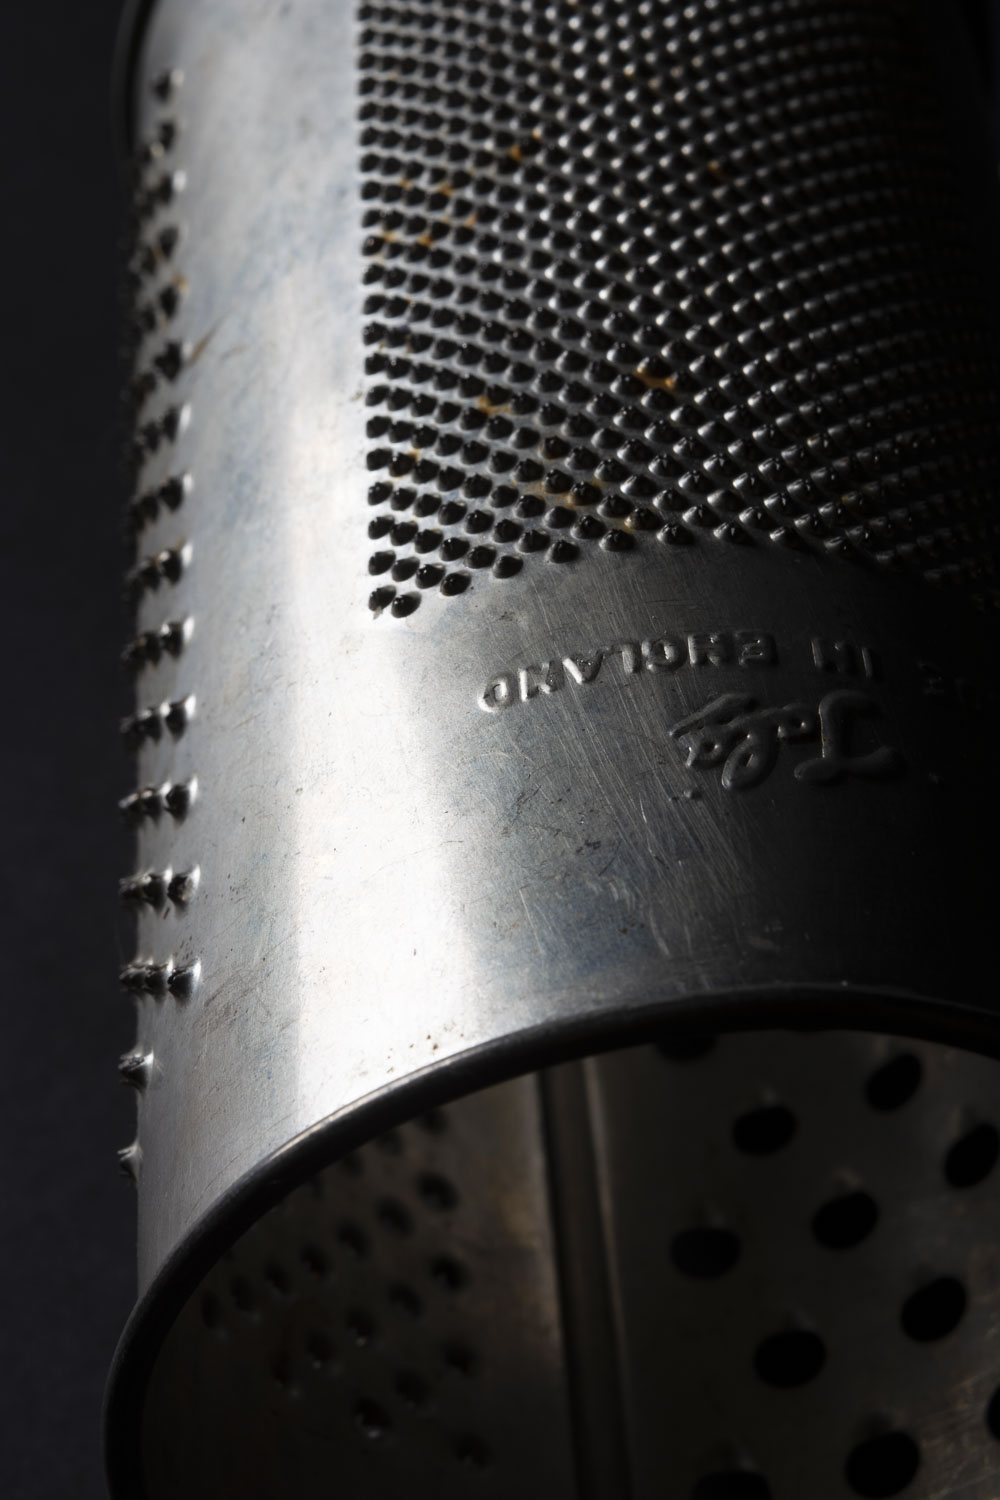
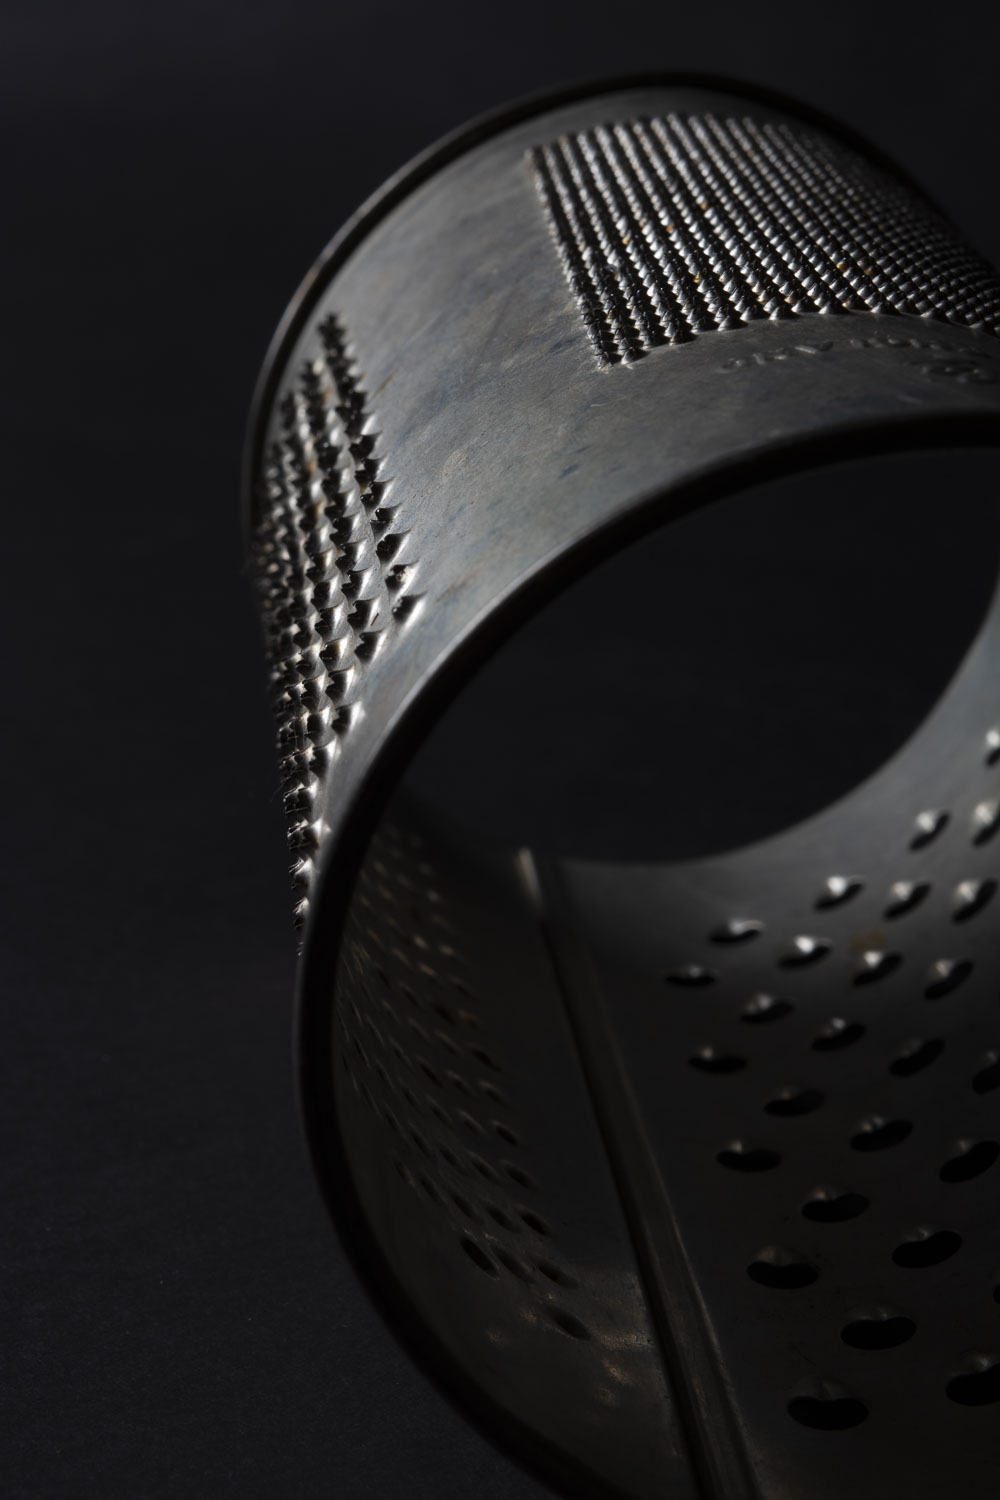
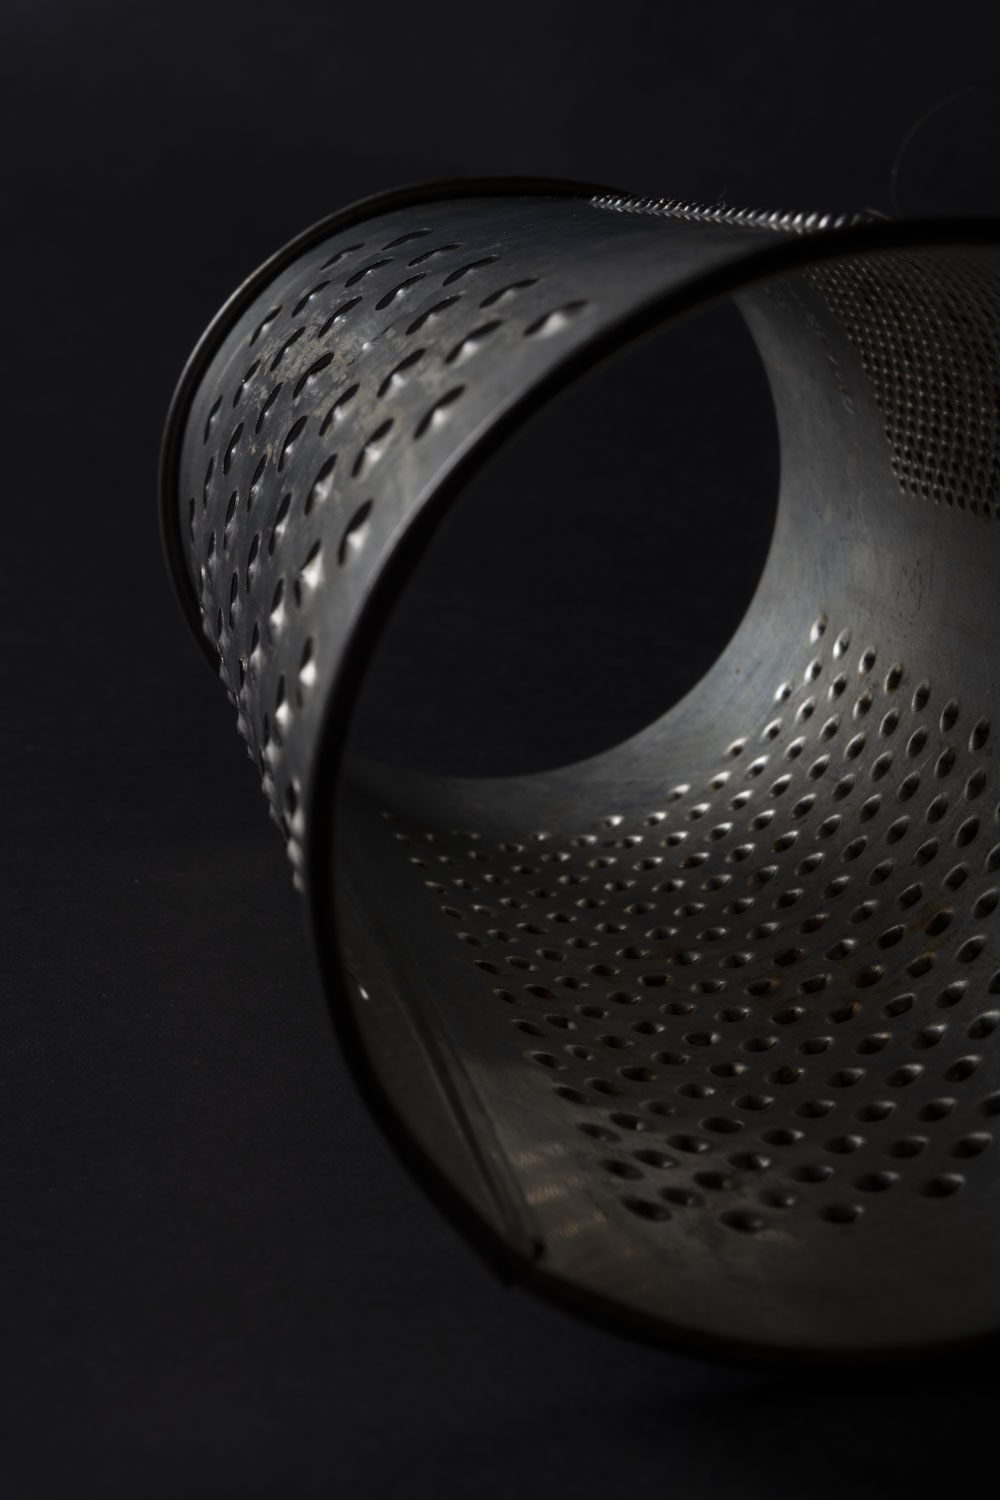
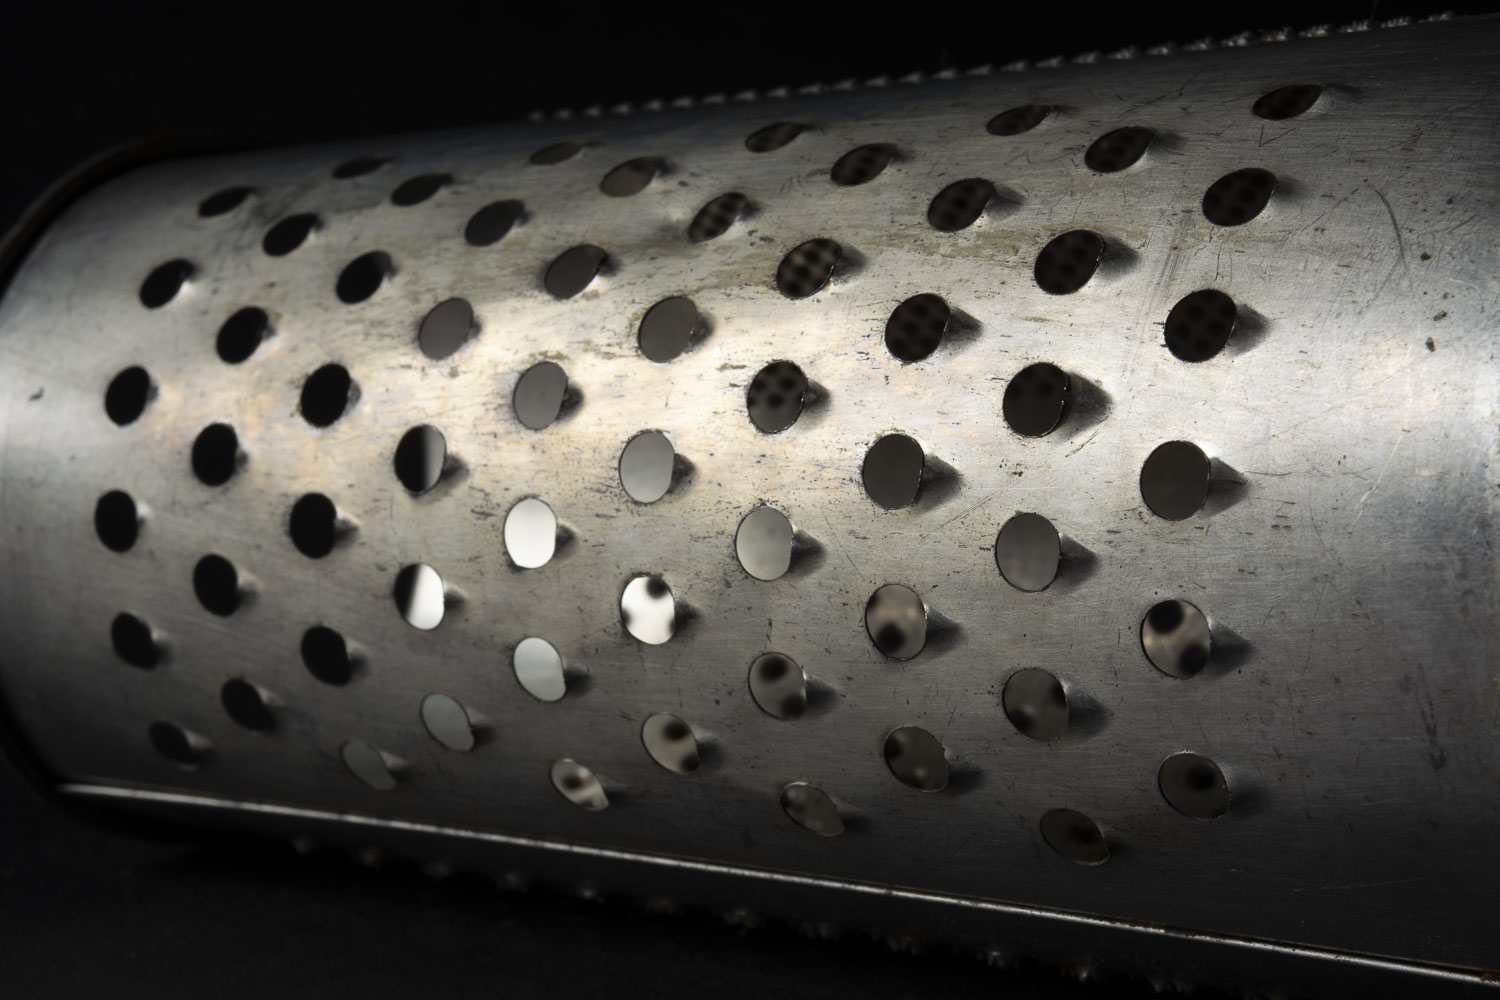
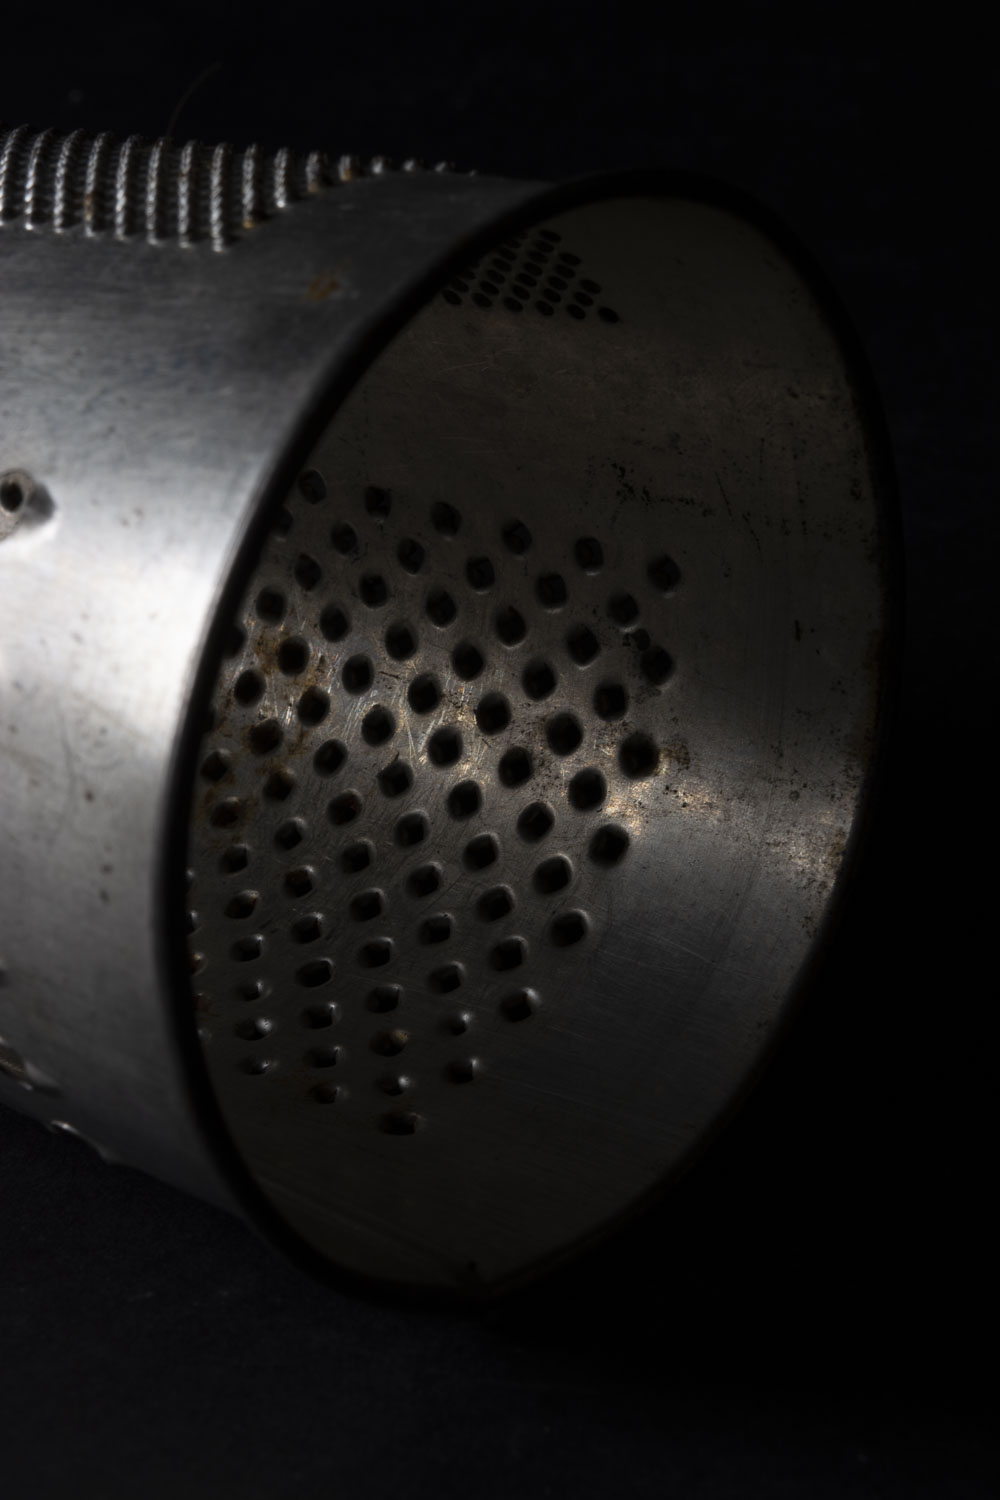
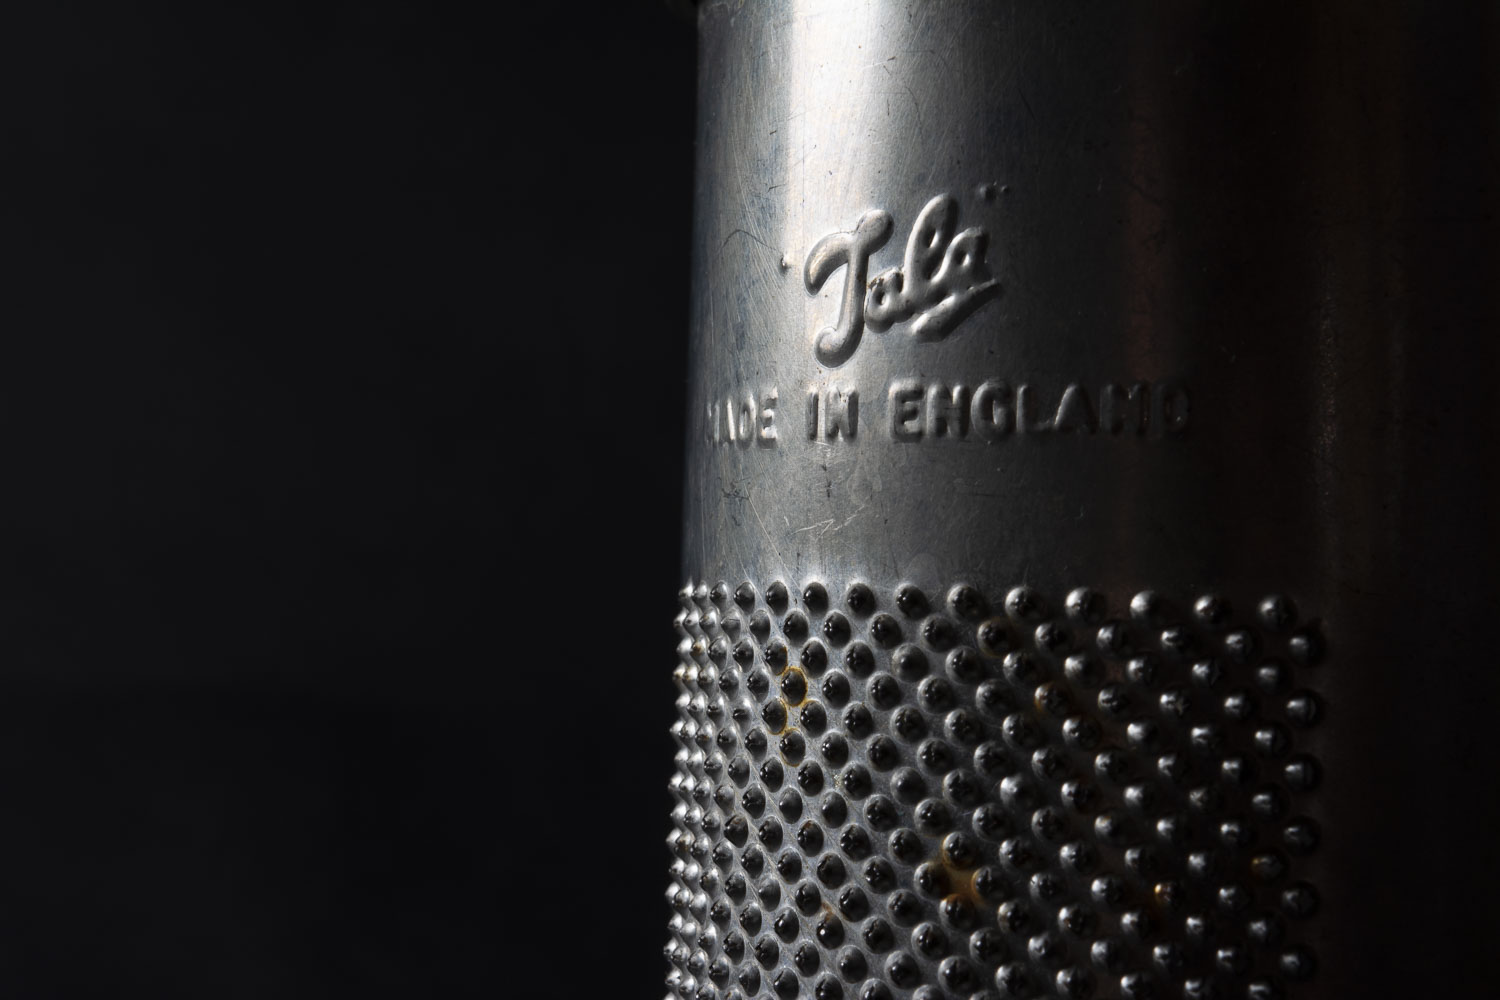
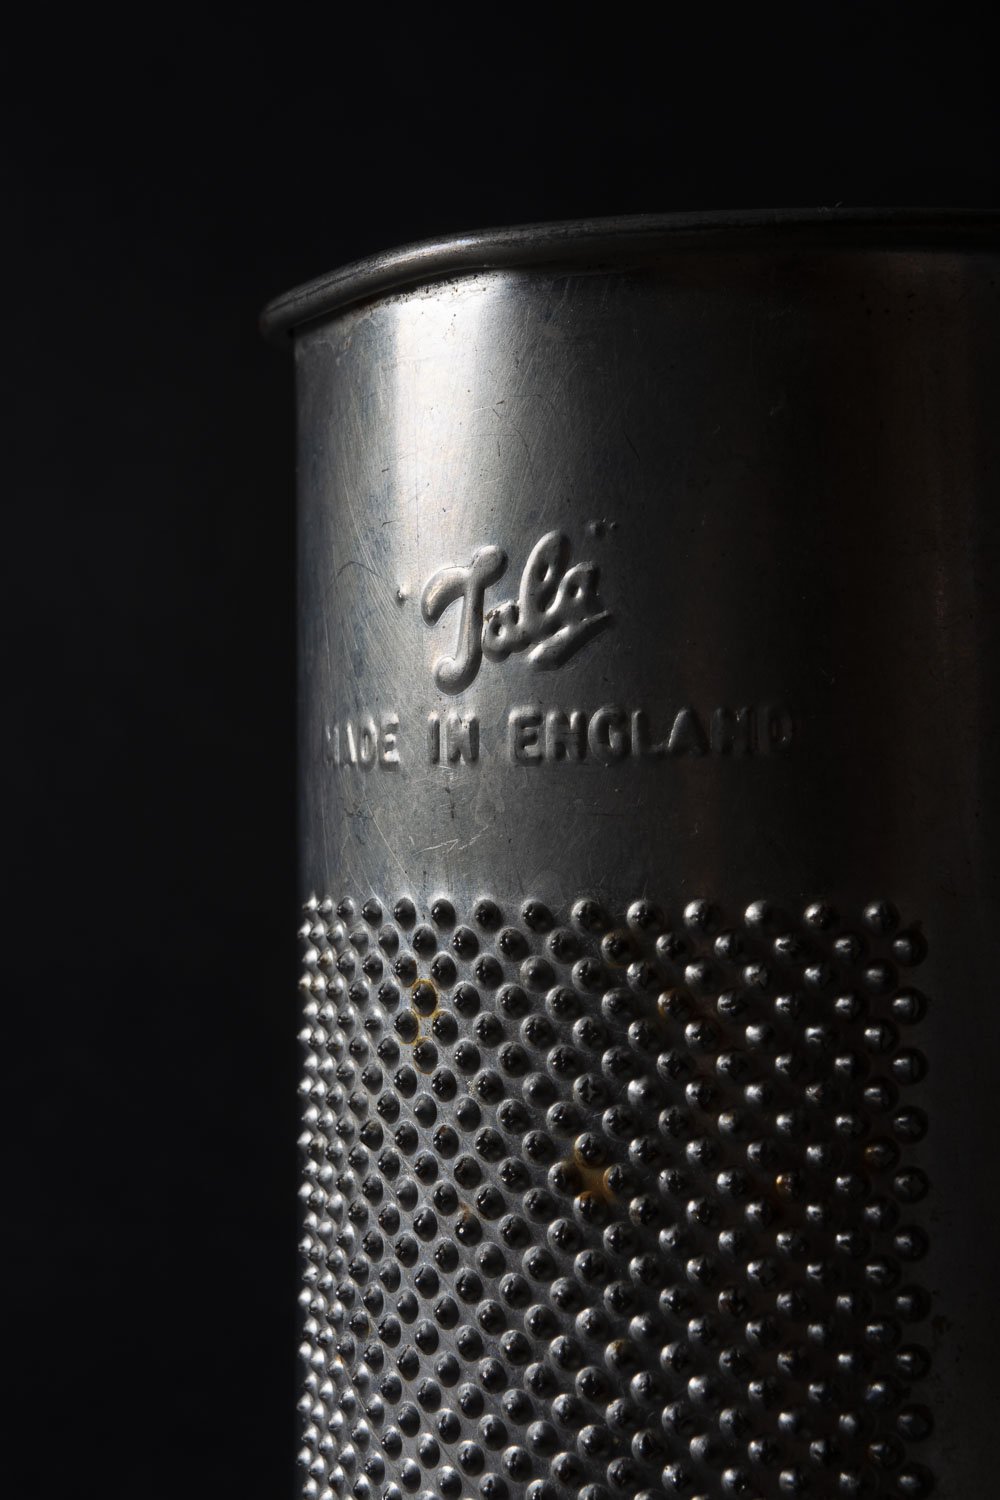
I quite like to photograph old metal and different textures. I seperated the grater from the bottles.
Light to dark with Apeture
F-7.1 F-8 F-9
F-10 F-11 F-13
F-7.1 with silver reflector
with out refector
With a reflector -moving
central composition, slight reflector
with reflector
Below, playing with different angles and one light source.
Quite often when I’m taking photographs, I try to produce something that you can’t necessarily achieve using a camera on a phone. So, drawn to slow shutter speeds, I really wanted to produce some images like Alex Titarenko’s from my research.
My concept for this project is to show the beauty of some of London’s buildings and structures and how people of today lead busy lives and perhaps always rushing around not taking in the views.
All of my final five images were taken using a tripod to stabilise the camera and stop camera shake. I also used a neutral density filter, ND16, to allow me to use longer shutter speeds during brighter days or brighter lit areas so not to over exposed. They are also all shot with an ISO of 100. This allowed me to get the best quality photographs in daylight conditions.
Below are my final five photographs. I had originally wanted to try and produce some Black and White images taking inspiration from Alexey Titarenko’s motion blur photographs. However after some class discussion and feedback we all decided they worked better in colour.
Liberty’s
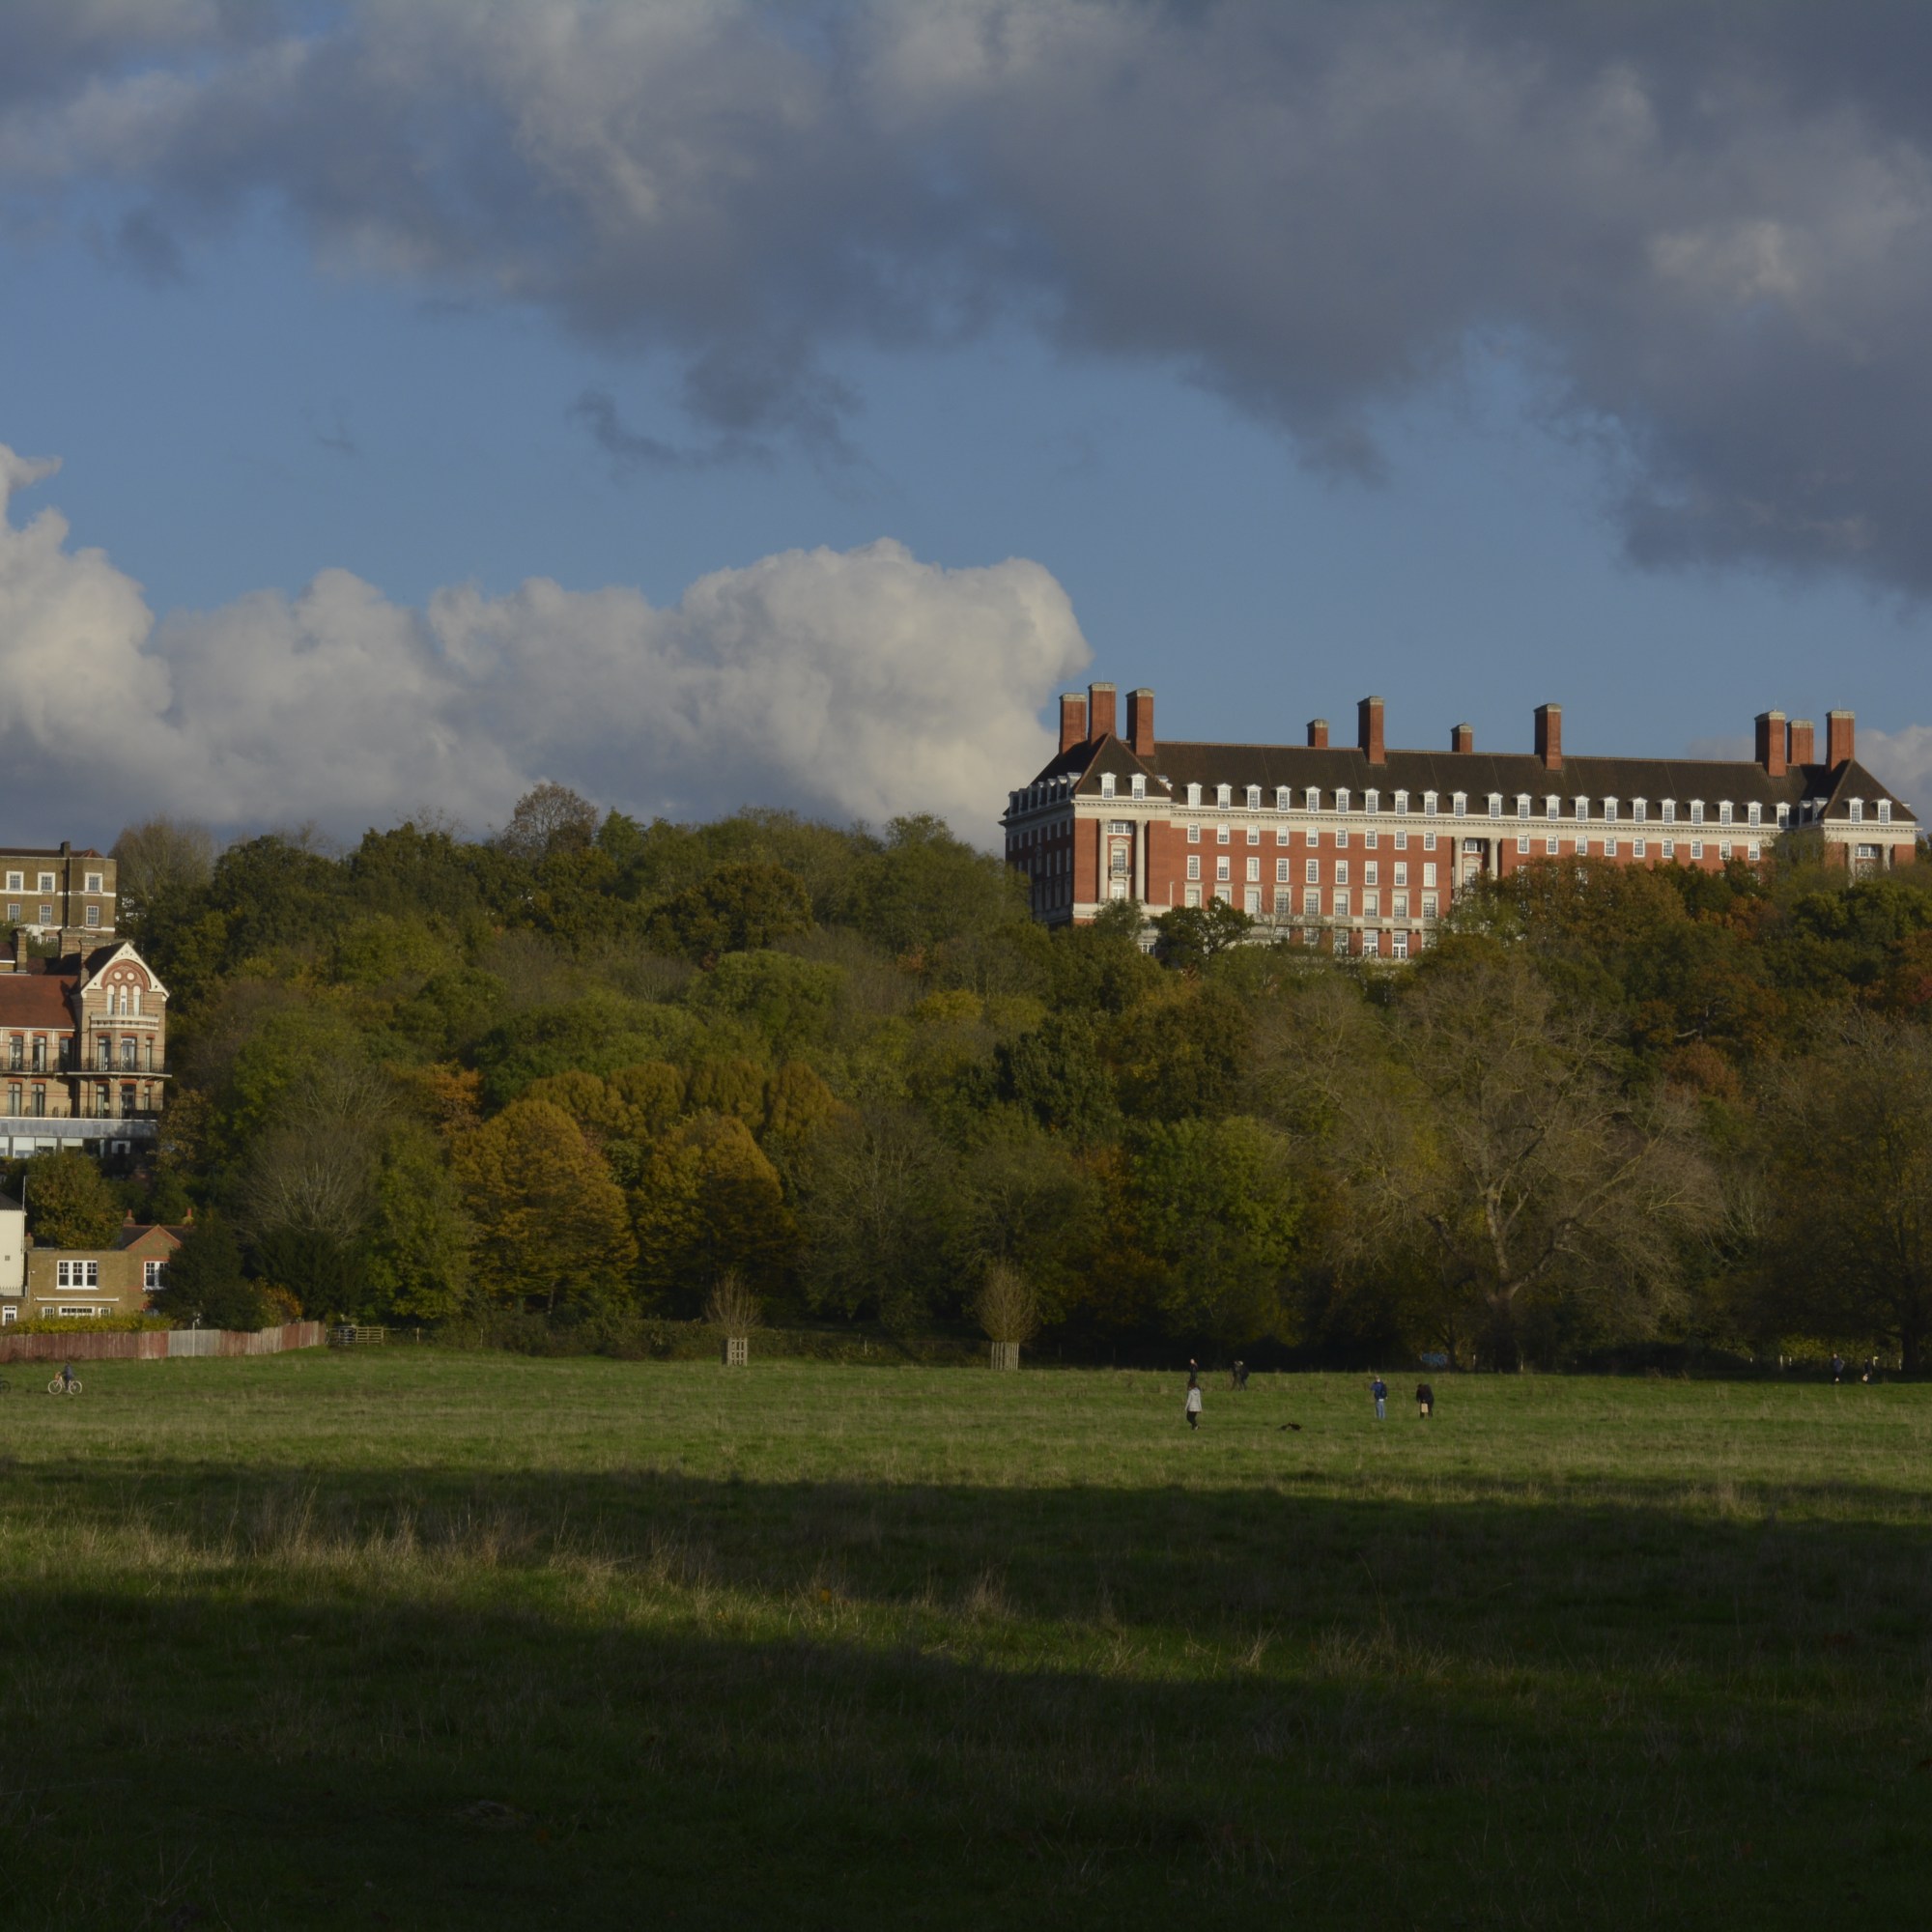
From my recce photographs you can see that I wanted to try and capture the Liberty building. With the flow of traffic and my focus not quite right, I ended up choosing this photo below. It was taken behind Liberty’s along a pedestrian walk way leading to Carnaby Street. I felt capturing flows of people gave a better effect on my images than traffic did and keeping that ghostly feel.
Kingly Street, Liberty’s
F-25 ISO-100 SS-1.6secs
It was a very sunny day when I captured this photograph. Even though I was using an ND filter I needed to really try and control the amount of light coming into my images. Therefore I used a very high f-stop of 25. There wasn’t a constant flow of people walking past me so I needed to wait for groups of people to approach before taking the photograph. Any longer than 1.6-2 seconds was over exposing the Image.
Within post production I had to work a lot with the exposures on this photograph. The original image was a lot darker. Lightening the exposure allowed the centre of the photograph to be nicely exposed, brightening the darker areas of the pub entrance and building facade. I also lightened the shadows that formed the people using the brush tool with curves on Photoshop. This draws the eye to the centre of the photograph where you can see the great detail of the pub and the motion blur from the people.
However in bringing the exposure up I had lost the colour in the sky. To bring this back I worked on a separate layer and darkened the whole photograph. Then using a mask I exposed the sky using the brush tool(soft with a low opacity). The areas around the building were tricky so zooming in helped not to darken the top of the building and chimneys. Bringing the blue sky back into the Image created a good colour balance to the whole photograph and kept the focus towards the middle.
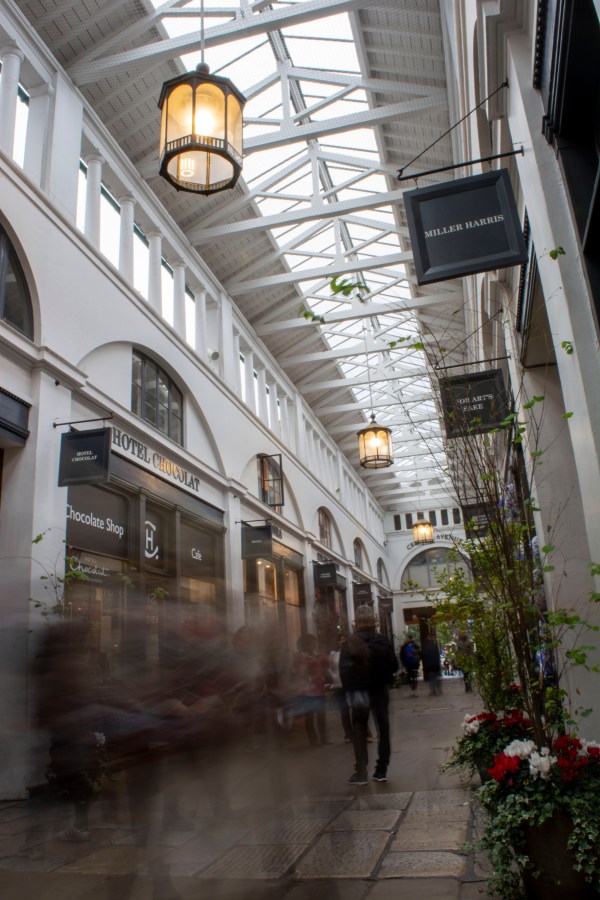
Covent Garden
This photograph was not my initial vision that I wanted to try and capture at Covent Garden. Trying to use a tripod in the market stall areas was not allowed and as I was using longer shutter speeds I needed to stabilise the camera somehow. I was not wanting to give up but really struggling to find a solution.
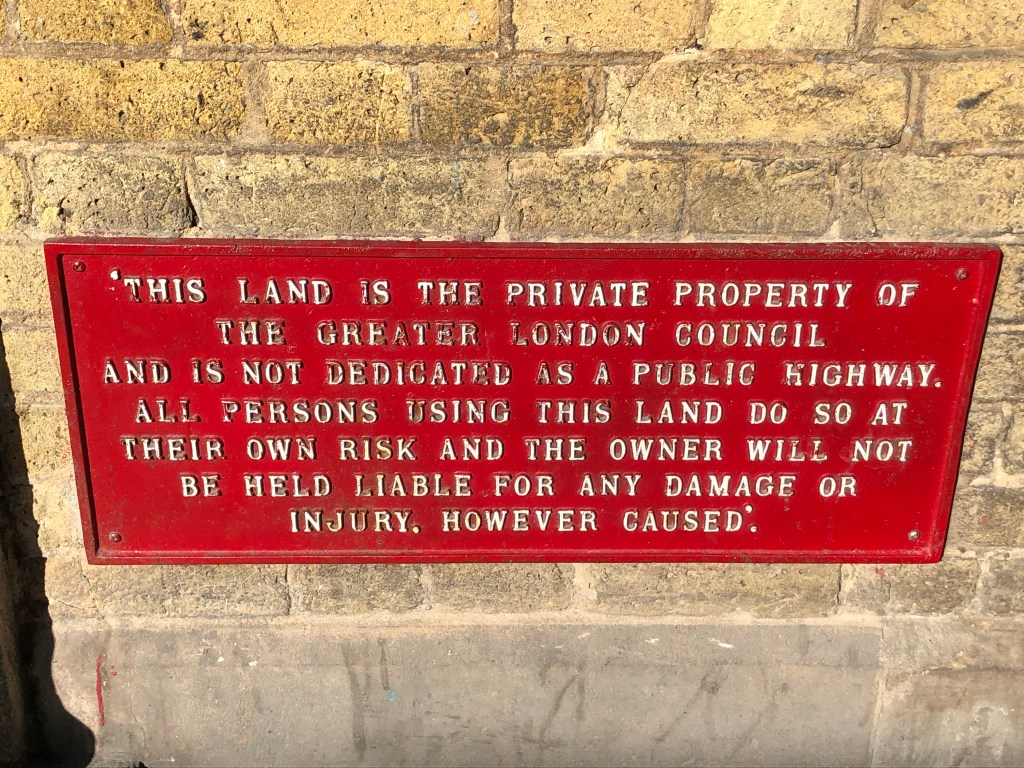
Sign on the wall of Covent Garden (iPhone)
I was so pleased to be able to bend the rules and get one of my final five photographs.
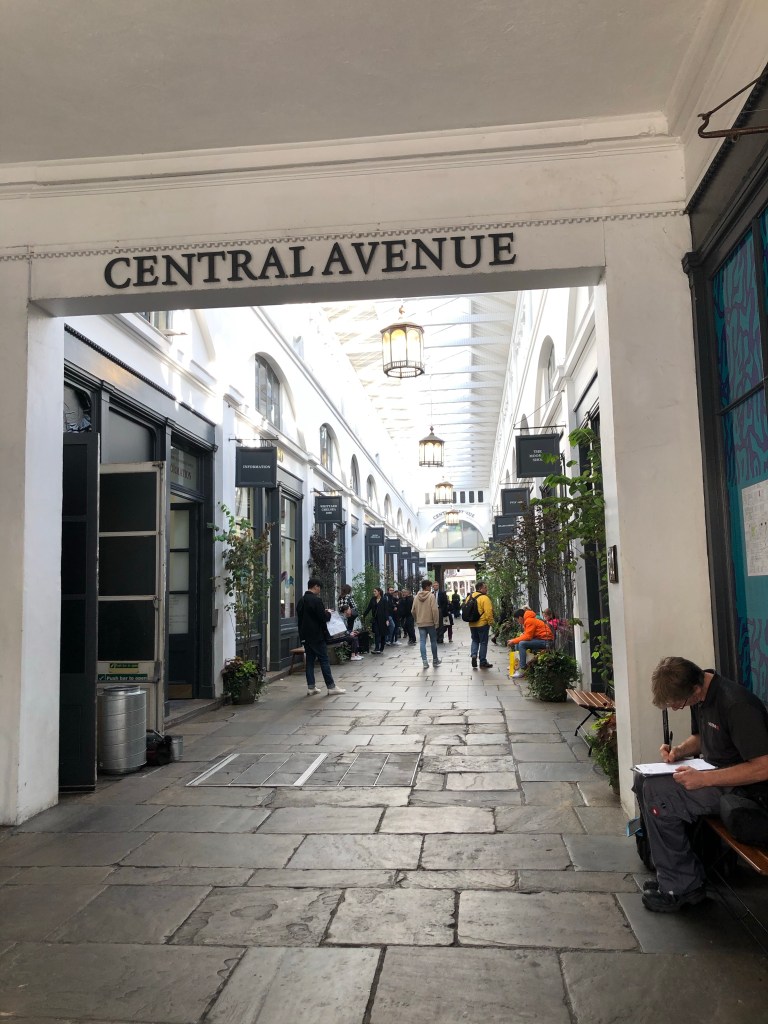
Central Avenue (see photo below) was within the grounds of the market. All along the shops within were benches. I managed to set up my tripod on the smallest setting and rested it on the bench. This way, I wasn’t causing a trip hazard or breaking any rules and was able to stabilise the camera to get the shot.
Central Avenue in Covent Garden (iPhone)
It was on this recce that I had decided to switch my lens focus from manual to auto. I have mainly used manual focus up until now, thinking to be a good photographer that is what I need to master. The only problem with that is that you think you have the perfect shot, however you get home and zoom in on a bigger screen and realise you’re just off with the focus.
Central Avenue, CoventGarden
F-22 ISO-100 SS-2.5secs
Although this walkway was undercover there was still a lot of light coming through the windows at the top so I decided to use a fairly high f-stop to try to minimise the light. Using a shutter speed of 2.5 seconds allowed me to capture stationery people and moving people quite well.
Over all I am really pleased with this photograph. The walkway being narrower than the market halls allowed there to be a constant flow of people walking through. Exactly what I needed. I like the perspective of the image however, maybe I could have aligned the image better, made the right hand side shop fronts line up with the right hand side of the frame. This is something I could go back to do in Photoshop.
This photograph I felt looked good in black and white however to keep cohesiveness within the final five, I kept it in colour.
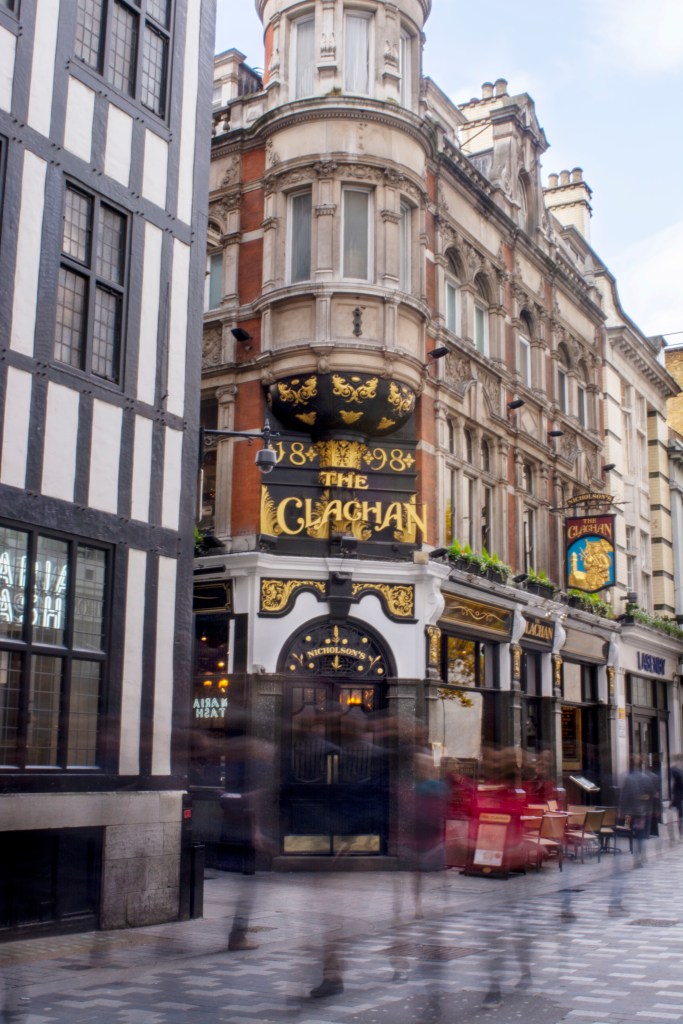
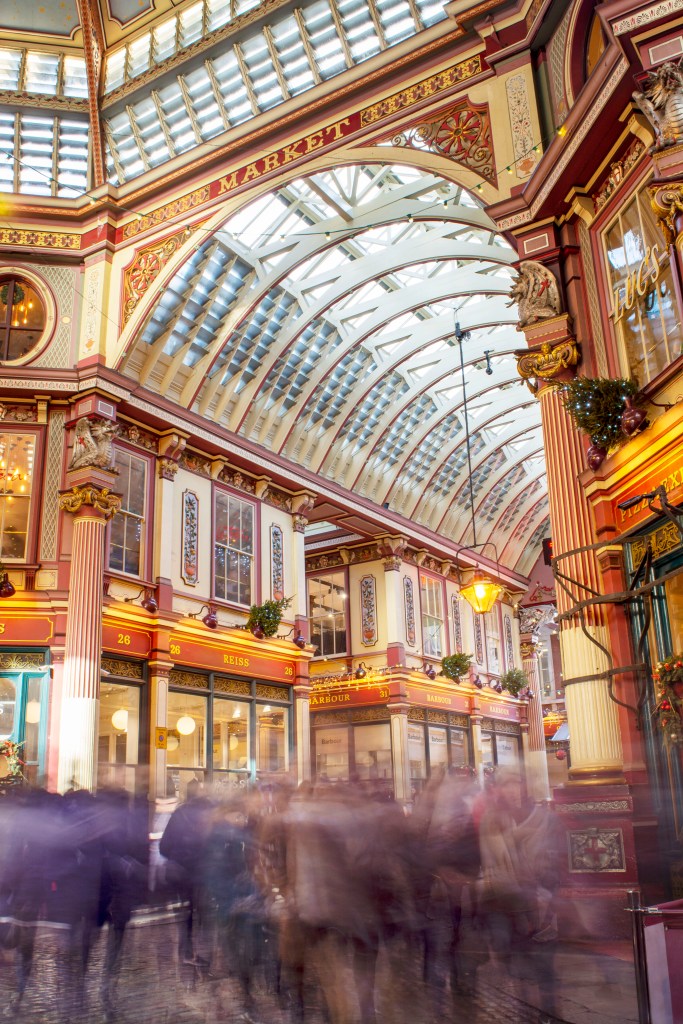
Leadenhall Market
This photograph is my favourite. I love all the architectural lines and shapes which are strong and stationary in the photograph, compared to the soft flowing motion of the blur from the people walking past.
Taken during lunchtime it made for a constant flow of people which was ideal for the type of photograph I want to achieve. I didn’t ask permission from anyone to take photographs here however I knew I wouldn’t be able to set up a tripod in the middle of a busy area. I found a spot close to the central area I wanted to photograph and positioned myself to one side, tucked slightly behind a pillar by a shop. This way I wasn’t causing an obstruction or a potential trip hazard.
Leadenhall Market
F-11 ISO-100 SS-8secs
Within Leadenhall Market, even though you can see the light coming through the top of the structure, it still was quite dark inside. Using an aperture of F-11 I managed to use an 8 second shutter speed to capture lots movement flowing through the market hall. I am very pleased with the result.
Progressing through this project, I have gained more confidence in my ability to use Photoshop. Using several different layers, I darkened and brightened the exposure in certain places. I darkened the higher windows and over exposed pillar. Then brightened some of the shop fronts and people shadows. Lightening the shadows from the people enables the viewer to see the shapes of bodies and faces and adds balance to the image. I also slightly darkened the to corners to help draw the eye towards the centre of the photograph.
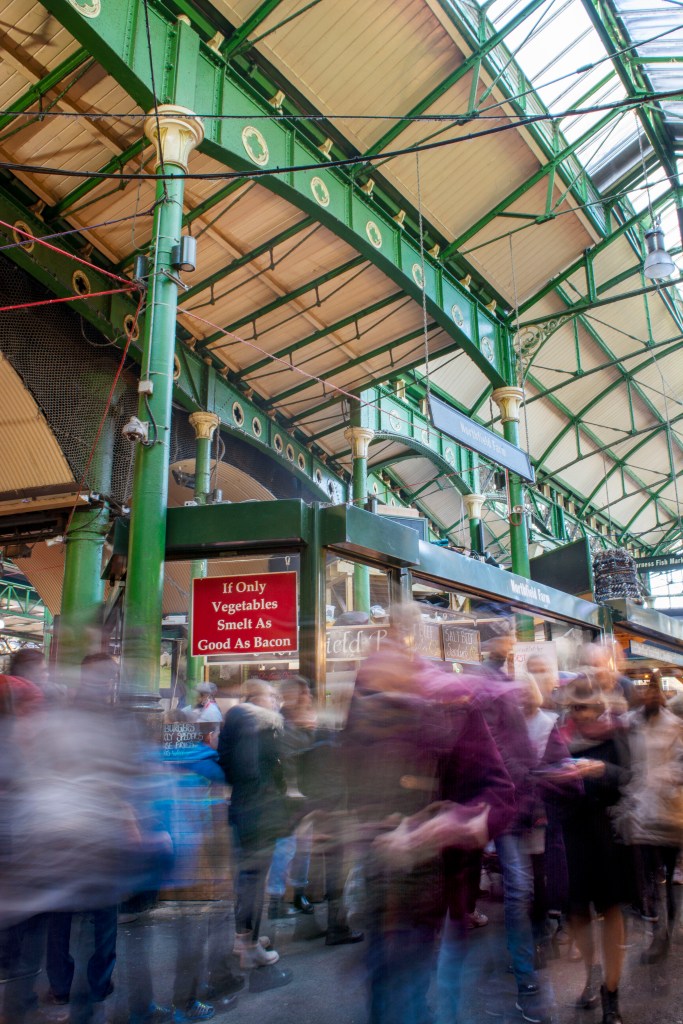
Borough Market
At Borough Market I found it quite hard to position myself with my tripod somewhere that wouldn’t be a trip hazard. A lot of the areas in the market I wanted to photograph, I would have needed to be in the middle of the central walkway or road. I did however find a spot between the market halls that I could set up my tripod safely. This was between a wall and a pillar, so the pillar protected passers-by from my tripod.
BoroughMarket
F-9 ISO-100 SS-2secs
Using only a two second shutter speed you can make out some of the faces and body parts from the people walking past me.
Again I felt my images were quite dark so I needed to do some work in postproduction to lighten the whole photograph. Perhaps I should of changed my ND filter to ND 8, something to consider for the future.
In post production, before lightening my exposure I sharpened the image. I worked on different layers with masks when brightening the exposure, as I had to keep the top right-hand corner from being overexposed when lightened. Working on the motion blur, I lightened the shadows. This defines the blur and you start to see some faces emerge.
BoroughMarket
This photograph is my least favourite from my final five. I had planned to photograph five different areas however I ran out of time and decided to use this photograph also taken at Borough Market. Shot from the same spot as the above photograph, This was the view behind me so I picked up the tripod and turned 180°.
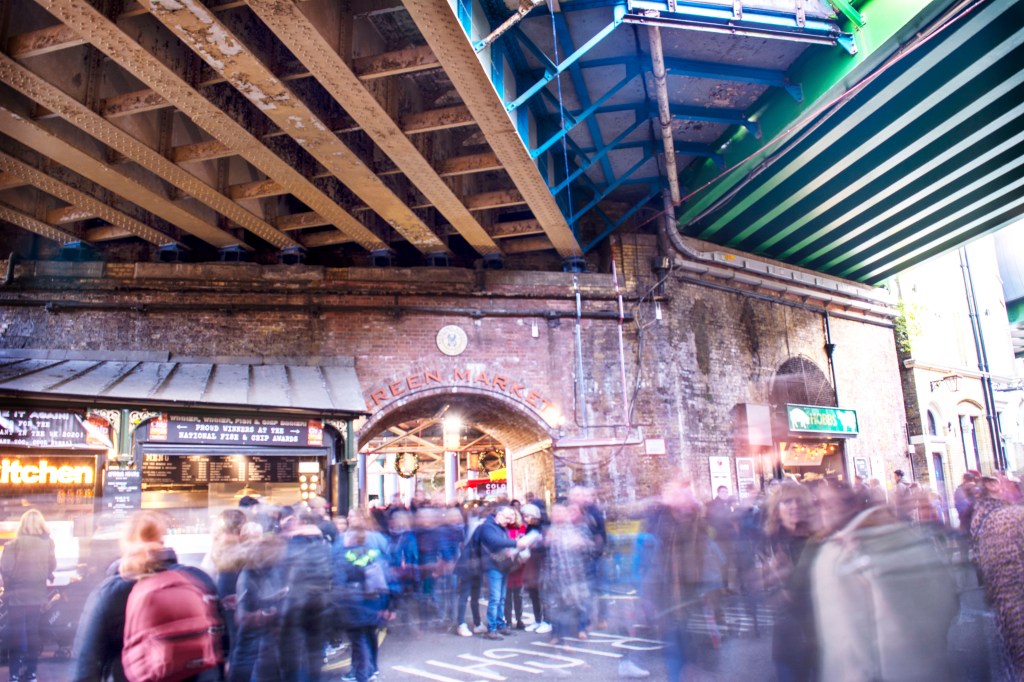
Situated under the railway bridge, this made for some great lines from the iron beams. The converging lines bring the viewers eye down towards the centre of the photograph focusing on the central brick arch and motion blur.
BoroughMarket
F-5.6 ISO 100 SS-4secs
It was quite dark under the bridge, so I was trying to let as much light come through as possible by using a lower aperture of F stop 5.6. Using a shutter speed of four seconds helped with letting more light in however the original image was still quite dark. Thinking about it now I probably should have changed the ND filter to a lower number filter, to let in a bit more light. Therefore I wouldn’t have had to do so much brightening in postproduction.
In post production I initially sharpened the photograph and used the auto button in camera raw to help guide me with the exposure, highlights and shadows on this photograph. In photo shop, I then proceeded to lighten more of the image as I felt it was still a little too dark. I wanted to see more of the lines under the bridge. I had to darken a few areas where the sun was shining through.
After doing post production on this image, I do feel that I have over done it a little across the central part. I have lighten too much and therefore lost some colour in the process, however I do like the green that I have pulled back from the metal beams.
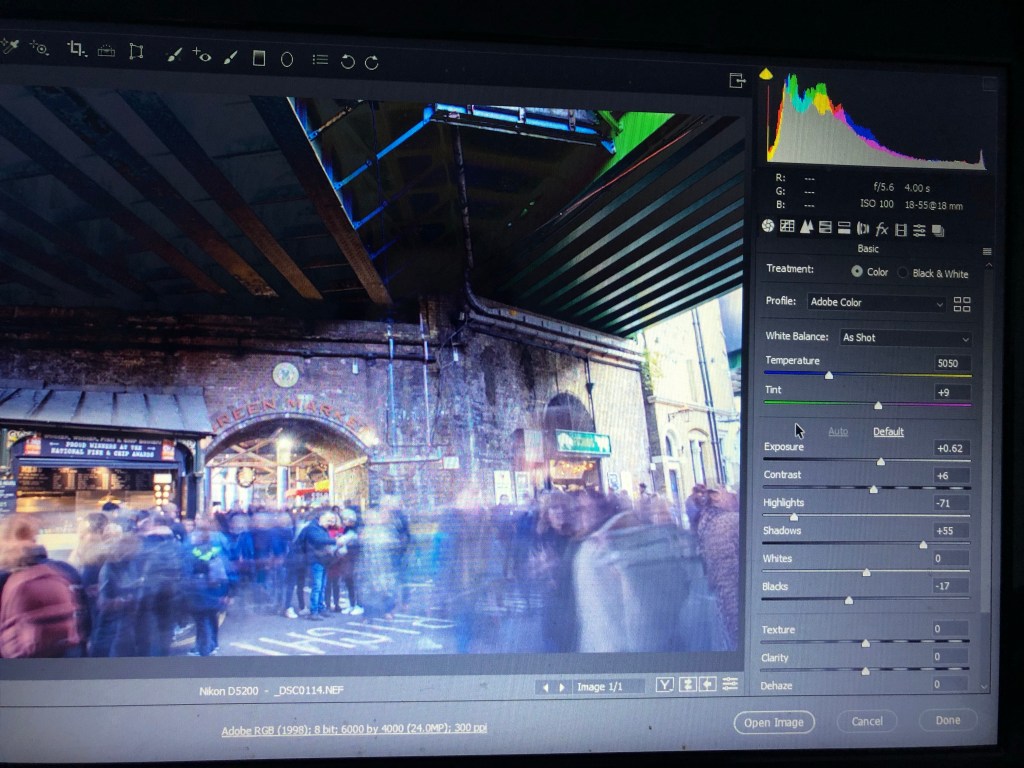
Screen shot from camera raw
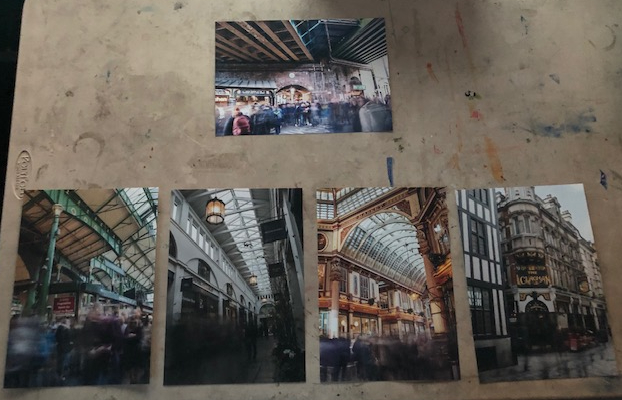
I didn’t manage to do any test prints before I sent my final photographs off to the printers, maybe that is something I might do in the future, to really confirm I am making the right paper choice. I decided to go for a Fuji velvet mat paper. I knew I wanted to keep the paper type basic, so not to distract from the detail in the images.
The photograph below shows how I would arrange my final five images on a wall for display. I feel if all images were taken with a portrait view they would have all sit nicely together. However as one image is landscape I have set it above the other four. This allows it to sit alone above, yet leads into the other four, almost like a preview before the other stronger images.
I have taken a lot of inspiration from Alexey Titarenko’s work. I have tried to re-create similar photographs combined with my ideas for the project. Using the motion blur of people, just like Titarenko, but in my photographs I am conveying the busy lives of people passing beautiful structures and land marks. It has been a little restricting with where I position myself to photograph, this has played a big factor in planning locations and compositions.
I have made many mistakes throughout this project like my time management, knowledge of Photoshop and remembering to charge batteries. However I am going to use them as a learning curve to take forward in my next project. Generally I am pleased with my outcome and I will definitely continue experimenting with motion blur and slow shutter speeds.
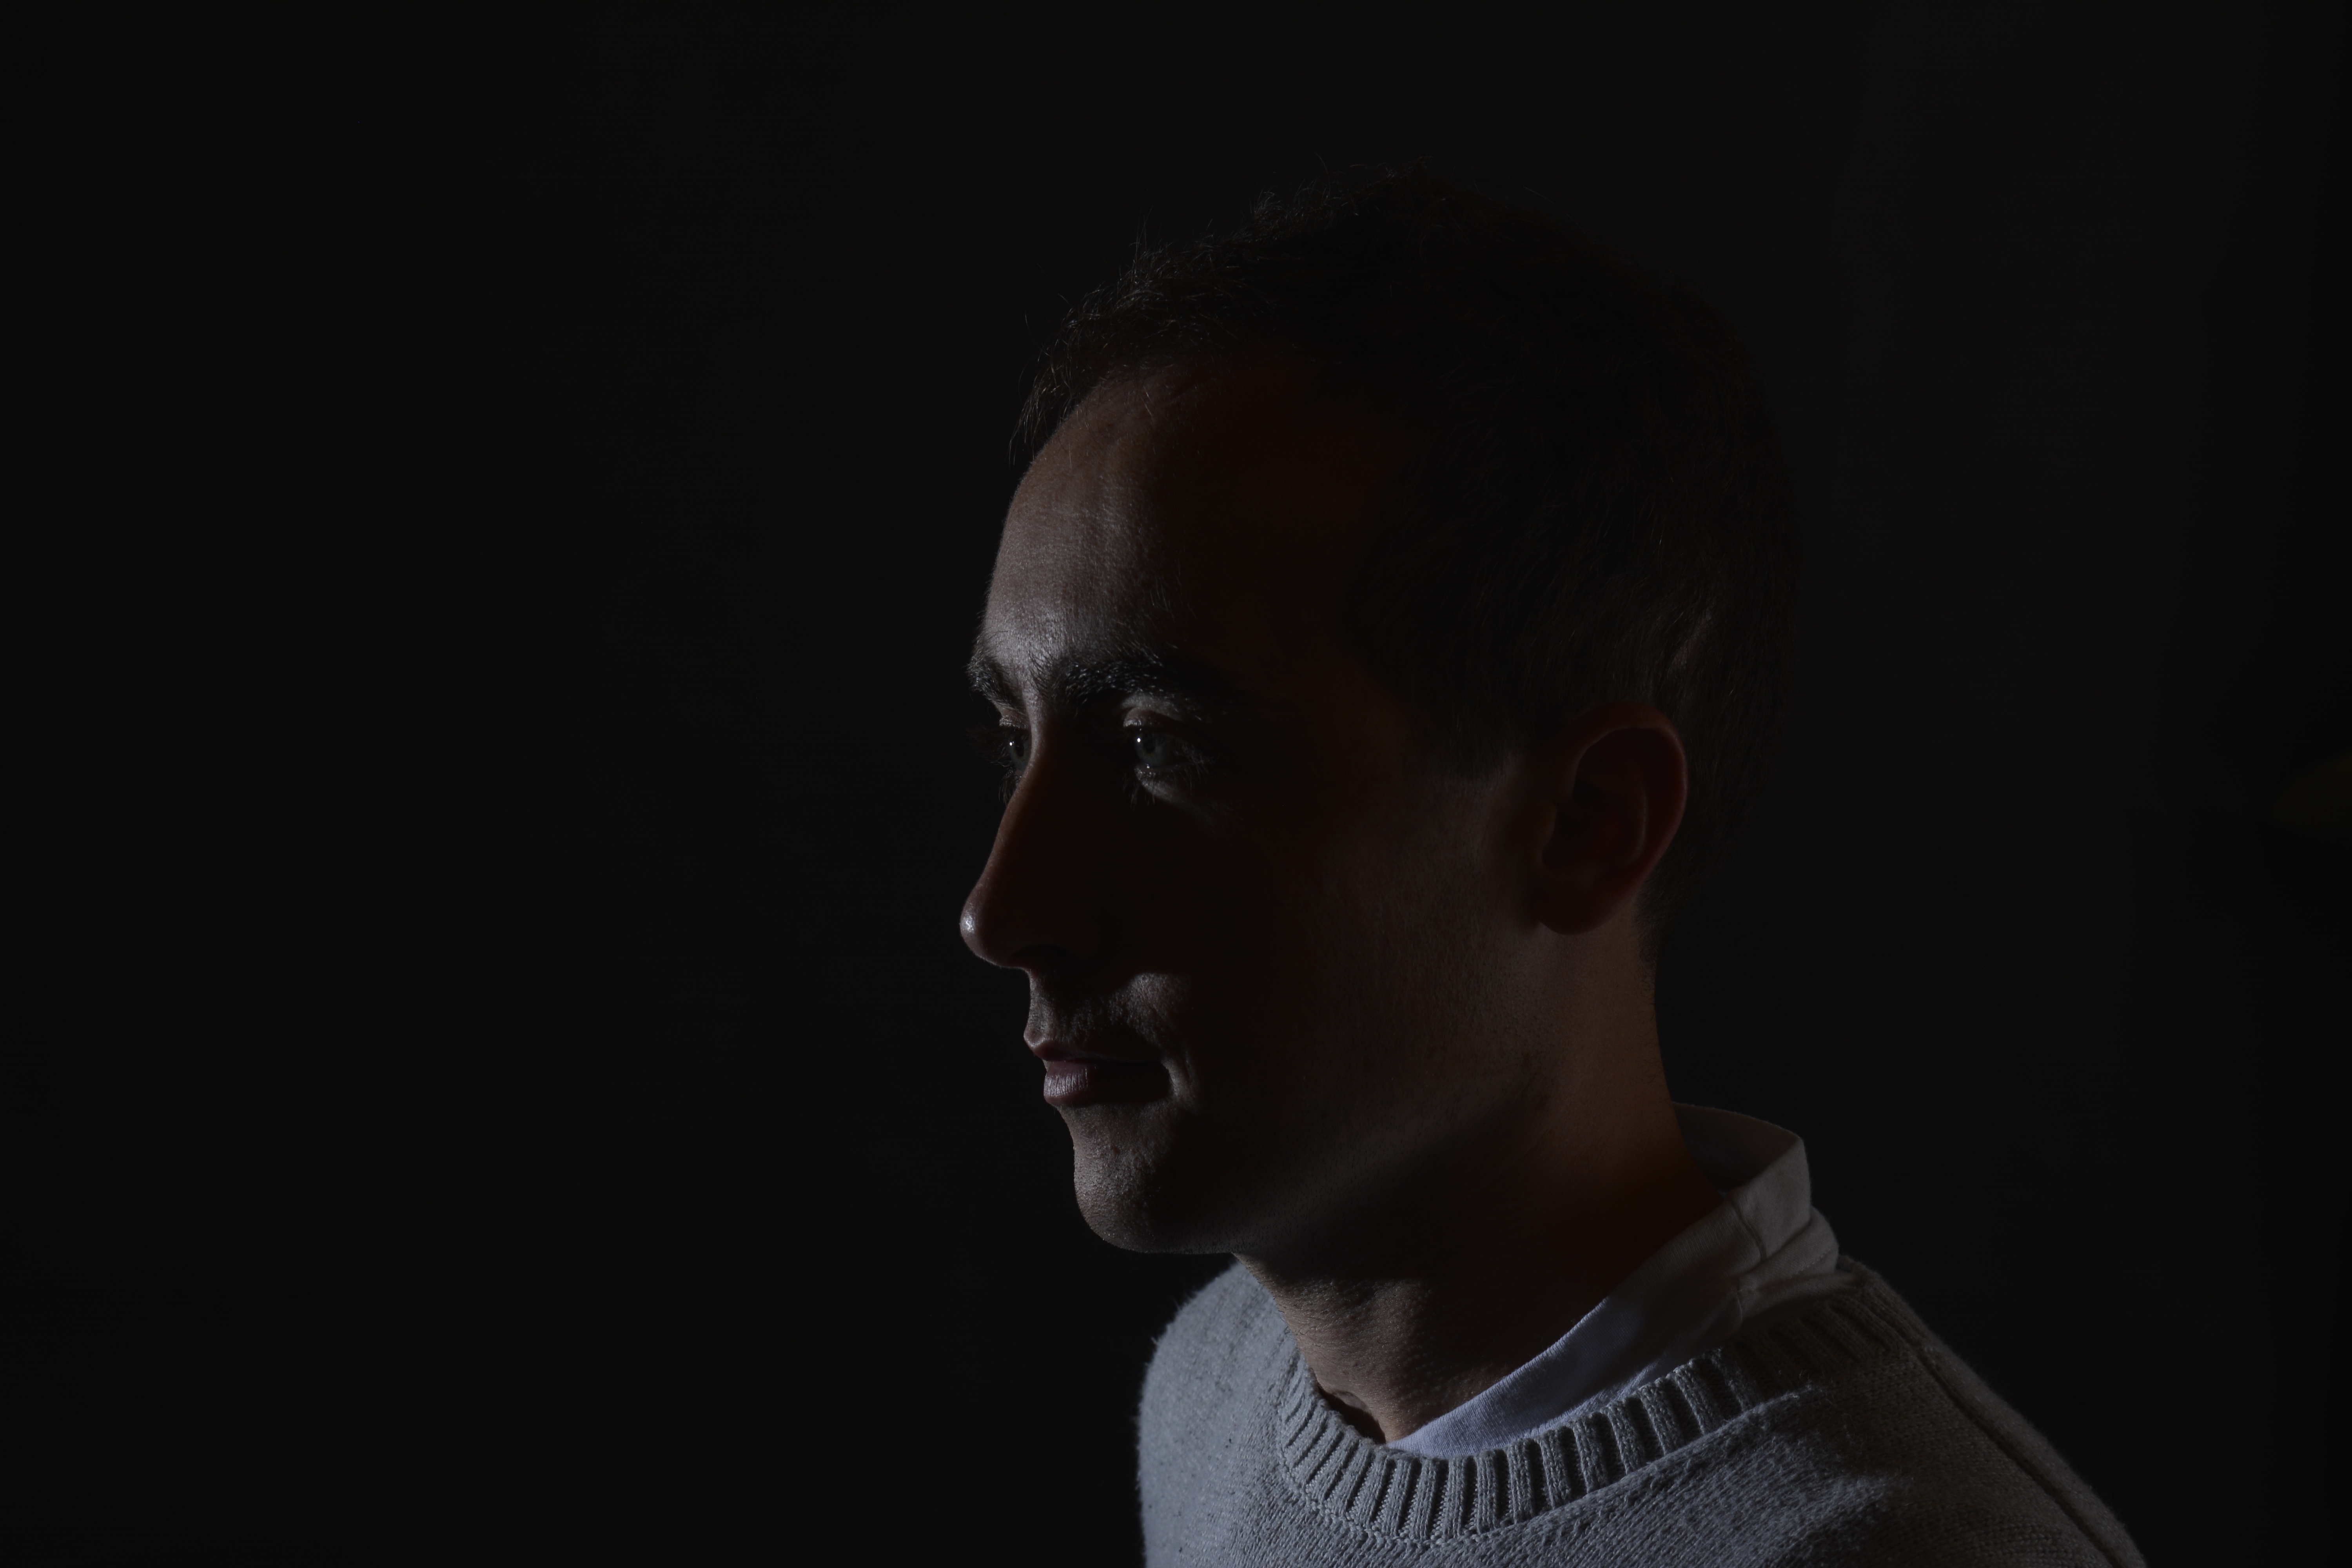
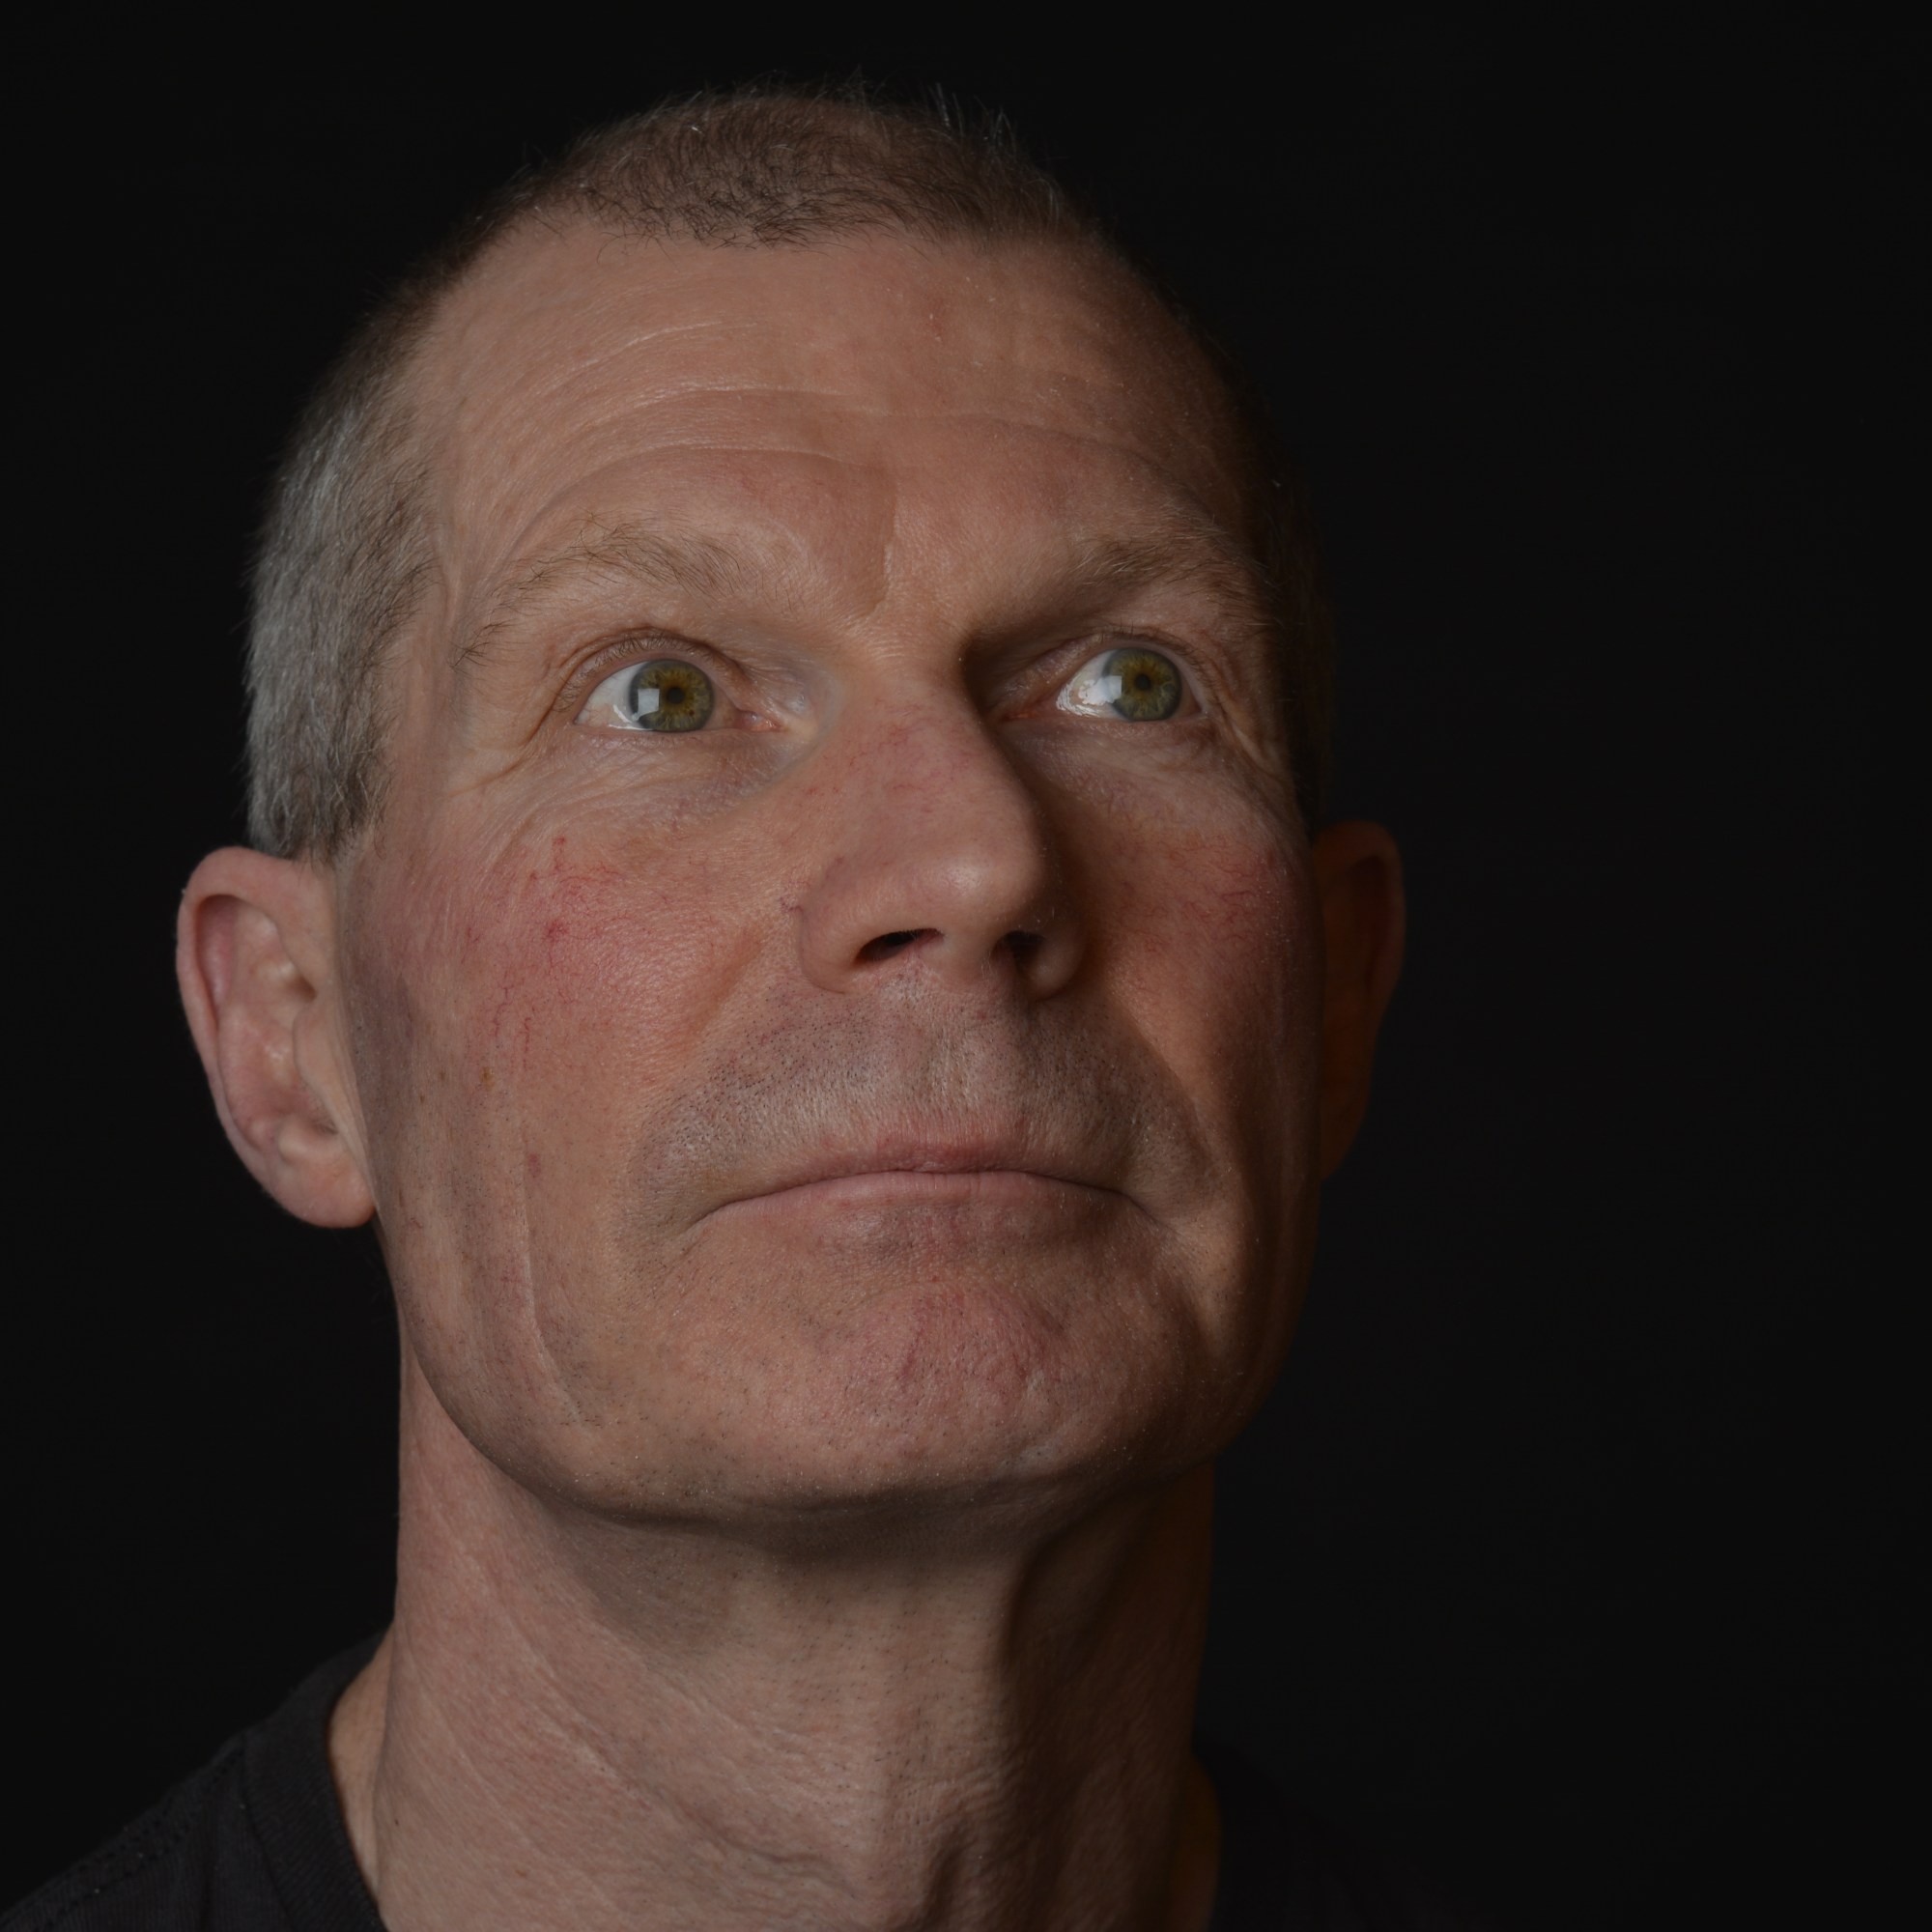
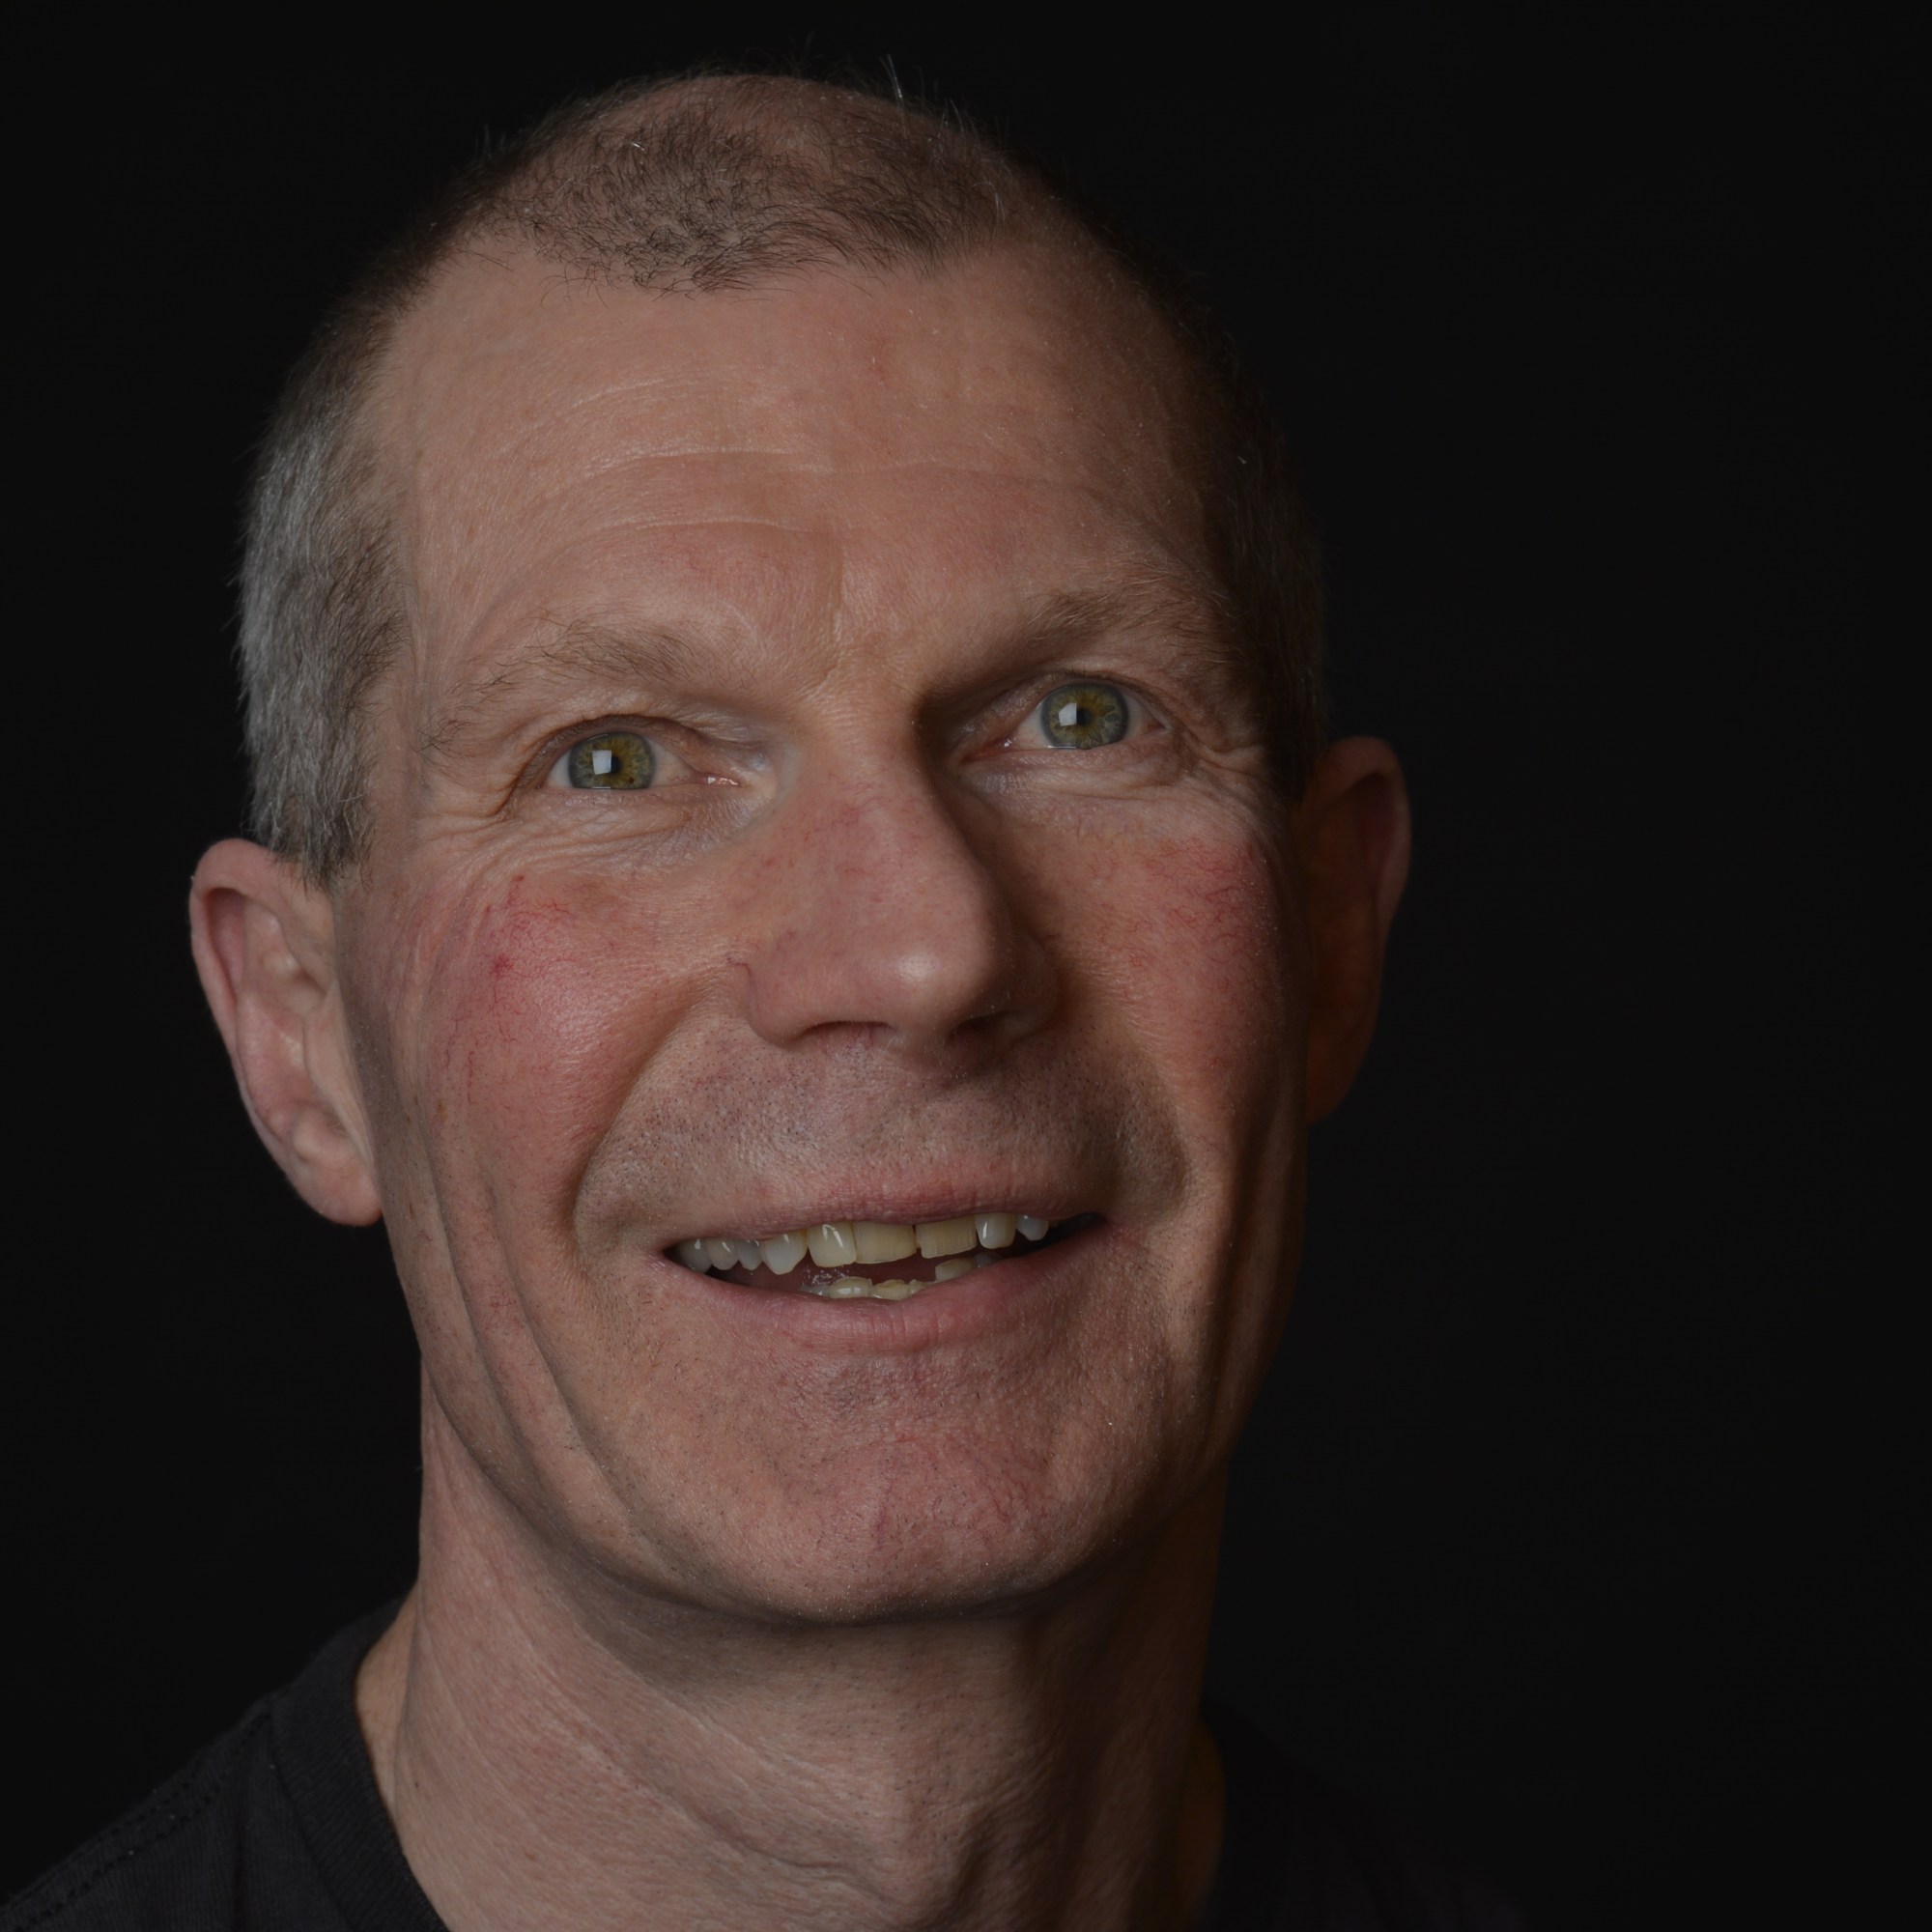
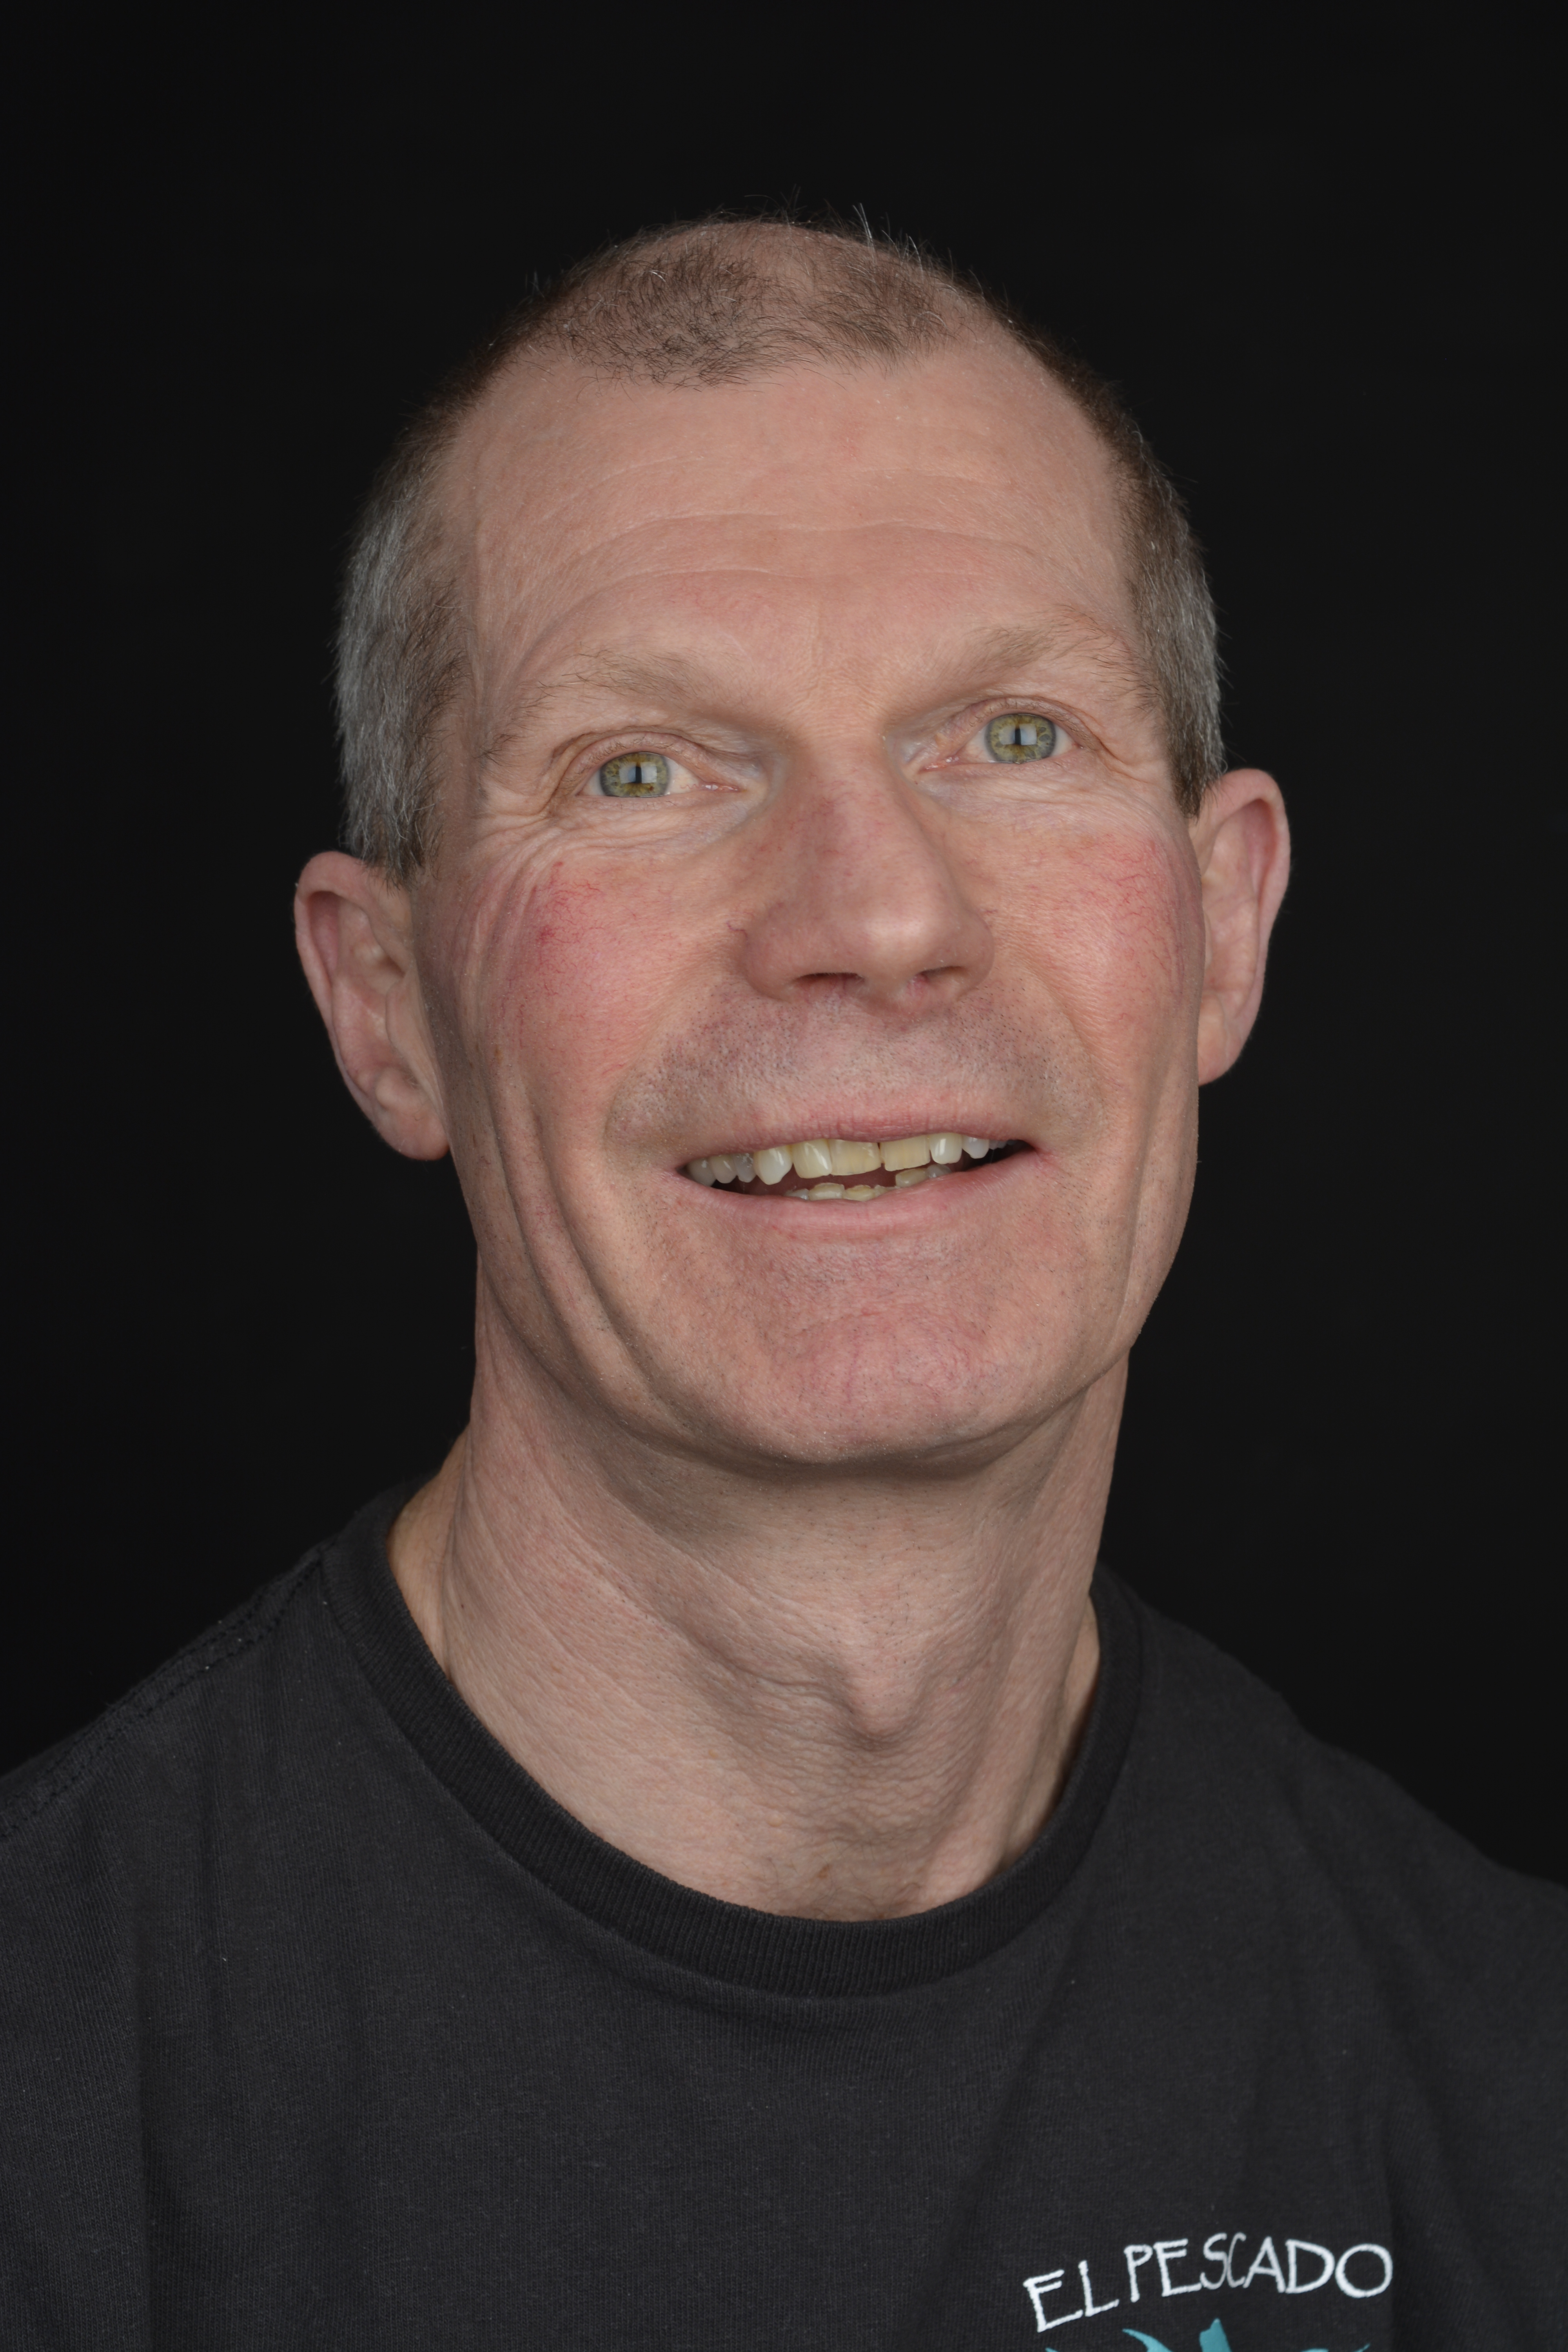
General go to settings when doing a studio shoot are as follows, Shutter Speed 100, F-Stop 8, ISO 100. After finding and setting your correct lighting, changing your Aperture will also help with getting a correctly exposed photograph.
Initial camera settings
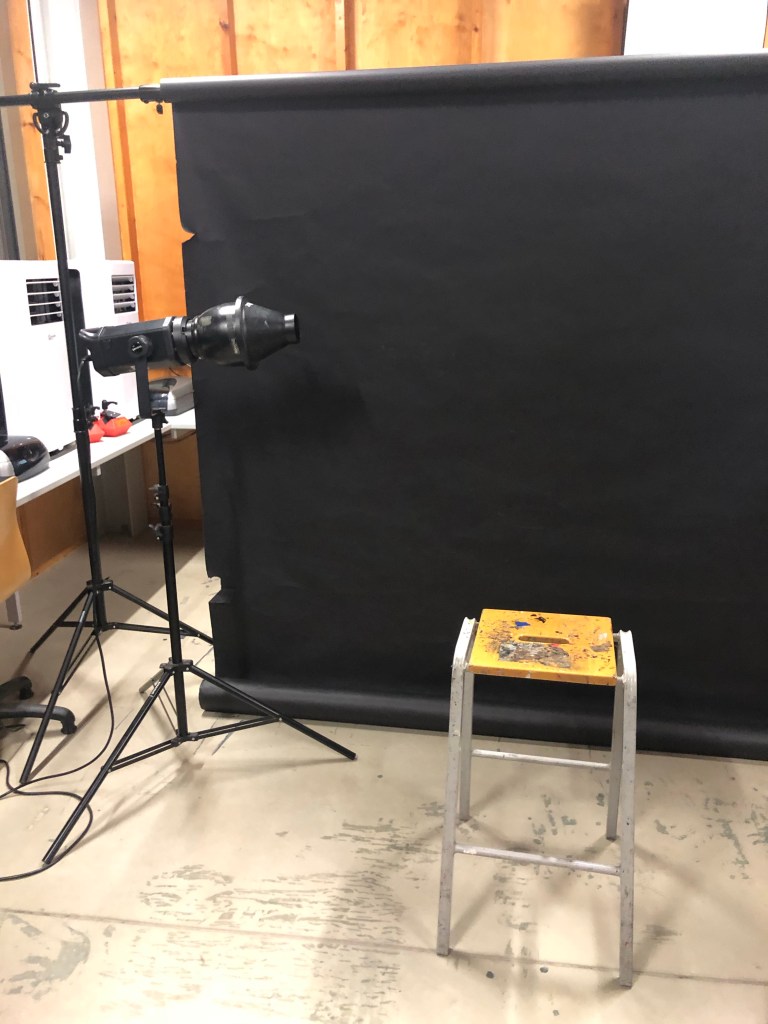
Black Background
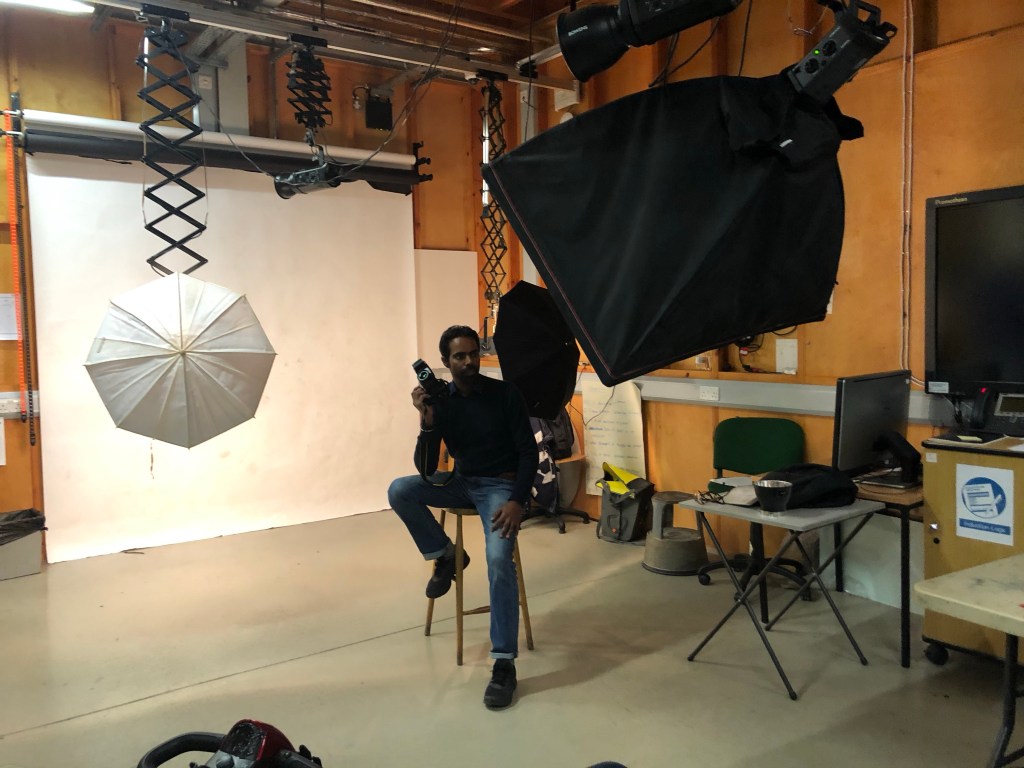
For this set up I used a black paper backdrop , one light source and a stall for the model to sit on. (See photo below).
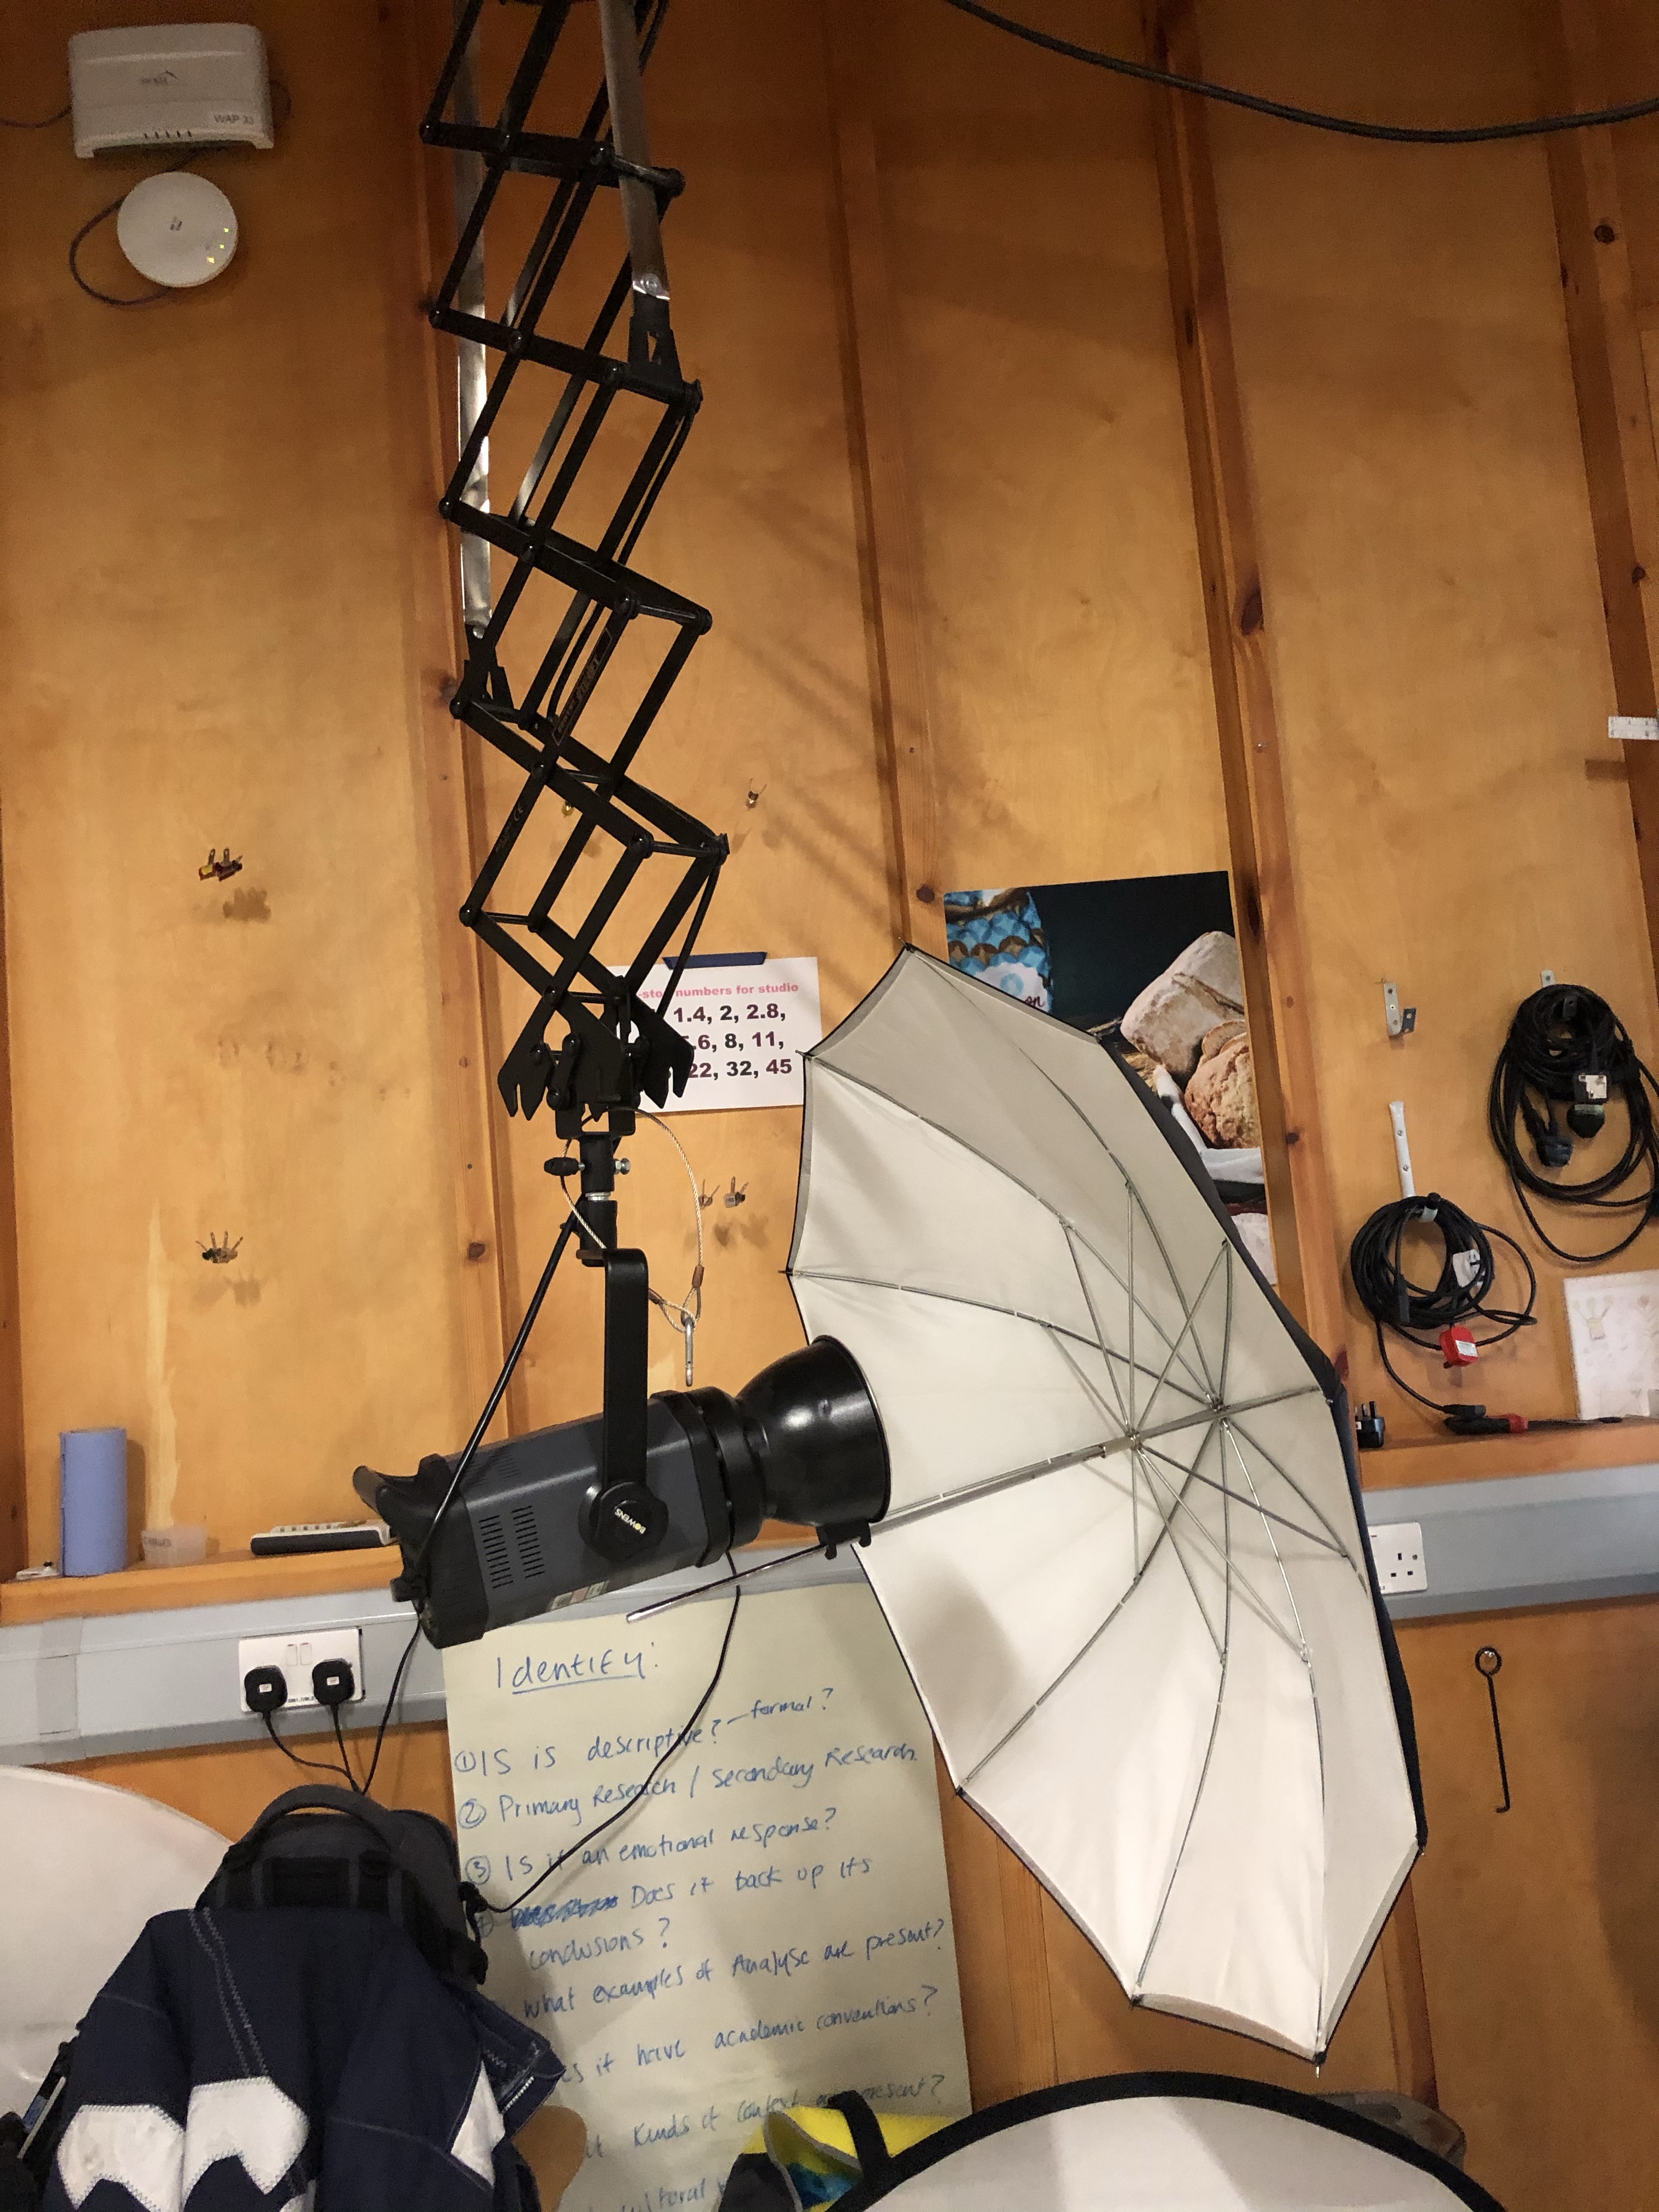
Lighting set up with Snoot attatchment
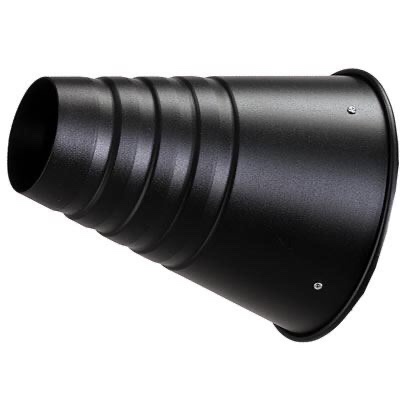
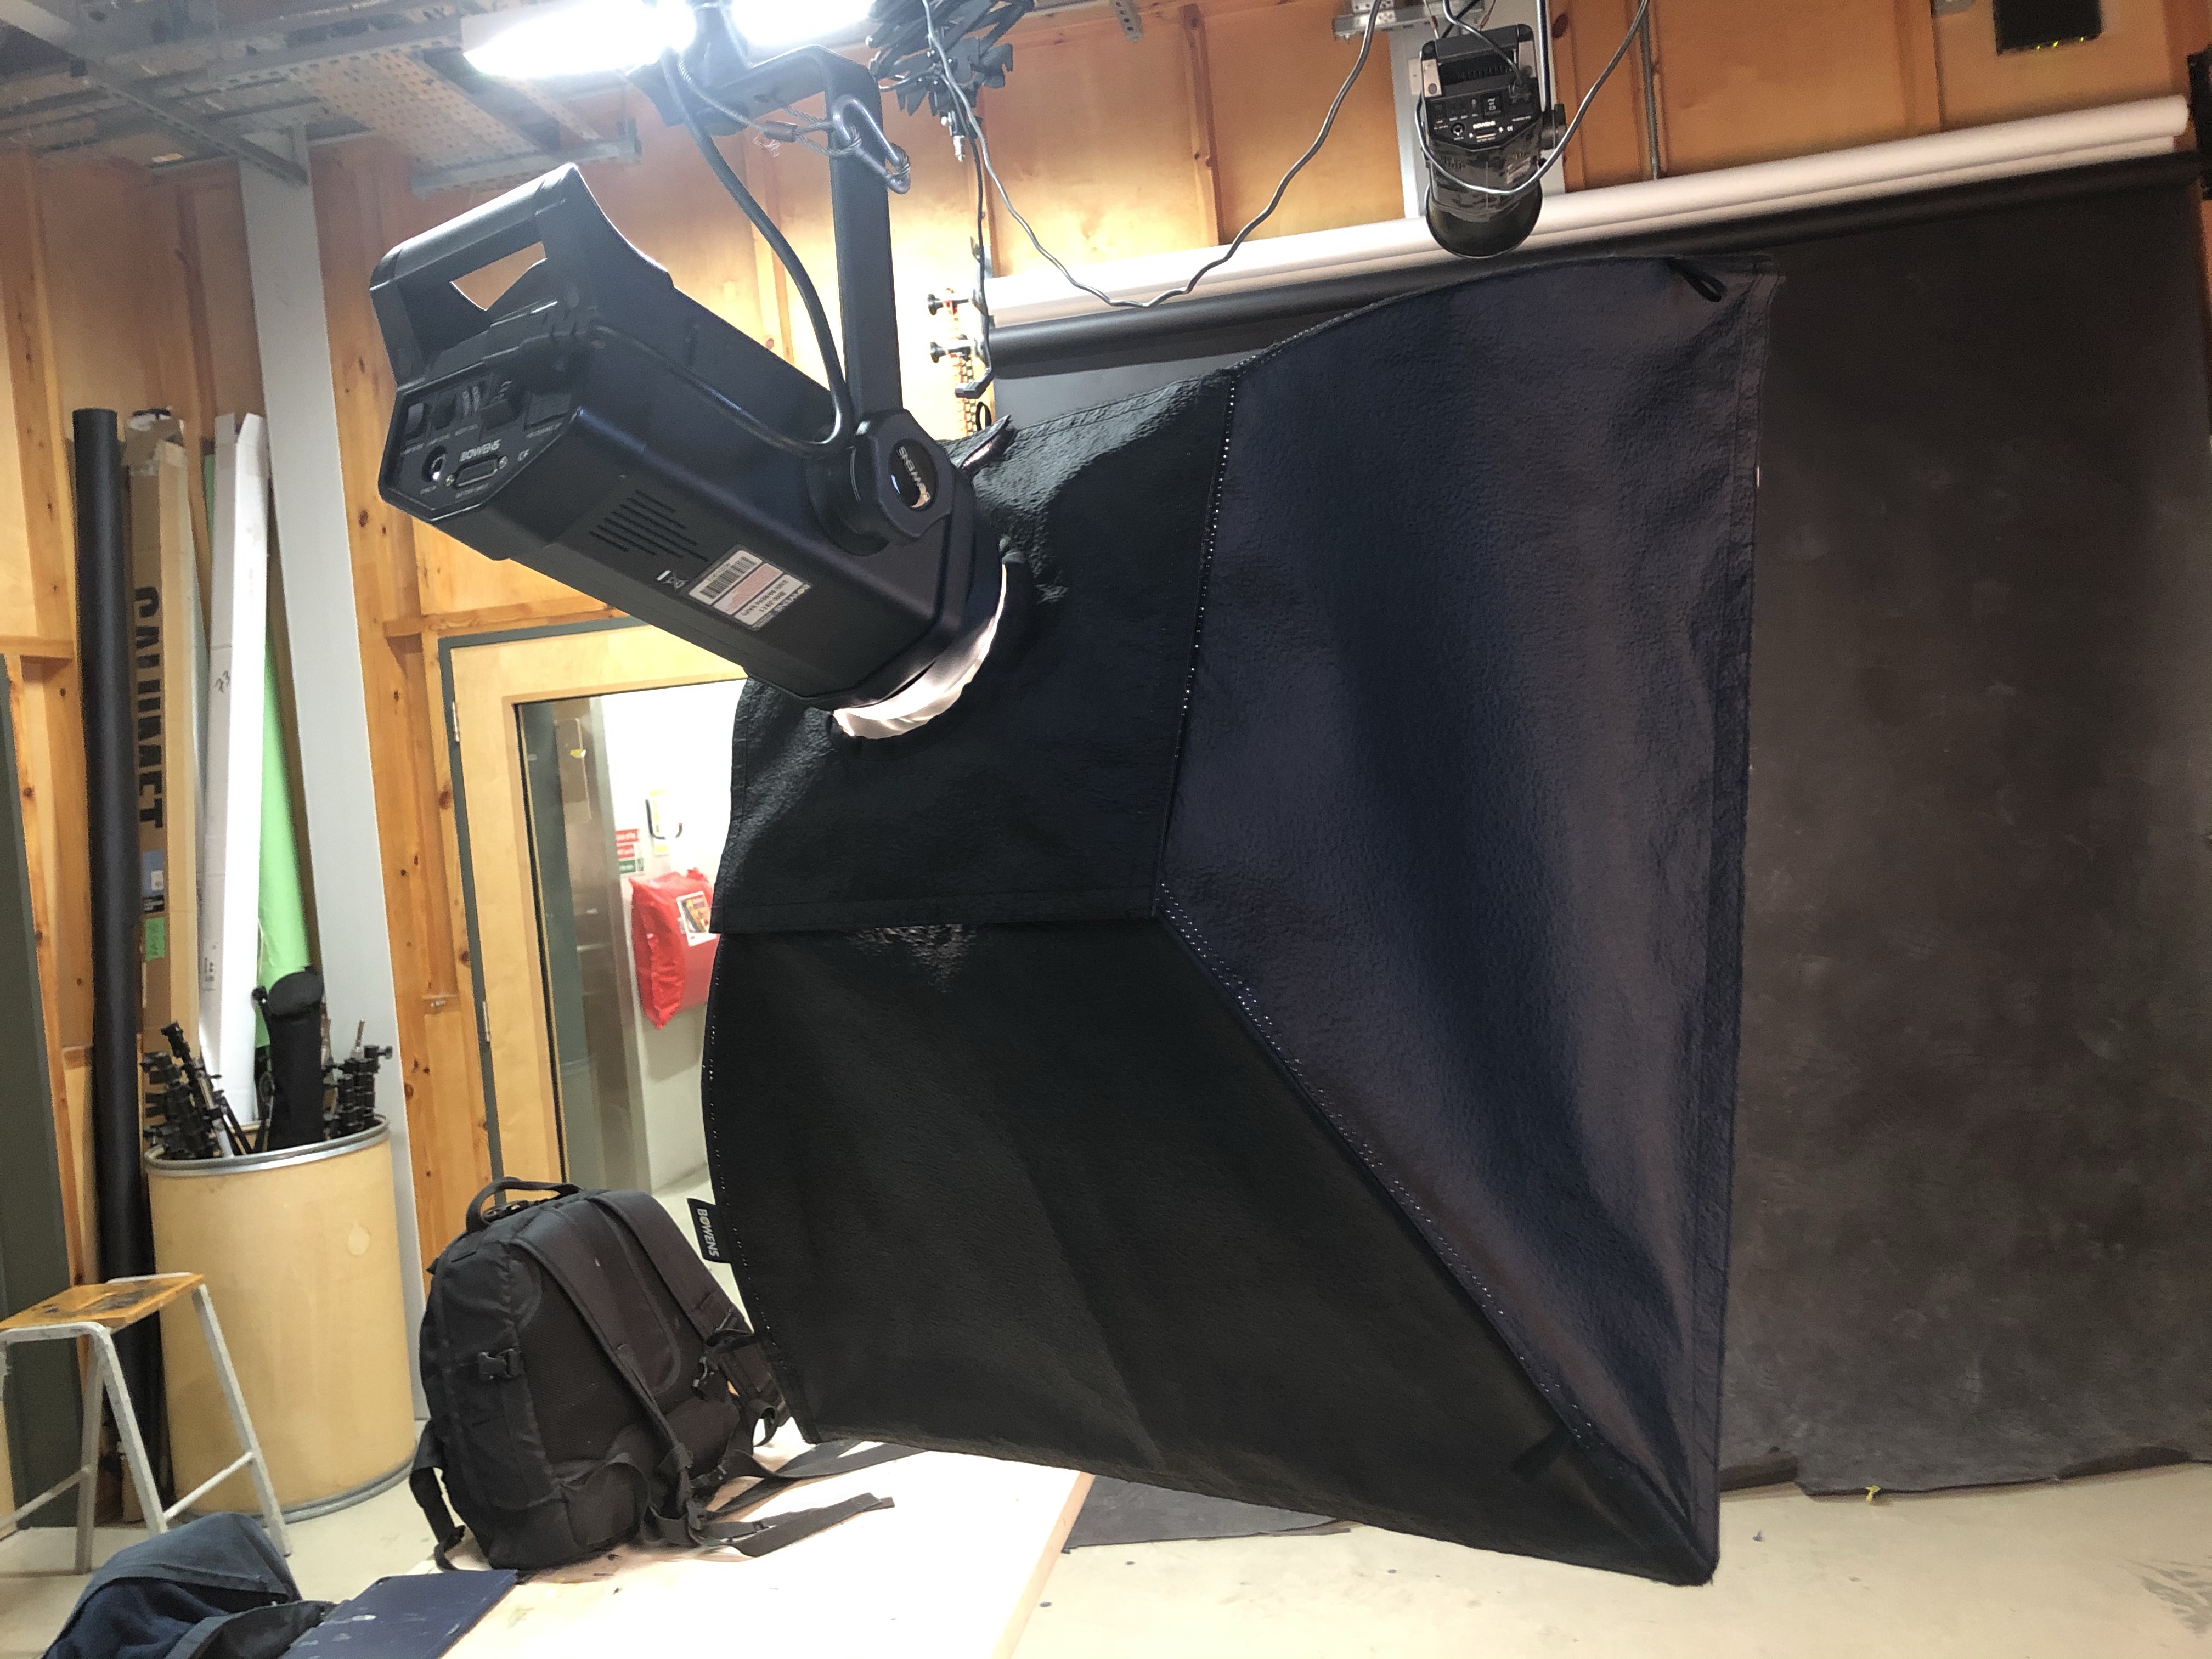
To achieve a harsh light, source I have added a snoot attachment to the modelling lamp. This has a smaller opening which controls the beam of light, ideal for directing the light on specific areas.
Snoot attachment
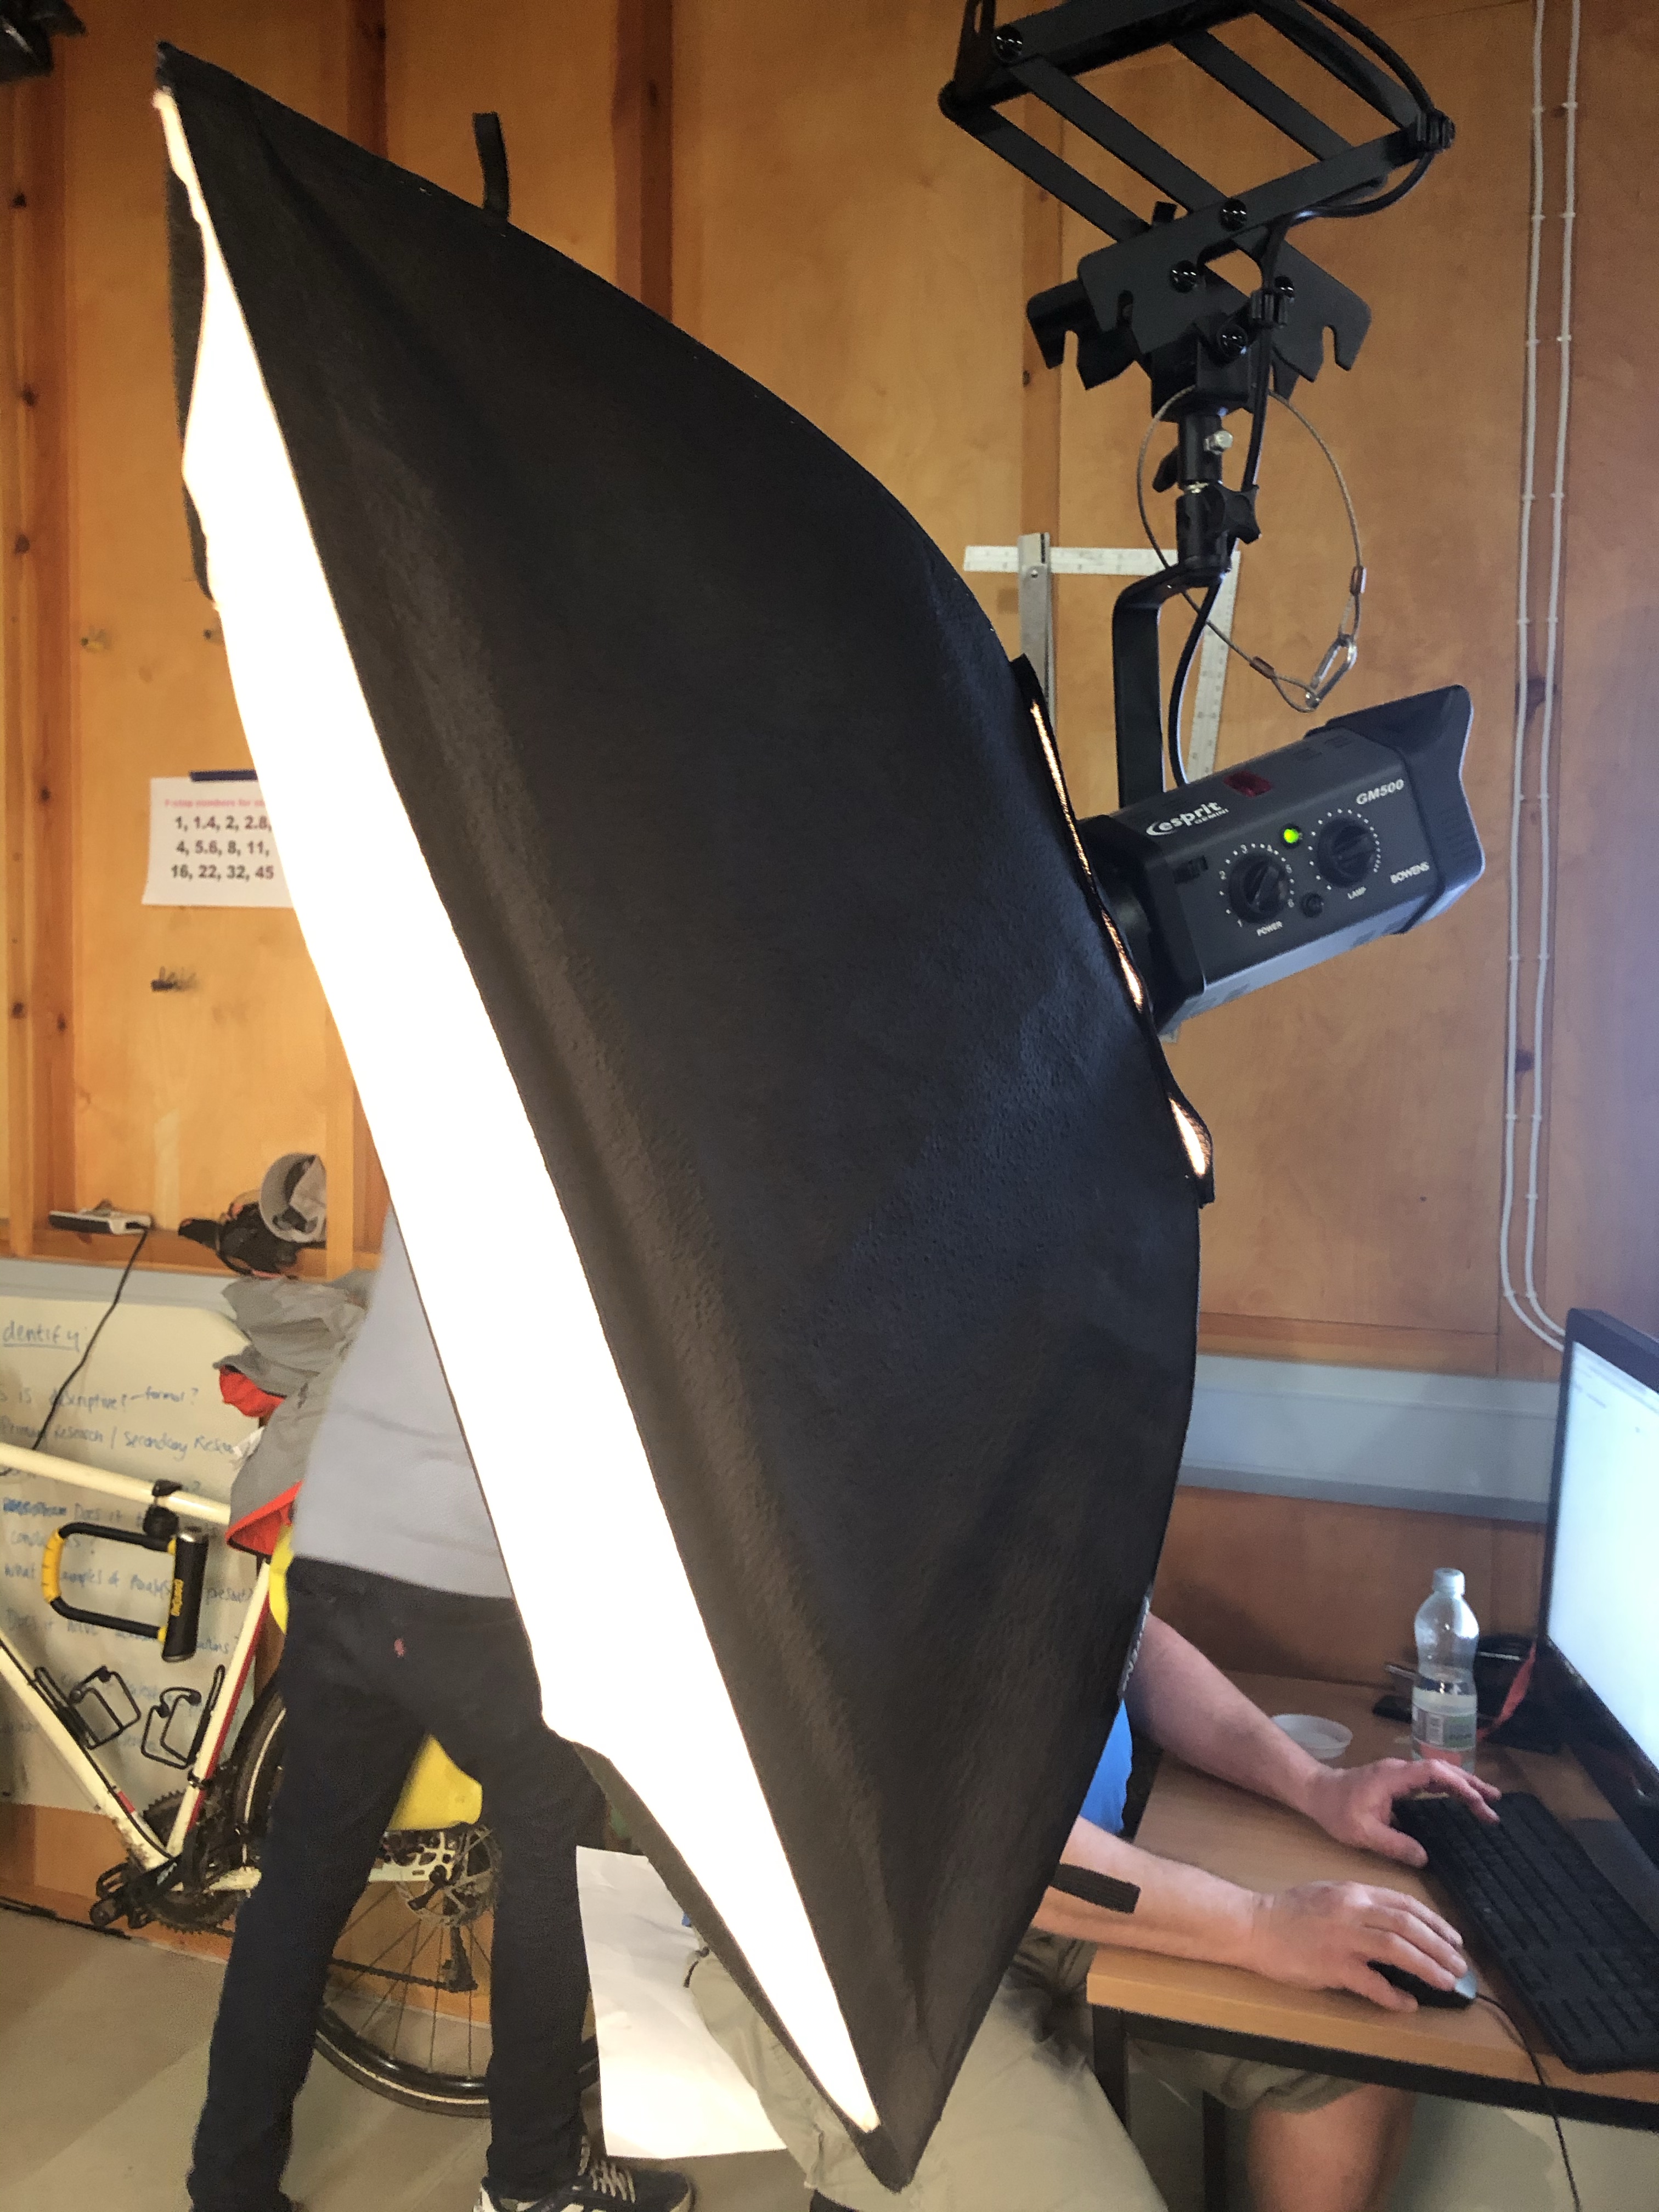
In a studio set up, most lights are suspended from the ceiling on pantographs. However if this is not available to you, or you wish to make a studio set up, most modelling lamps or flashguns can be mounted on a suitable tripod with an adapter. The hazard with using a tripod is tripping over. The lead and the legs can cause this, so make sure excess wires are taped down and tripods positioned safely.
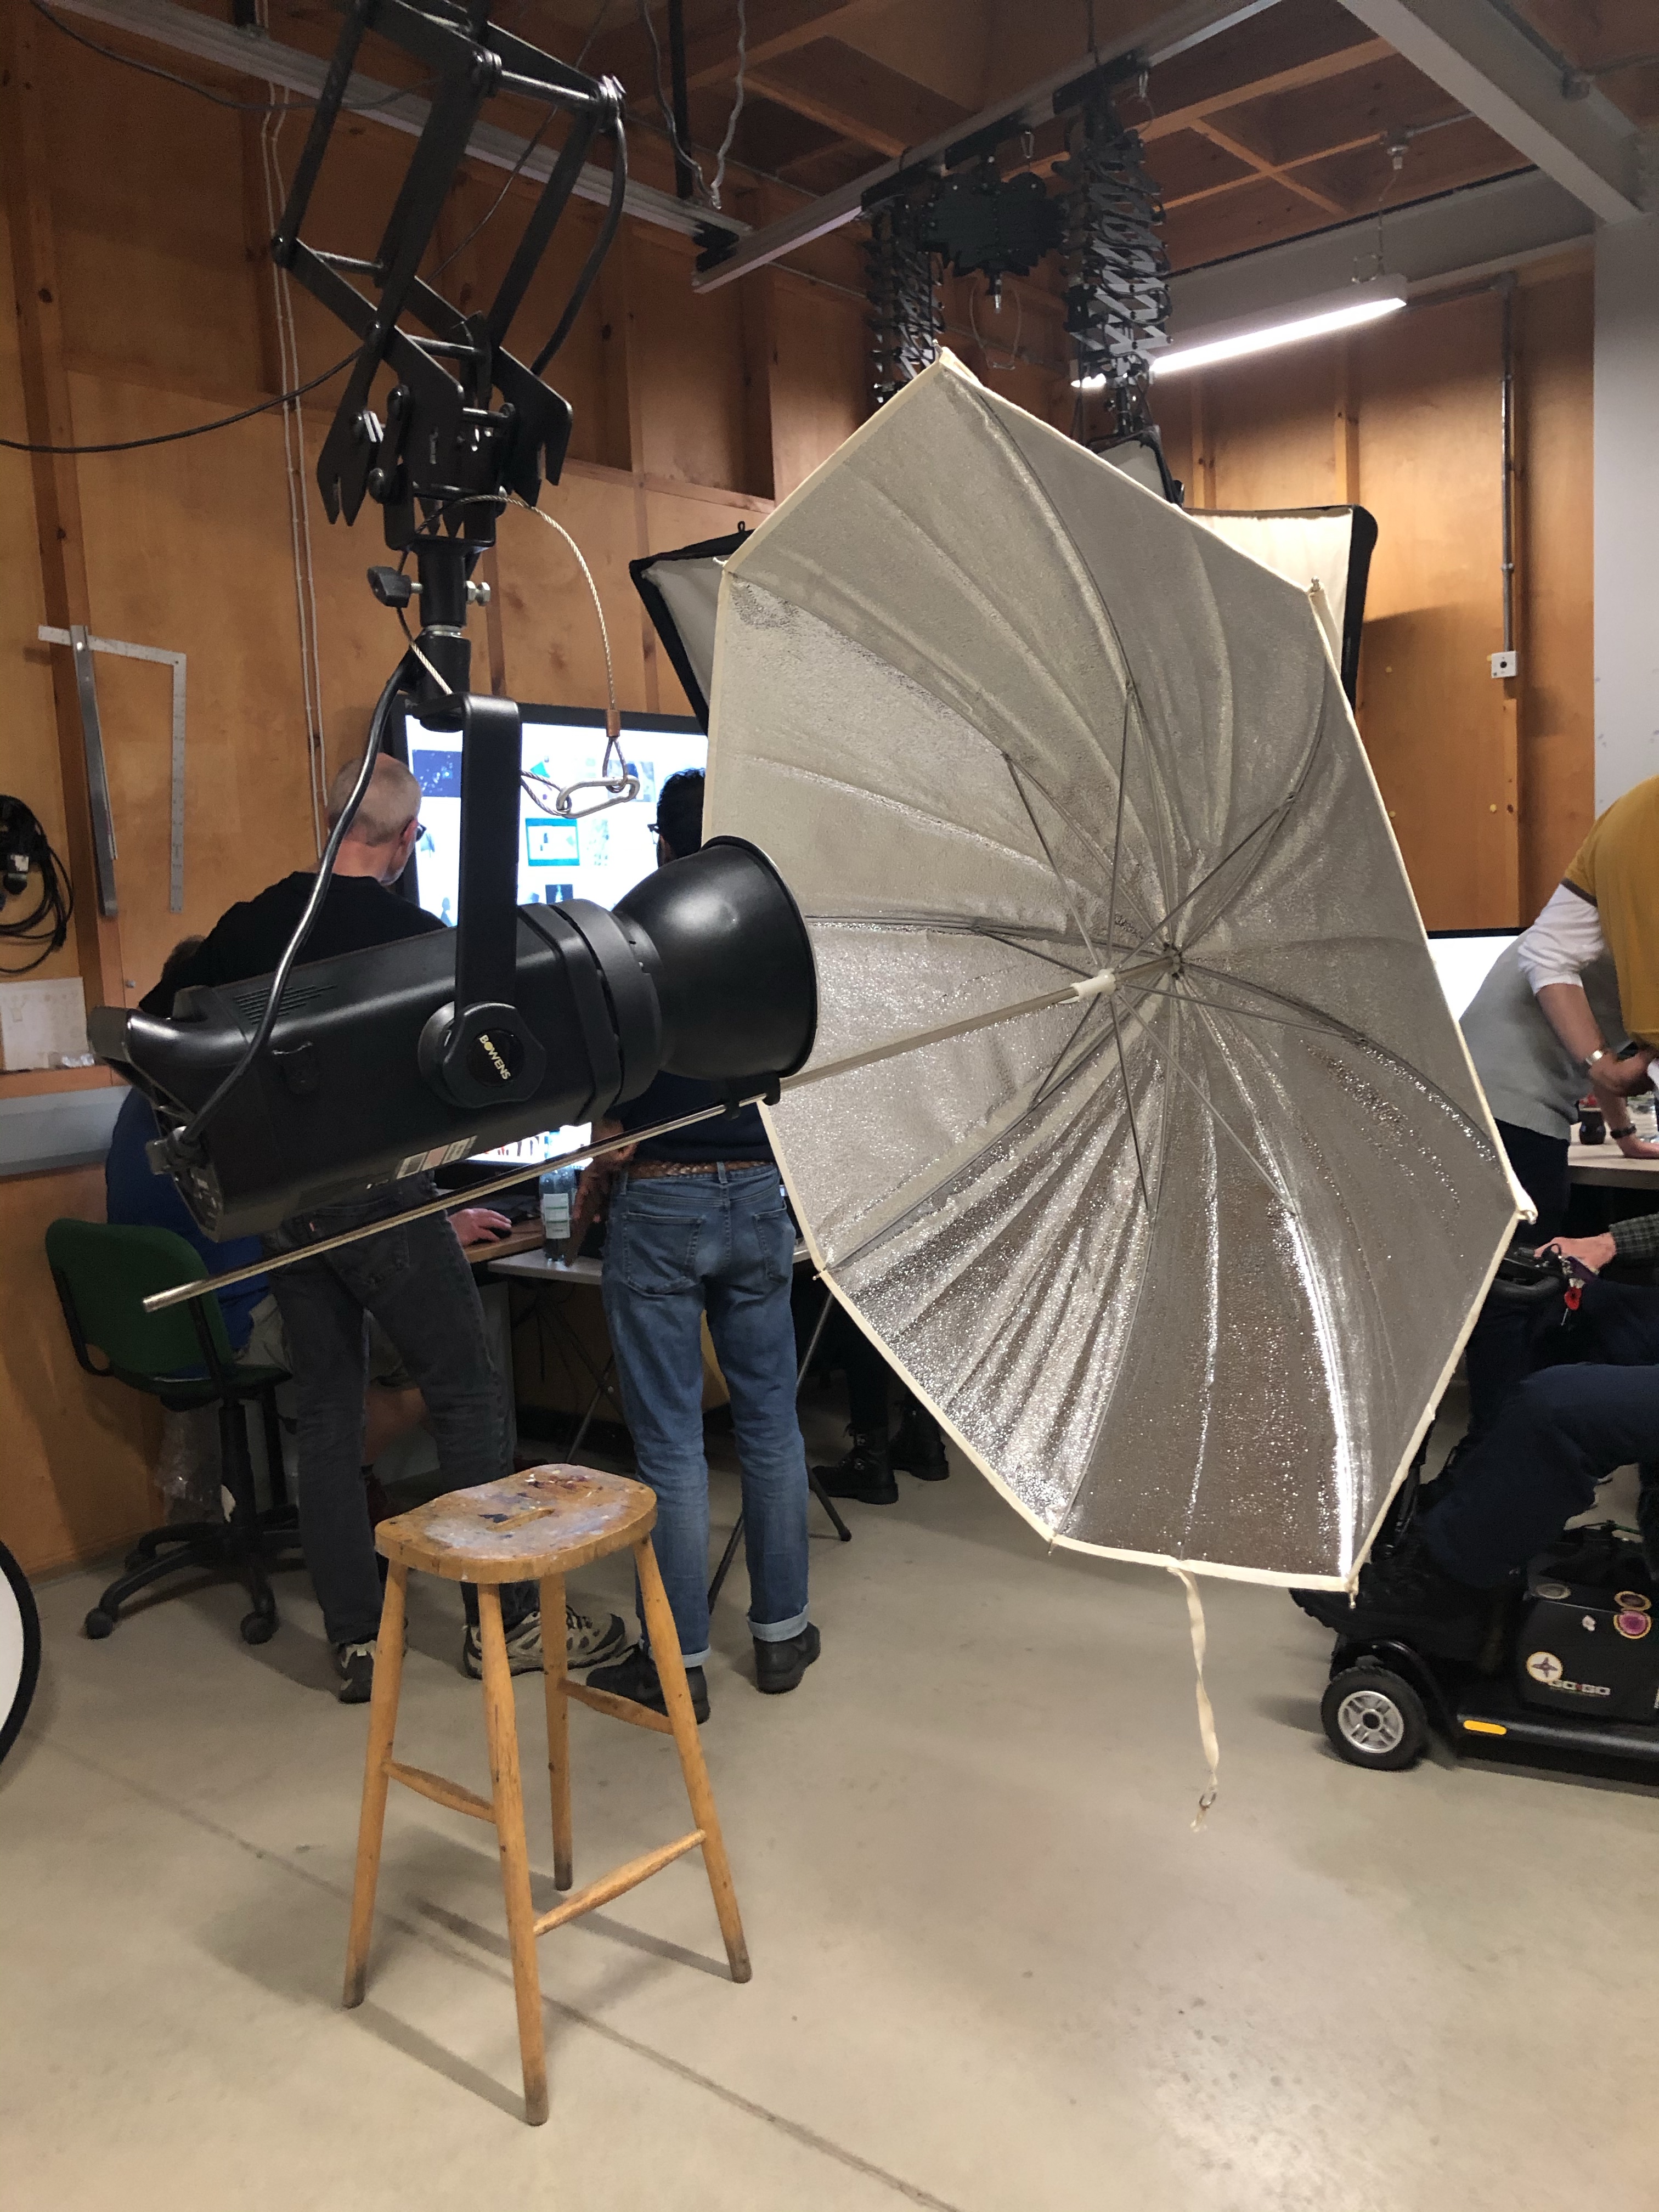
Tripod
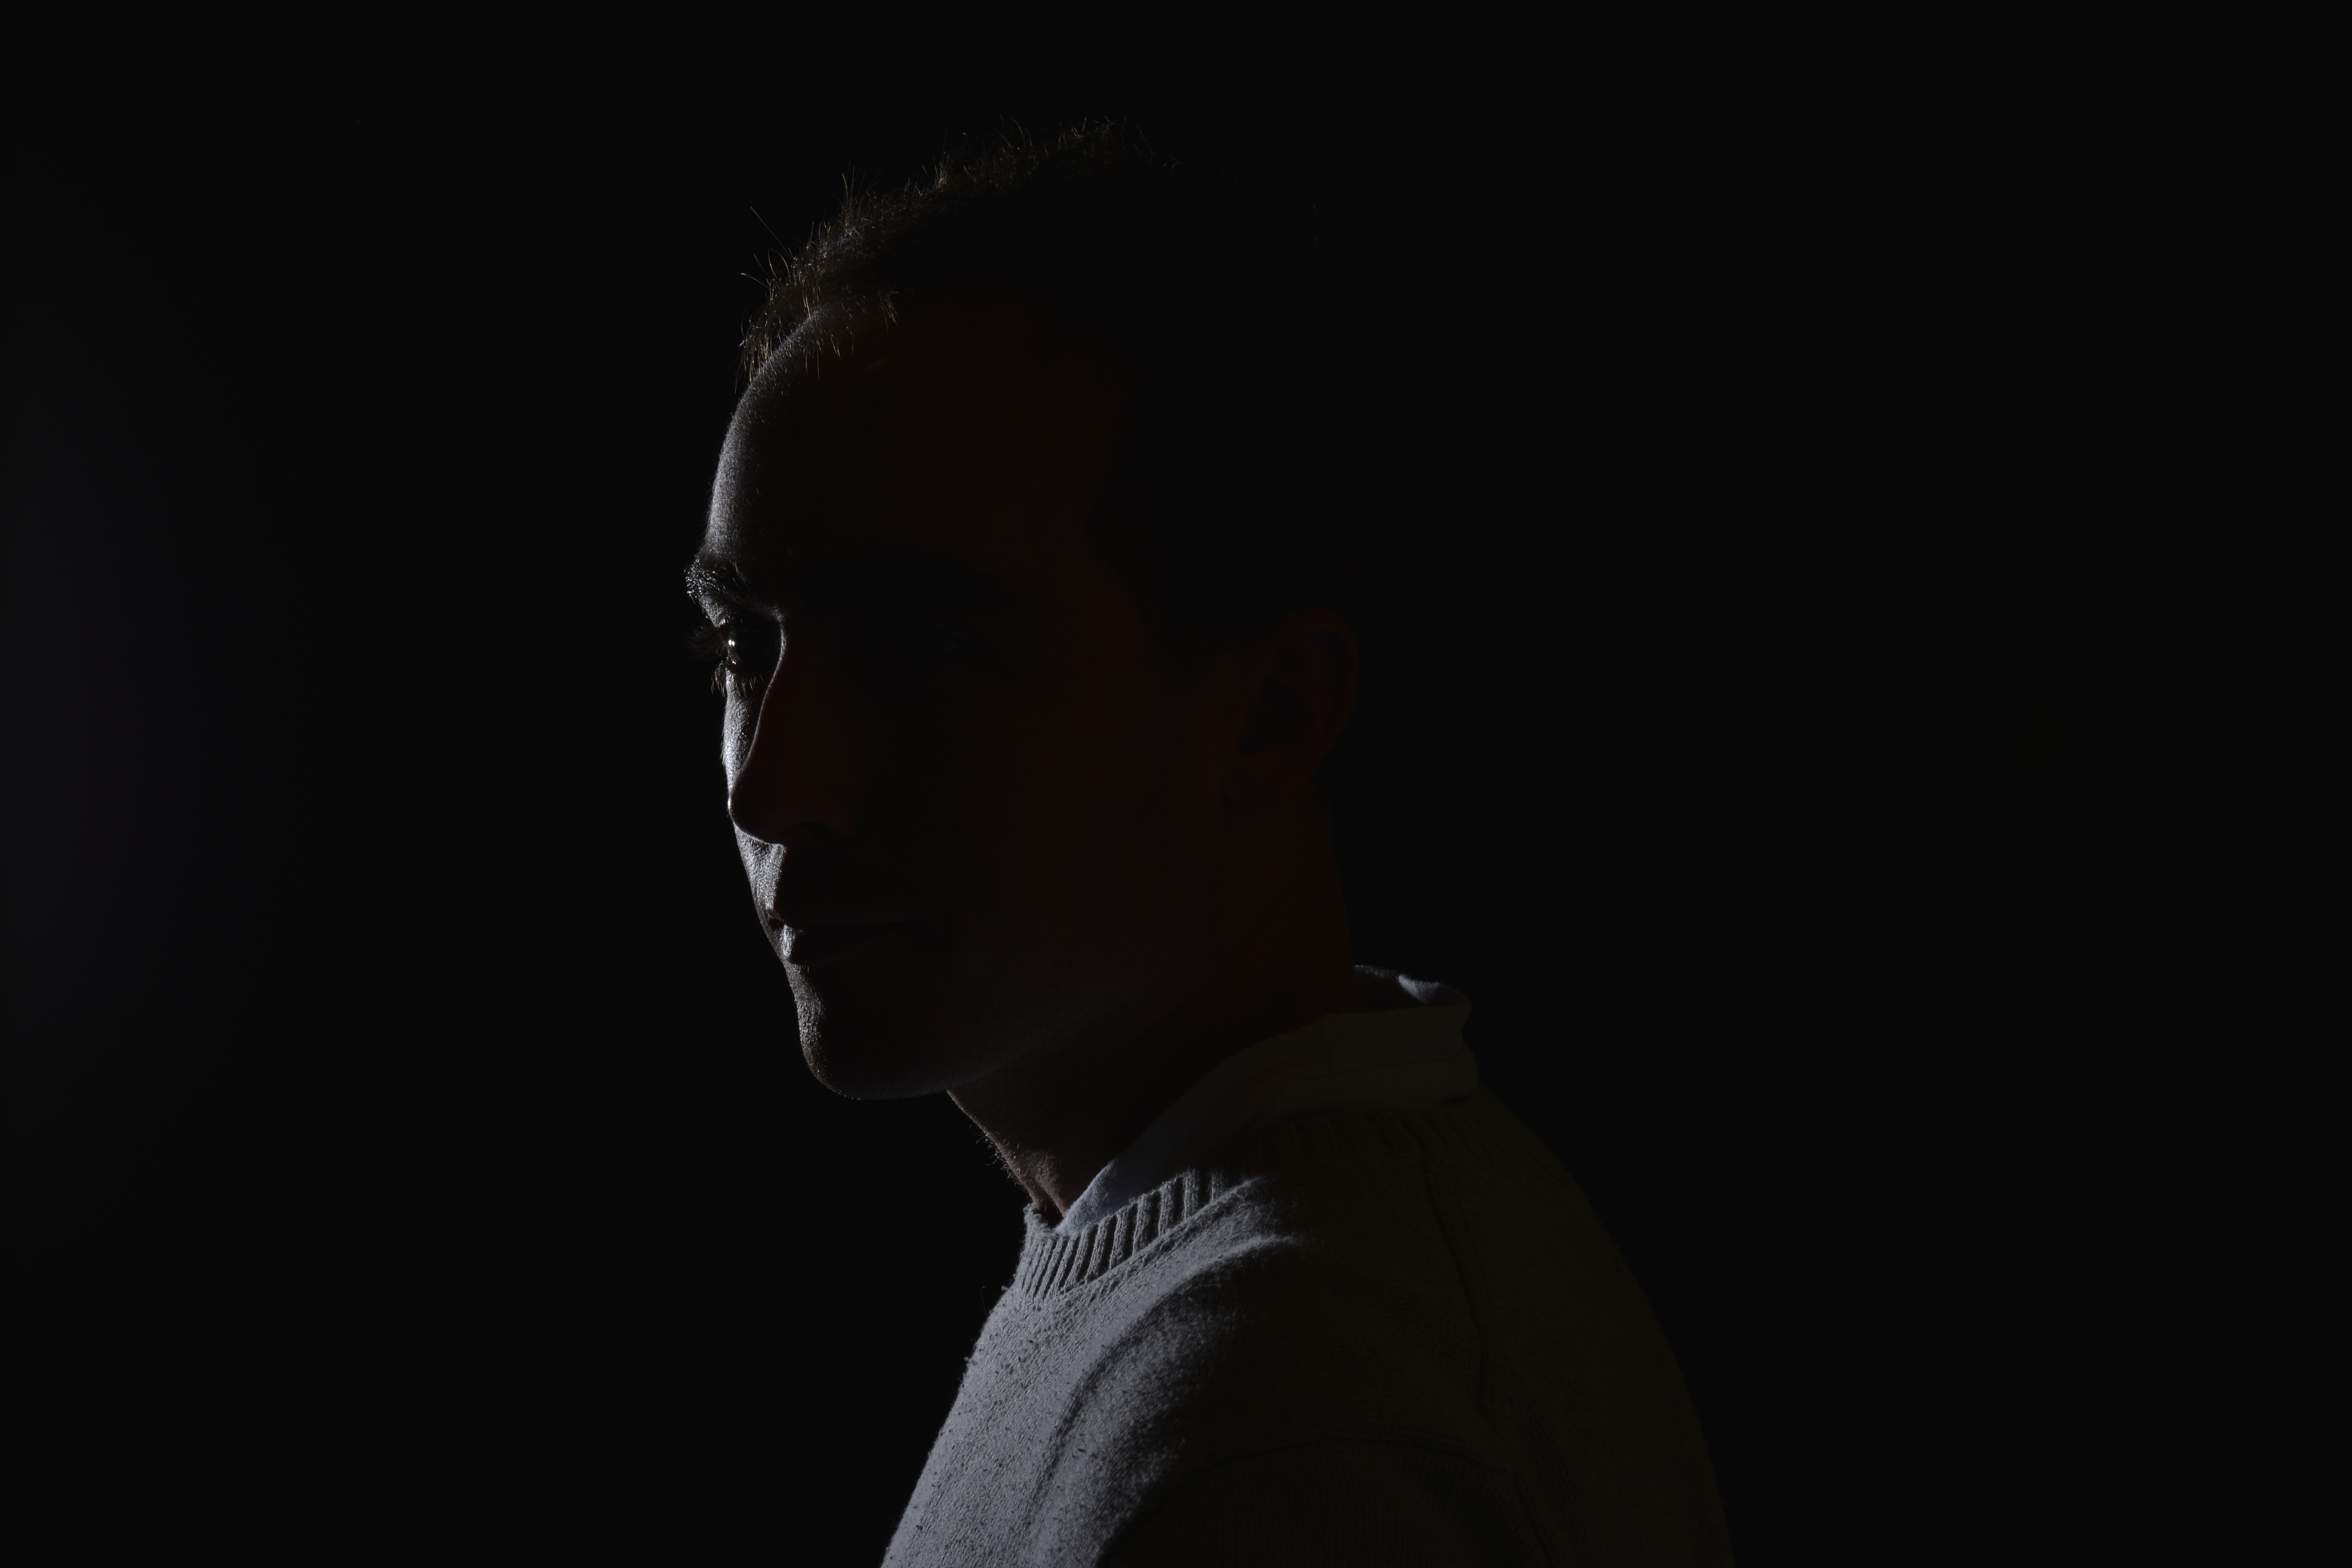
These three photographs below show the key light gradually getting brighter with each picture. Starting at a low light level of number 1 until the desired lighting level is reached.
Below the key light is getting to a better strength level of level 4. You need to take test shots to see what to adjust to get the desired effect and a correctly exposed portrait.
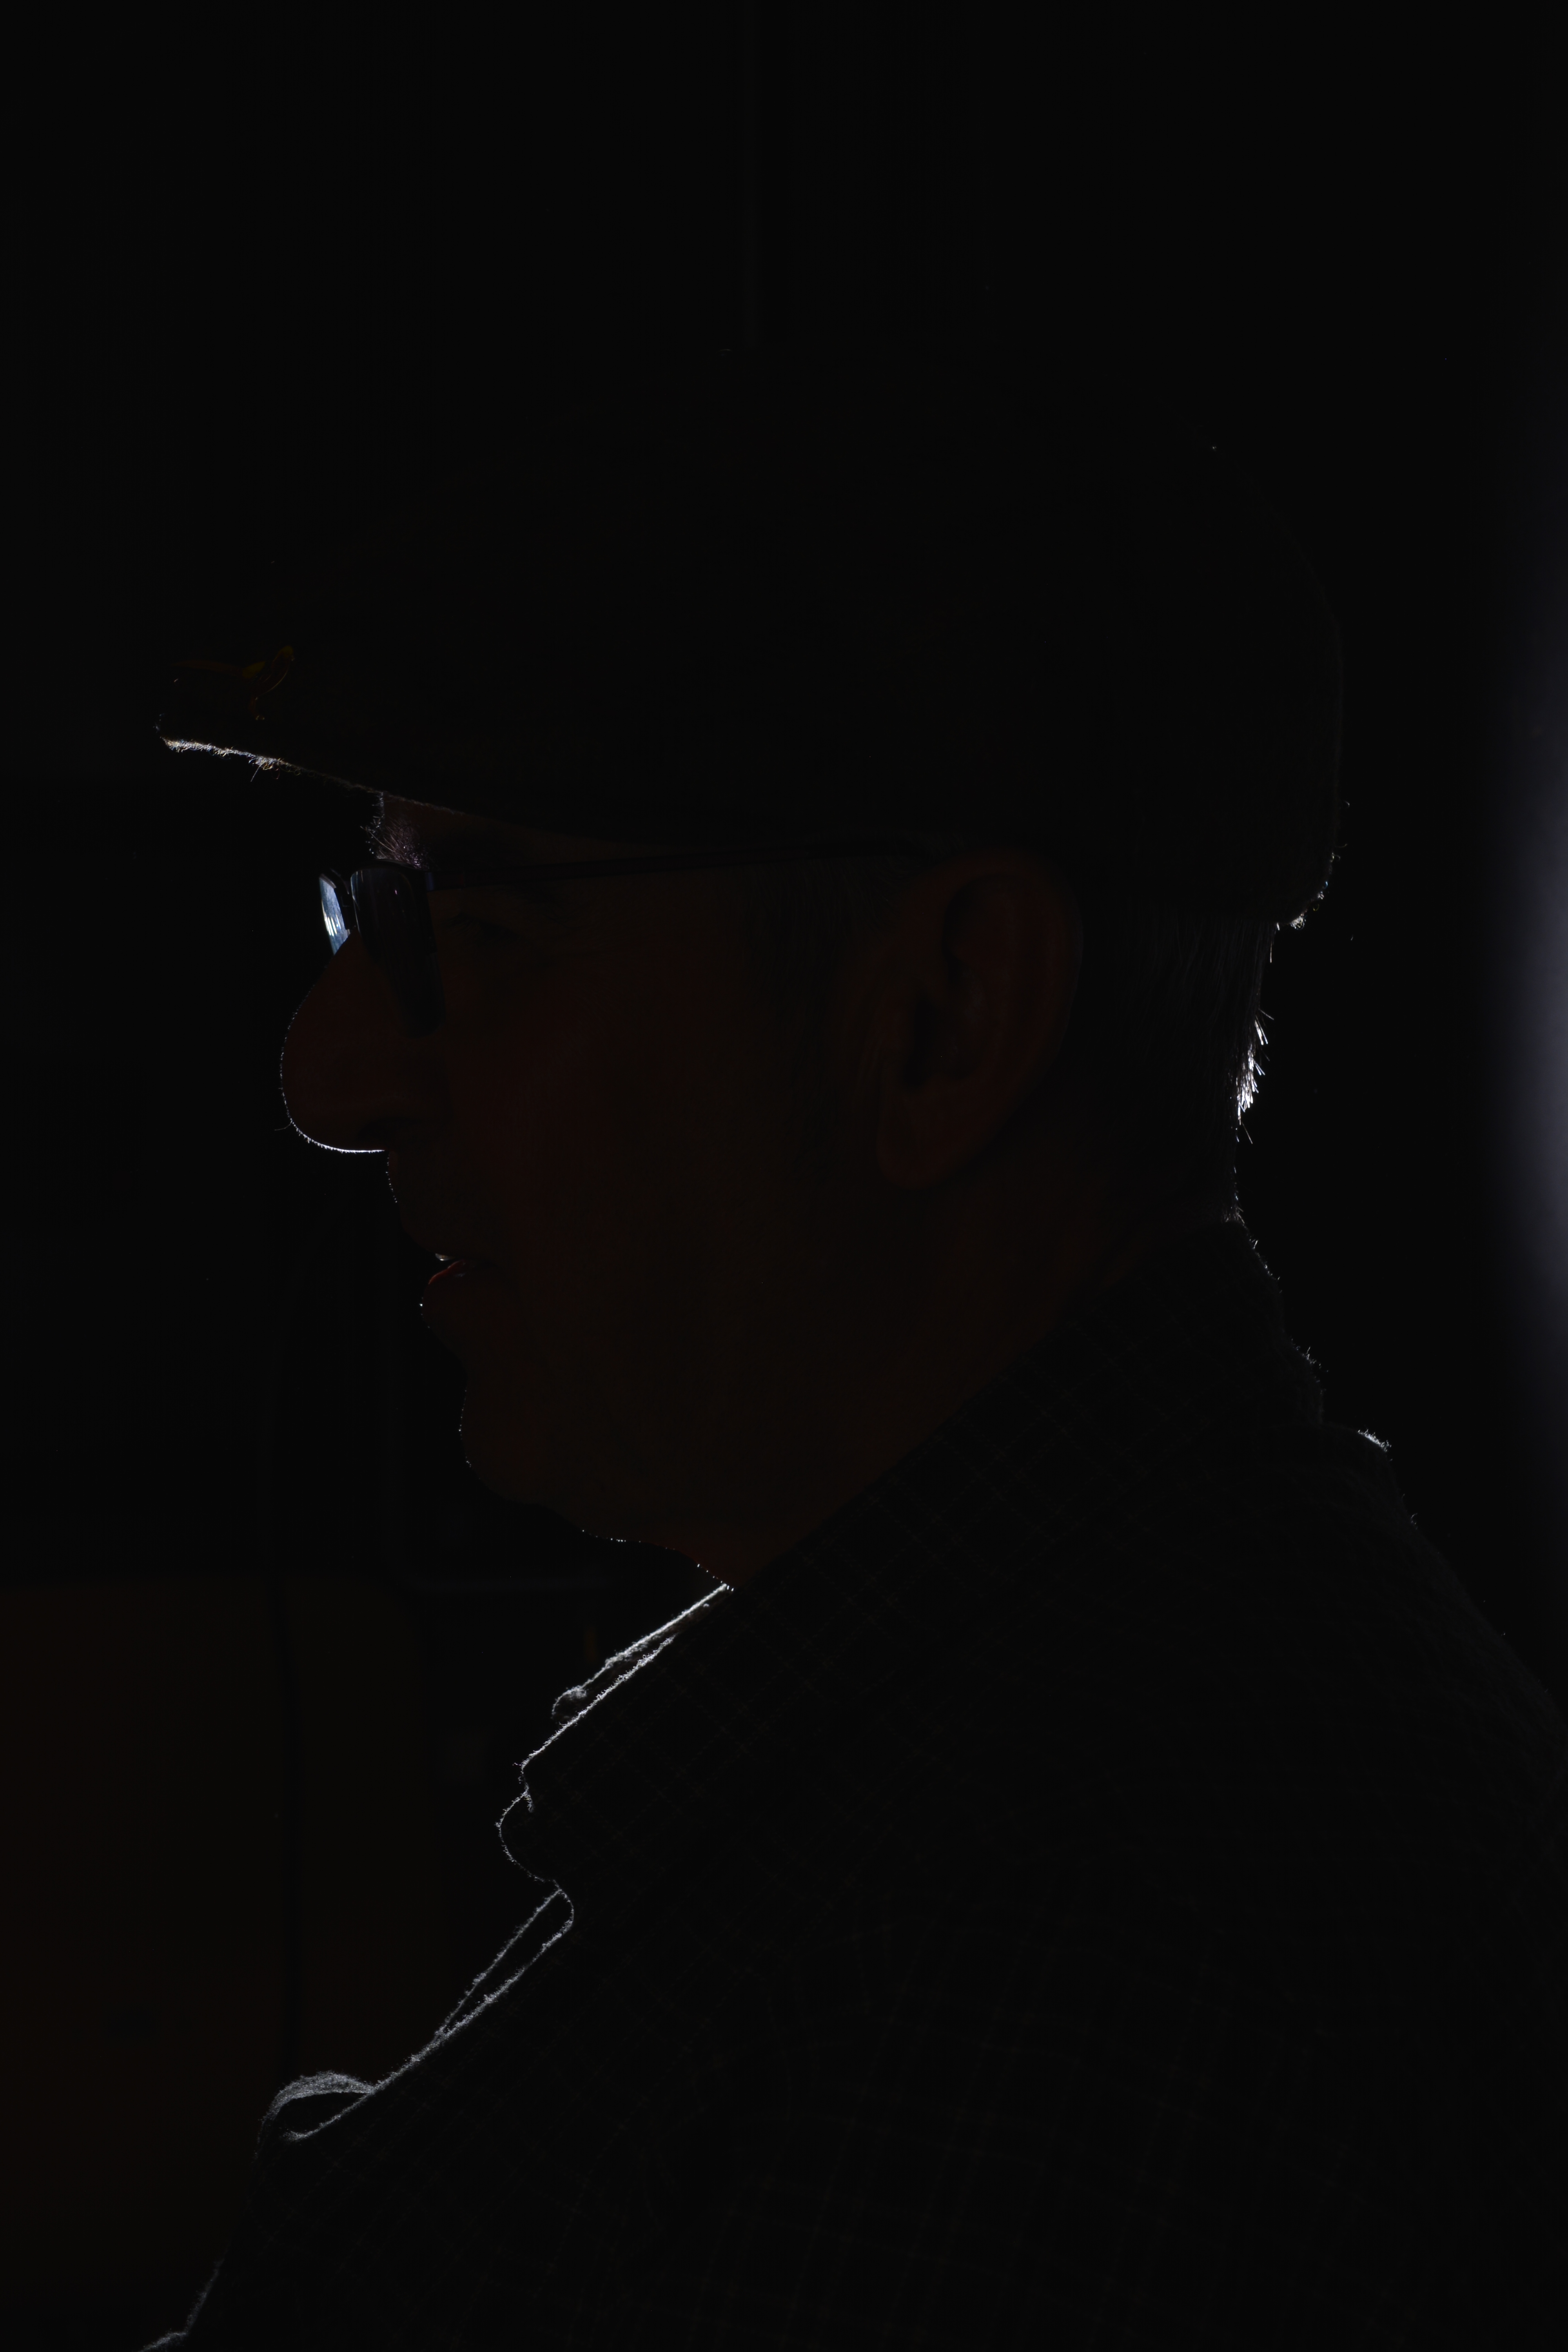
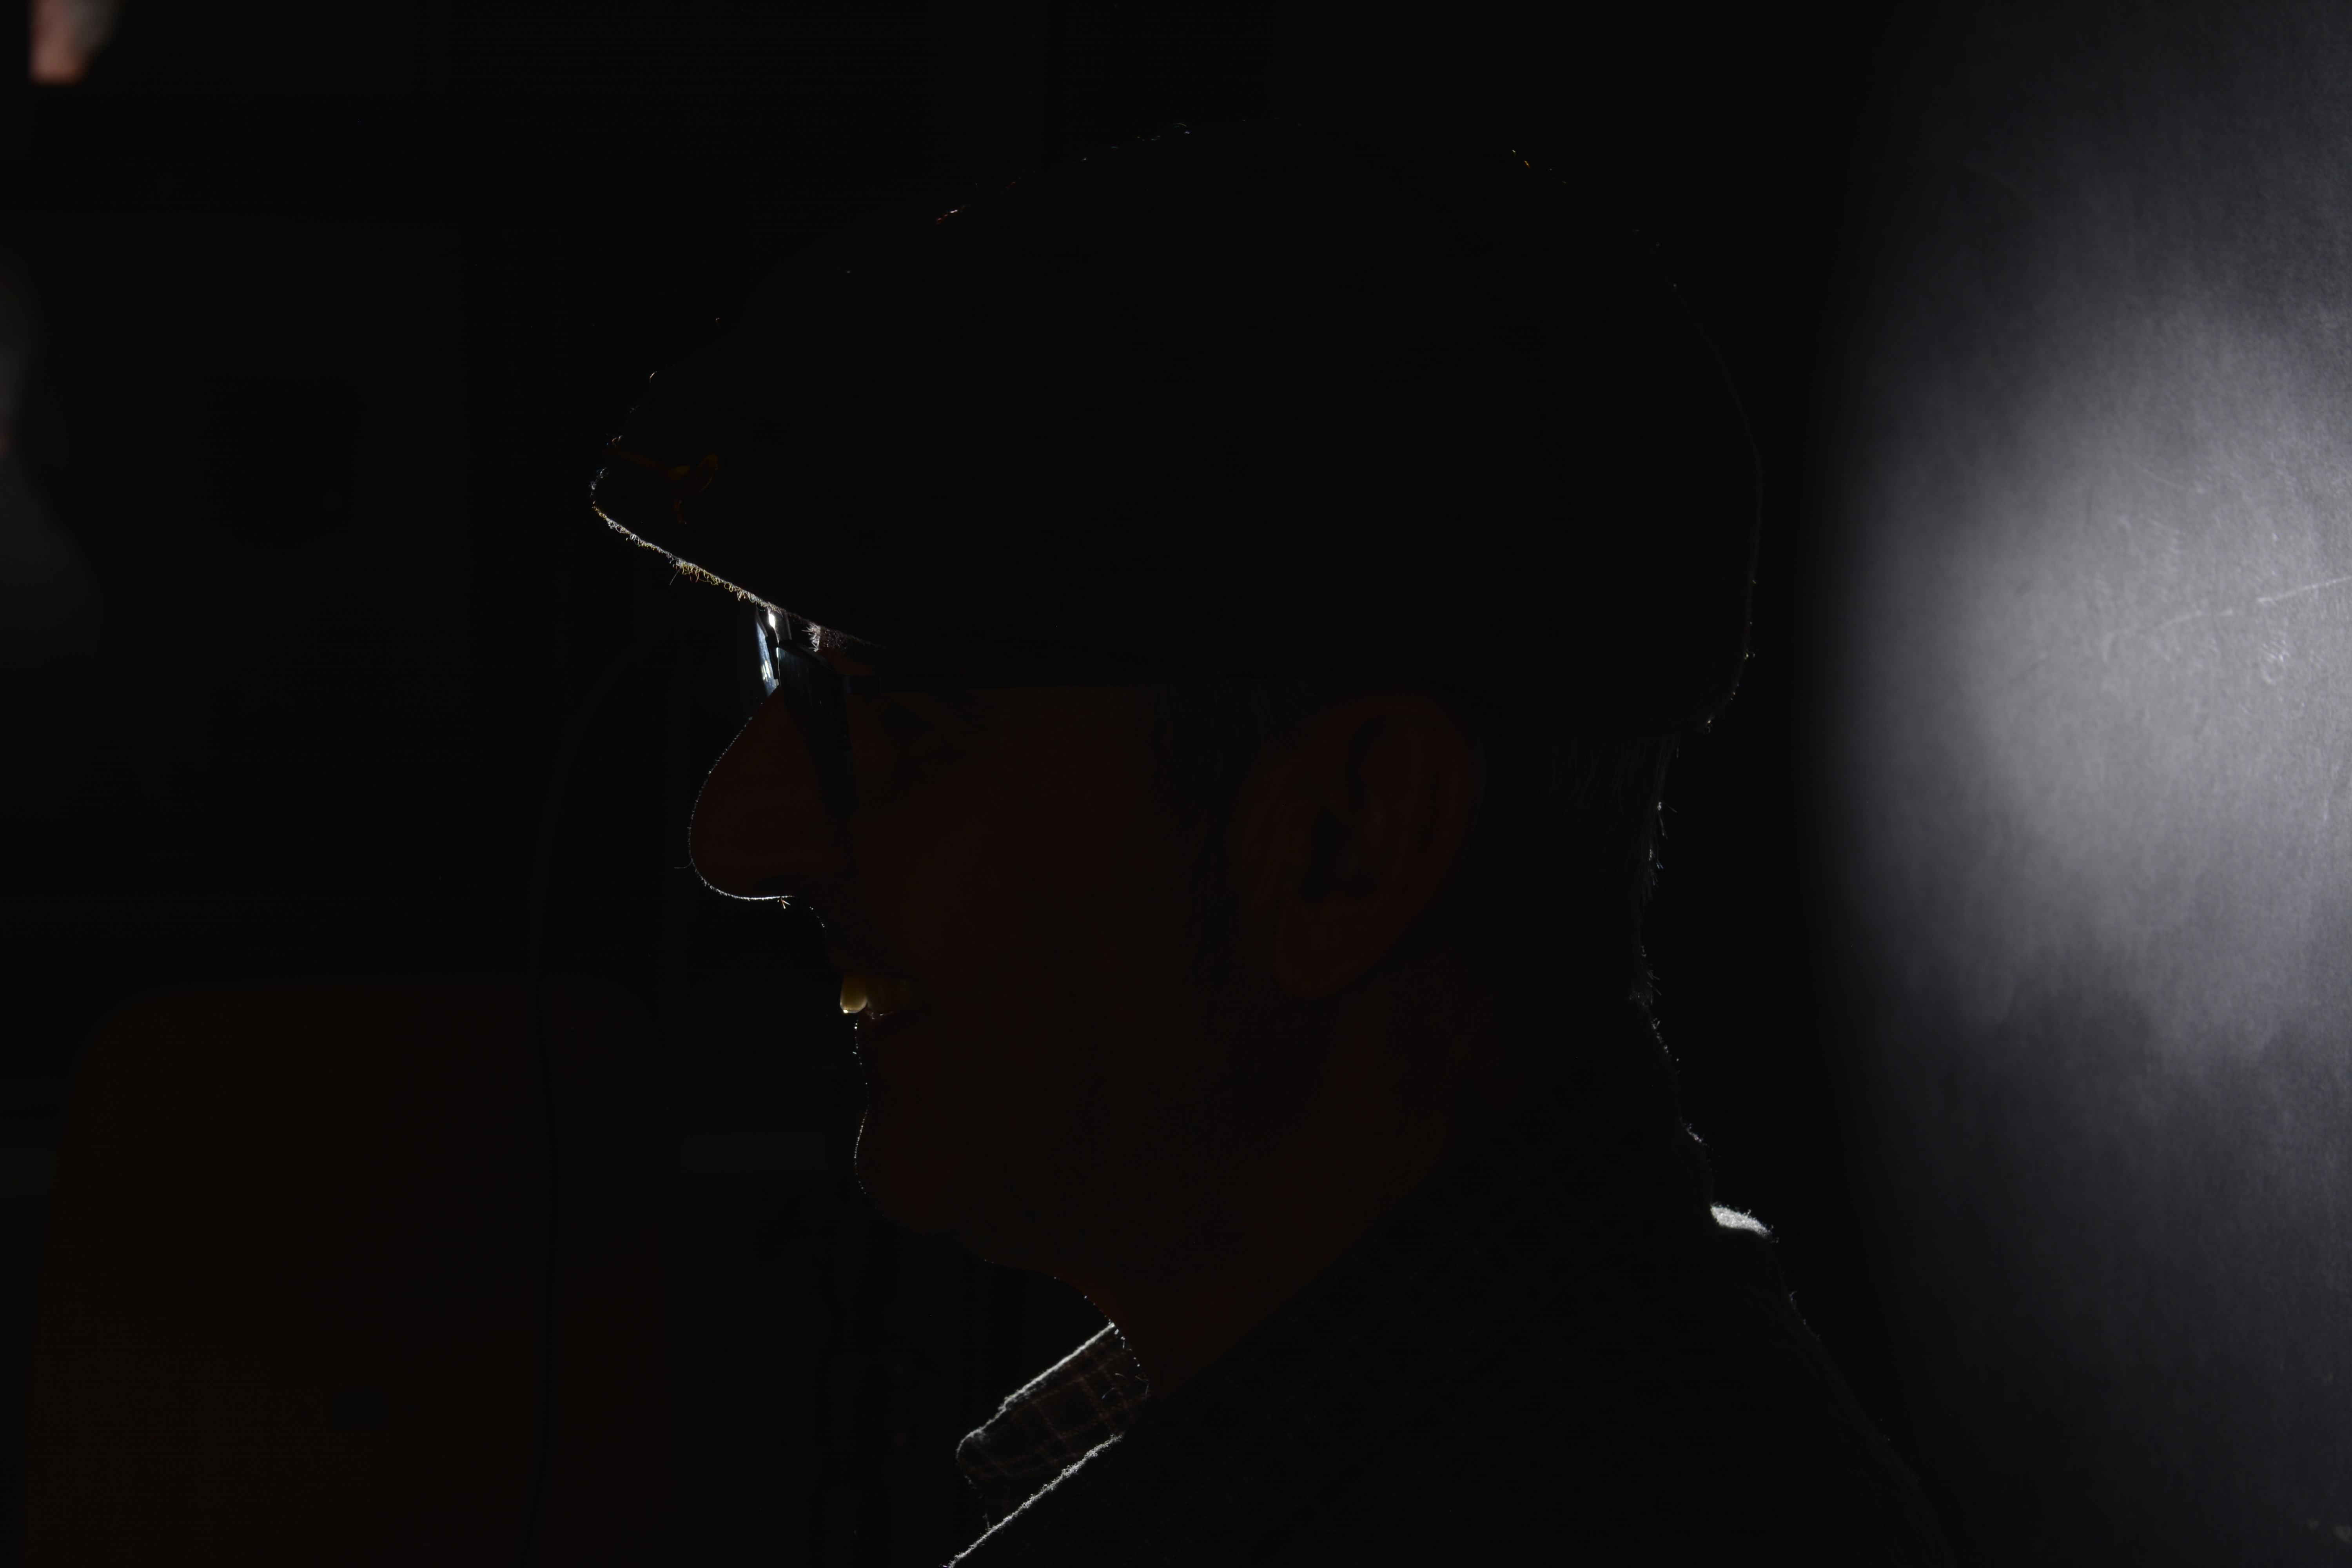
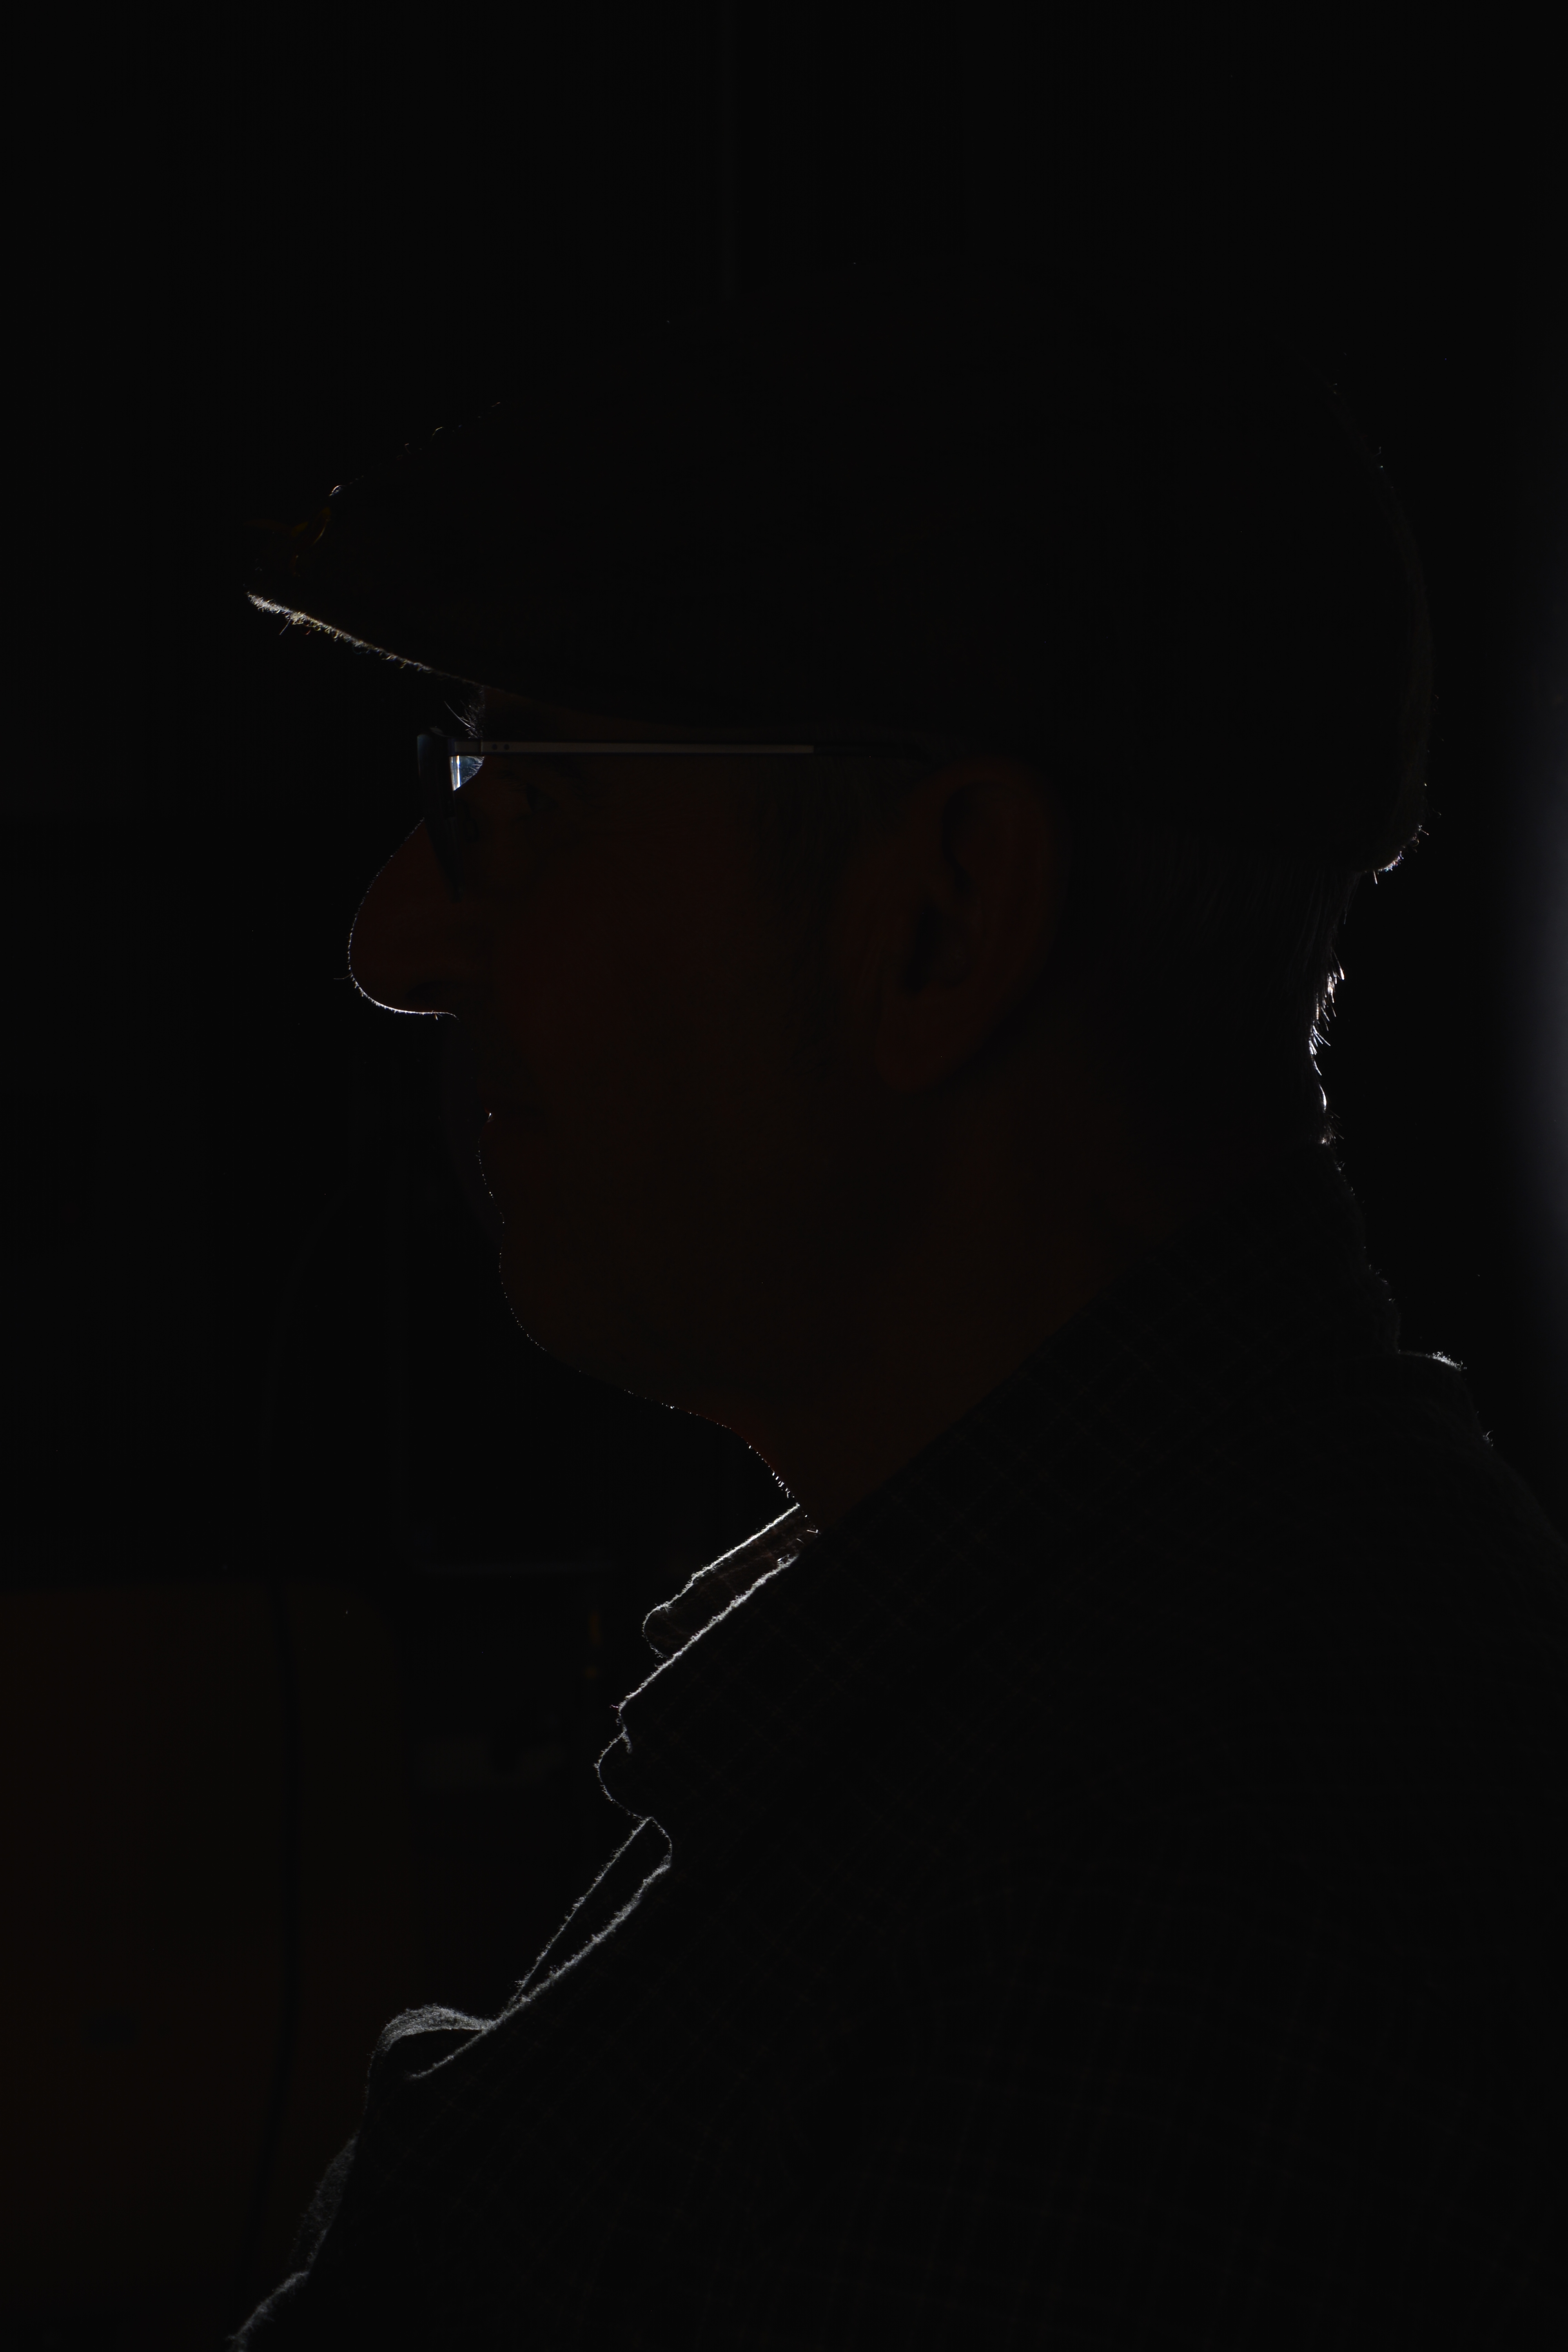
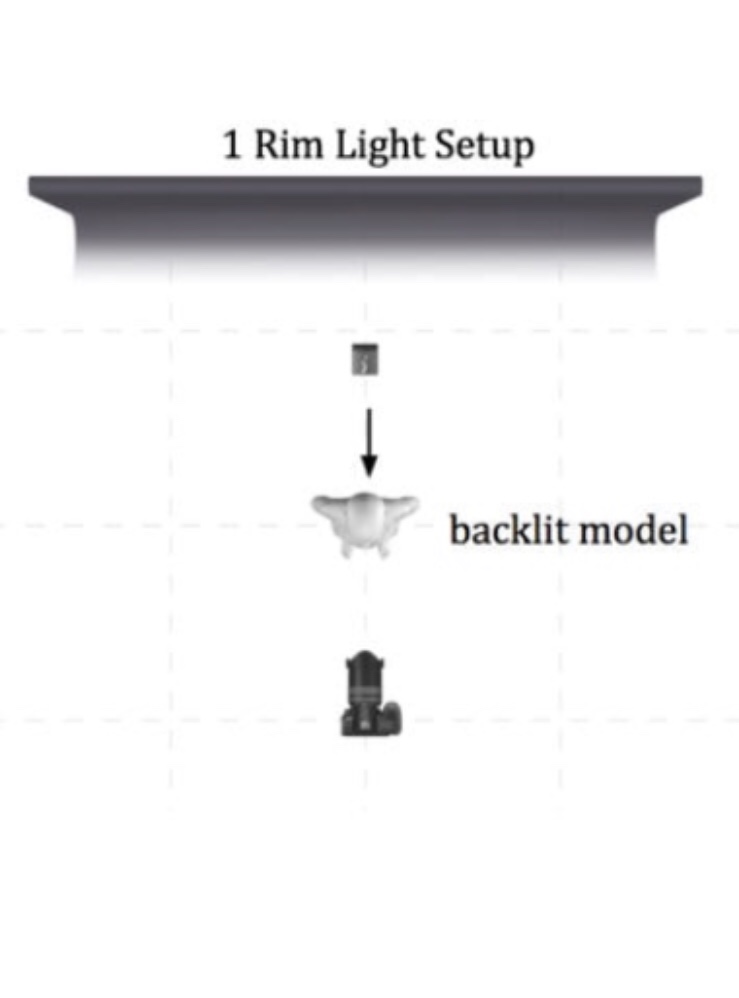
Rim Lighting
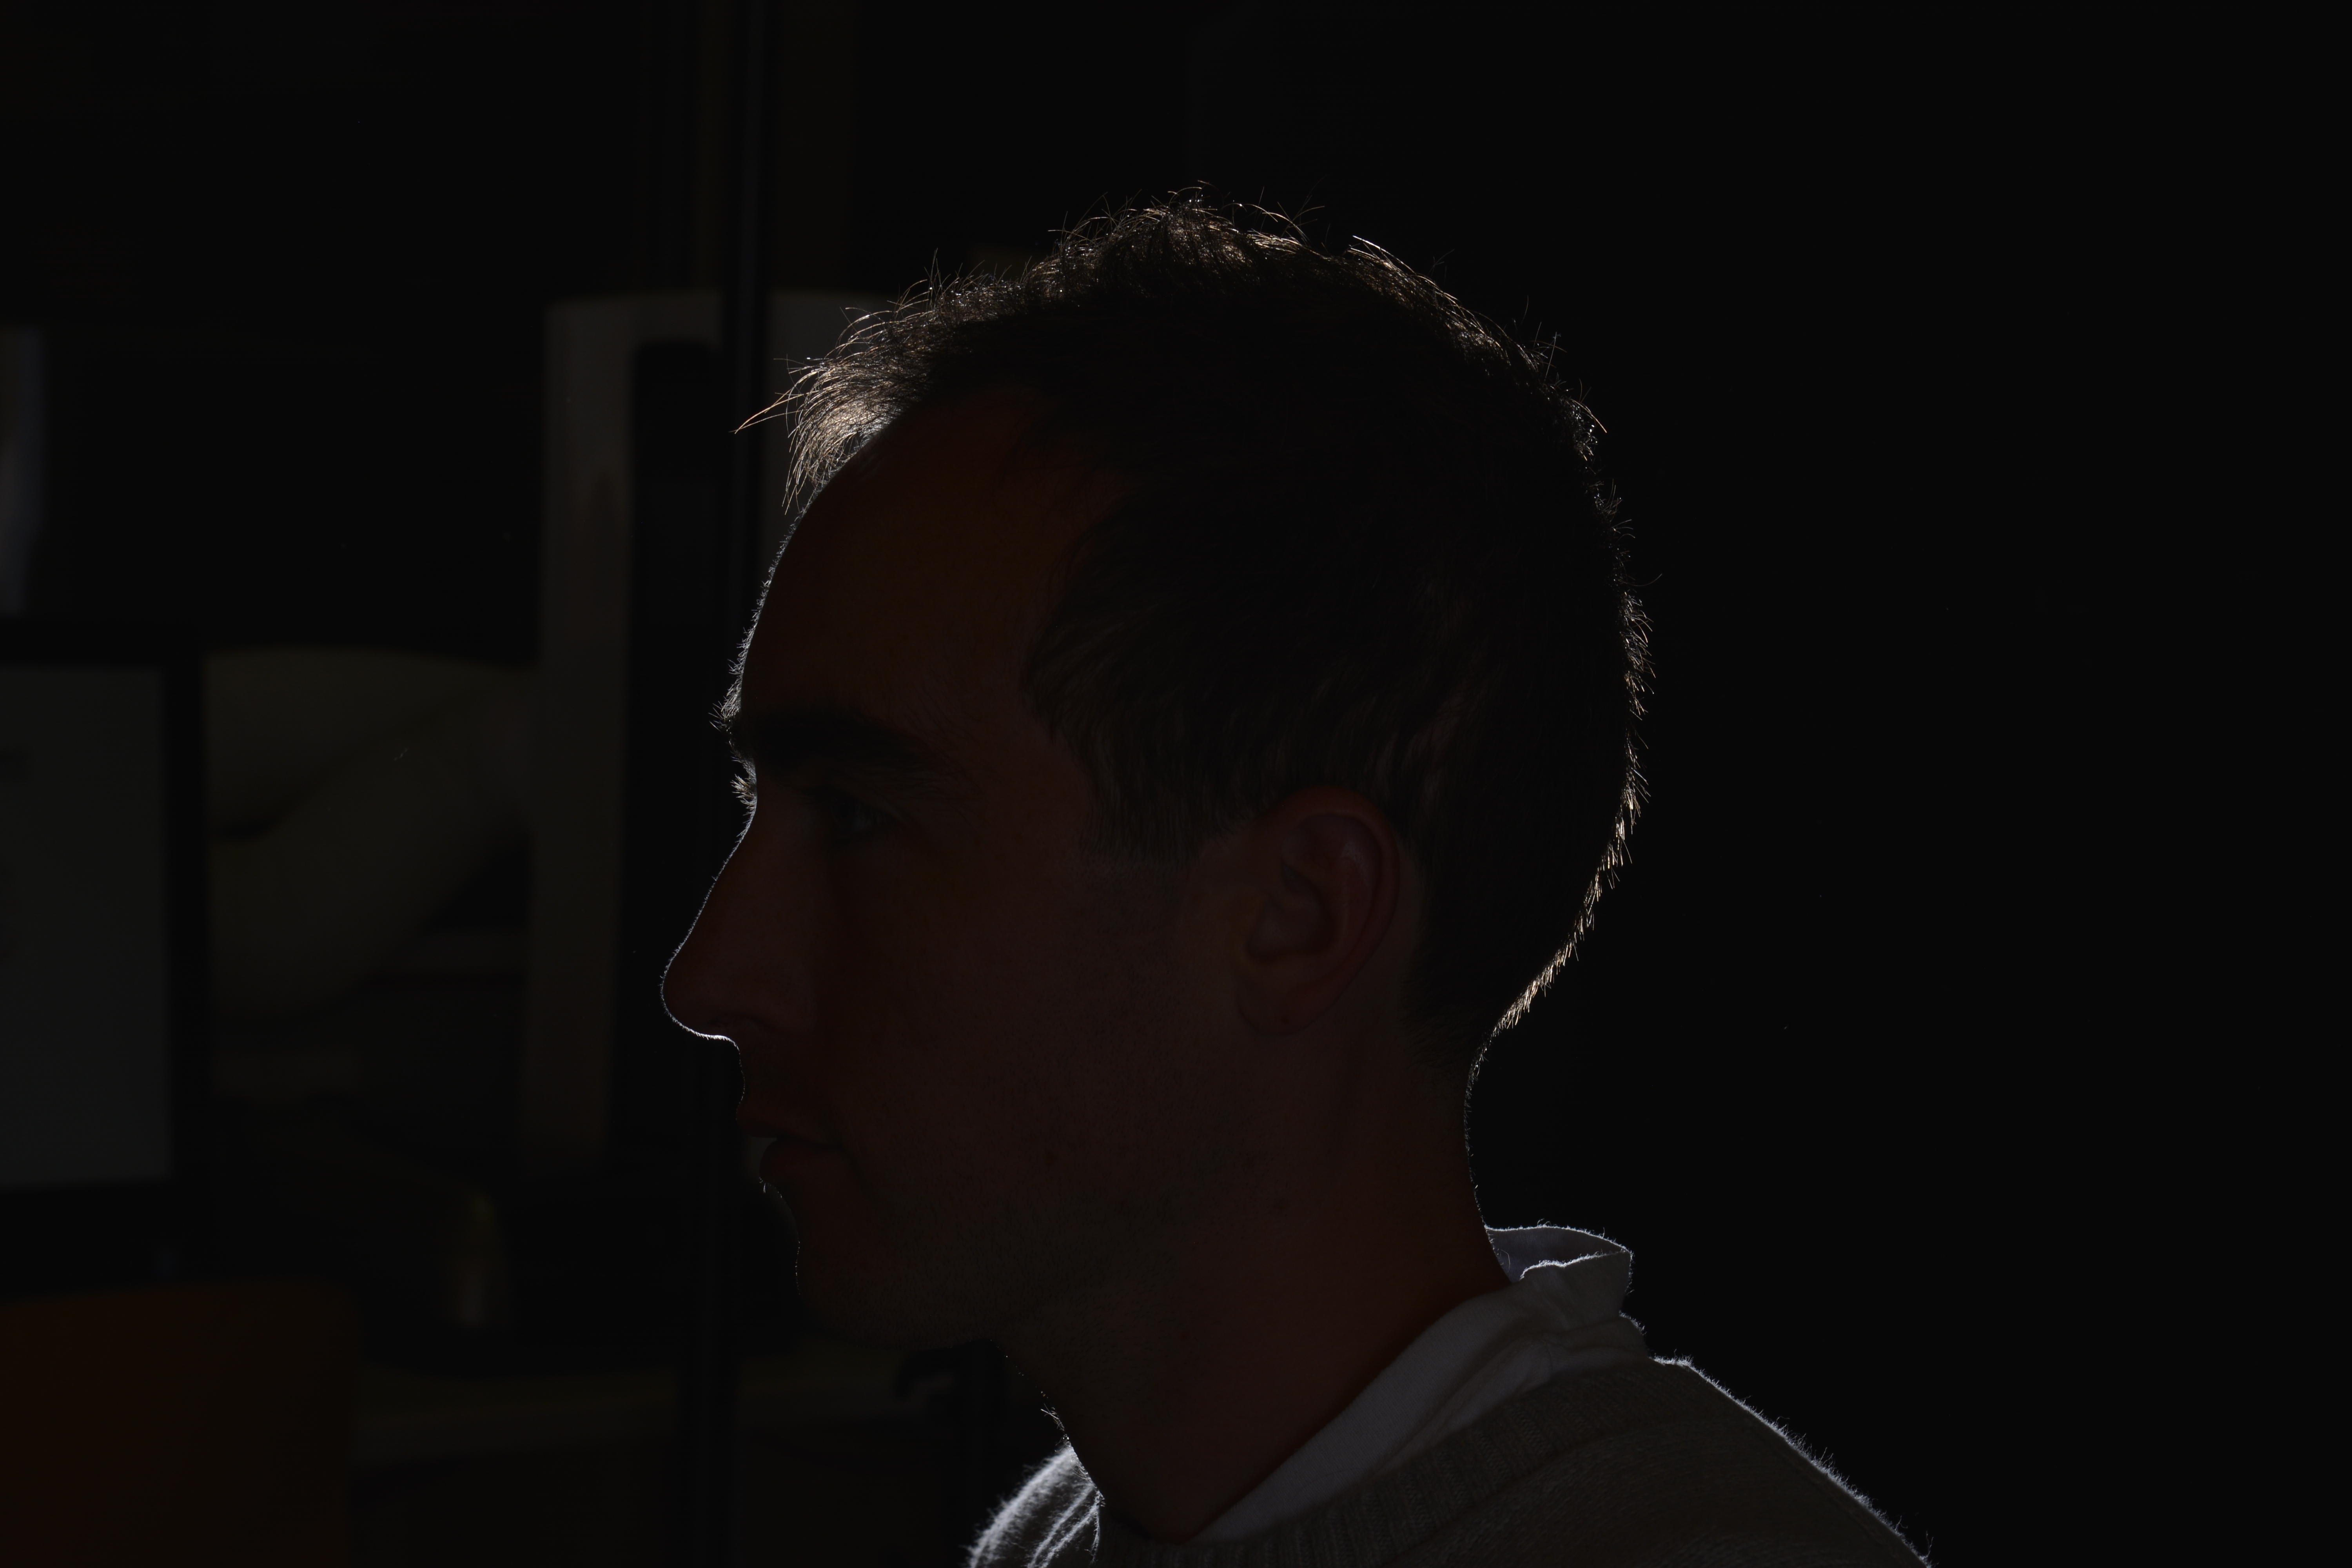
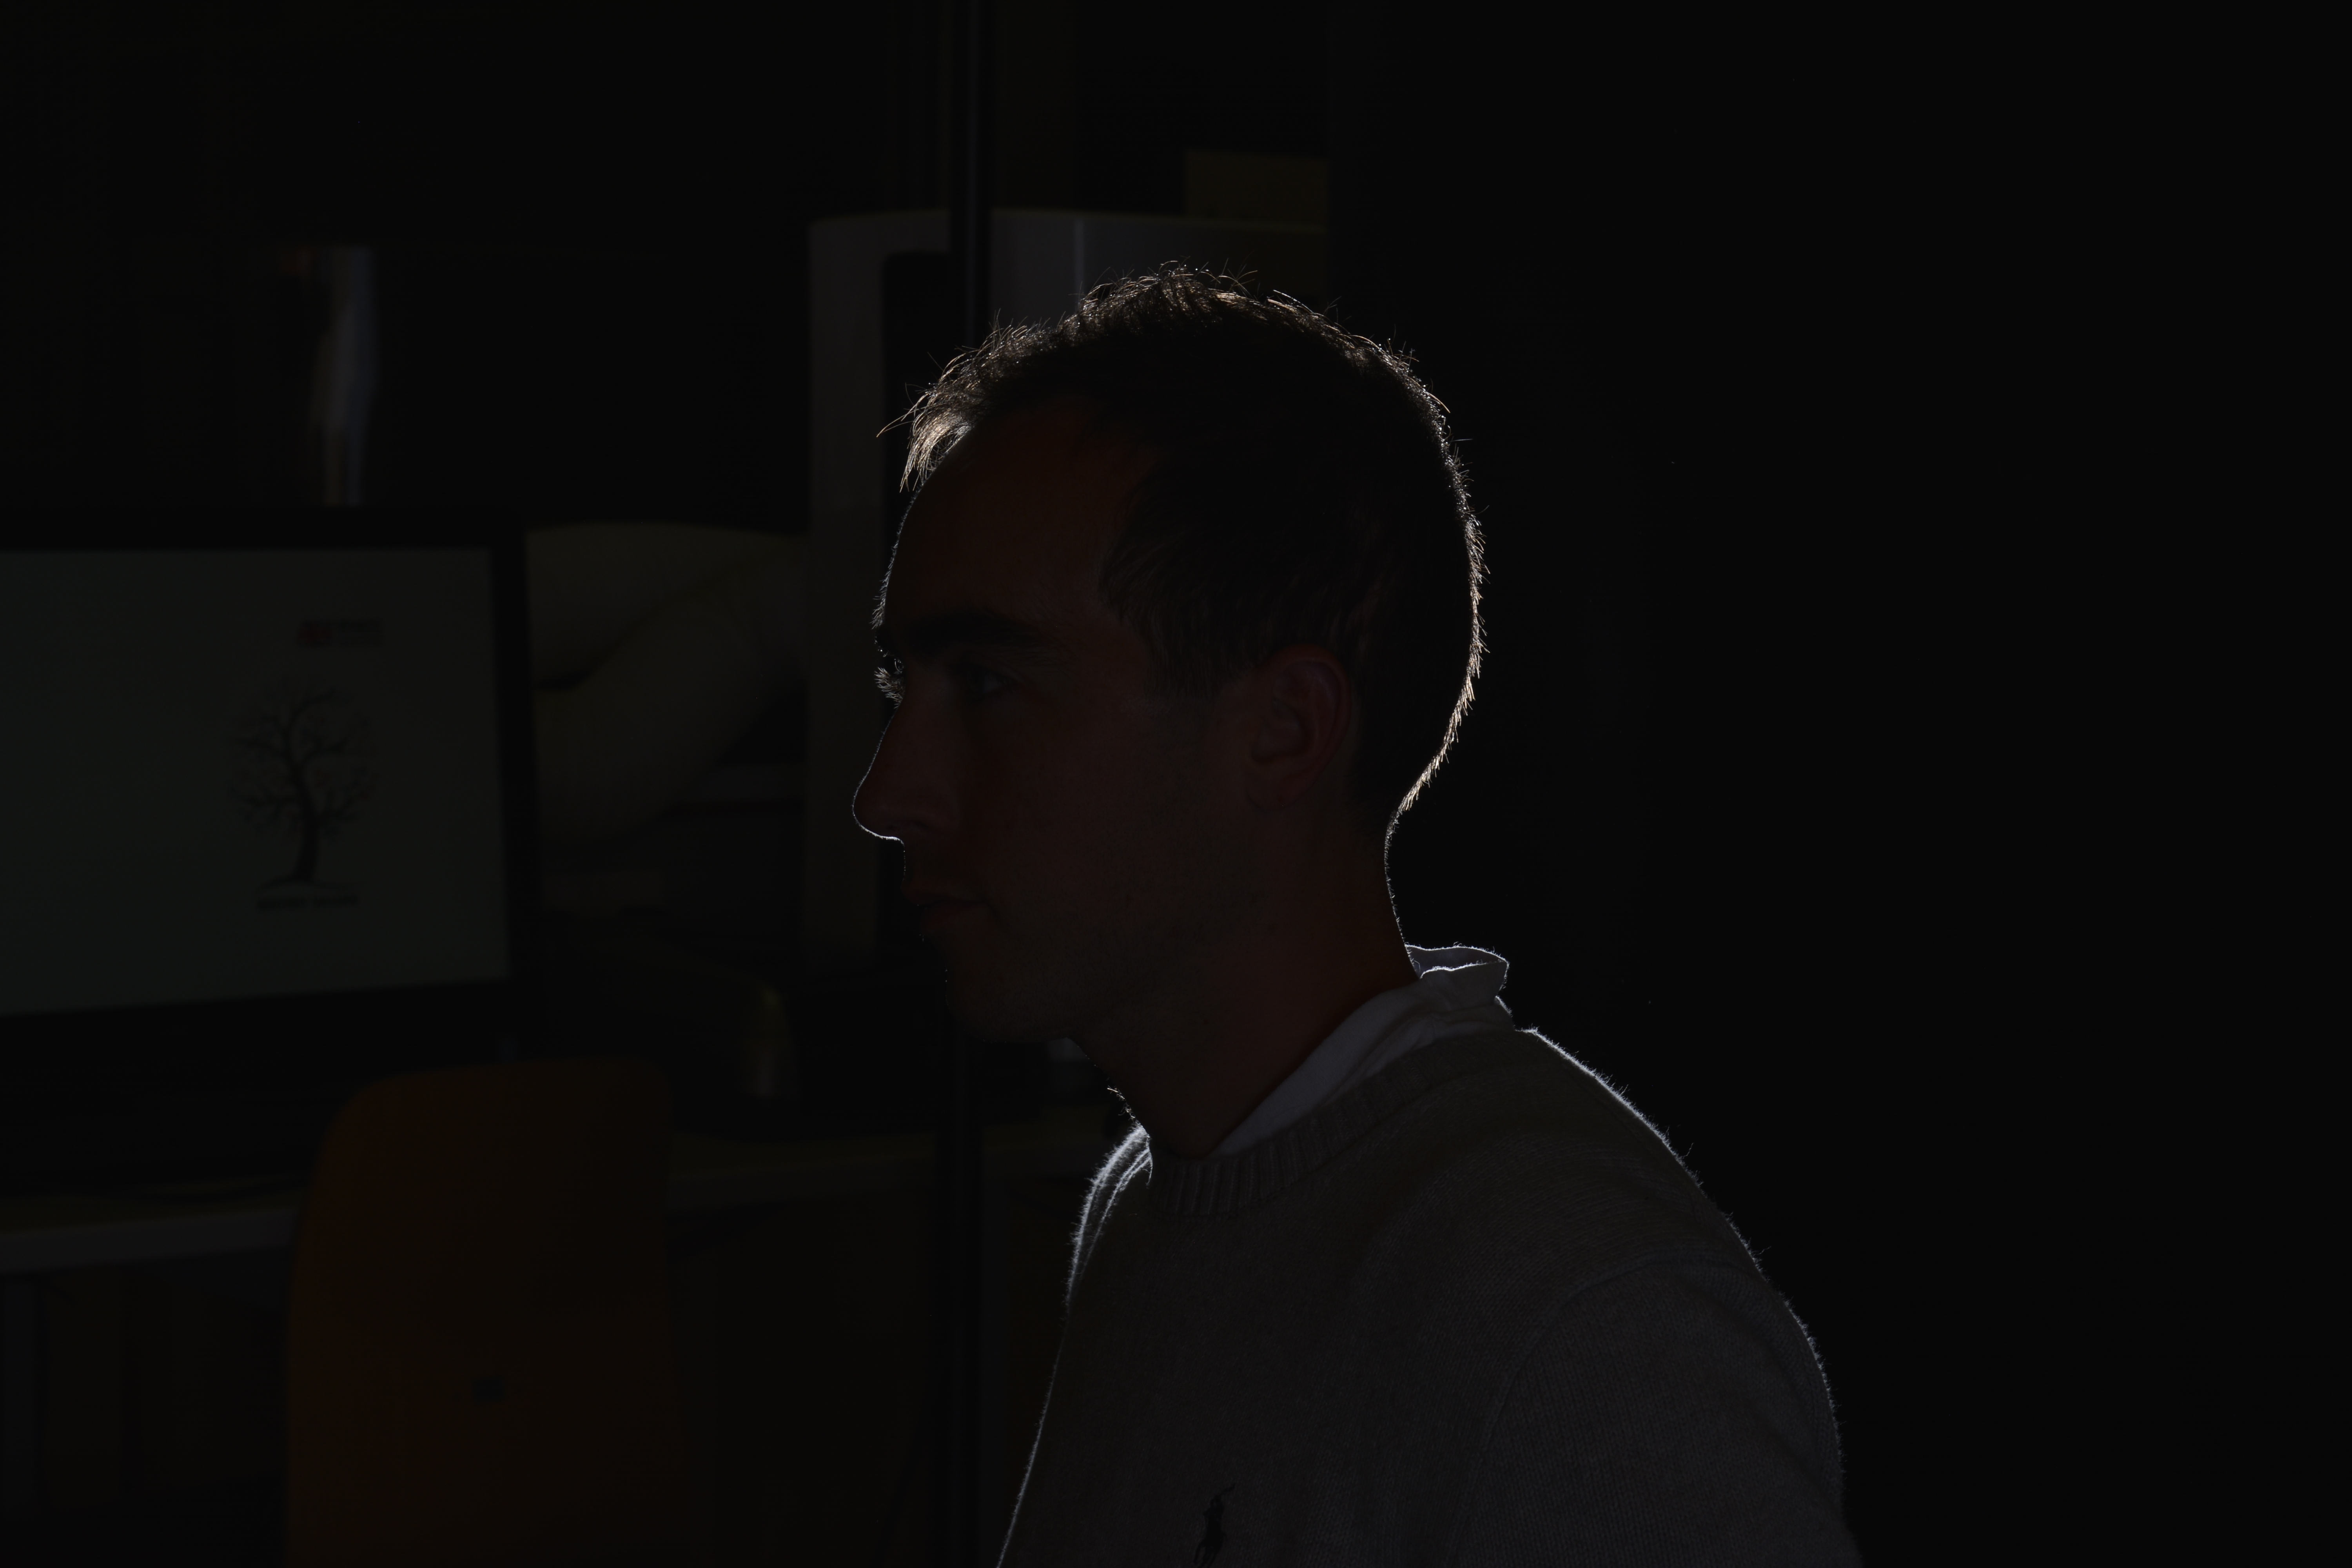
Keeping the model facing the same direction, I moved myself to the right. So from split lighting, I was trying to create some back or rim lighting. Back or Rim lighting is where the subject is lit from behind, this creates a halo effect around the subject and leaves it in silhouette.
I was just playing with angles to see how it would look. However doing this I have captured the classroom in the background and not the backdrop. If I was going to try and photograph with Rim lighting, I would move the subject forward and place a light behind facing towards the subject and me. As the the diagram below shows.
White Background
For a softer lighting set up I have used a white paper background, one key light, two fill lights and a stall for the model. (see photo below).
White background lighting set up
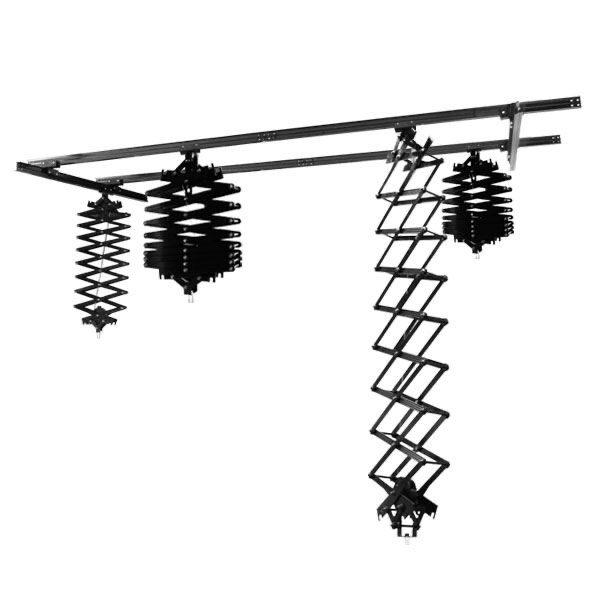
All the modelling lights are suspended from a ceiling track using pantographs. Using the lights in this way, you eliminate the trip hazards, provided the leads run up towards the ceiling. However you add another hazard of banging your head. I had to be very careful when positioning the lights and making sure the pantographs were secured in the correct height position.
Pantographs on a ceiling track
To create a softer light, umbrellas attached to the modelling lamps with adapters have been used to bounce the light back onto the backdrop. Bouncing the light back softens it as it travels.
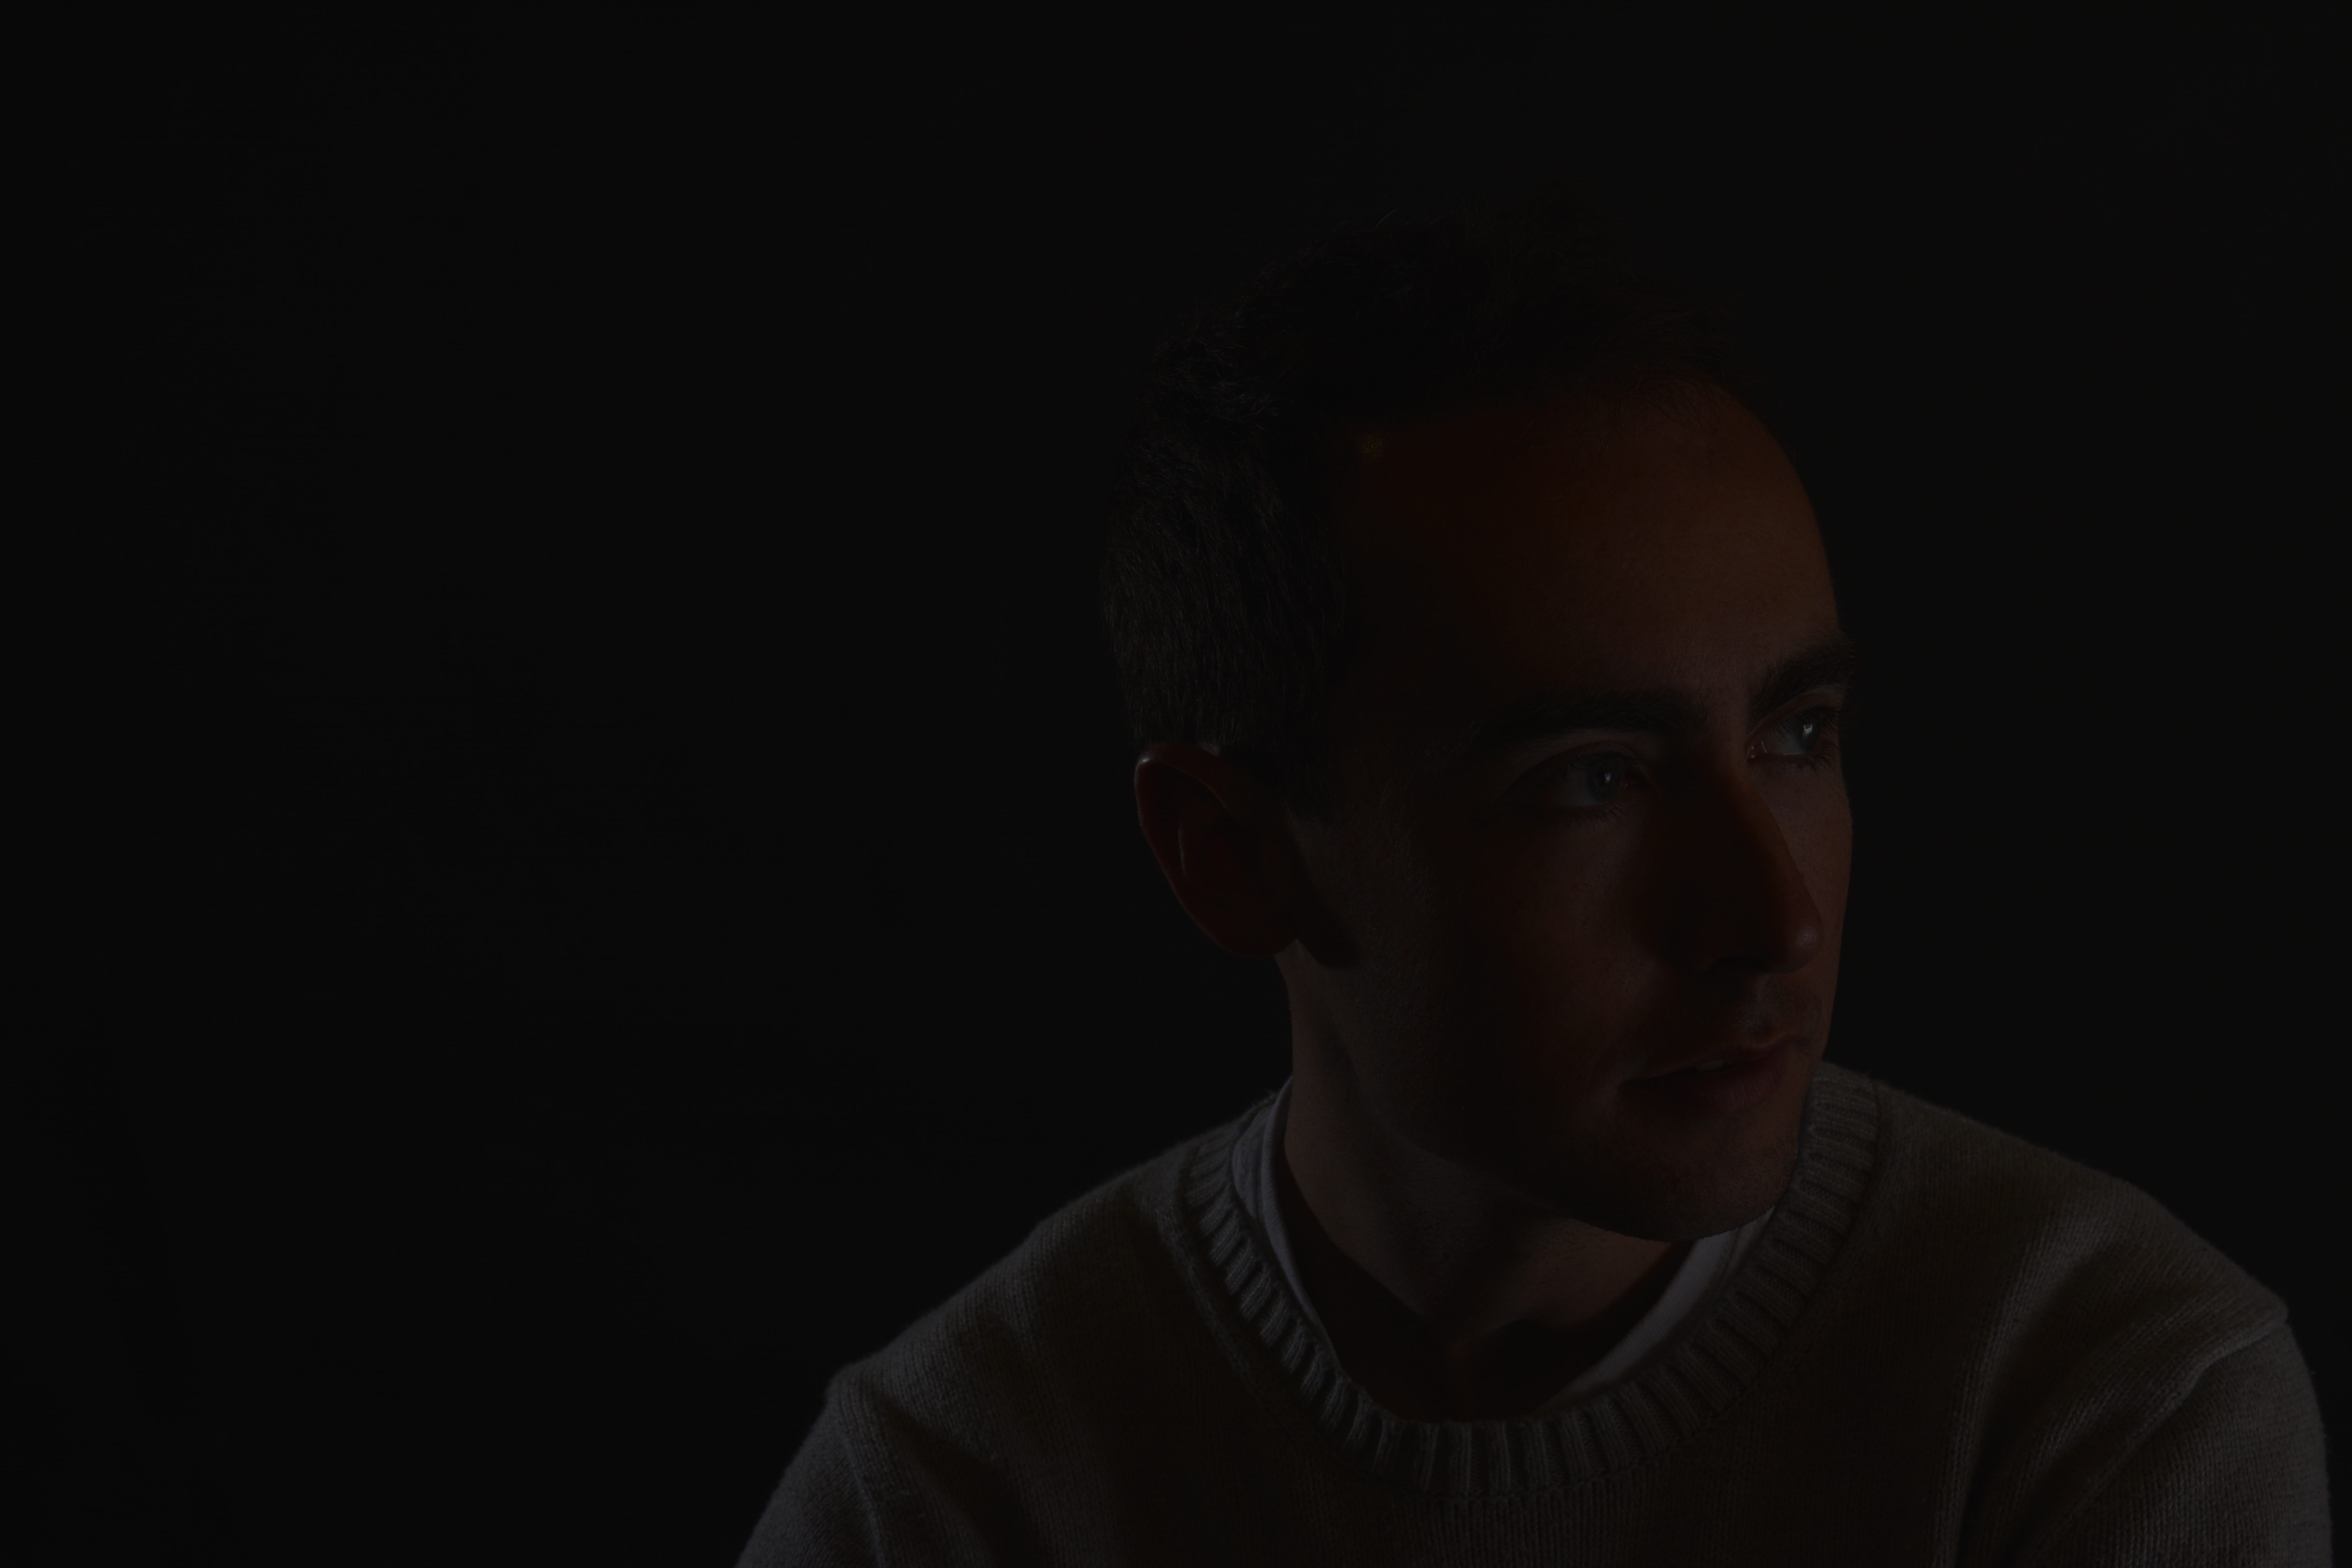
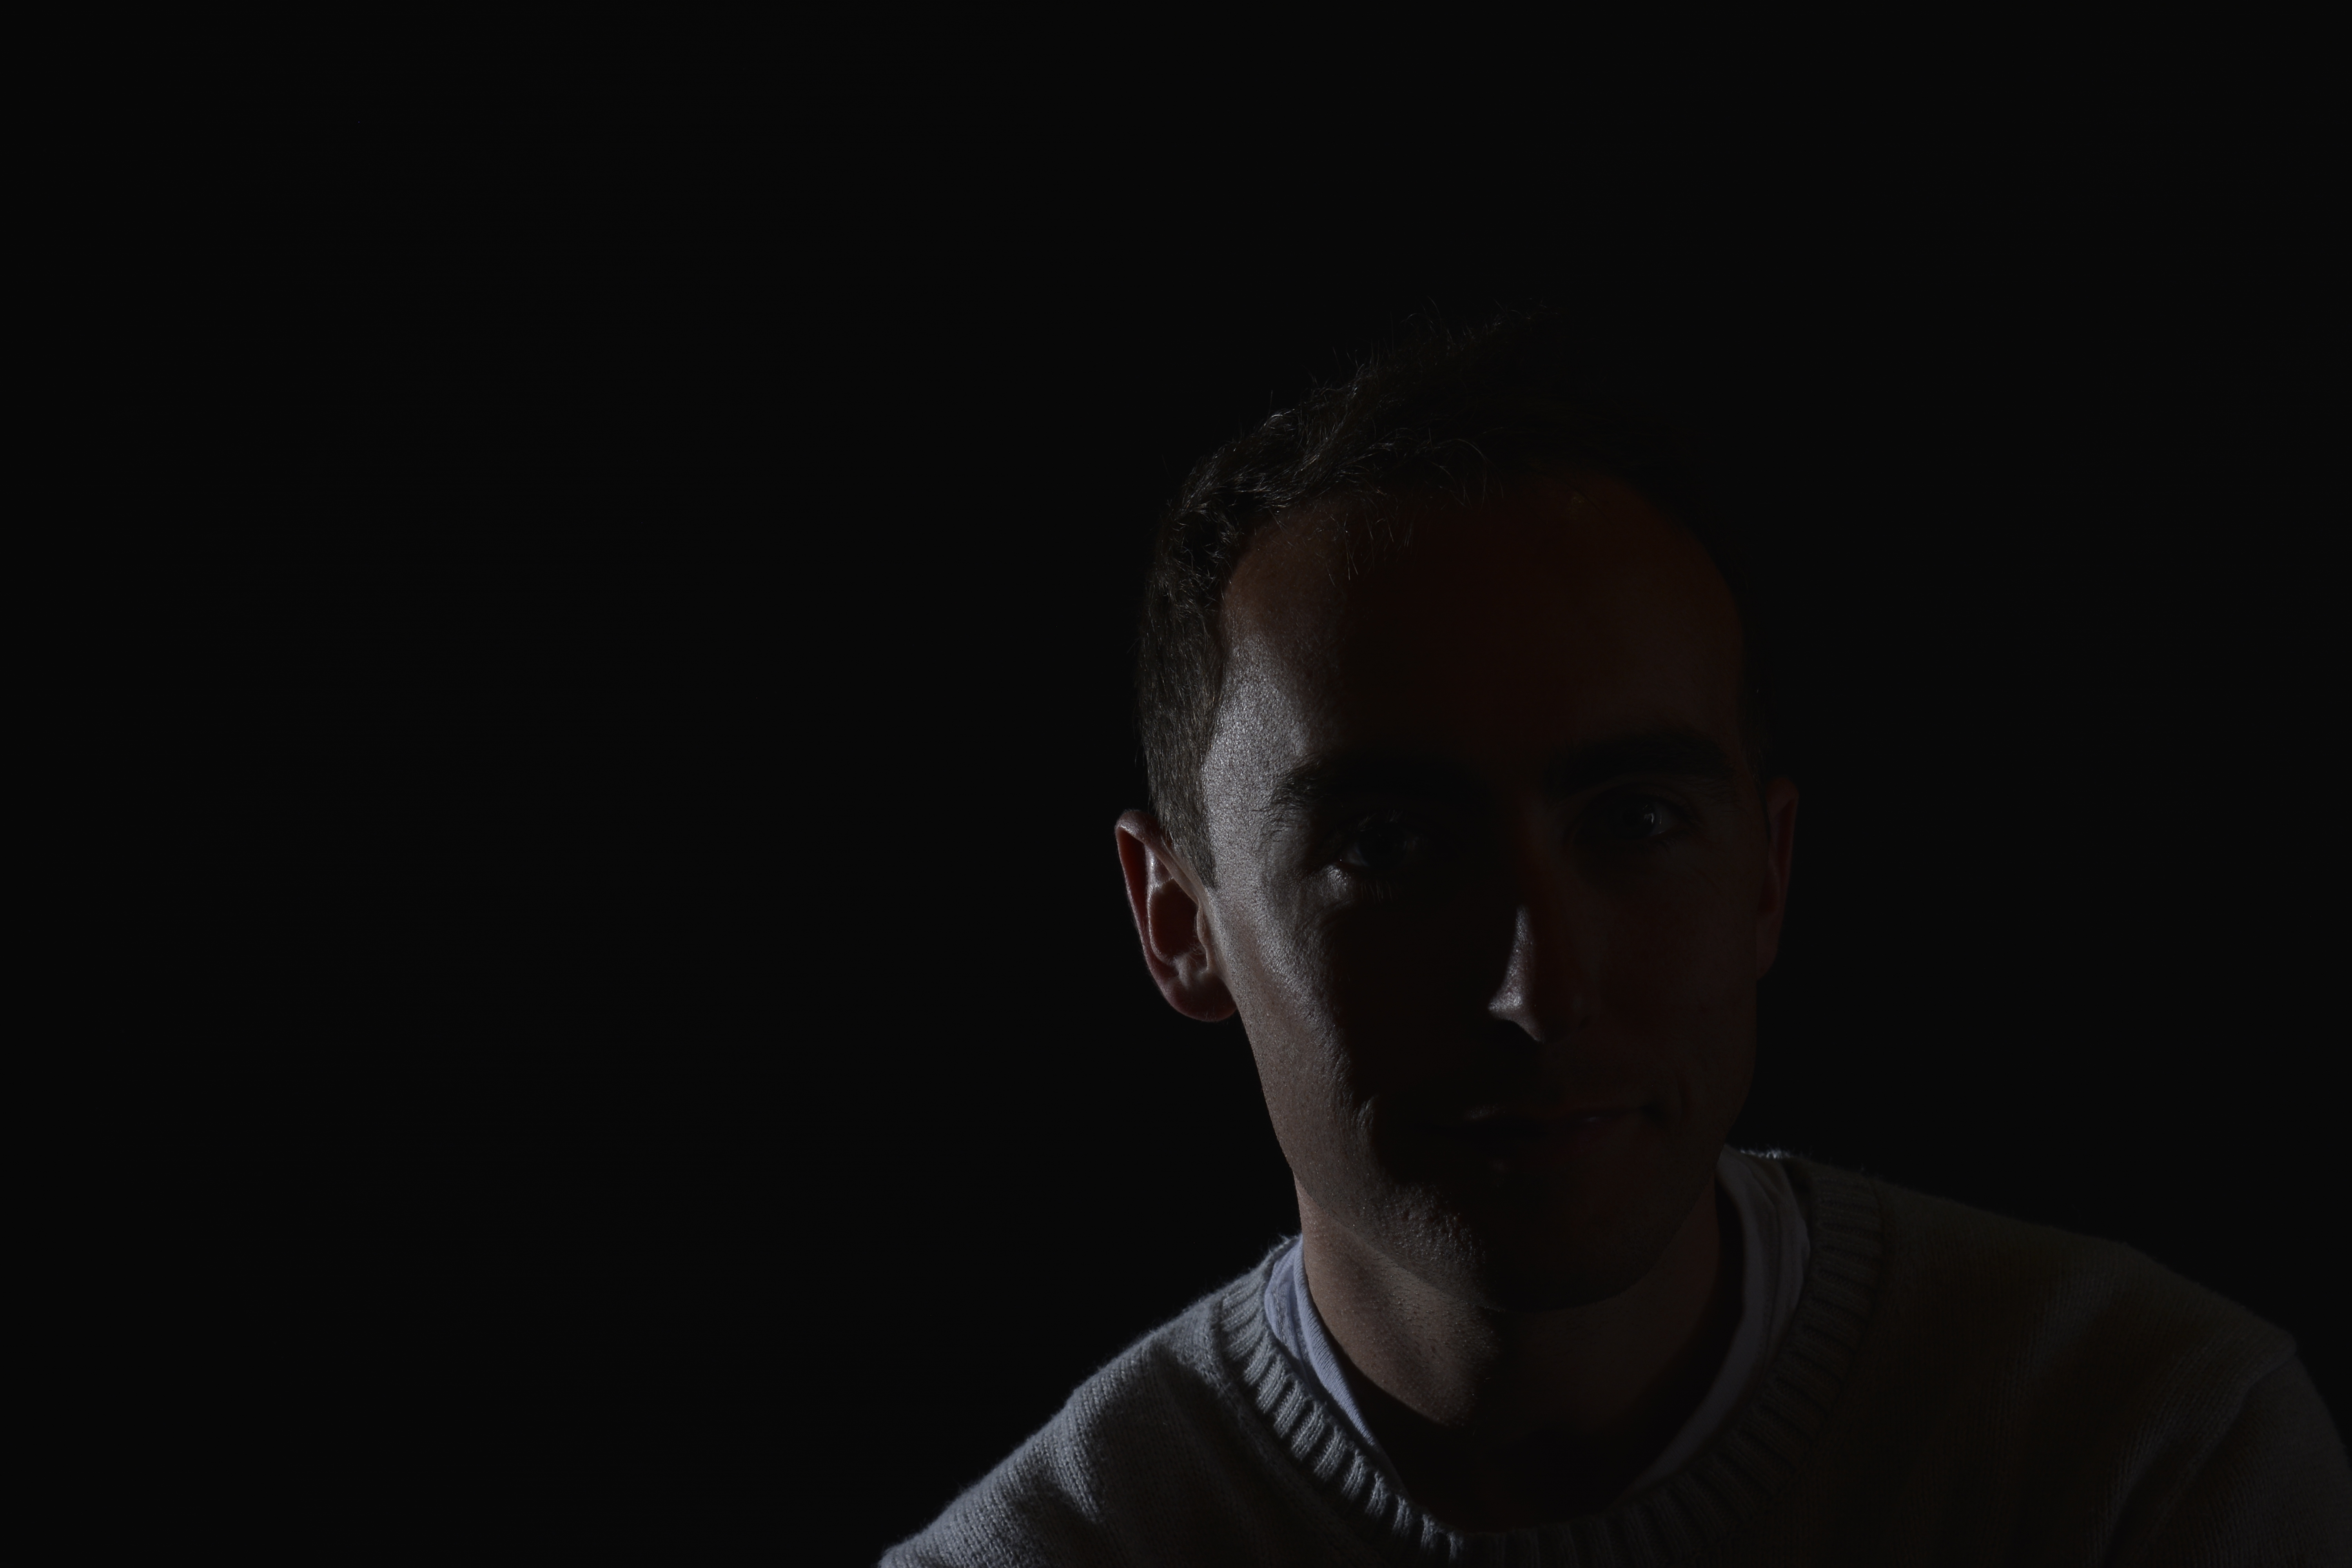
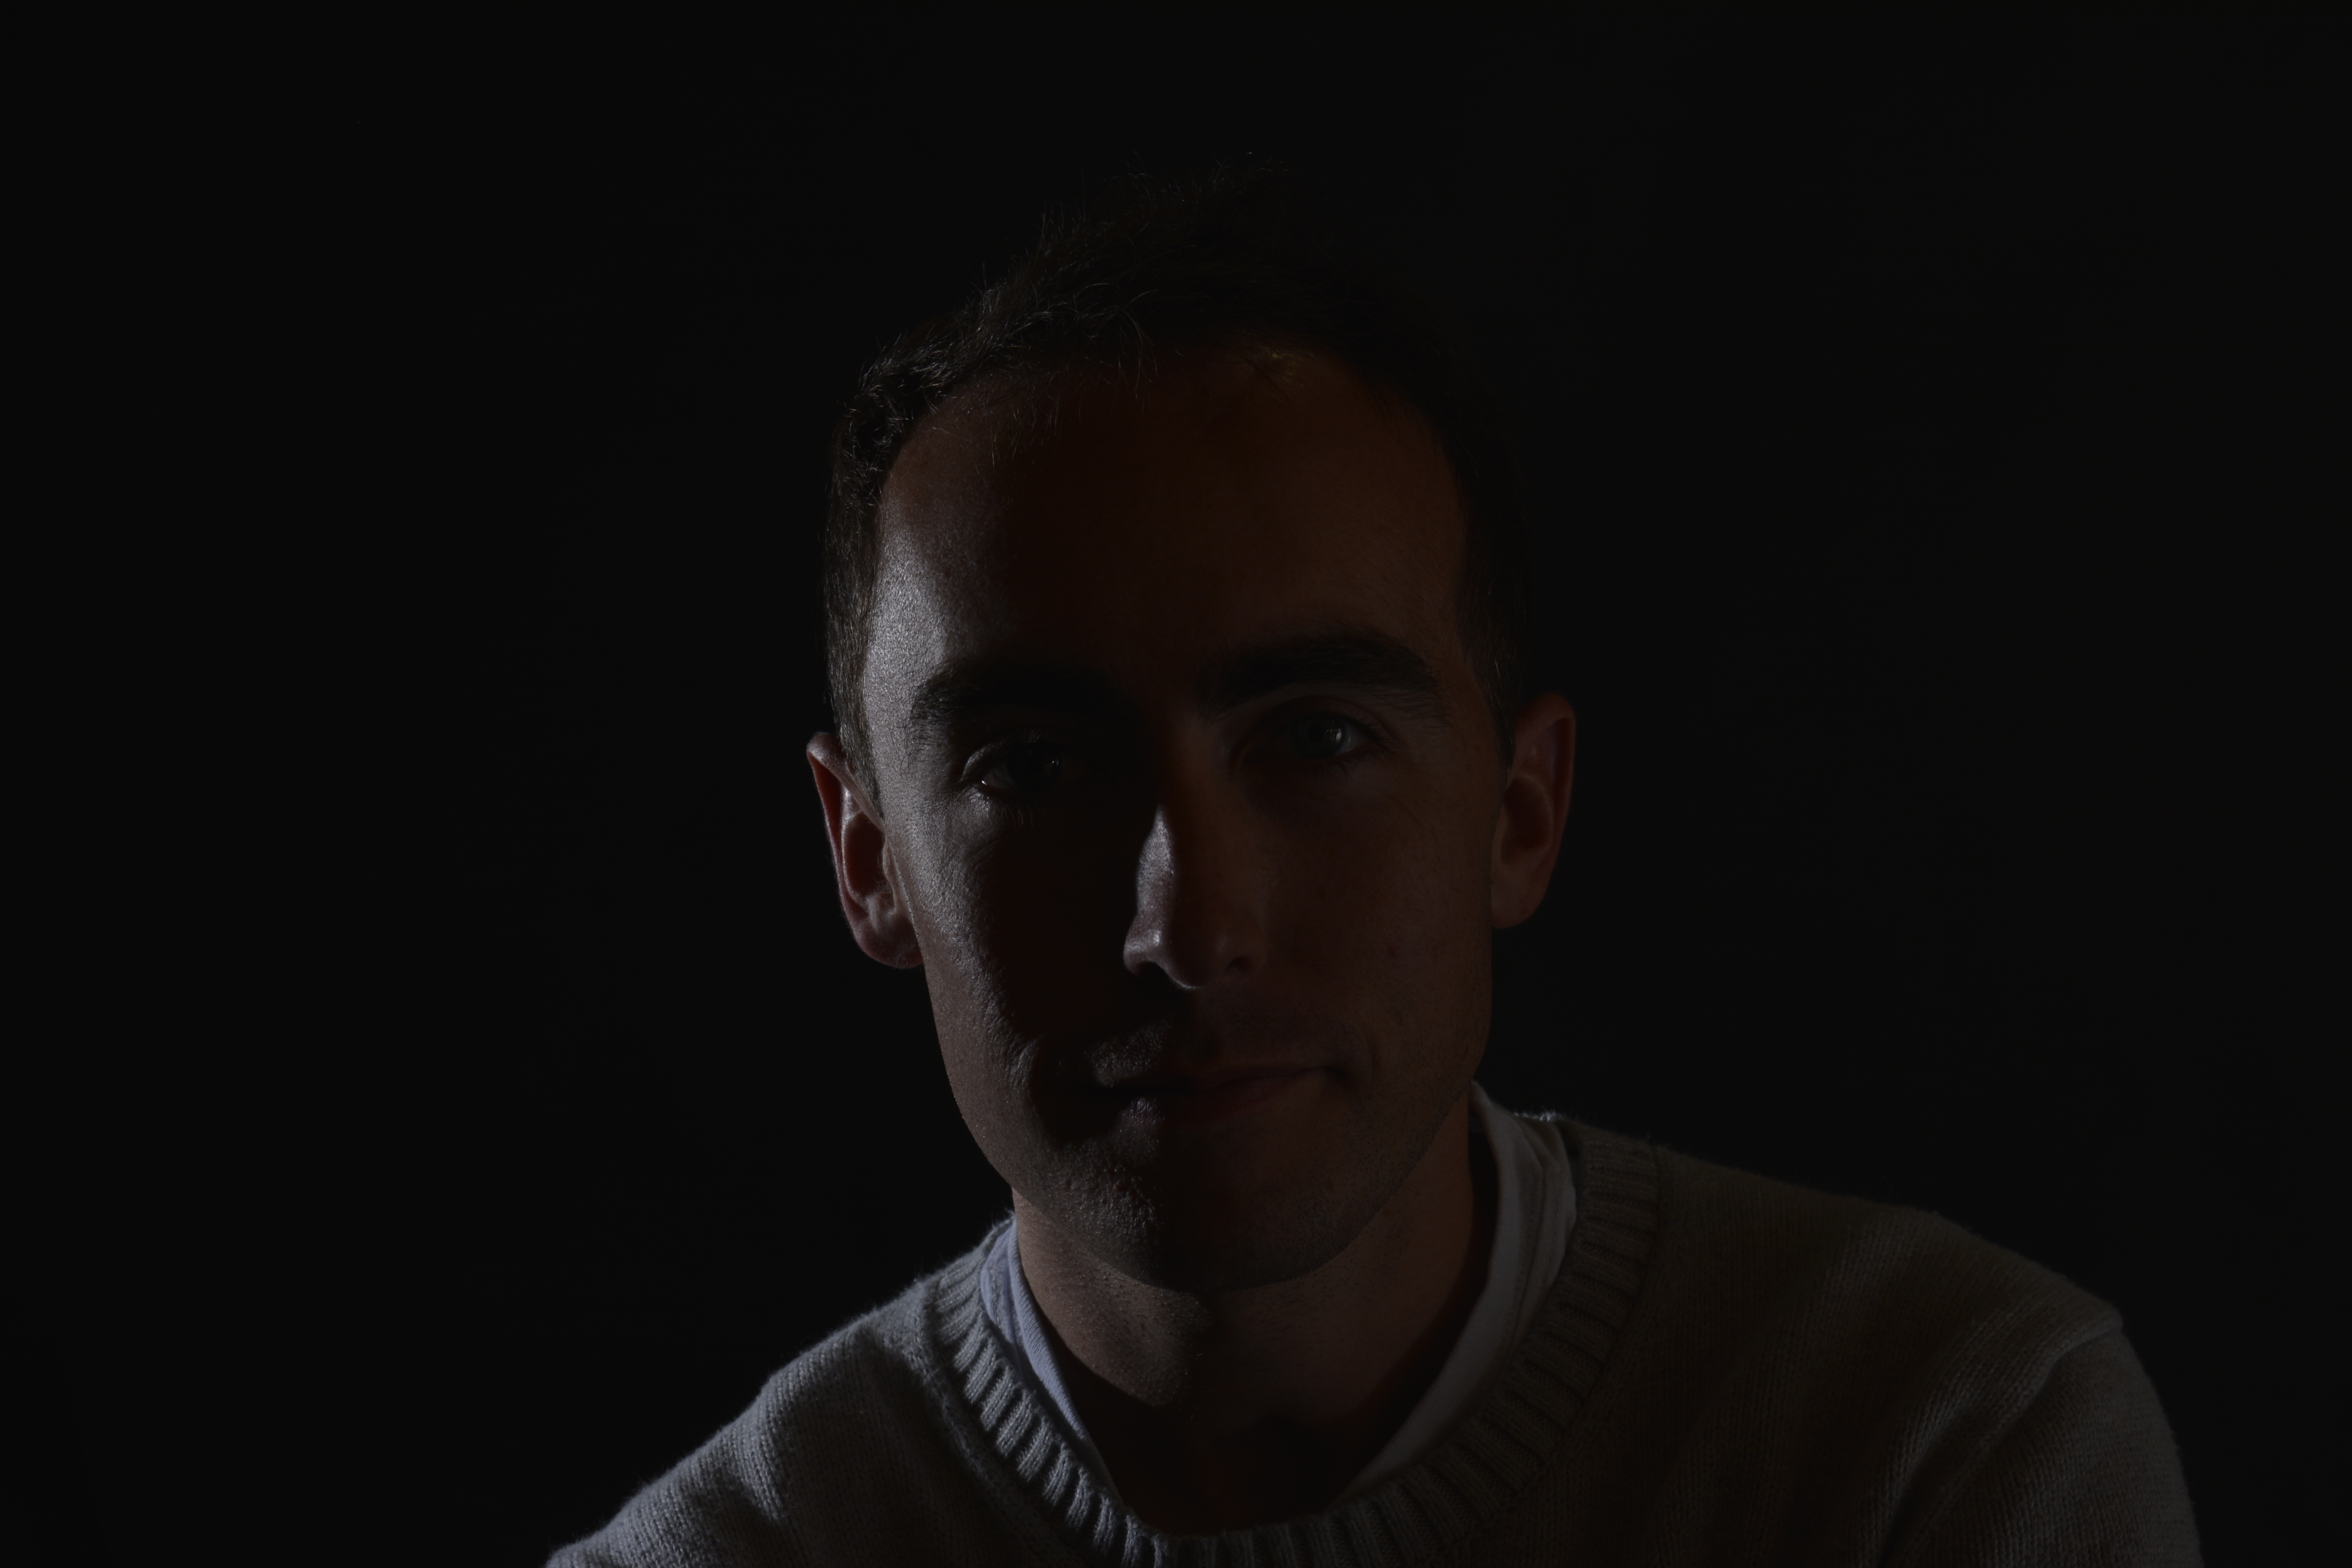
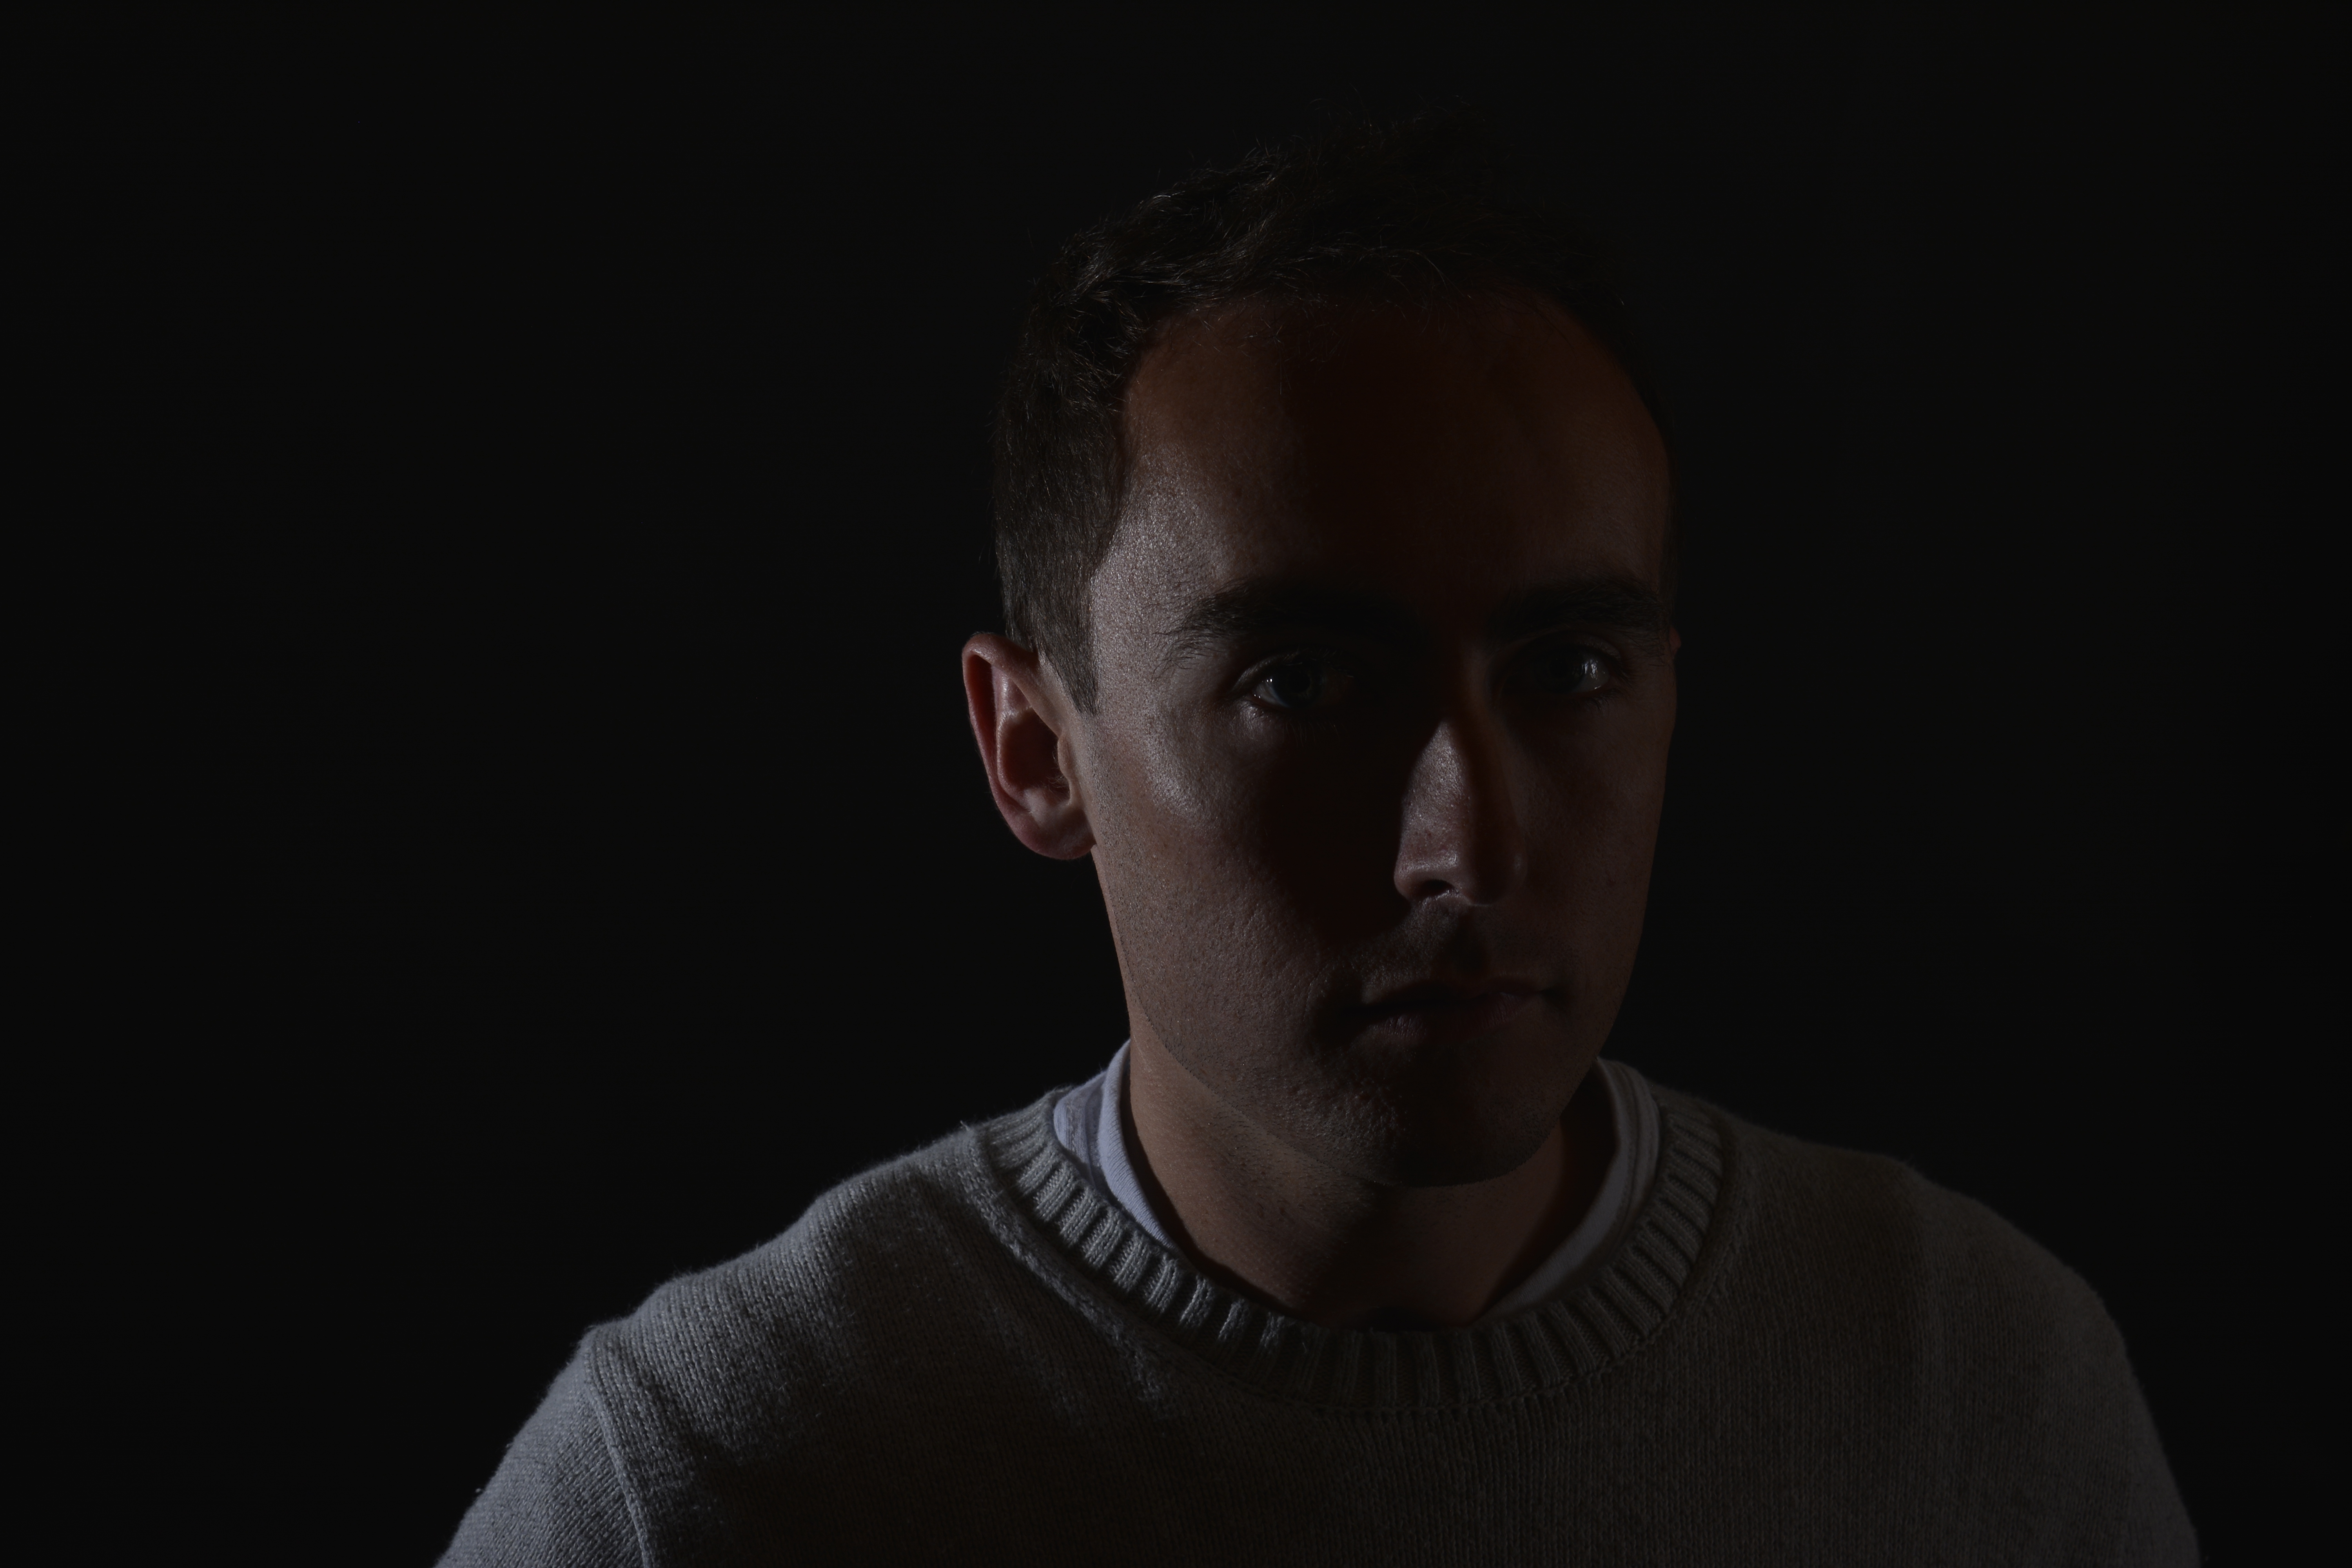
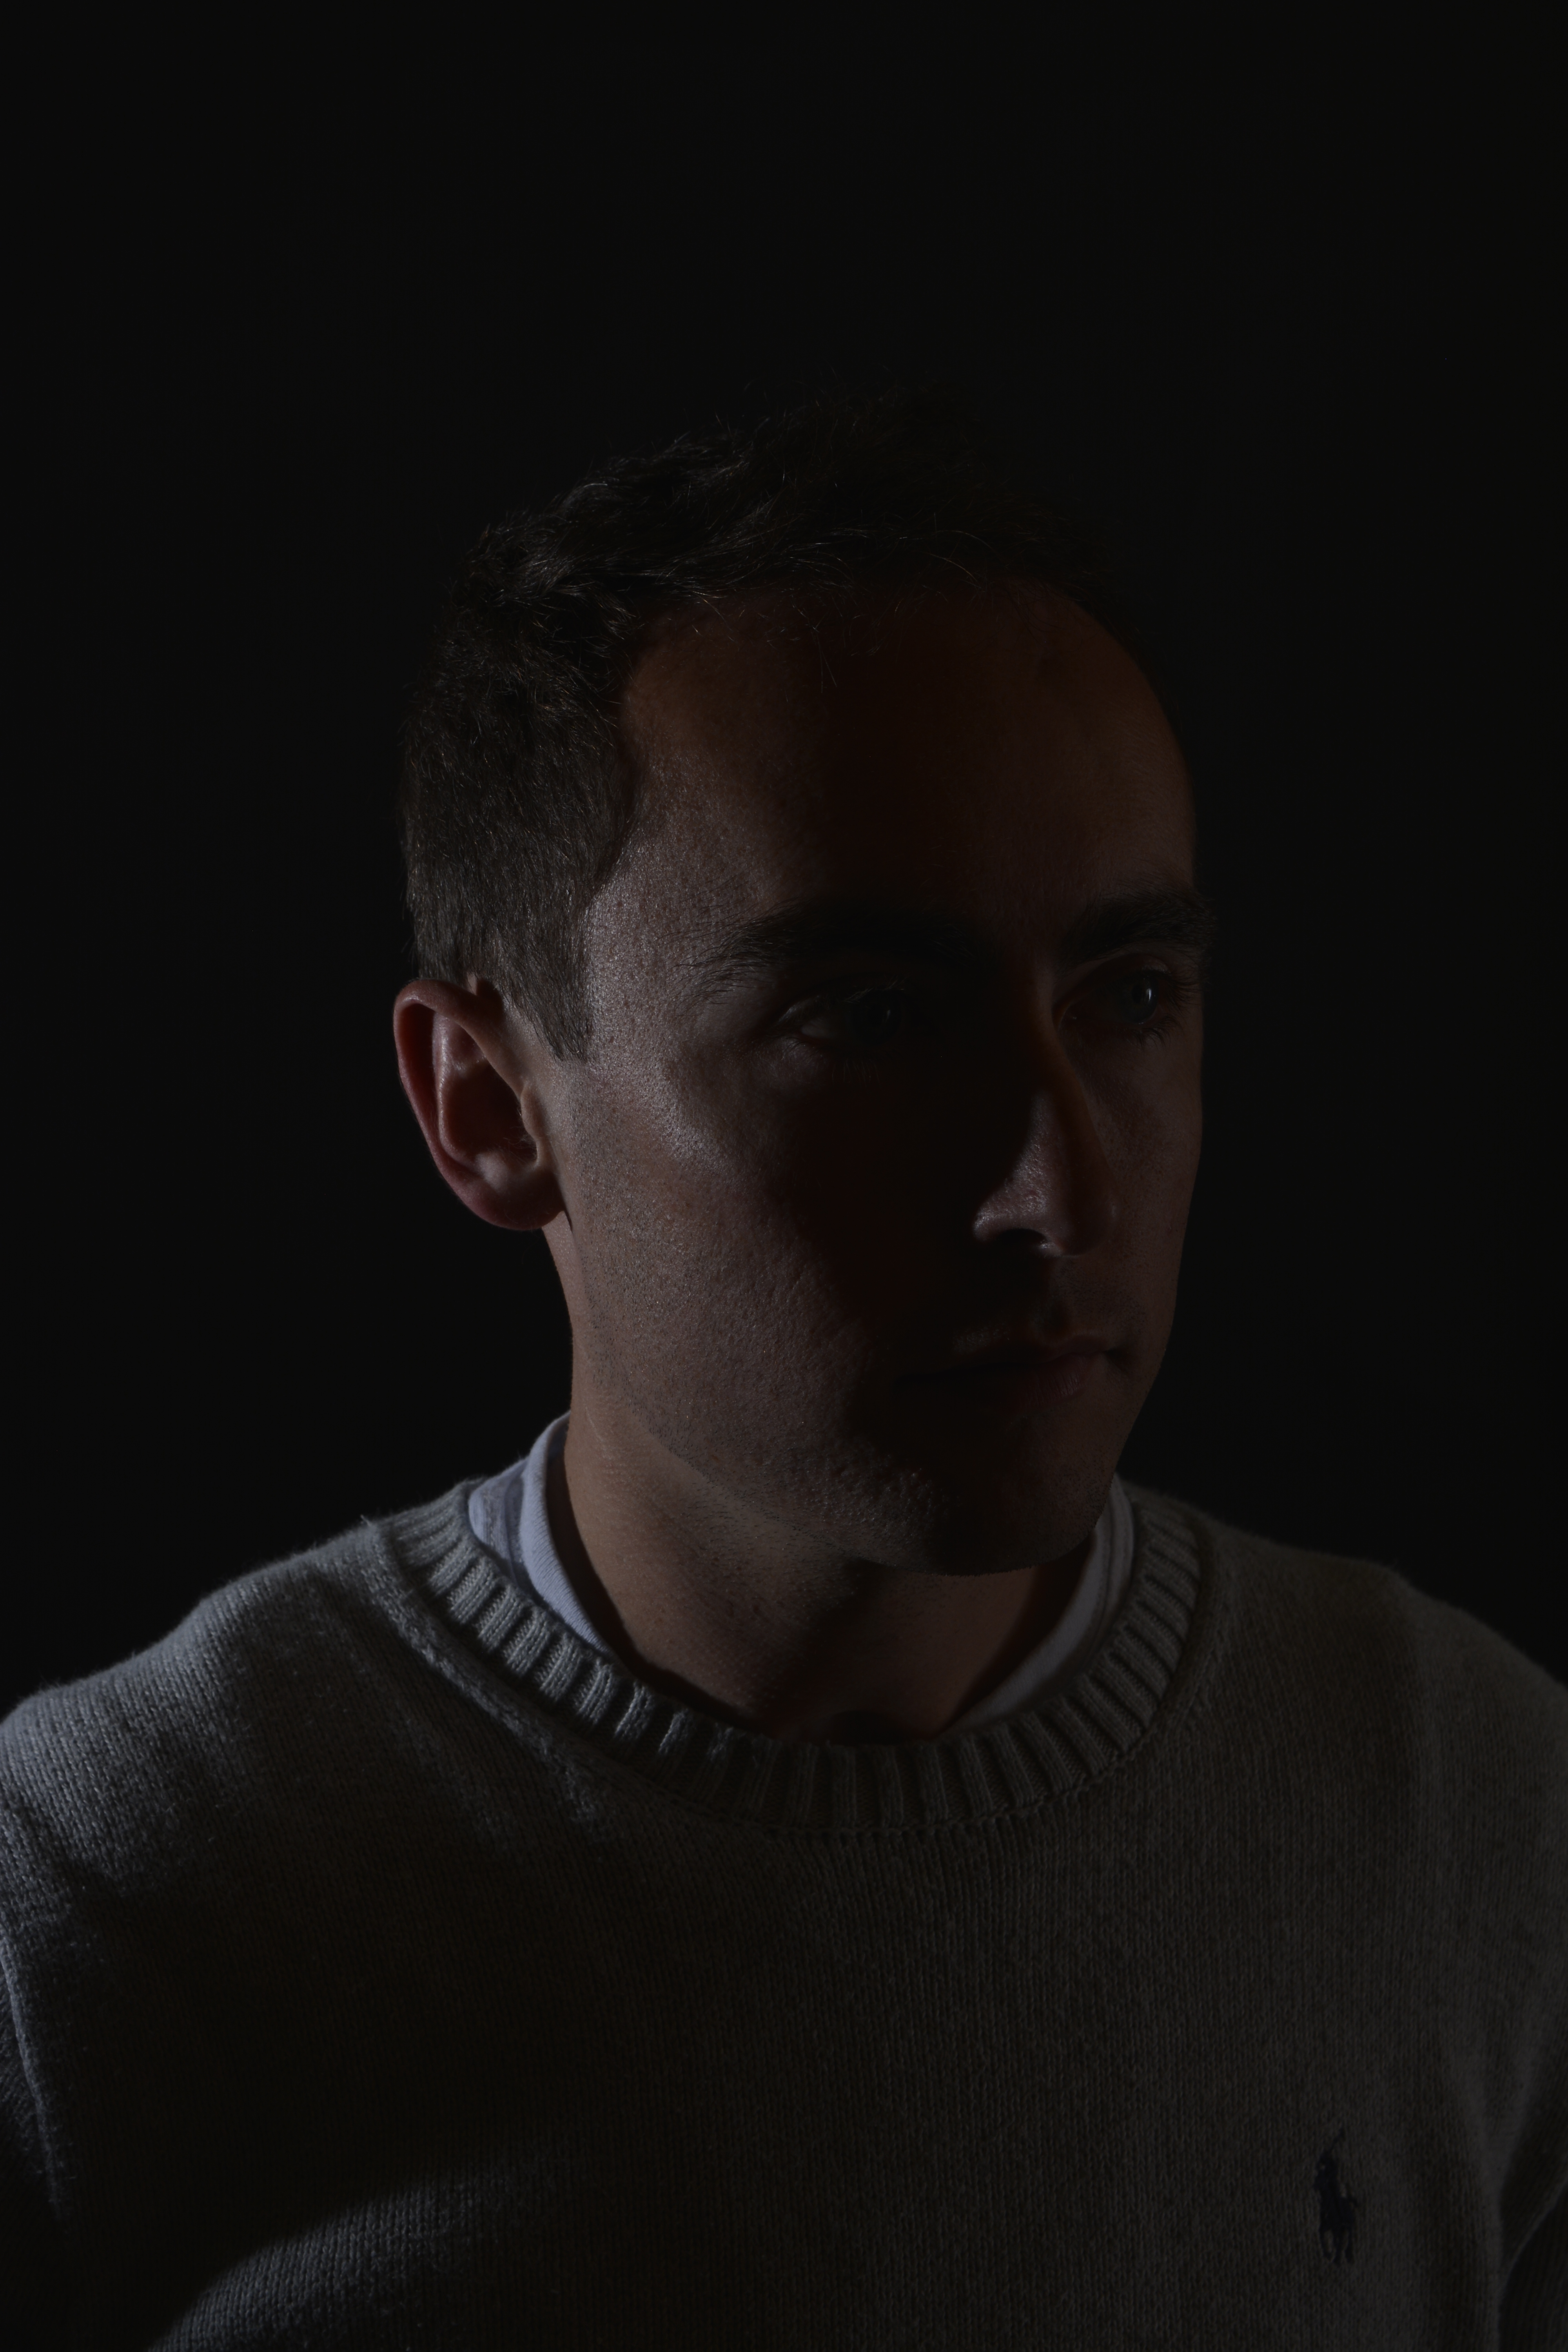
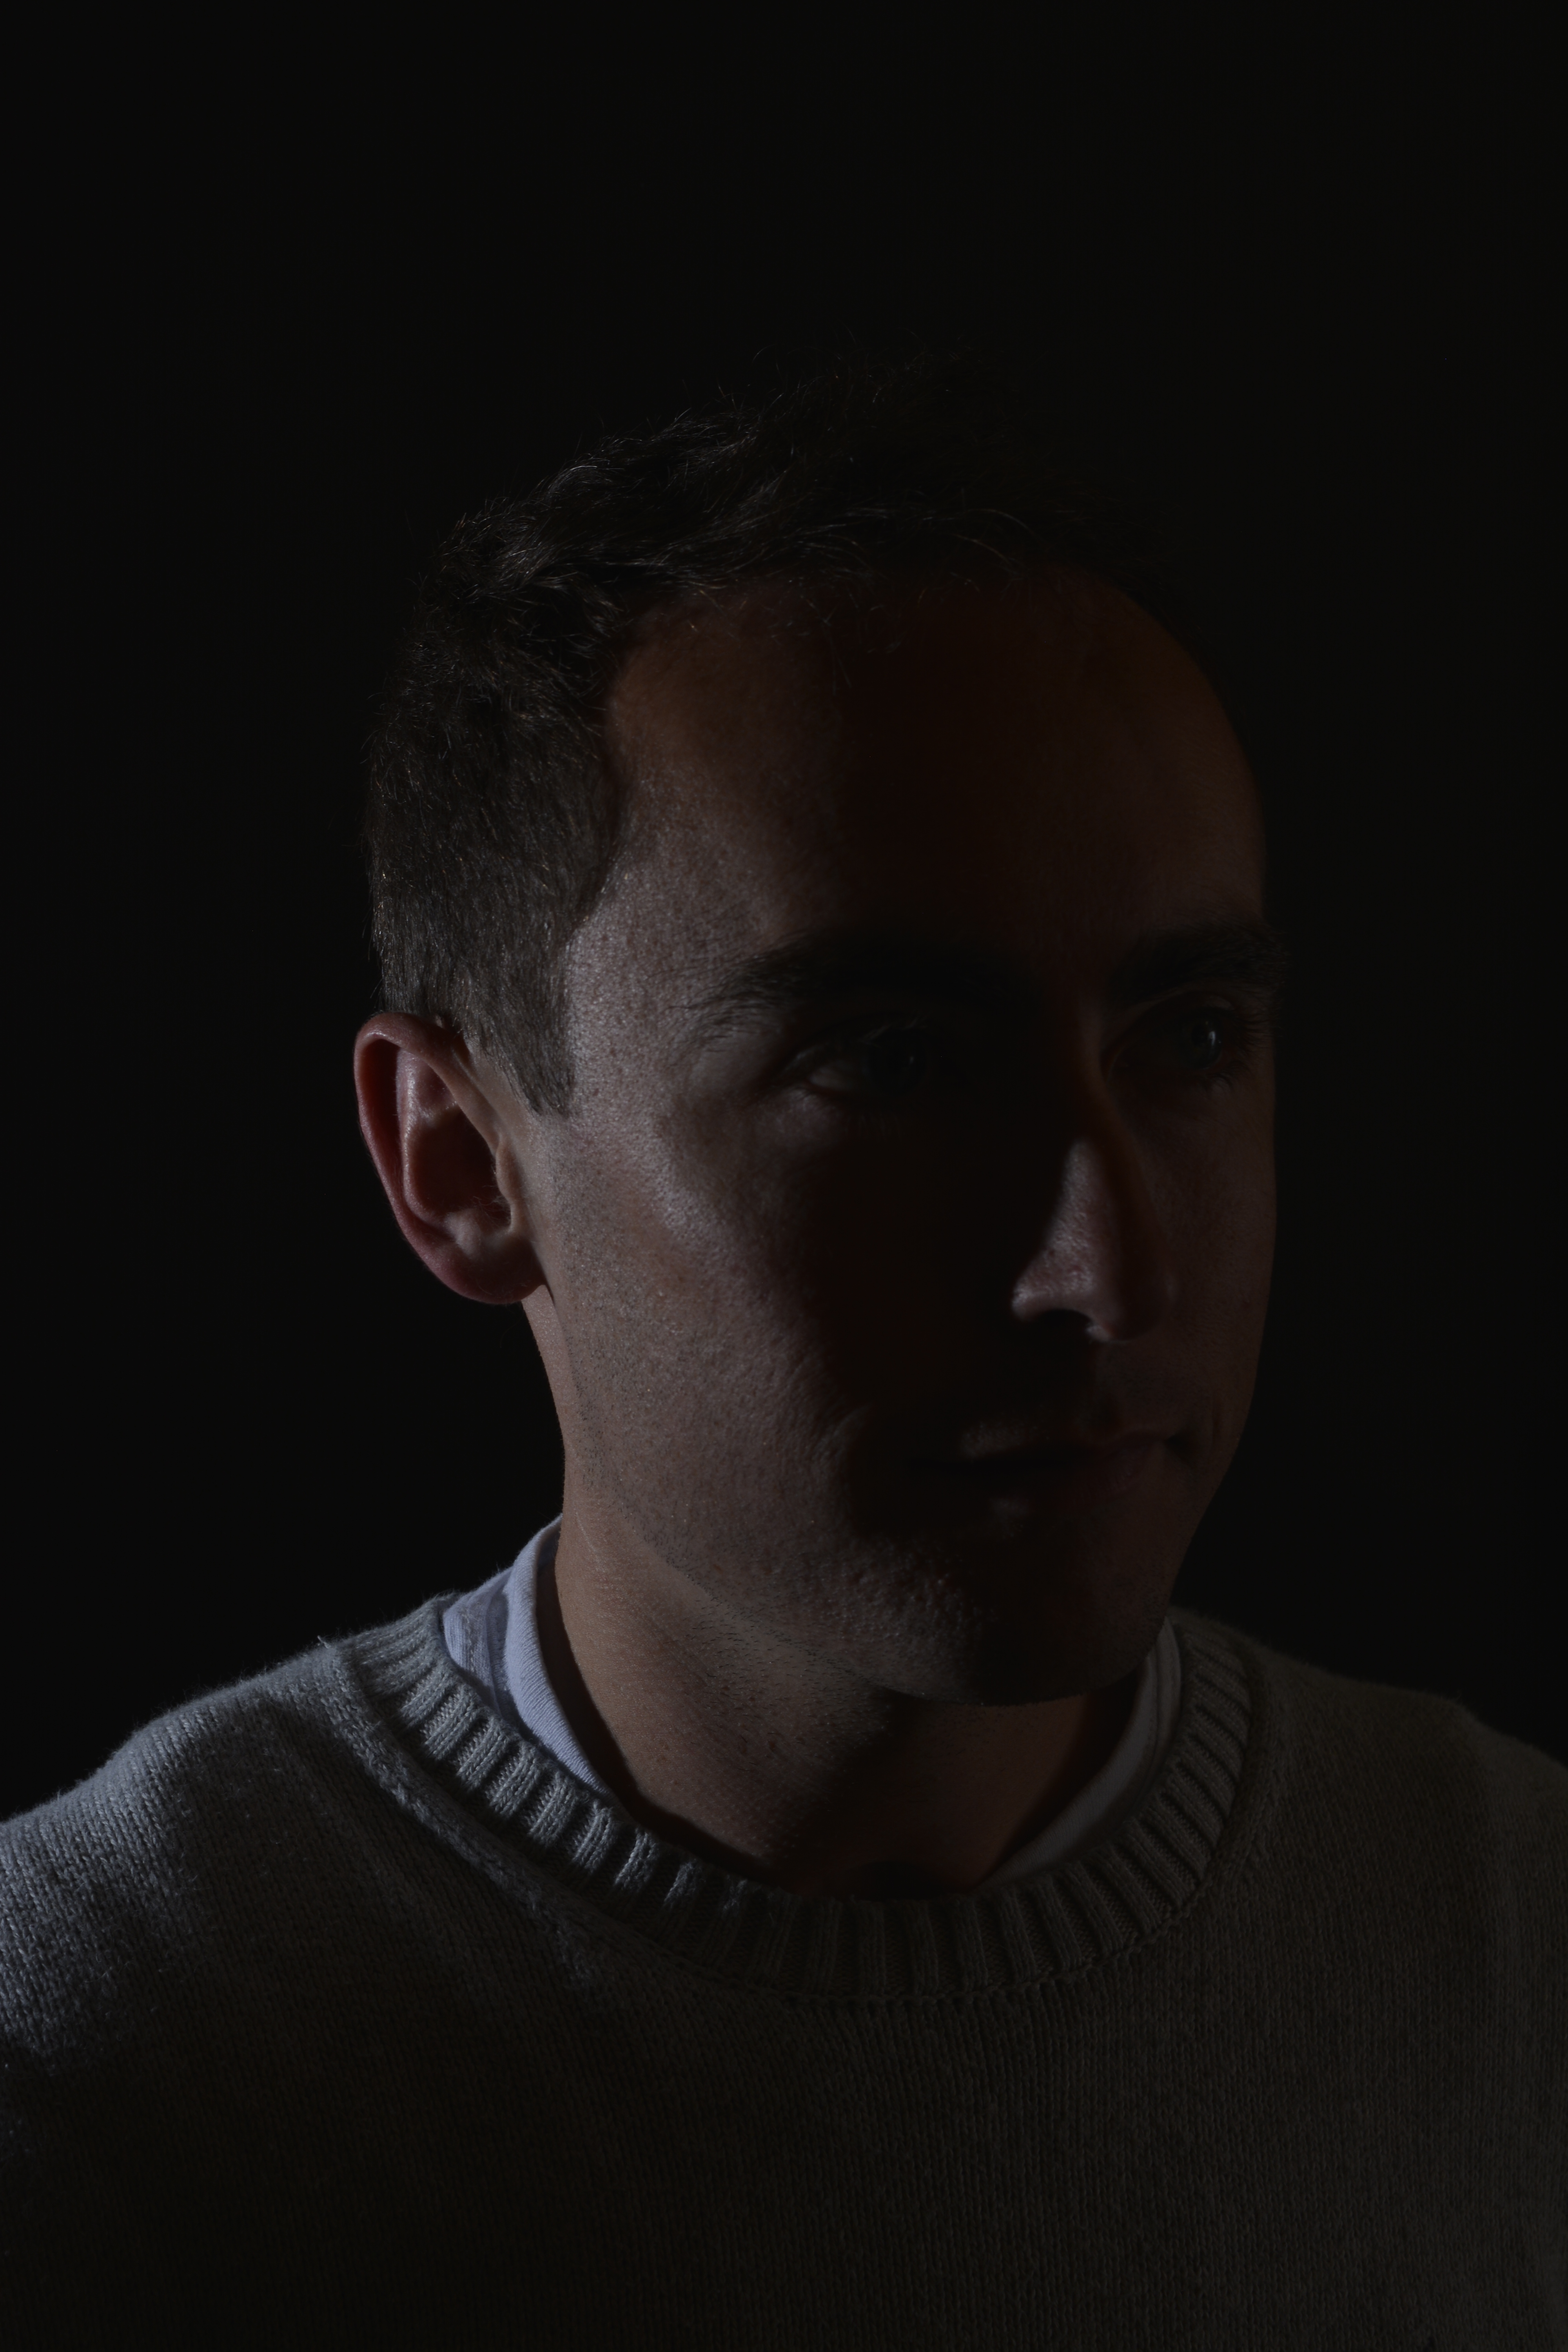
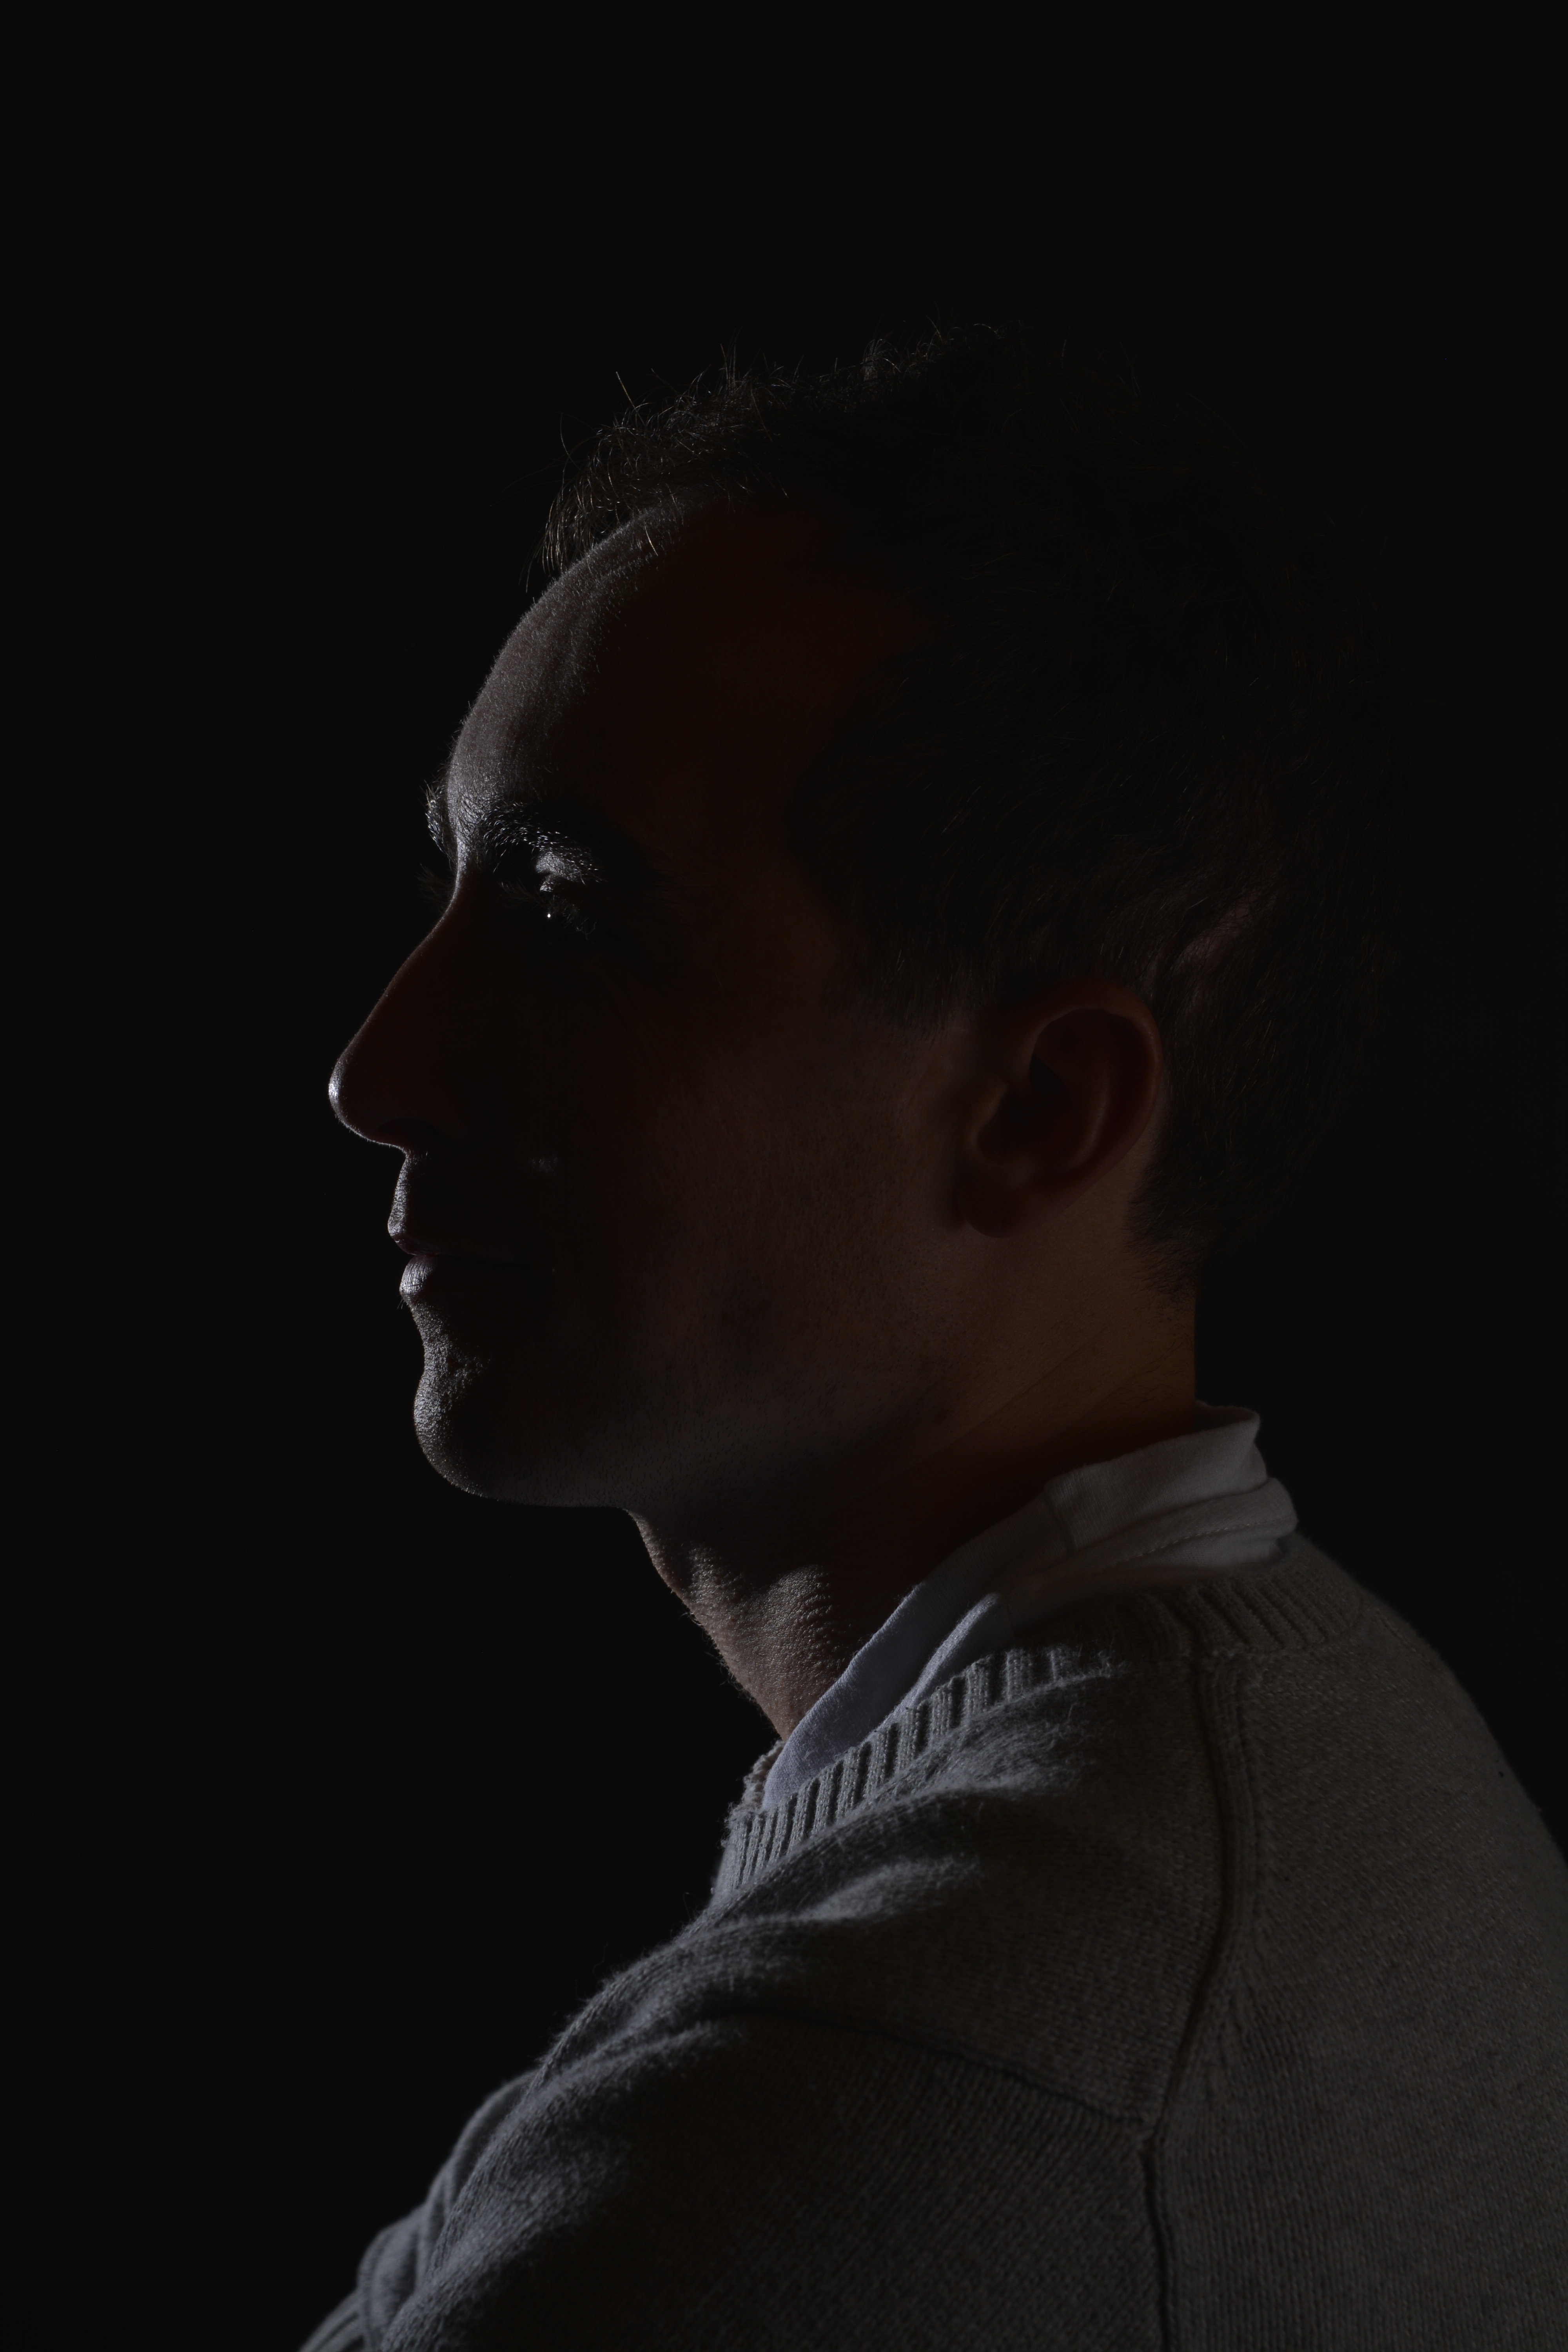
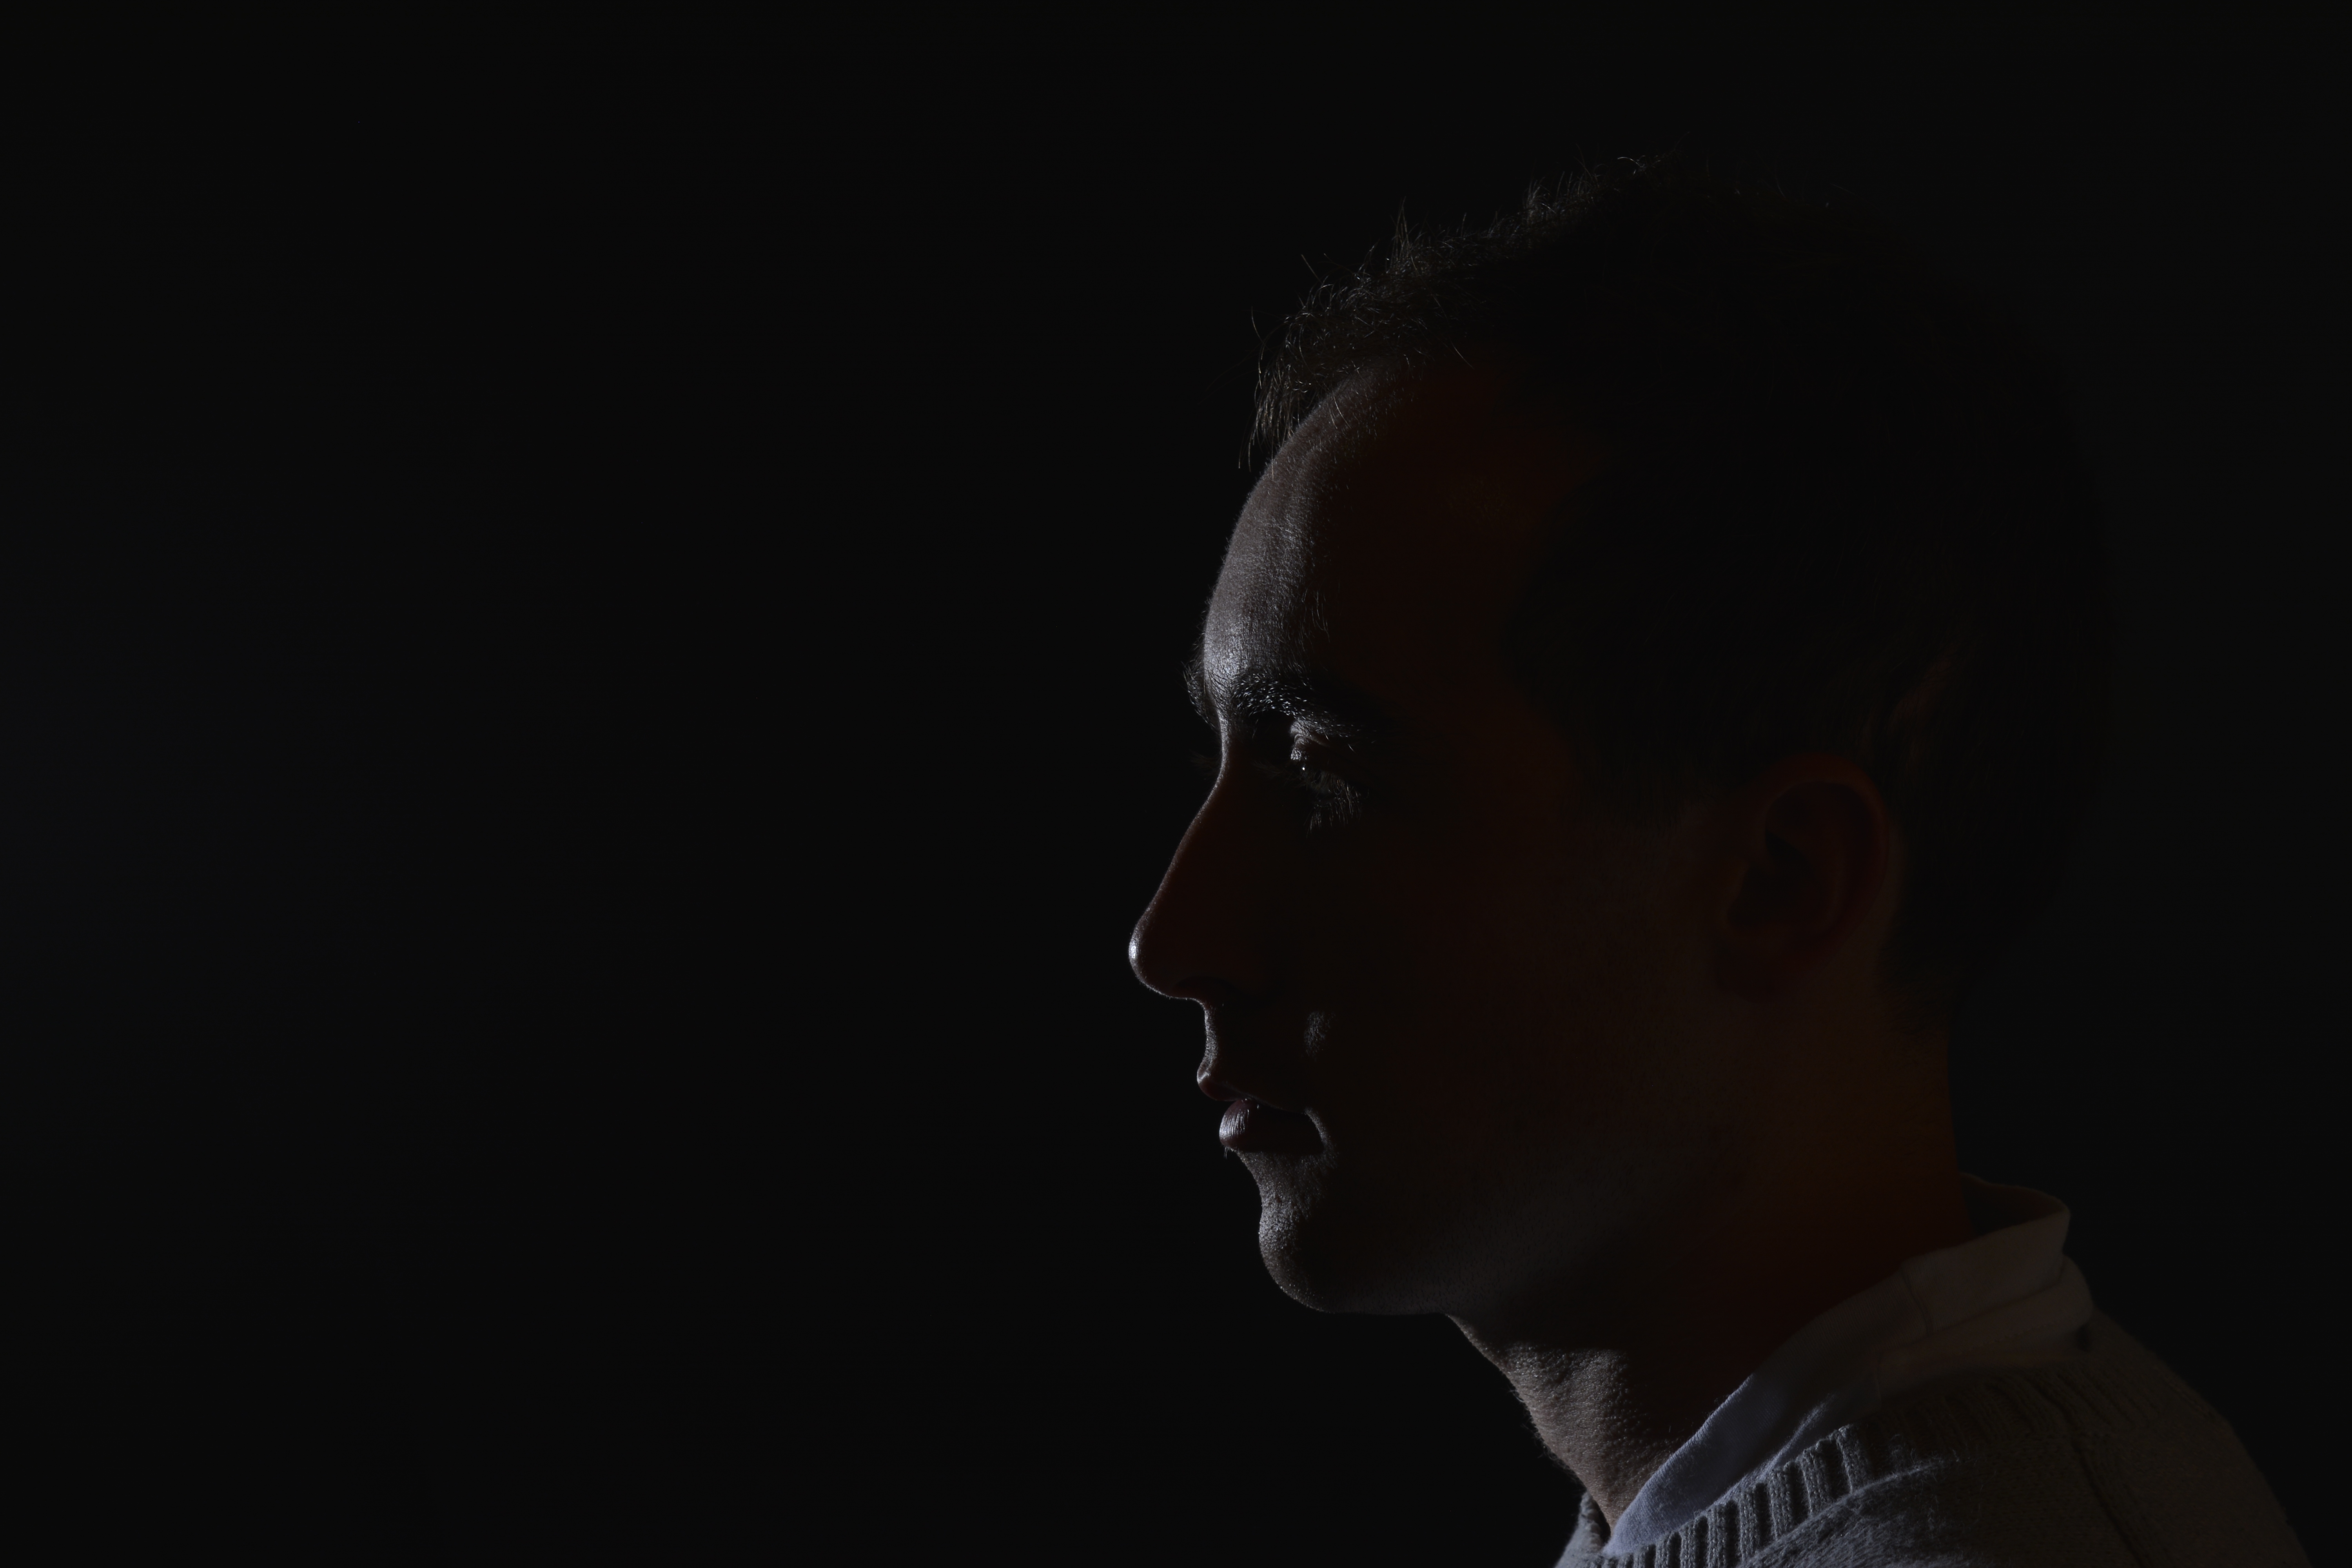
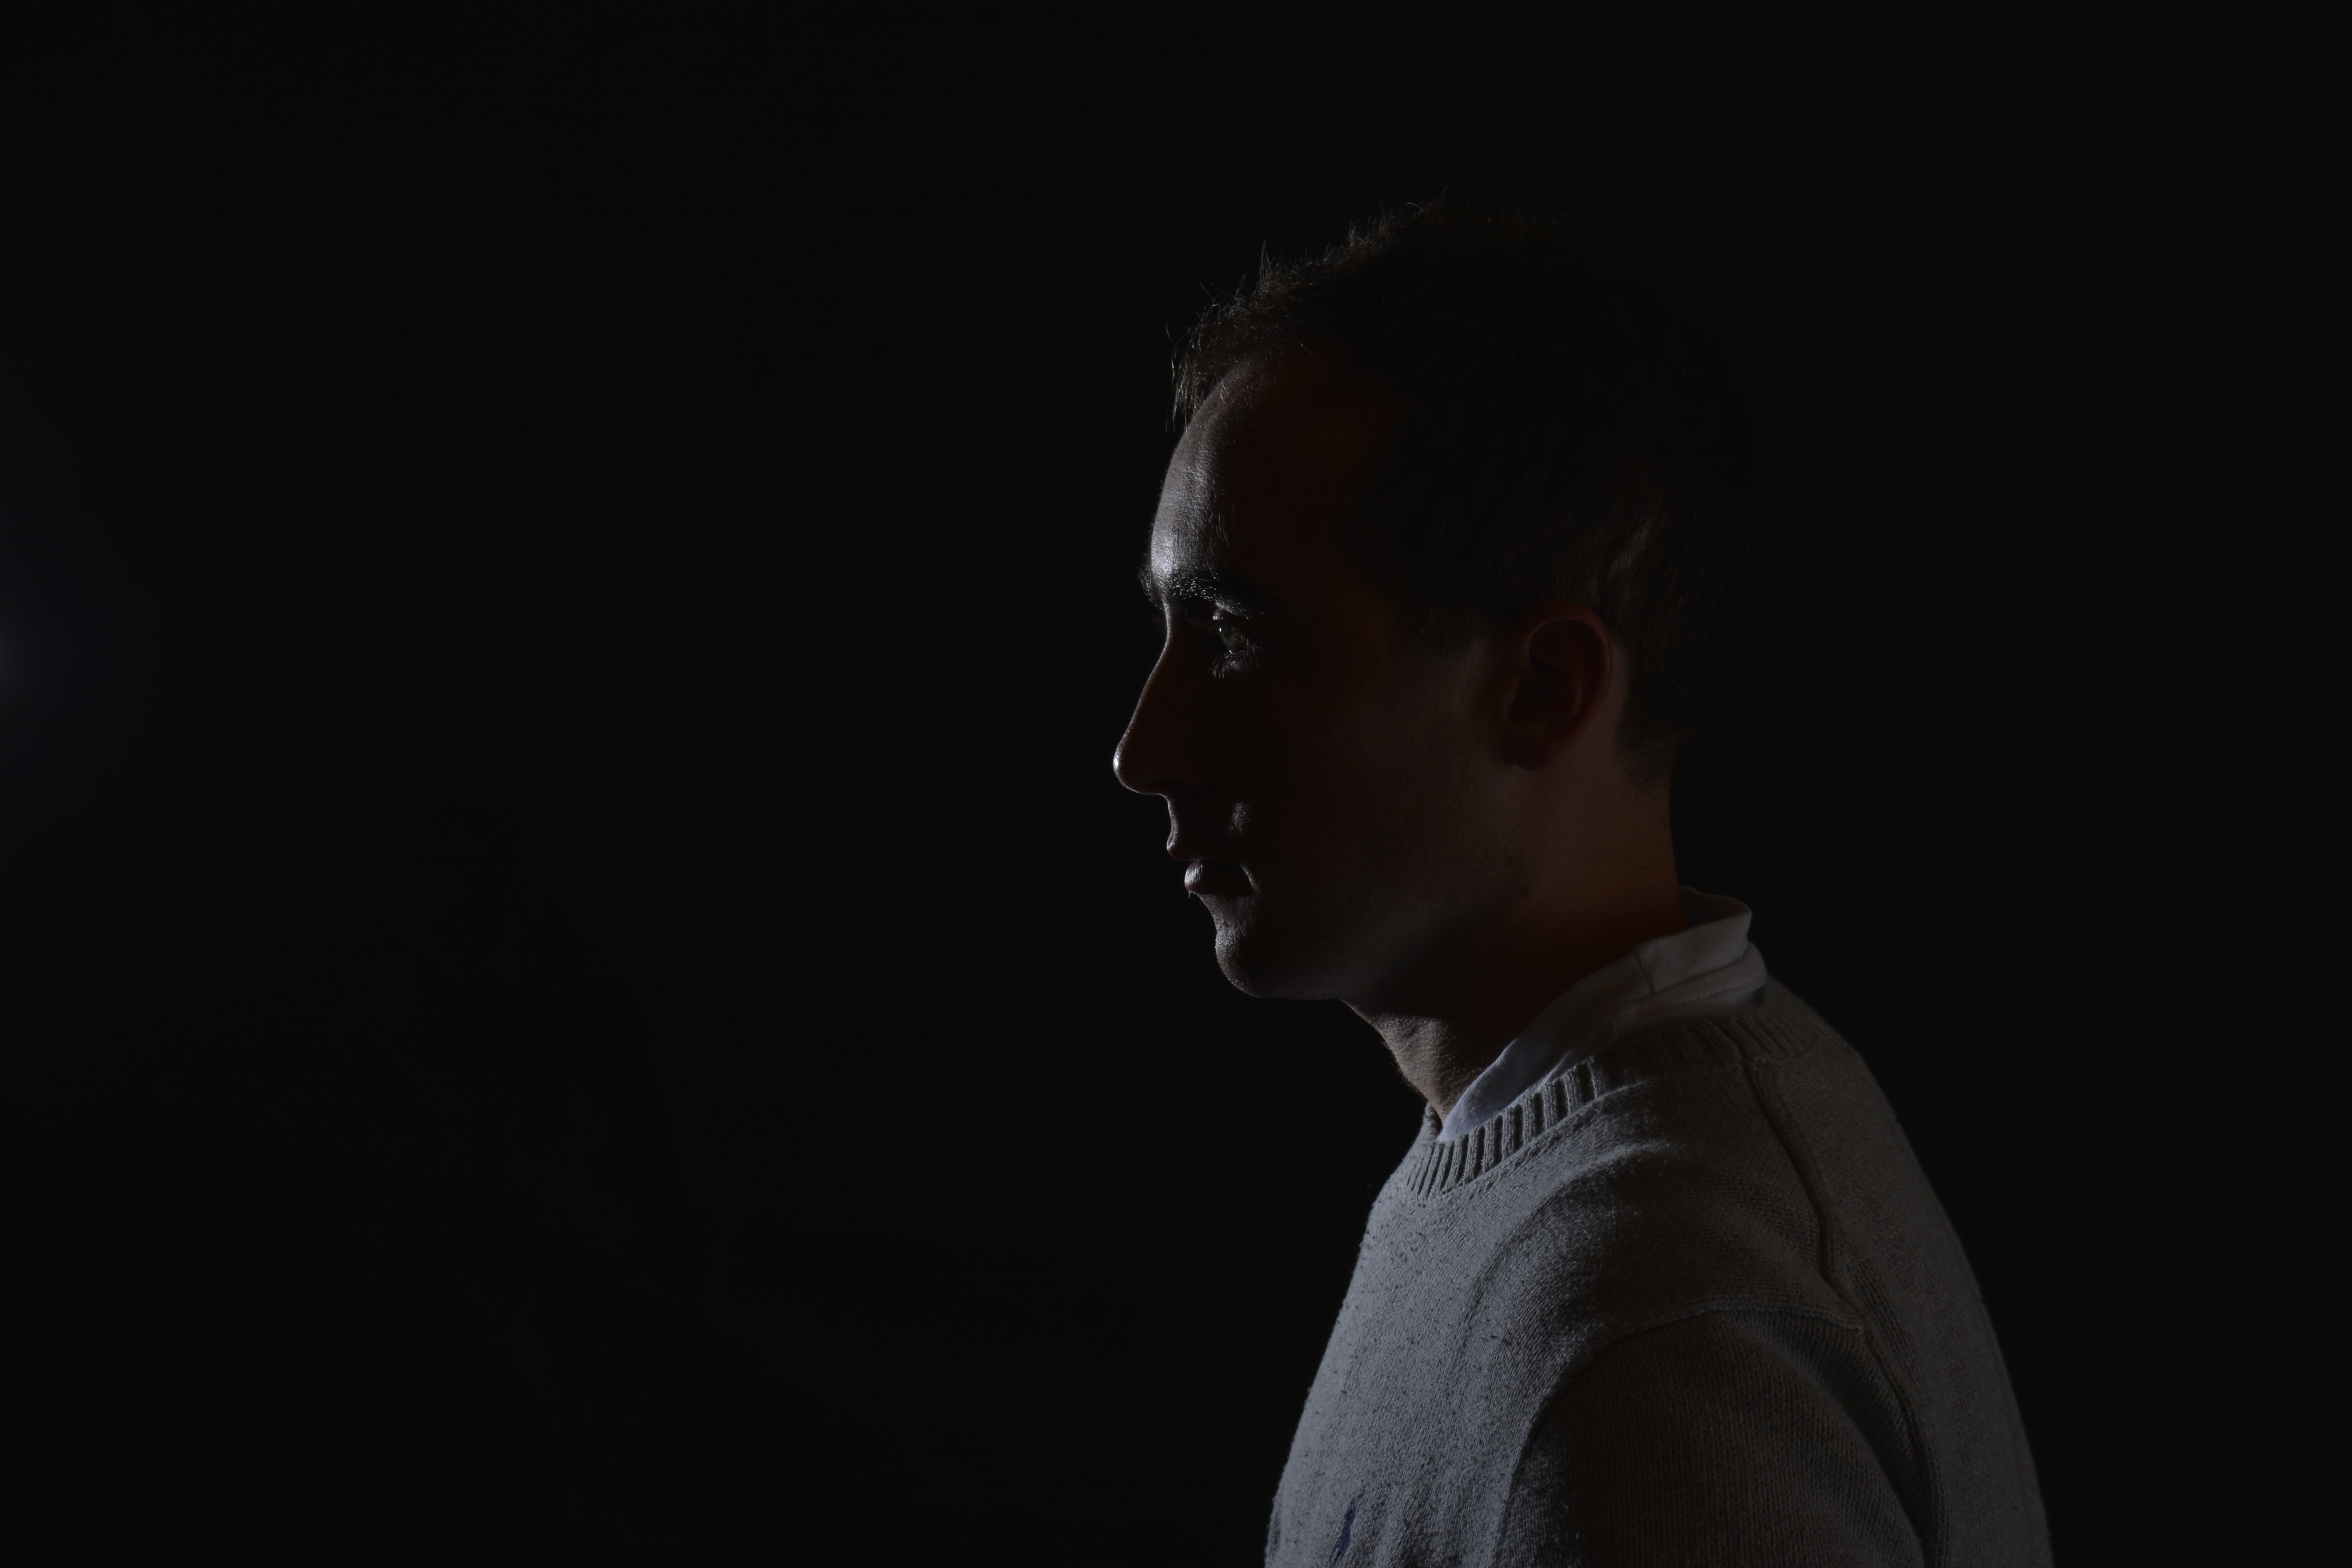
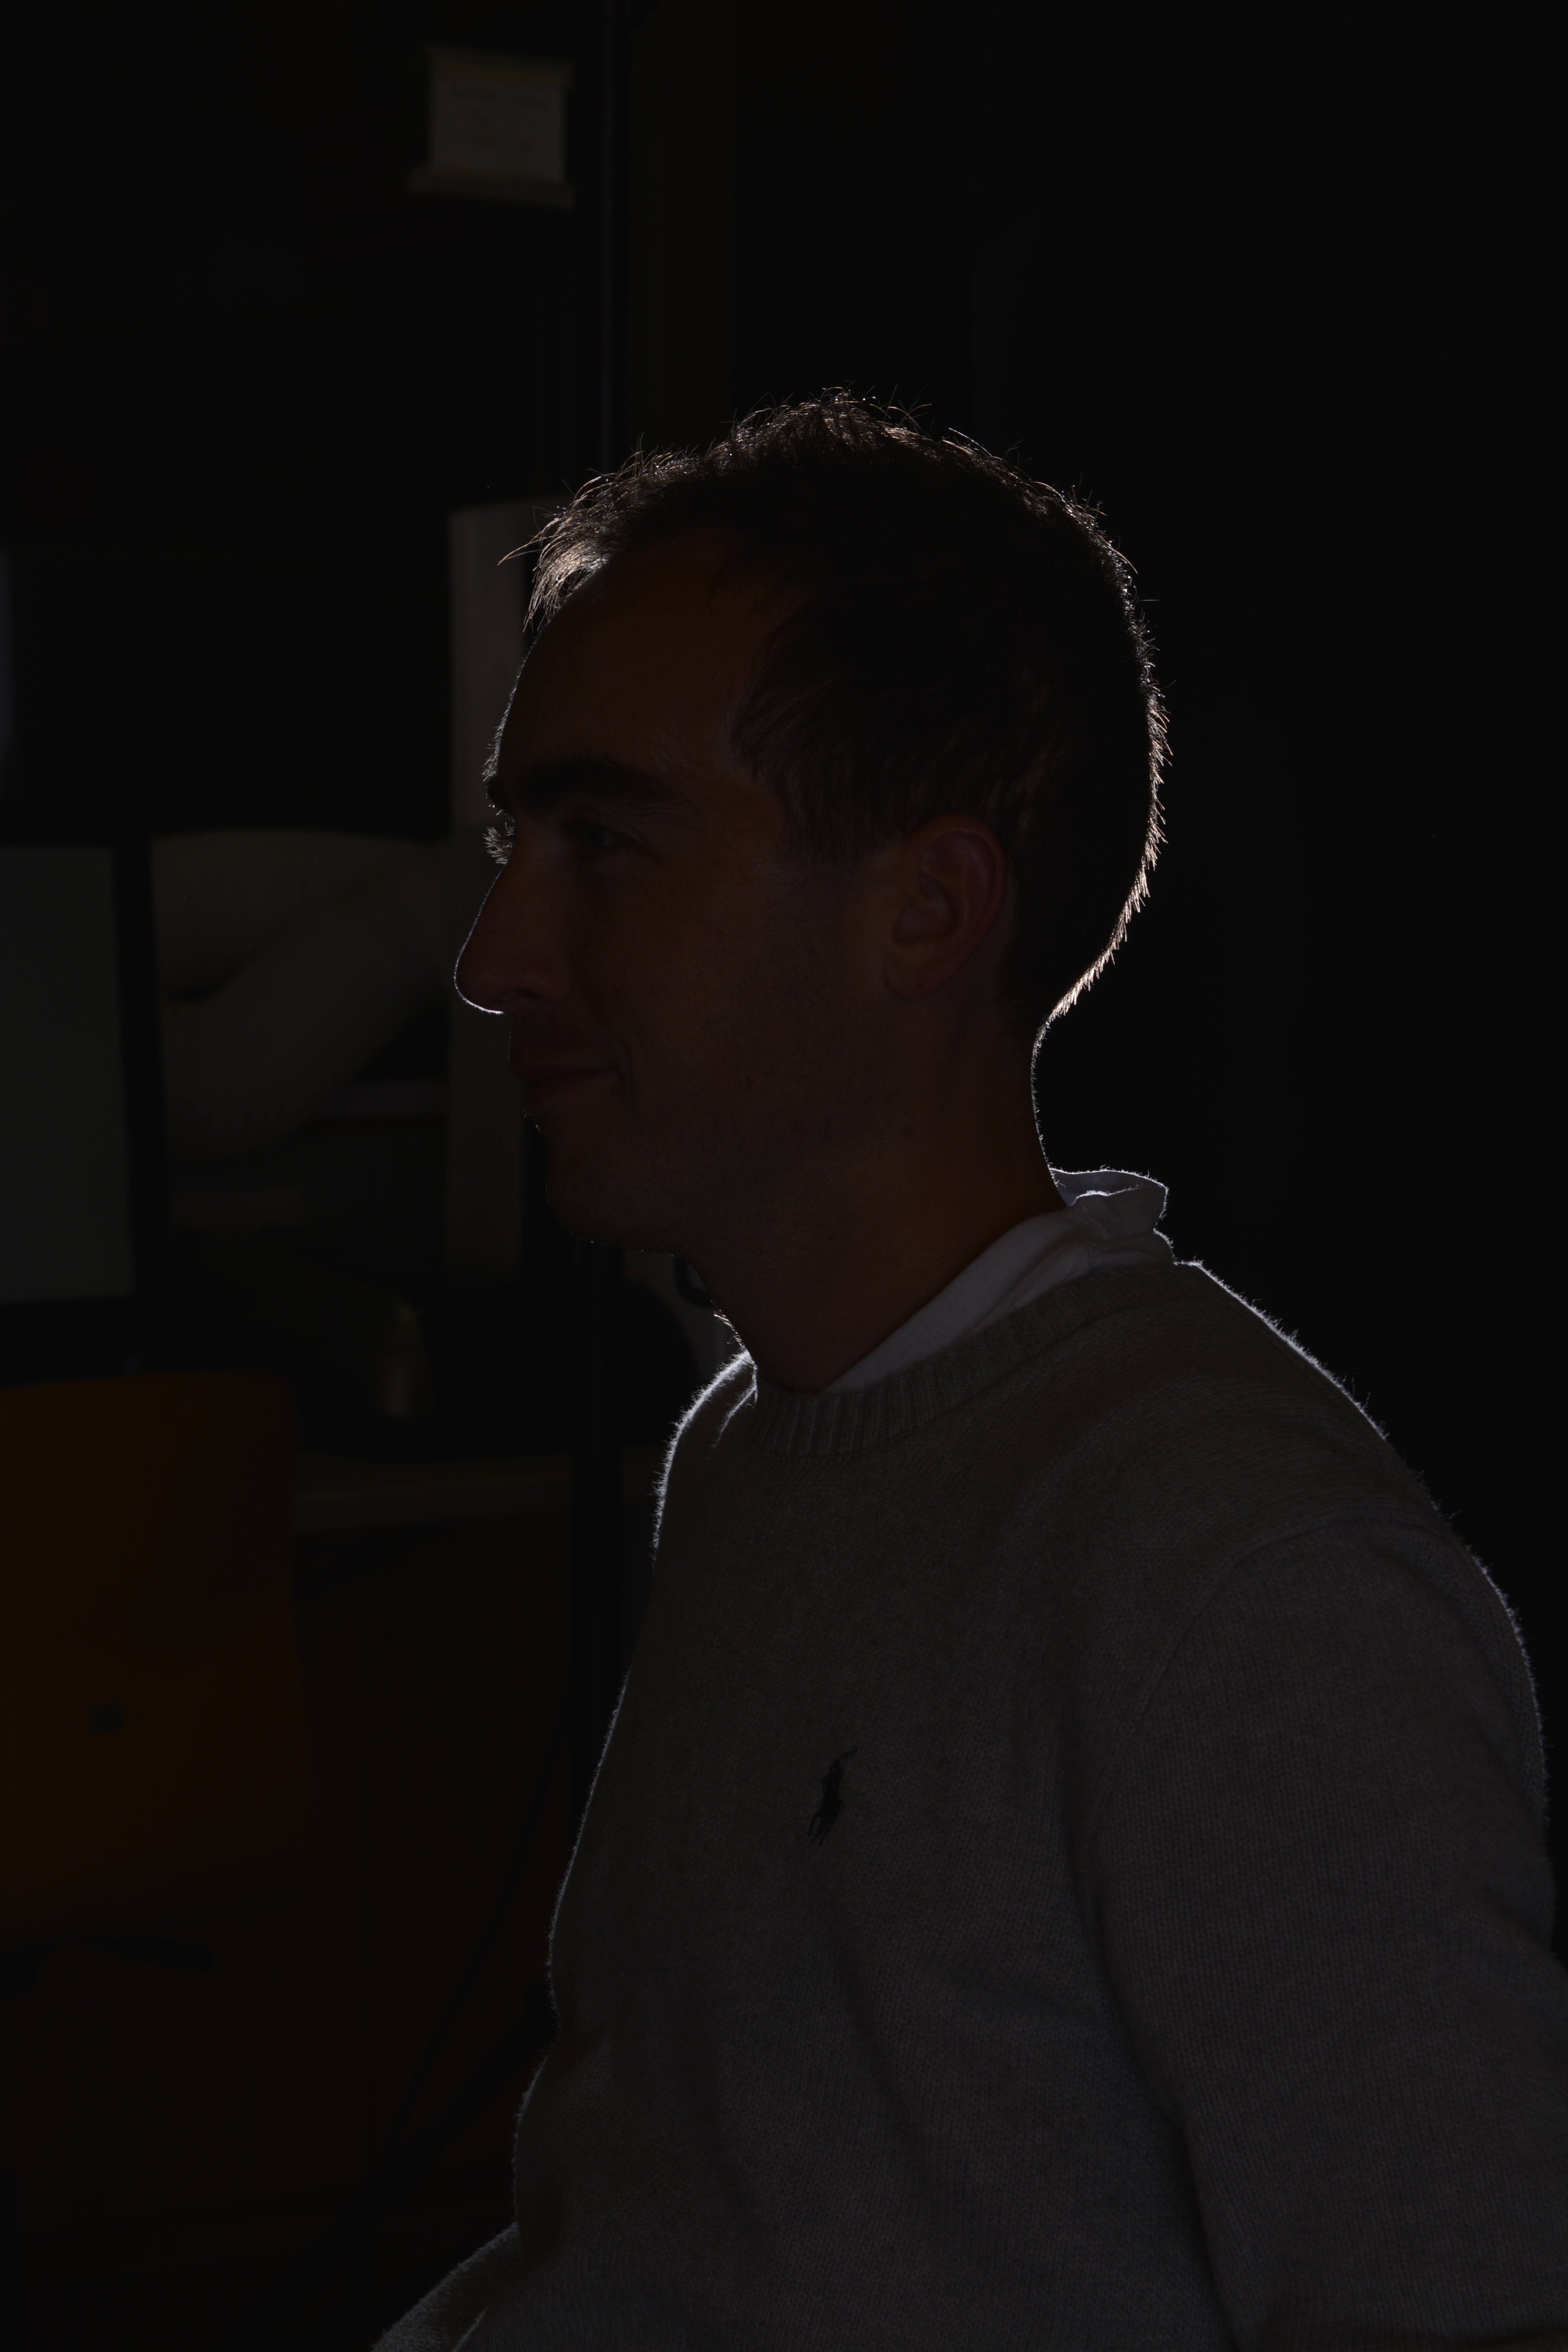
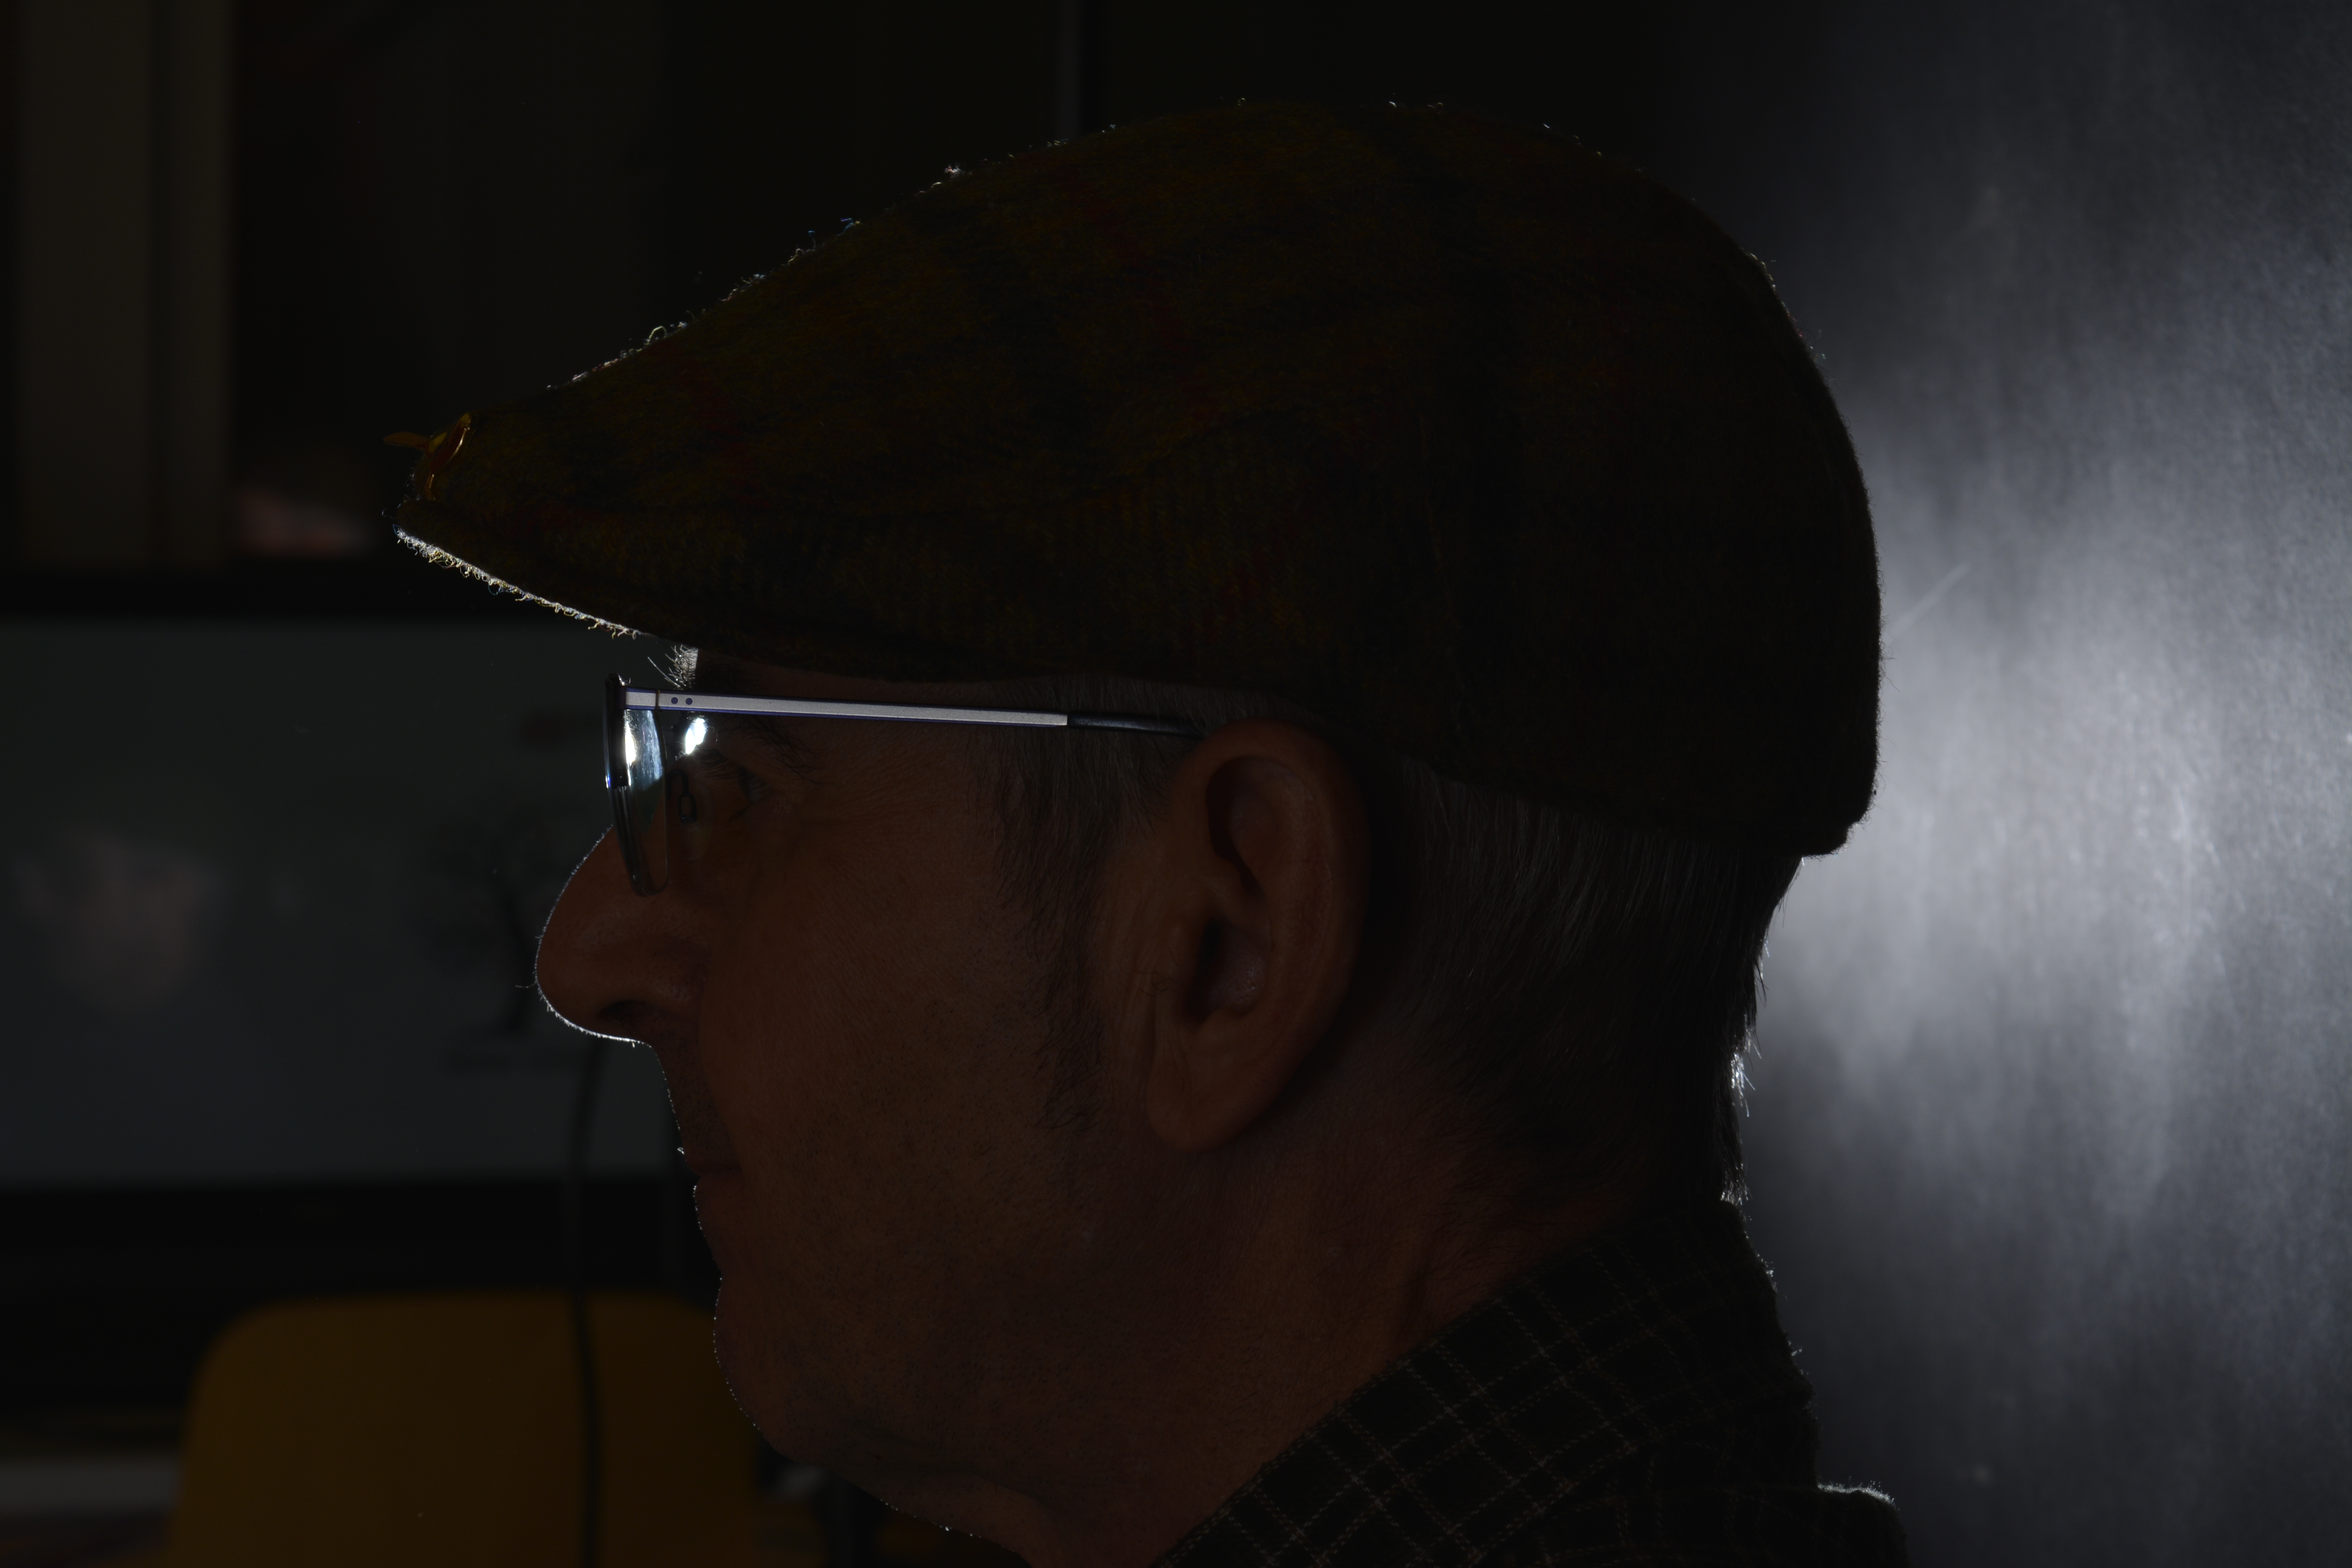
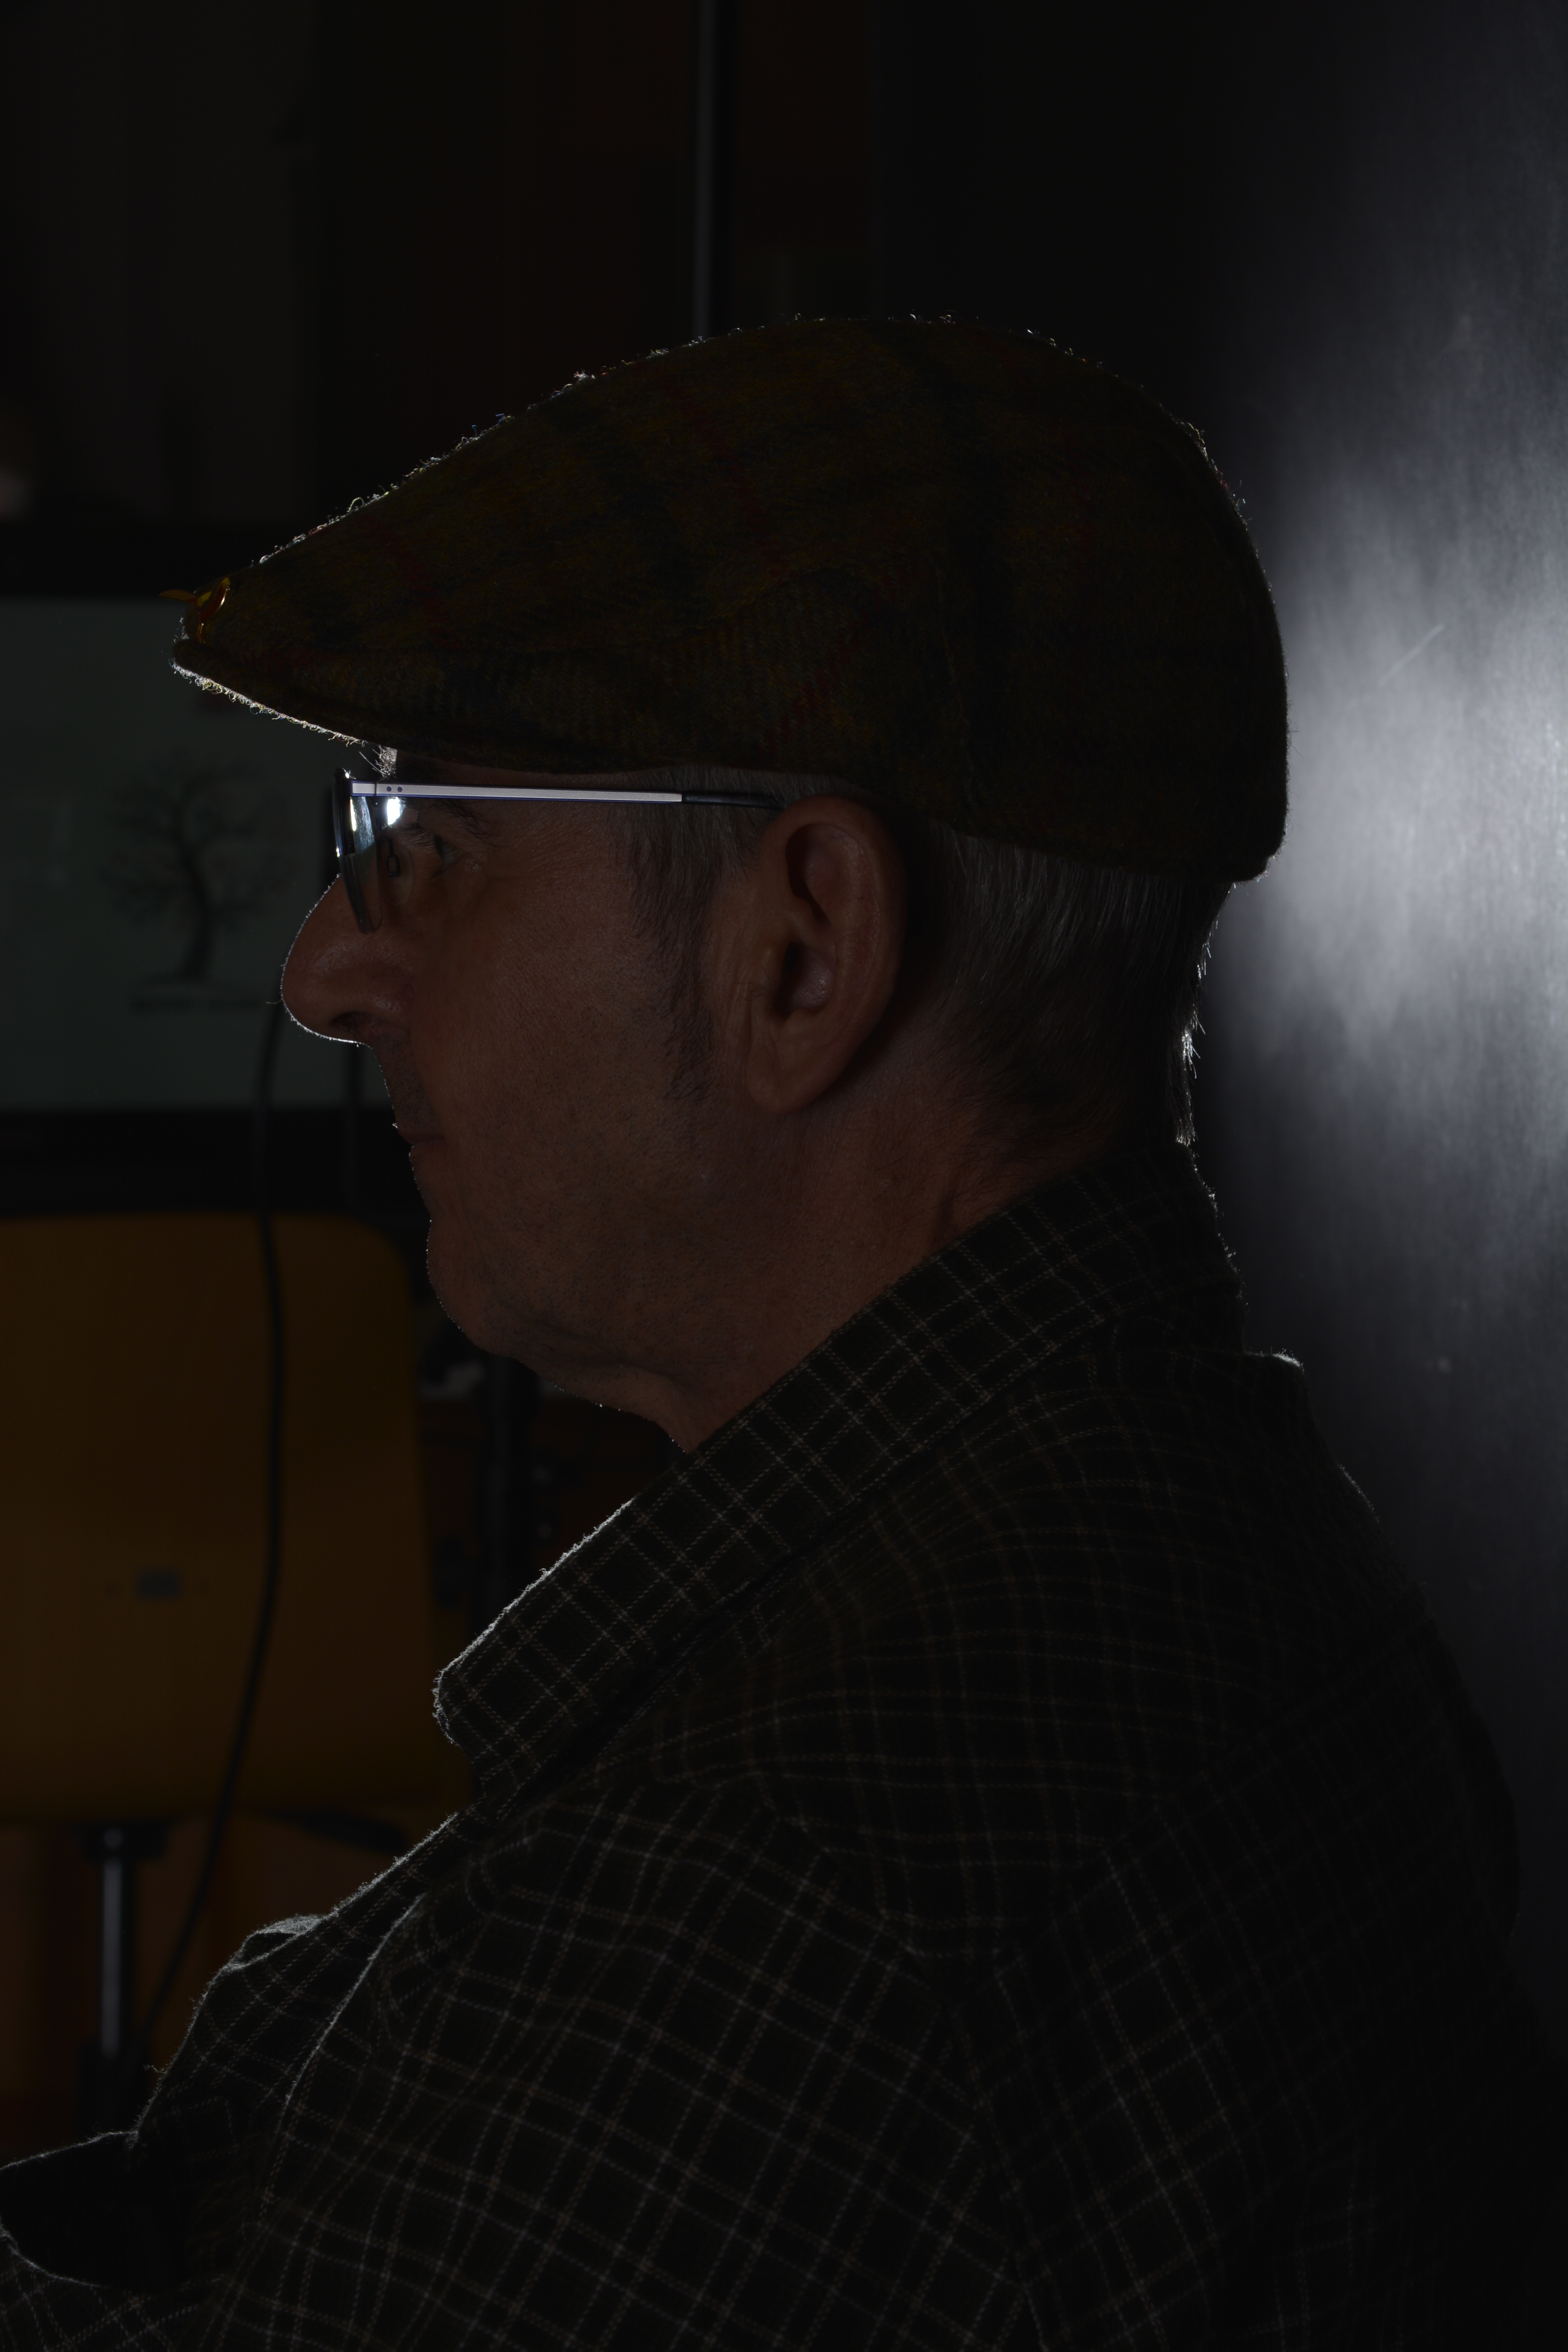
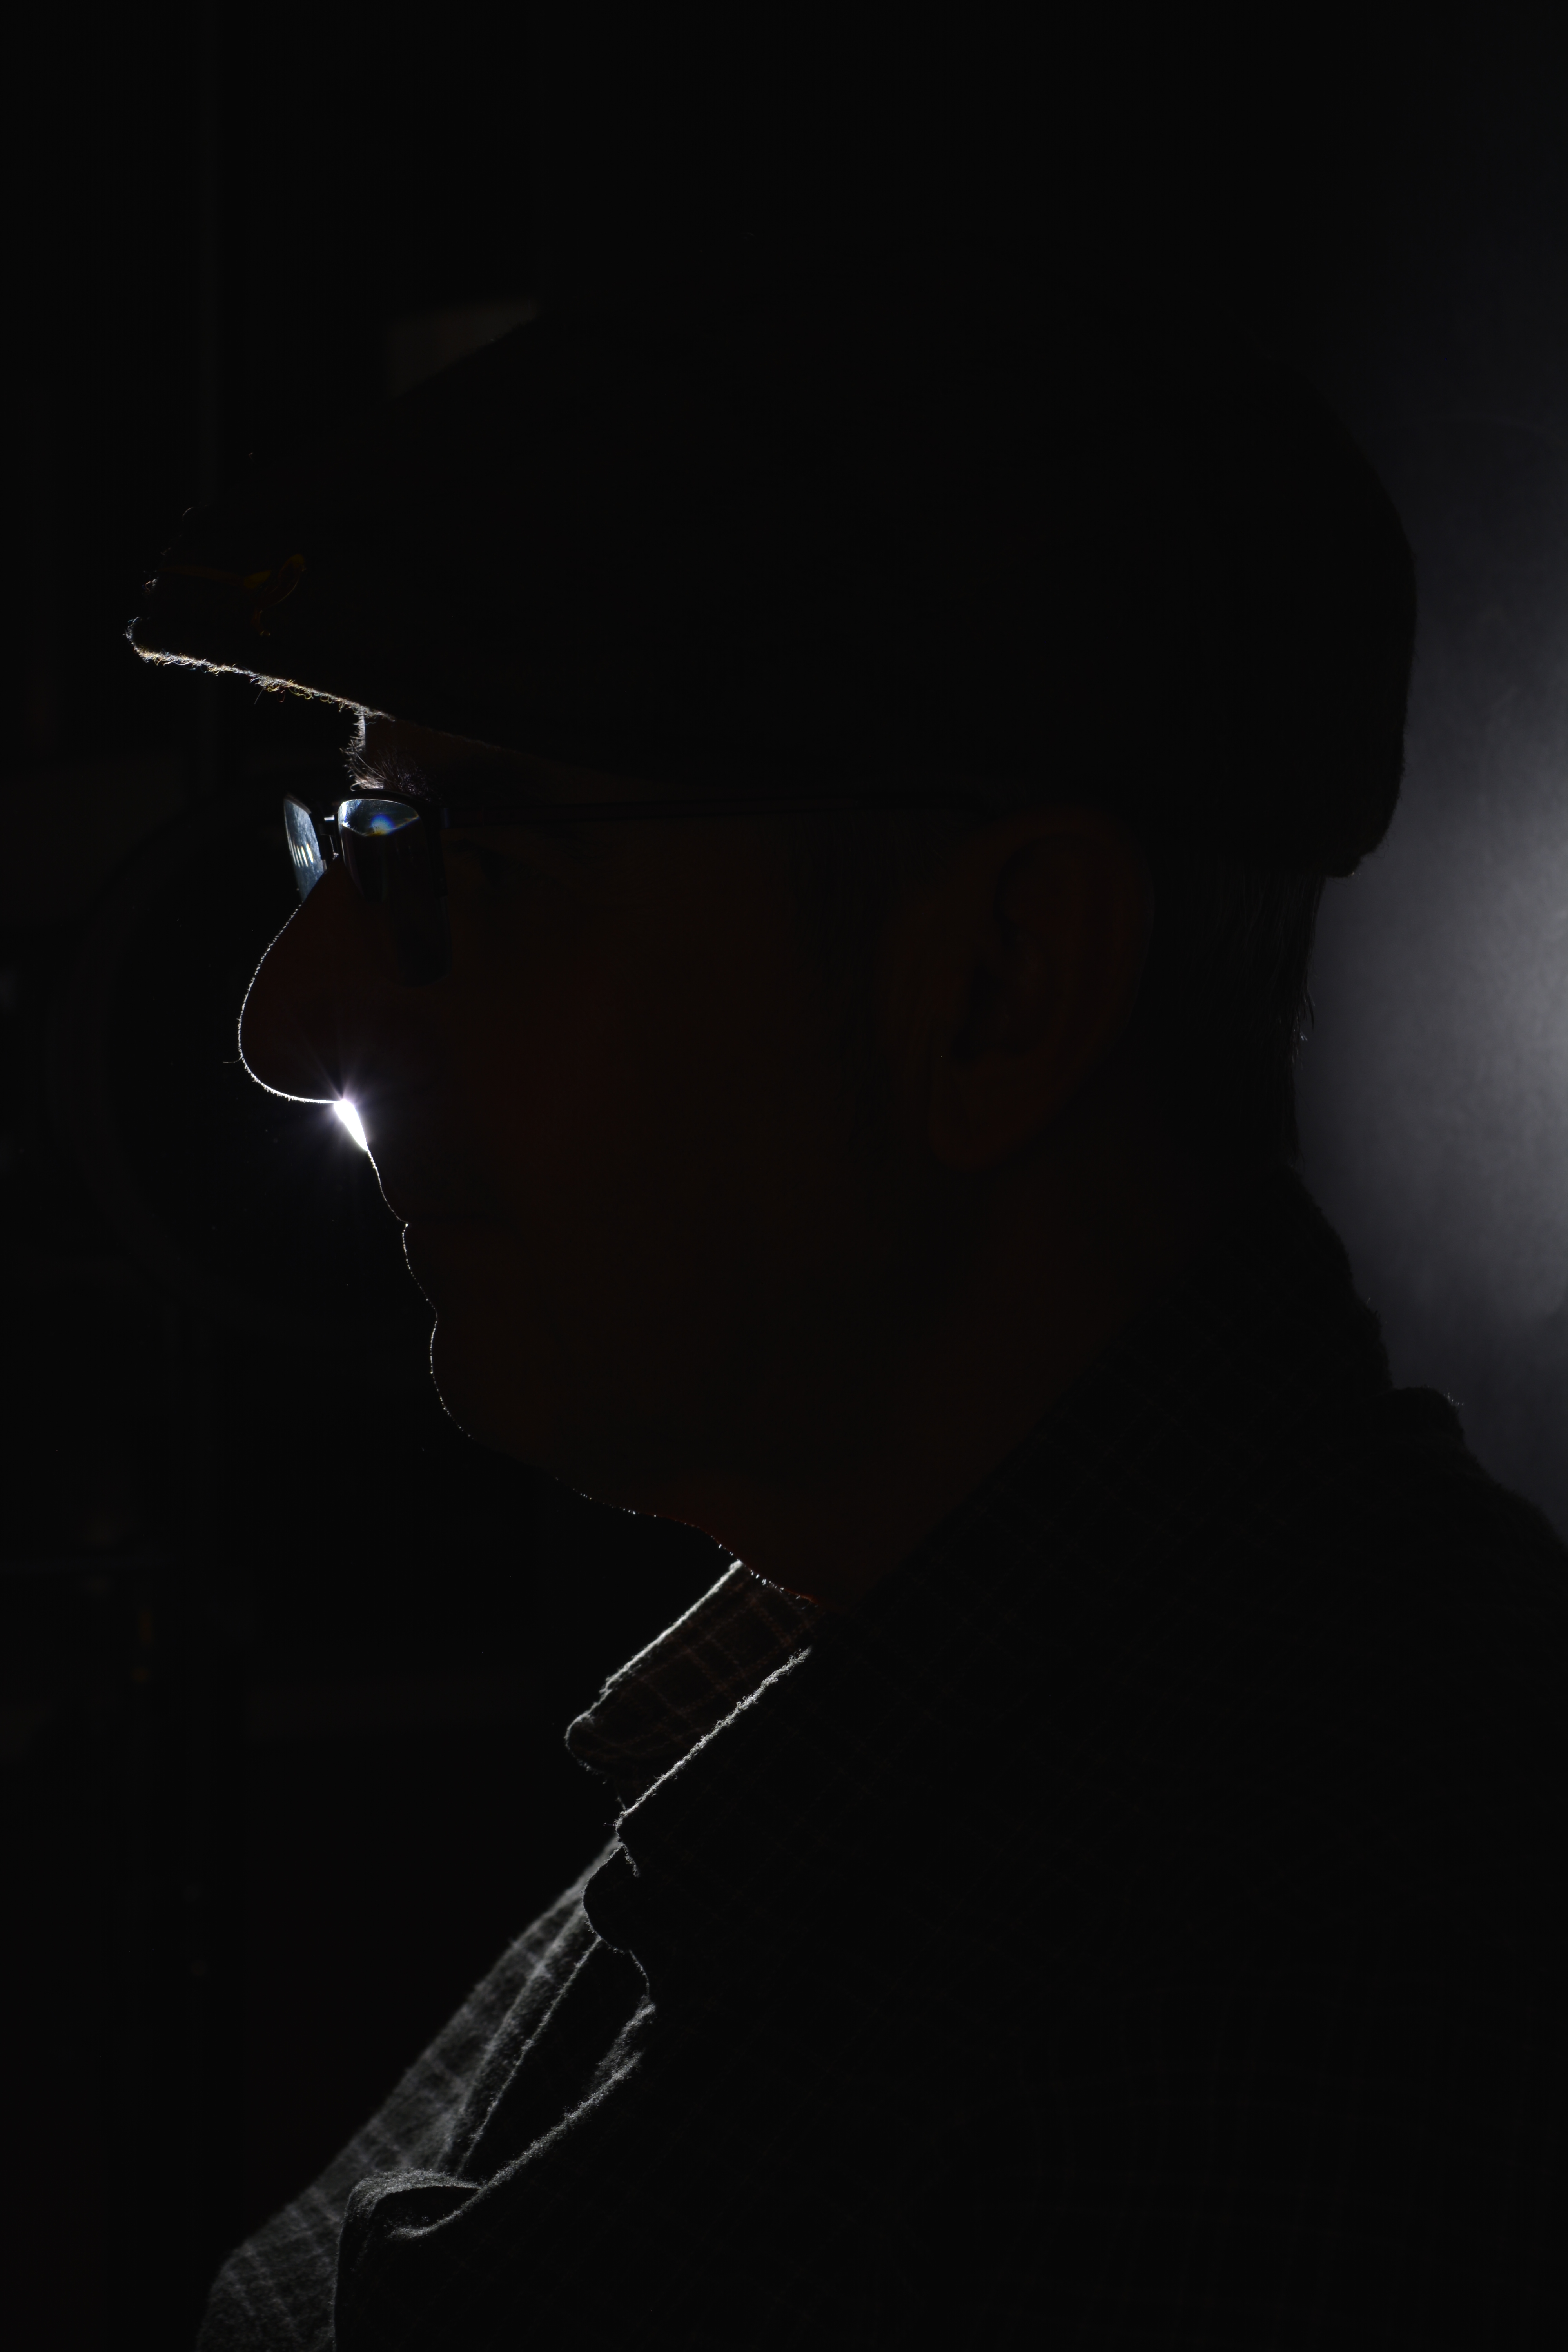
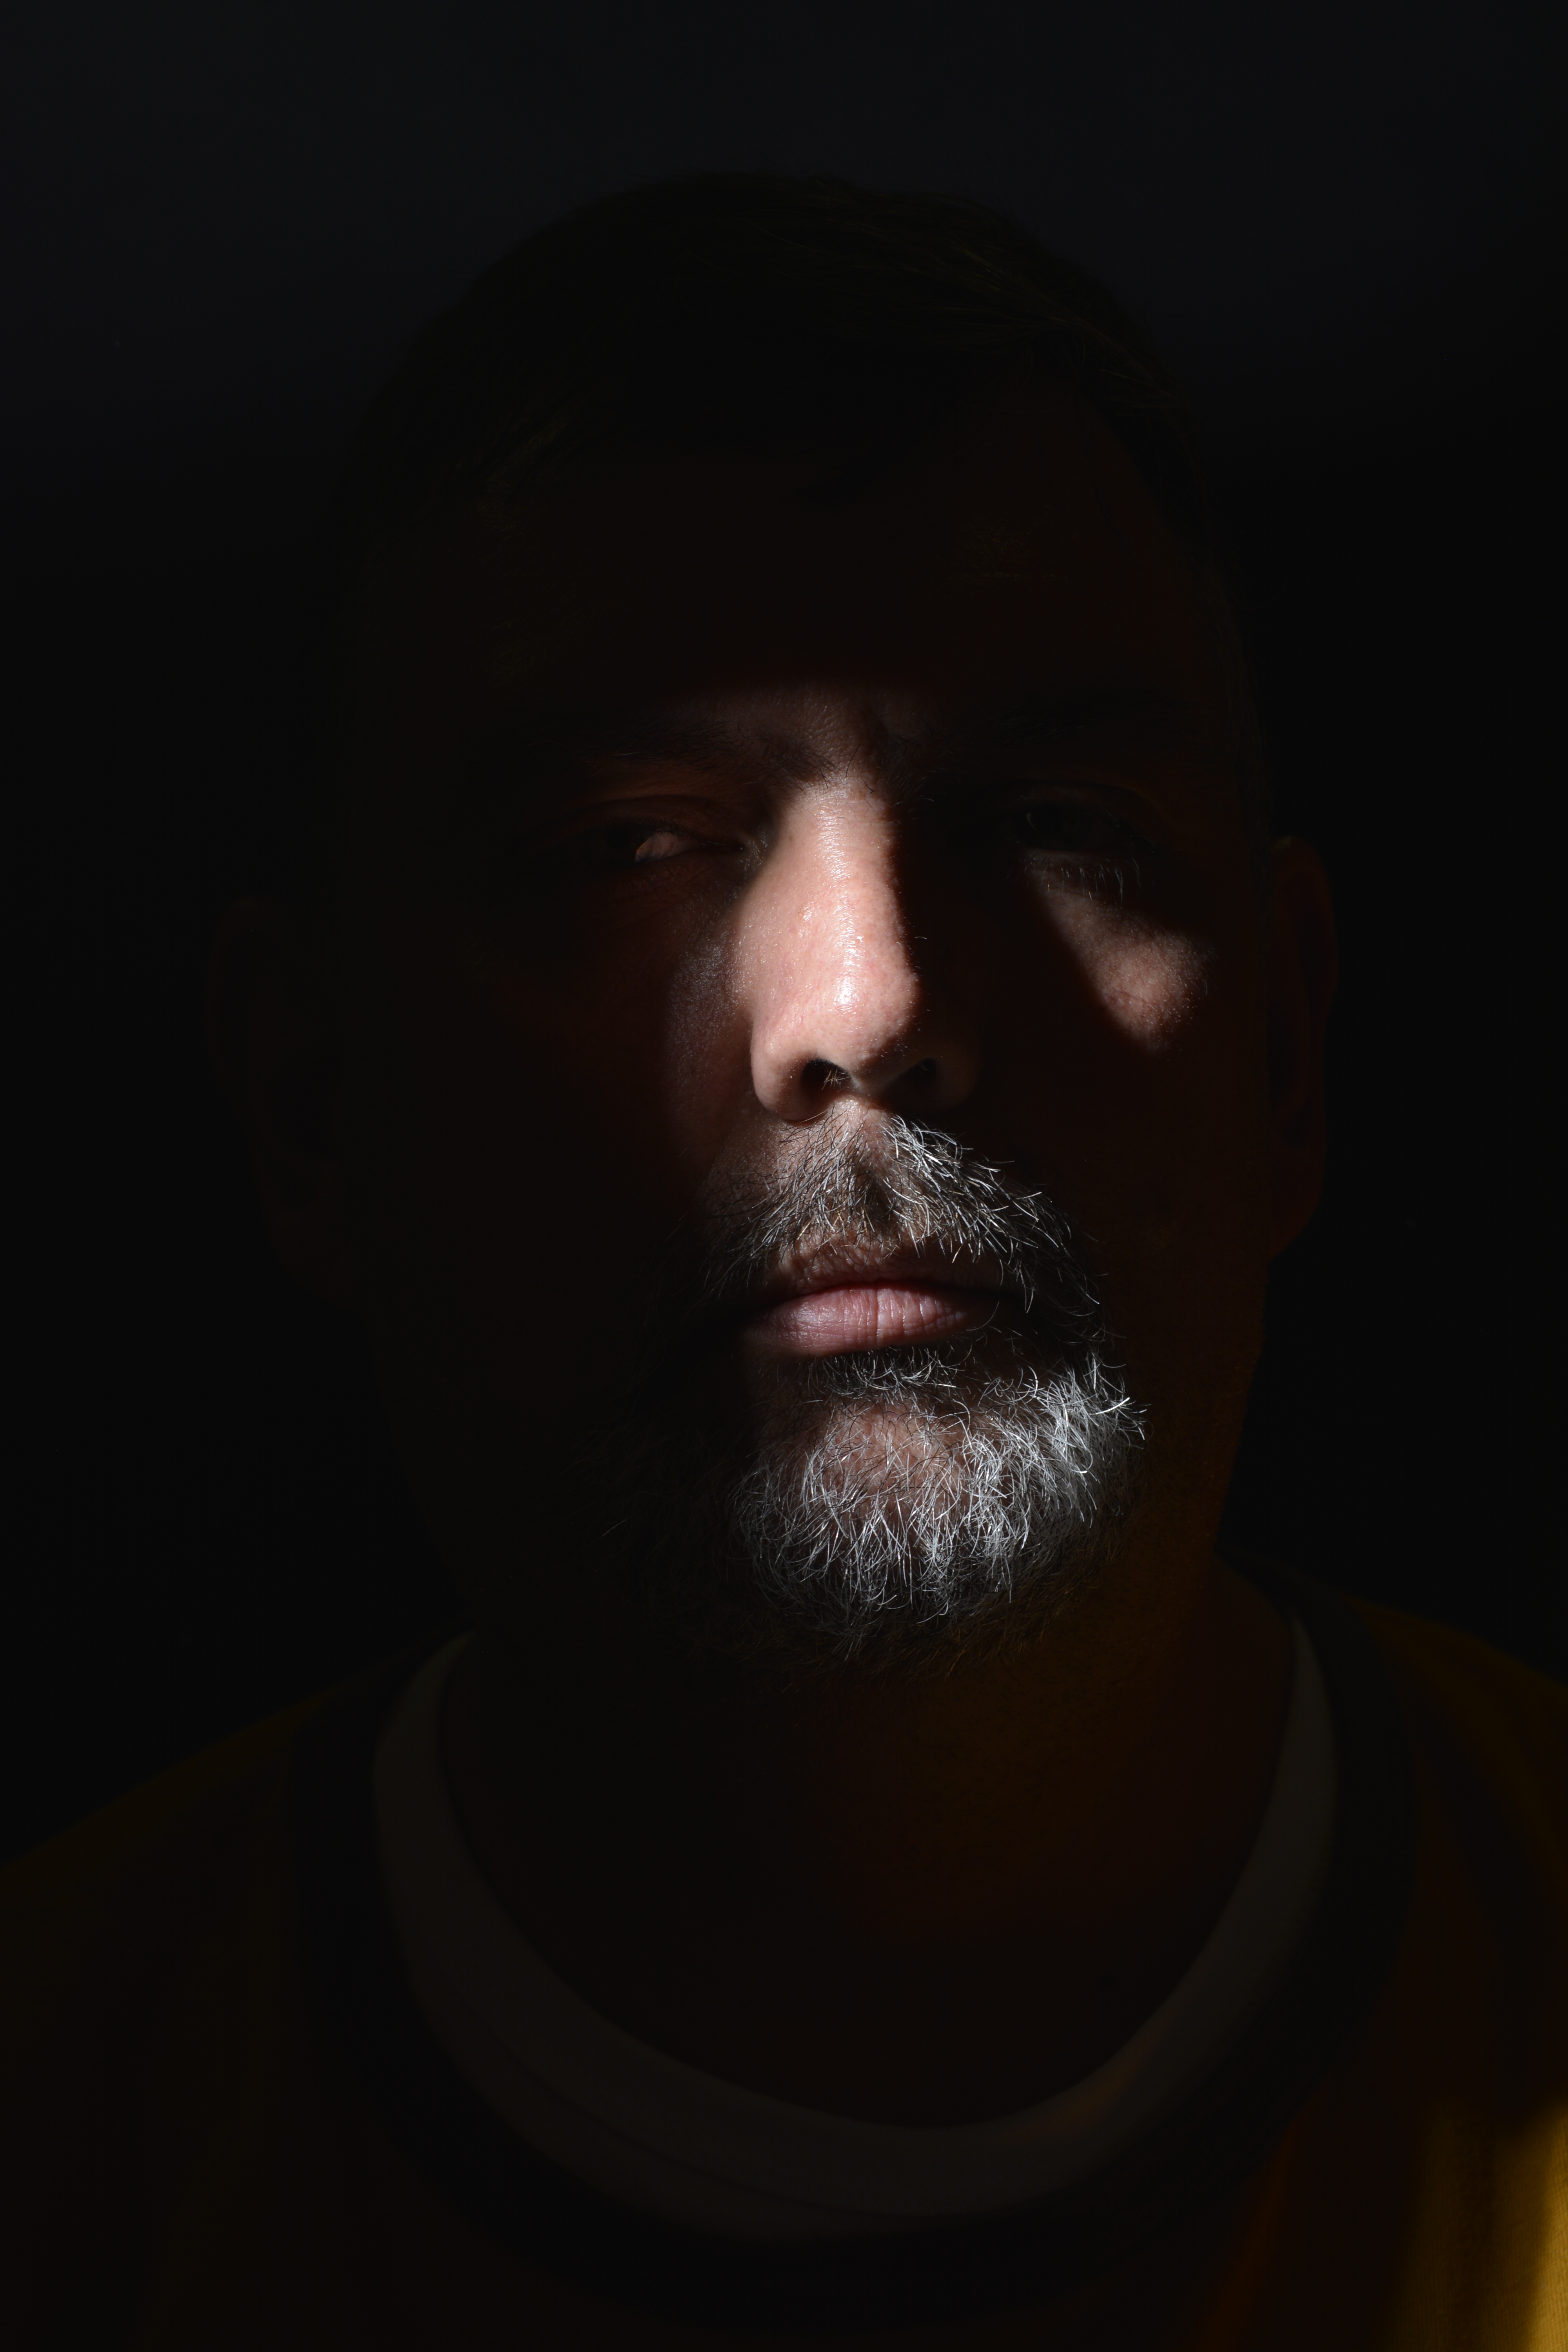
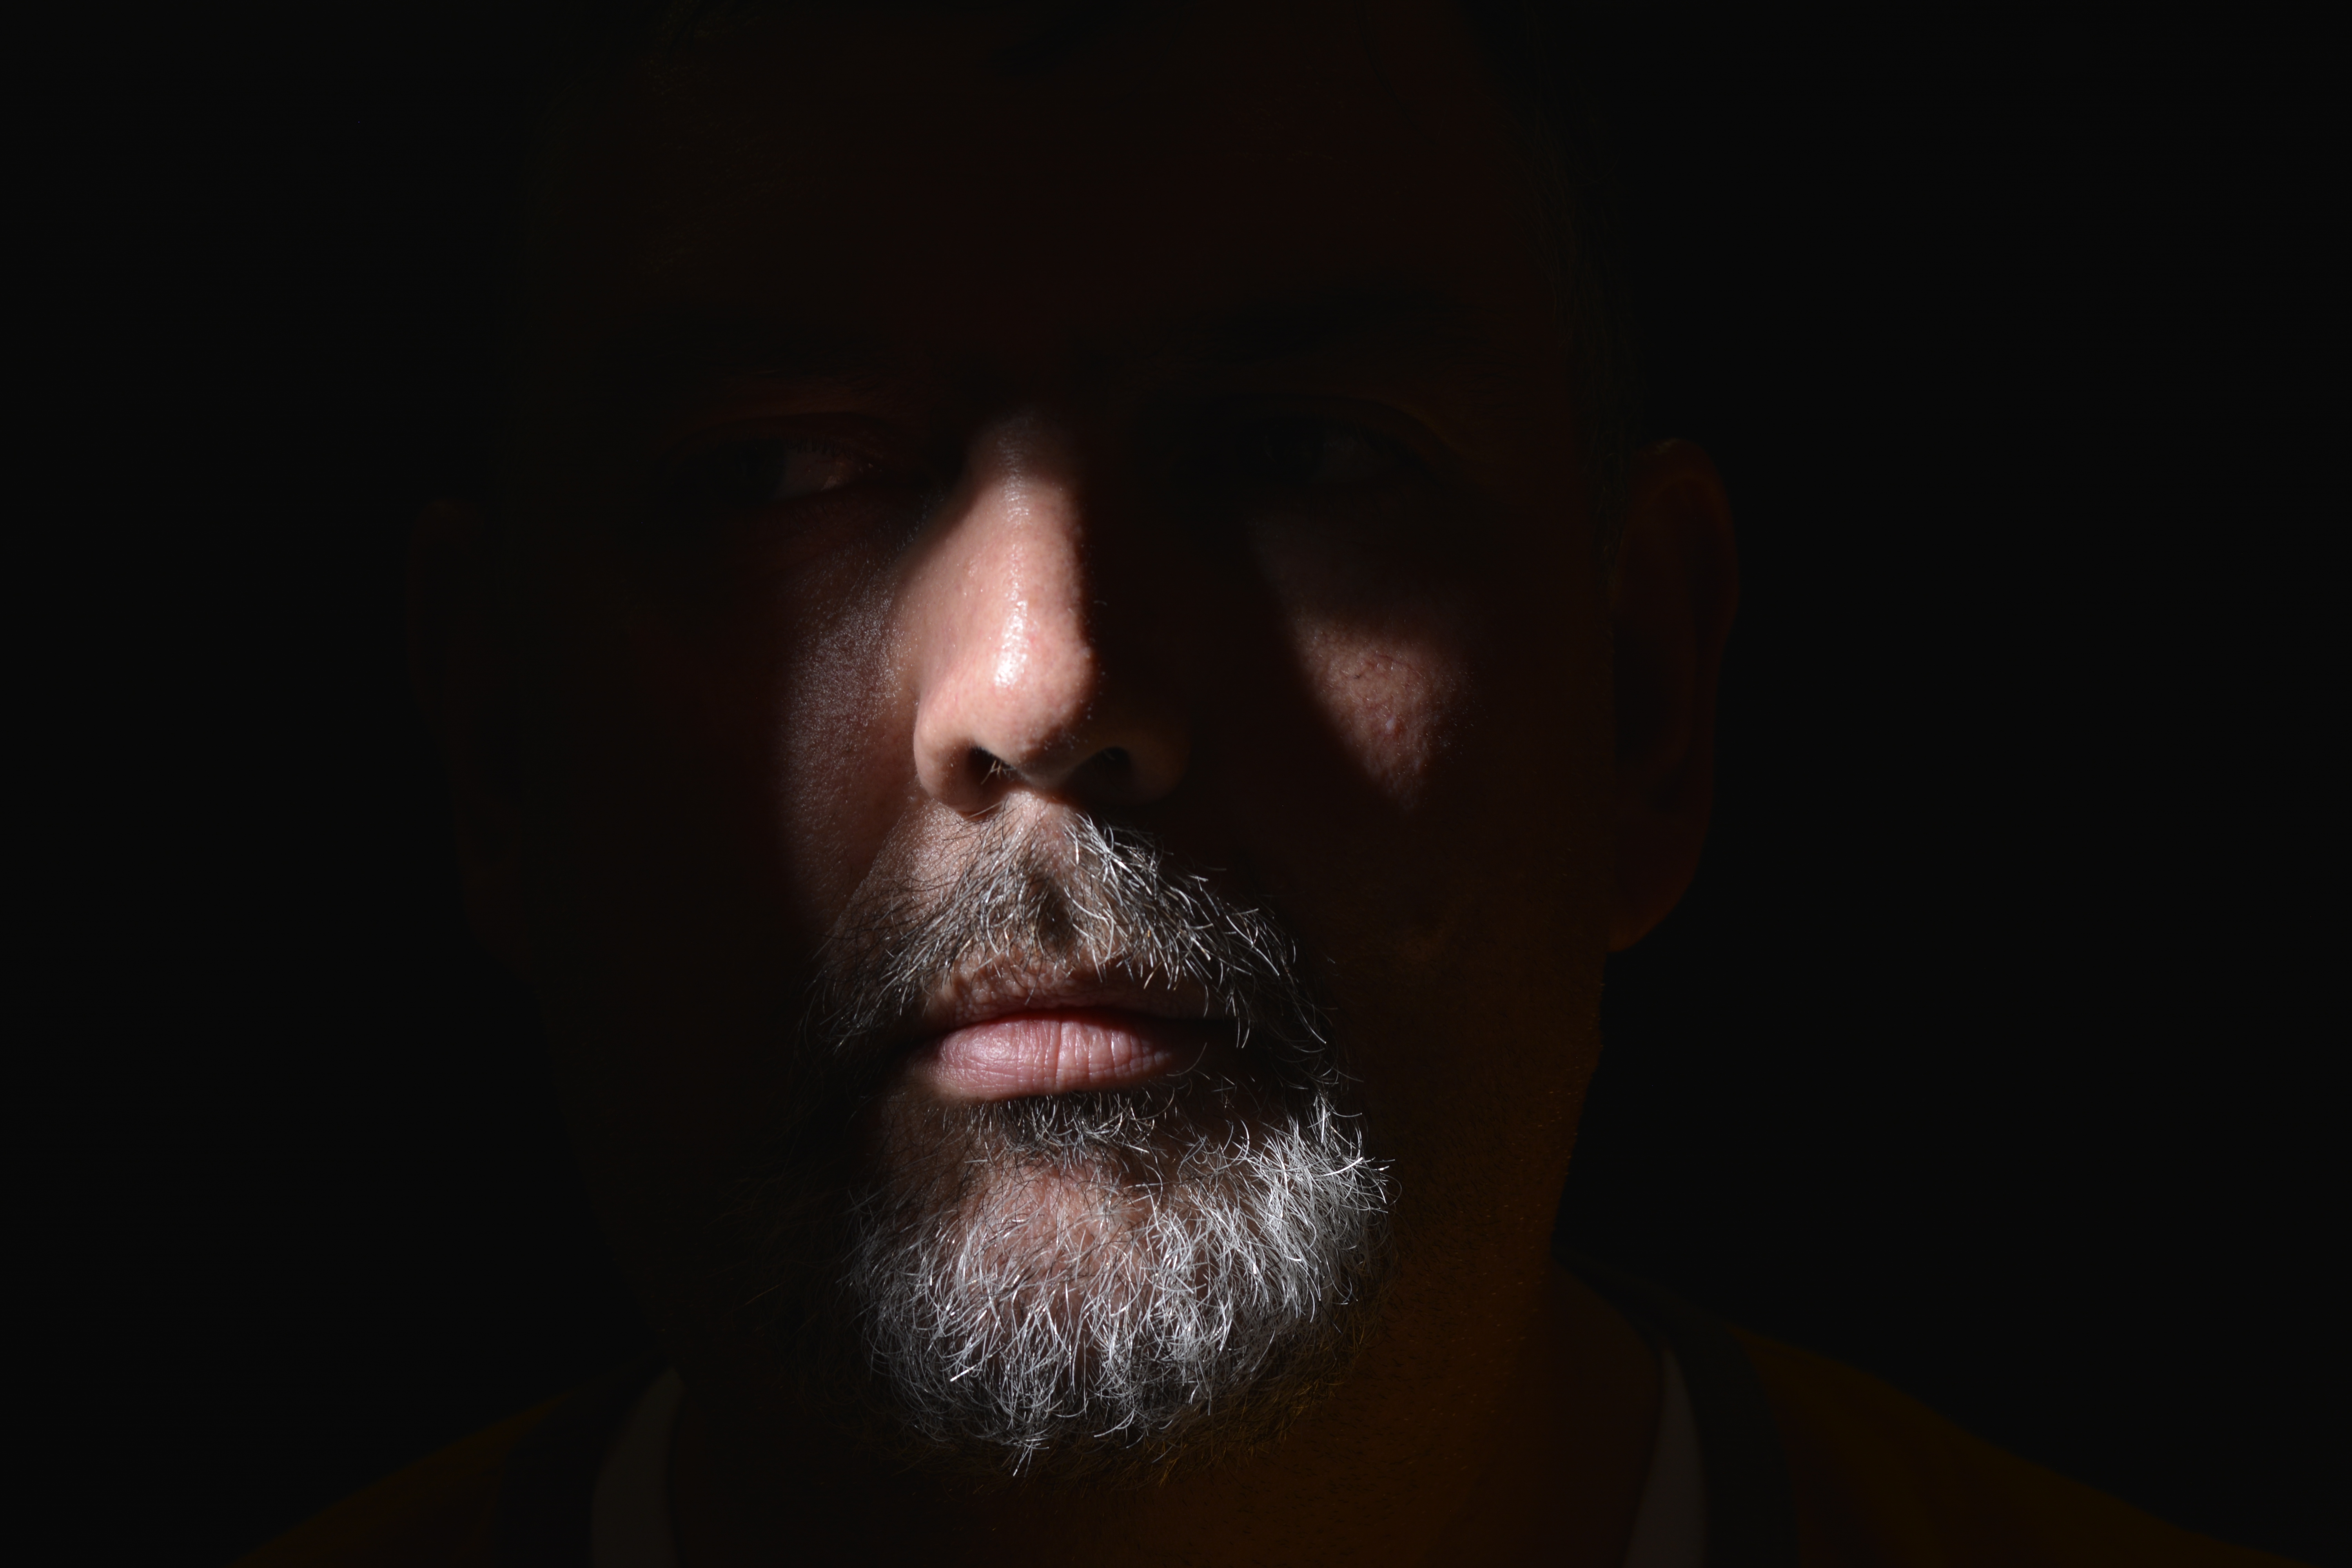
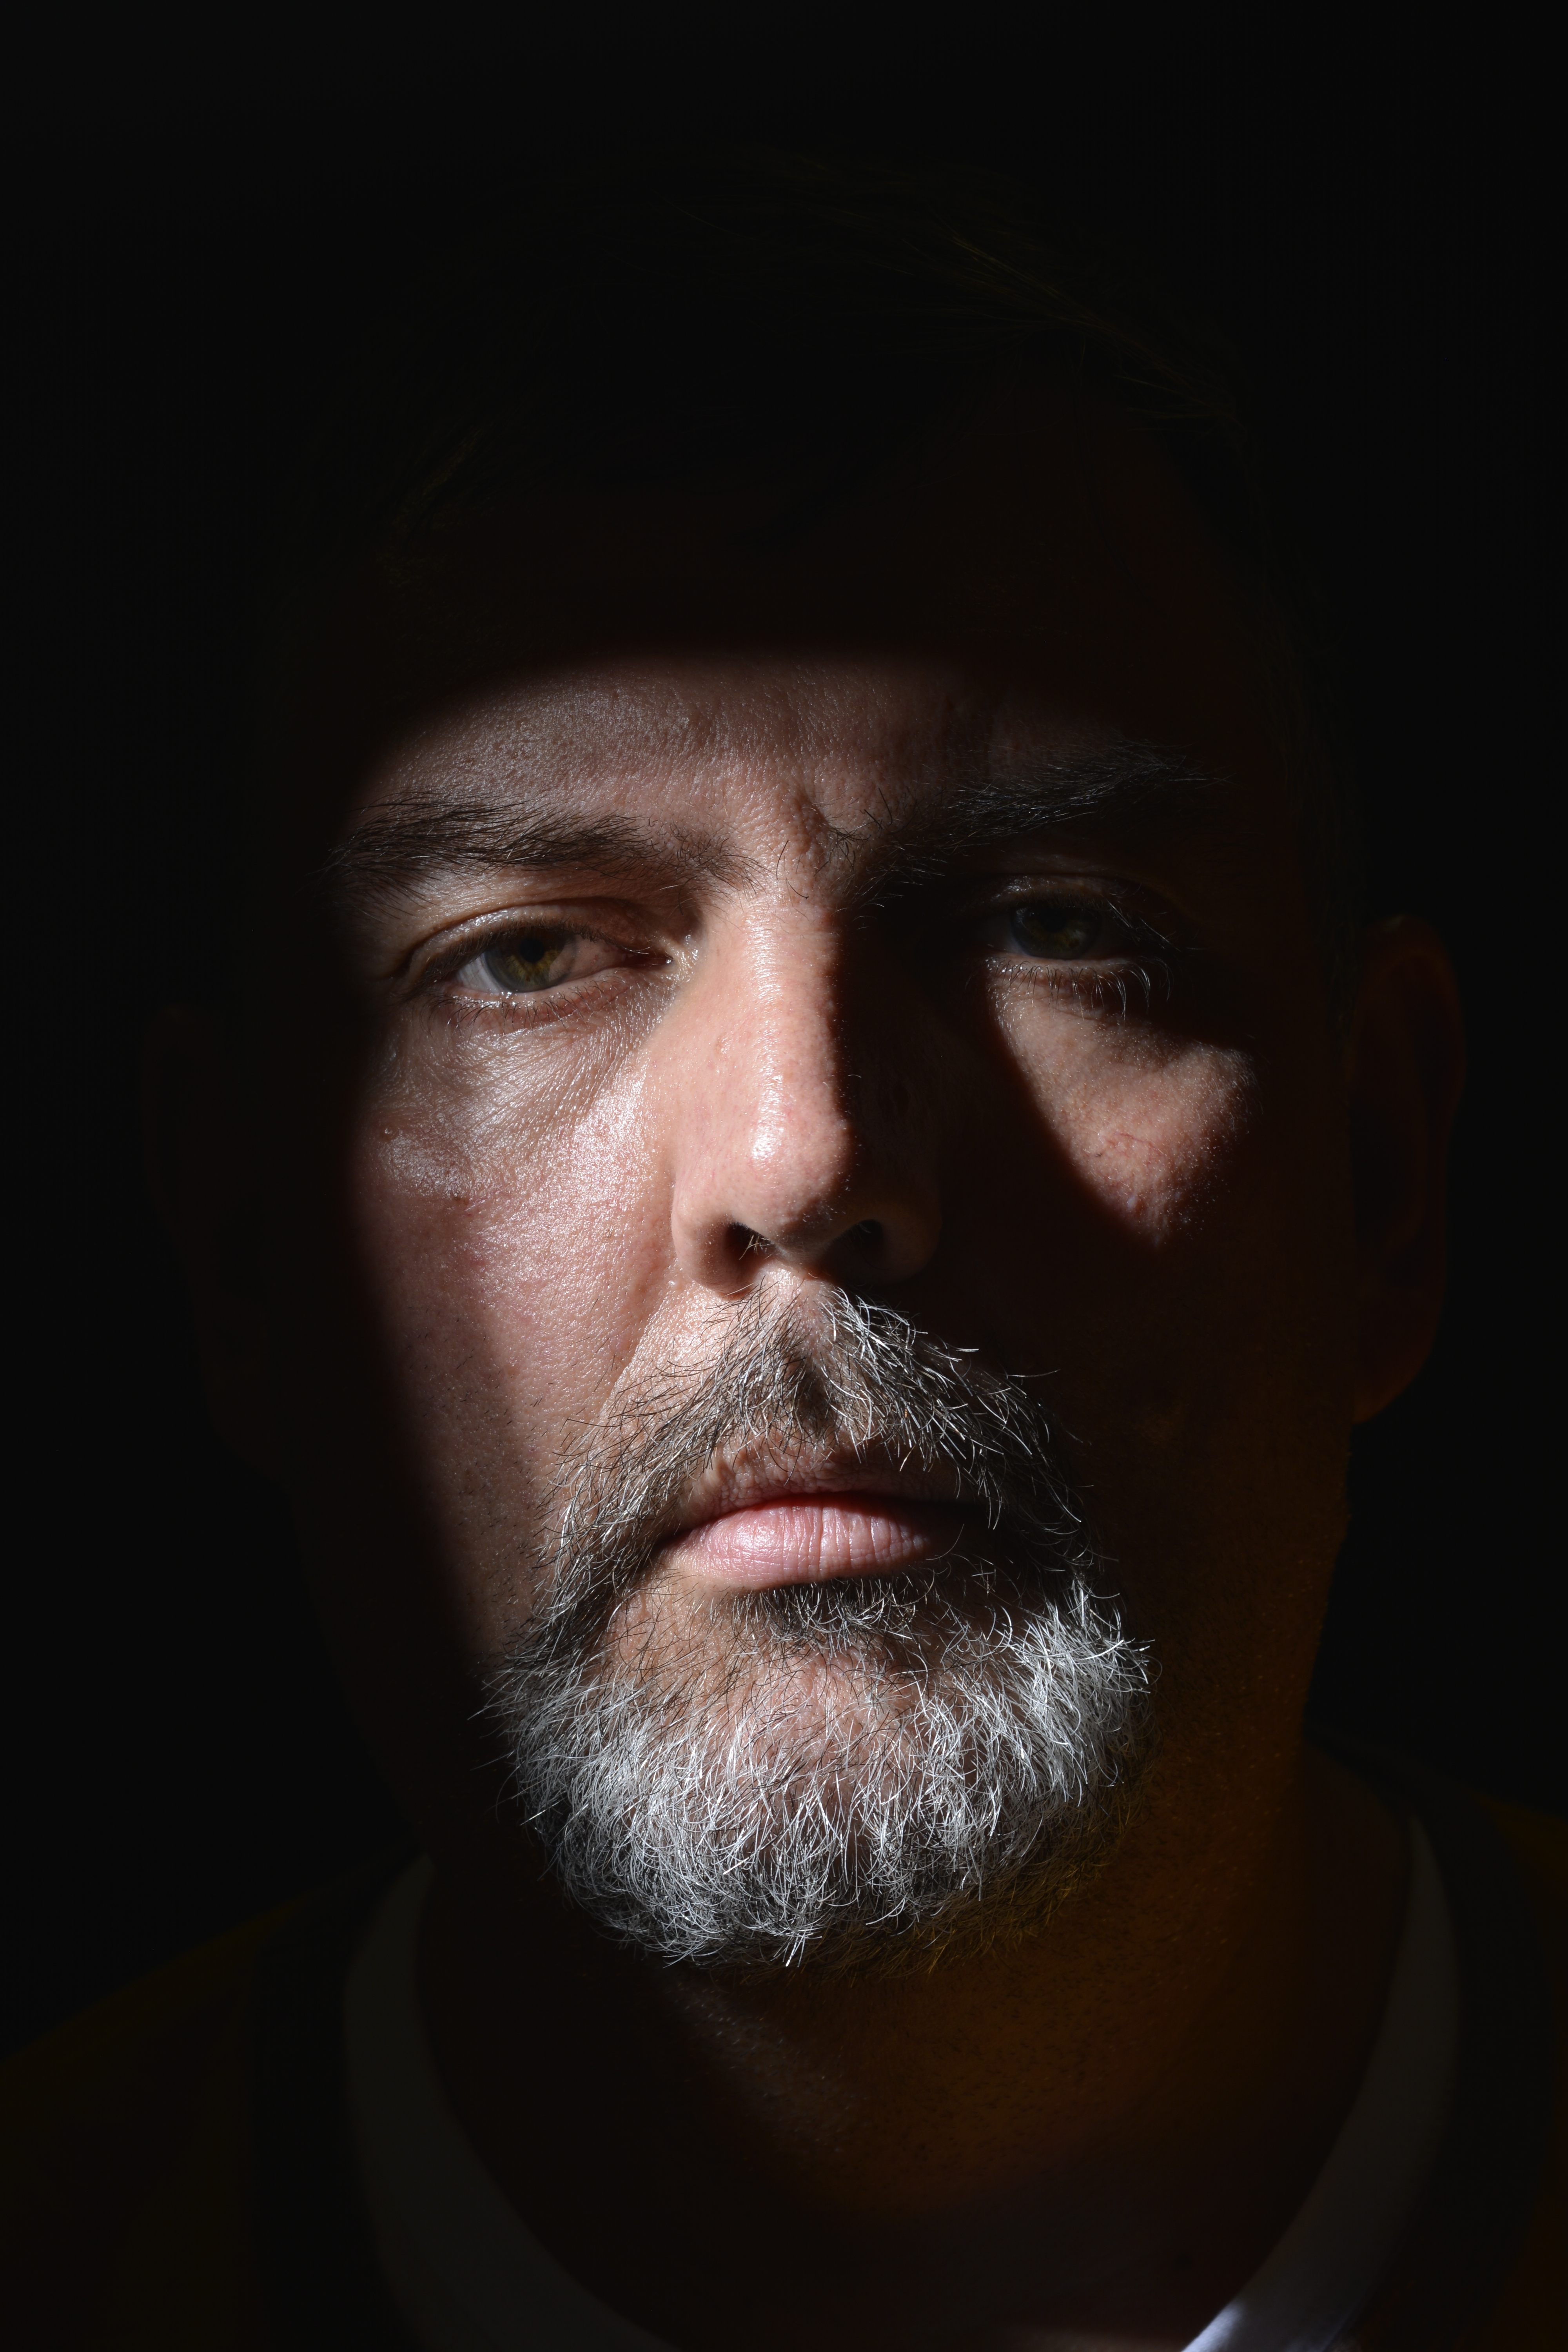
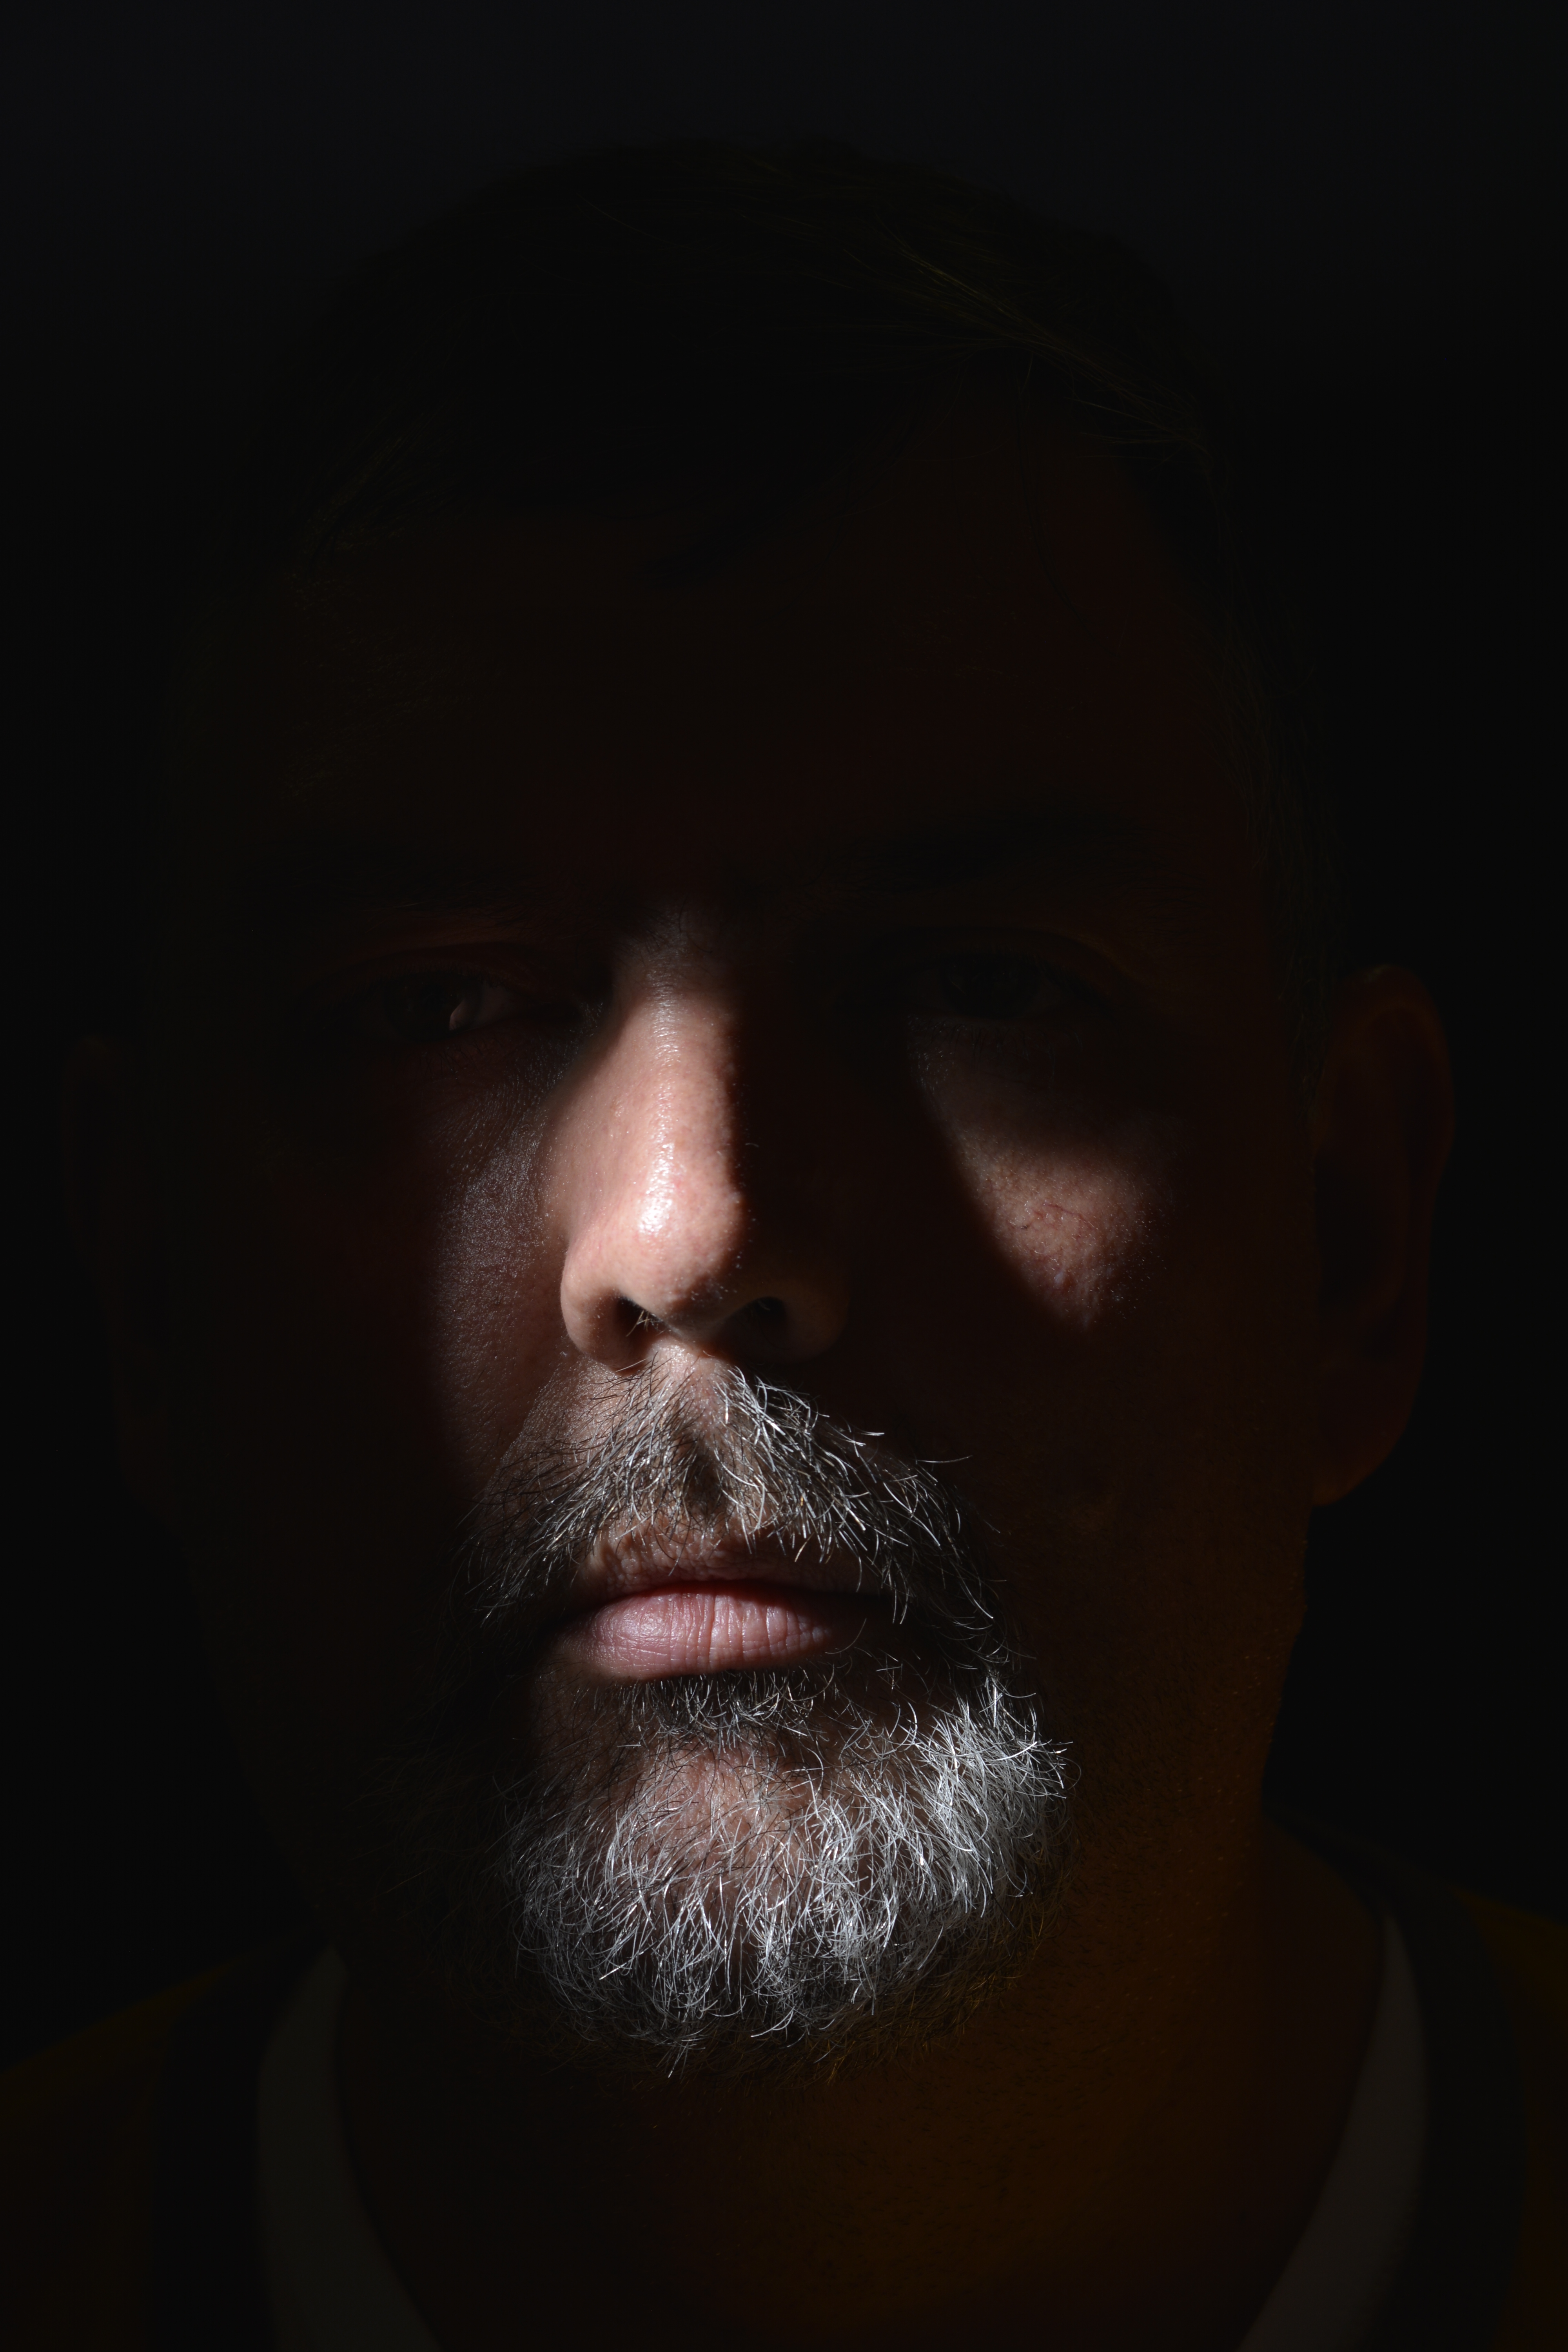
Spot Lighting
Spot lighting is a very harsh and concentrated form of lighting usually using a snoot attachment to direct the light.
With these photographs below, two pieces of card have been used at right angles to block some of the light, to create specific shadow shapes across the face. It’s very dramatic but still looks a natural shape, as if not created in a studio.
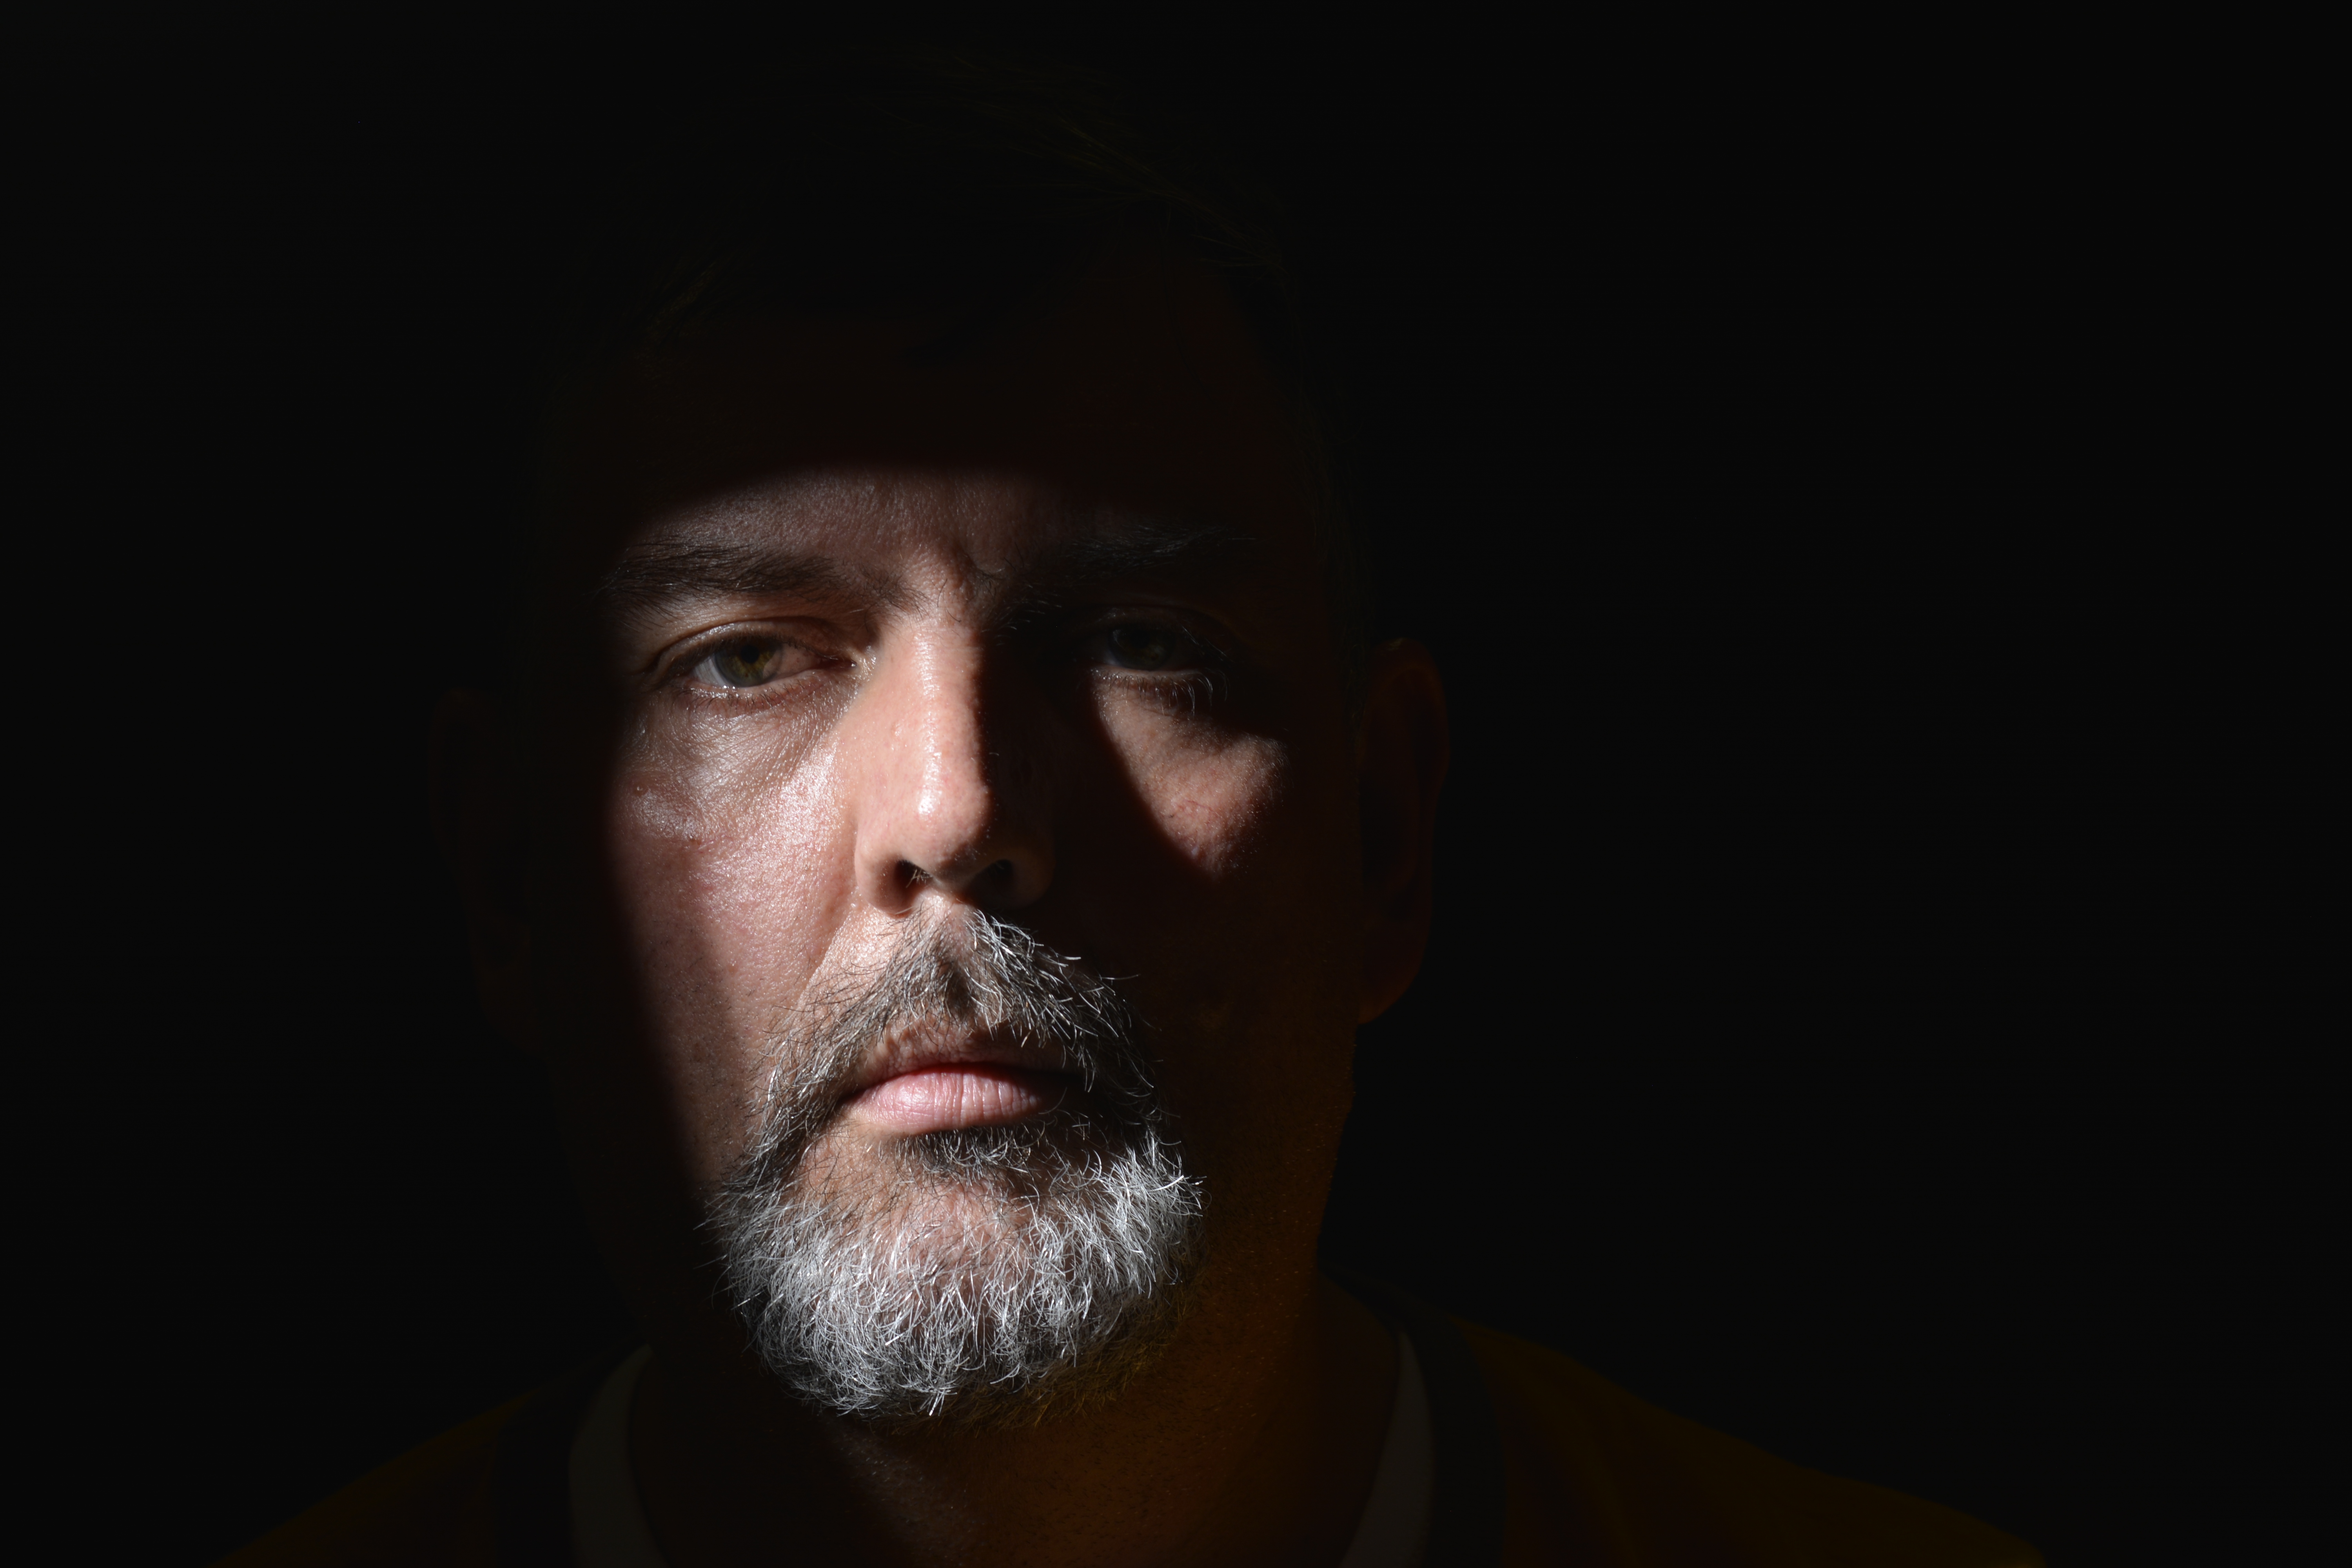
This portrait of Tony has worked quite well I feel. I like the way he just appears out of the darkness. I also like the idea of shaping and moulding a light source to create shadow shapes in a photograph. I would like to experiment this technique more.
Clam Lighting
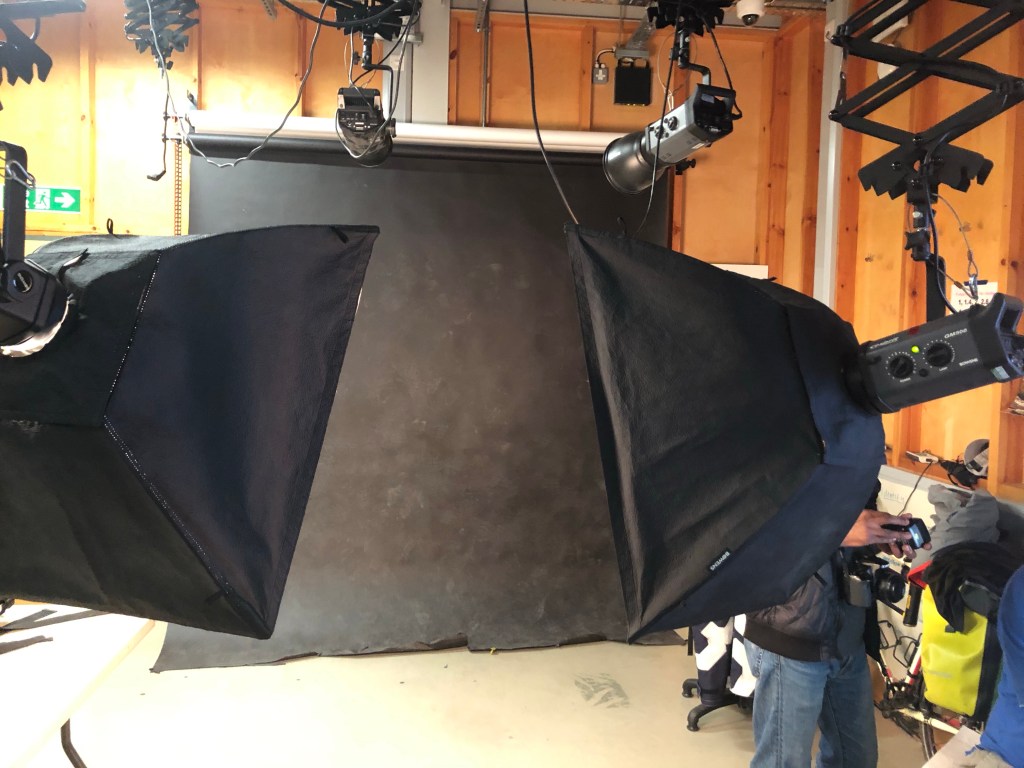
The 2 studio lights used for Clam Lighting both with Soft Box attatchments
Clam Lighting set up using 2 x Soft Boxes and a Black backdrop
Starting with Aperture F 8 and one soft box
With one soft box the the face is not lit well enough.
2 x soft boxes F-8 Too bright
With using two soft boxes and Aperture F 8, the face is too bright and therfore the skin loses some of its natural colour. To try to rectify this, changing the Aperture from F 8 to F 11 helps to make the face a little darker.
In photography, the technique HDR-High Dynamic Range is used to produce an image that is similar to what you would see with your human eye.
For example, if you were inside a beautiful building, like a church, you know that to expose the stained glass windows you would set your camera to a certain aperture. However by doing this you would be under exposing the interior and therefore it would appear dark. And vice versa, if you were to expose correctly for the interior, the stained-glass window would be overexposed. In the end you are always having something over or under exposed in your photograph.
To achieve HDR image you need to capture between five and ten different exposures of the same image. Generally 1 F stop difference for each image. Then all these images are merged together to form one image through light room or photo shop. The correct exposure part of each photograph is used and in the outcome is, you have a correctly exposed image.
Using this technique you can achieve an outcome that is close to how you actually see it. However HDR photography can so easily be exaggerated and therefore your final image may look unnatural.
The image below demonstrates this. Although all the beautiful colours were probably there, it does however look fake and unnatural. Perhaps the colours were pumped up a little during the postproduction process?
Image taken from the internet
This next image below, shows how you can achieve a more natural look to your photograph using a HDR technique. As a photographer you can see that in one photograph you would never be able to expose for under and over the jetty. So this technique helps you show all that detail from the water and the sky within one image.
Image taken from the internet
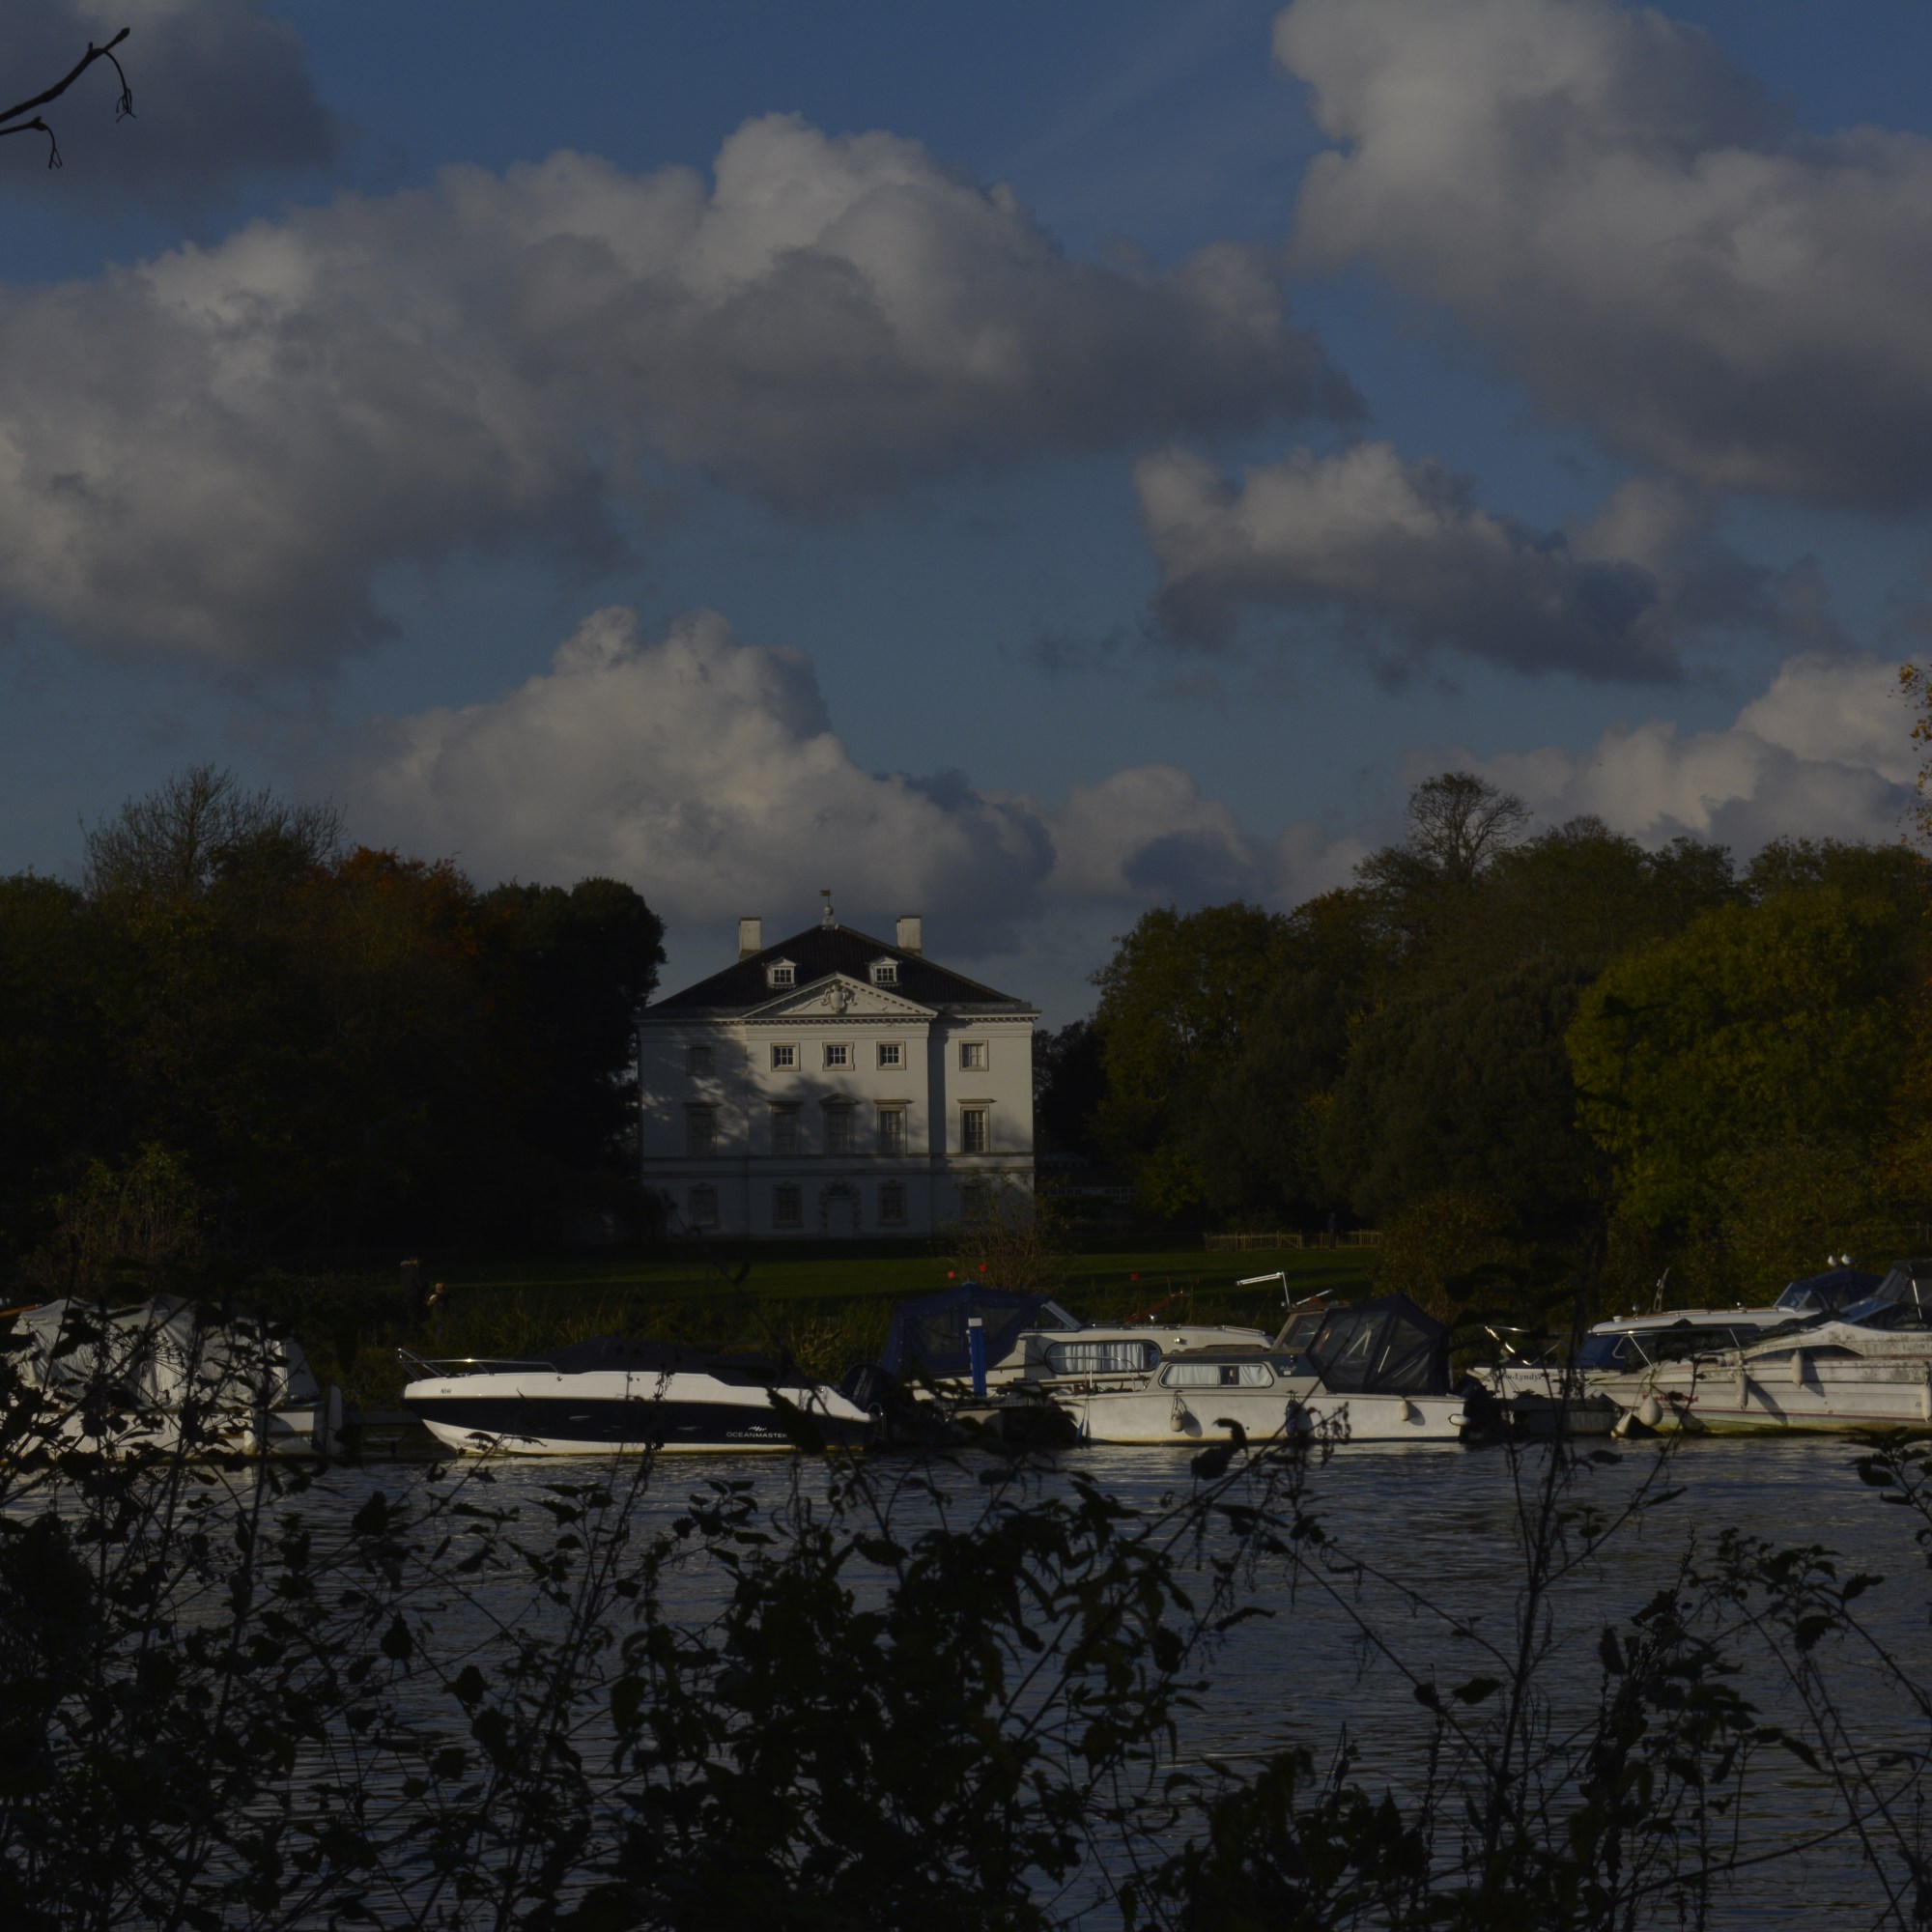
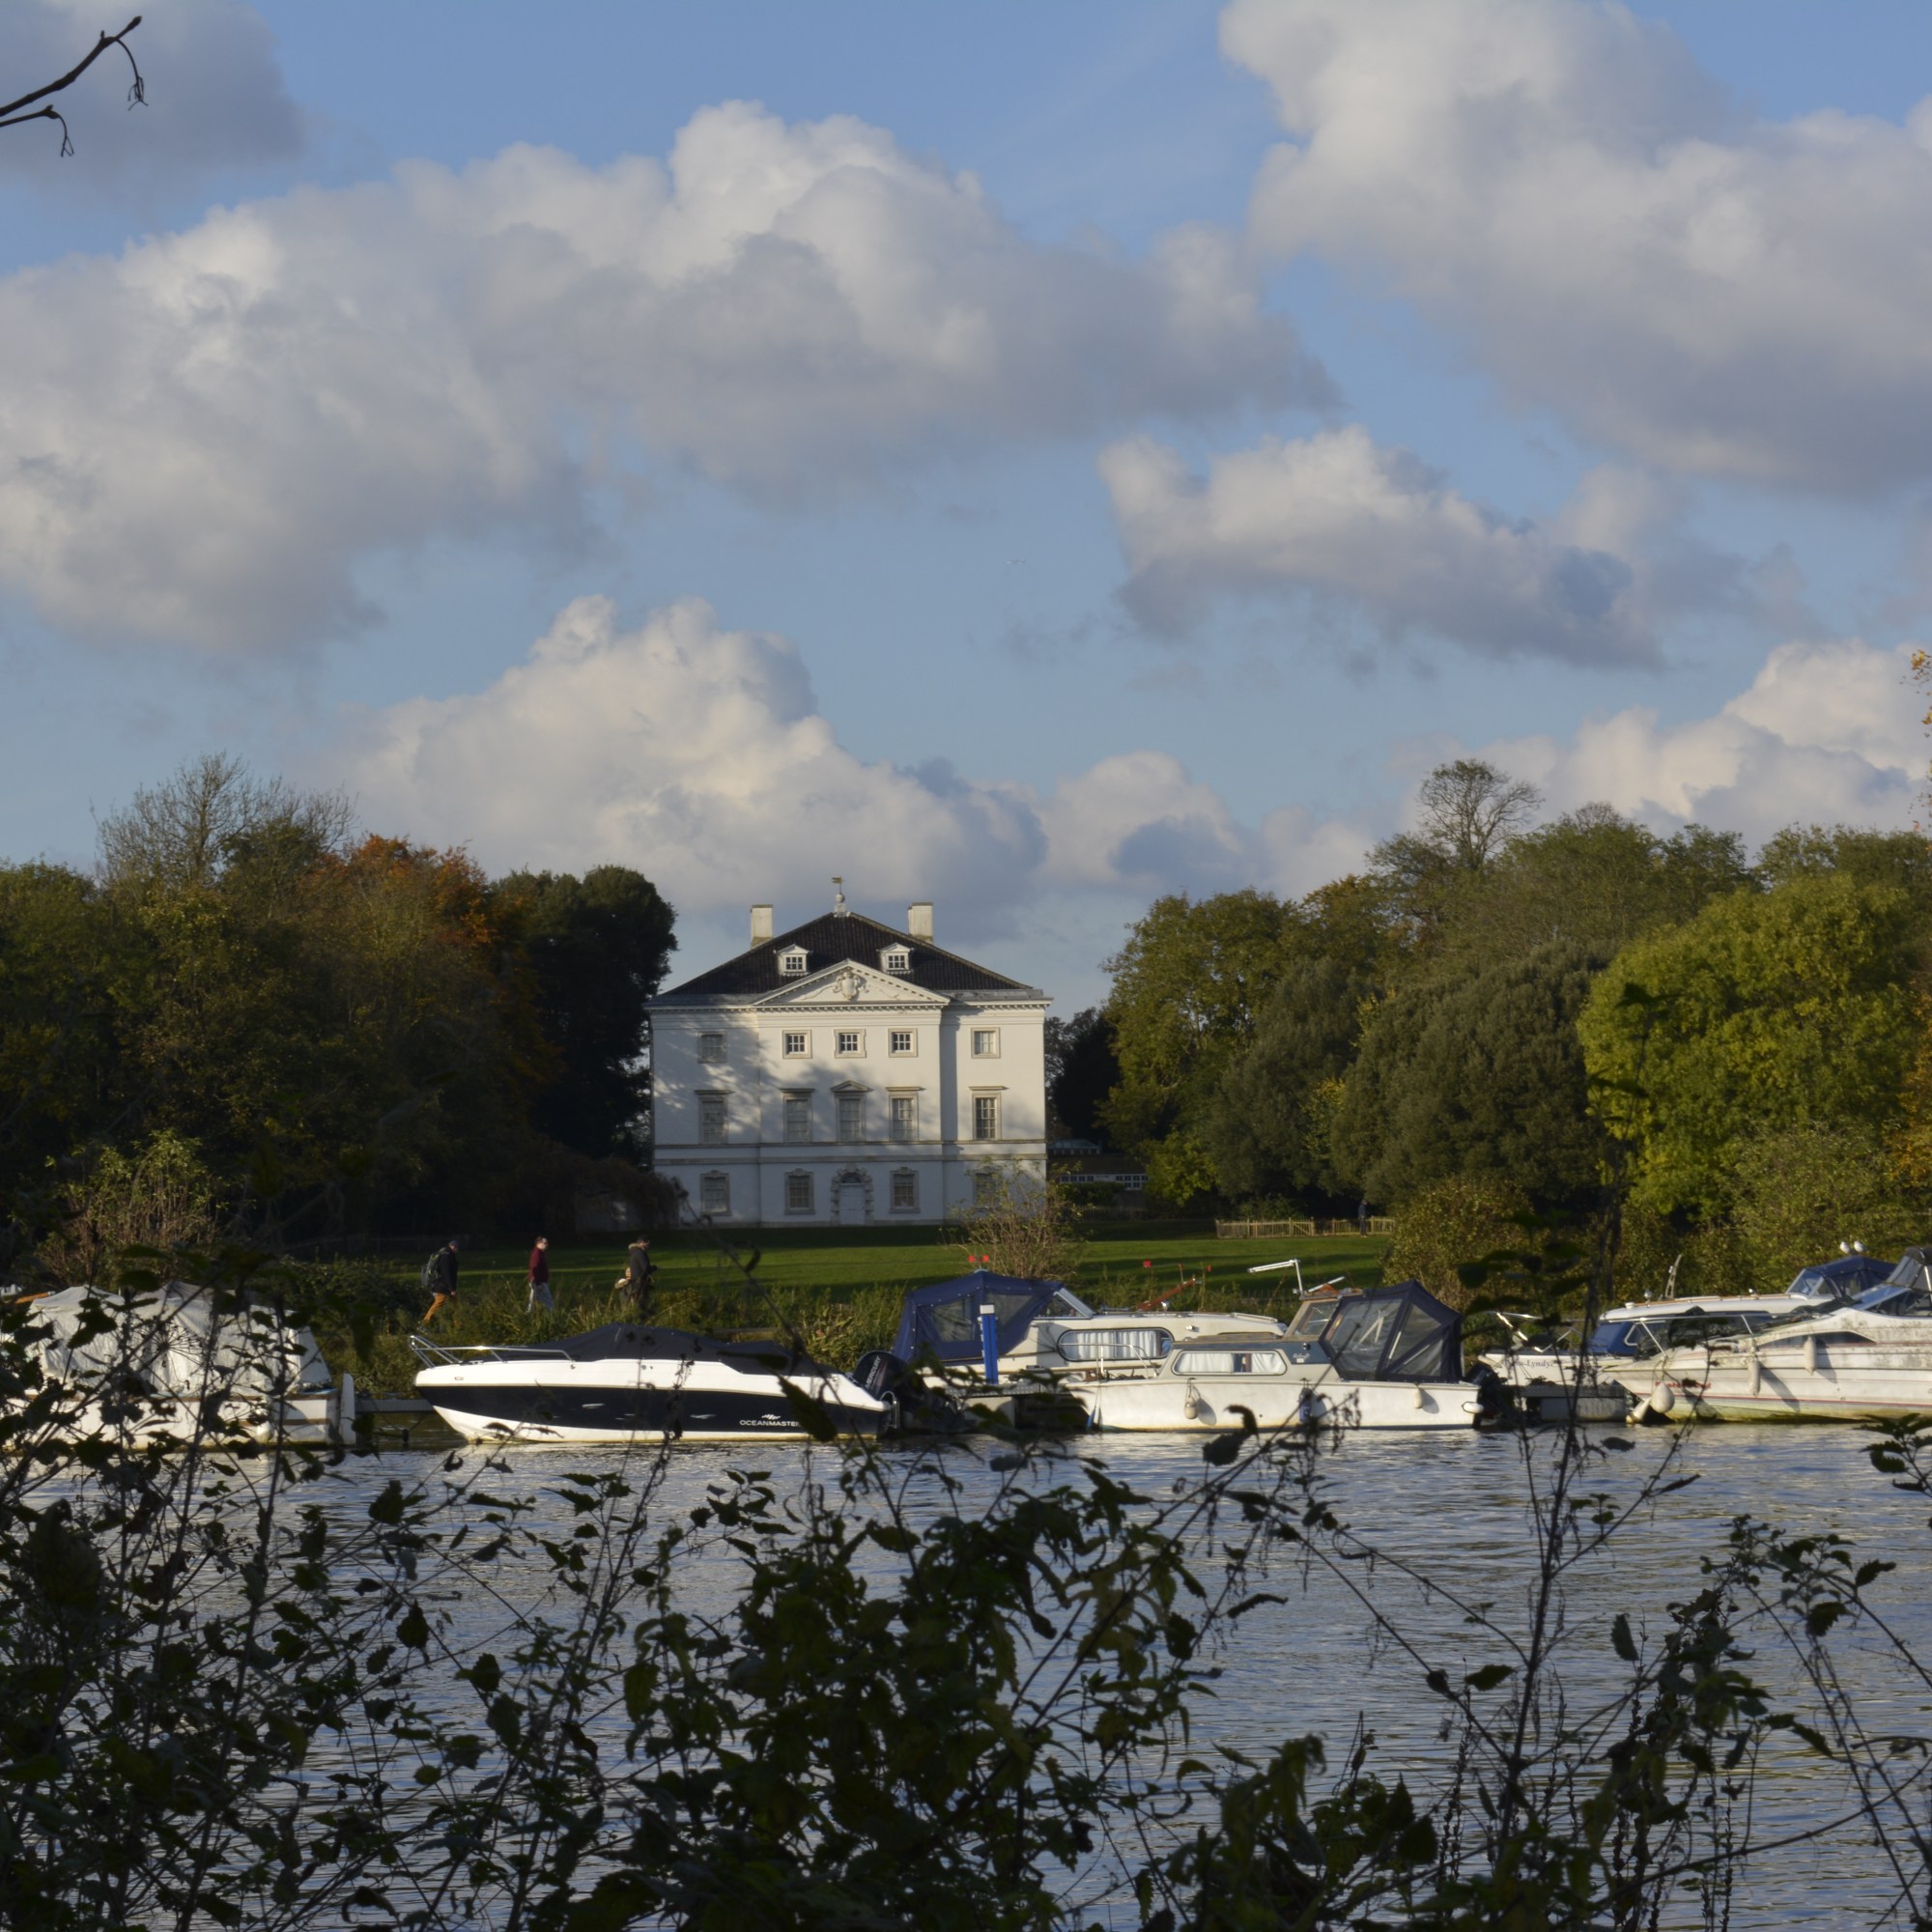
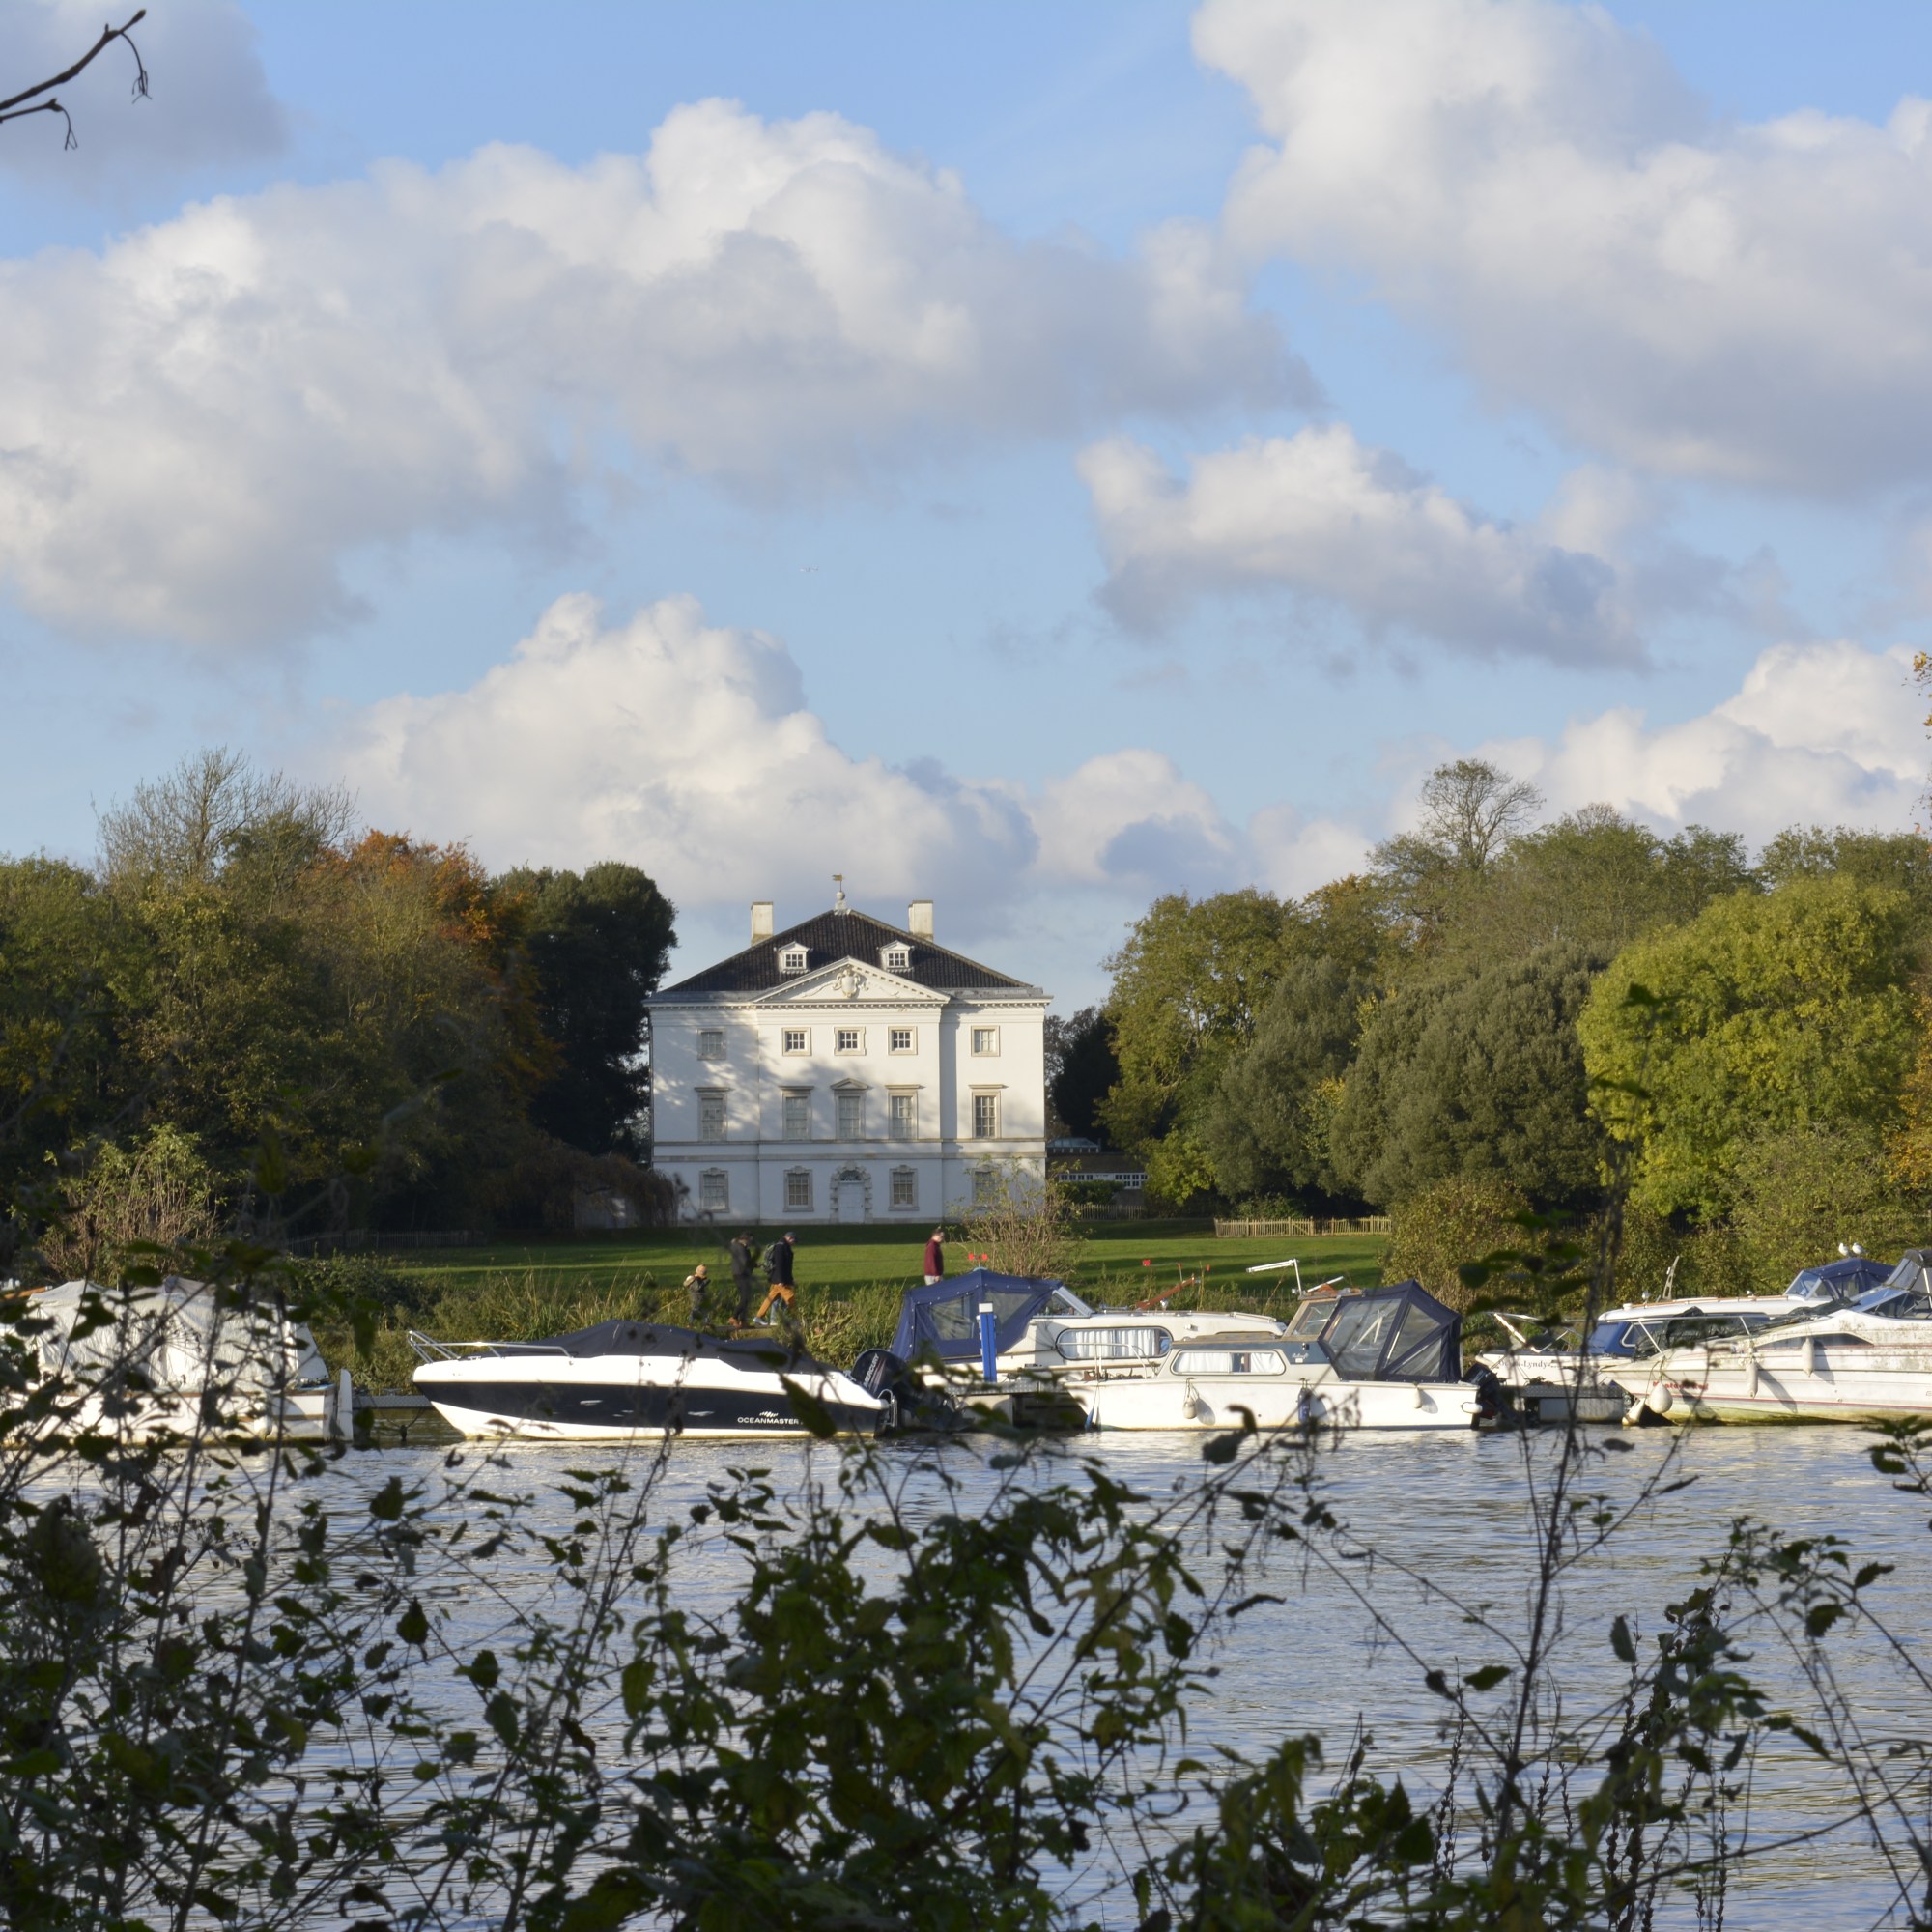
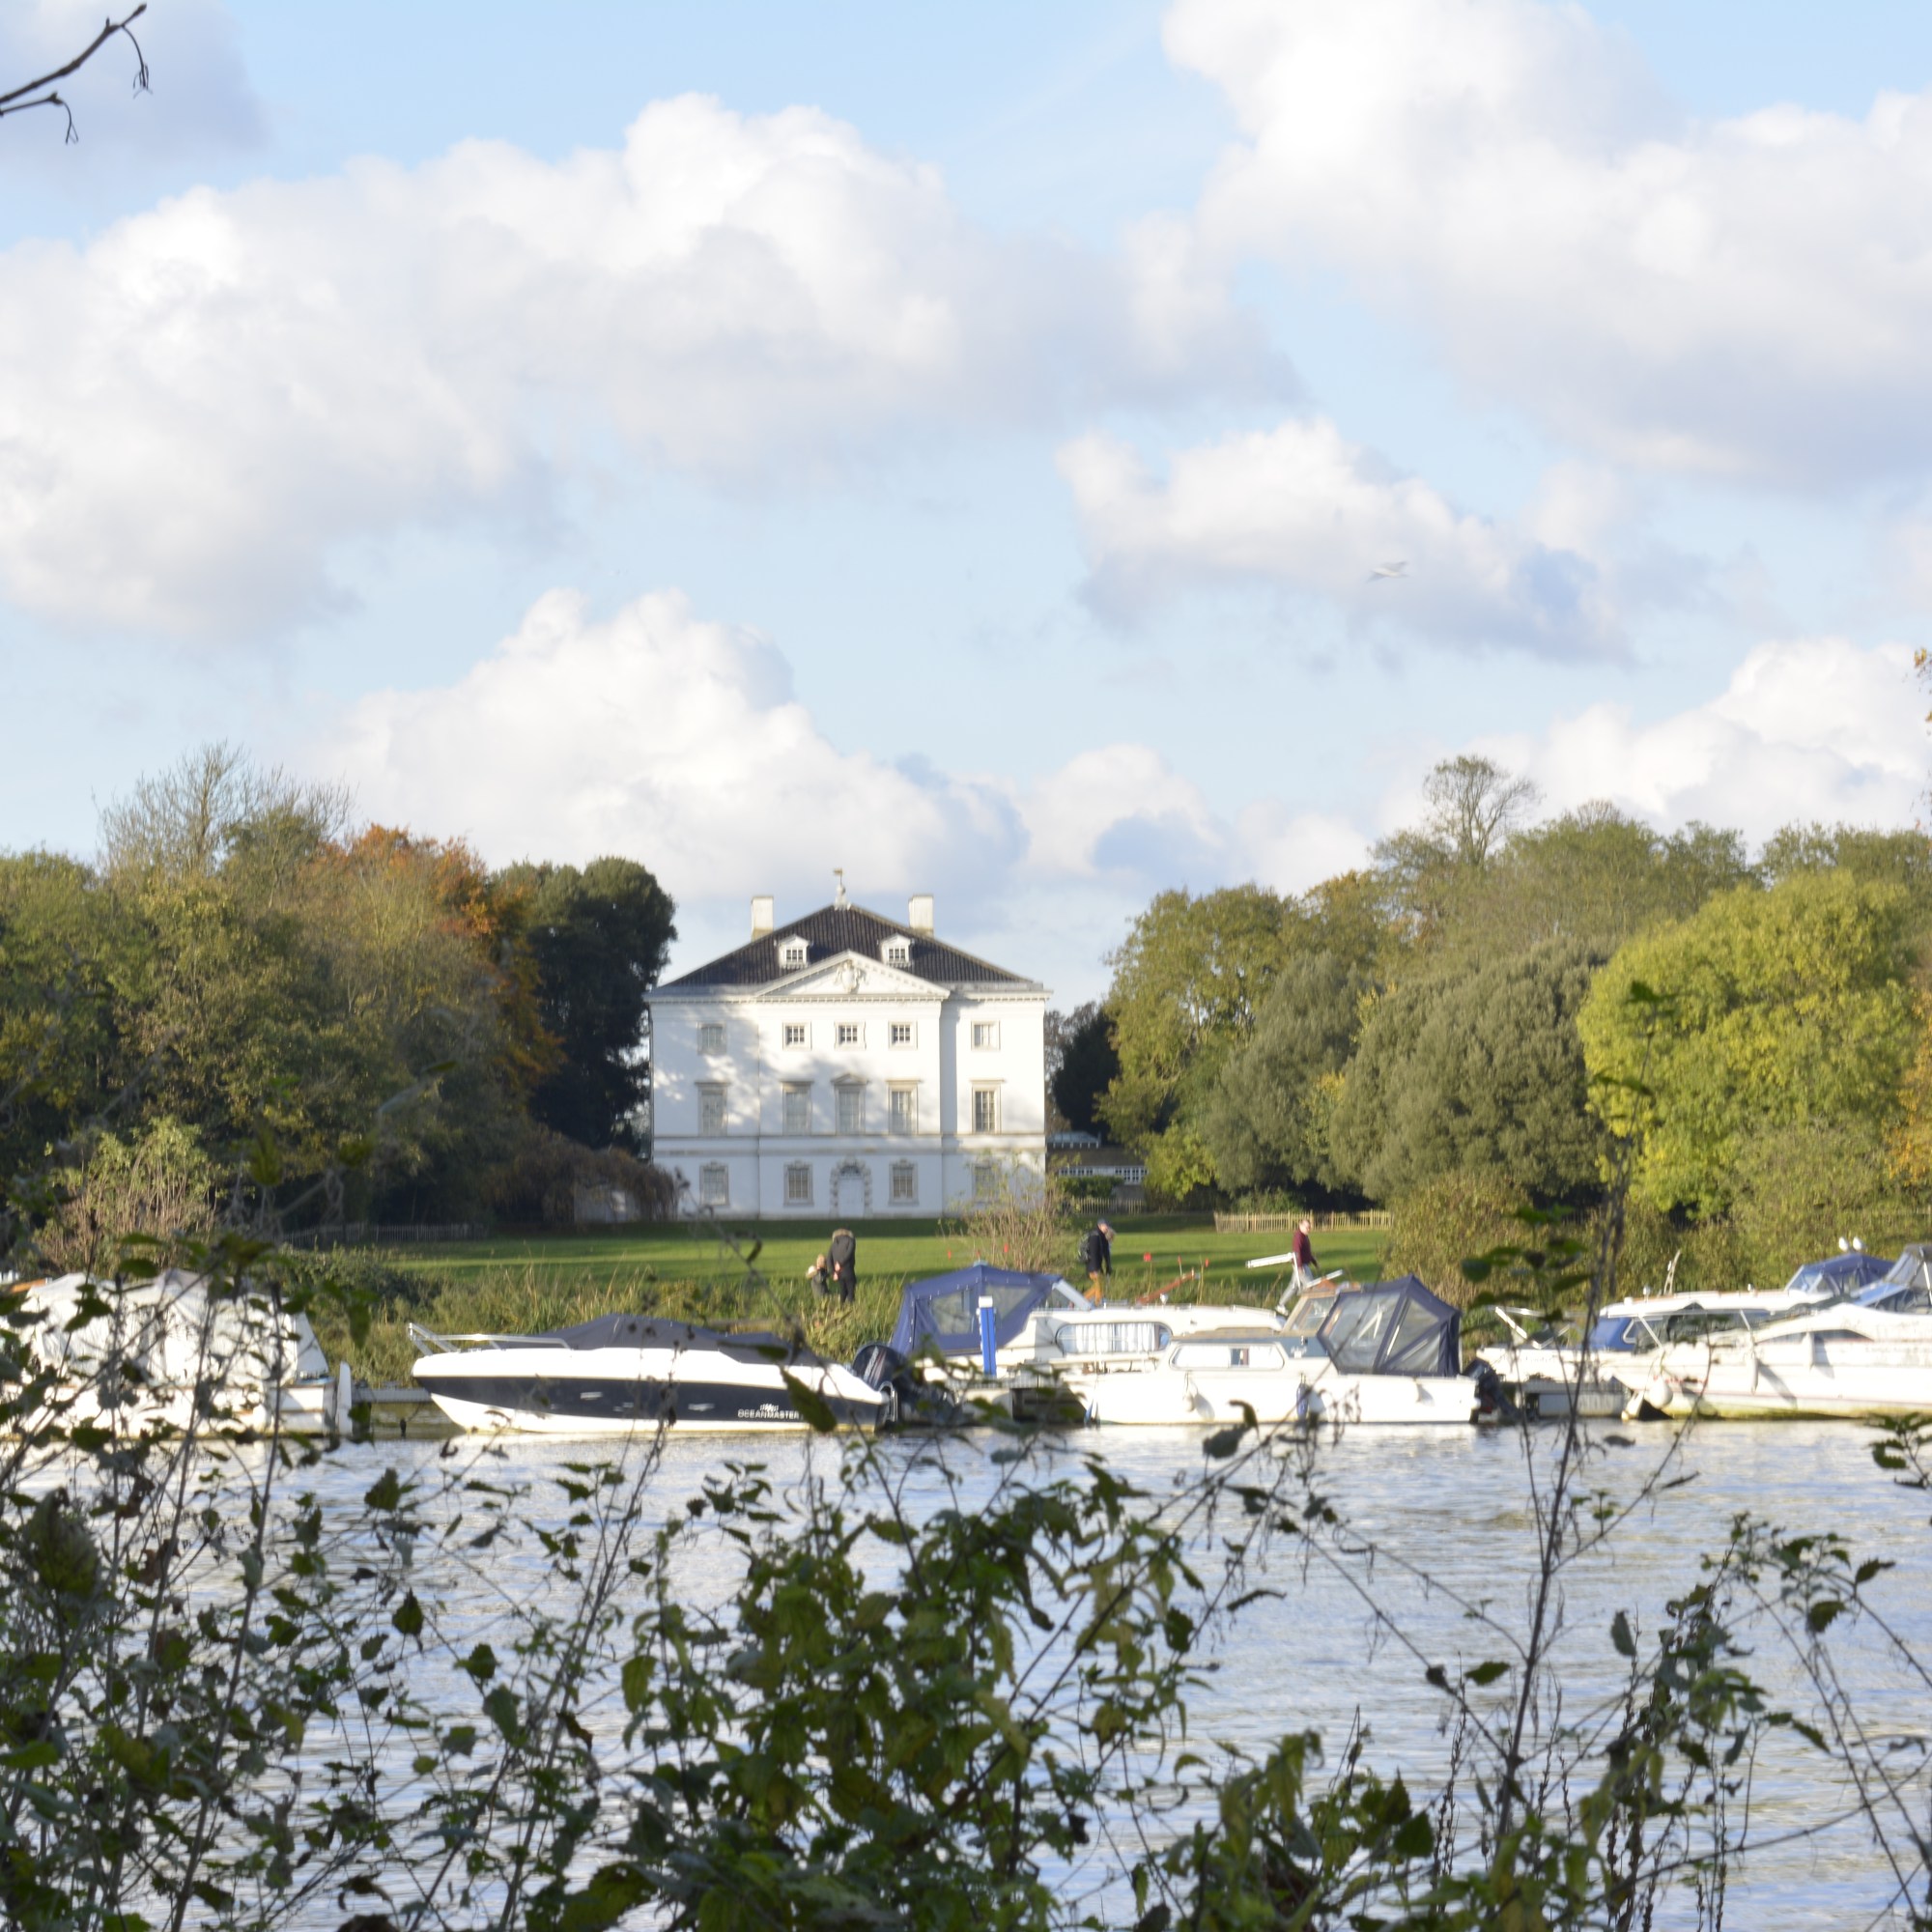
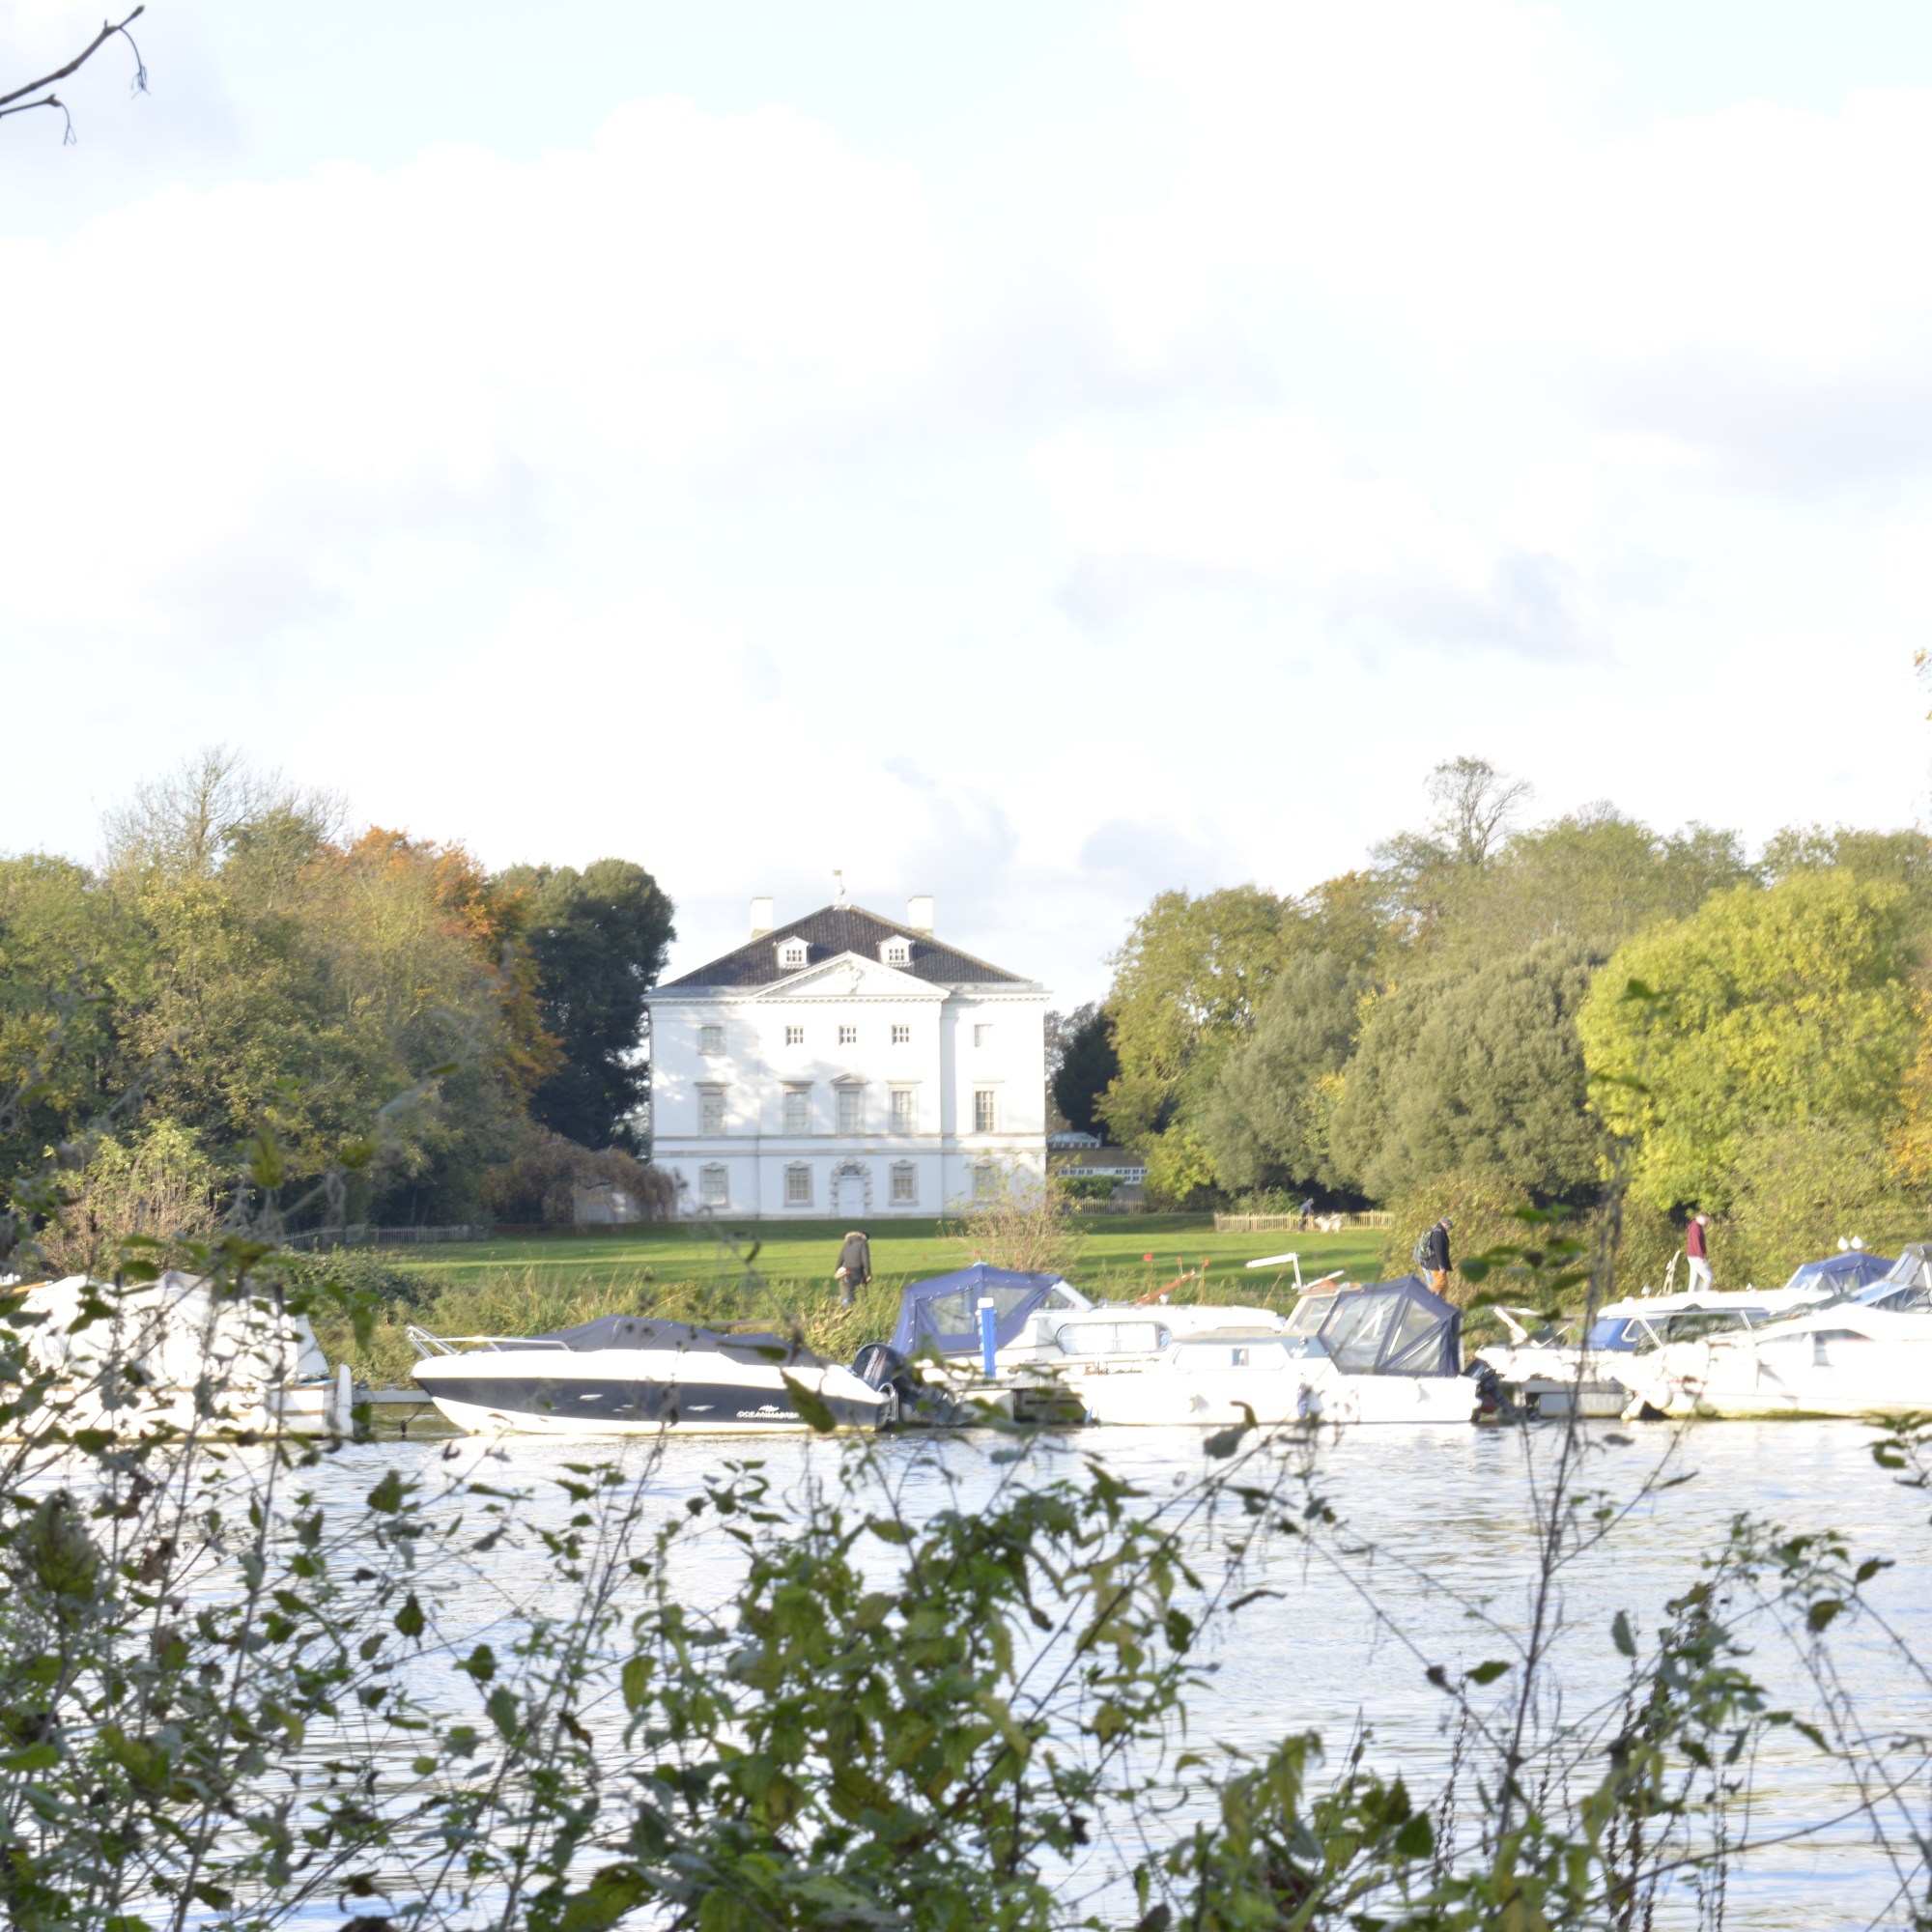
To keep the same view within my frame each time I took a photograph, I used a tripod. The only thing I changed each shot was the aperture, 3 notches (1 Fstop) each time. I started very underexposed and worked towards being over exposed.
Below is the final outcome. Within Lightroom, I highlighted all the images I needed, clicked on the PHOTO menu, then MERGE and then HDR.
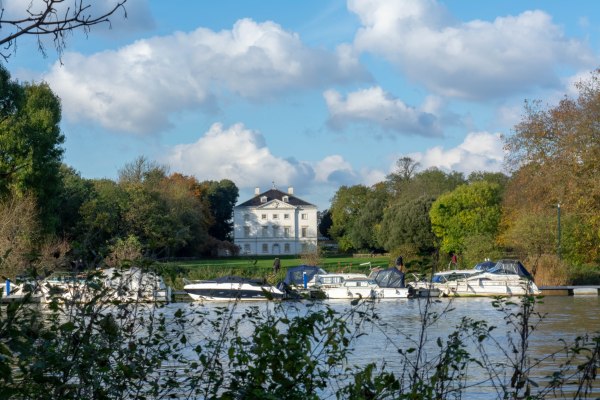
HDR Image of Marble Hill House
Marble Hill House-HDR
I am pleased with the result! The view has come out exactly as I saw it. A very natural scene with the foliage and trees all equally exposed well, even at the different depths of the photograph.
On the same day as shooting Marble Hill I took photographs across Petersham Meadow, of Petersham Hotel. It was a bright day, so needed to take lots of different exposure shots to capture tall the colours from the sky and trees.
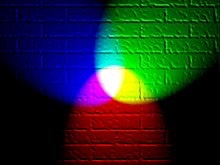
The 3 Primary colours in digital imagery are Red, Green and Blue. RGB. Not the primary colours as we know them to be, Red, Yellow and Blue. This is because Red, Green and Blue are the colours found in the human eyes colour photoreceptors.
If you shine a Red torch slightly overlapping a Green torch, then slightly overlapping a Blue torch, shining 3 equal parts of the primary colours will create white colour. The photography below shows this.
Adding equal parts of the primary colours, white is seen, this is the basis of Additive colour. When working on a computer screen the colours are created with light. Additive colour mixing begins with black and ends with white. Taking away these colours the black is seen. By combining different quantities of these primary colours, brighter colours are made.
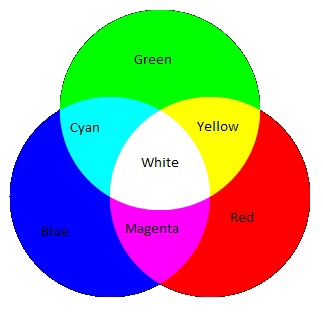
The chart above shows the primary colours and secondary colours that can be created with 2 equal parts of primary colours.
Blue + Green = Cyan
Green + Red = Yellow
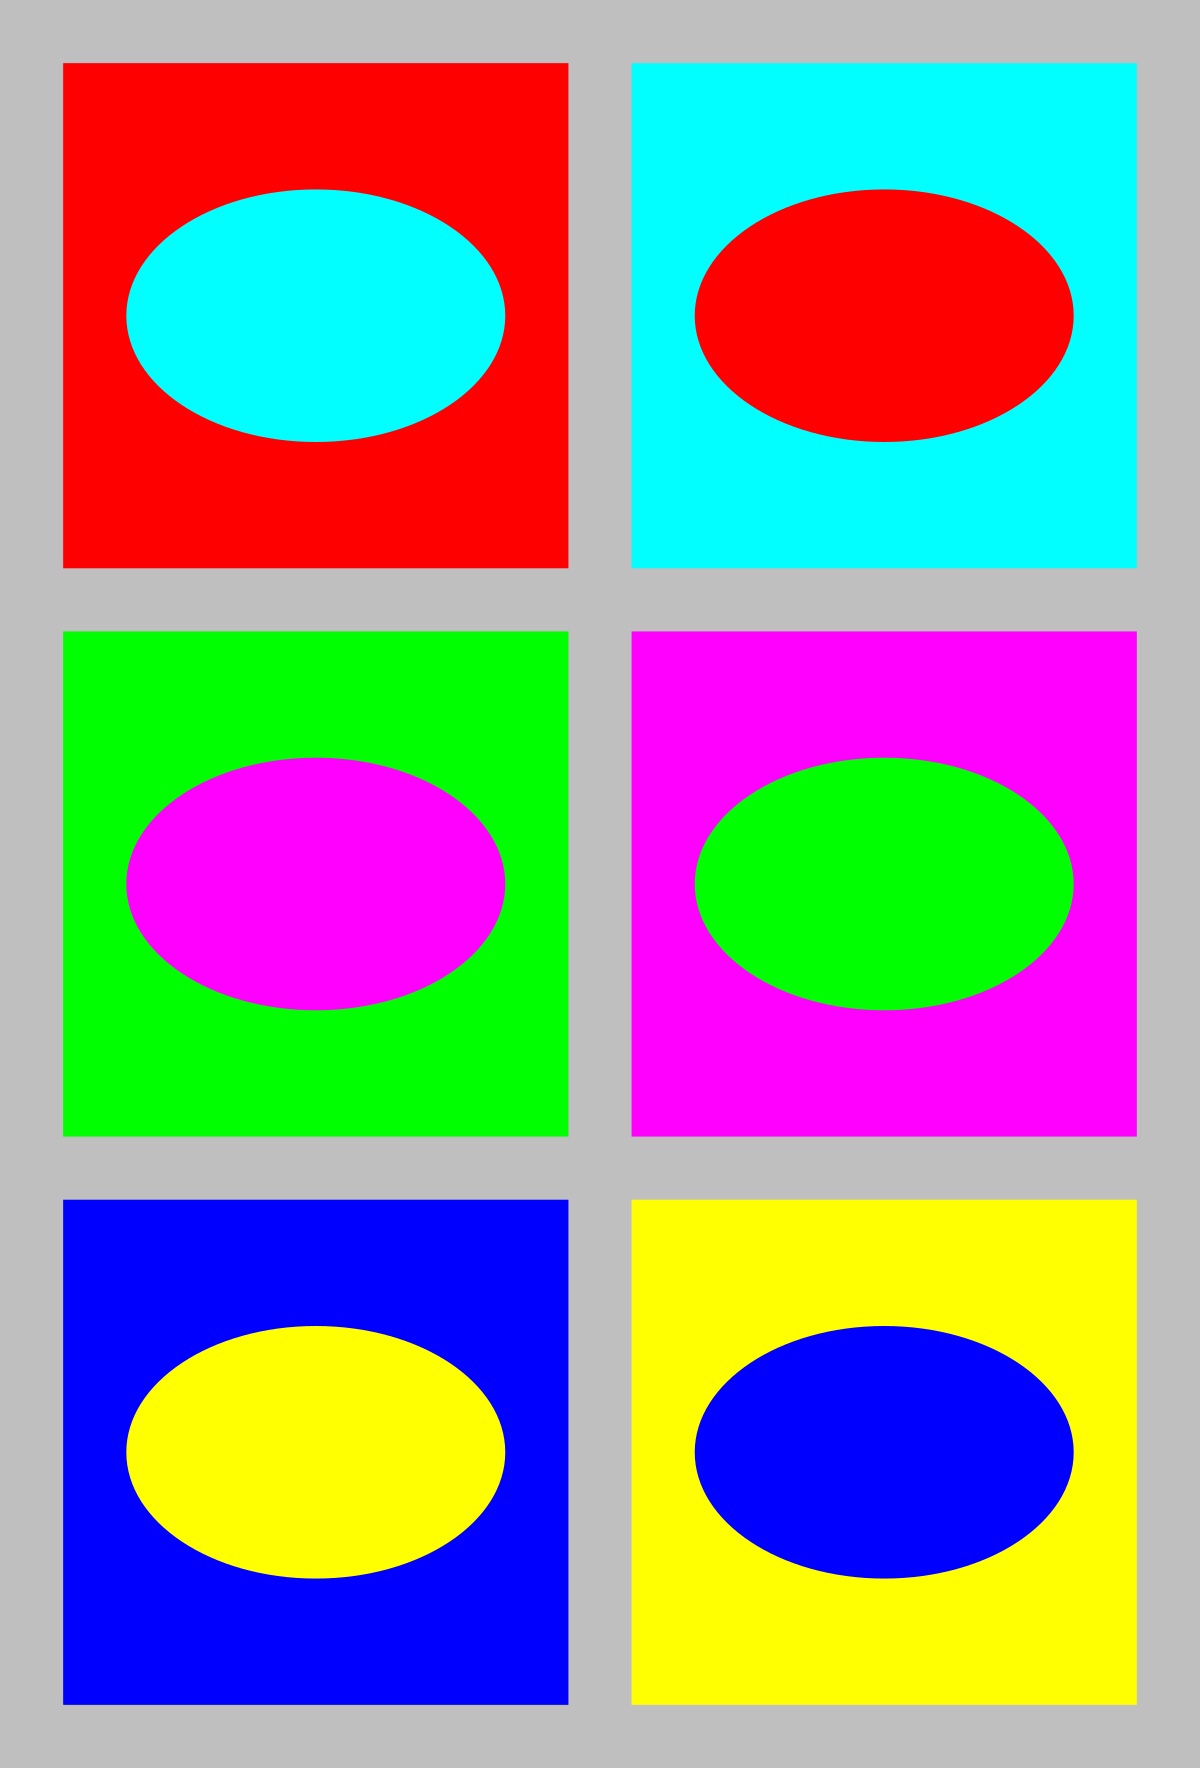
Red + Blue = Magenta
The basis of subtractive colour mixing means that you begin with white and end with black. If you look at painting or printing, you start with white paper and add colour. For printers you will generally have 2 cartridges, one tri colour-CMY and one black. CMYK. When mixing Cyan, Magenta and Yellow you achieve a very dark colour, however it isn’t a true black. That is why you need an additional black cartridge. The K from CMYK stands for black (taken from the last letter in black so not to get confused with blue, B in RGB).
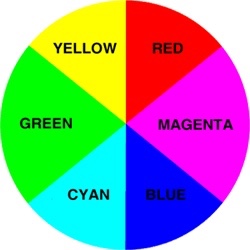
Colours that are next to each other on a colour wheel are known as colour harmonies. These colours will sit nicely together and compliment each other. Colours that are opposite each other on the colour wheel create a colour contrast. Contrasting colours are often used in advertising and logos. They compliment each other and create a visual contrast that captures your eye and therefore you notice them.
Colour wheelContrasting colours
Yellow is used a lot in advertising due to it being one of the strongest colours. When we see yellow our eyes have to re-adjust. It will always stand out and therefore influence the viewer.
Well known advertising
The First Colour Photographs
James Clerk Maxwell 1831-79
James Clerk Maxwell was a Scottish scientist that produced the first colour photograph in 1861.
Maxwell used the three colour method. Taking a photography with a Red filter, then a Green filter and then a Blue filter. When all three images were super impose together and a white light shone through, colours were seen. The photograph below was that image.
Coloured ribbon Taken in 1861
Sergey Prokudin-Gorsky 1863-1944
Sergey Prokudin-Gorsky really expanded on Maxwell’s colour vision and produced many early colour photographs.
This photograph below was taken in 1911 by Gorsky as part of his documentary work on the Russian Empire.
The Emir of Bukhara 1911
Three separate black-and-white photographs were taken through Red, Green then Blue filters. Then on a projection screen, these three photographs were combined to create a full colour Image.
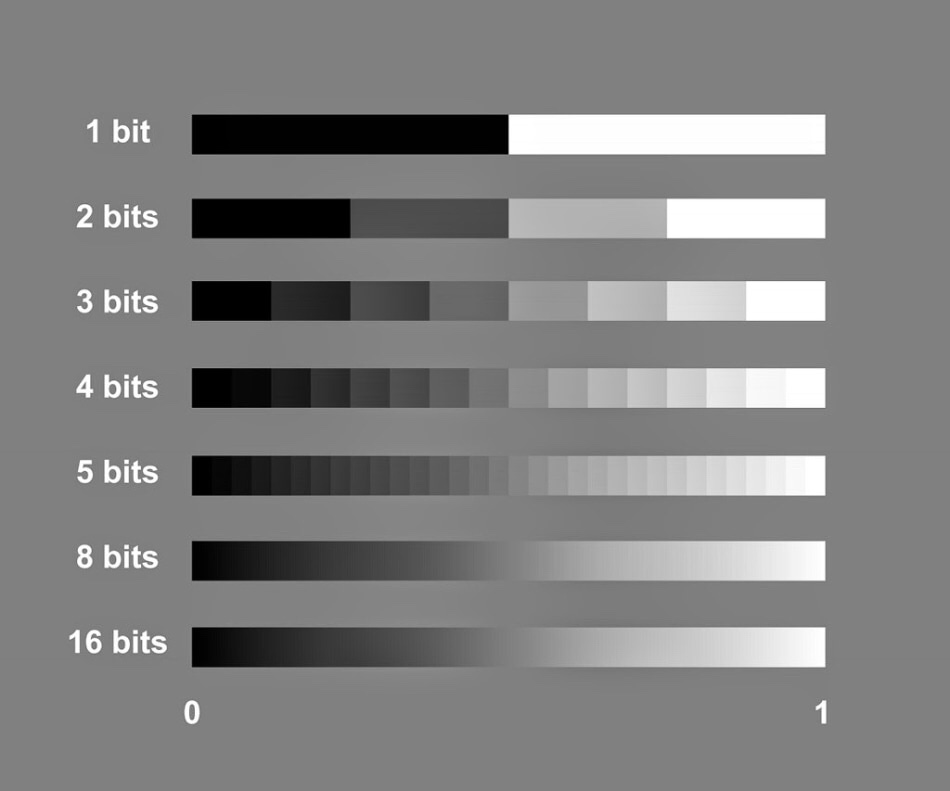
The term bit depth or colour depth refers to the range of colour available in an image.
The image below shows the possible scale of grays for different bit images.
The more bits you have the more shades of grey you can display.
To work out how many shades of gray you will have in an image you use the formula 2 to the power of. For example, an 8 bit image, 2 to the power of 8=256. Black, White and 254 shades of gray.
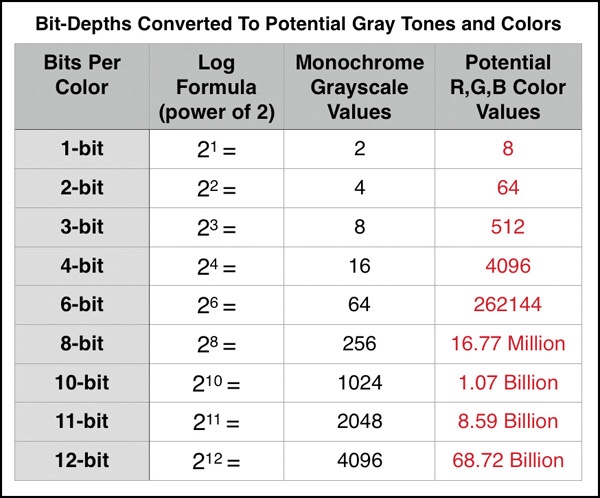
The table below shows the potential grayscale amount for each size image.
The third column in this table shows the available colour possibilities for the different bit size images. With the 3 channels of colour, Red, Green and Blue.
Red X Green X Blue = Available colour possibilities.
Banding is where you can see a abrupt changes between shades of the same colour. This happens on lower bit depth images.
For example, above you can see two photographs showing shades of the colour purple. The one on the left has a lower bit depth than the one on the right. You can see that the changes in the shades jump and form bands of colour. Whereas the one on the right that has a higher bit depth and shows a gradual change from dark purple to light, with no banding.
When using your DSLR camera, shooting in Manual mode will give you total control to produce your desired photography.
Another mode to shoot in is Aperture priority. This semi-automatic mode is good if you’re time restricted and need to get that shot! It offers a shutter speed faster than Manual and is good for situations where the light changes.
I prefer to shoot in Manual mode but need to practice and make use of Aperture priority mode.
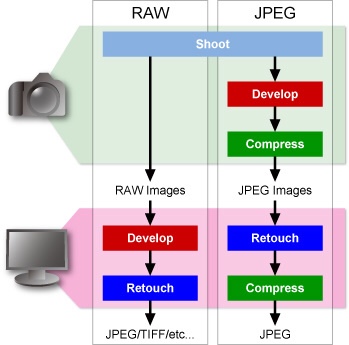
It is best to shoot in RAW + JPEG for so many reasons. However there is one downfall with that. You will need to double the amount of storage to store these images. Best not to store them on your computer as it will take up a lot of memory and slow down your device. Always store images on an external hard drive.
JPEG images are great for producing images ready to print, for example an event you print at like photo booth style/party and light conditions wont change. A JPEG file is already compressed (ready to print) meaning that some of the original information is lost and won’t be able to get back in post production. Every time you open or work on a JPEG file you lose quality. This is known as a “lossy”file.
RAW files are files that need to be processed (compressed) before you can view/share or print. They cannot be viewed by any software.
RAW images are exactly what your cameras sensor captures. This allows you to recover the information lost and produce higher quality images. They can be worked on and viewed time and time again and no information or quality will be lost. This is known as a “lossless” file.
The image below shows the different processes for JPEG and RAW files from camera to ready to view.