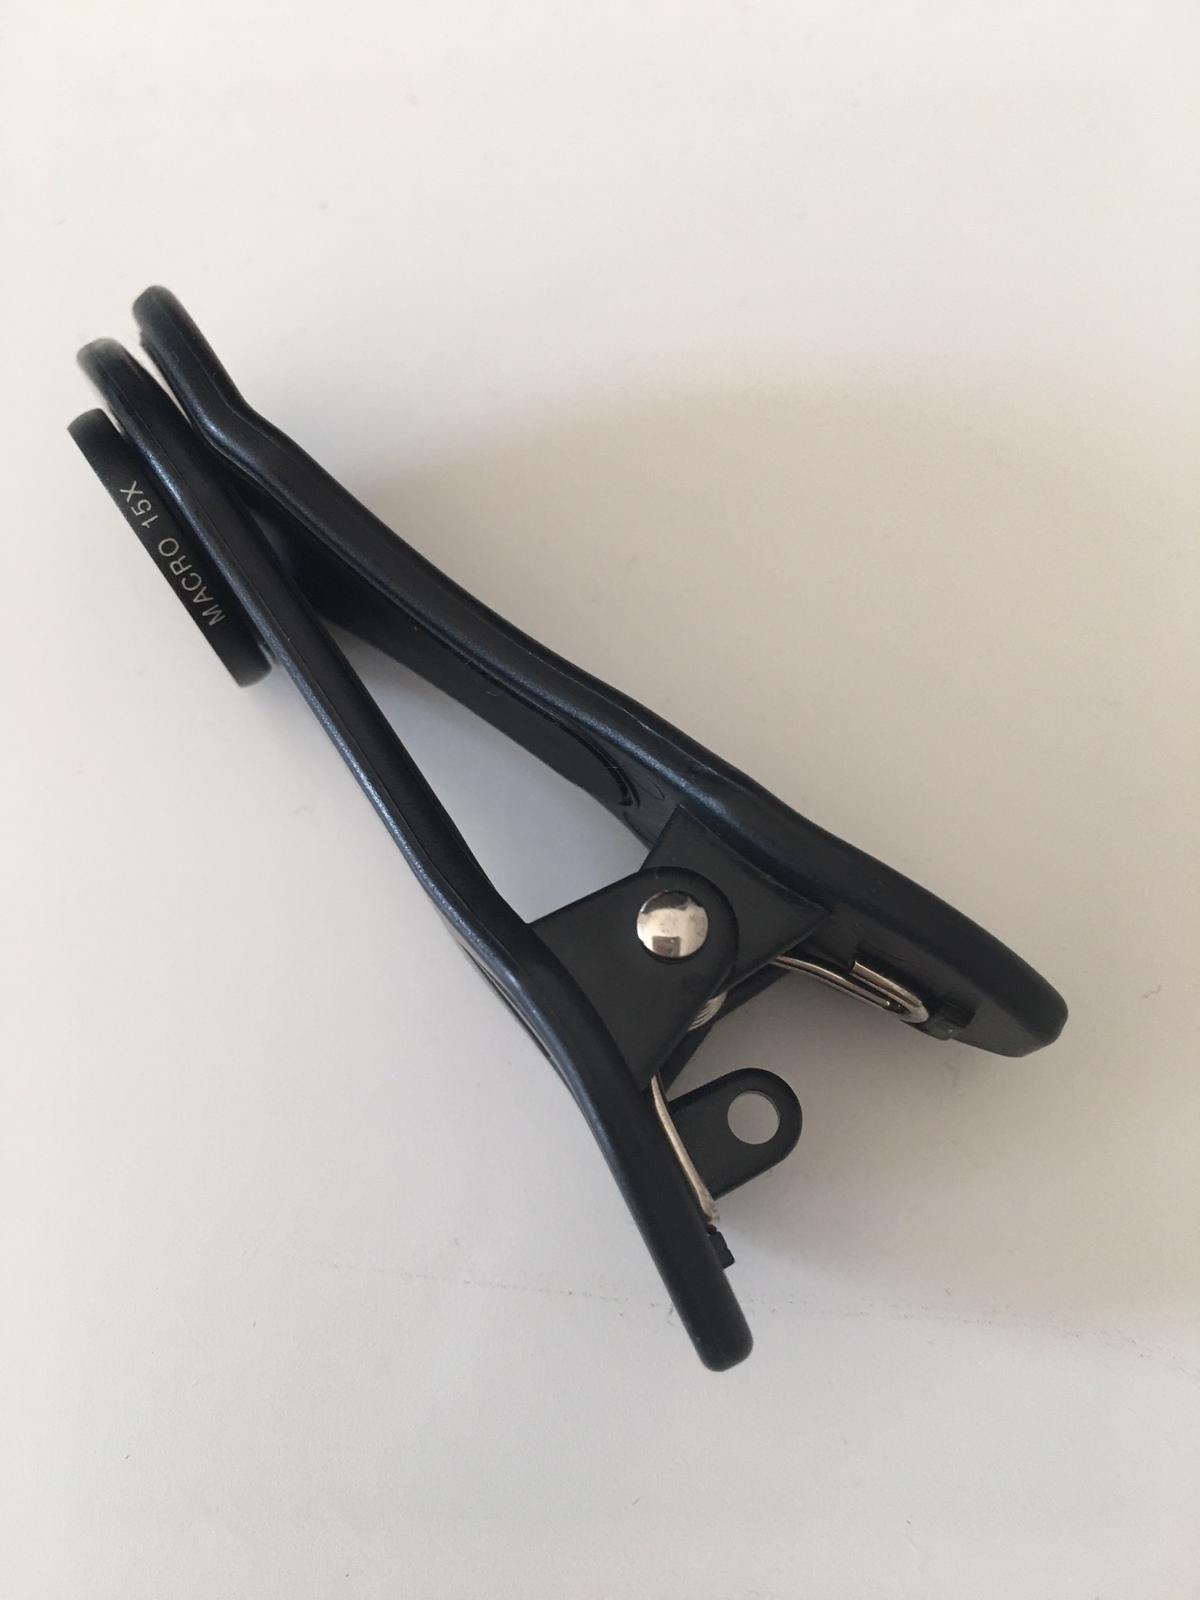
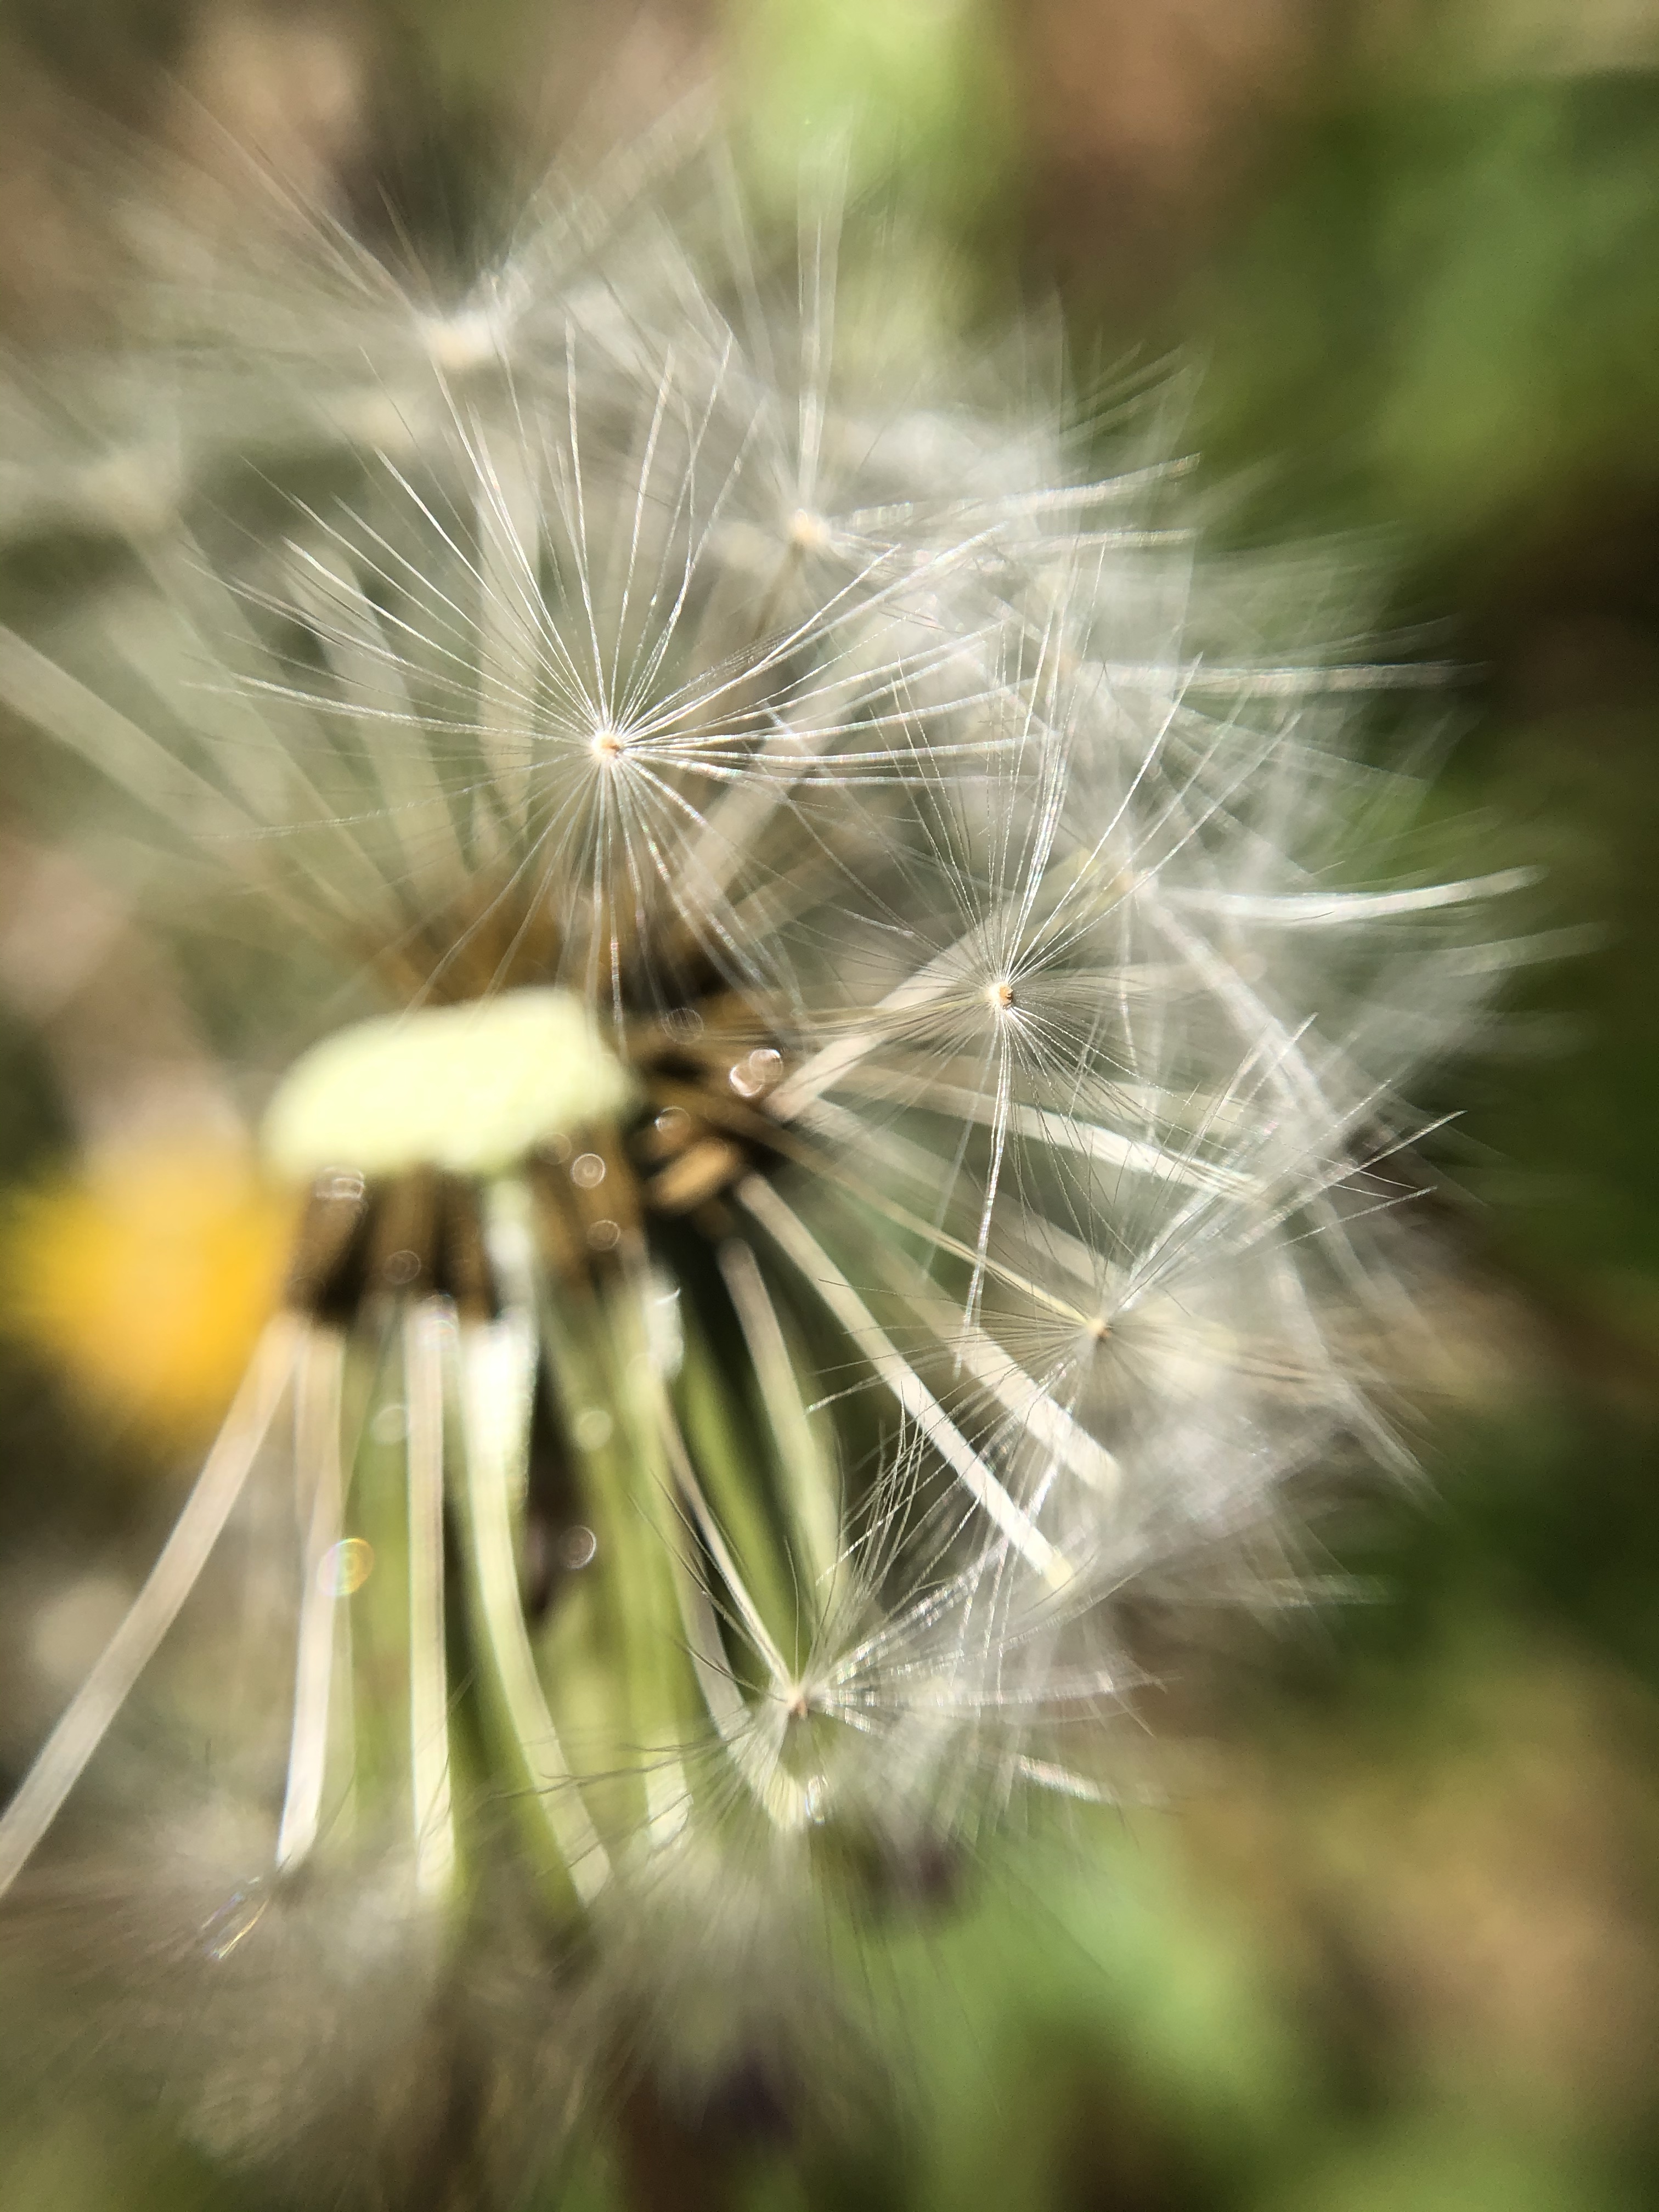
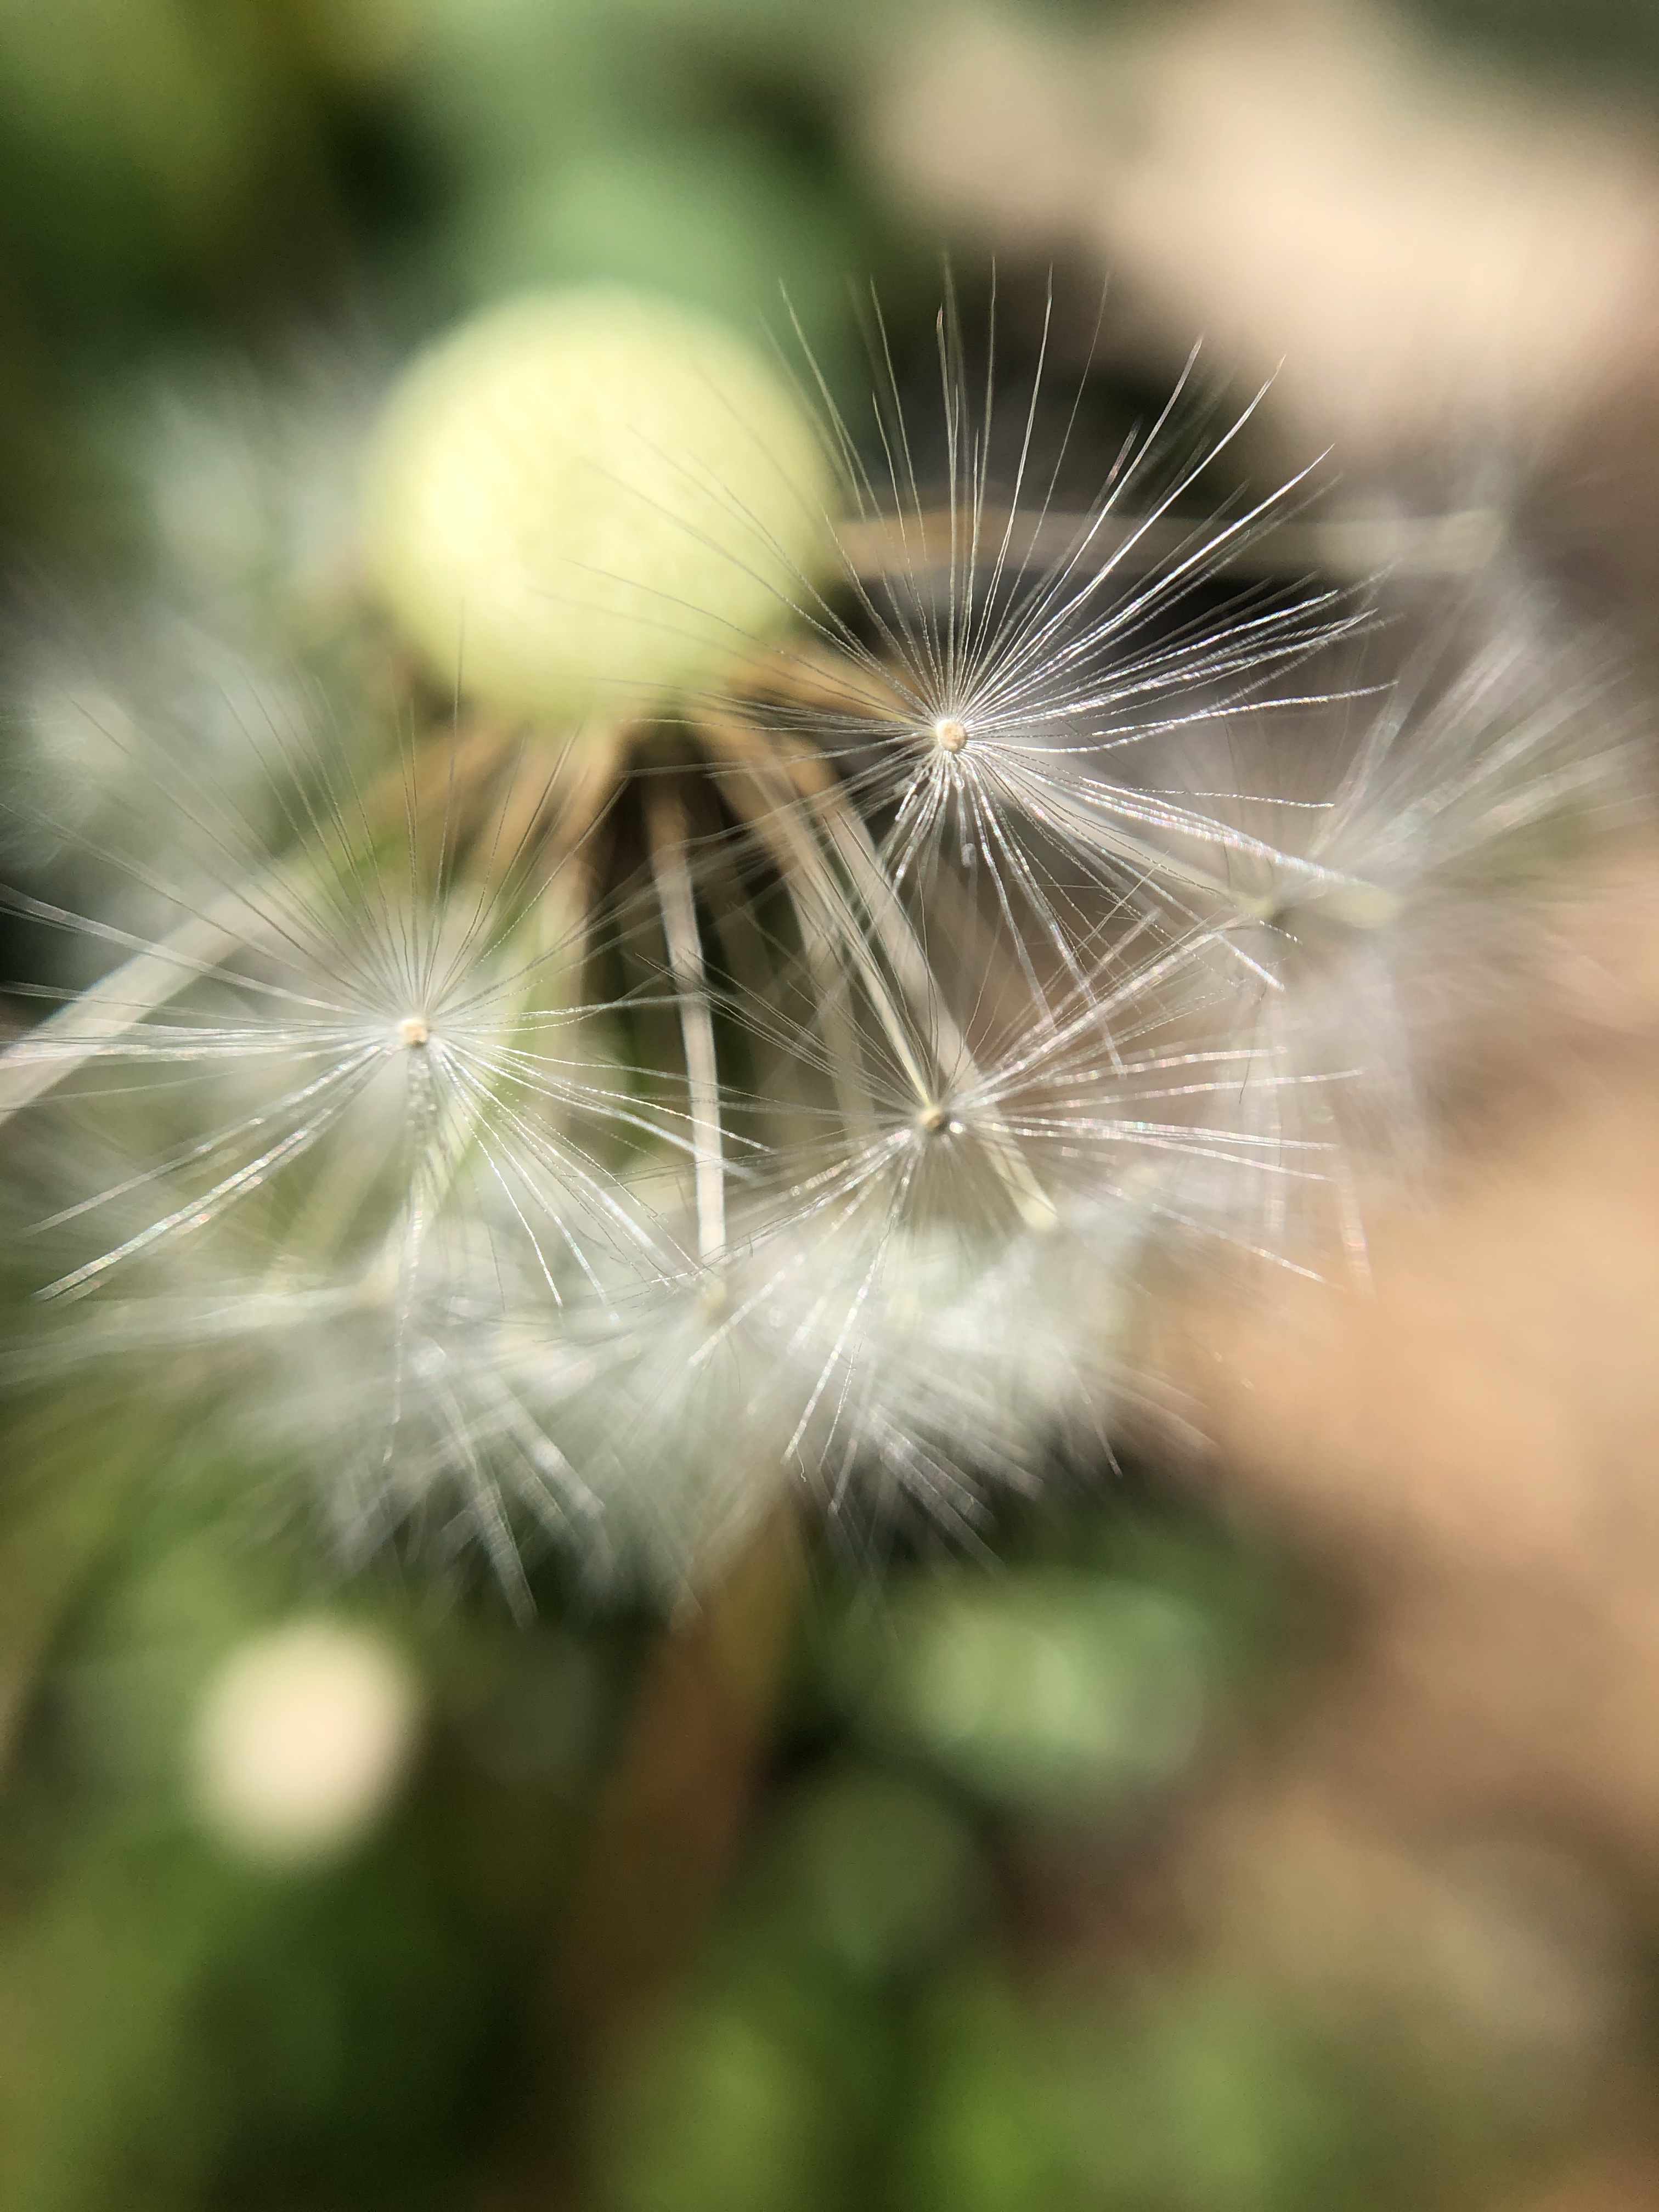
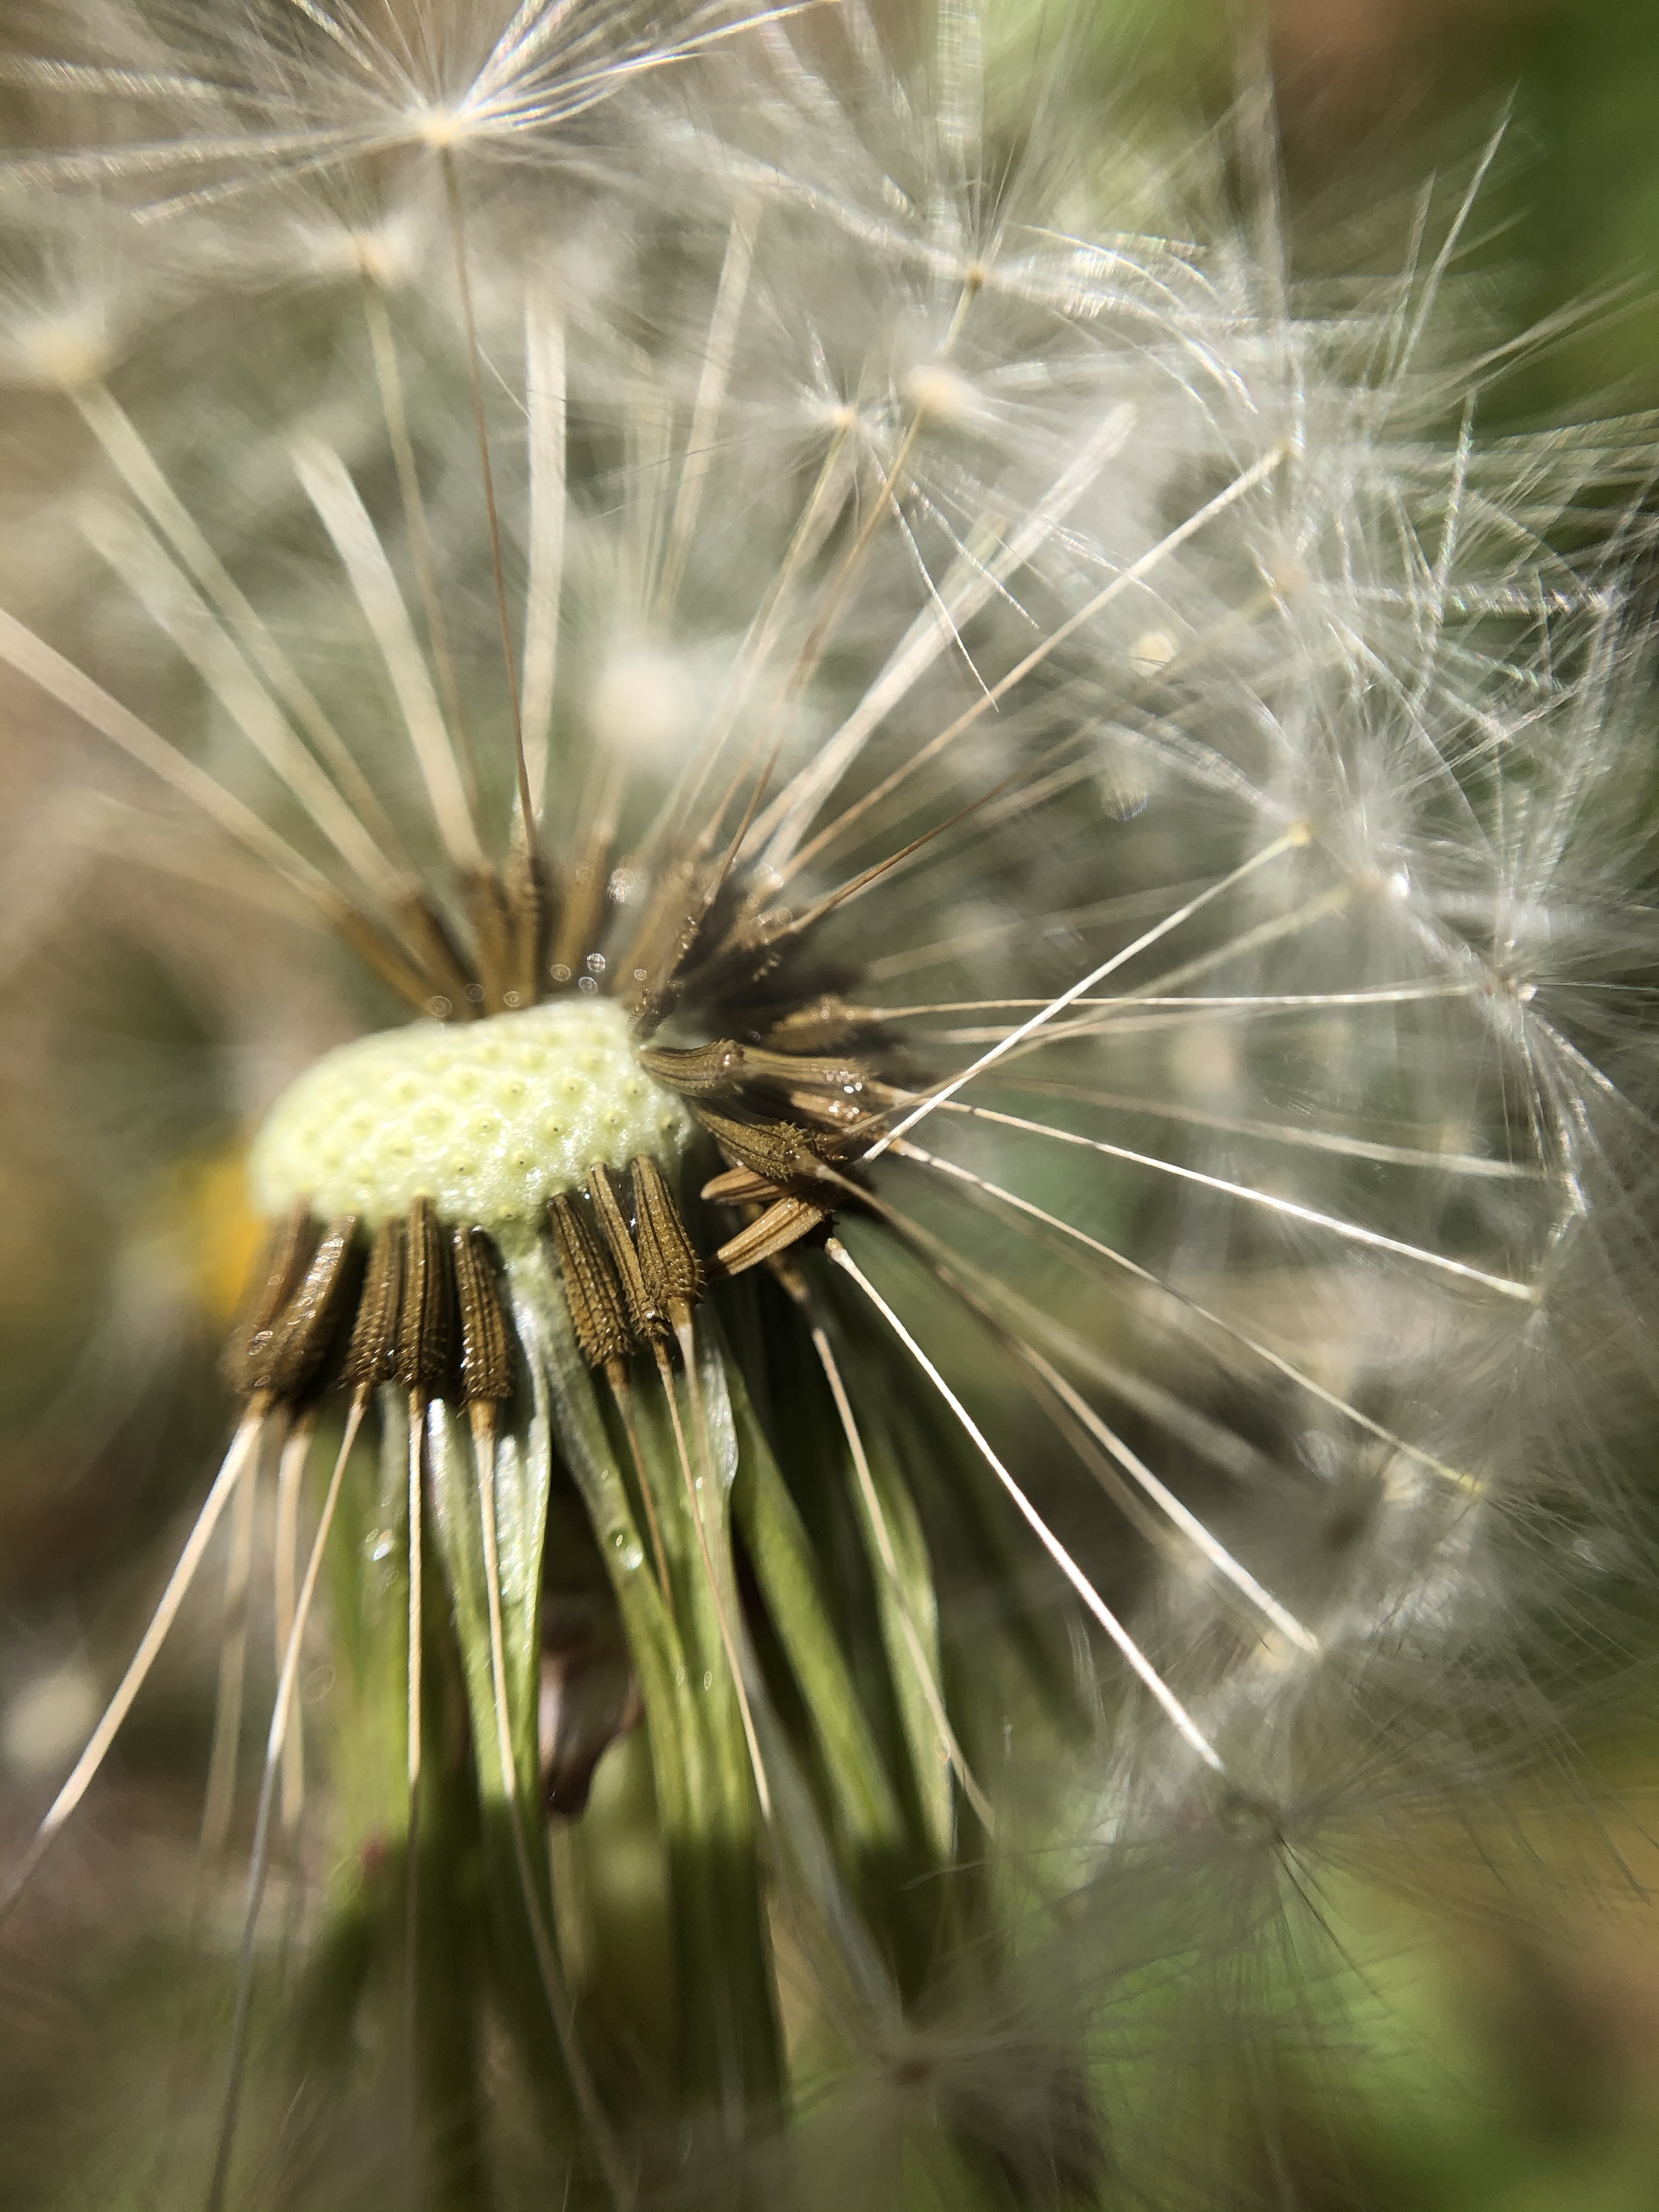
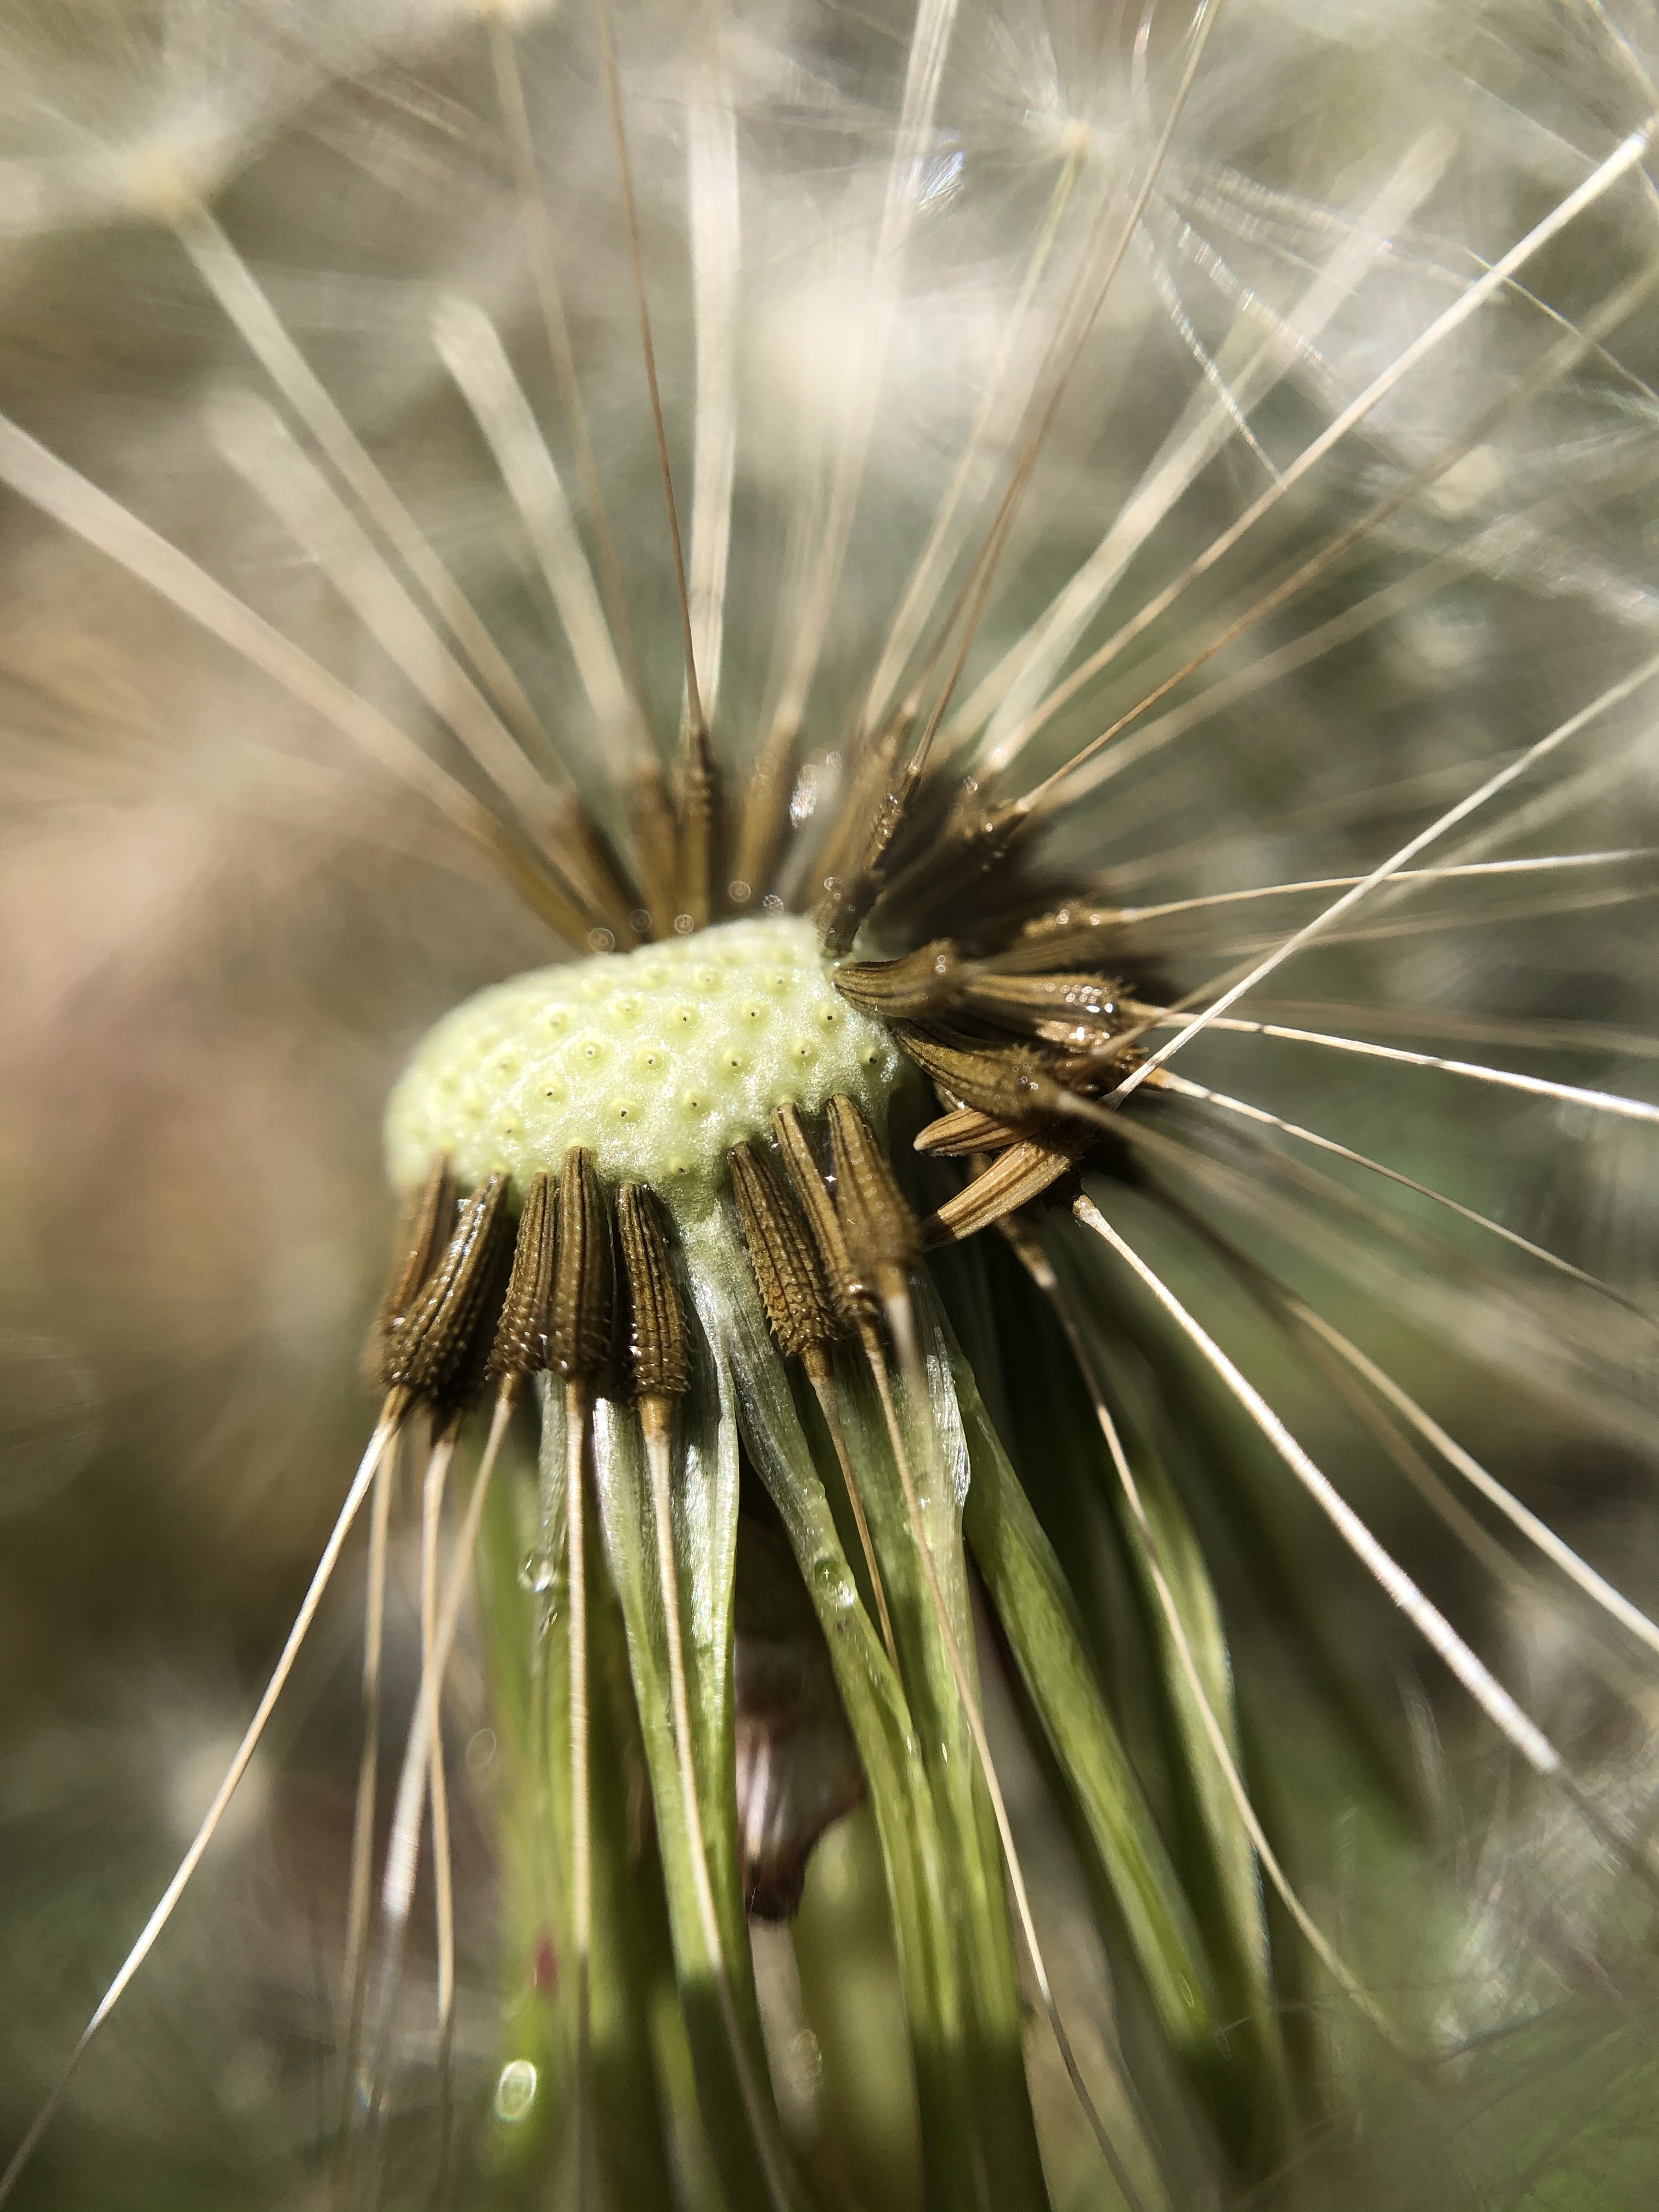
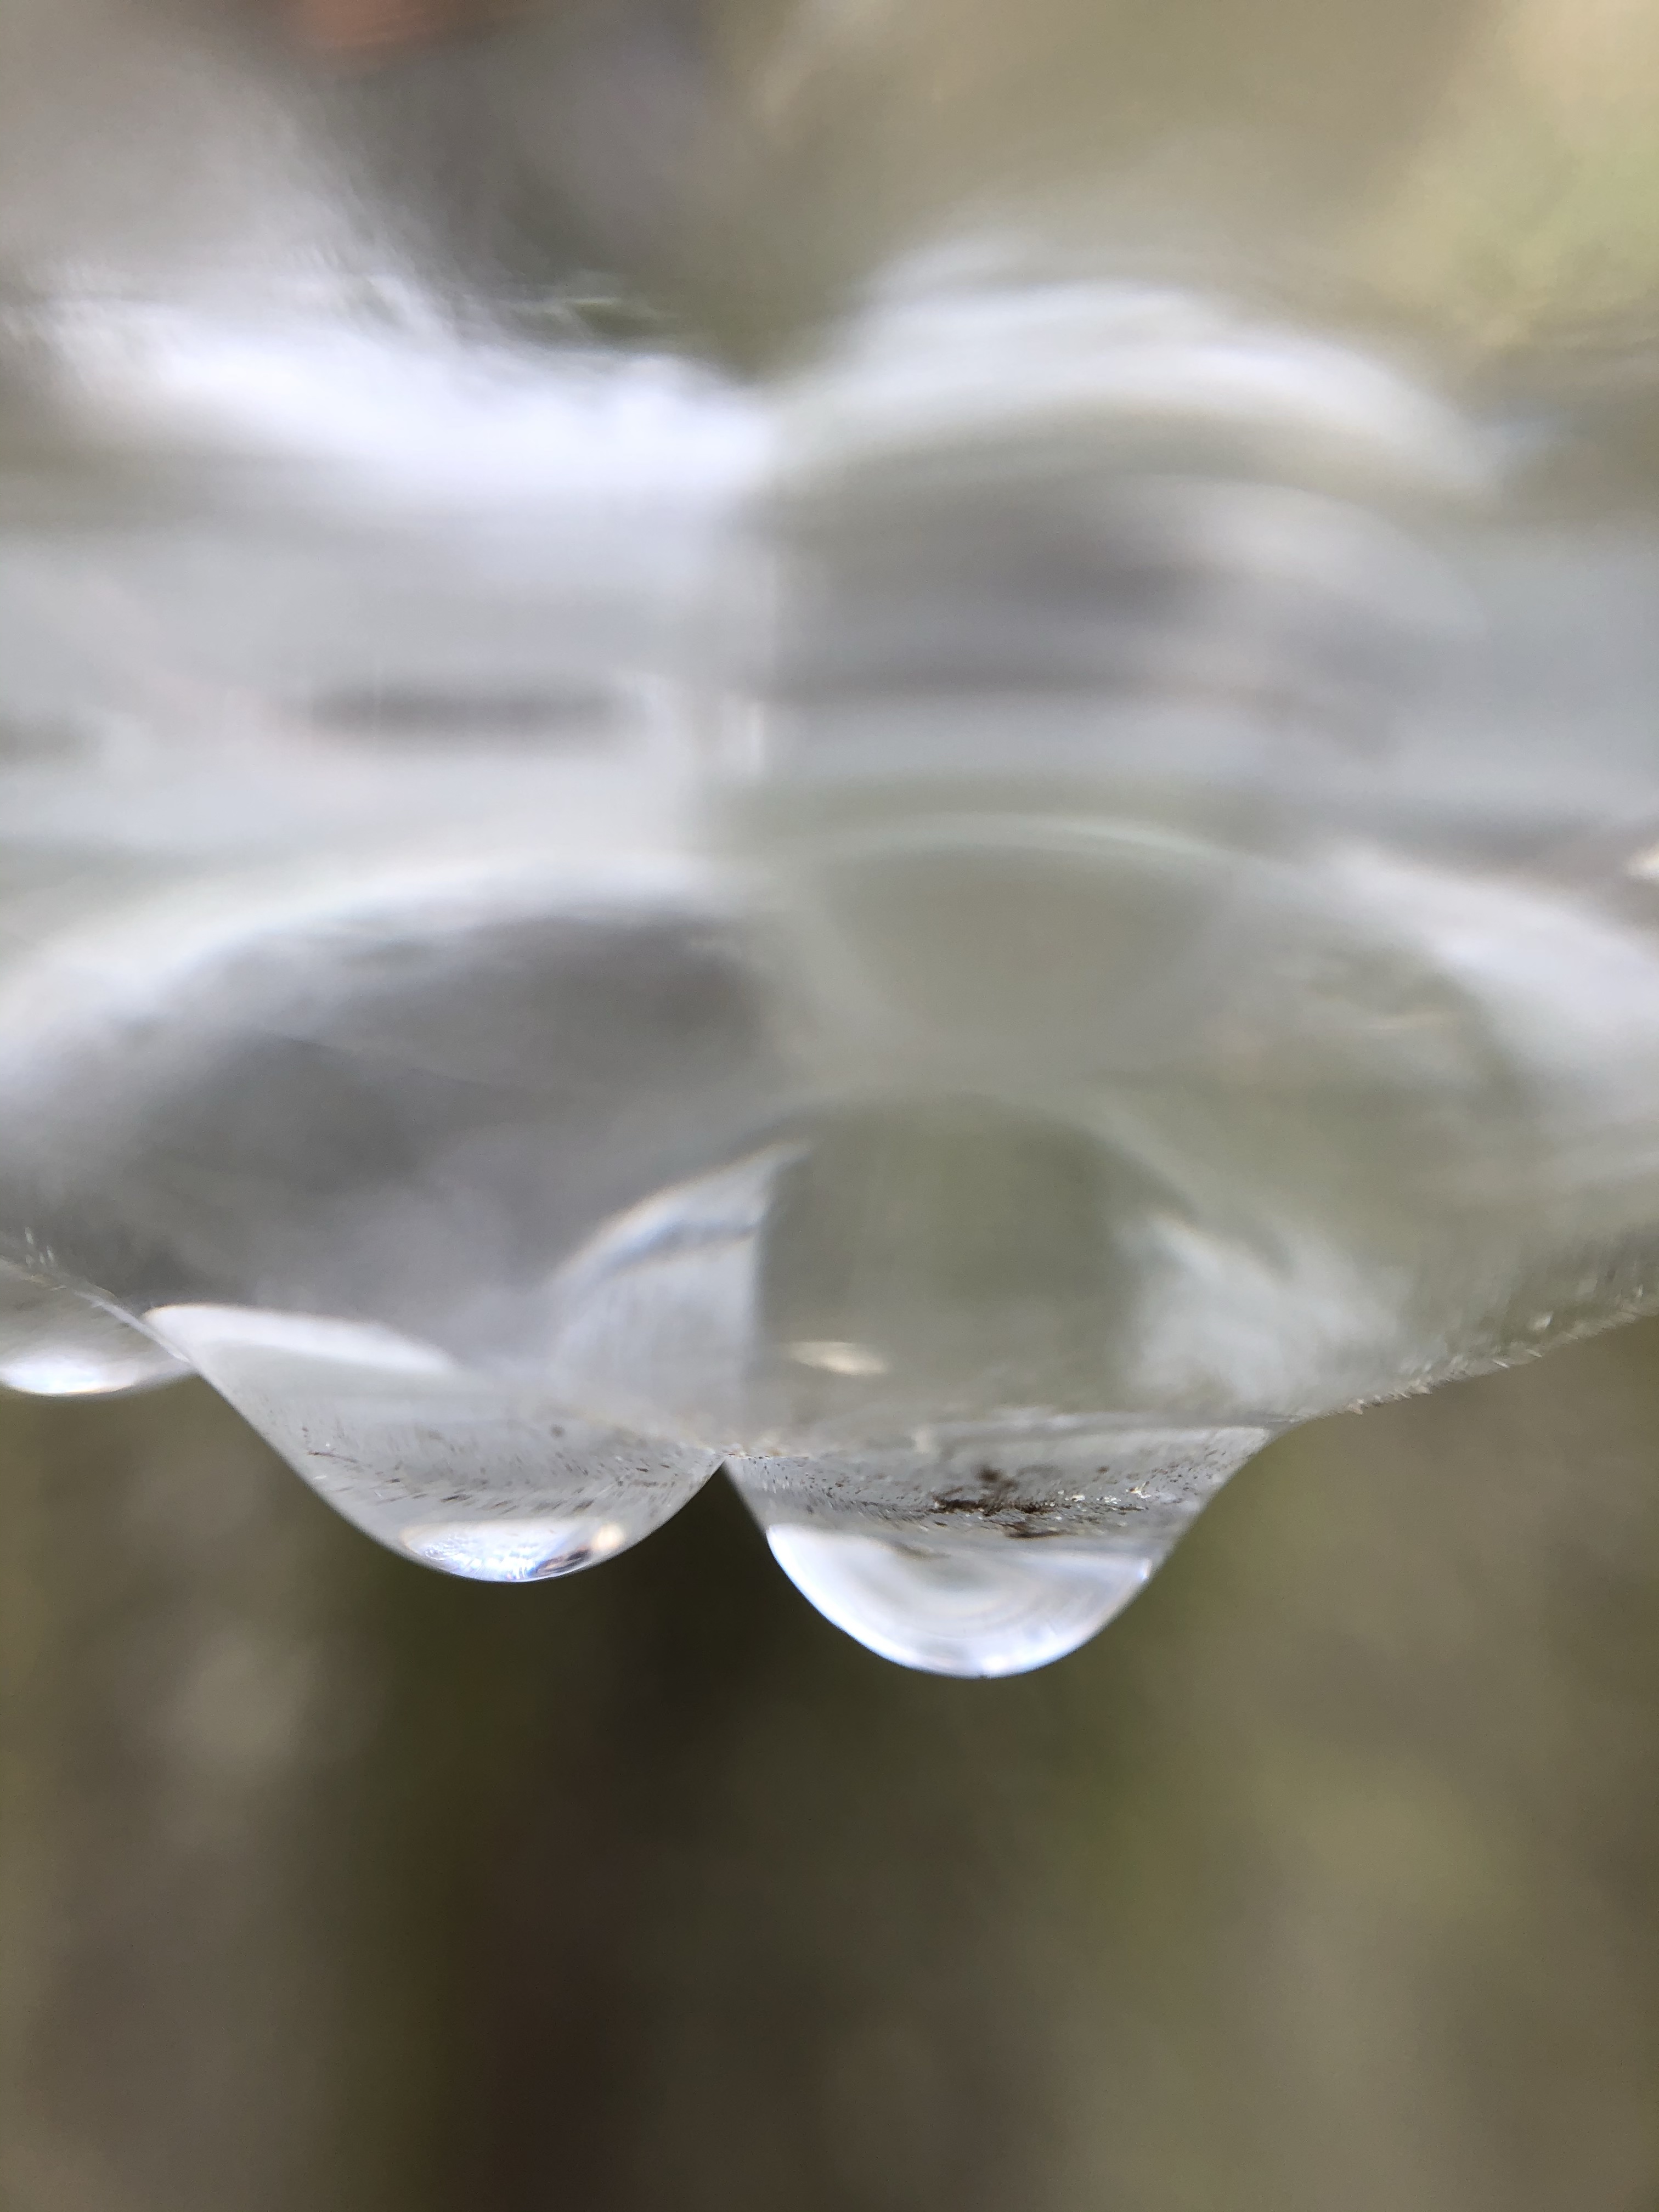
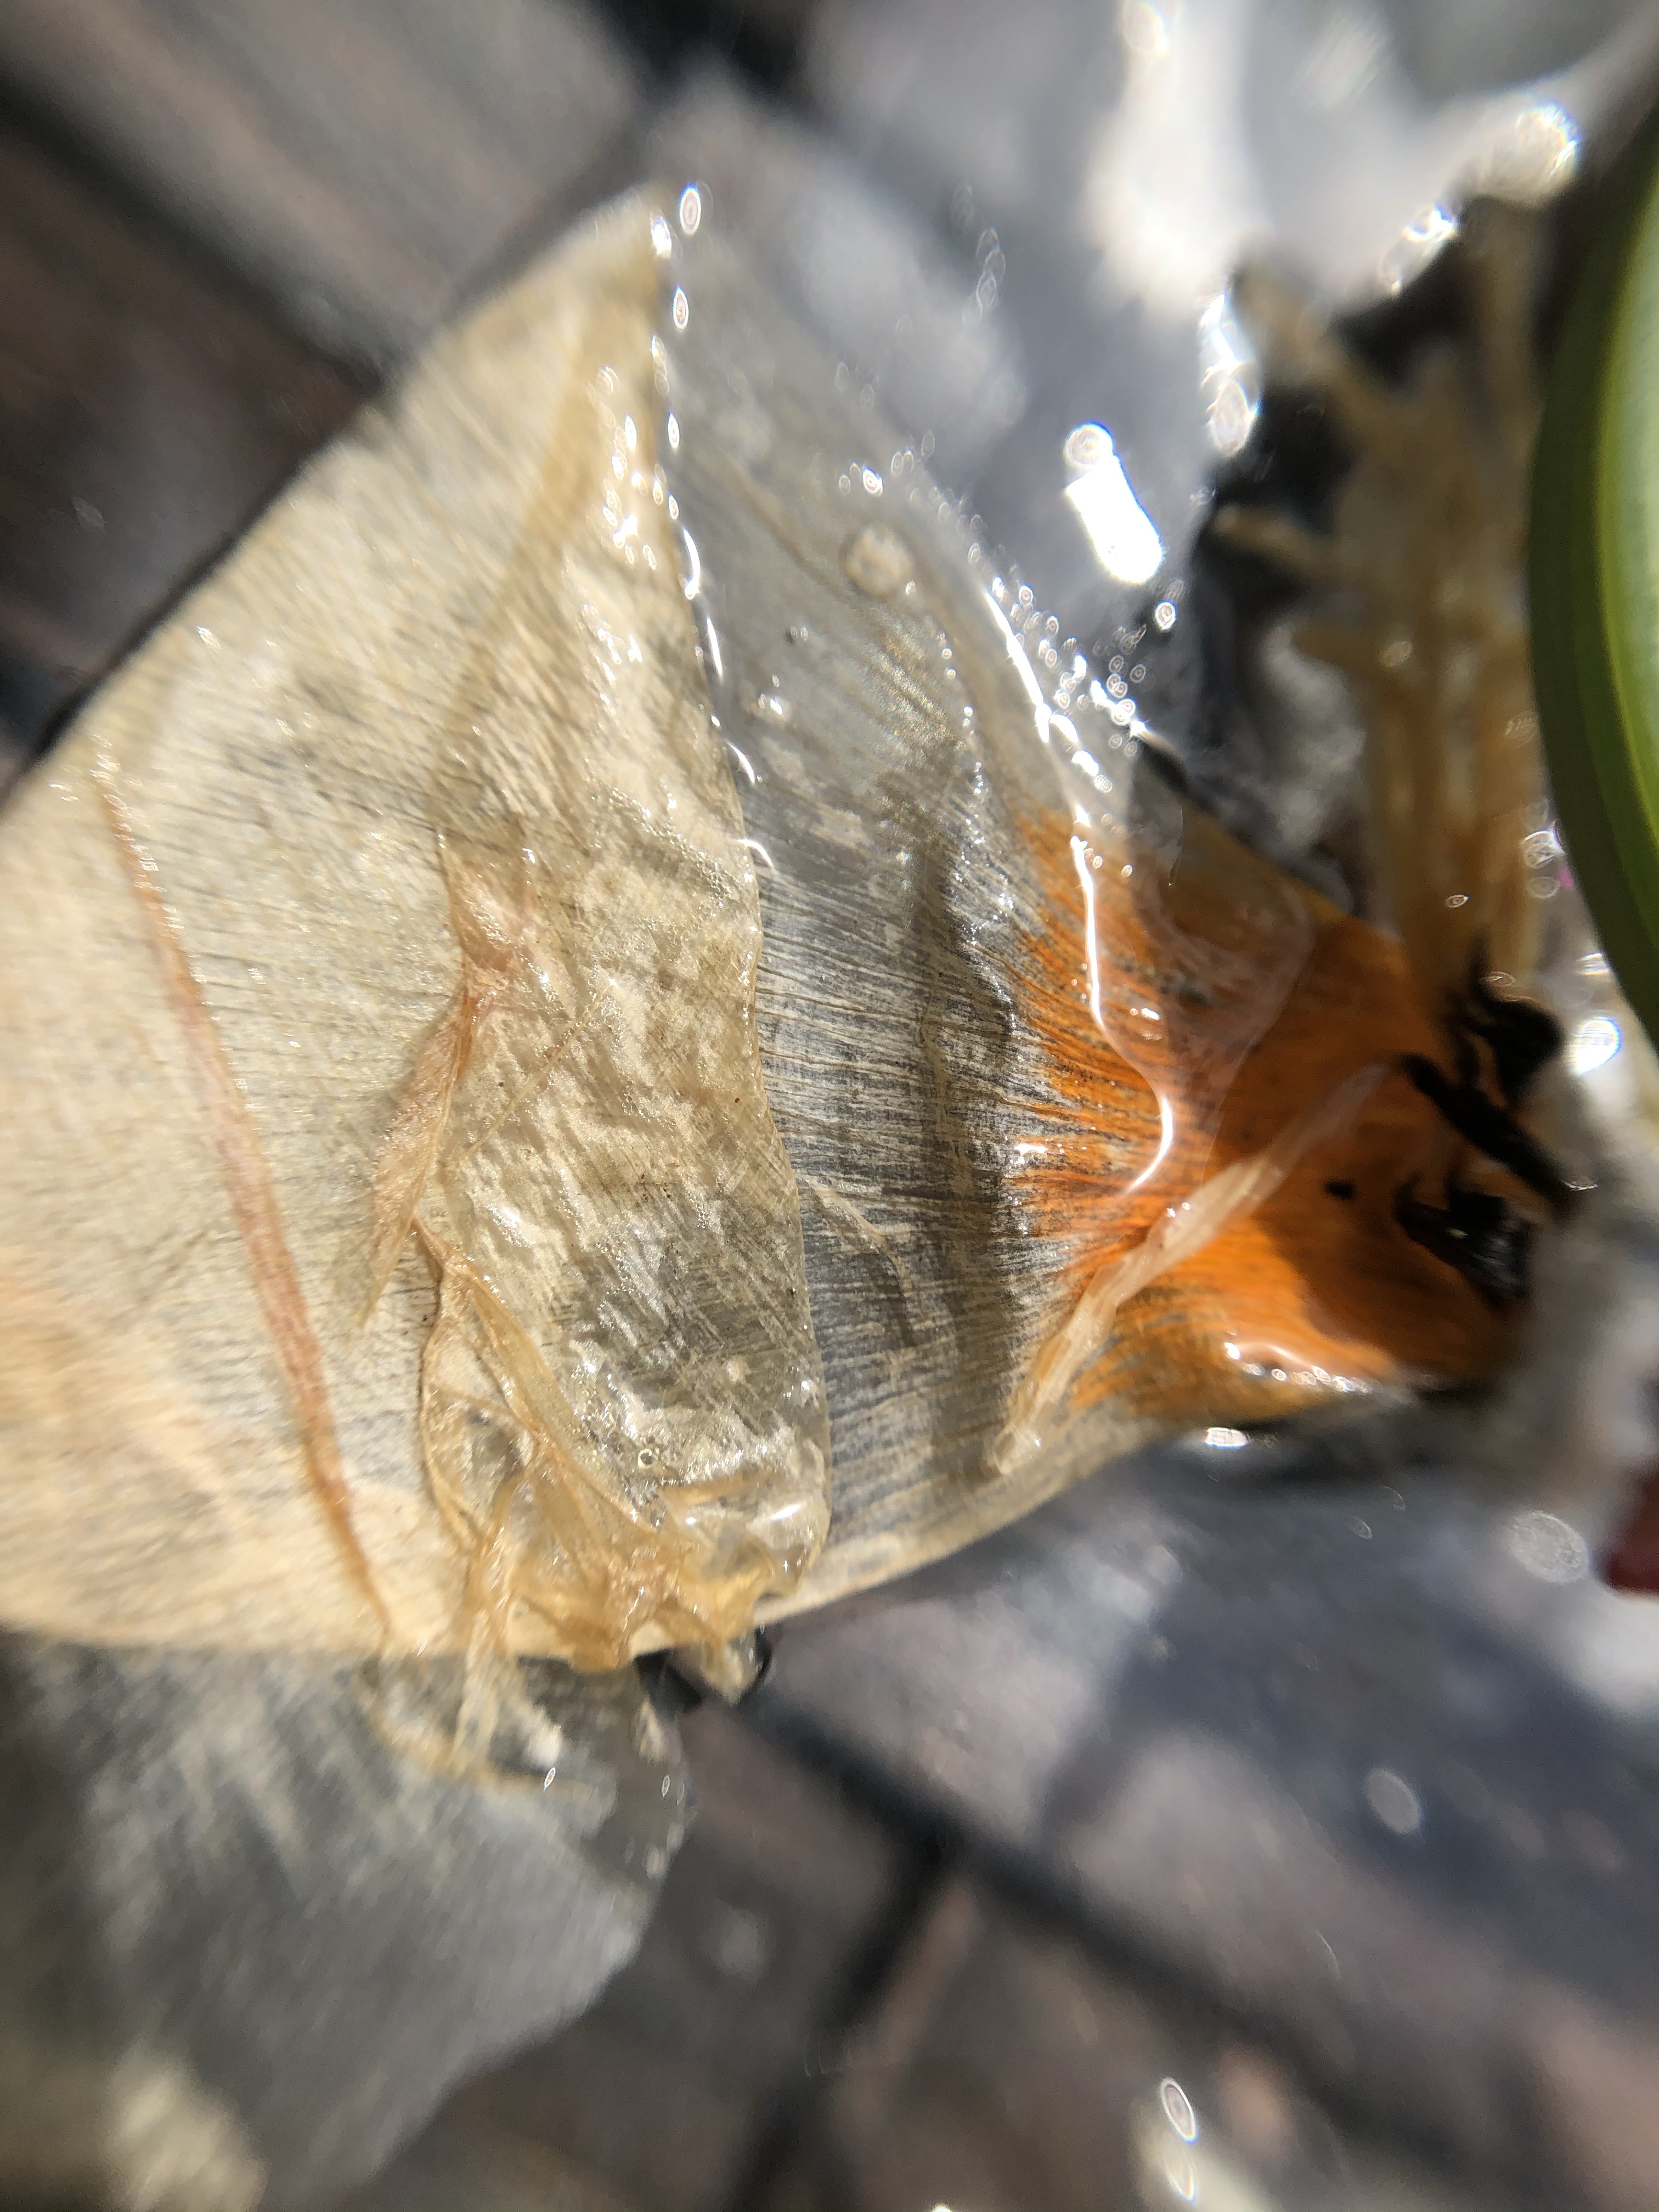
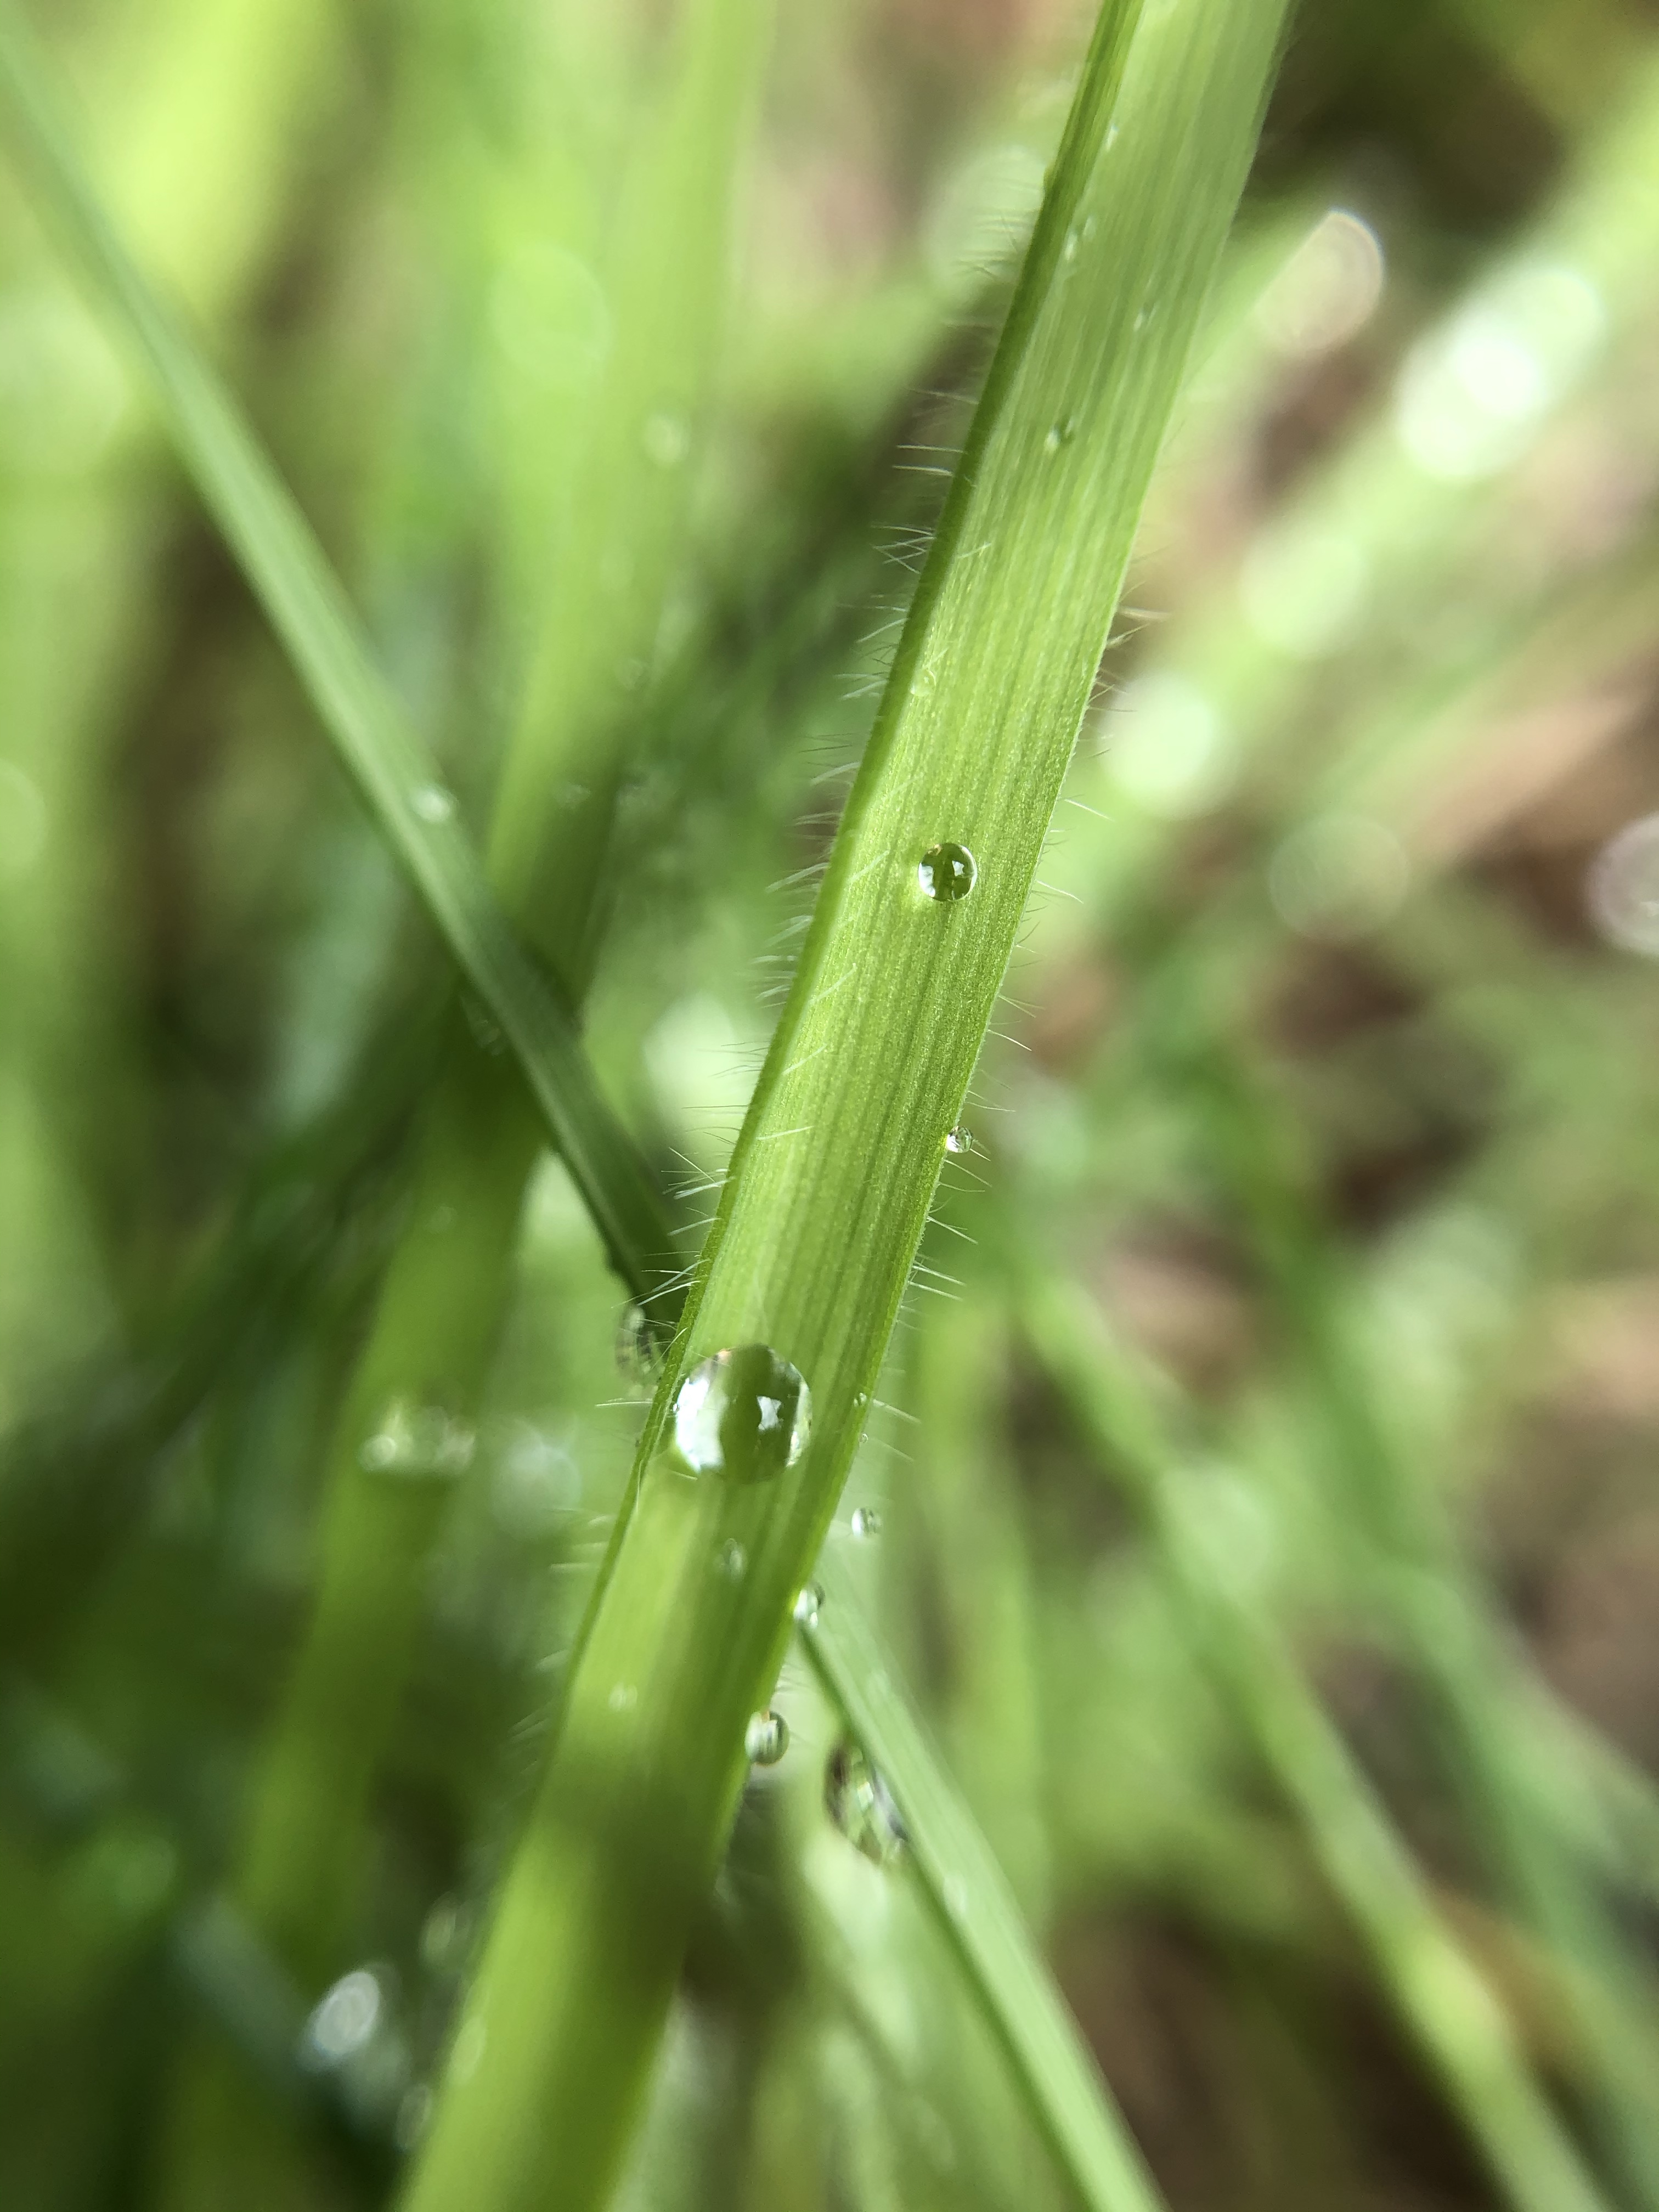
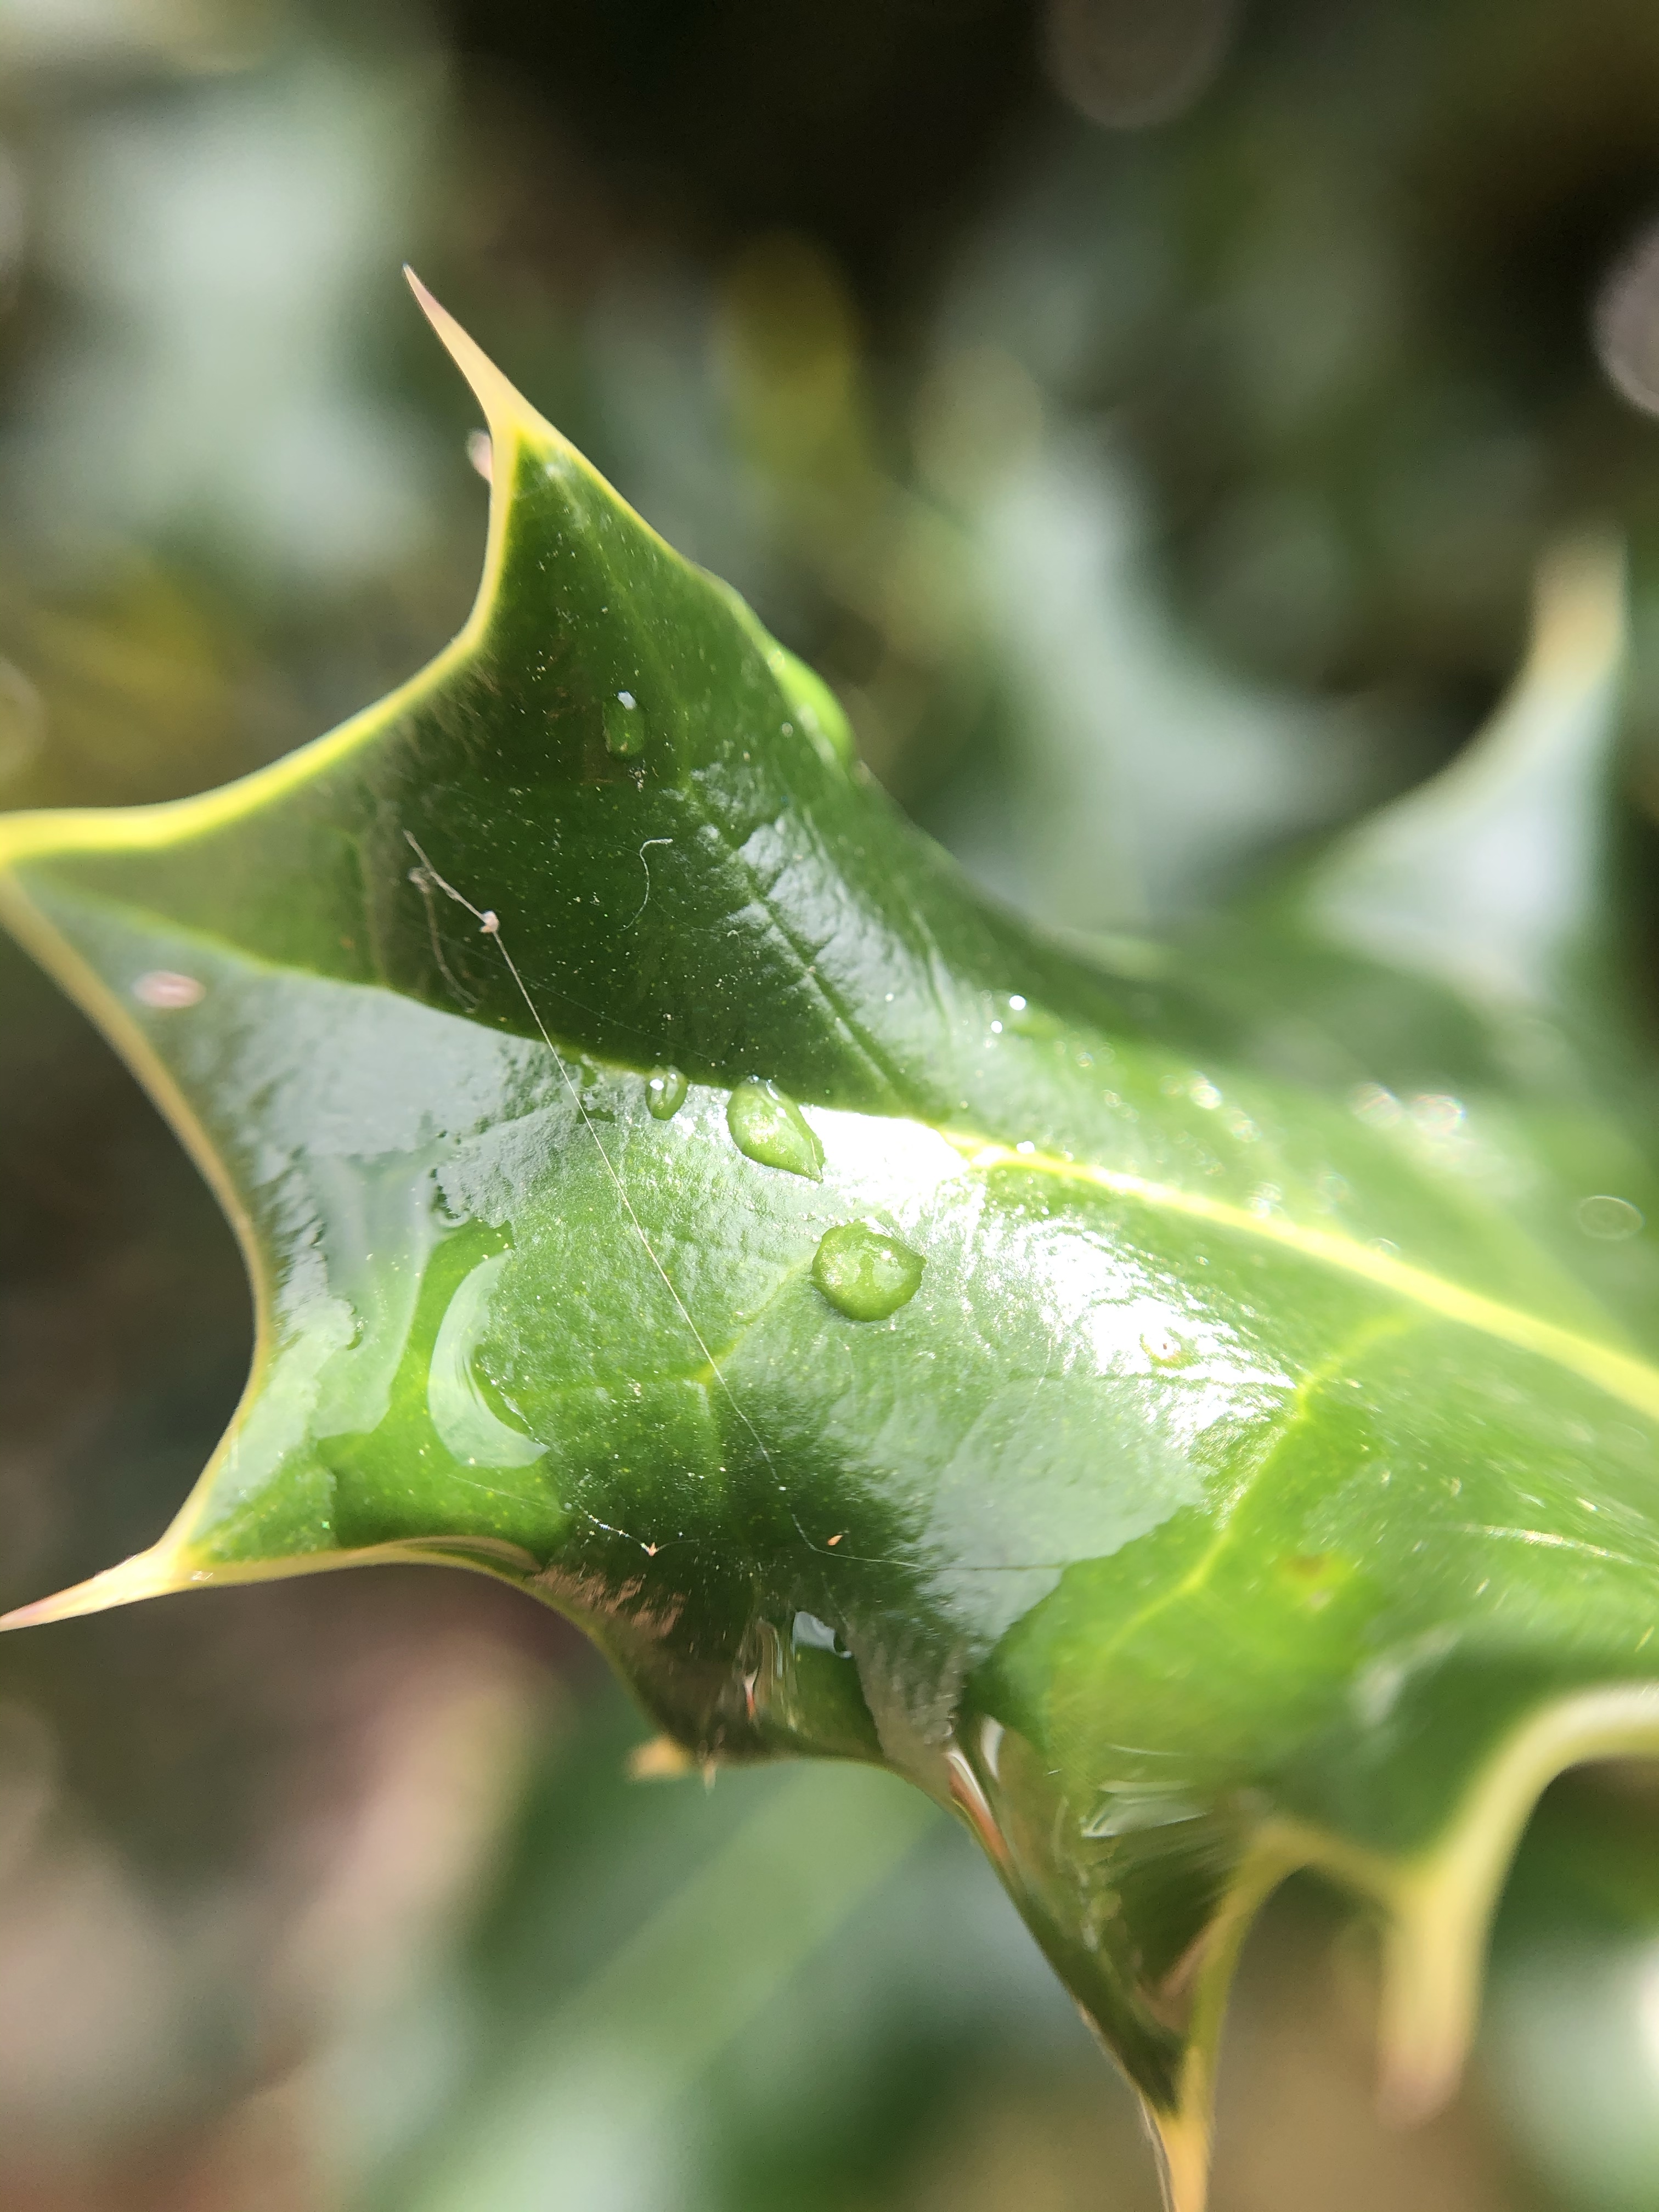
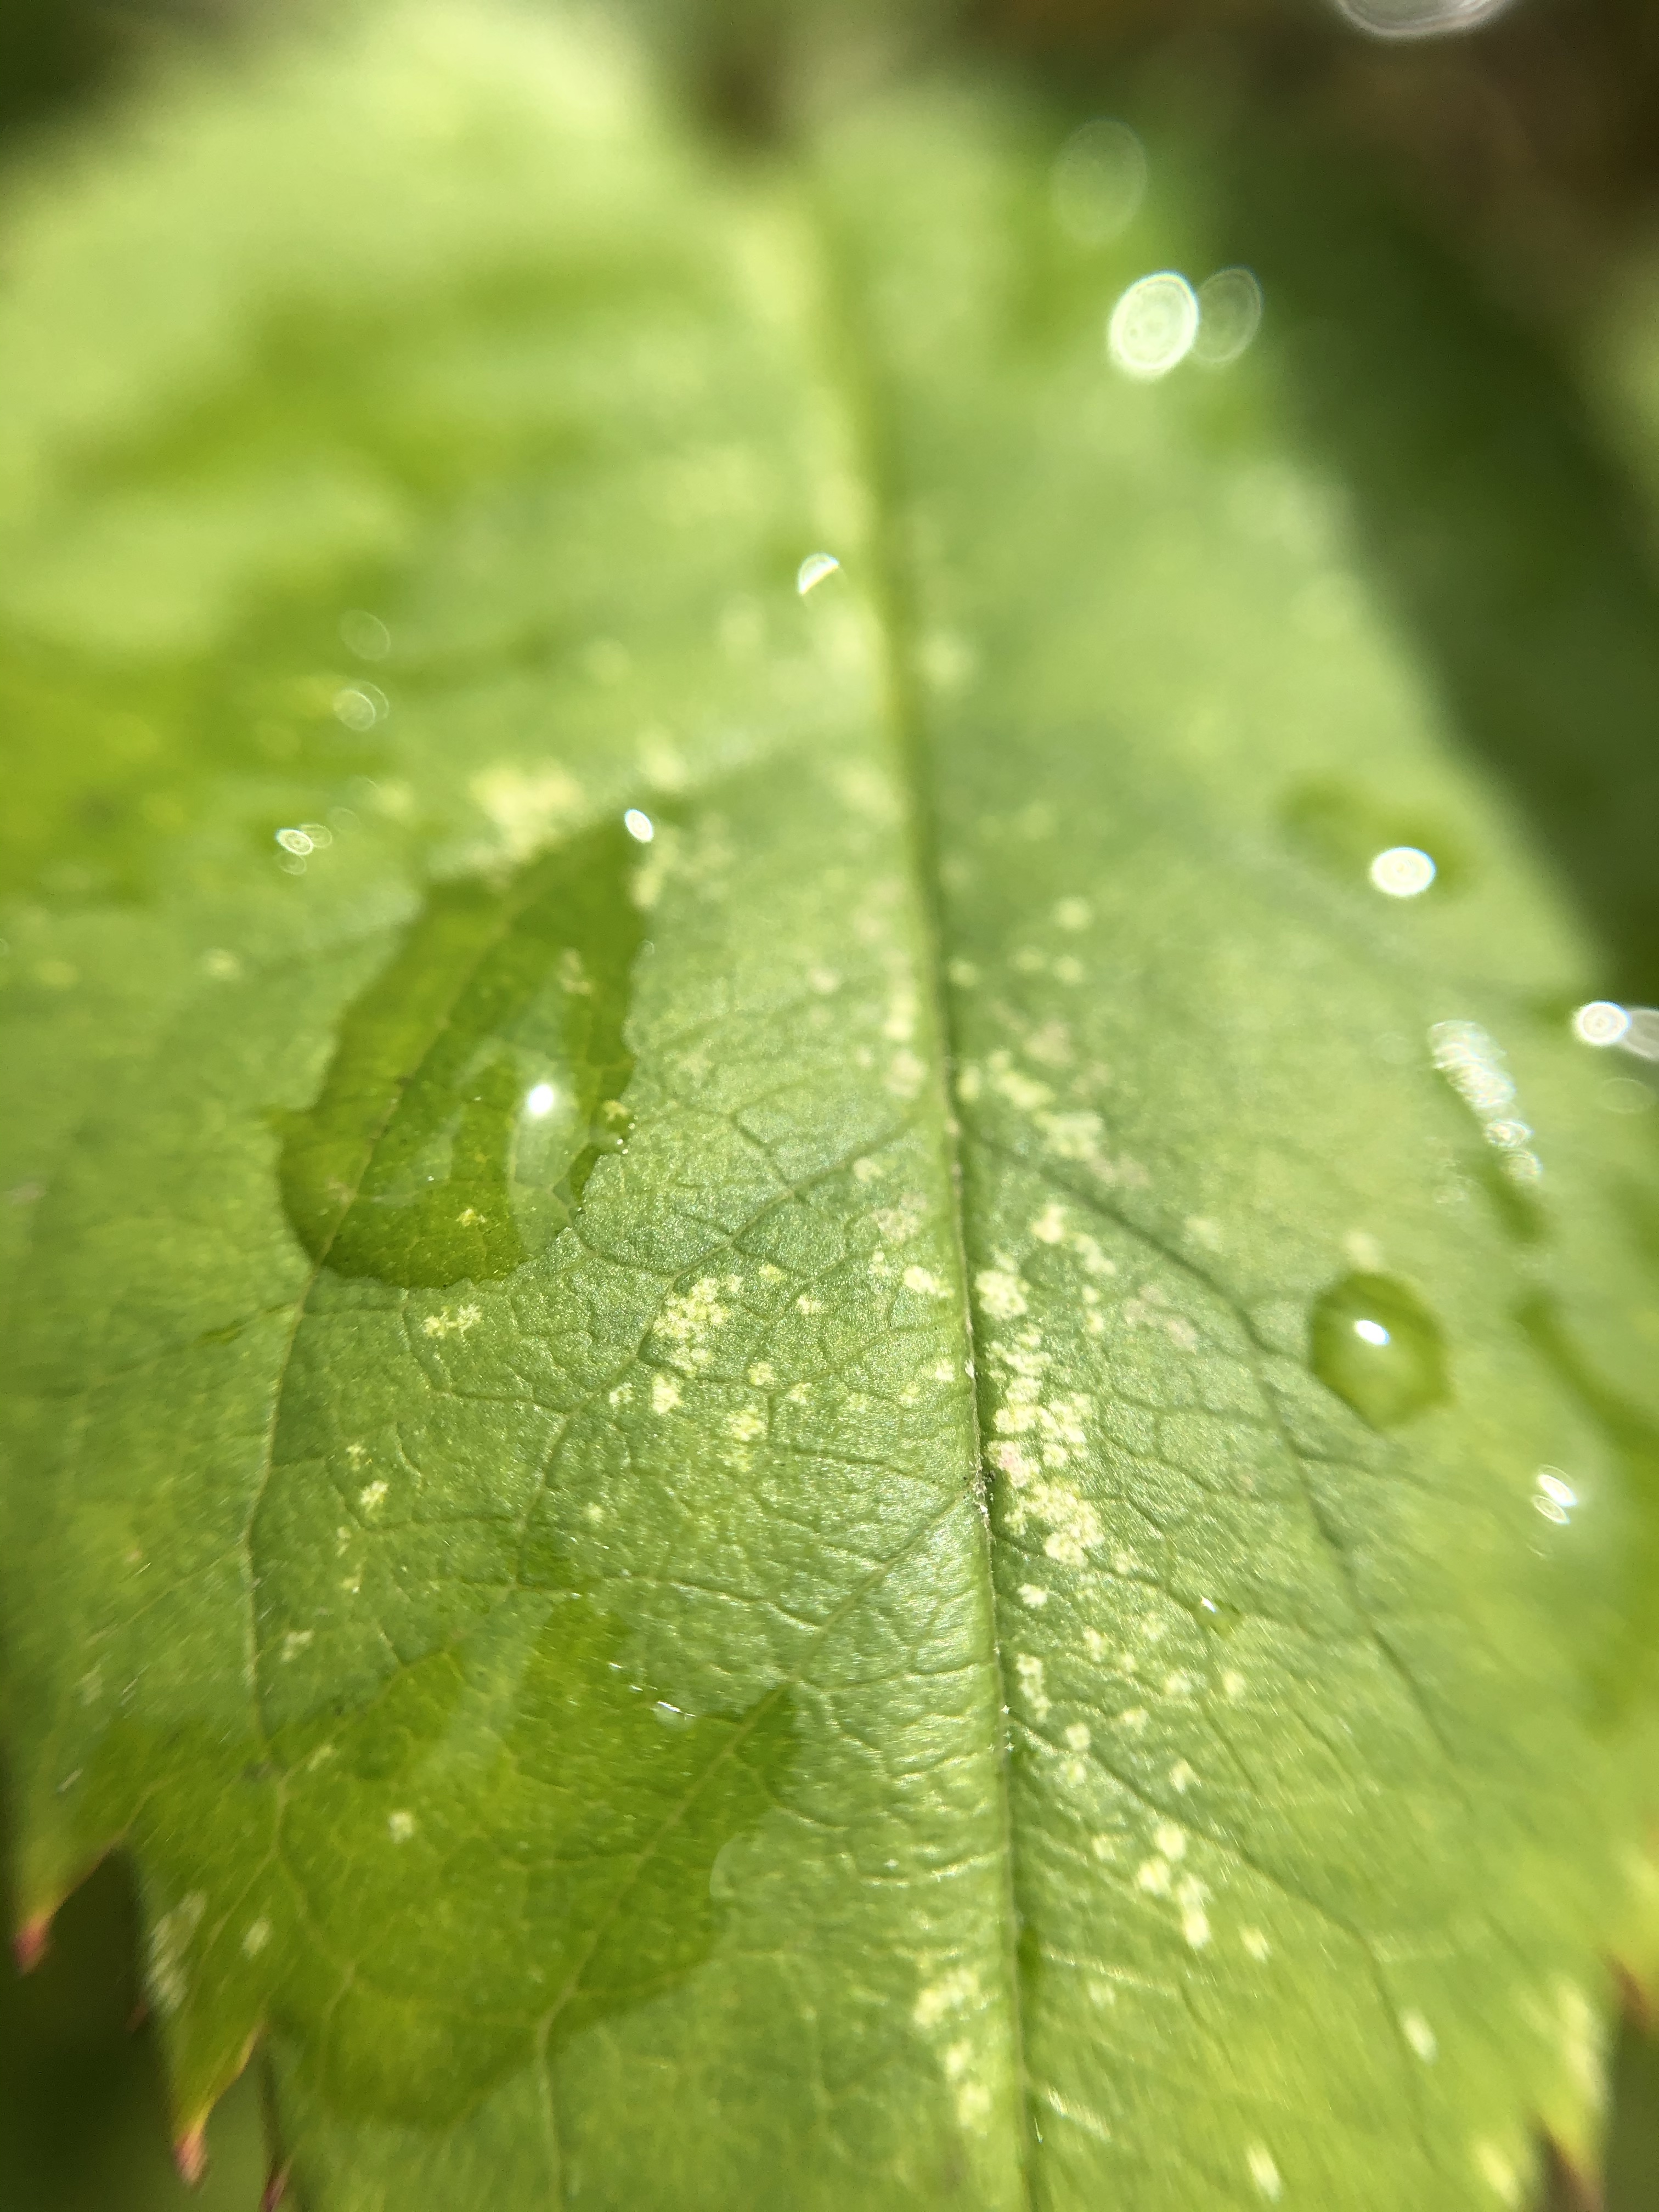
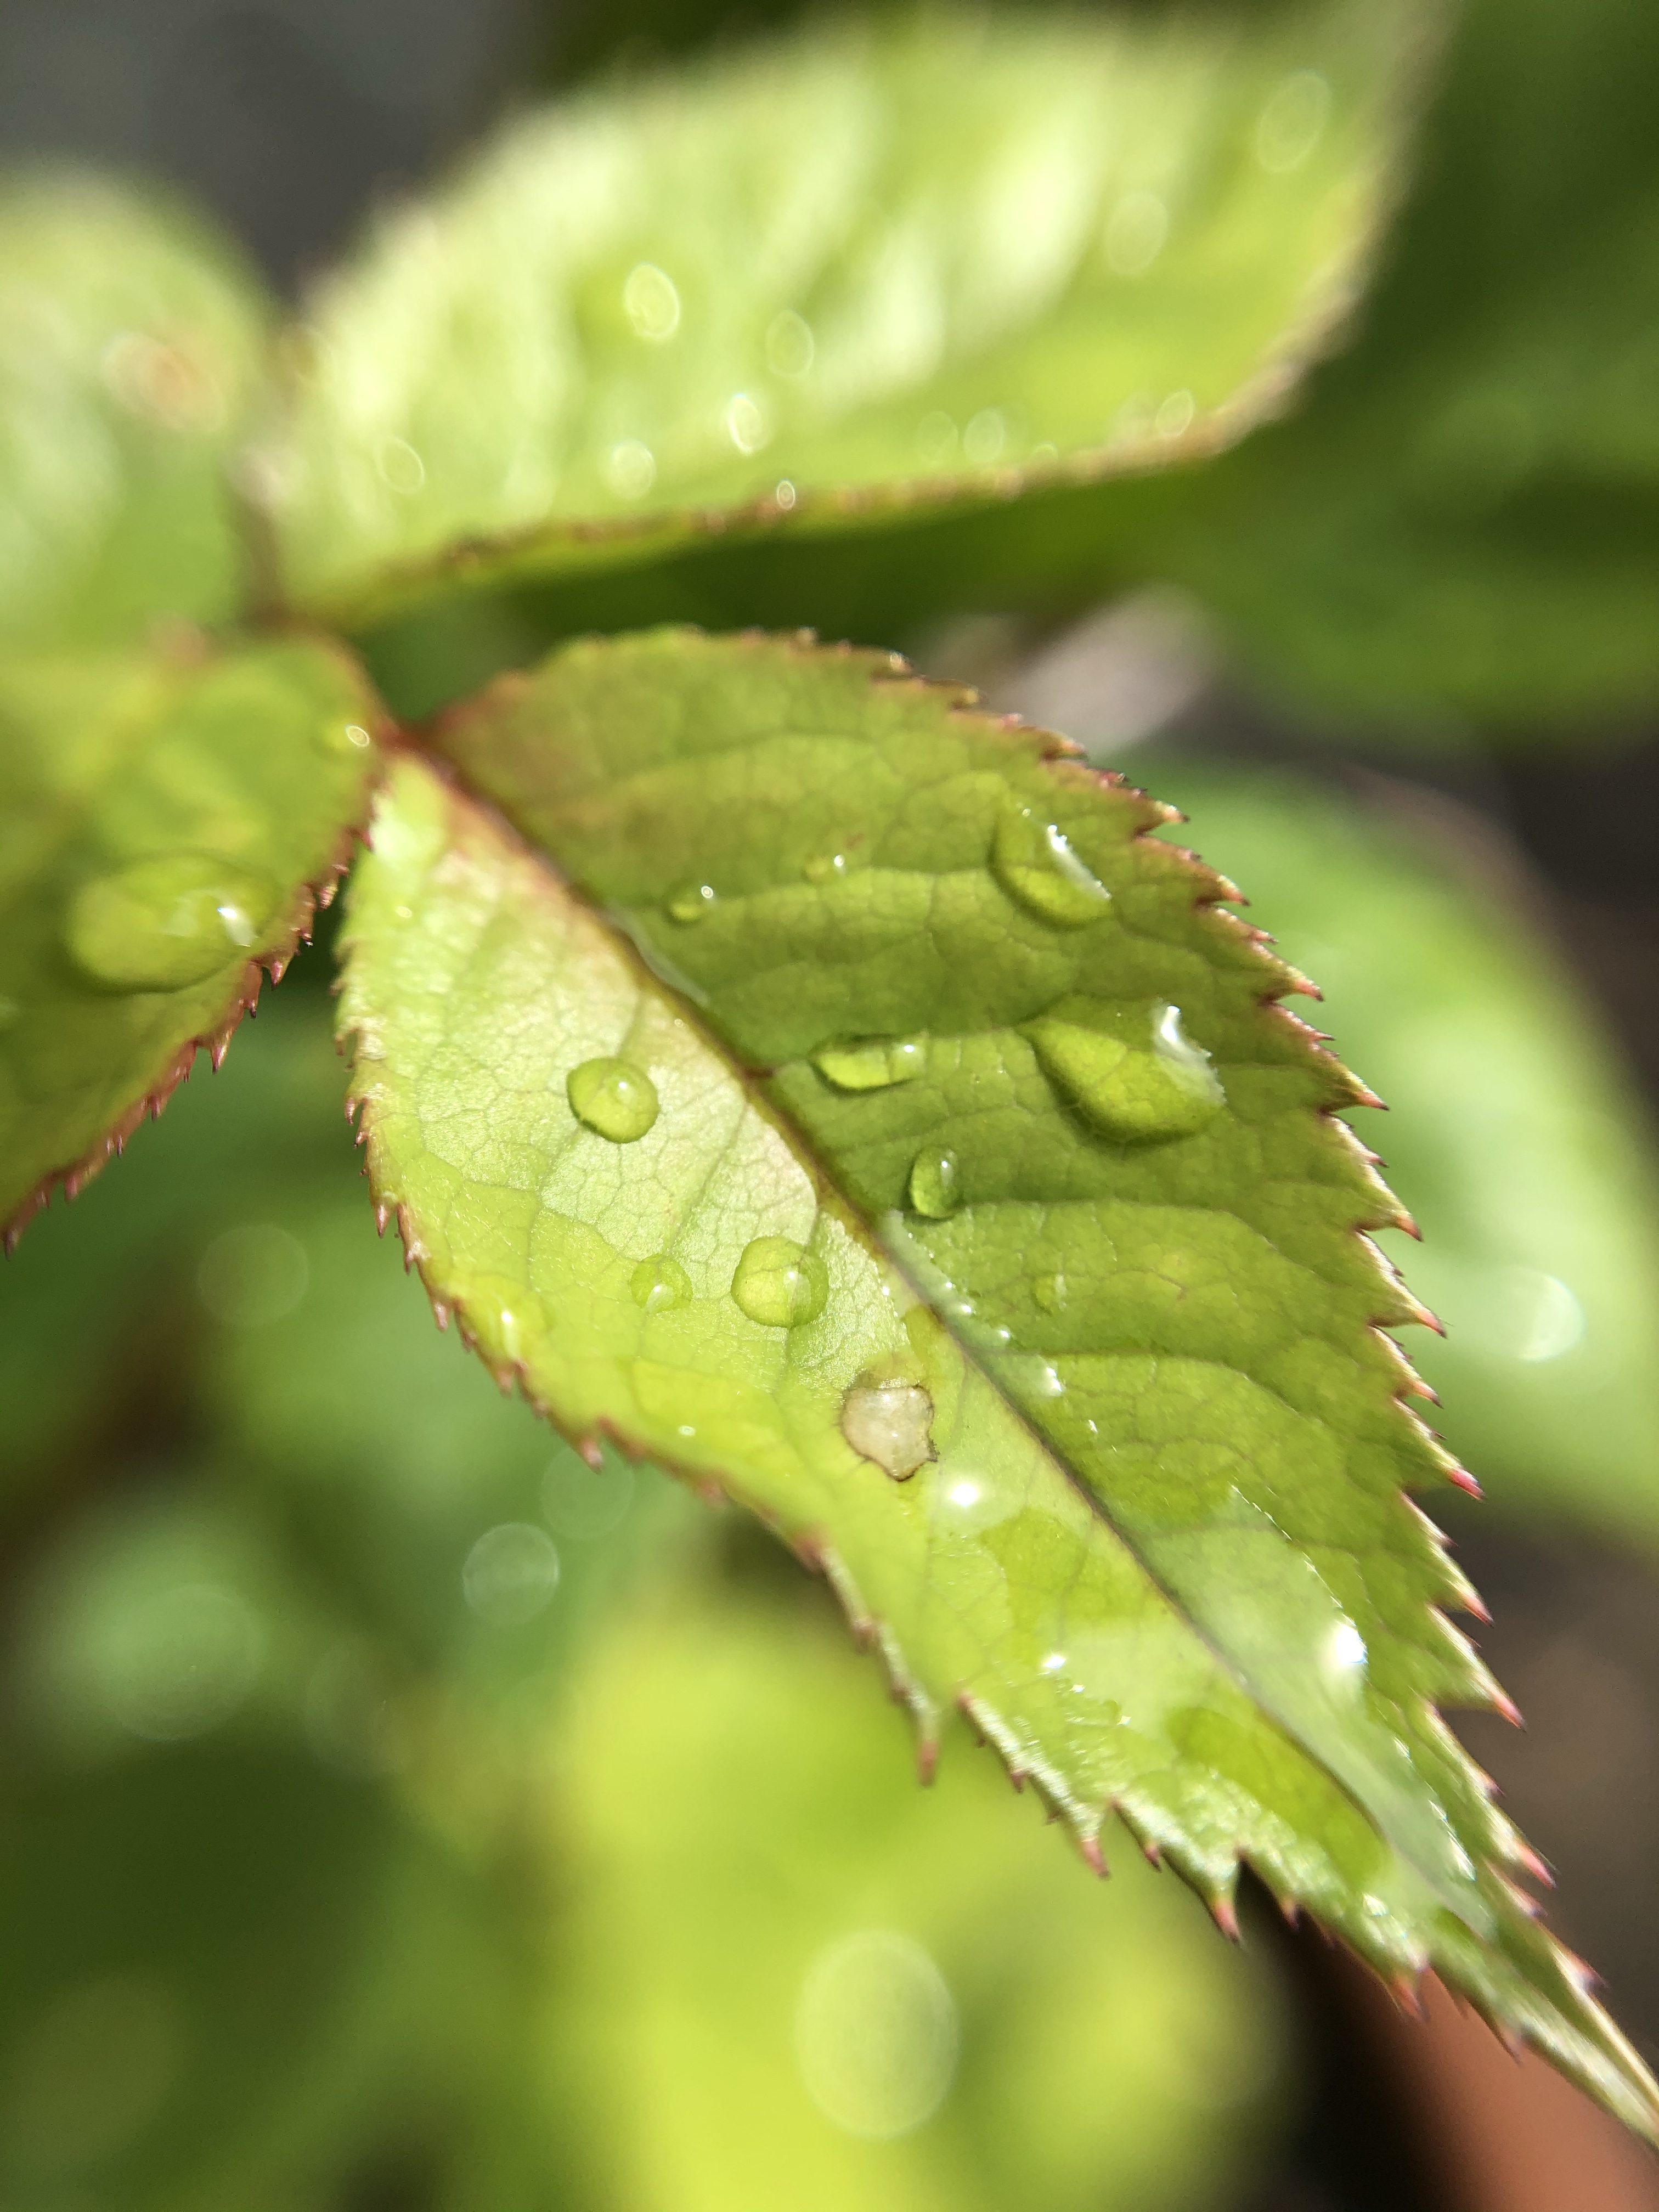
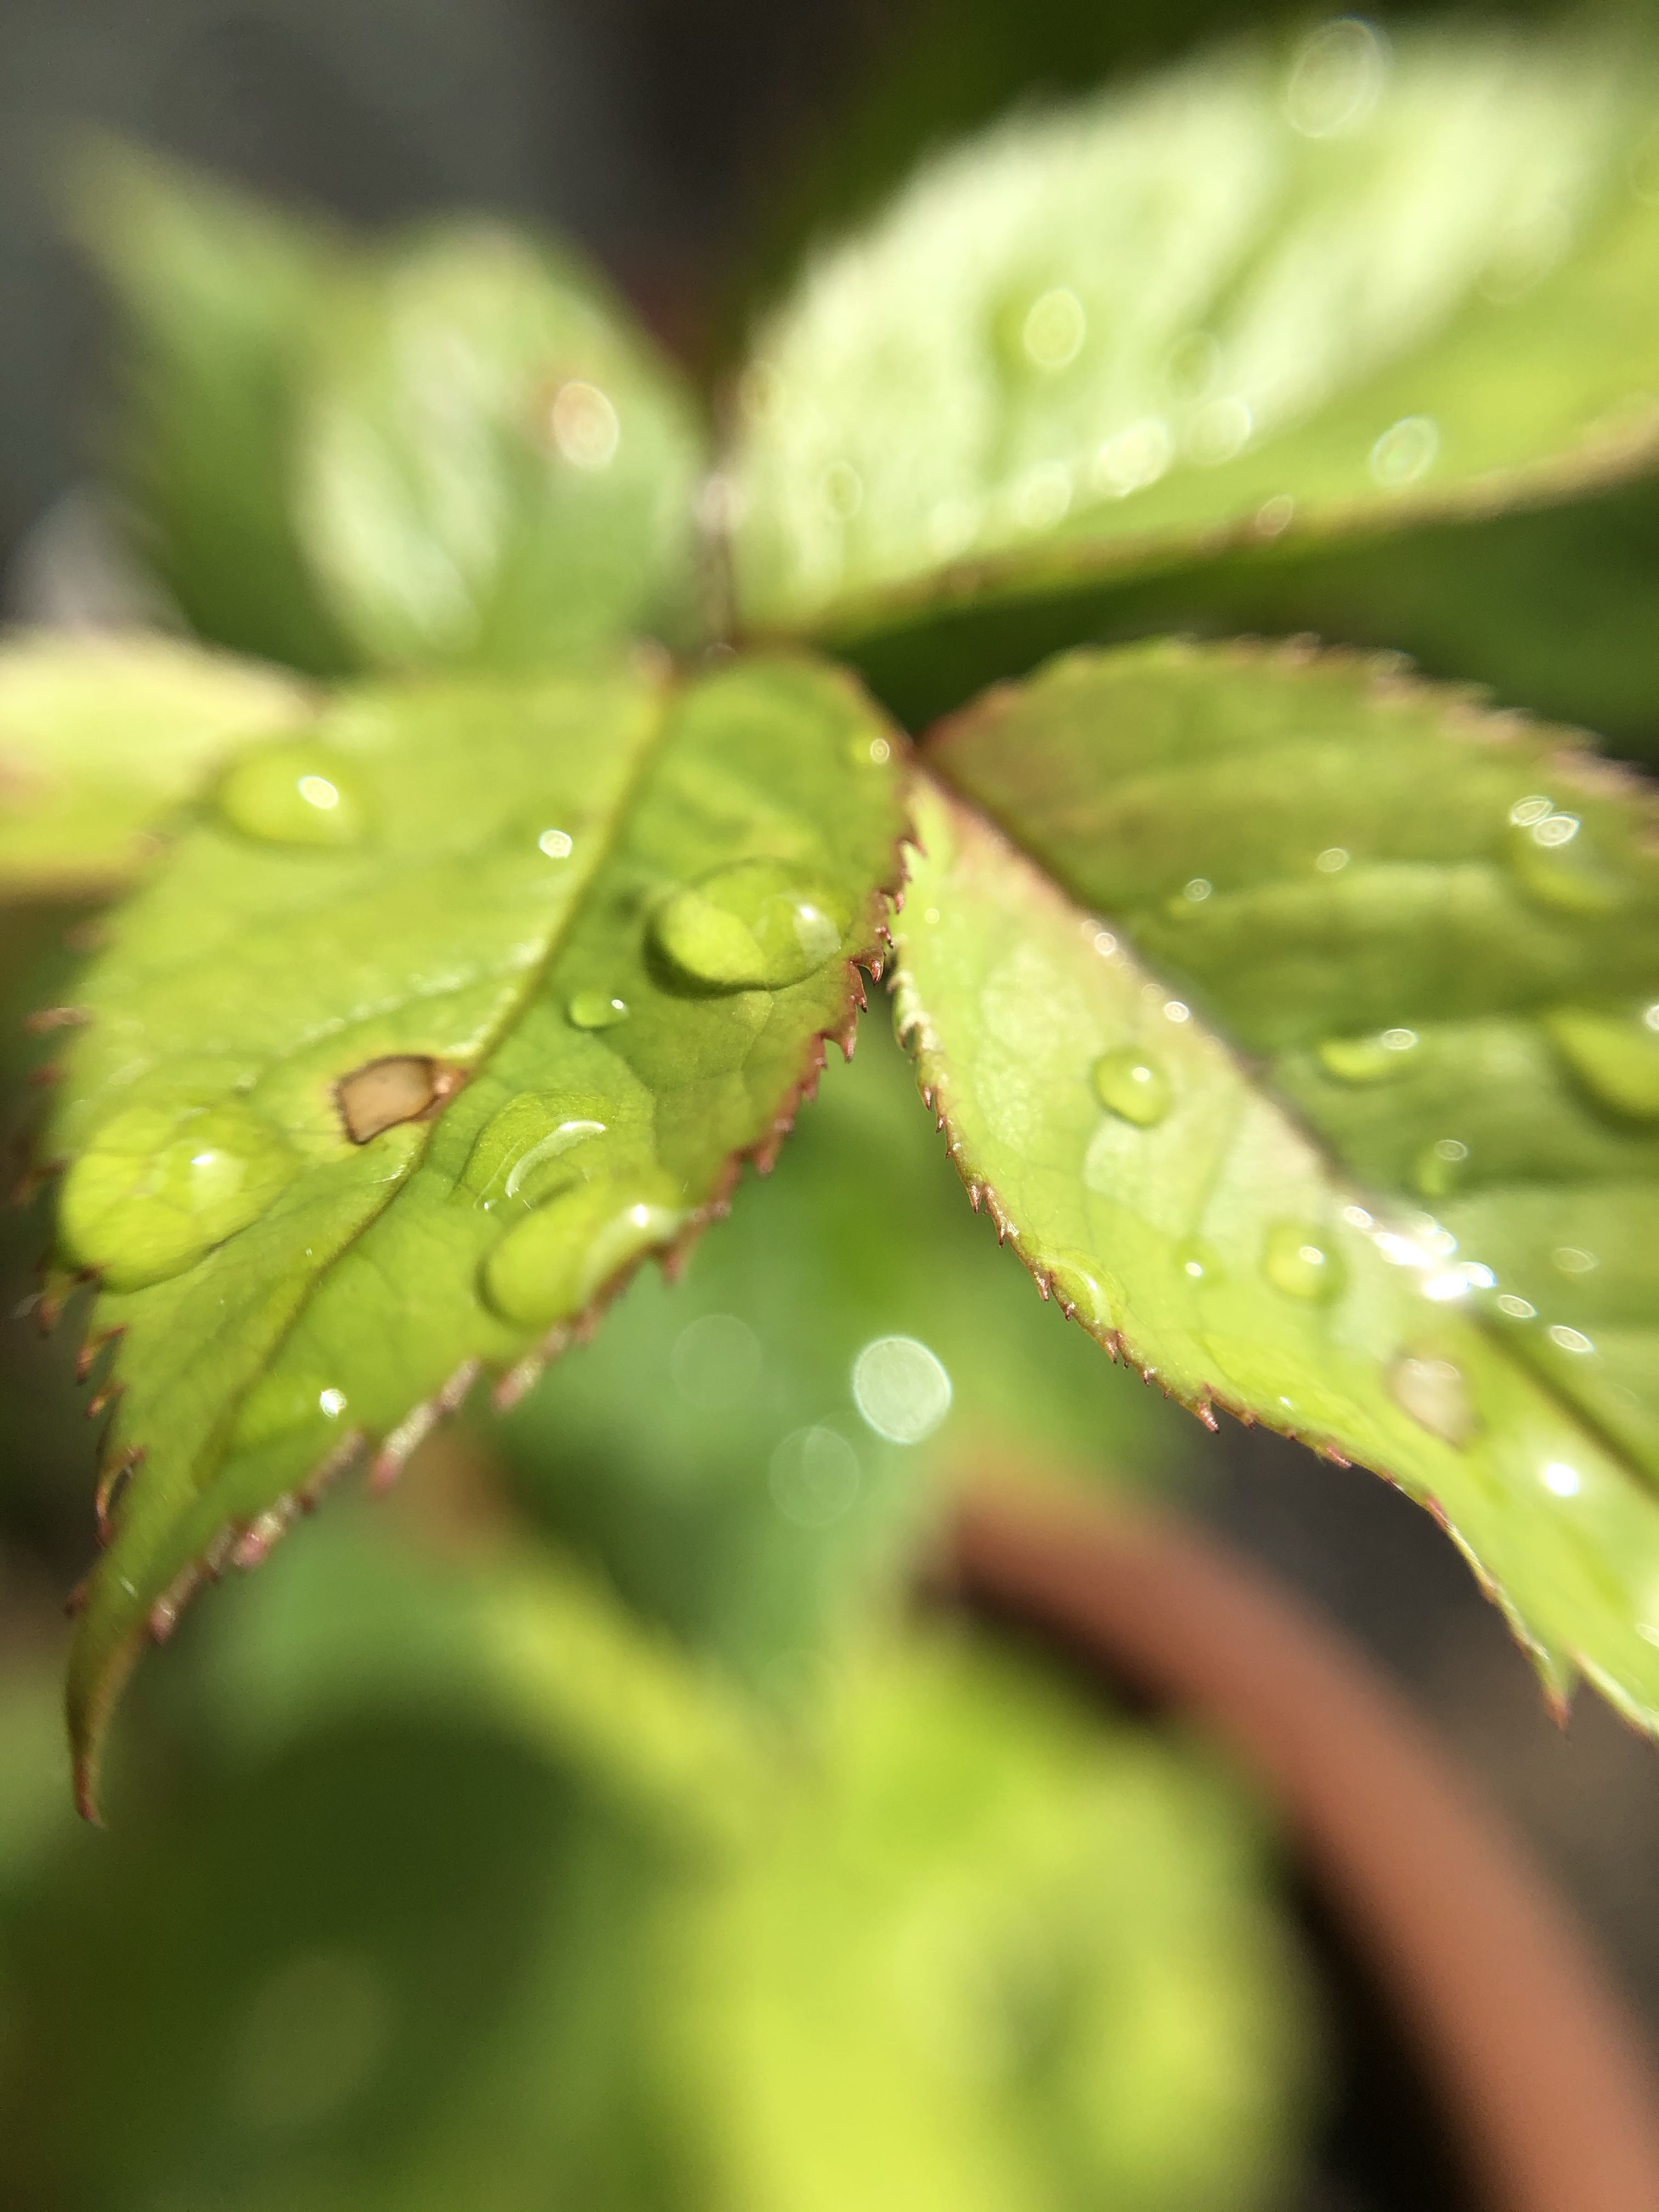
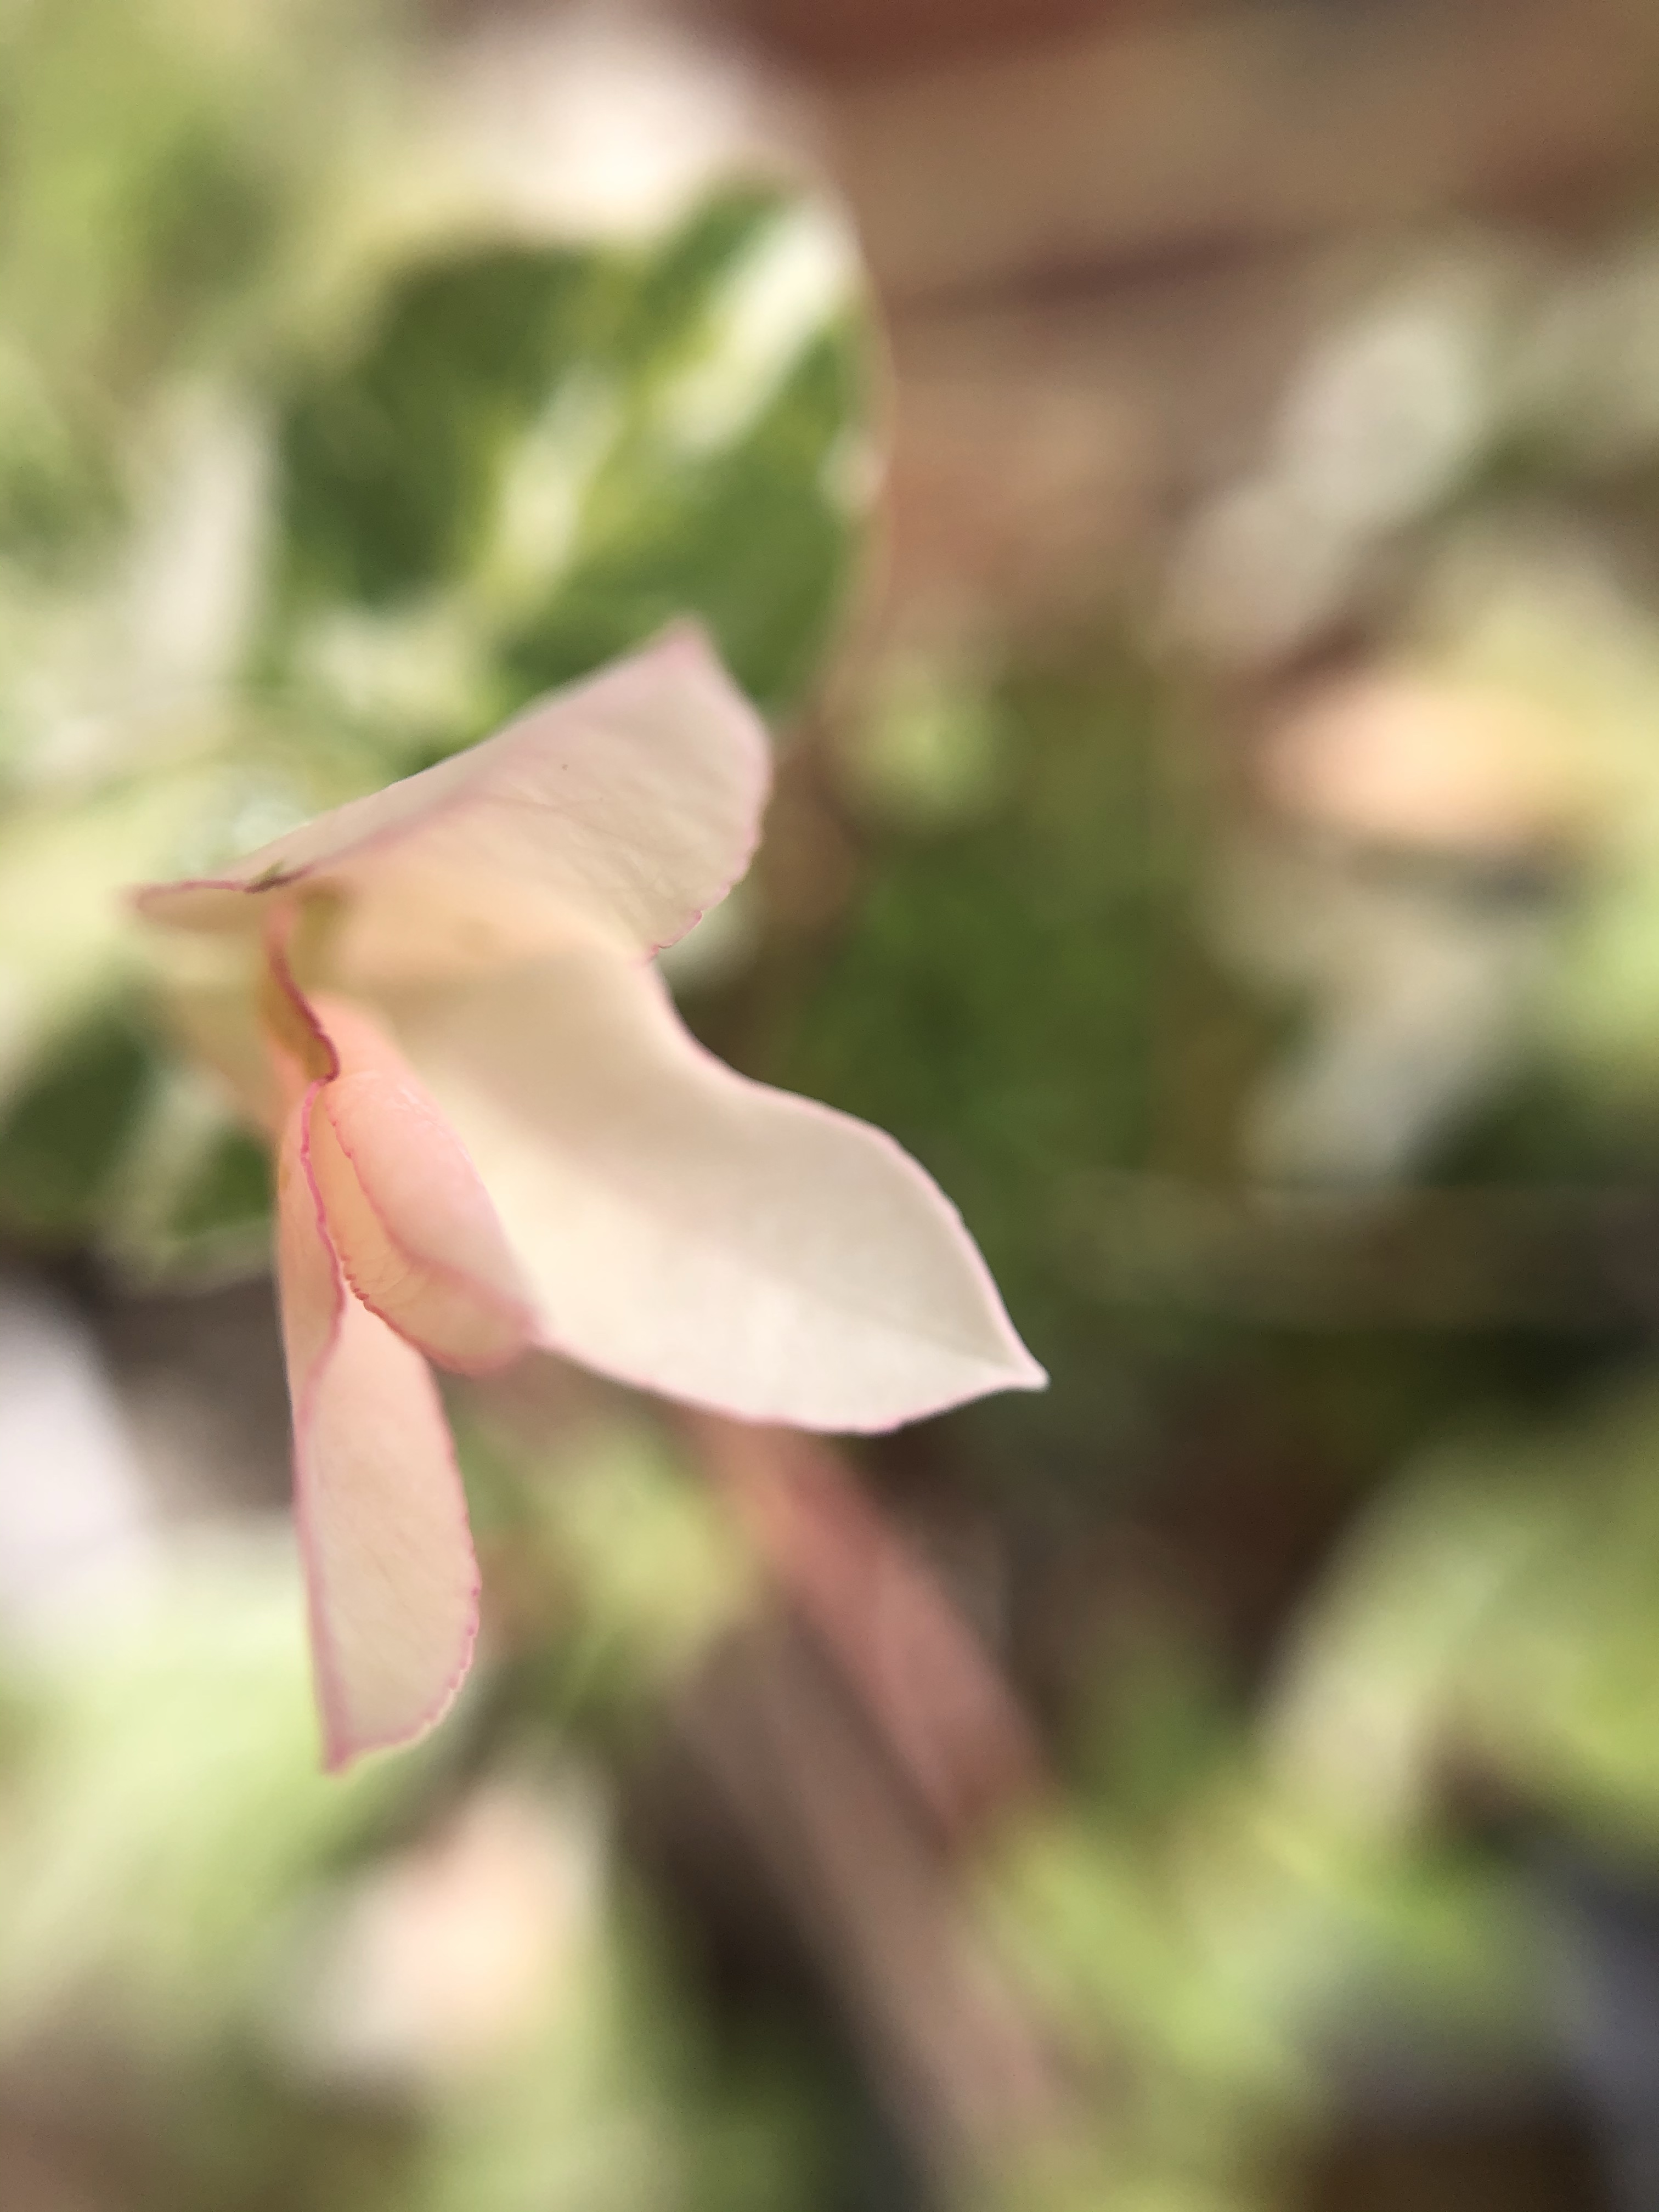
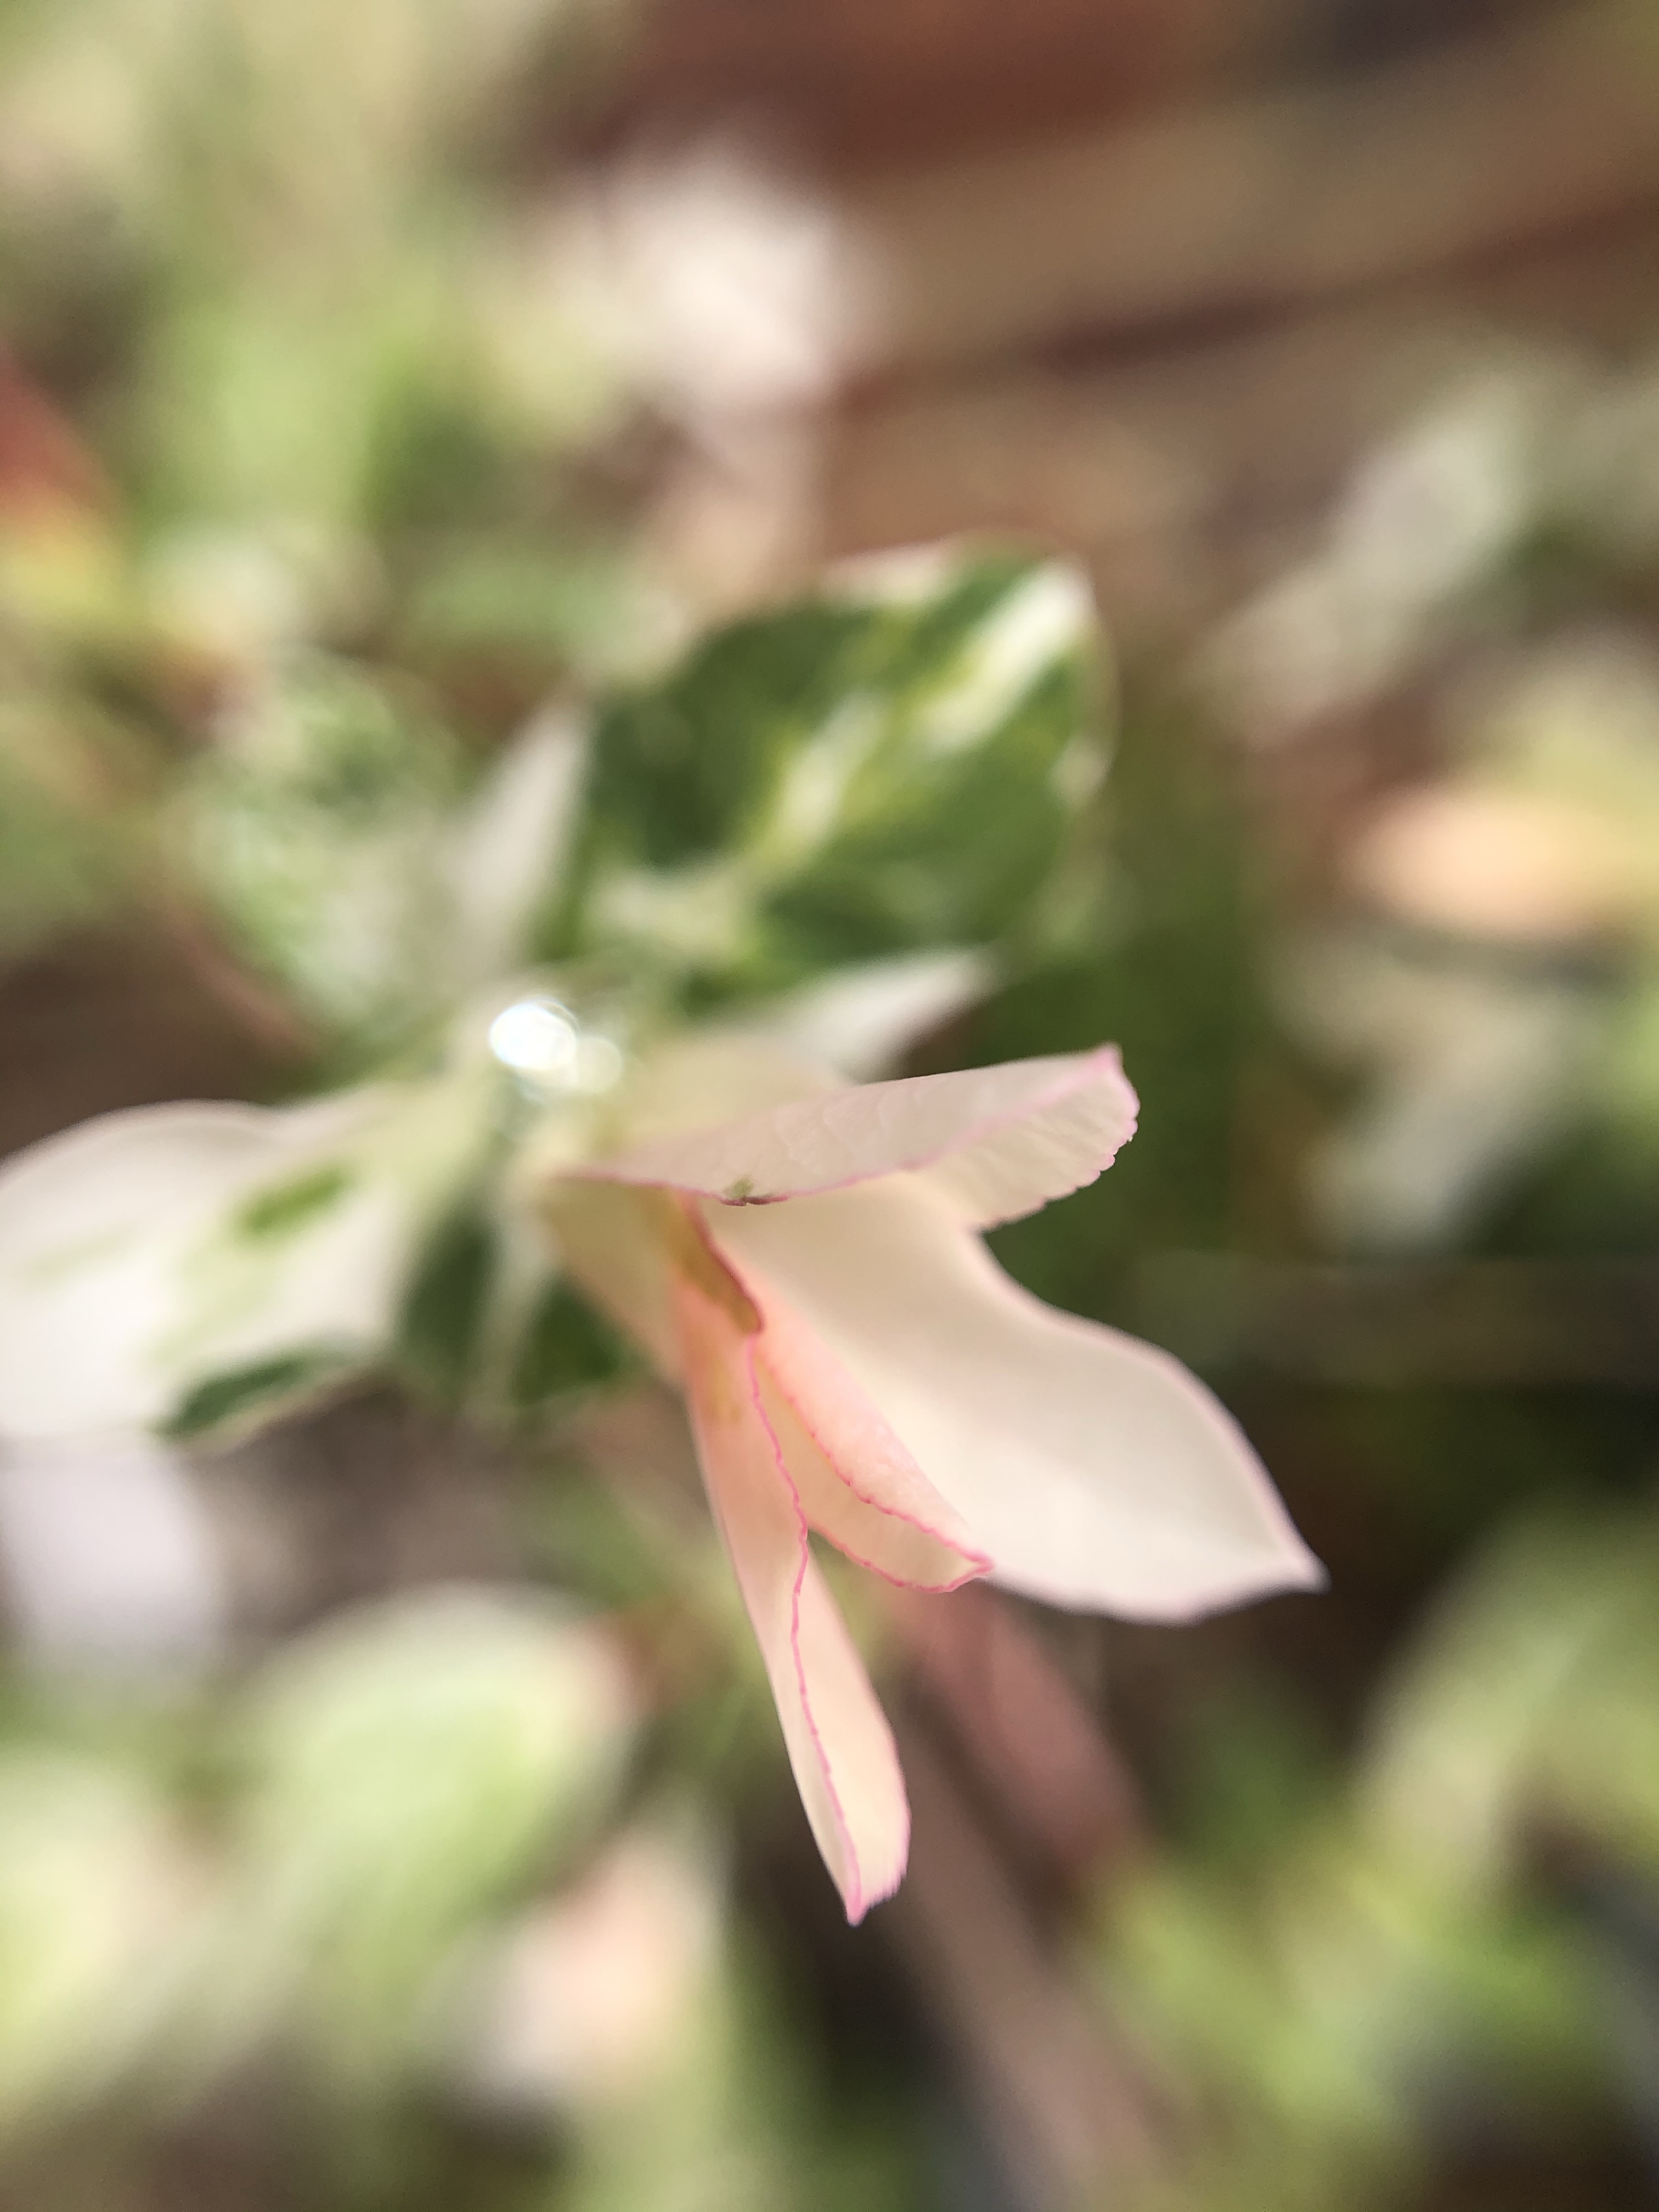
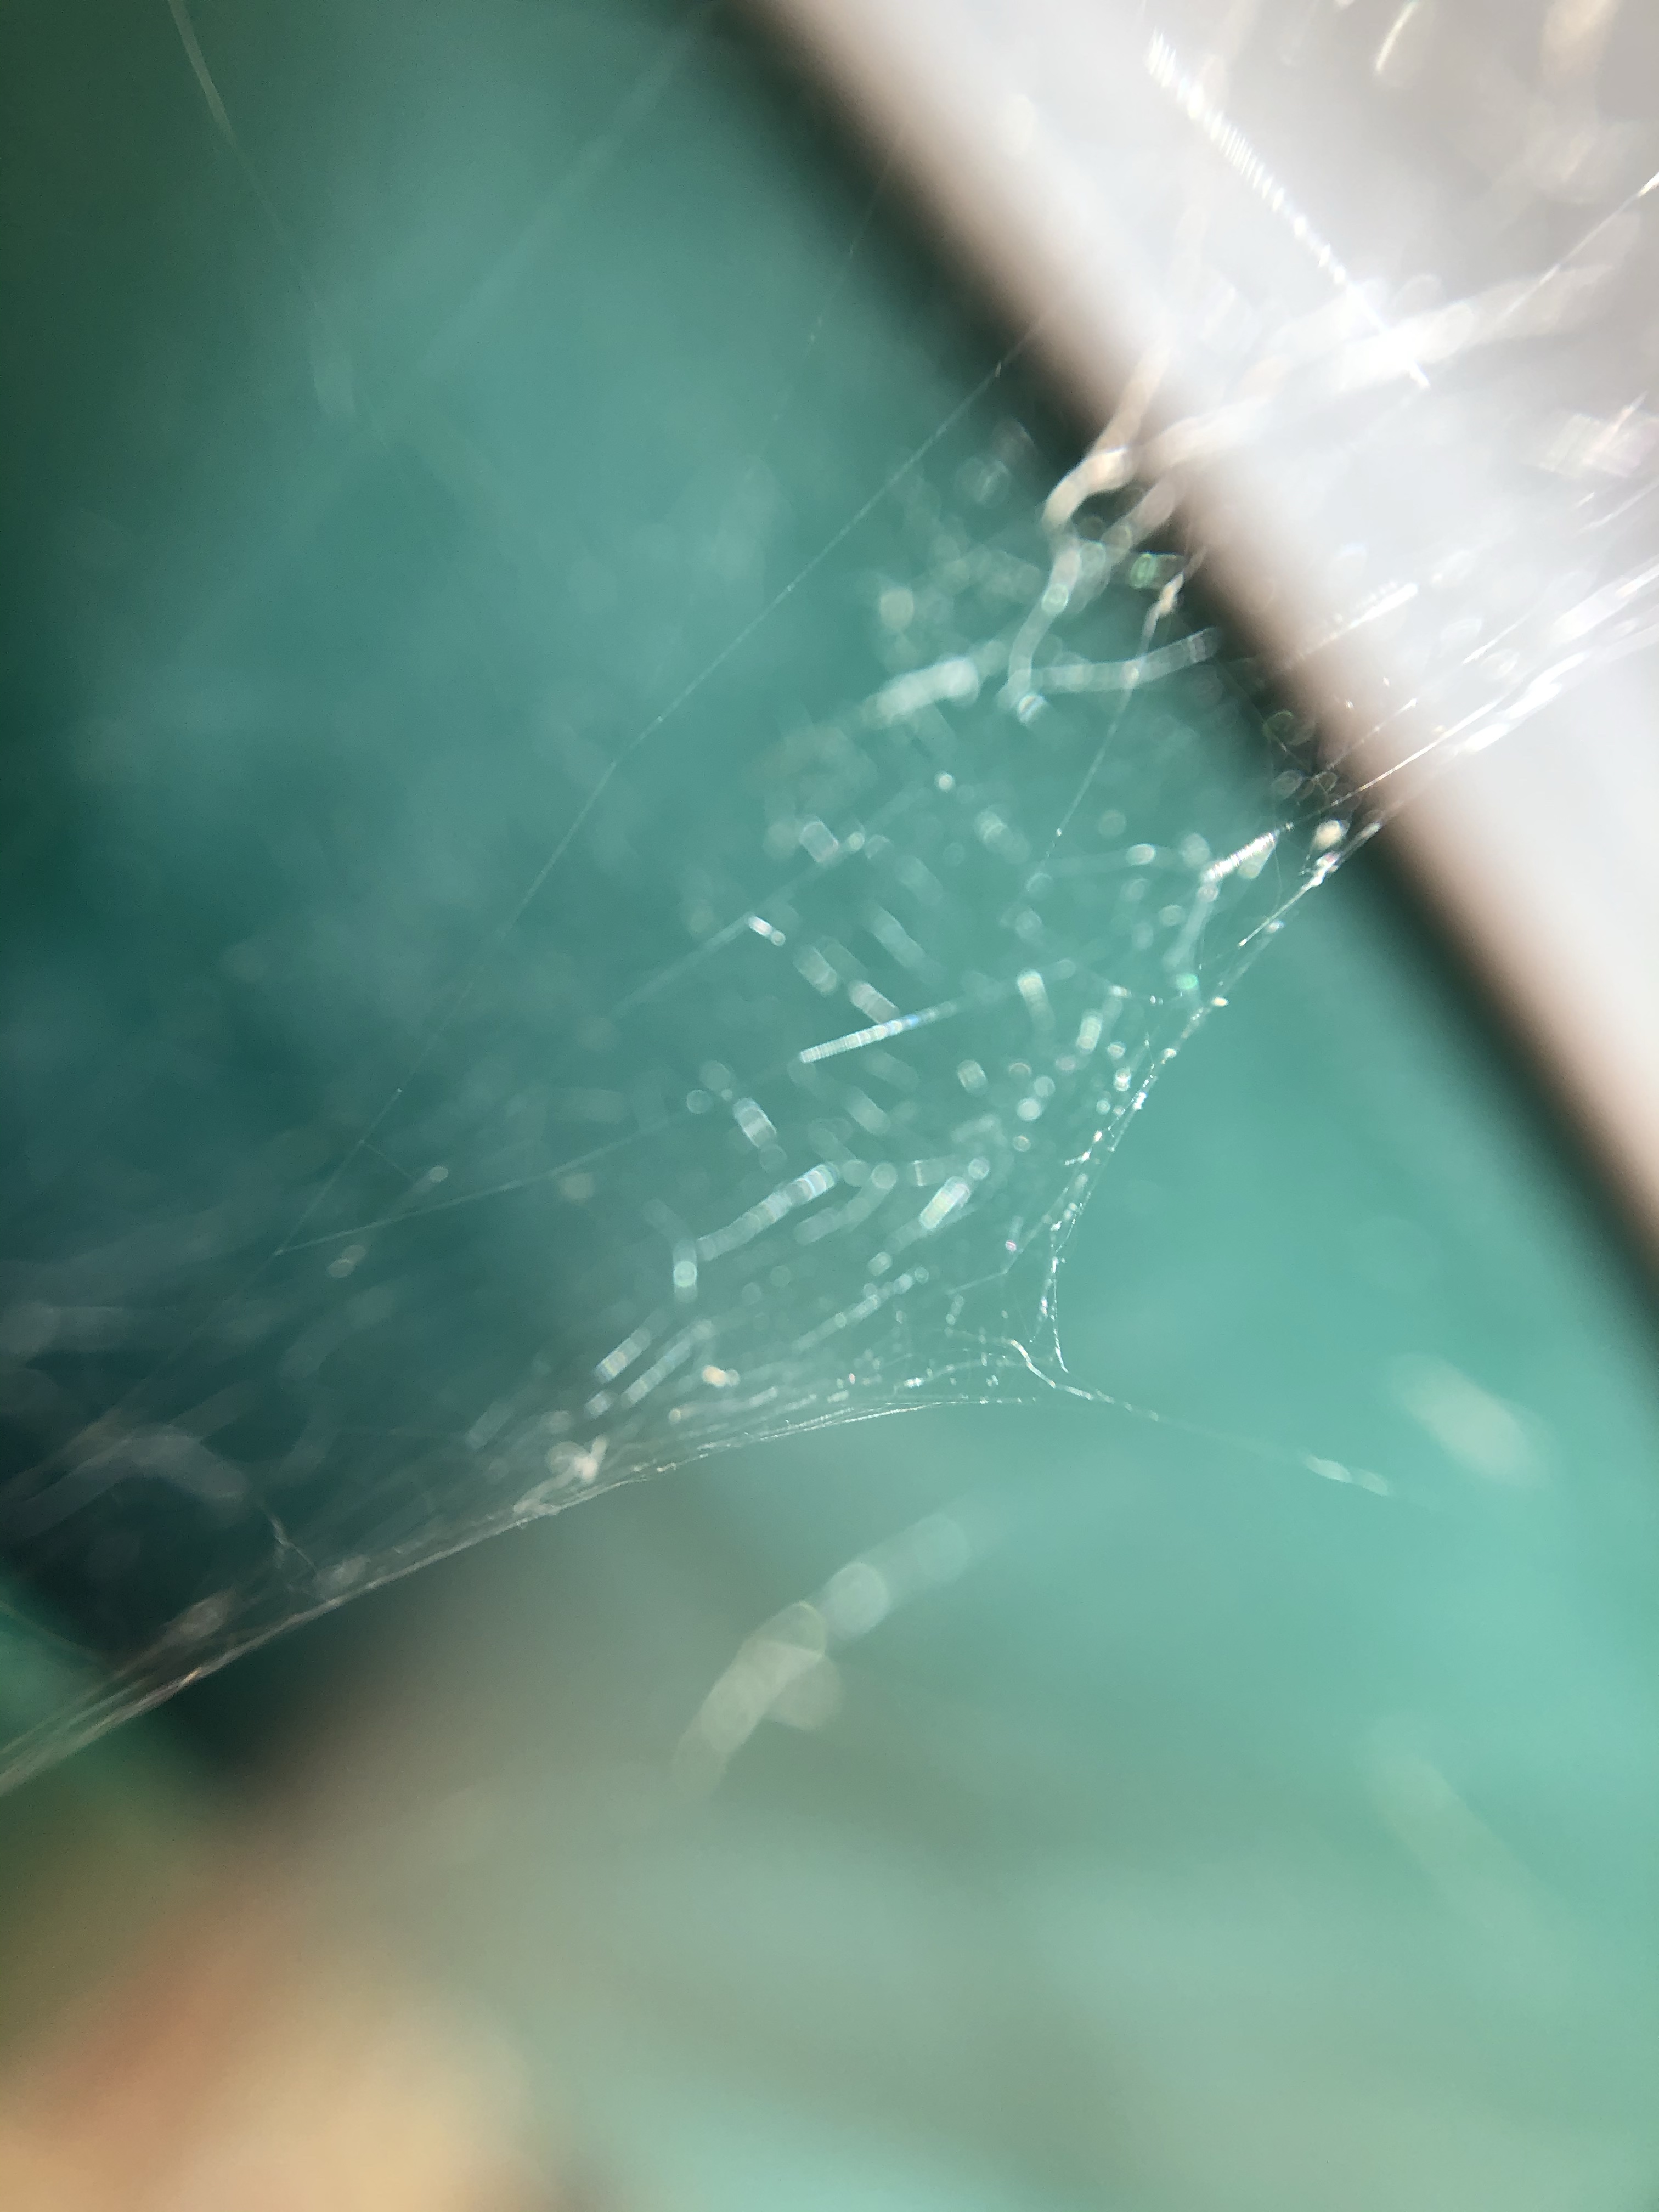
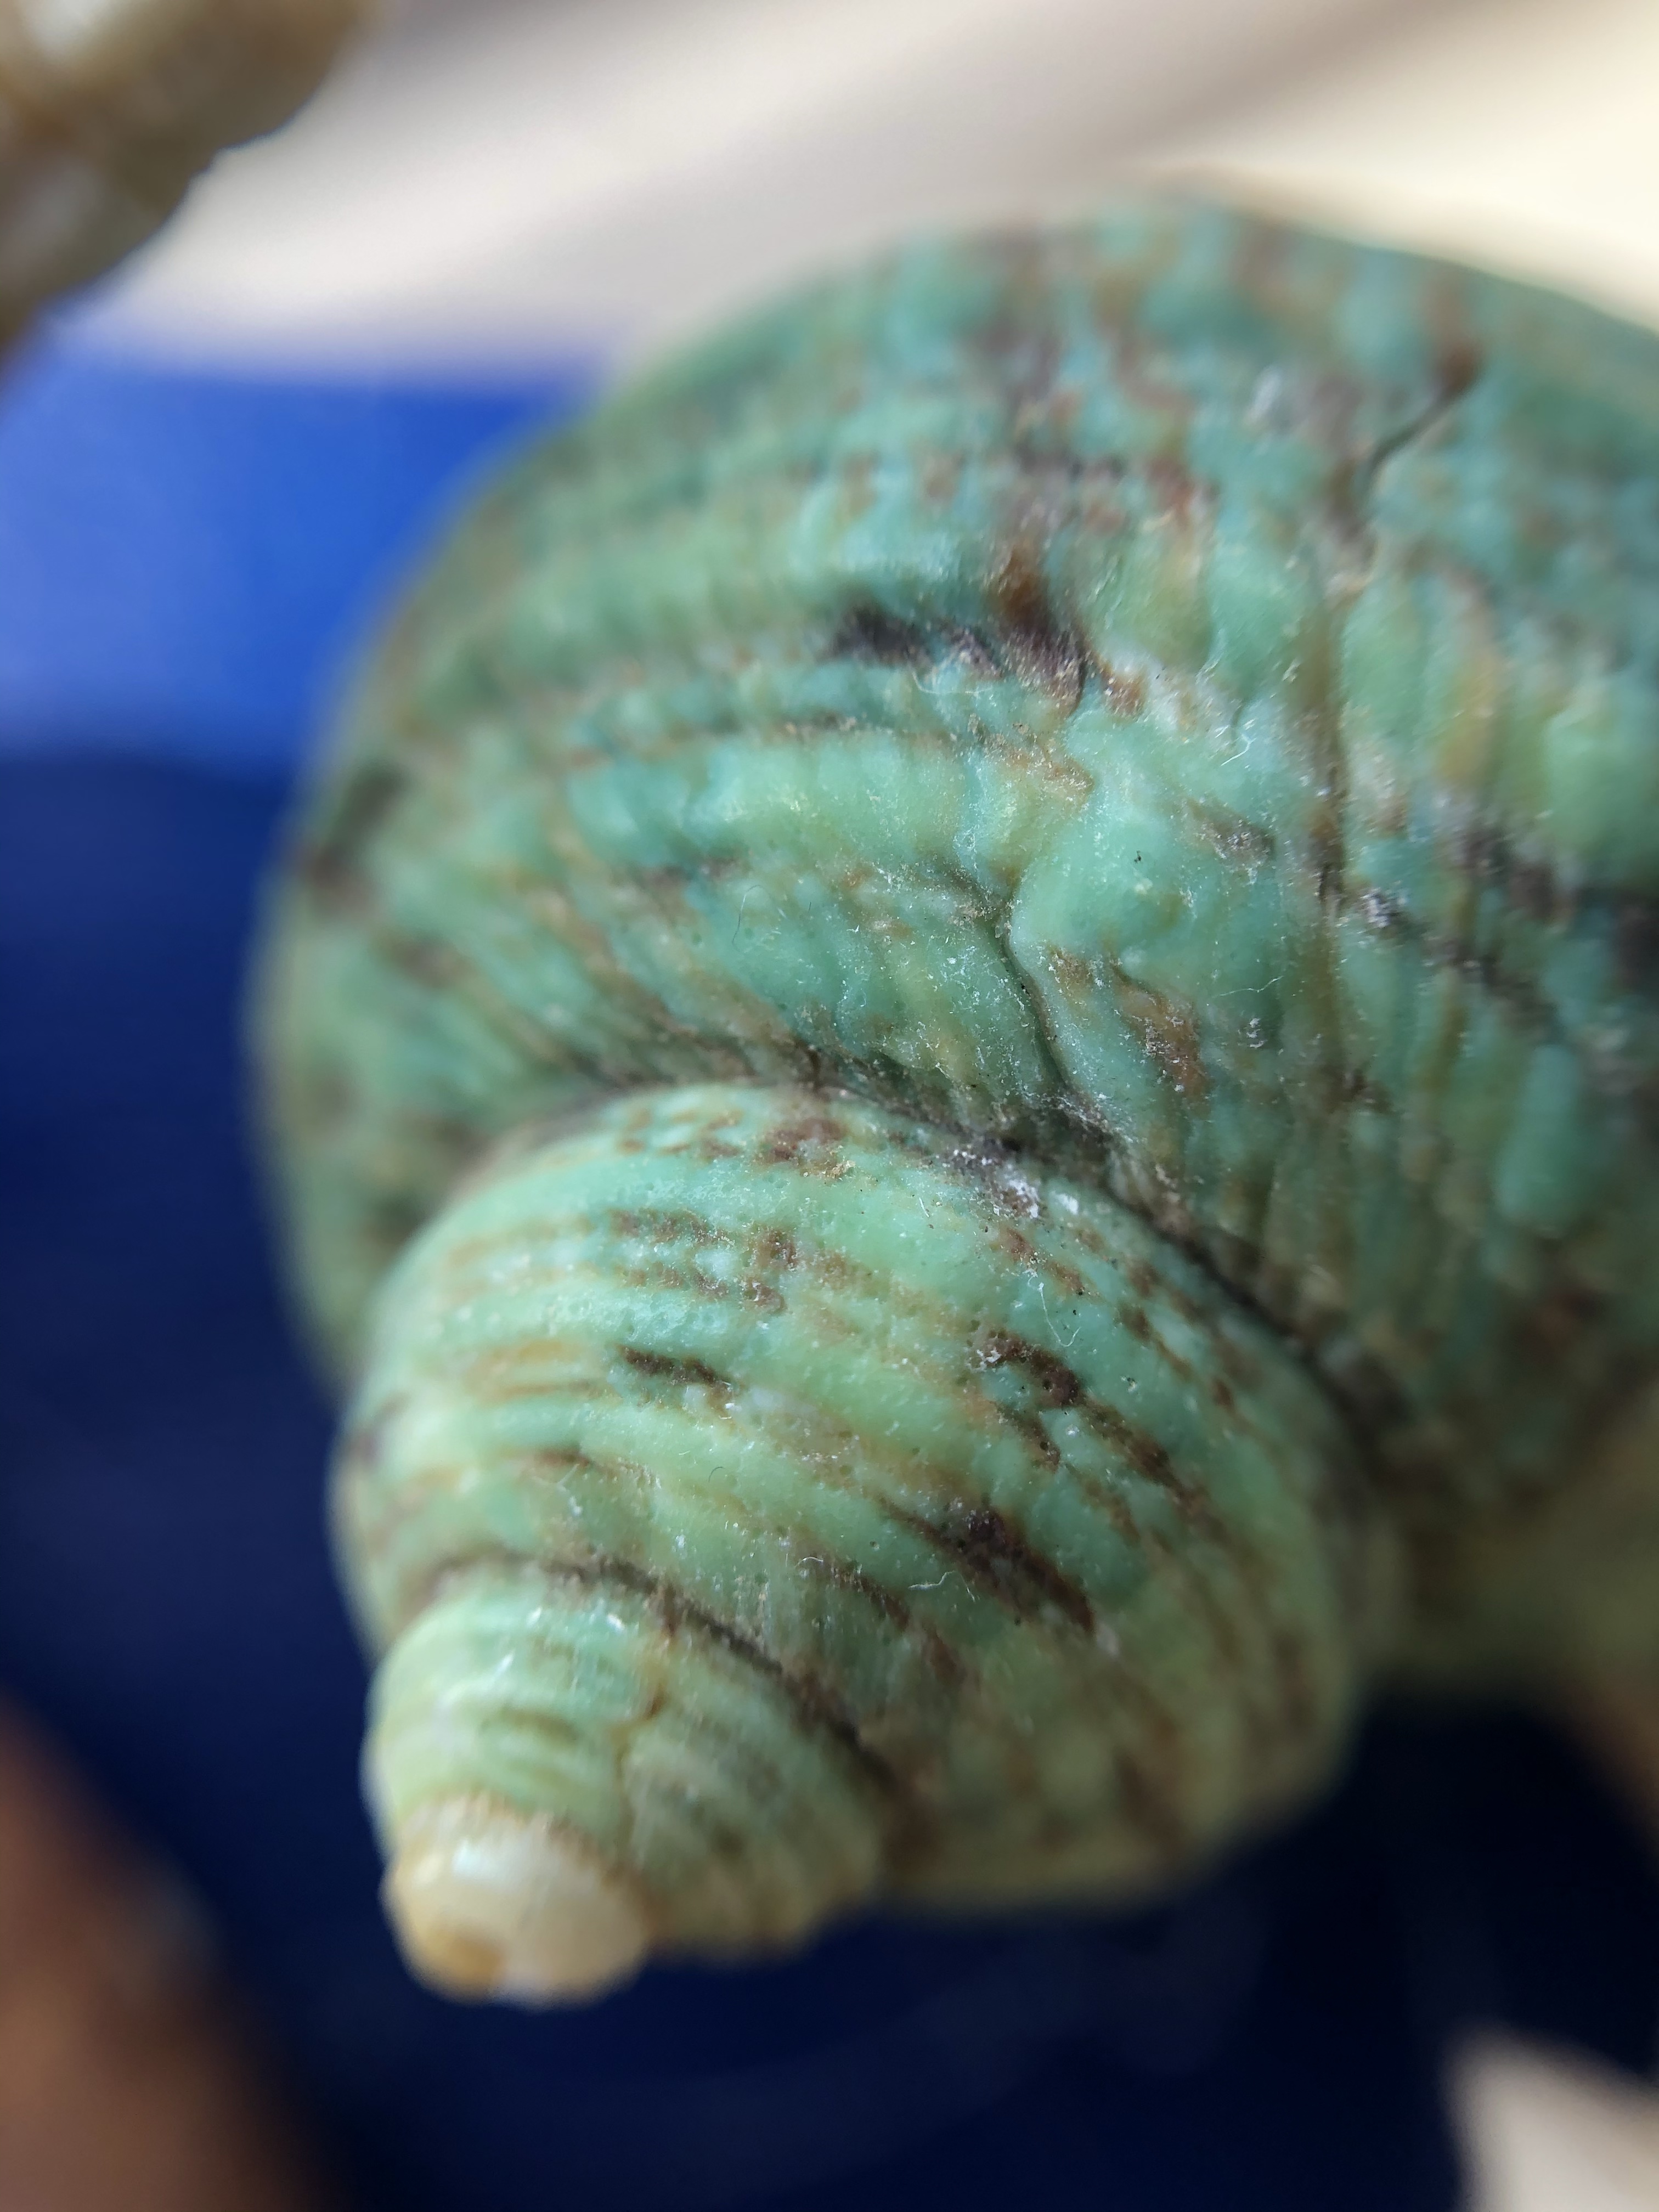
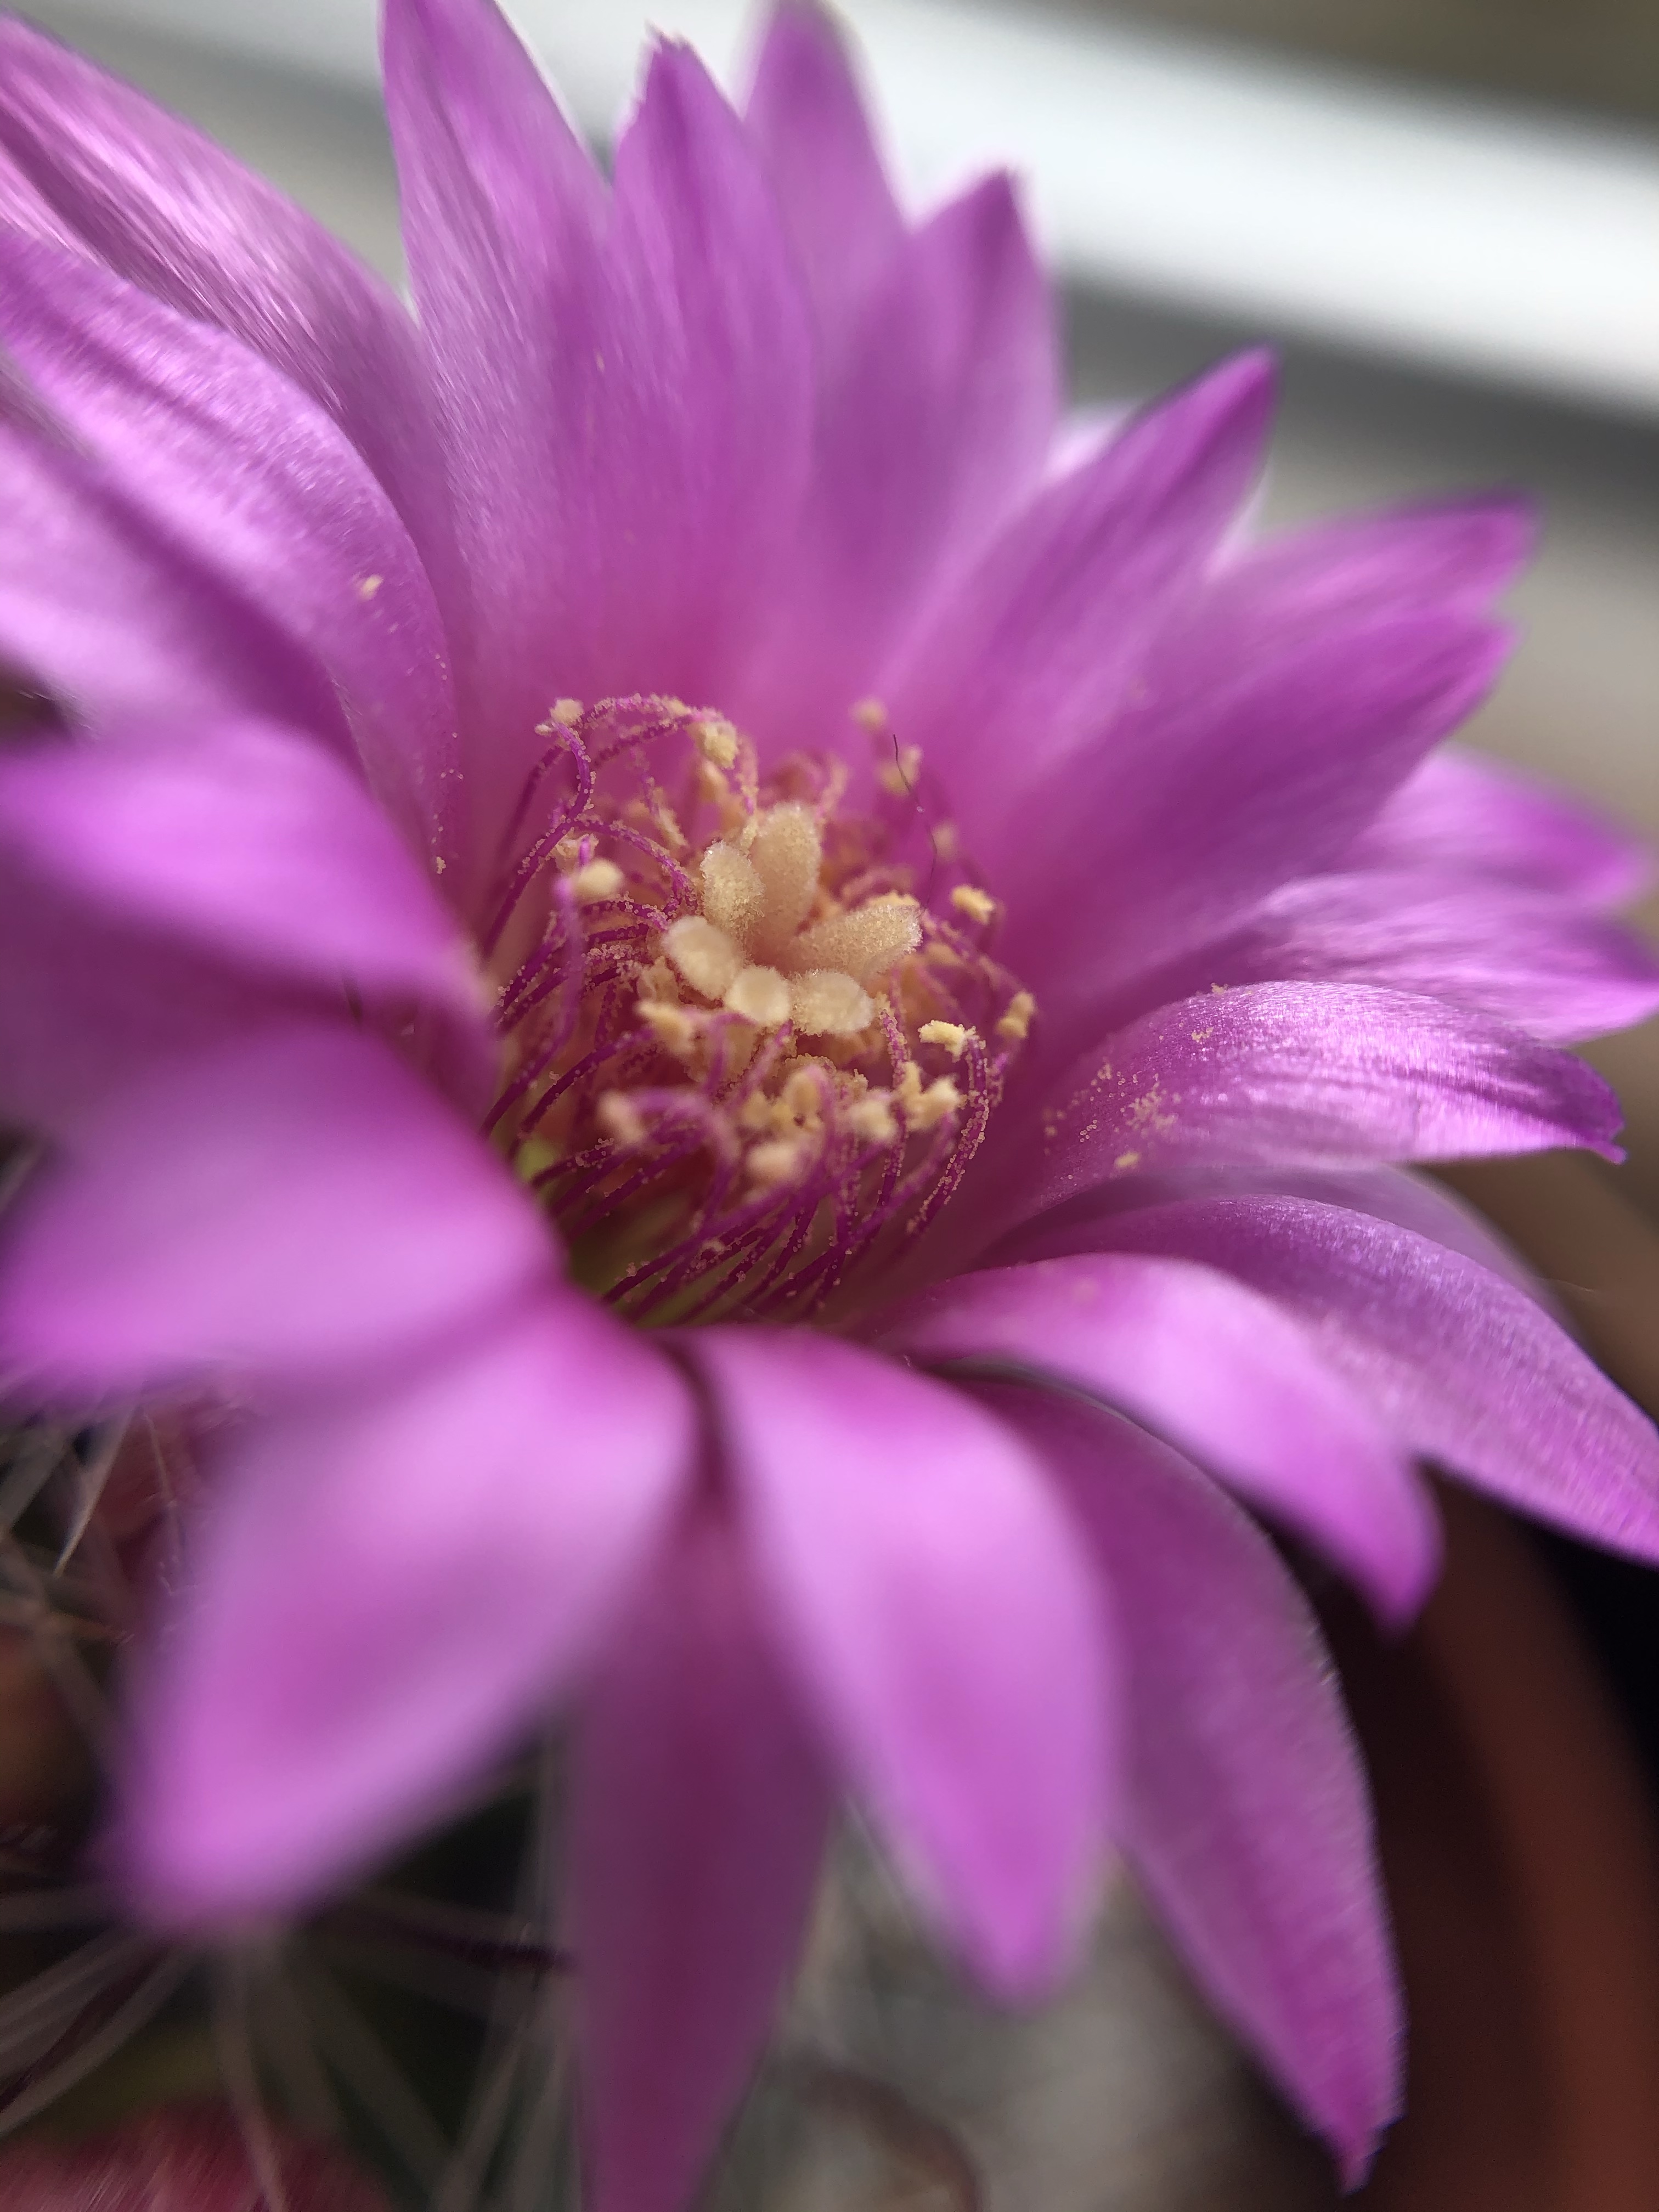
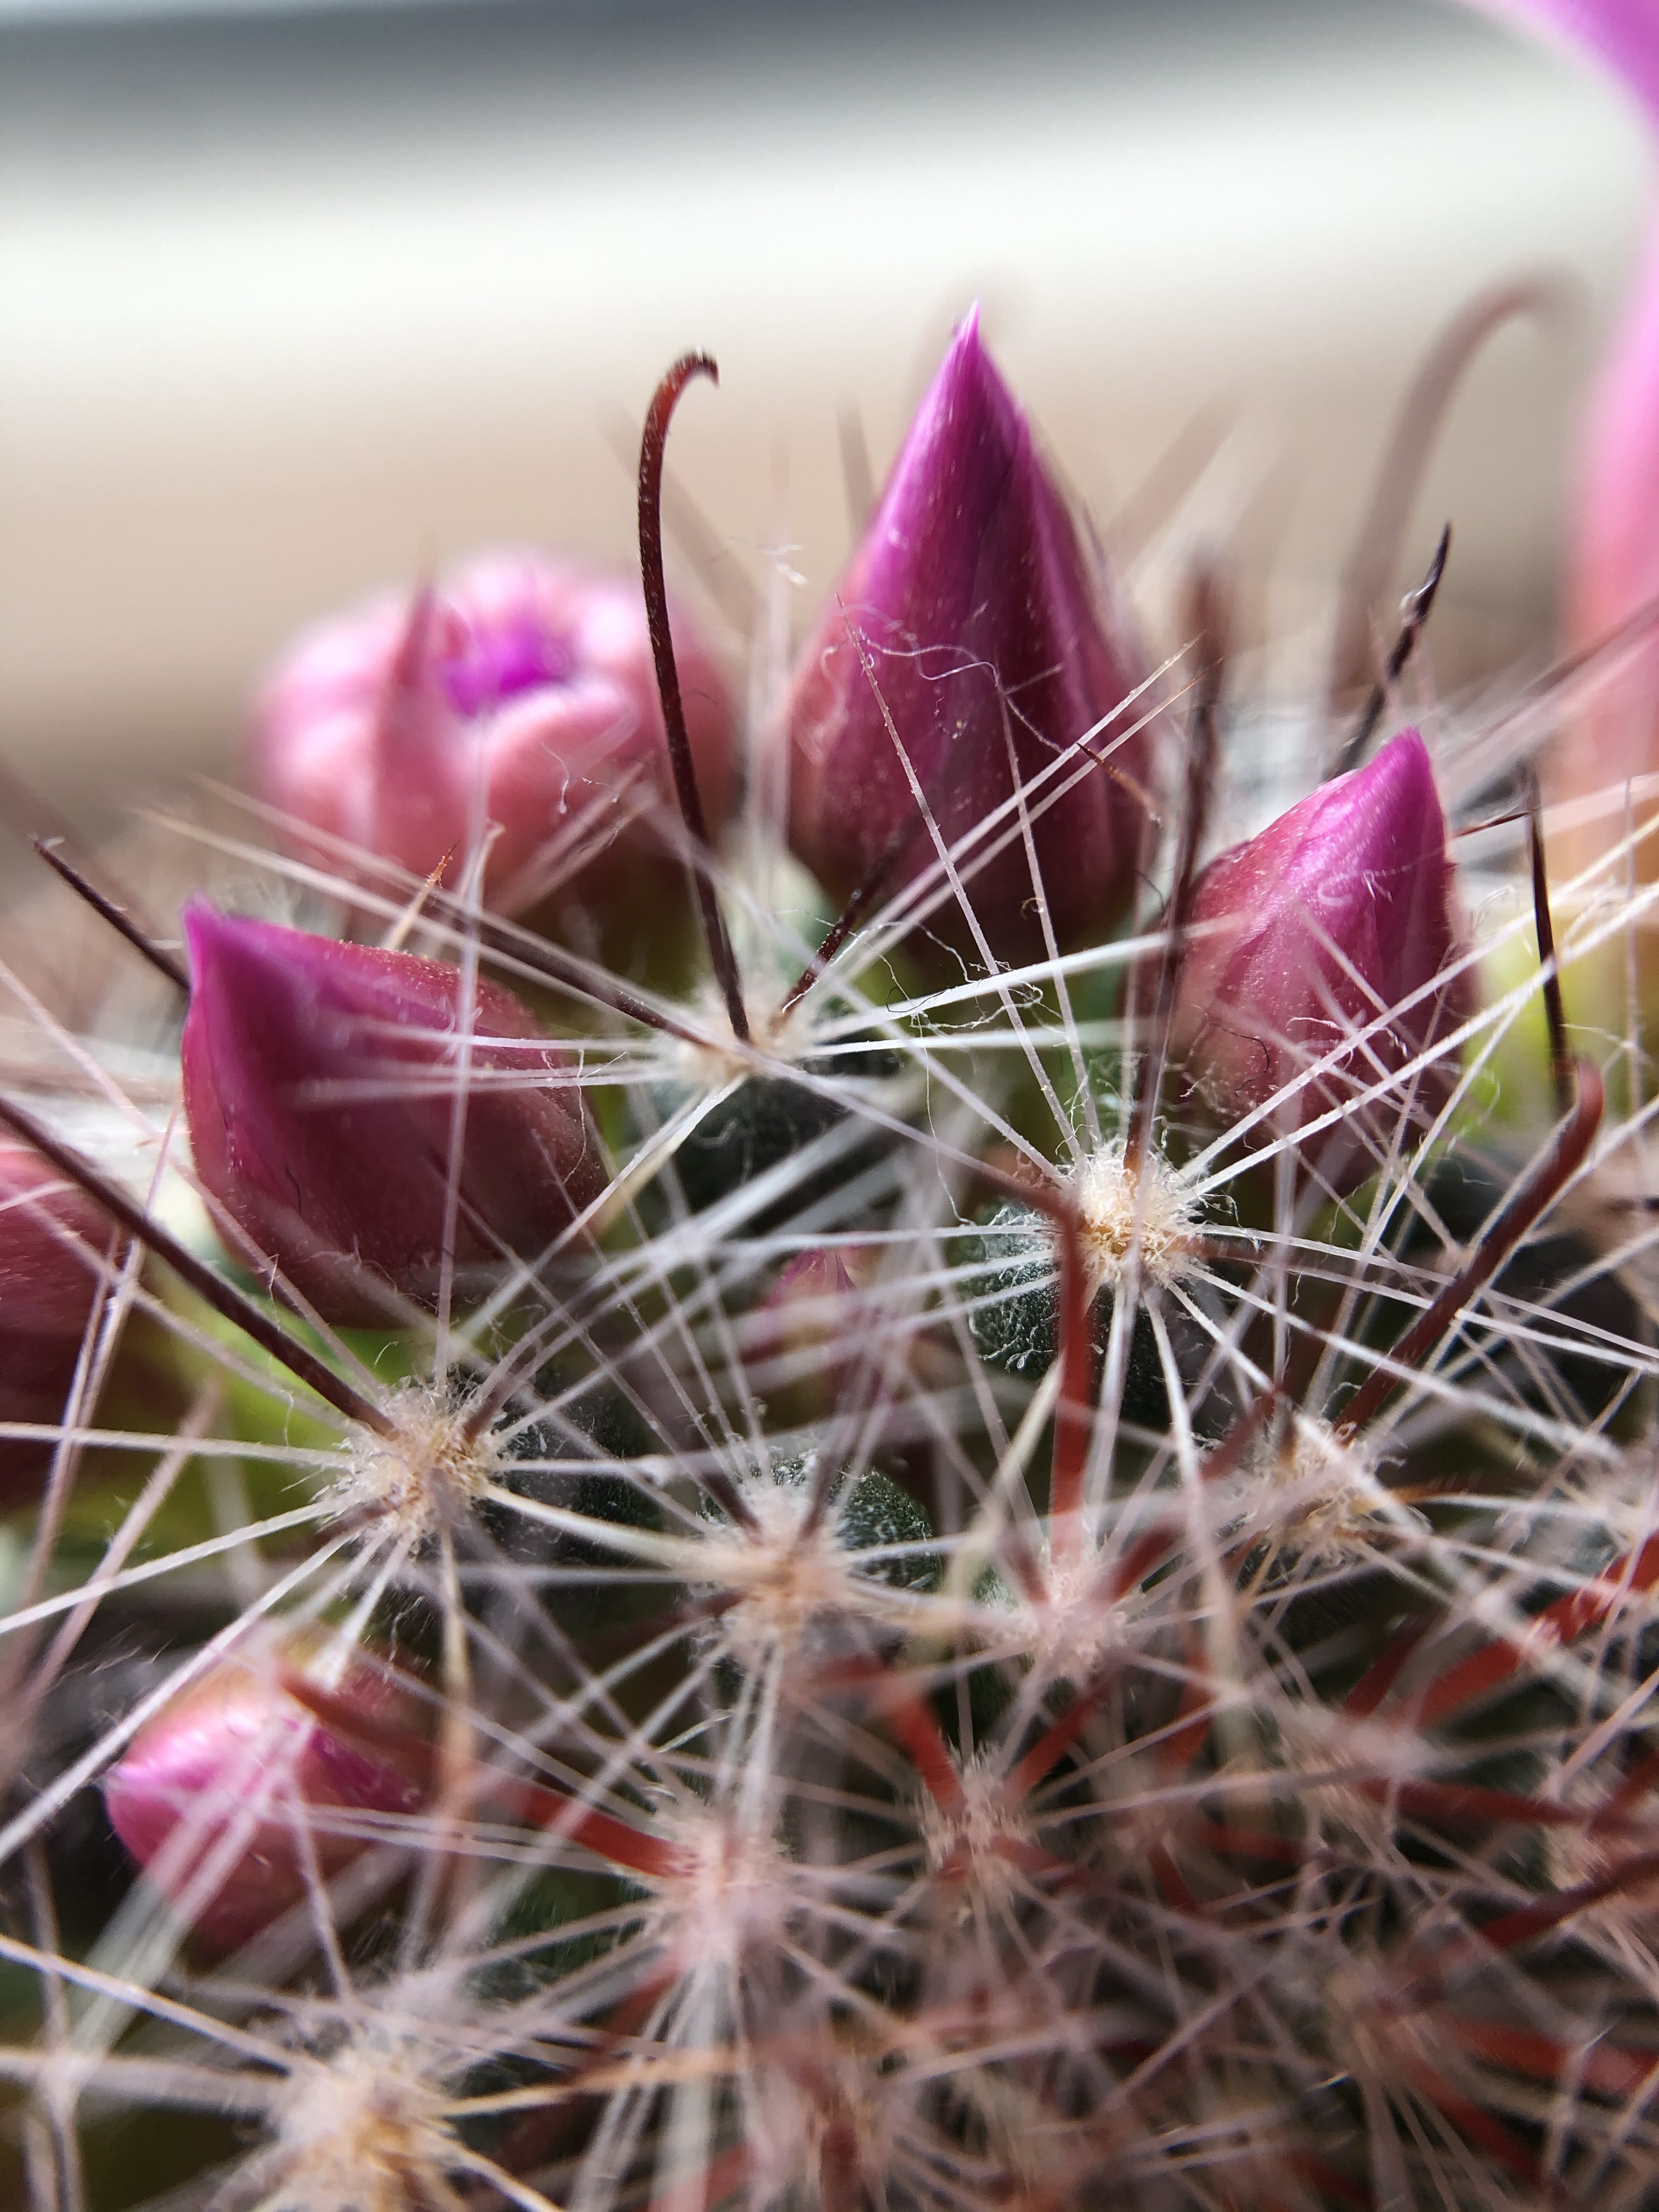
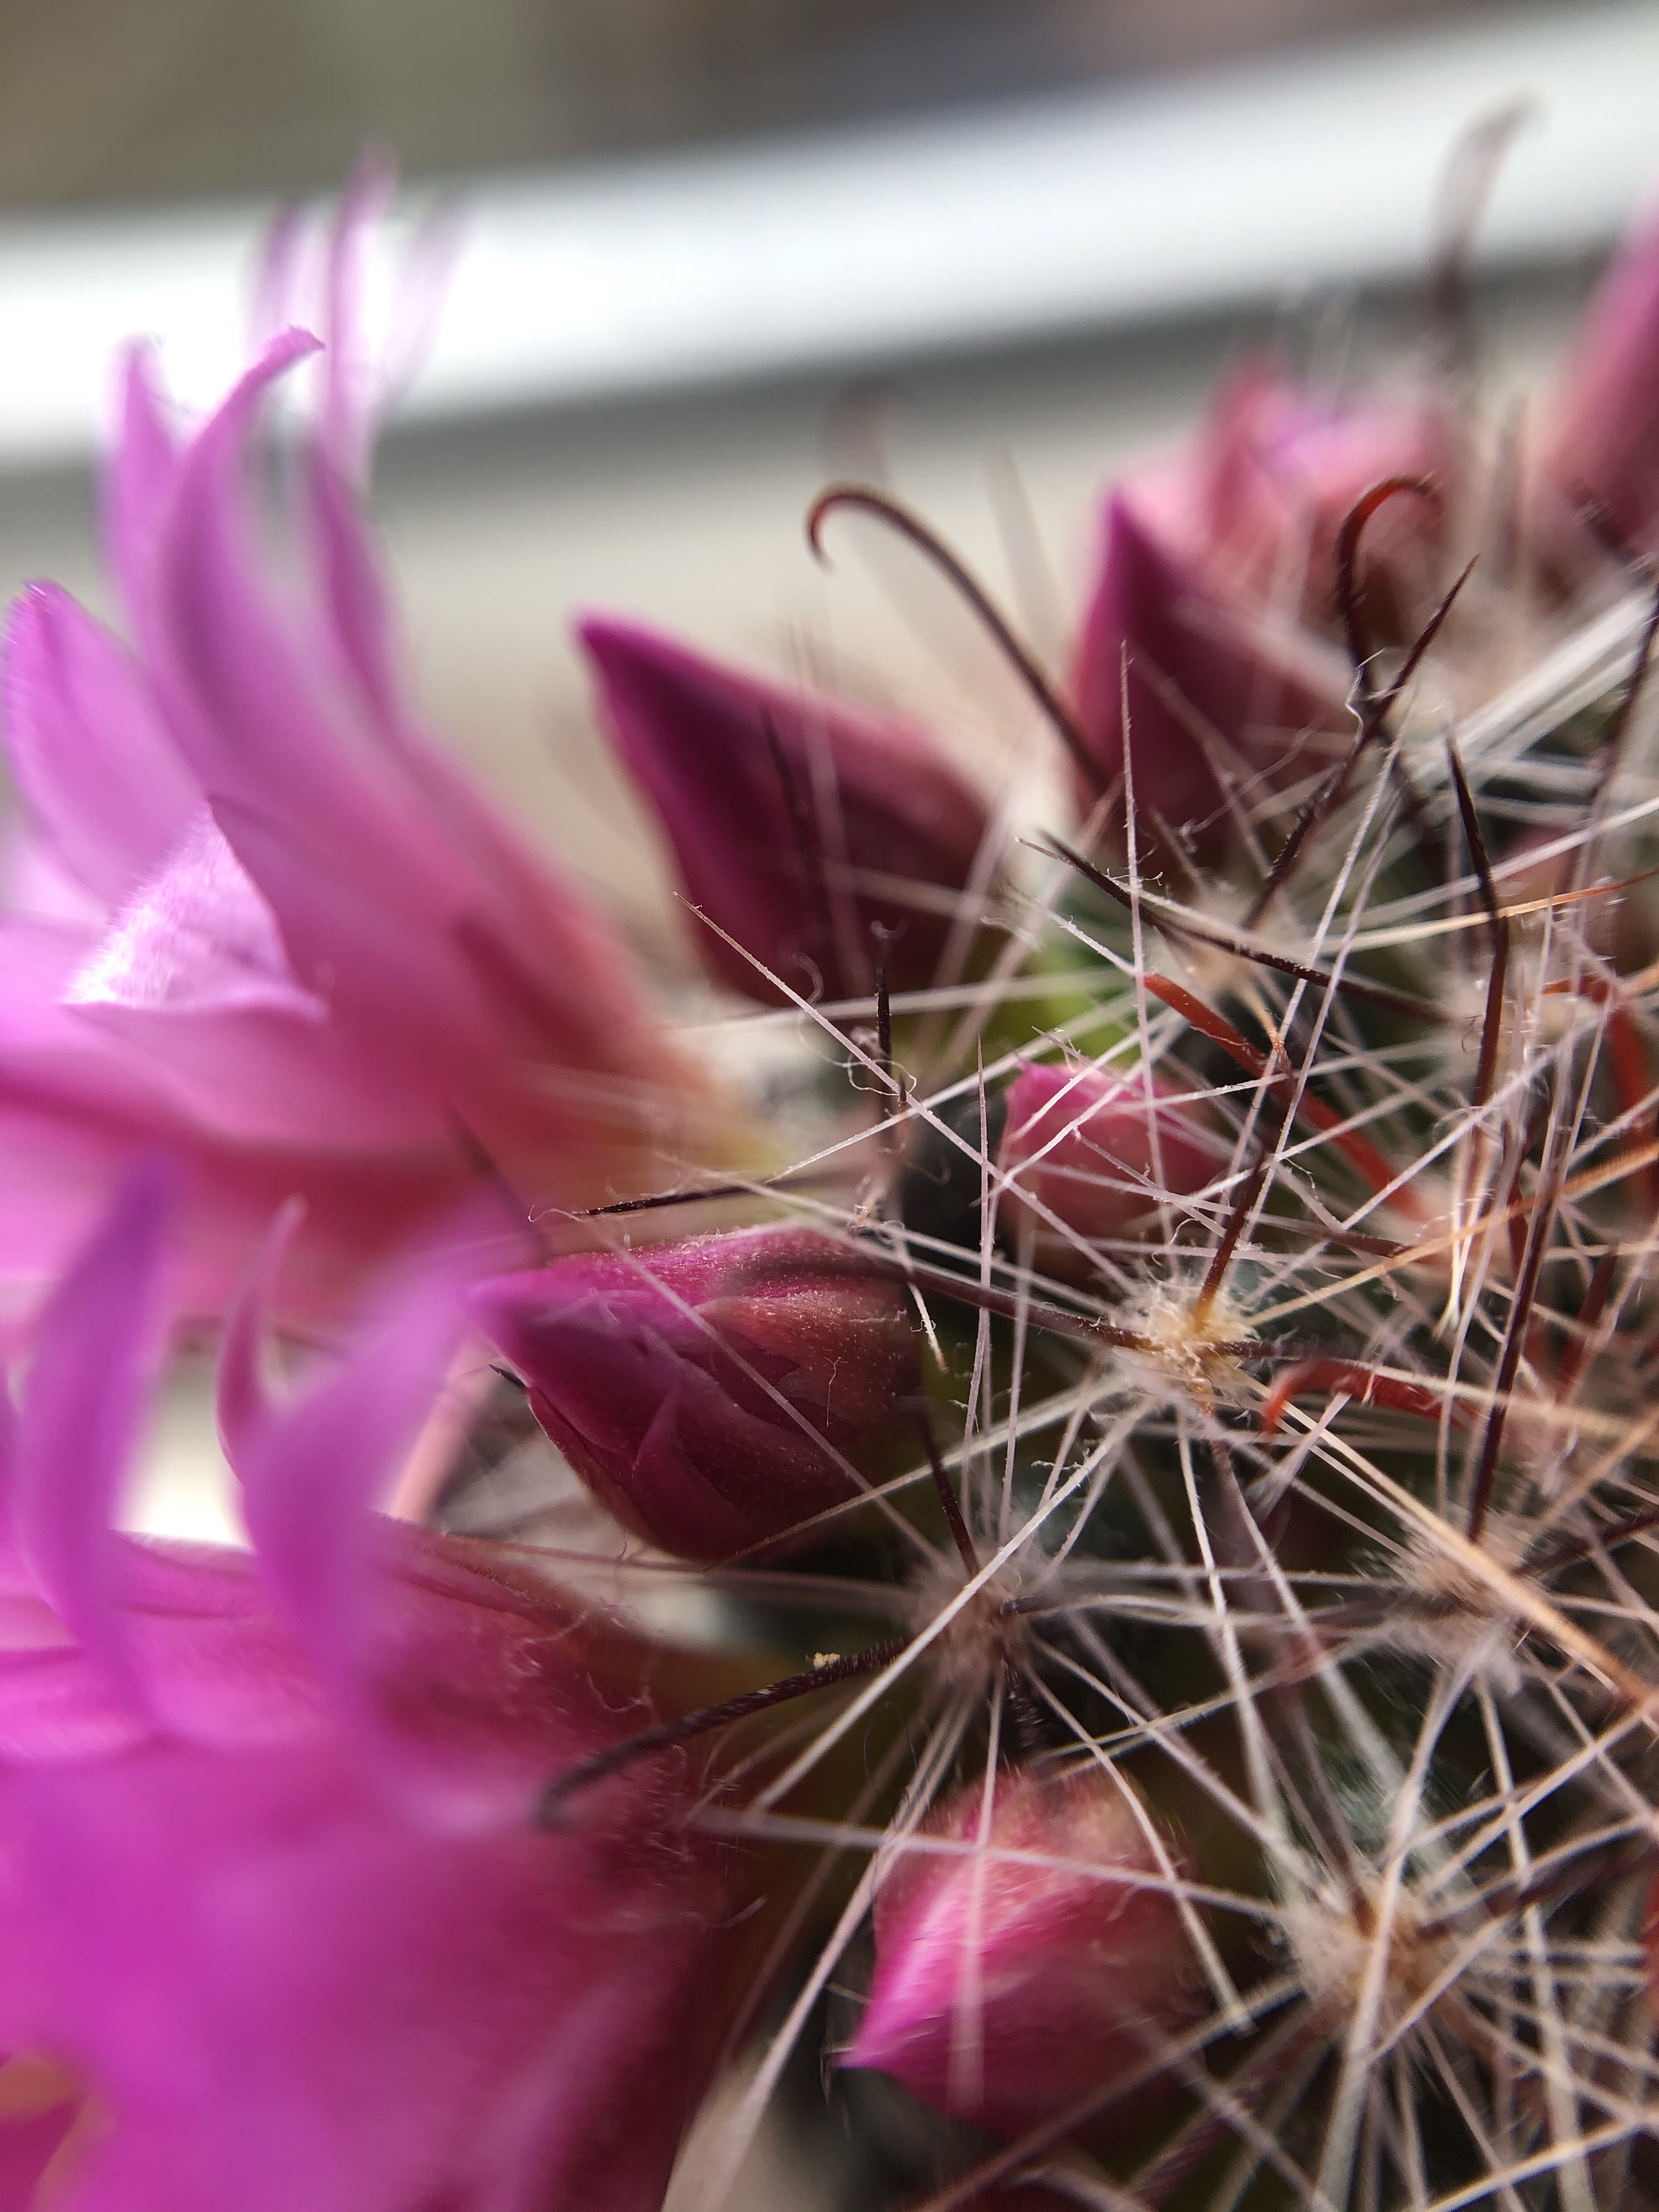
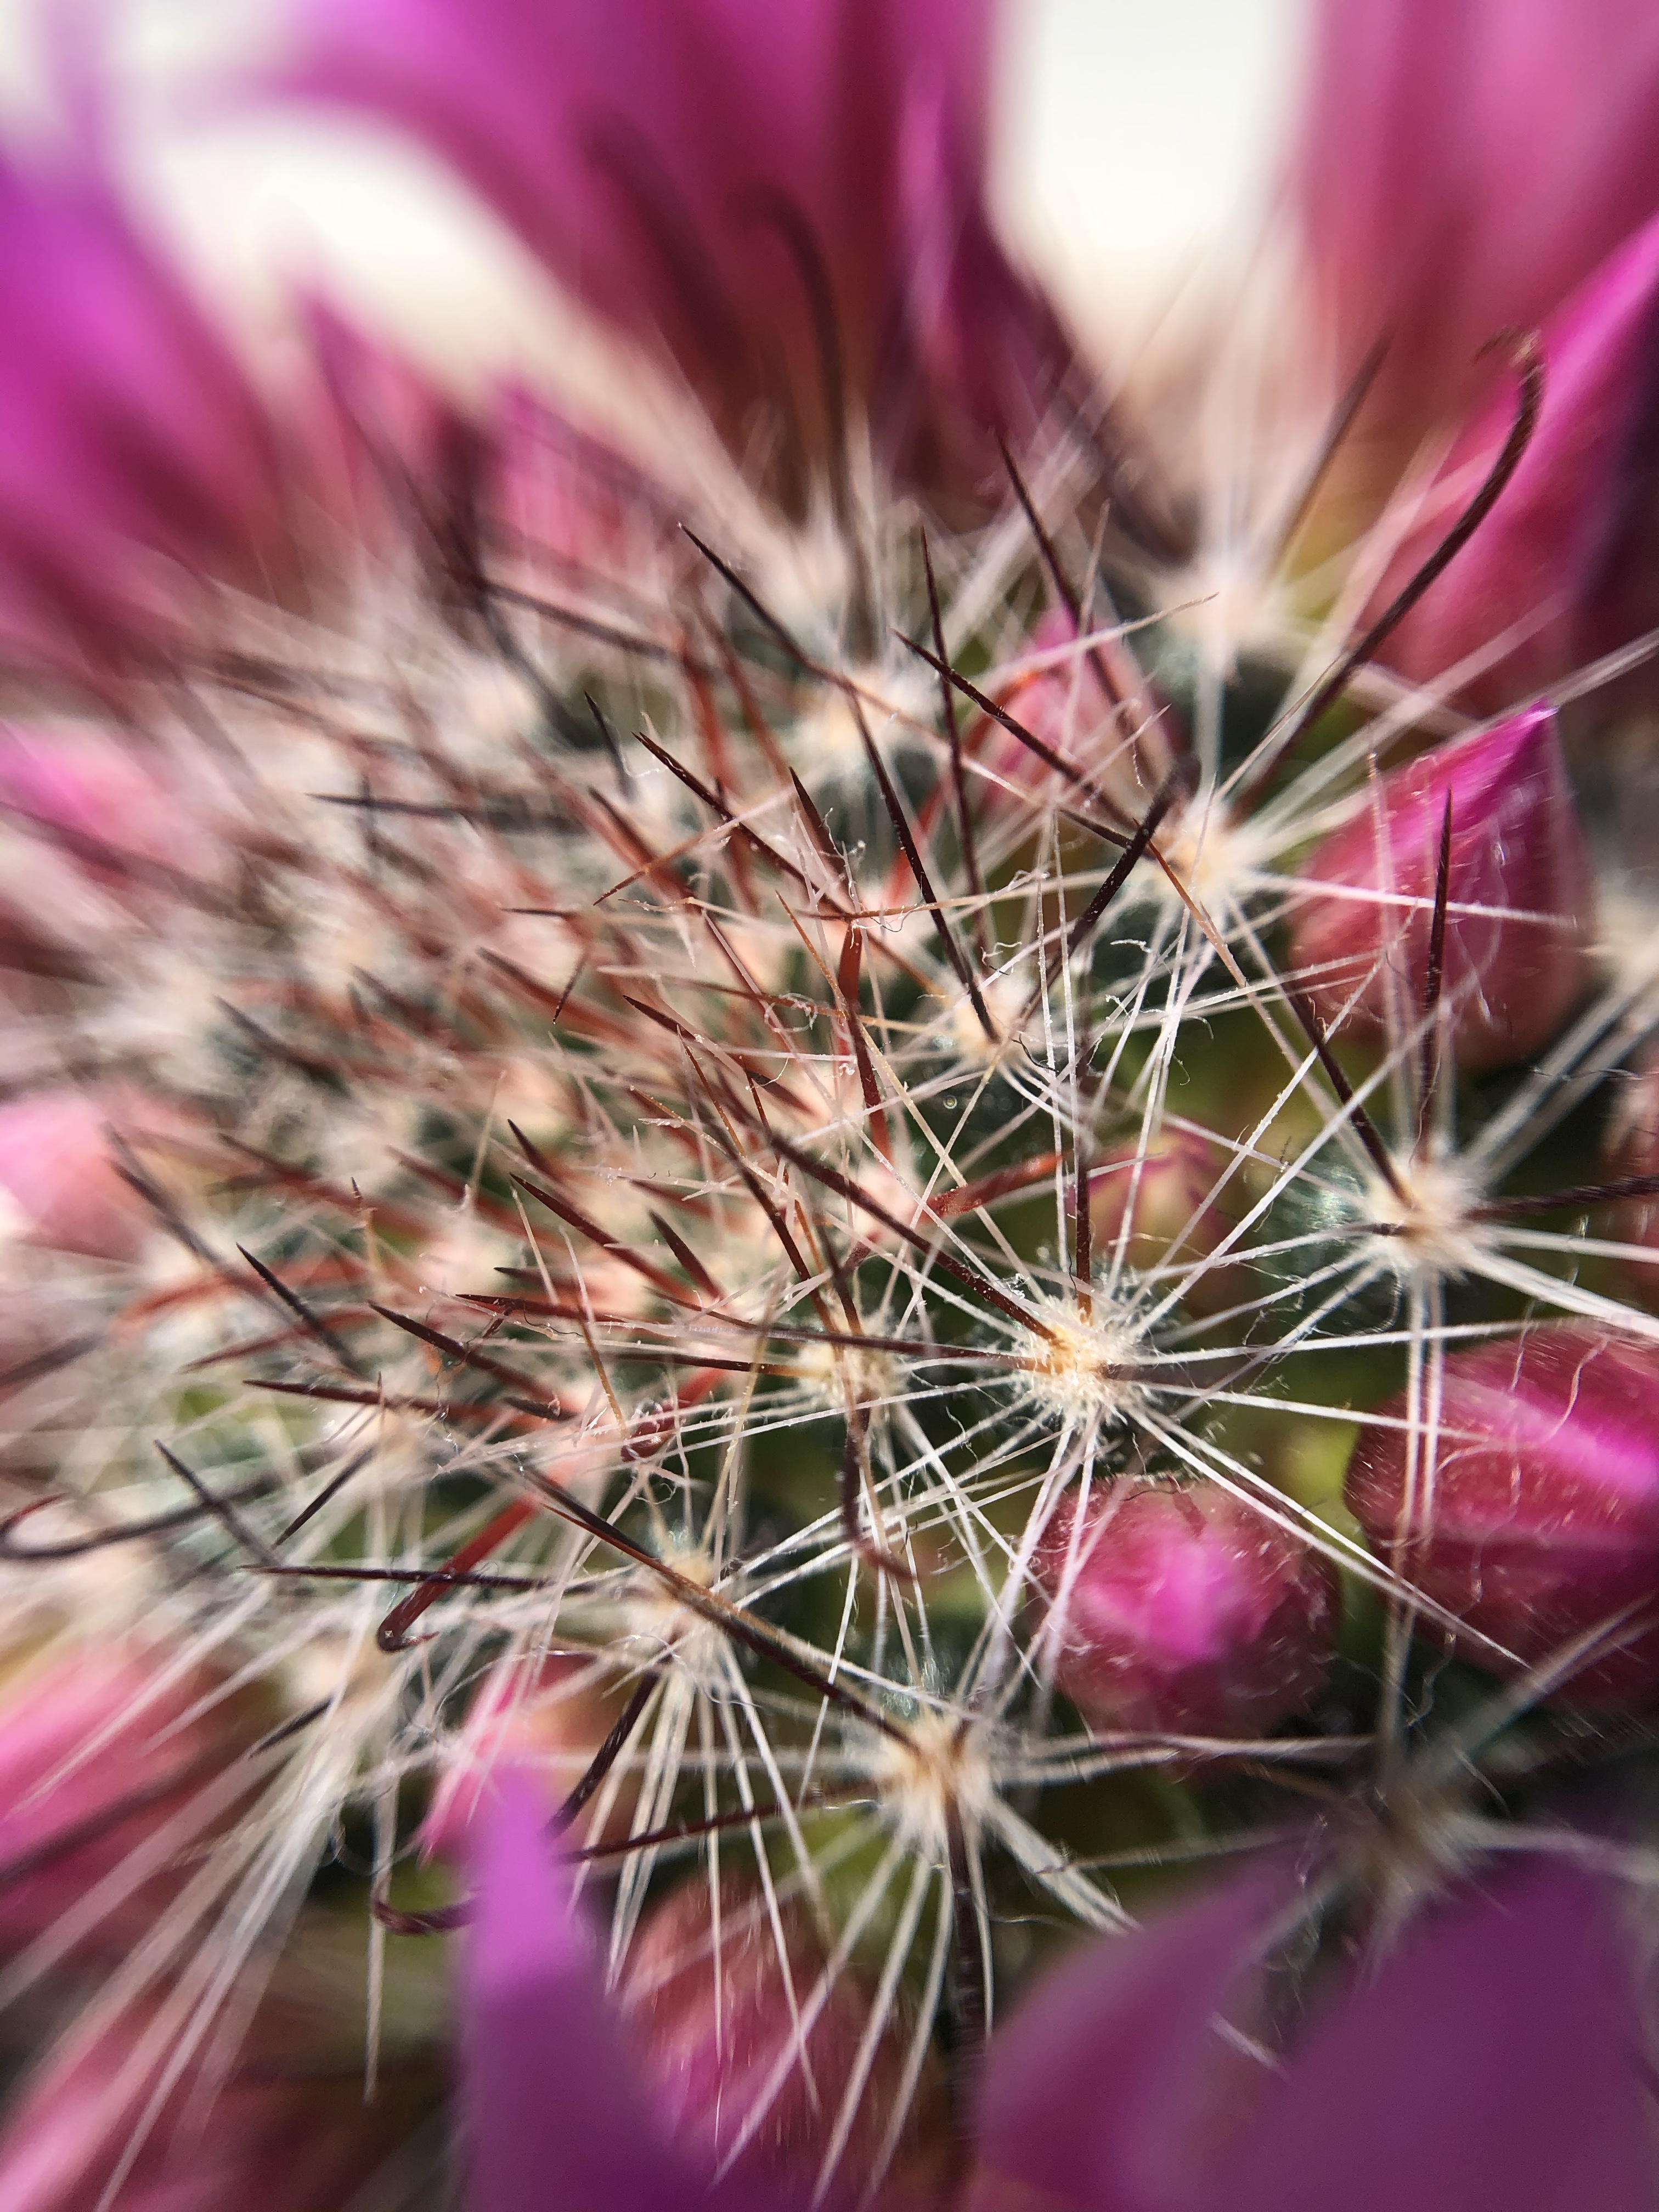
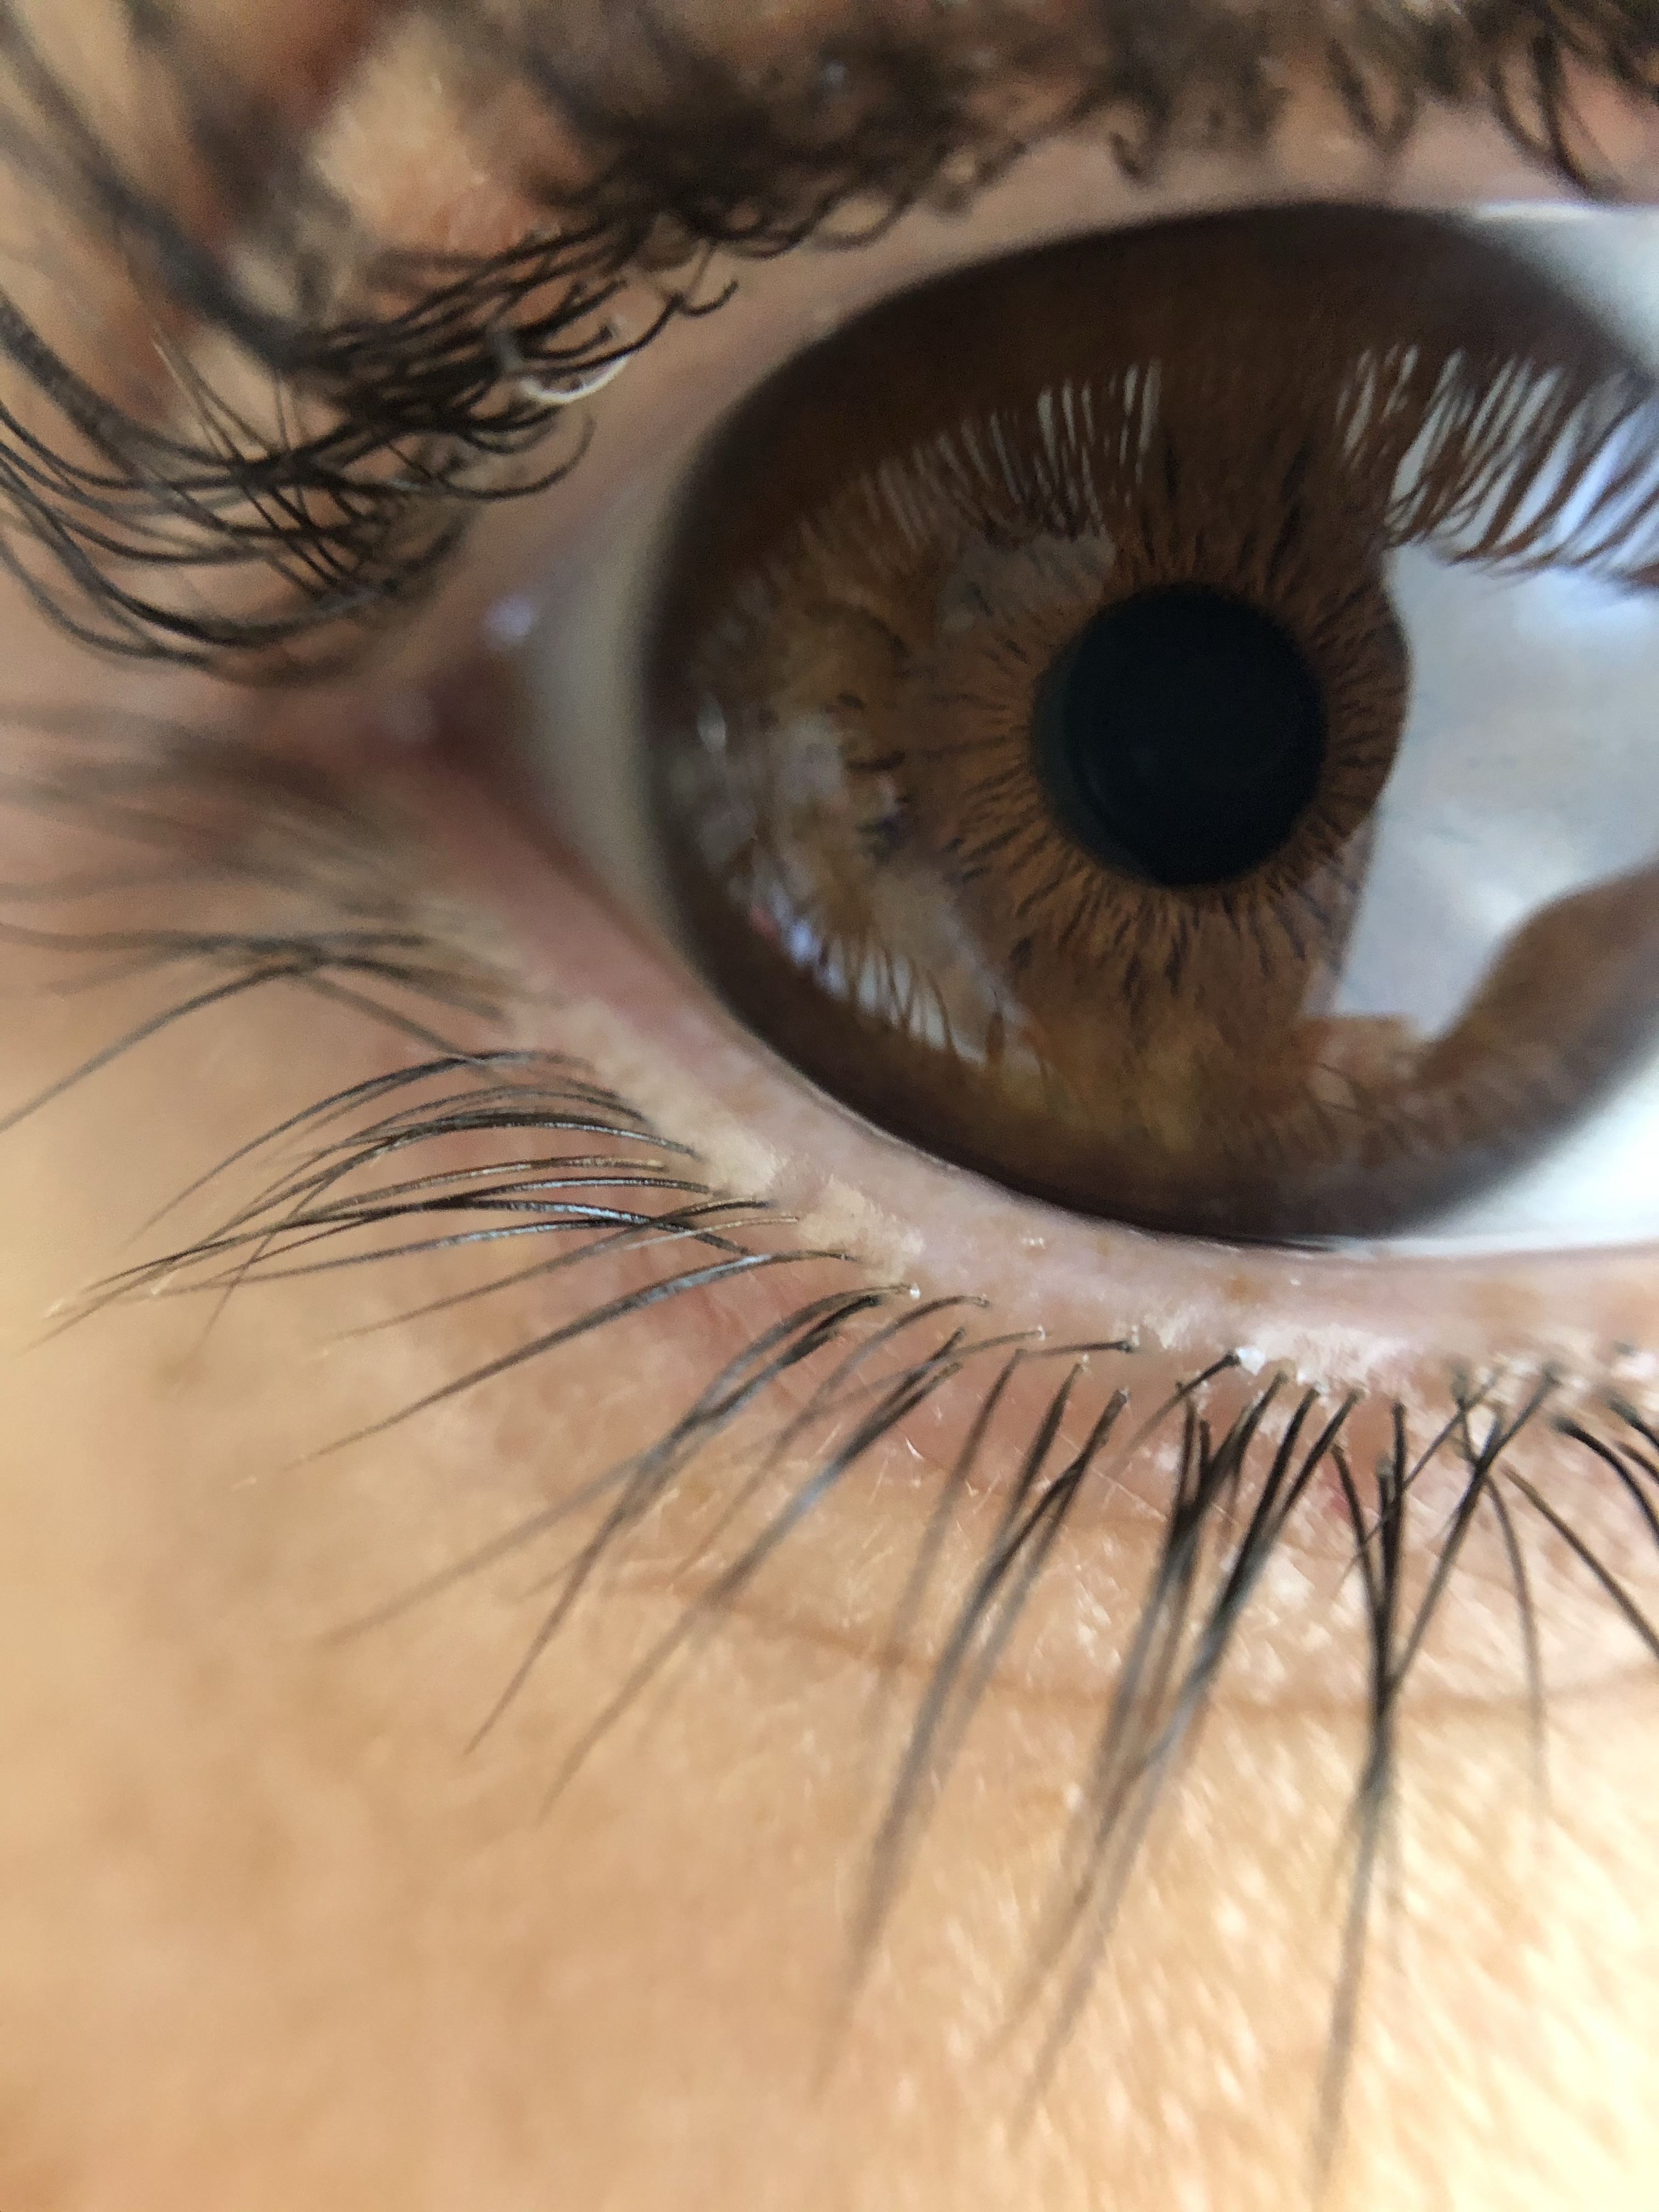
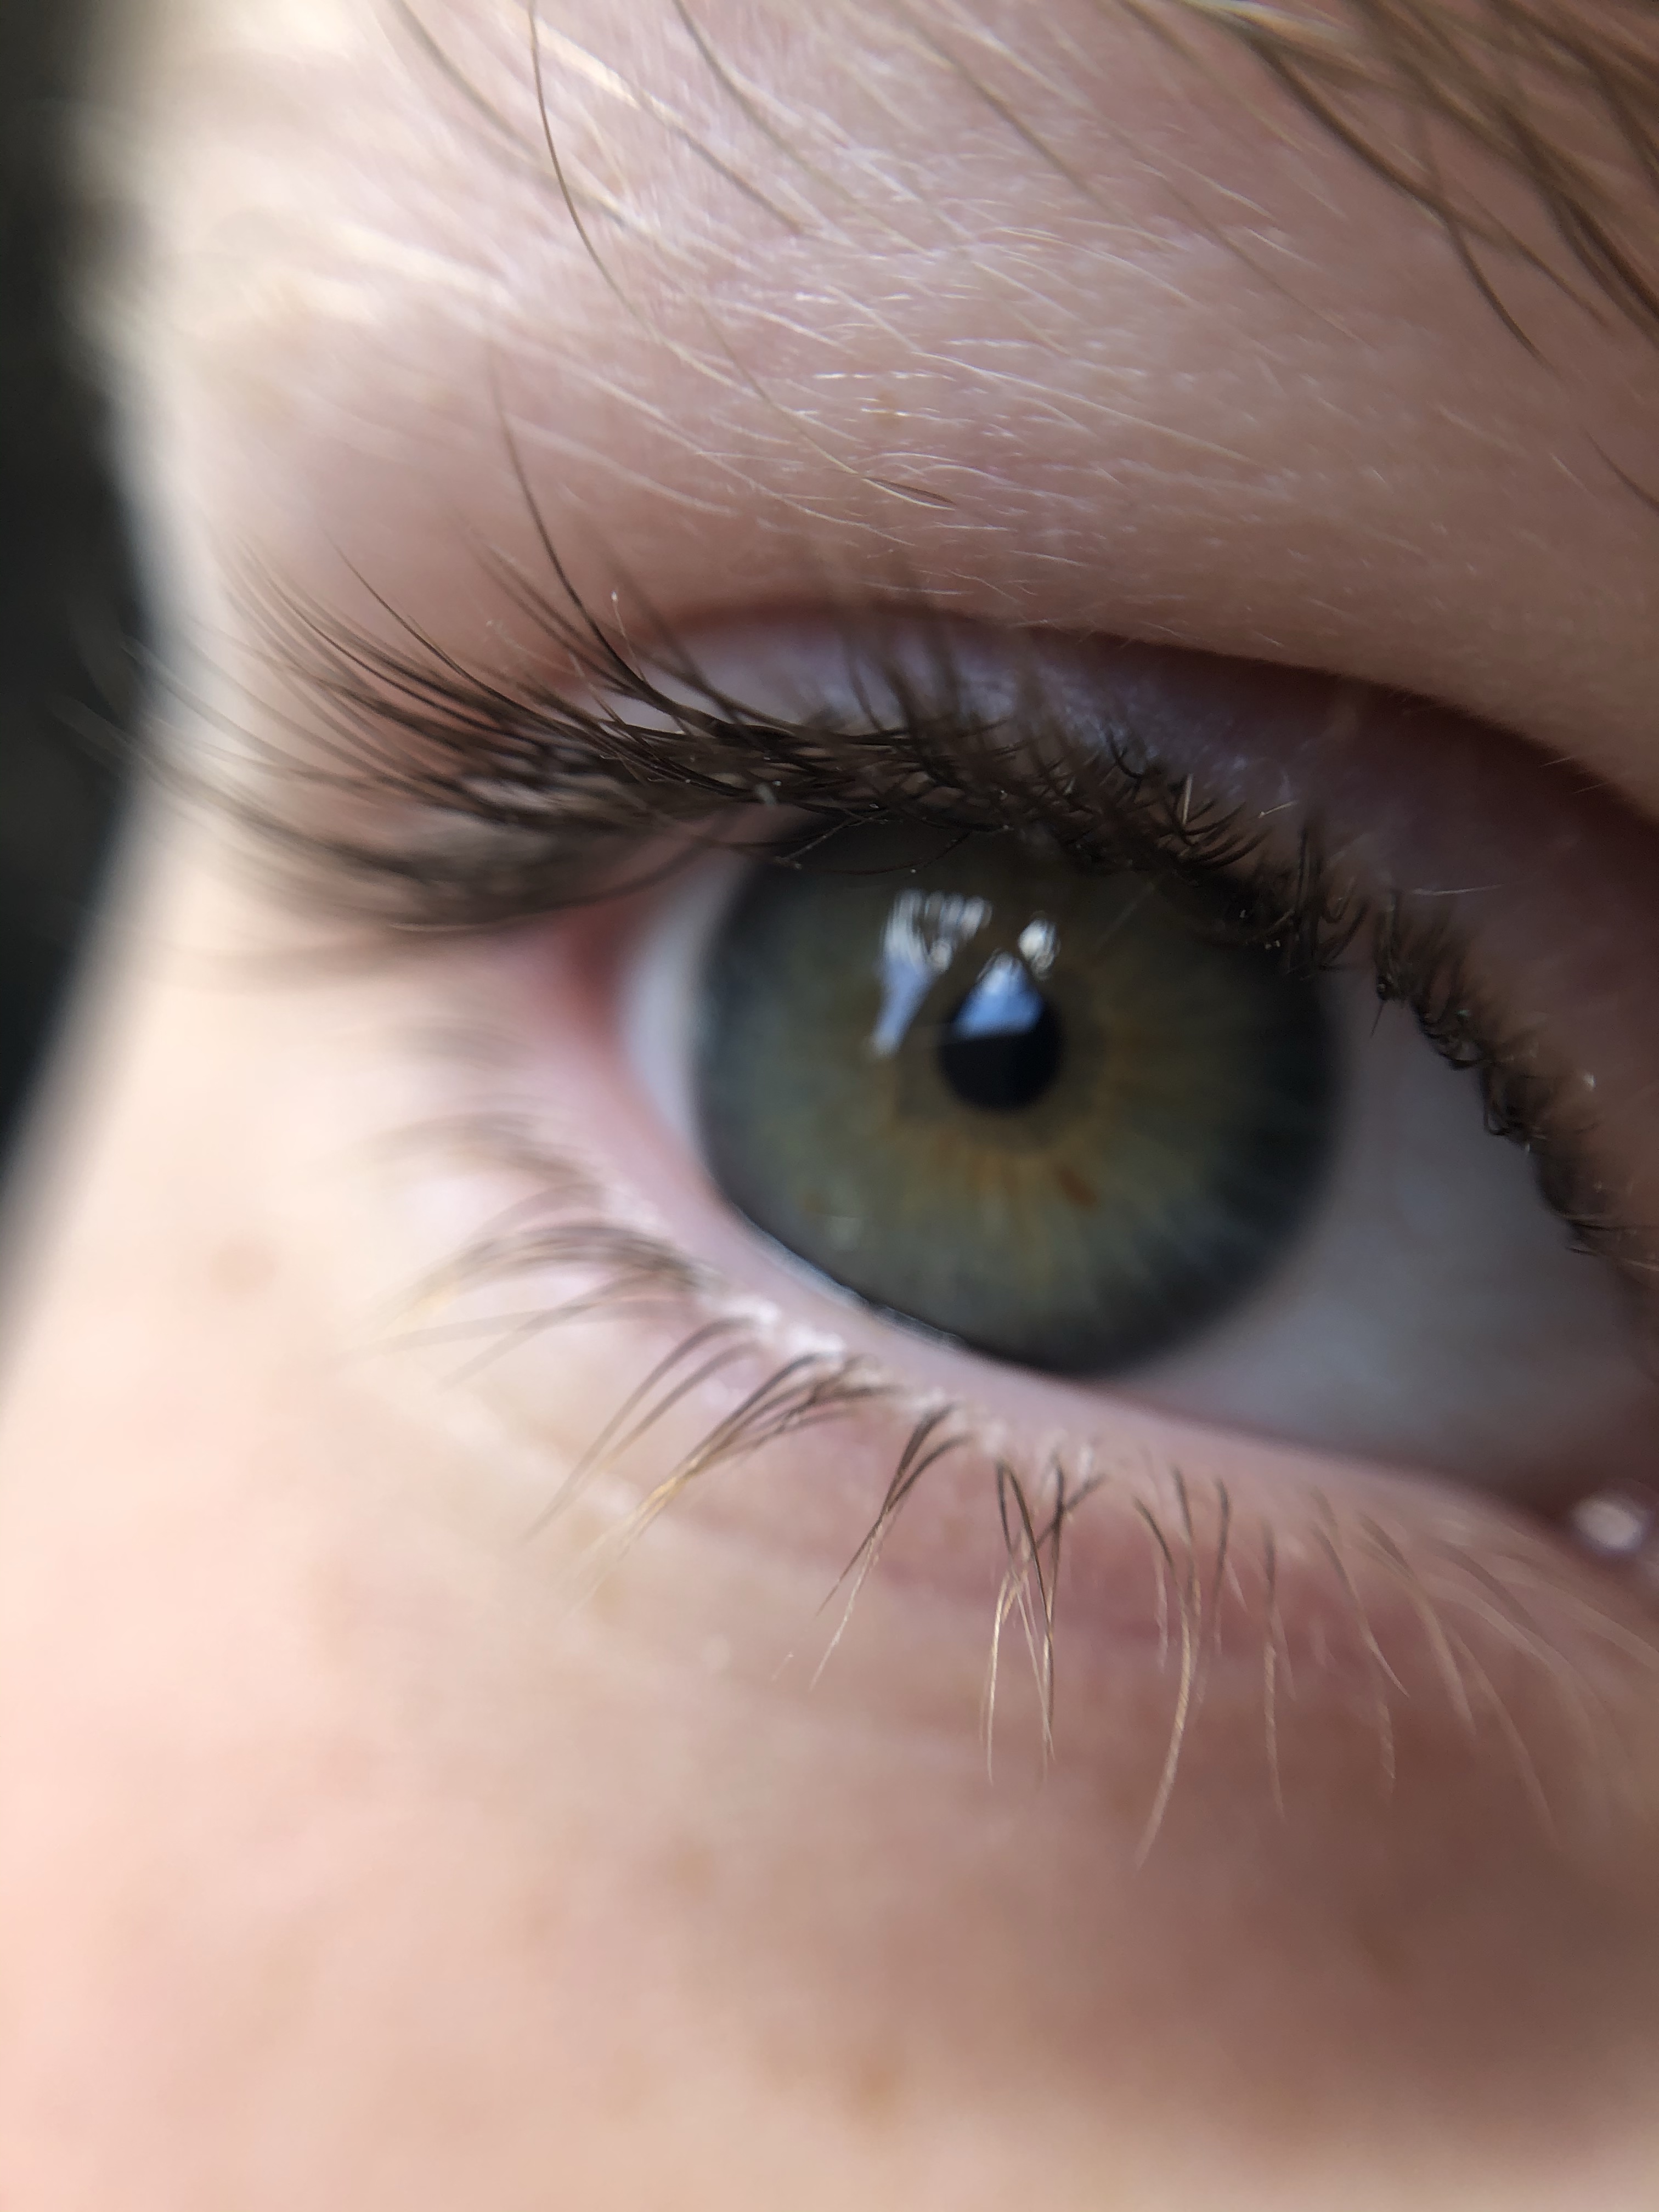
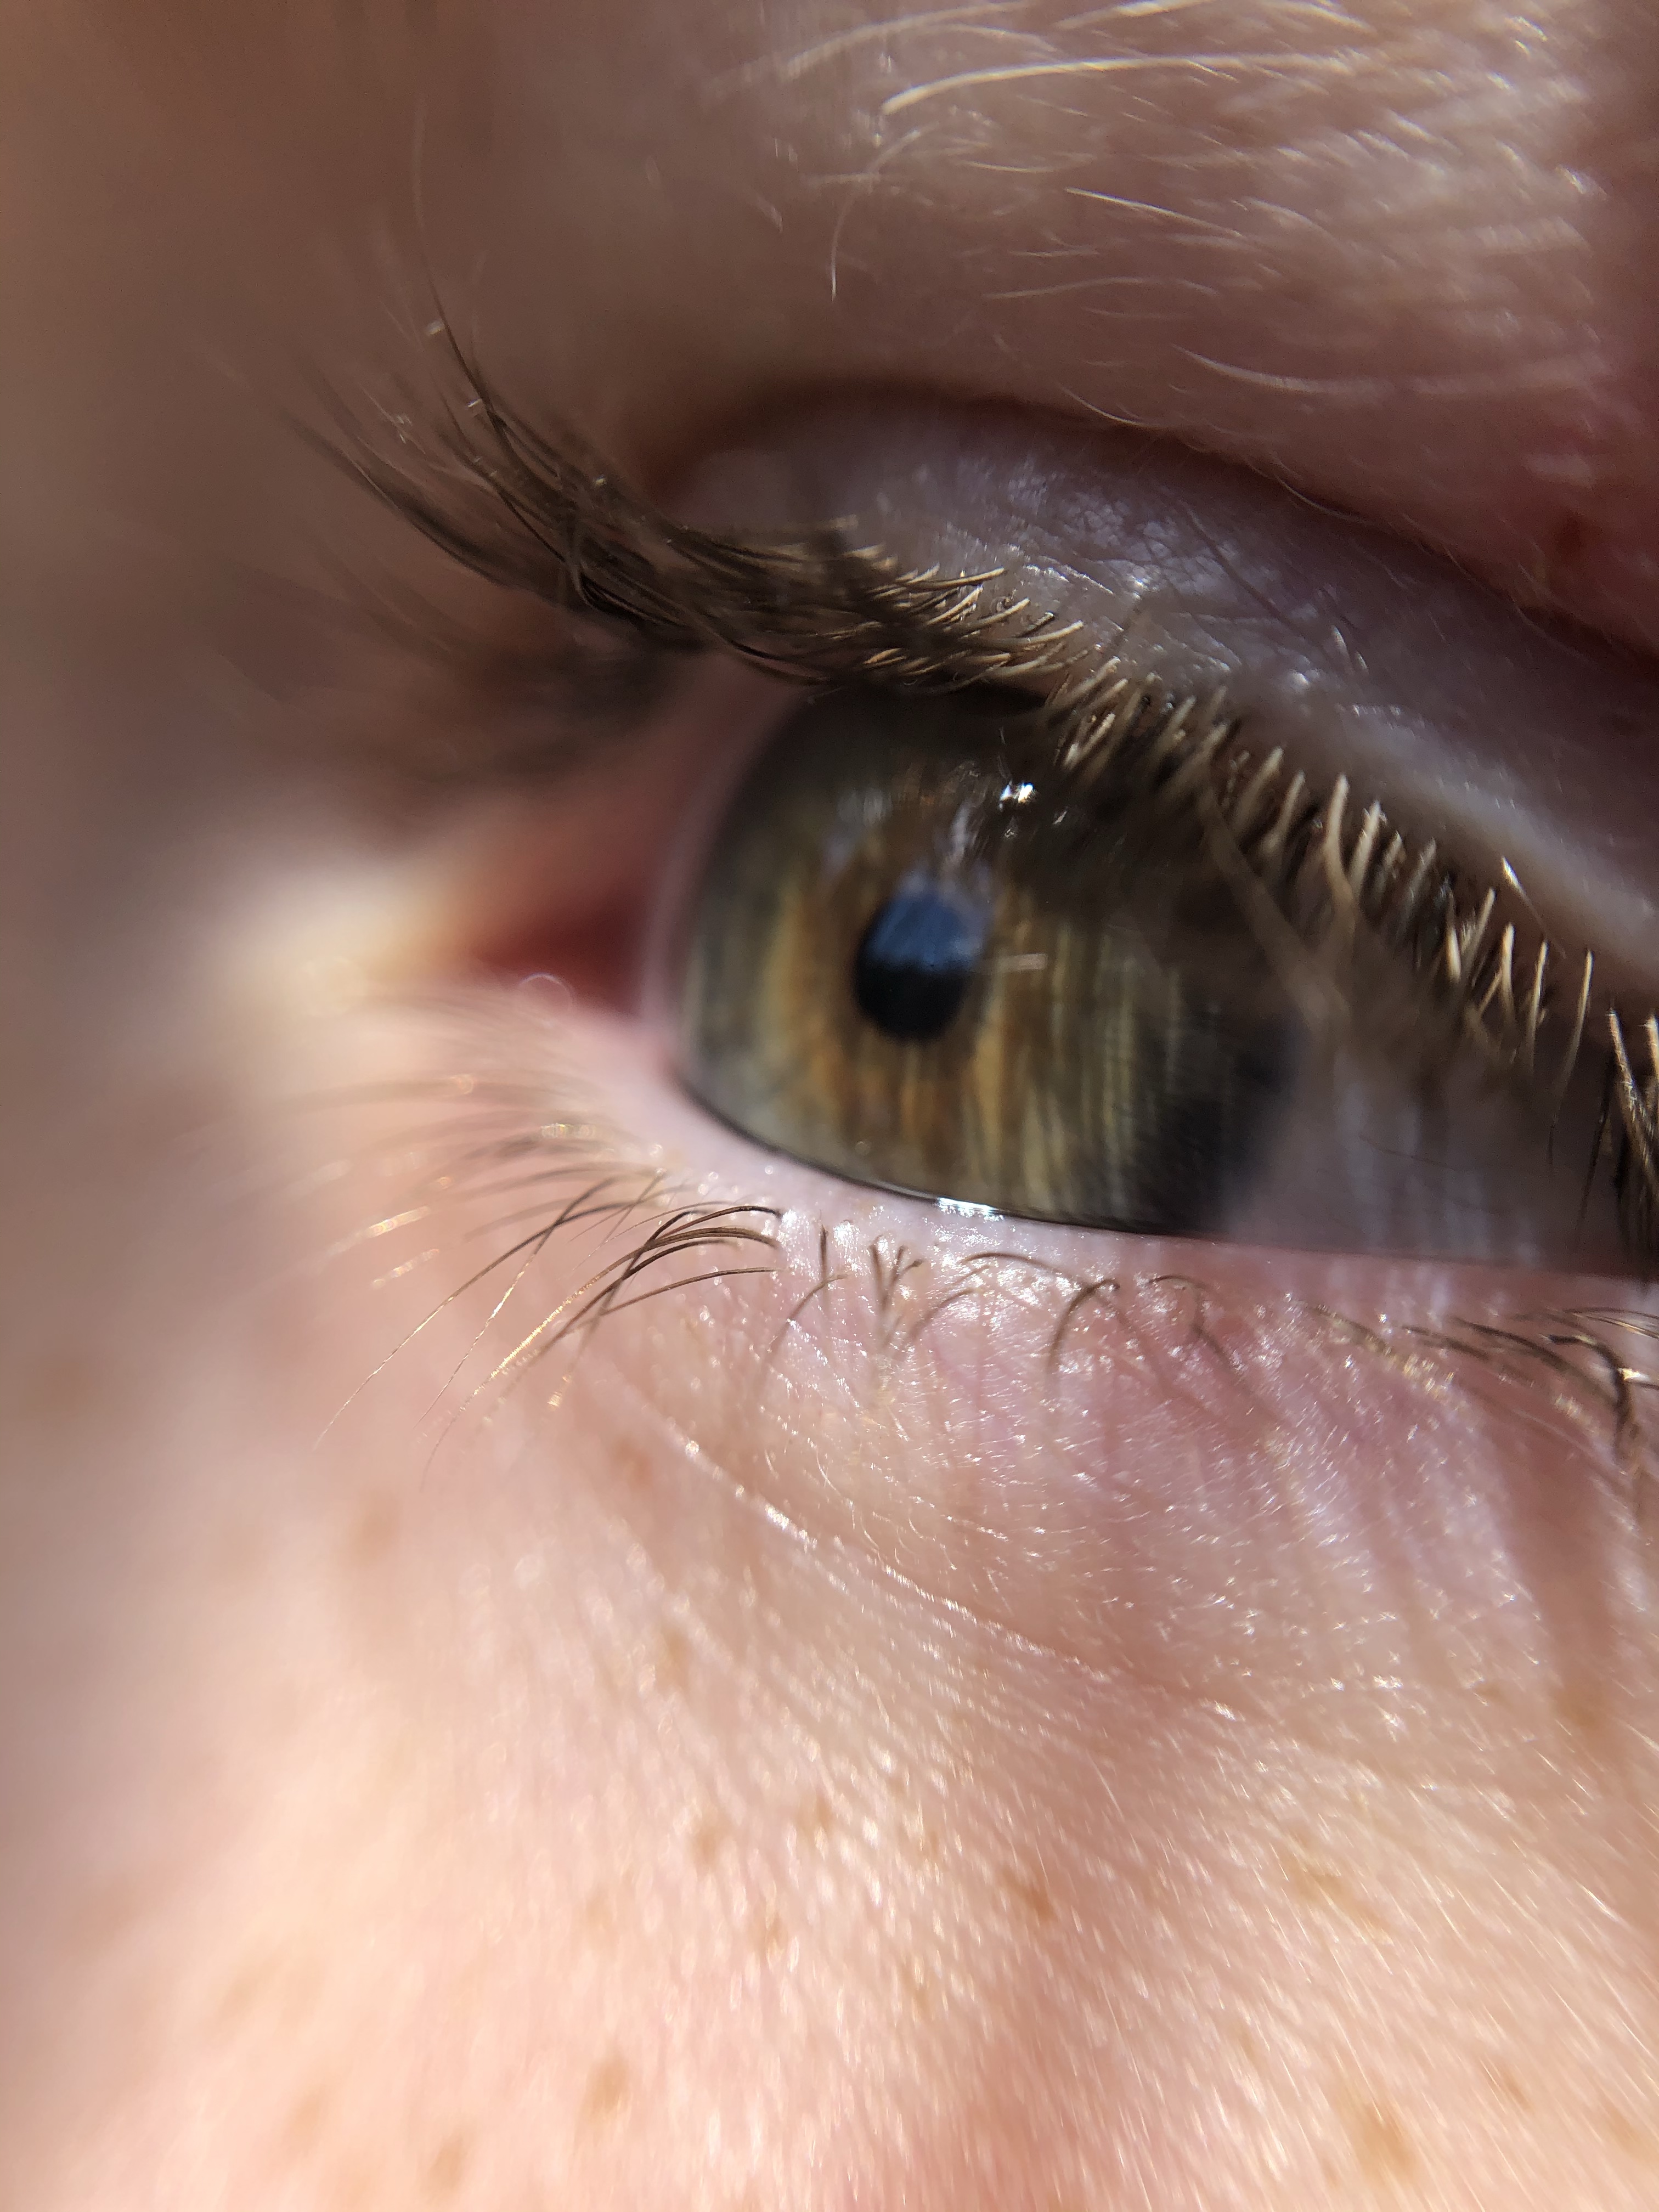
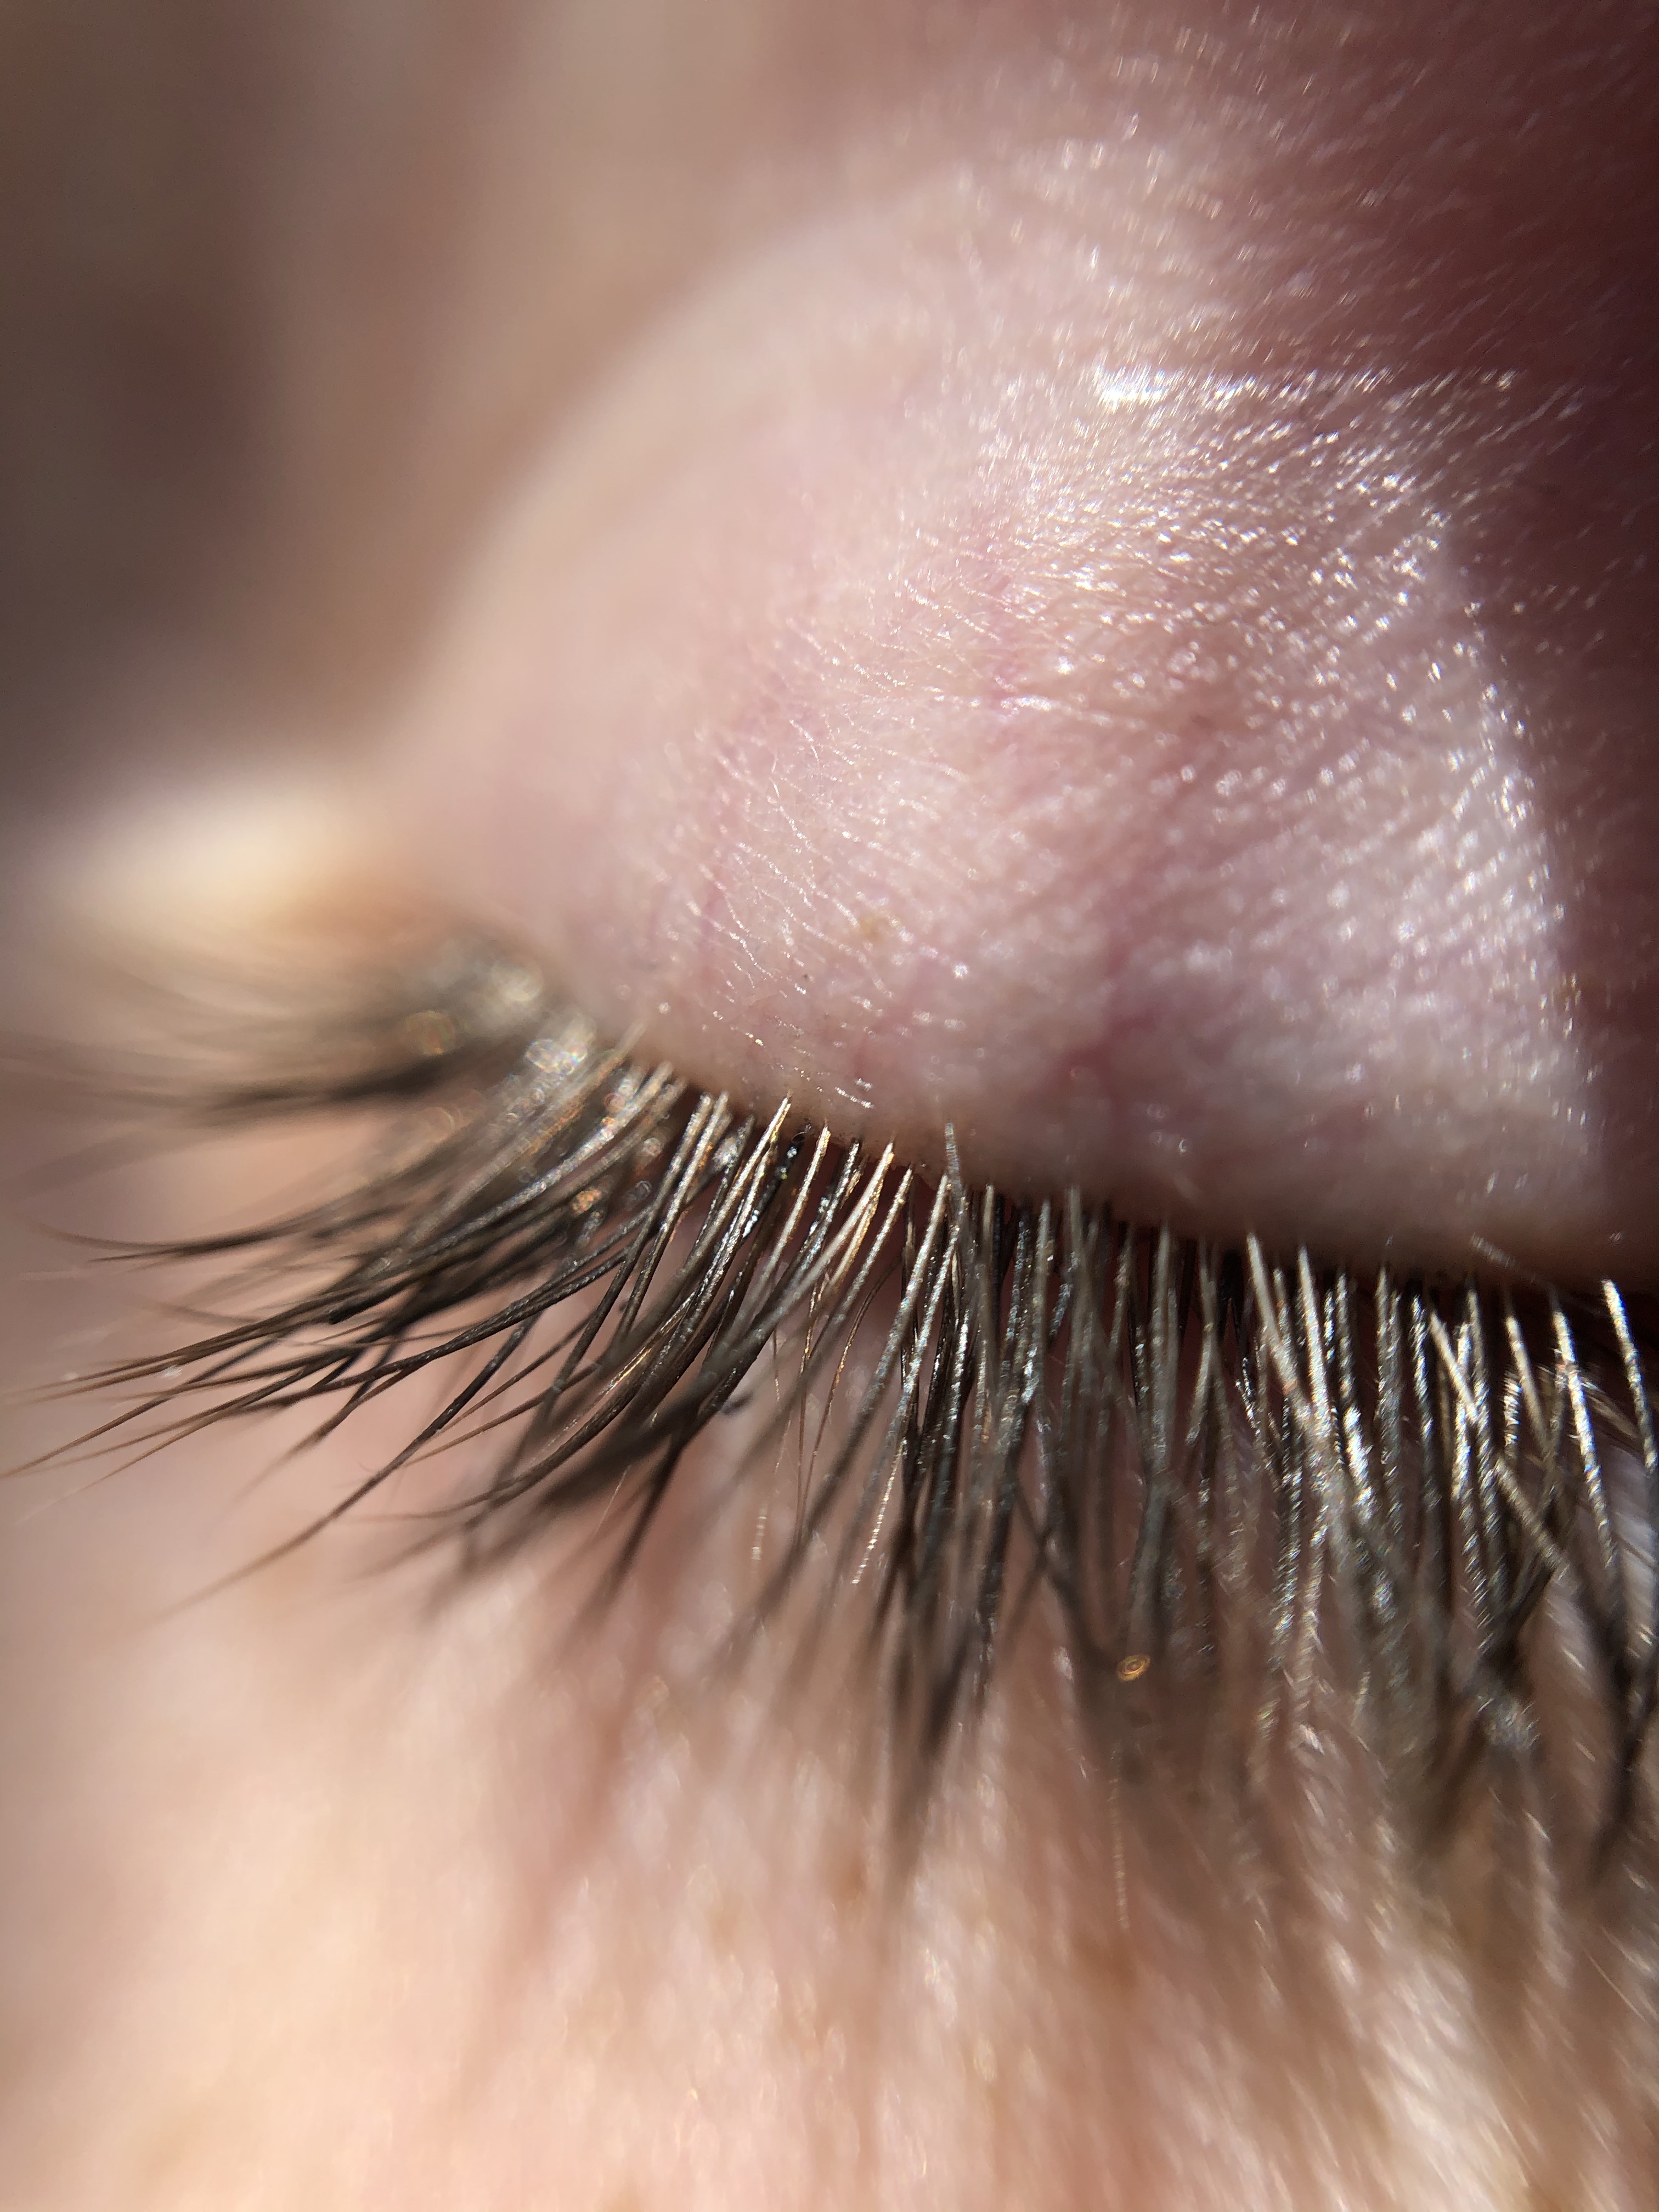
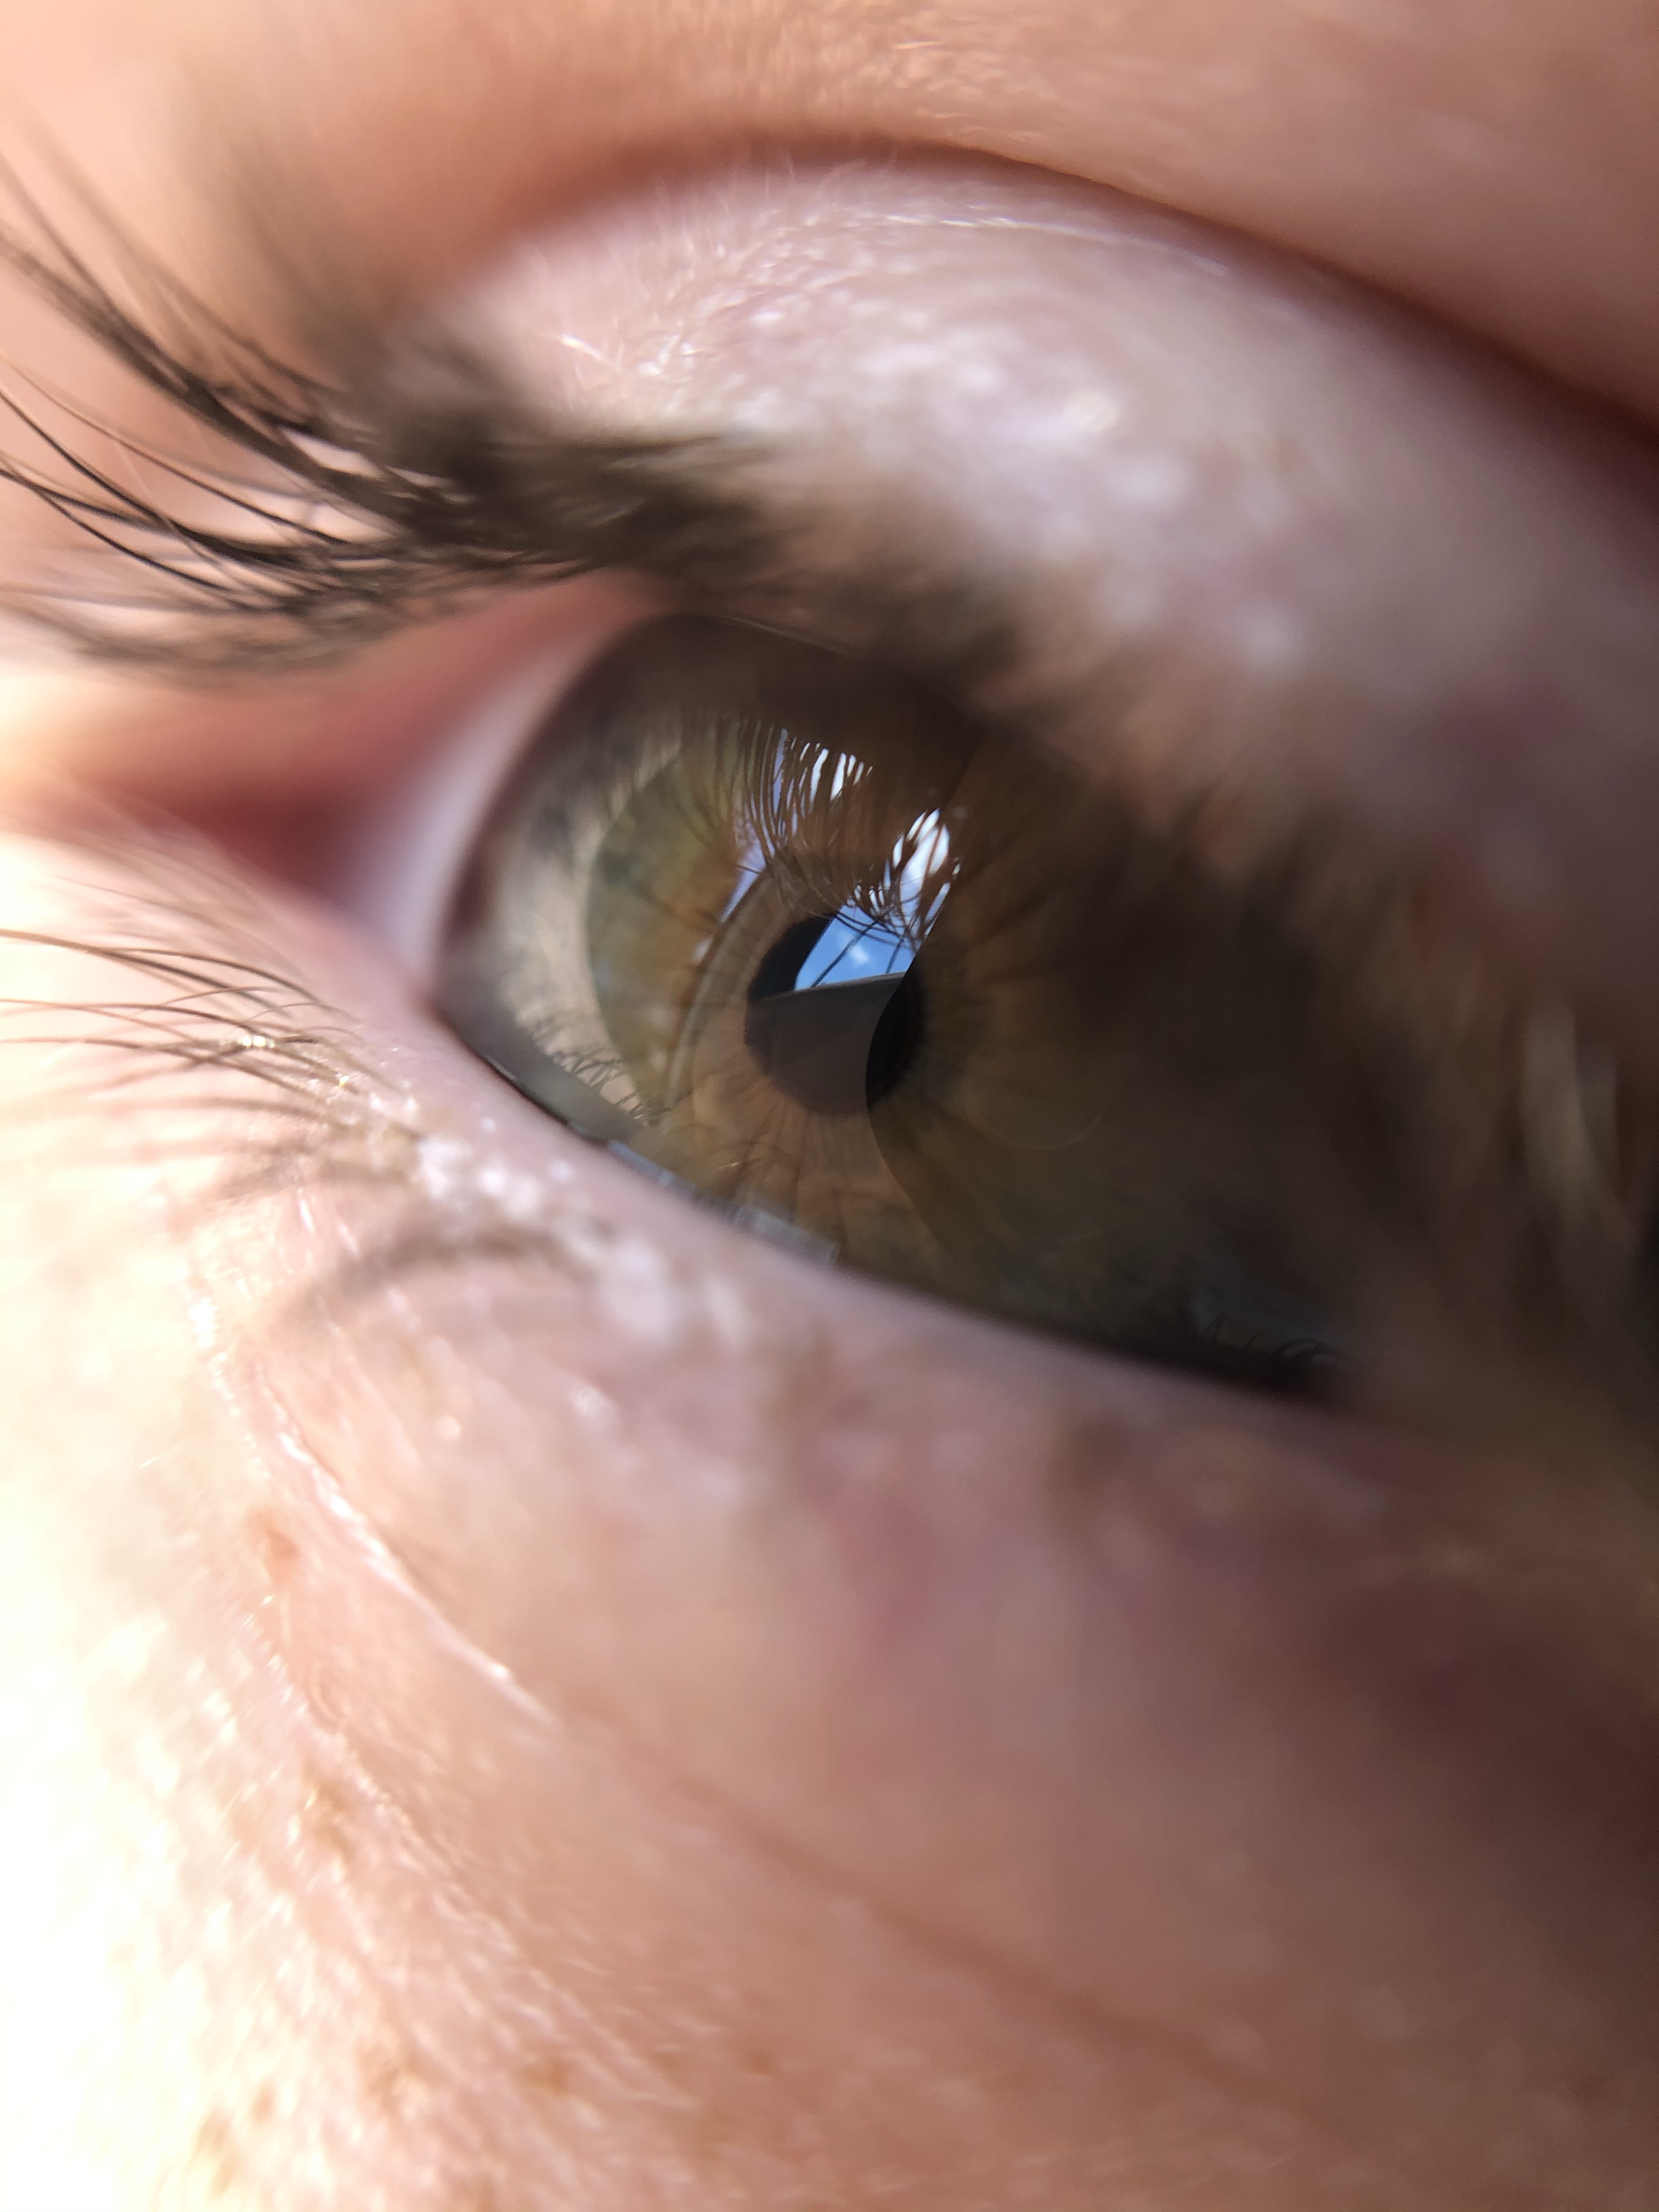
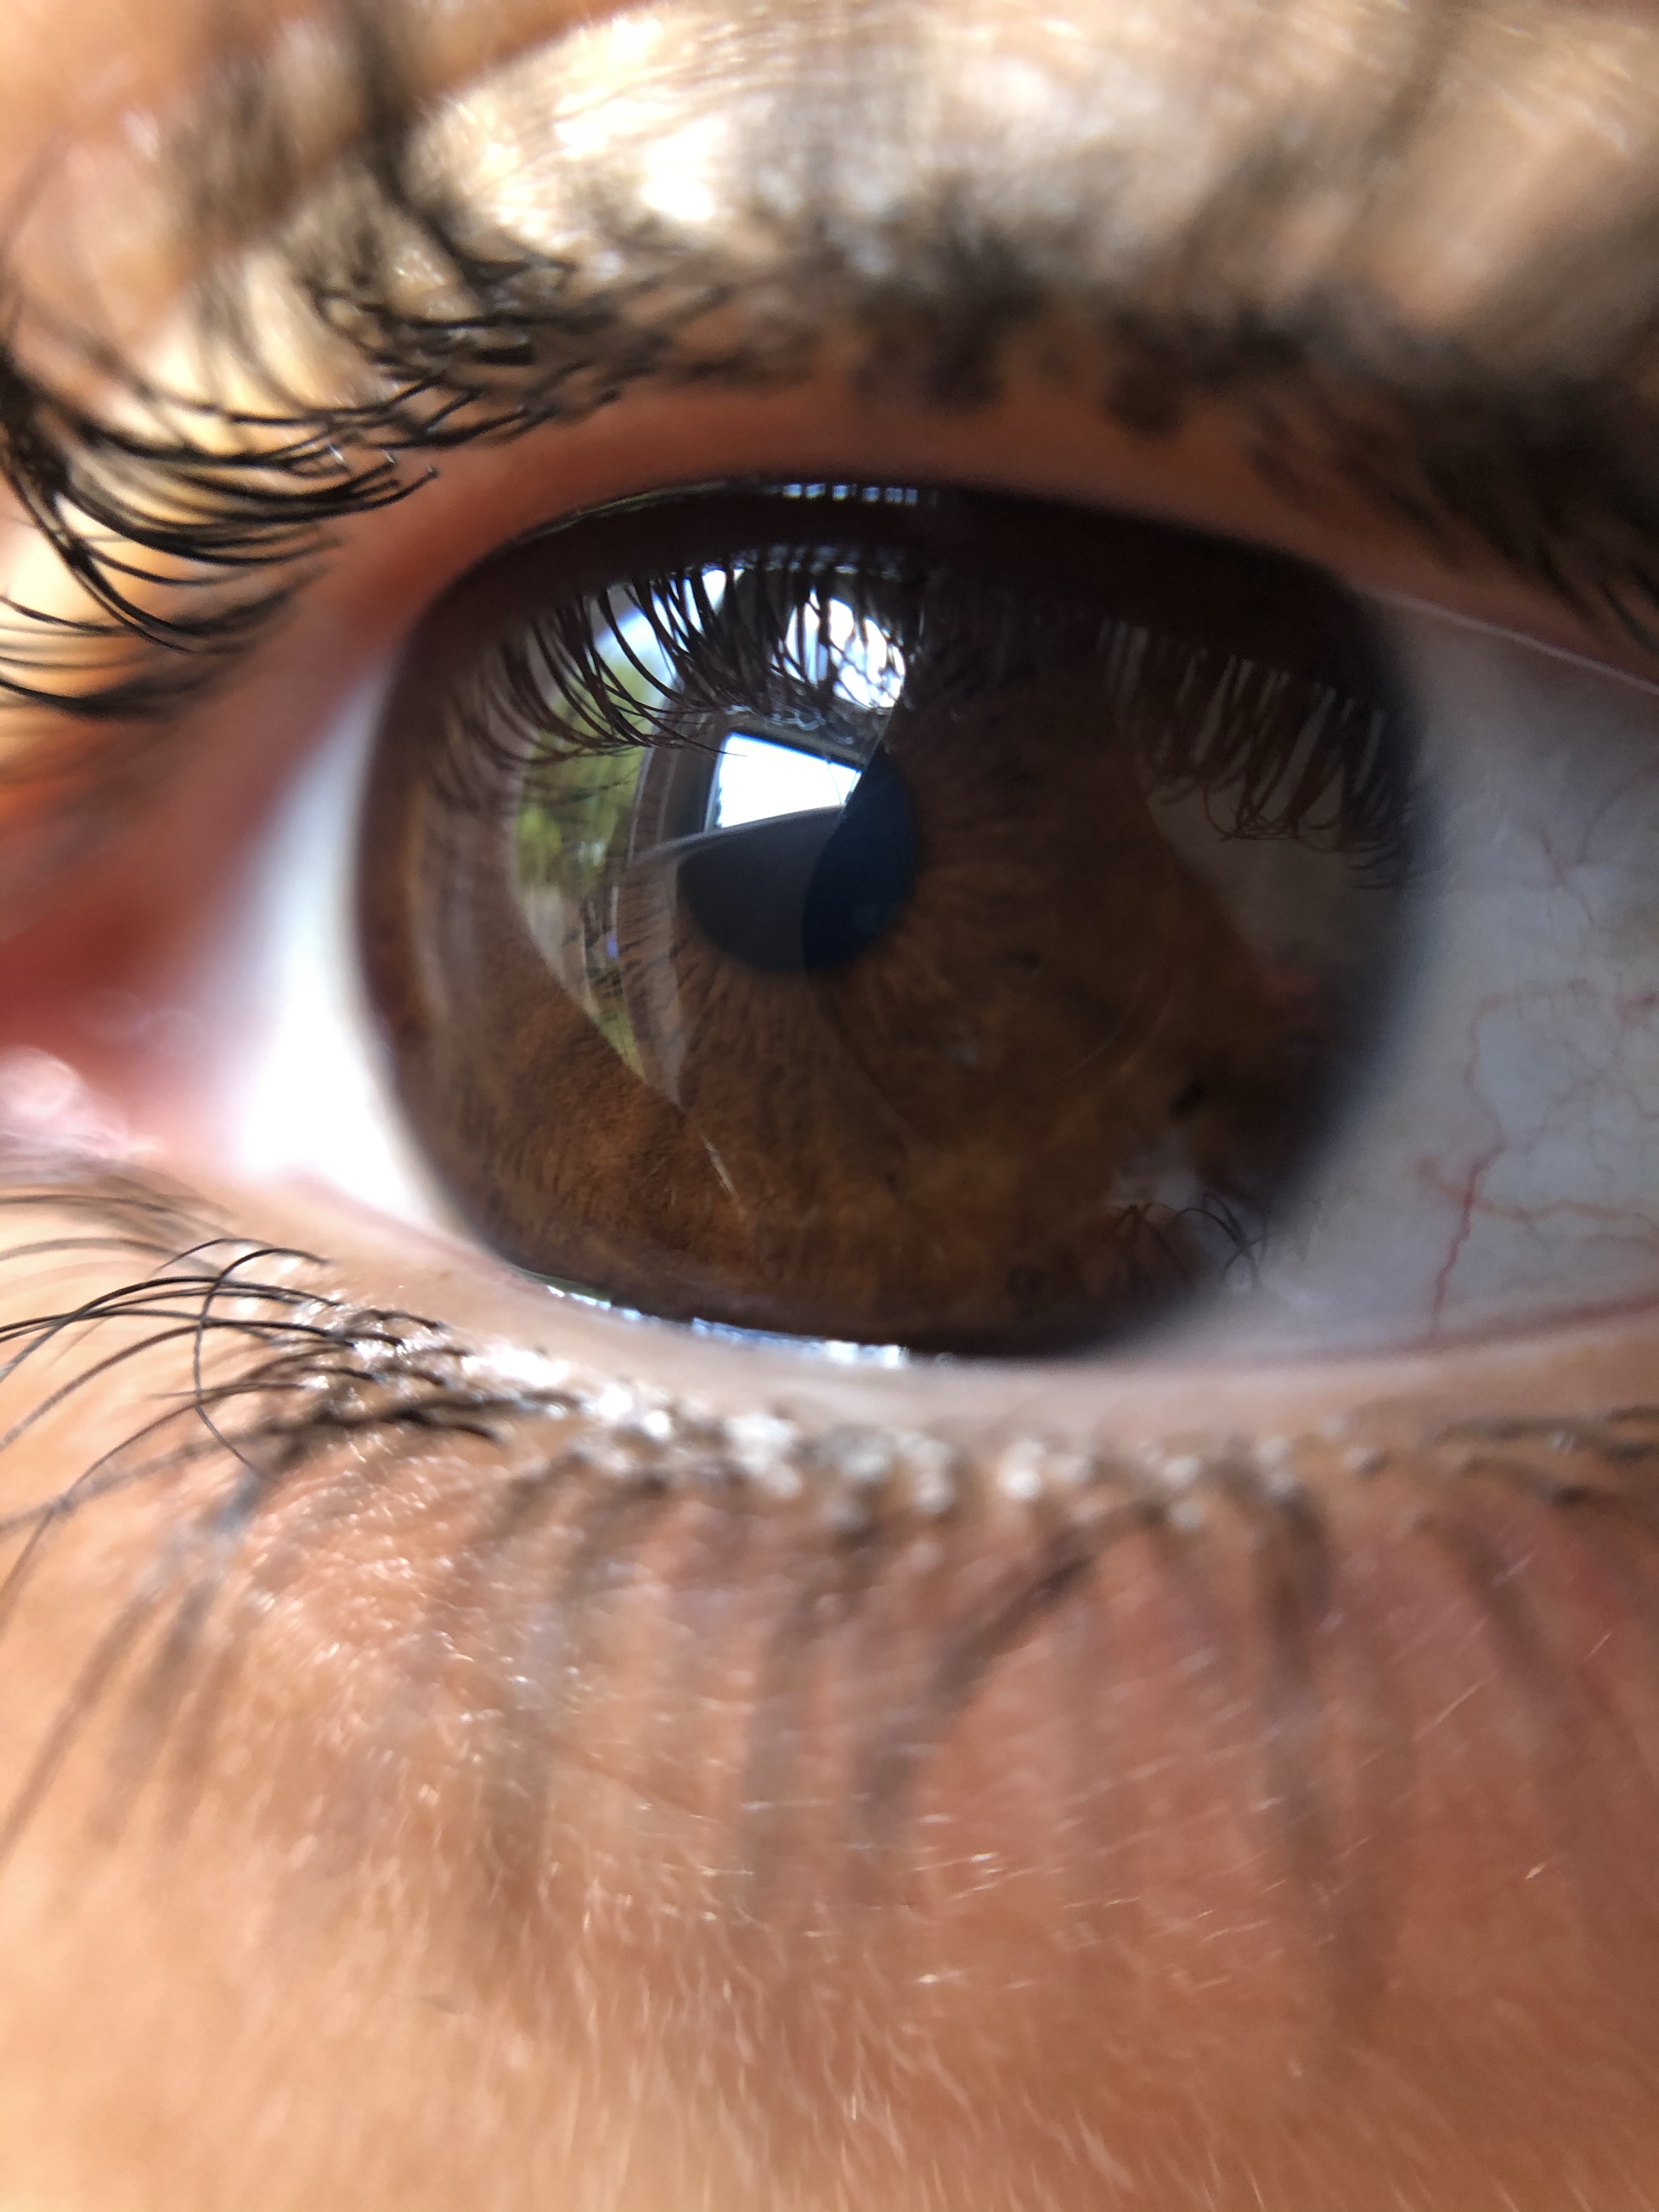
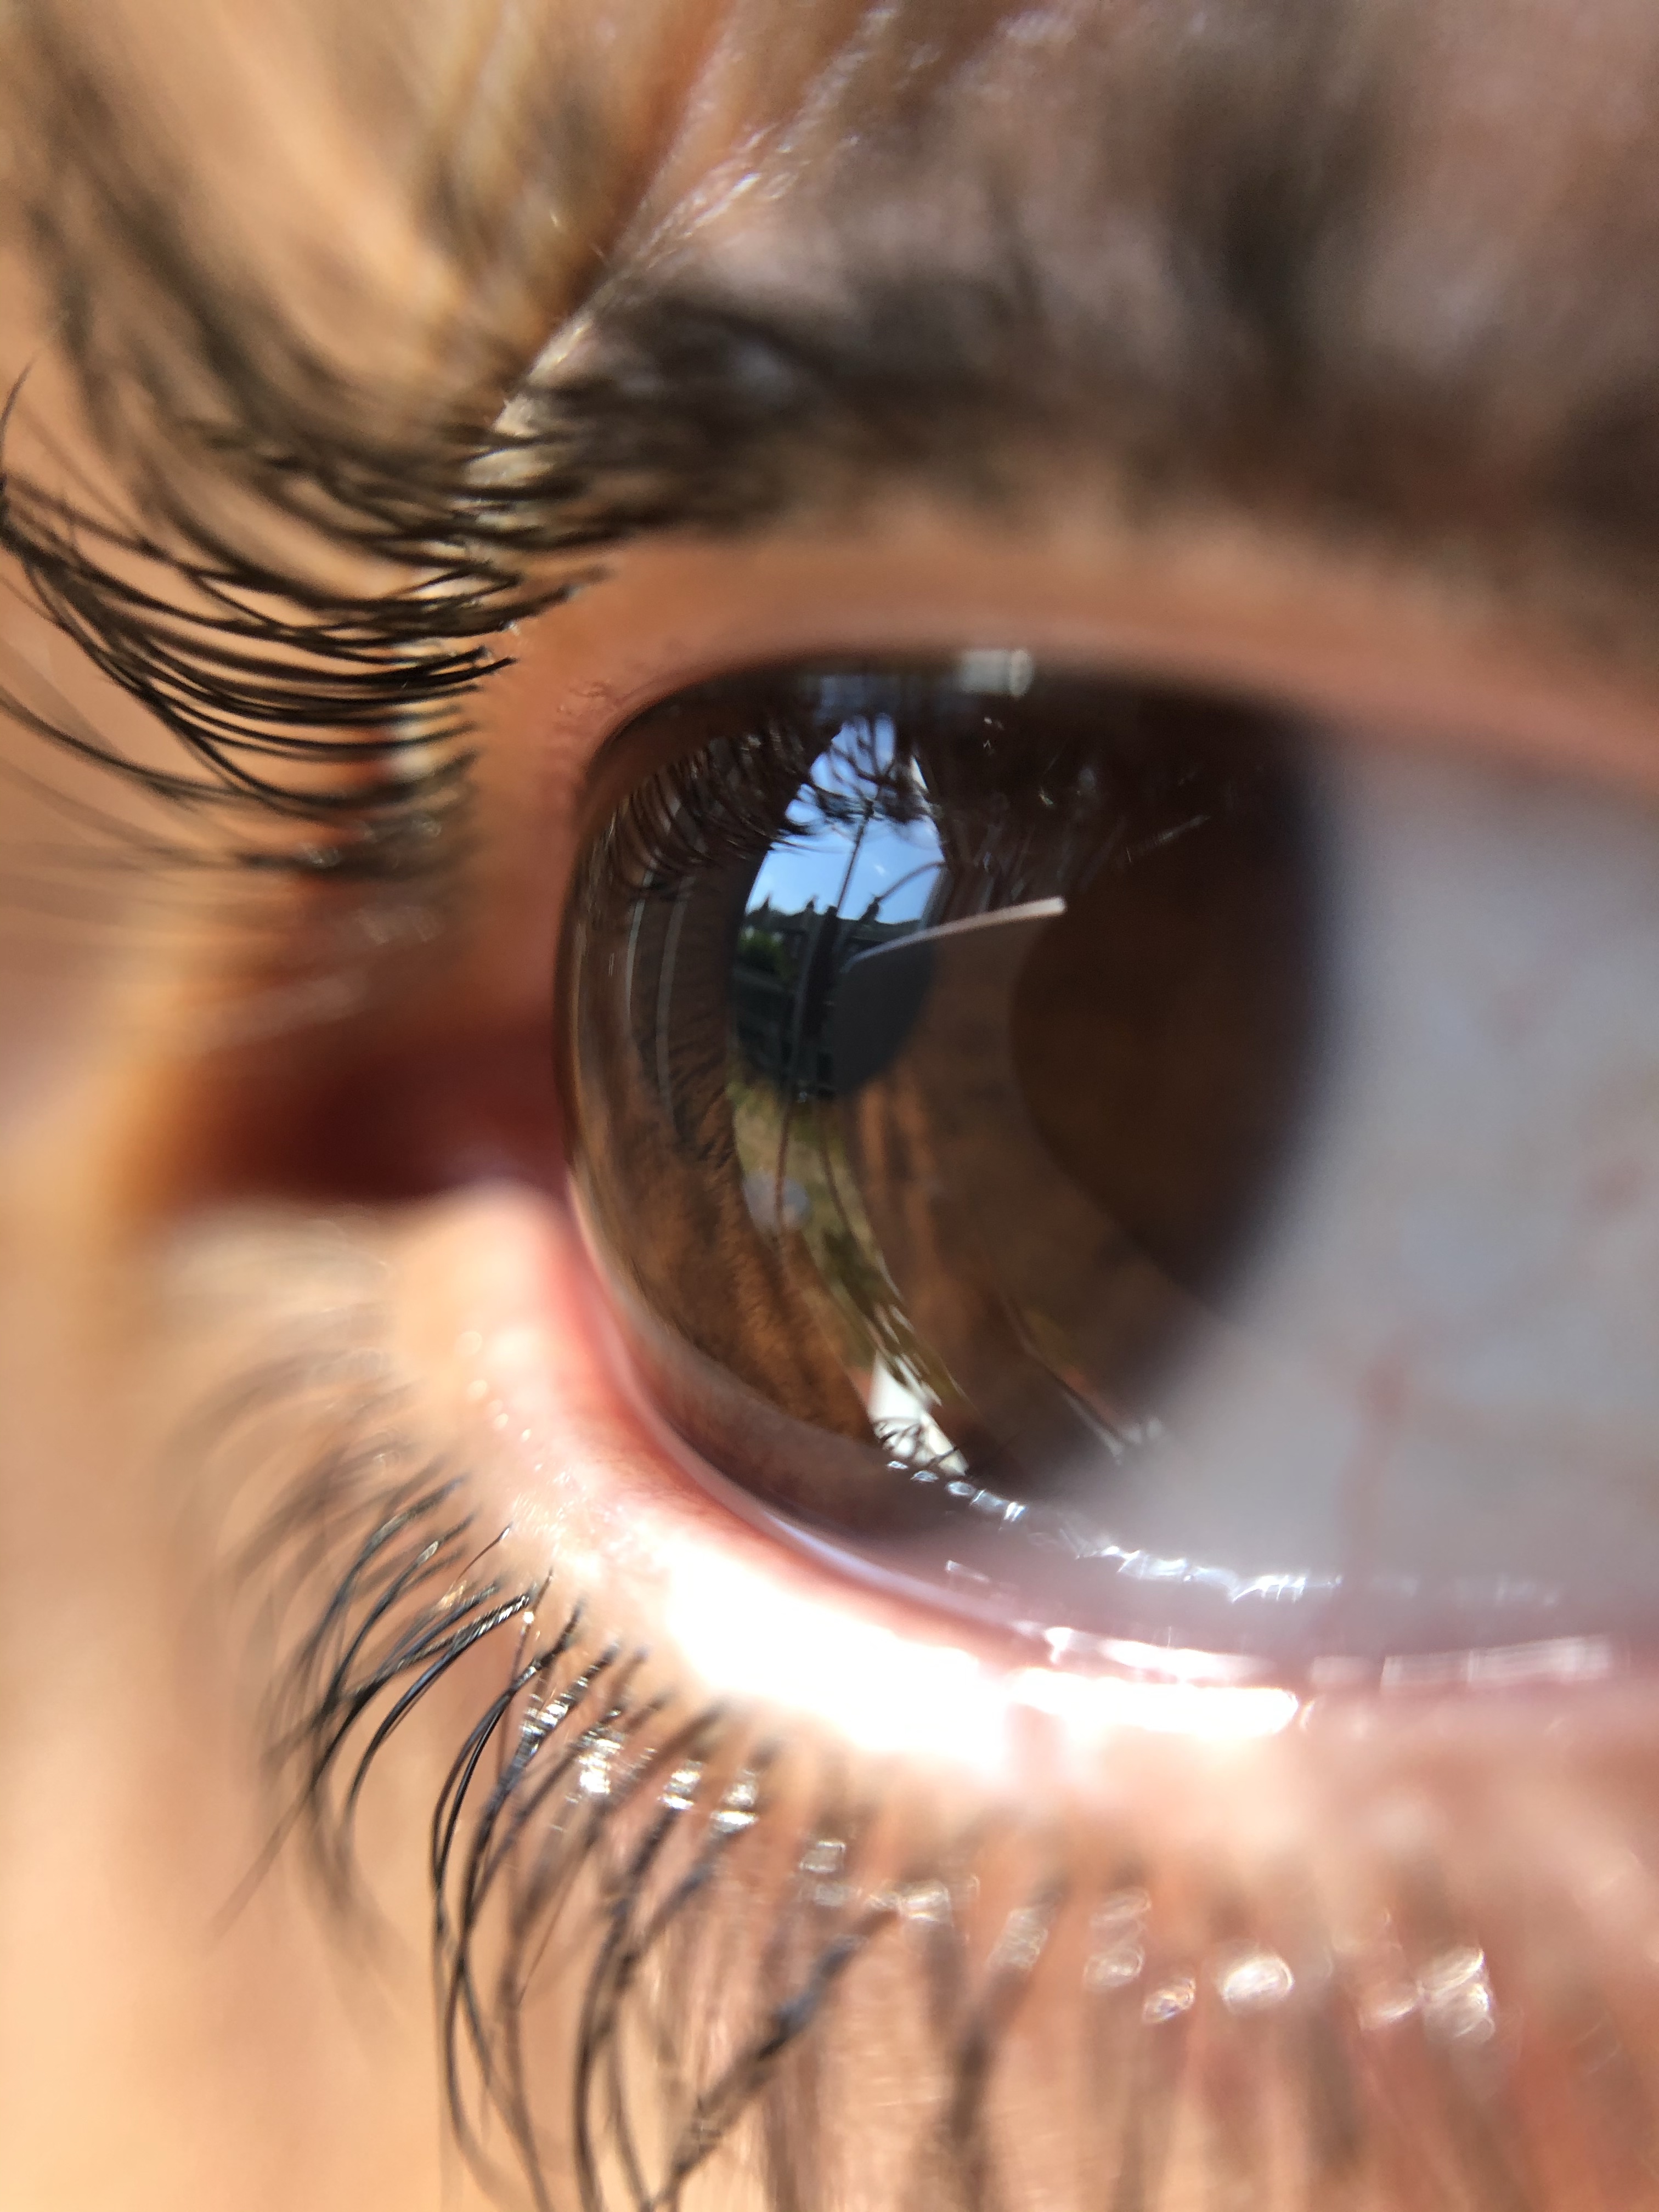
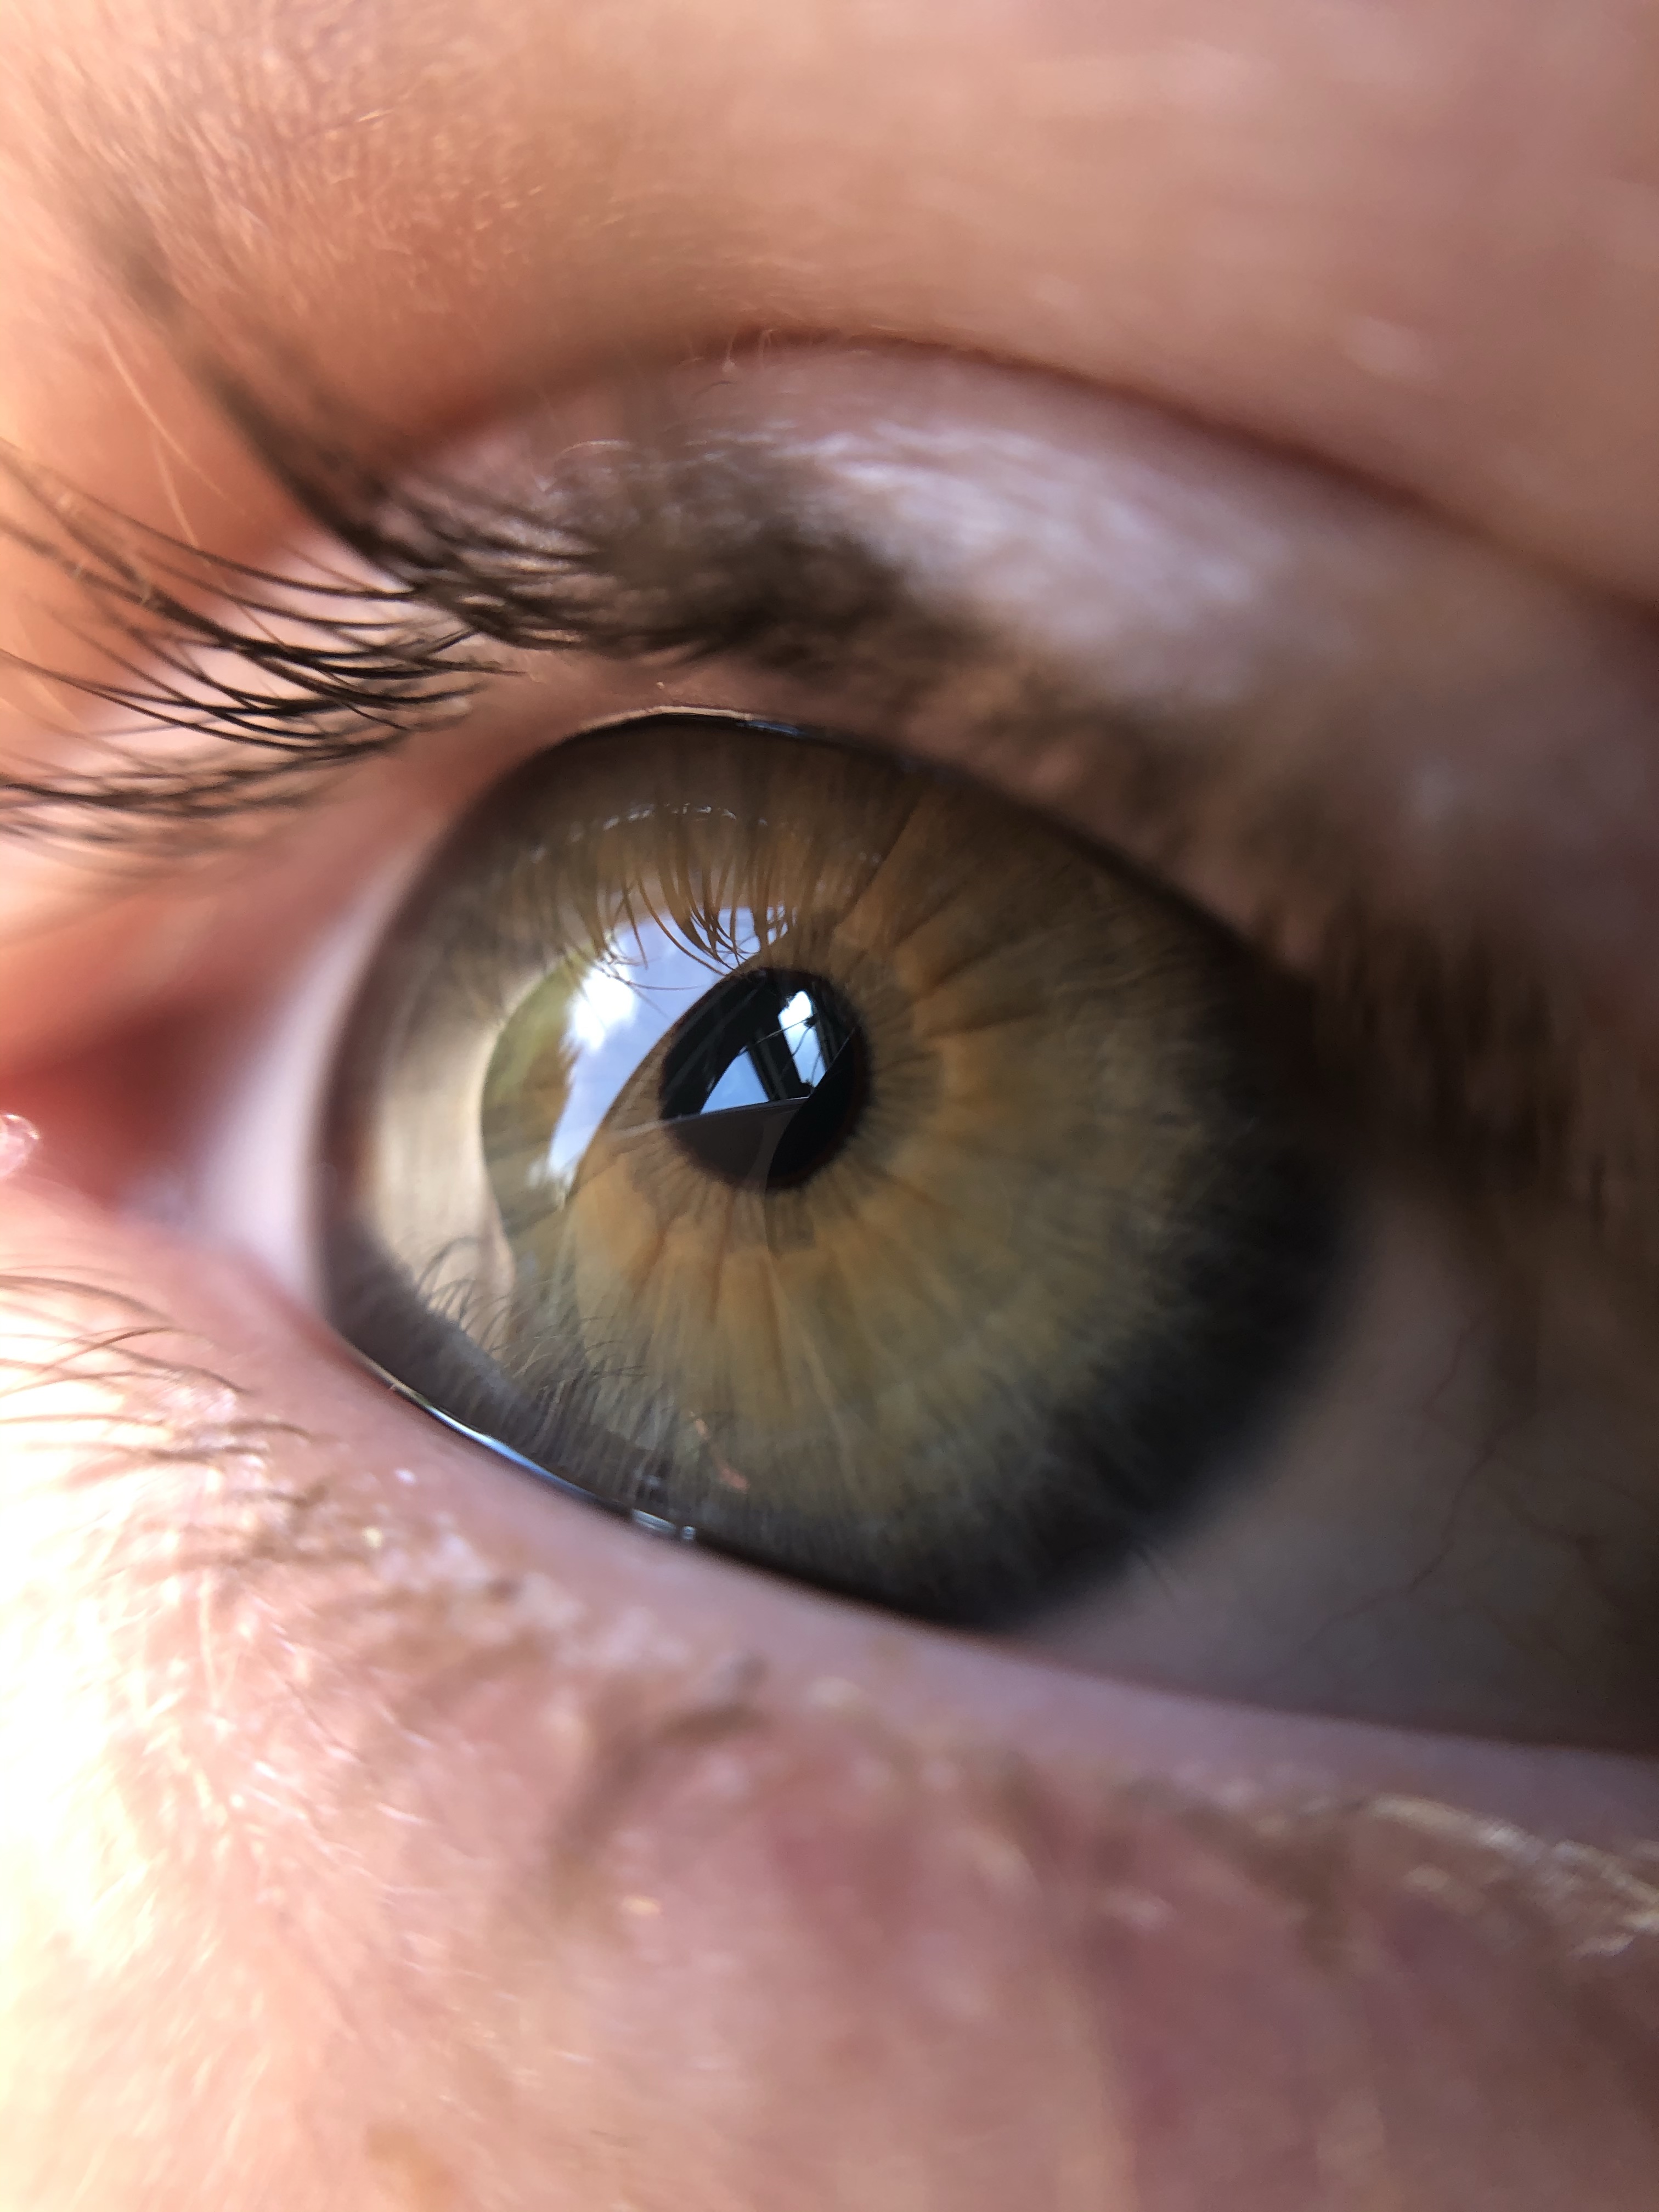
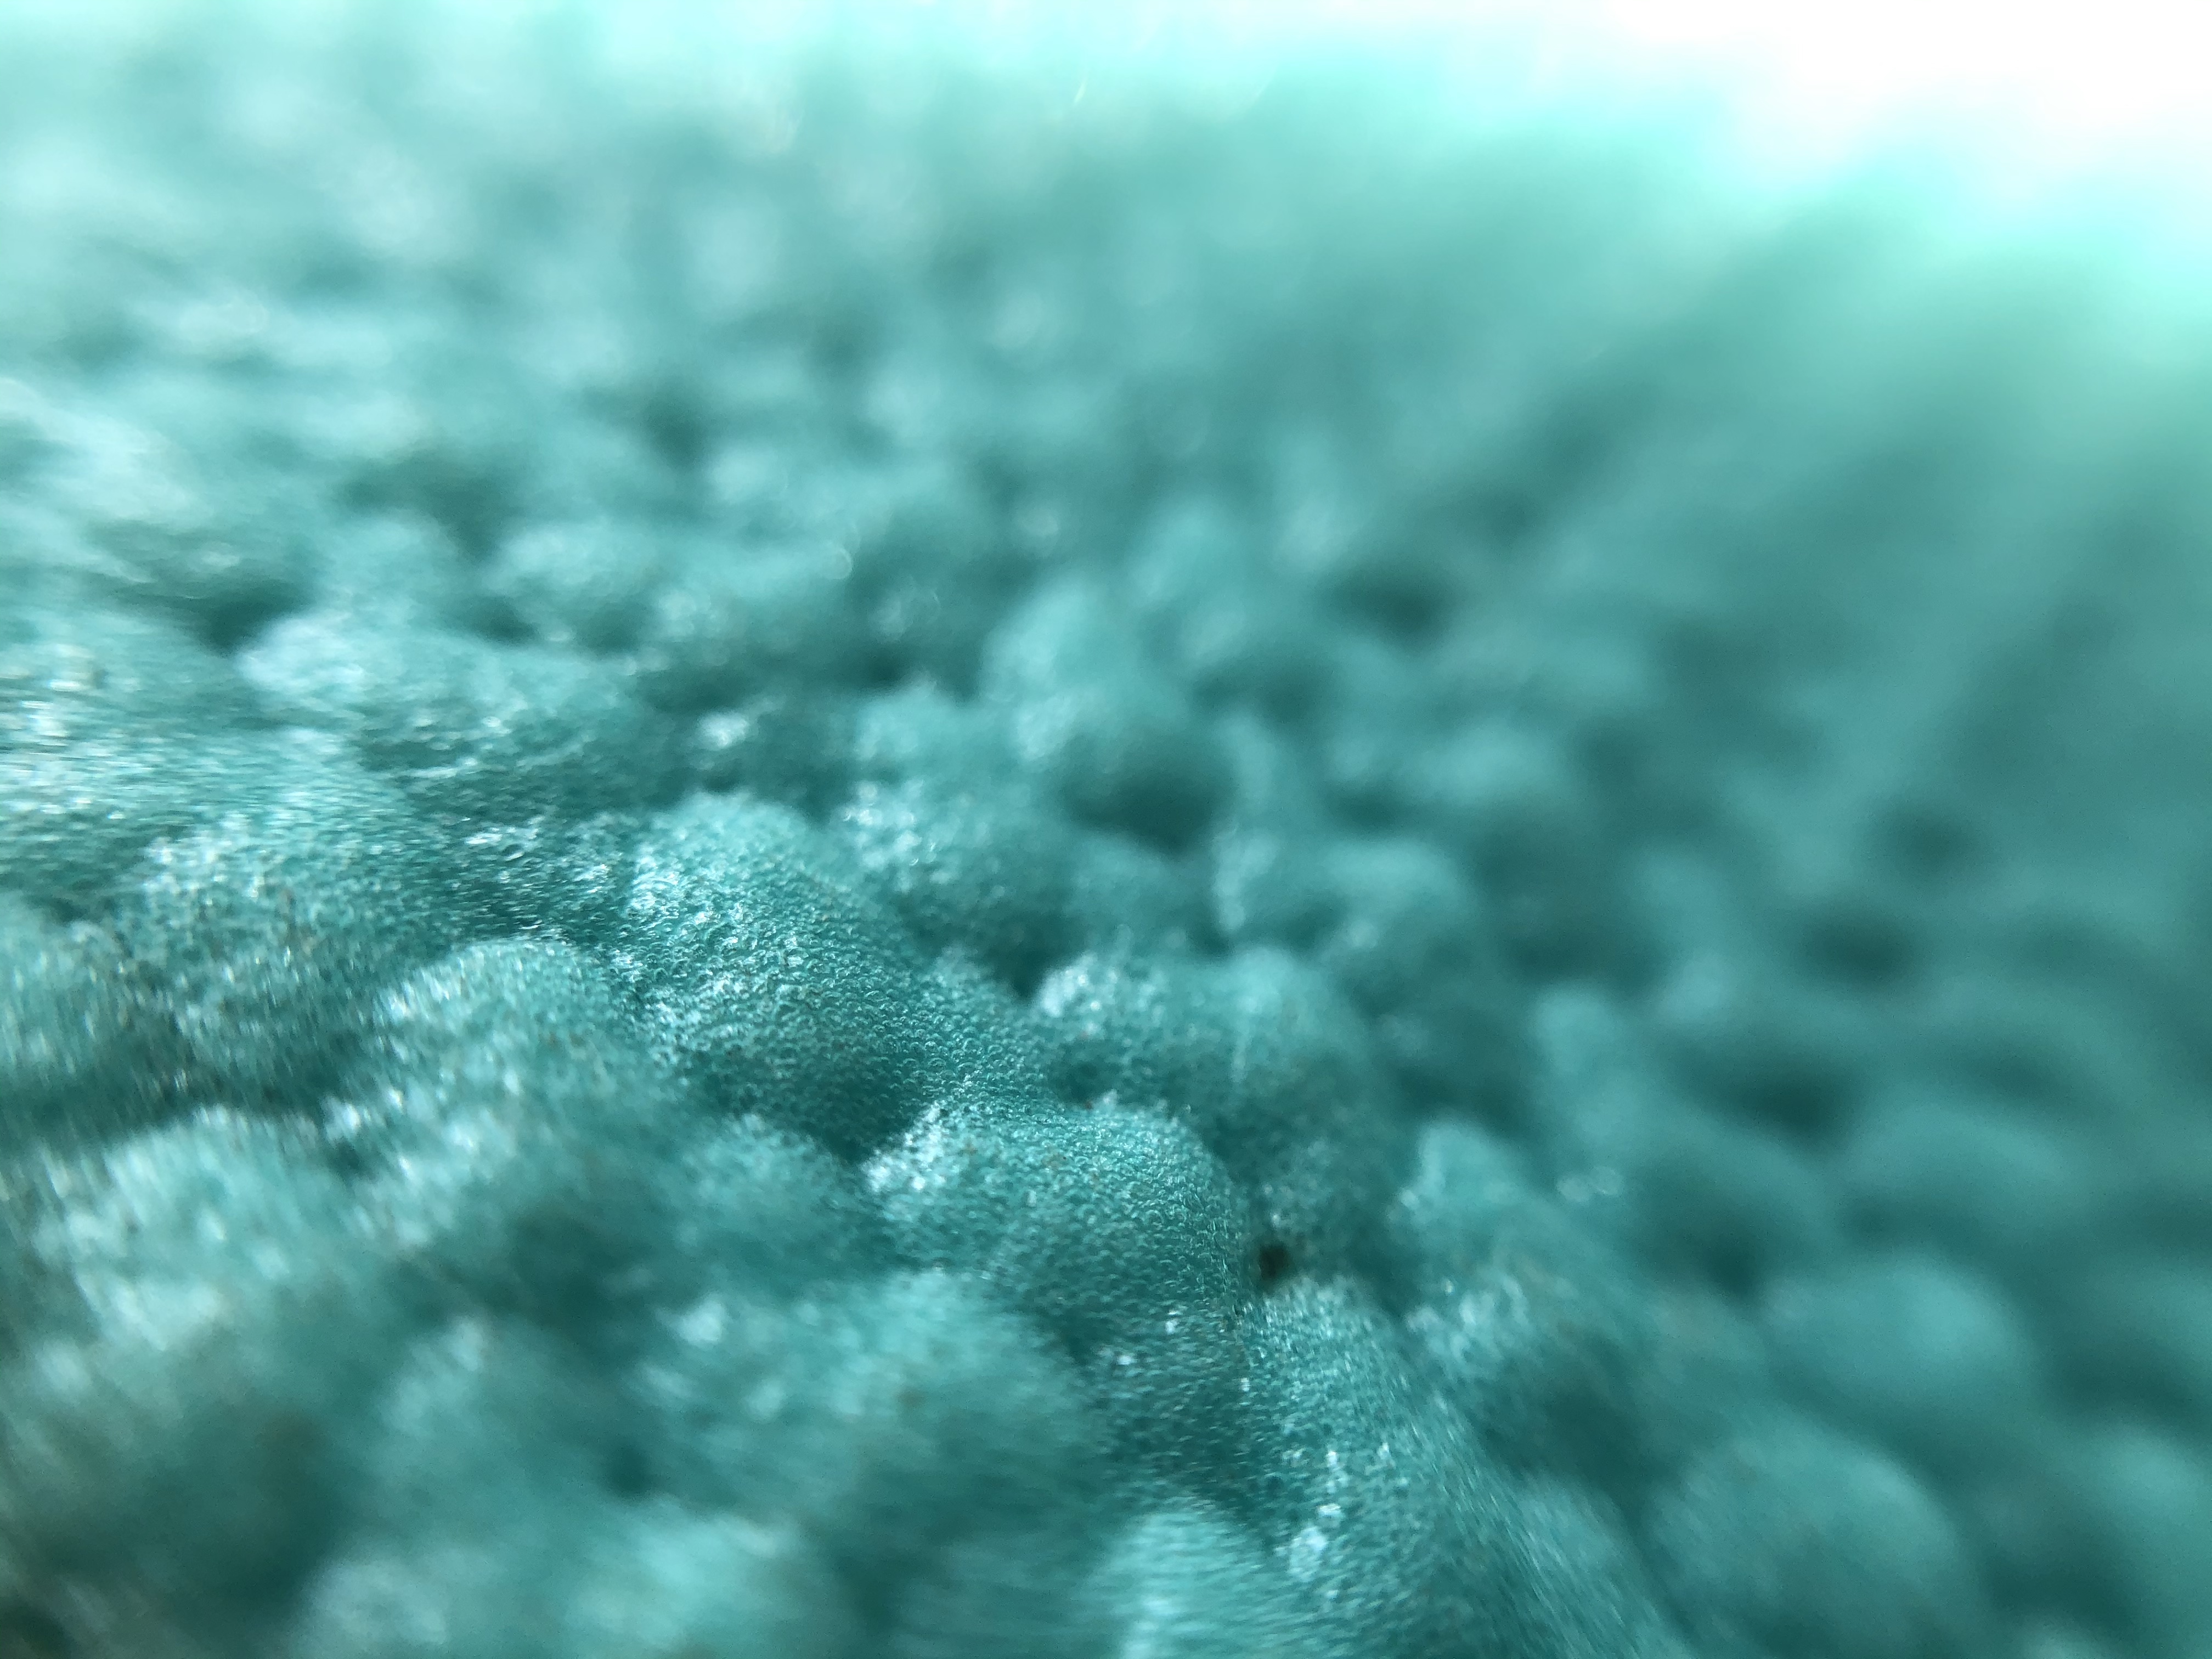
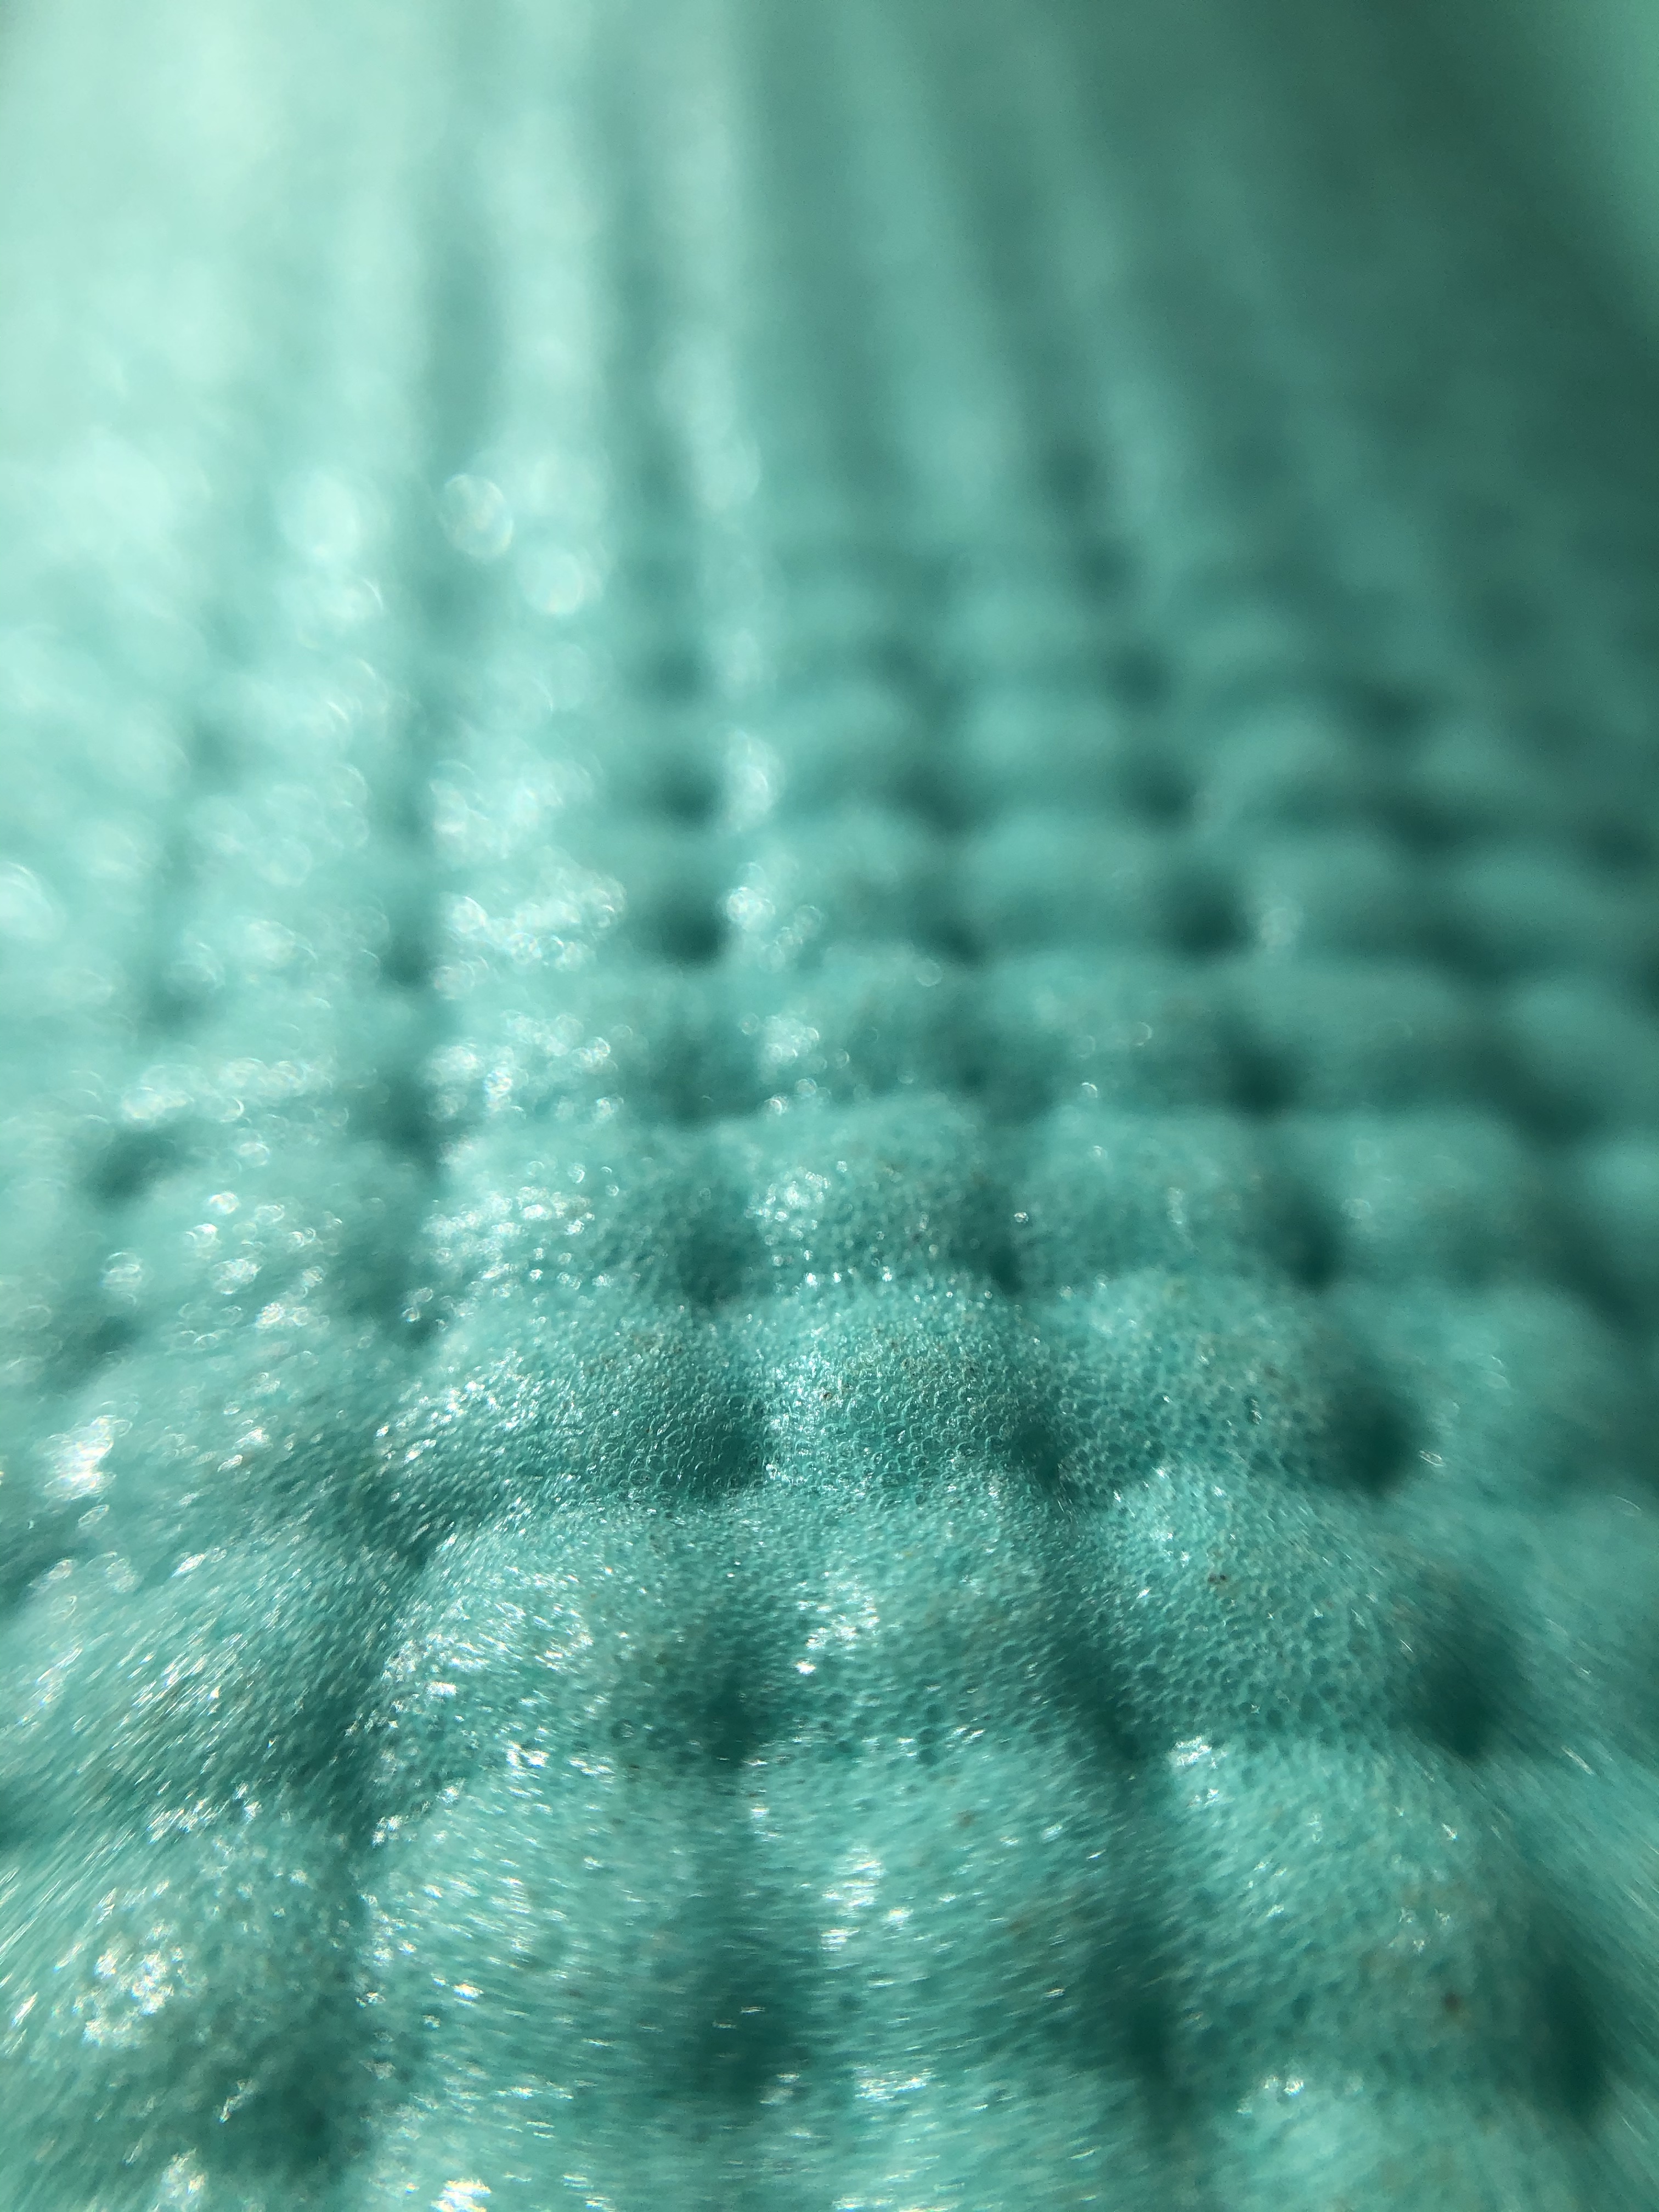
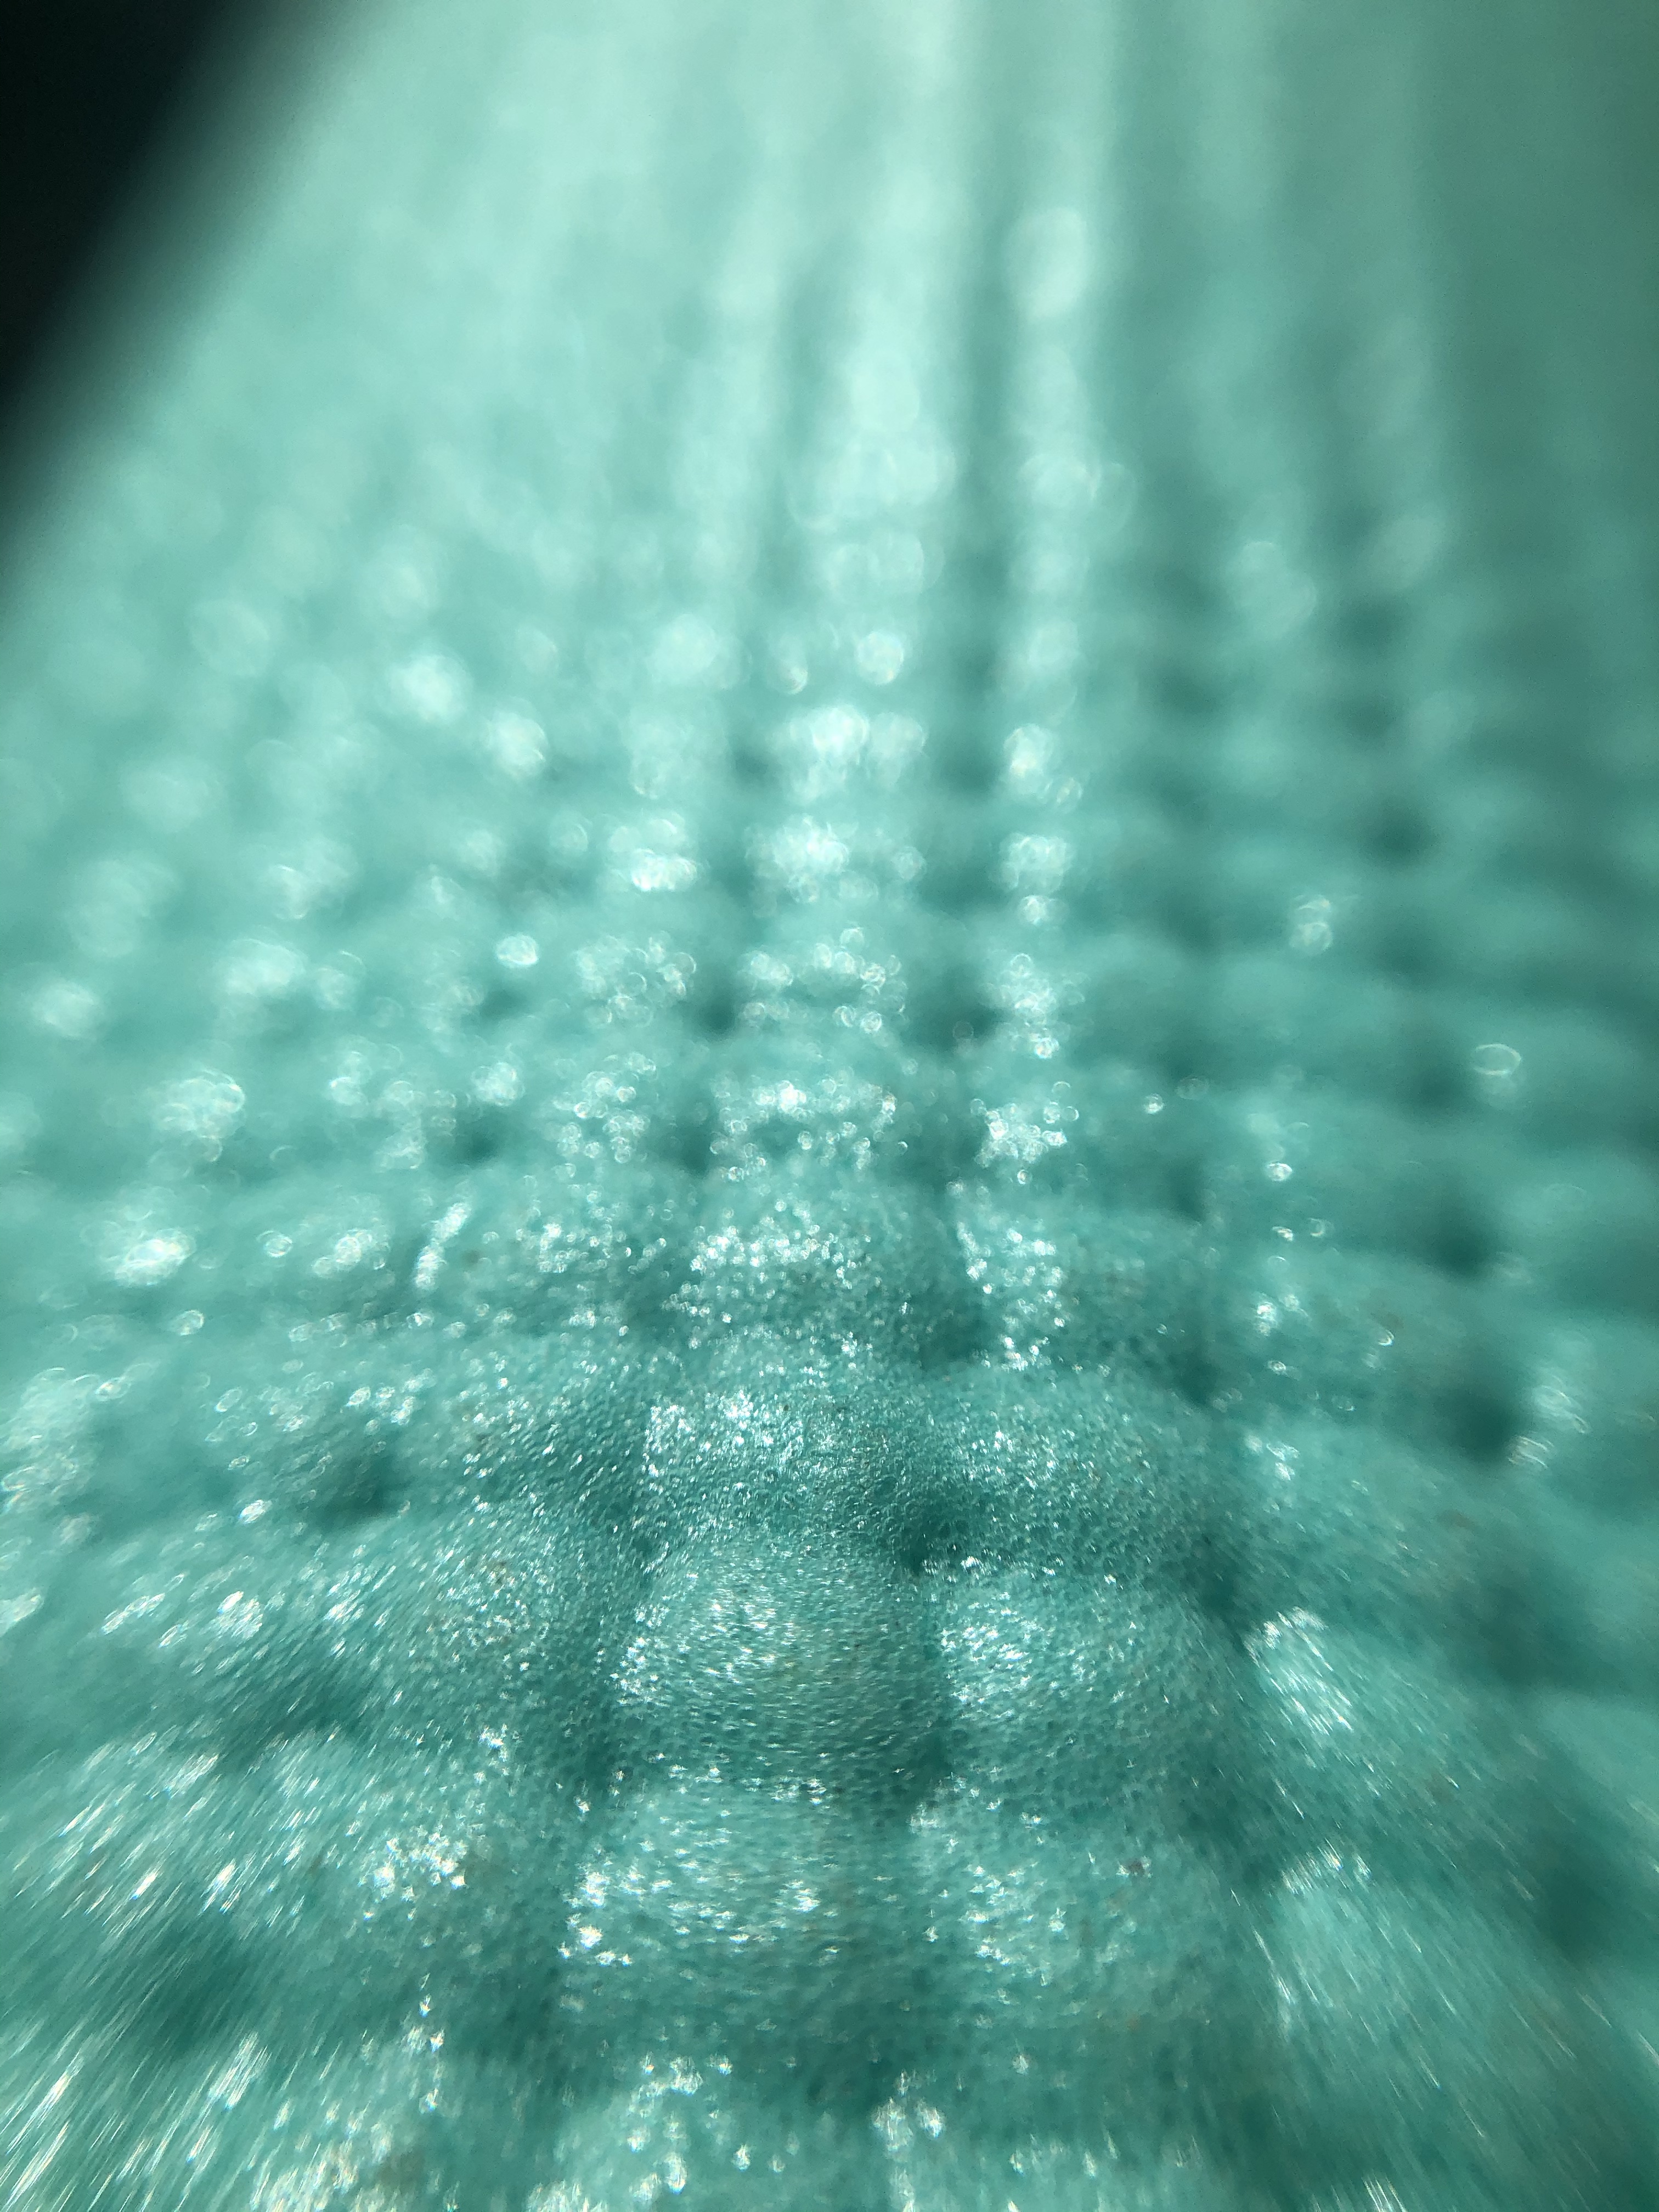
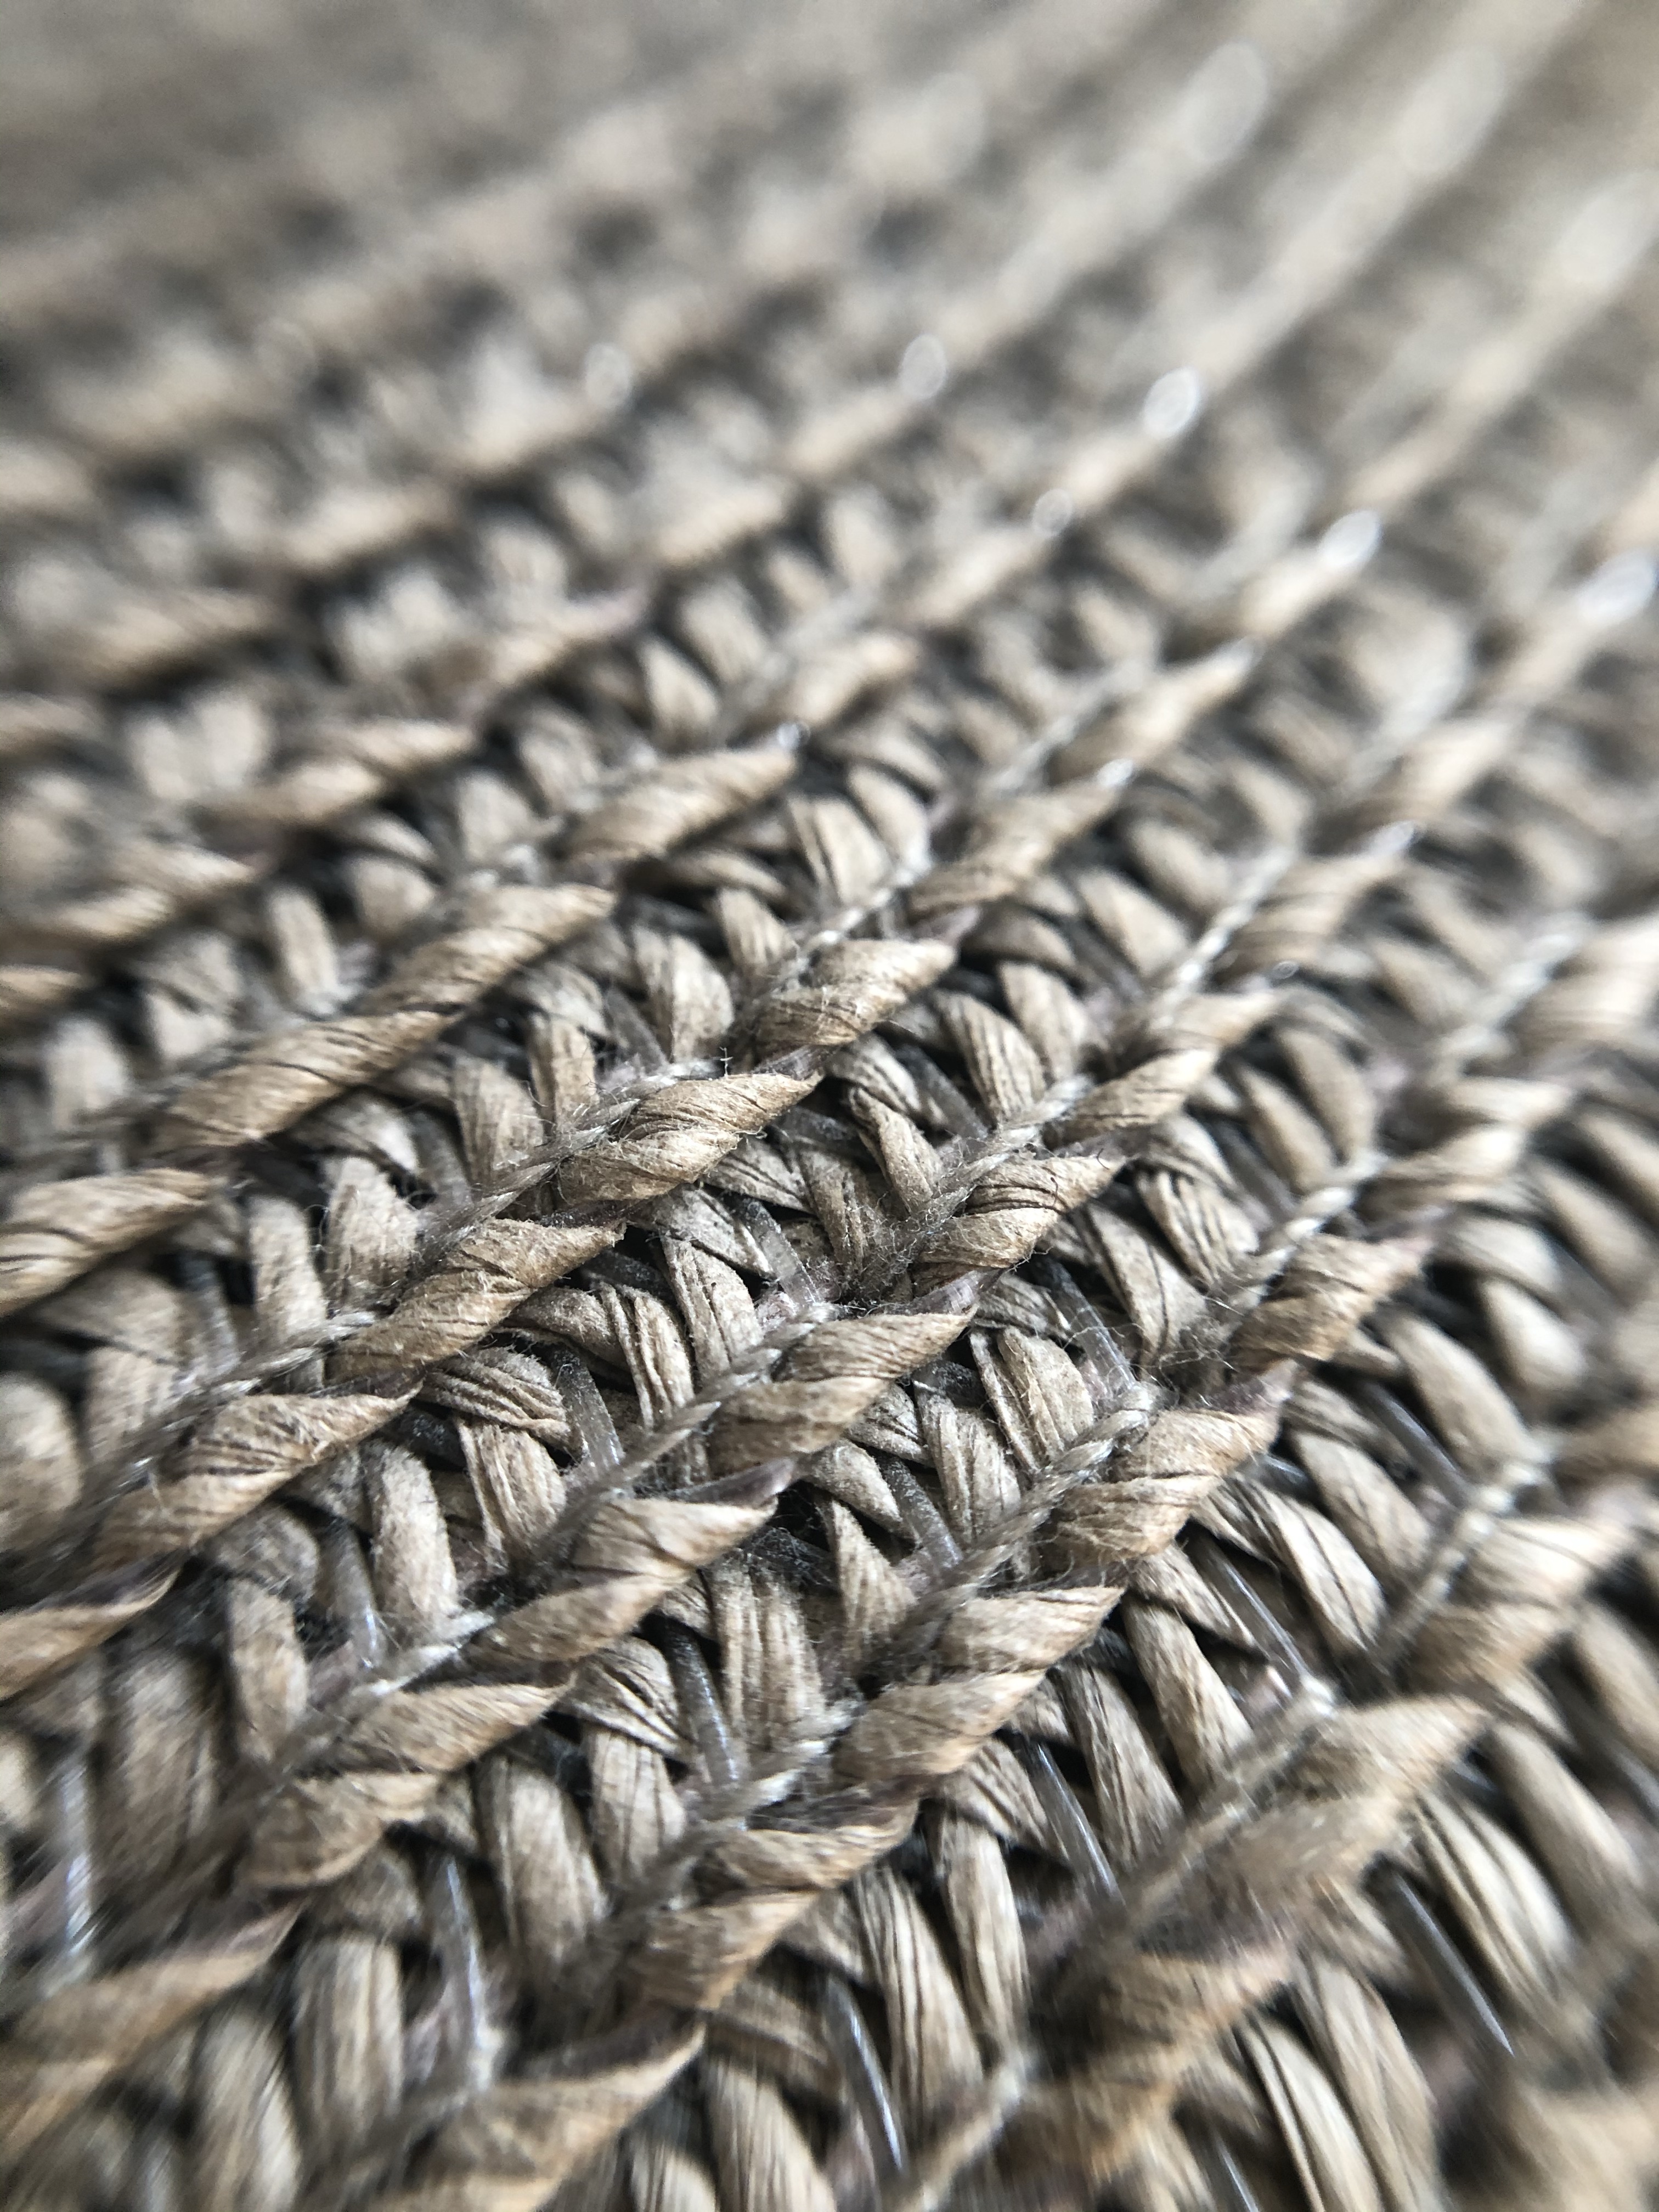
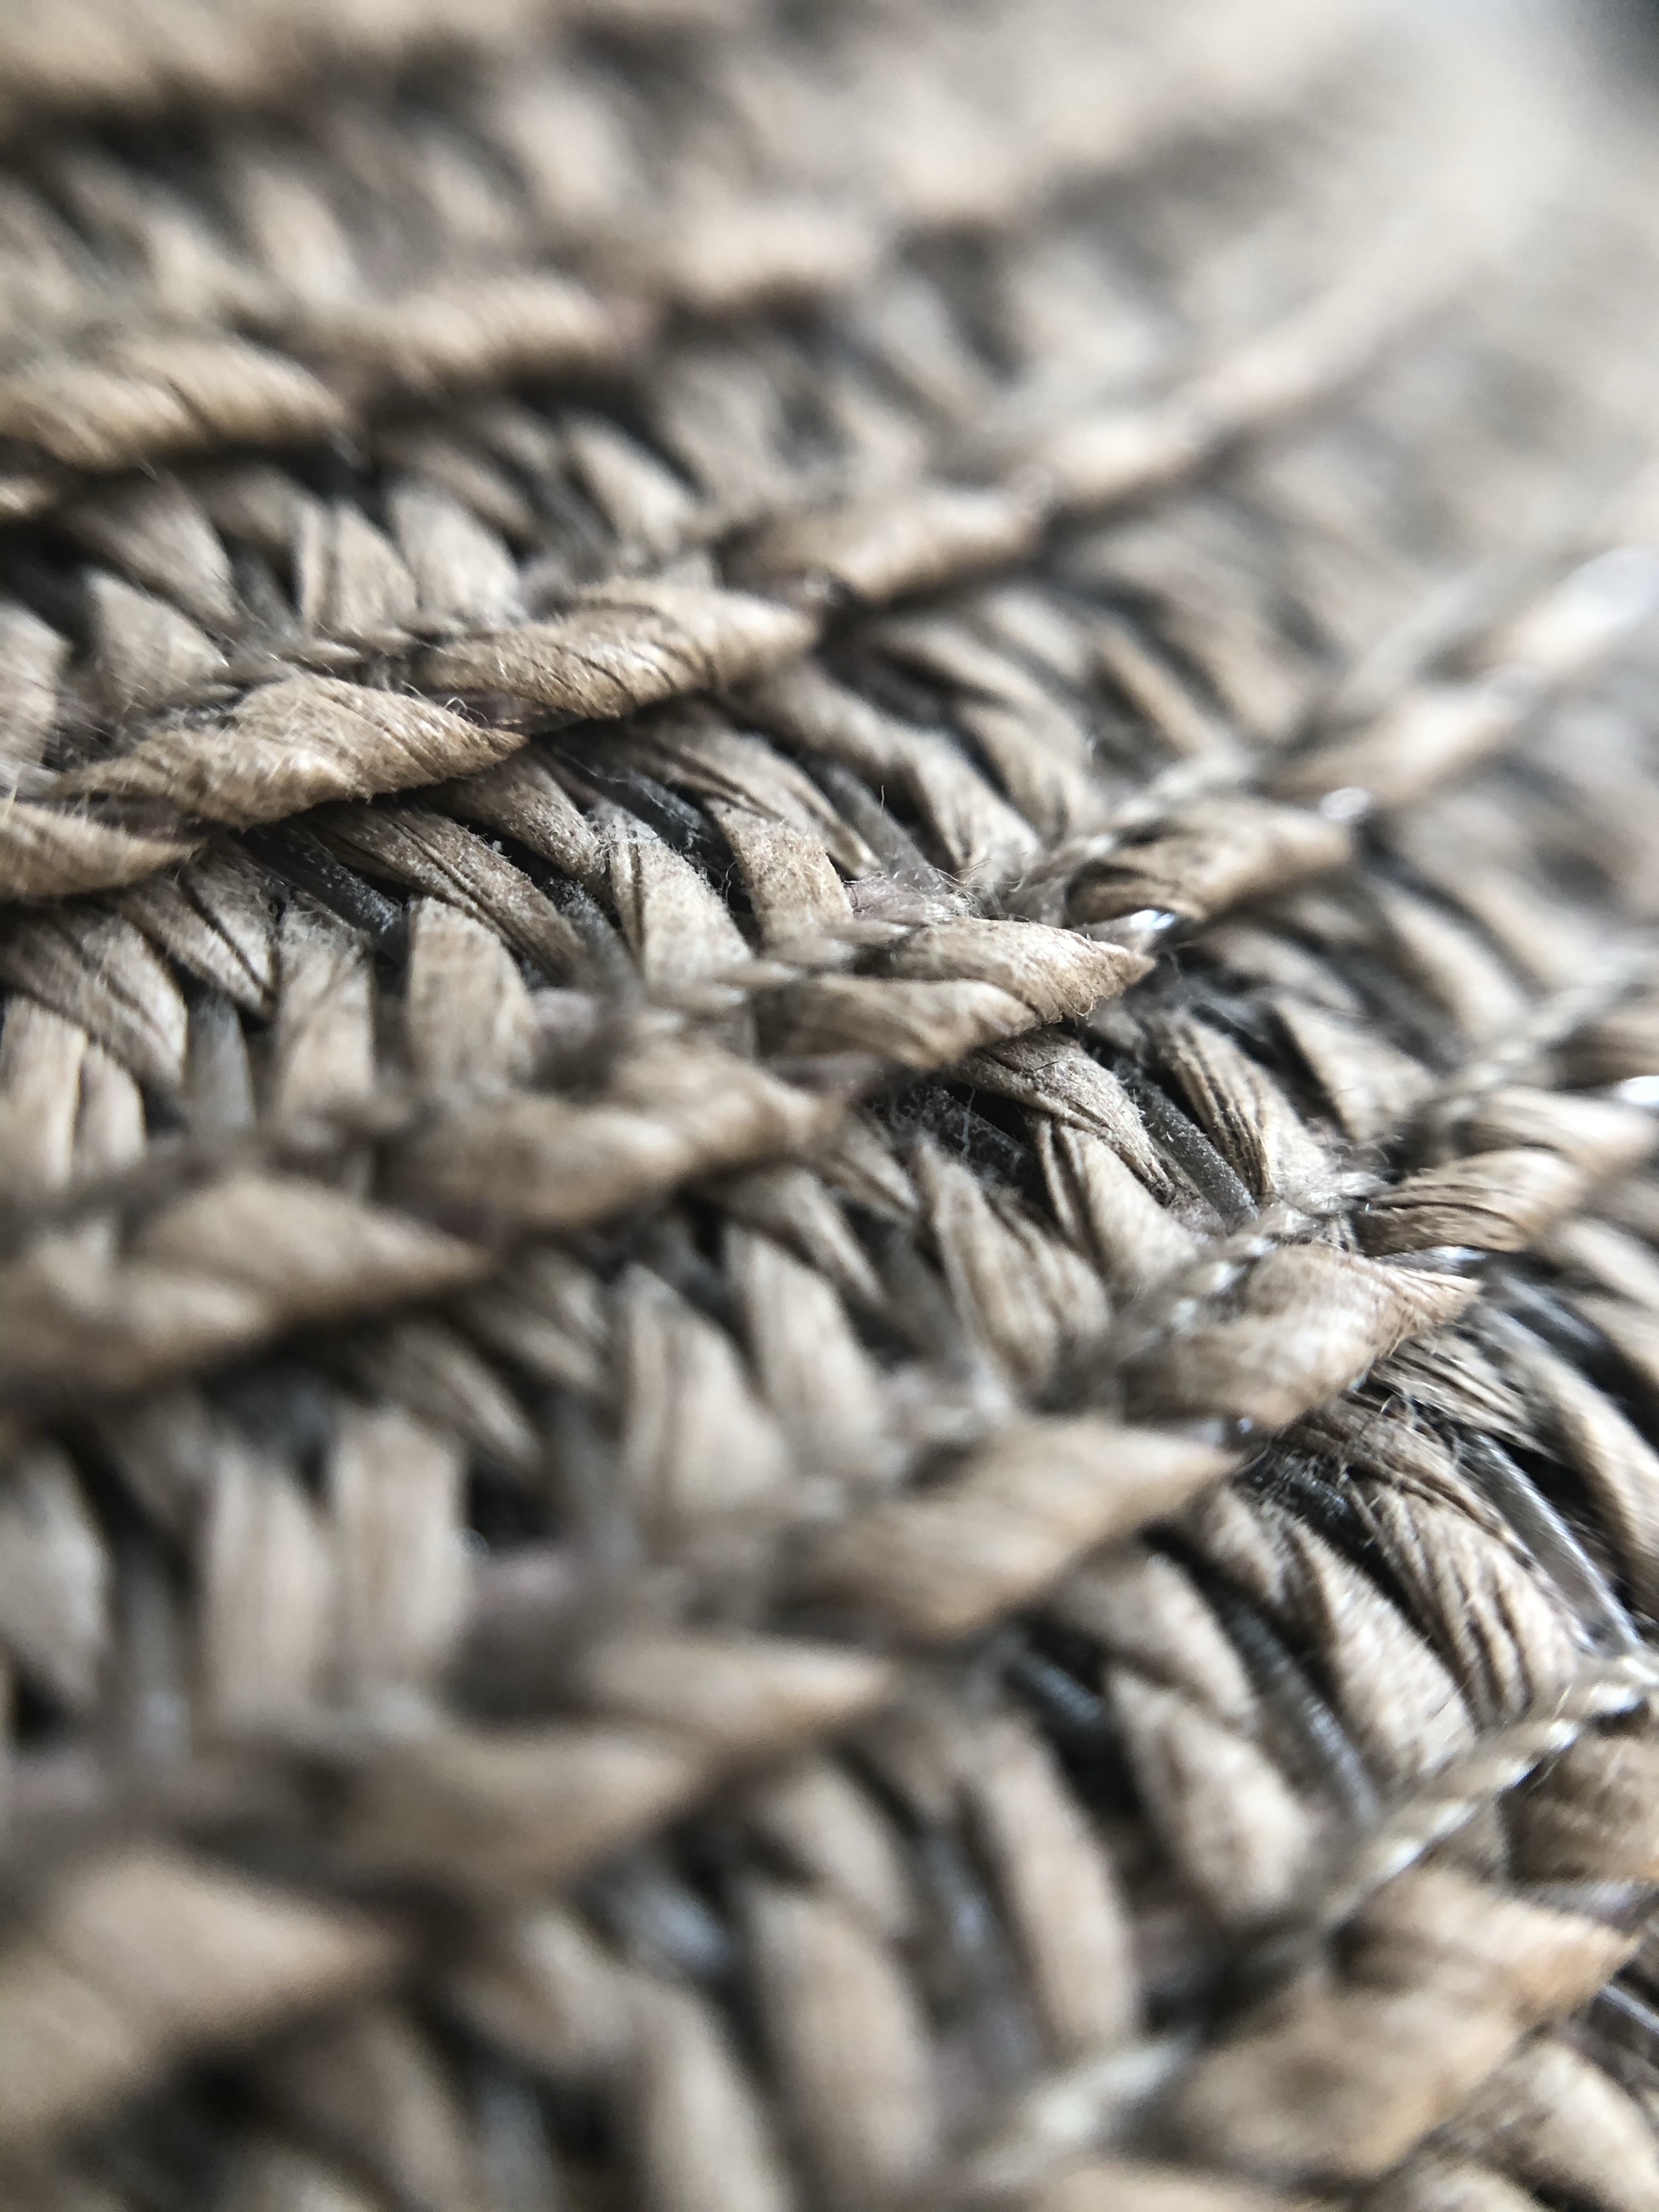
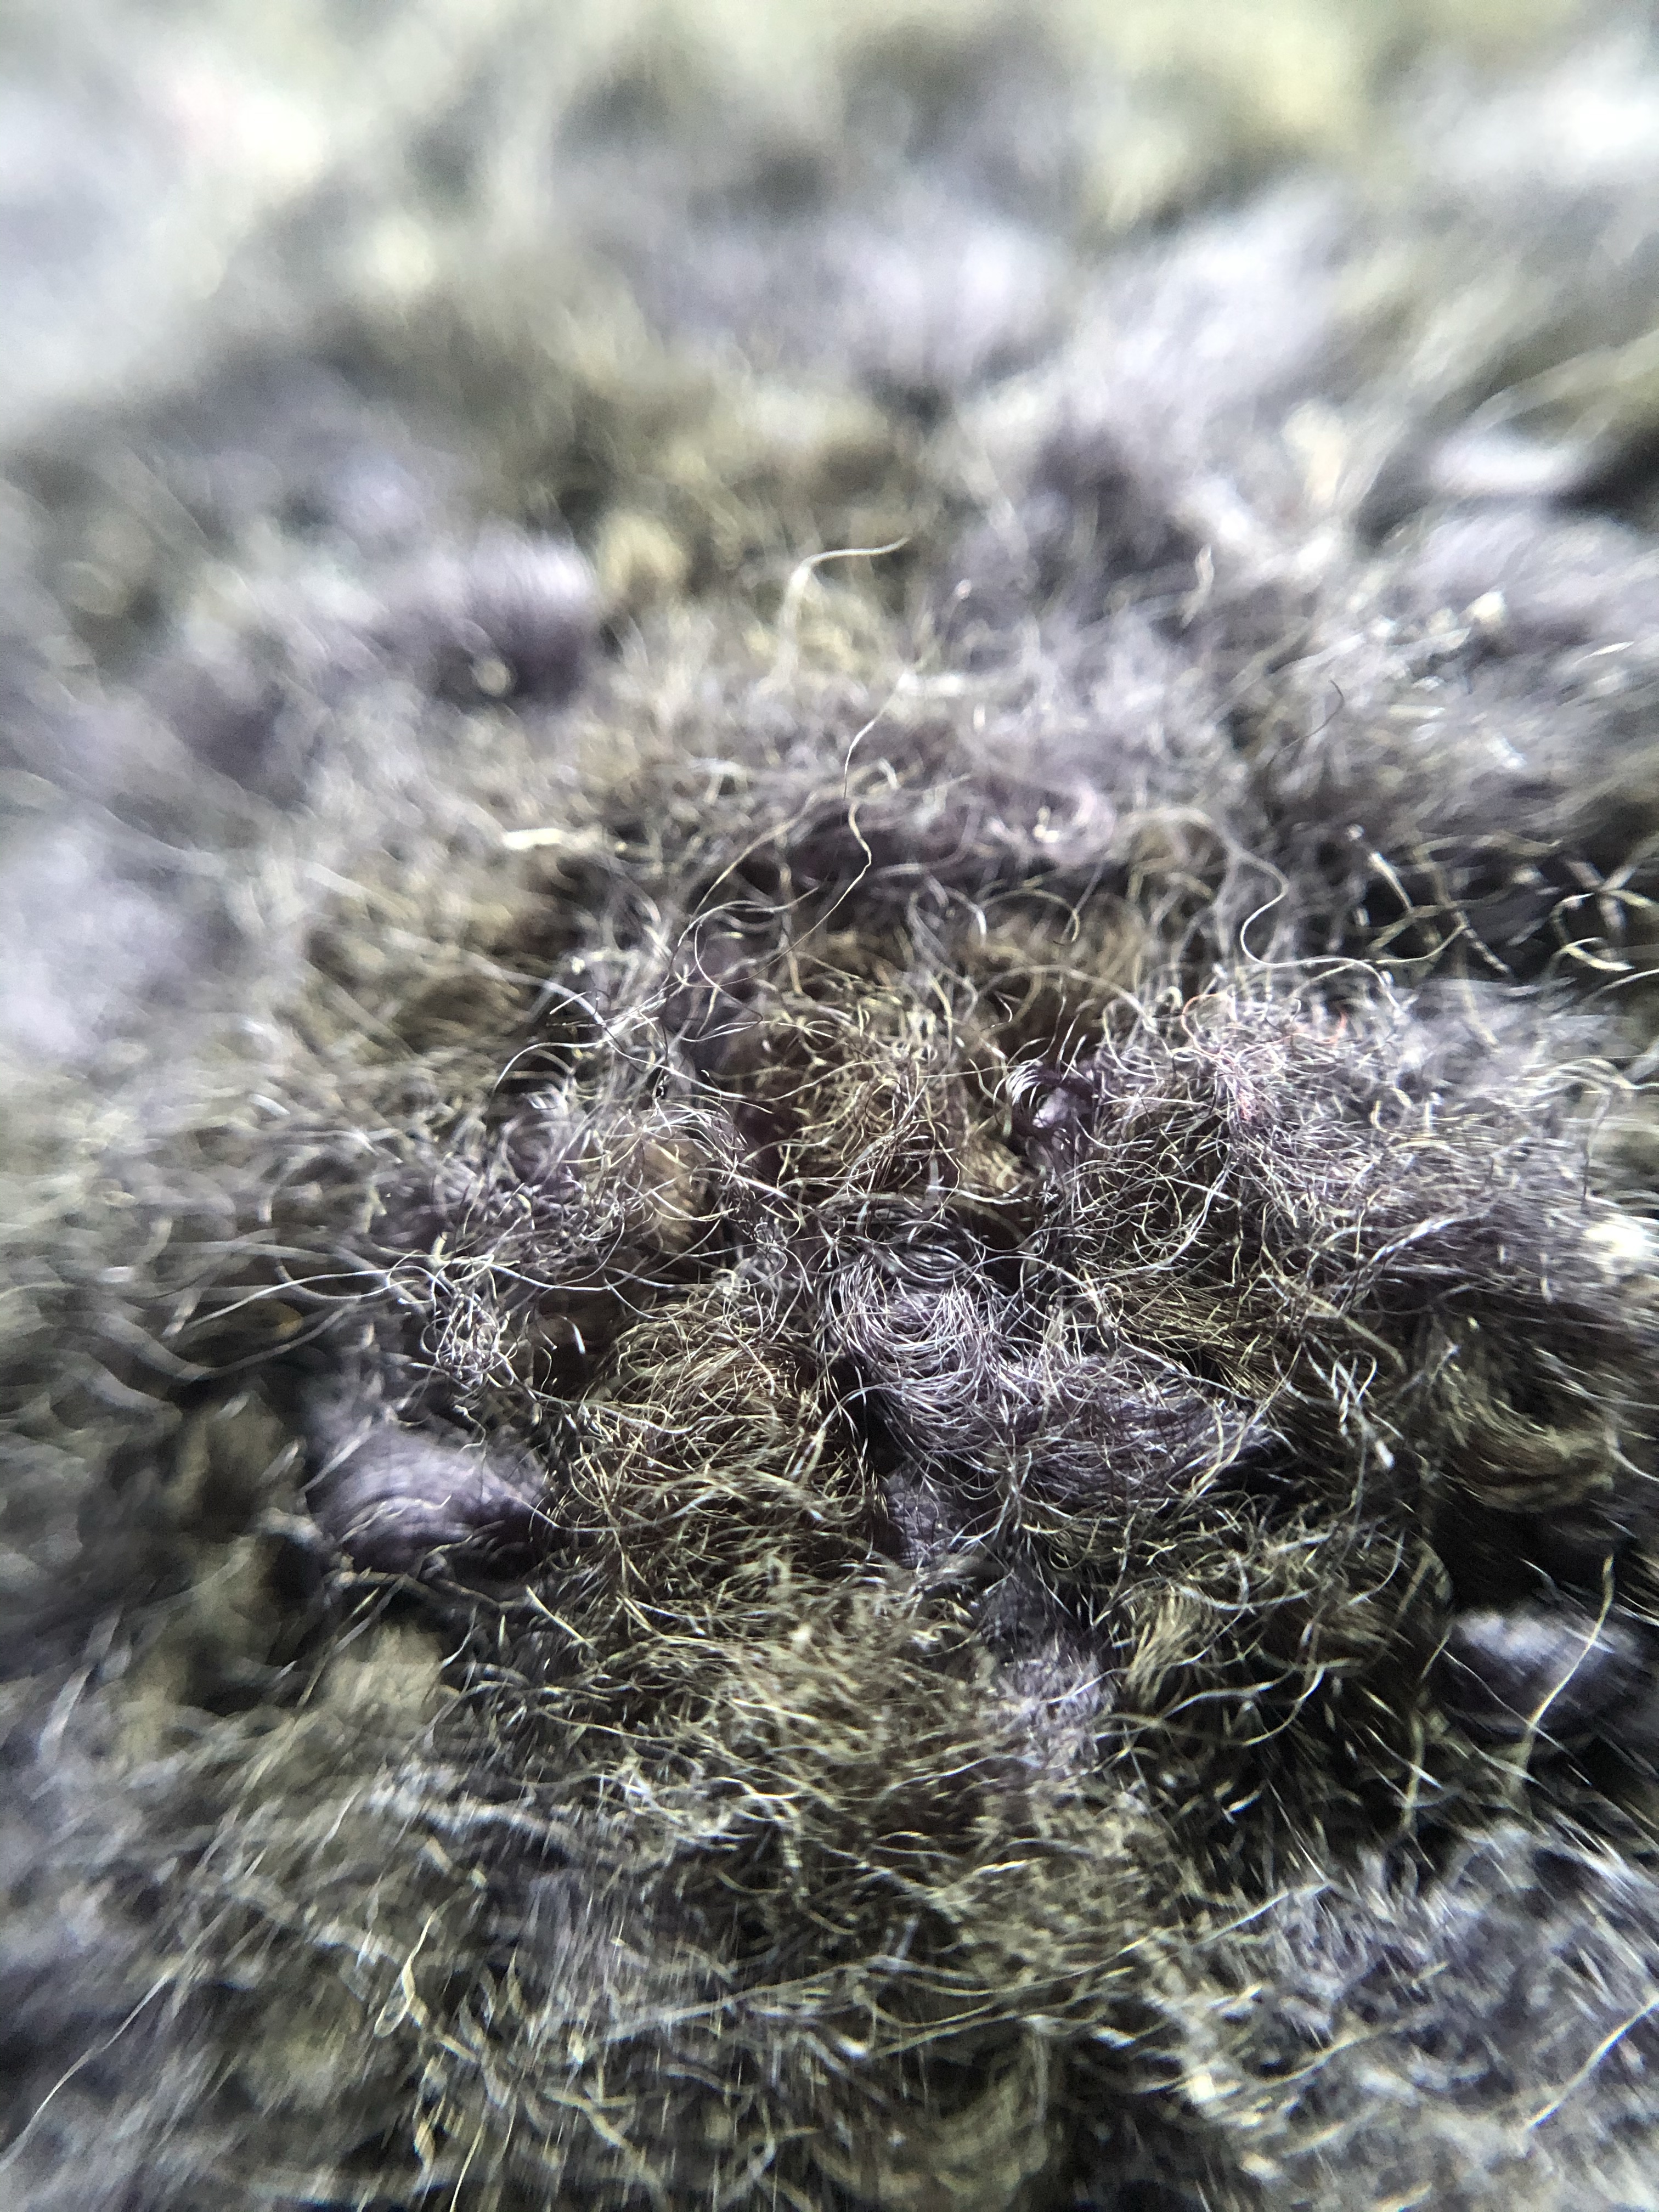
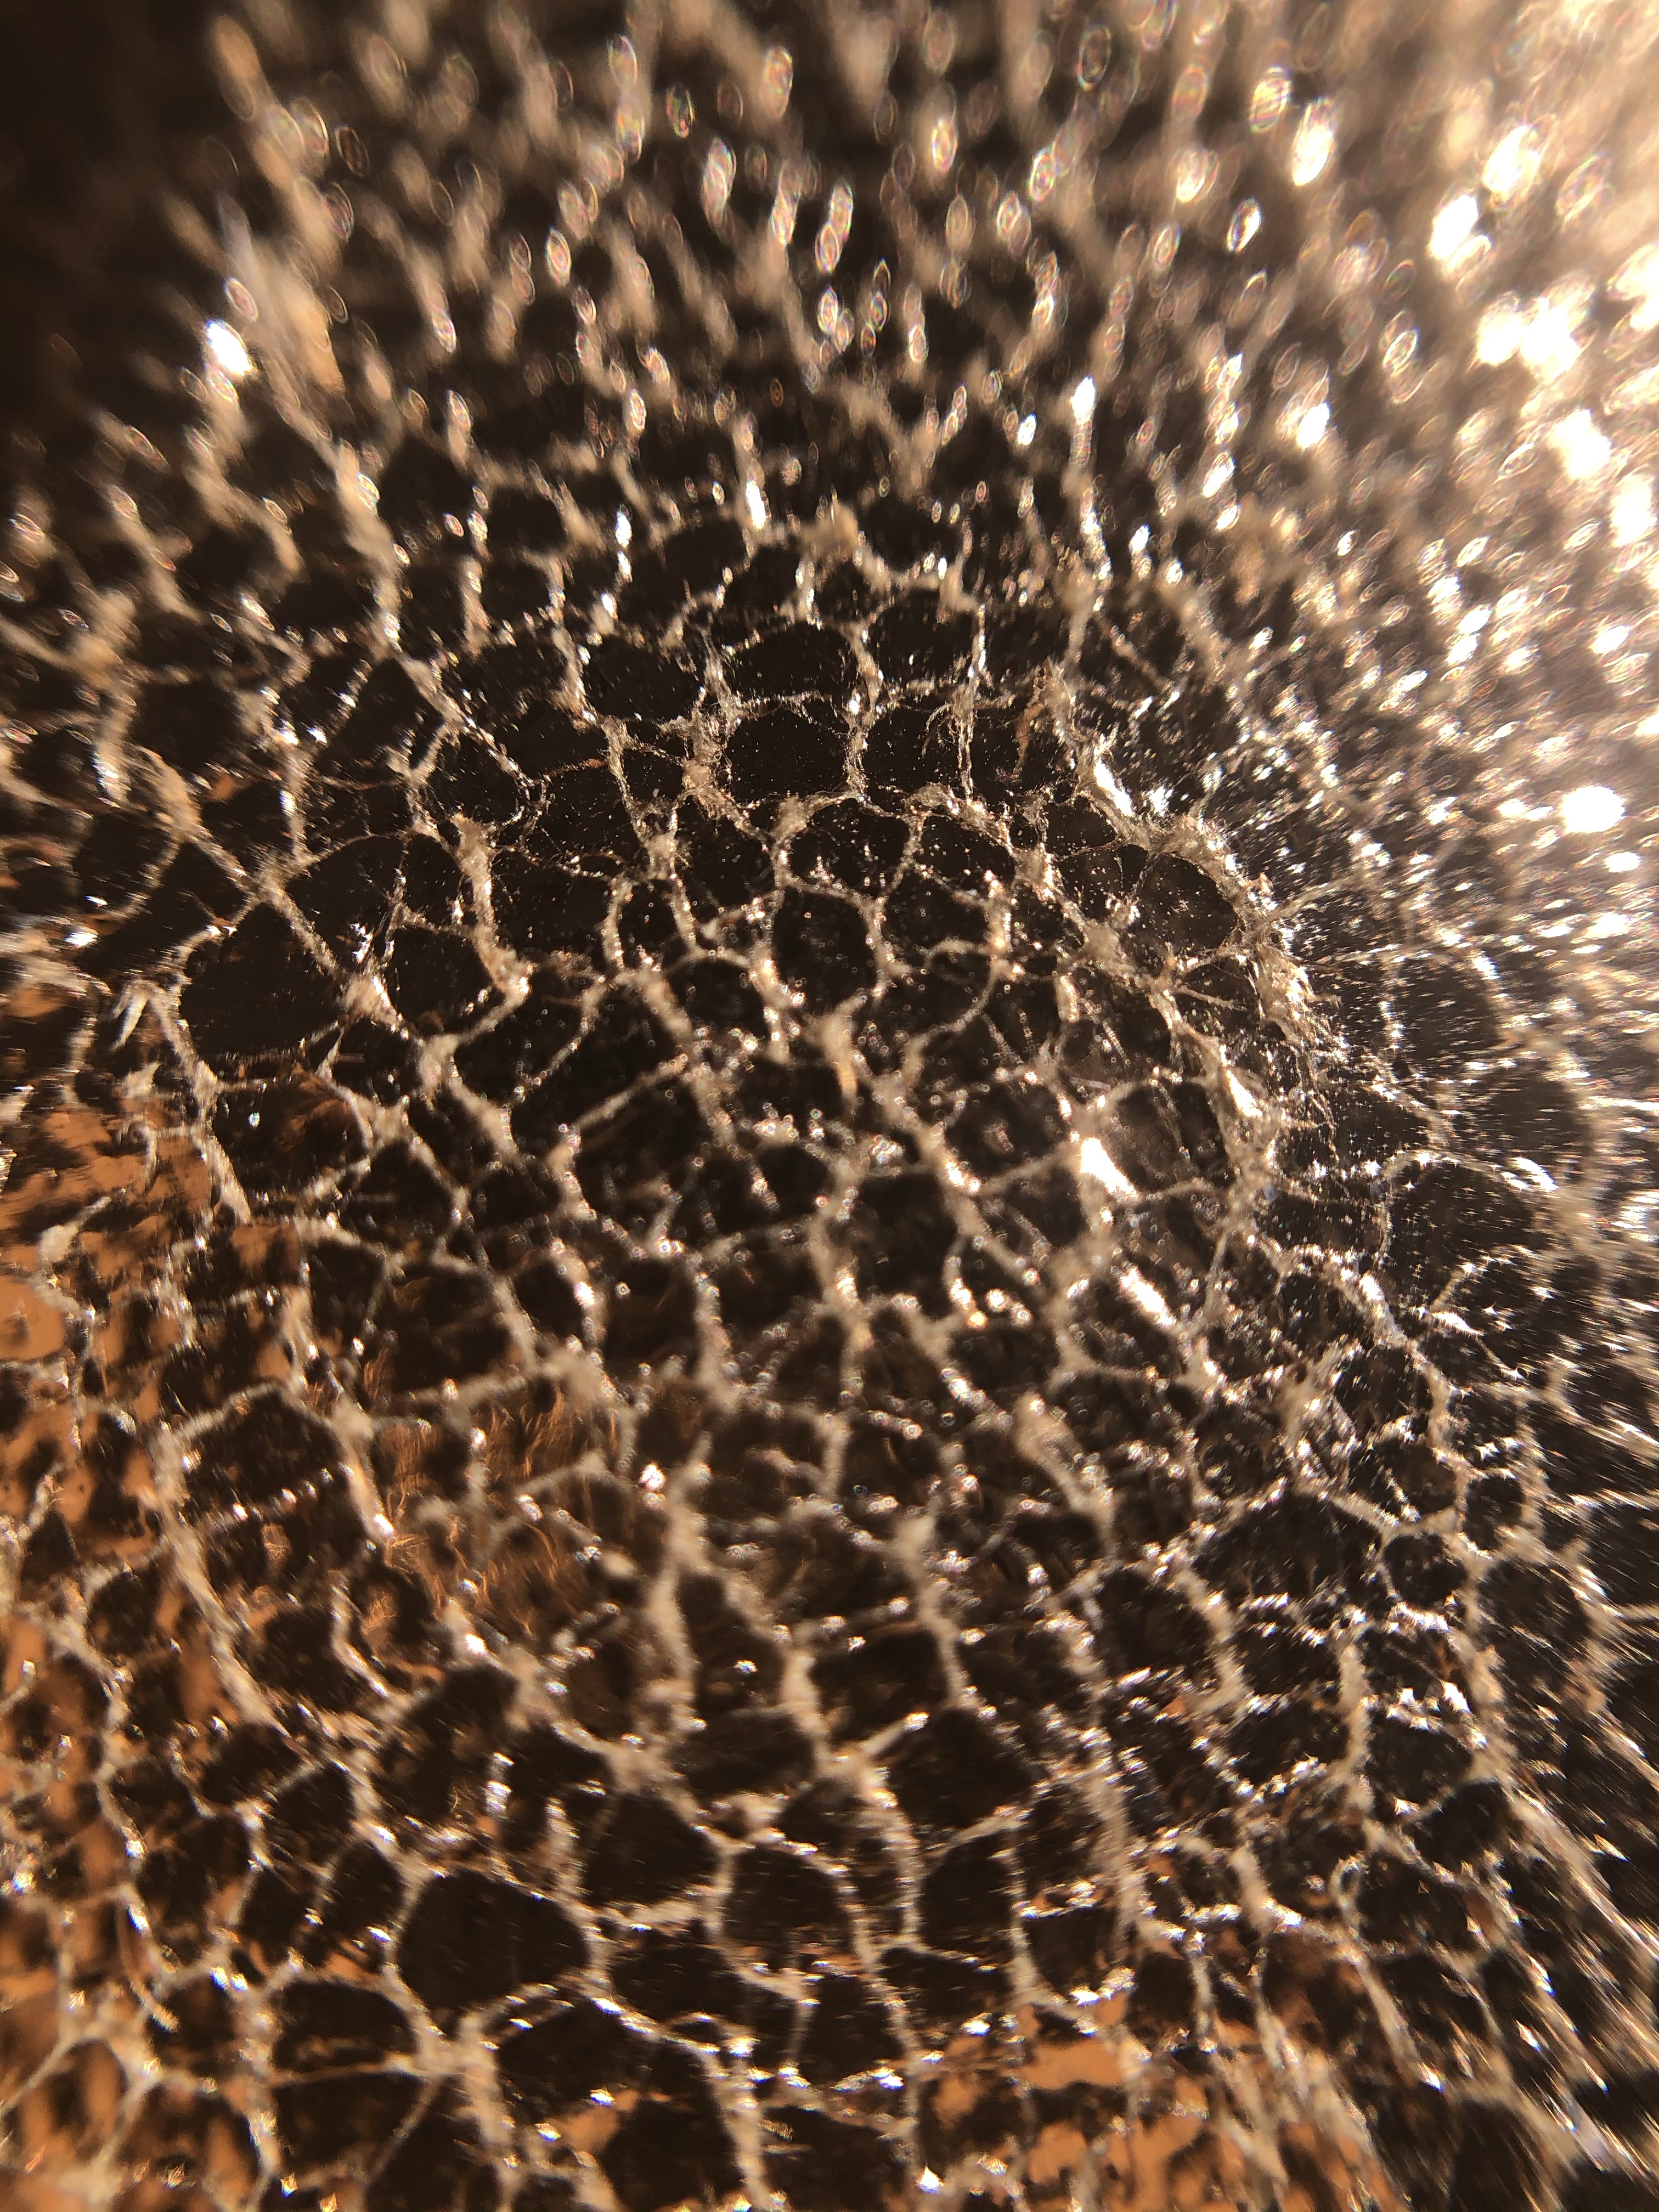
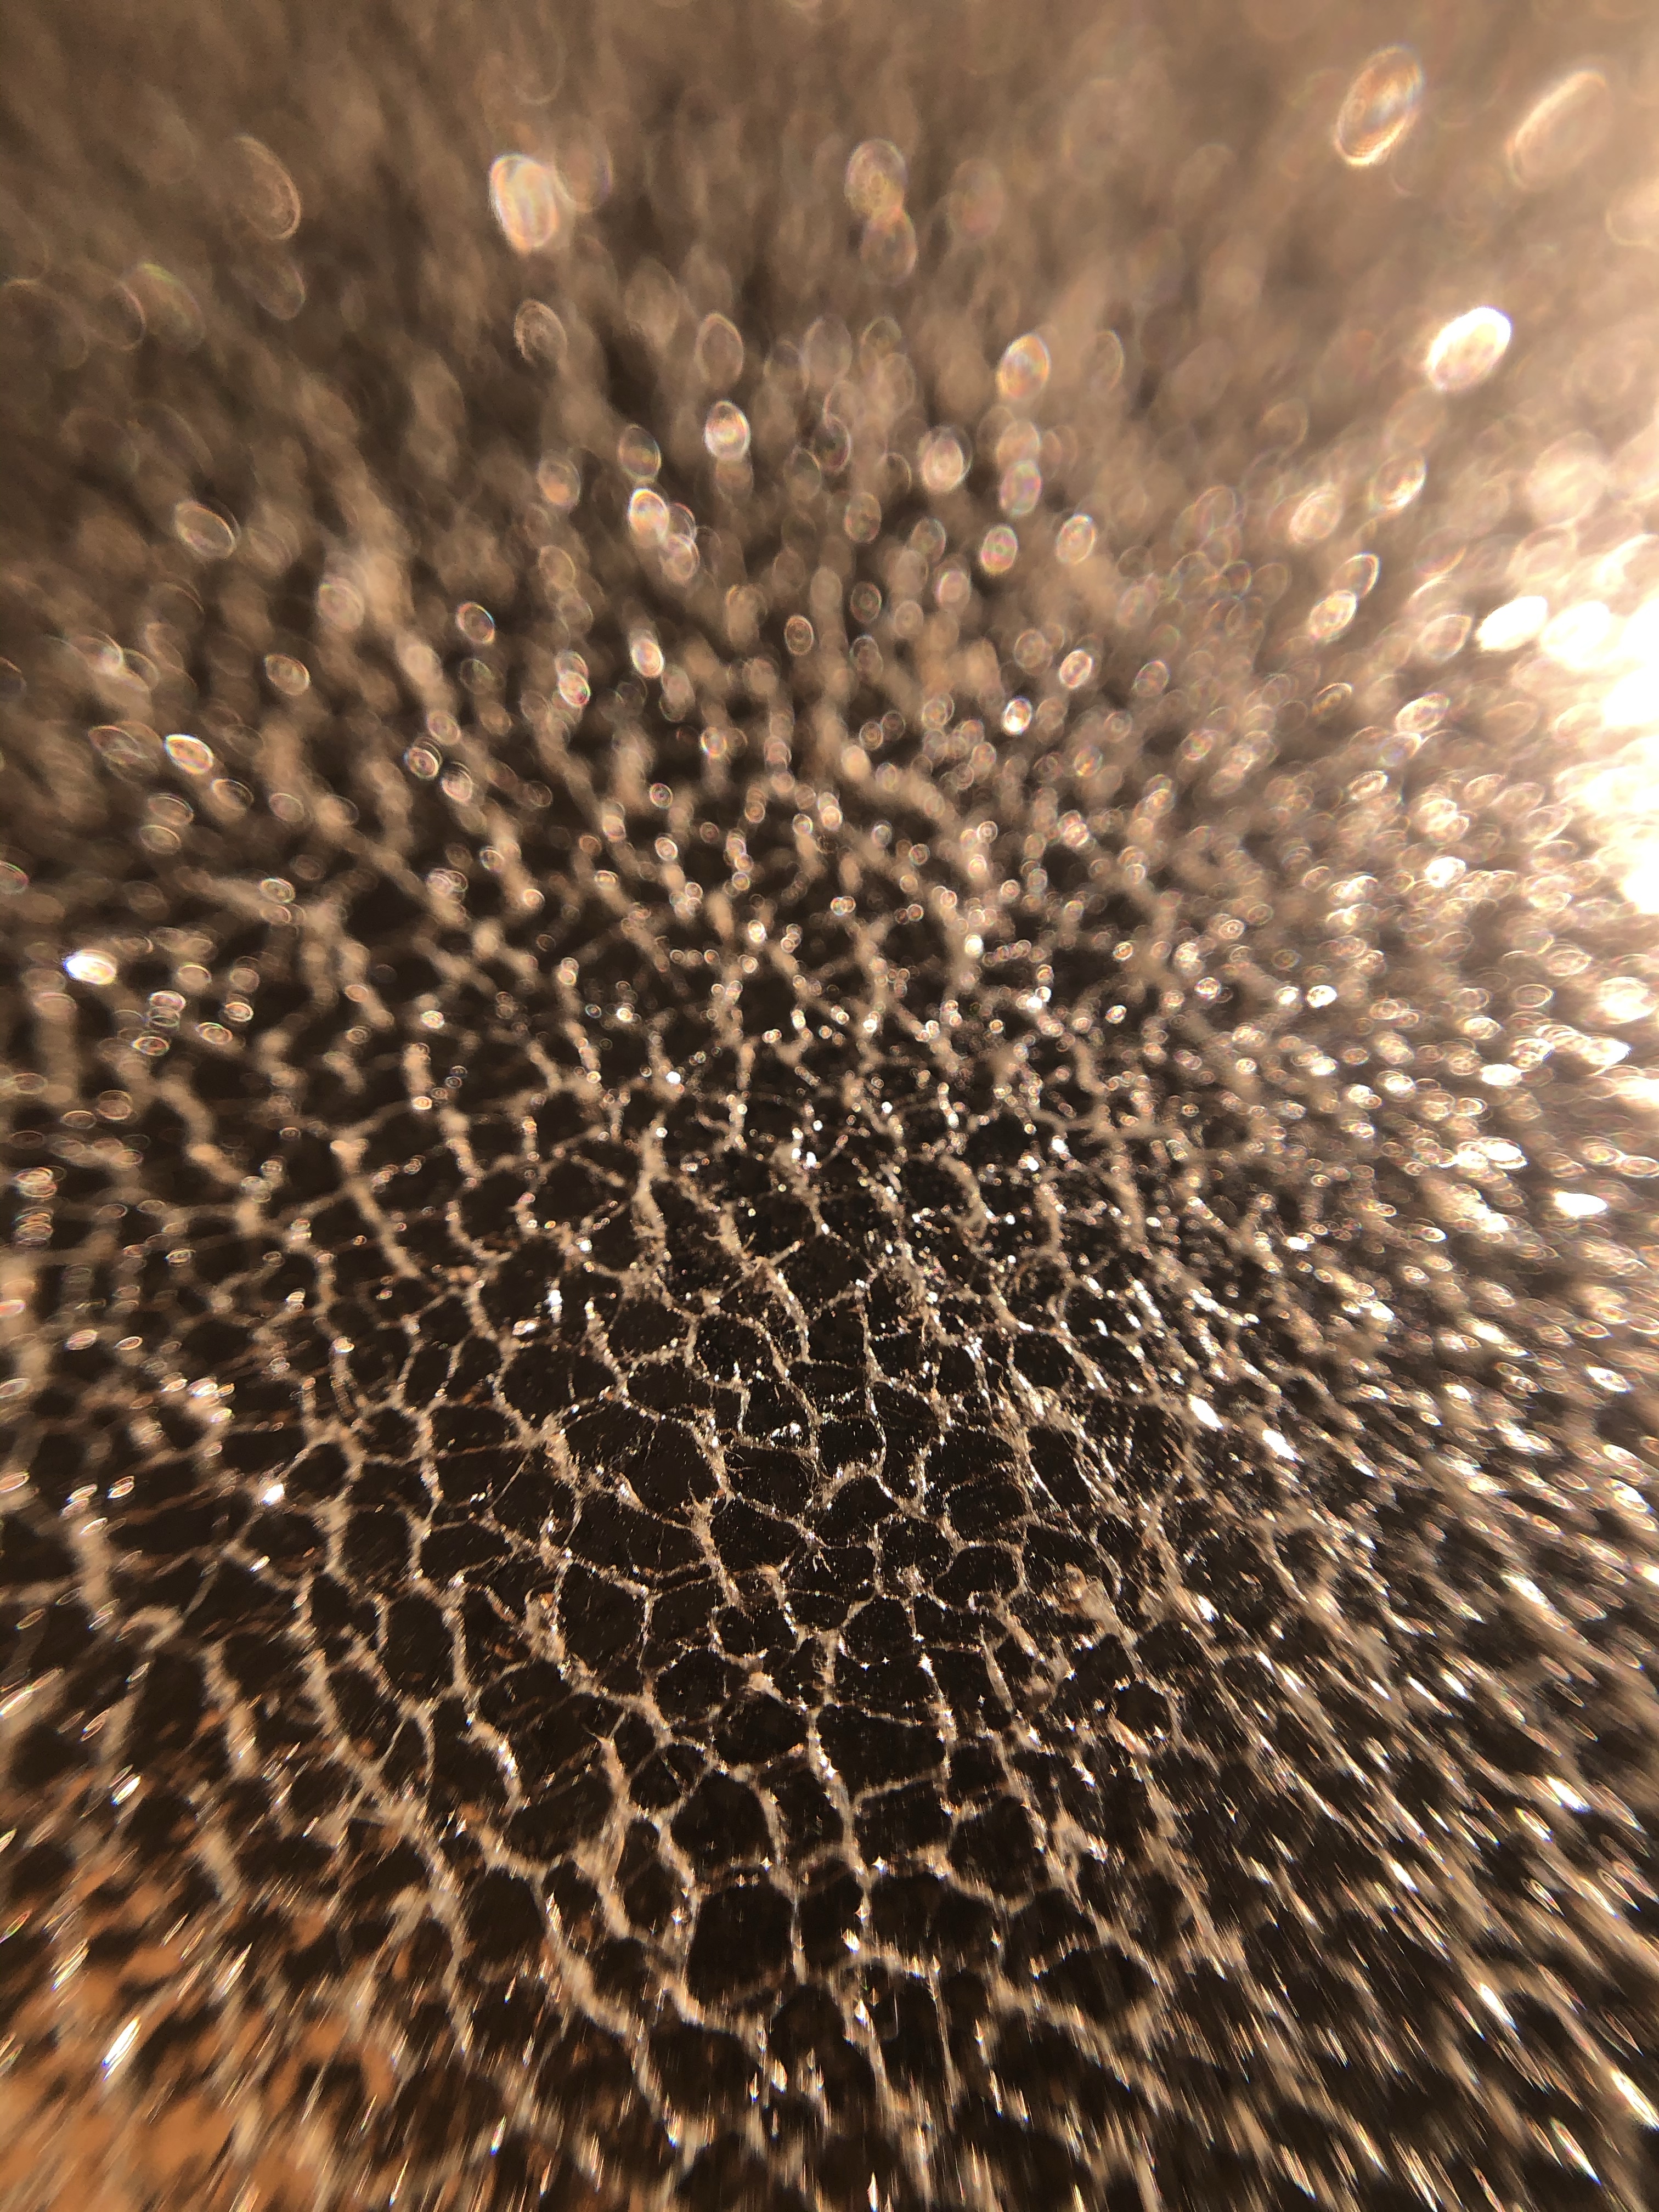
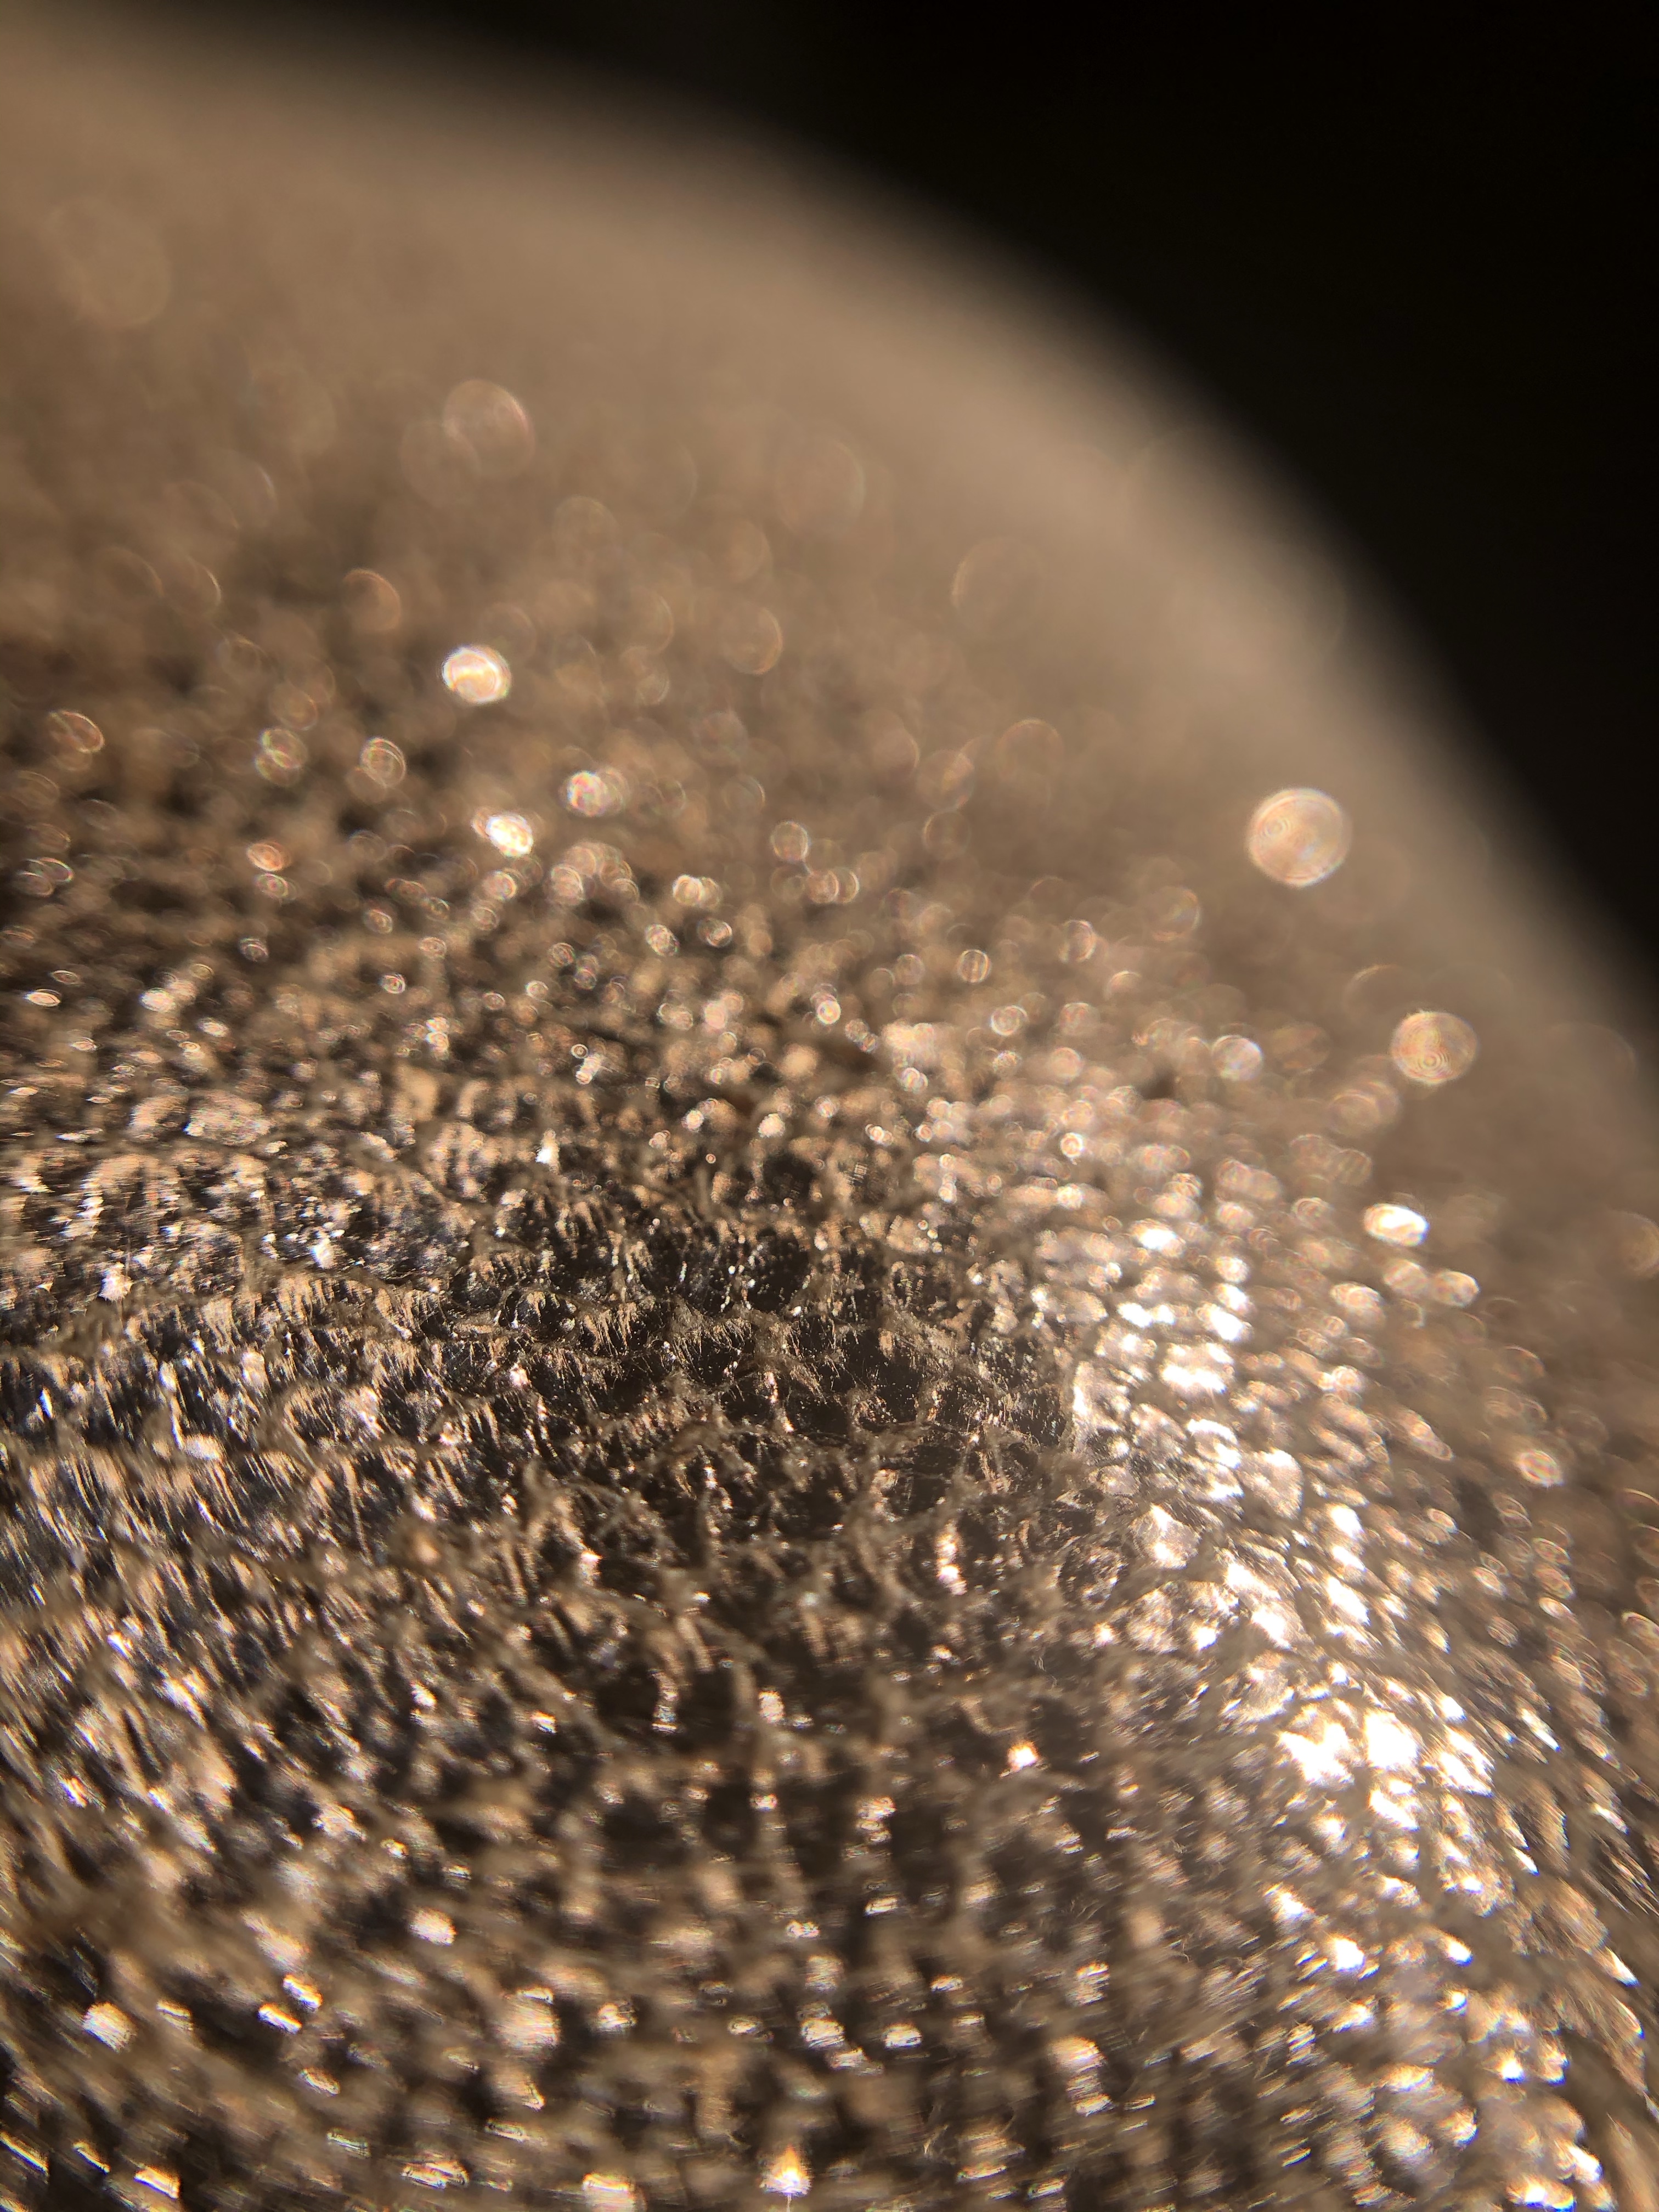
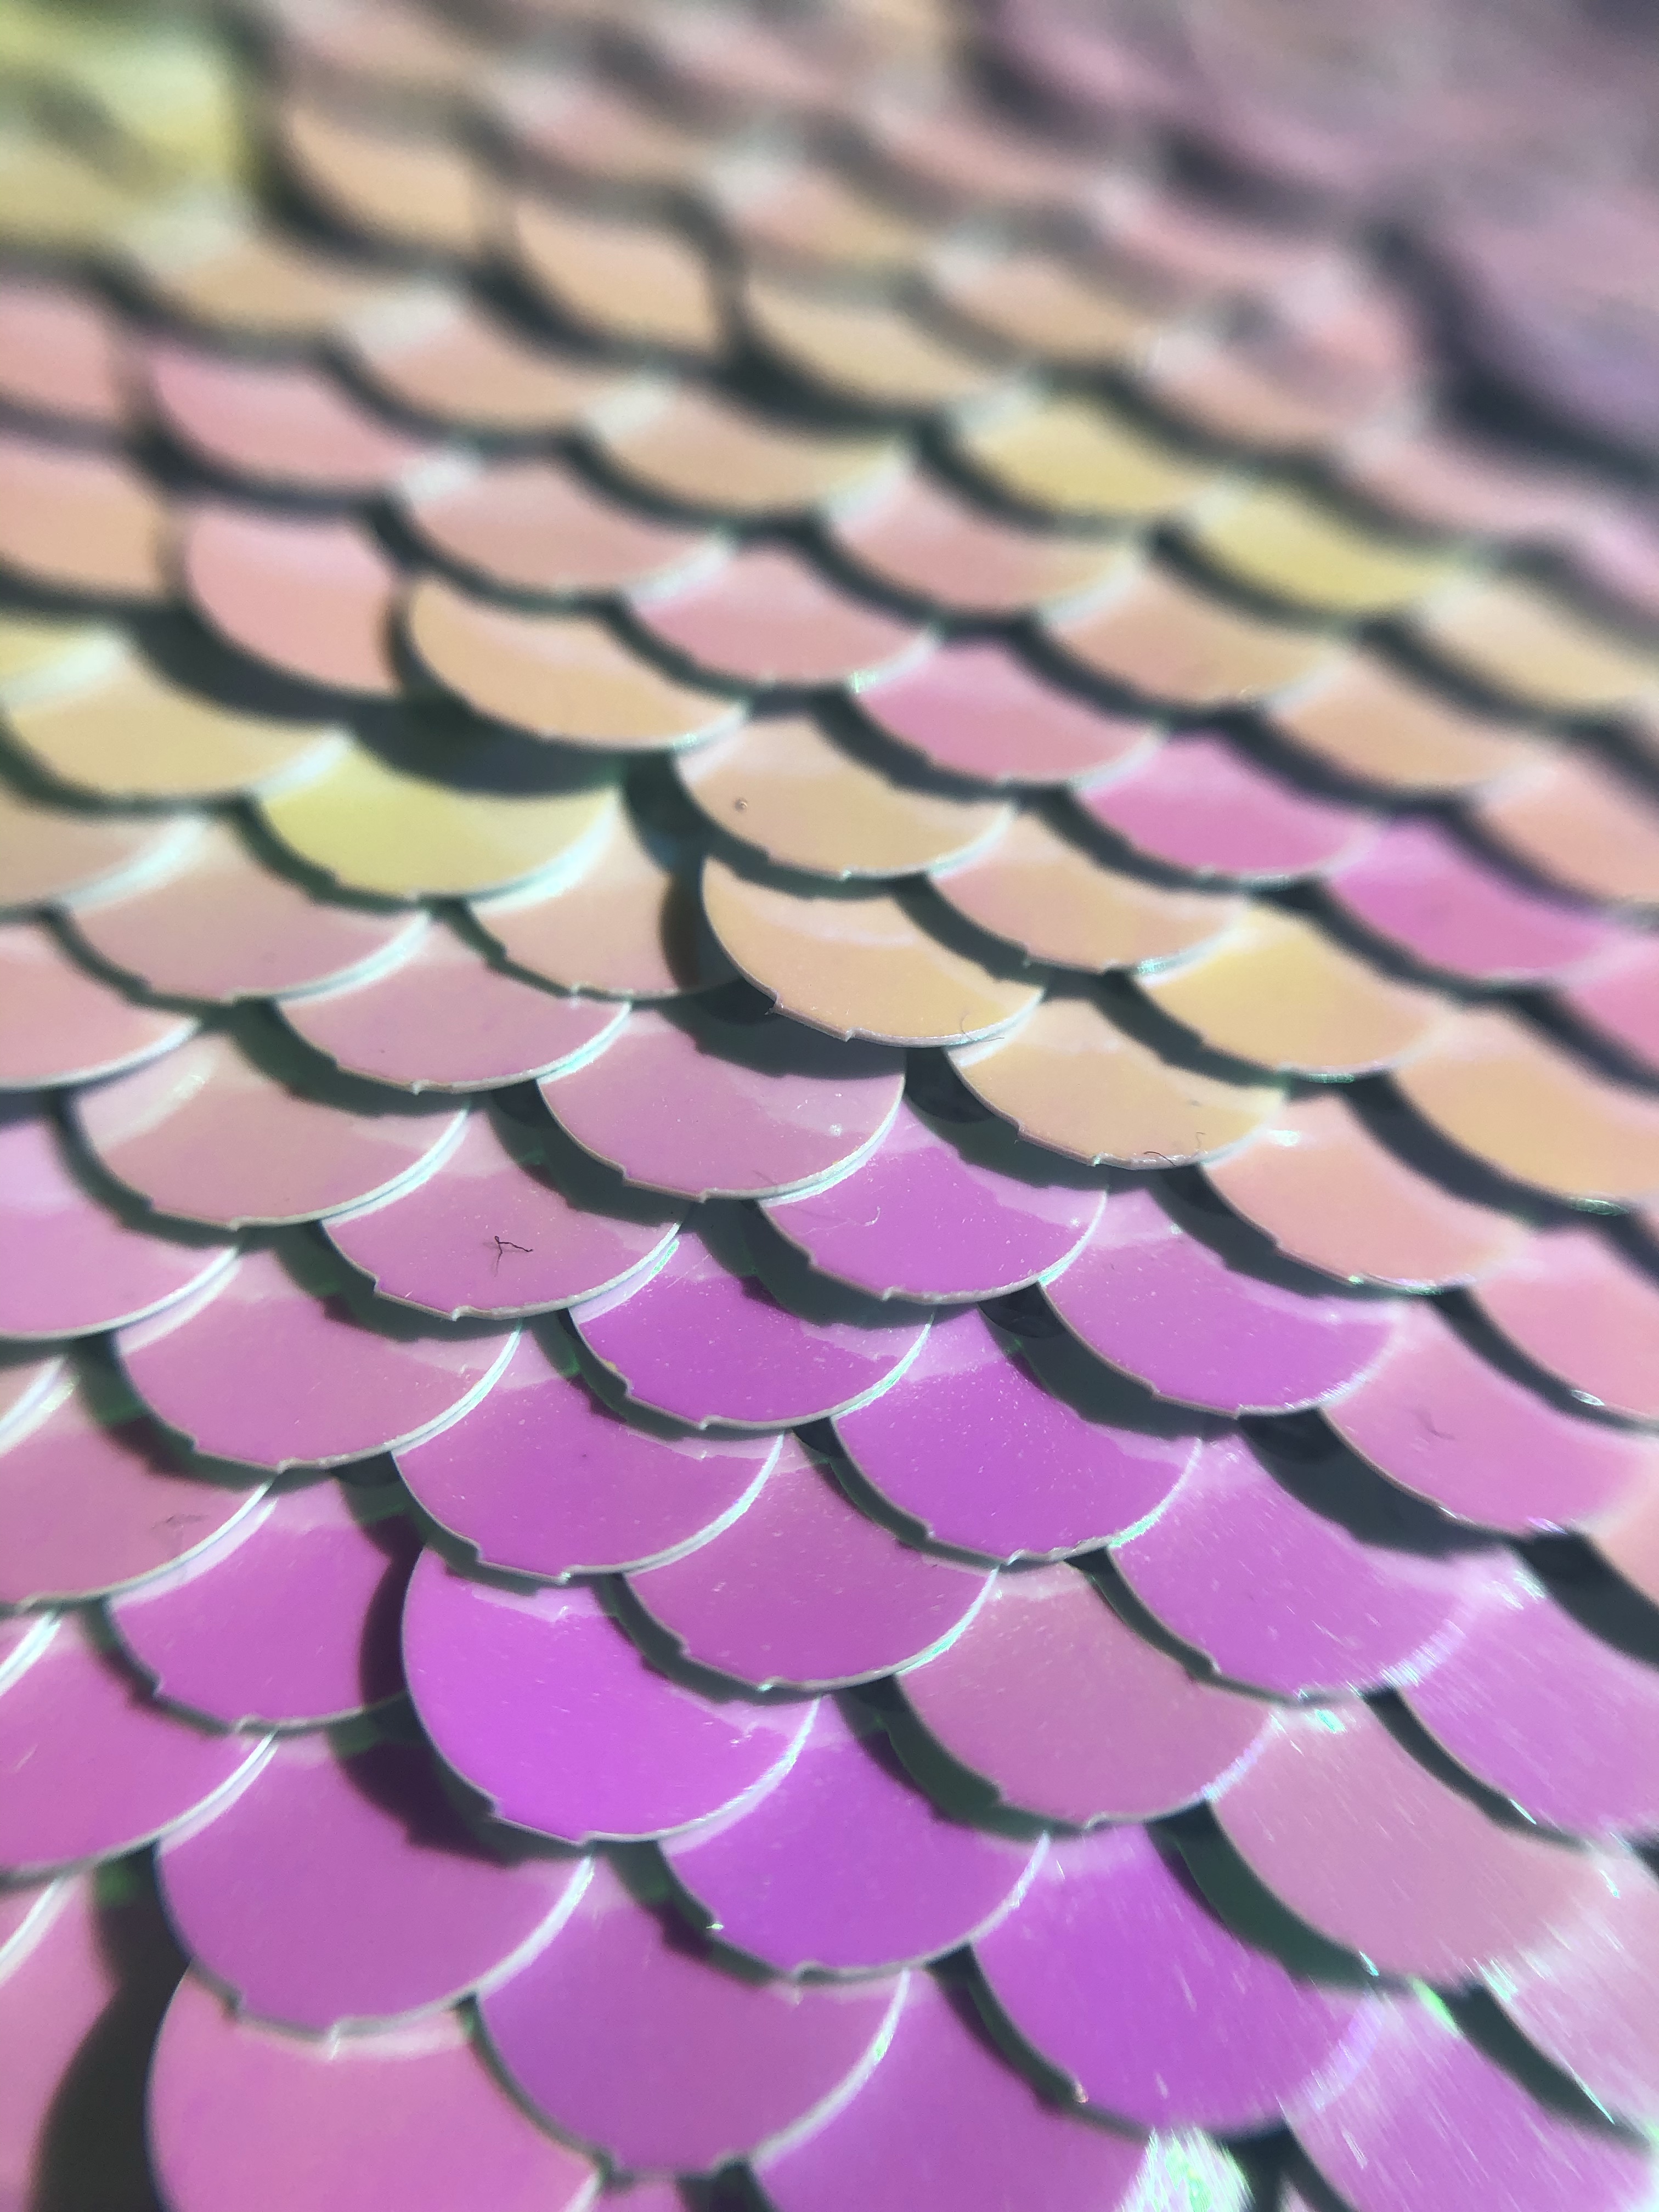
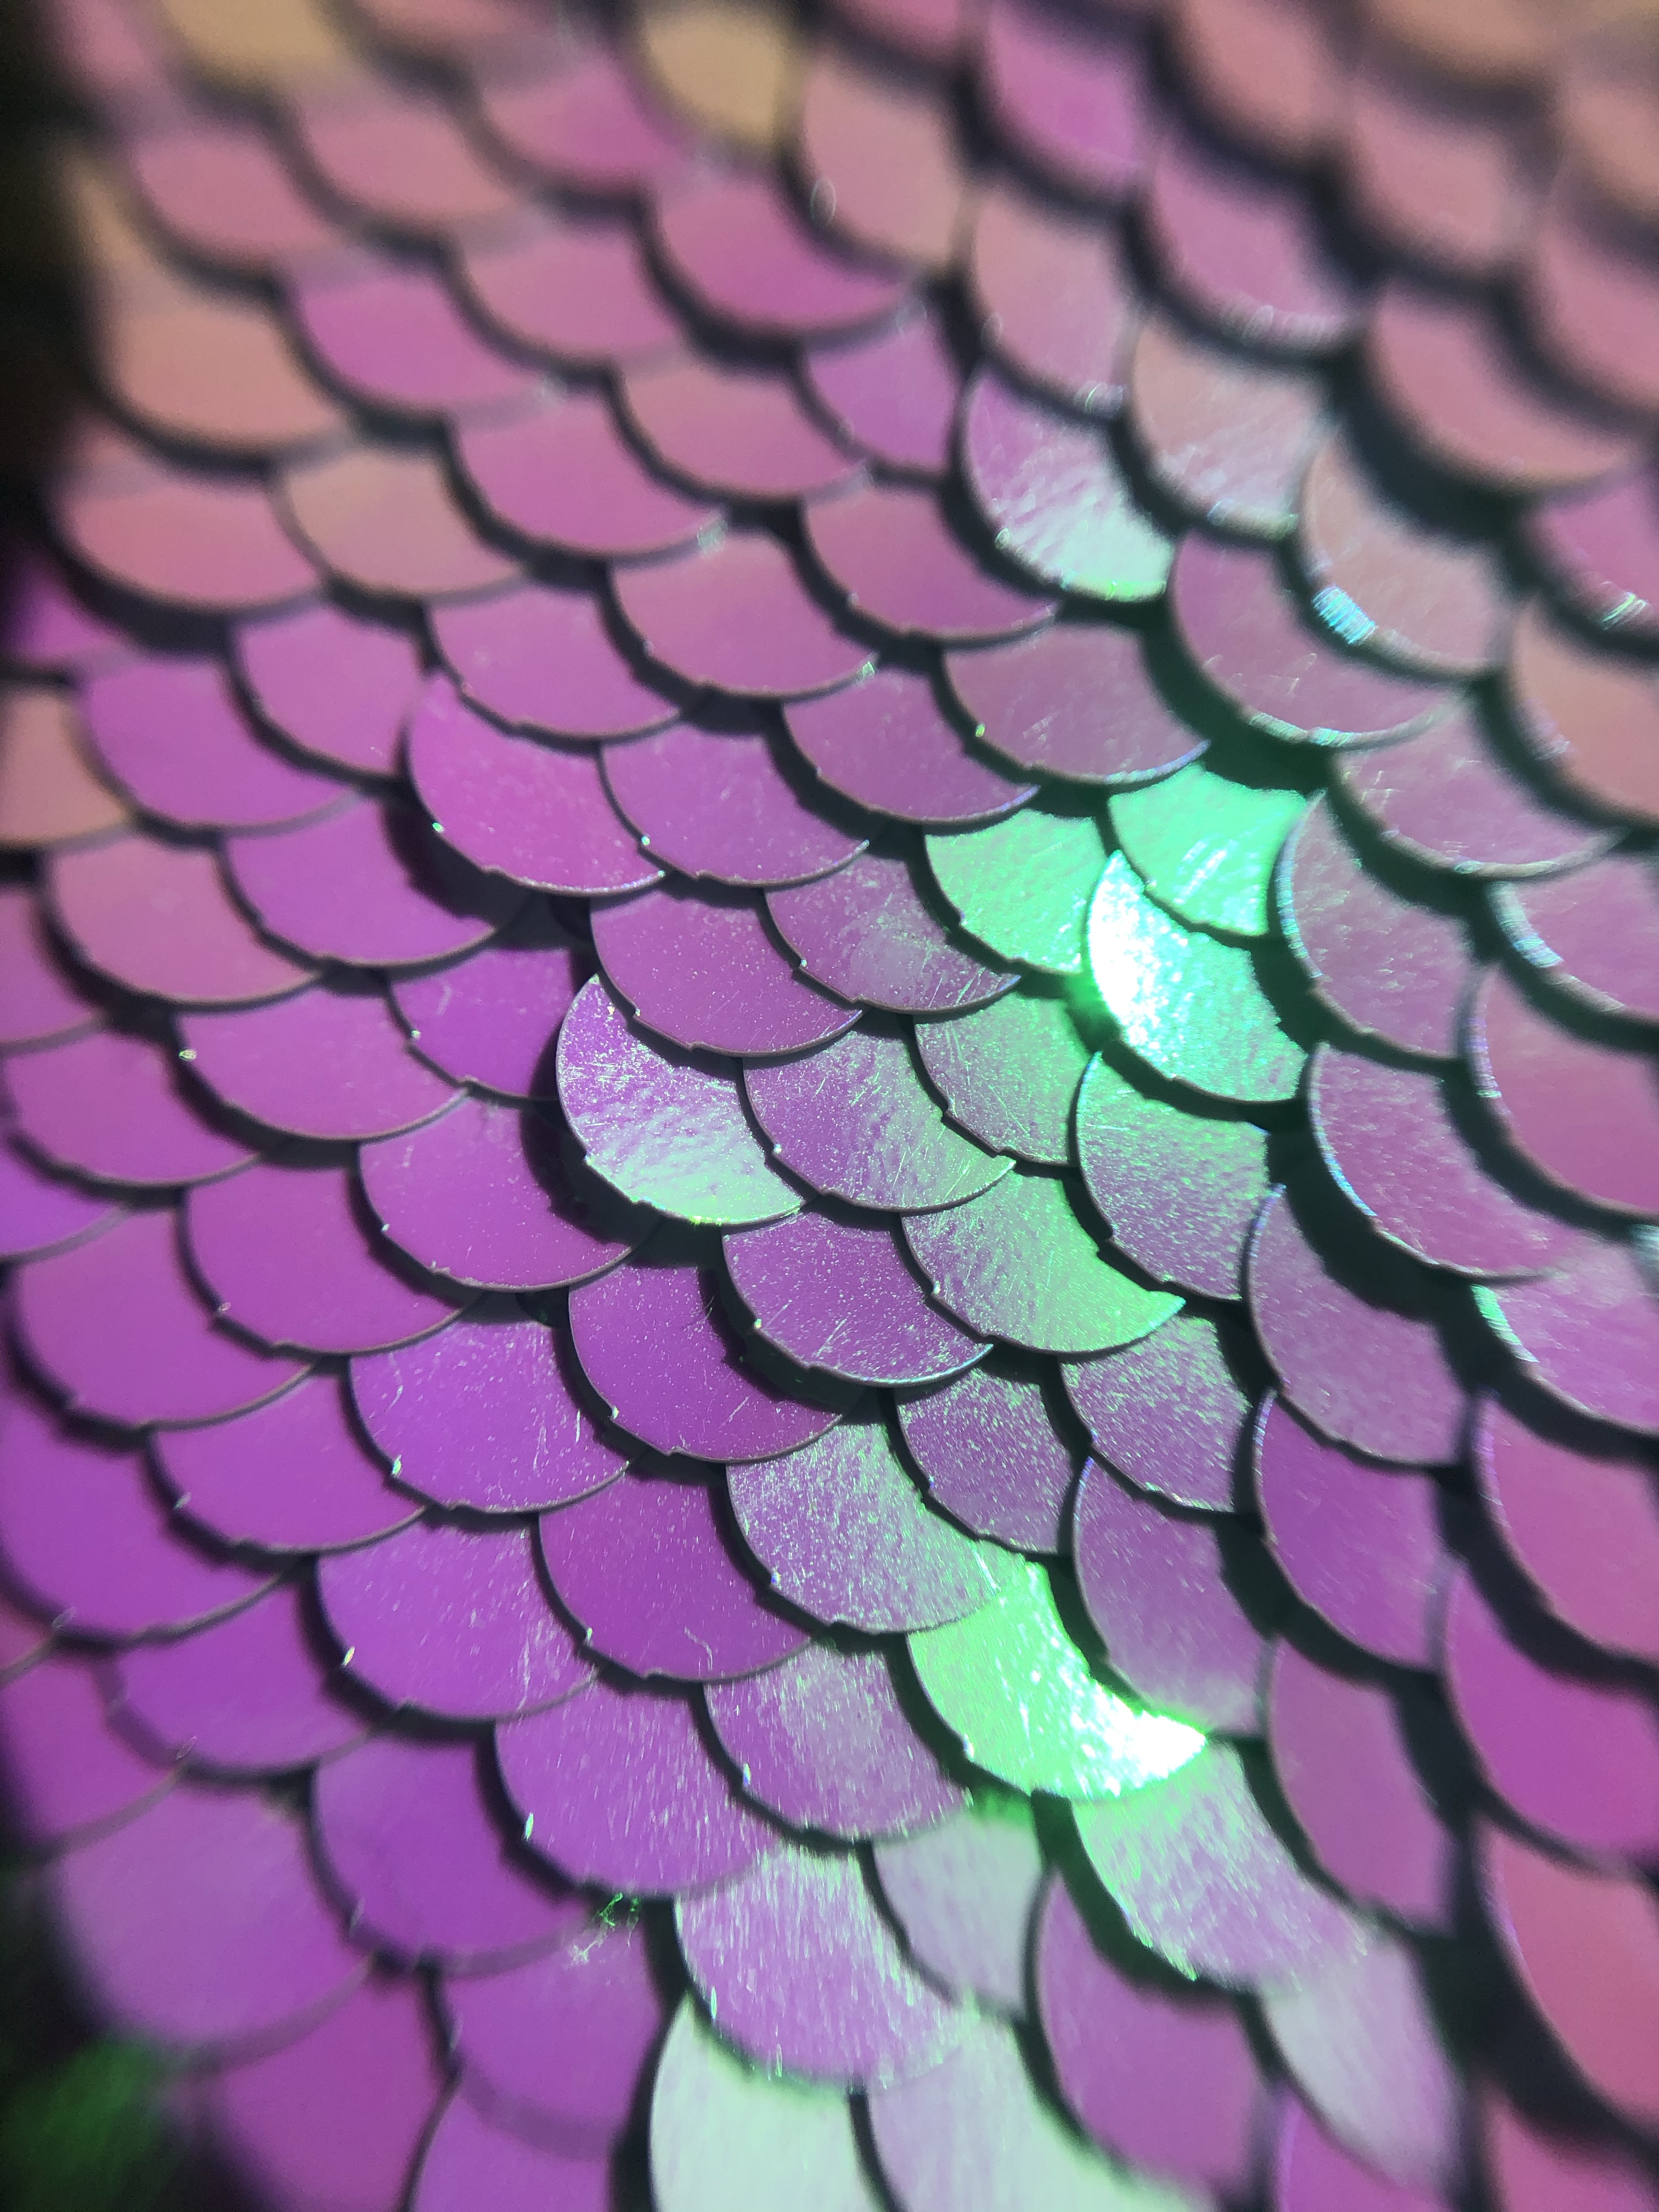
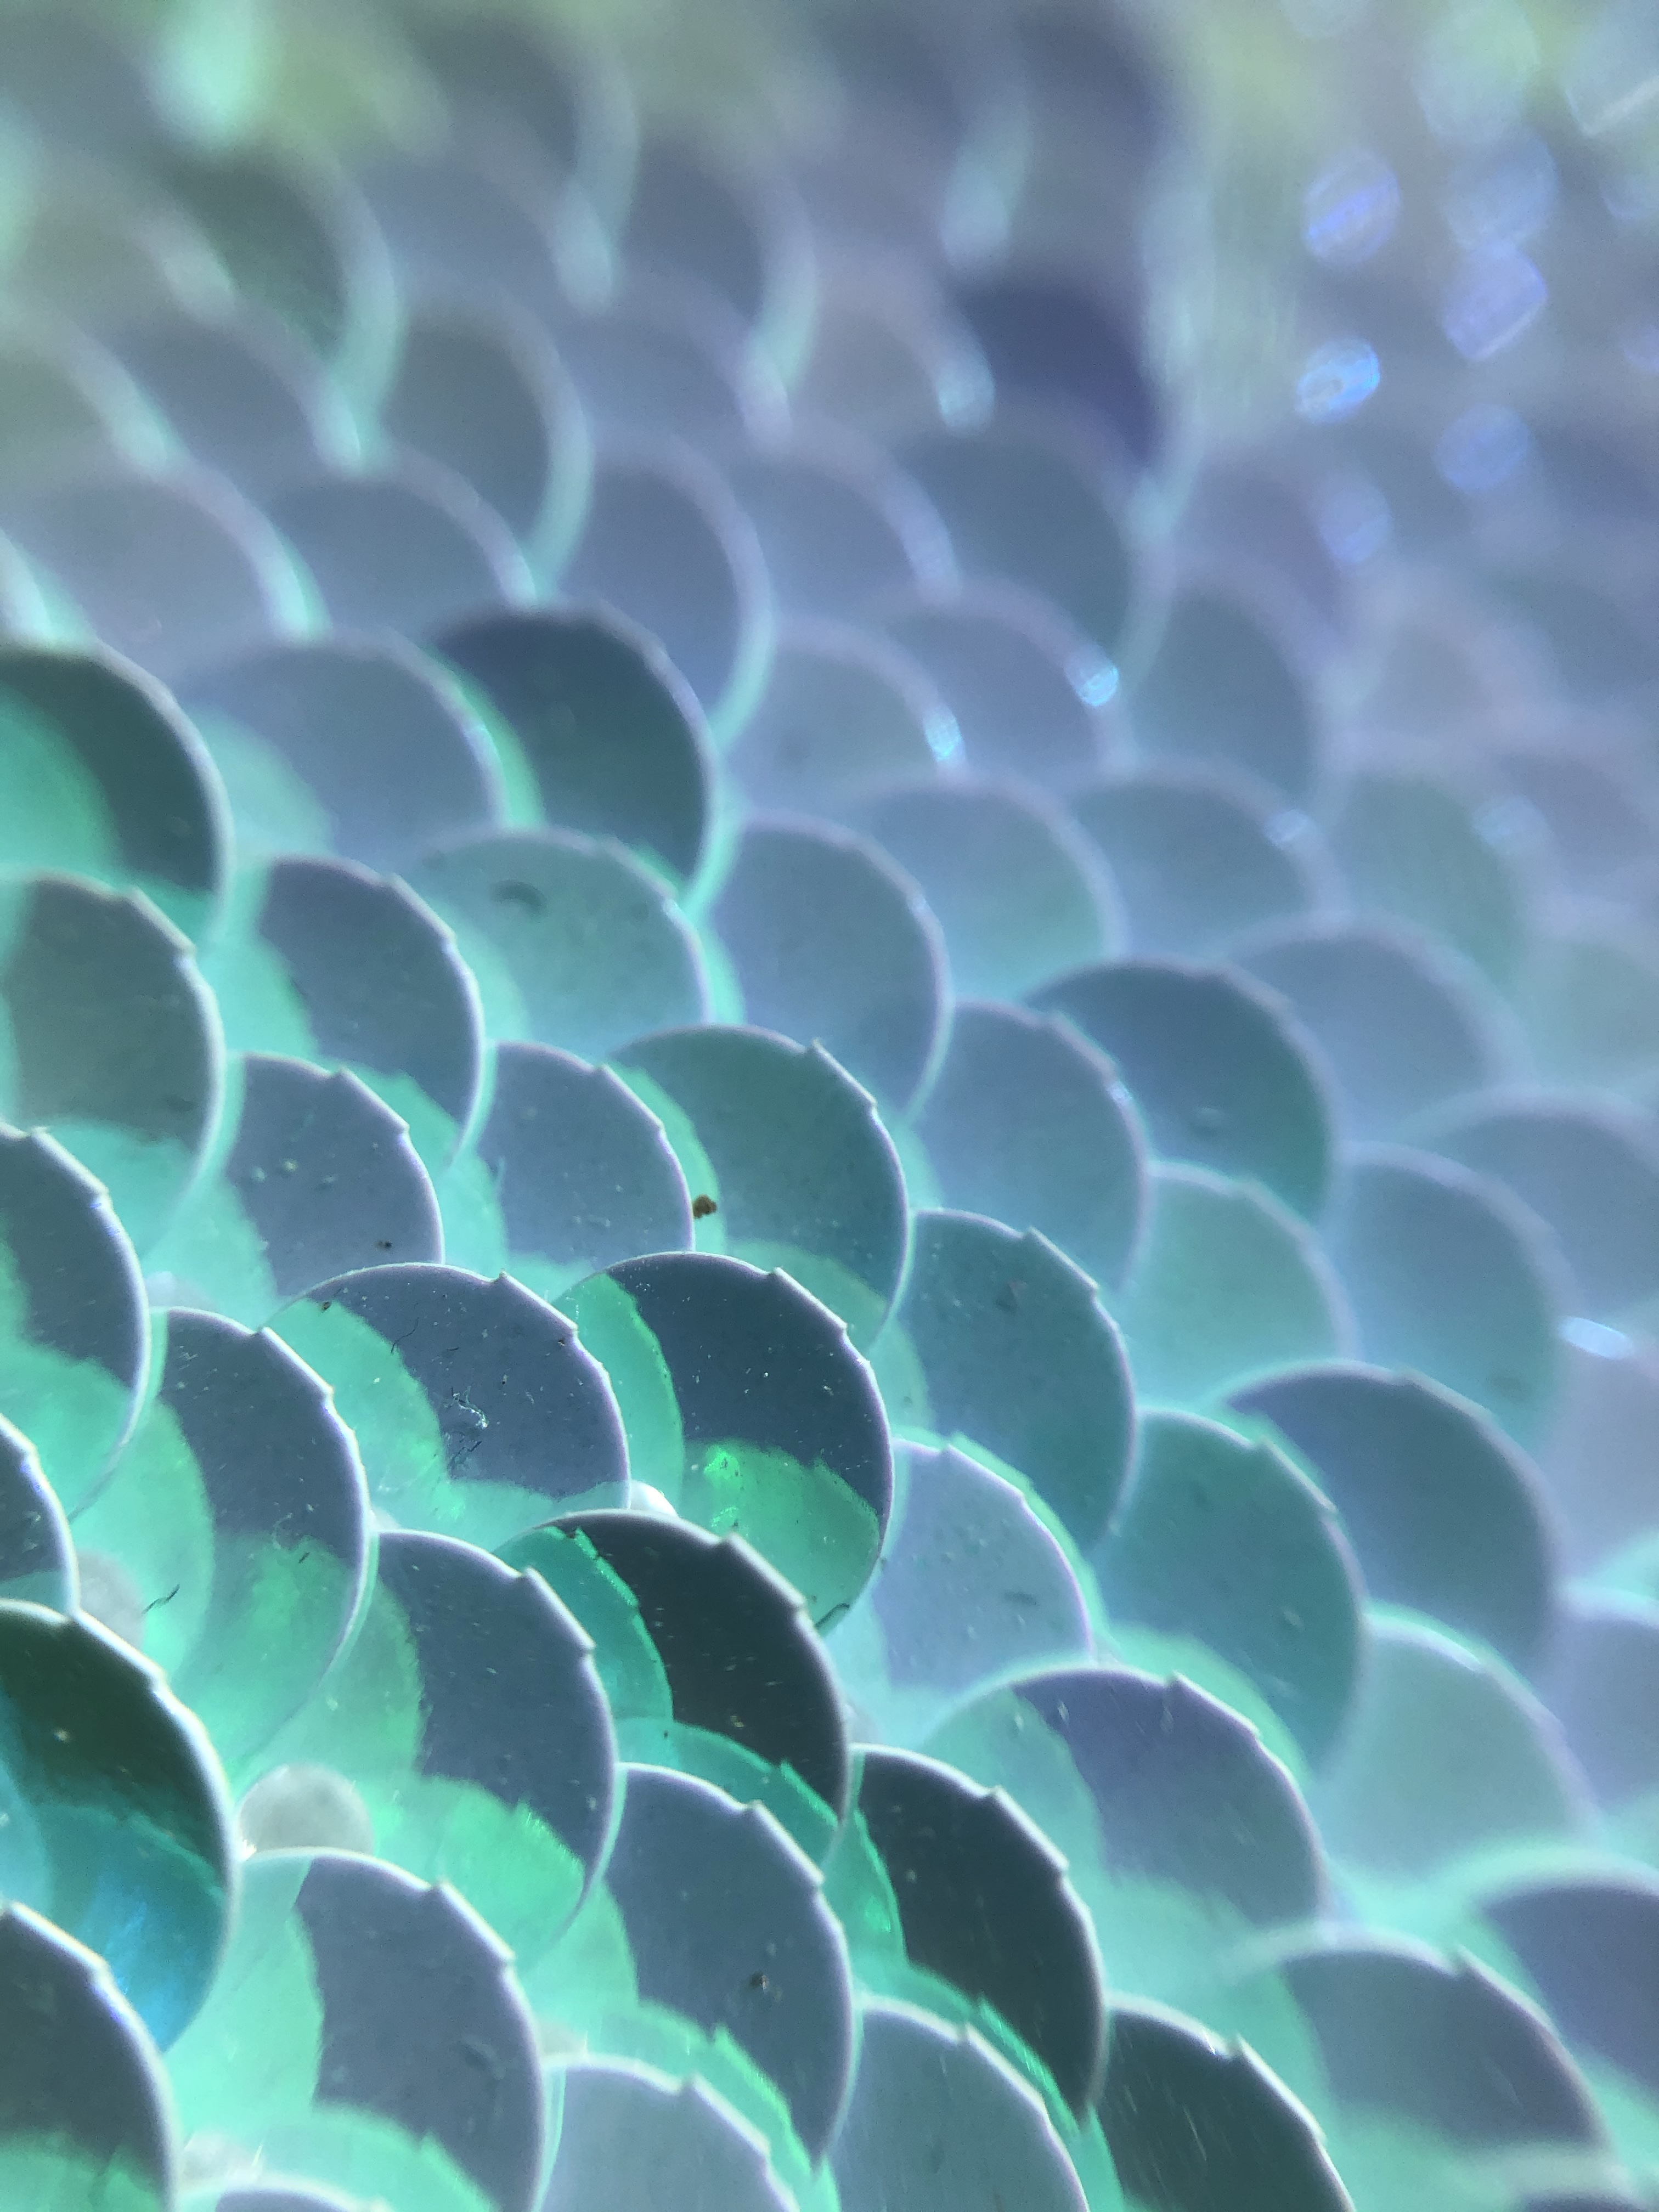
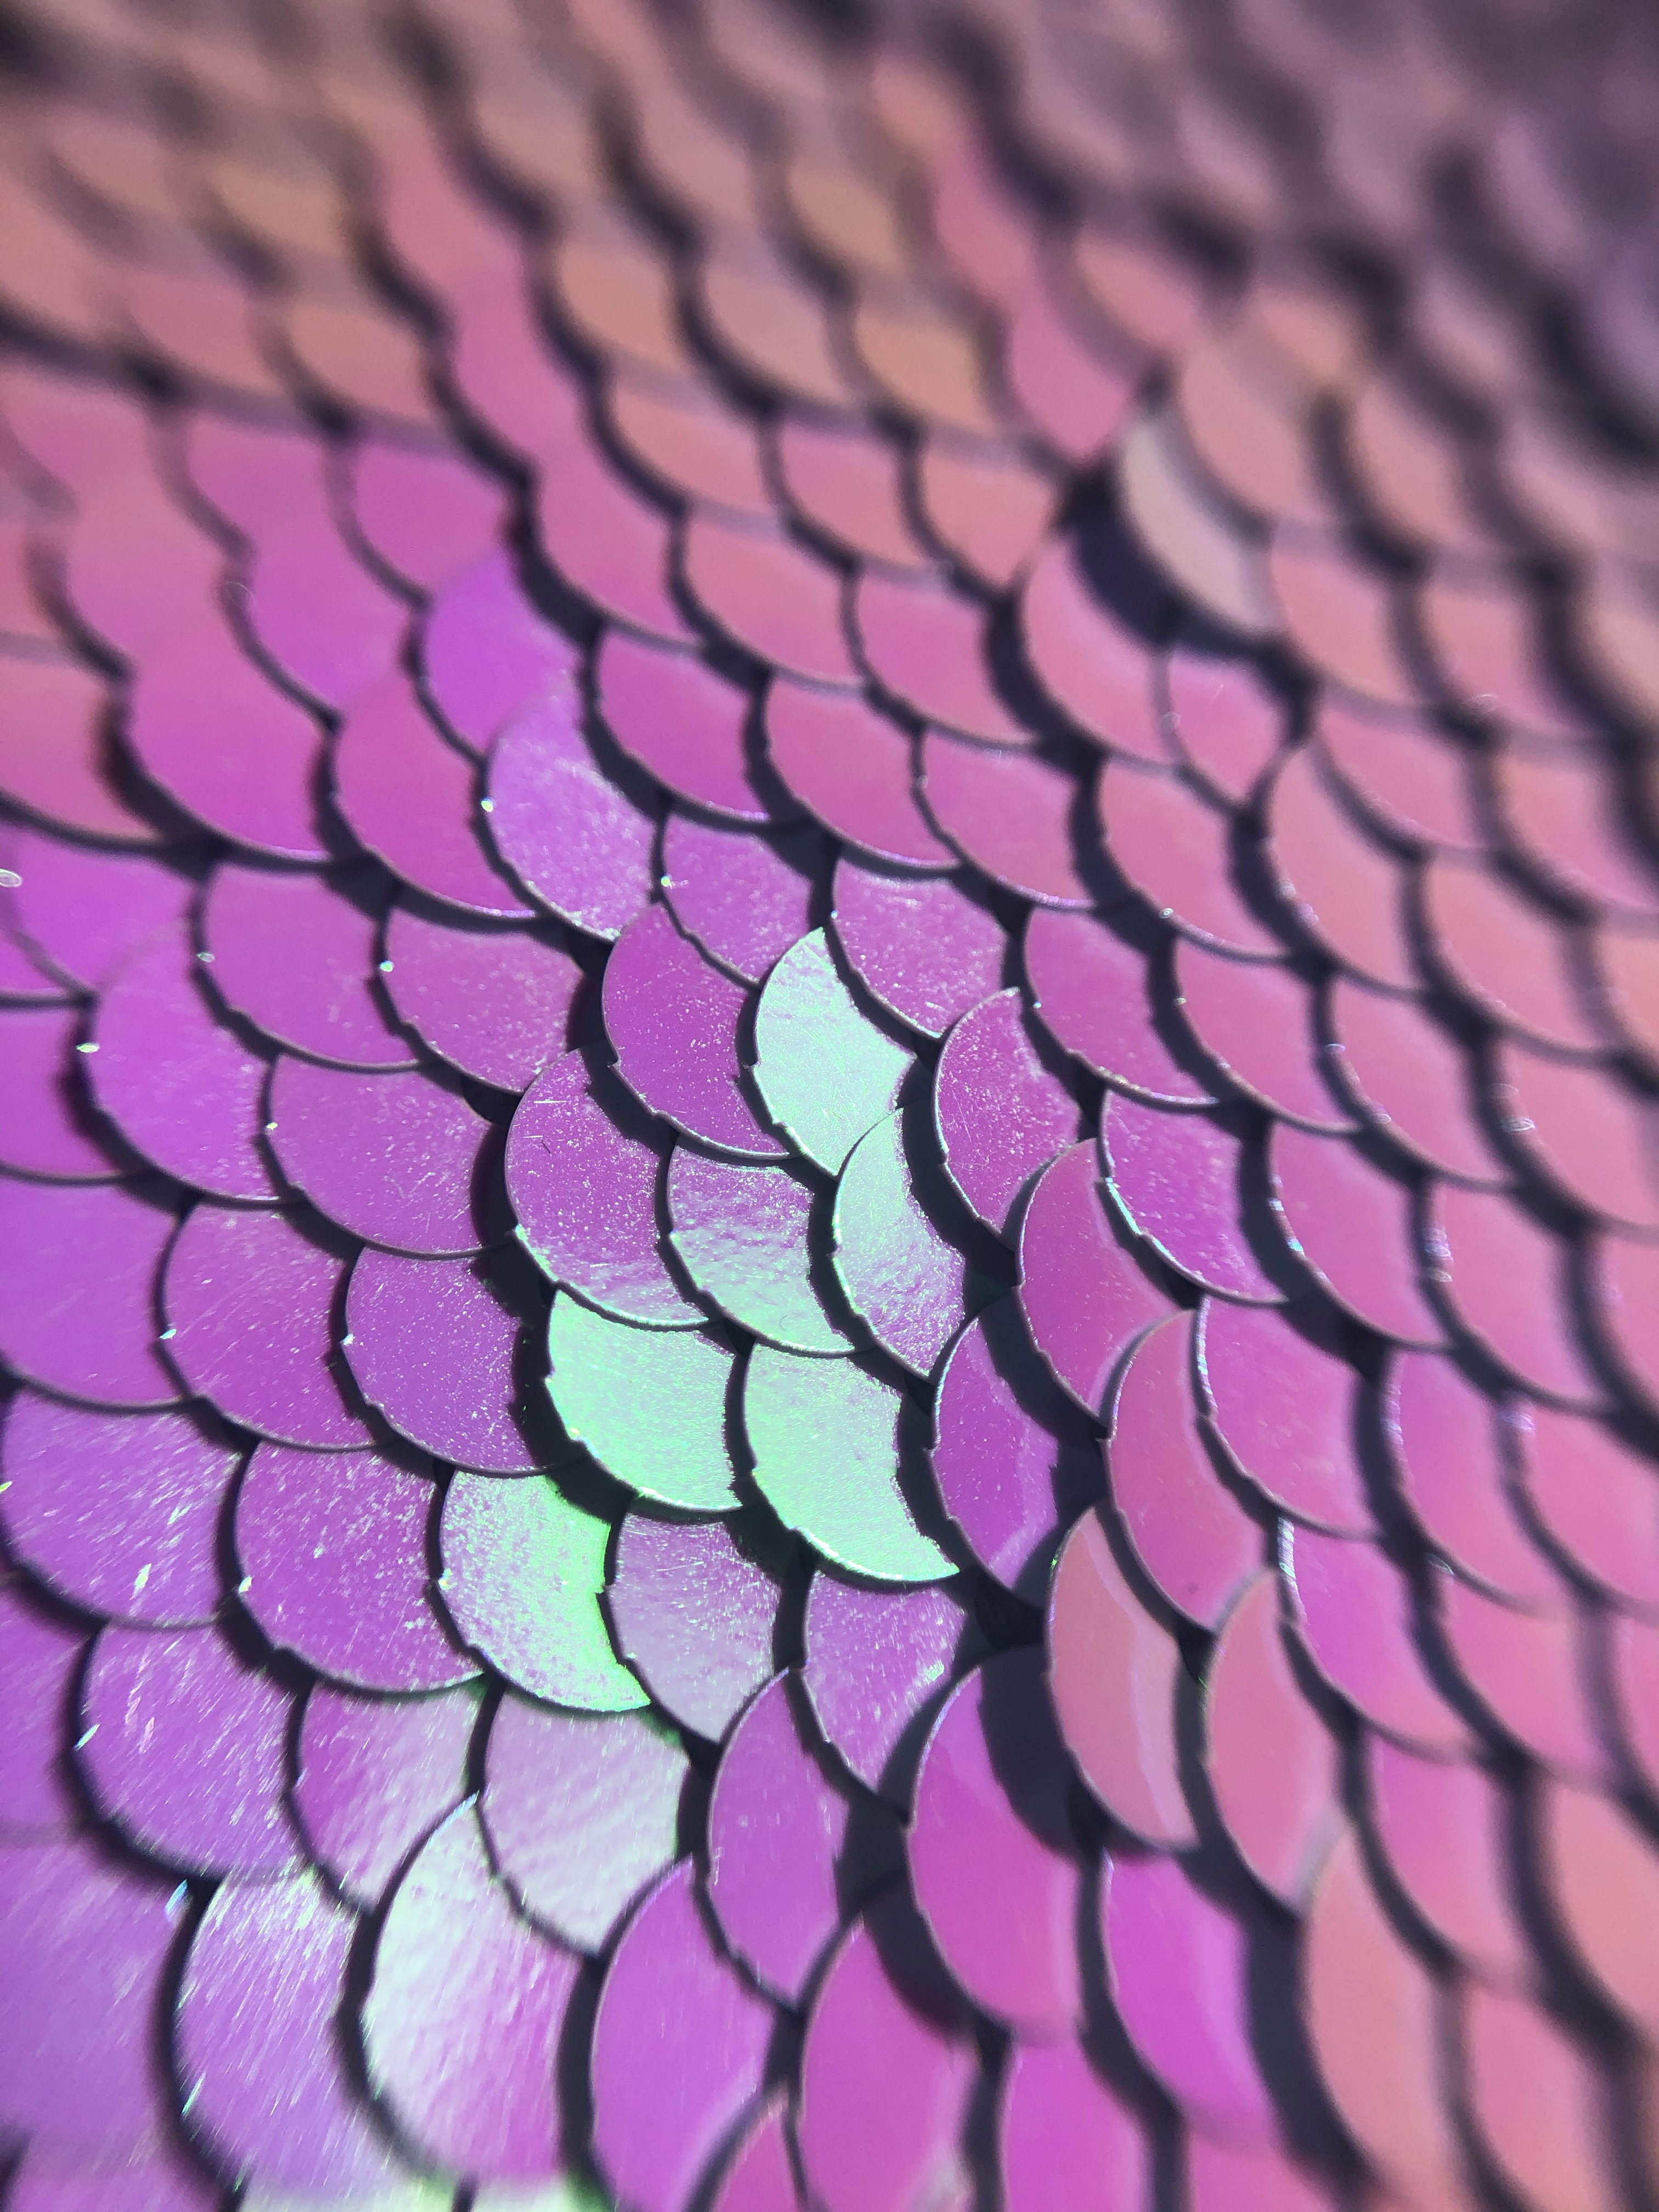
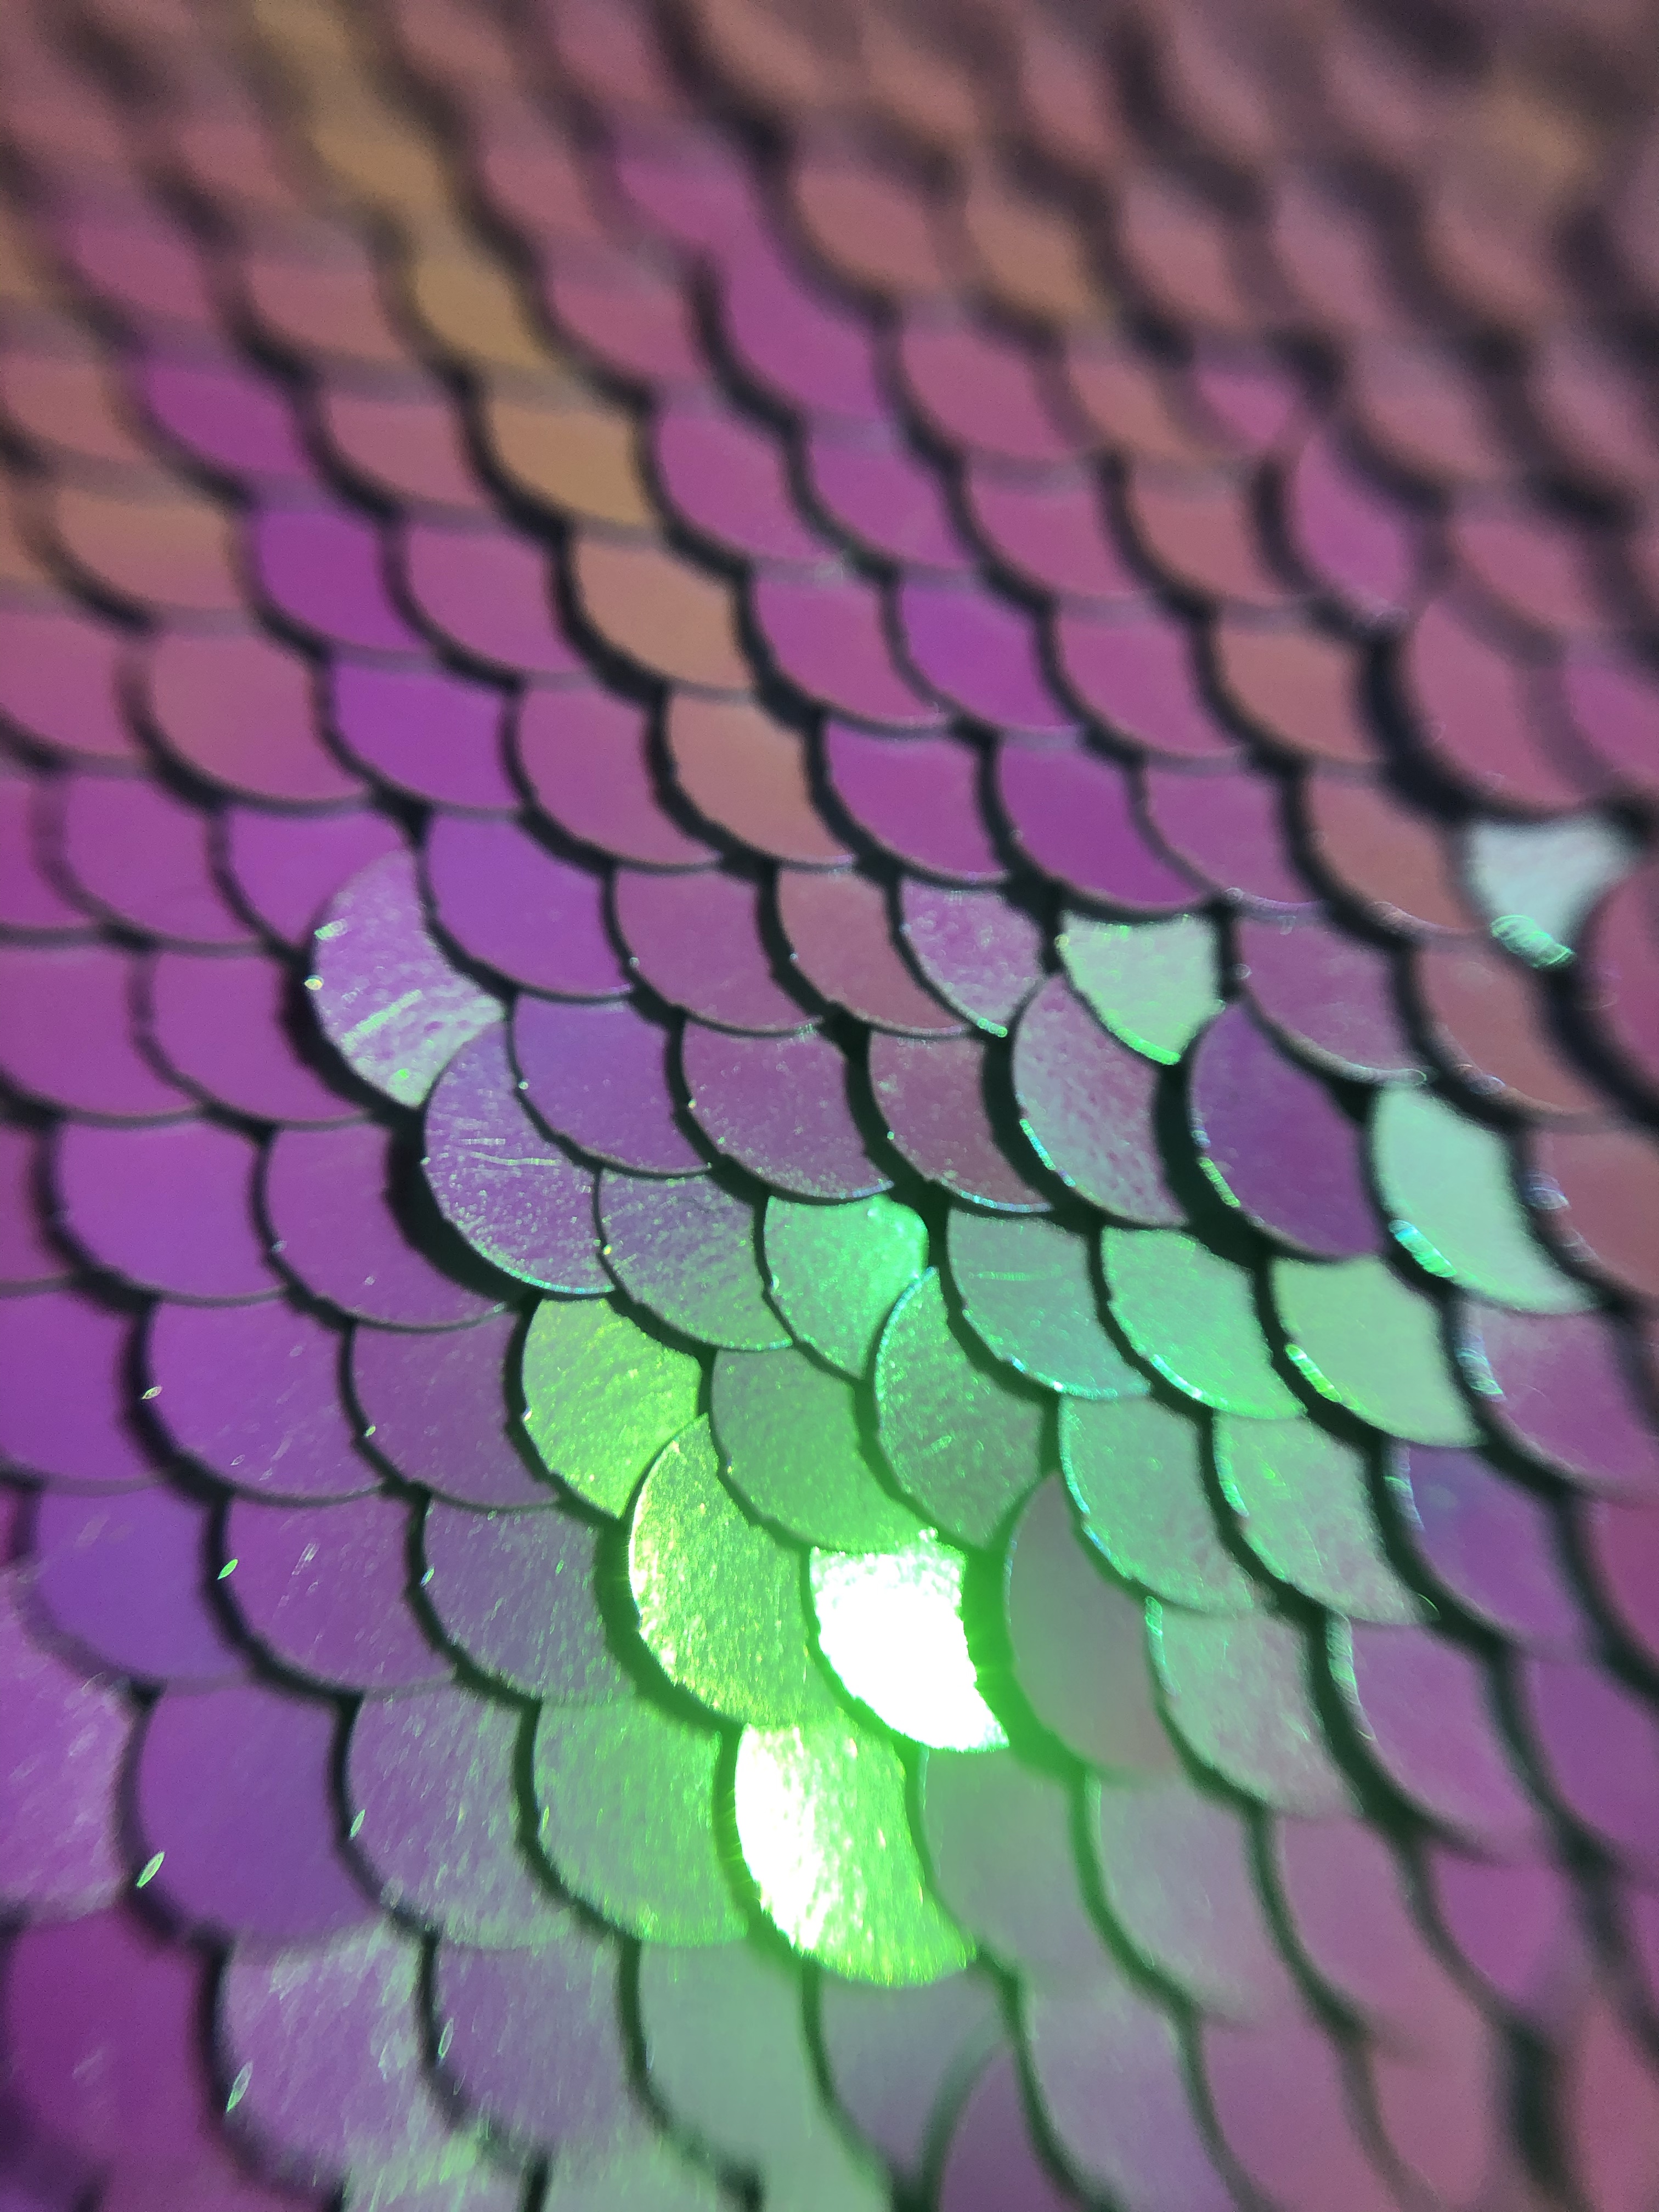
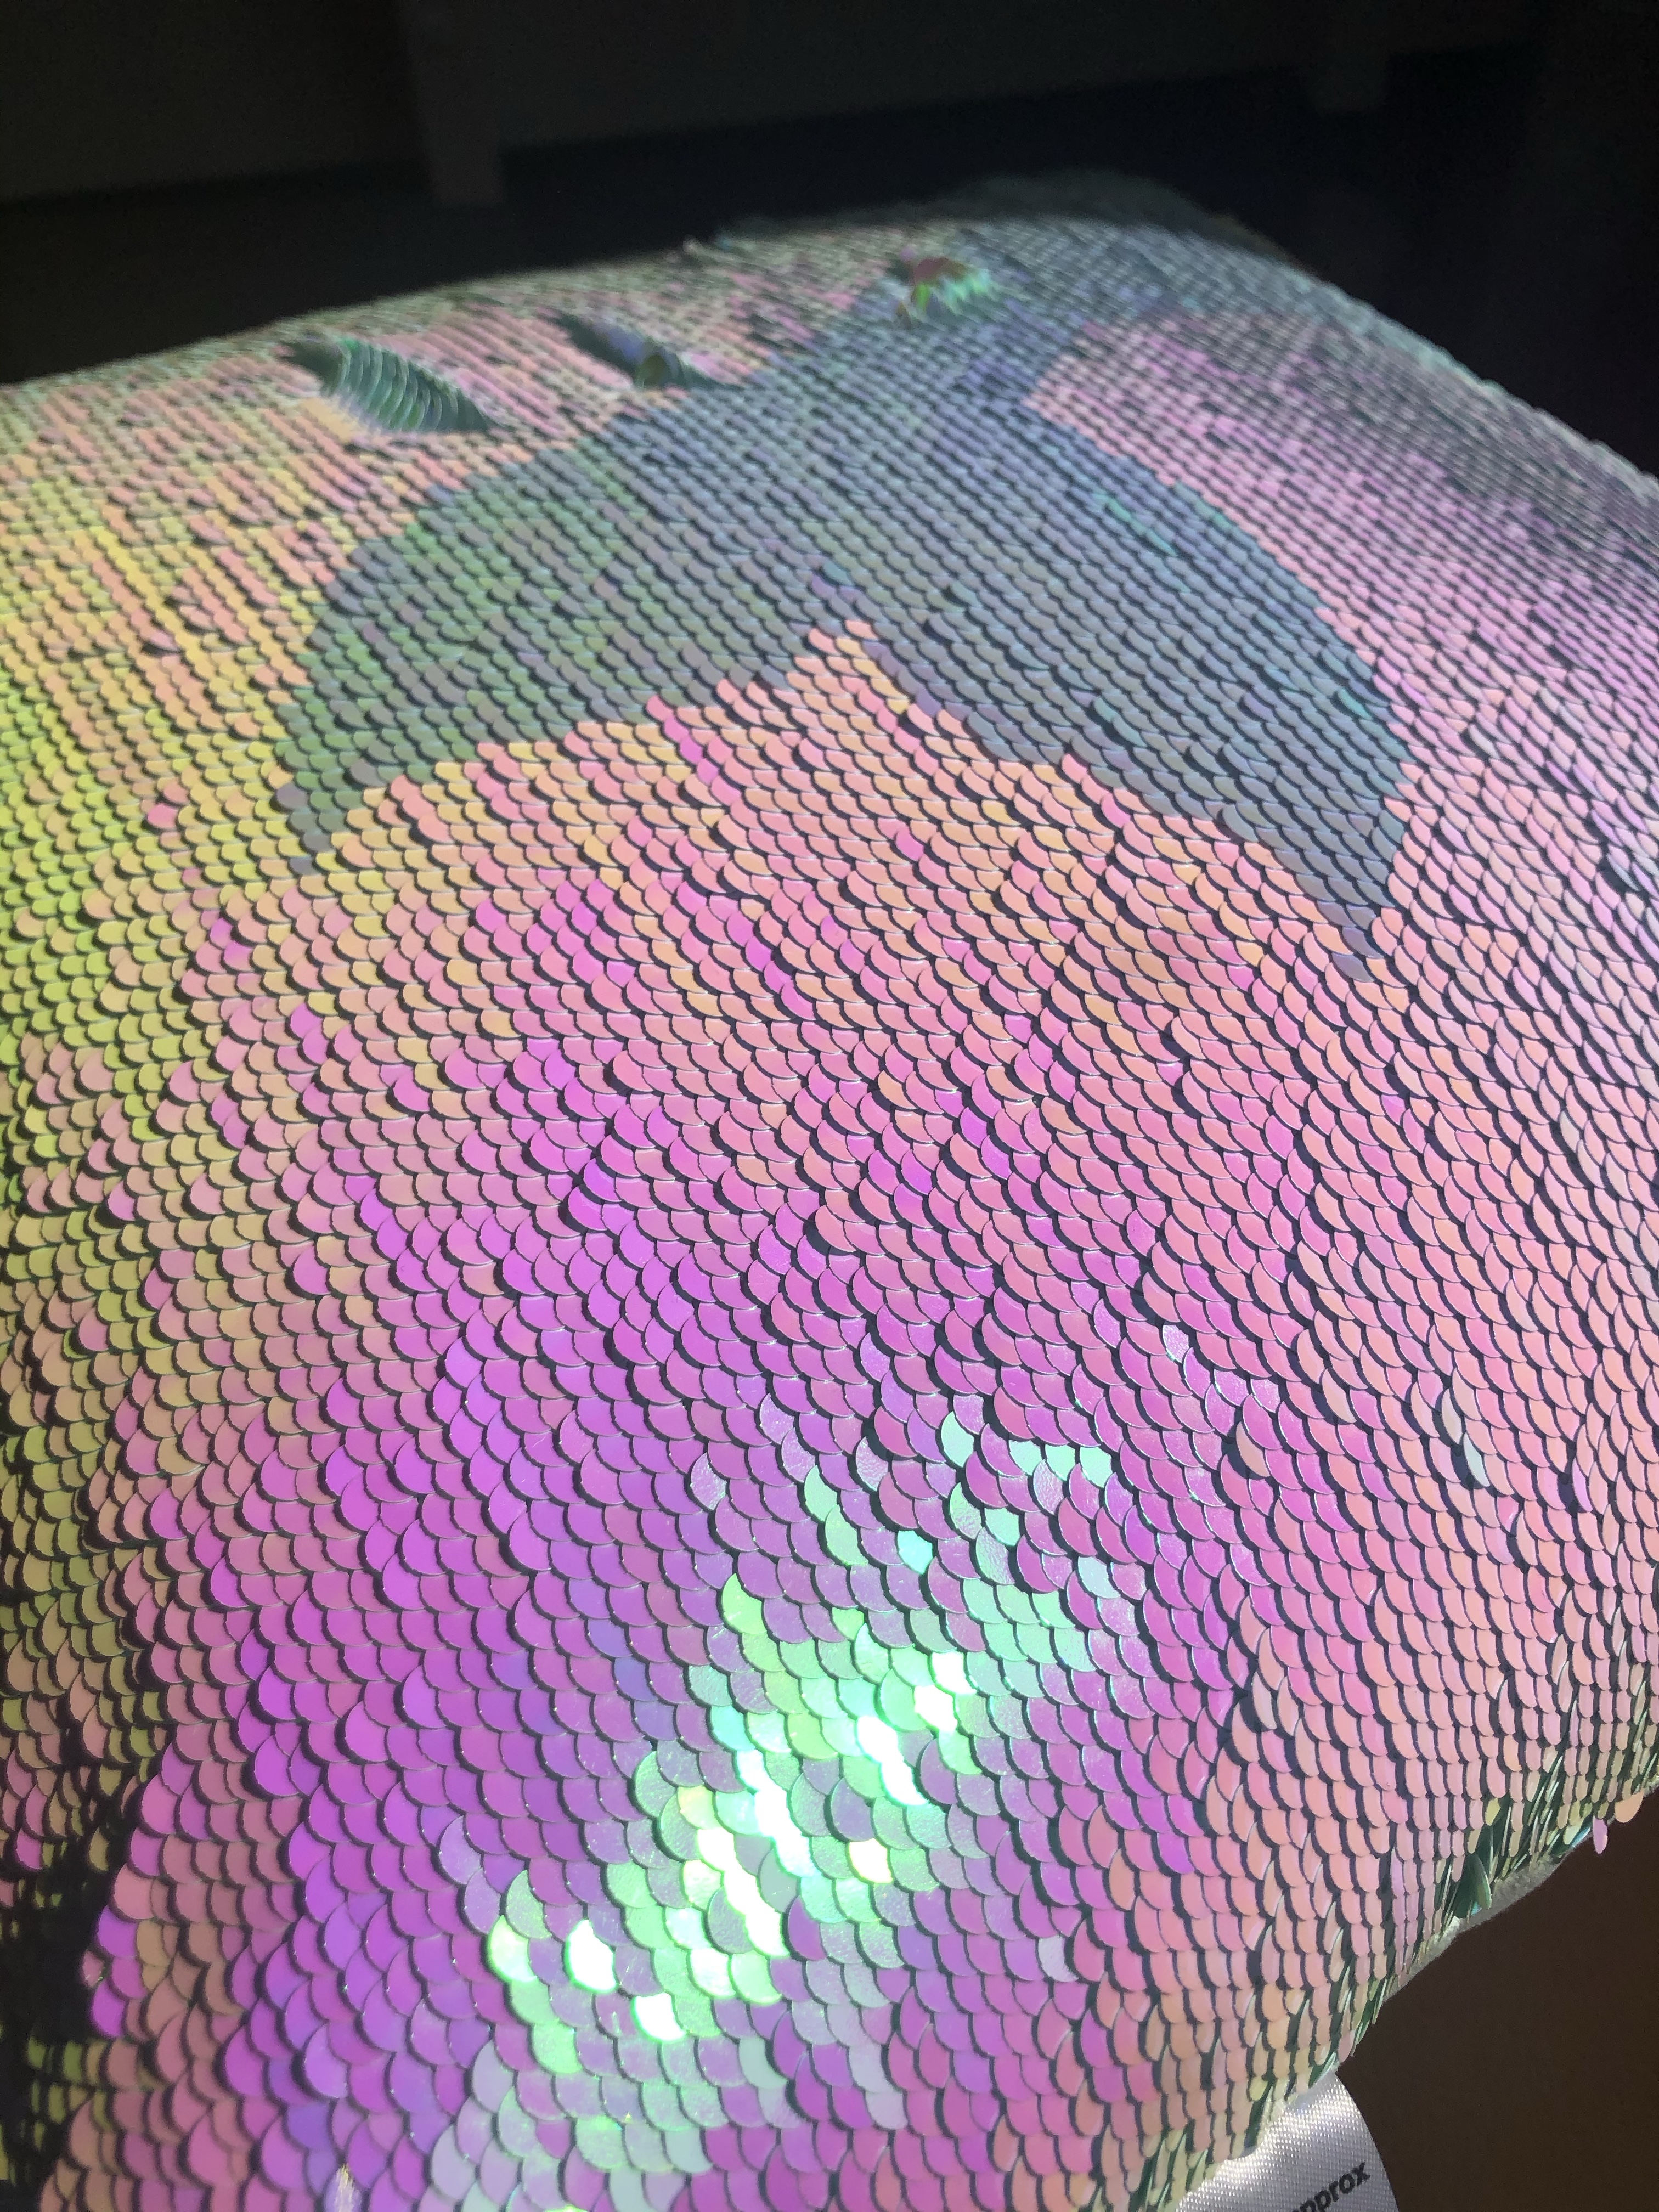
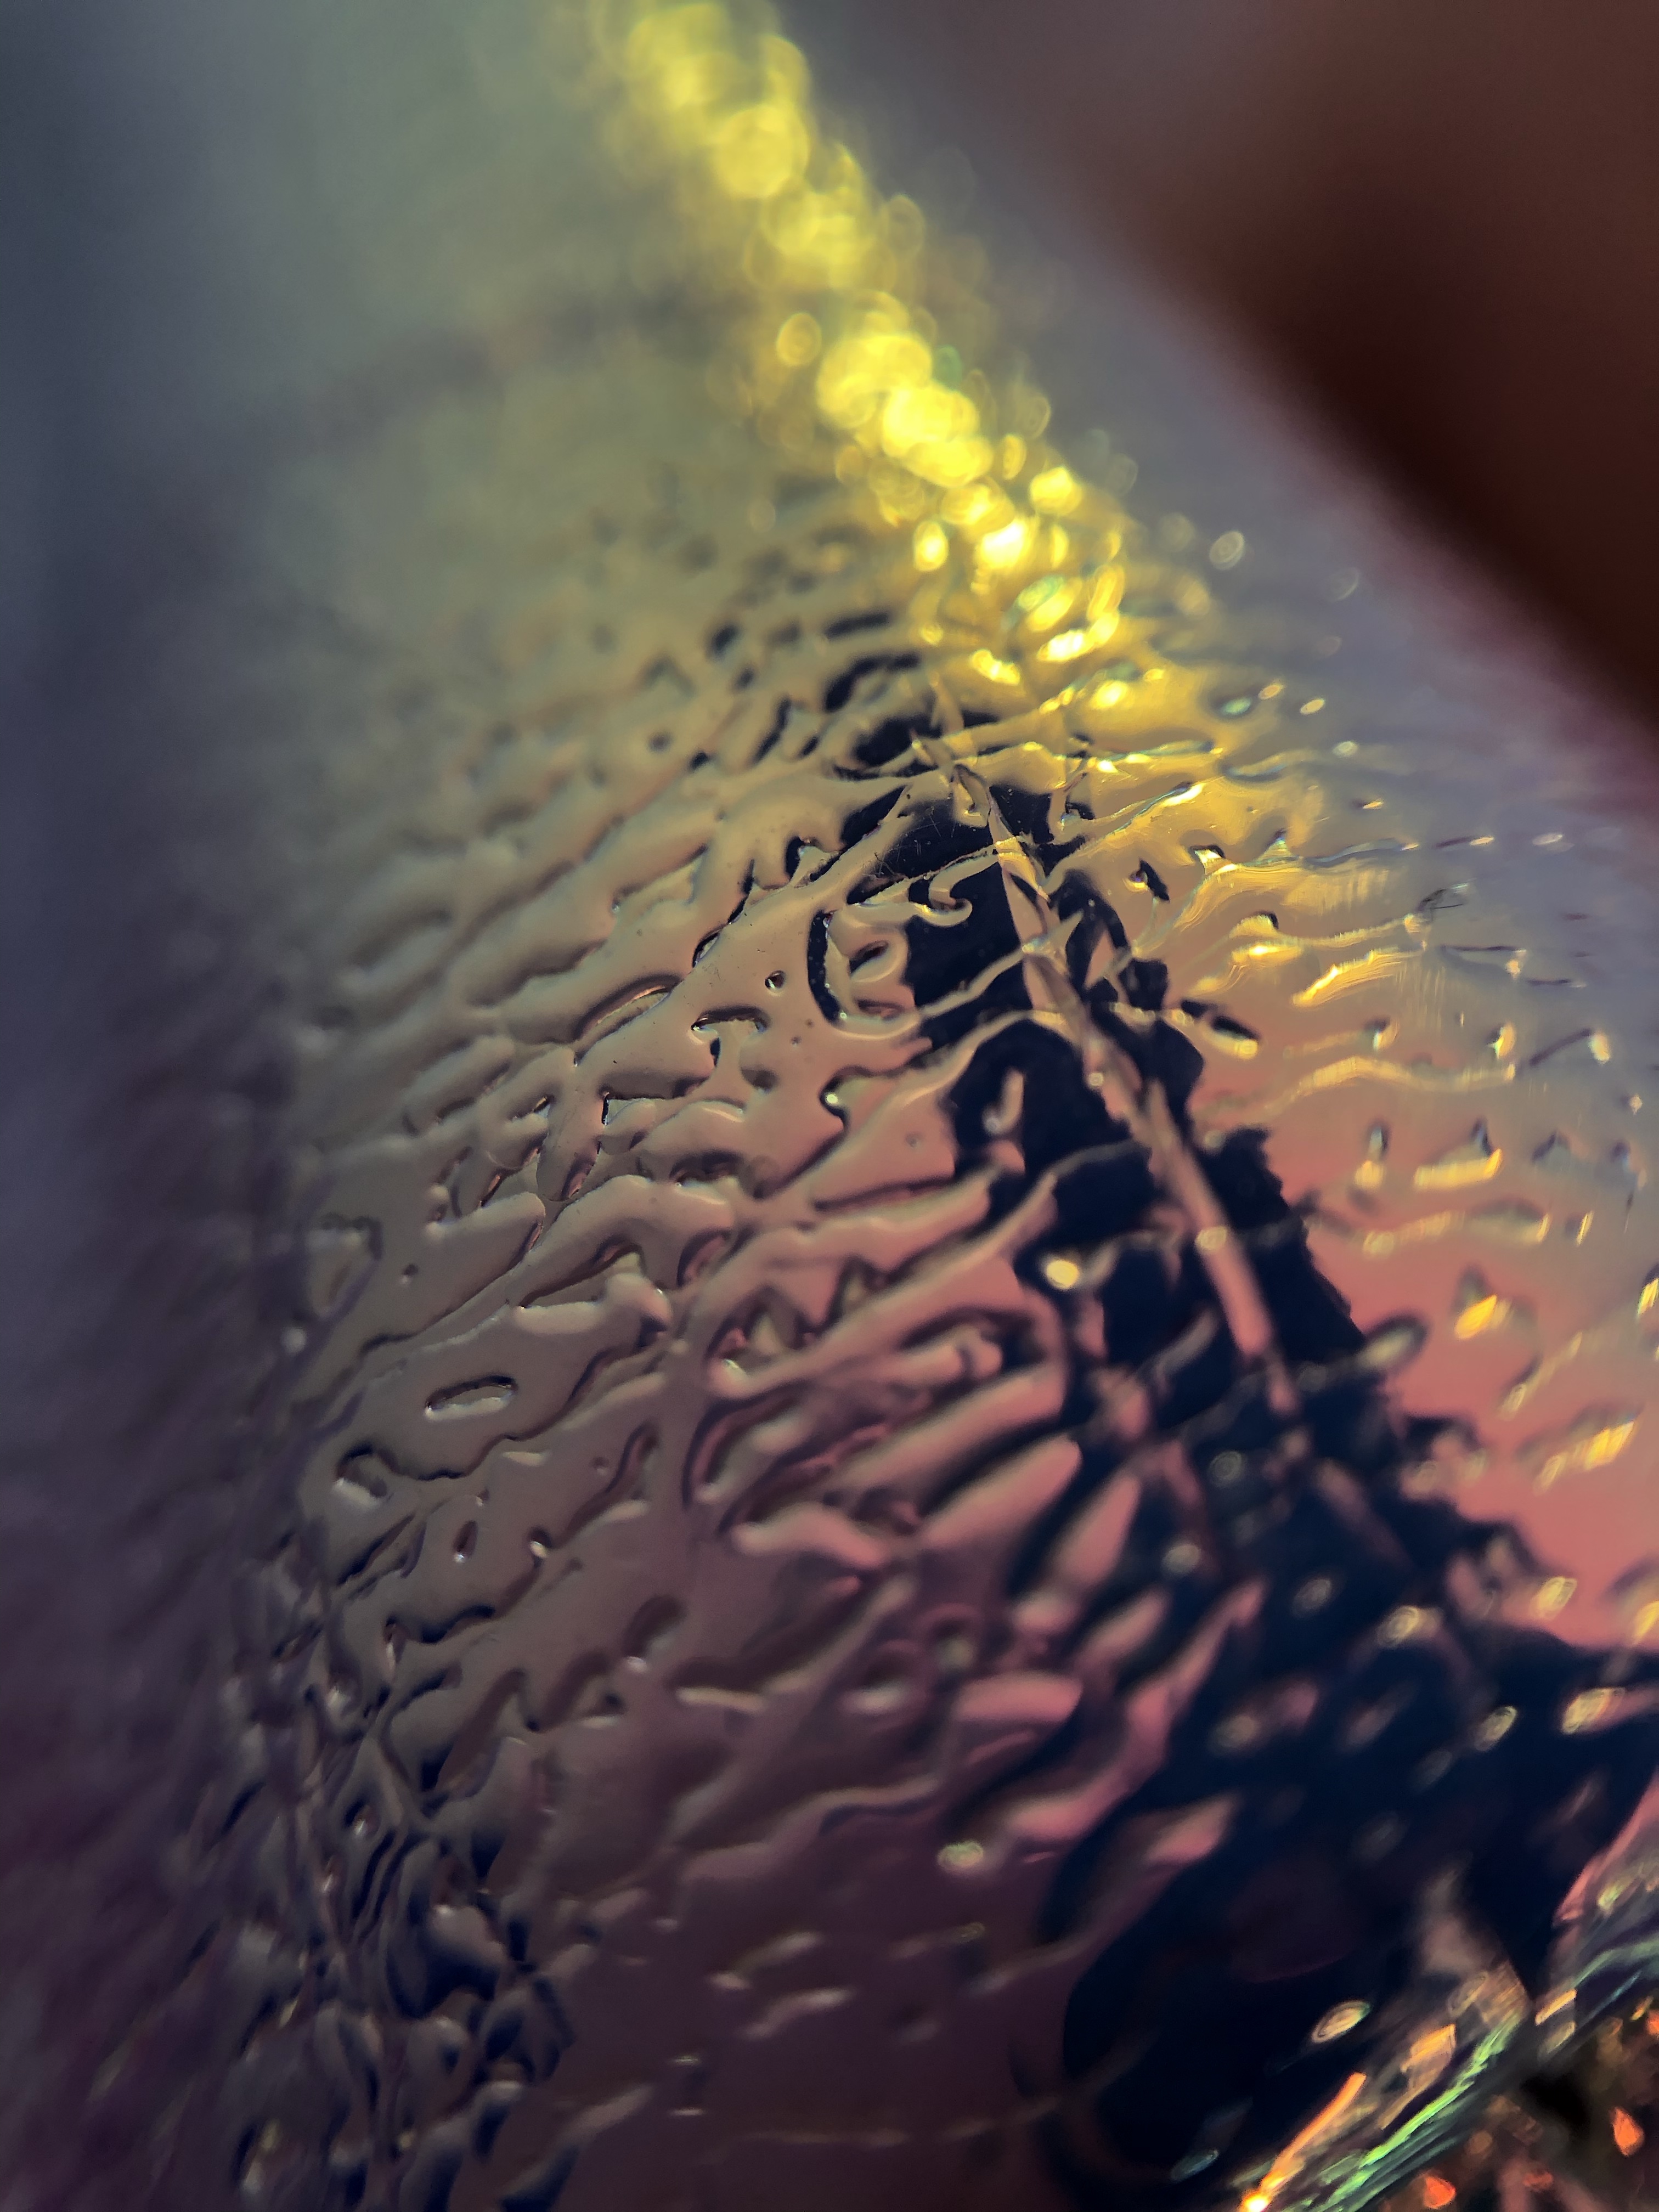
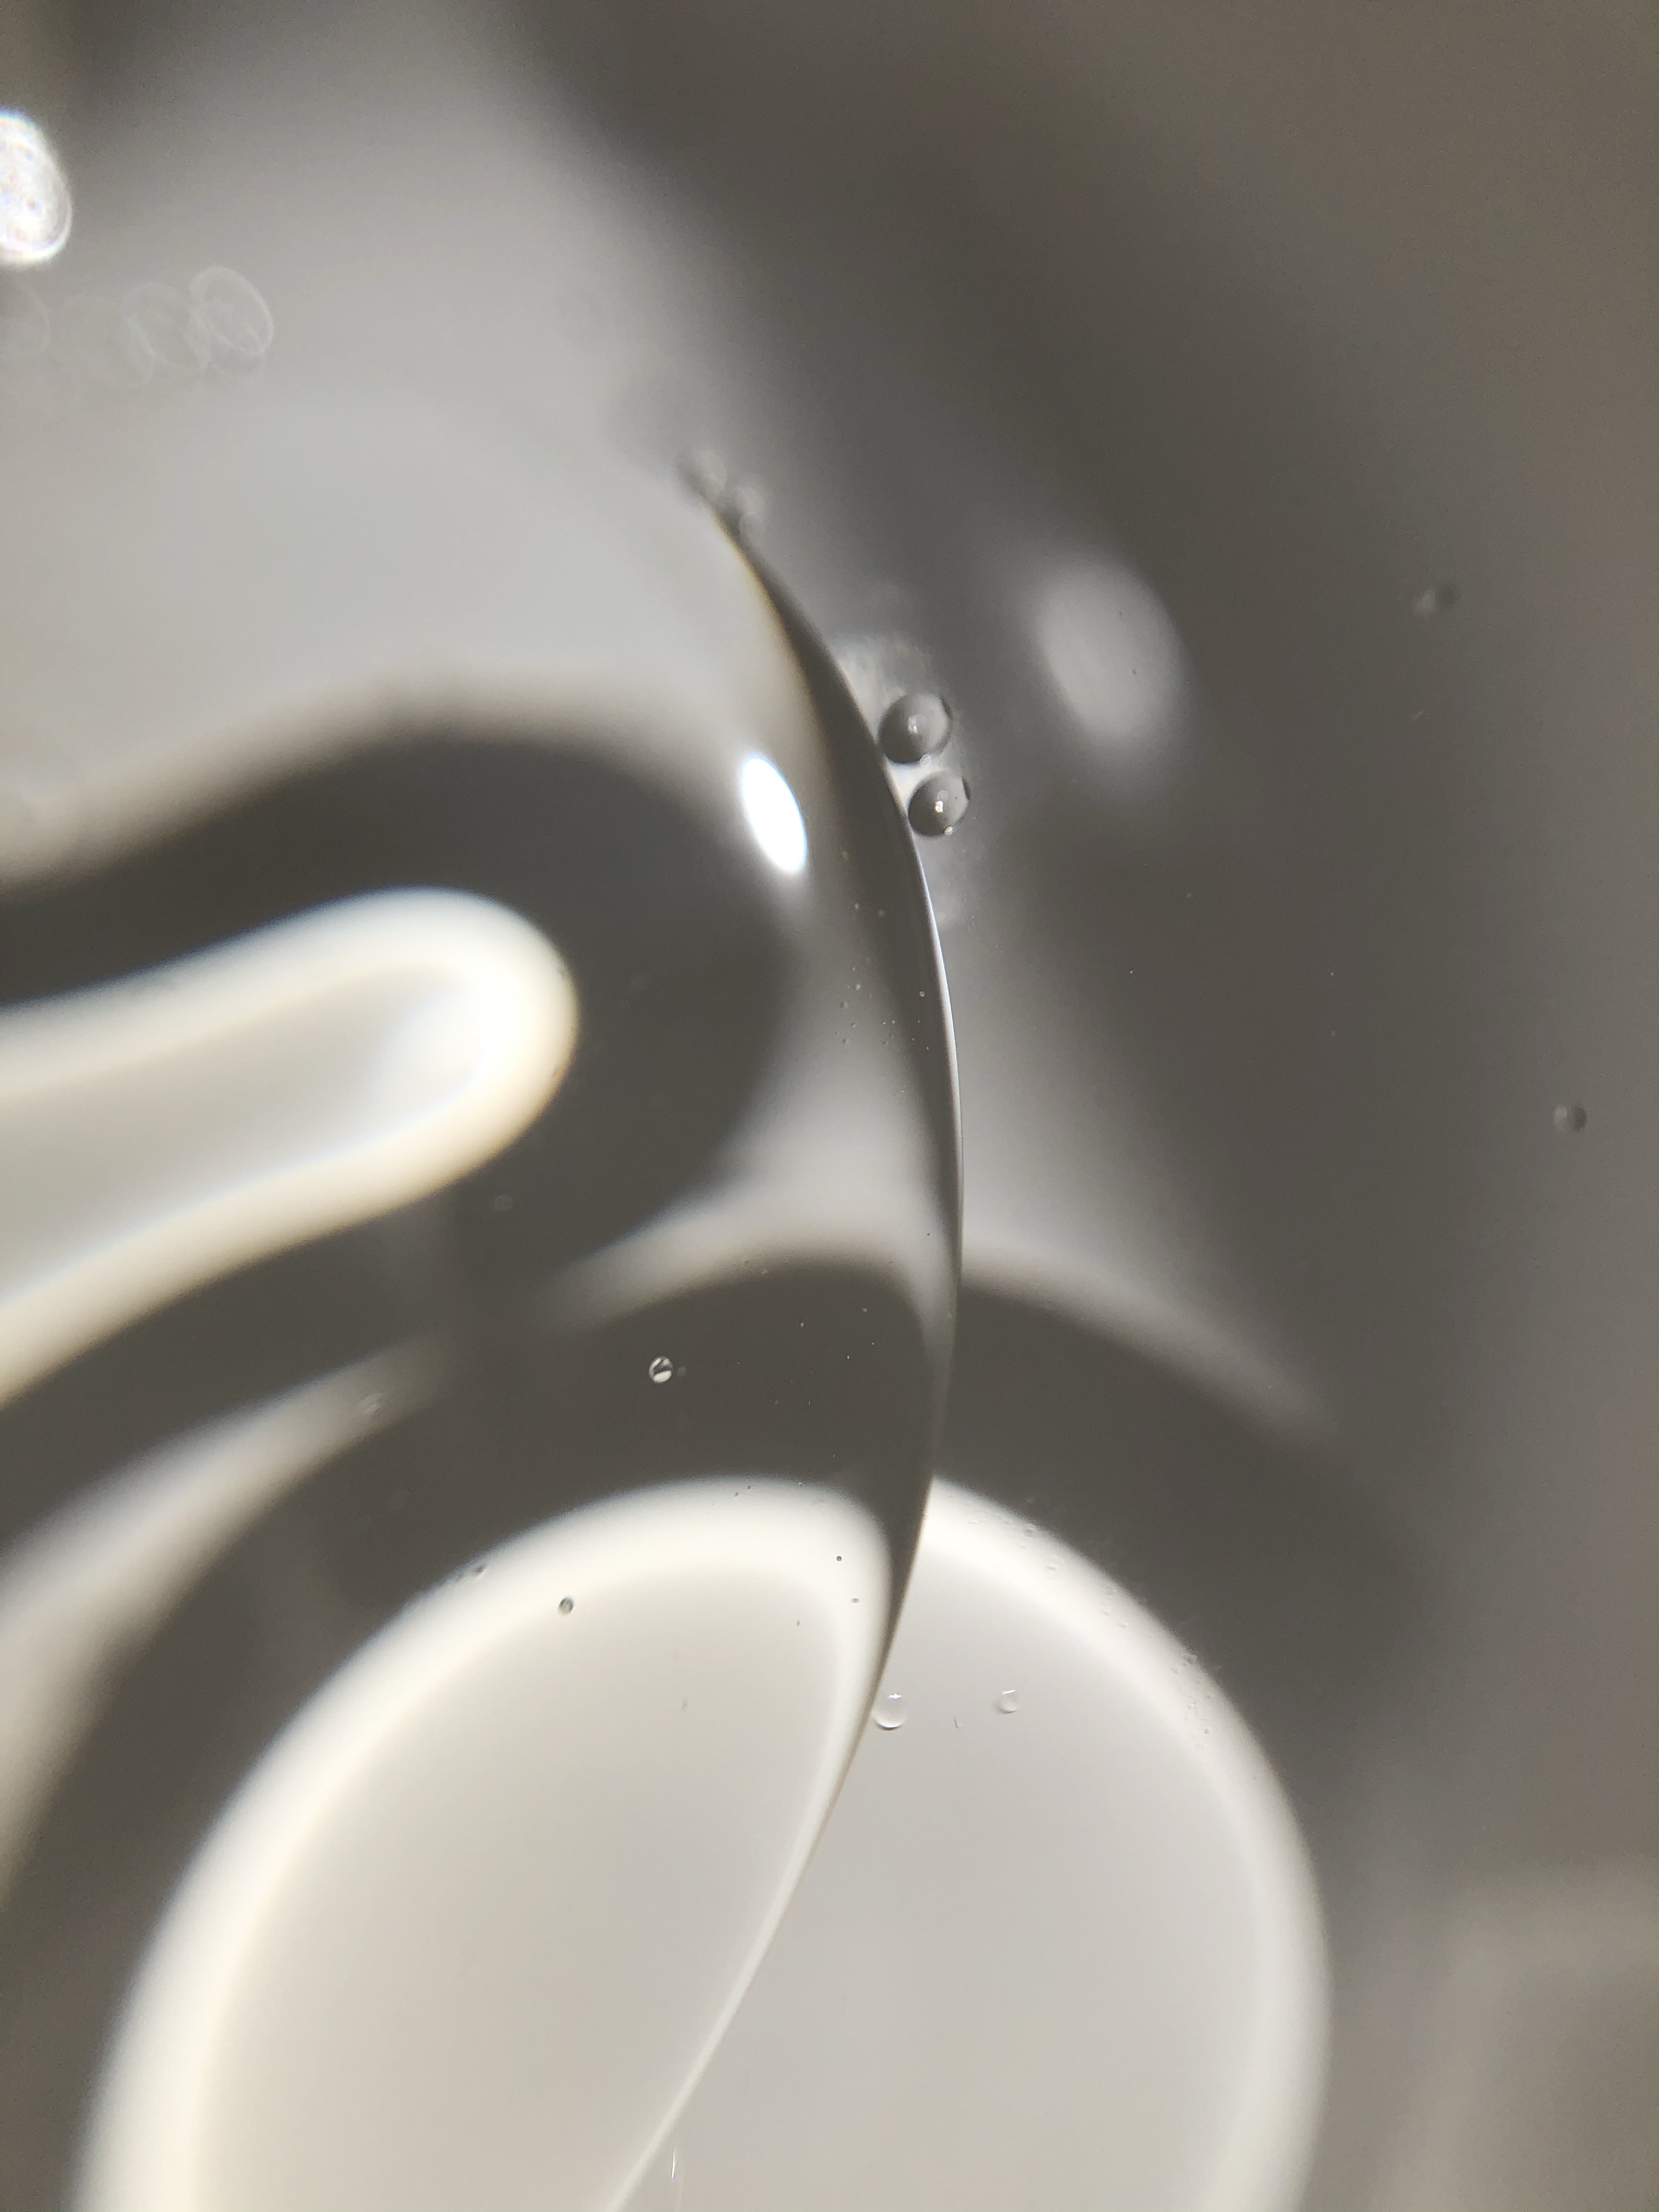
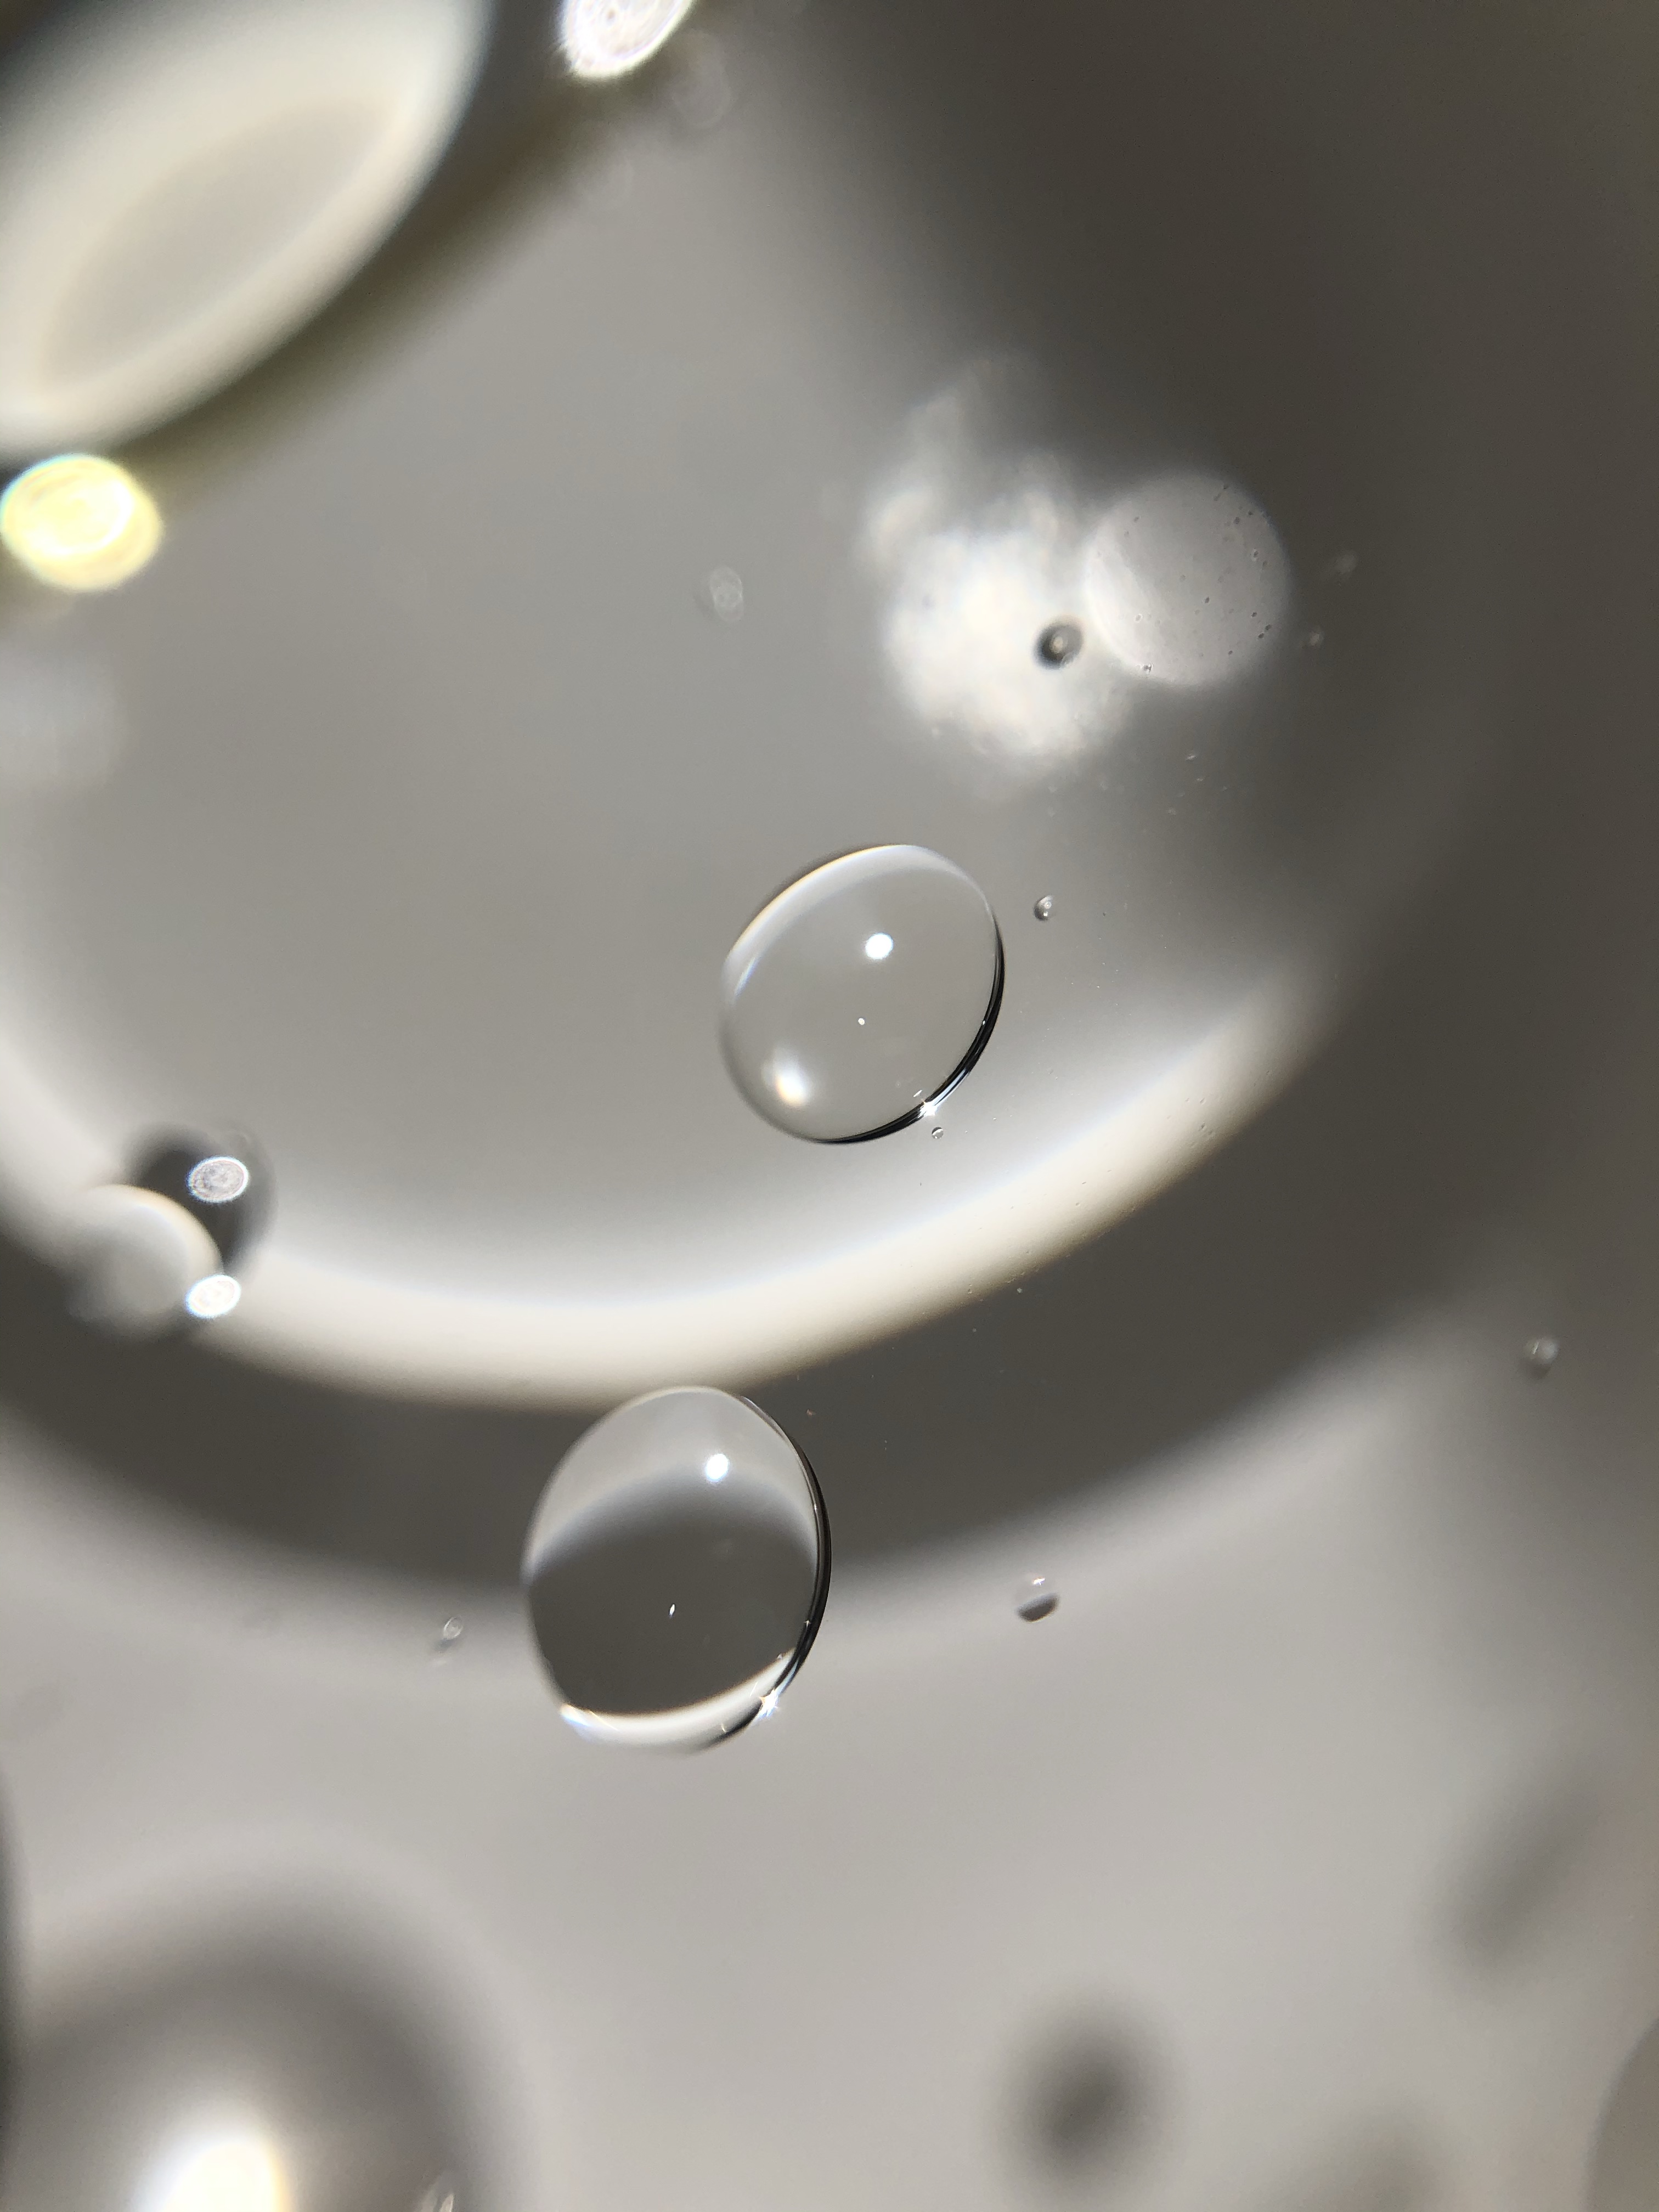
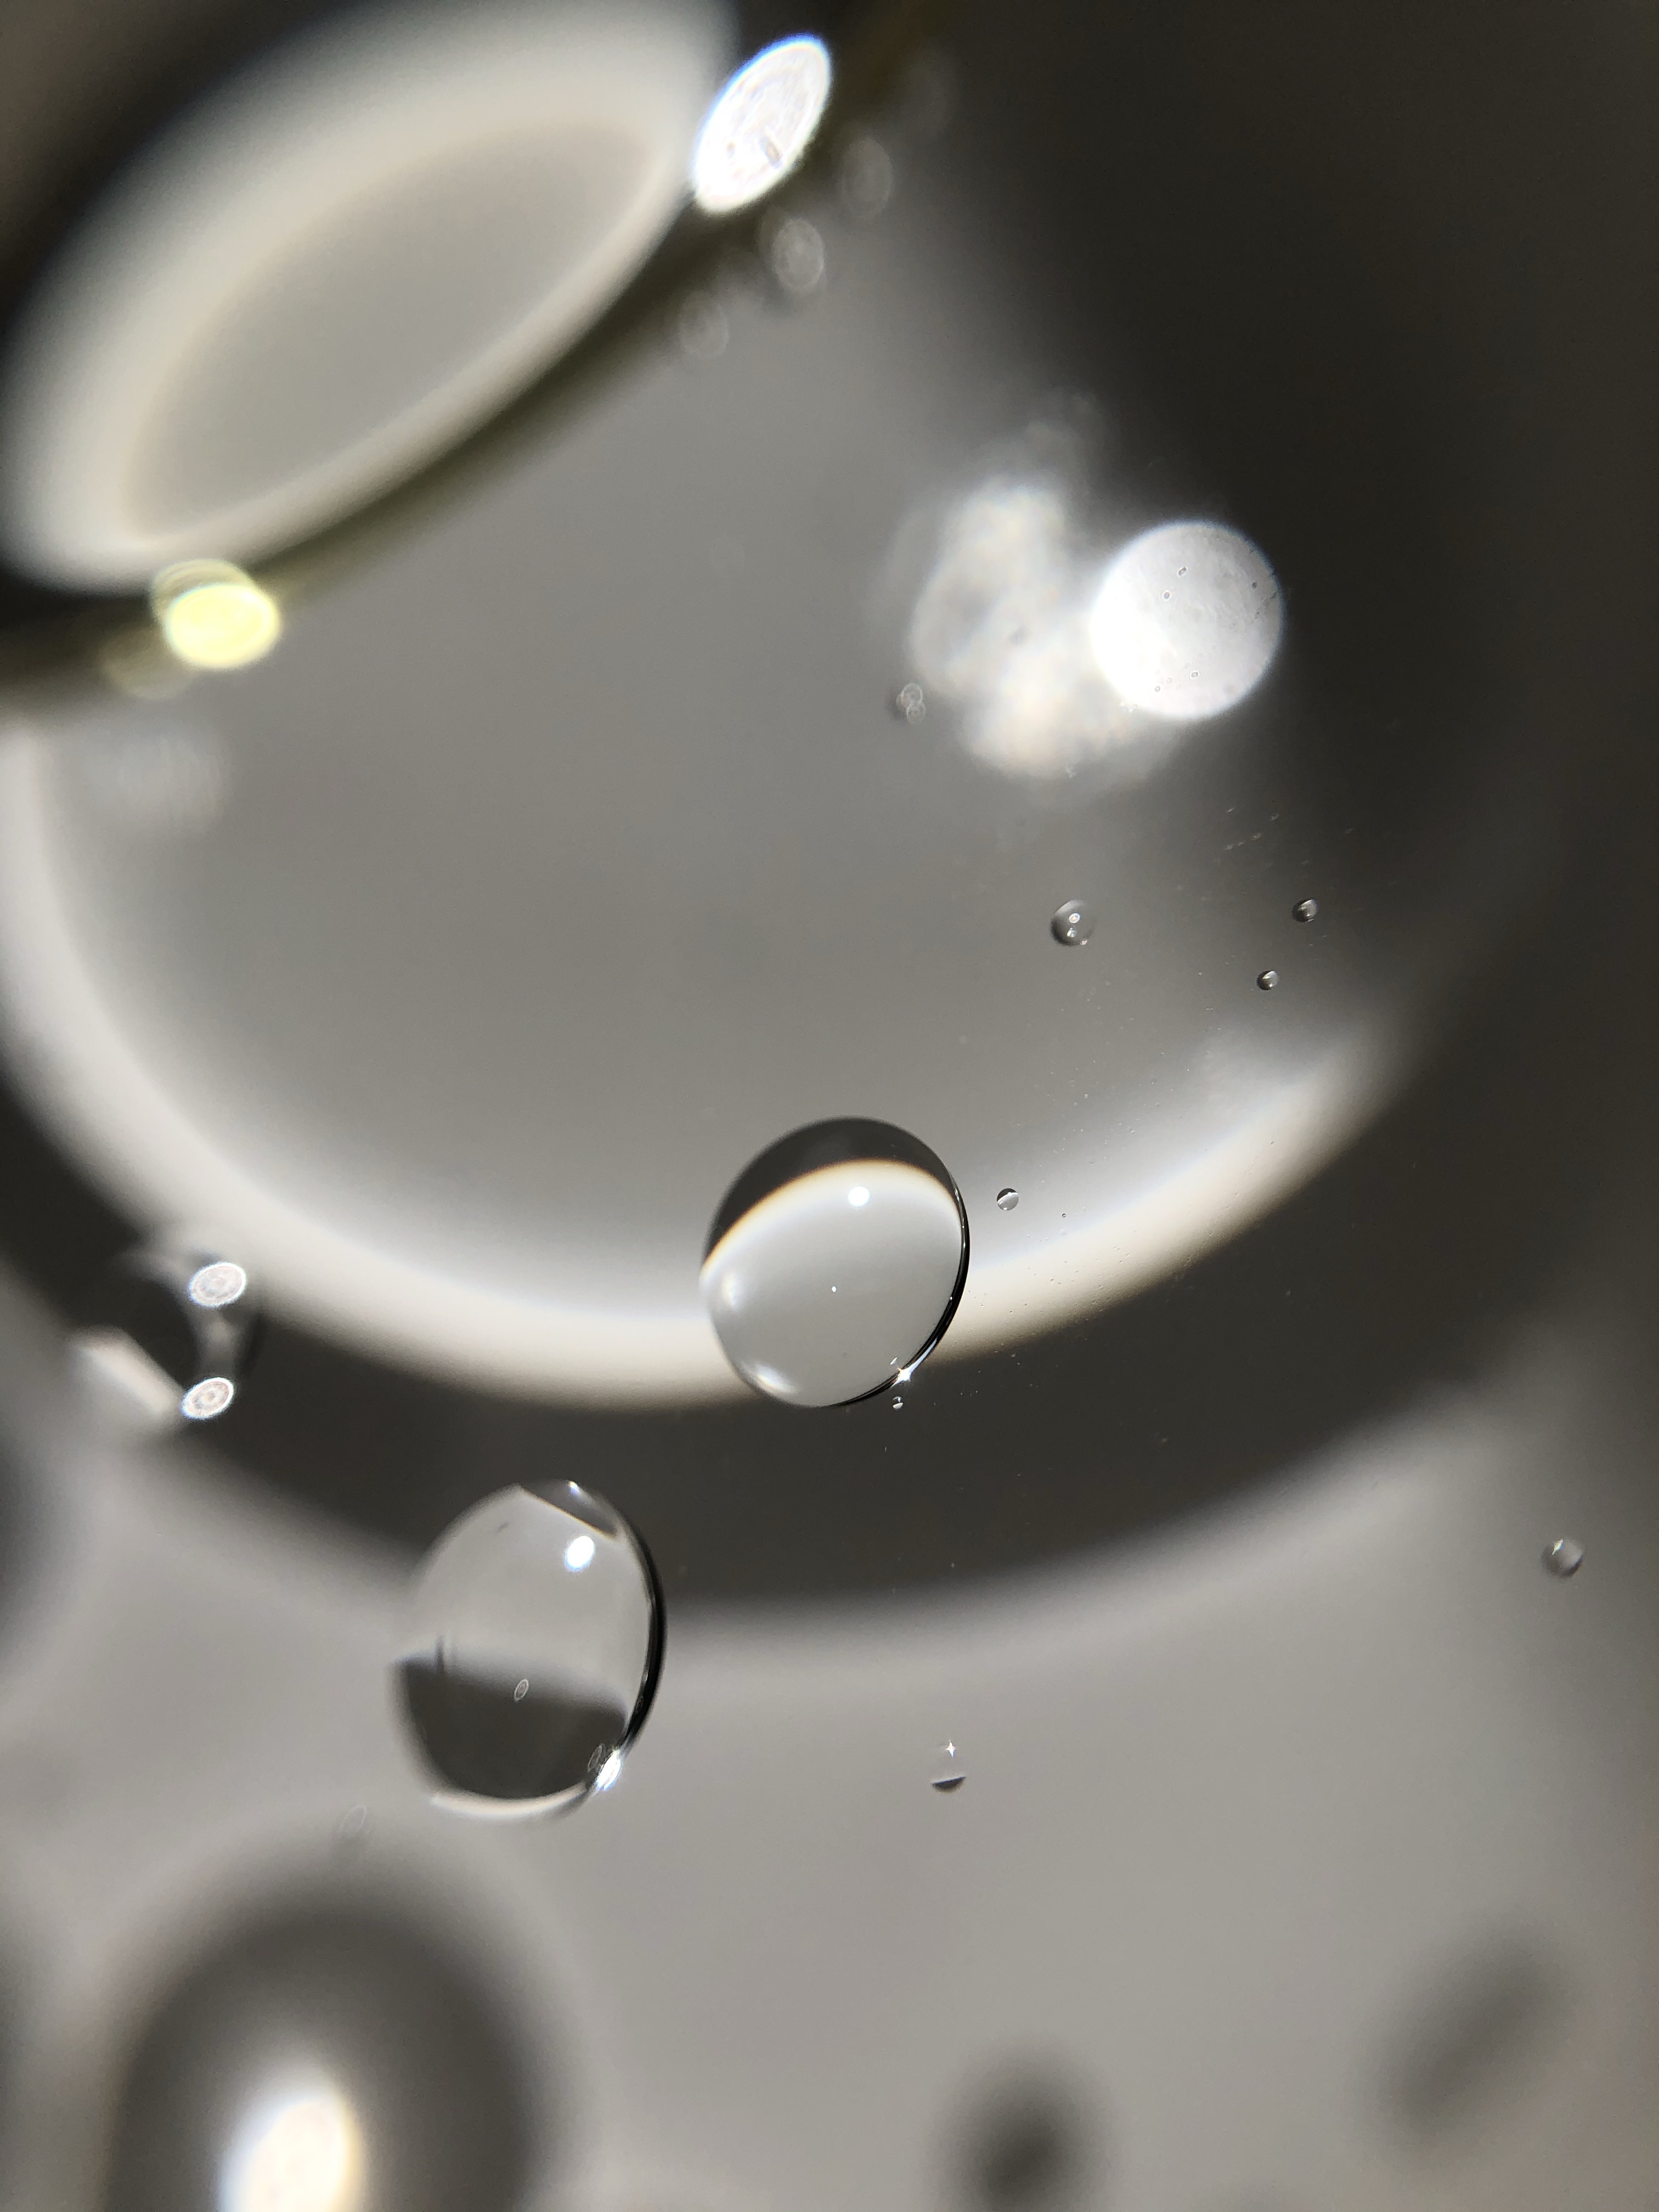
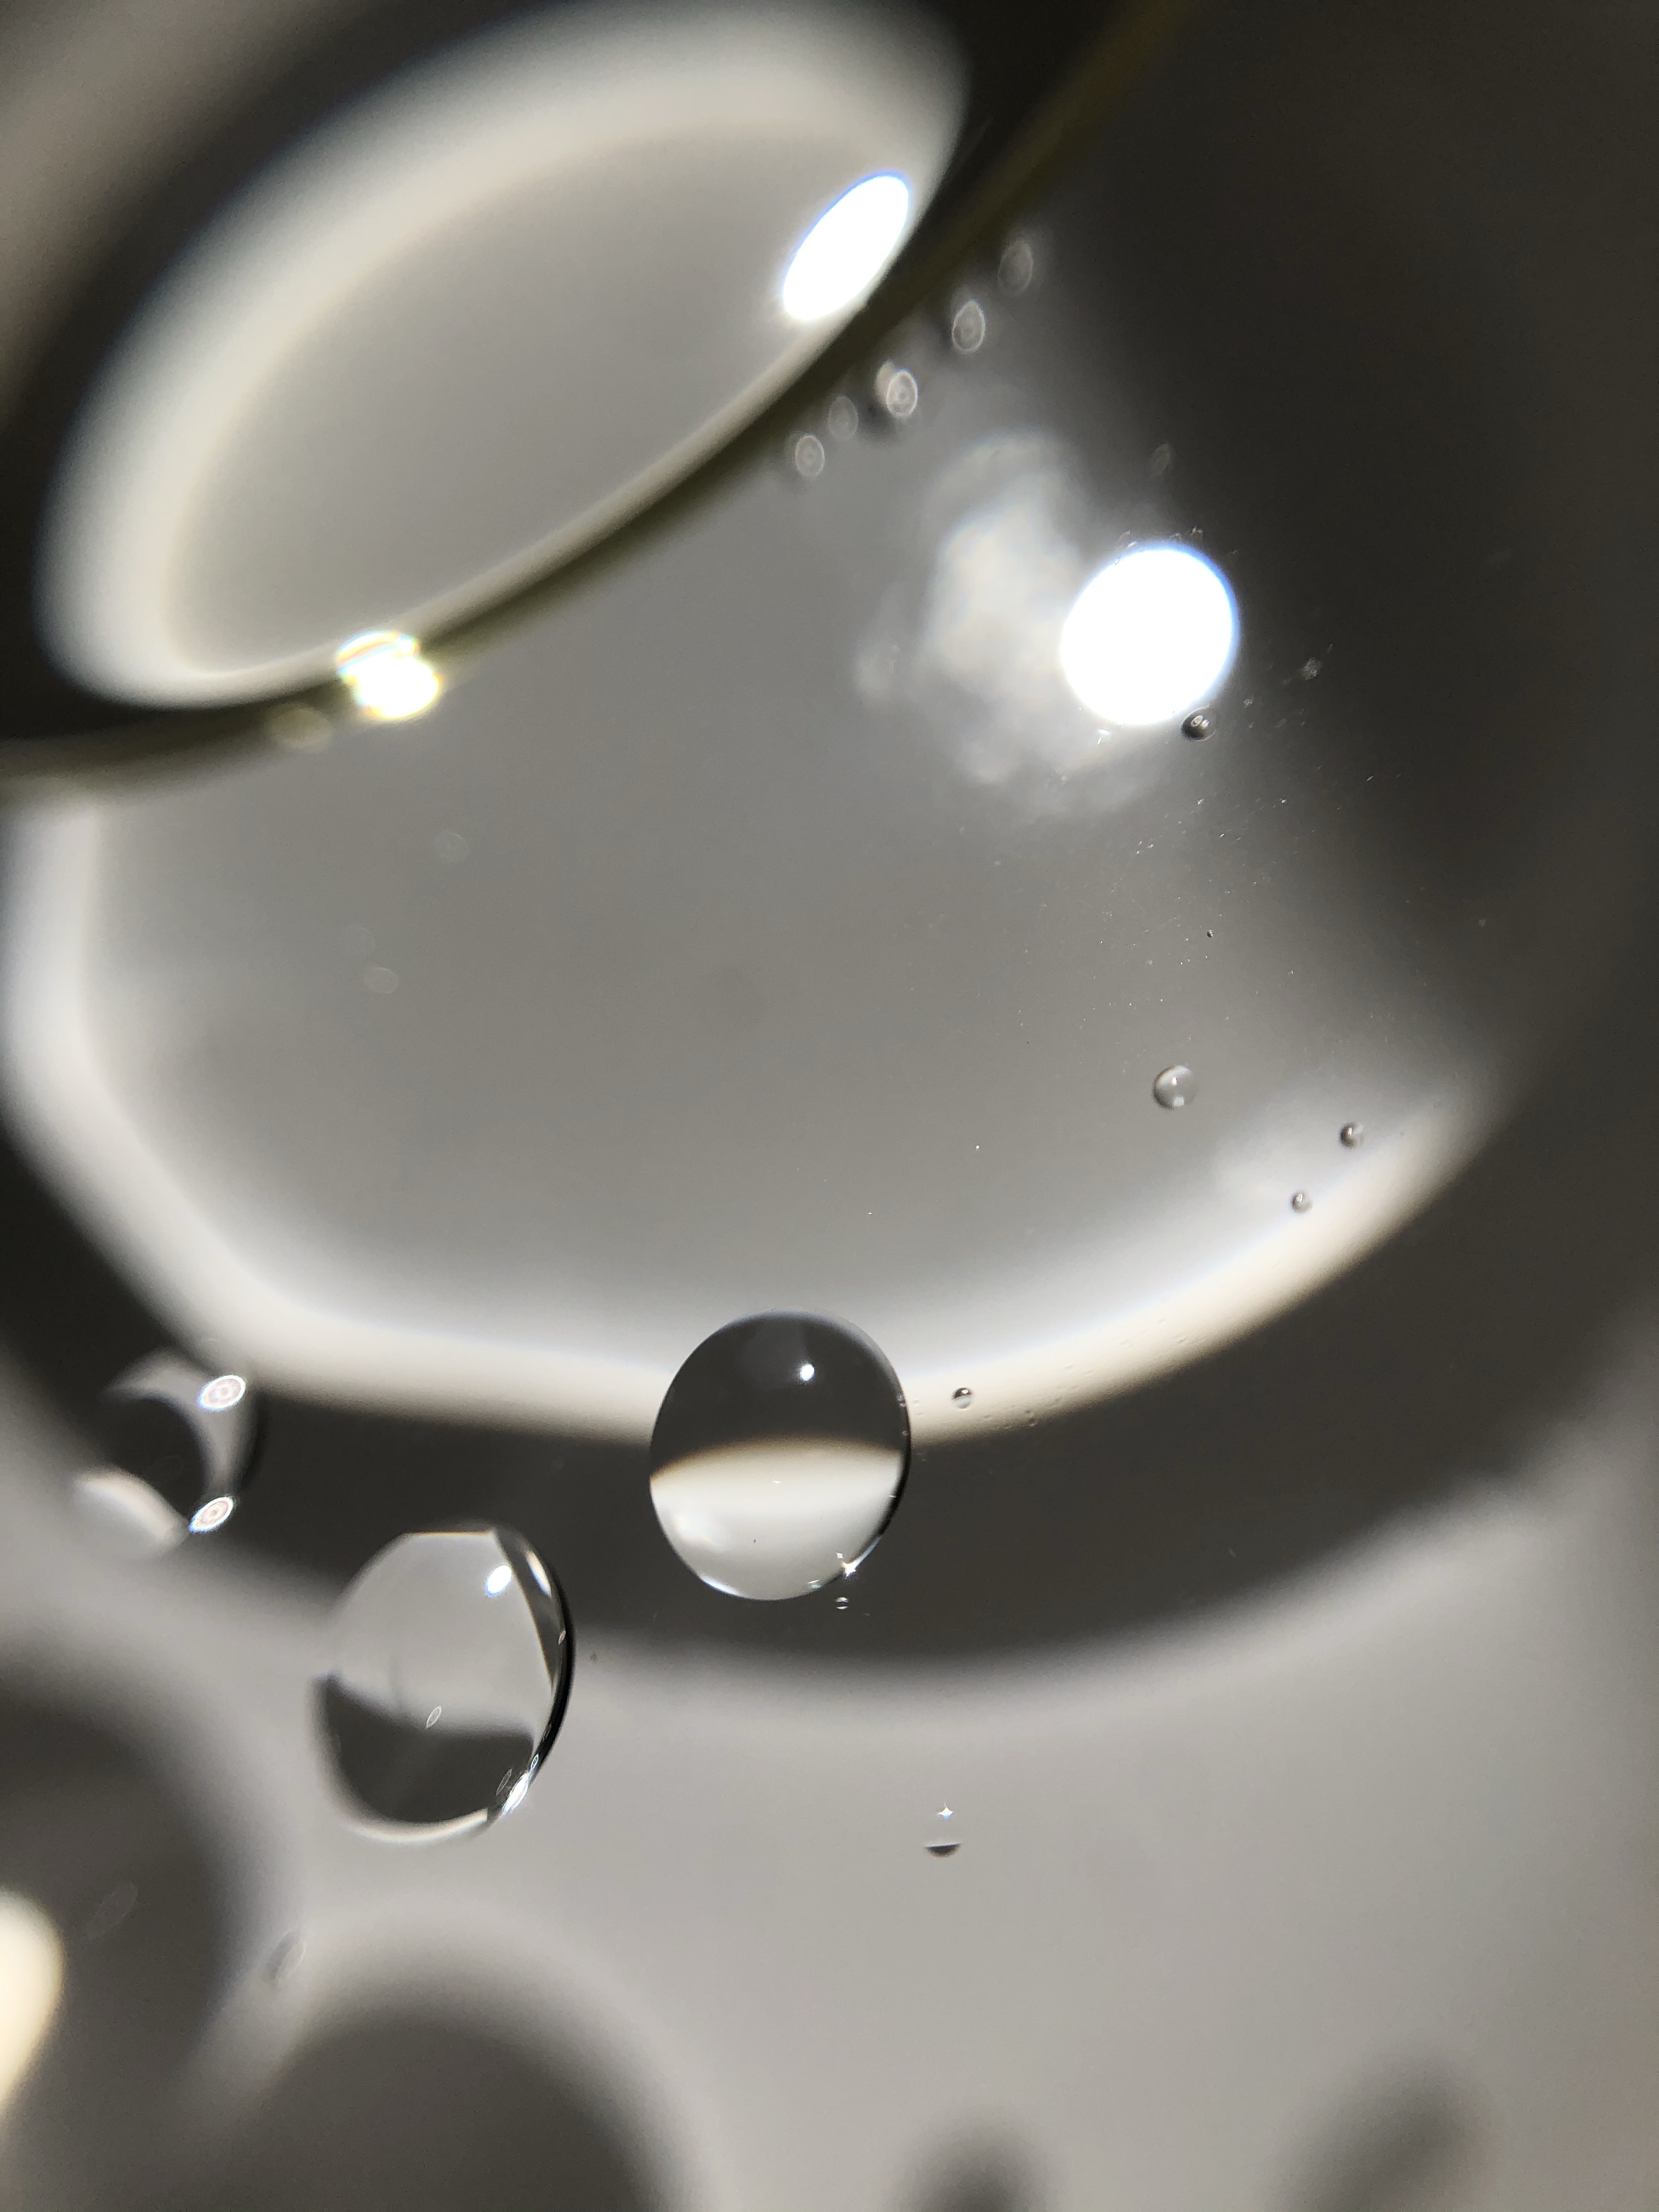
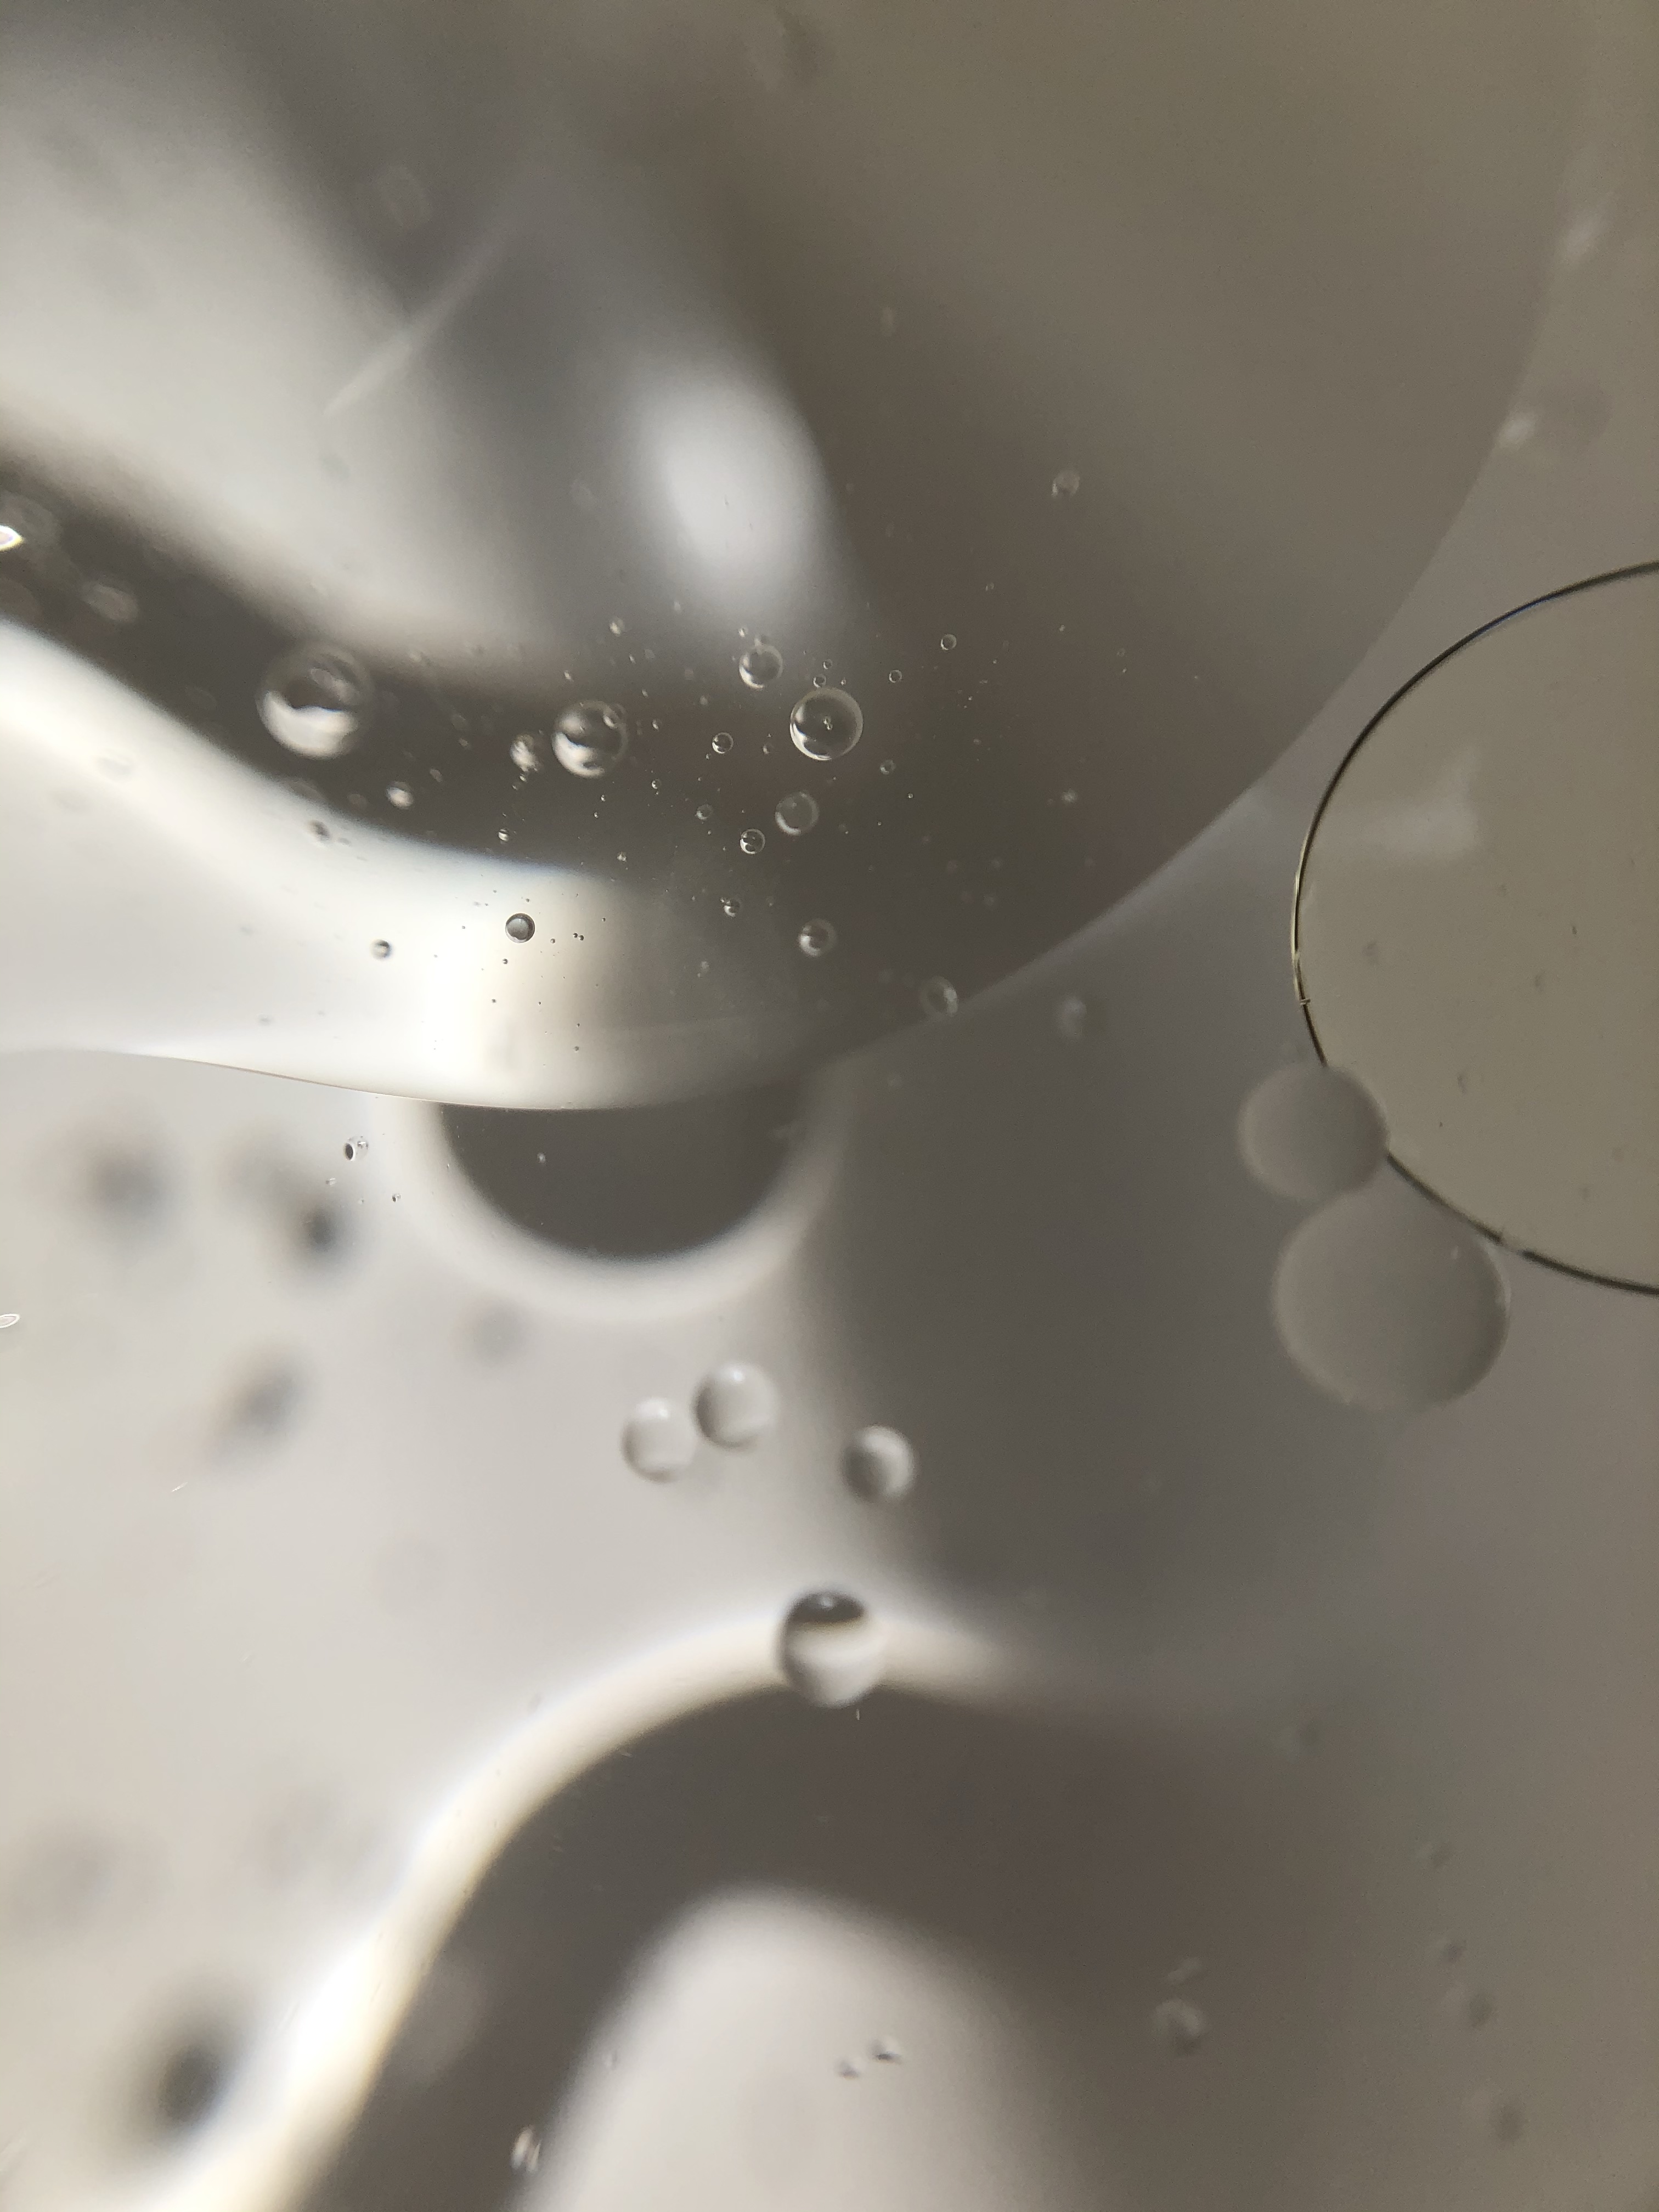
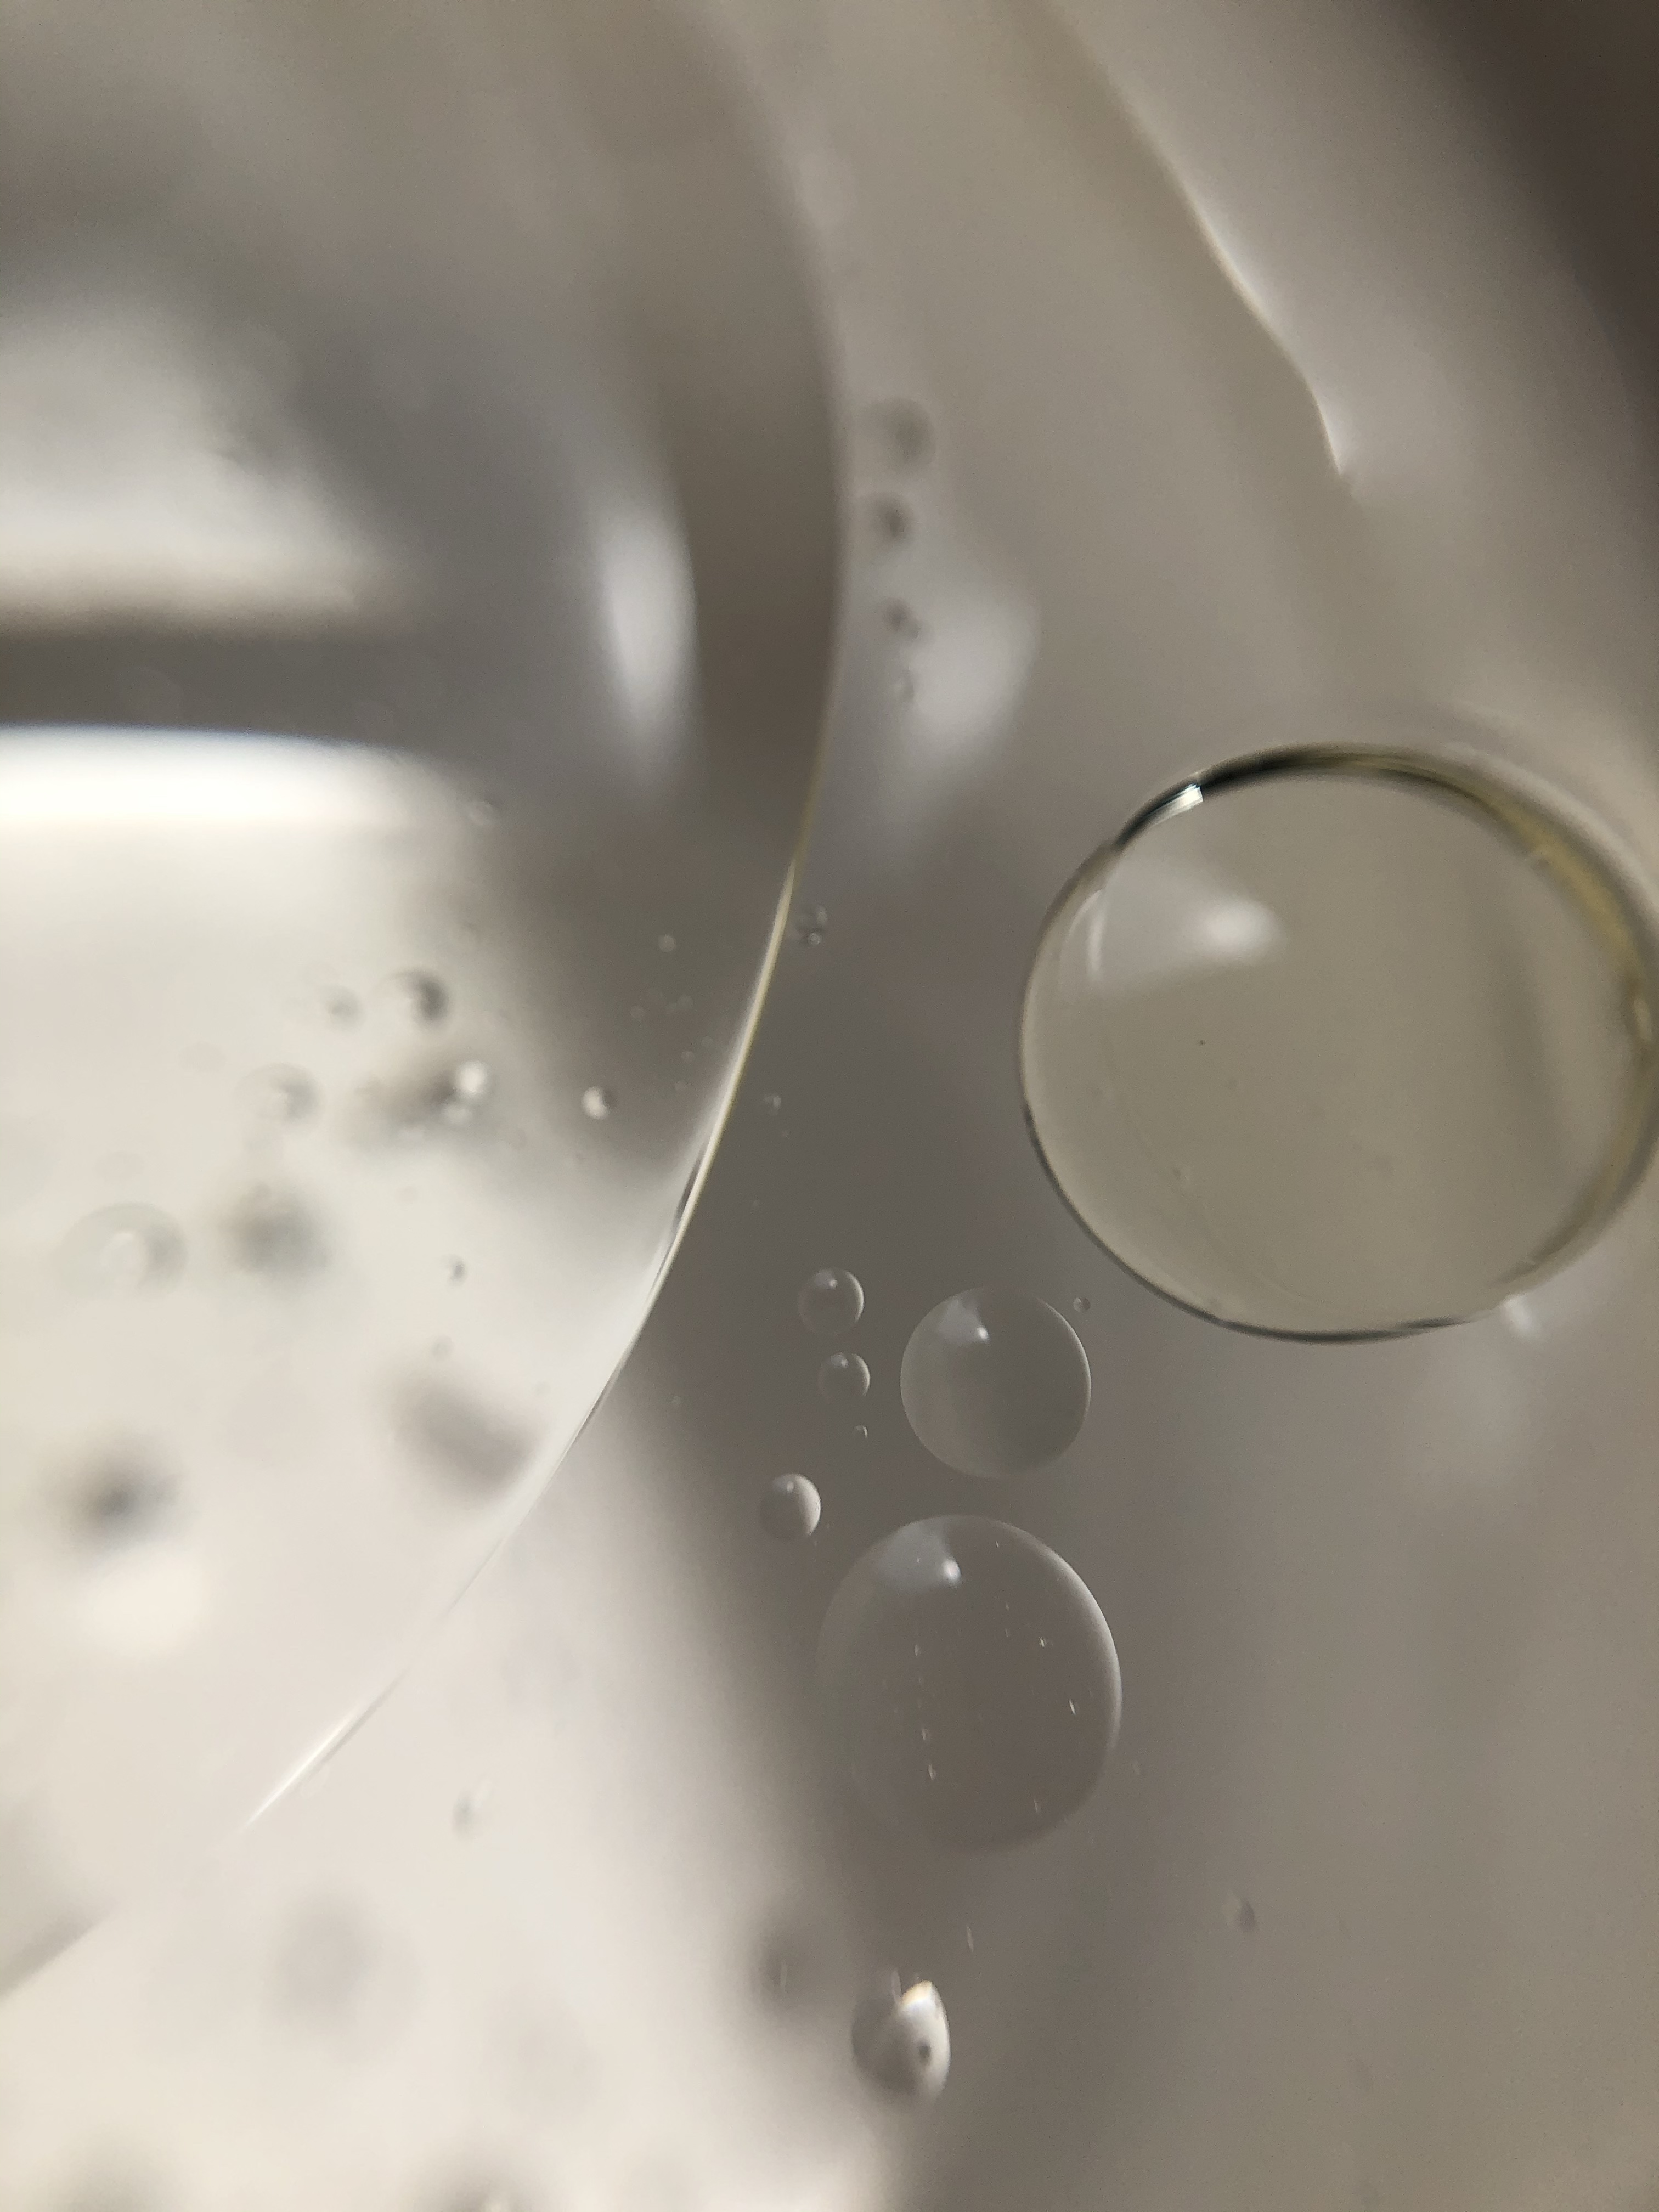
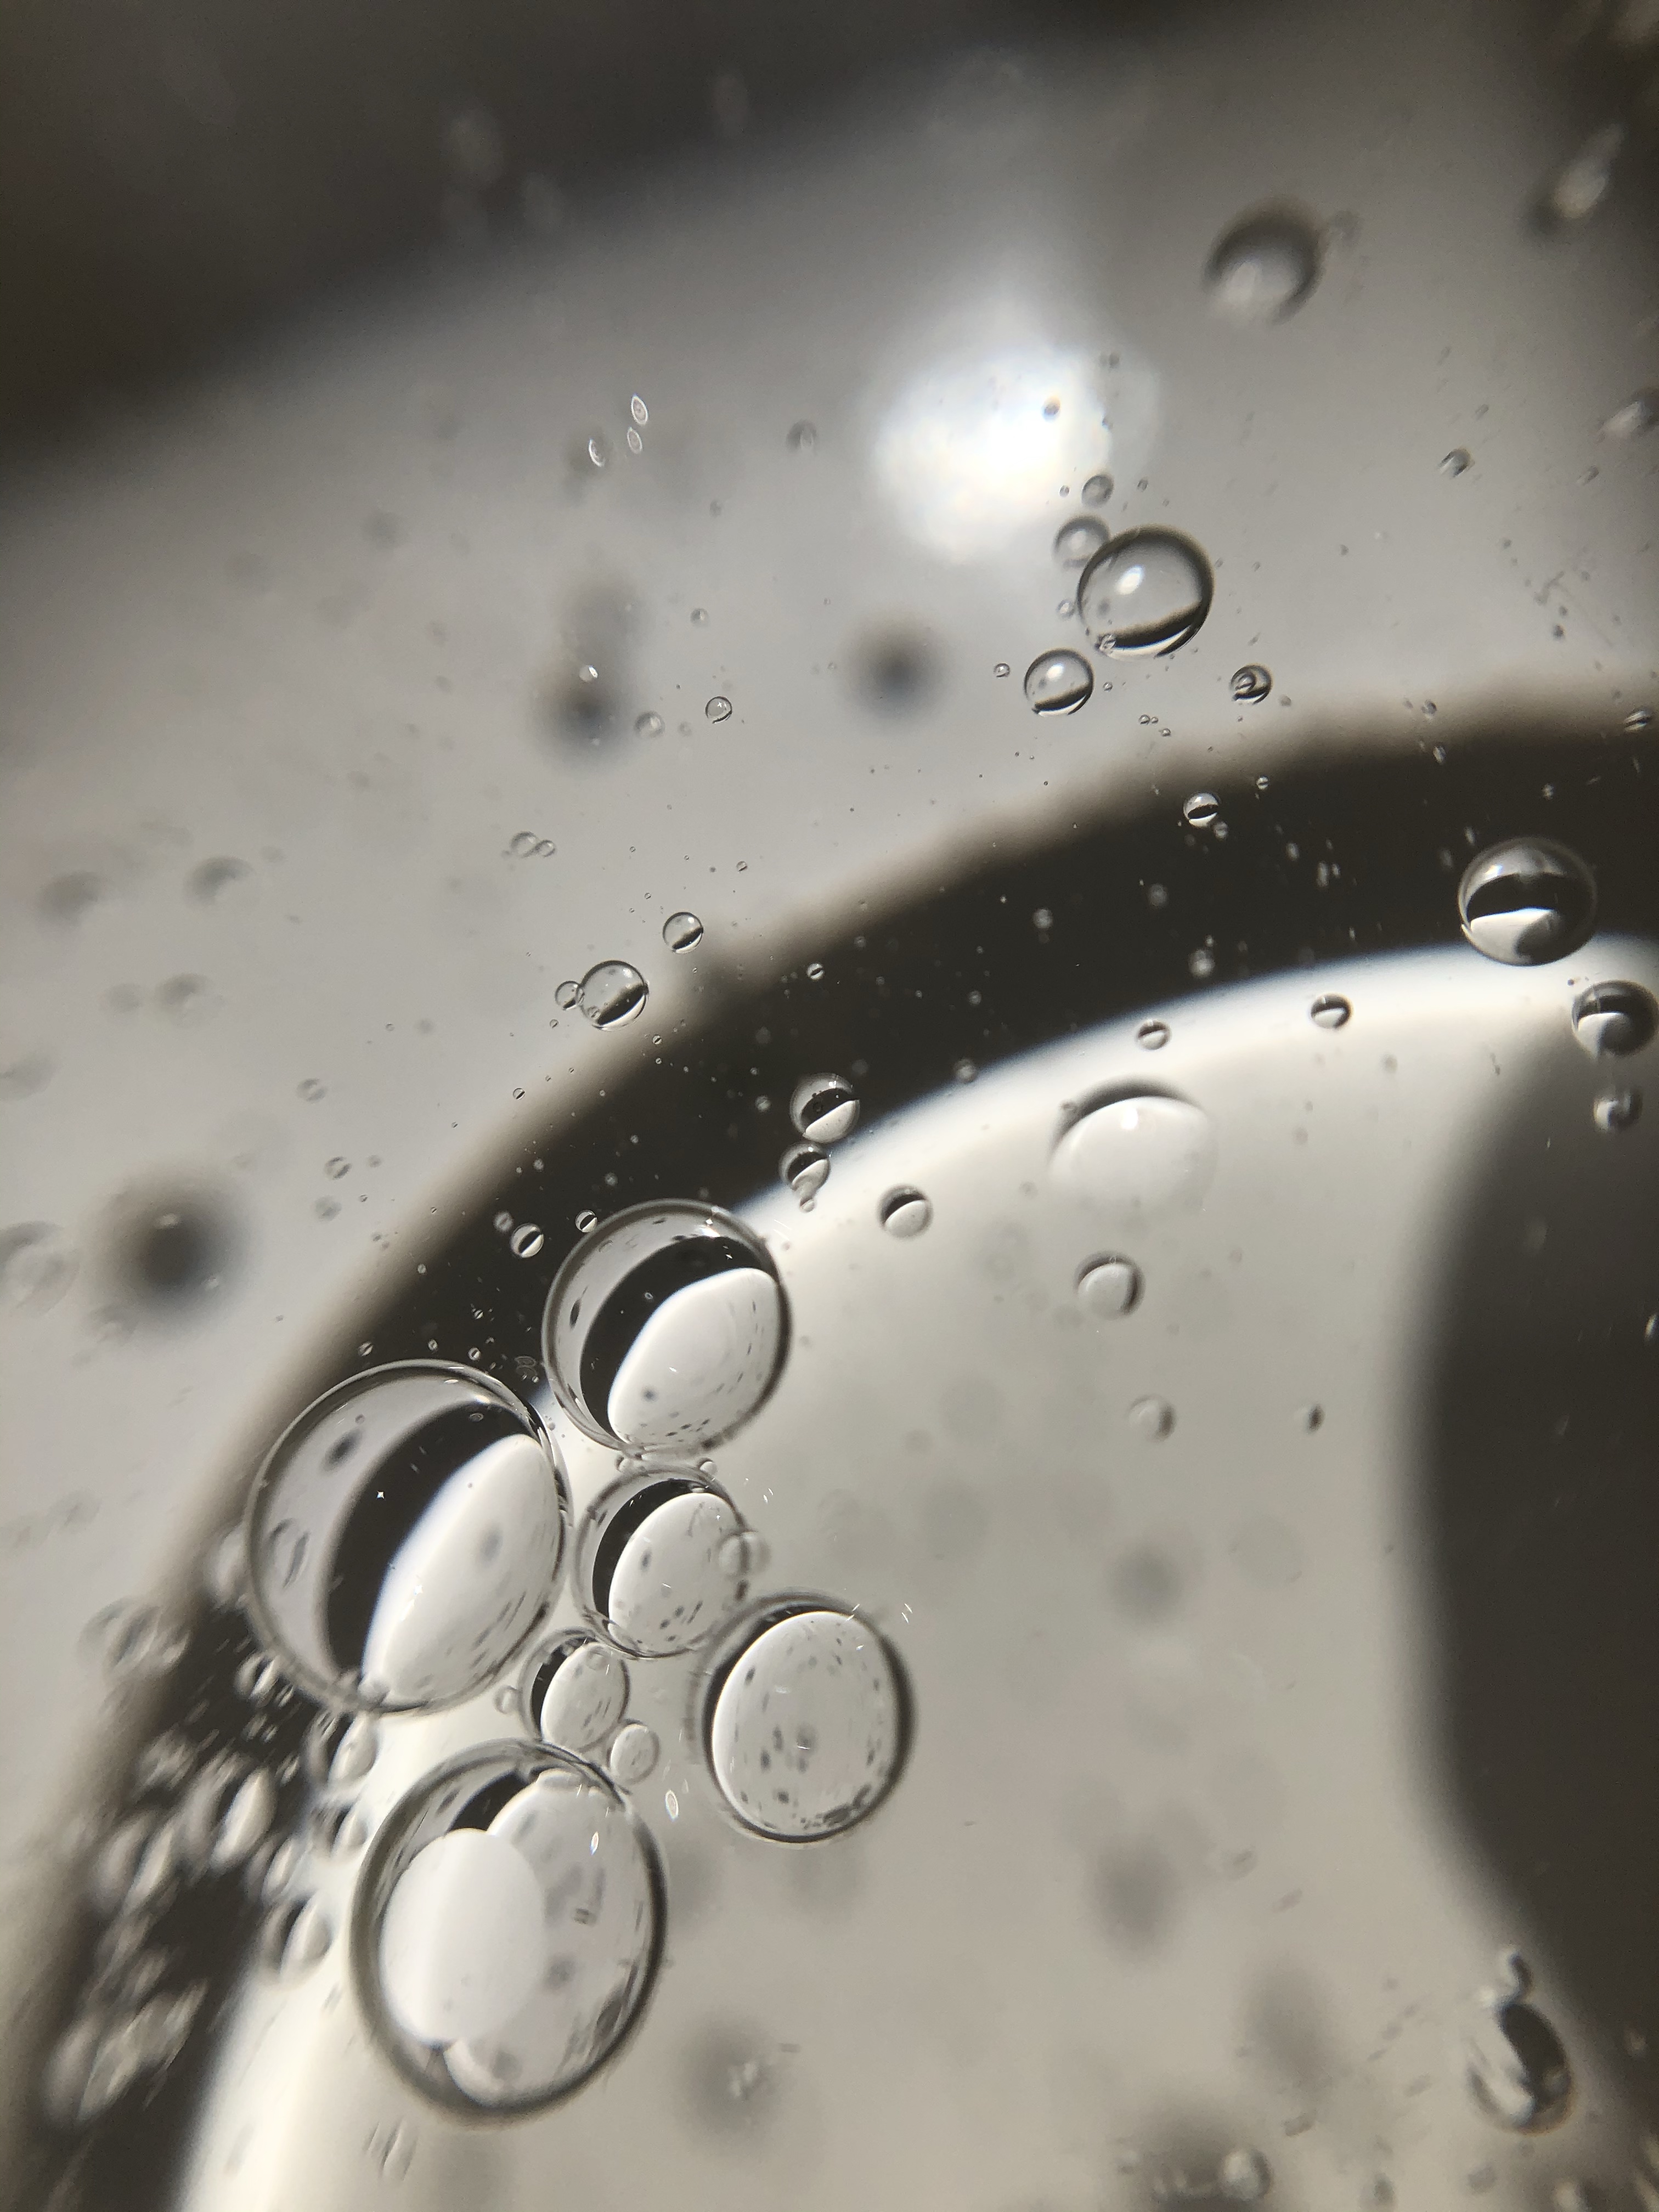
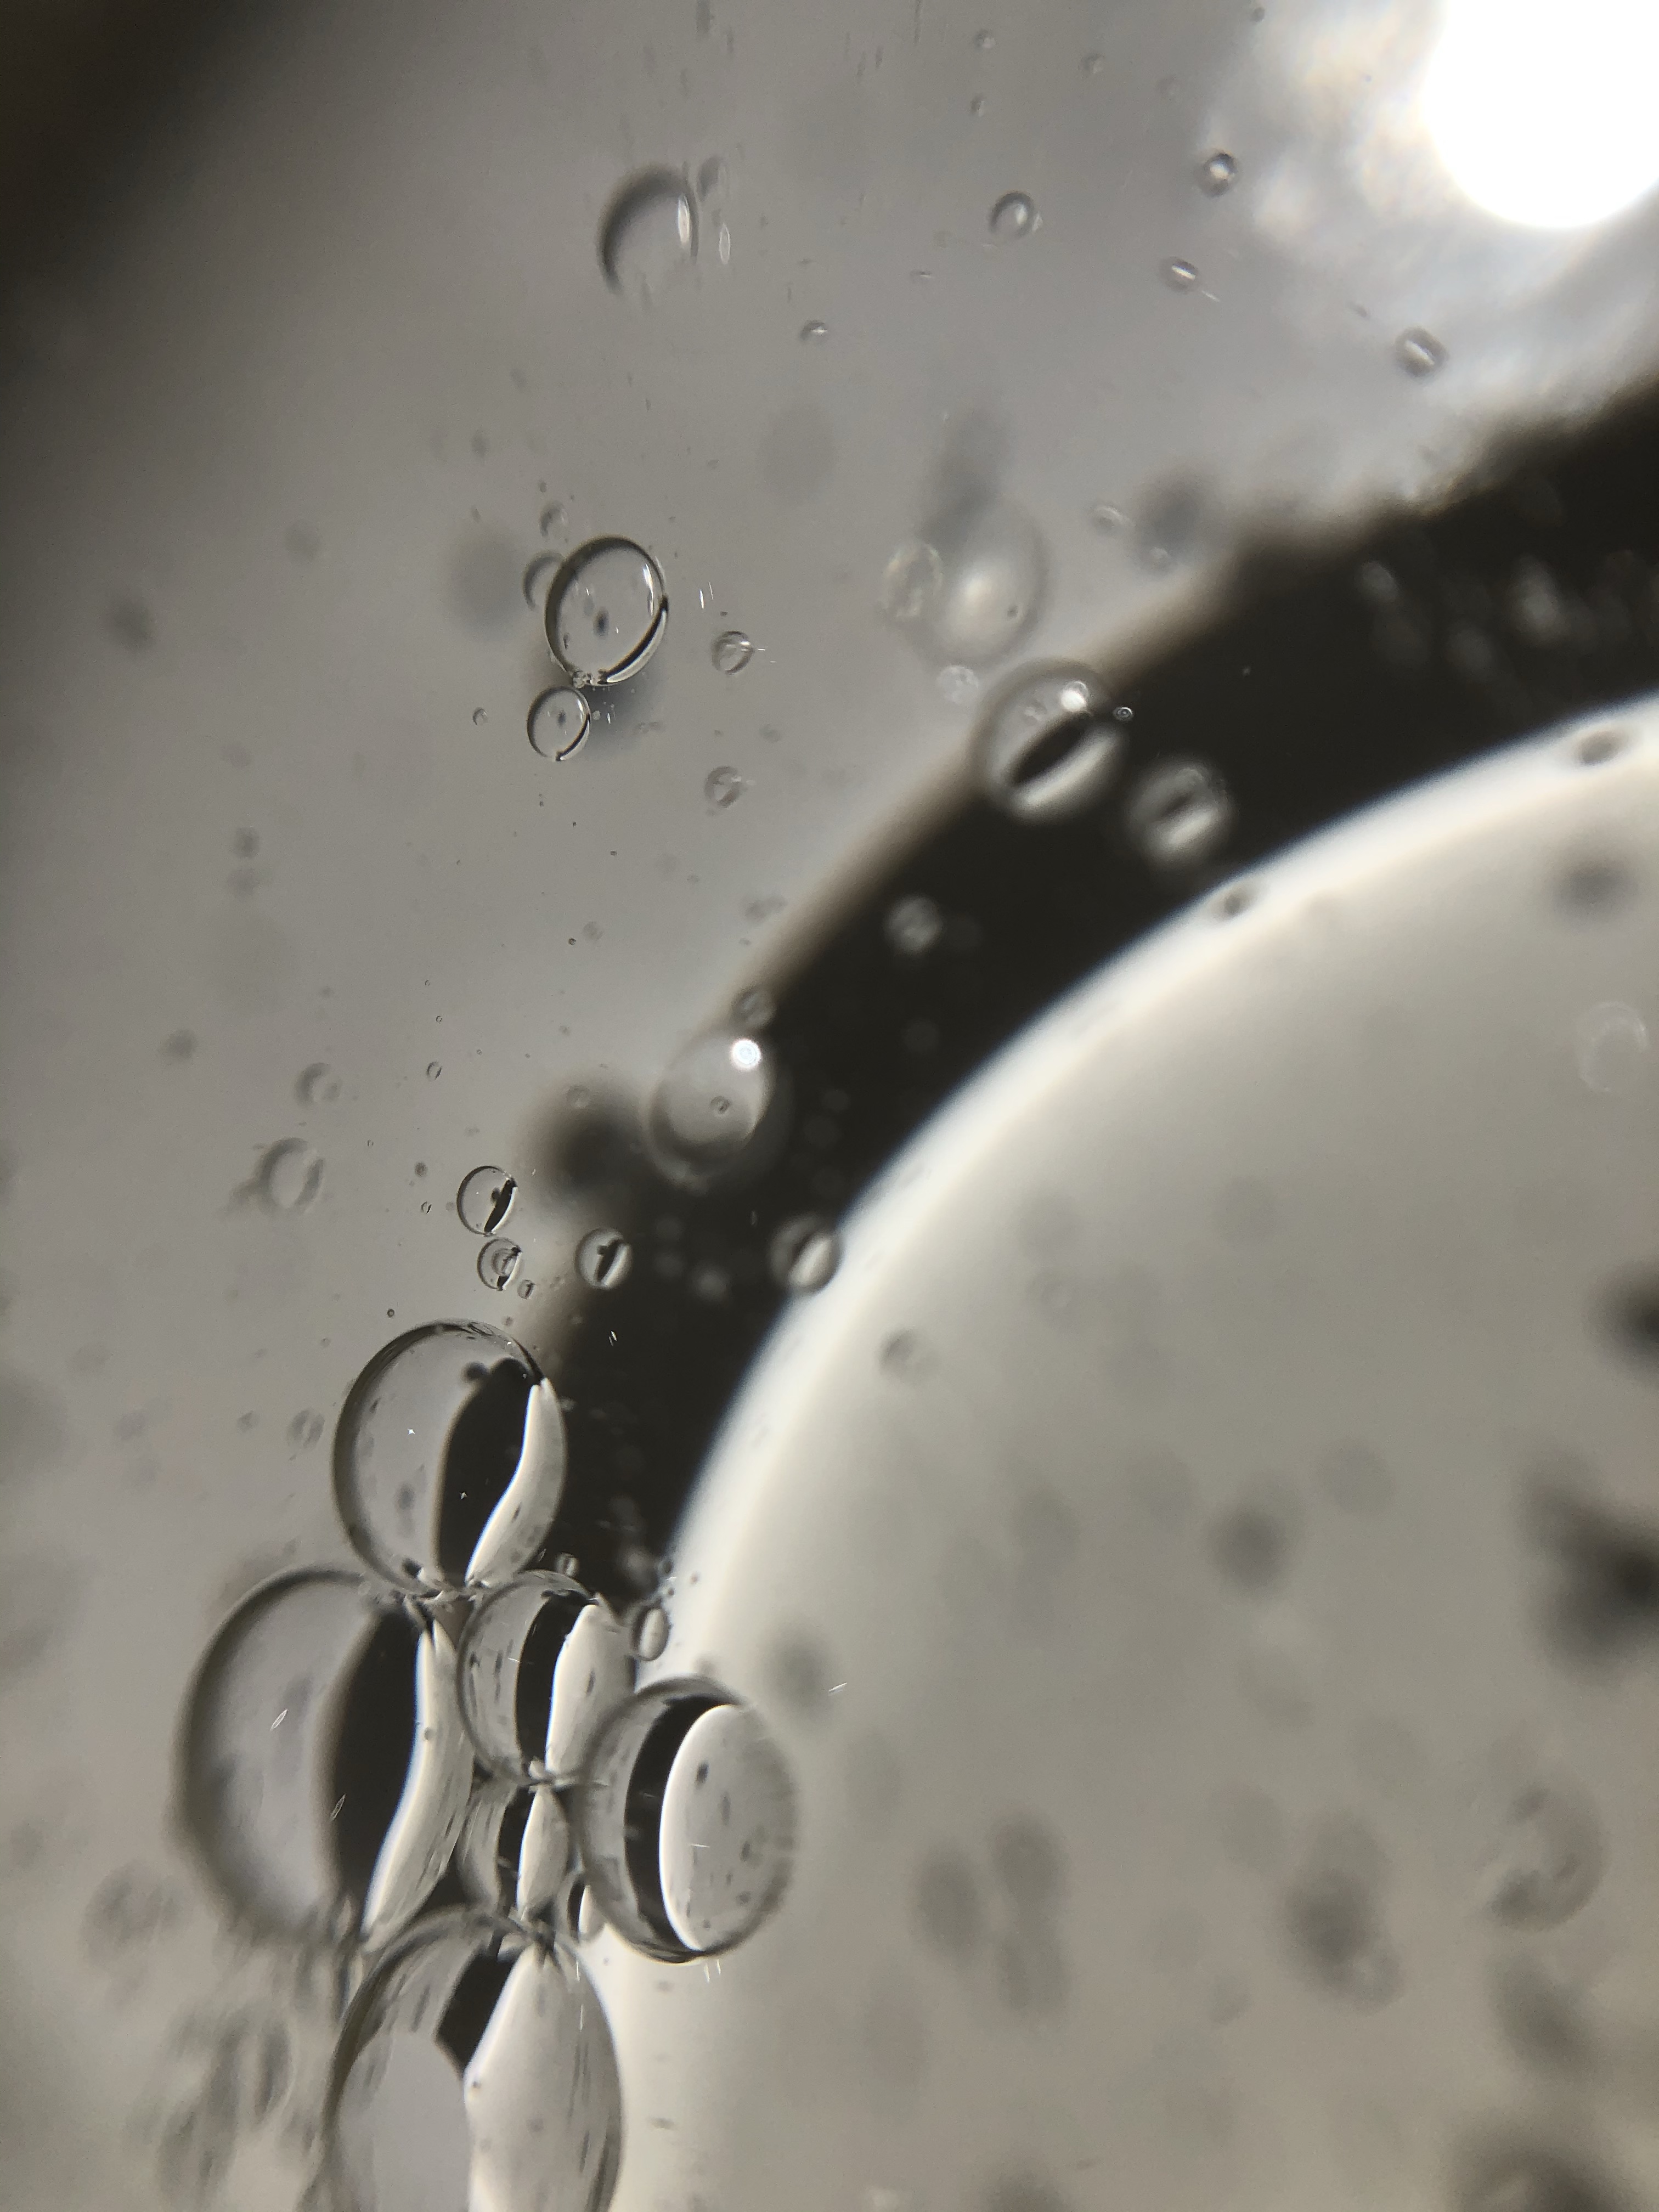
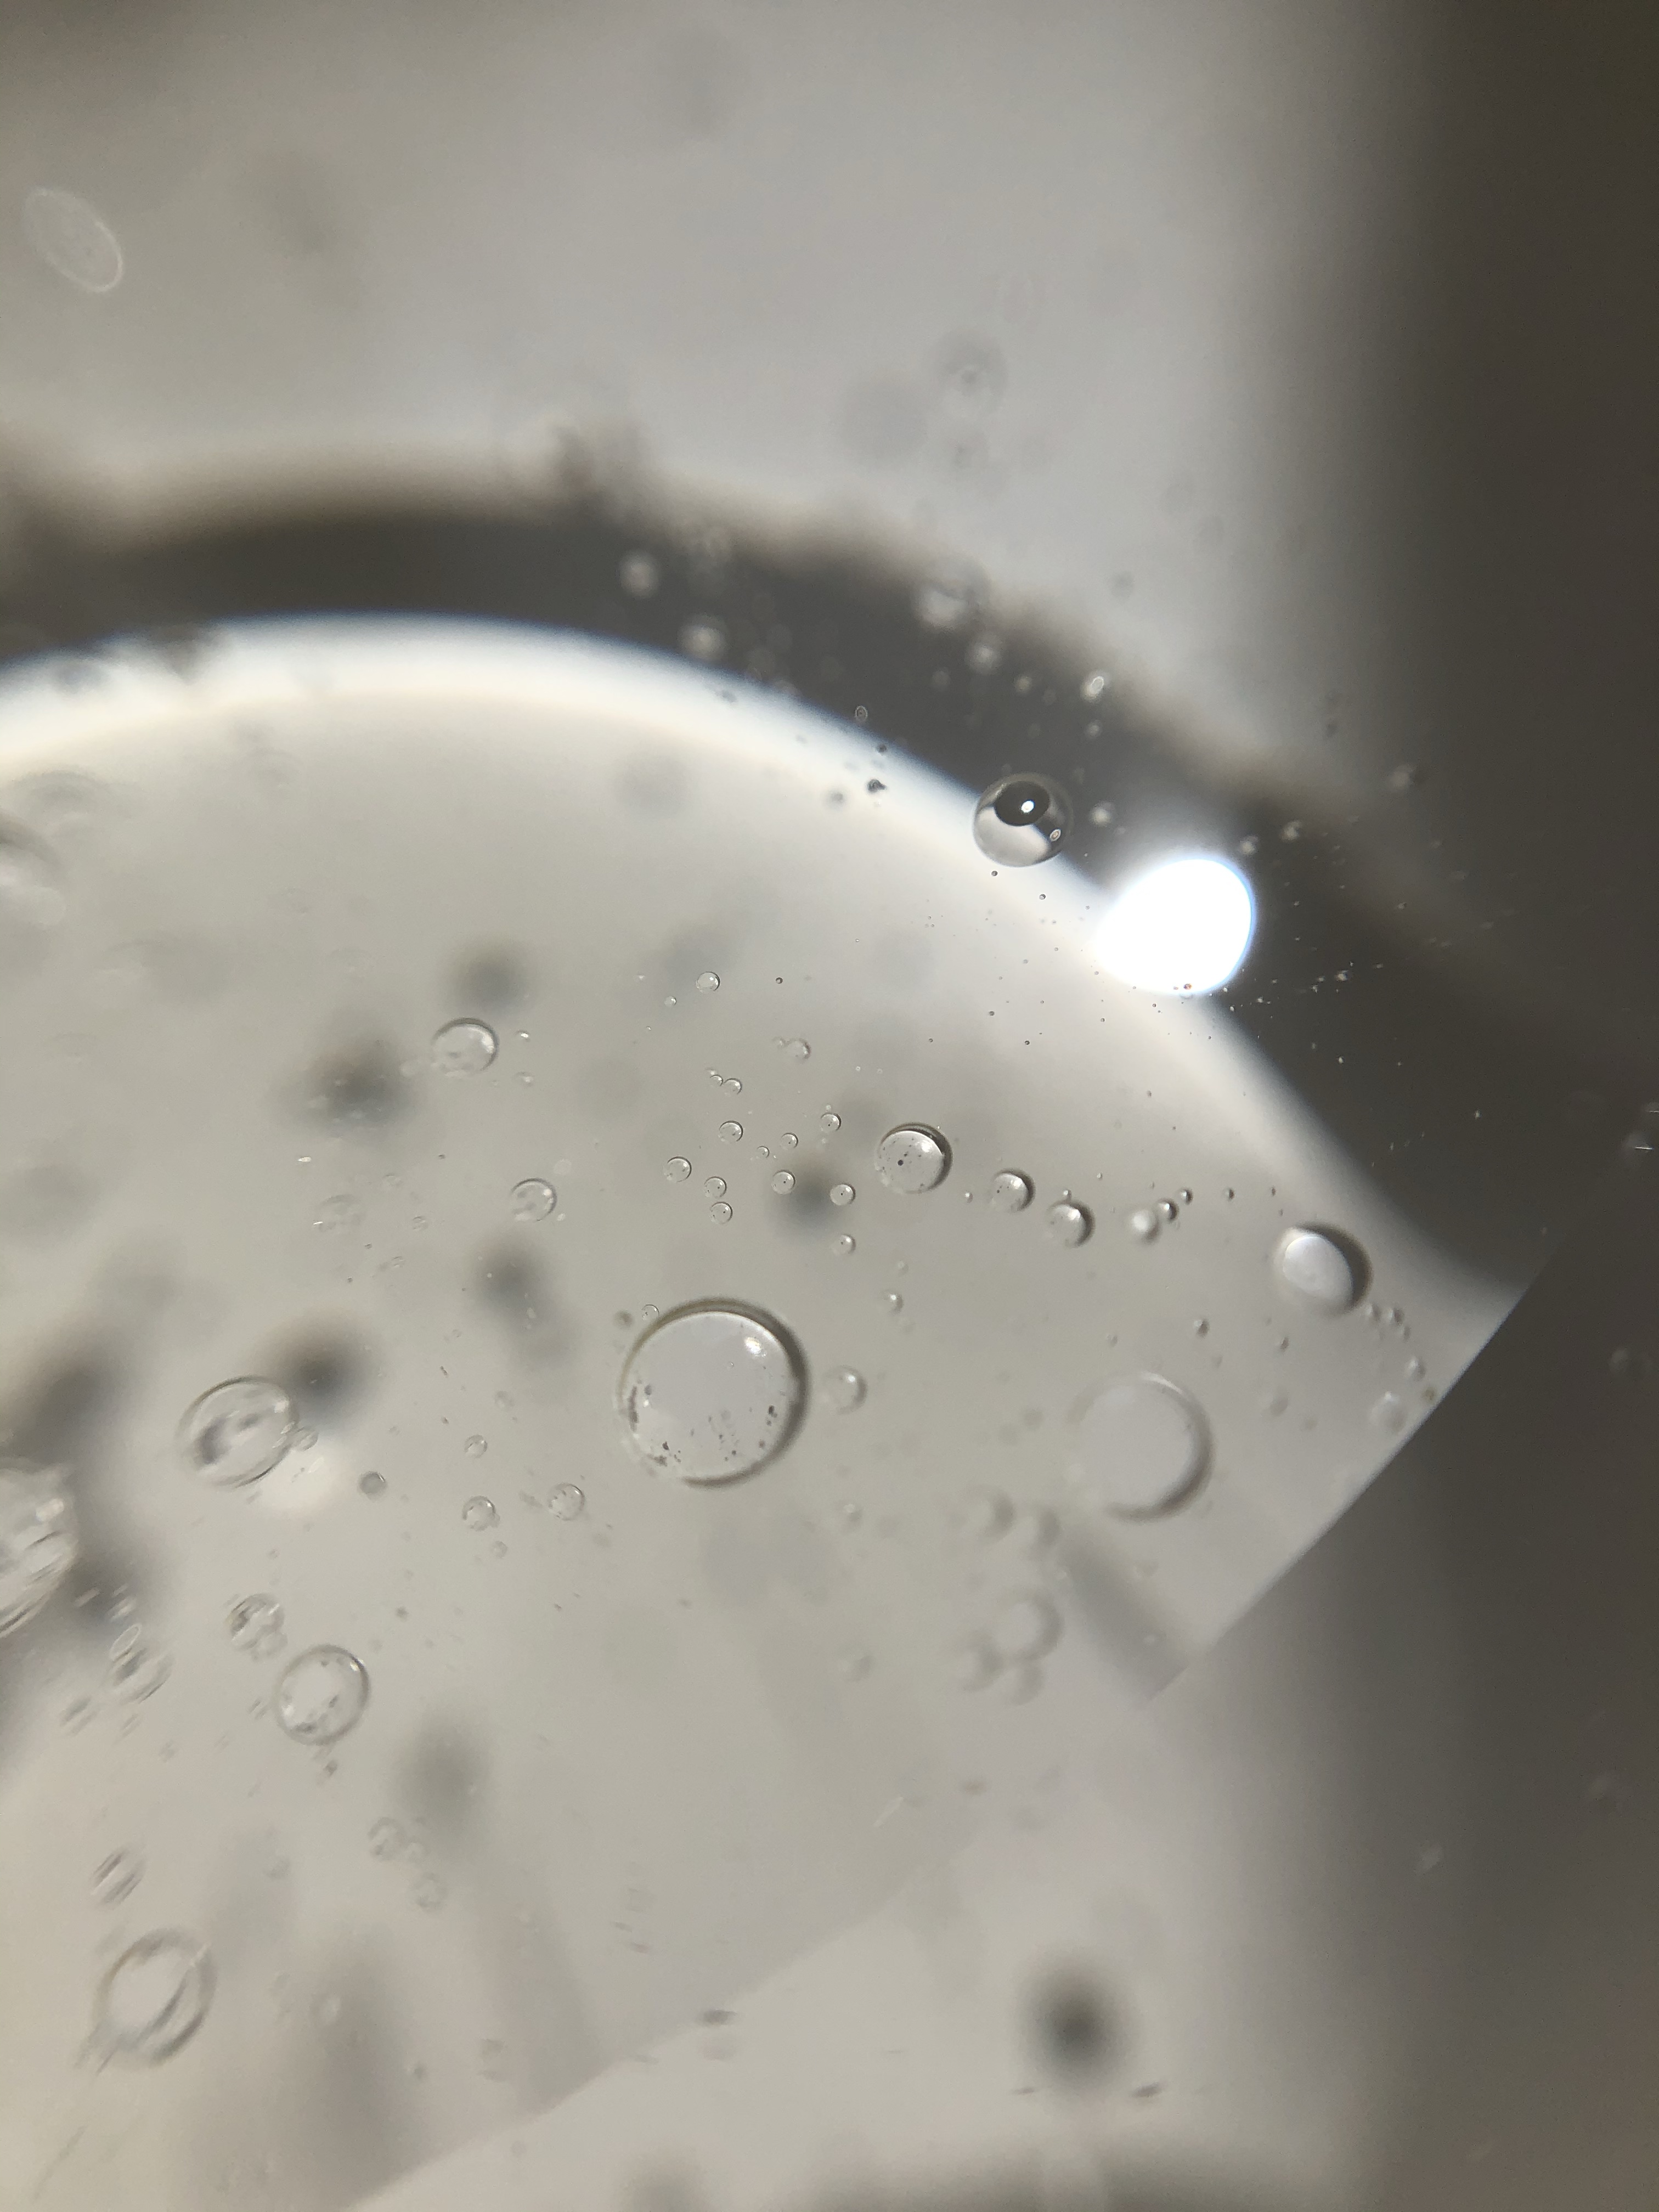
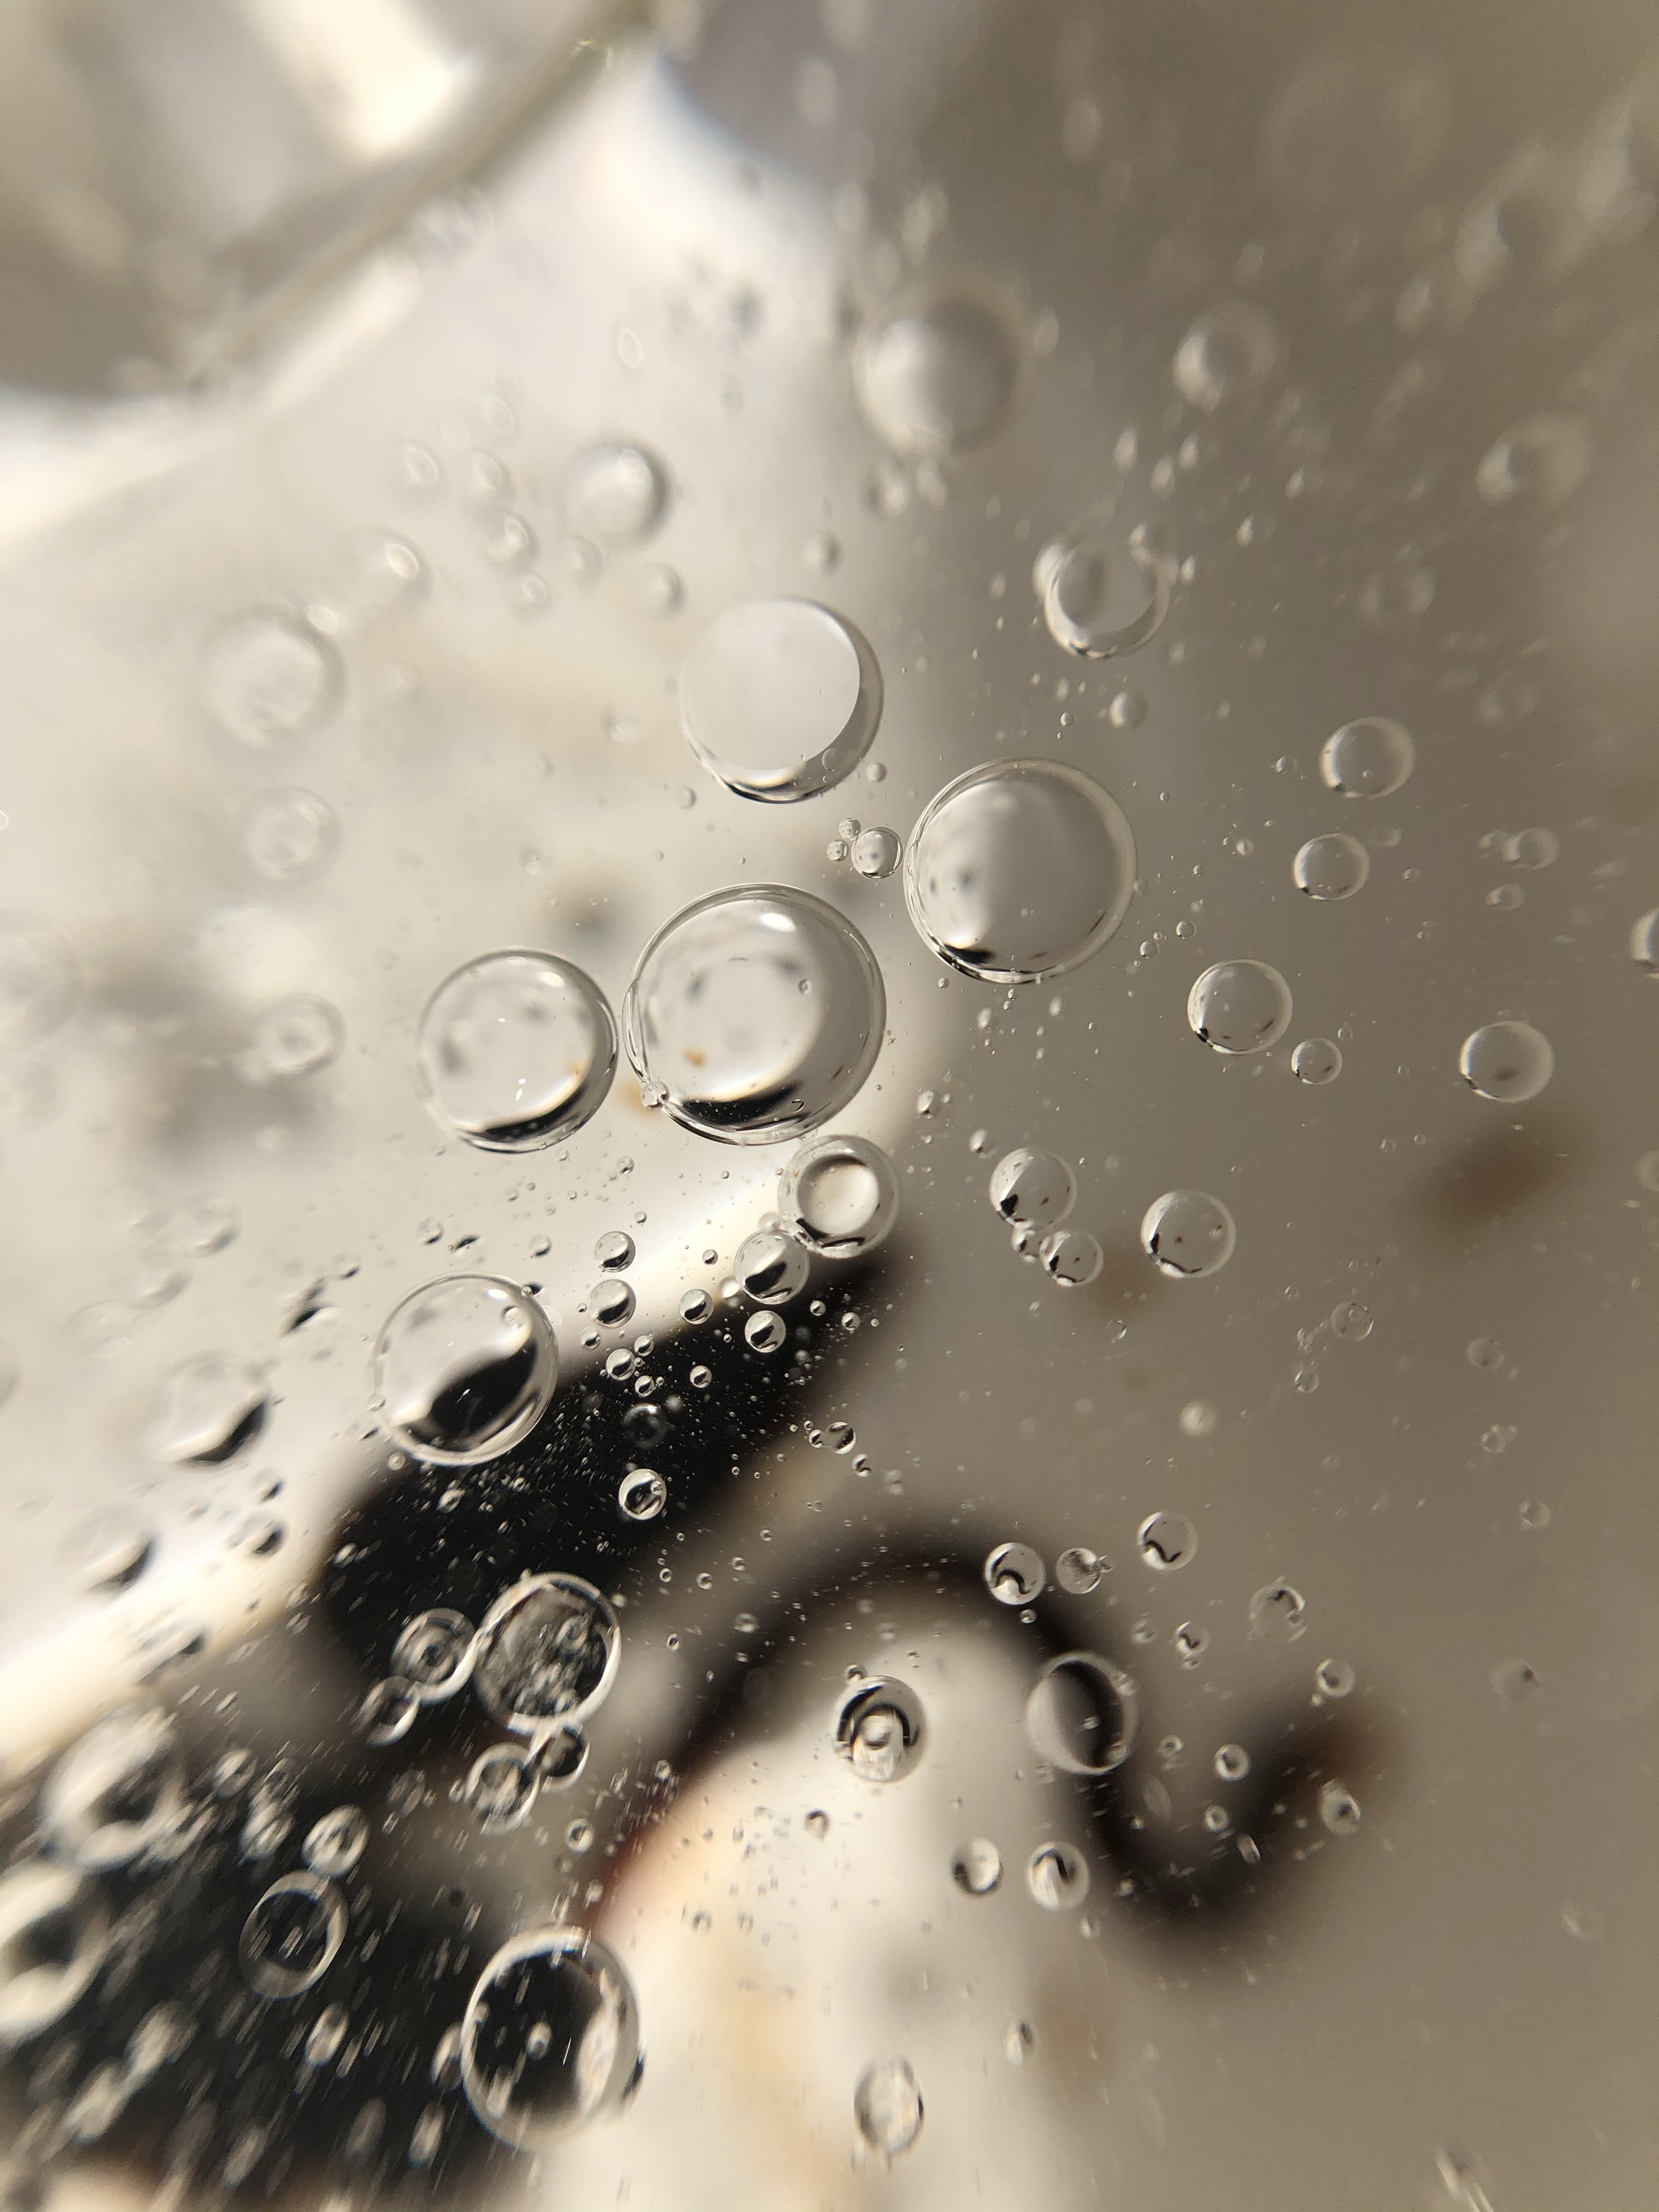
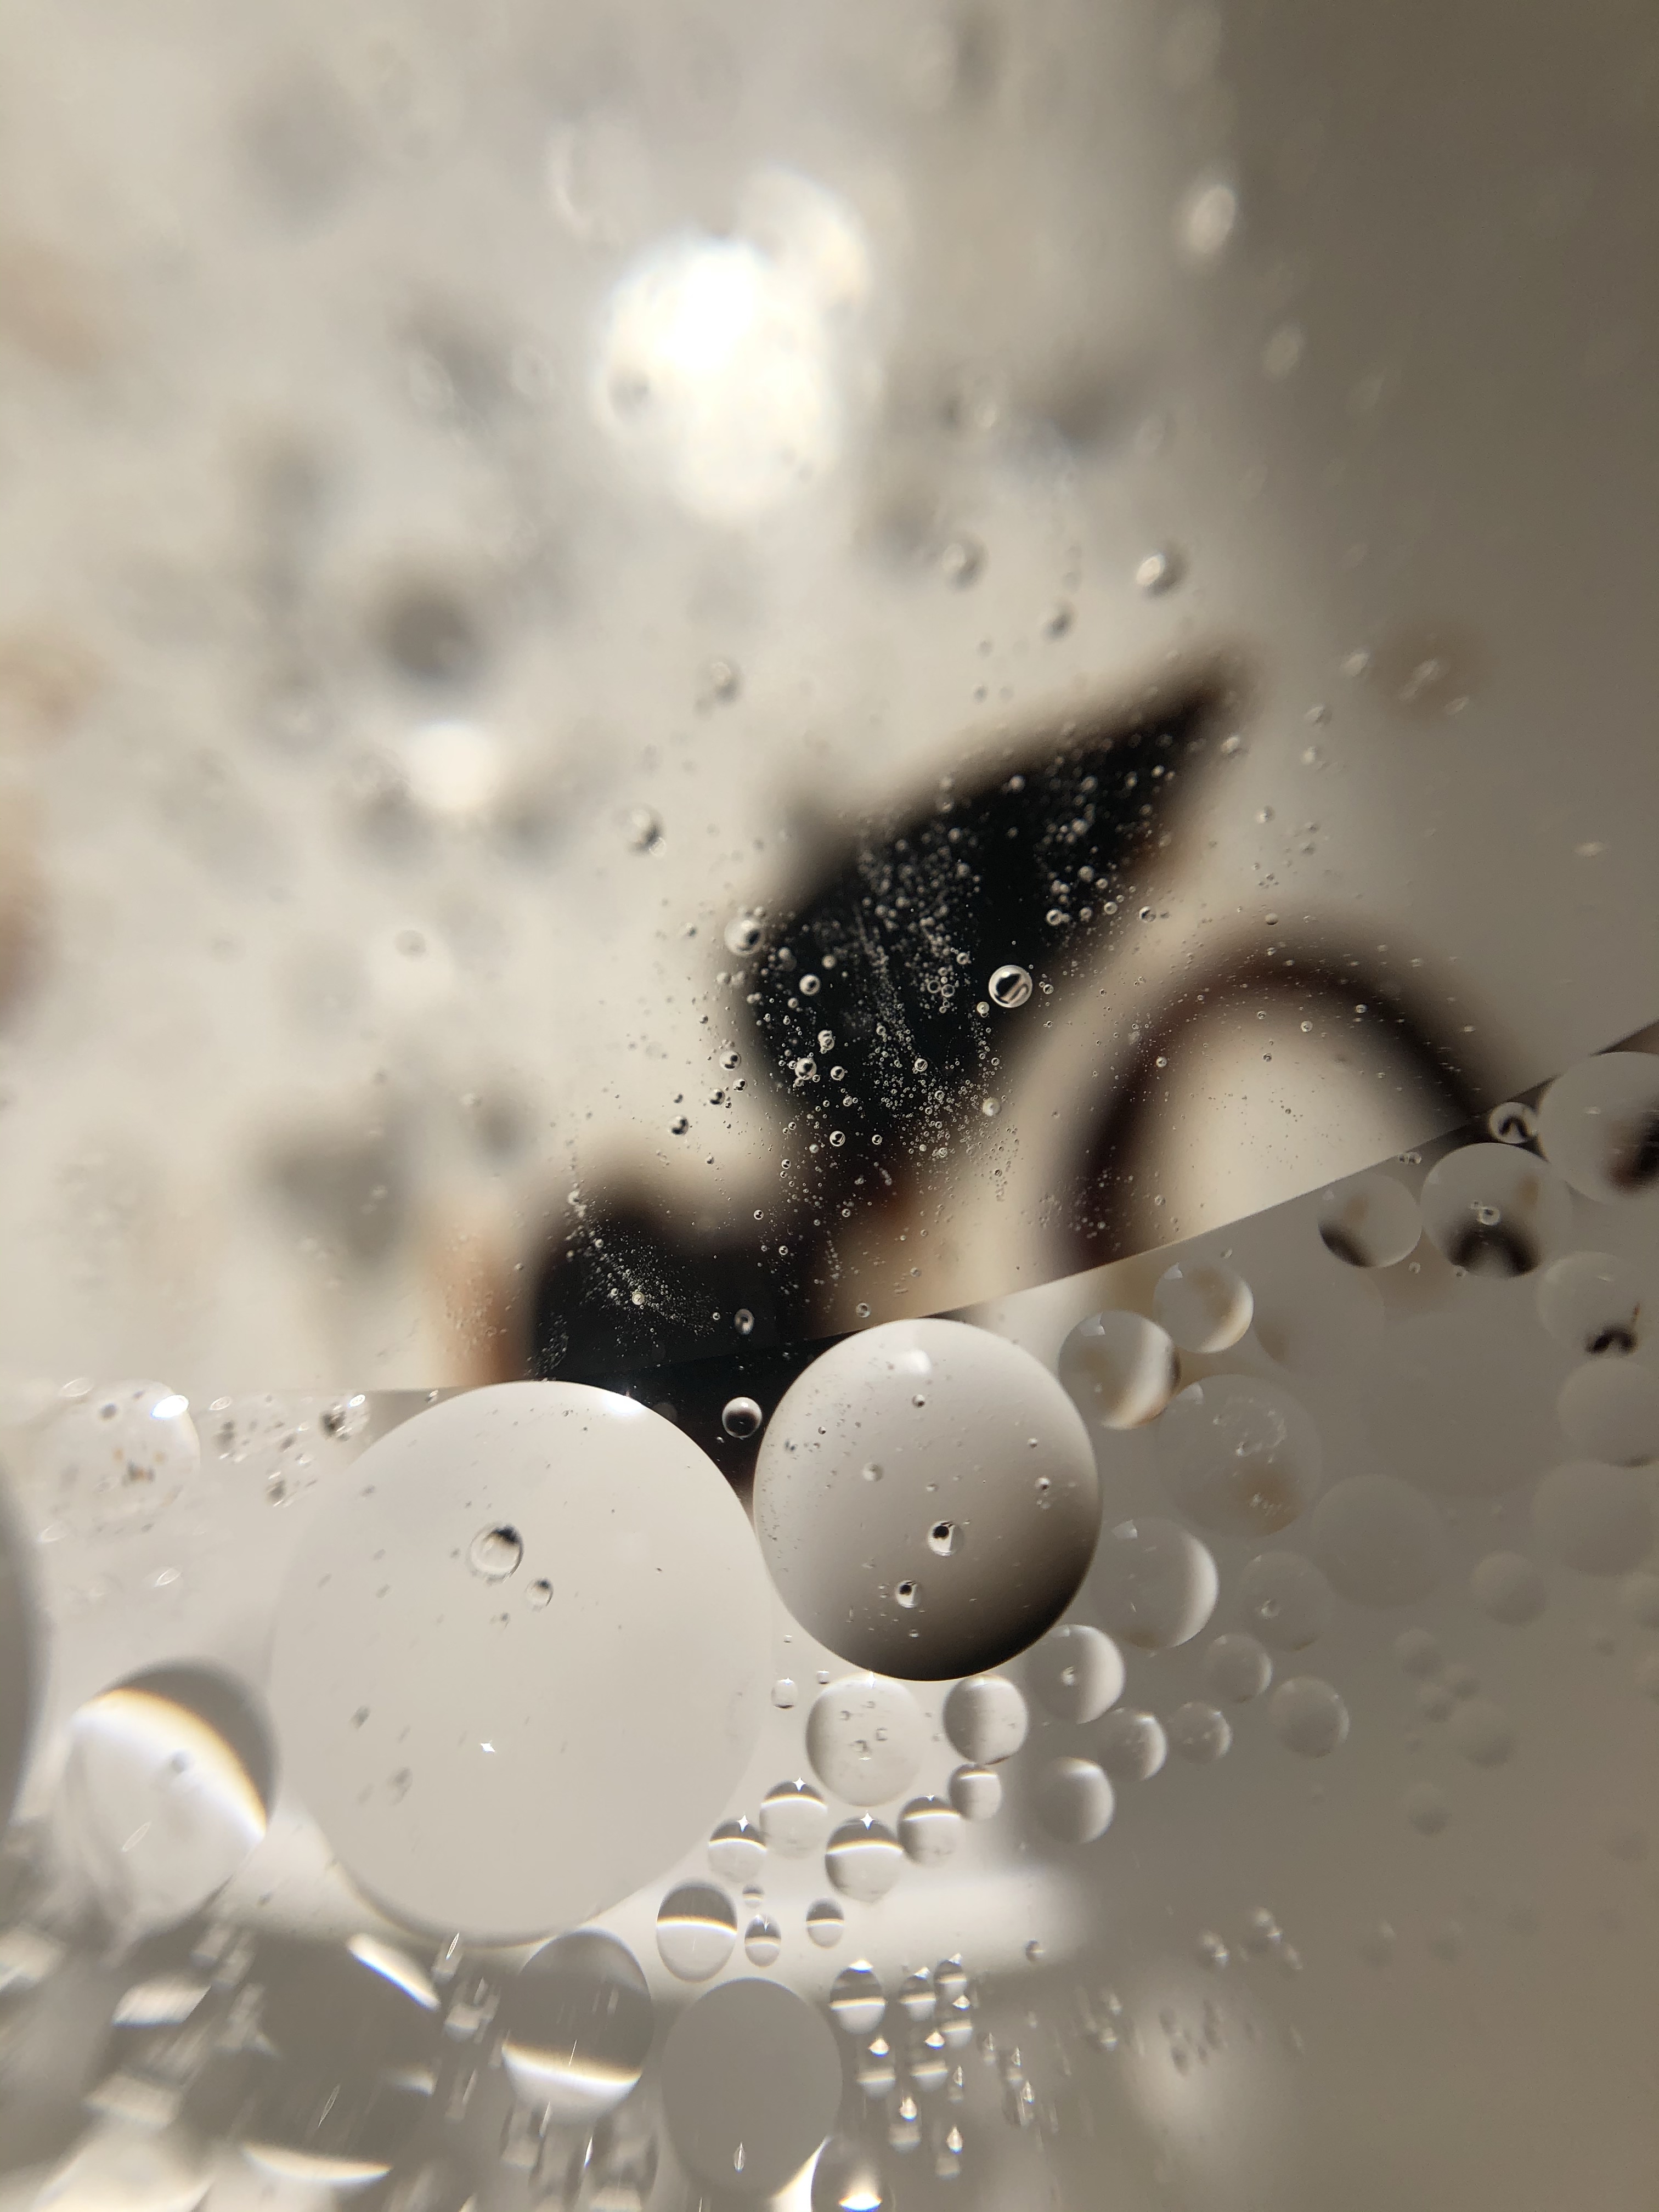
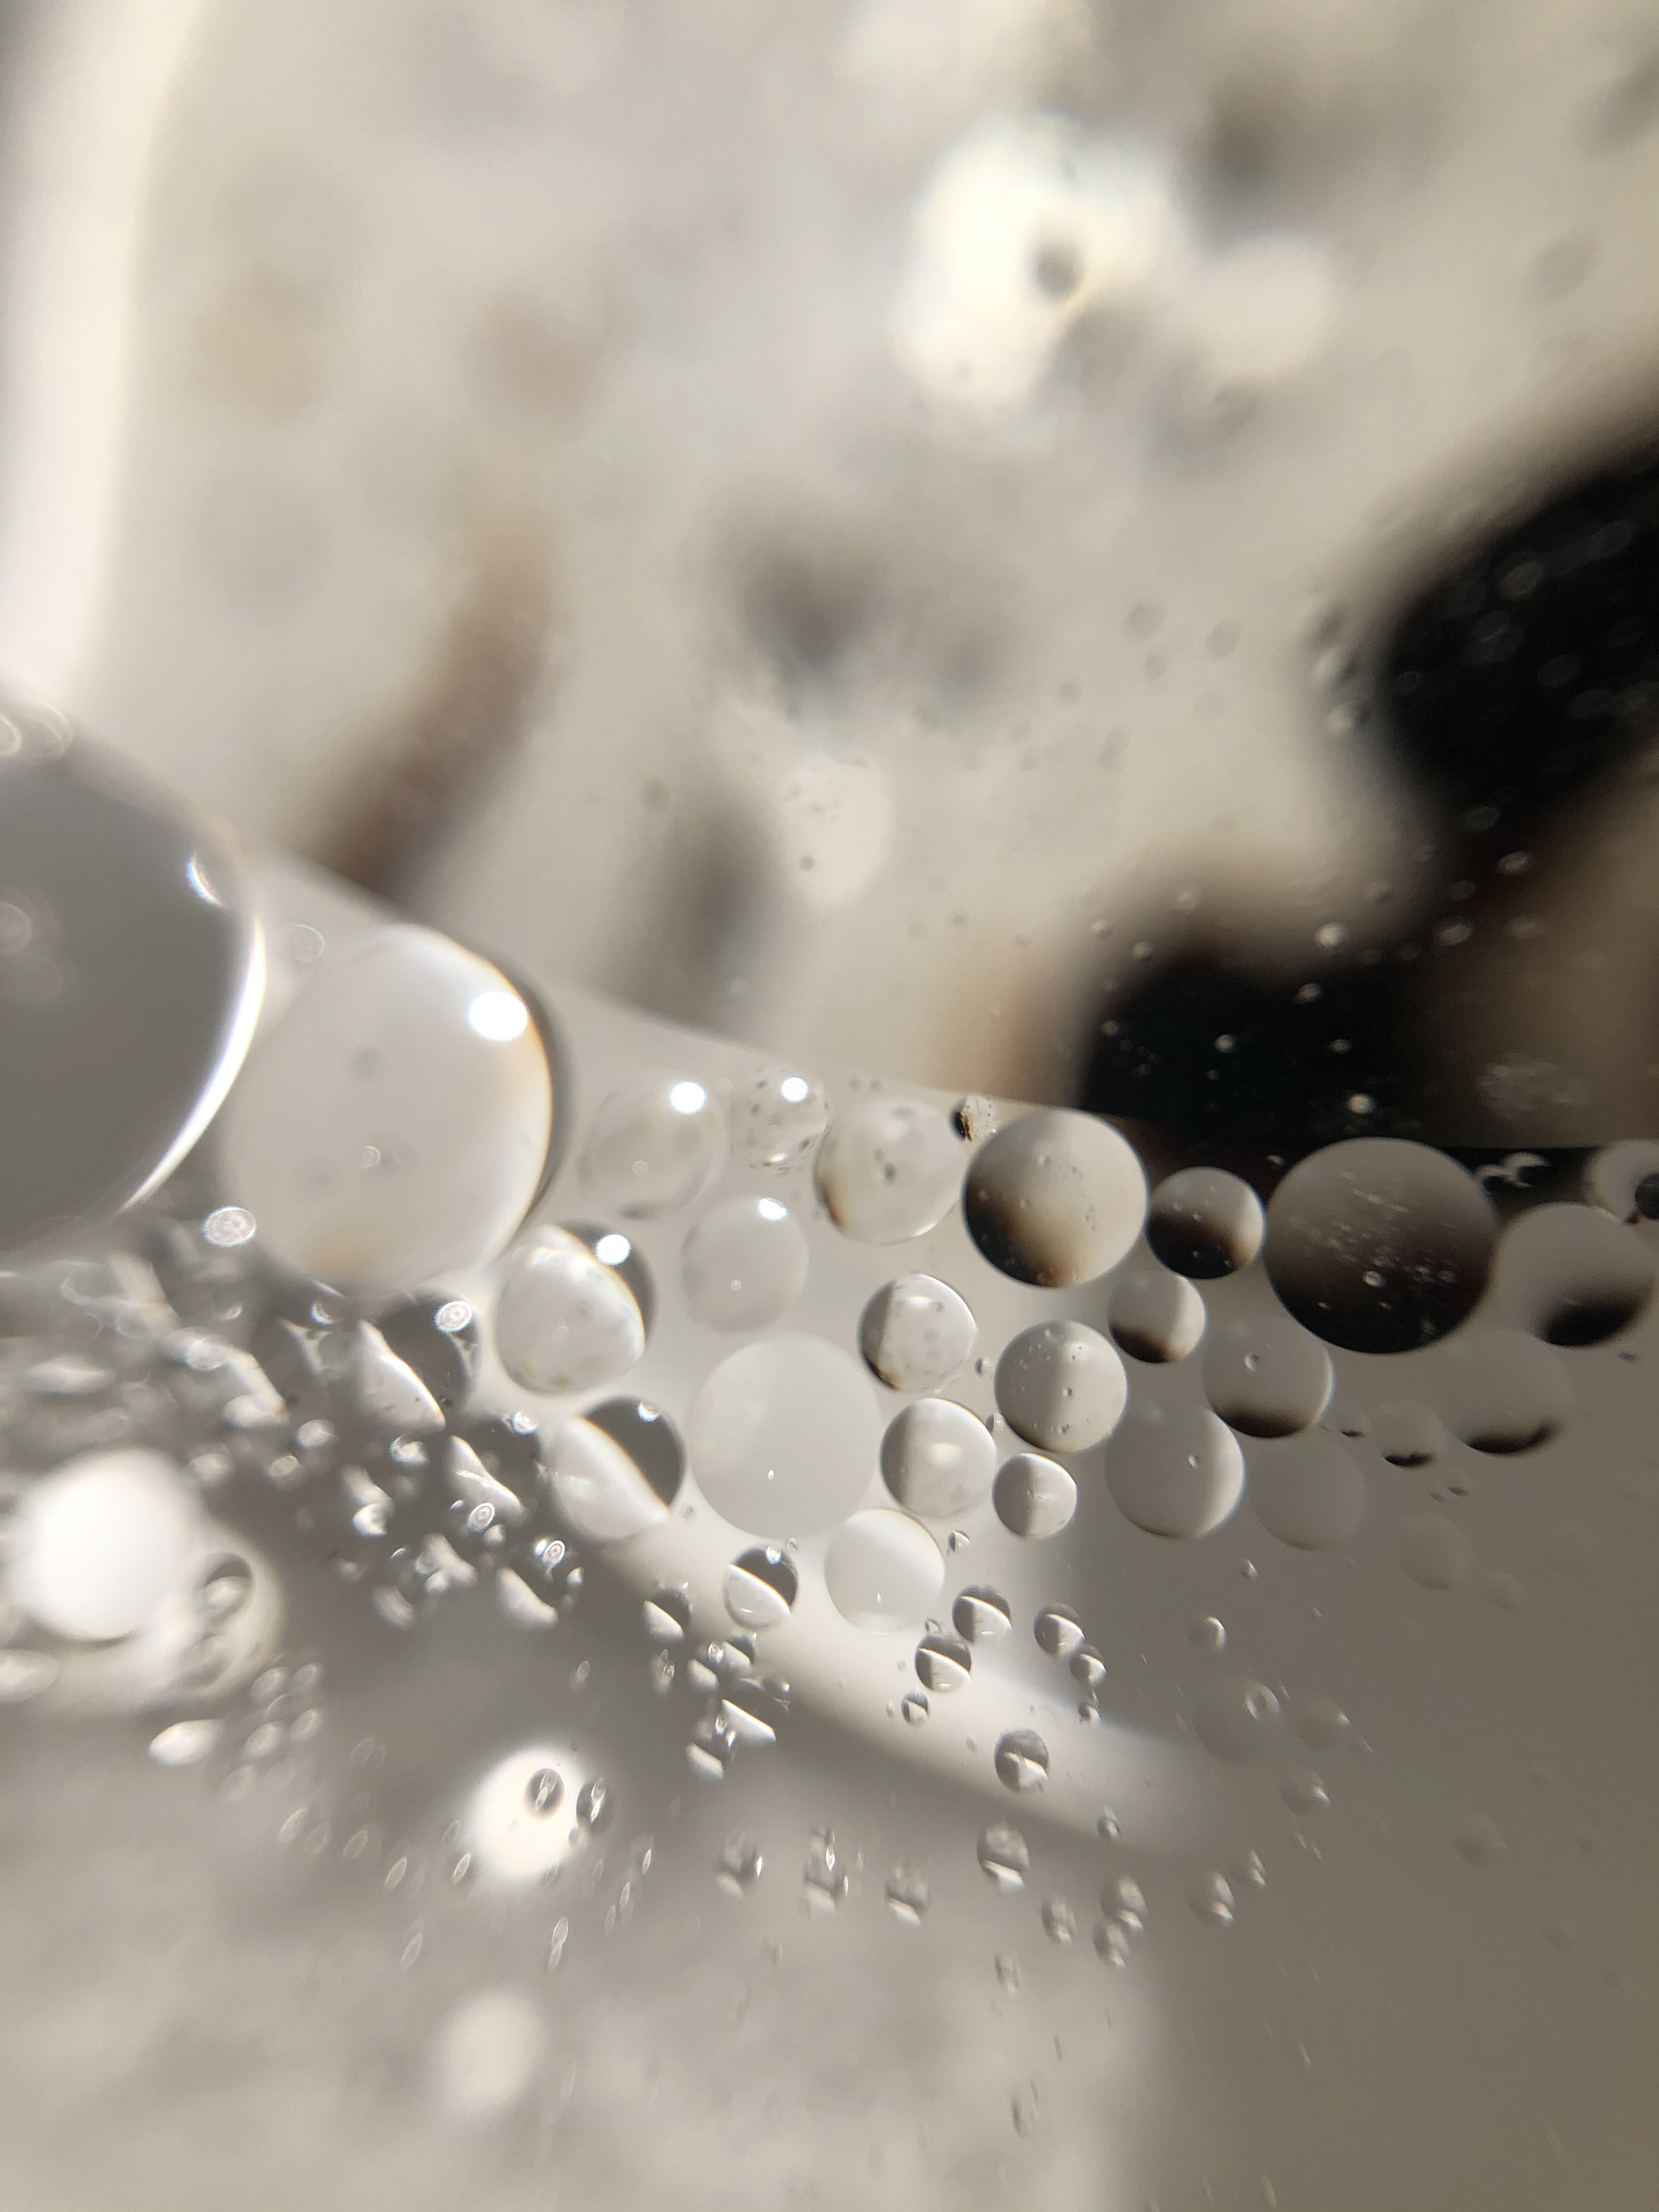
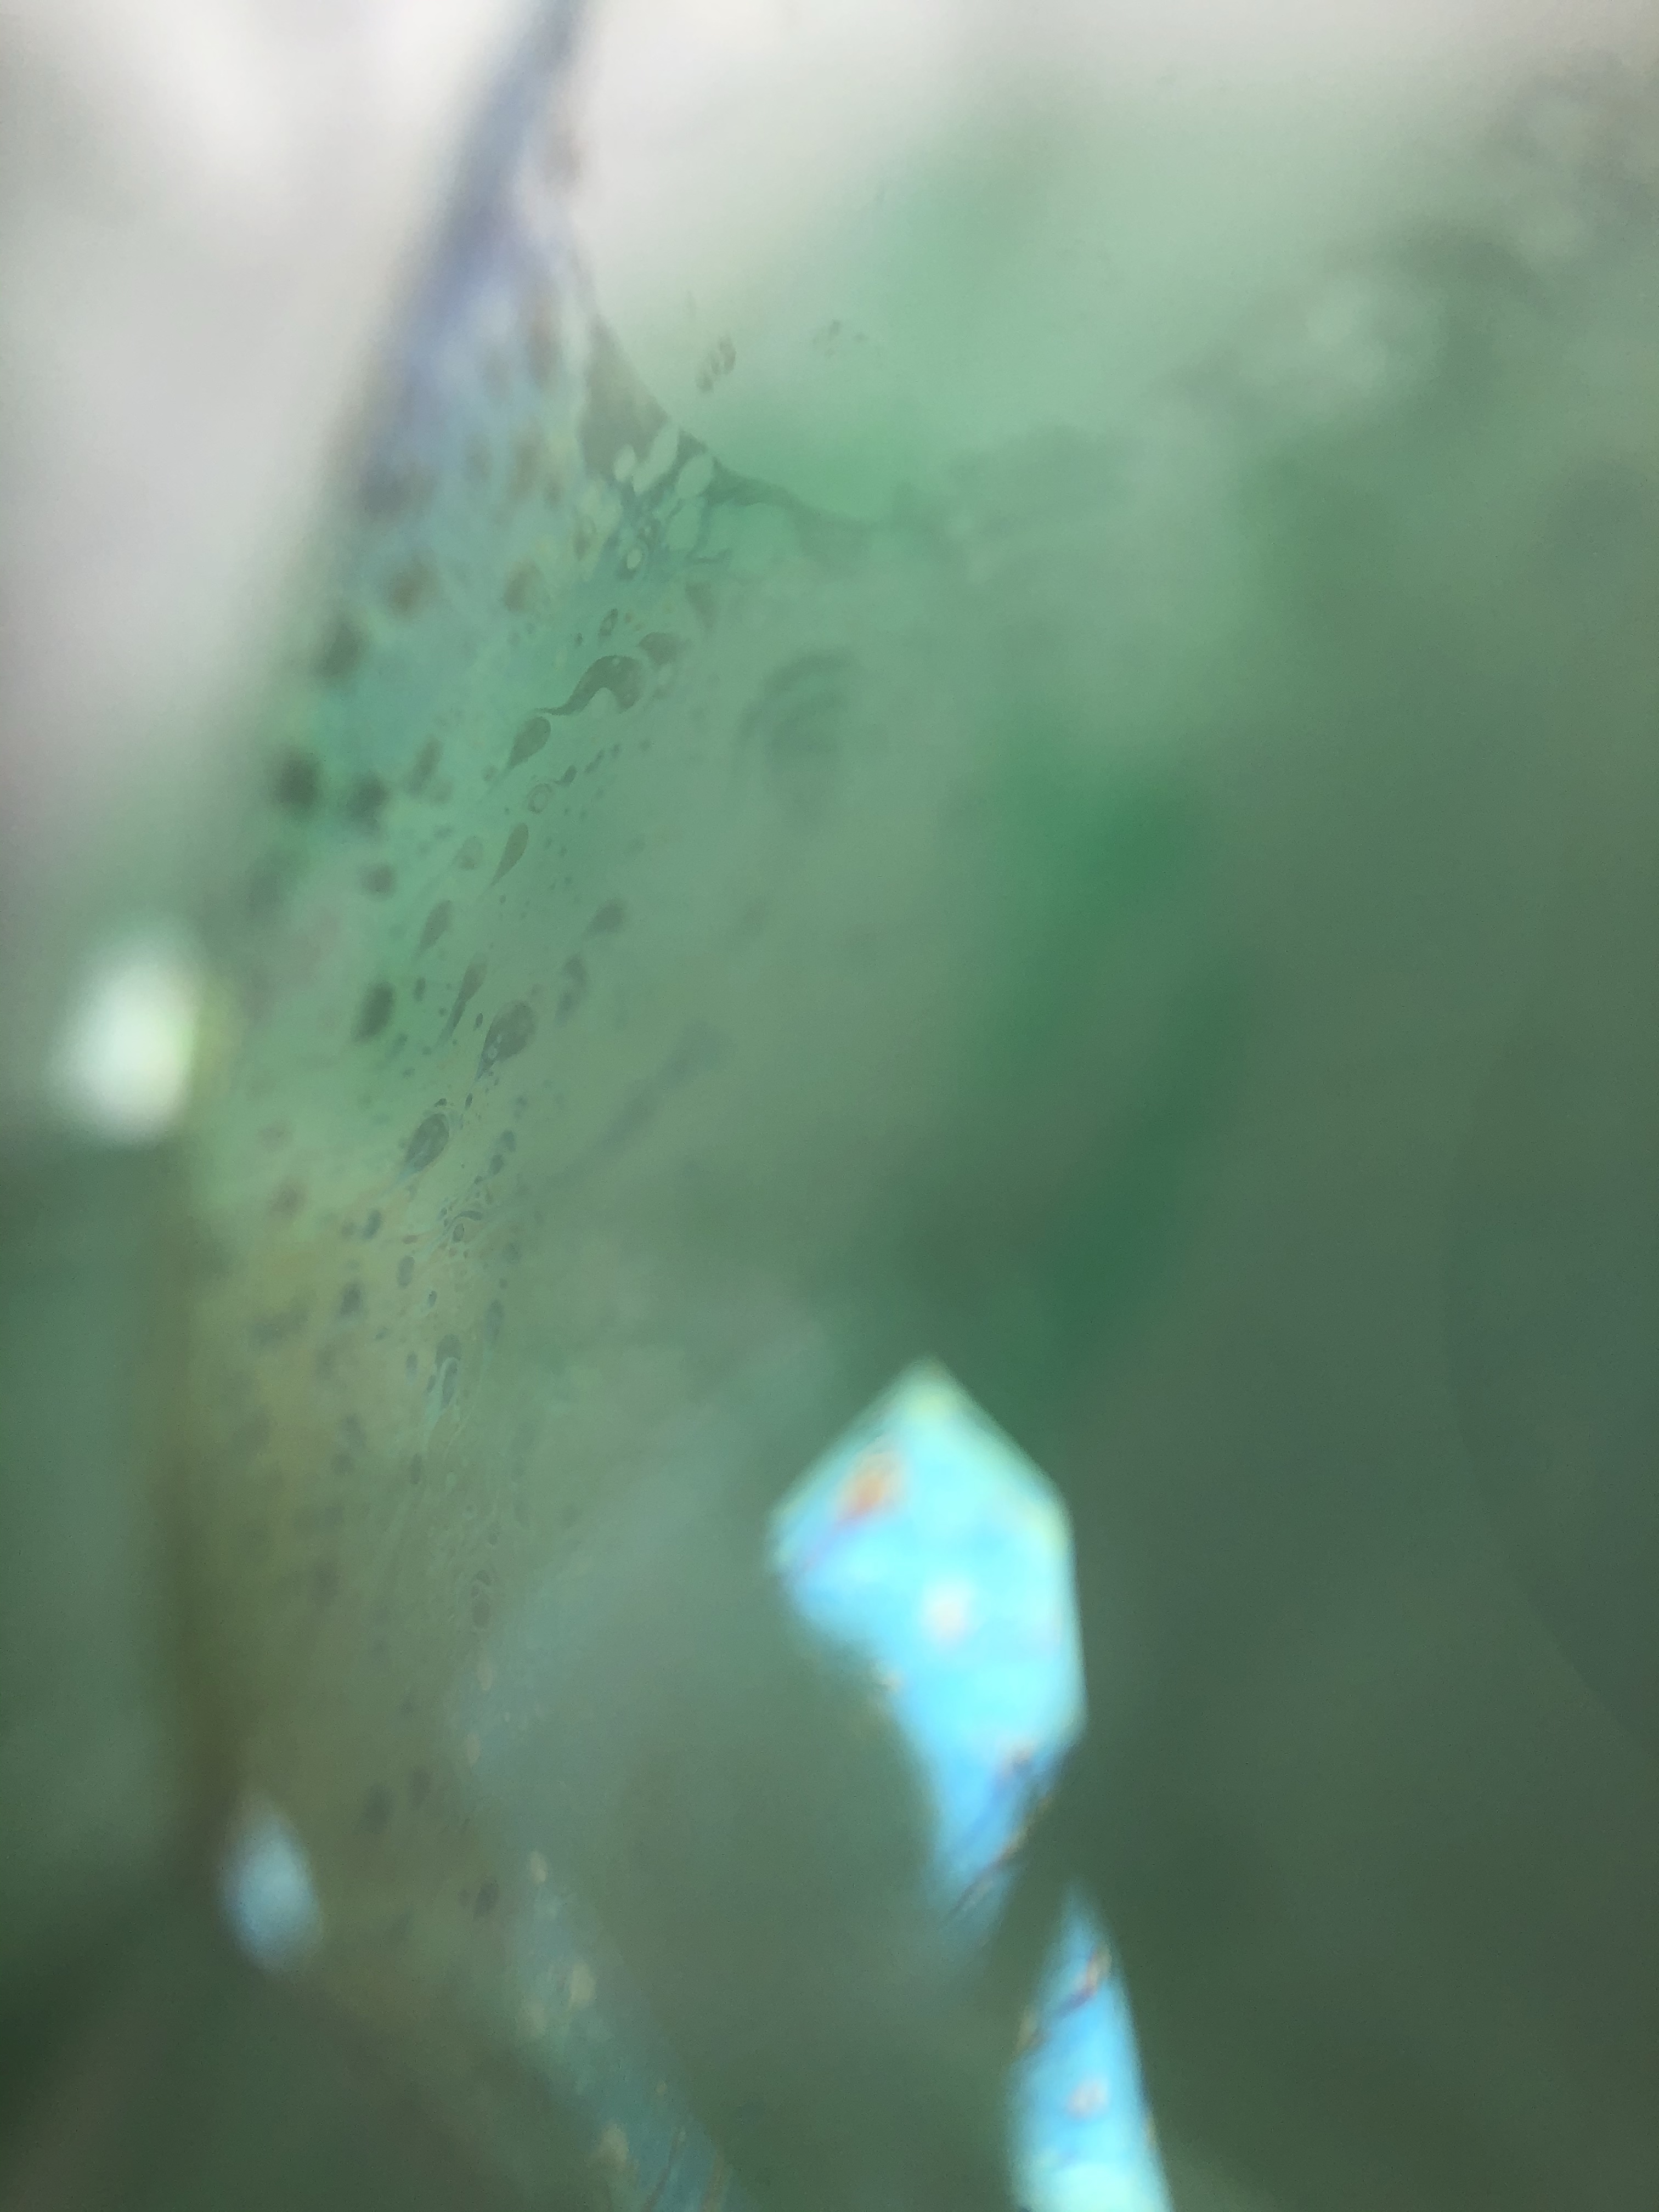
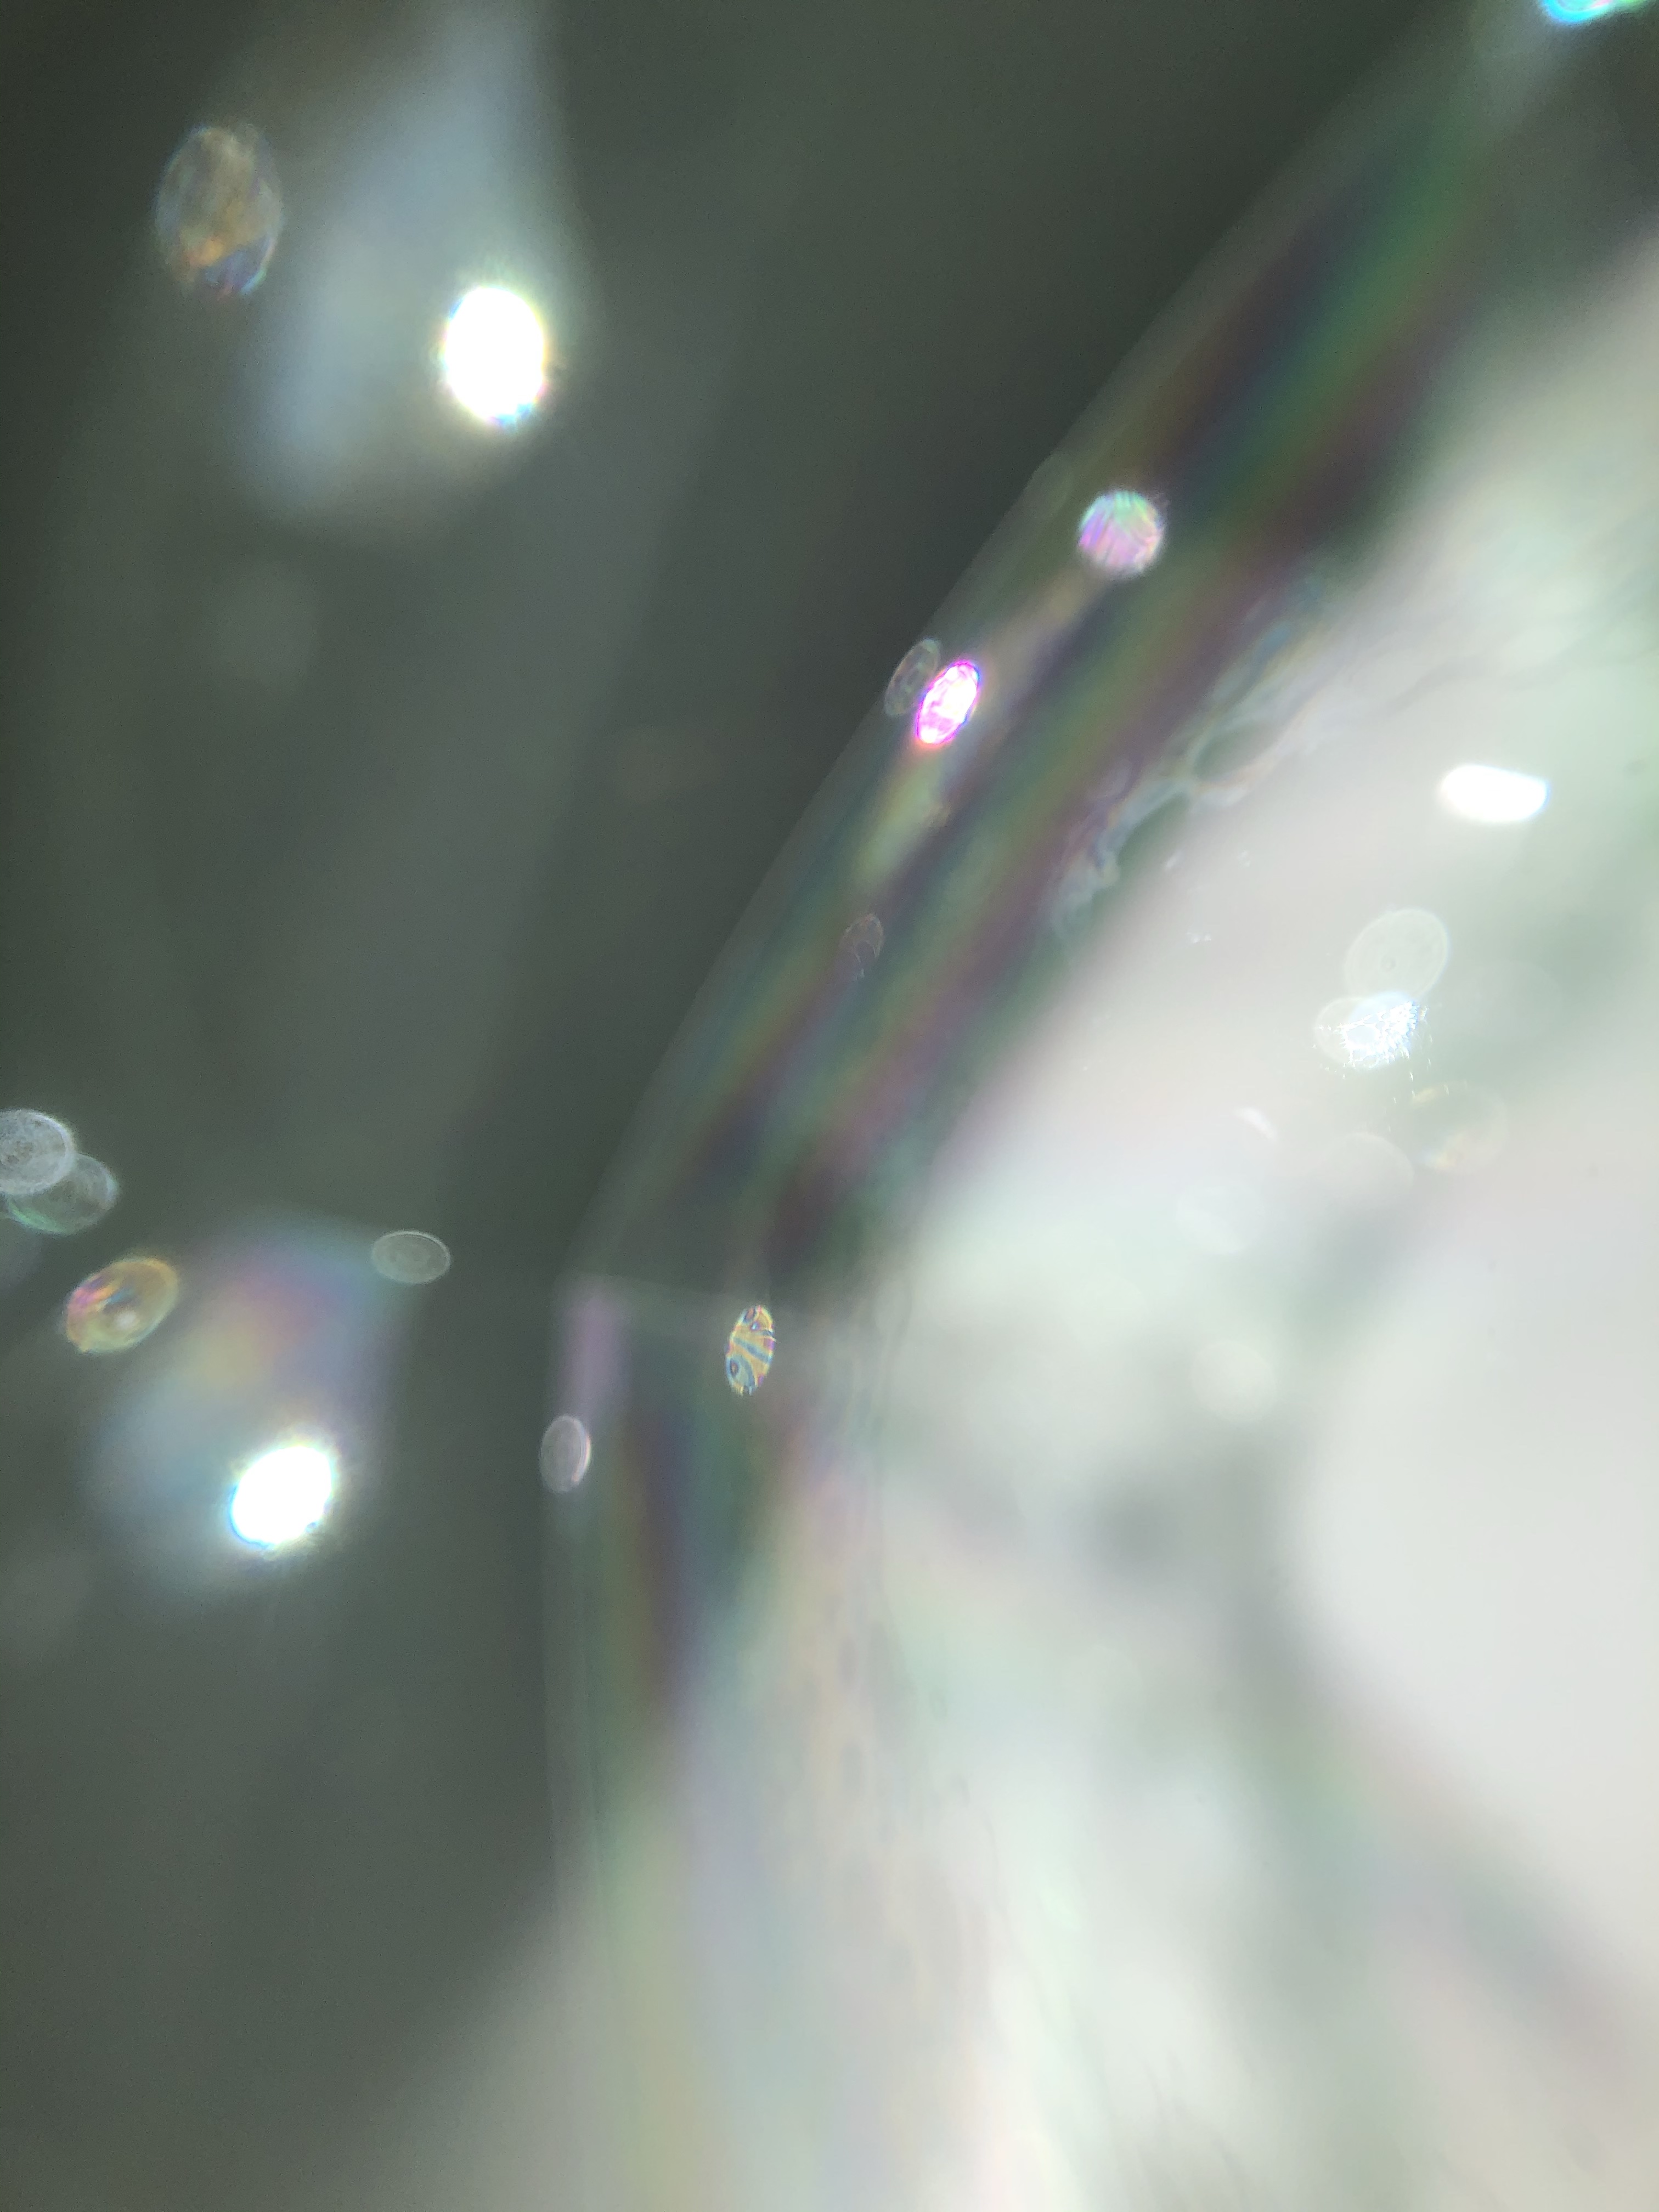
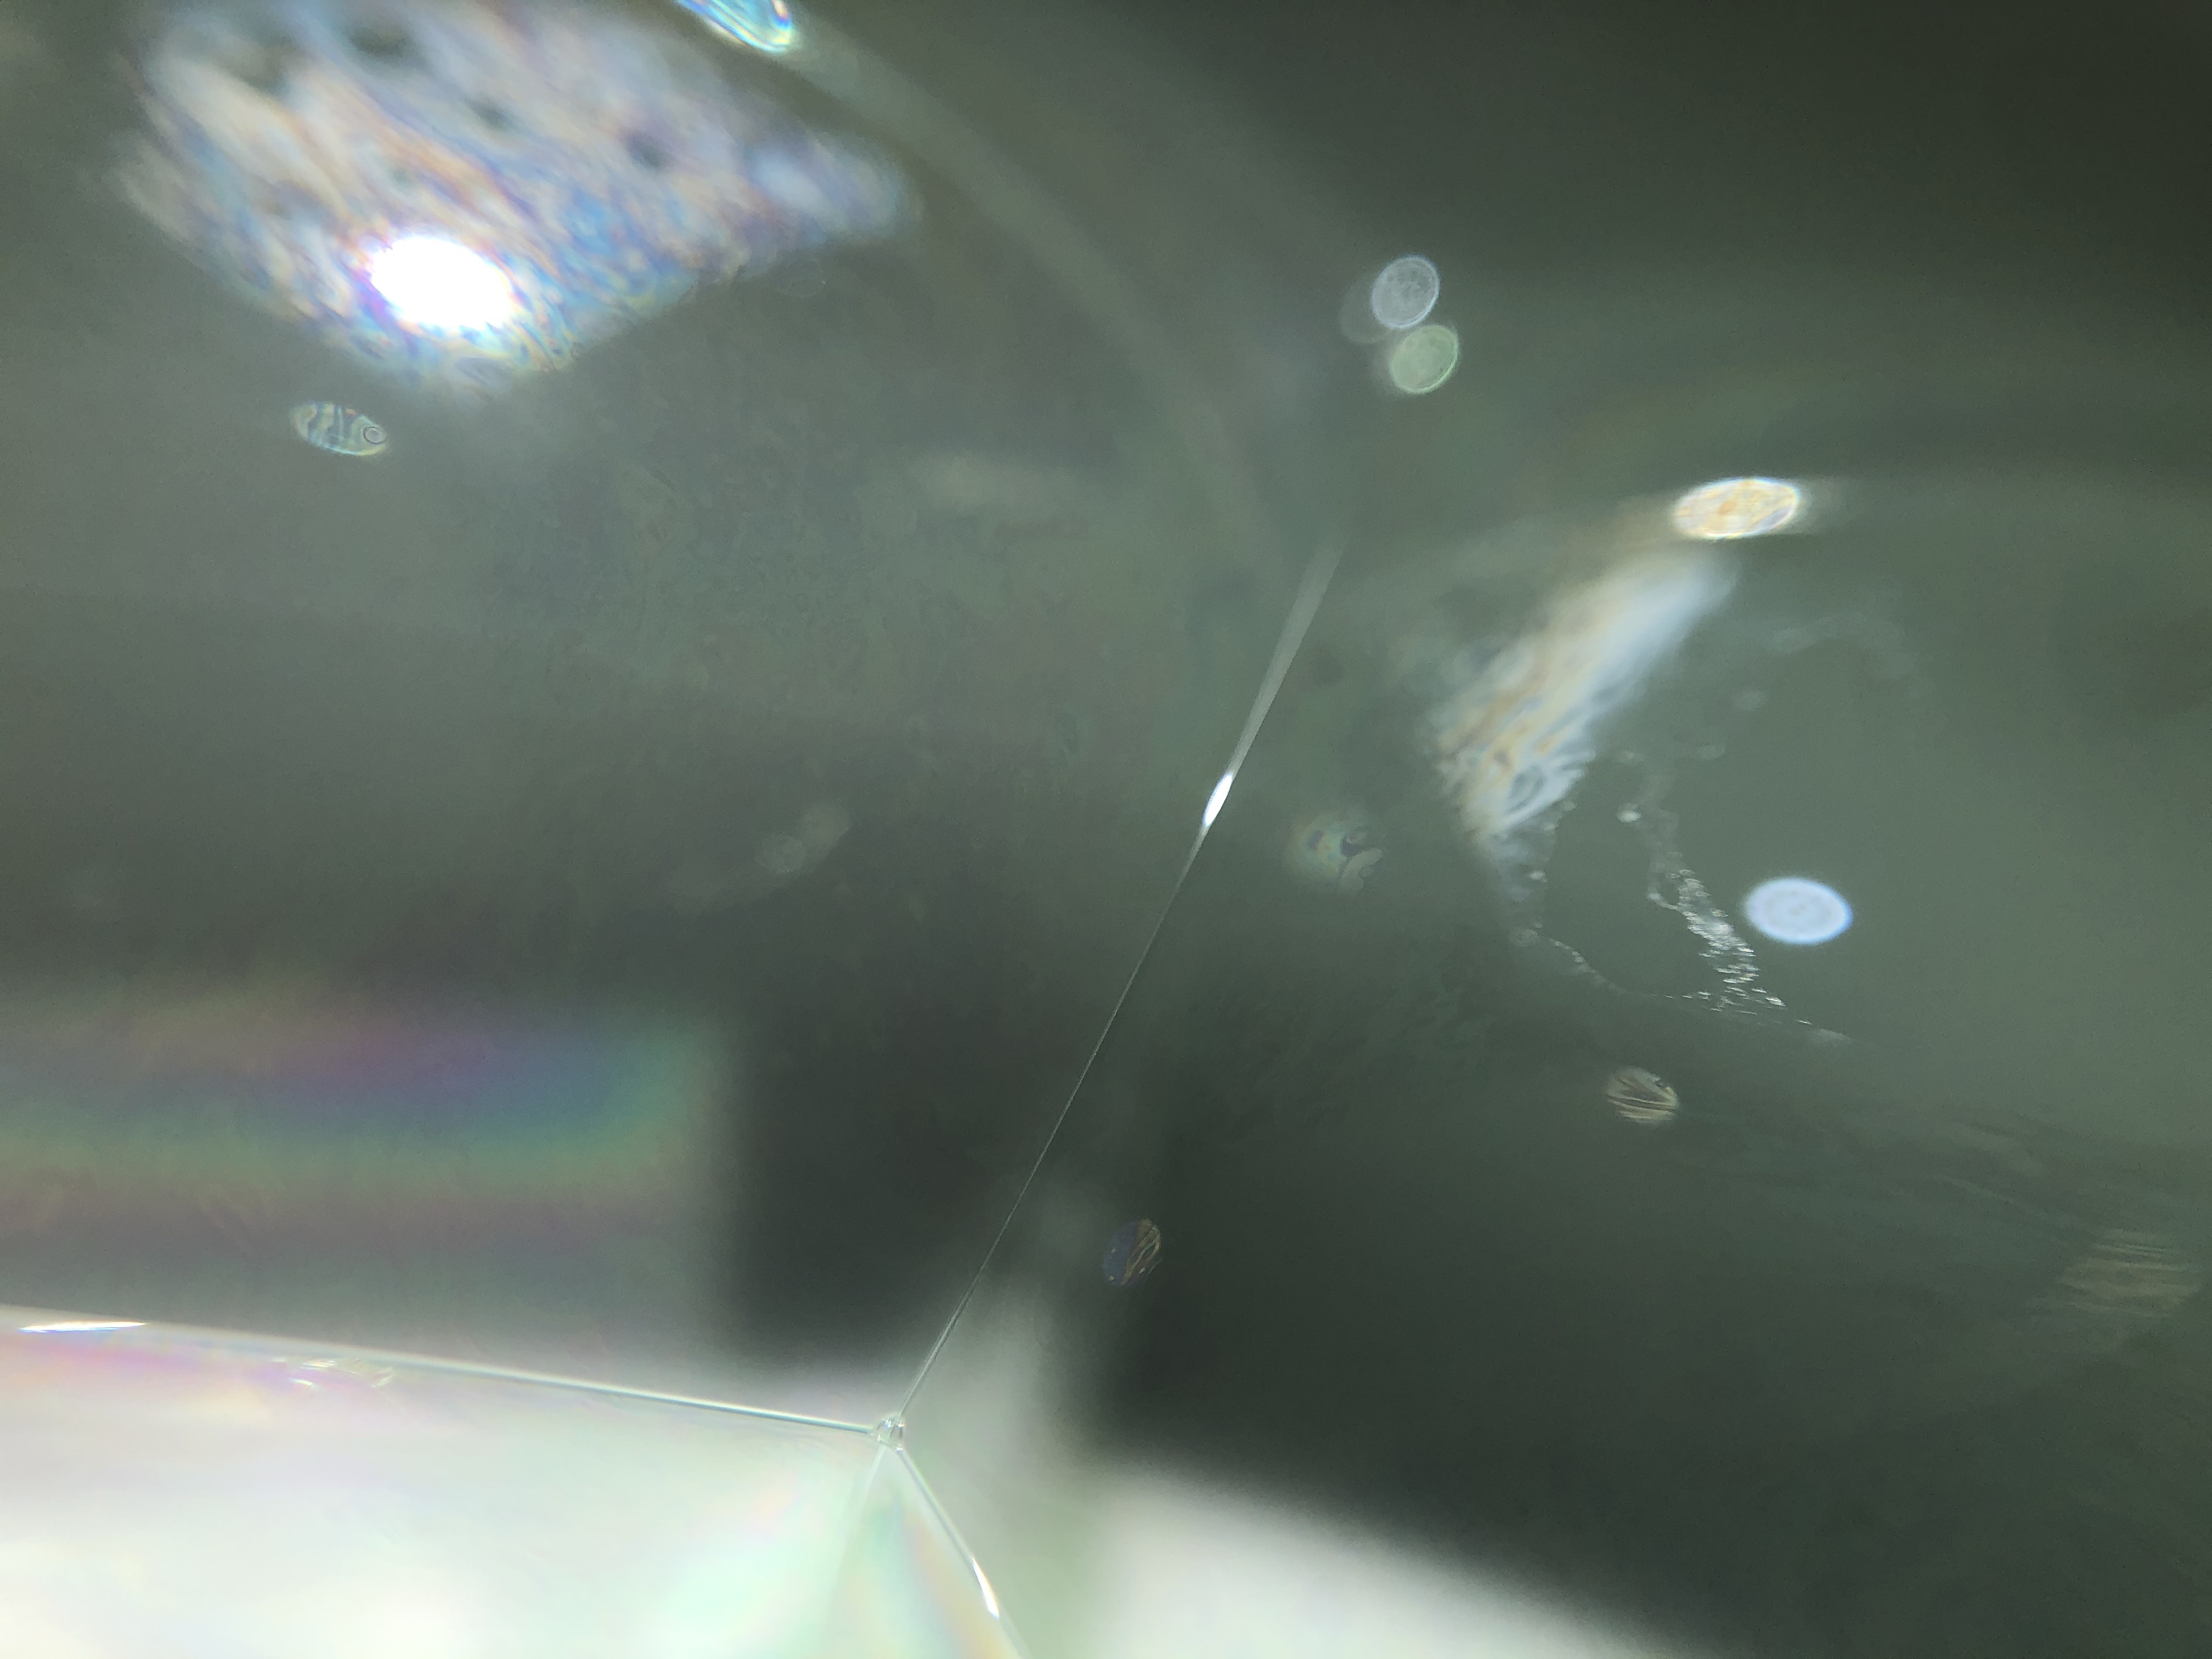
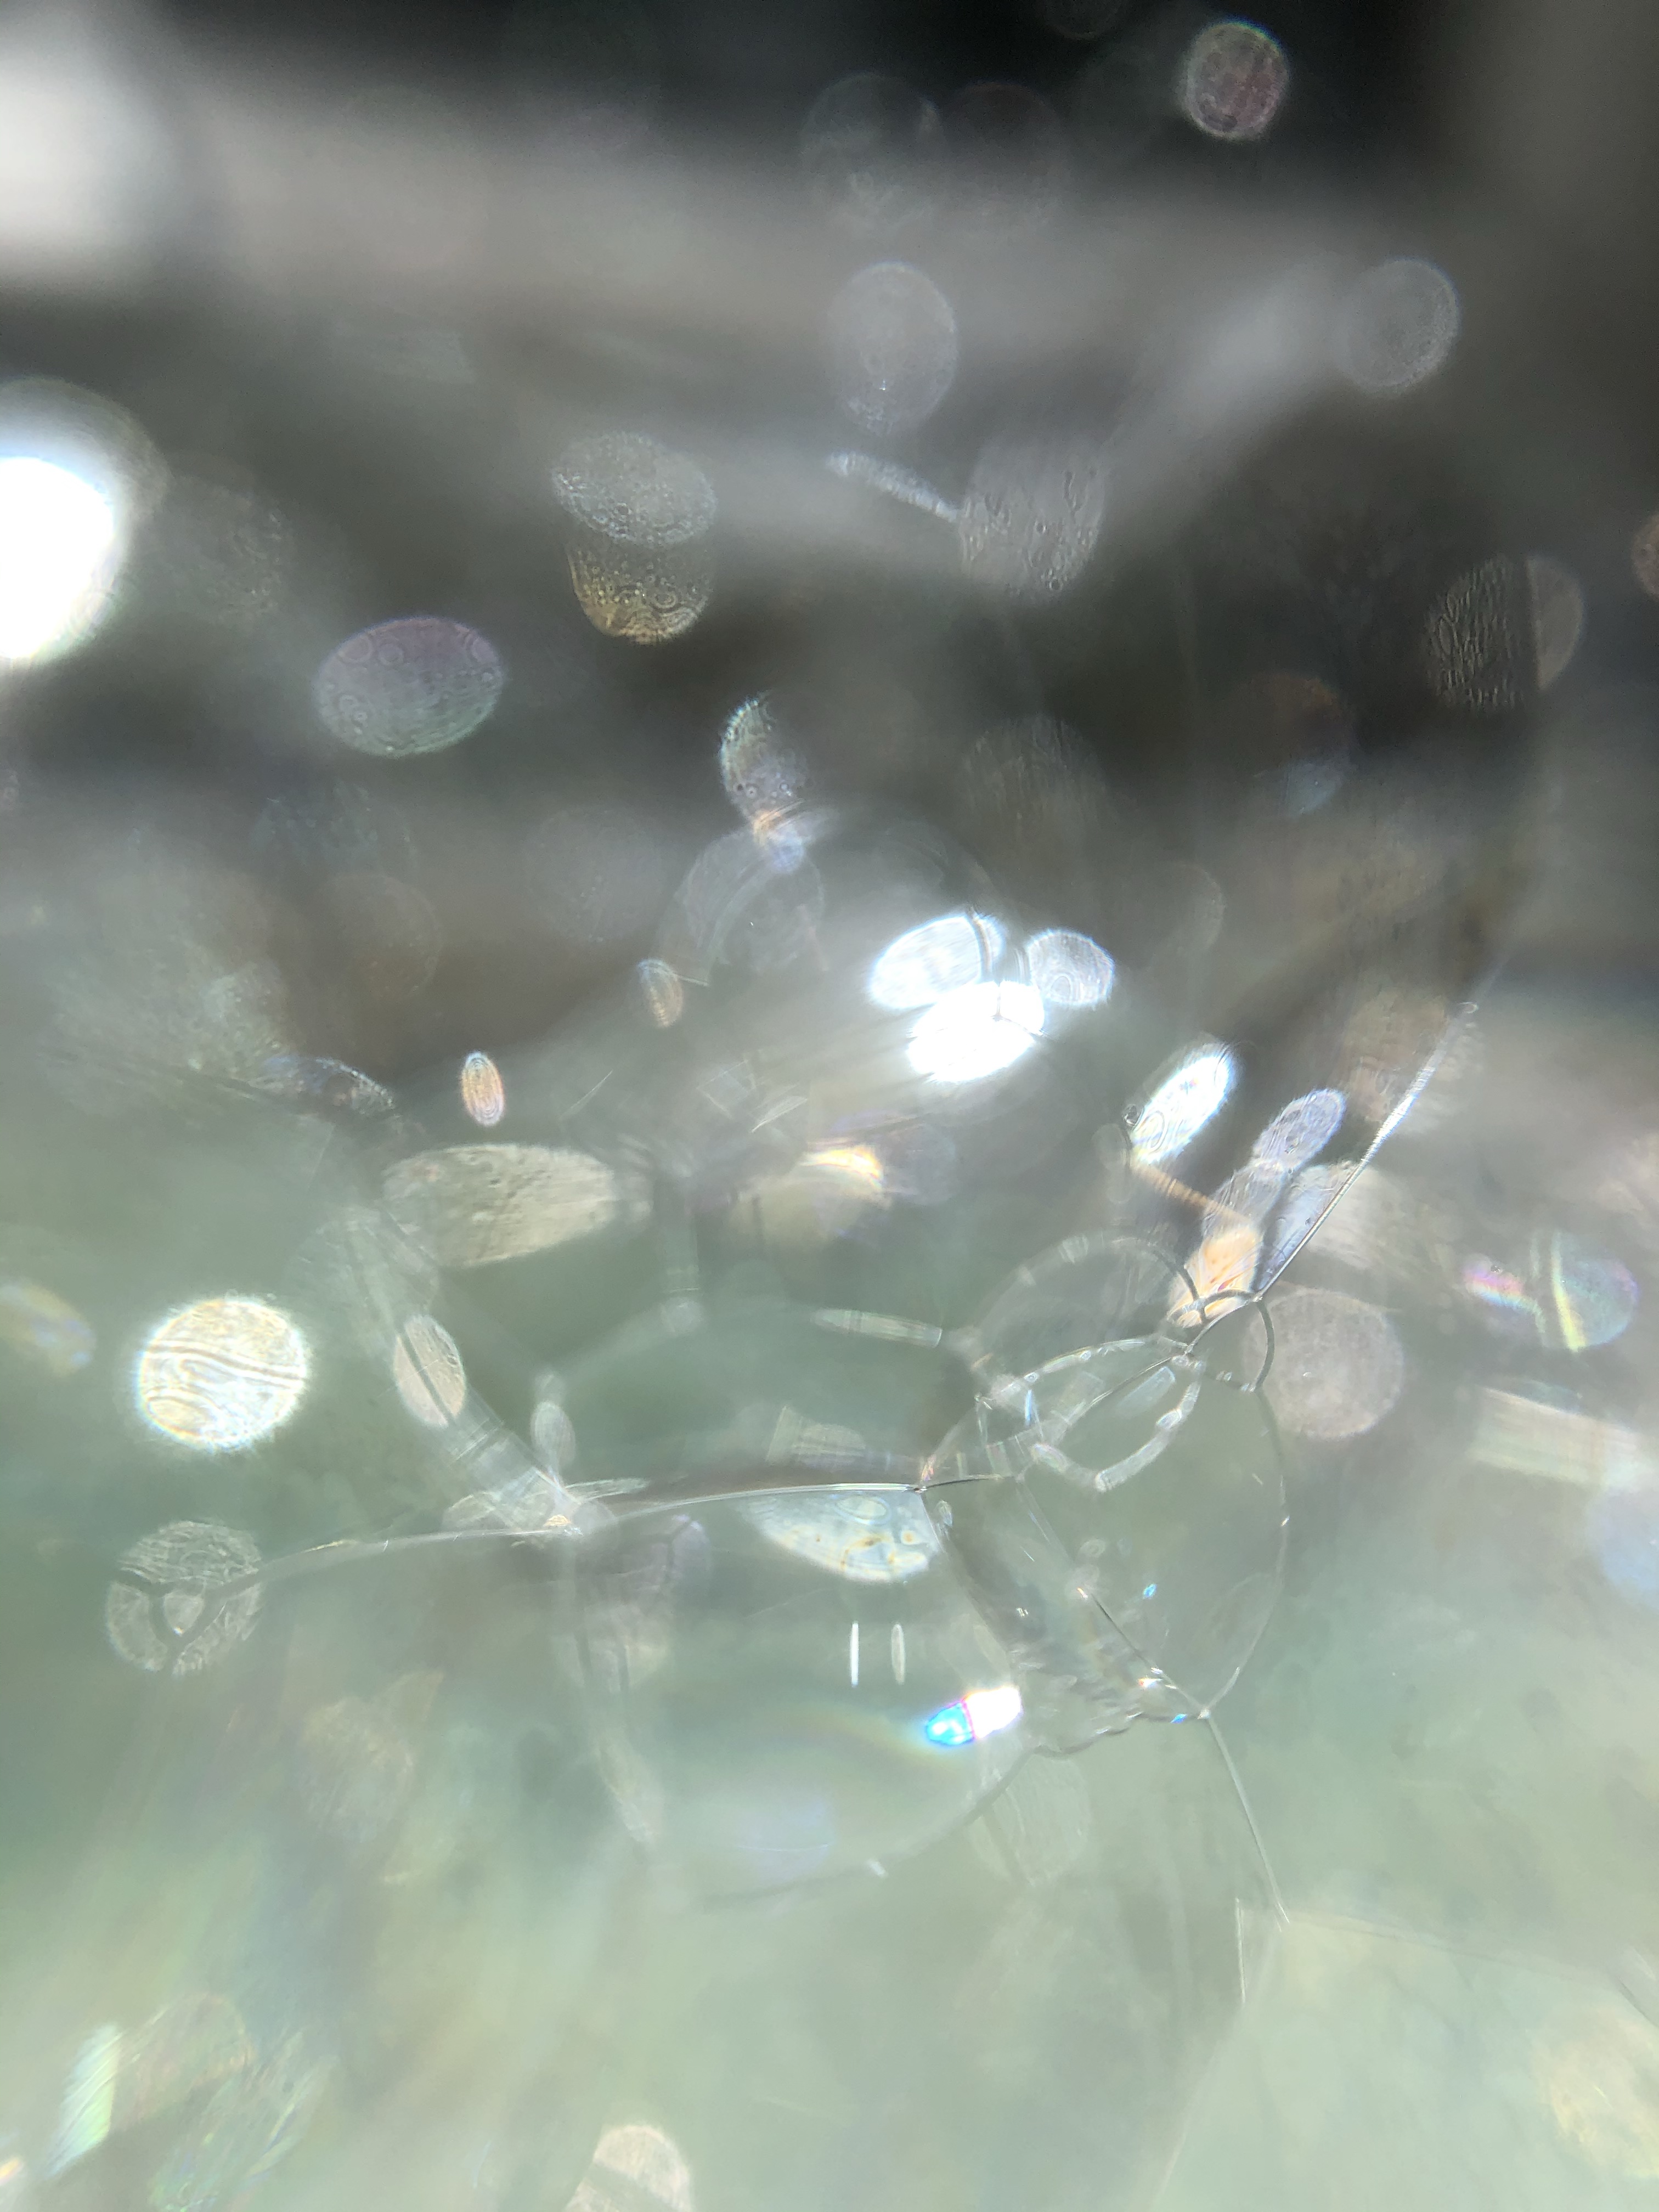
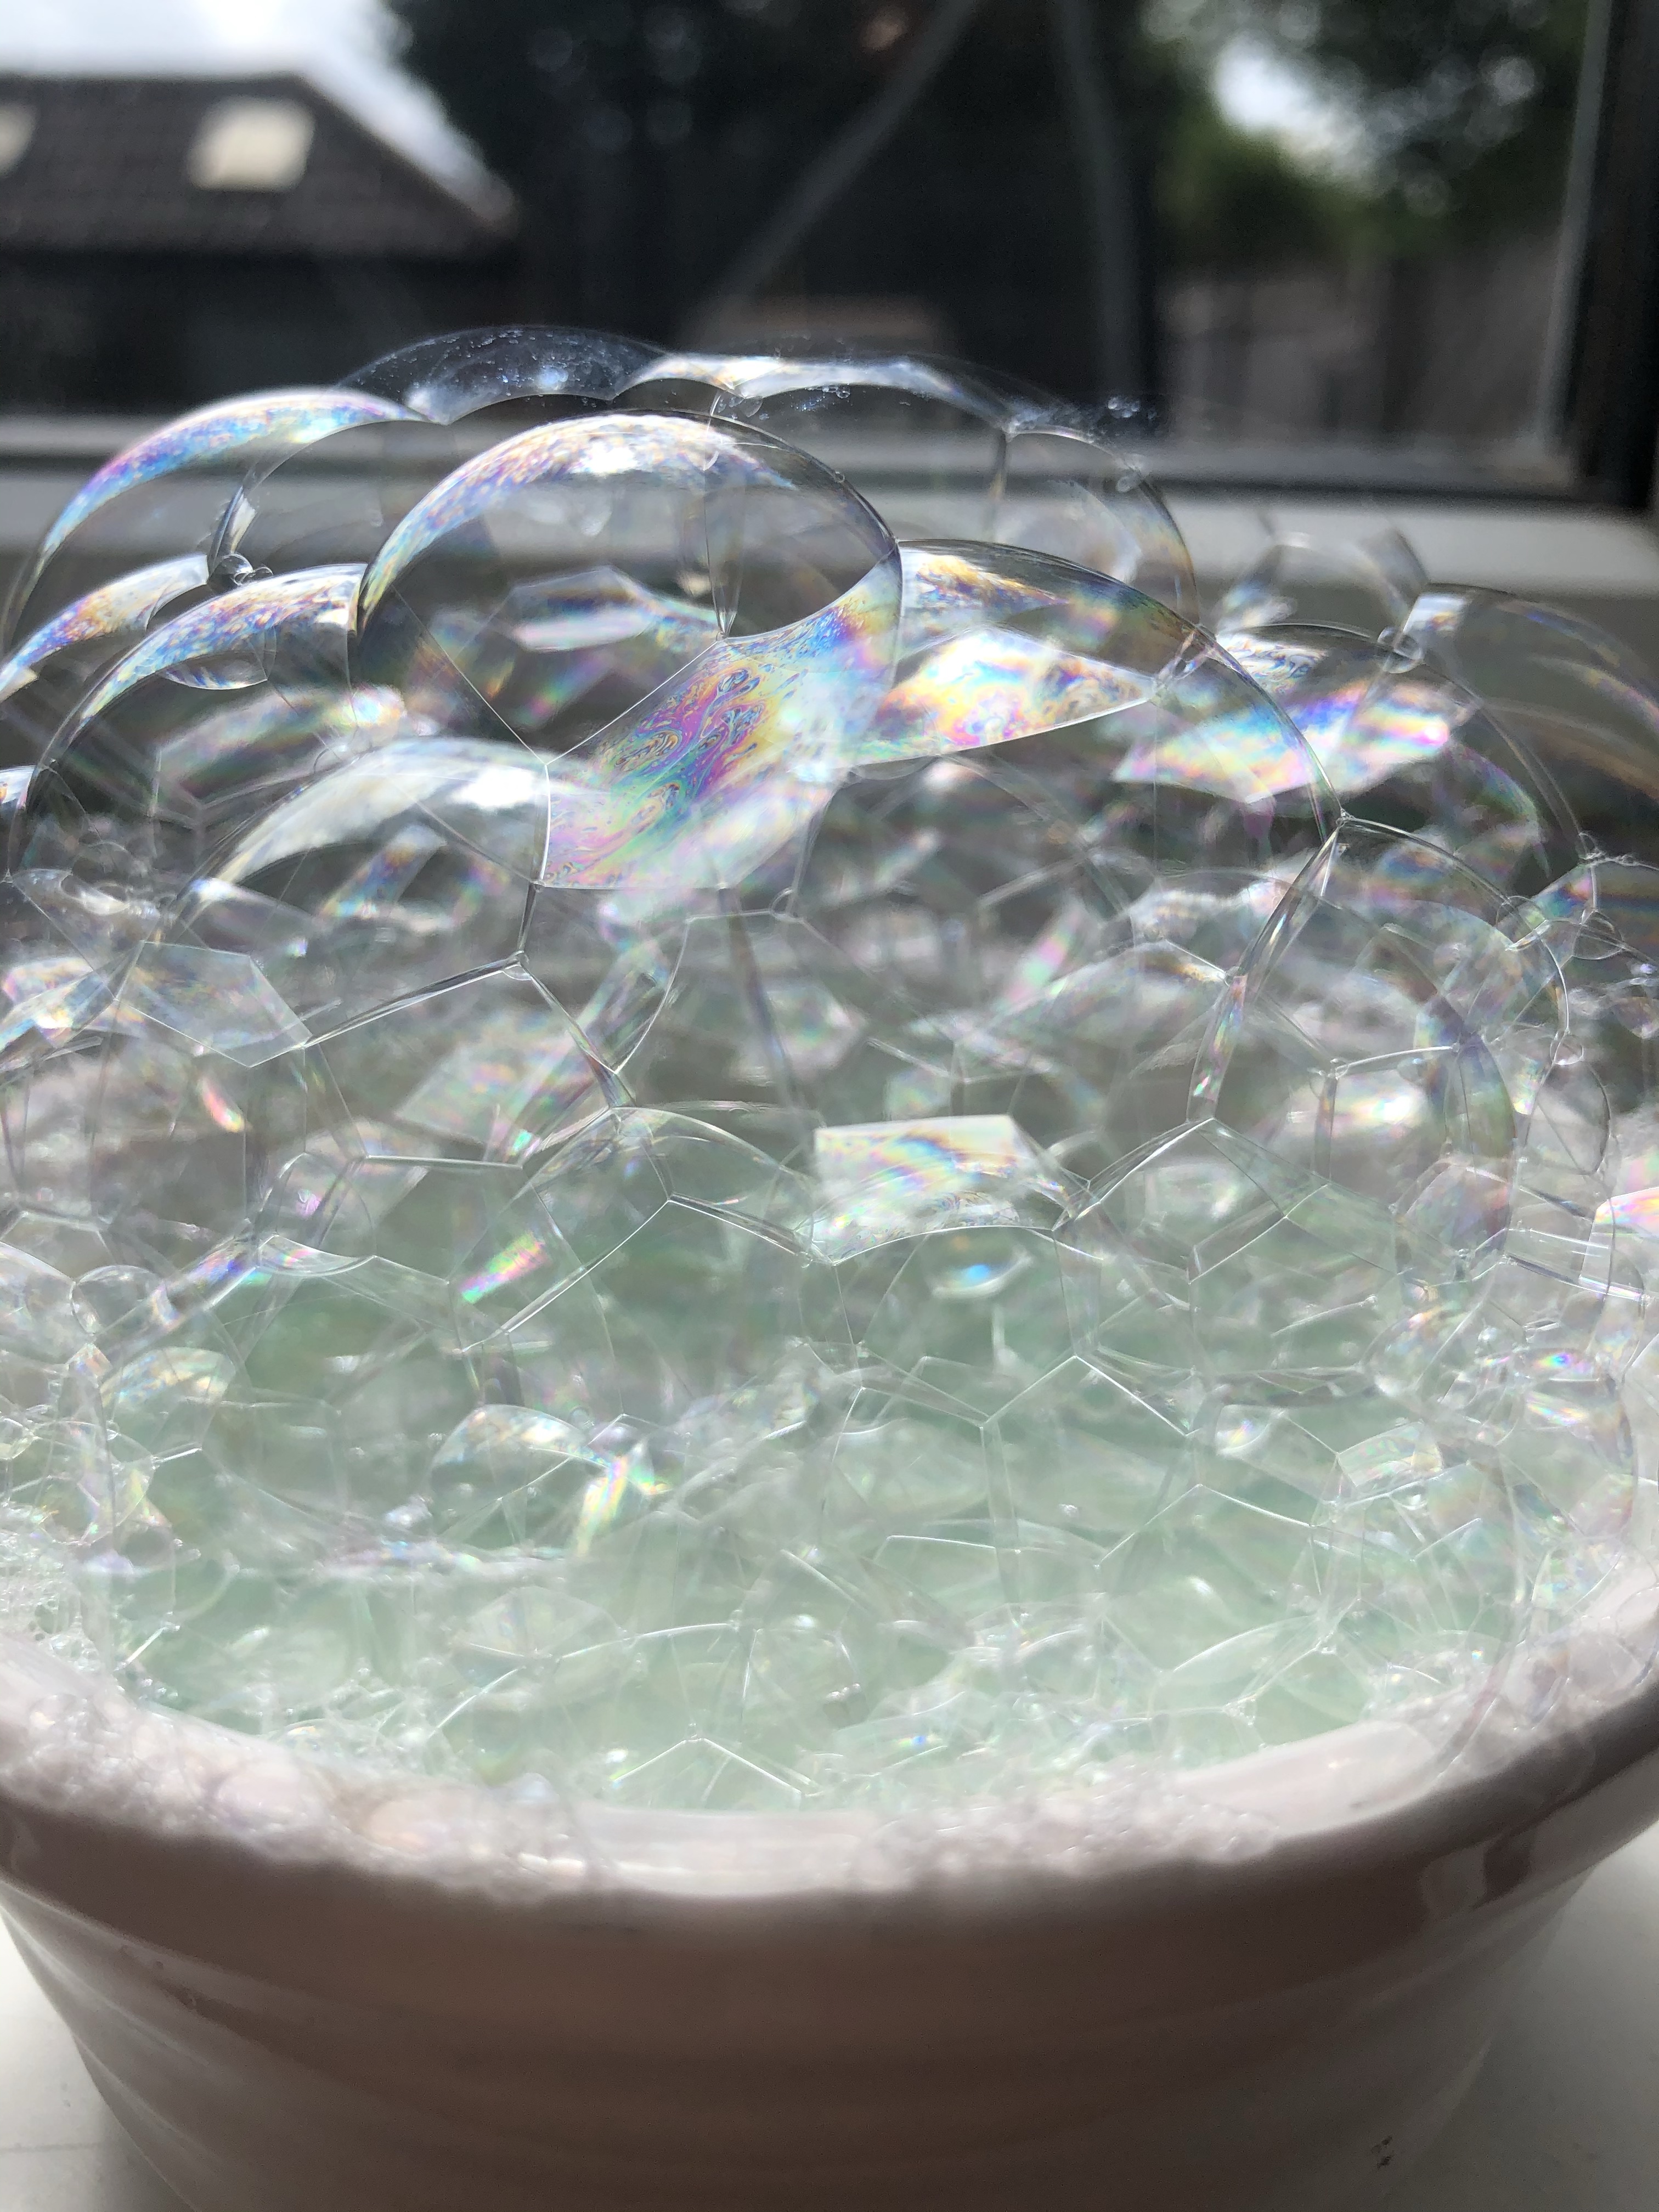
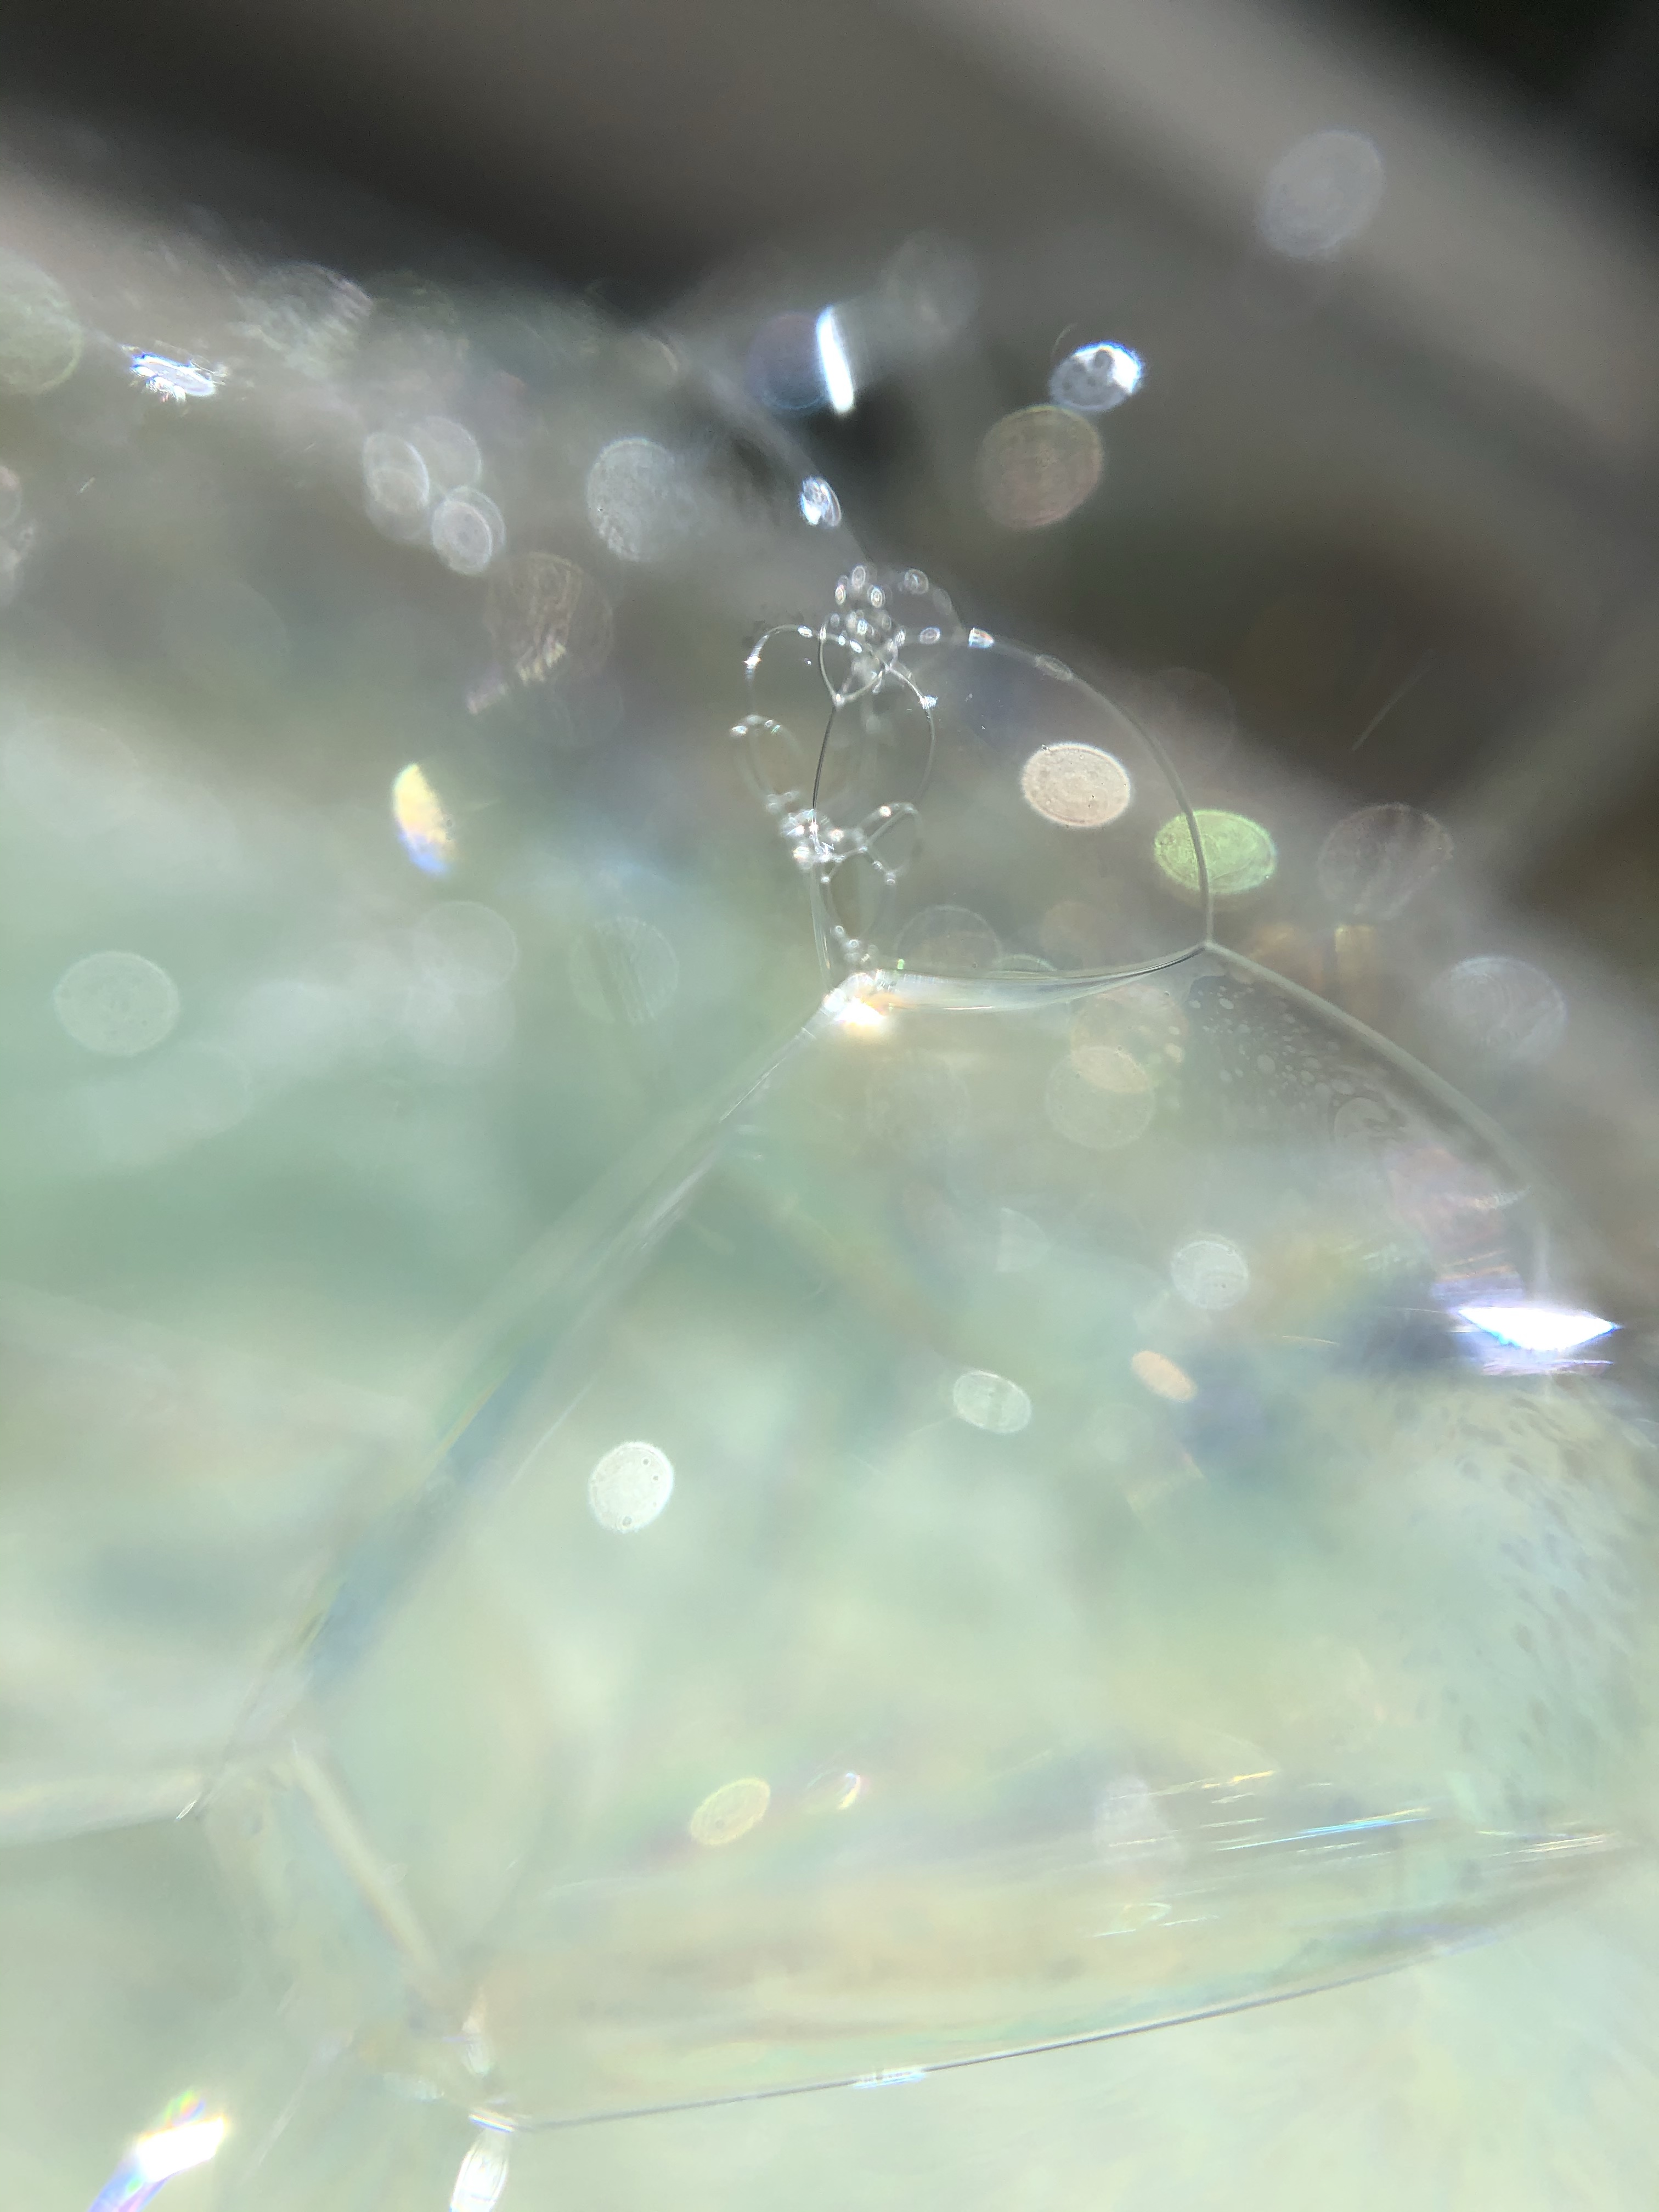
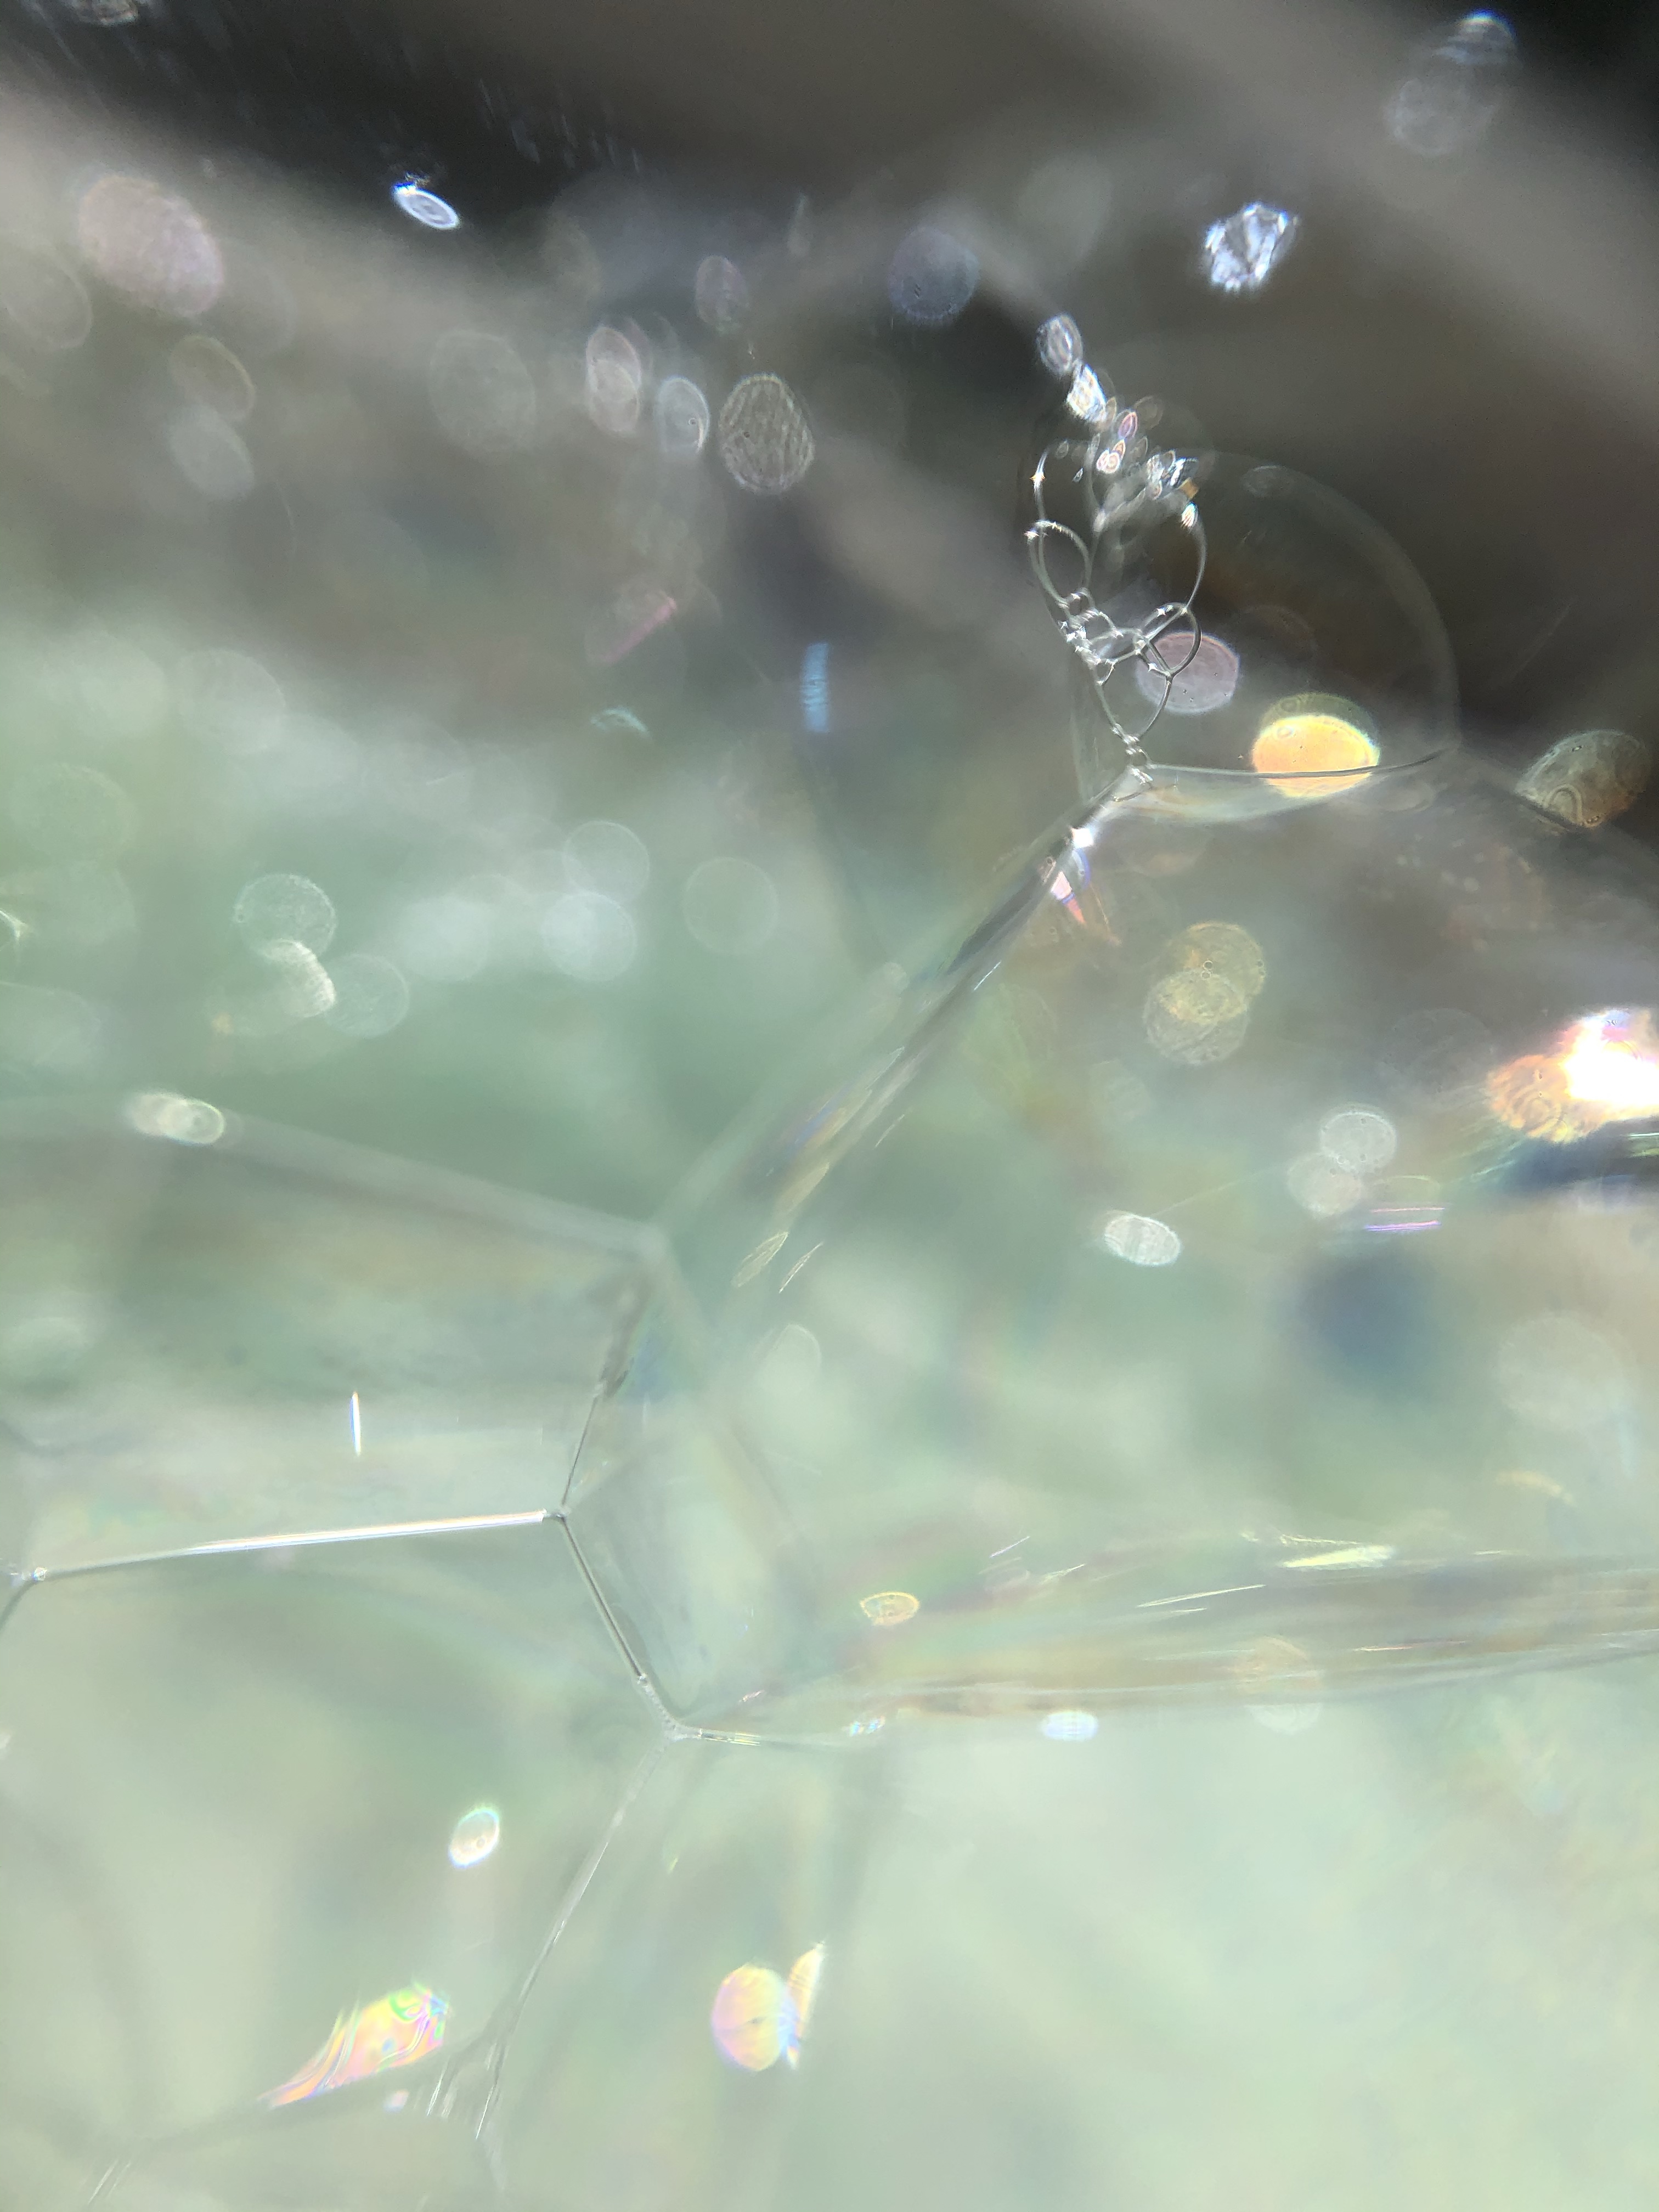
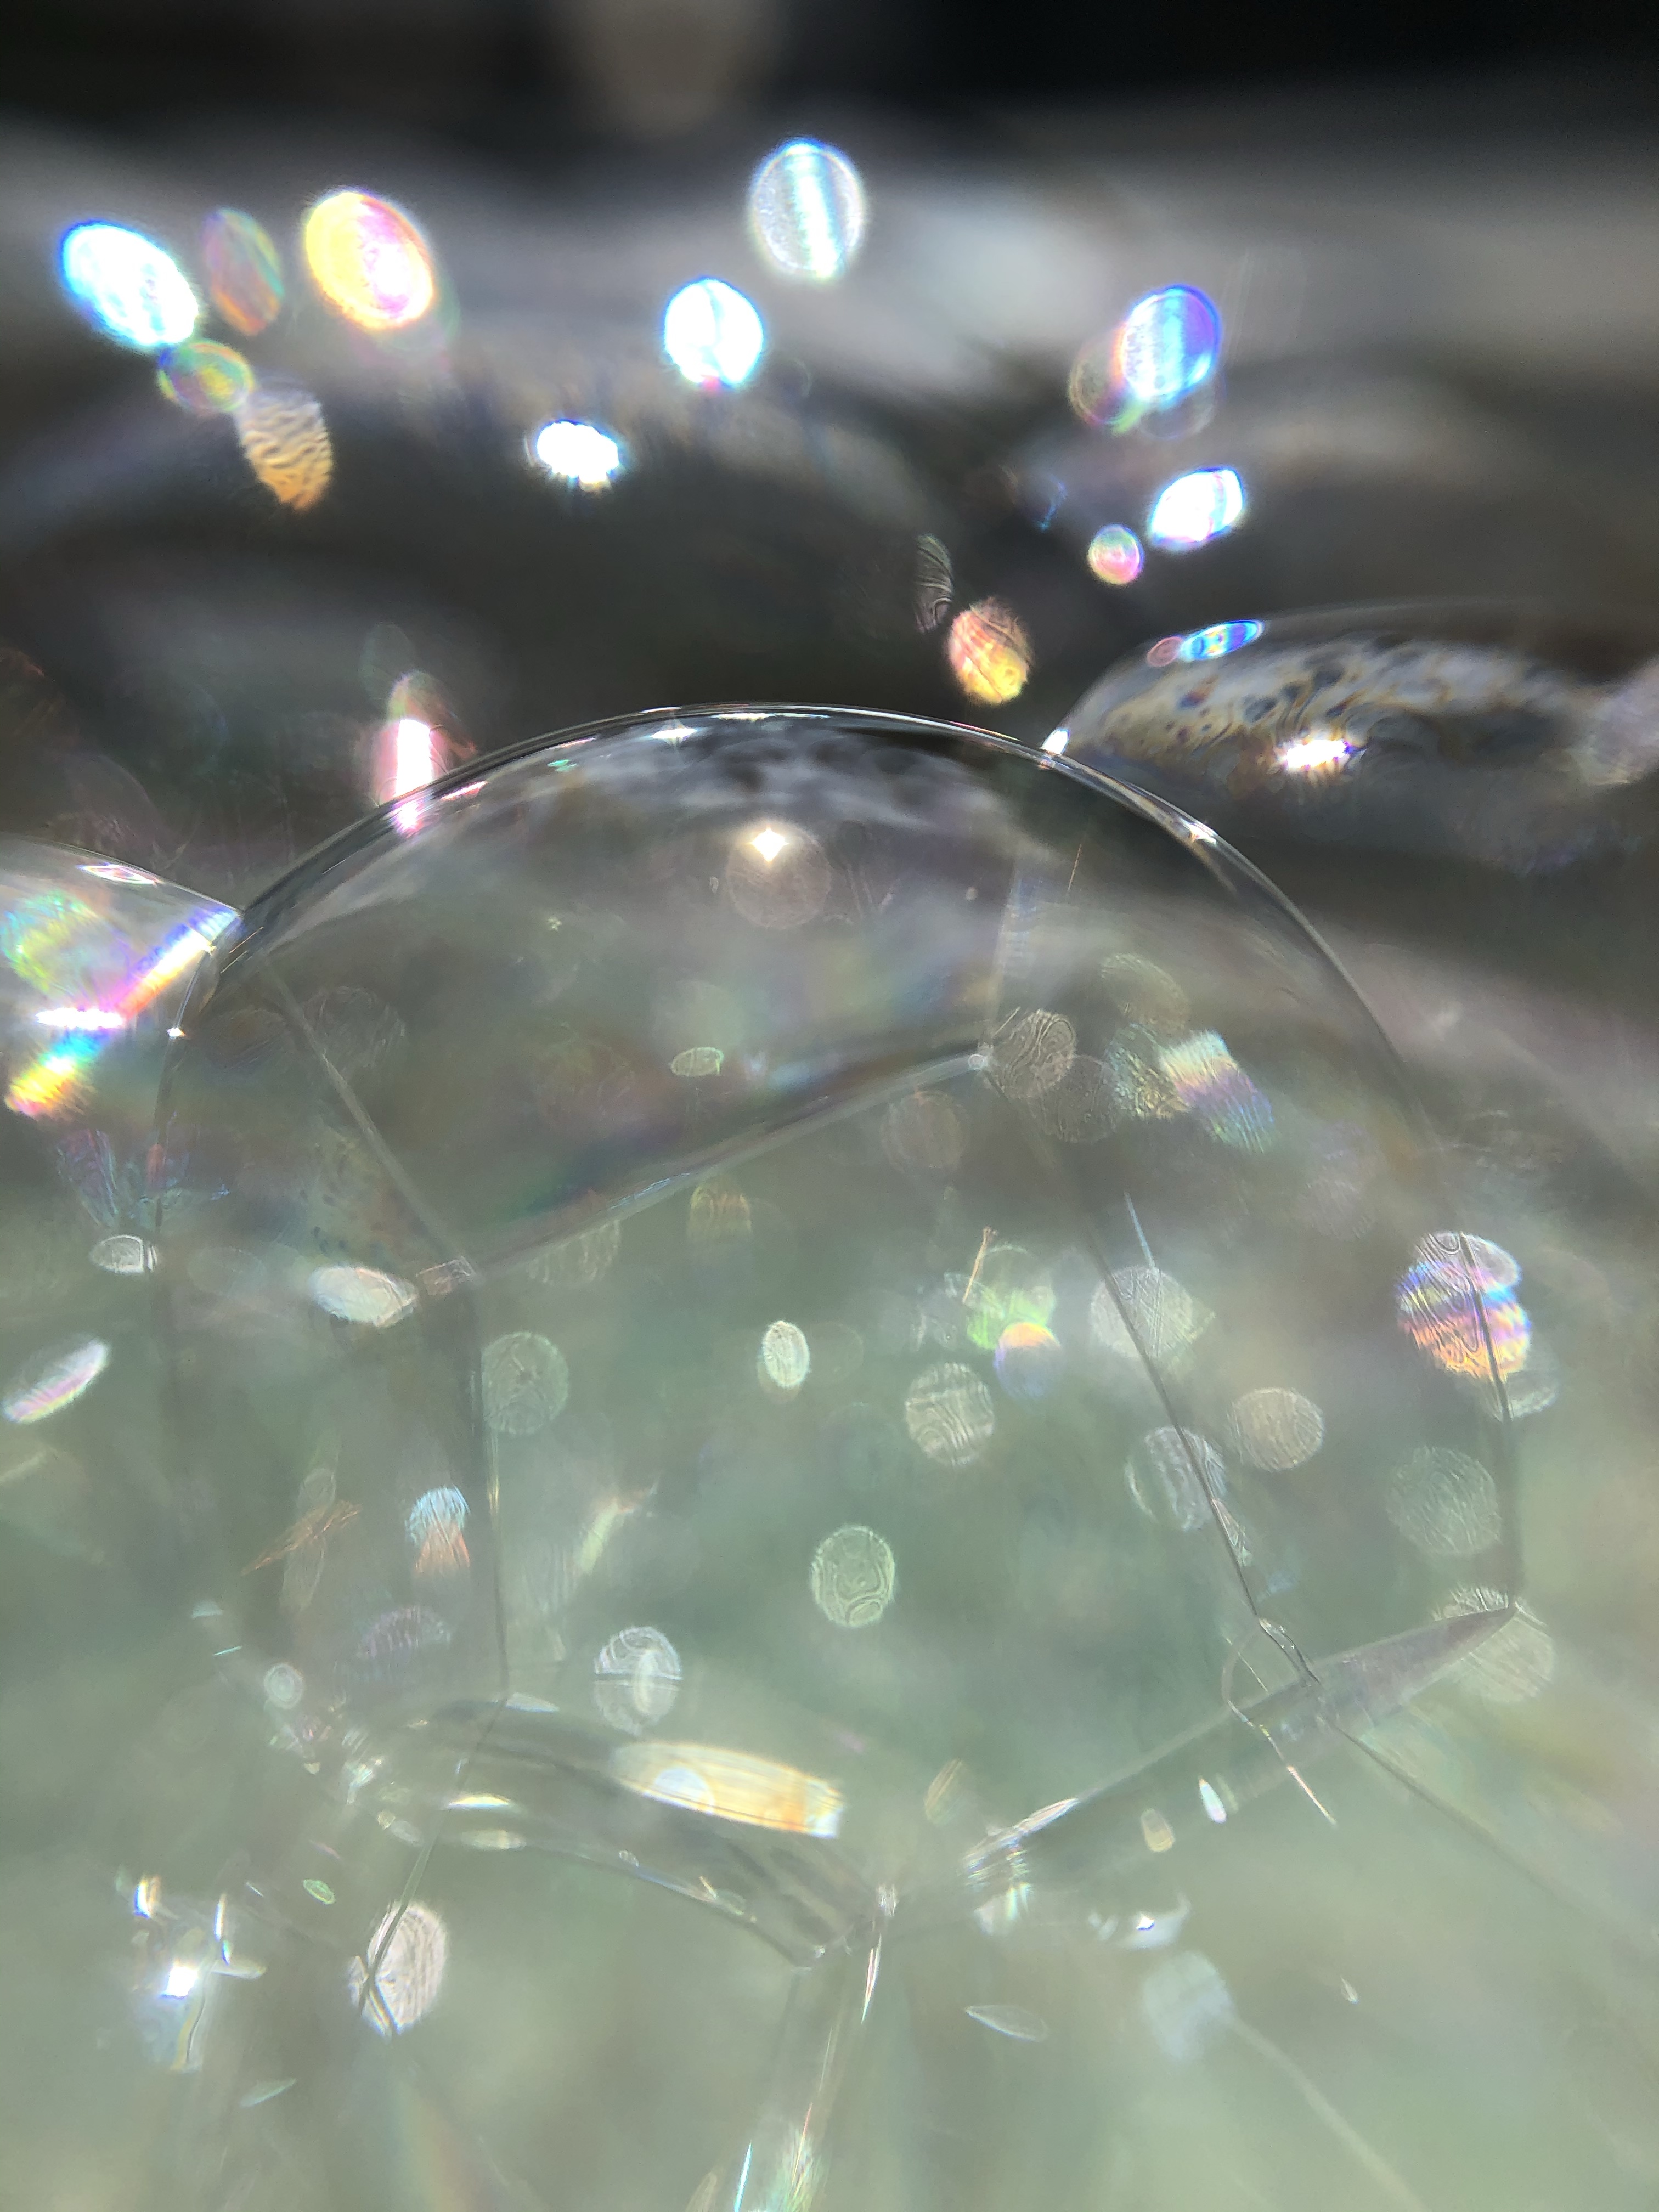
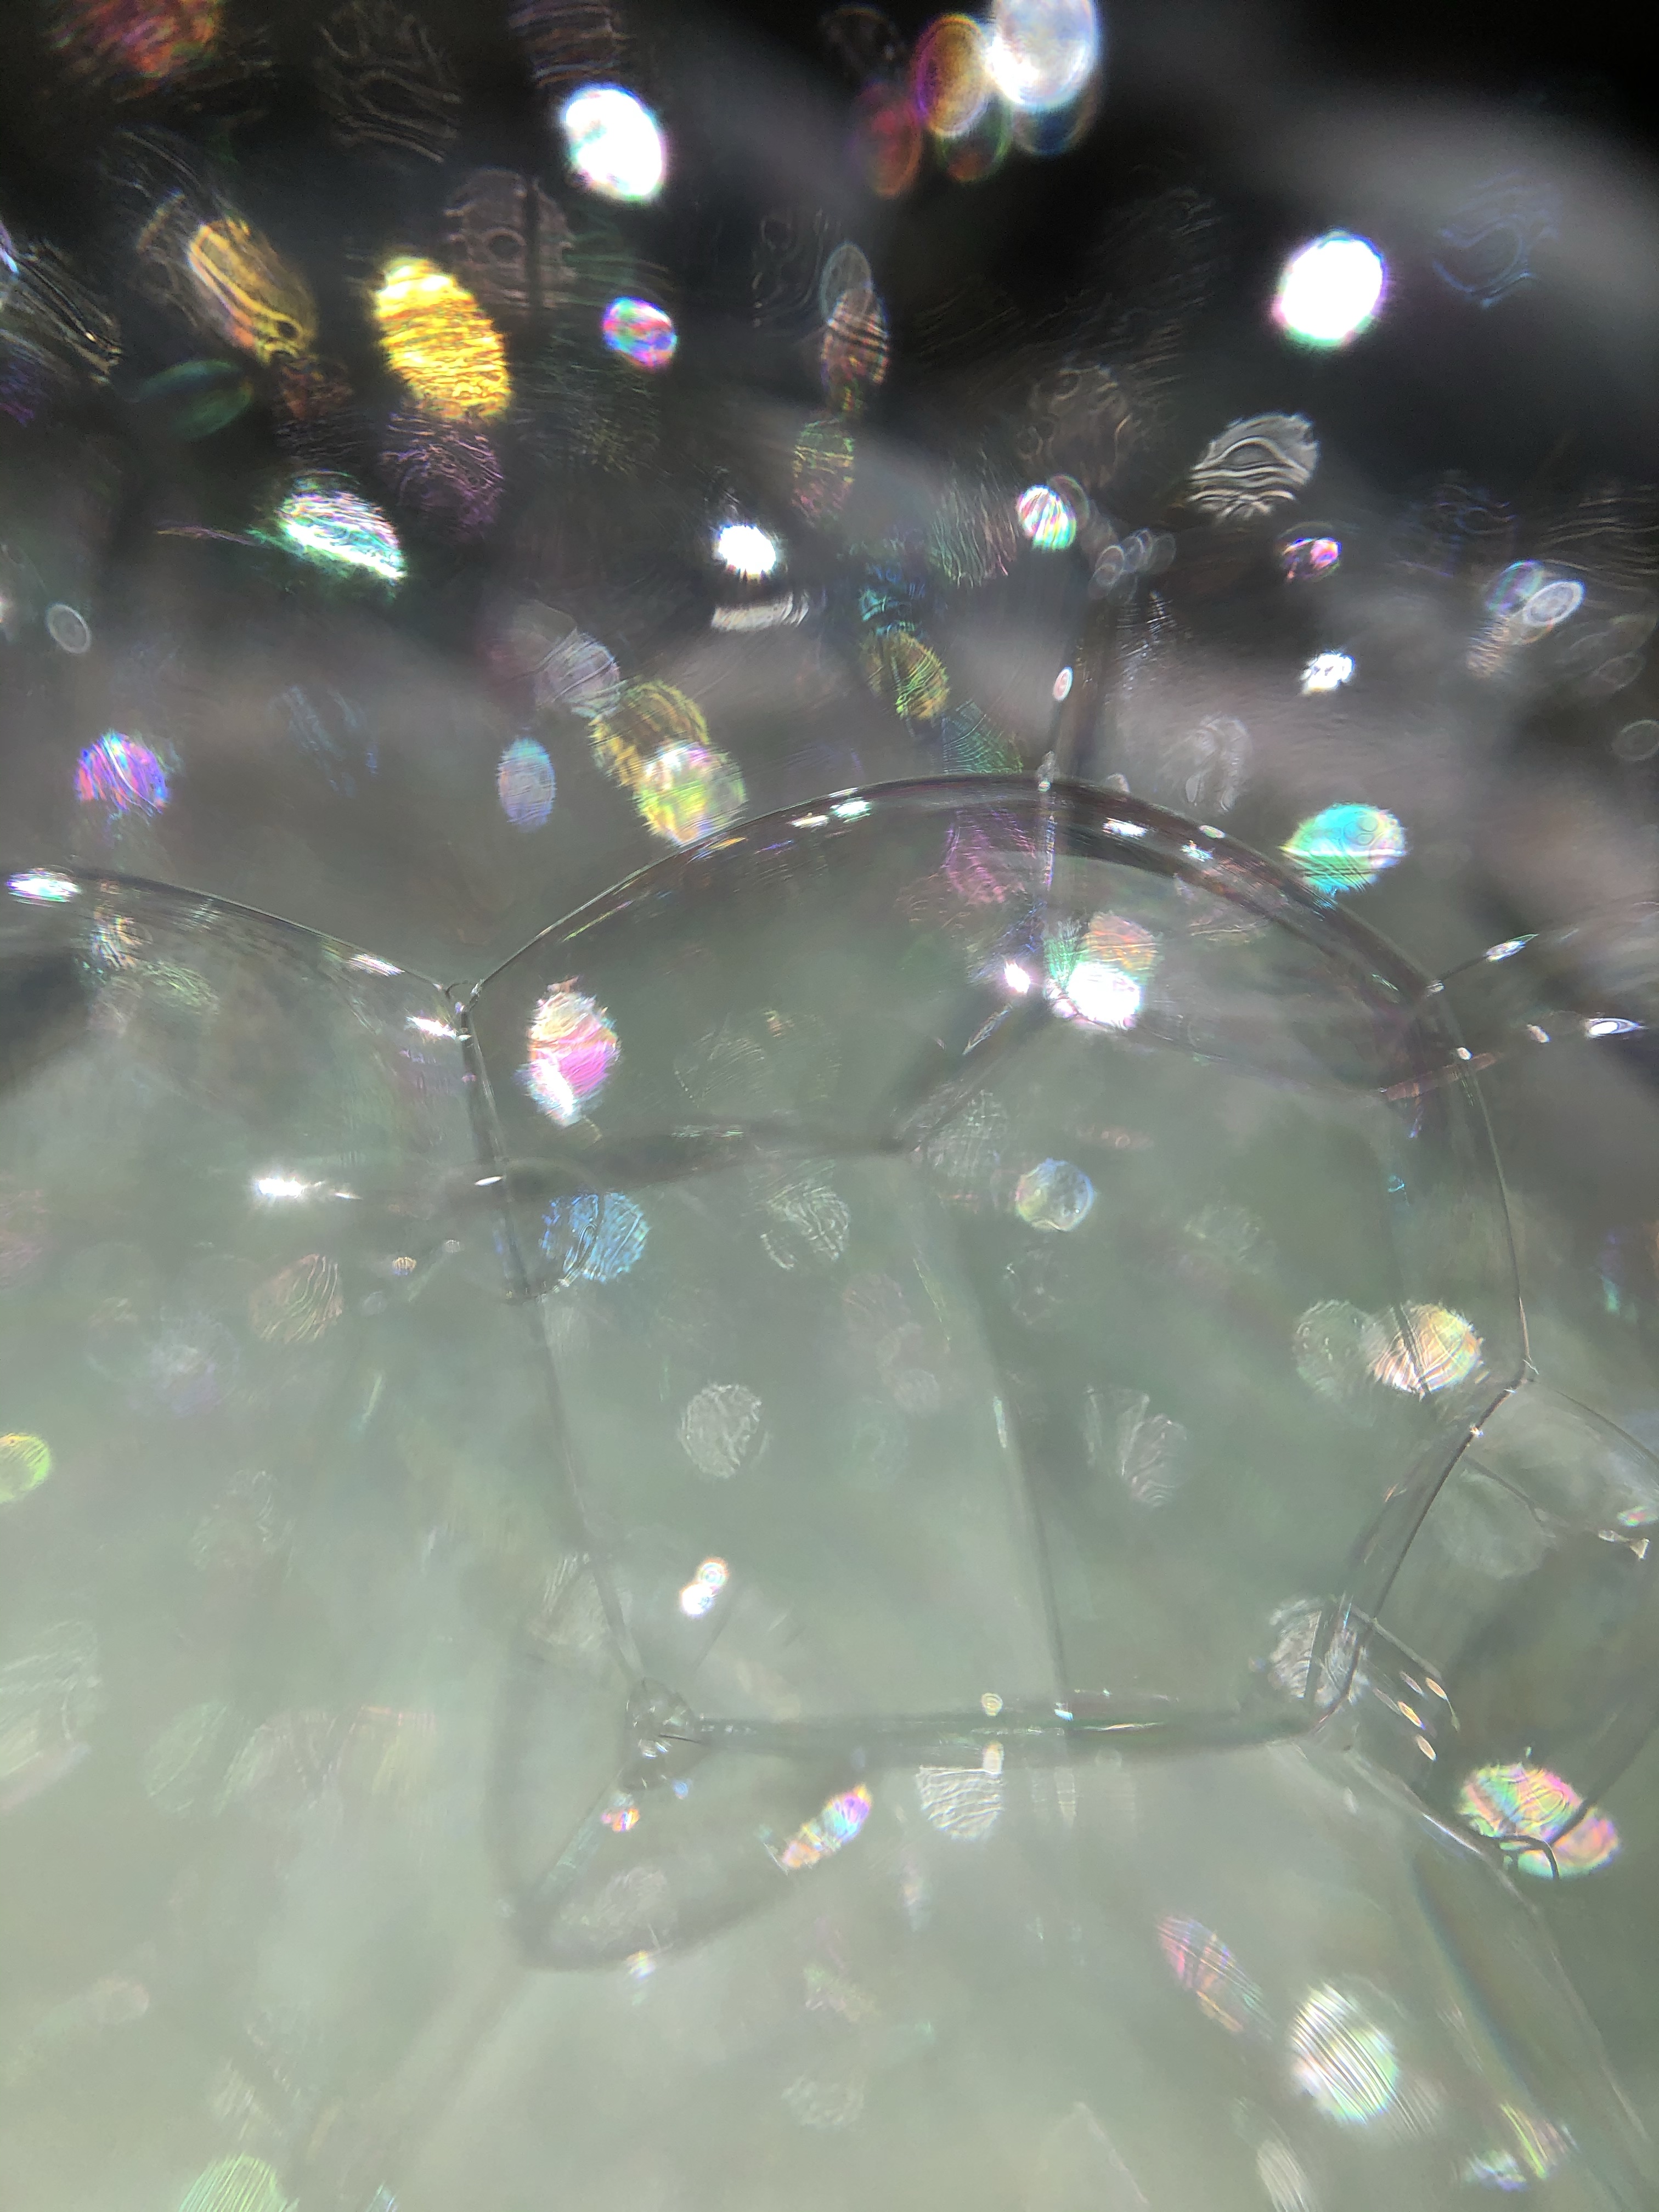
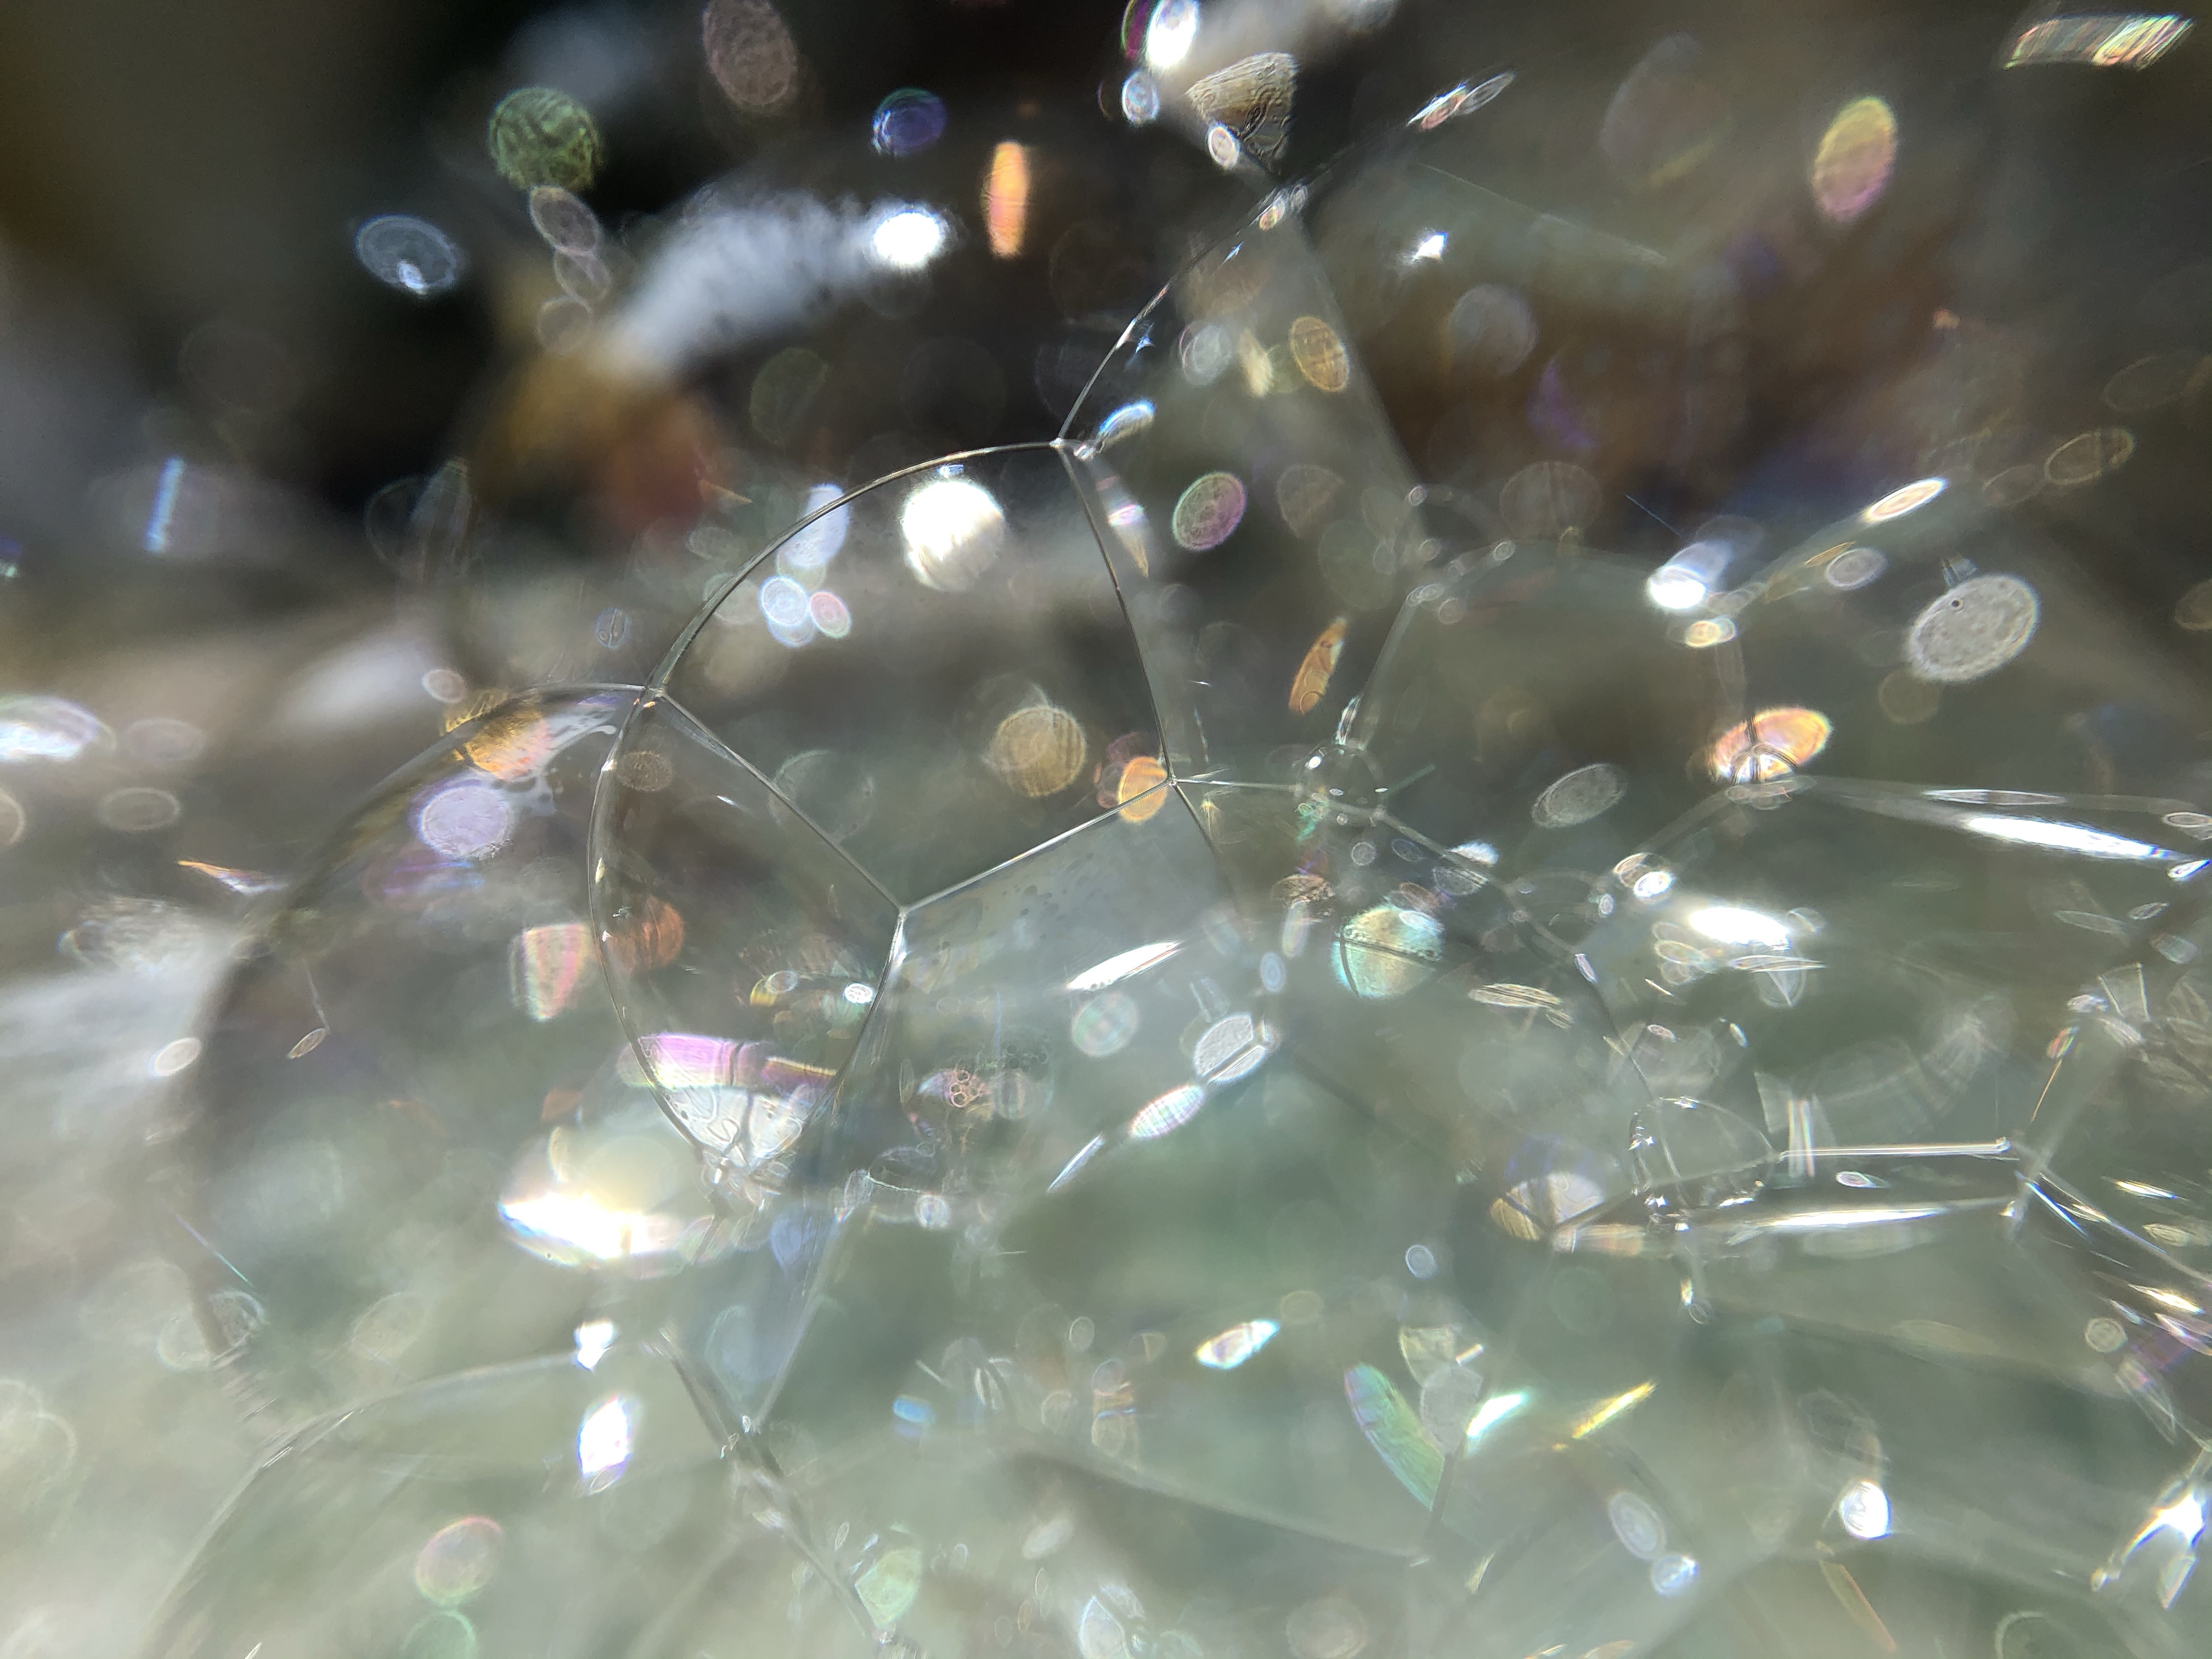
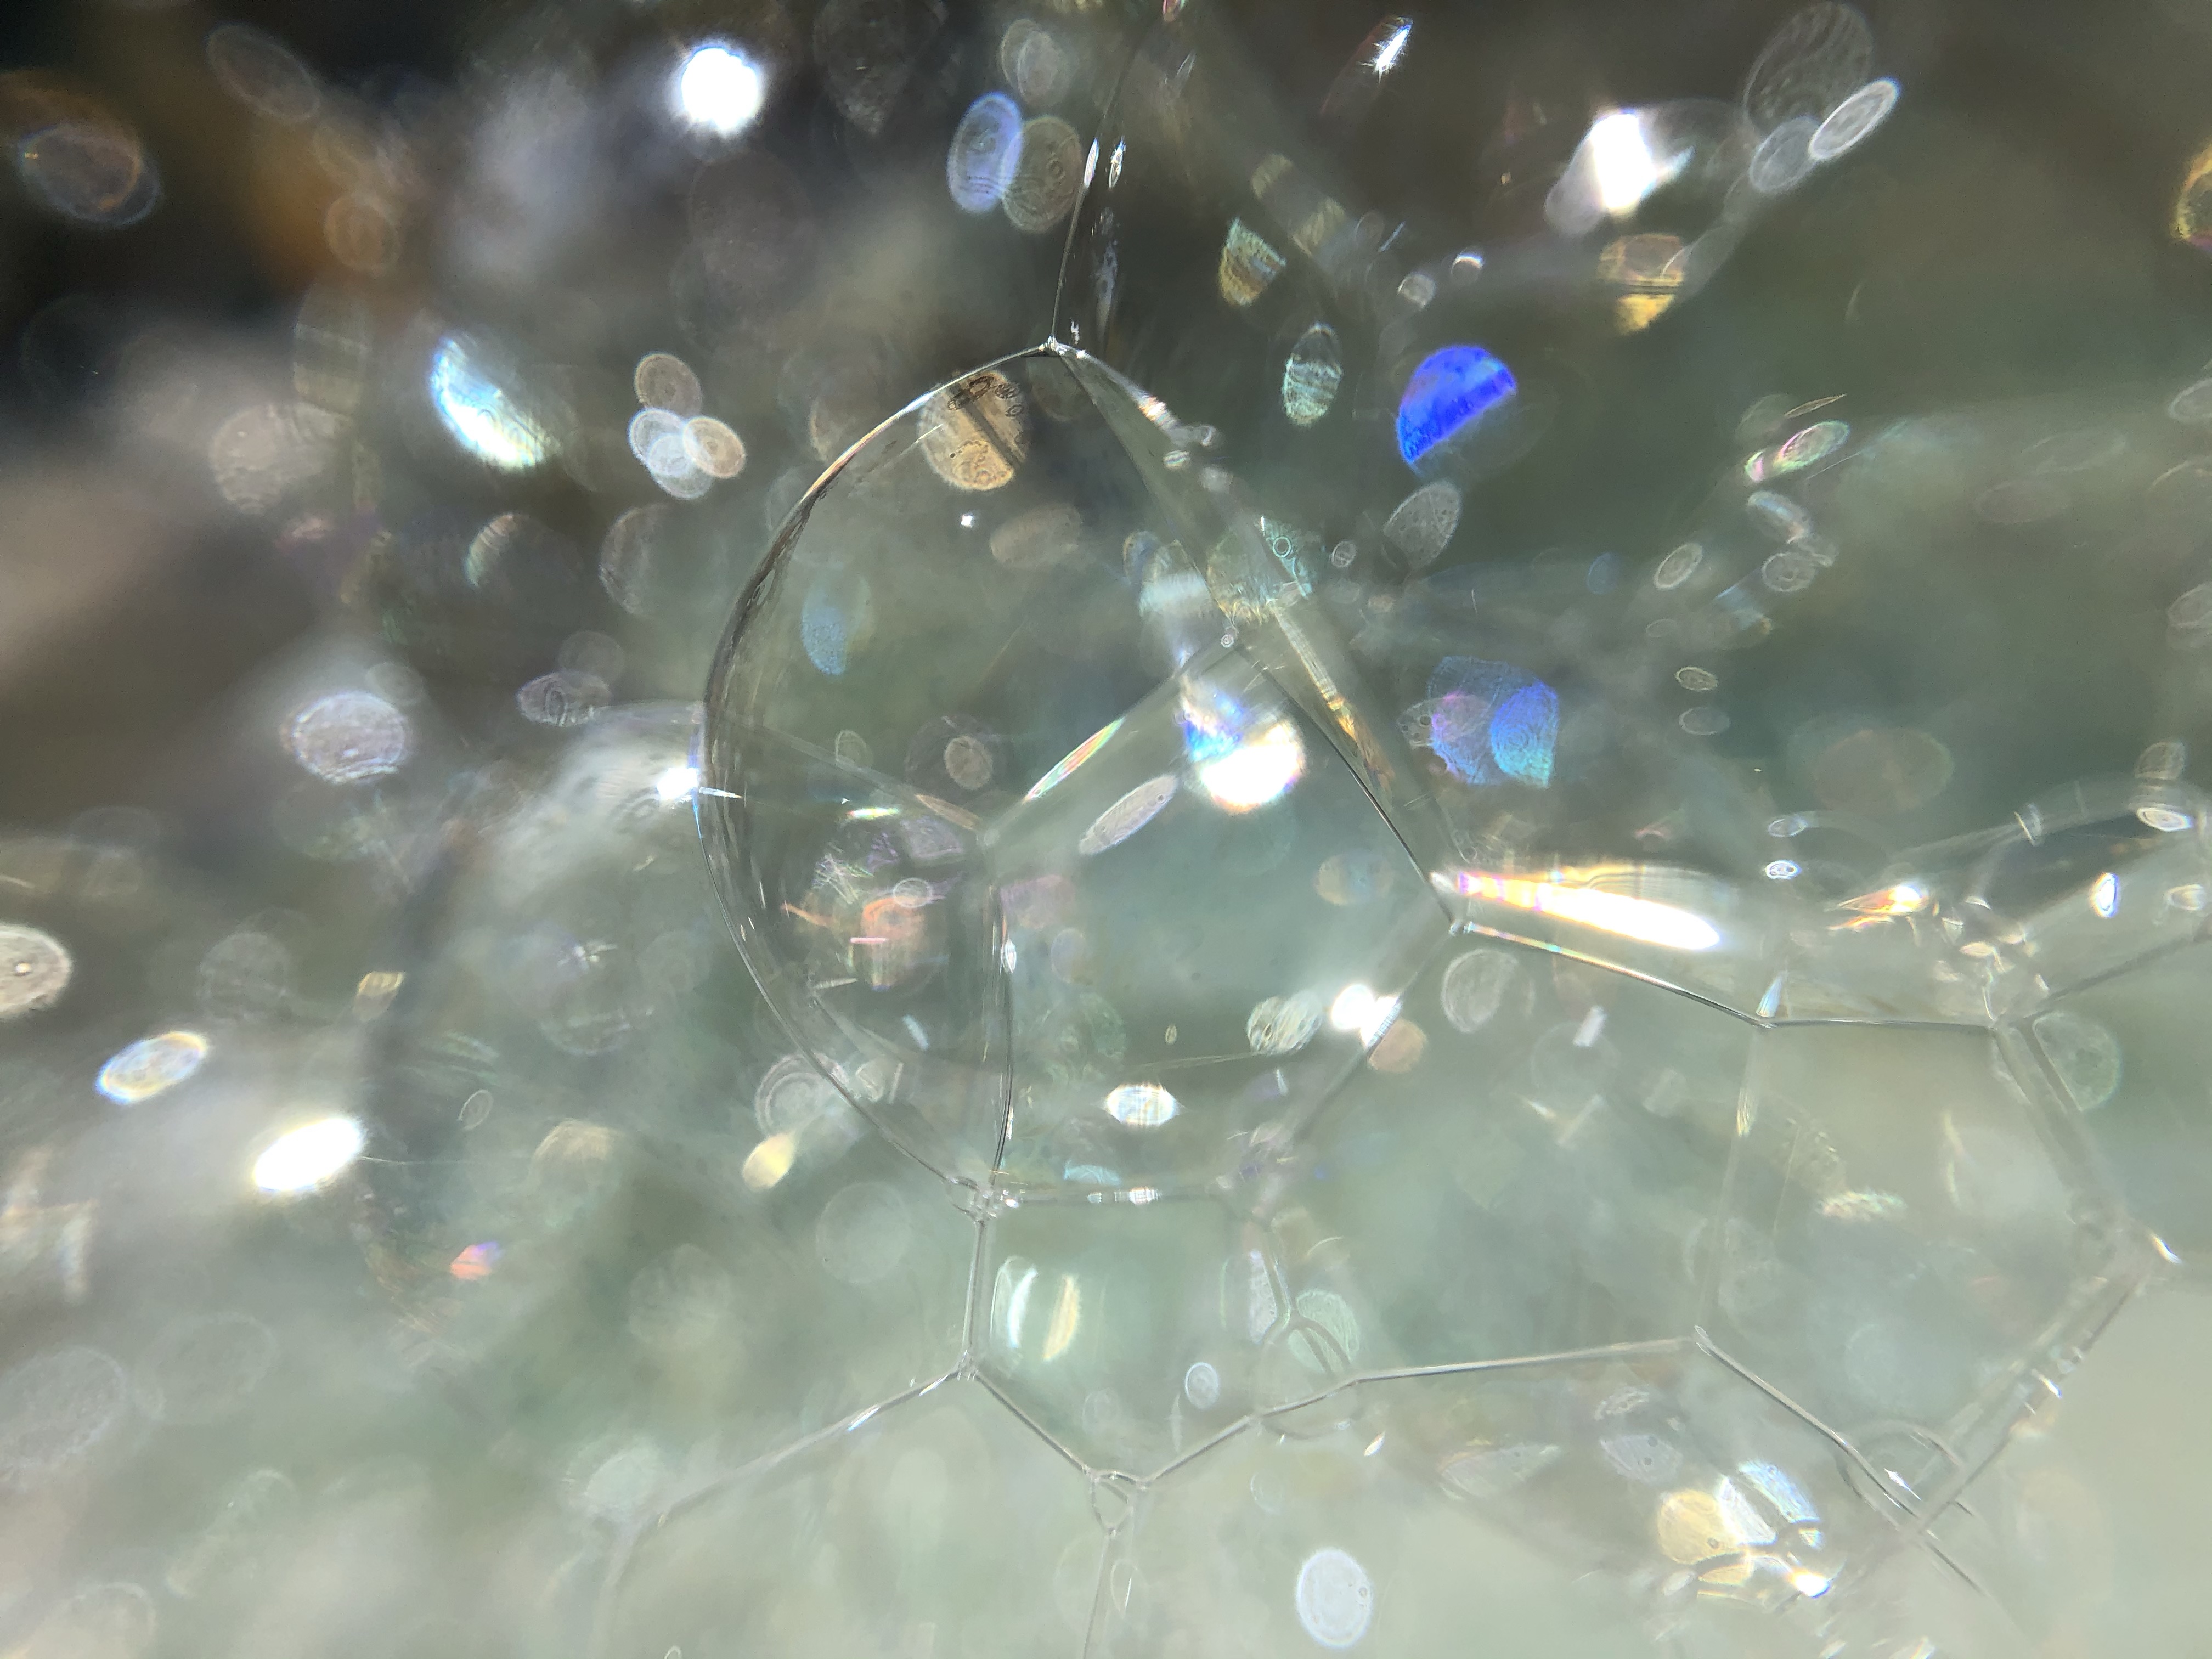
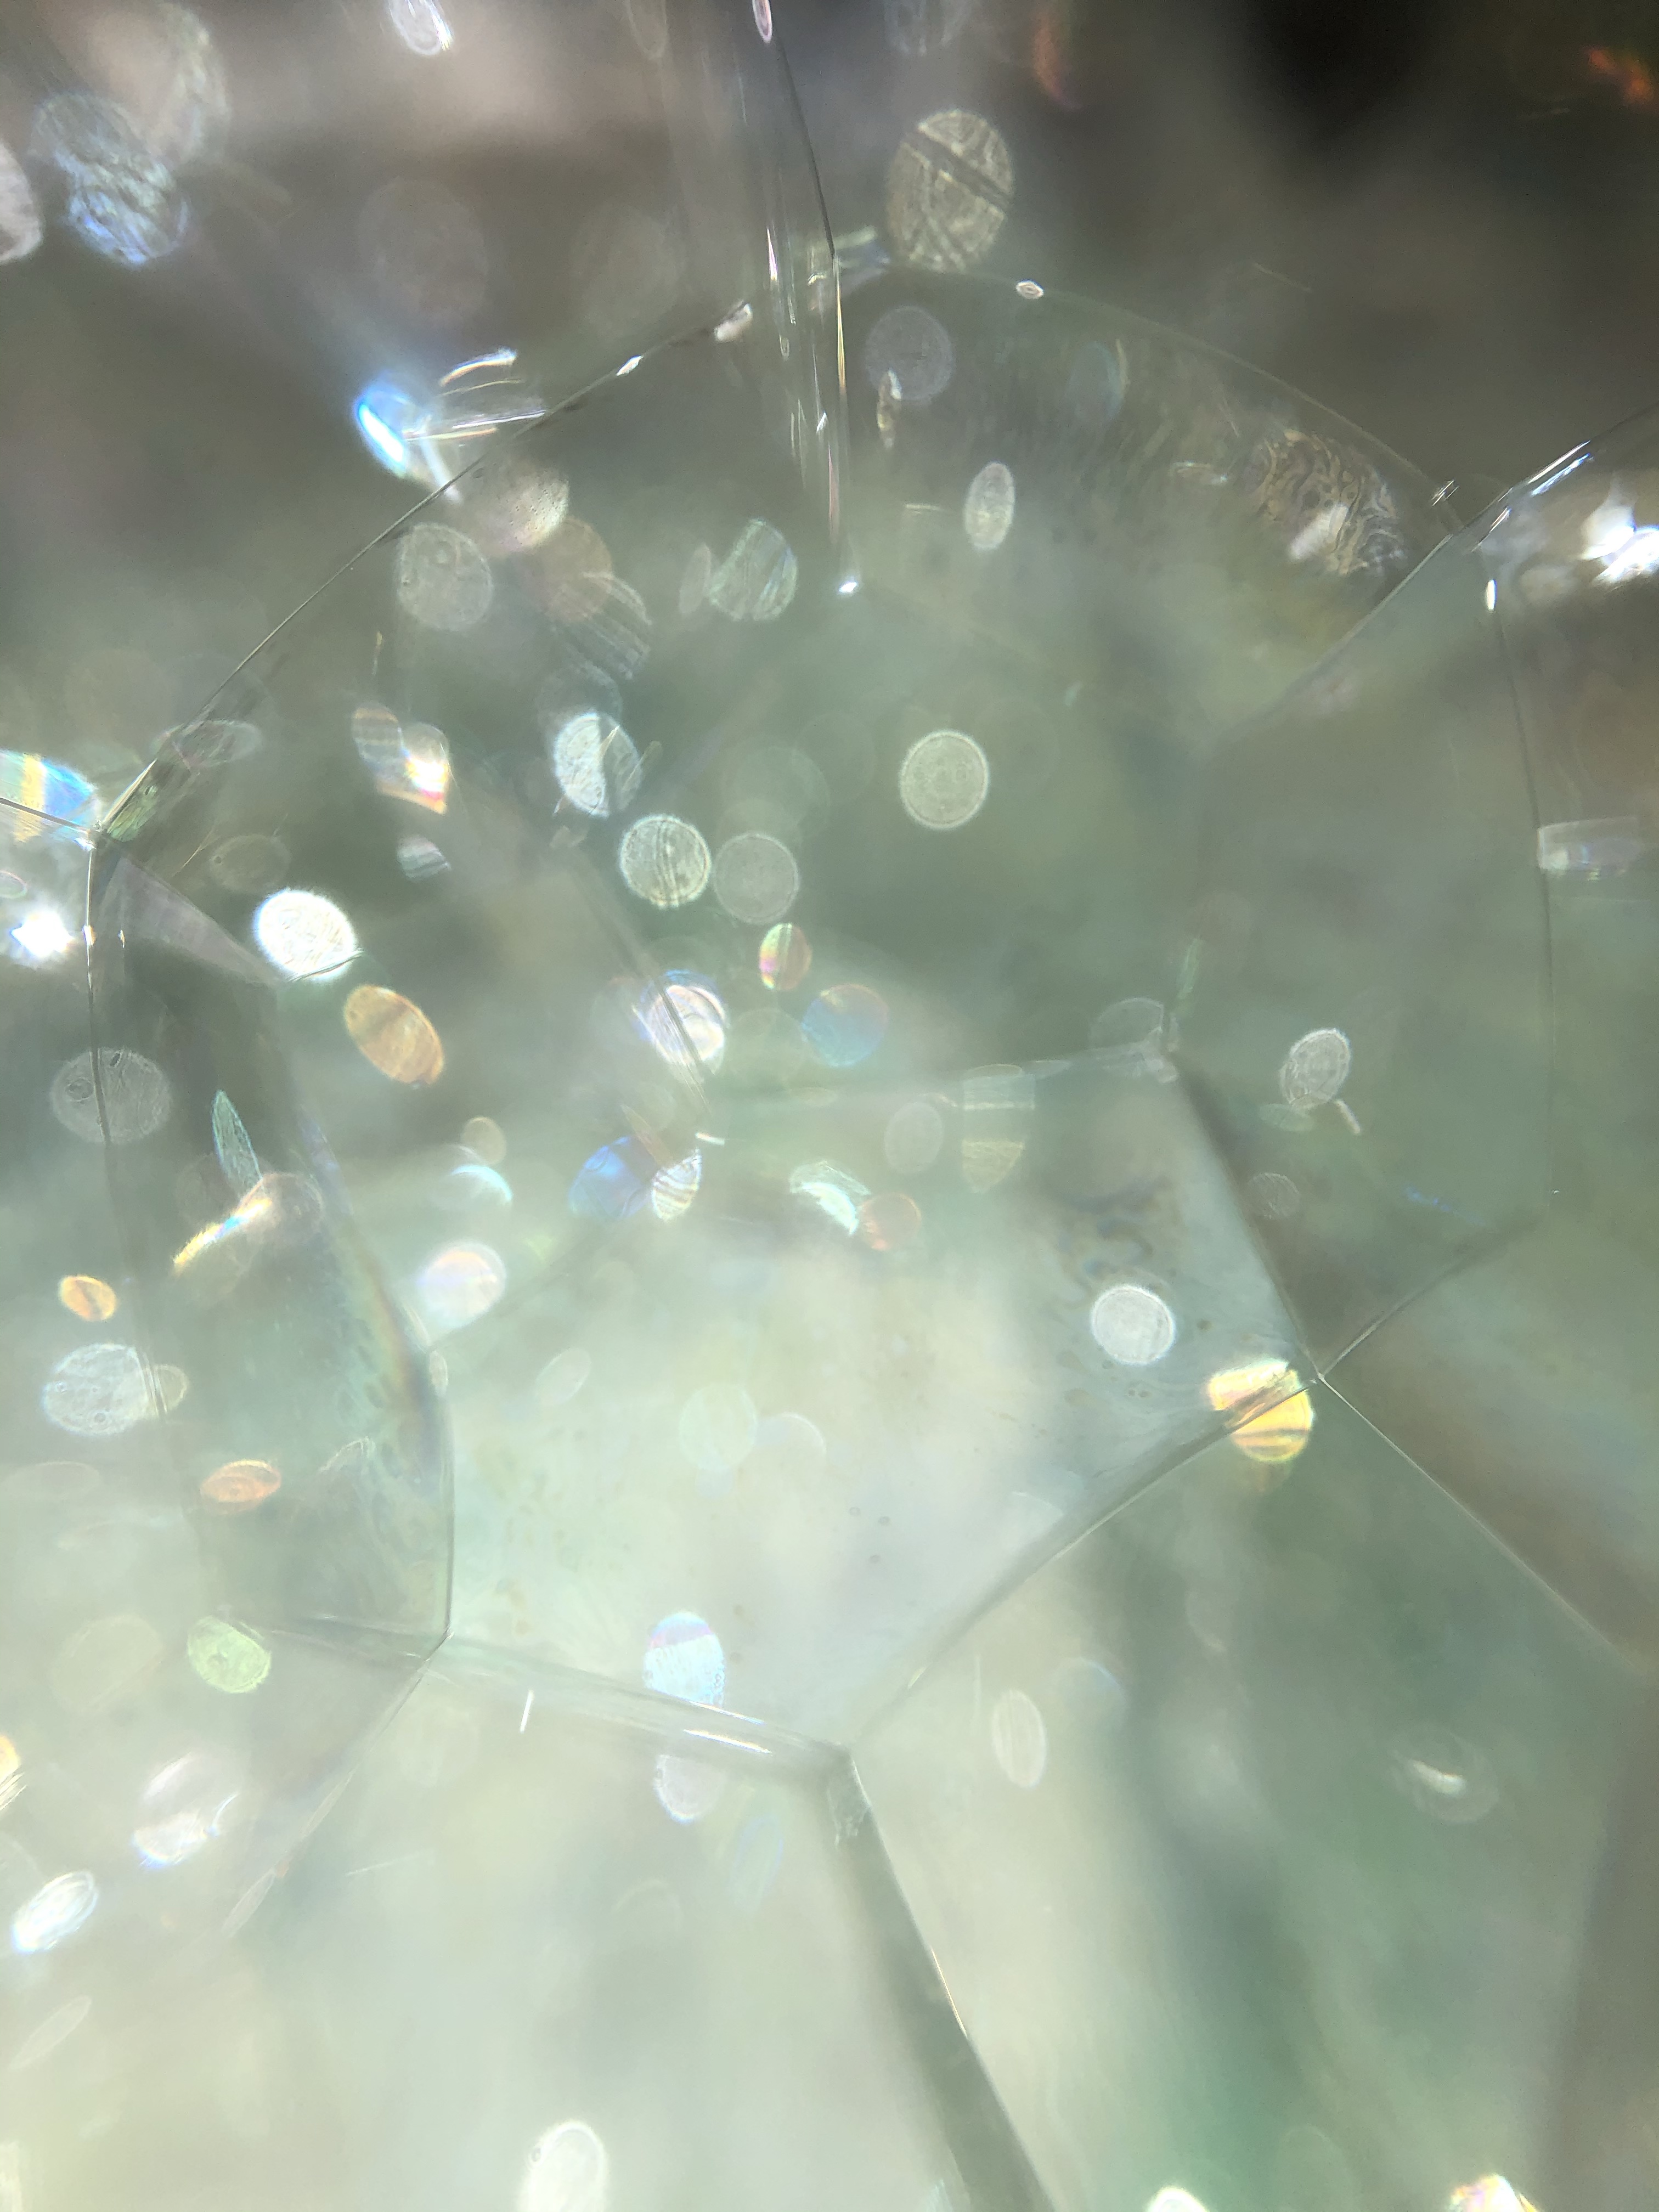
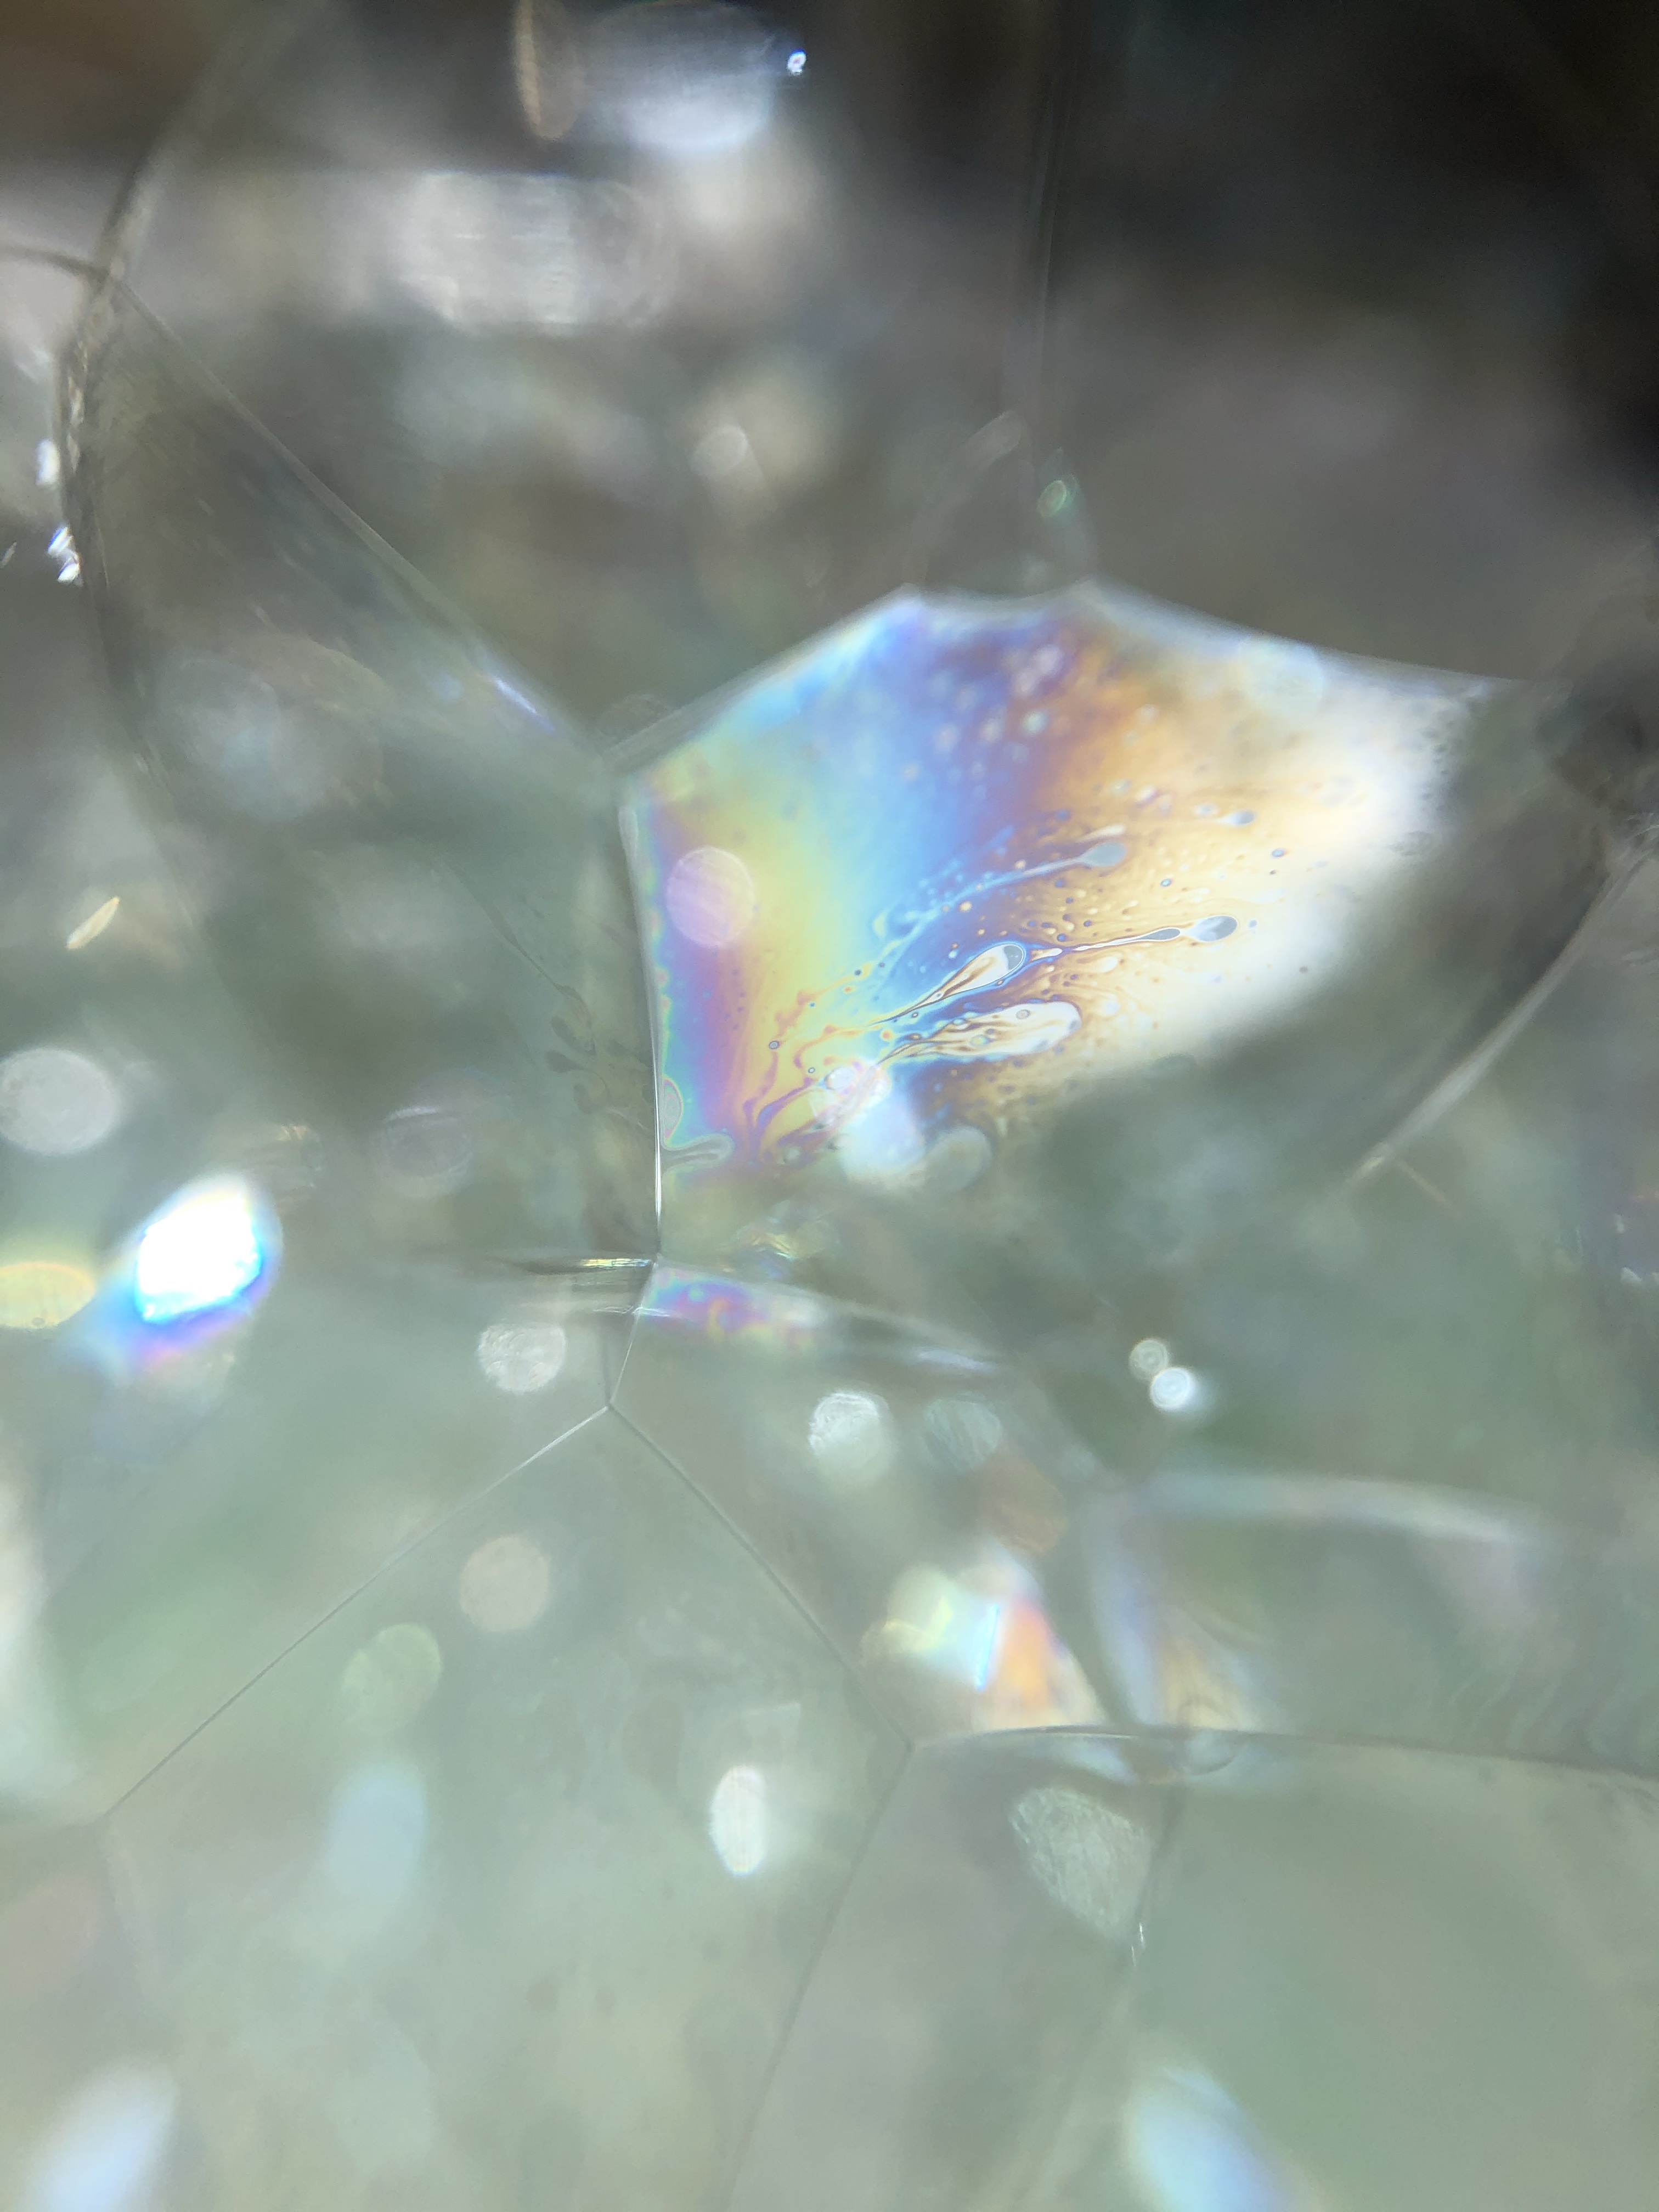
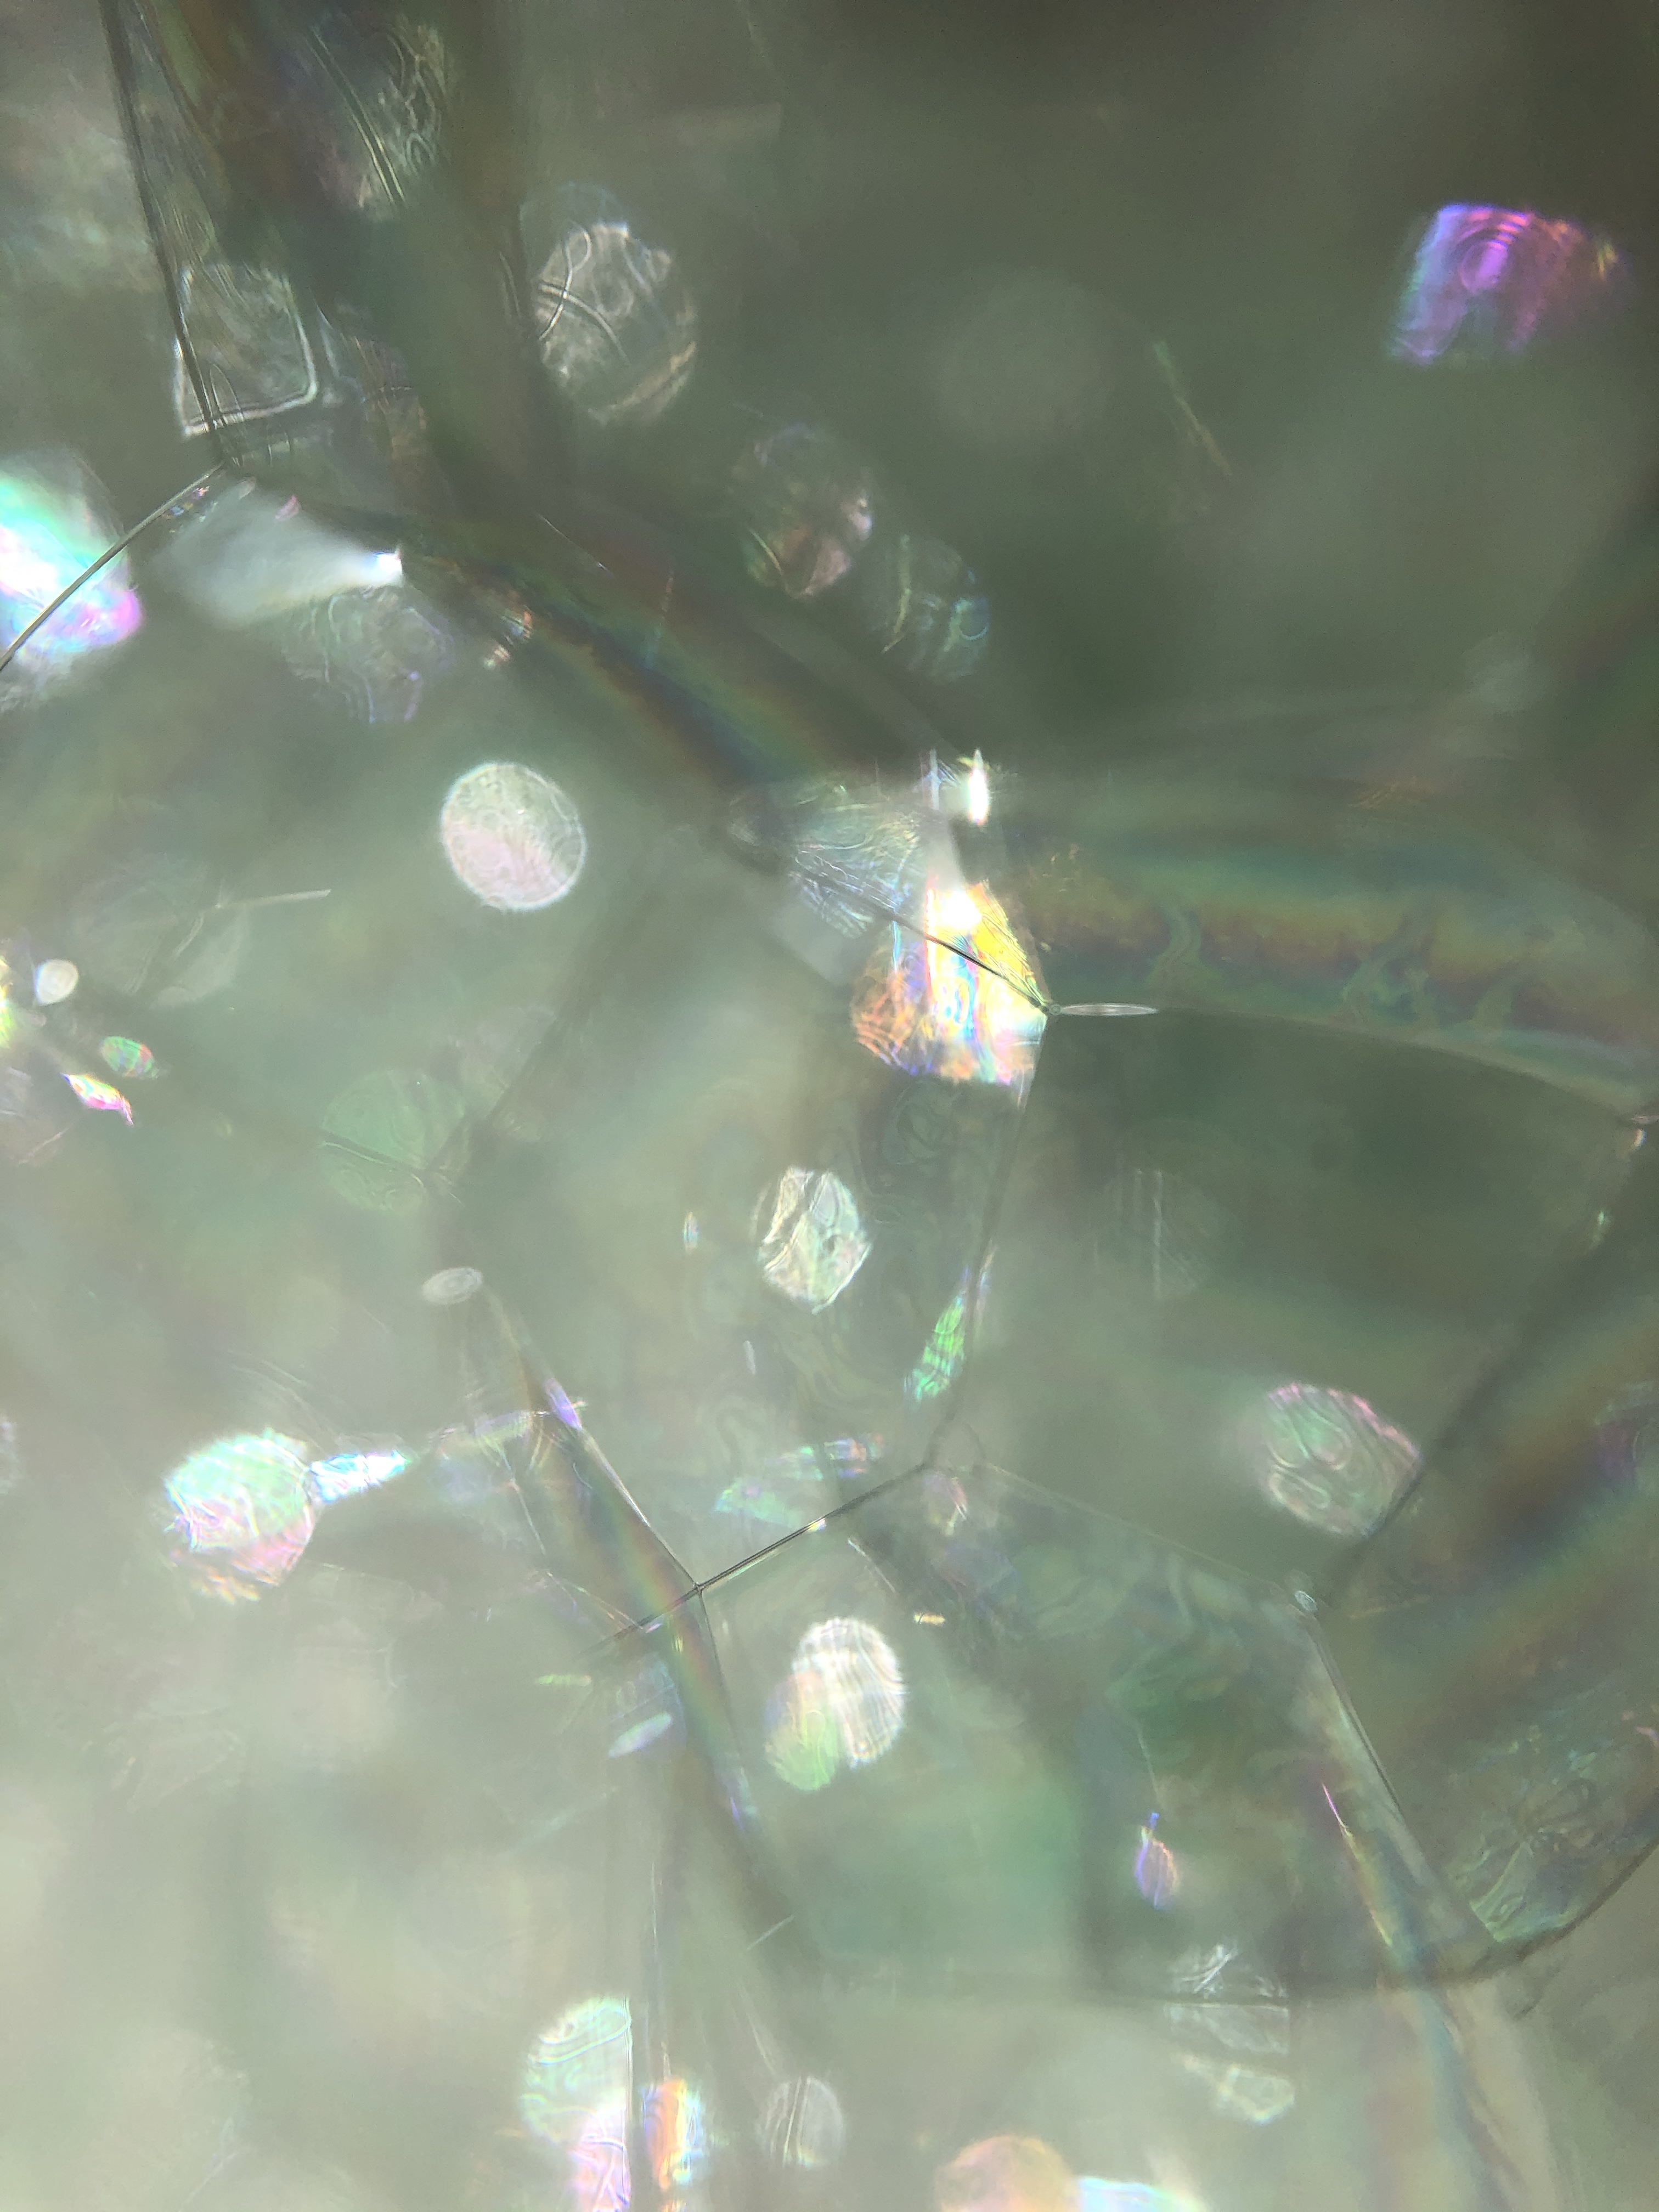
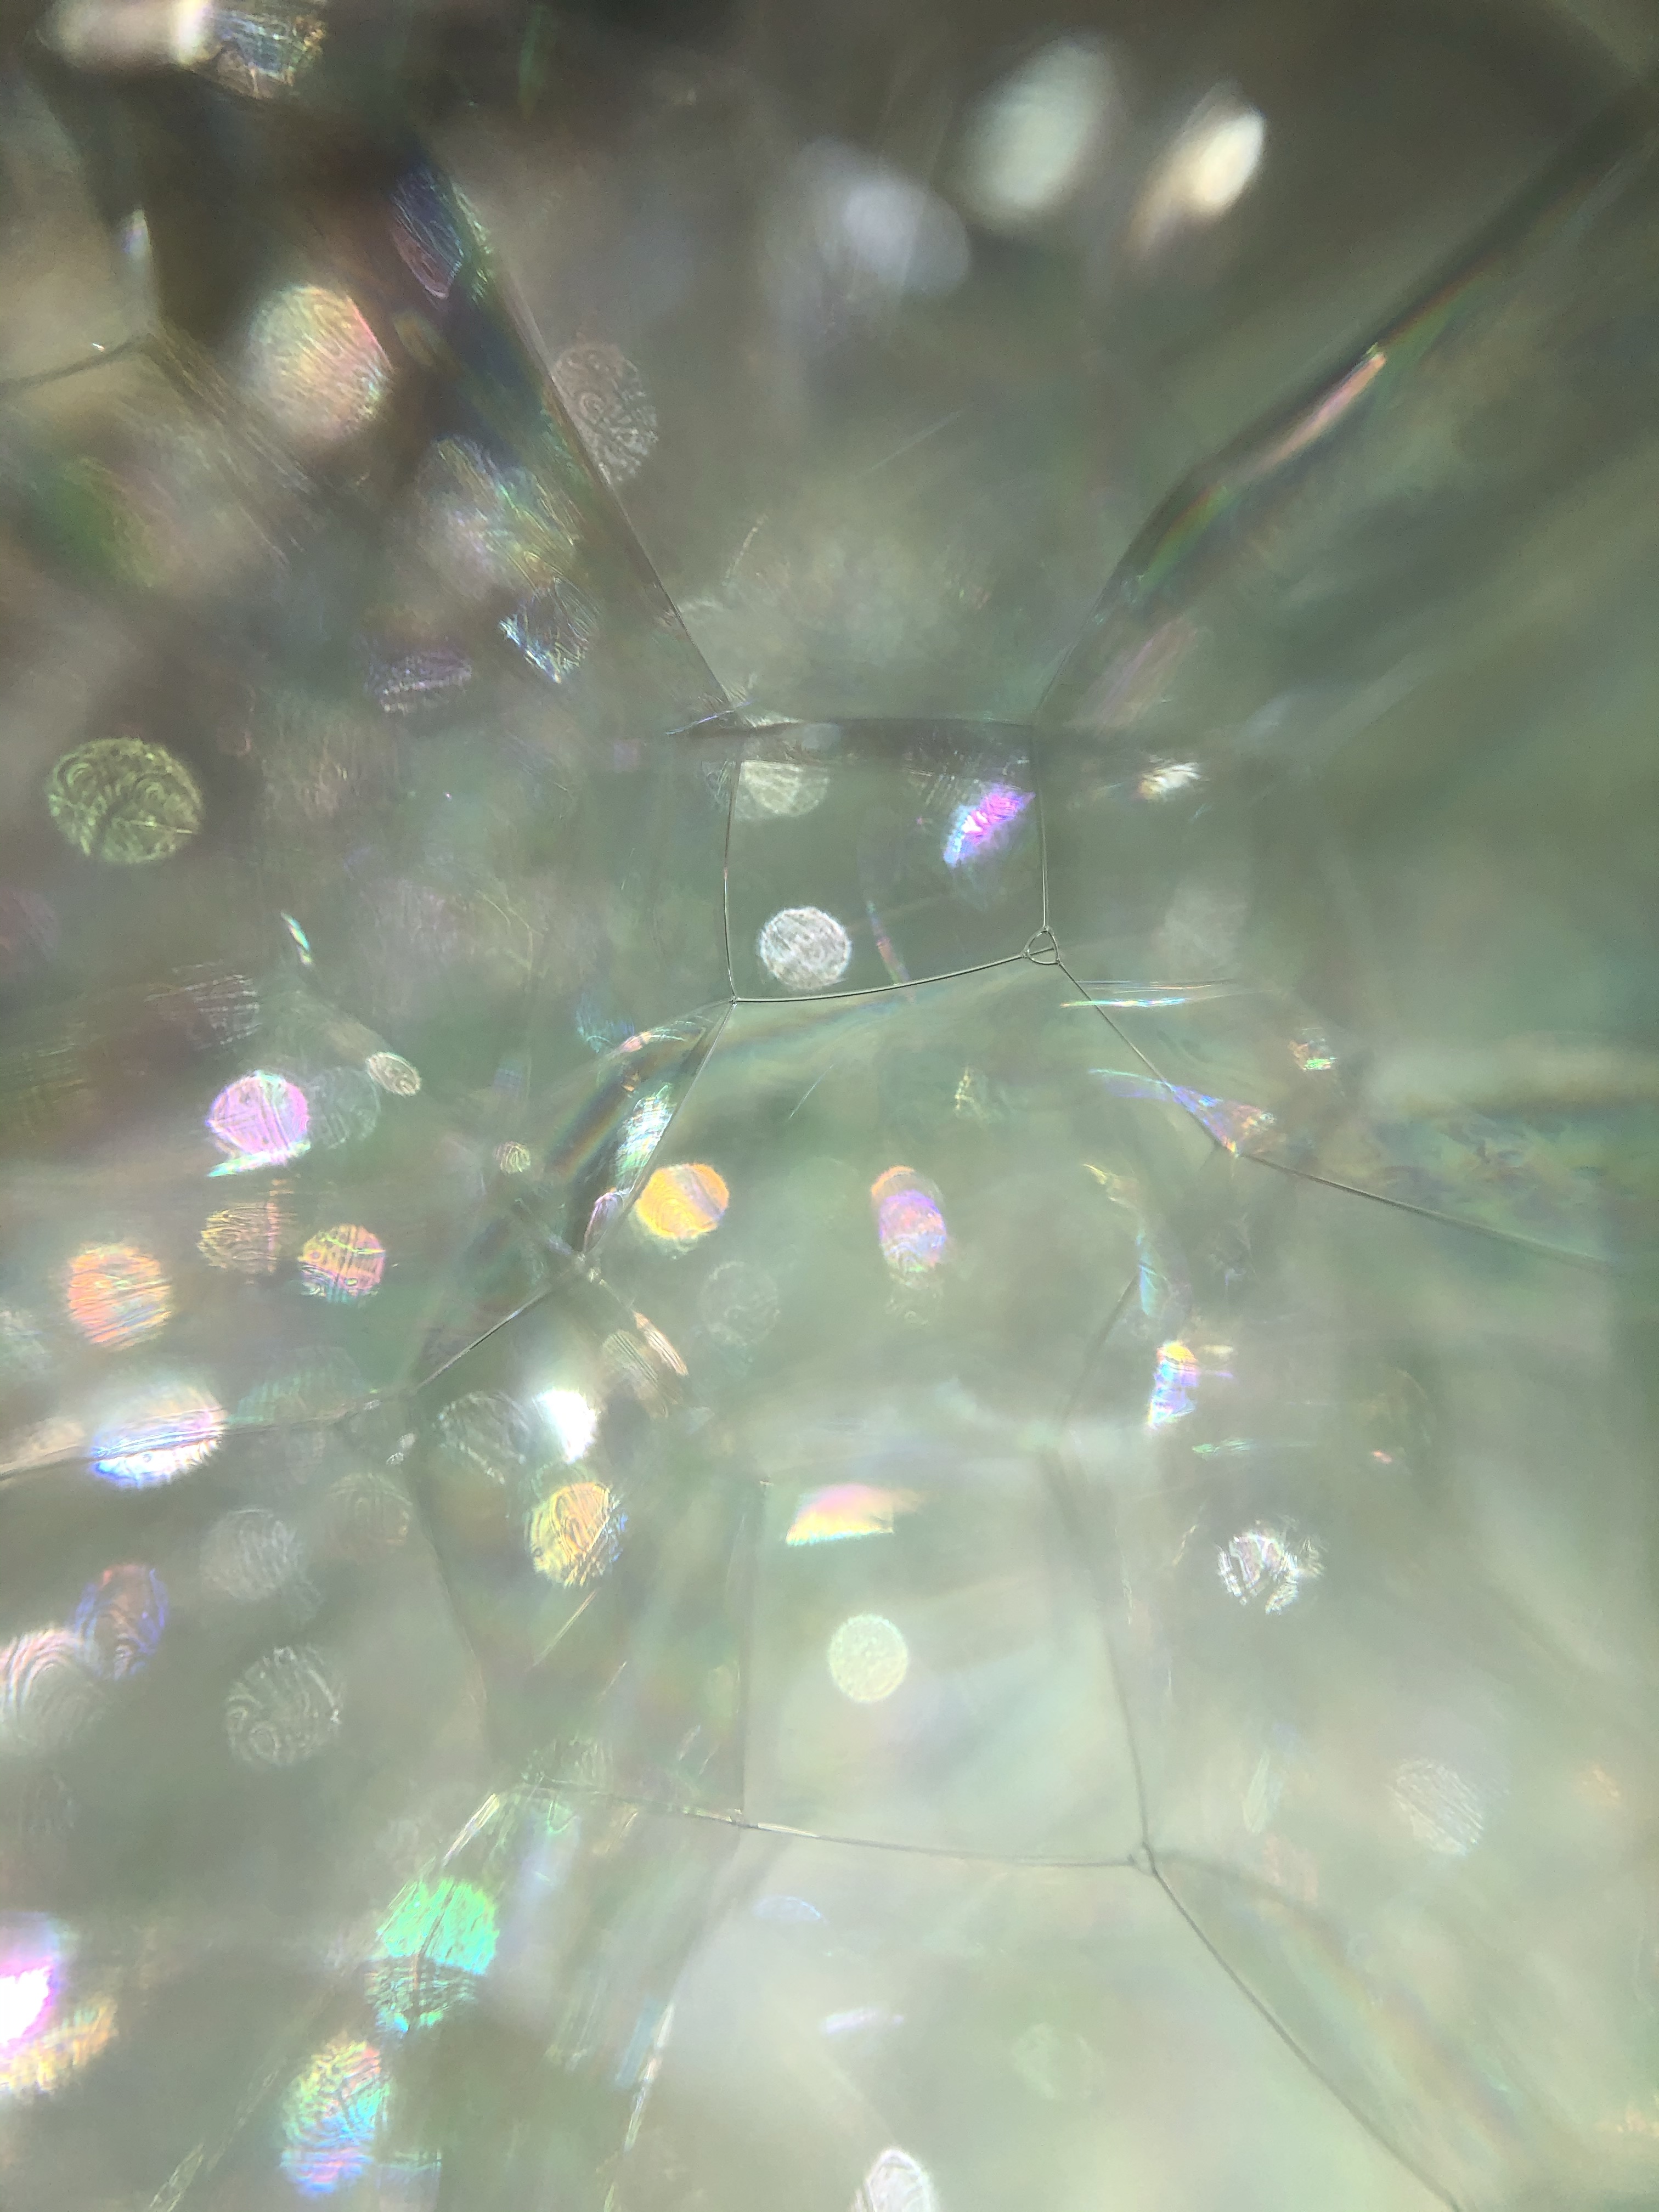
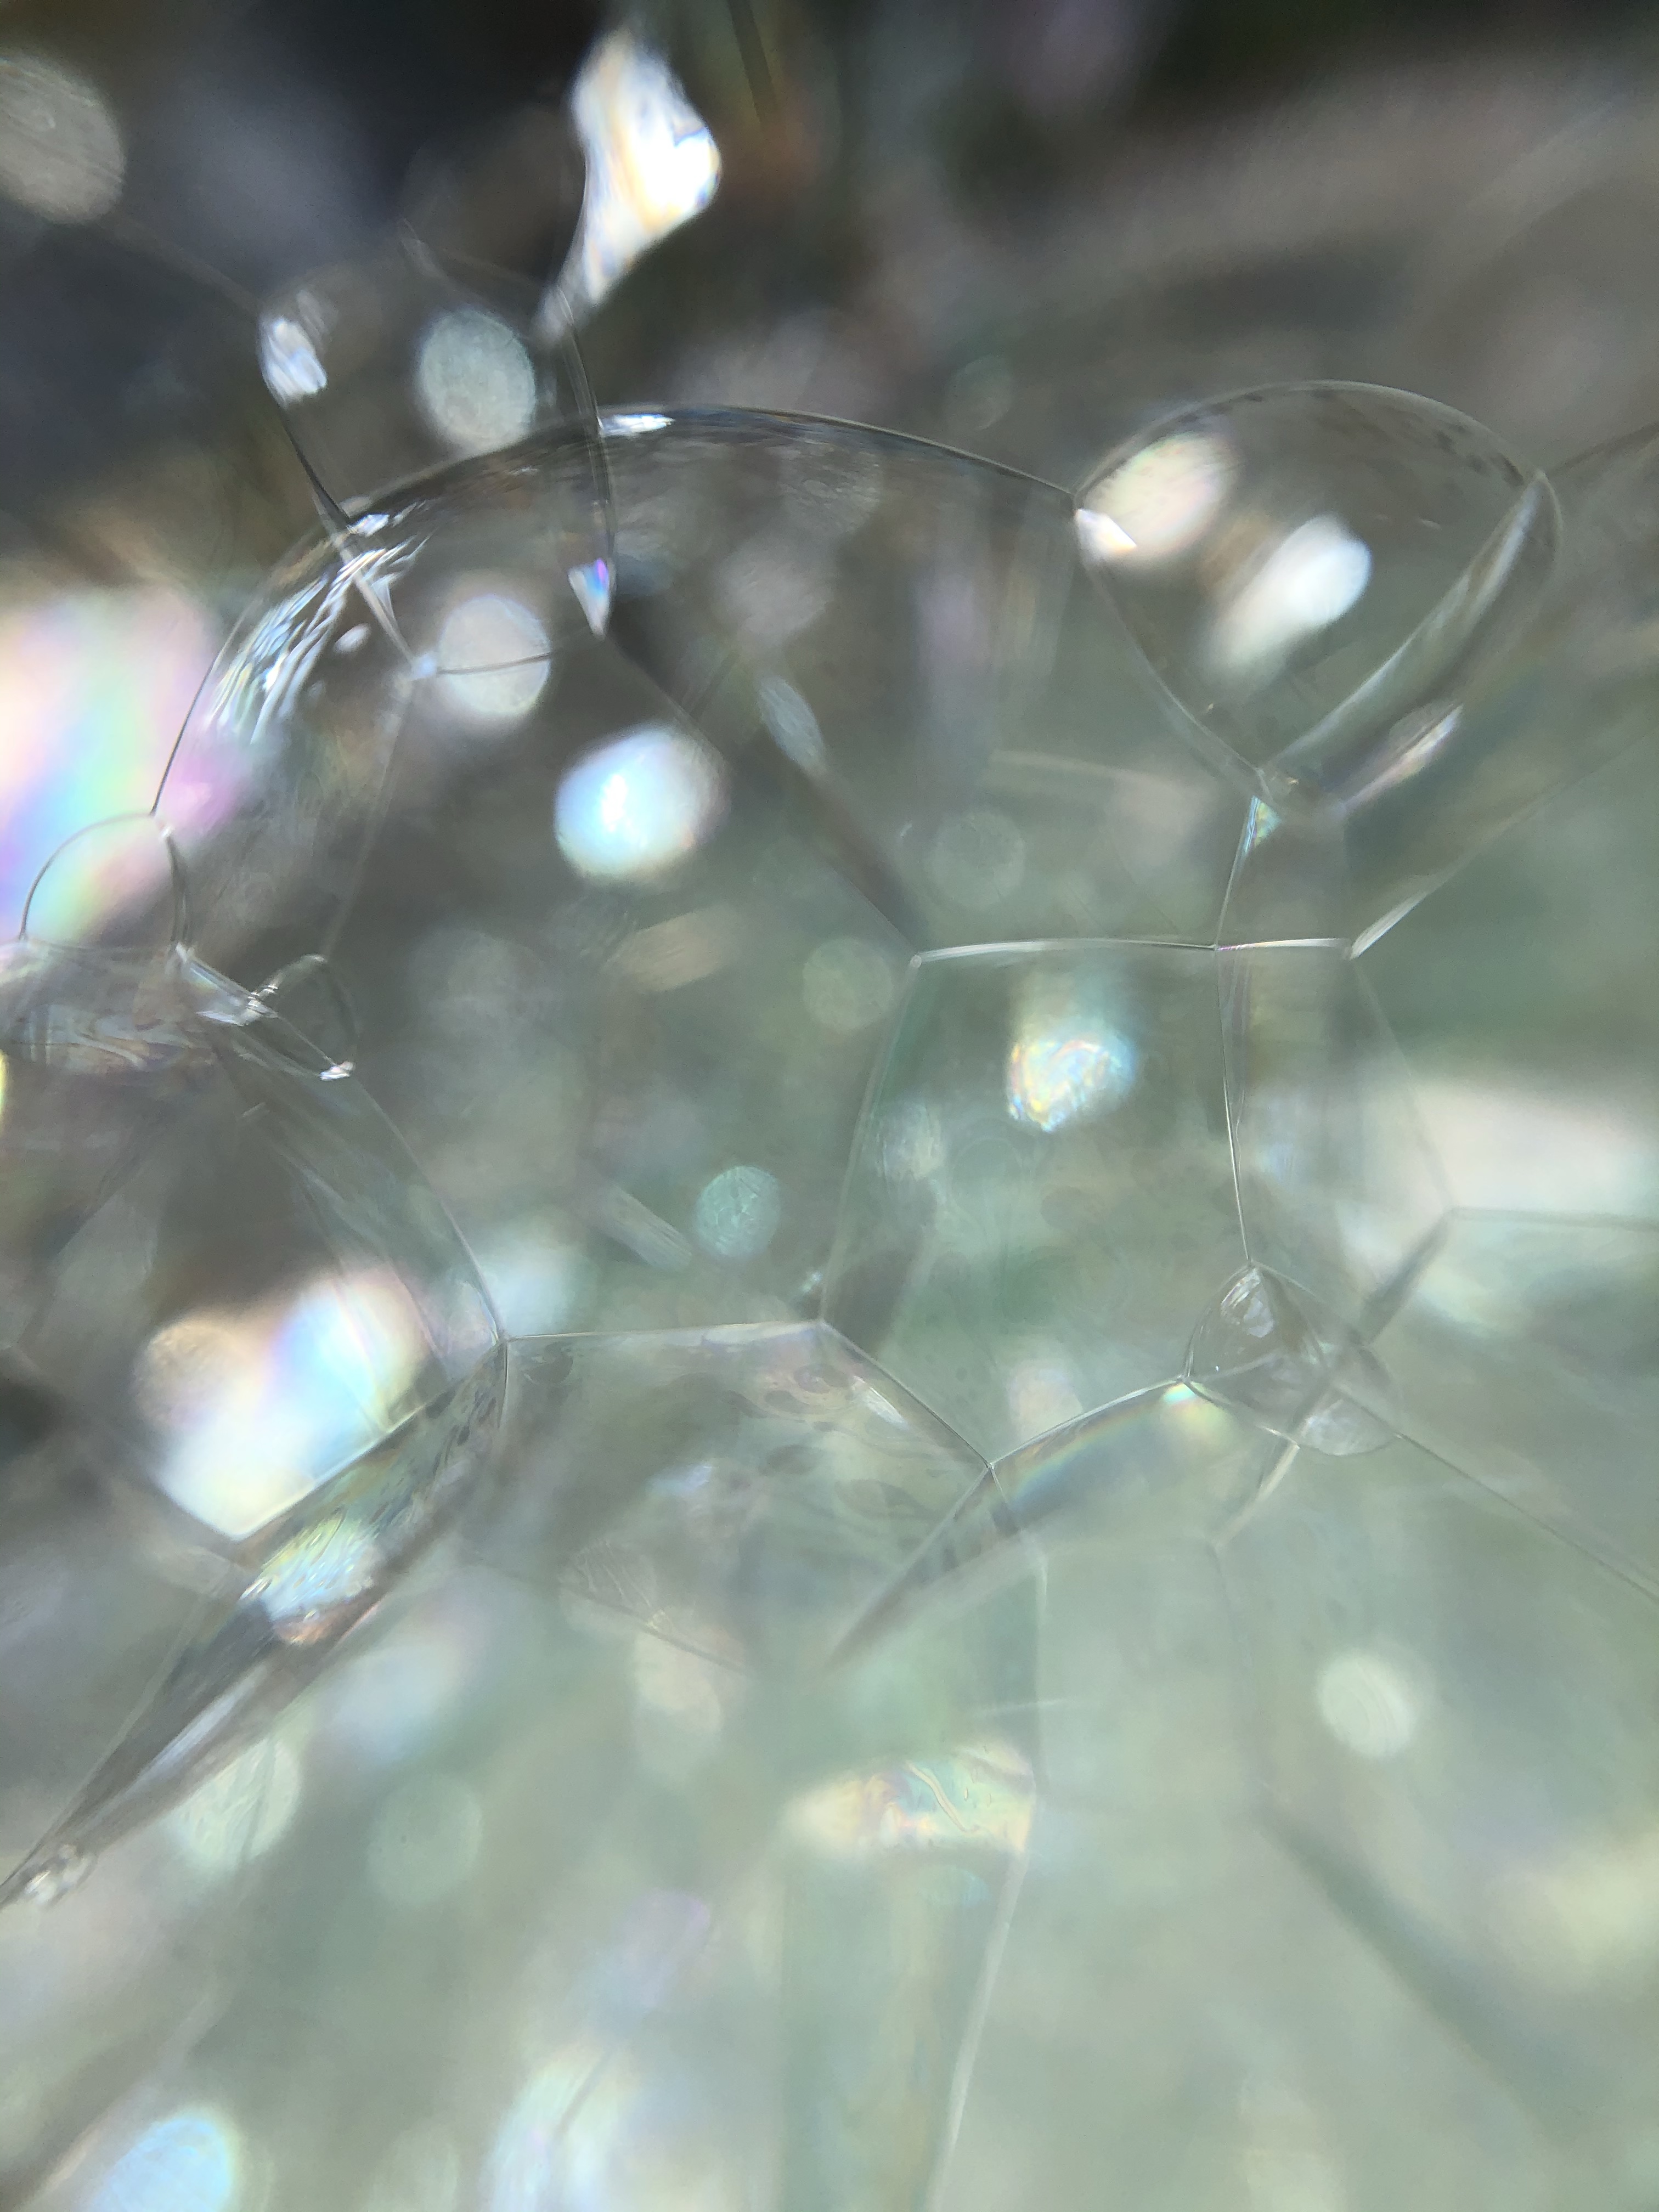
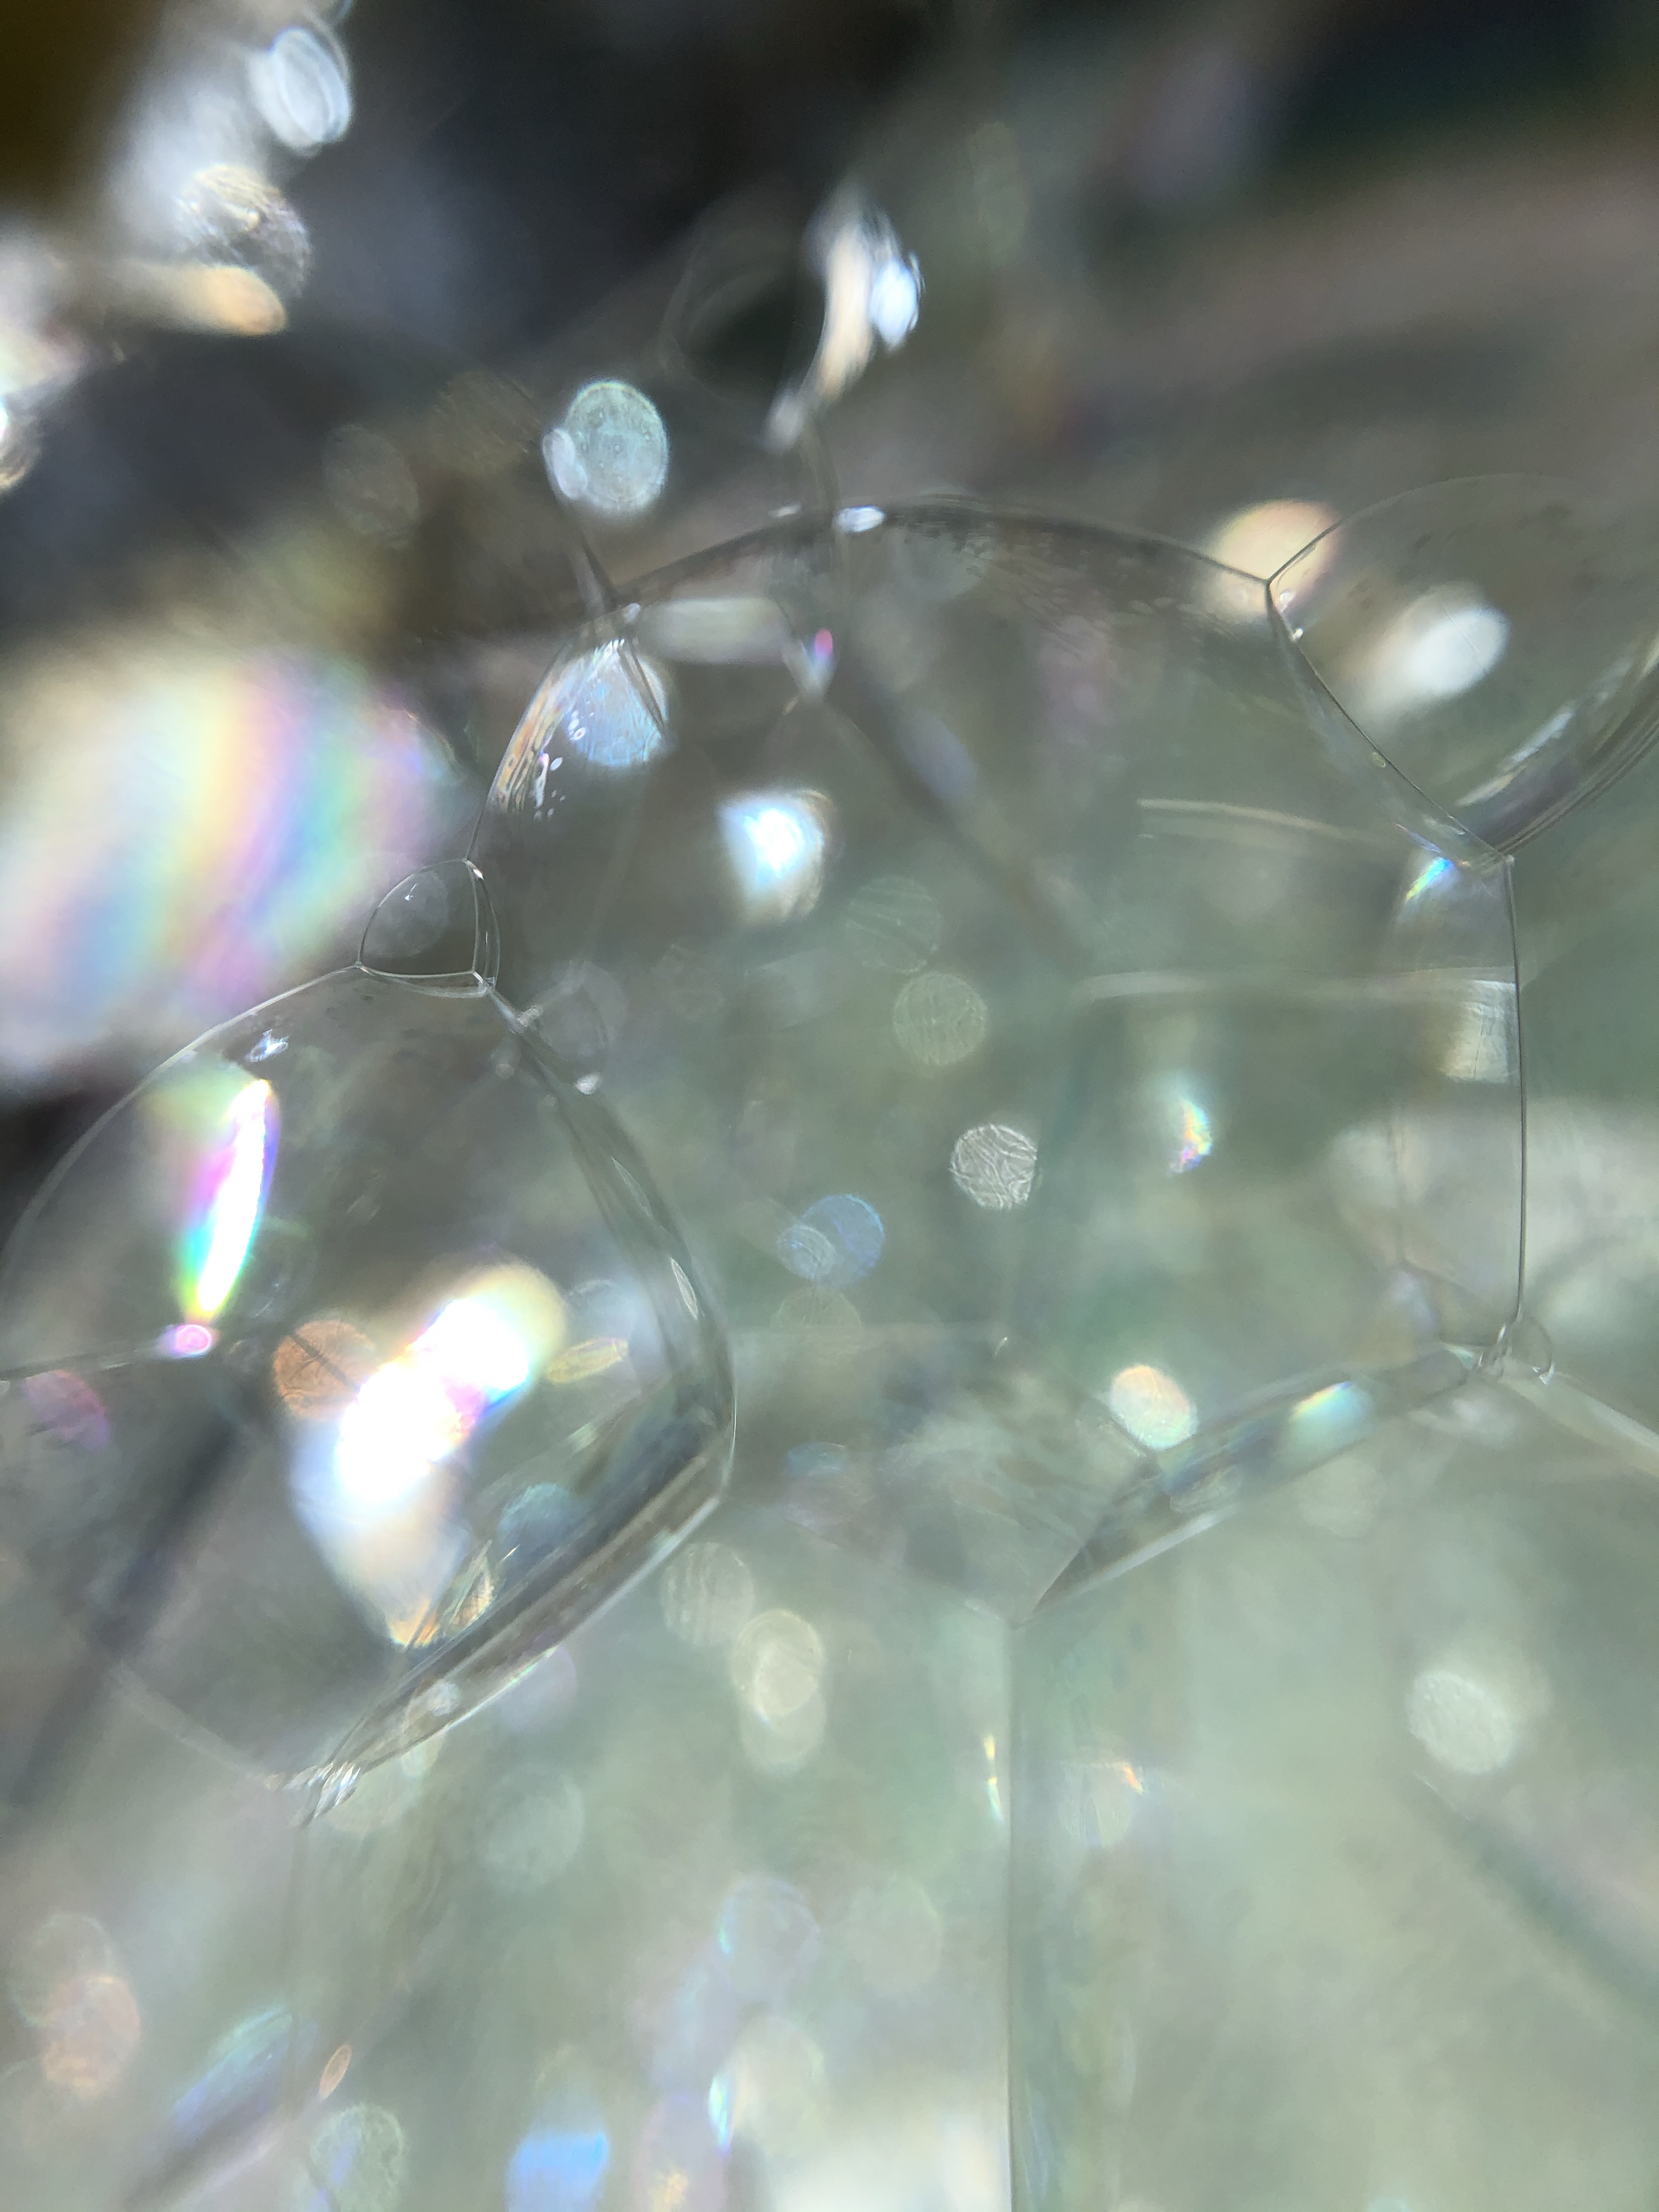
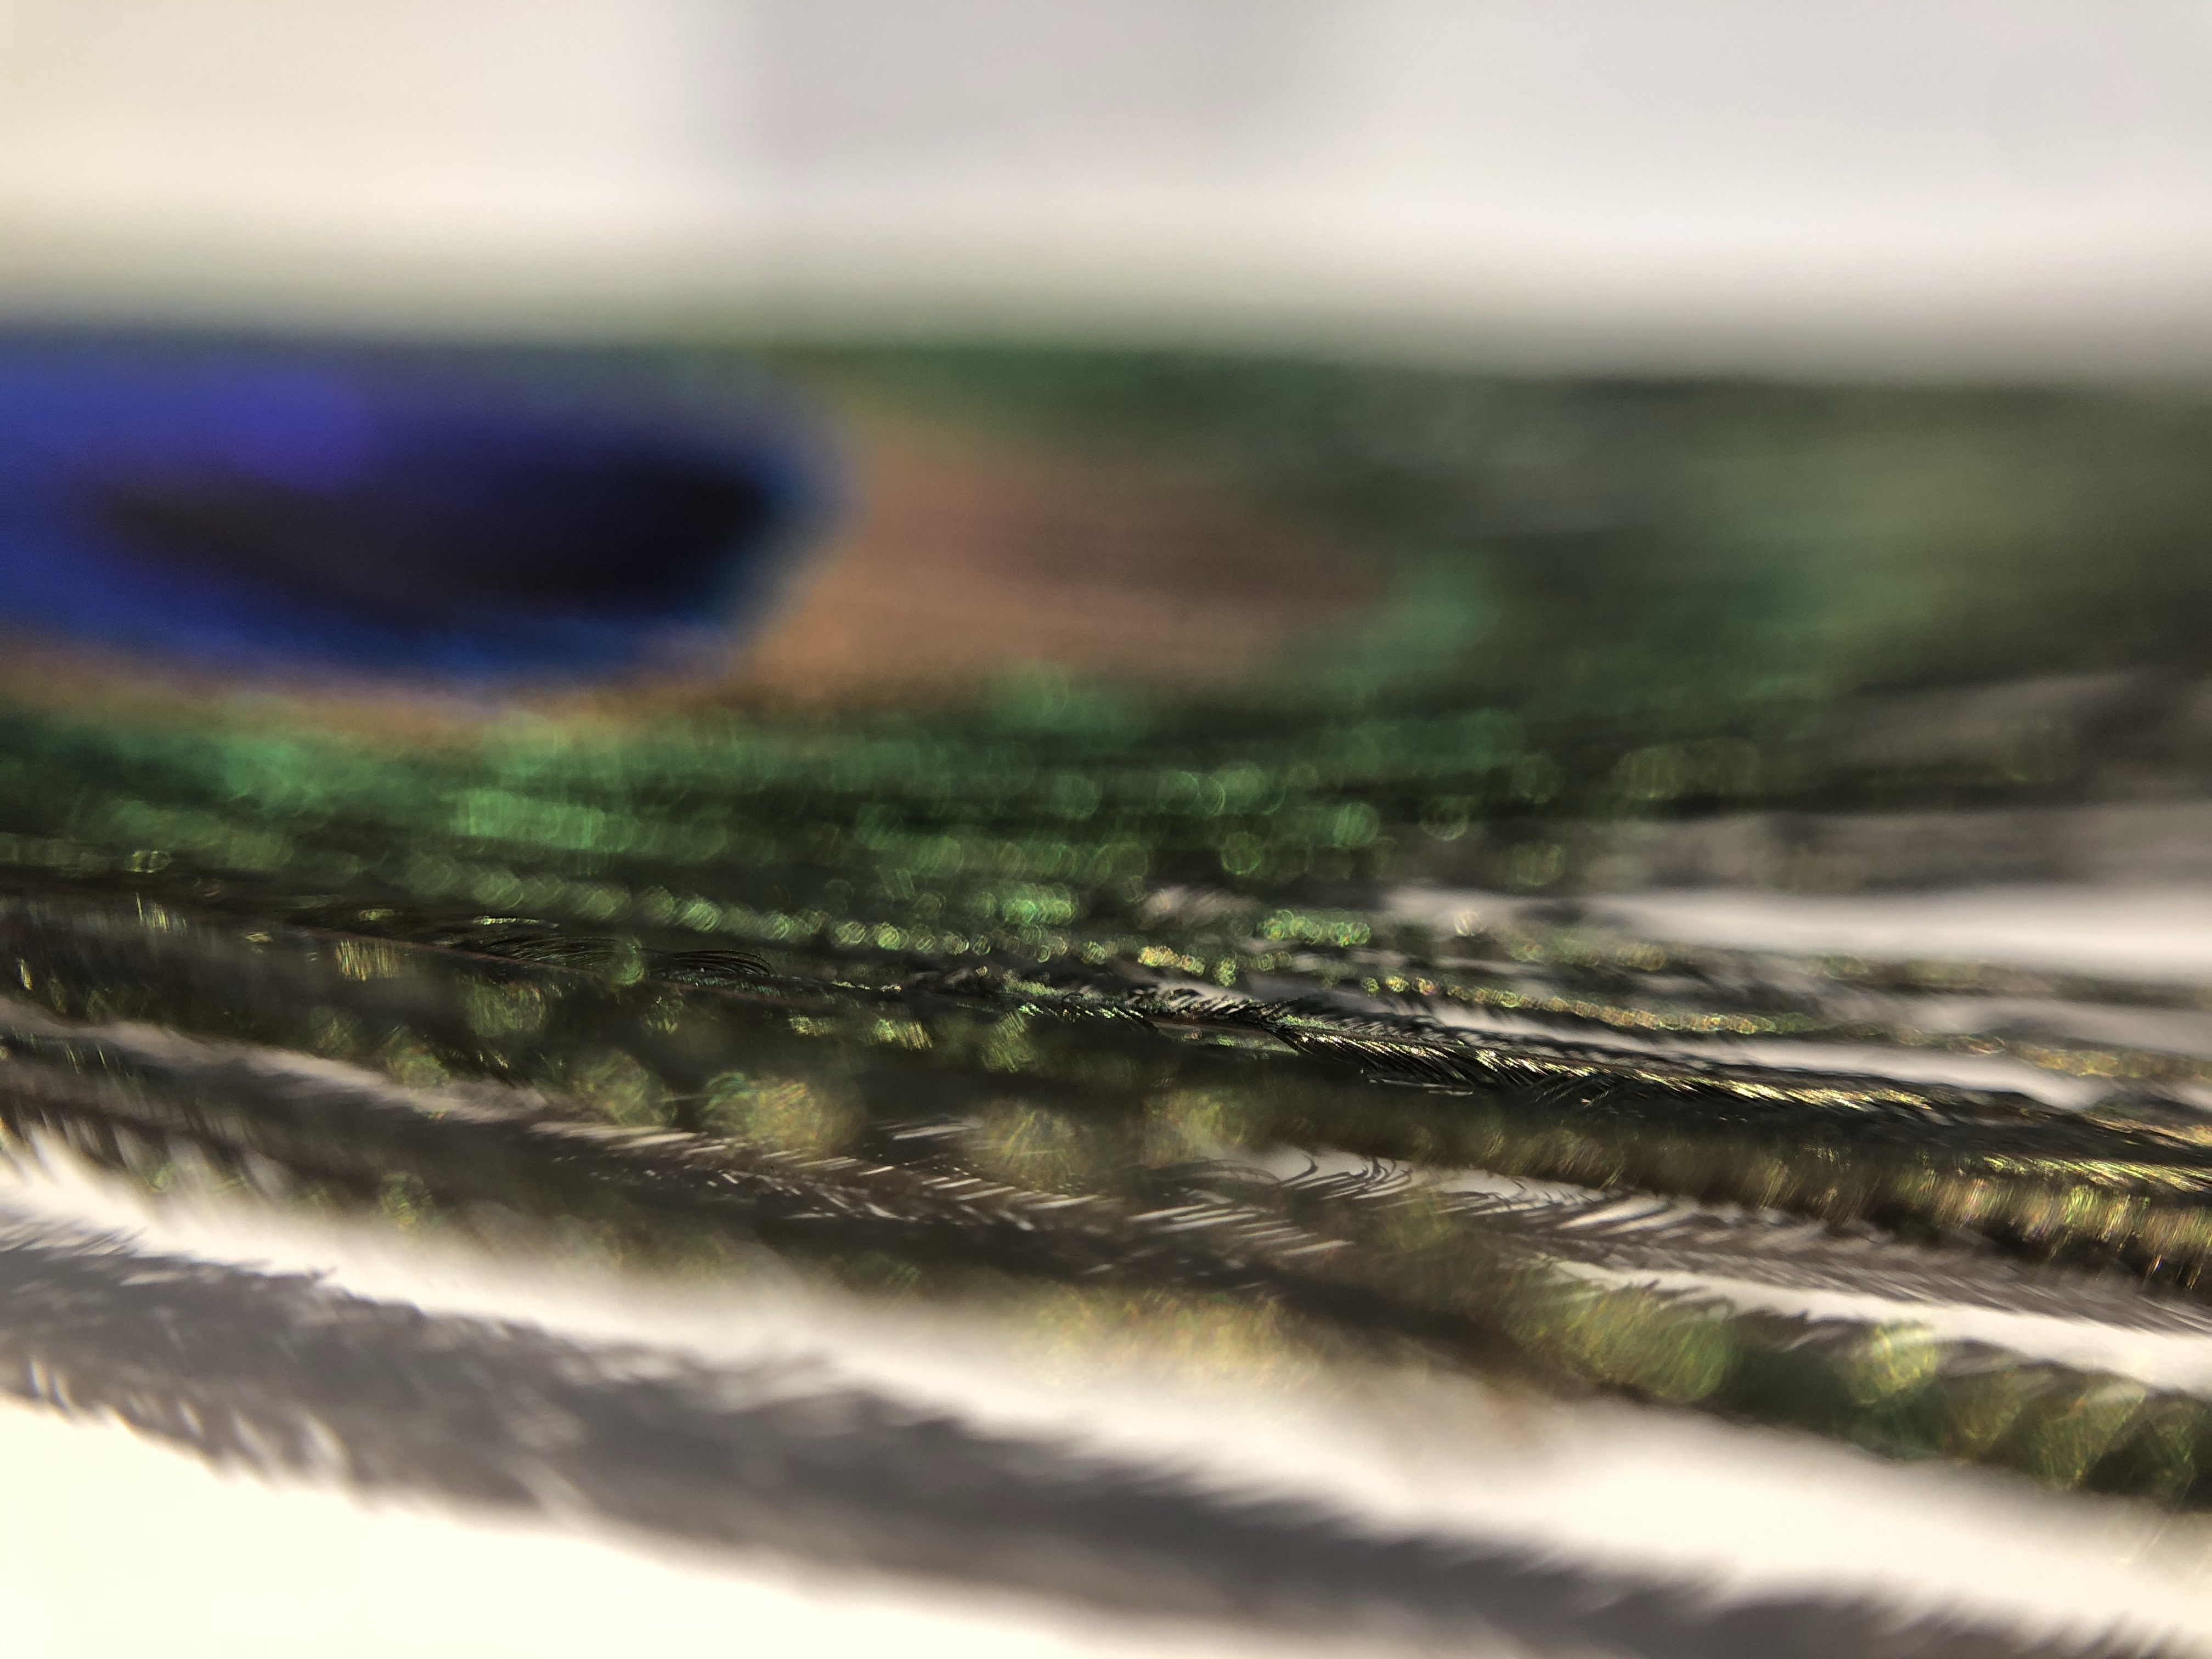
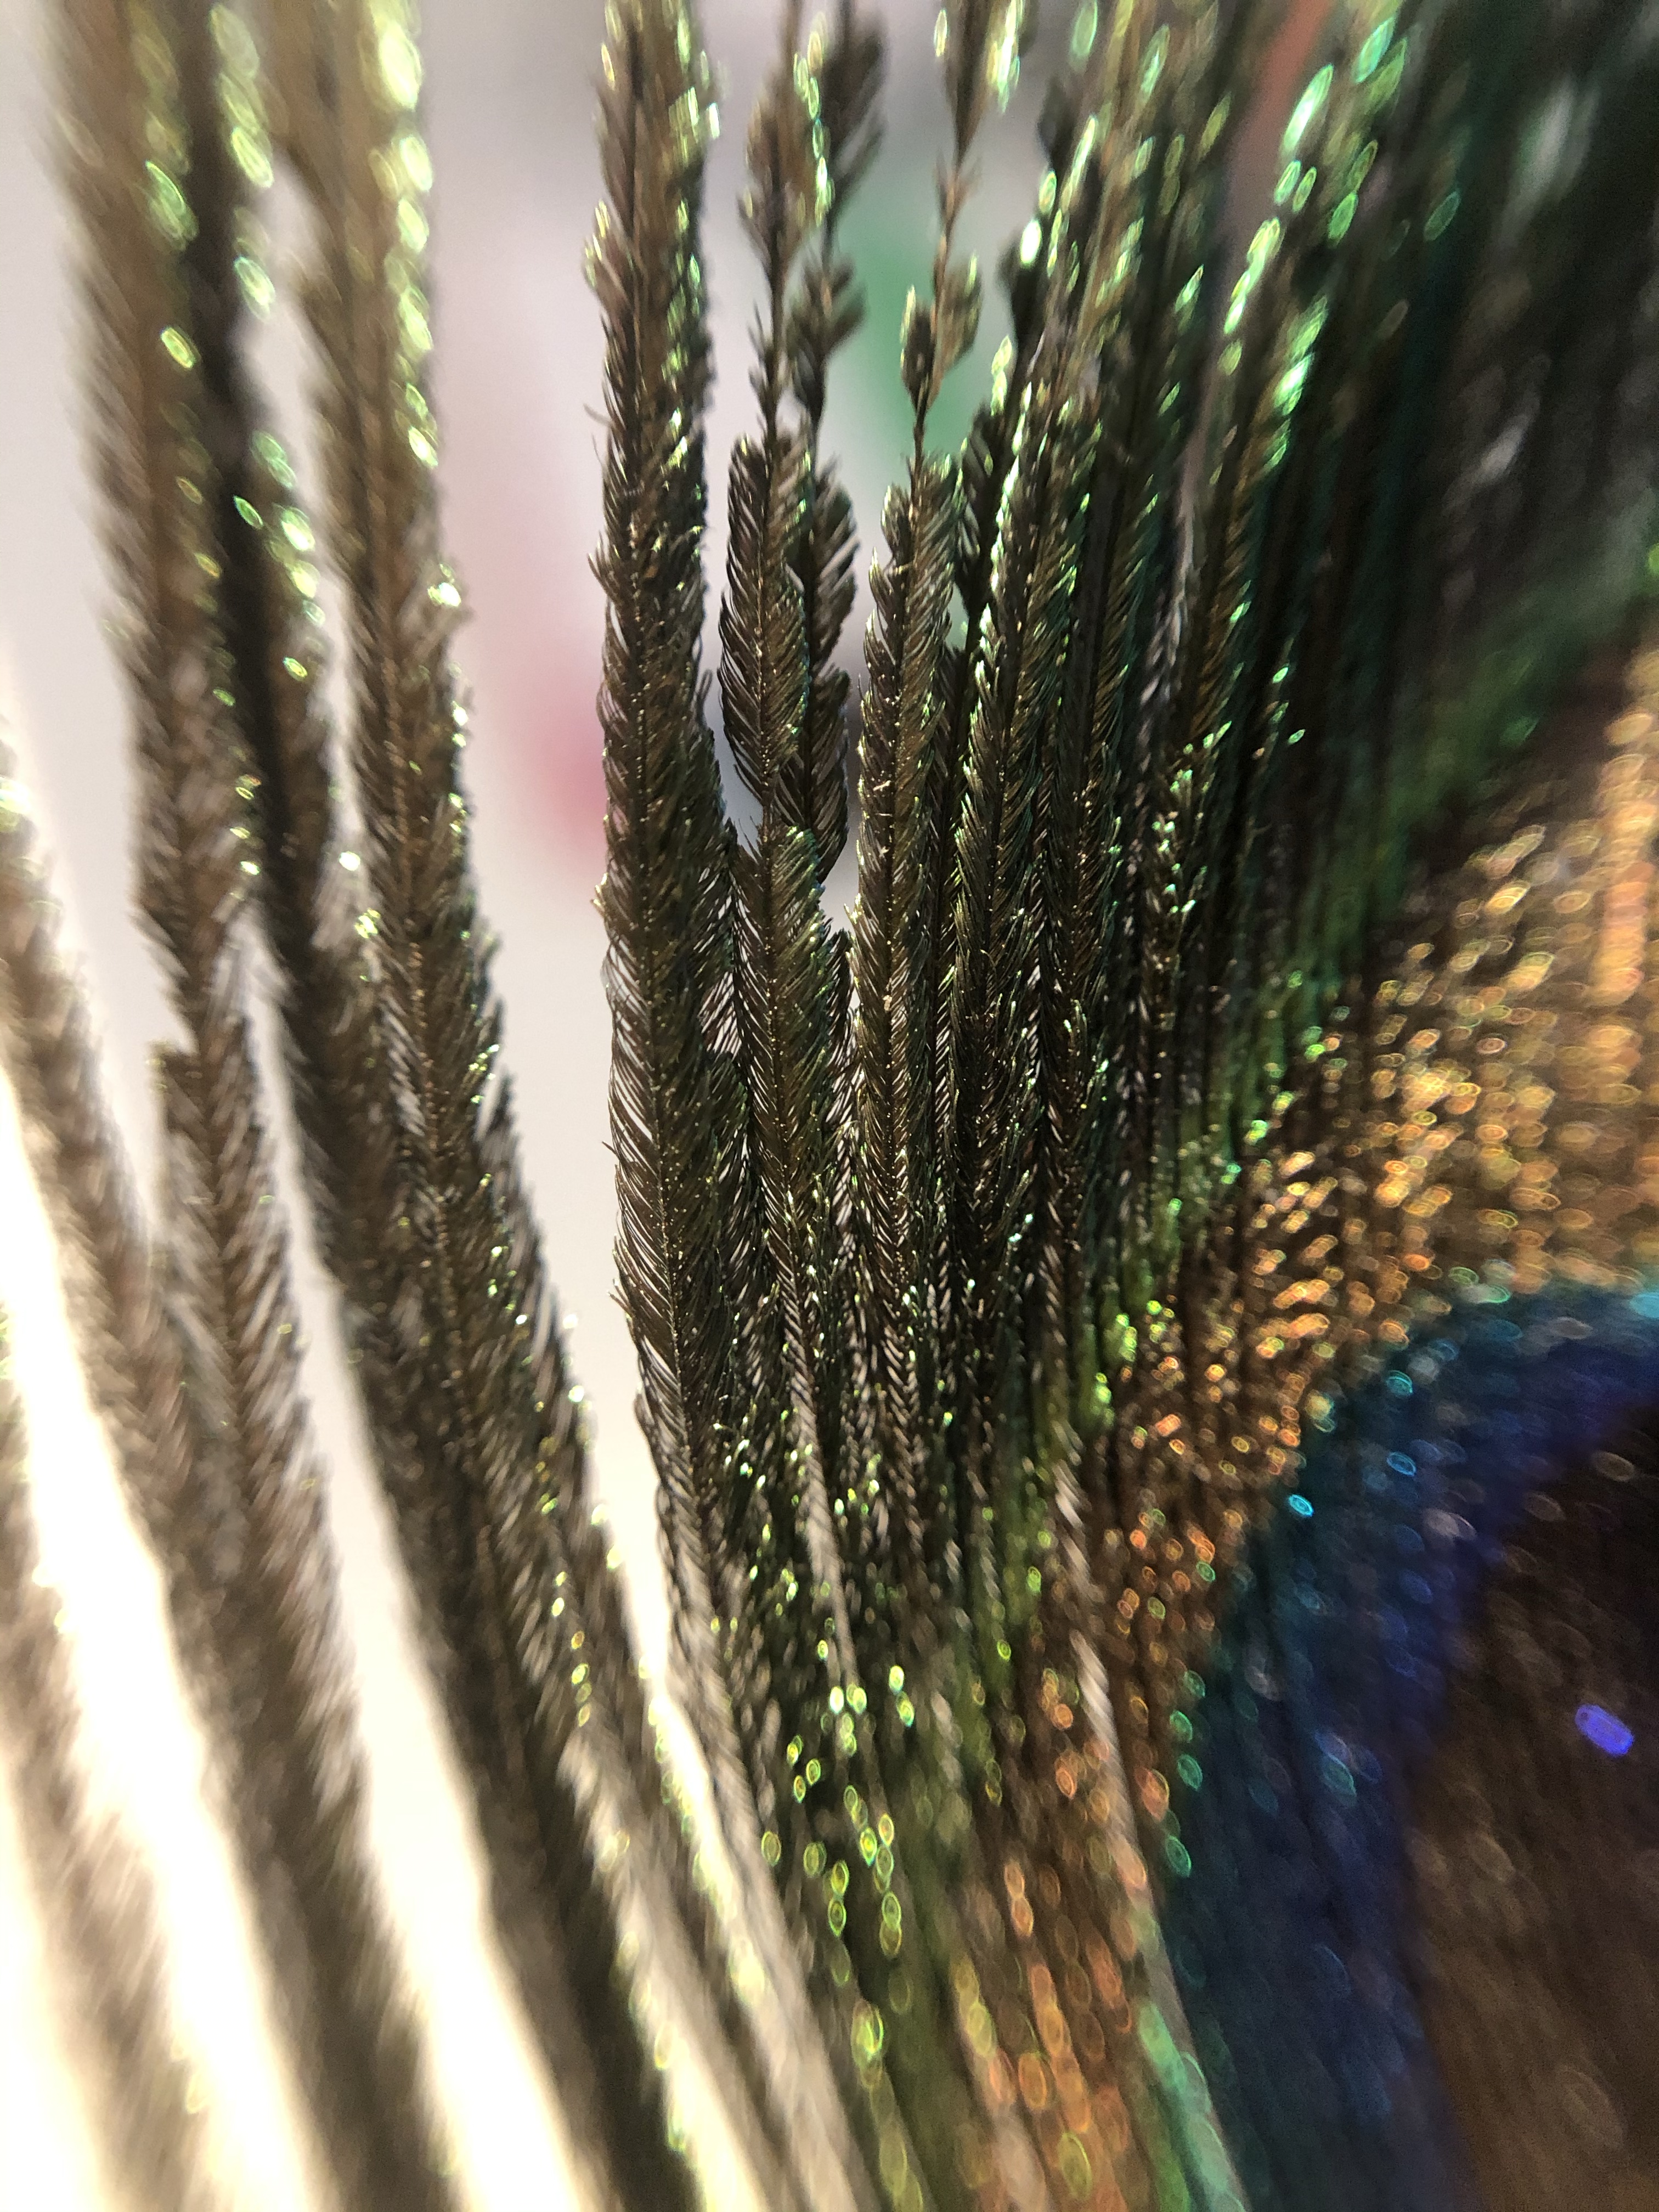
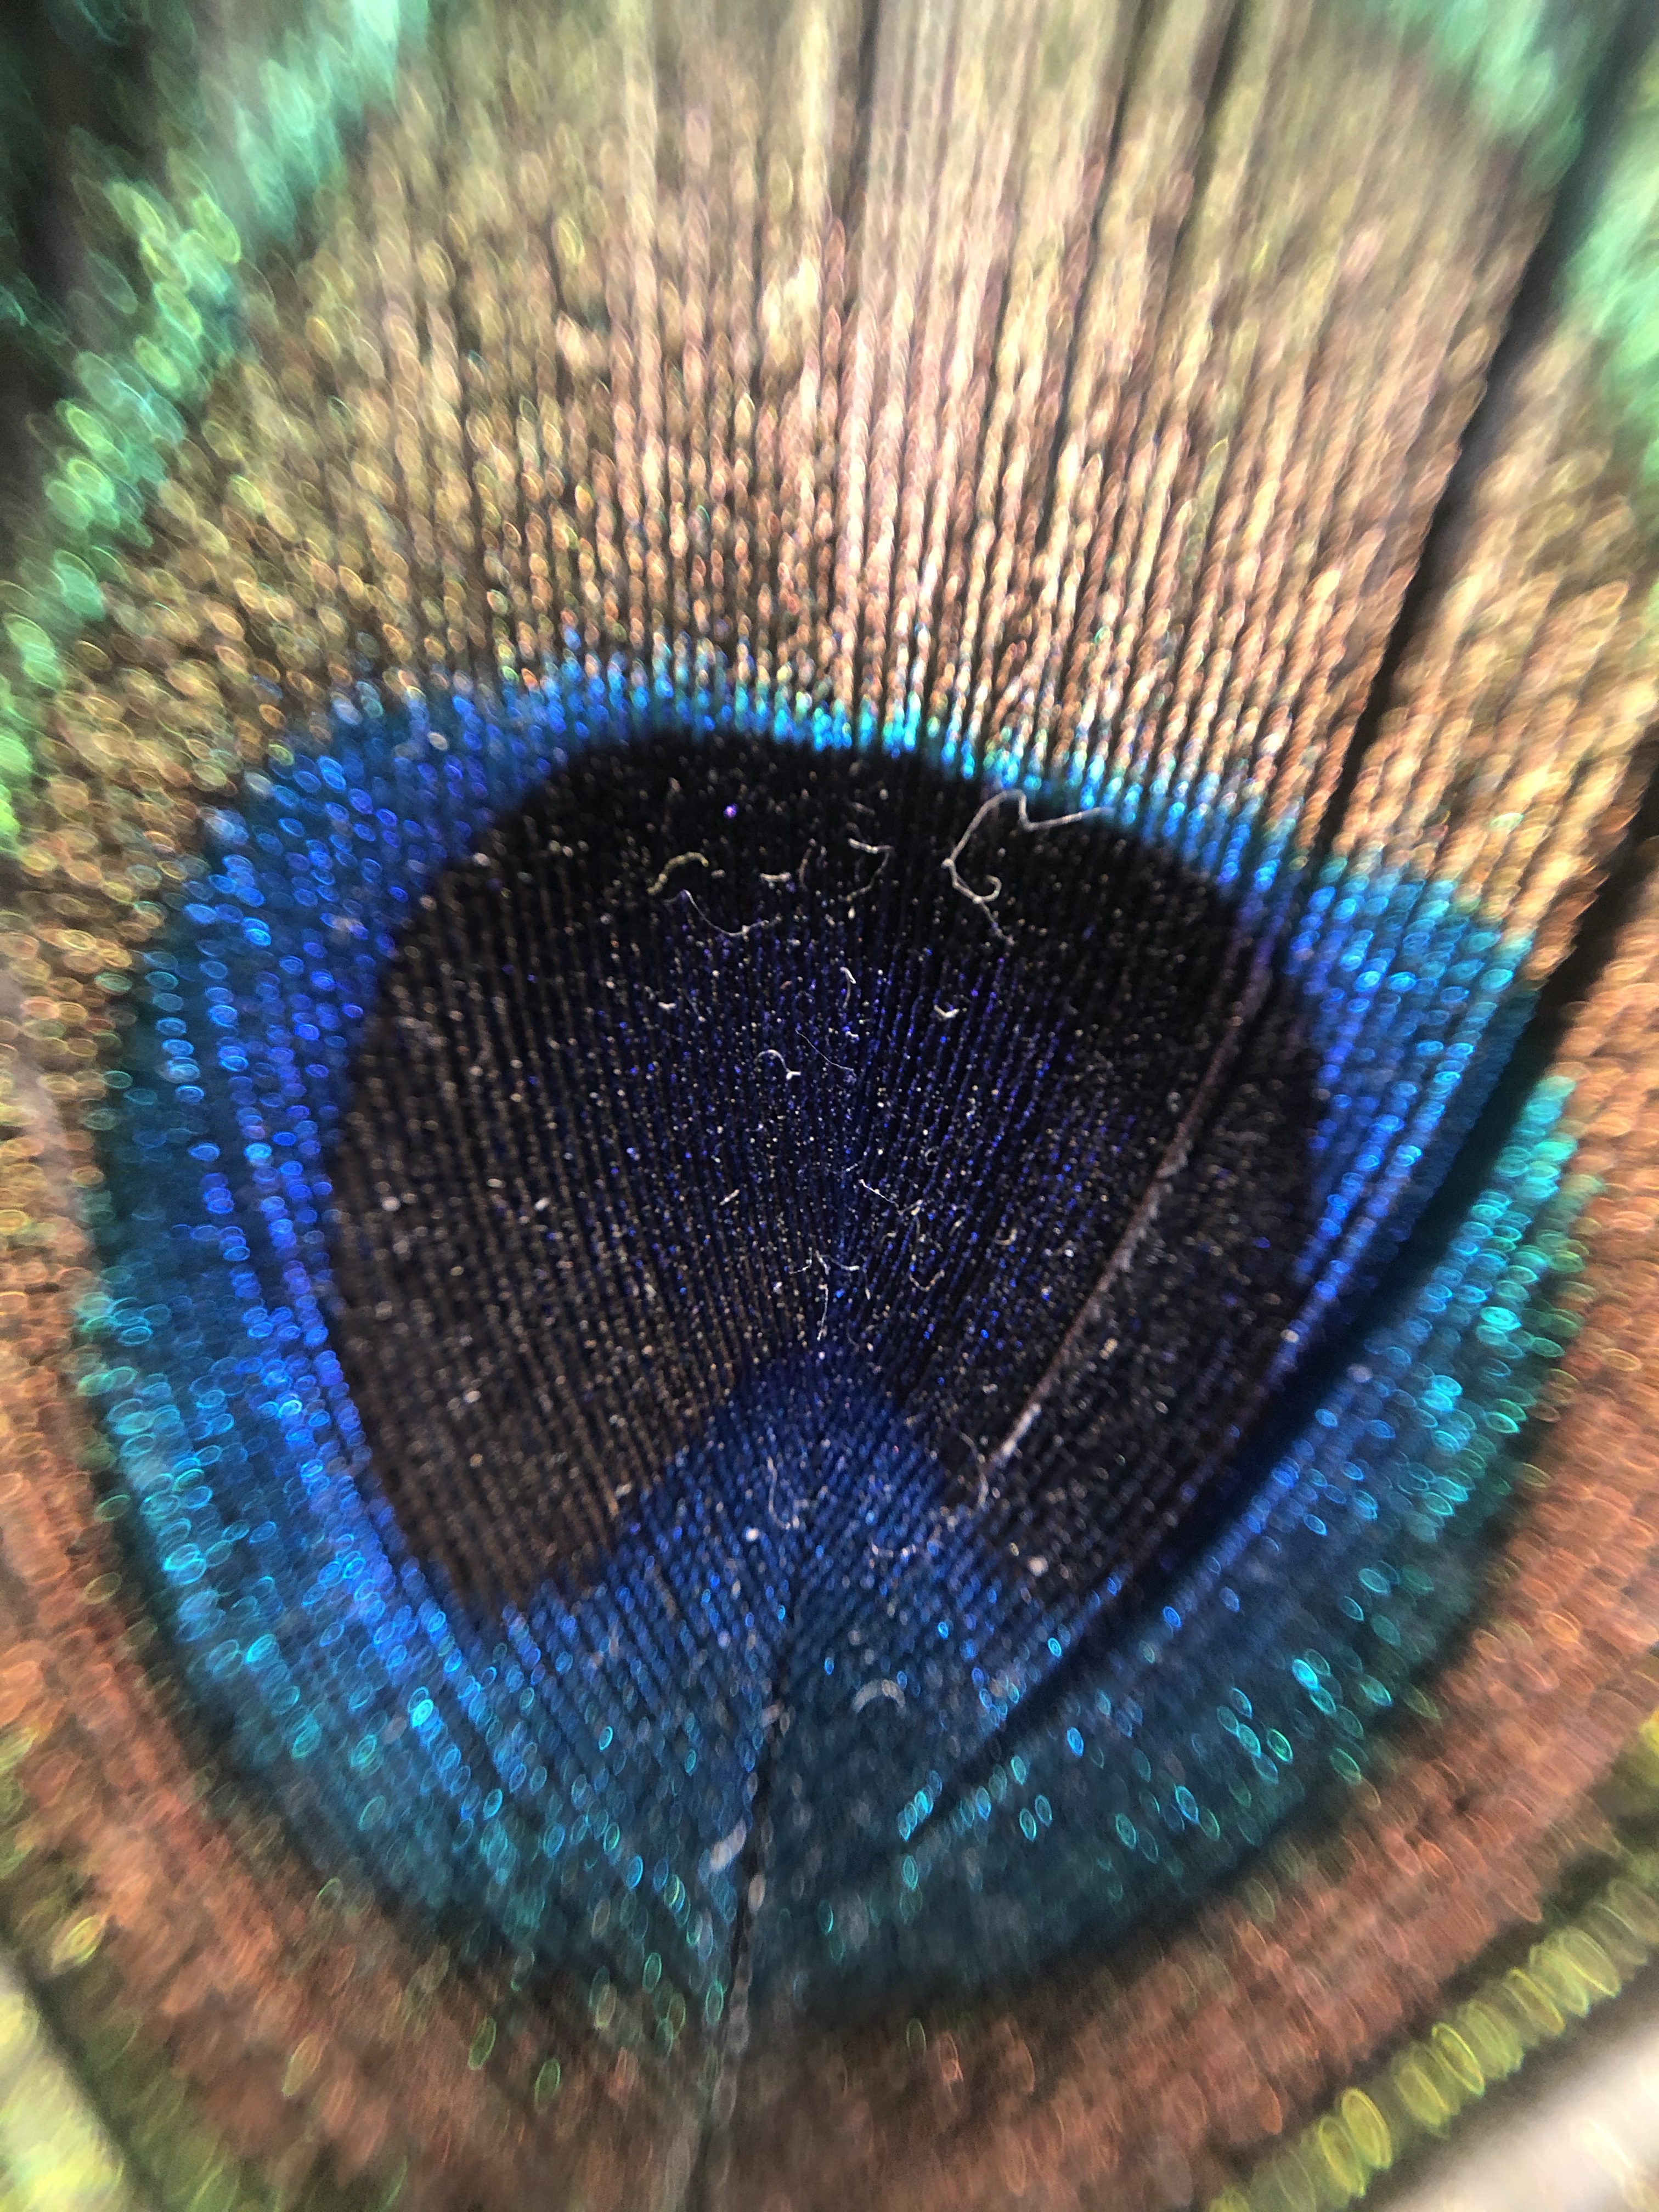
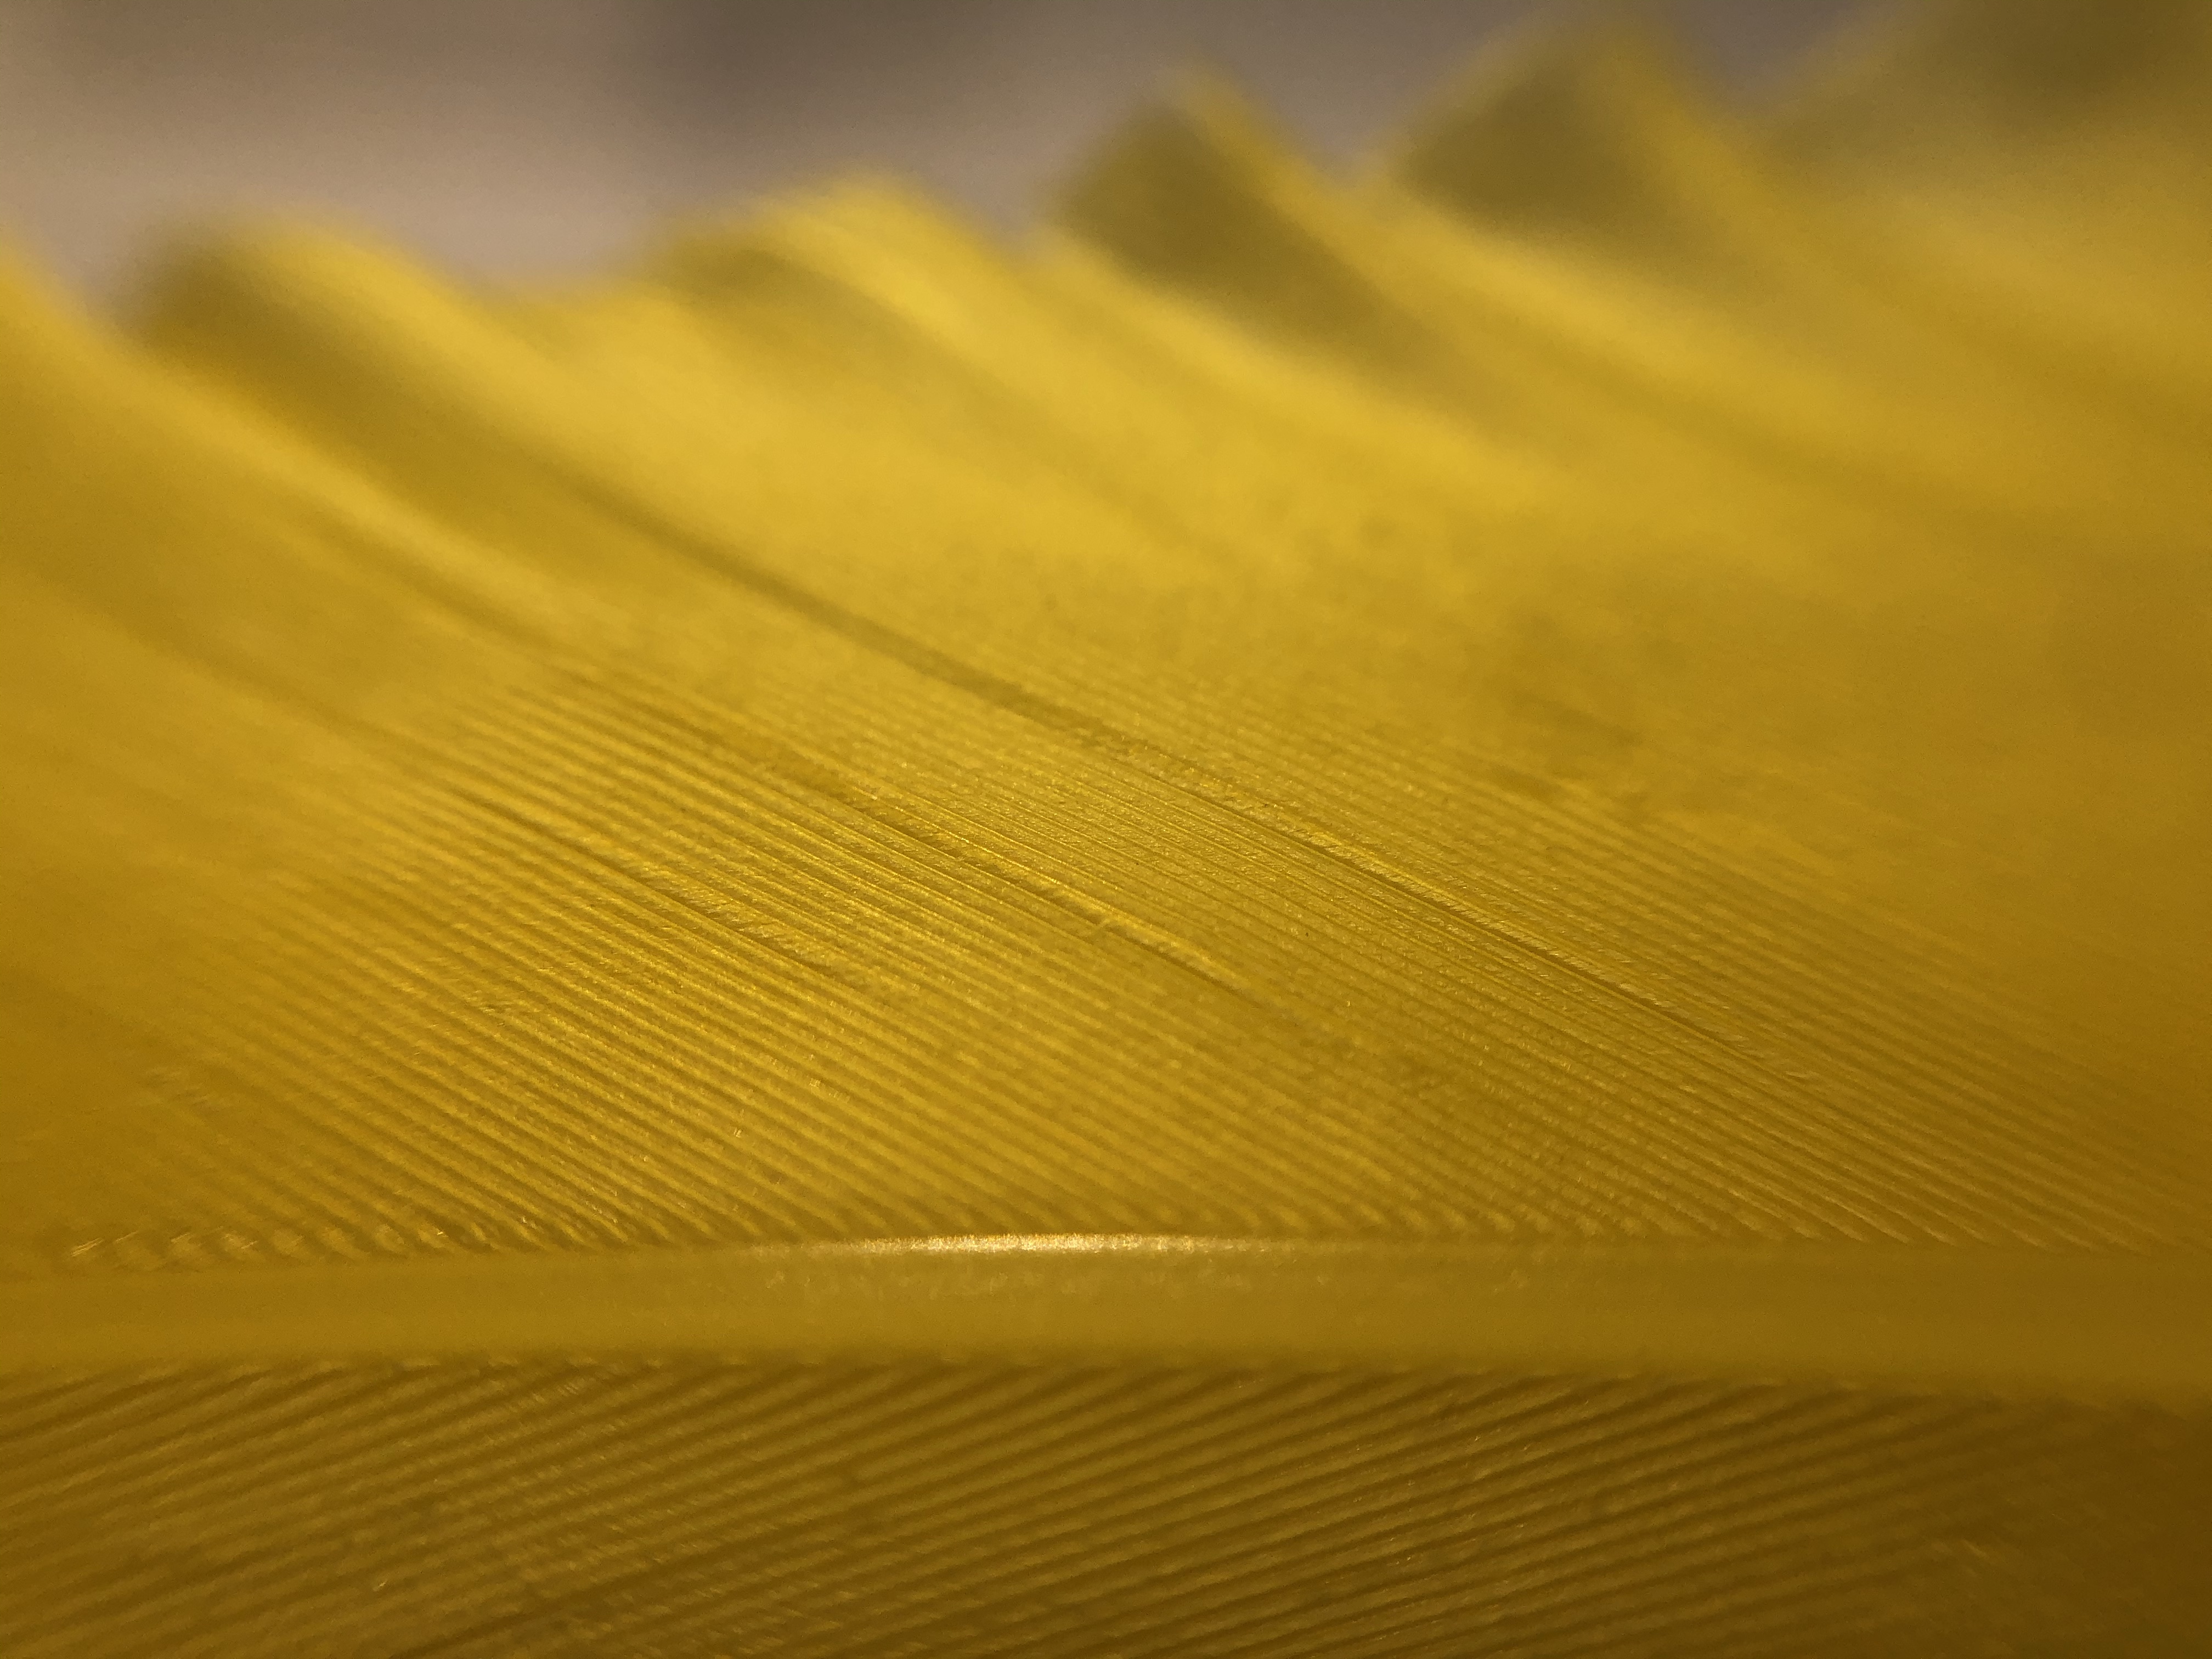
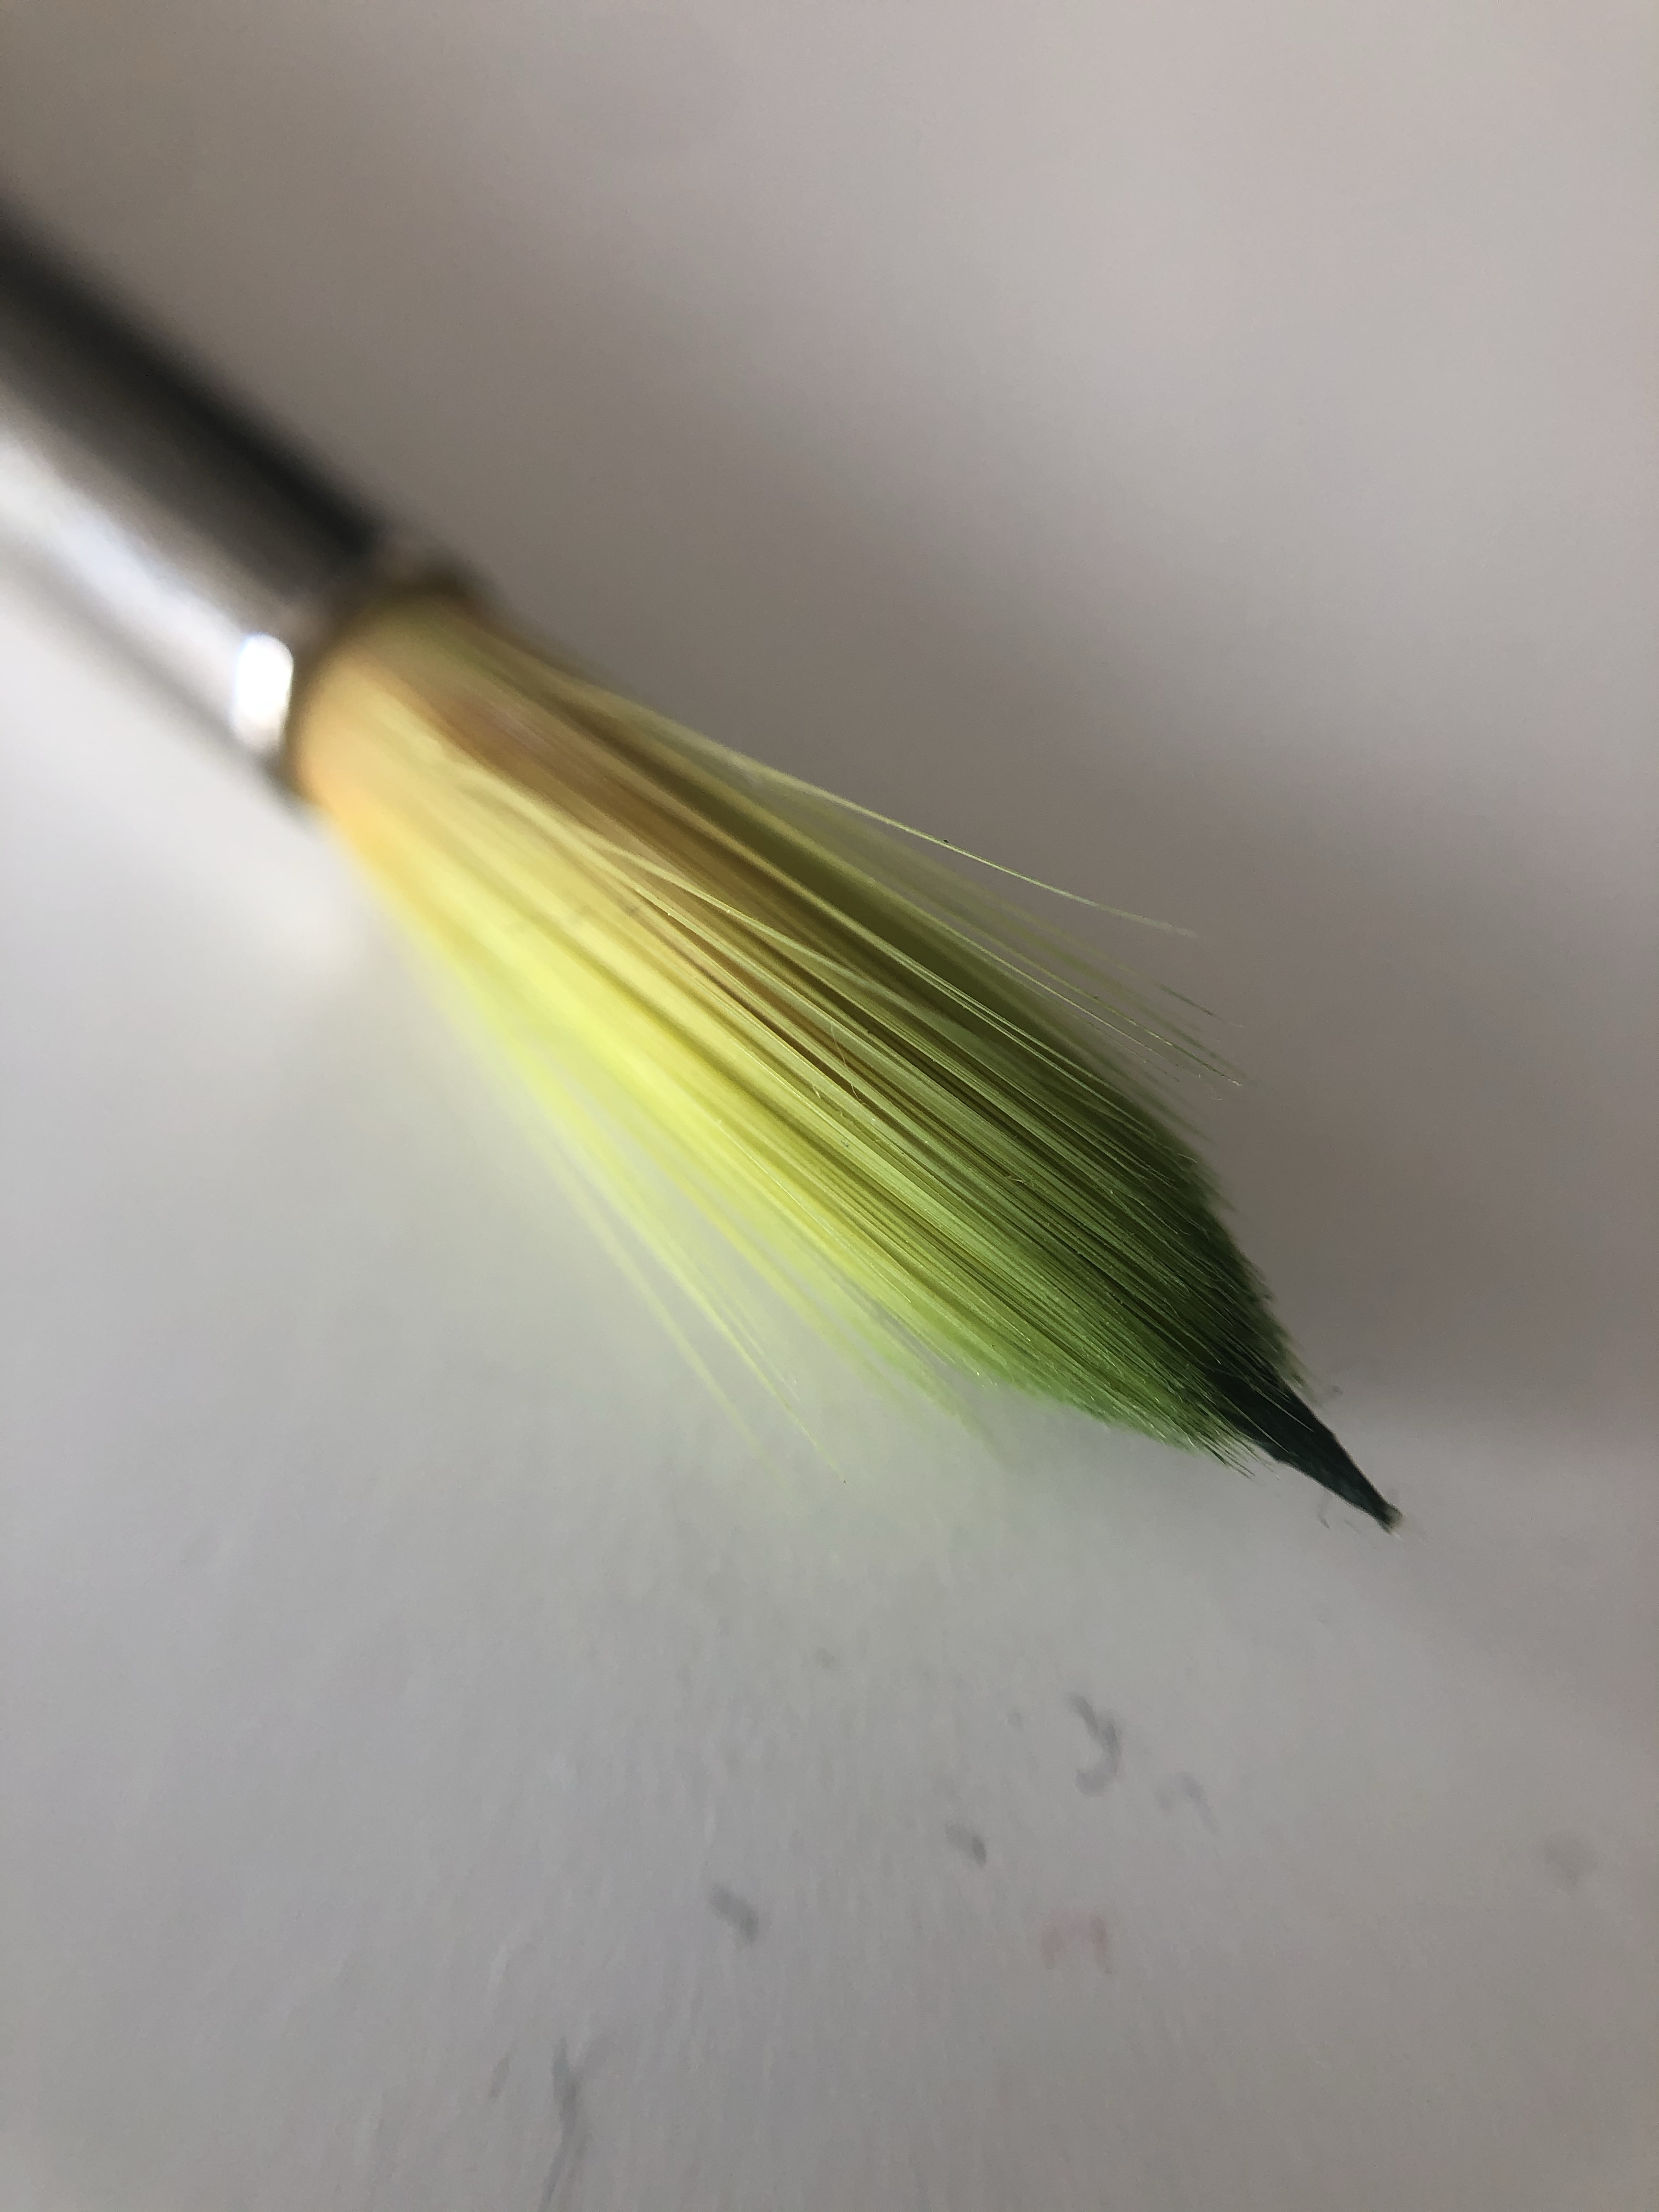
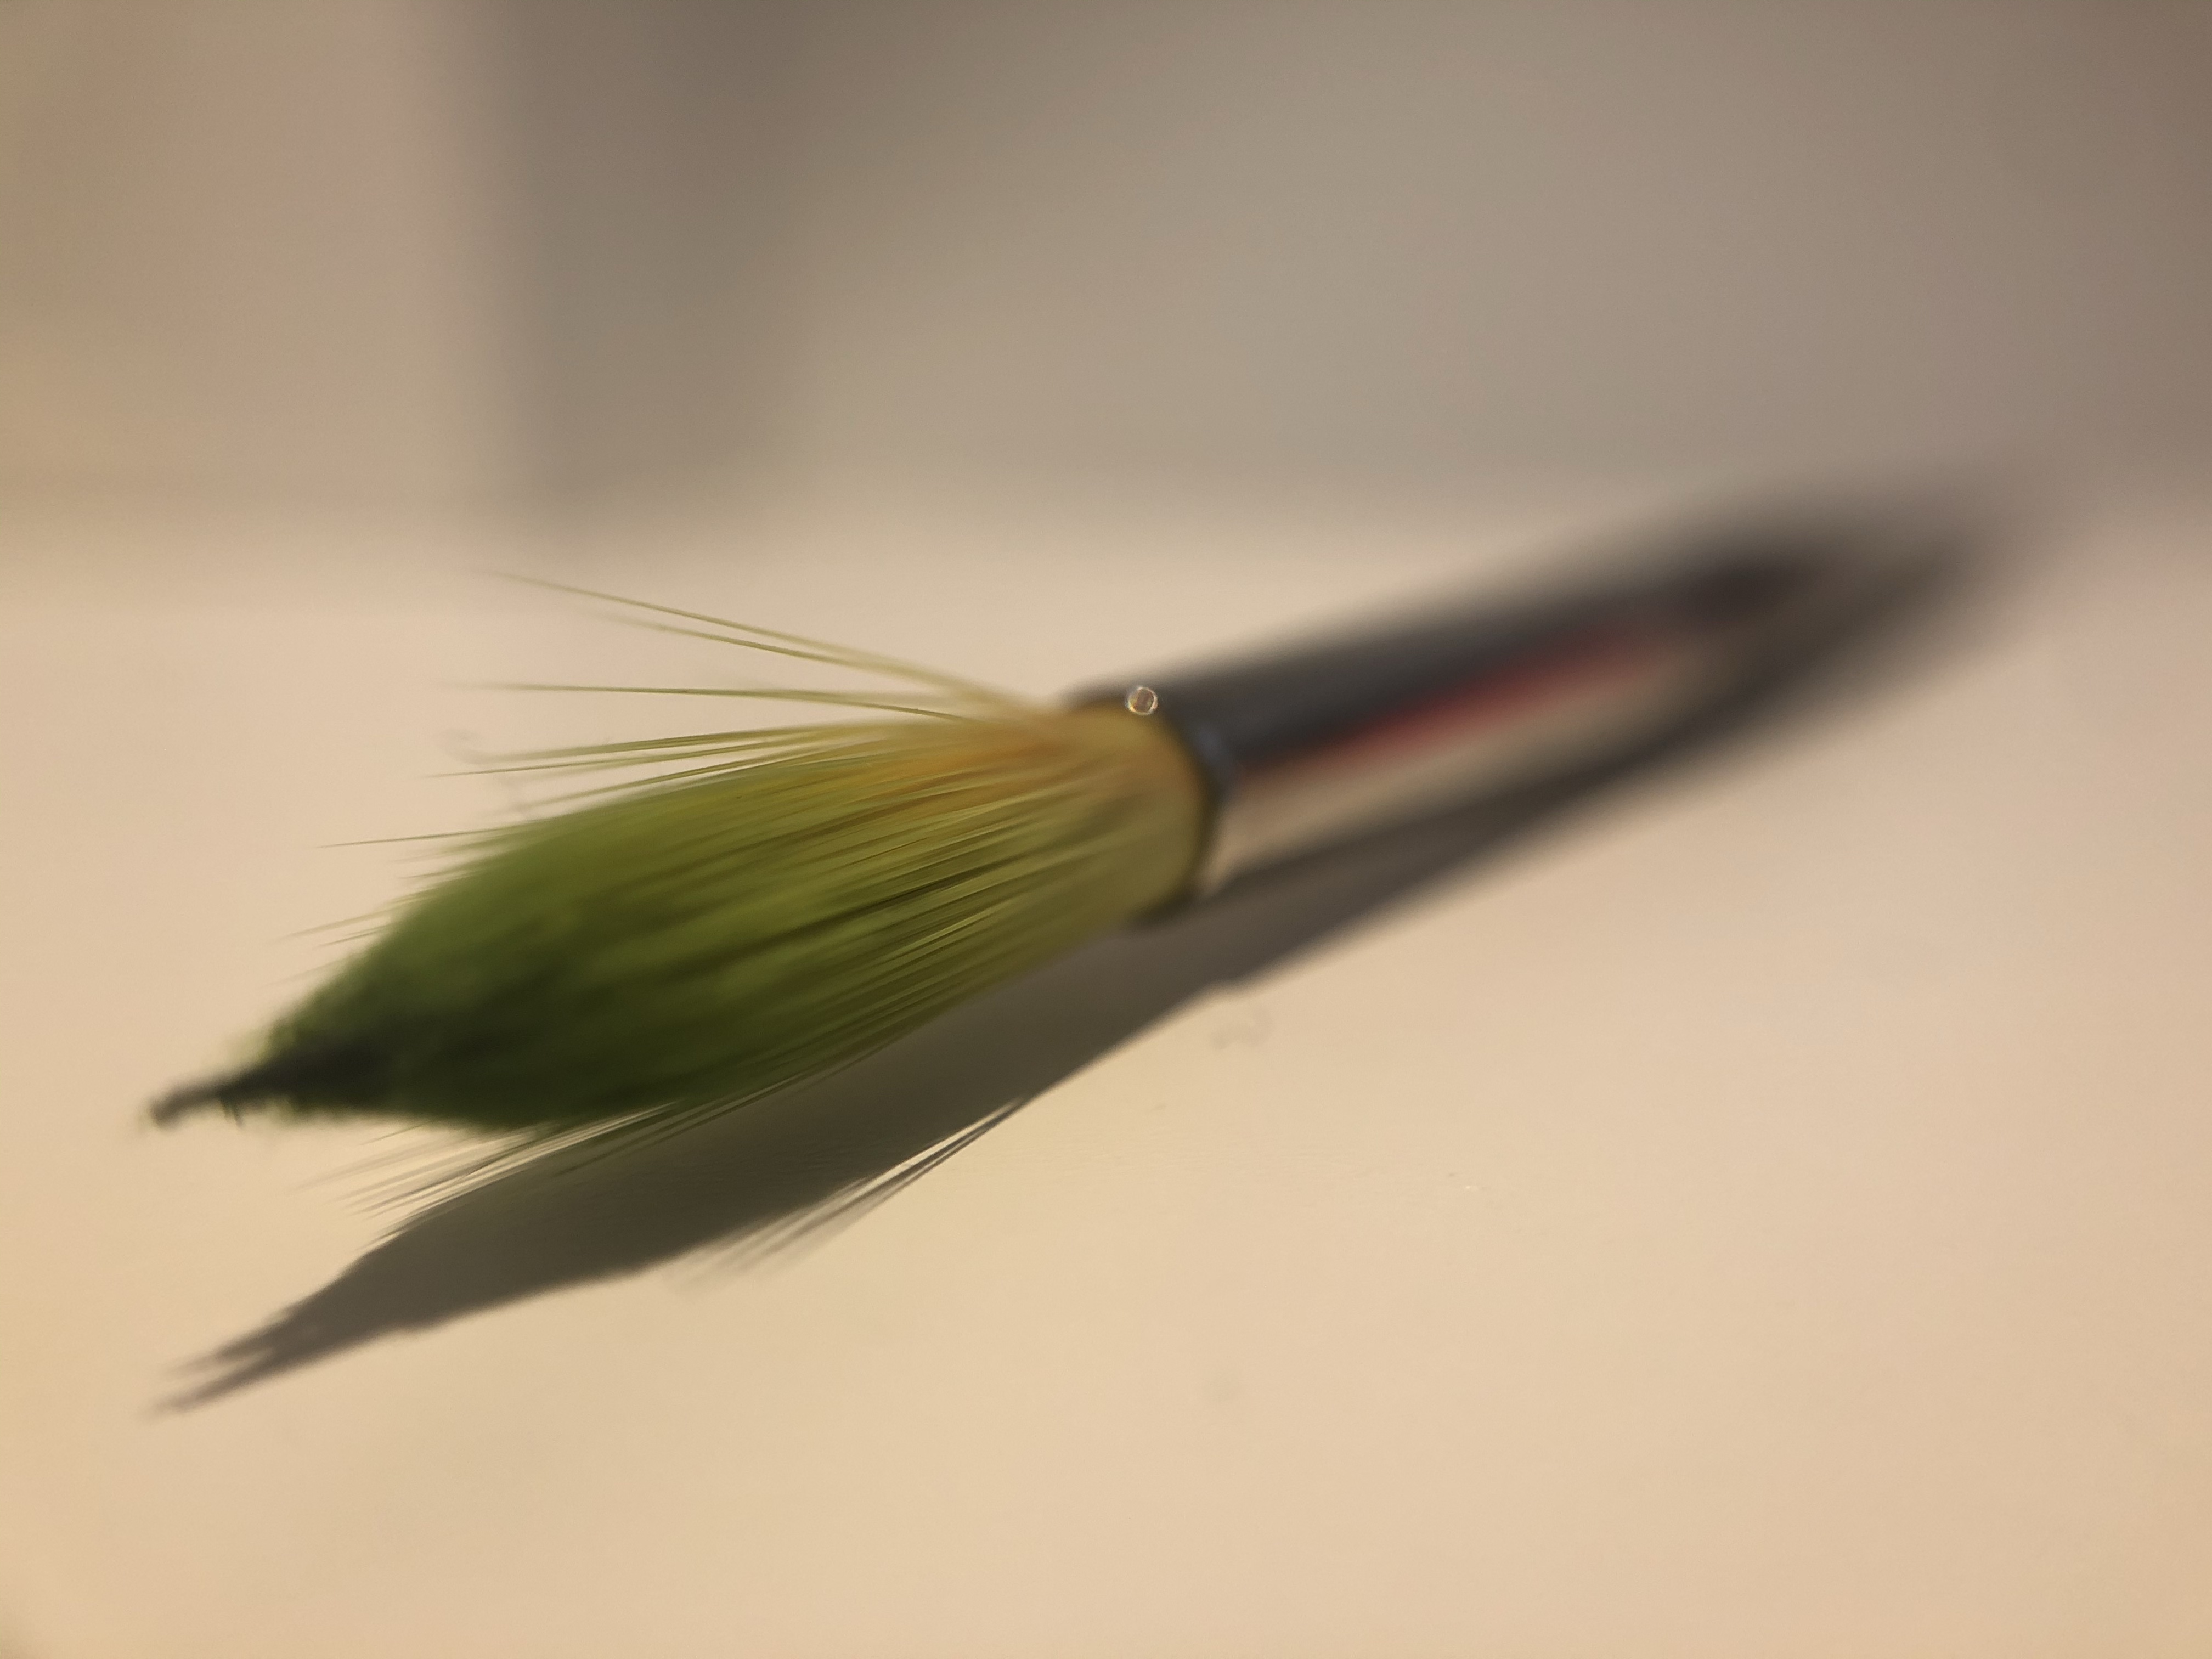
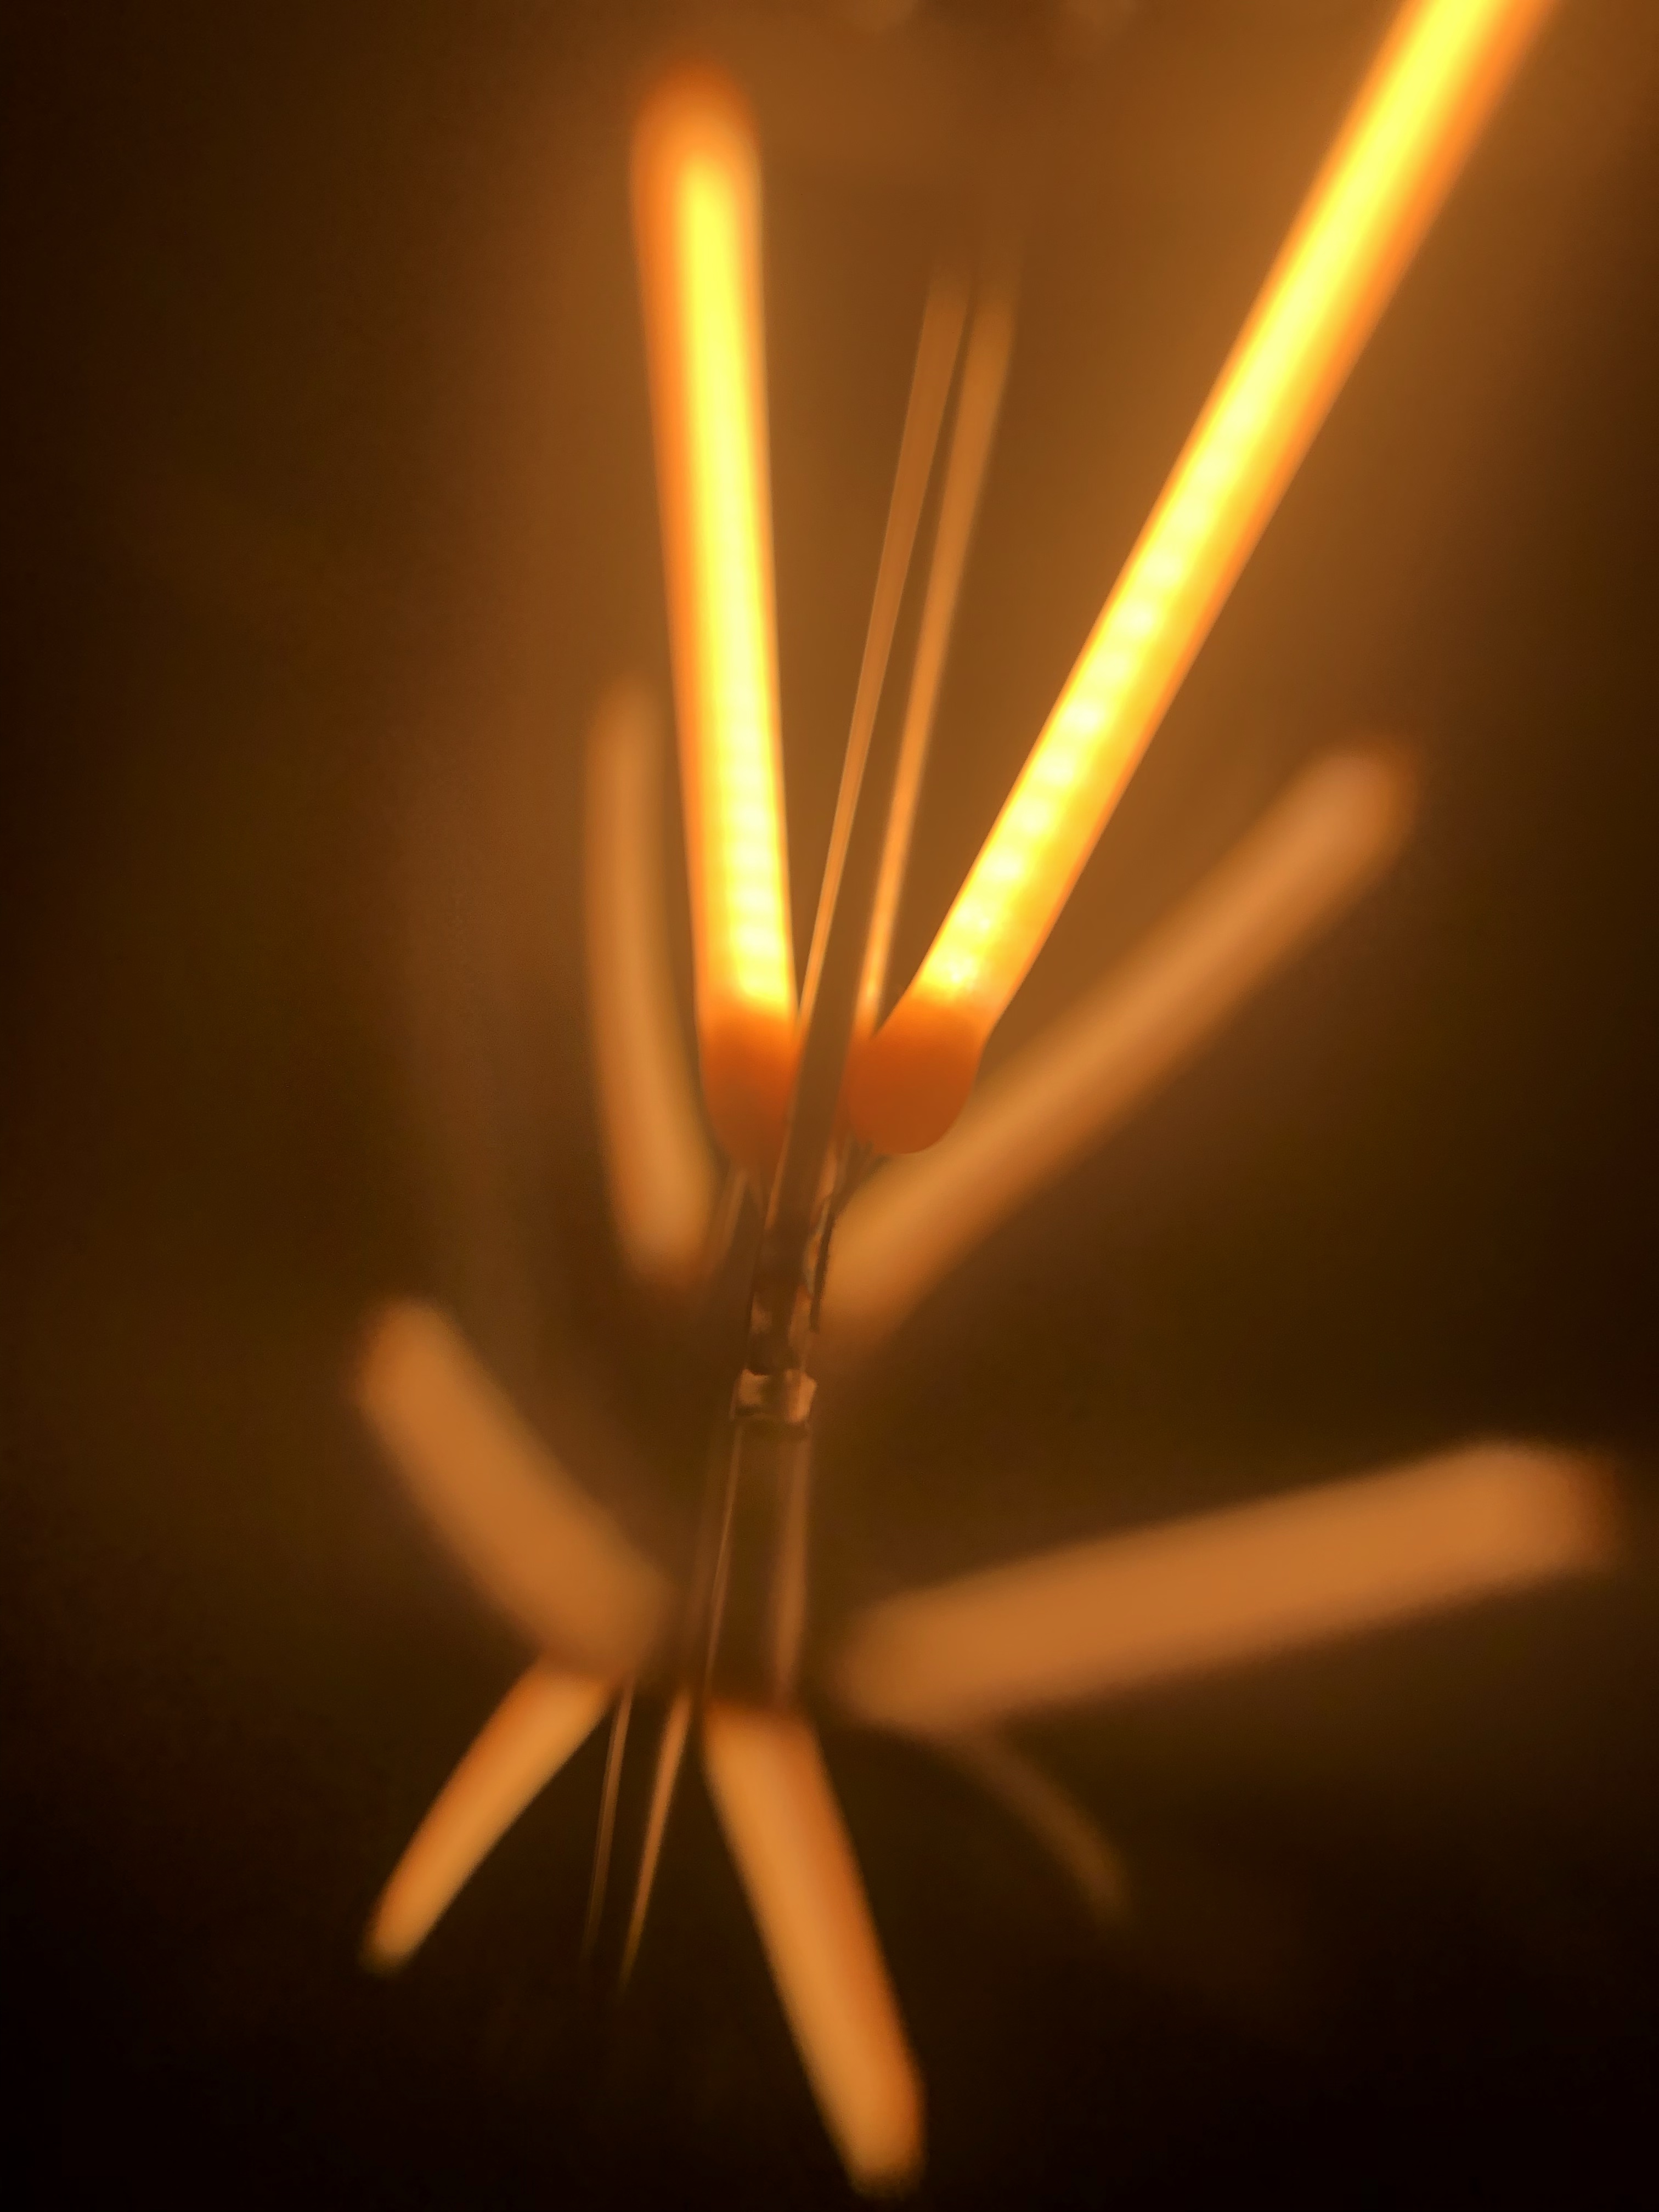
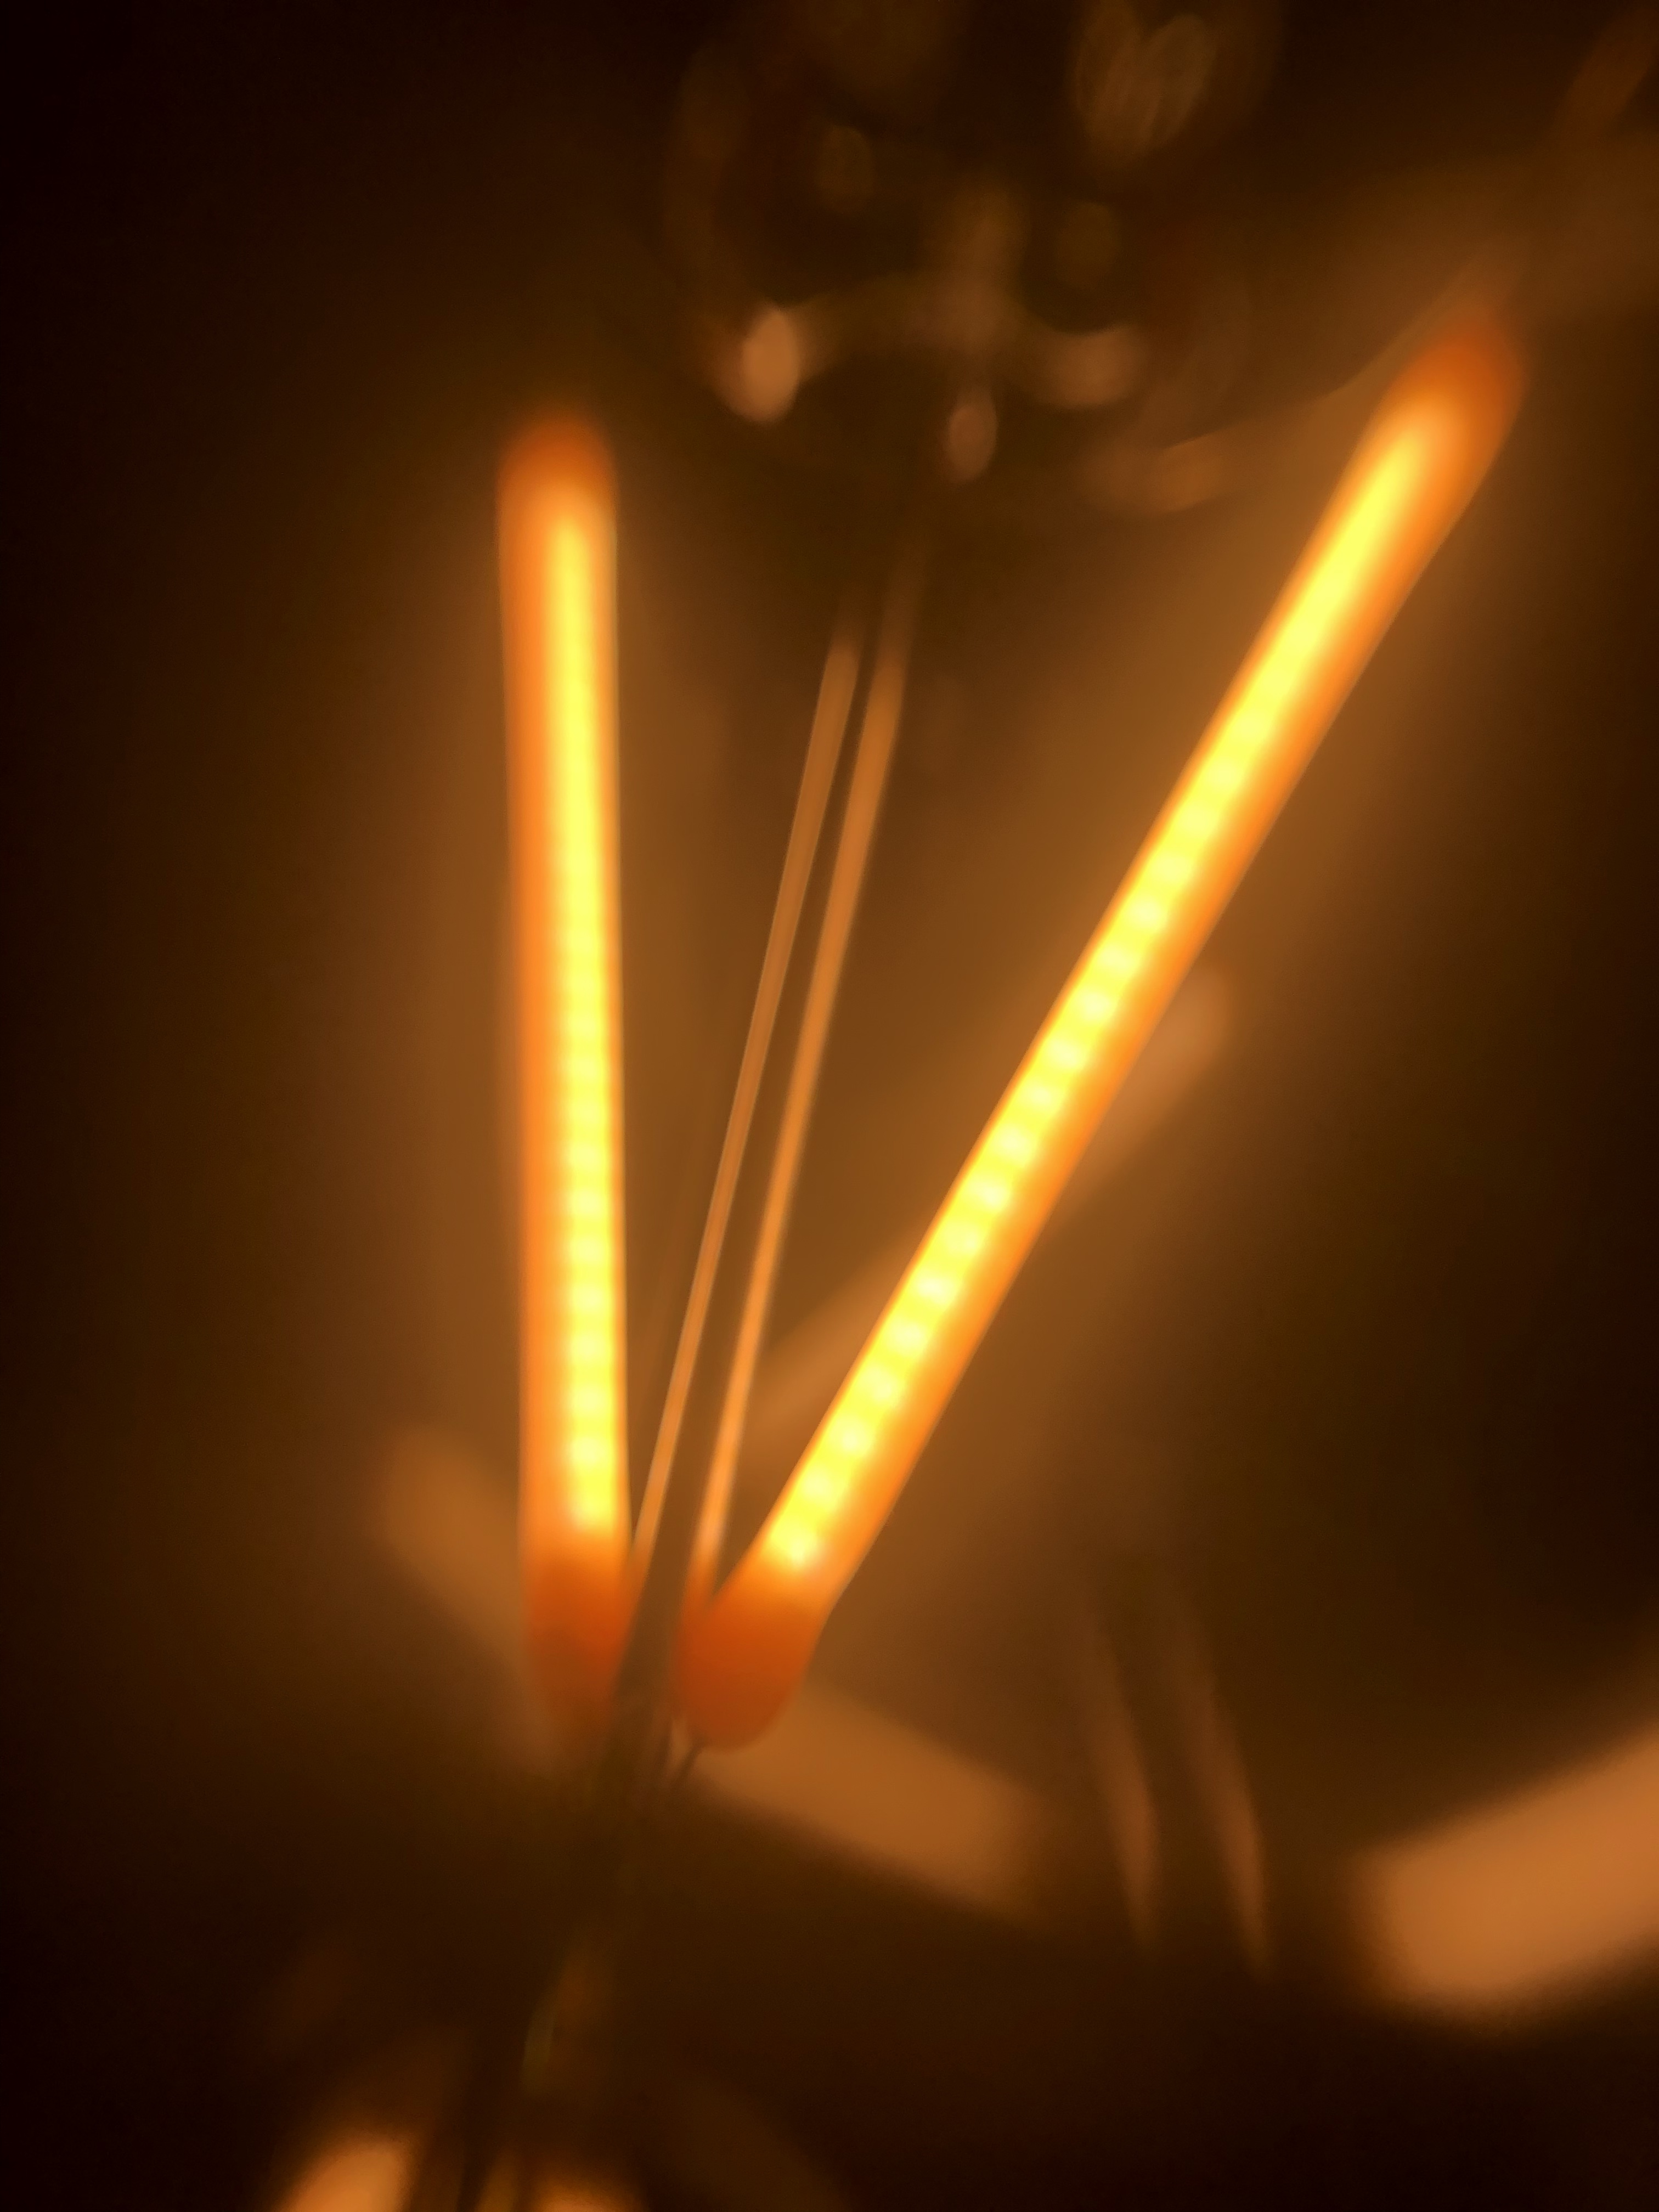
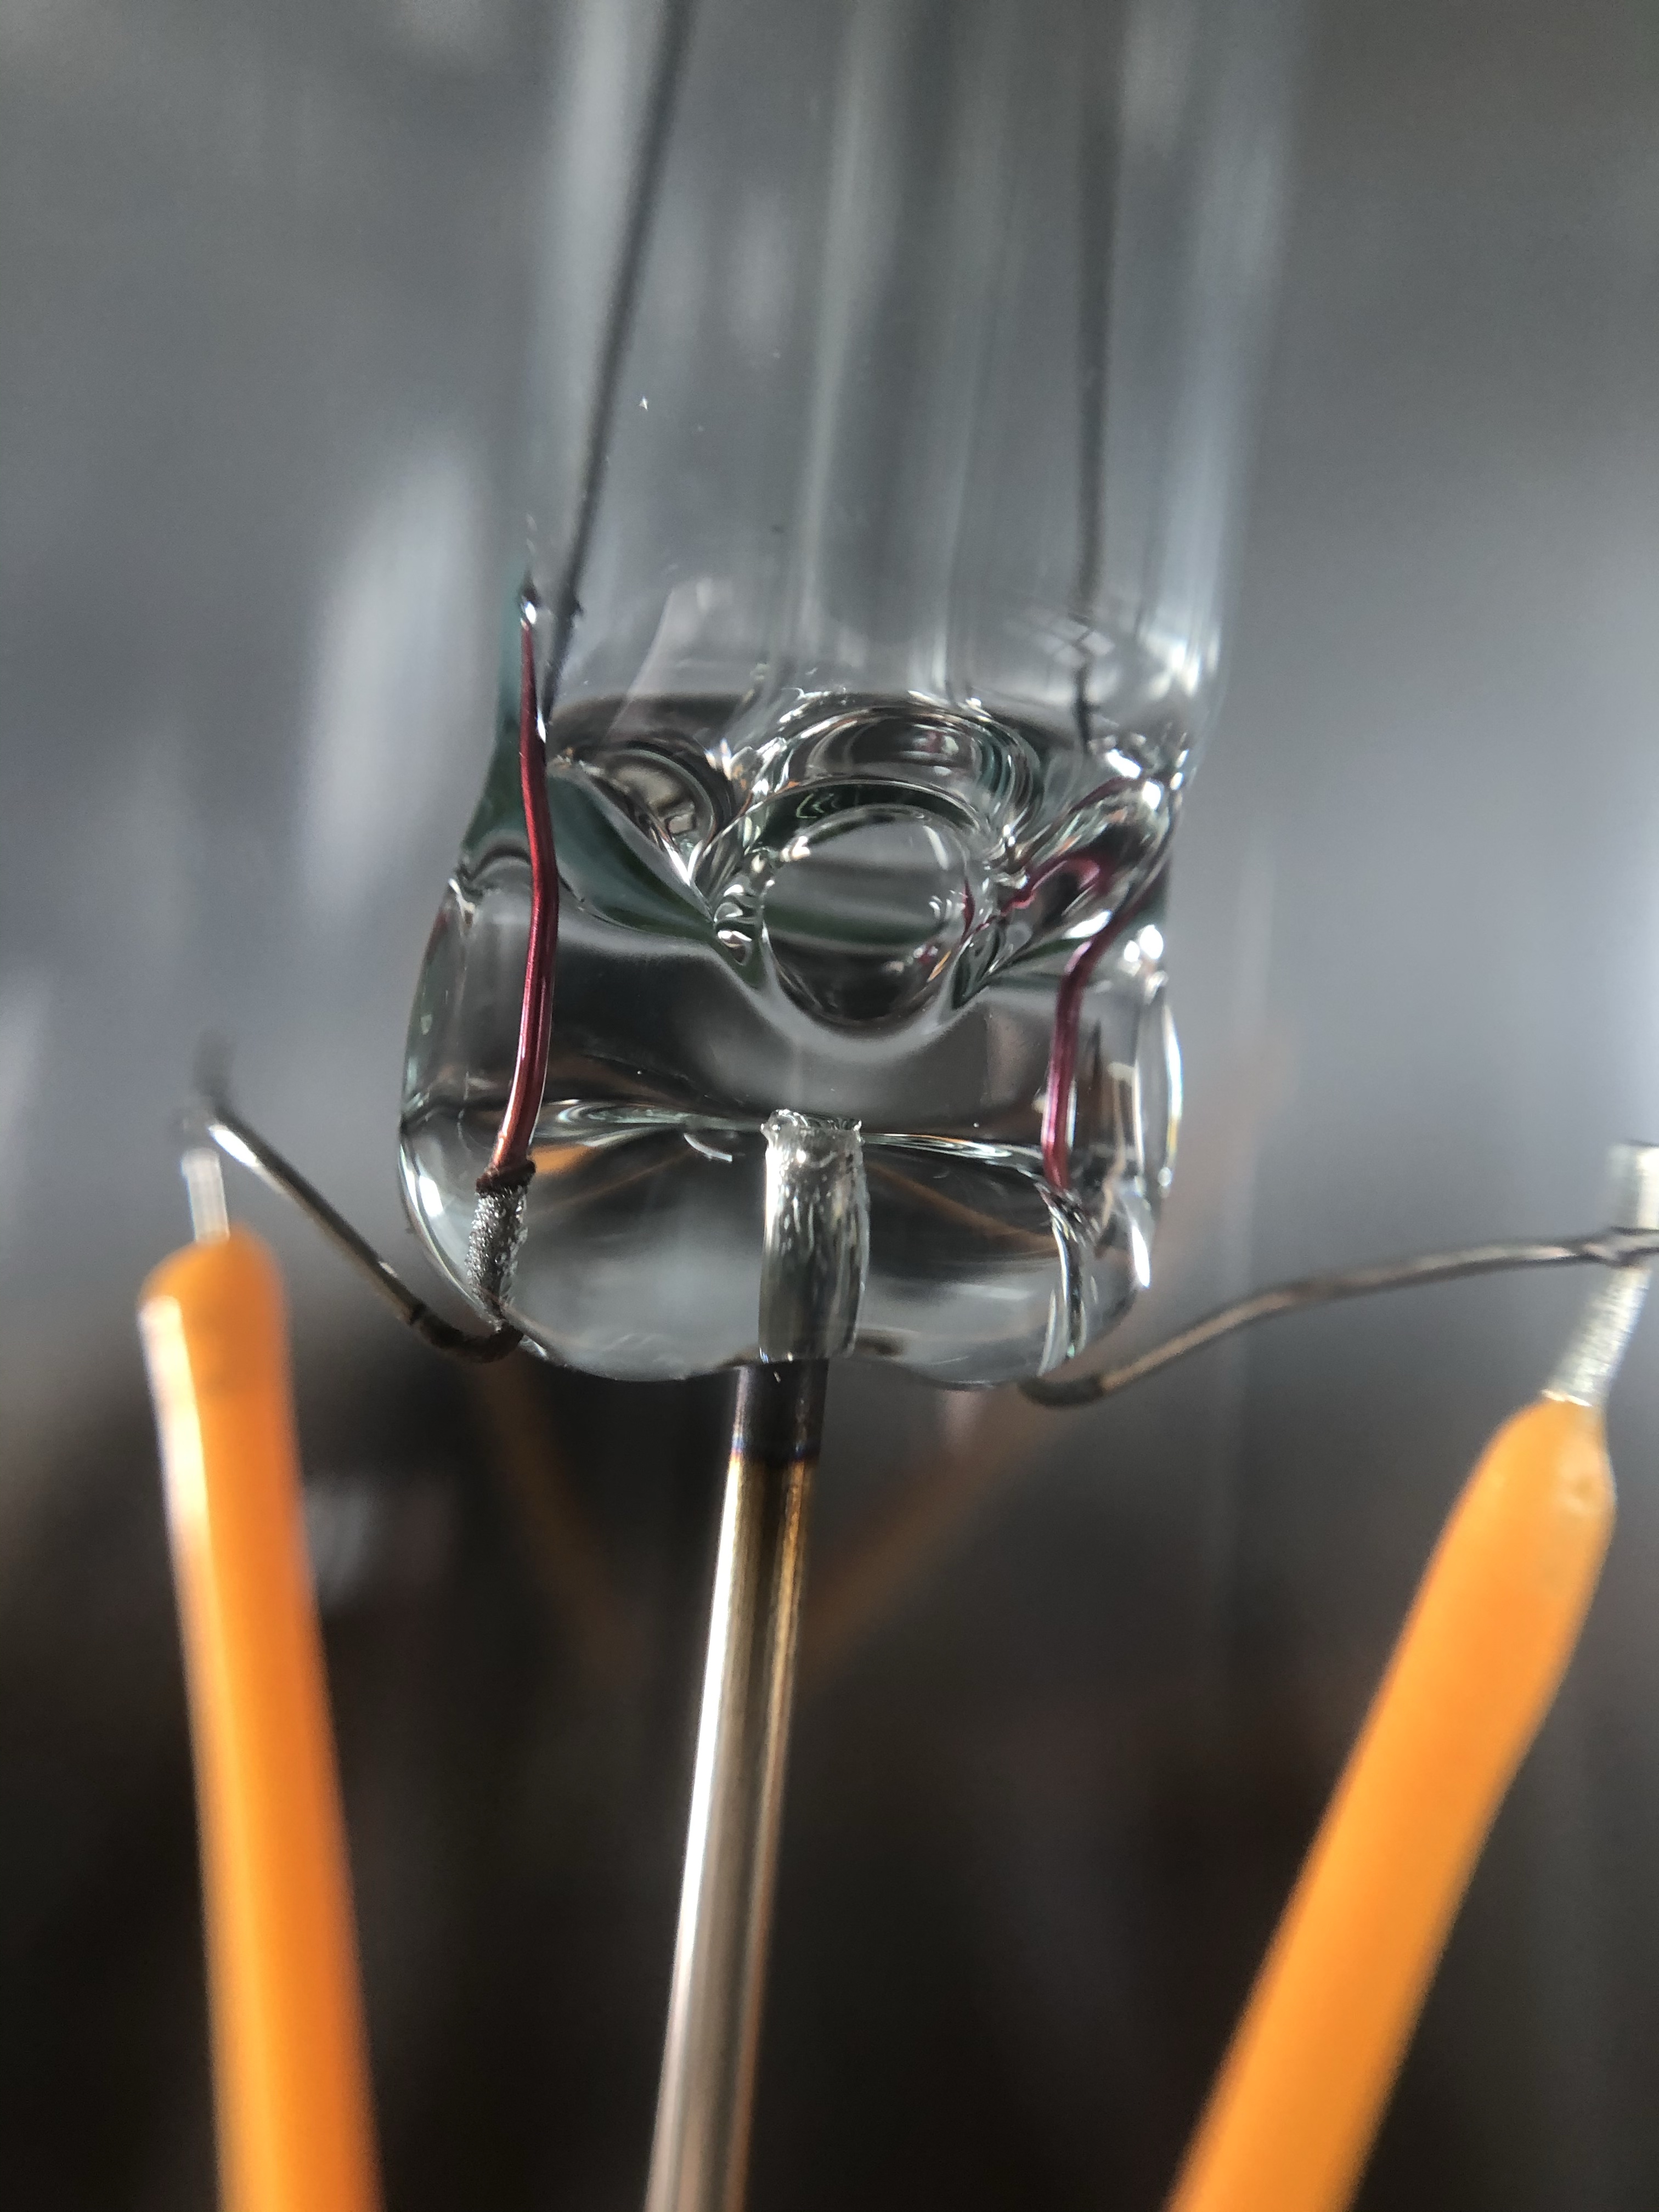
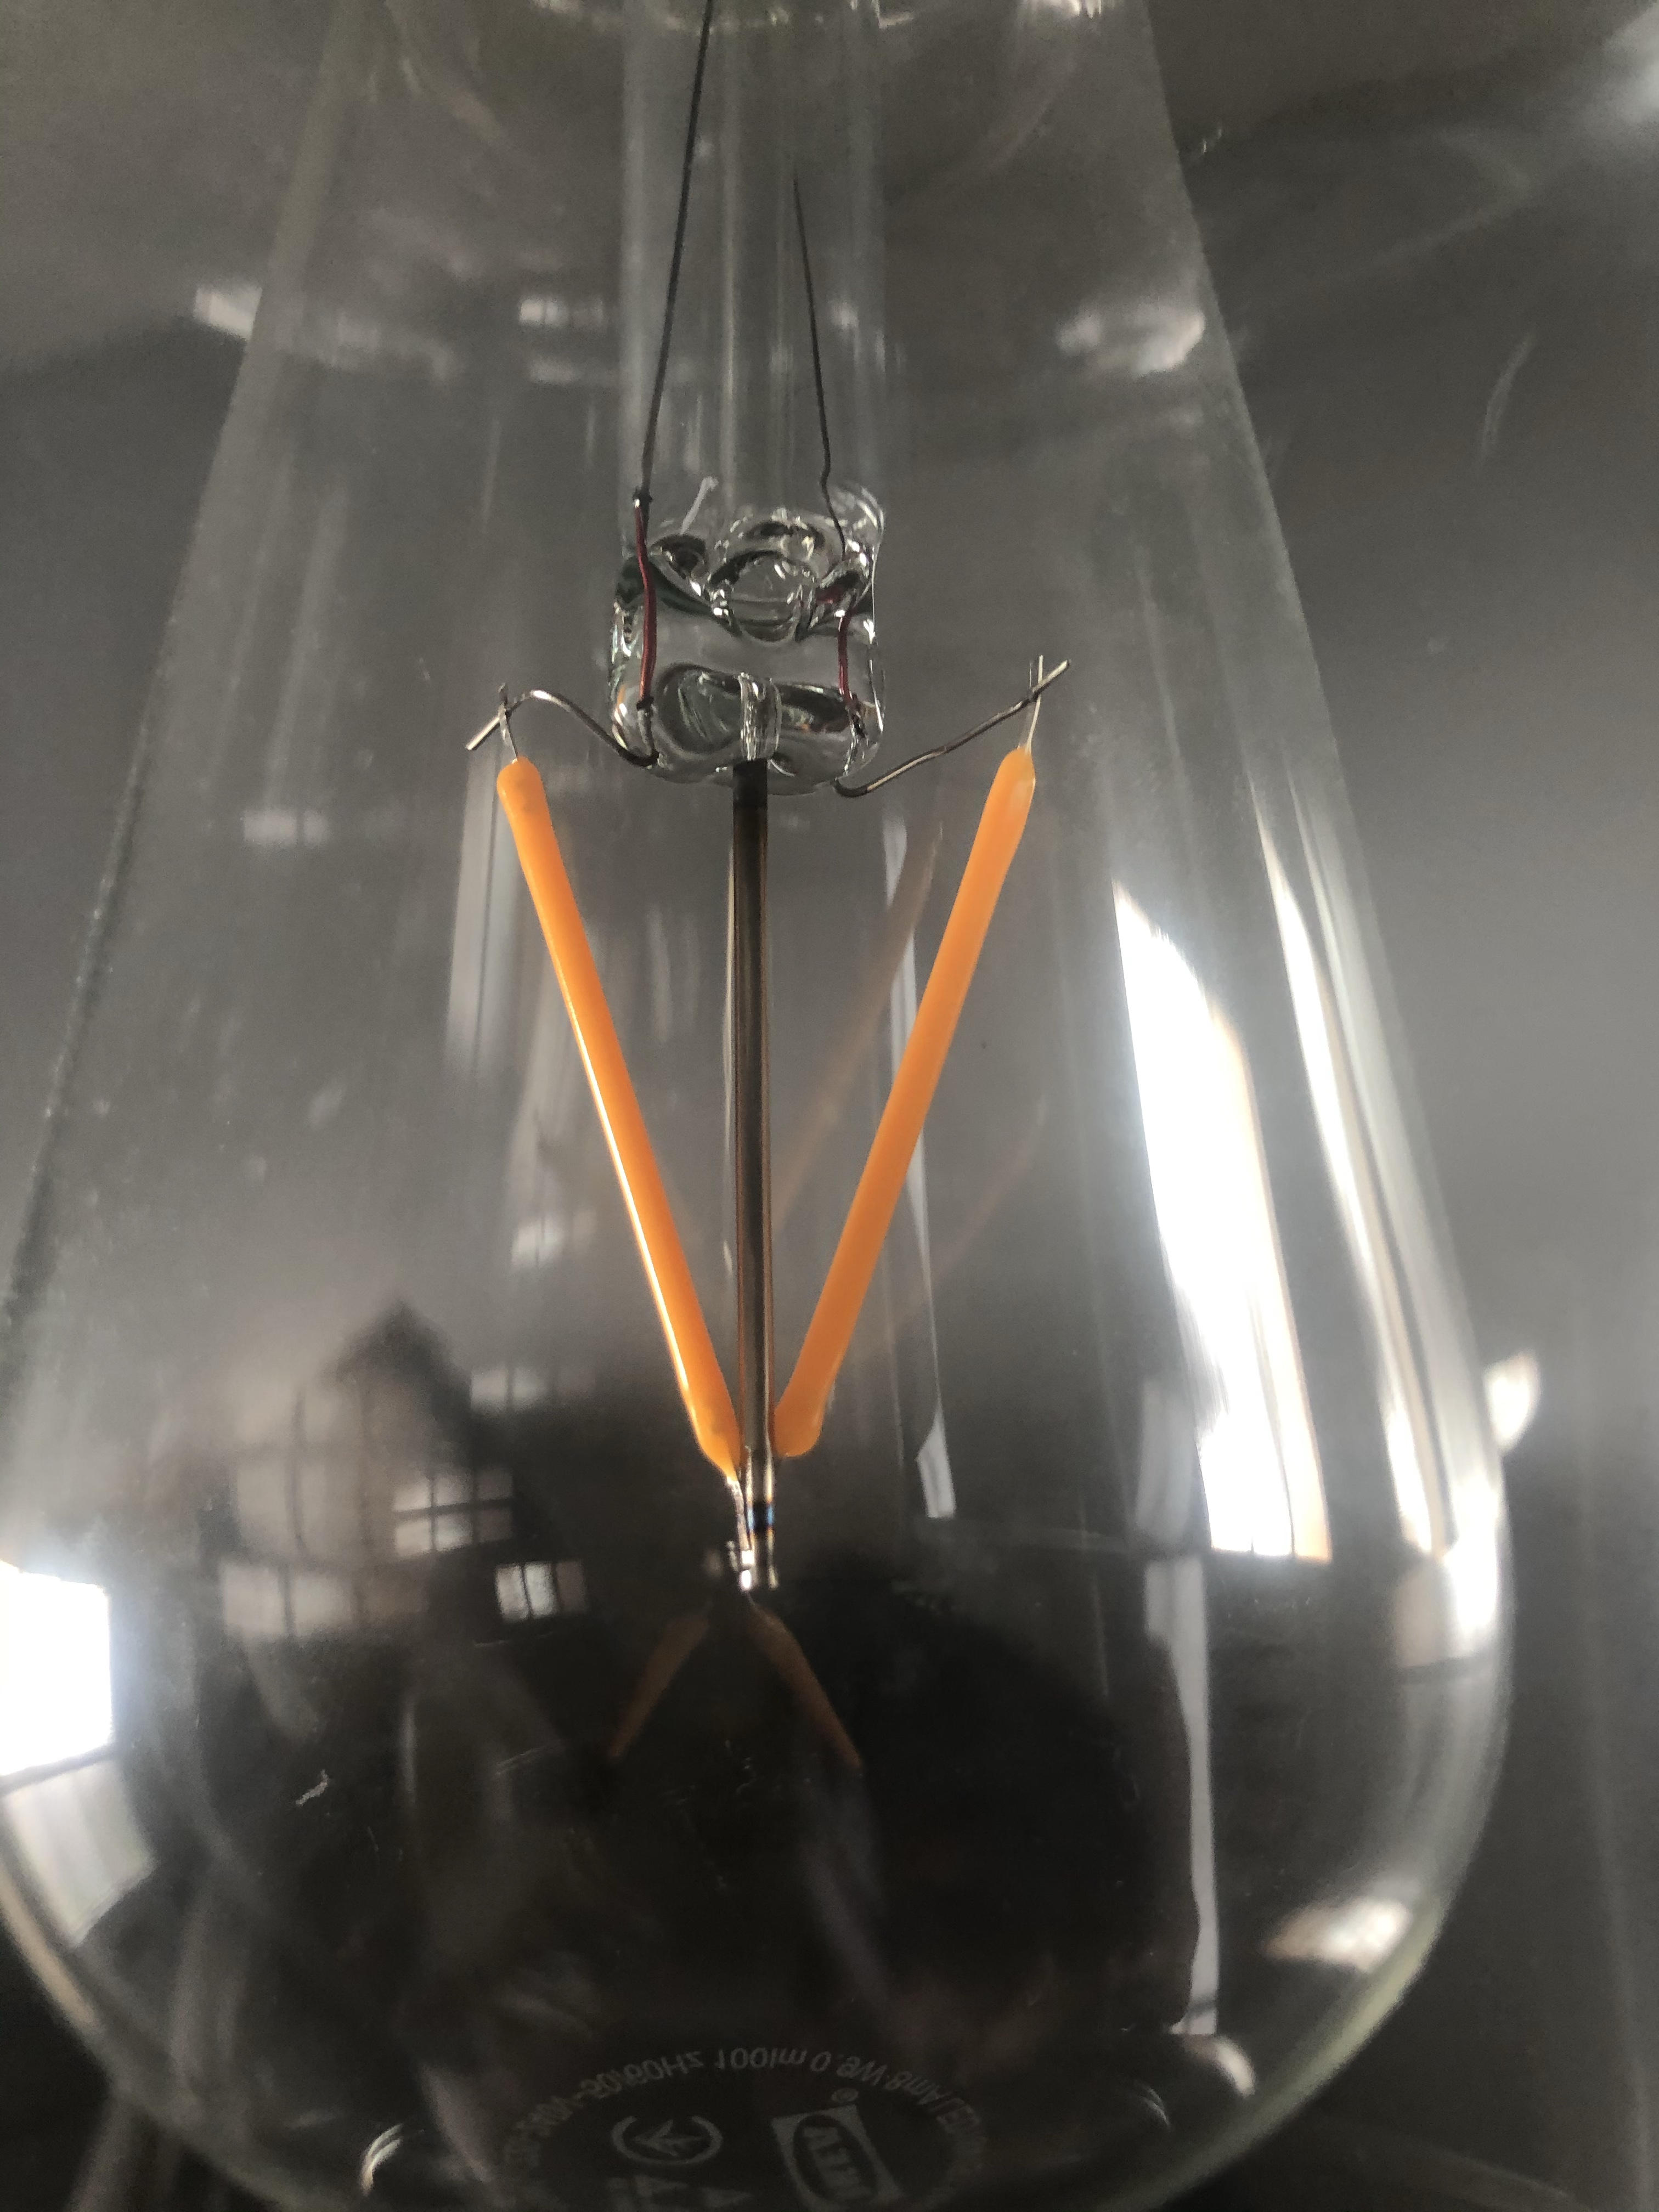
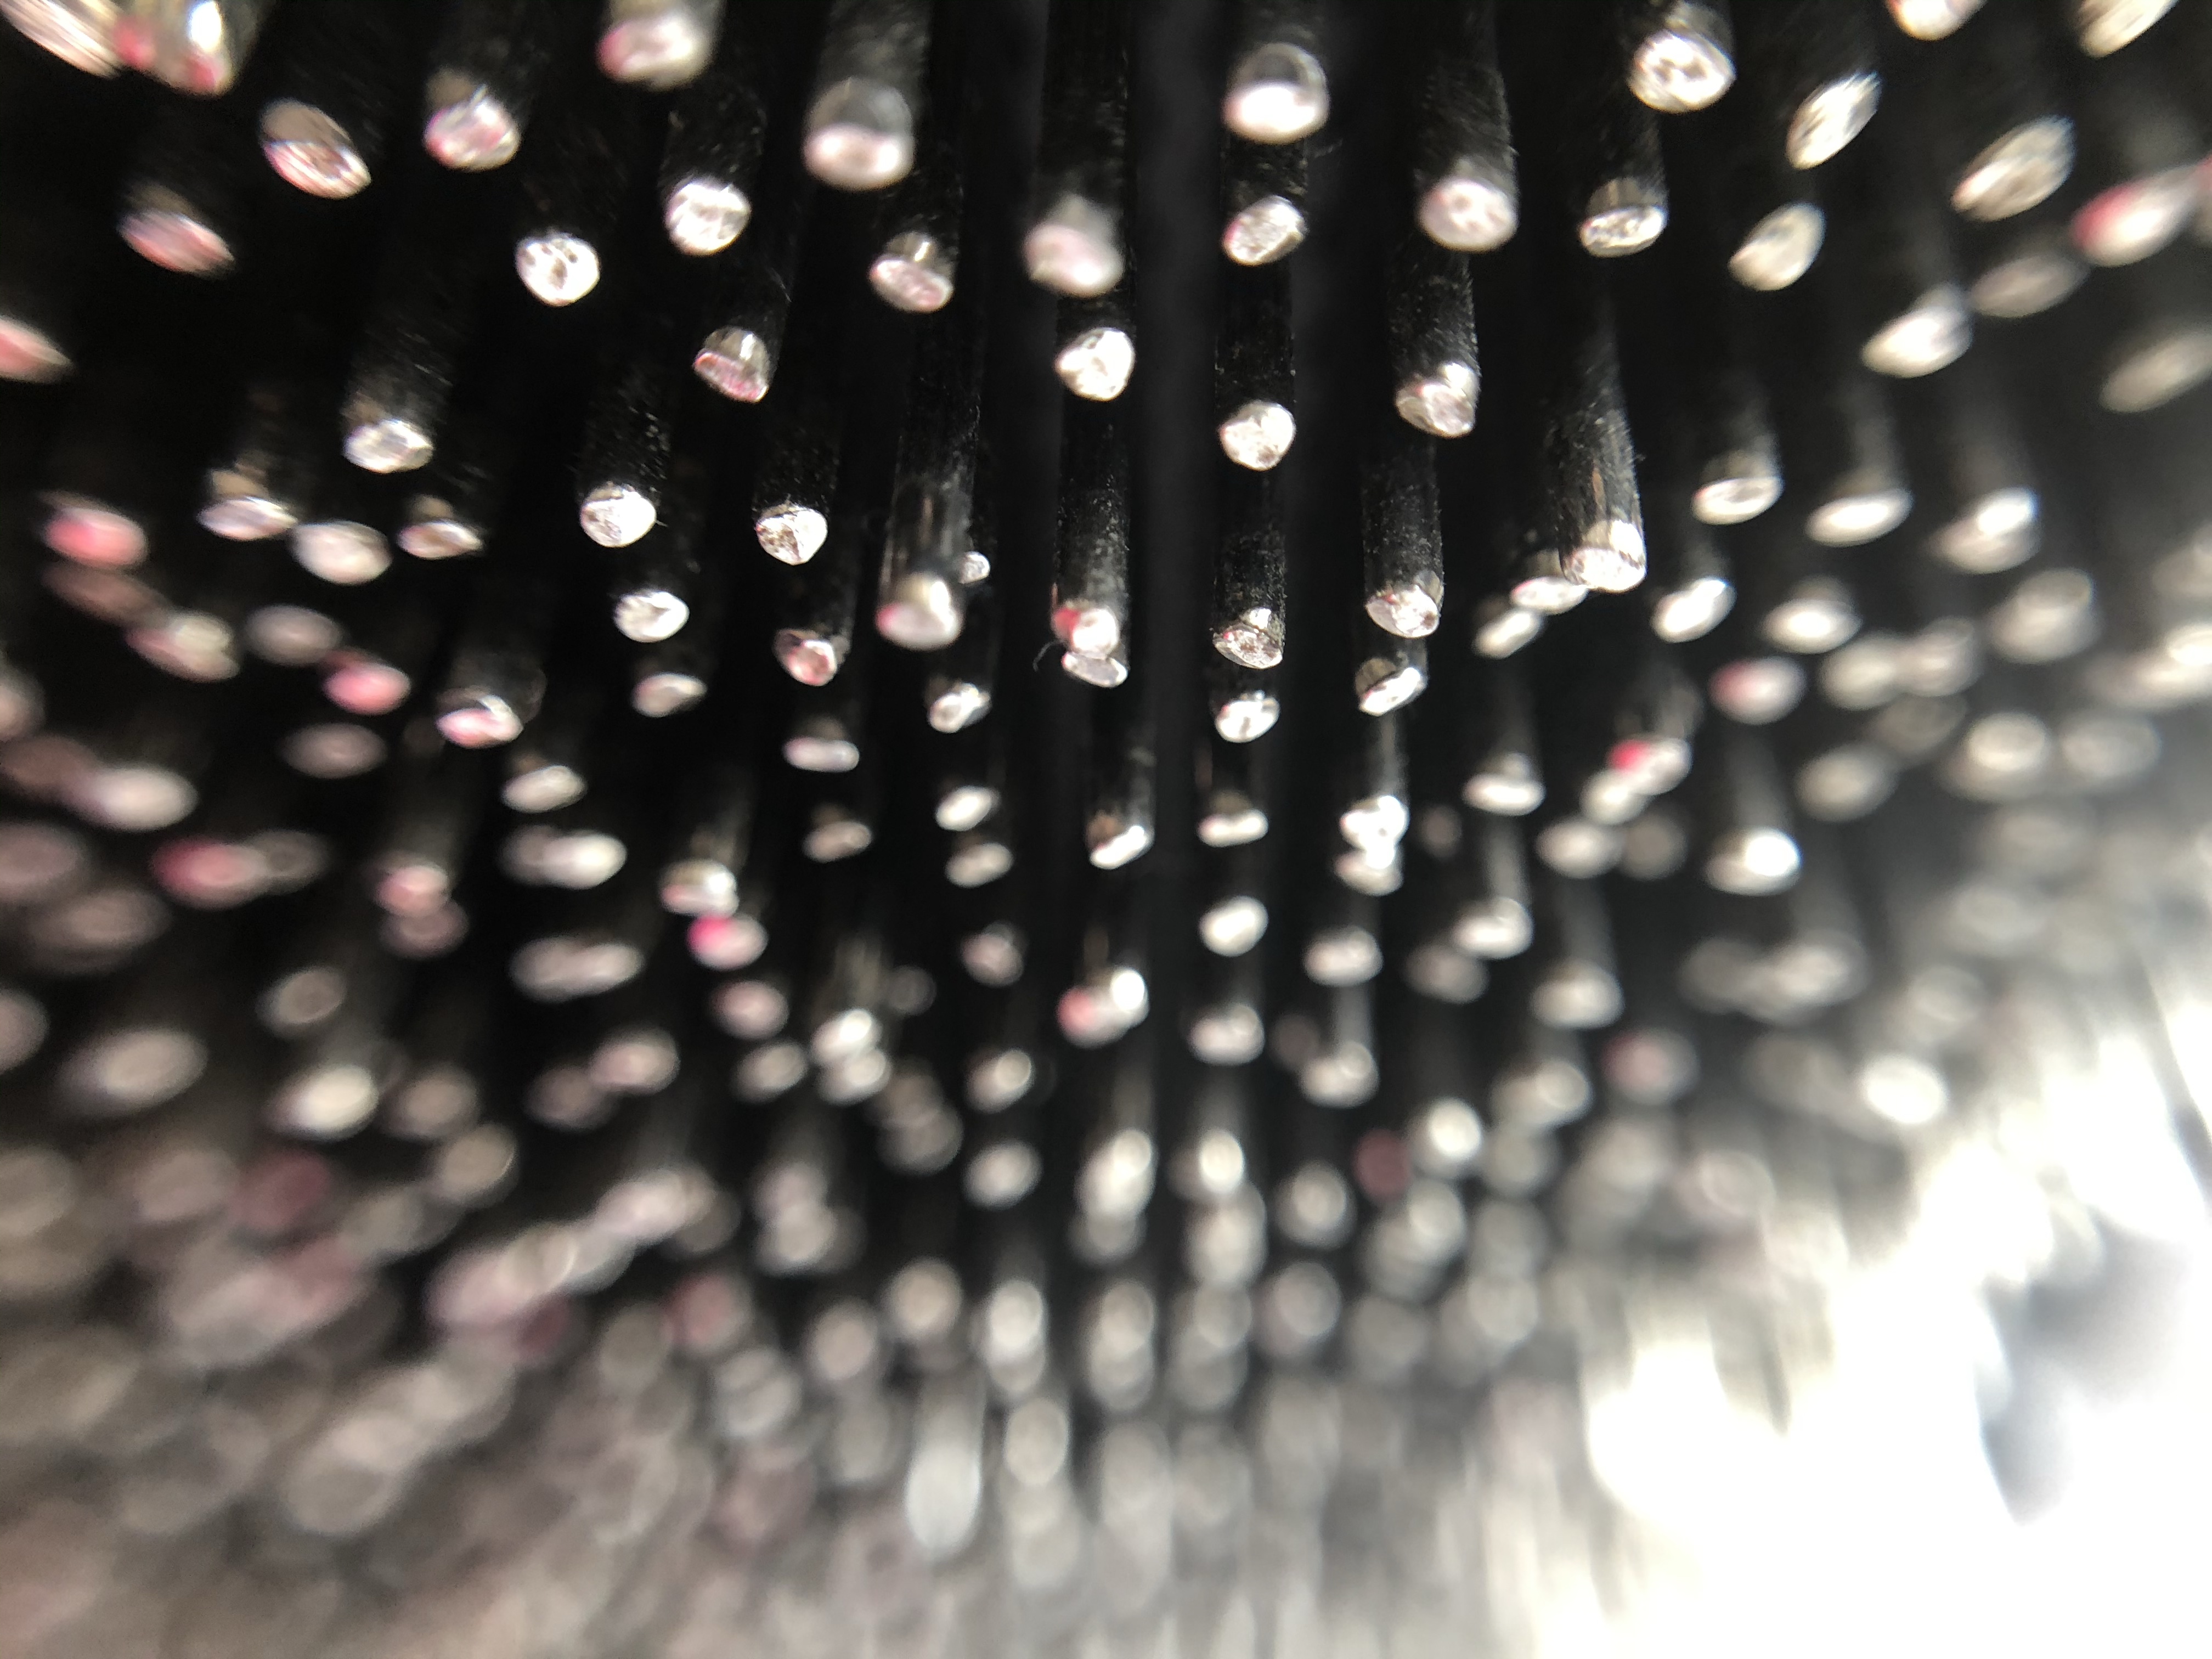
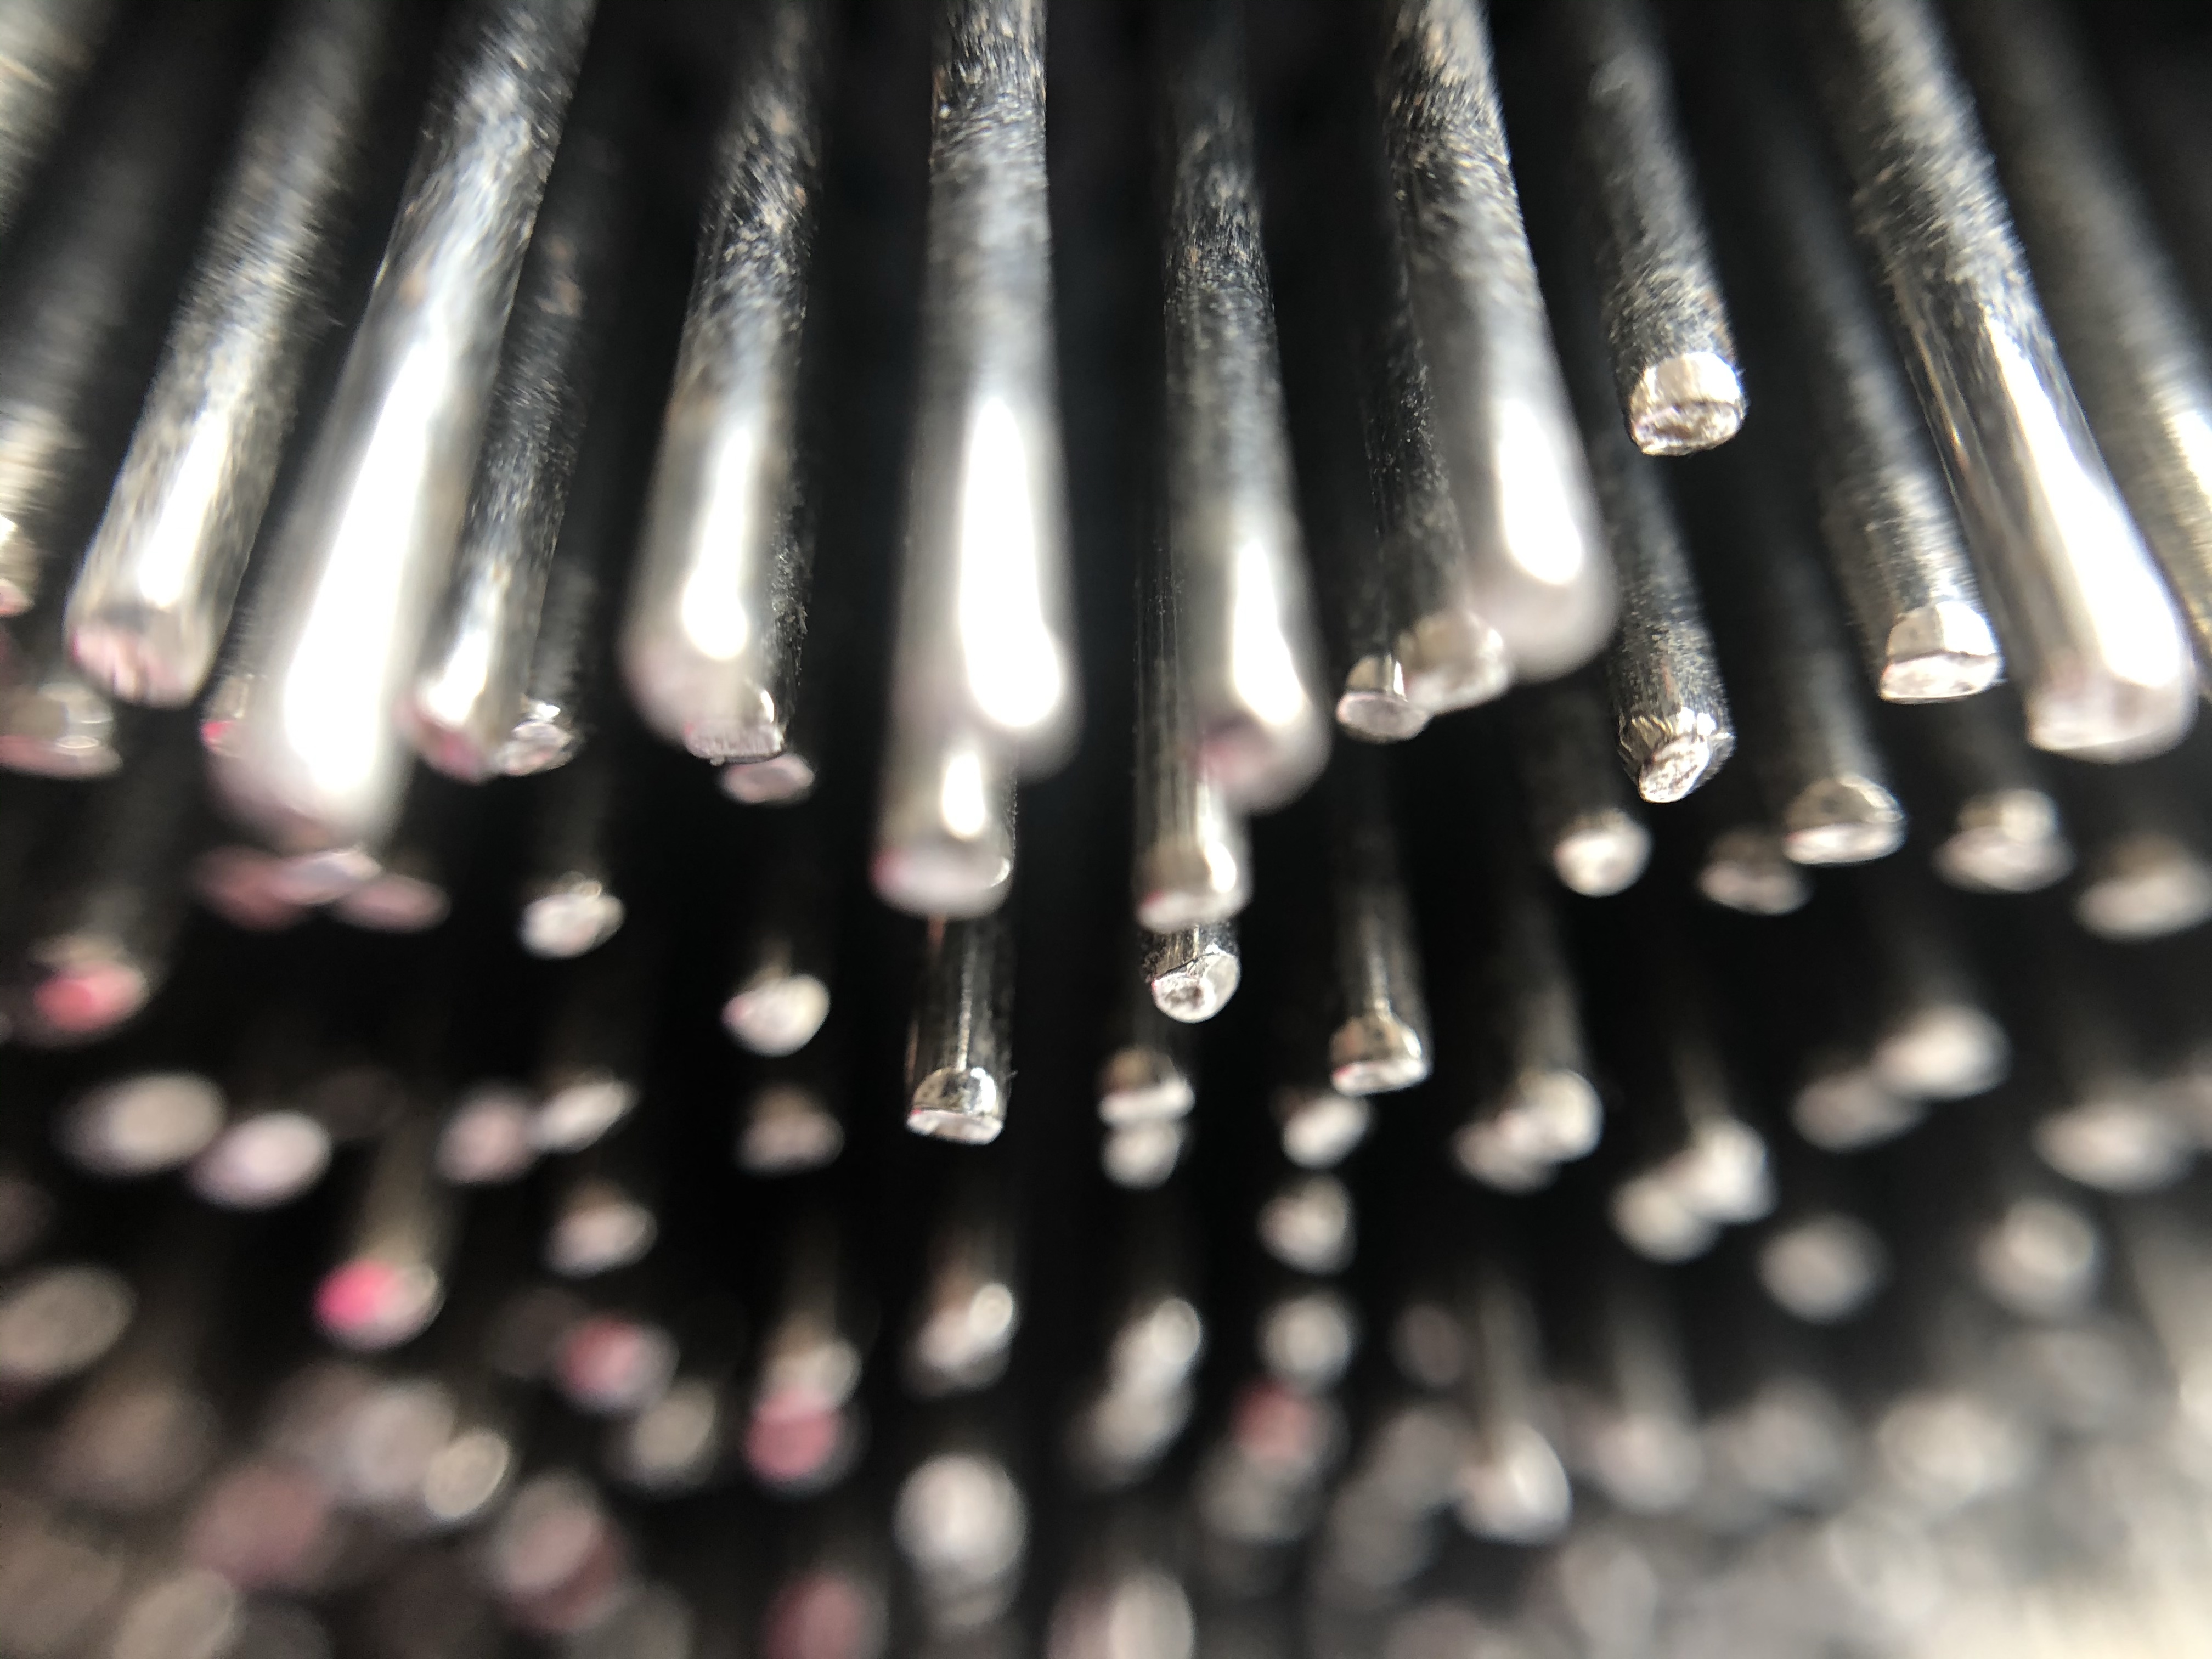
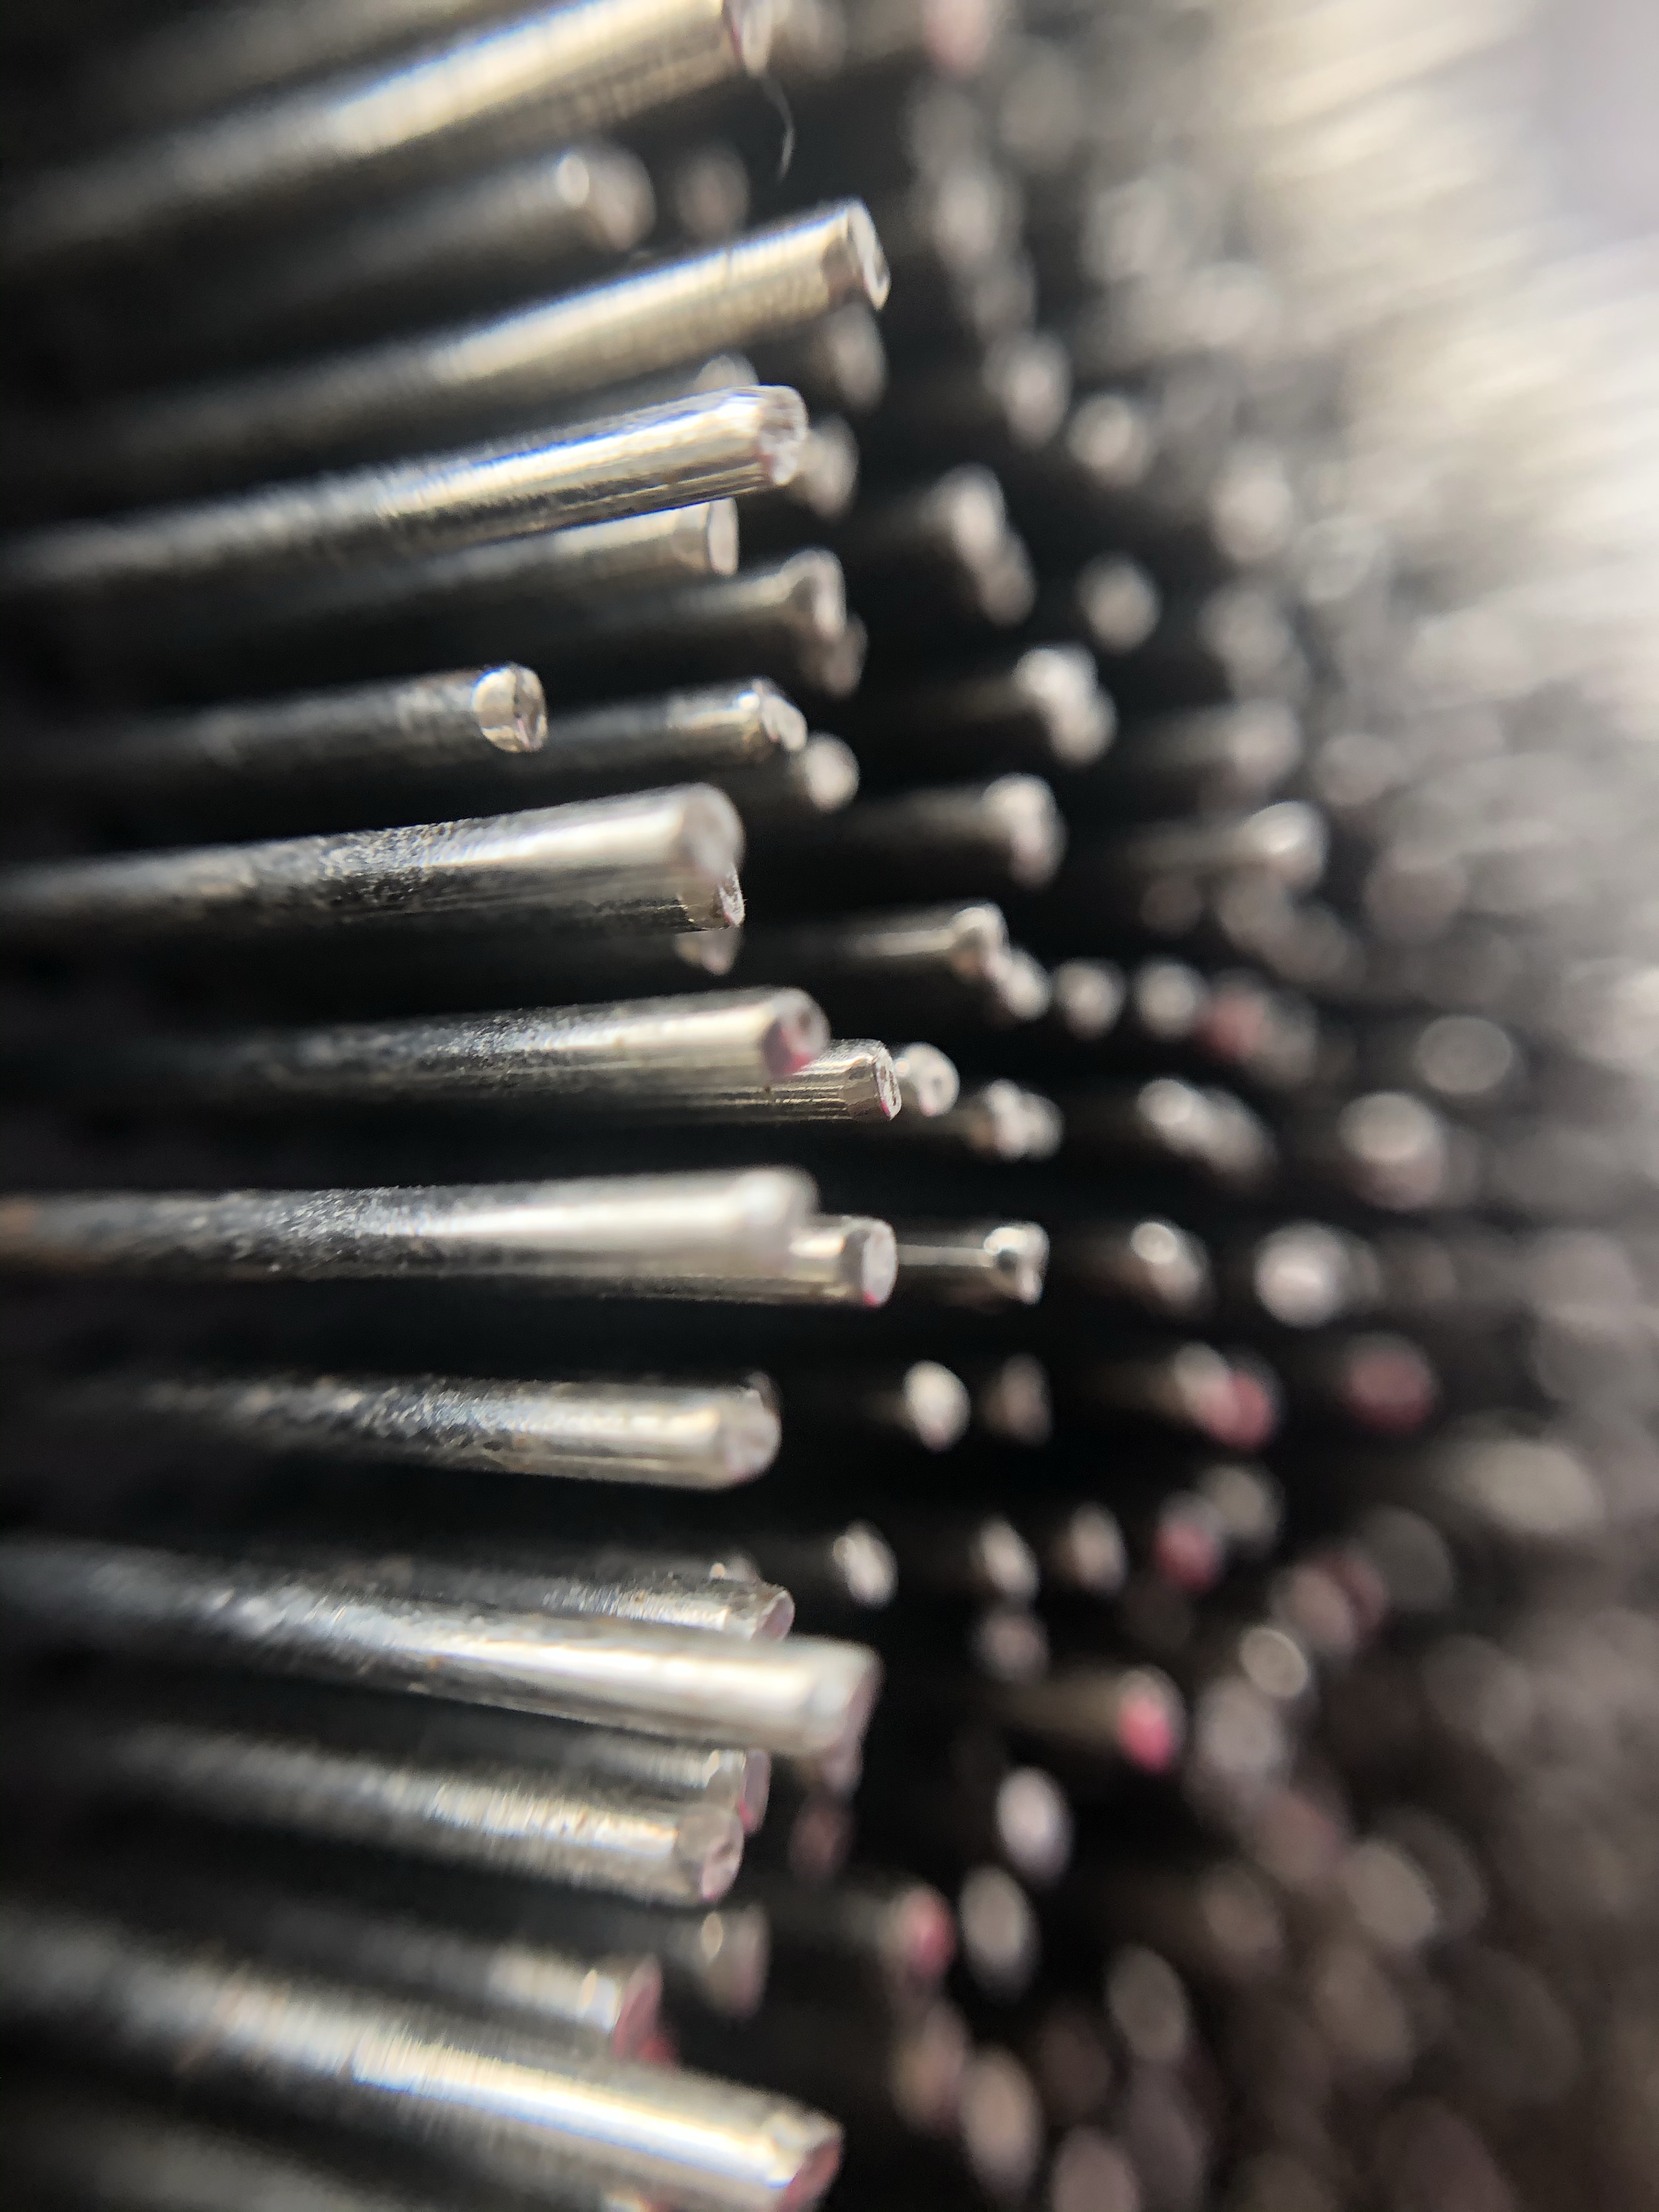
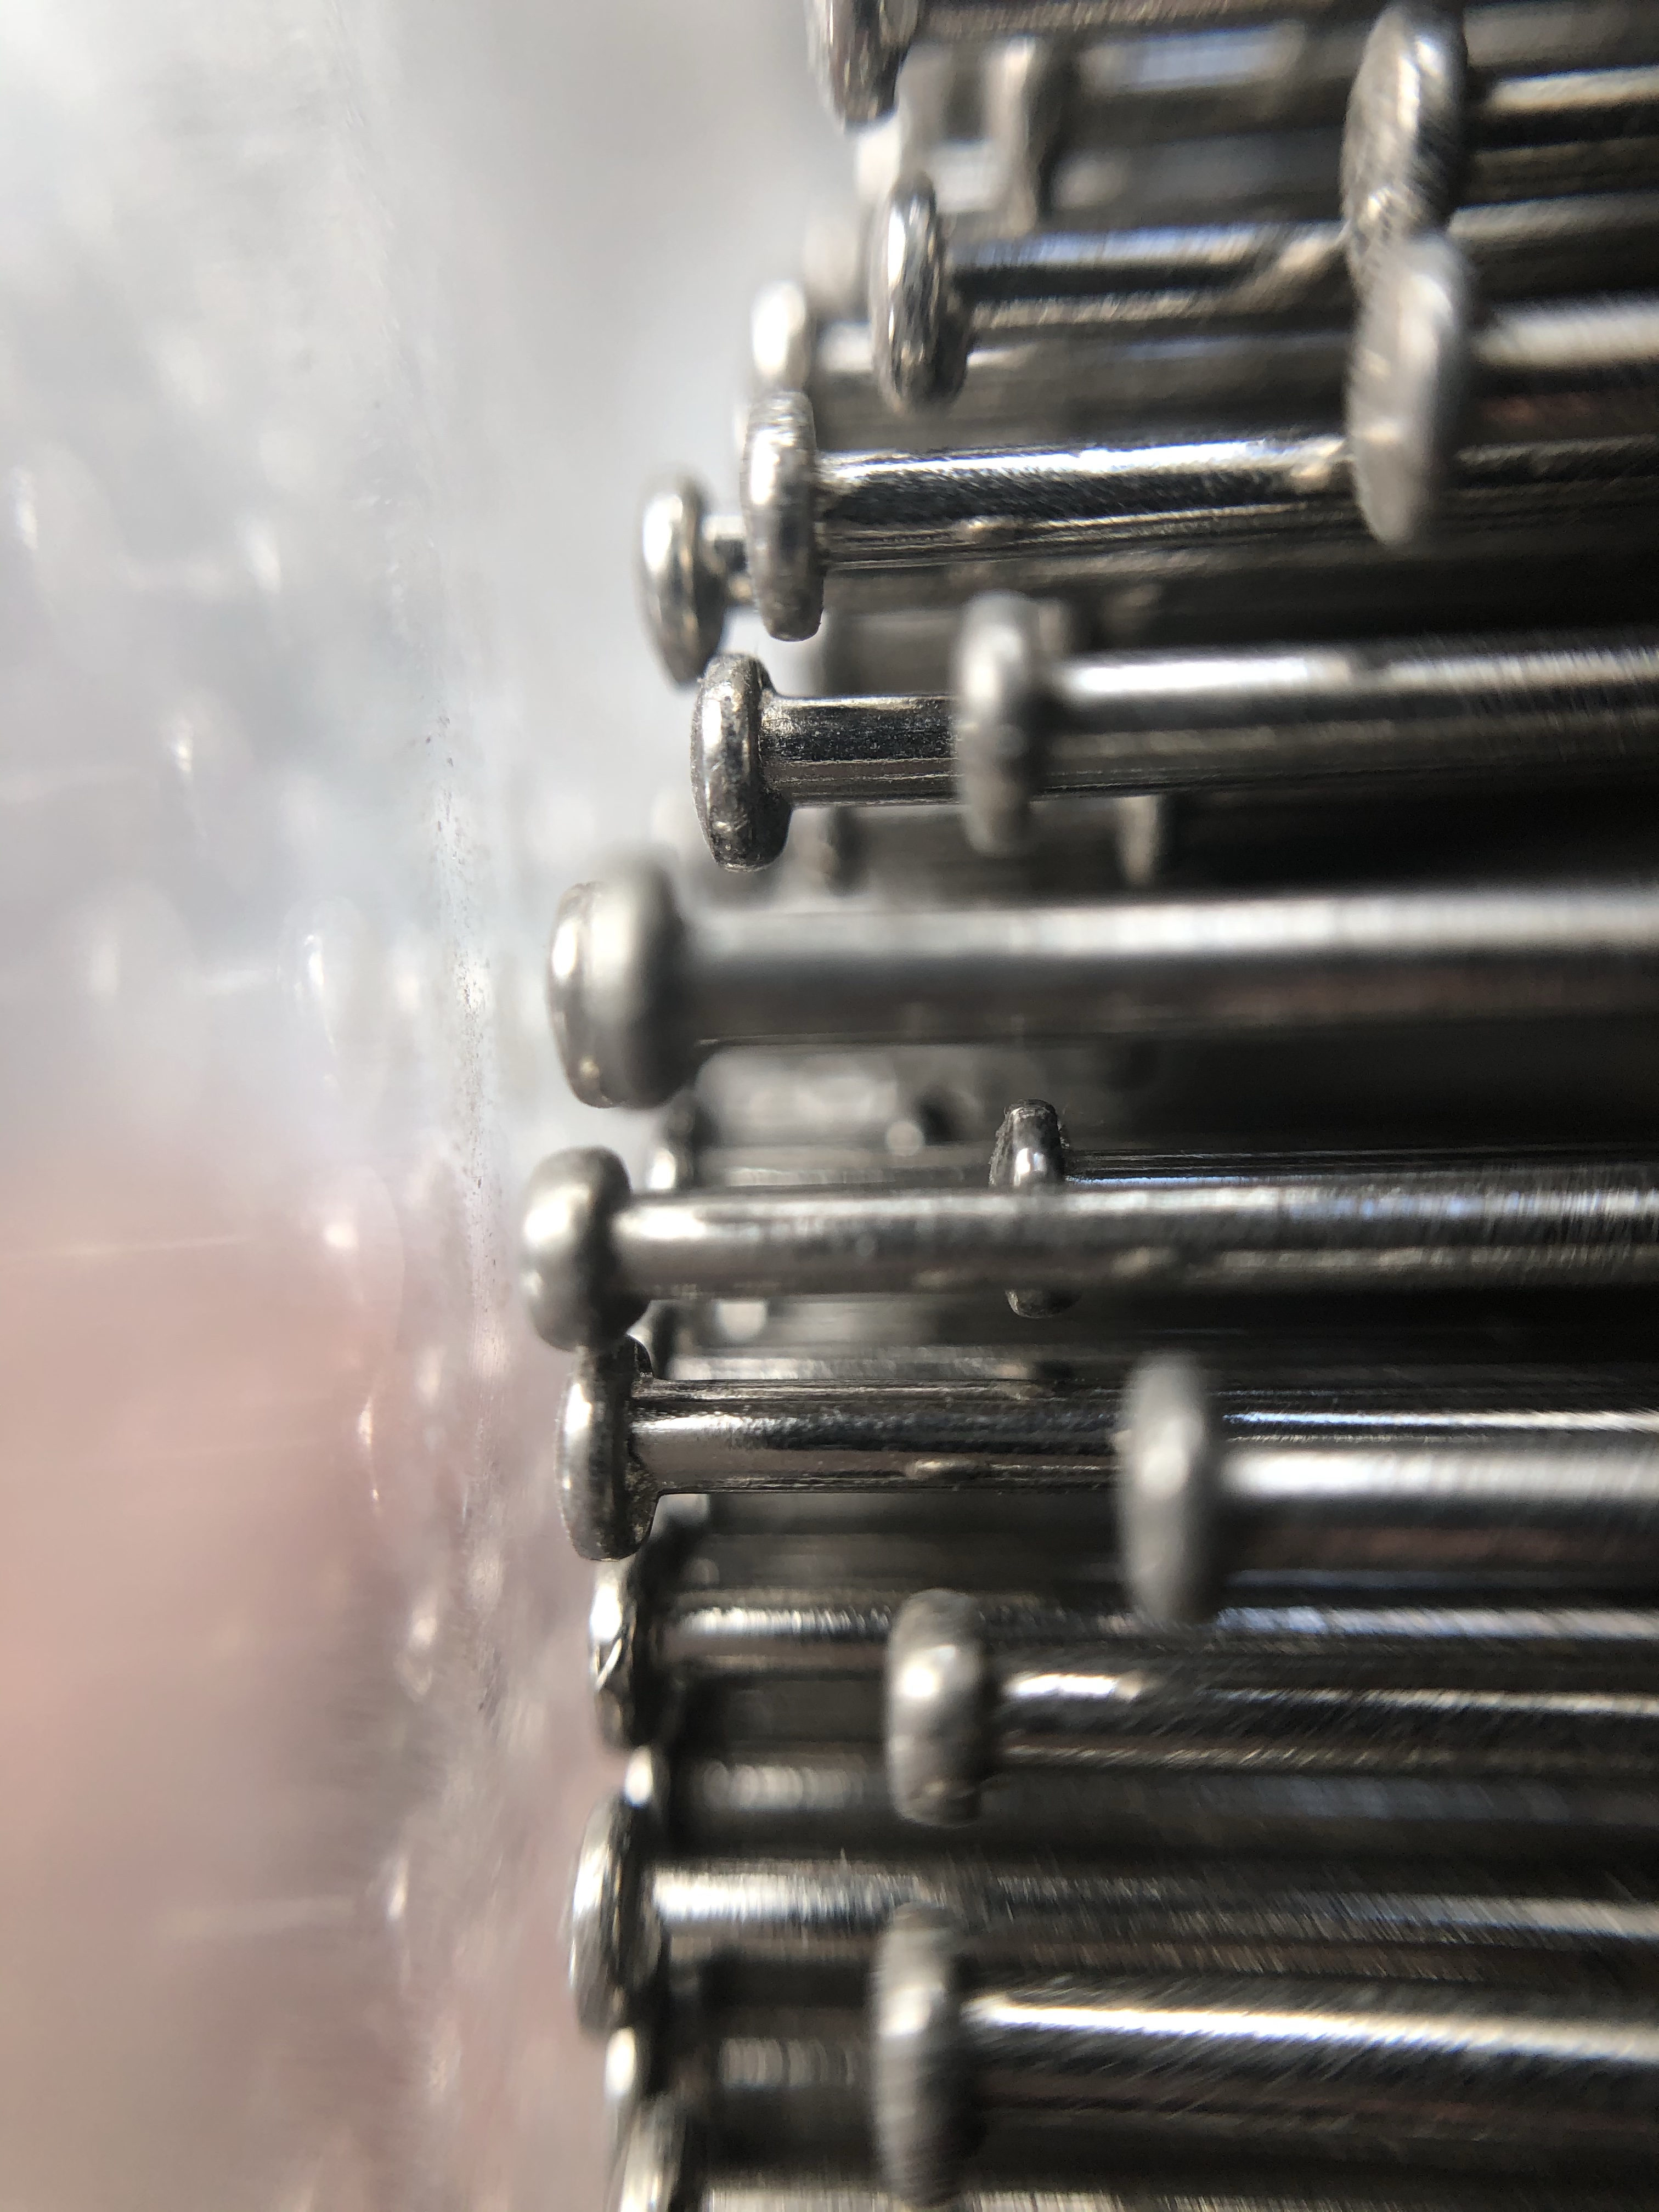
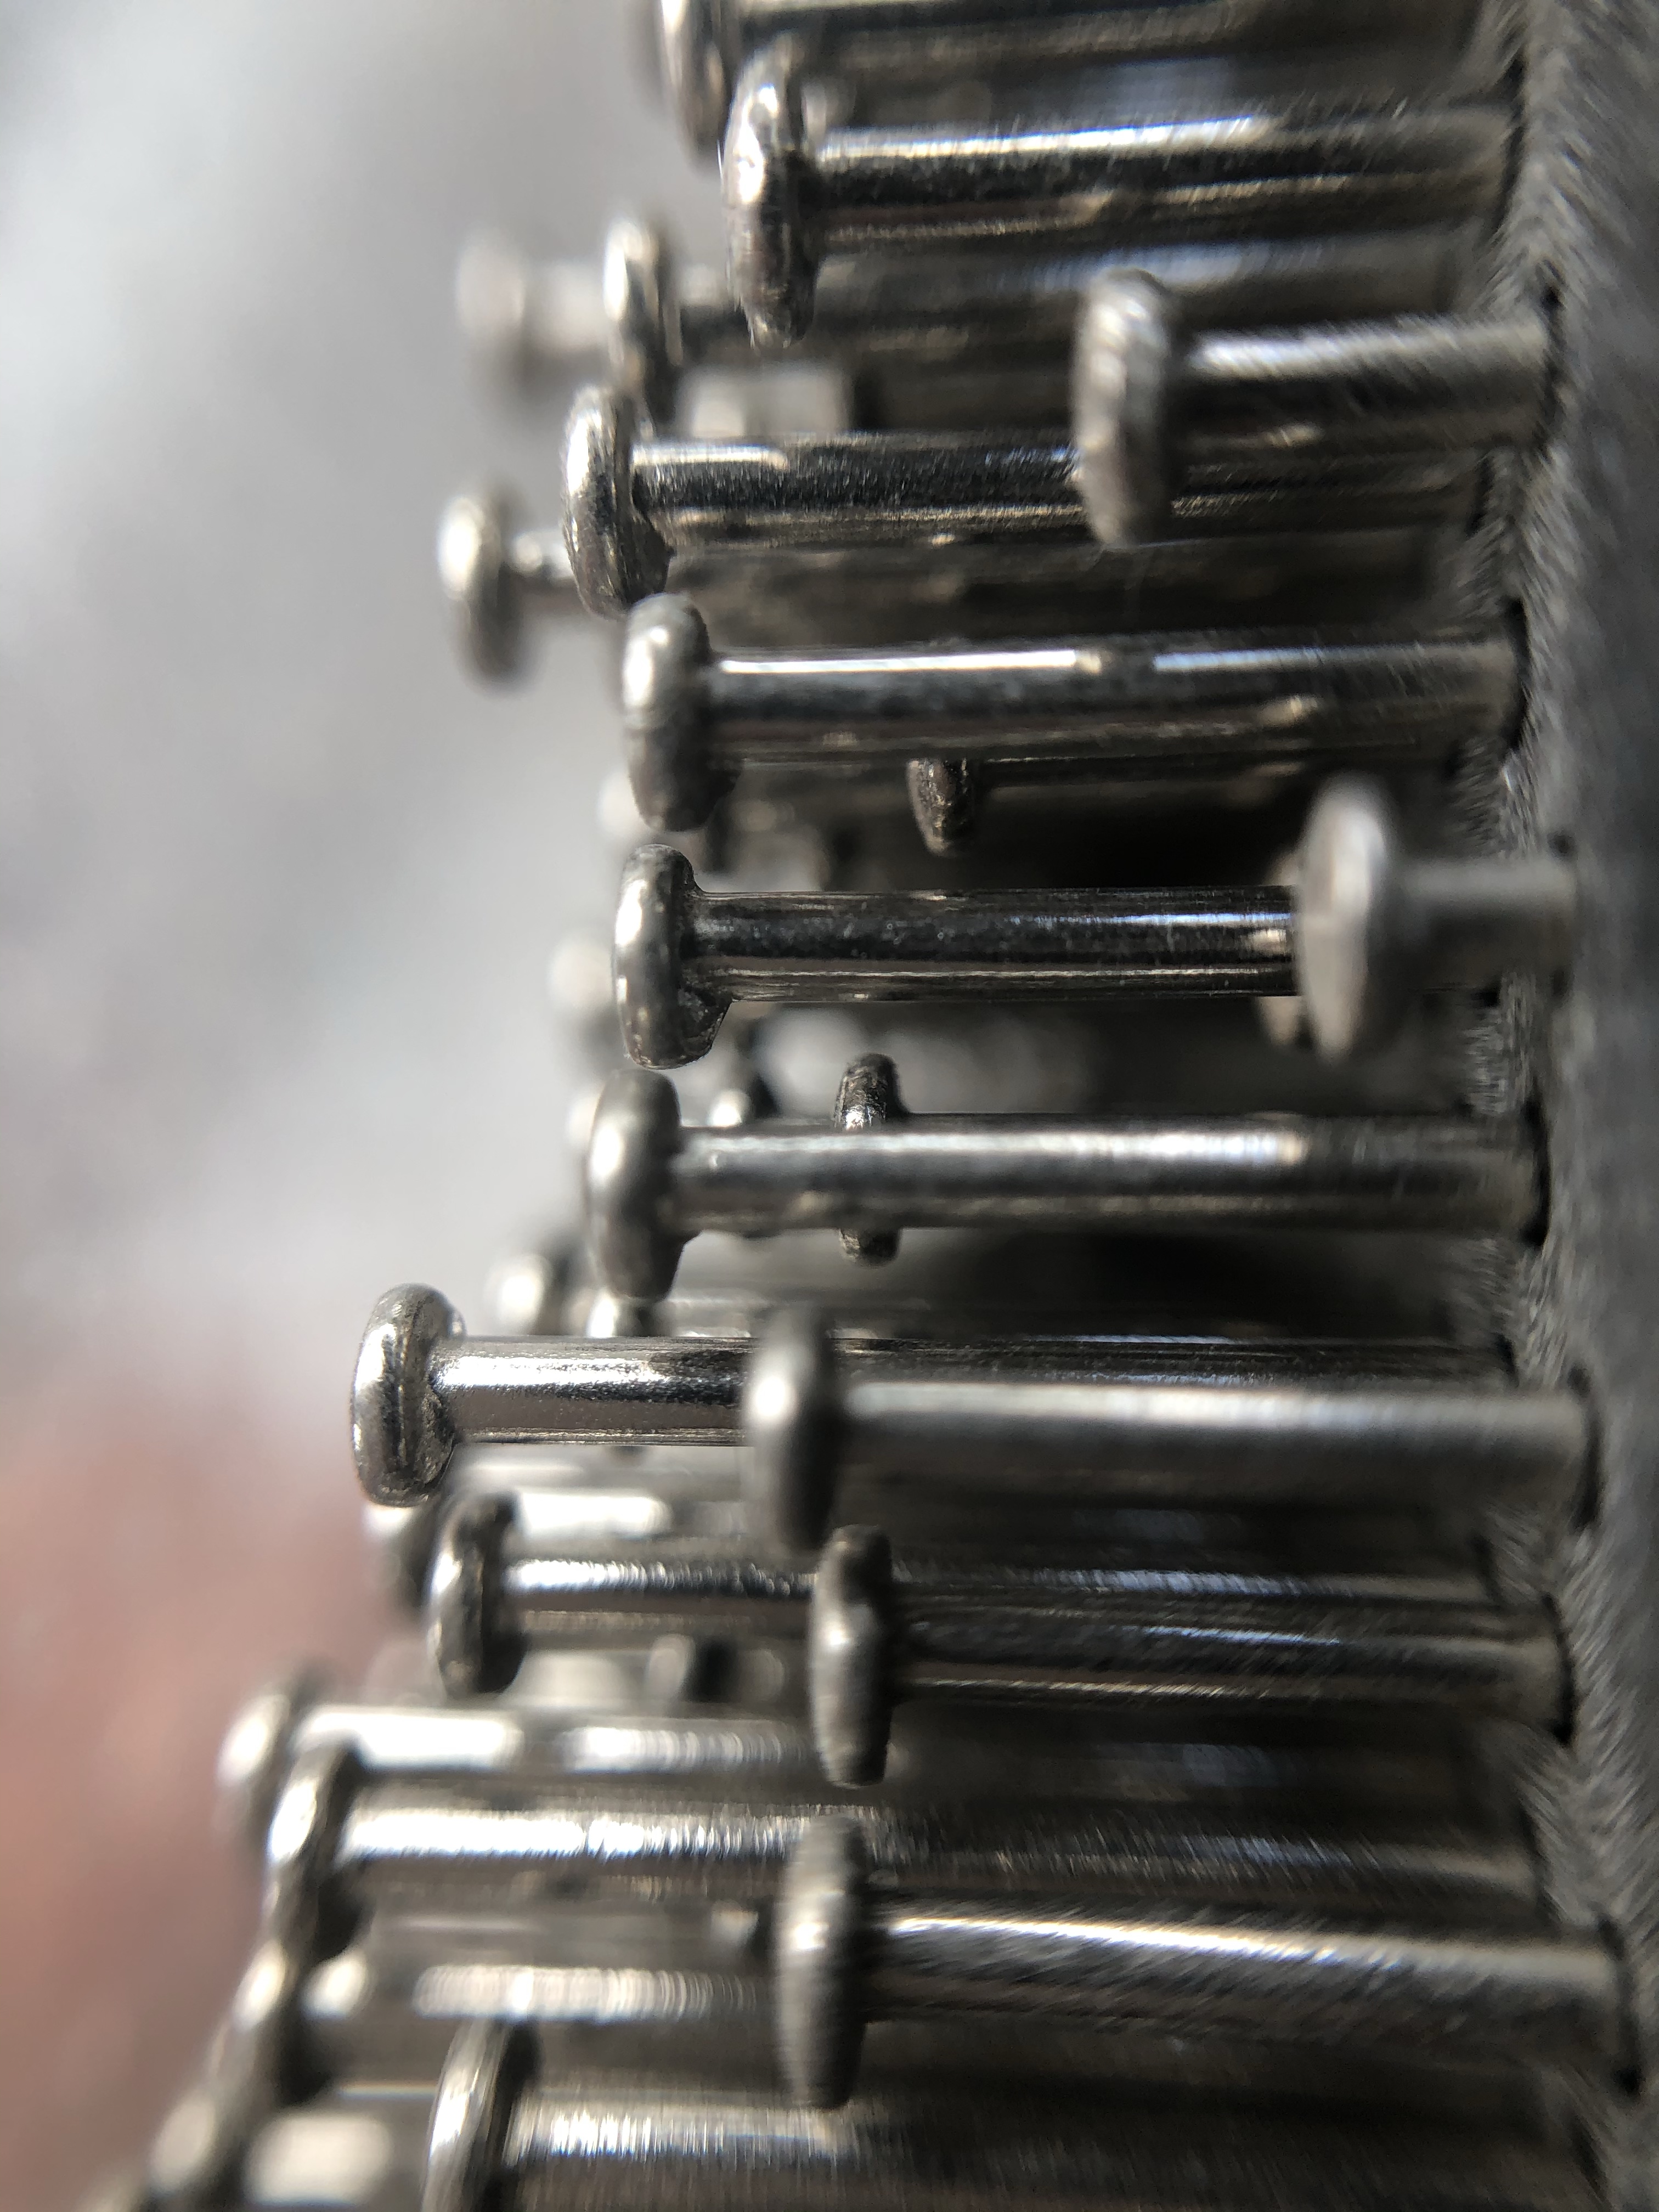
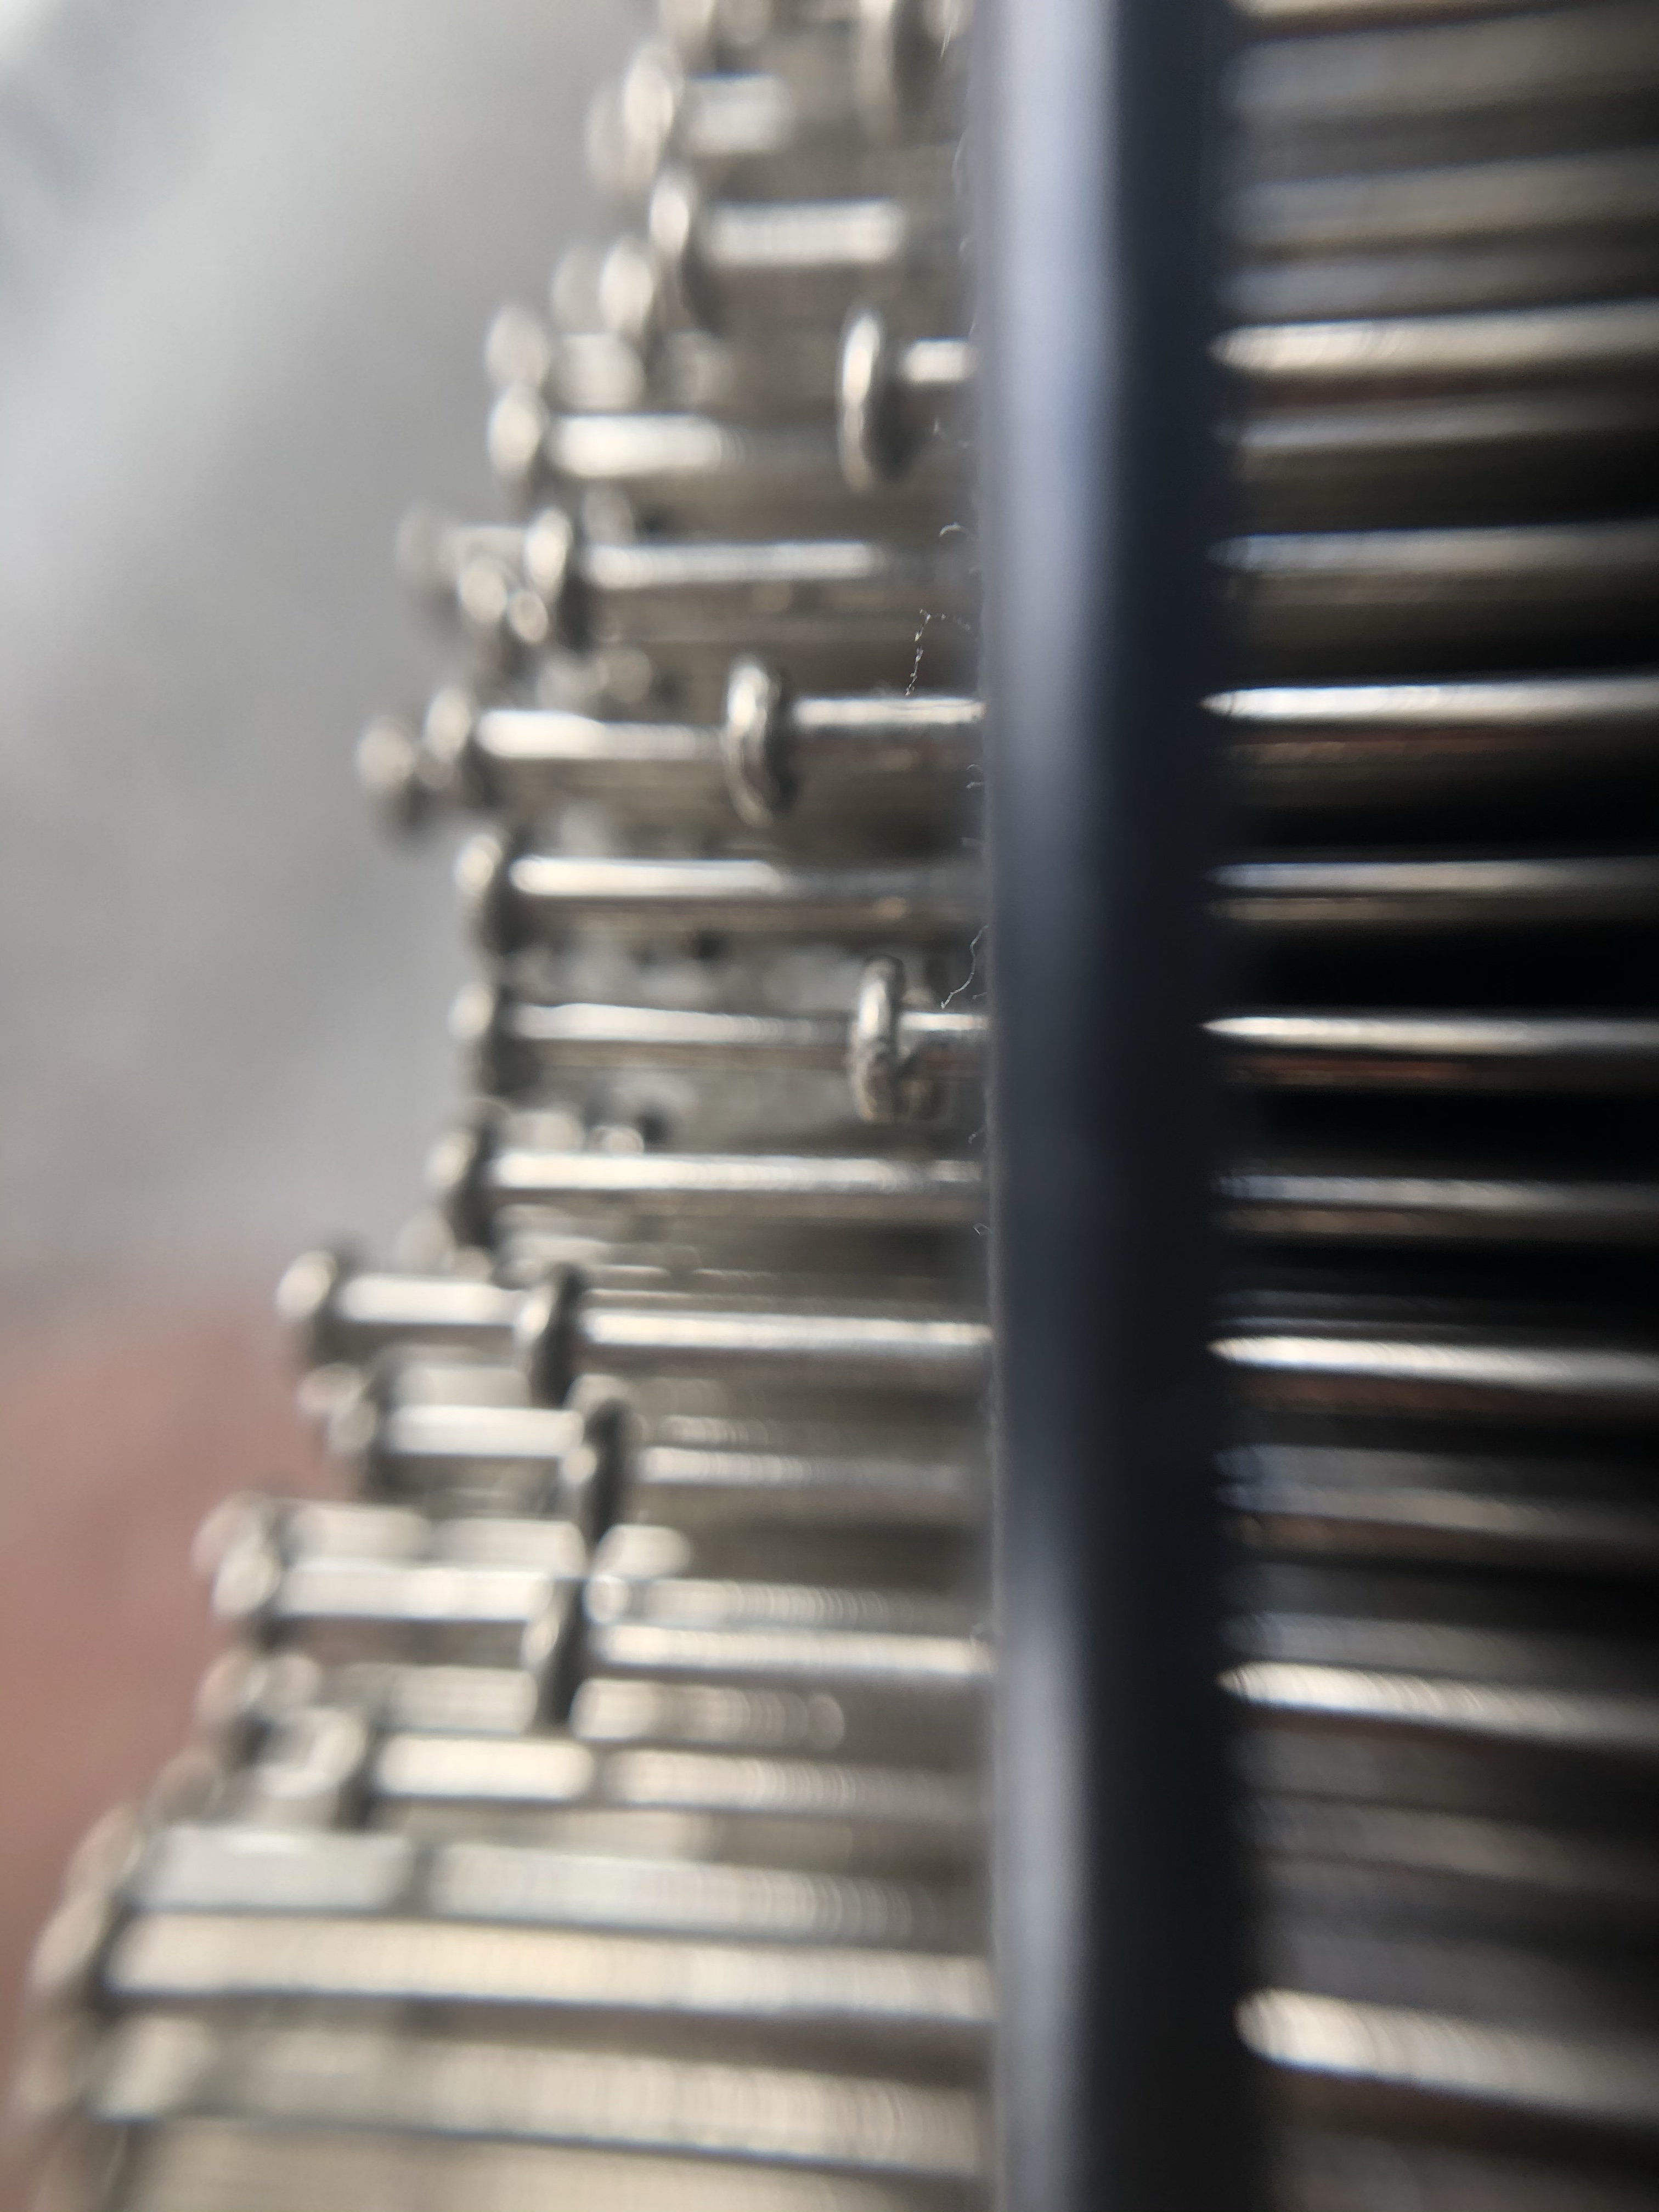
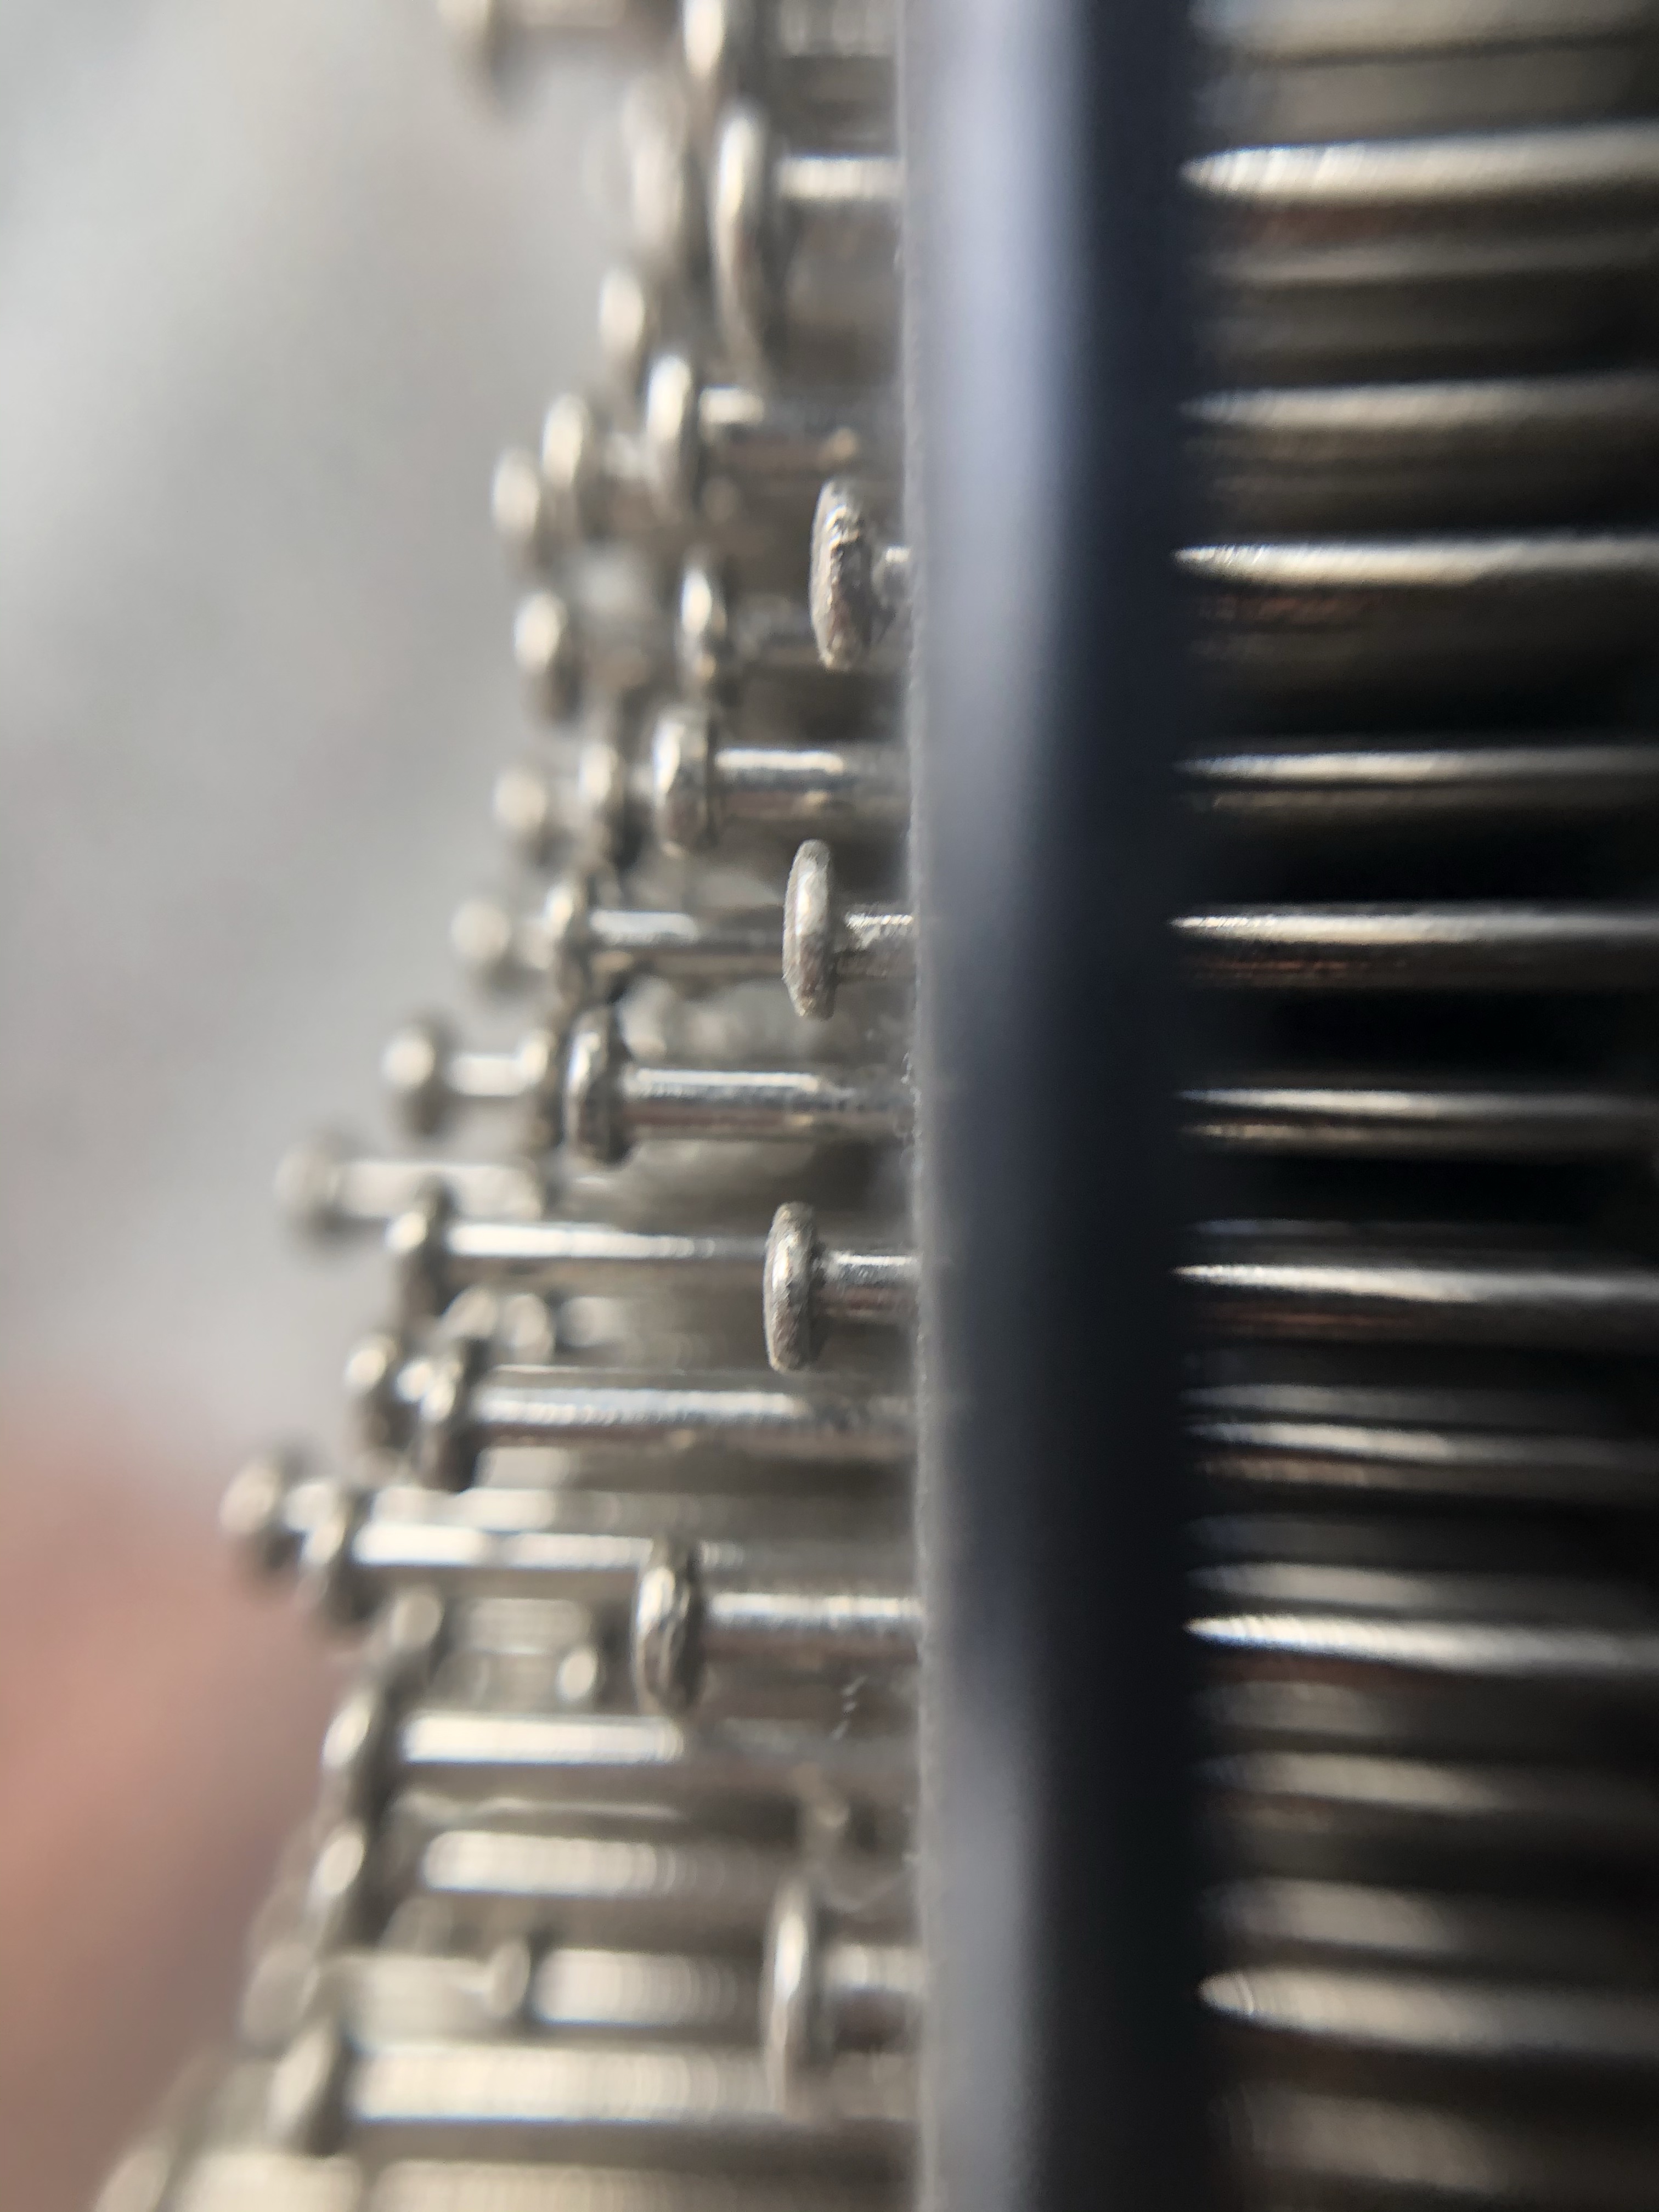
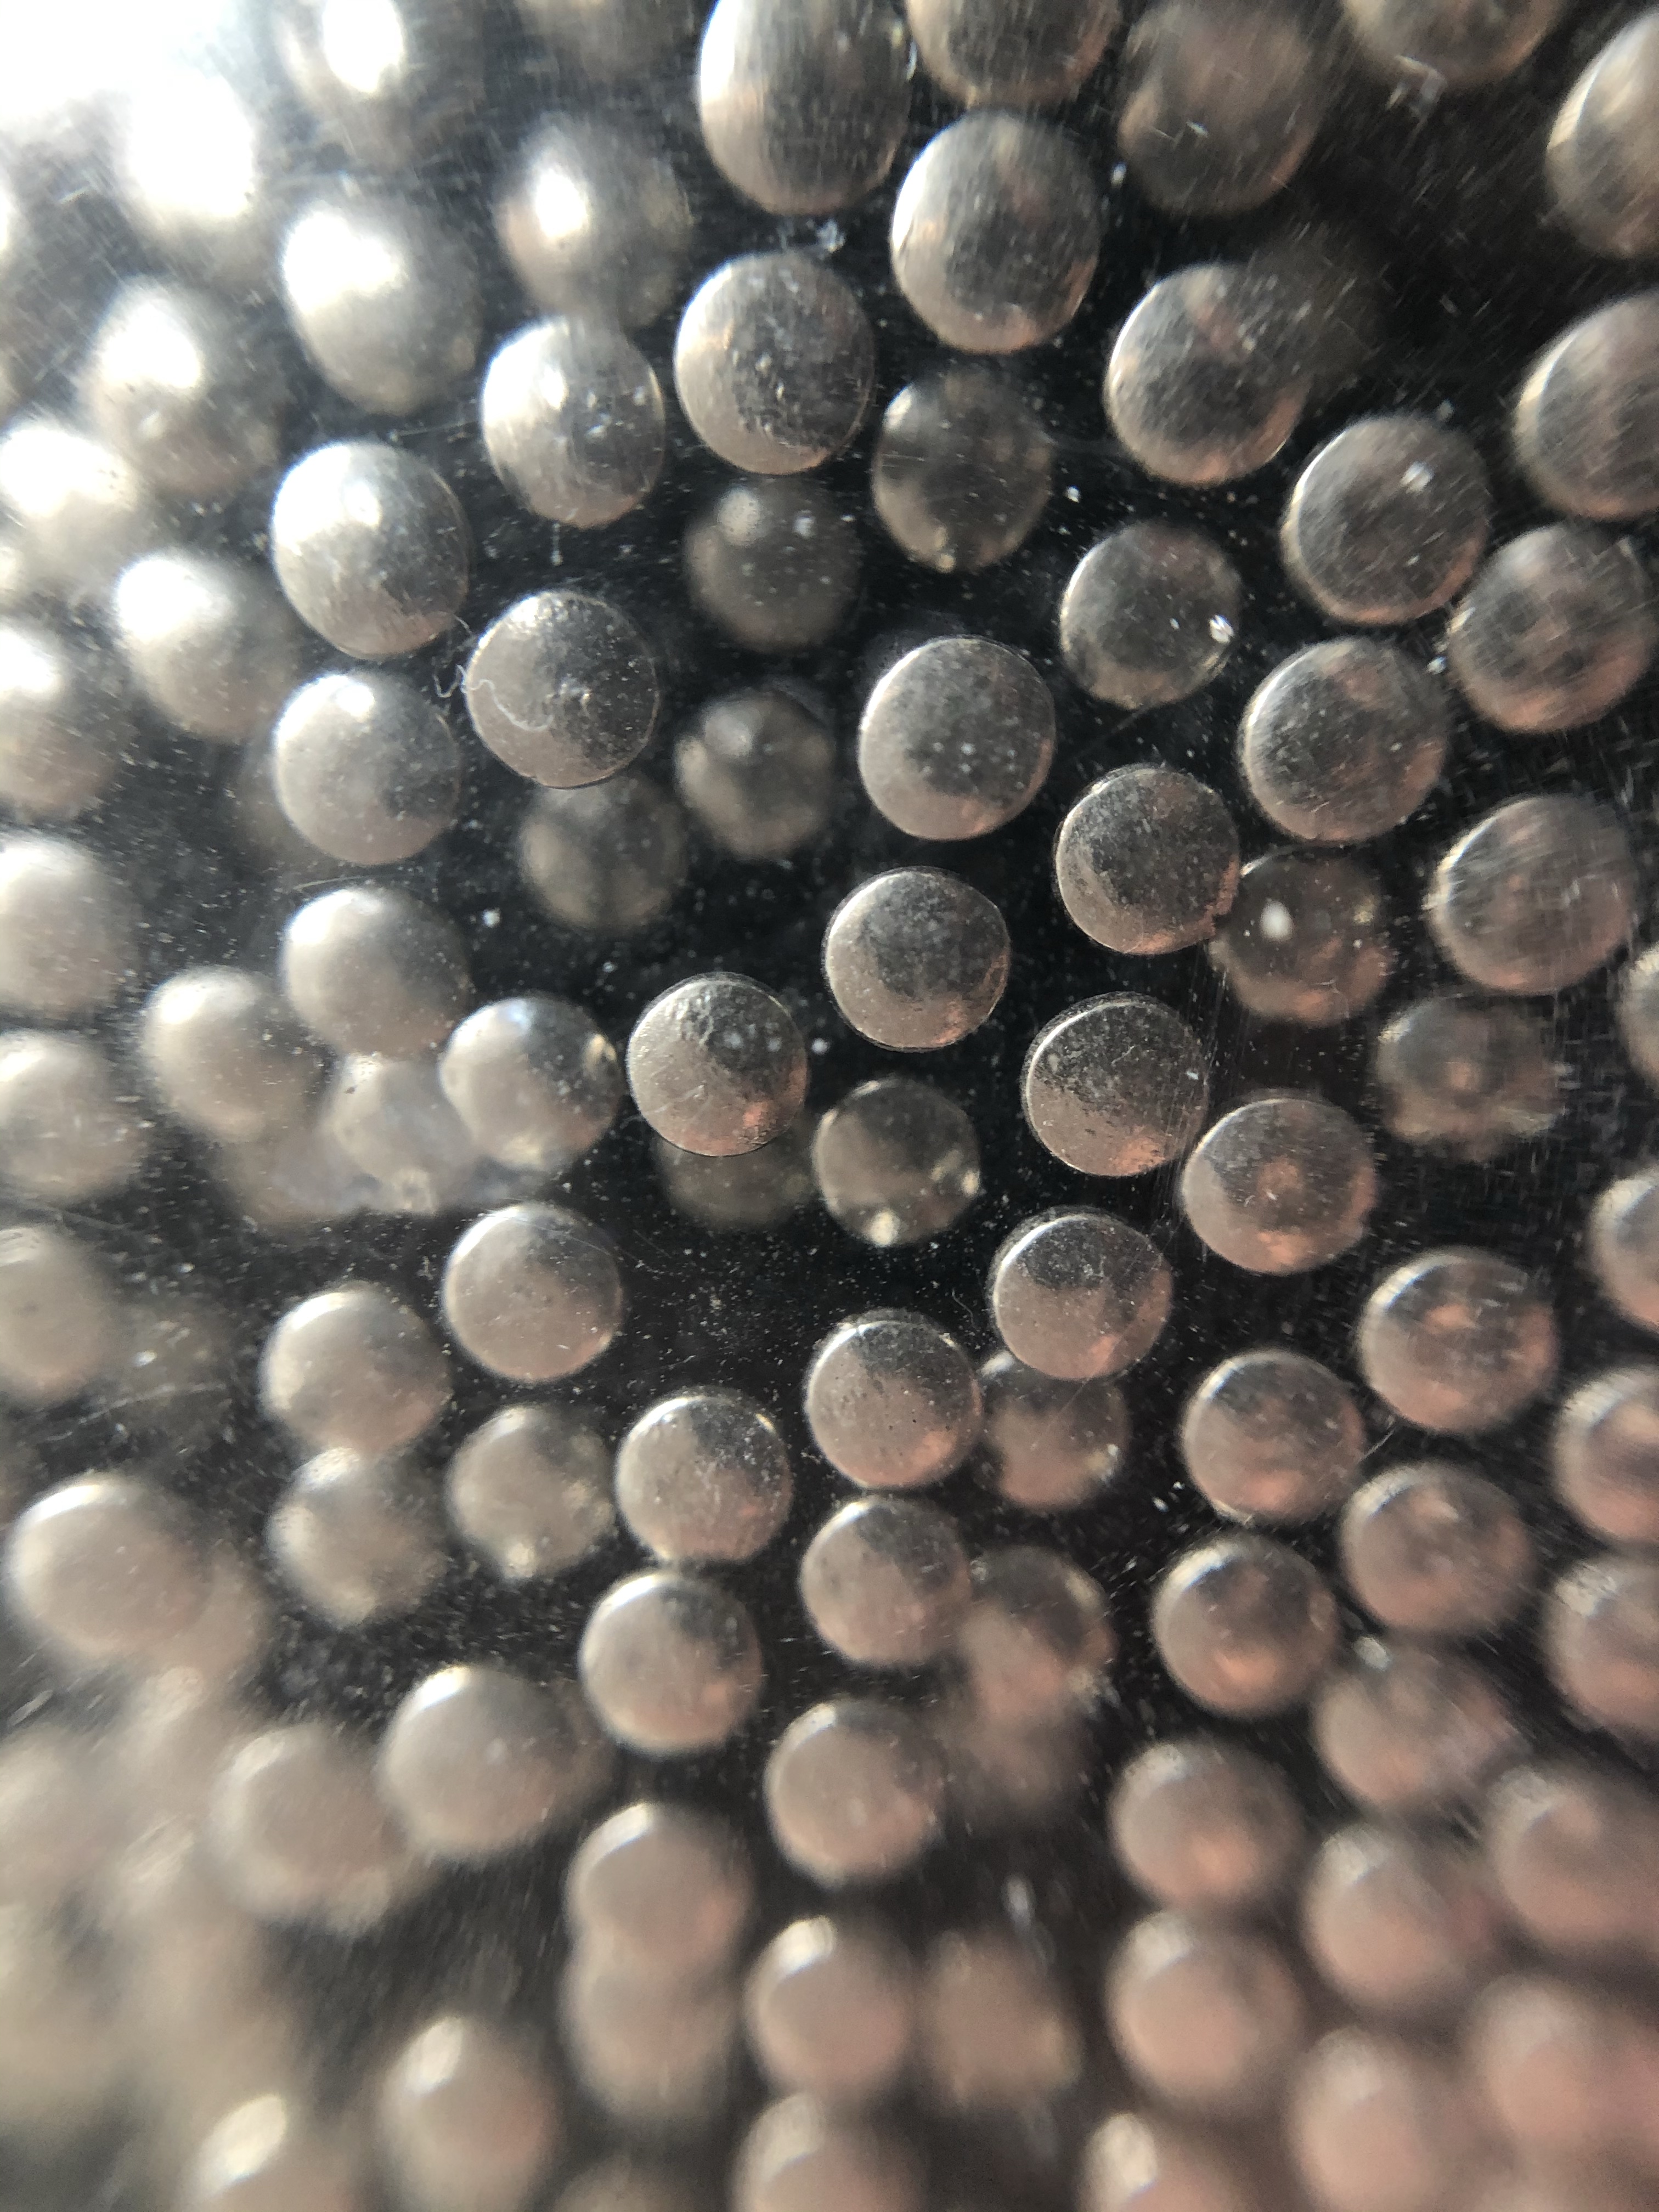
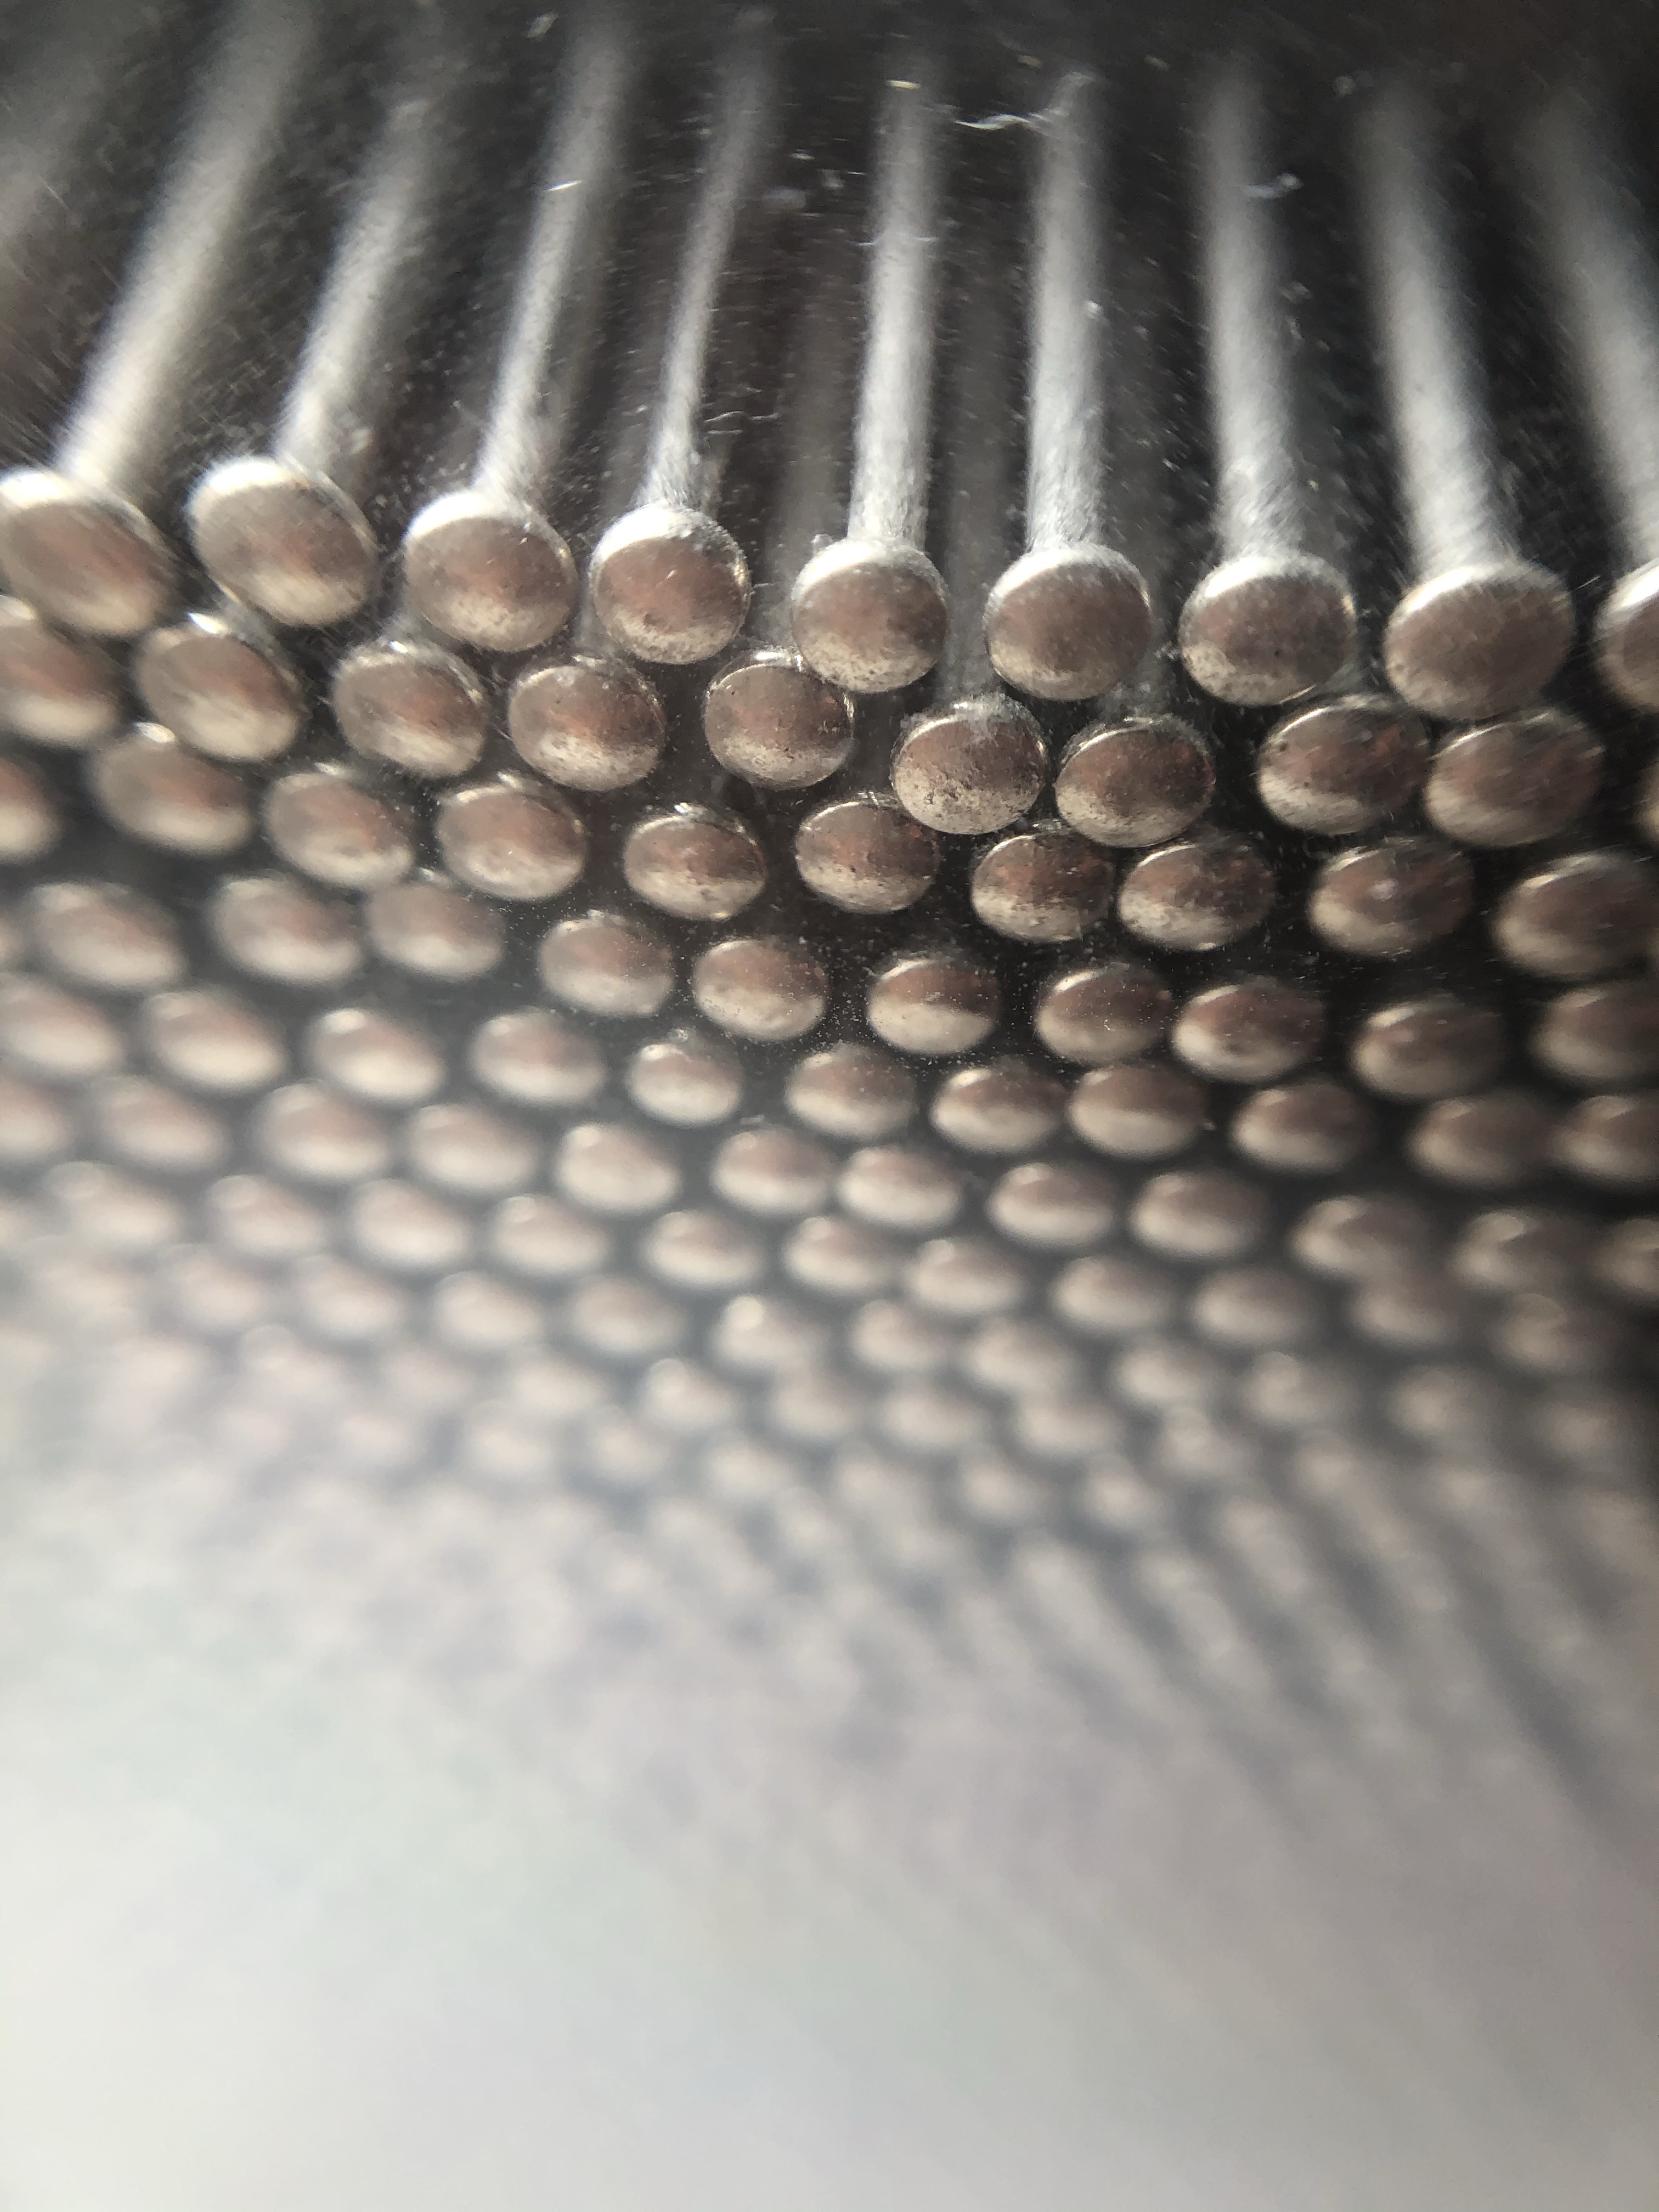
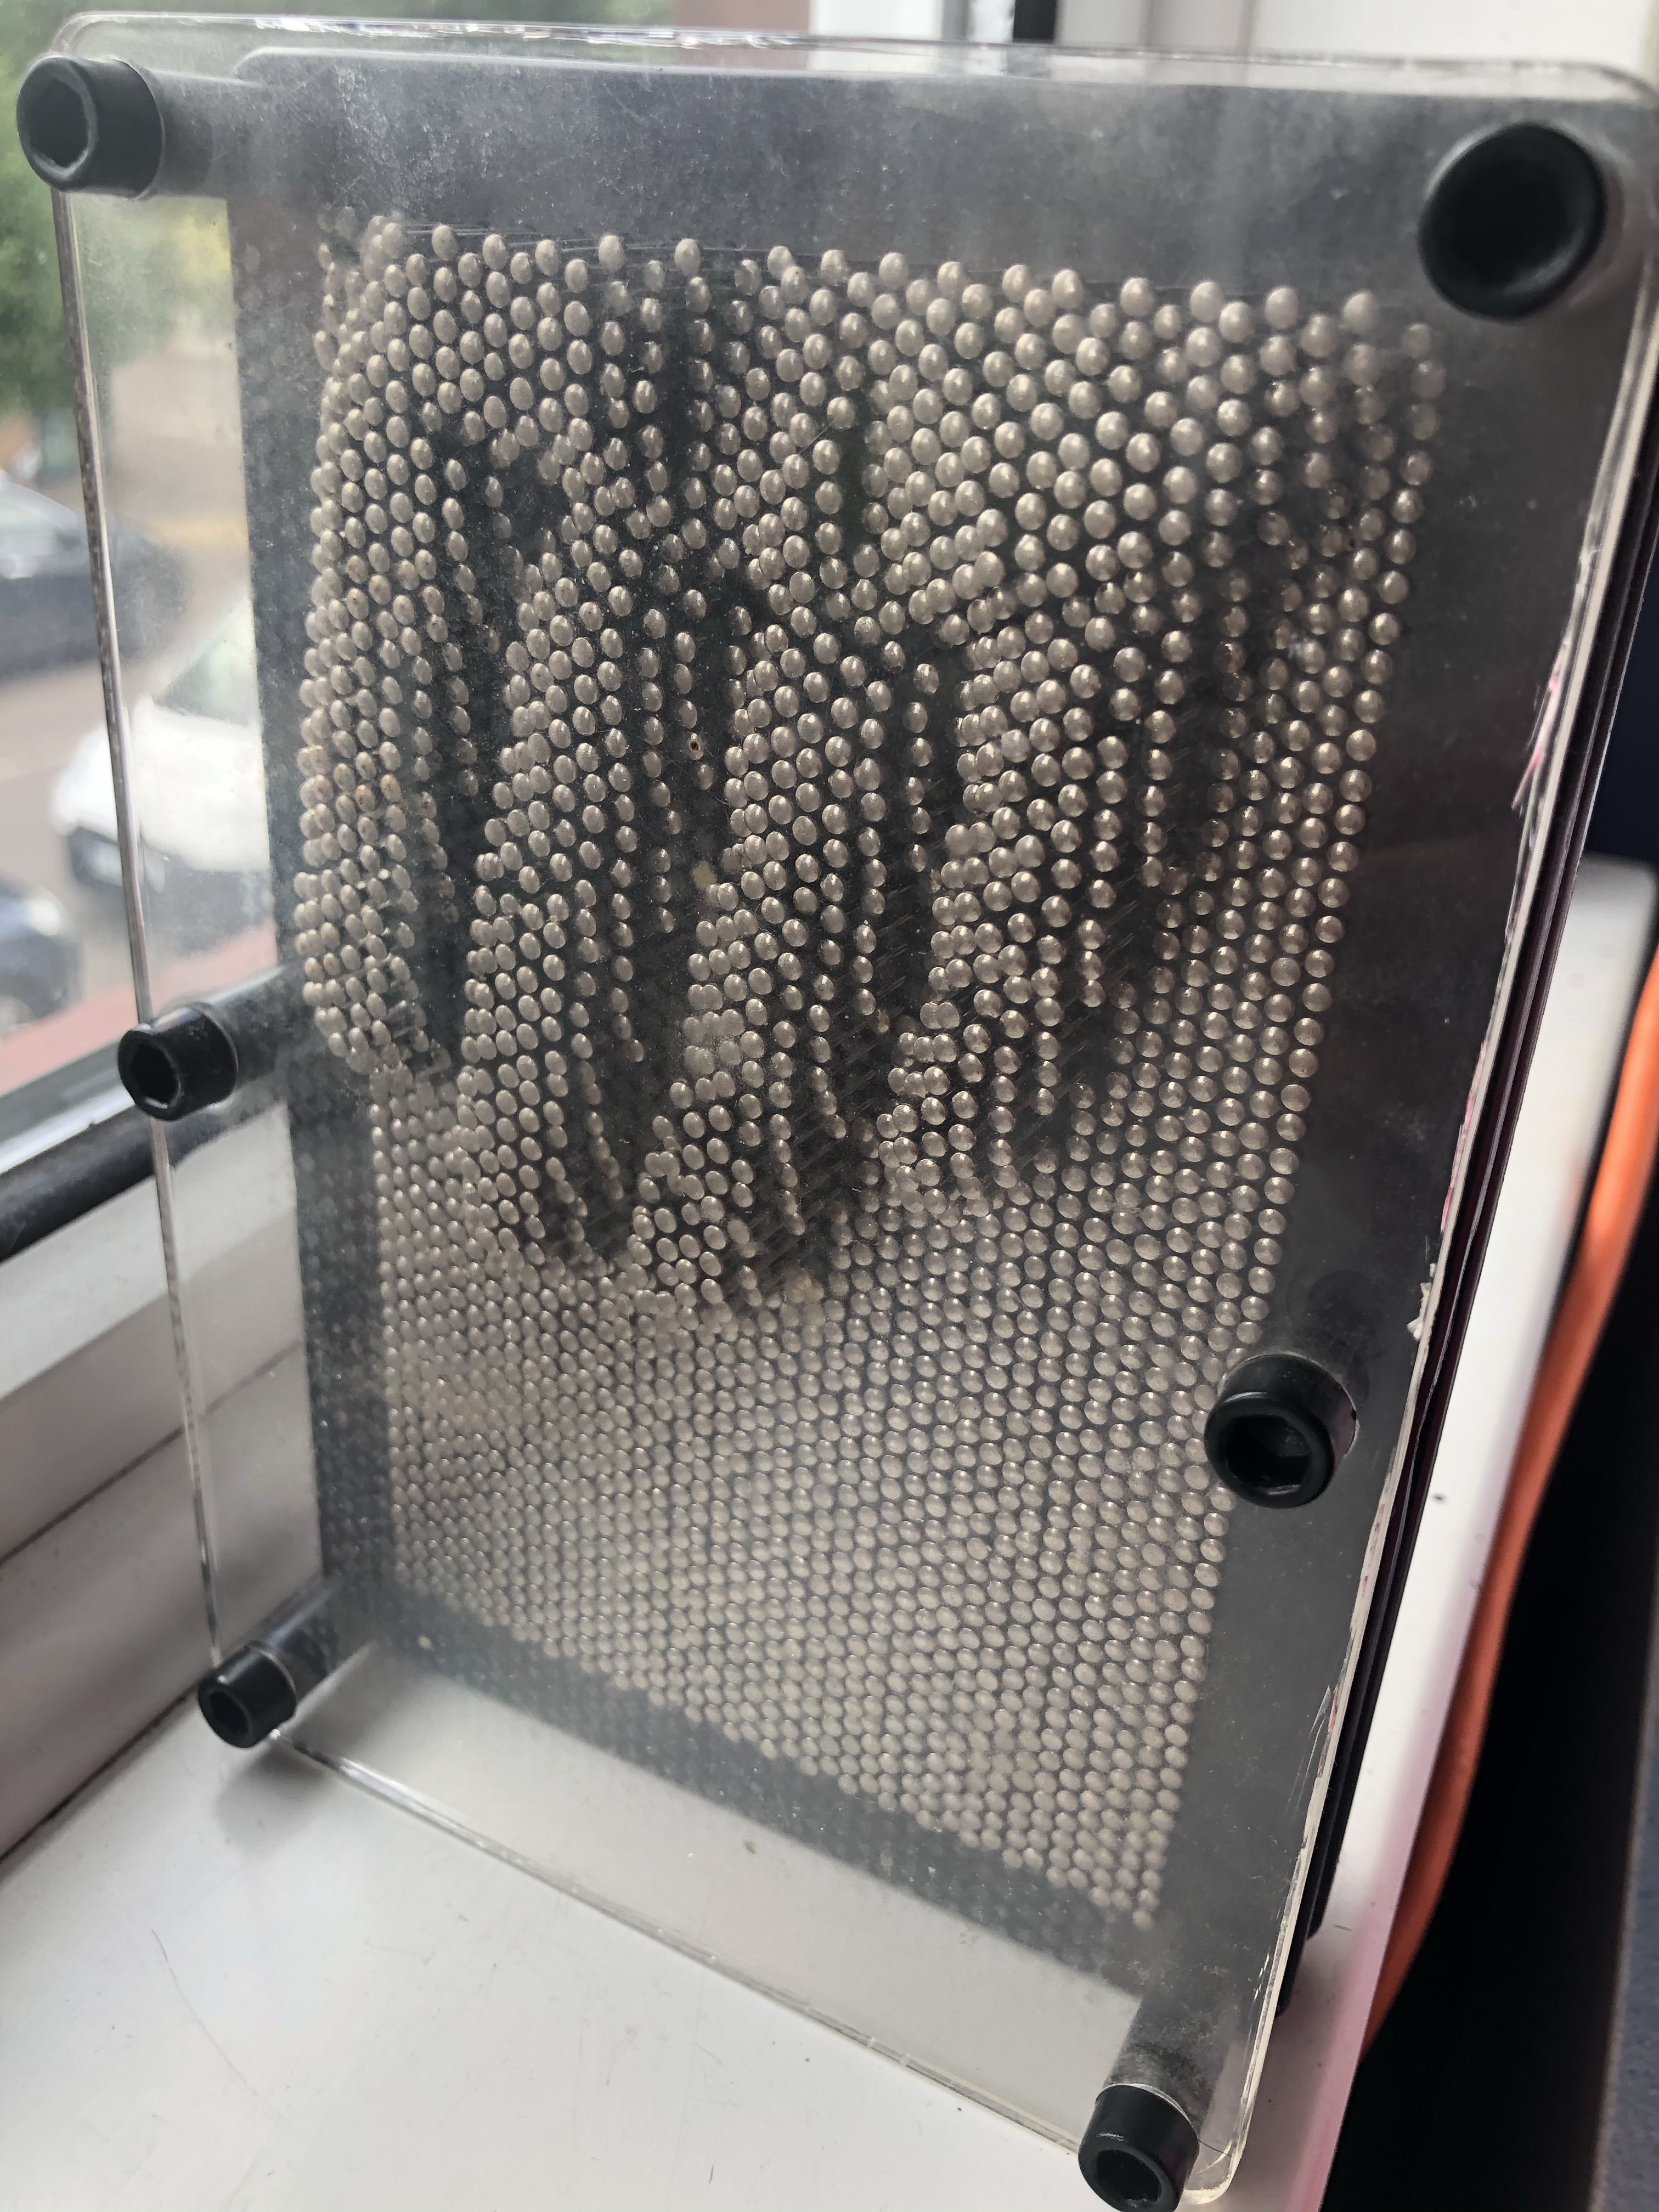
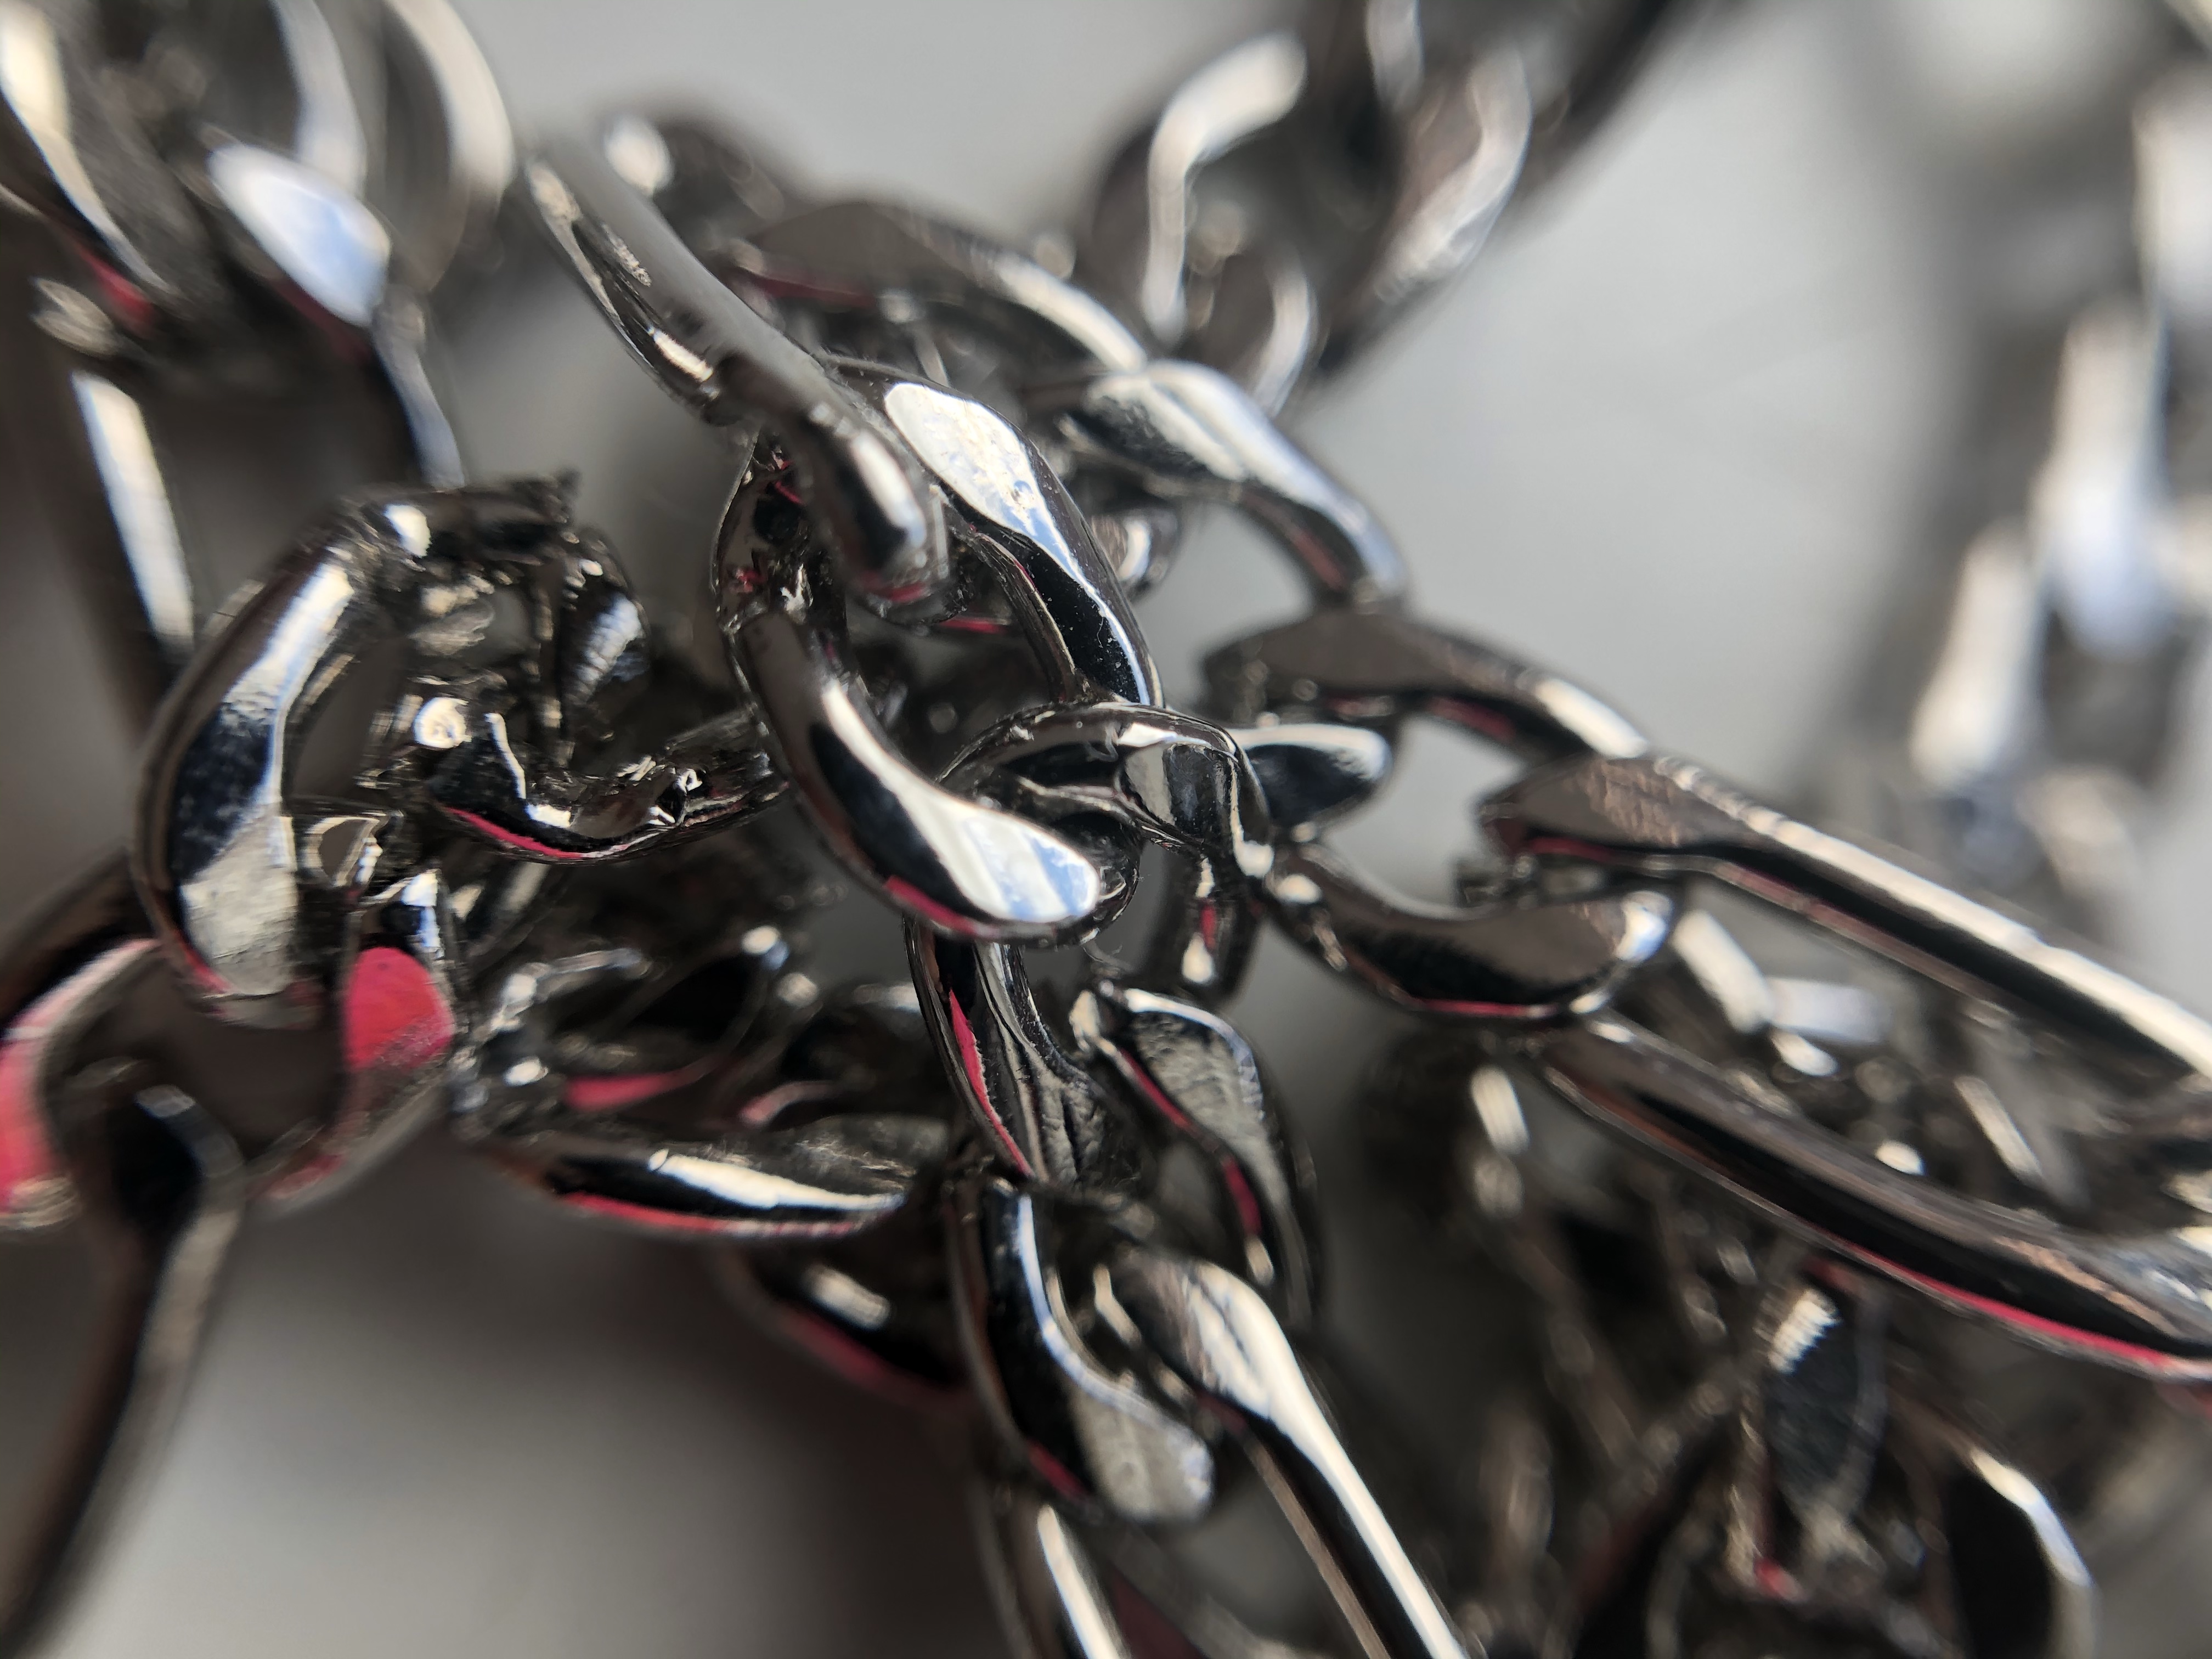
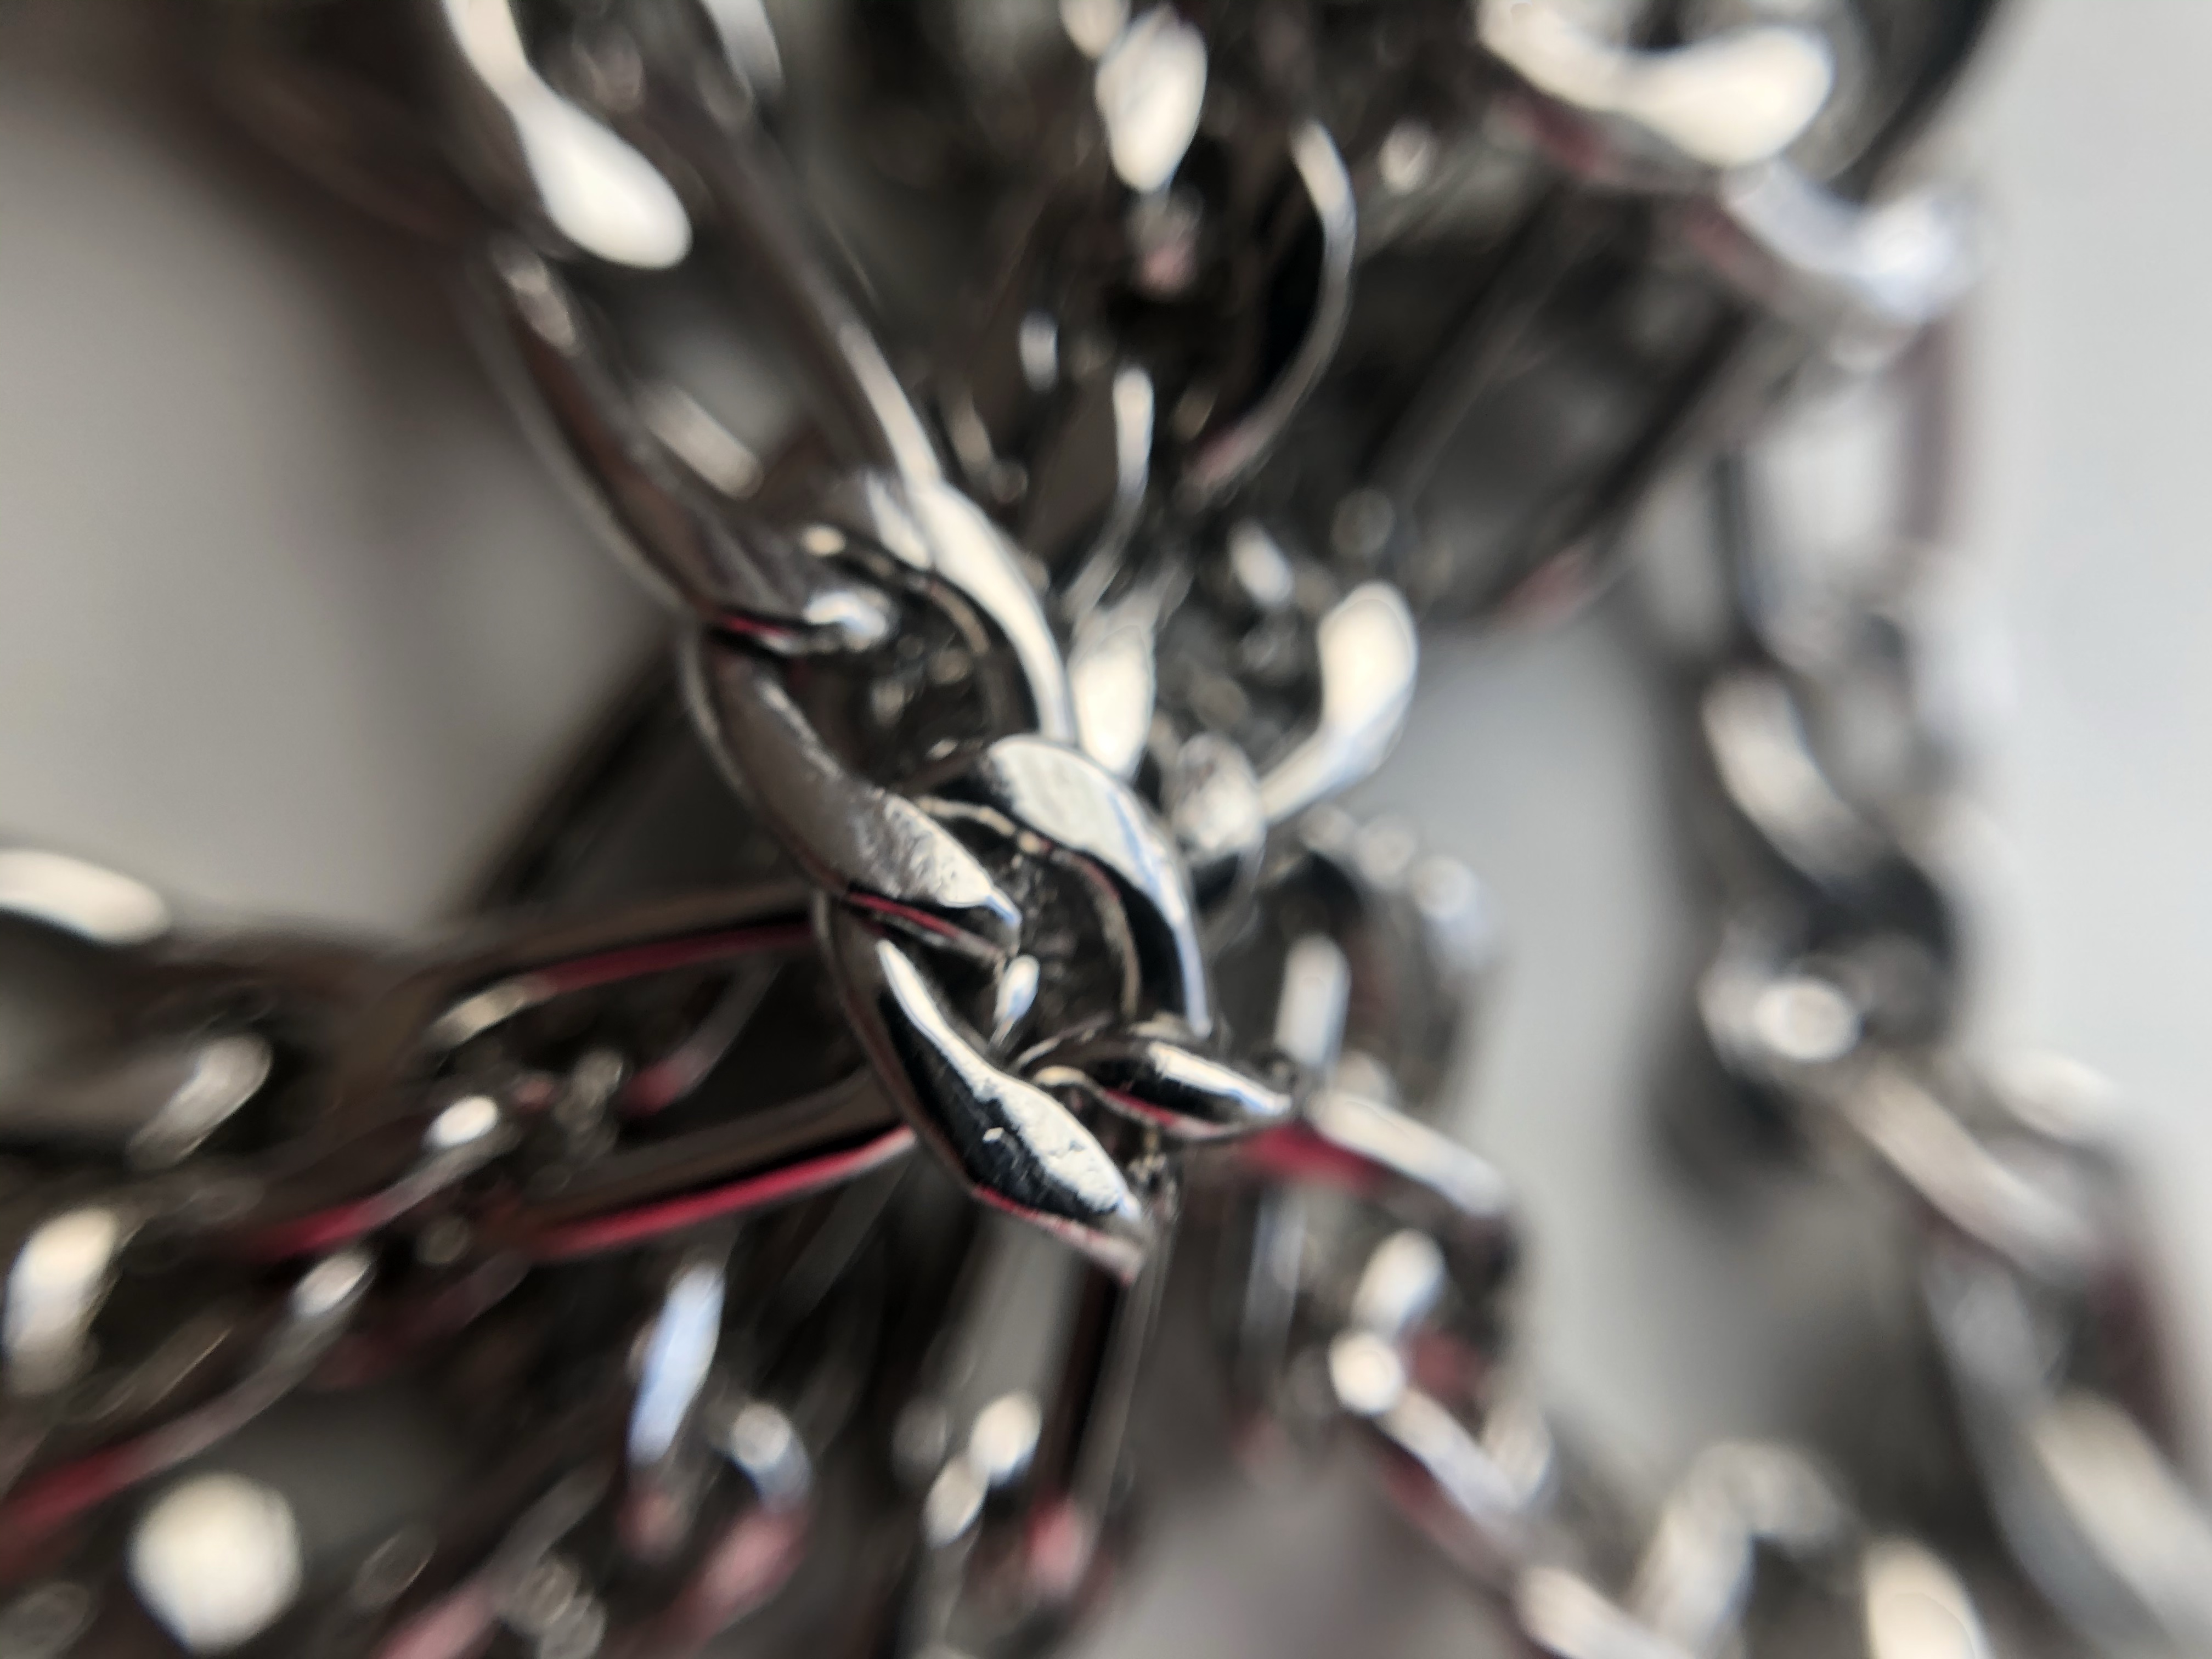
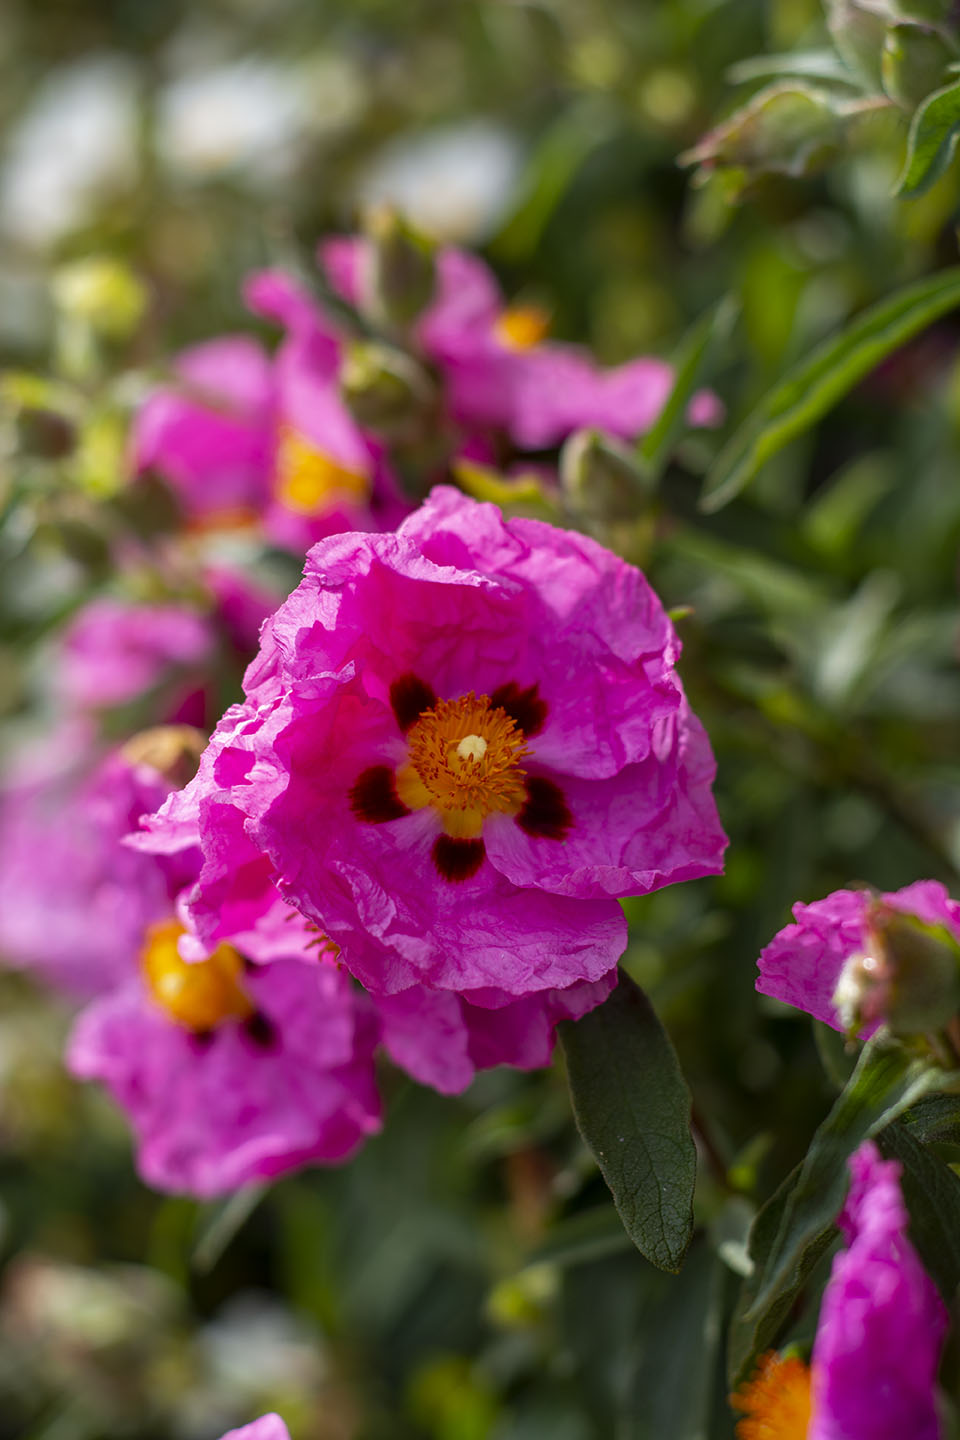
This week I have been trying to experiment with Macro a bit more. Still only using my iphone with a clip on lens I wanted to explore ideas for my next project, Transformations.
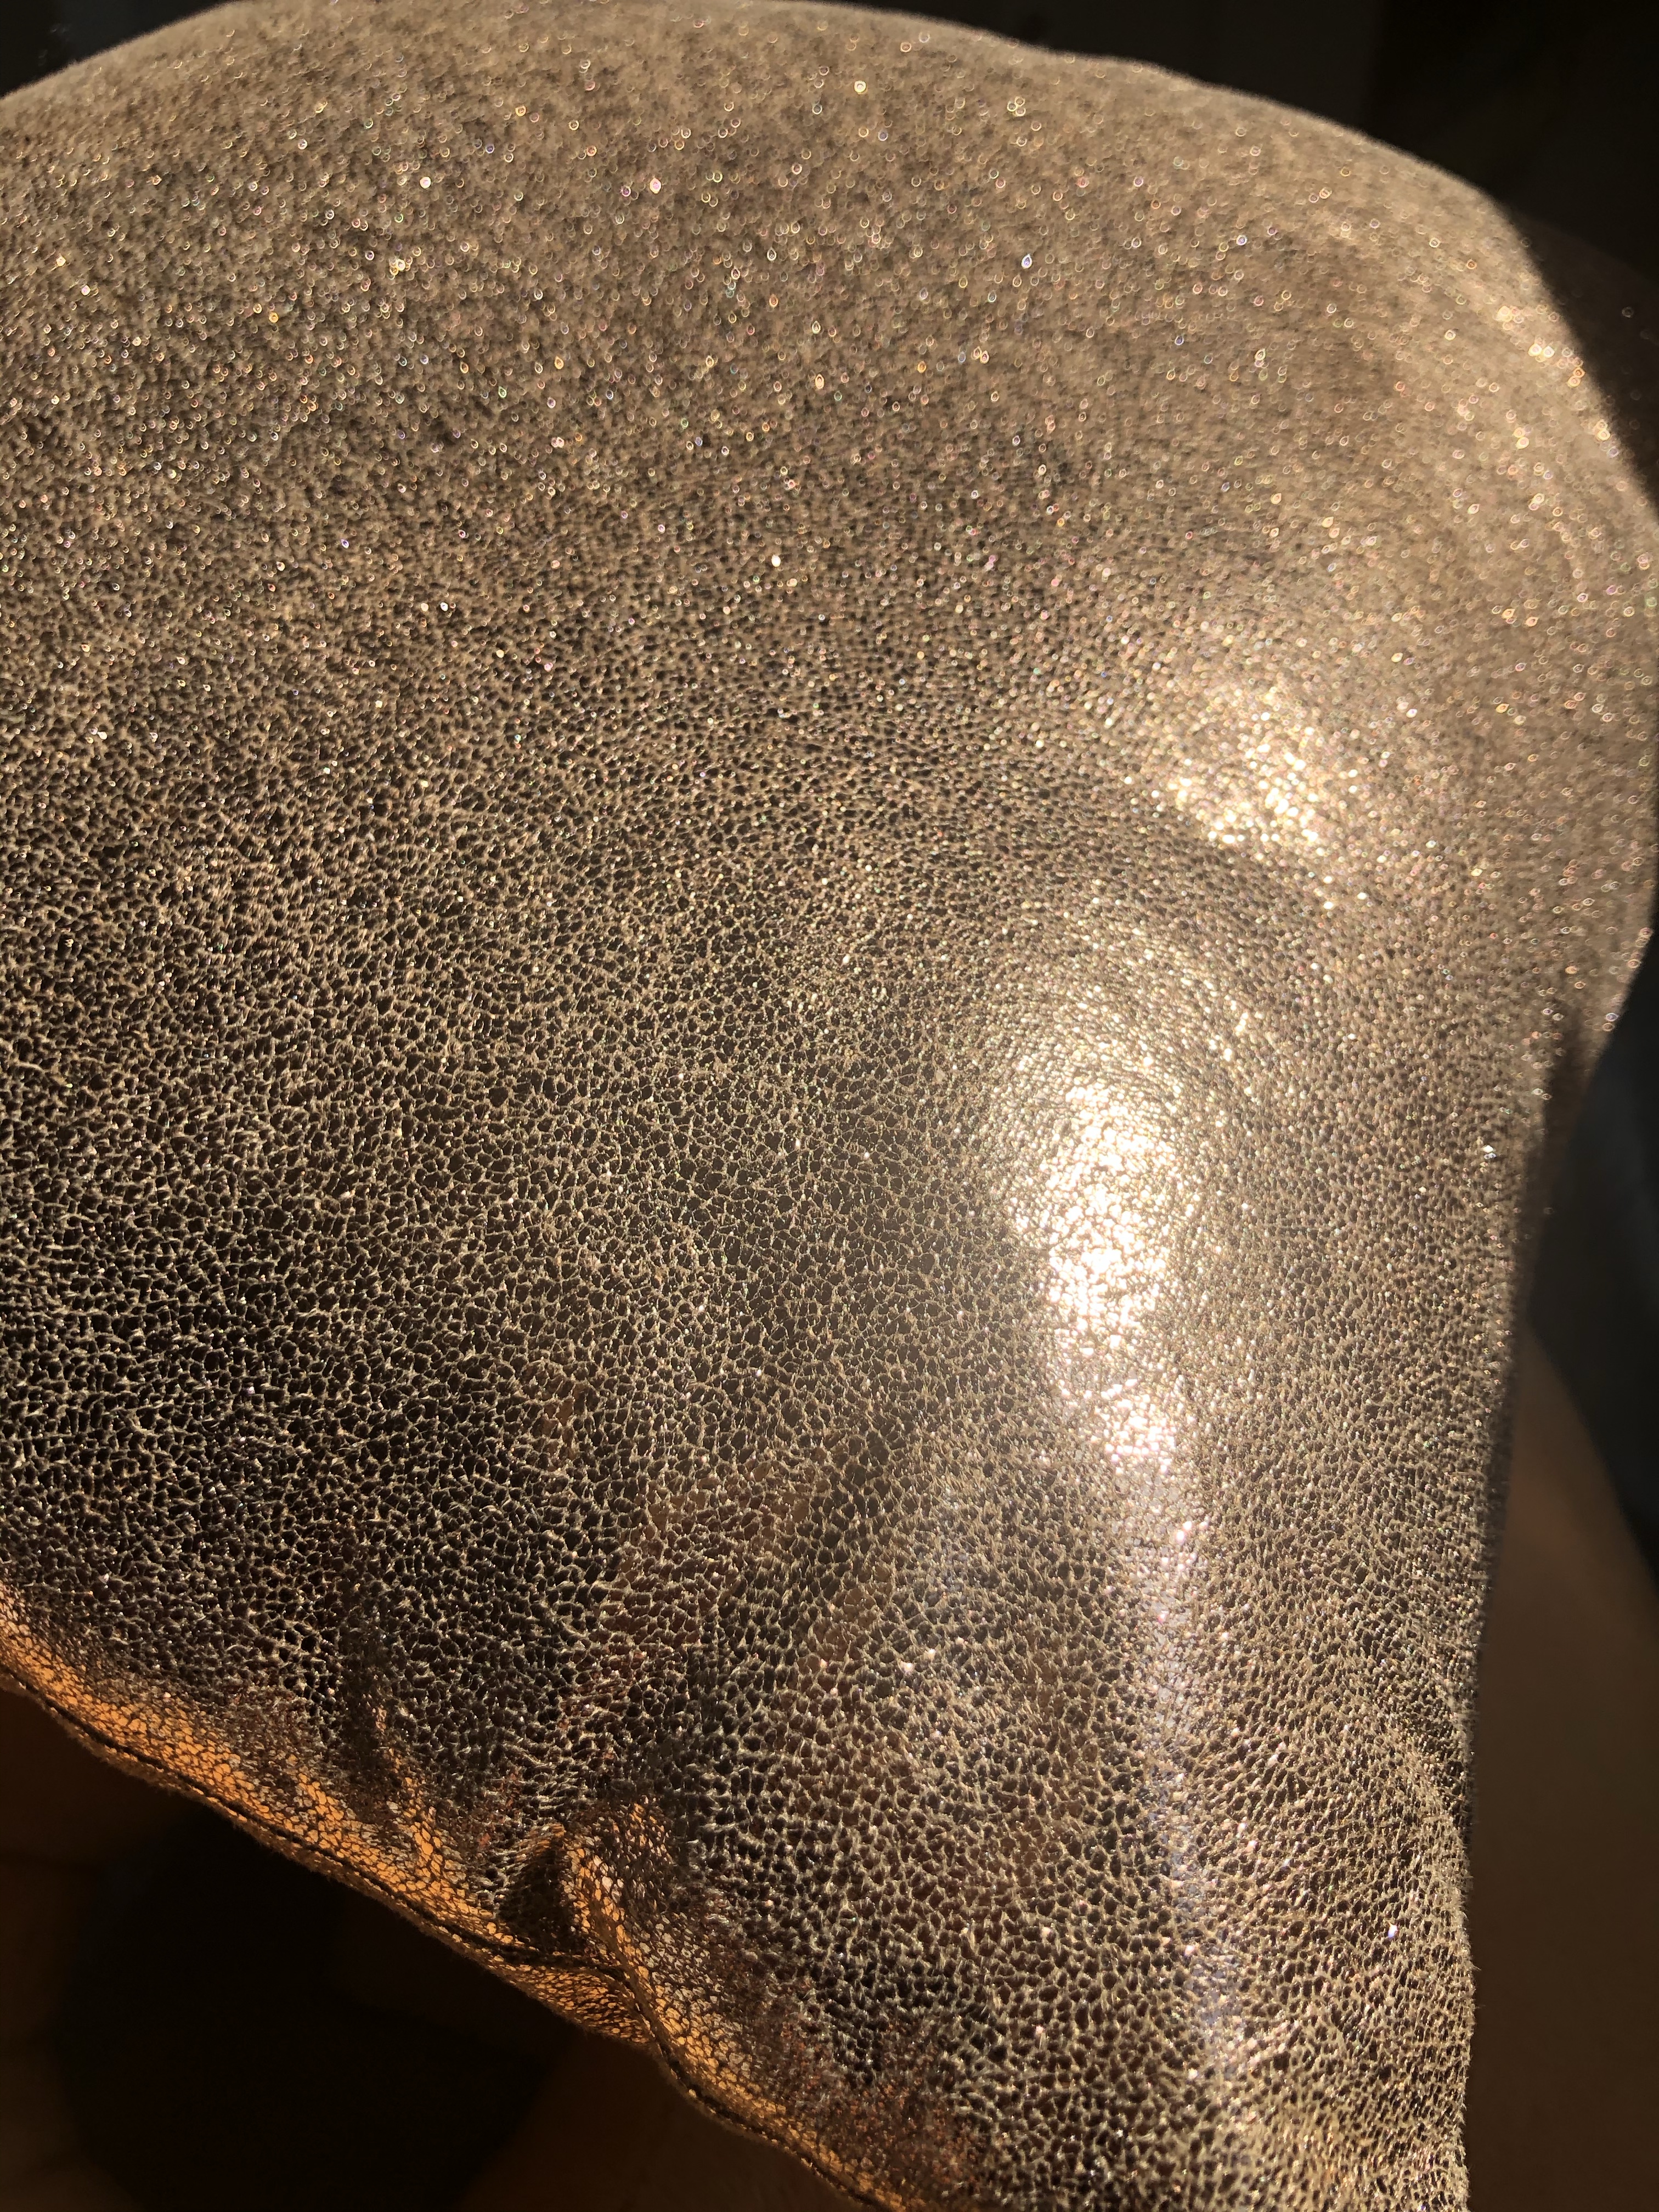
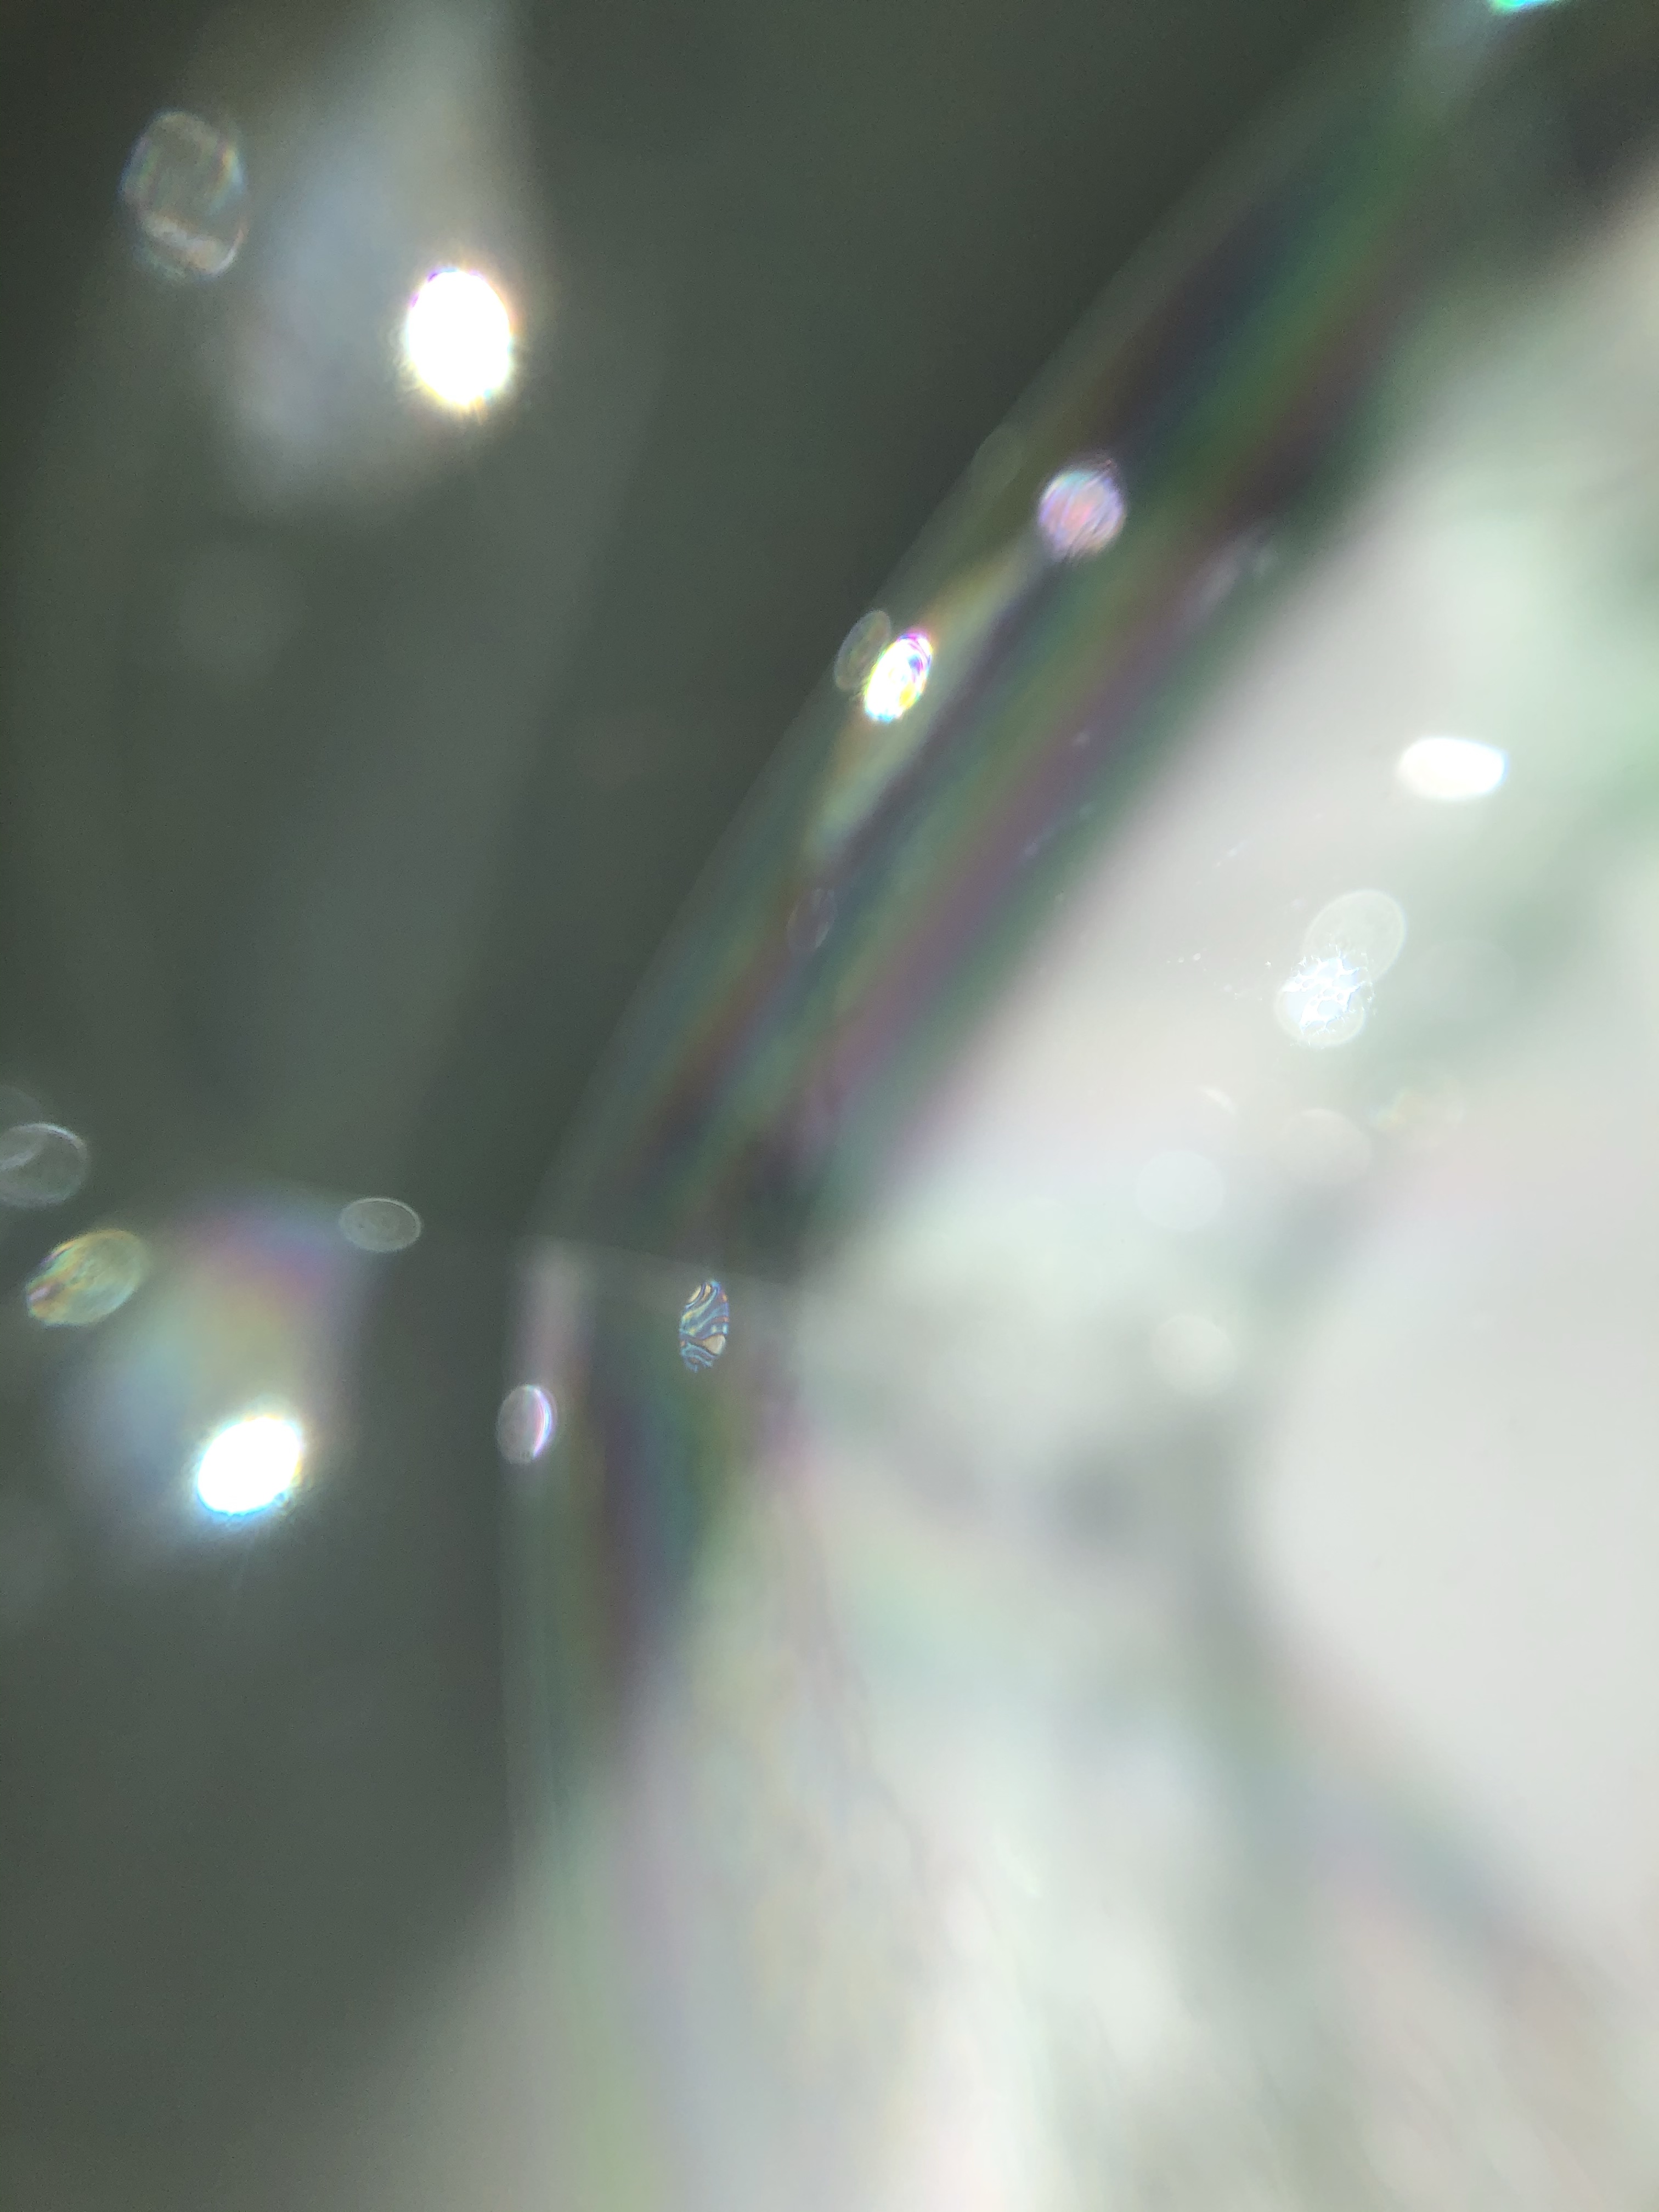
Textures
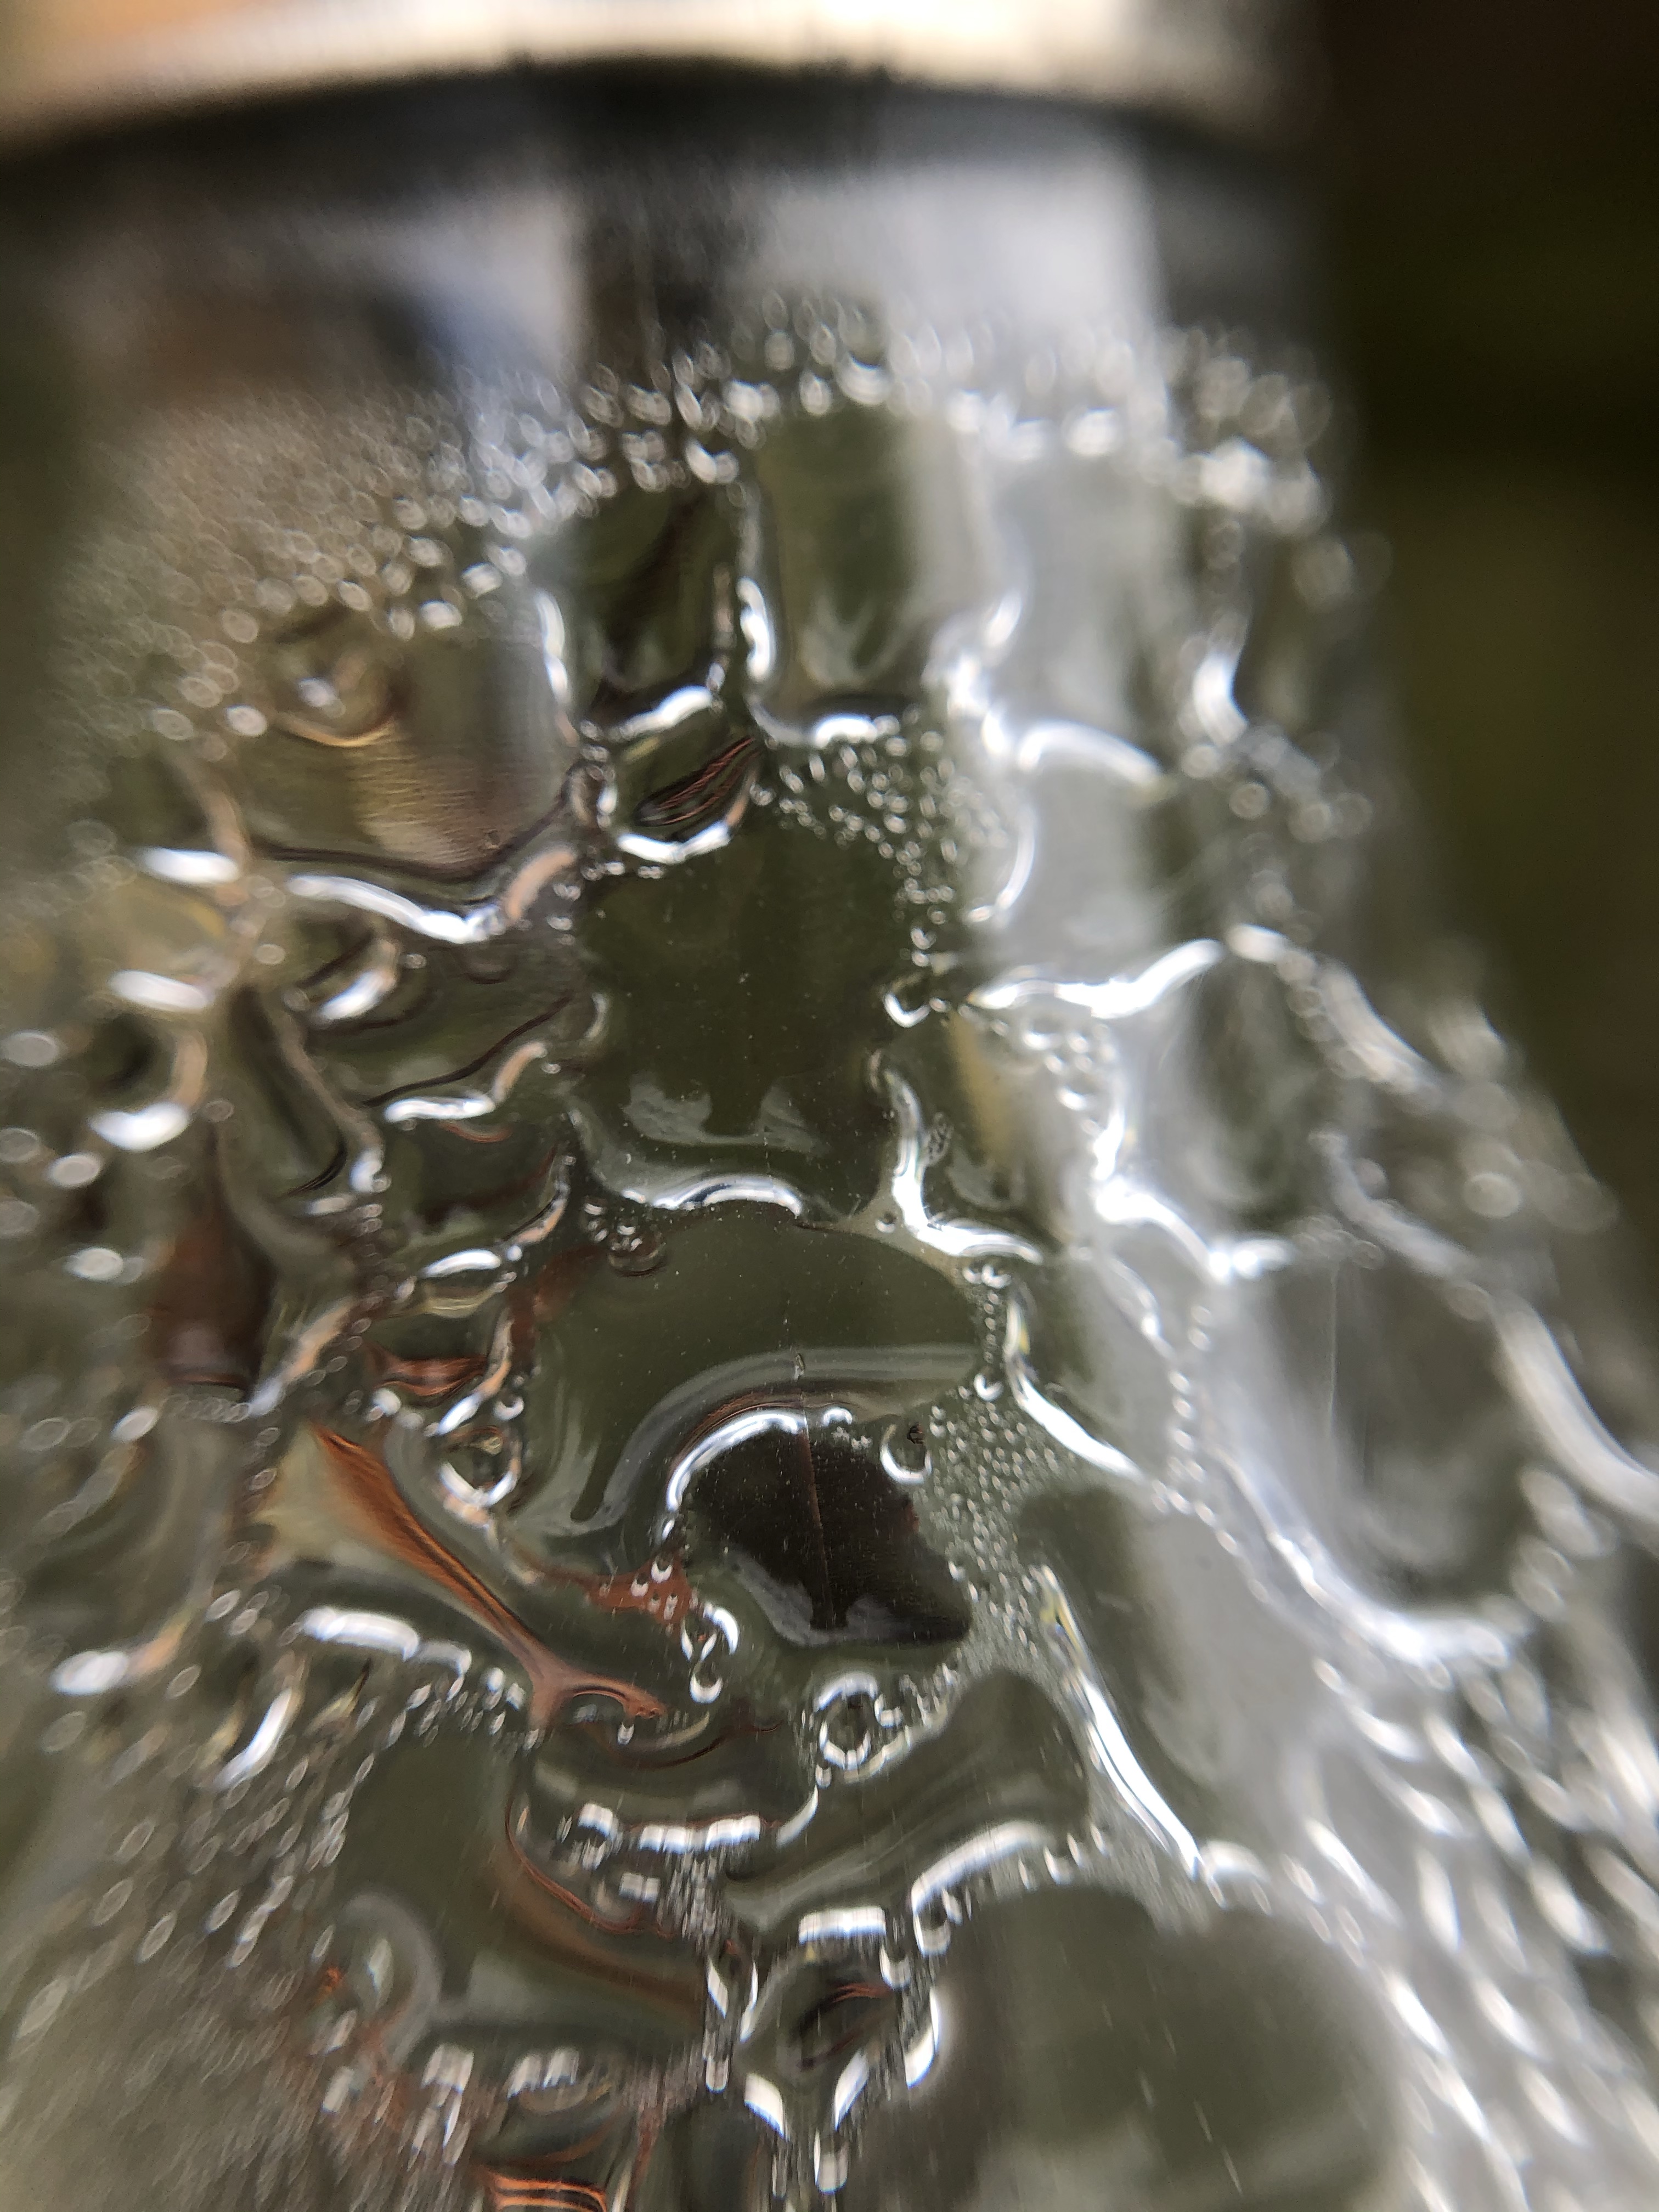
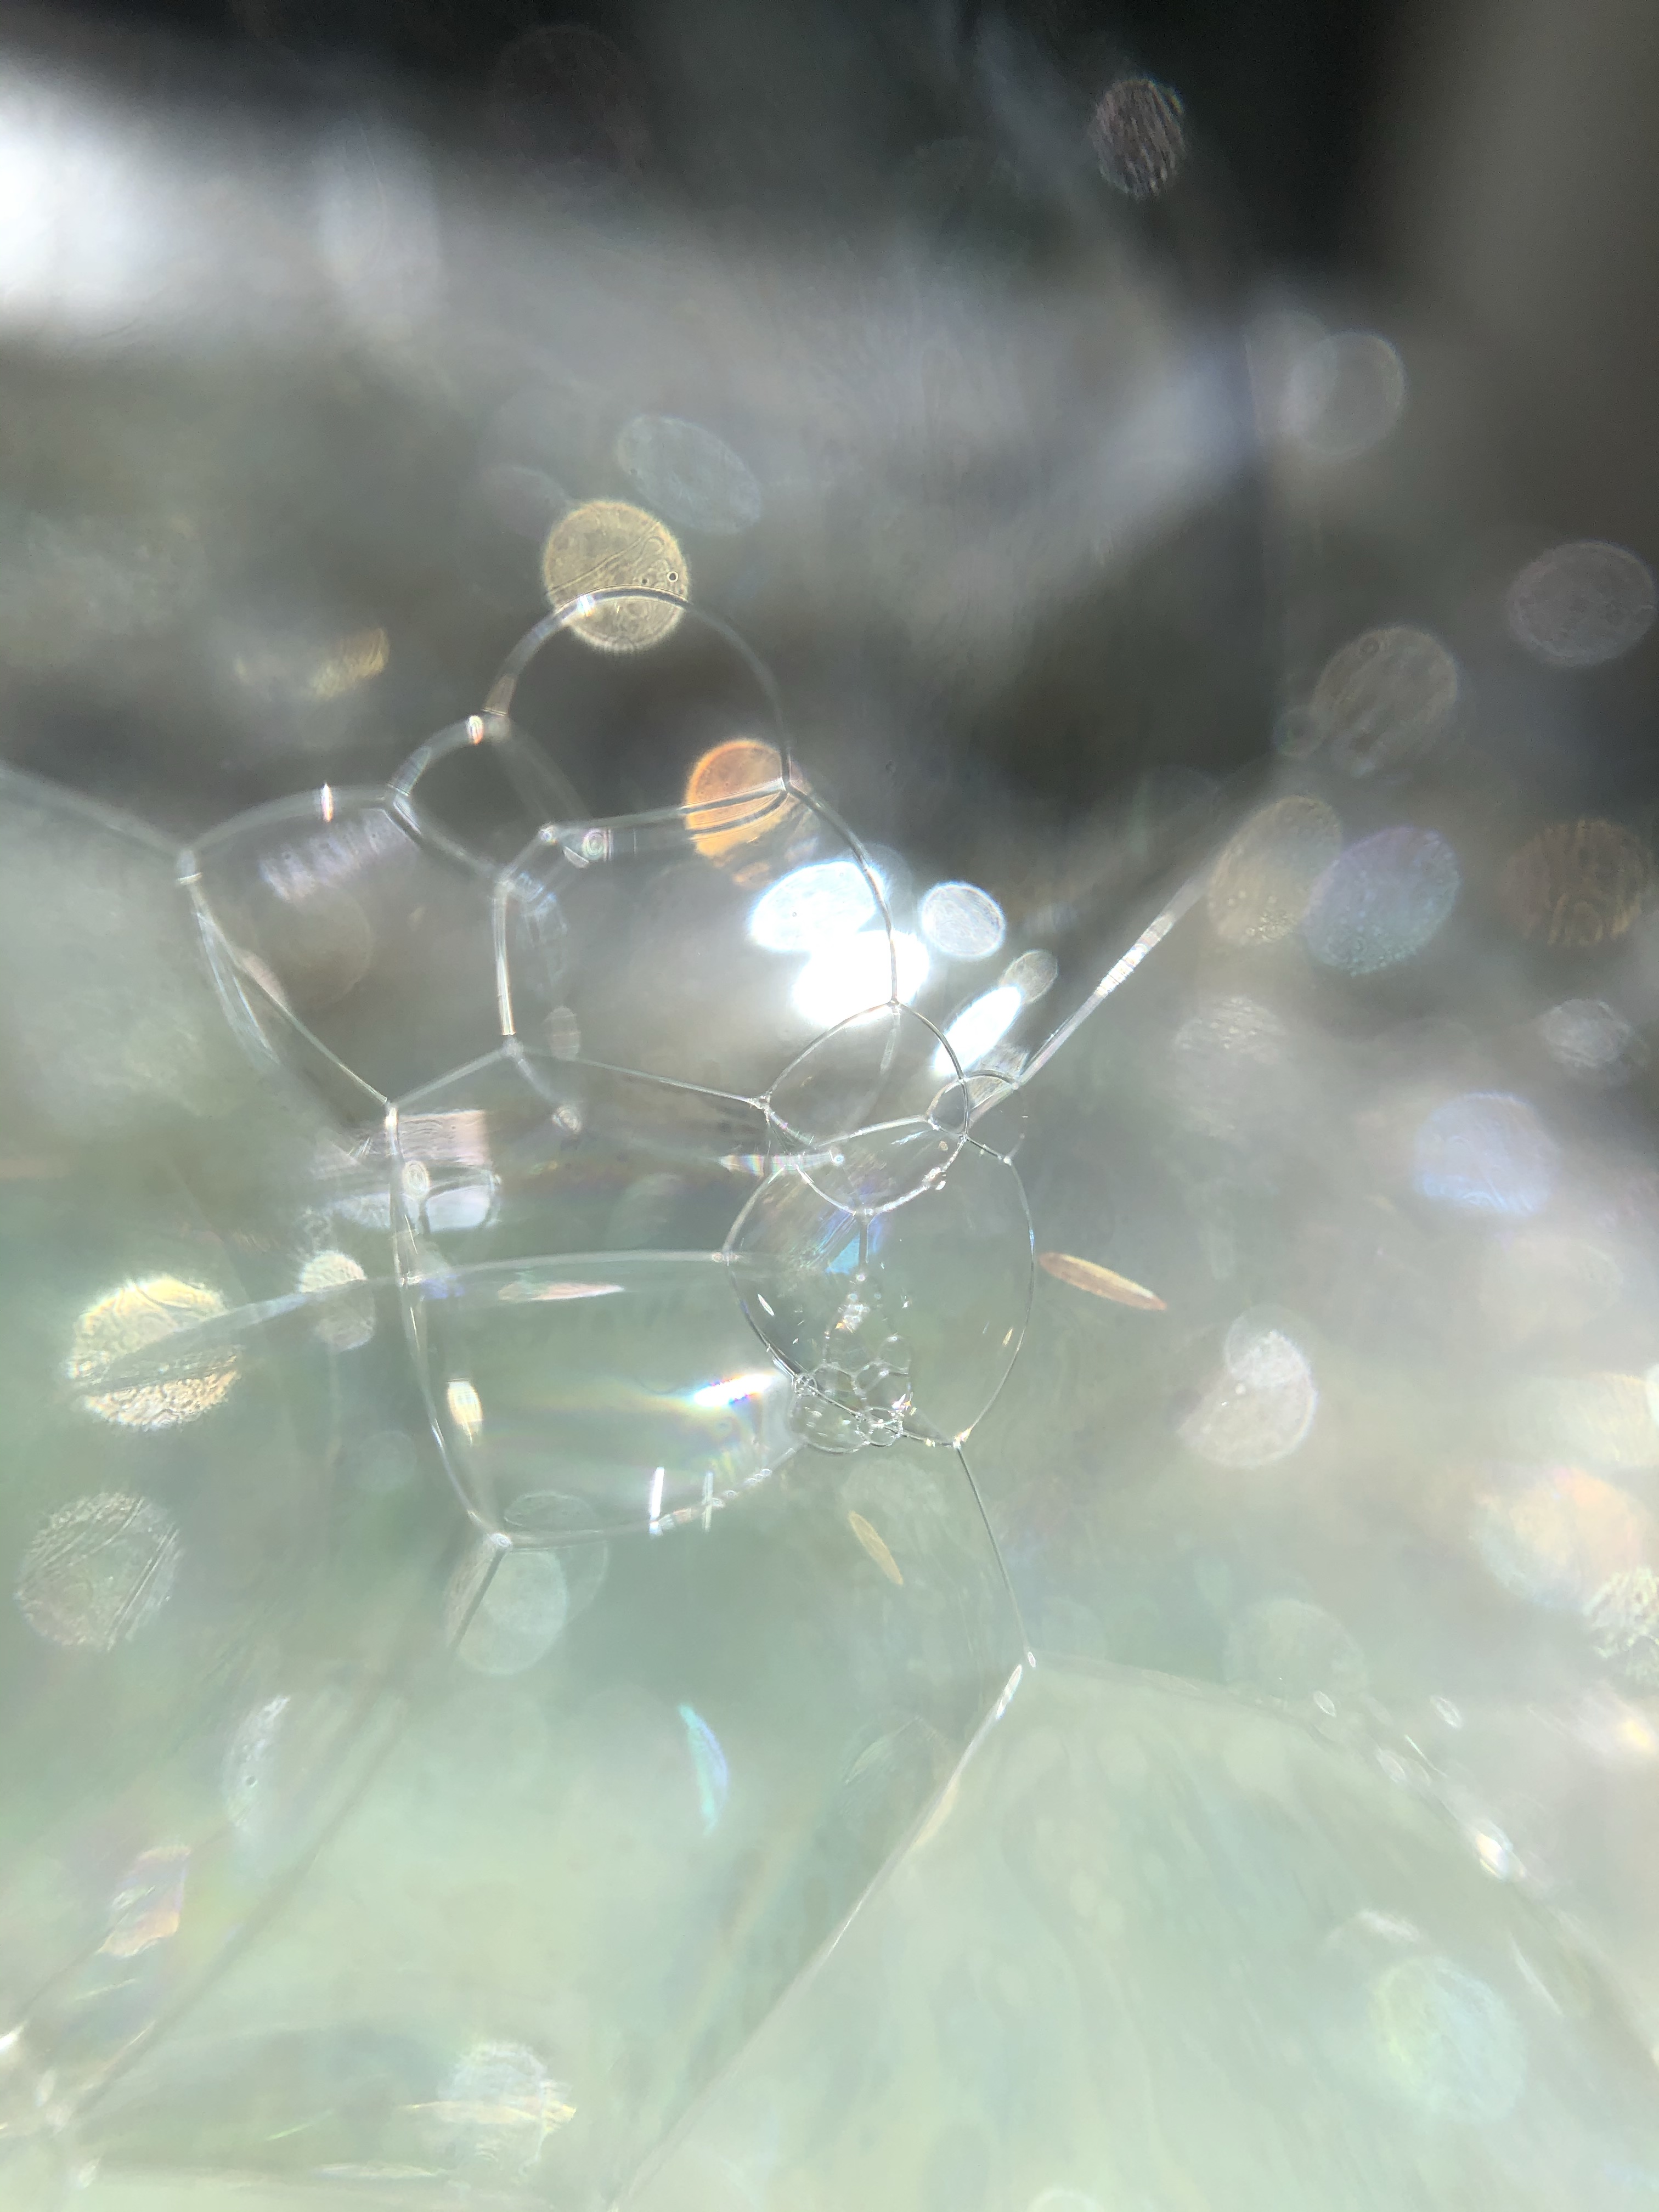
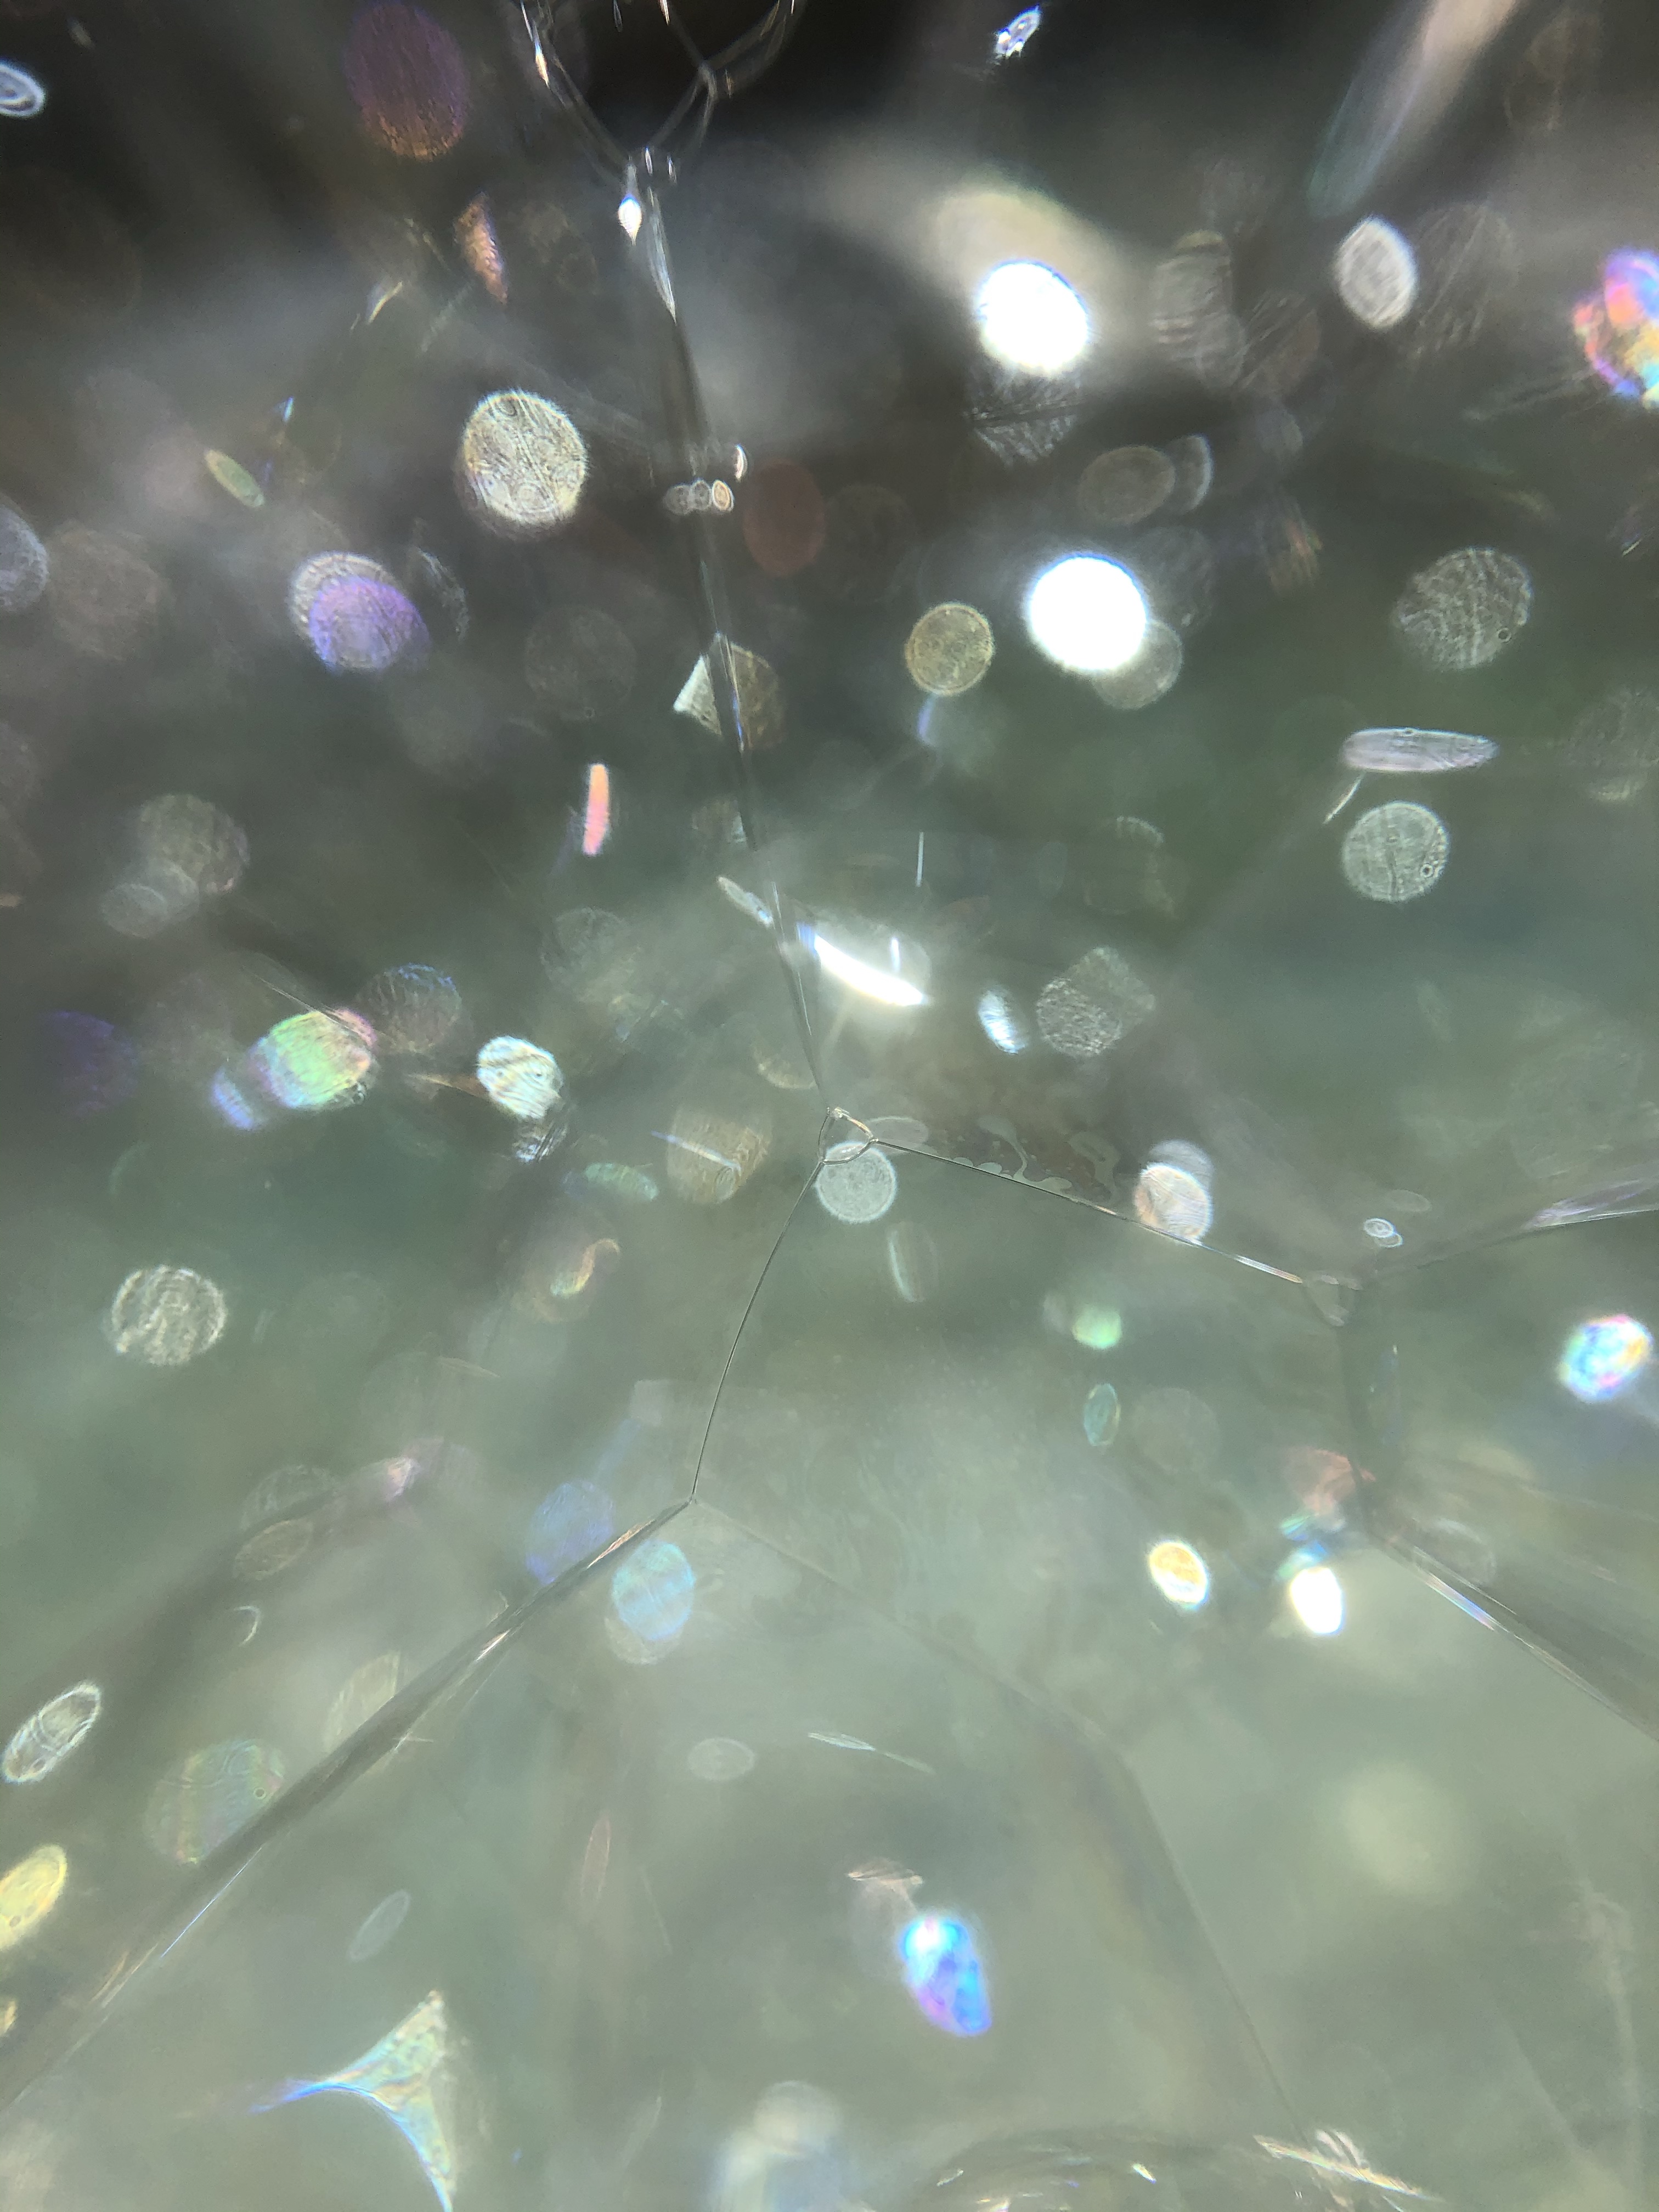
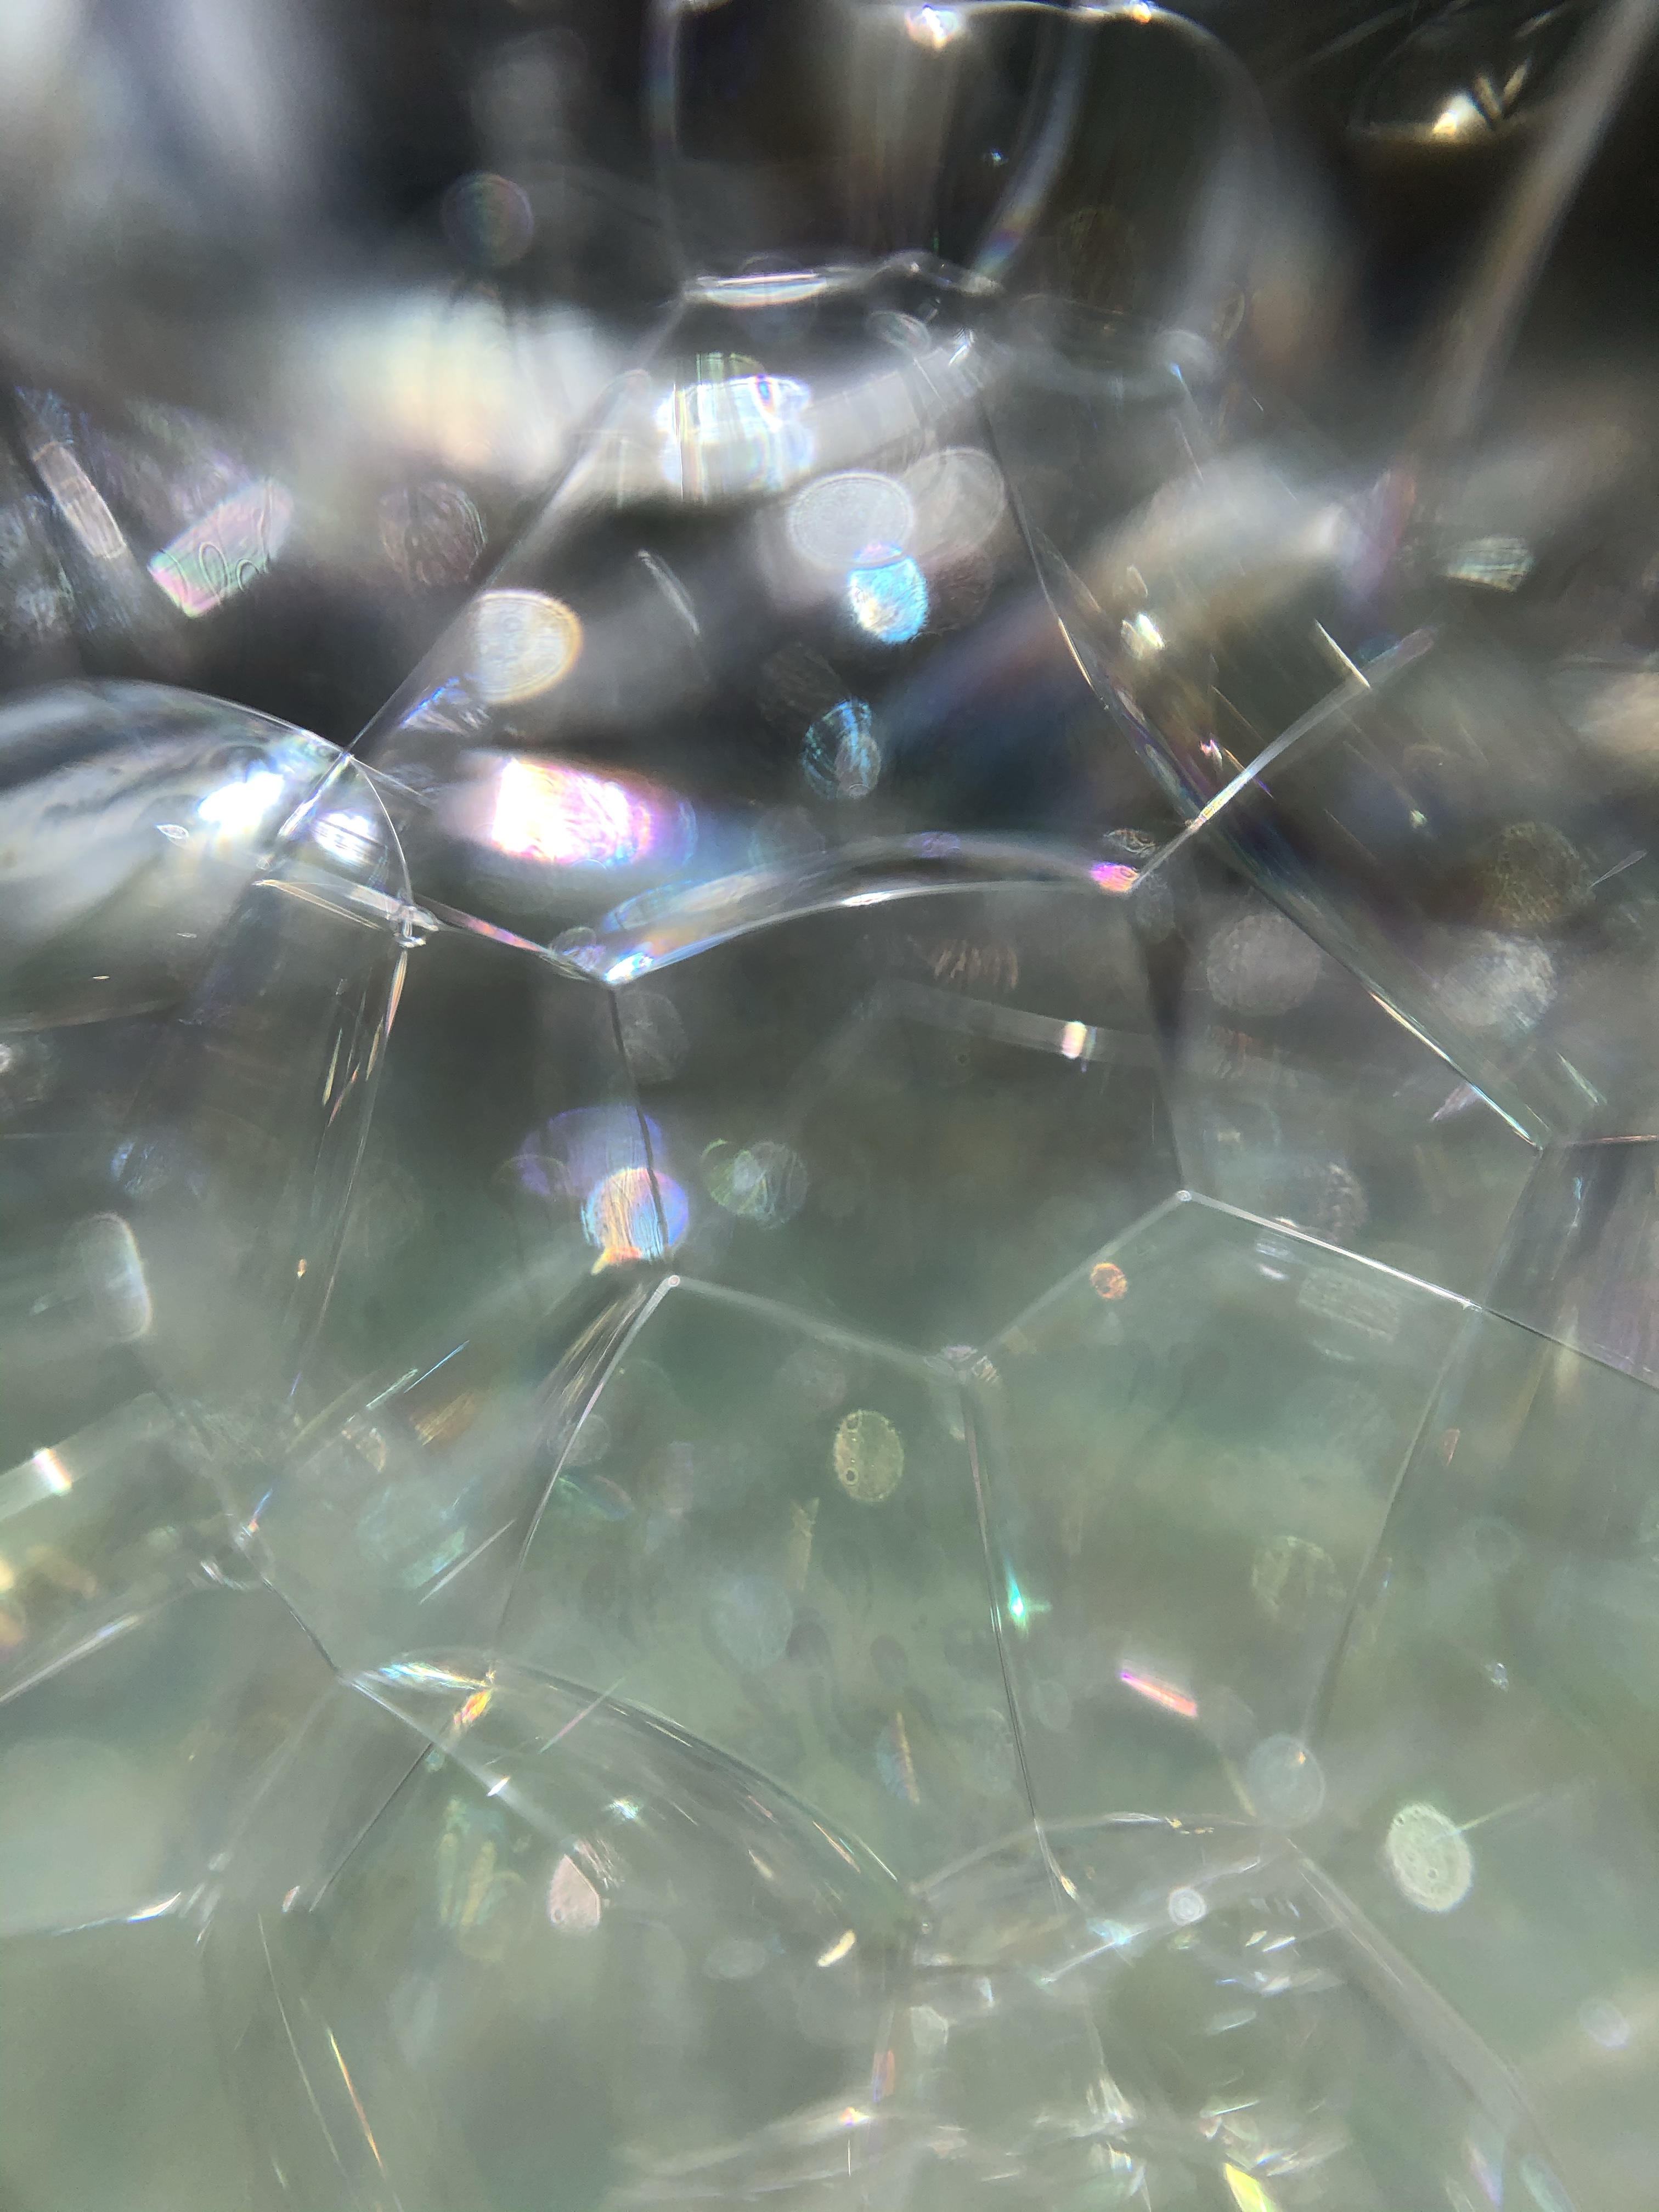
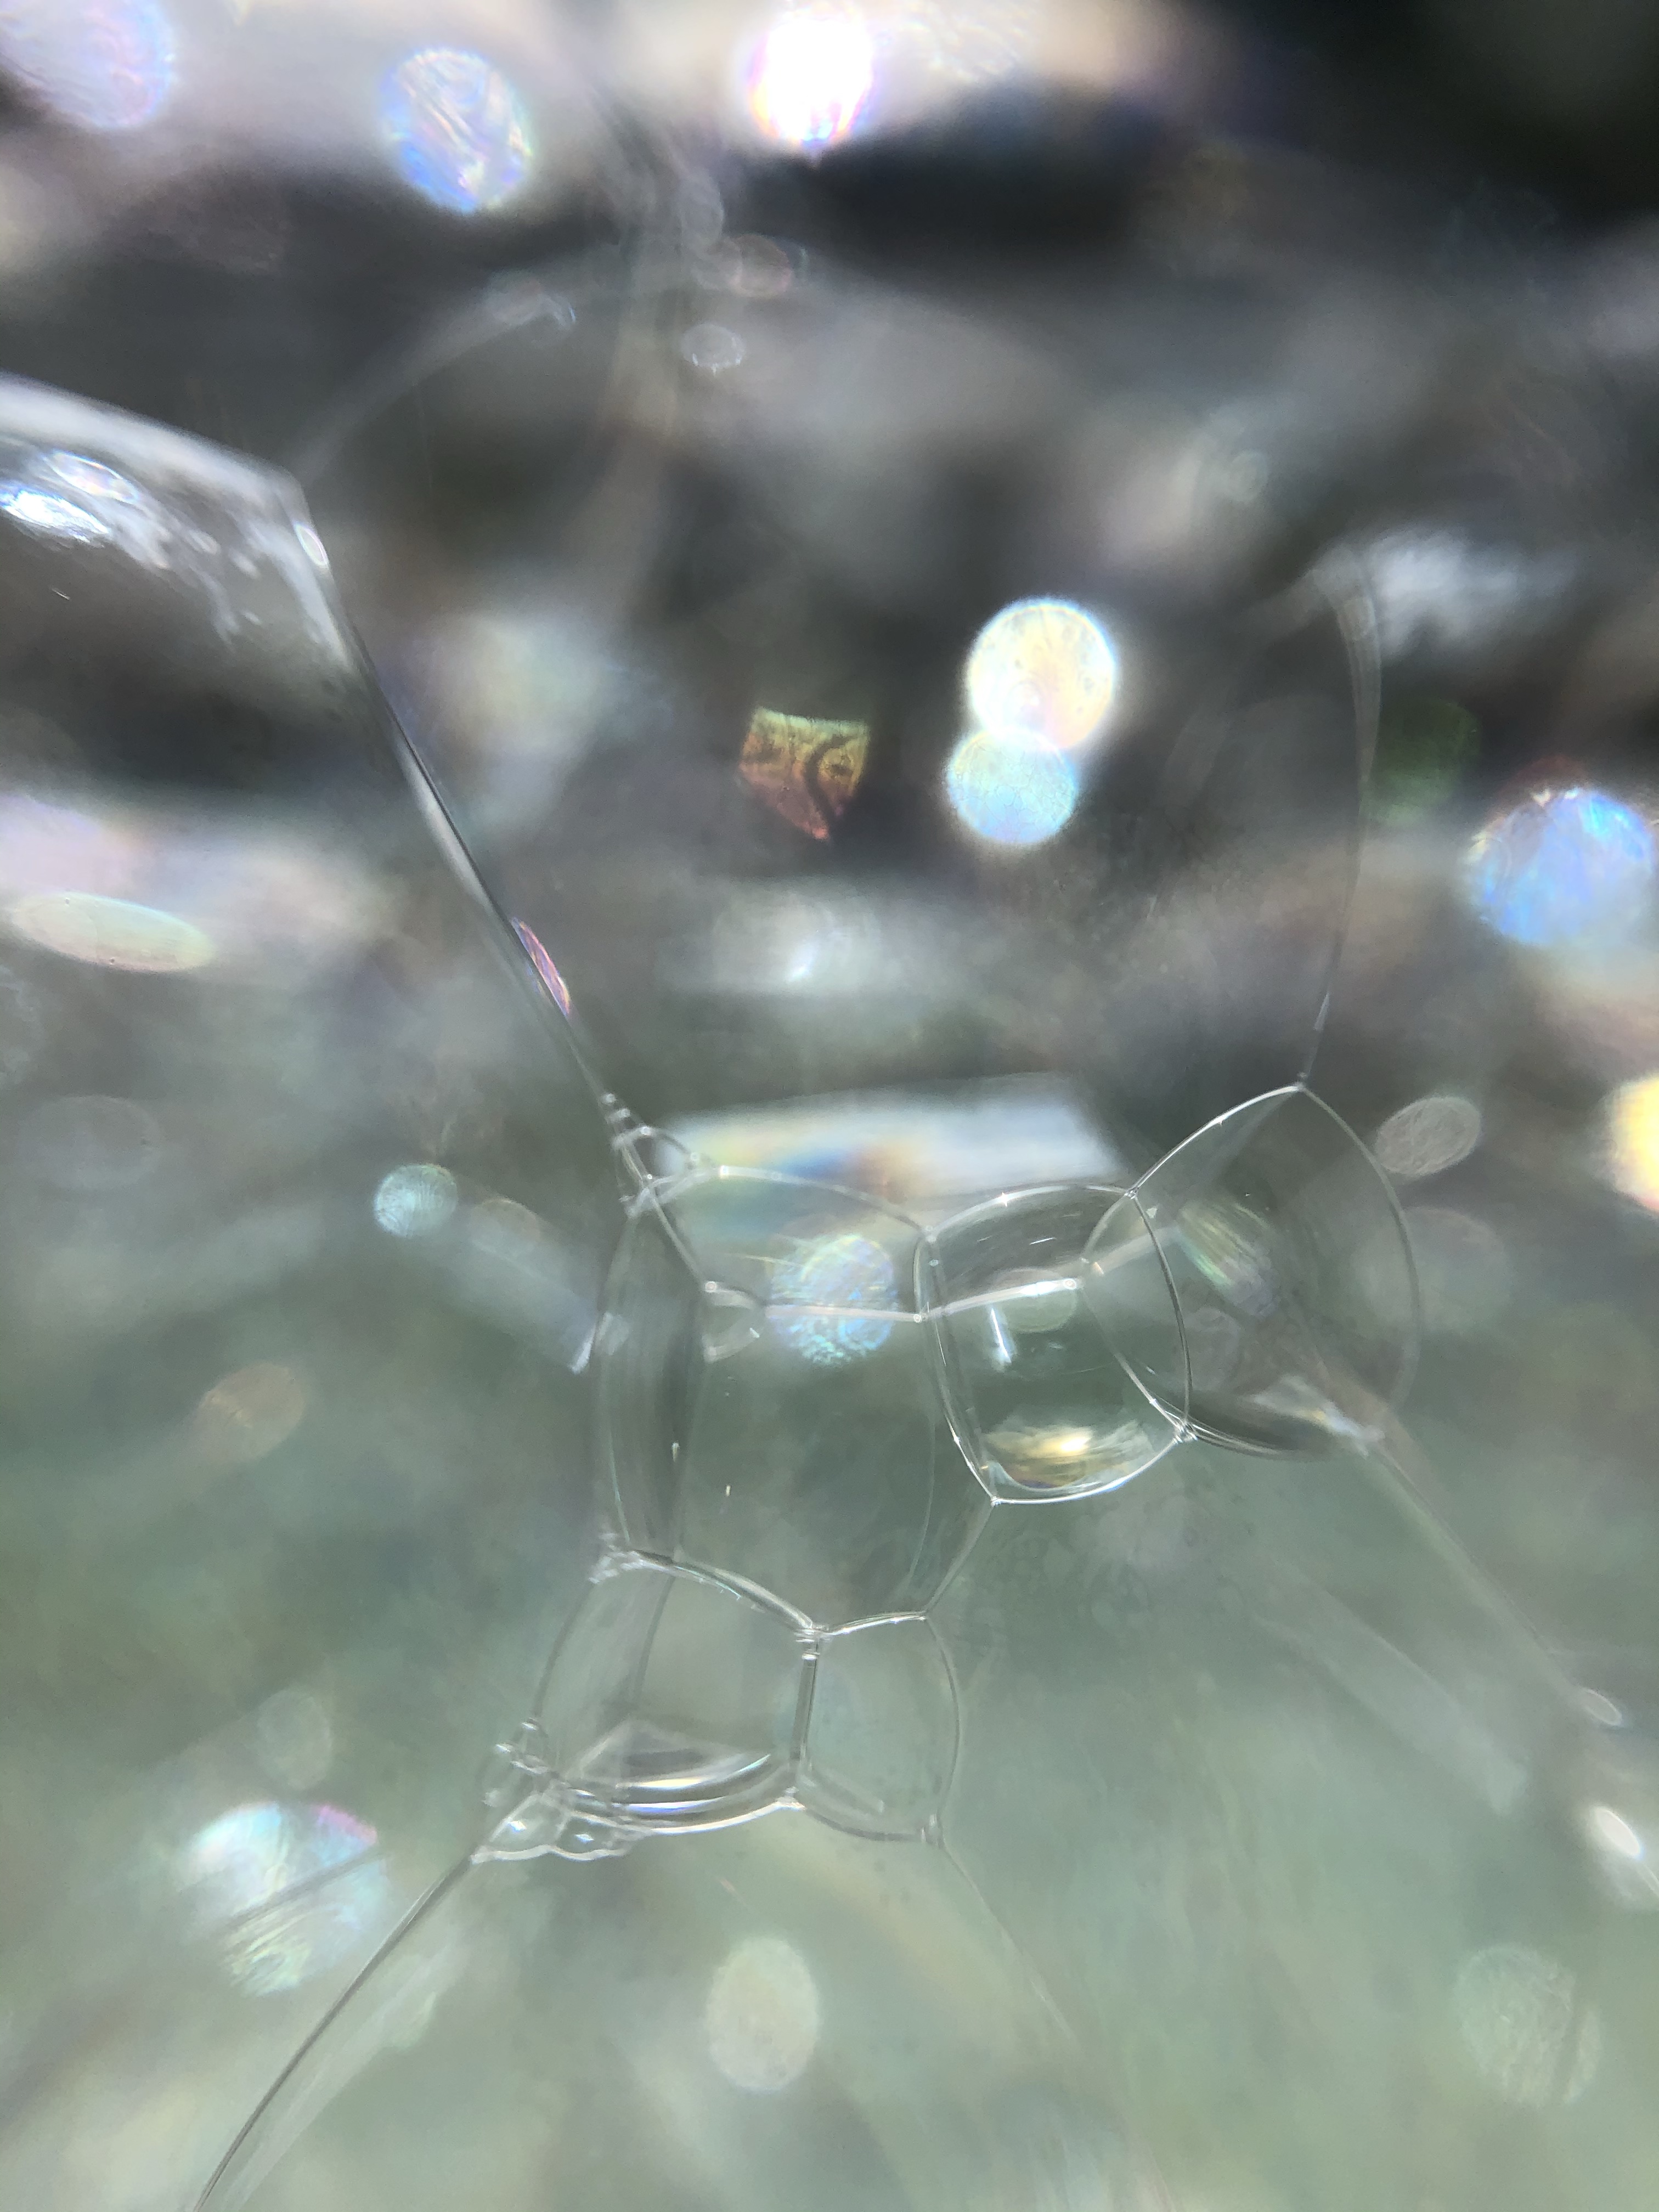
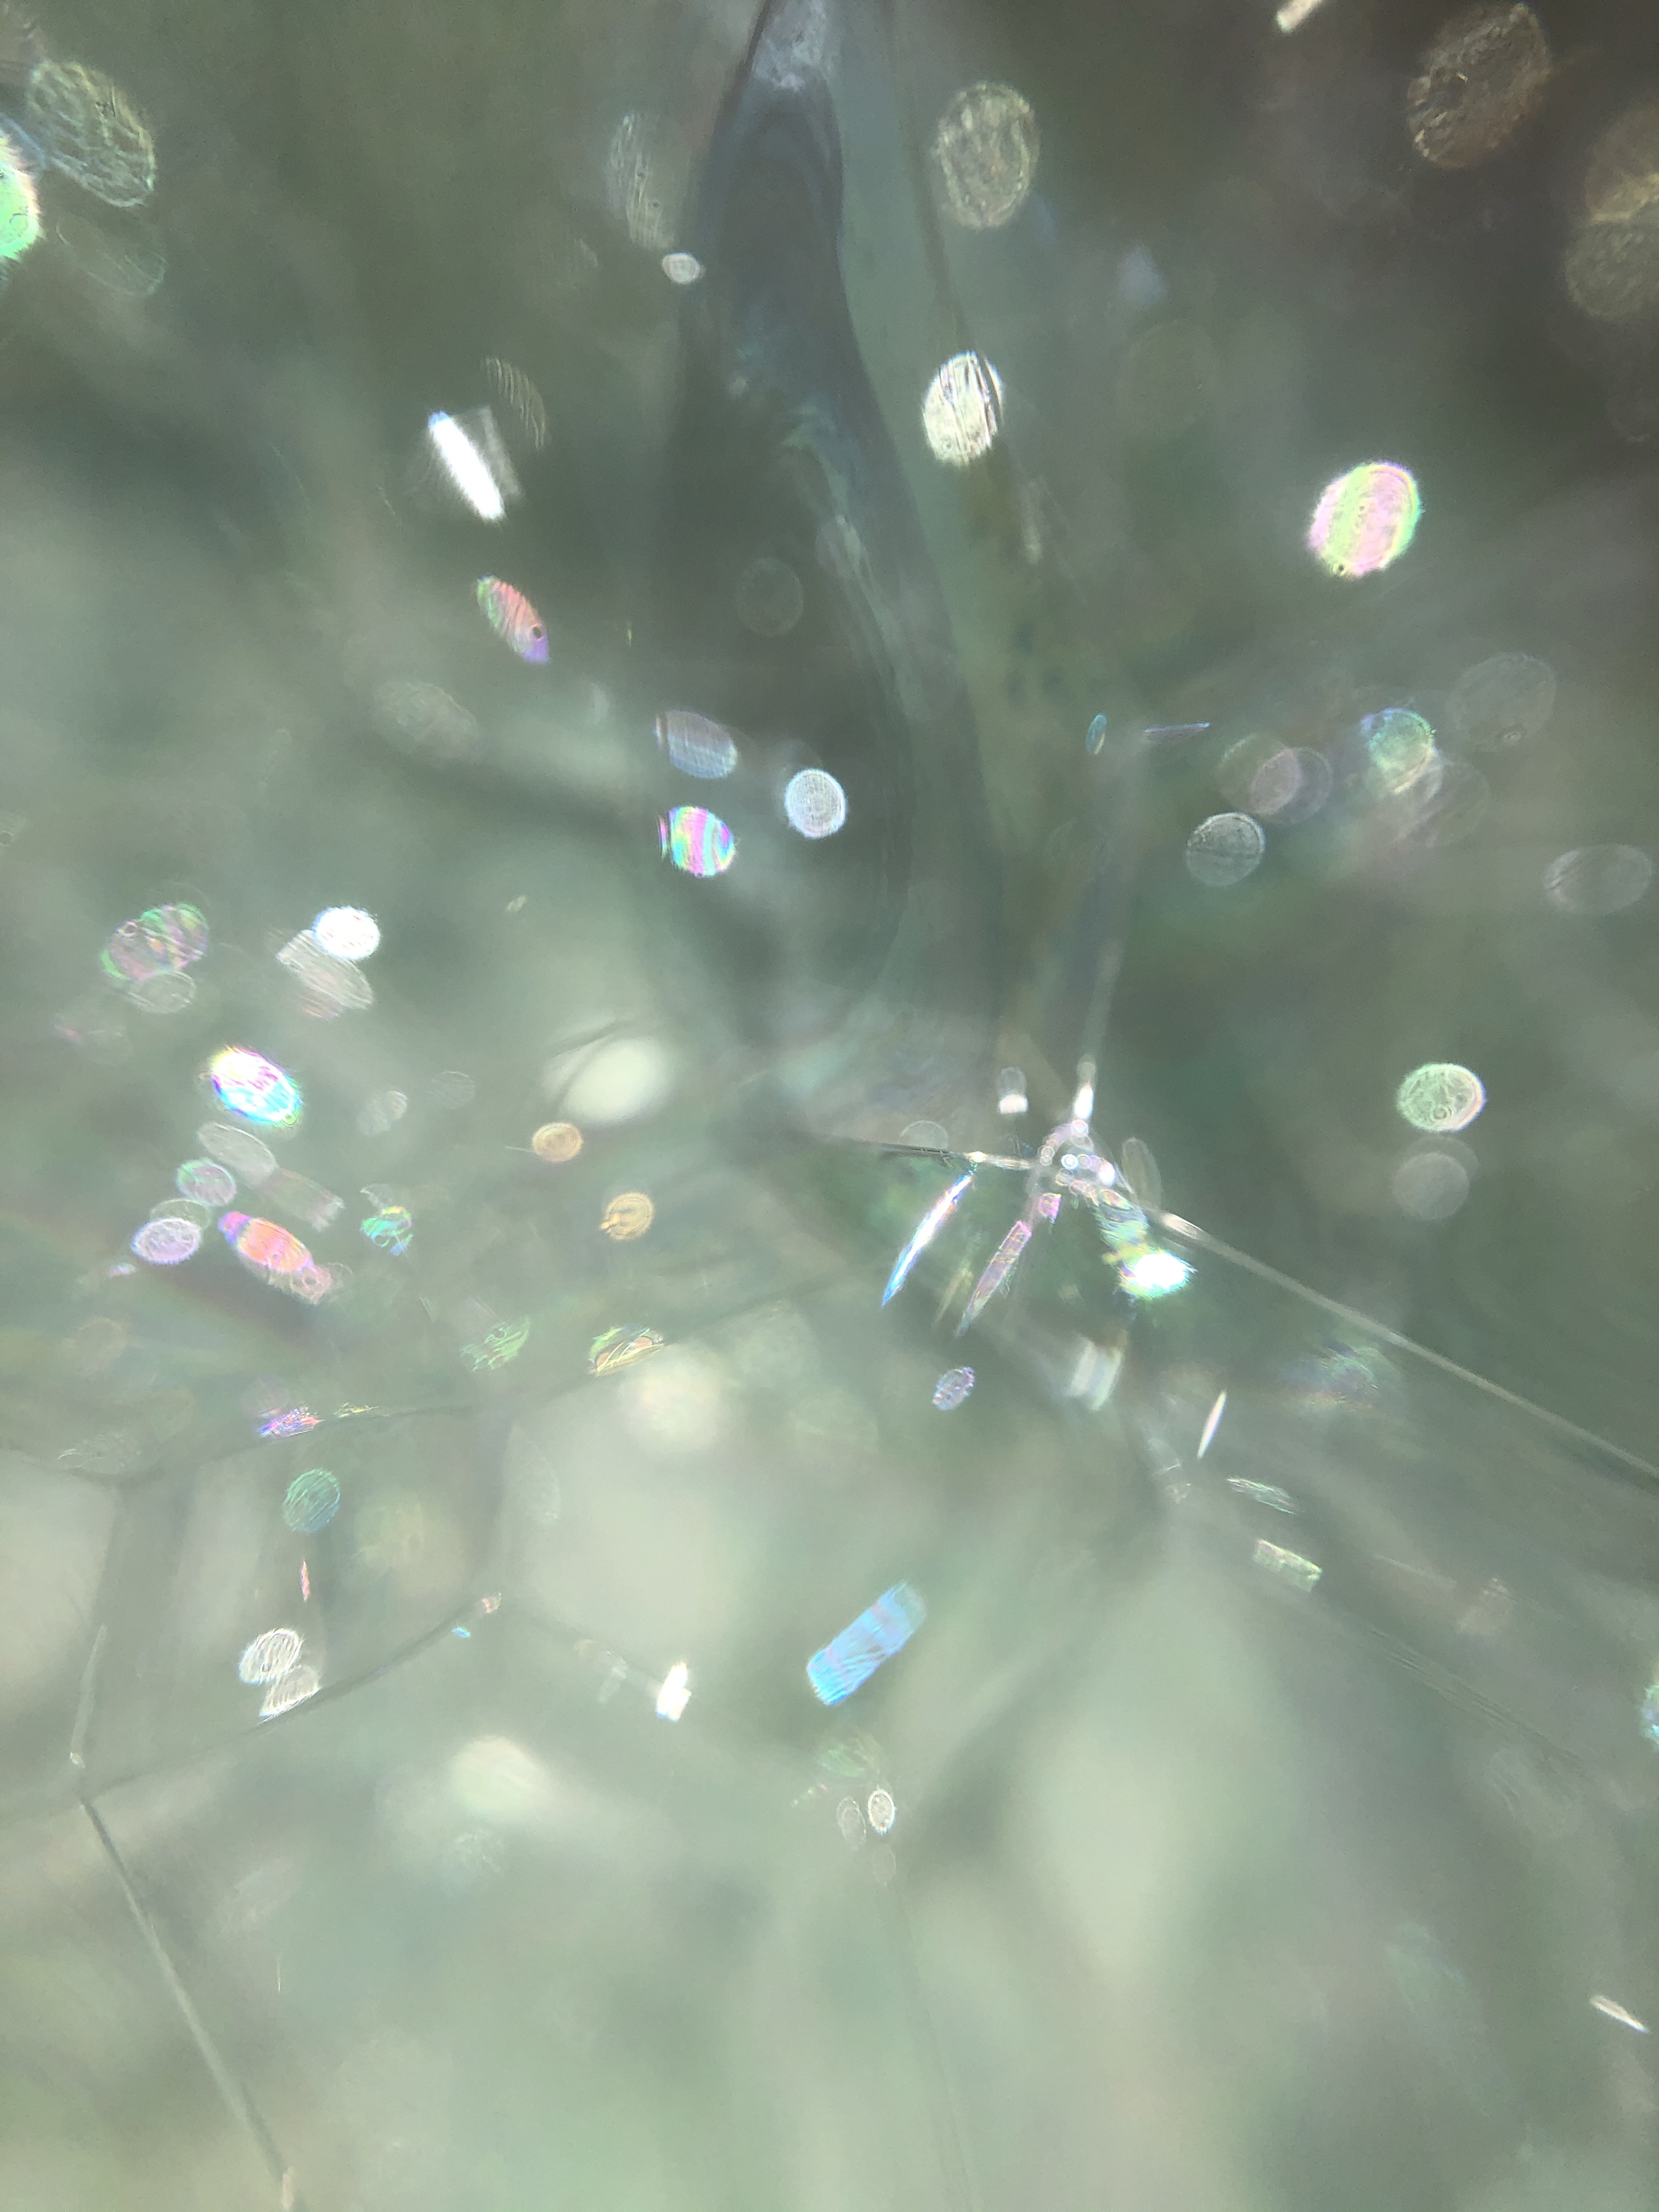
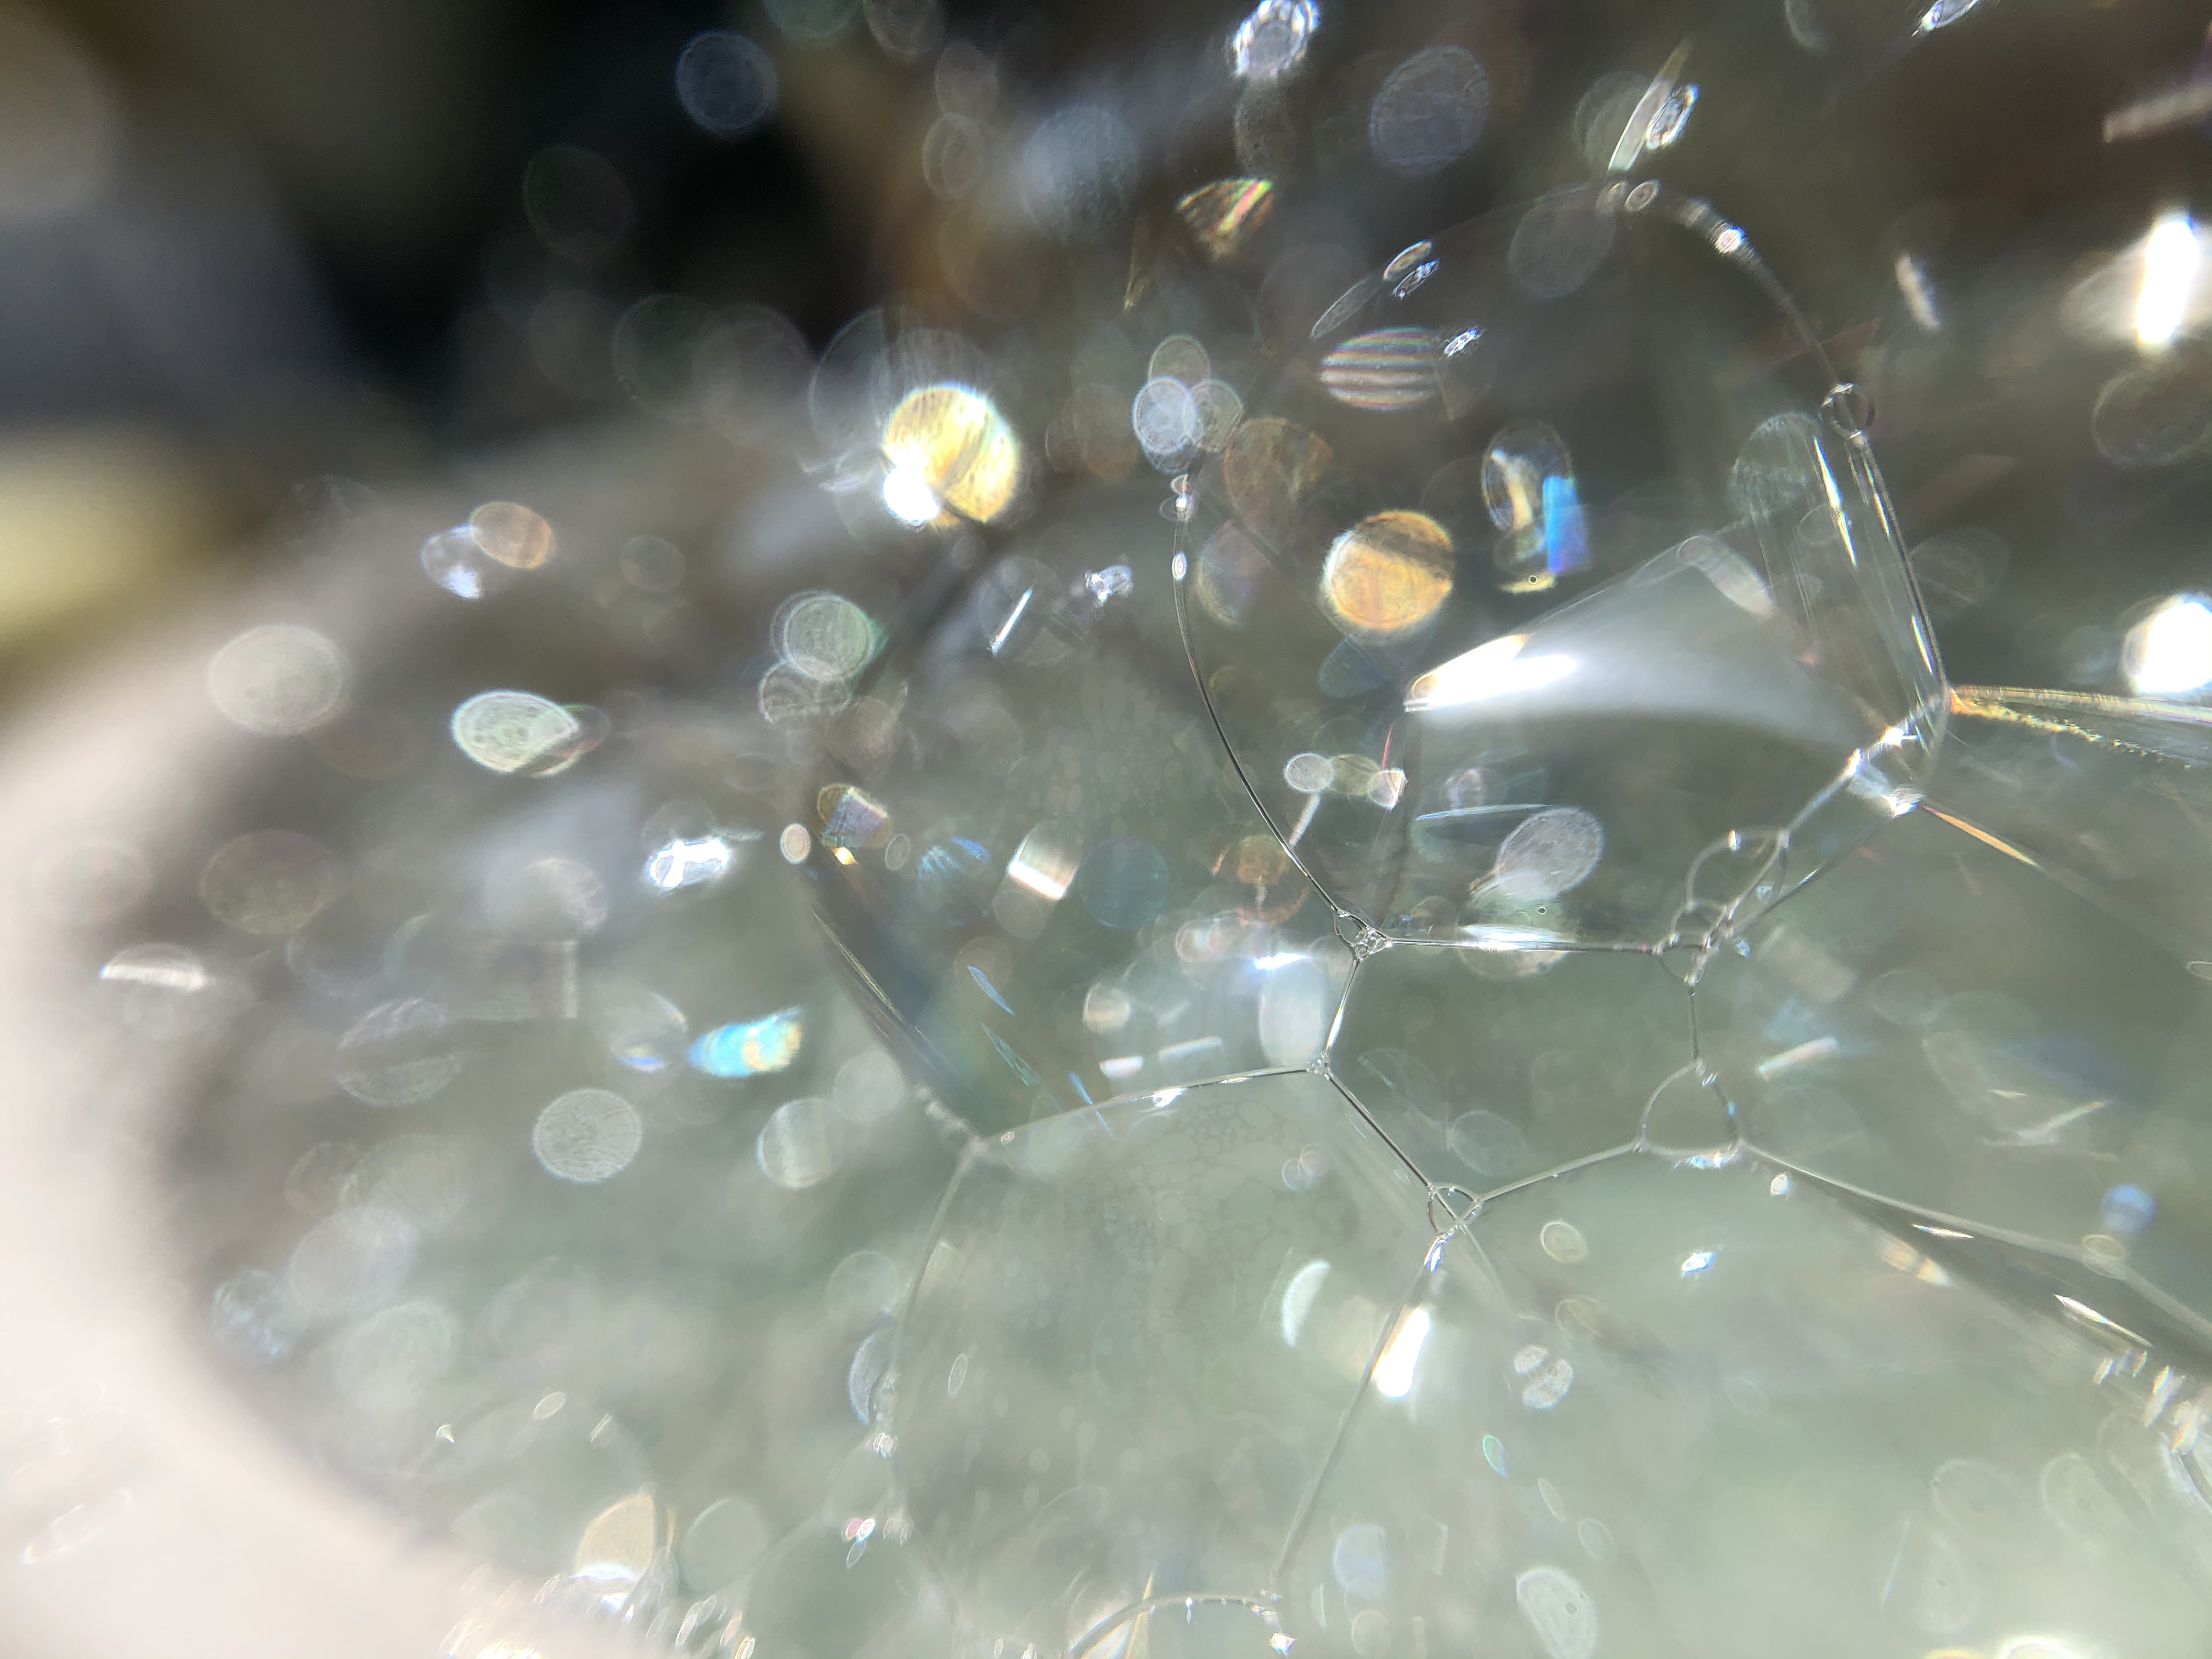
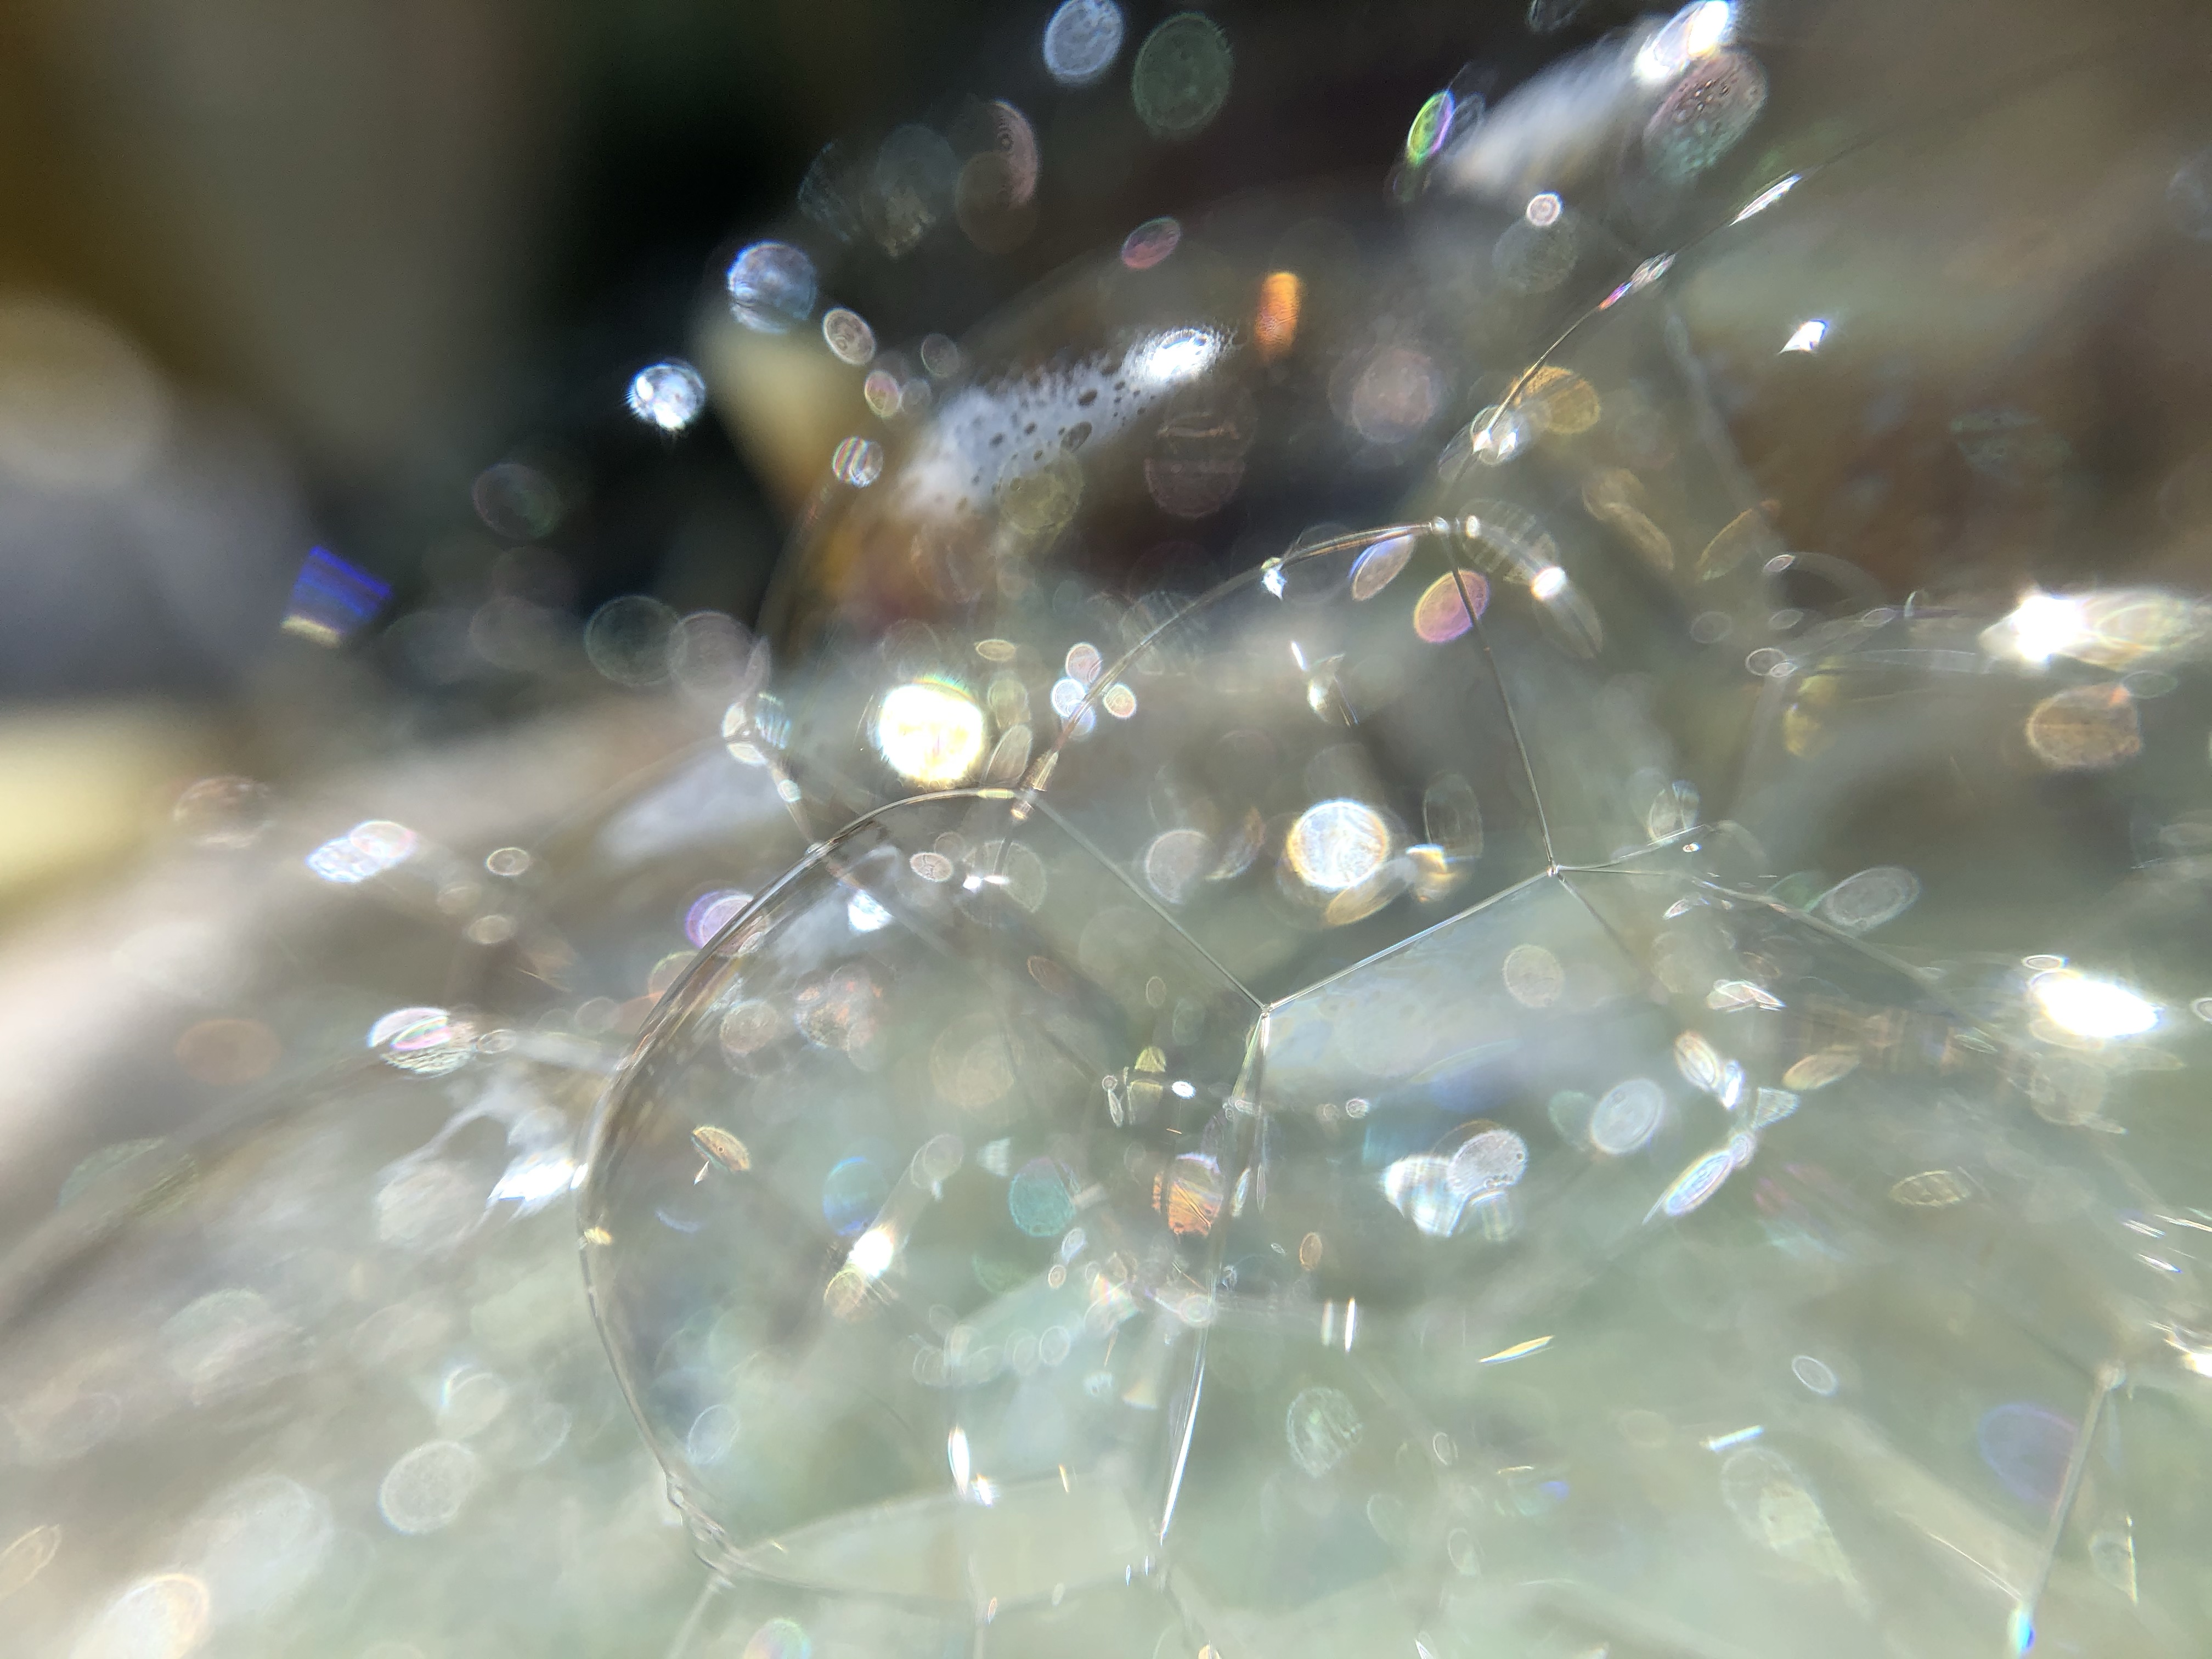
Bubbles/Liquid
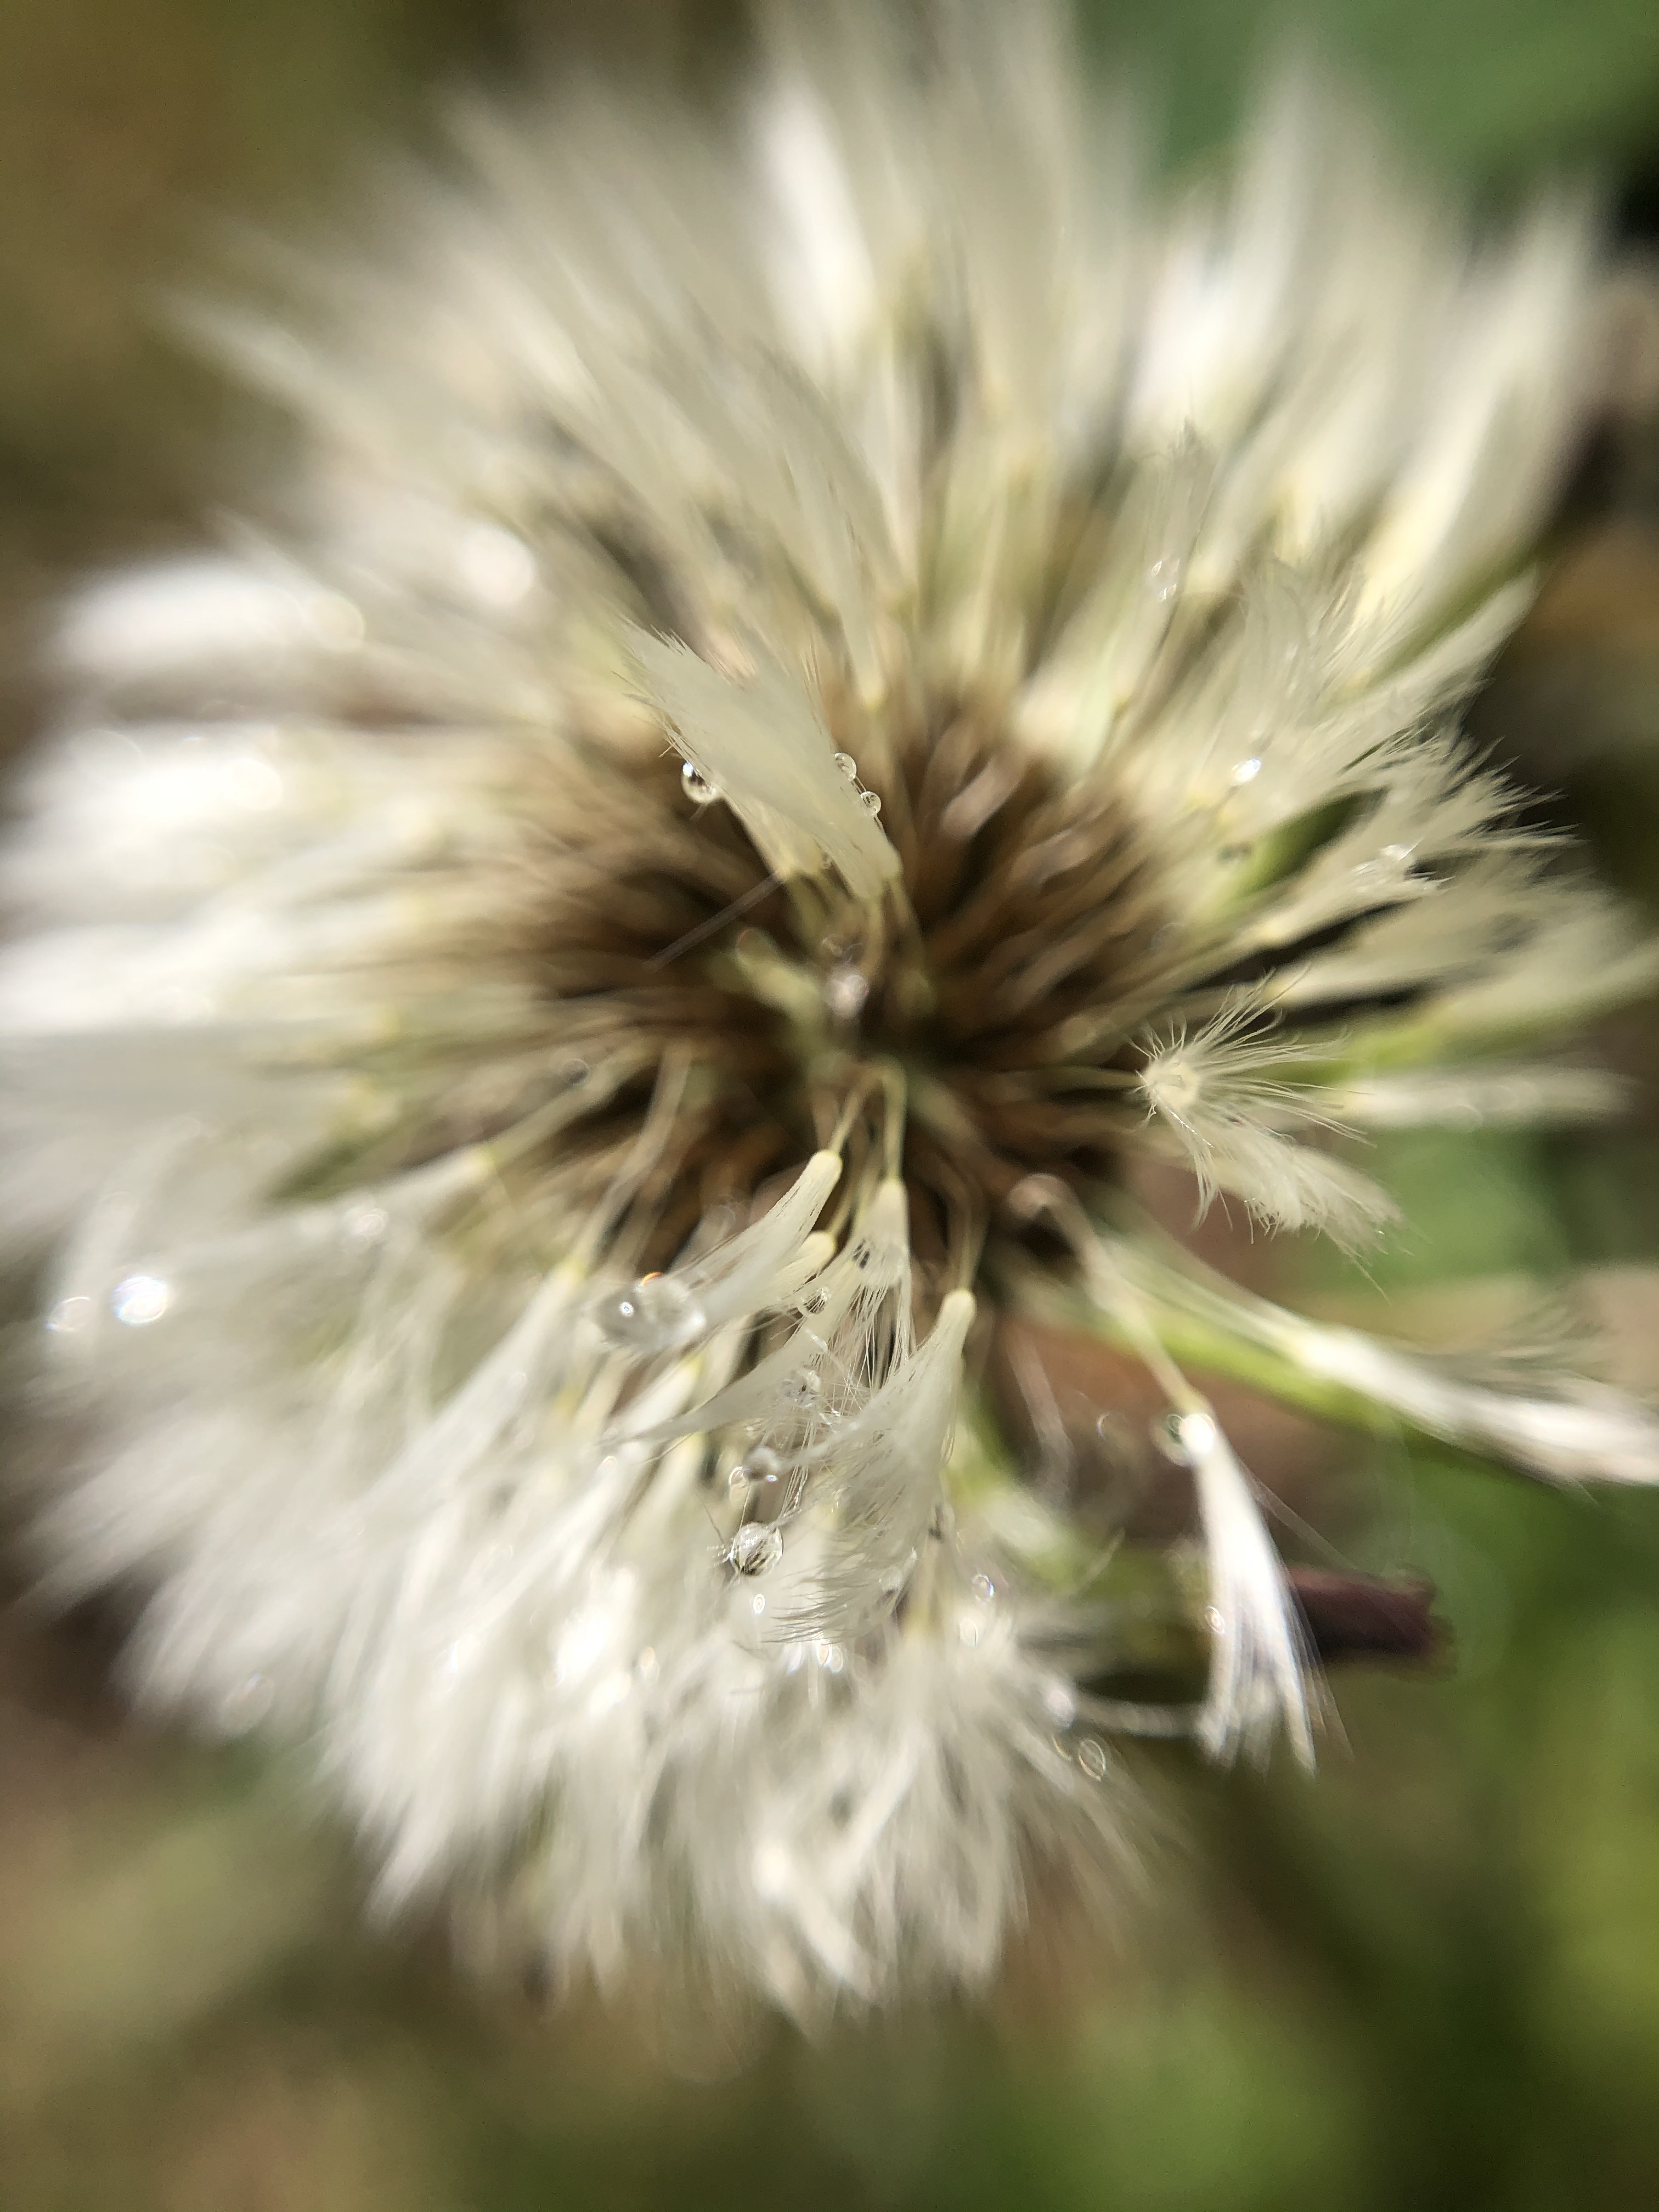
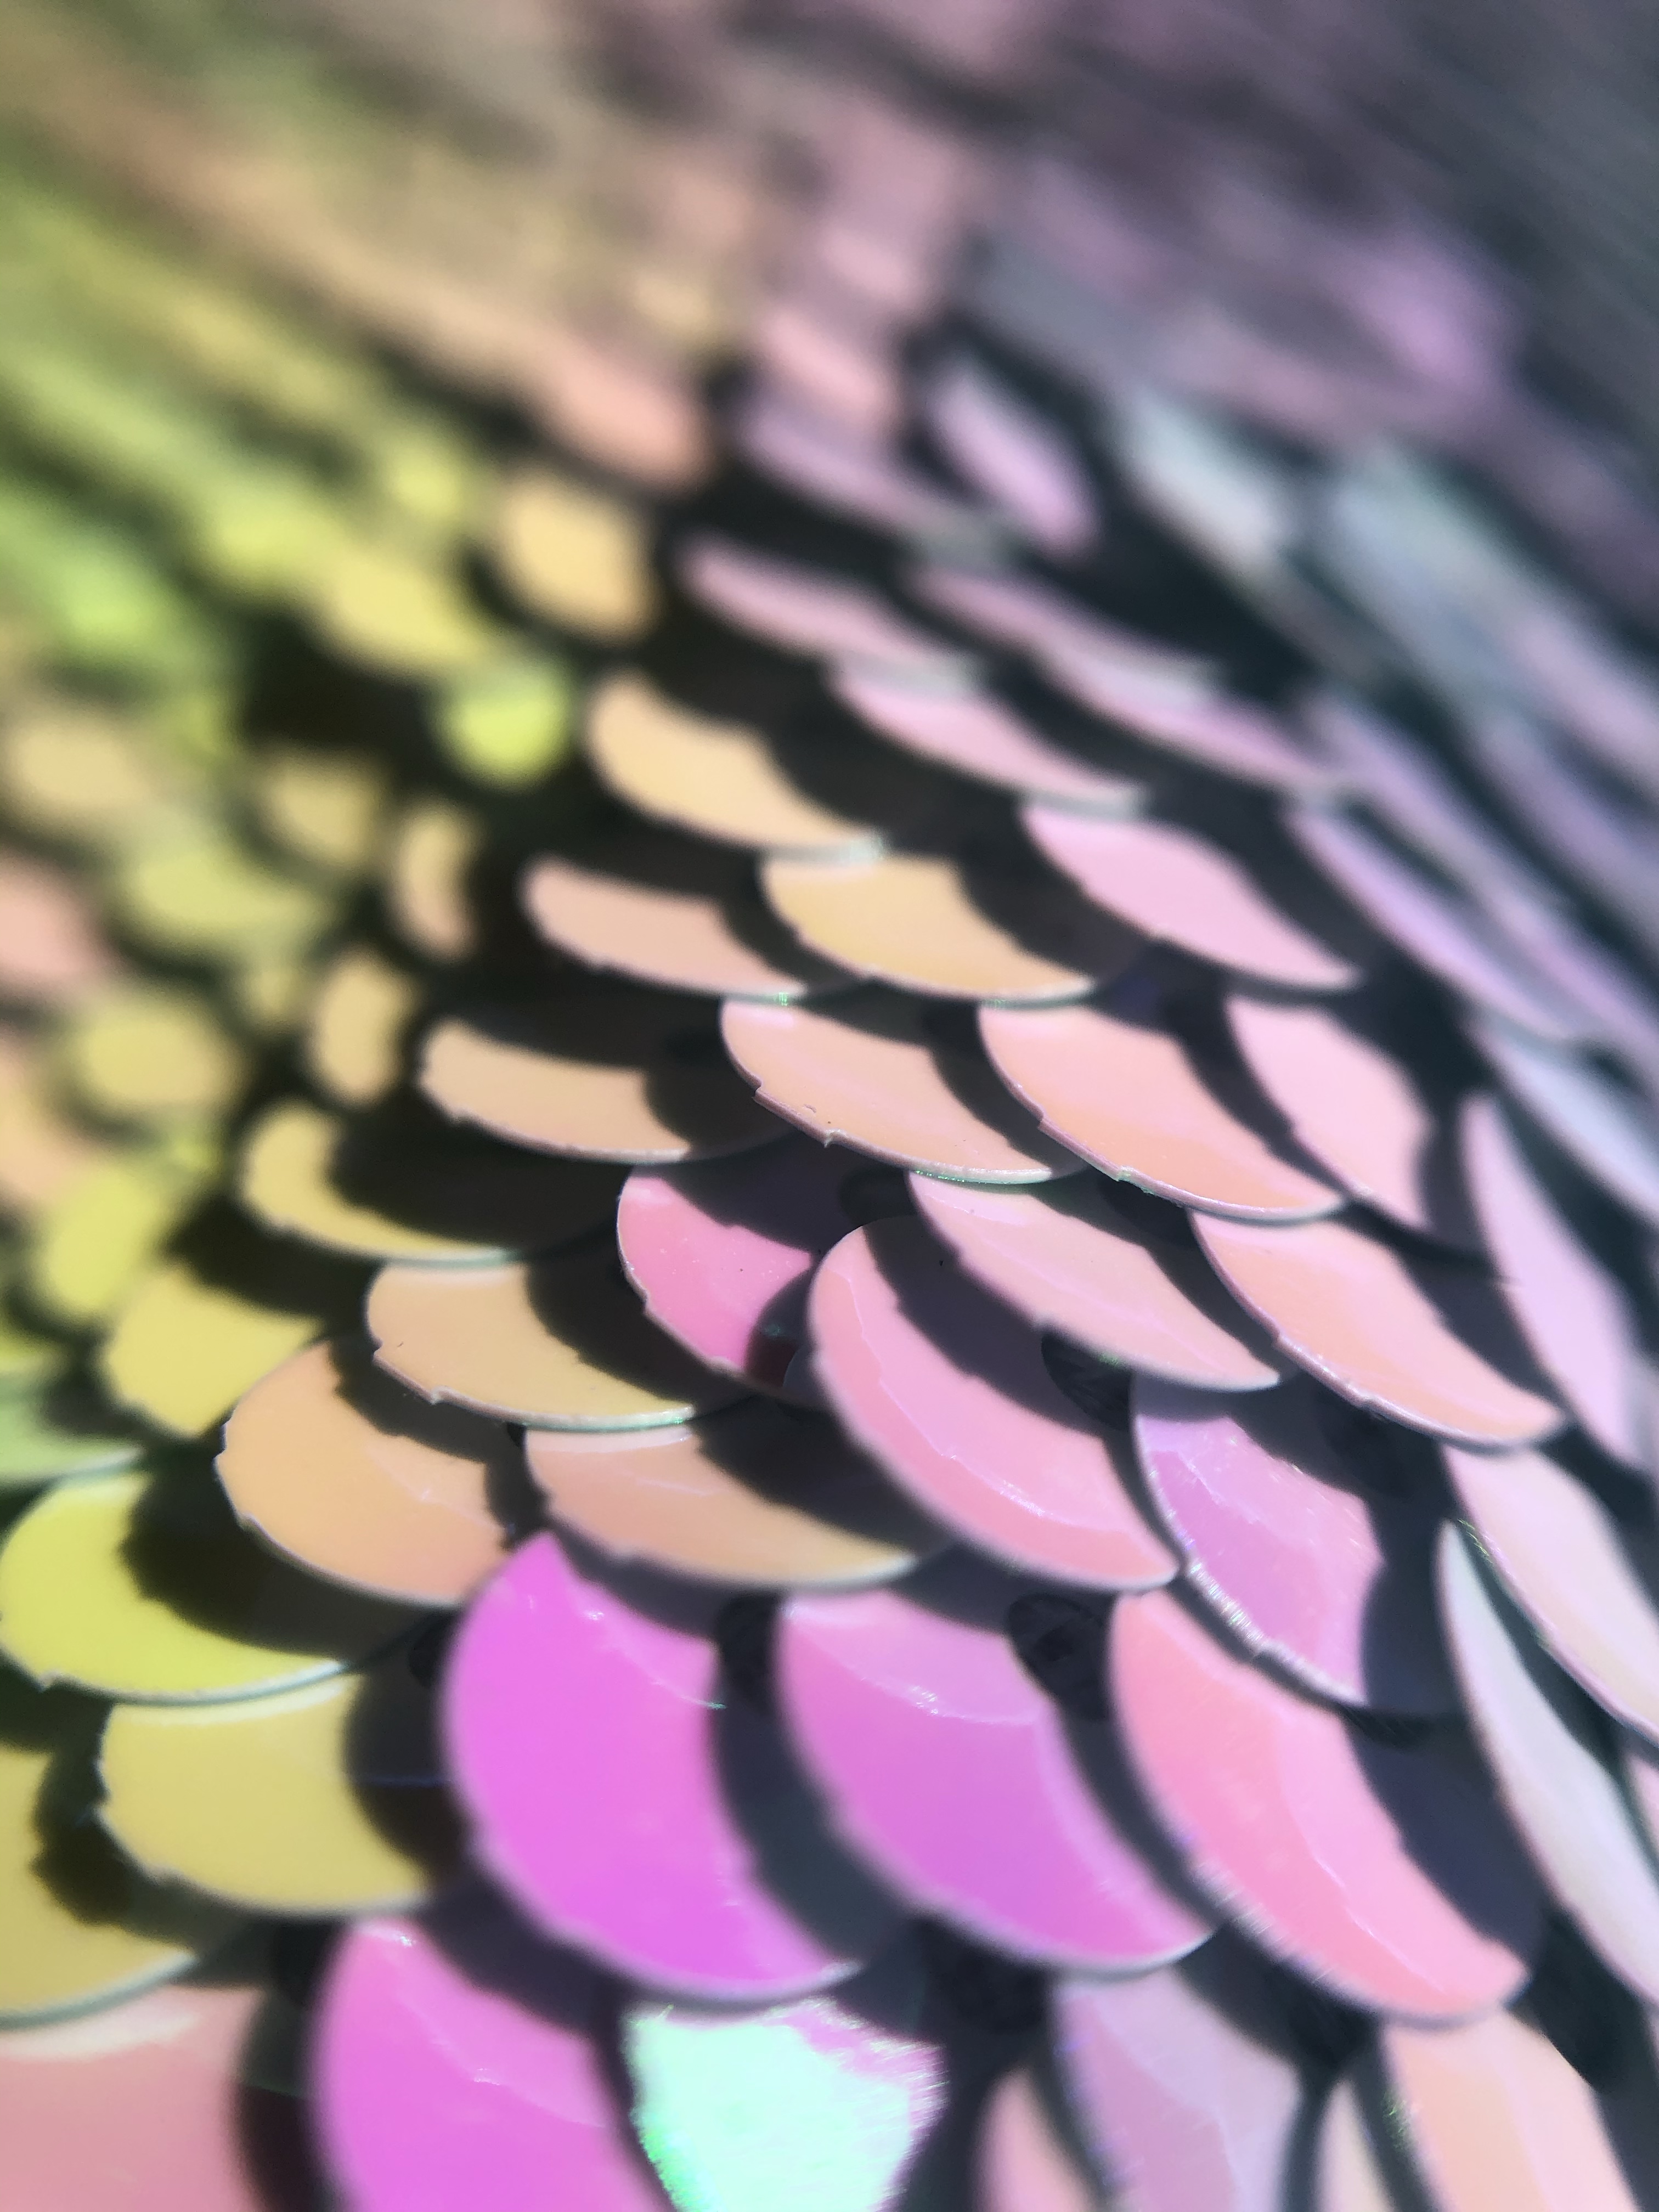
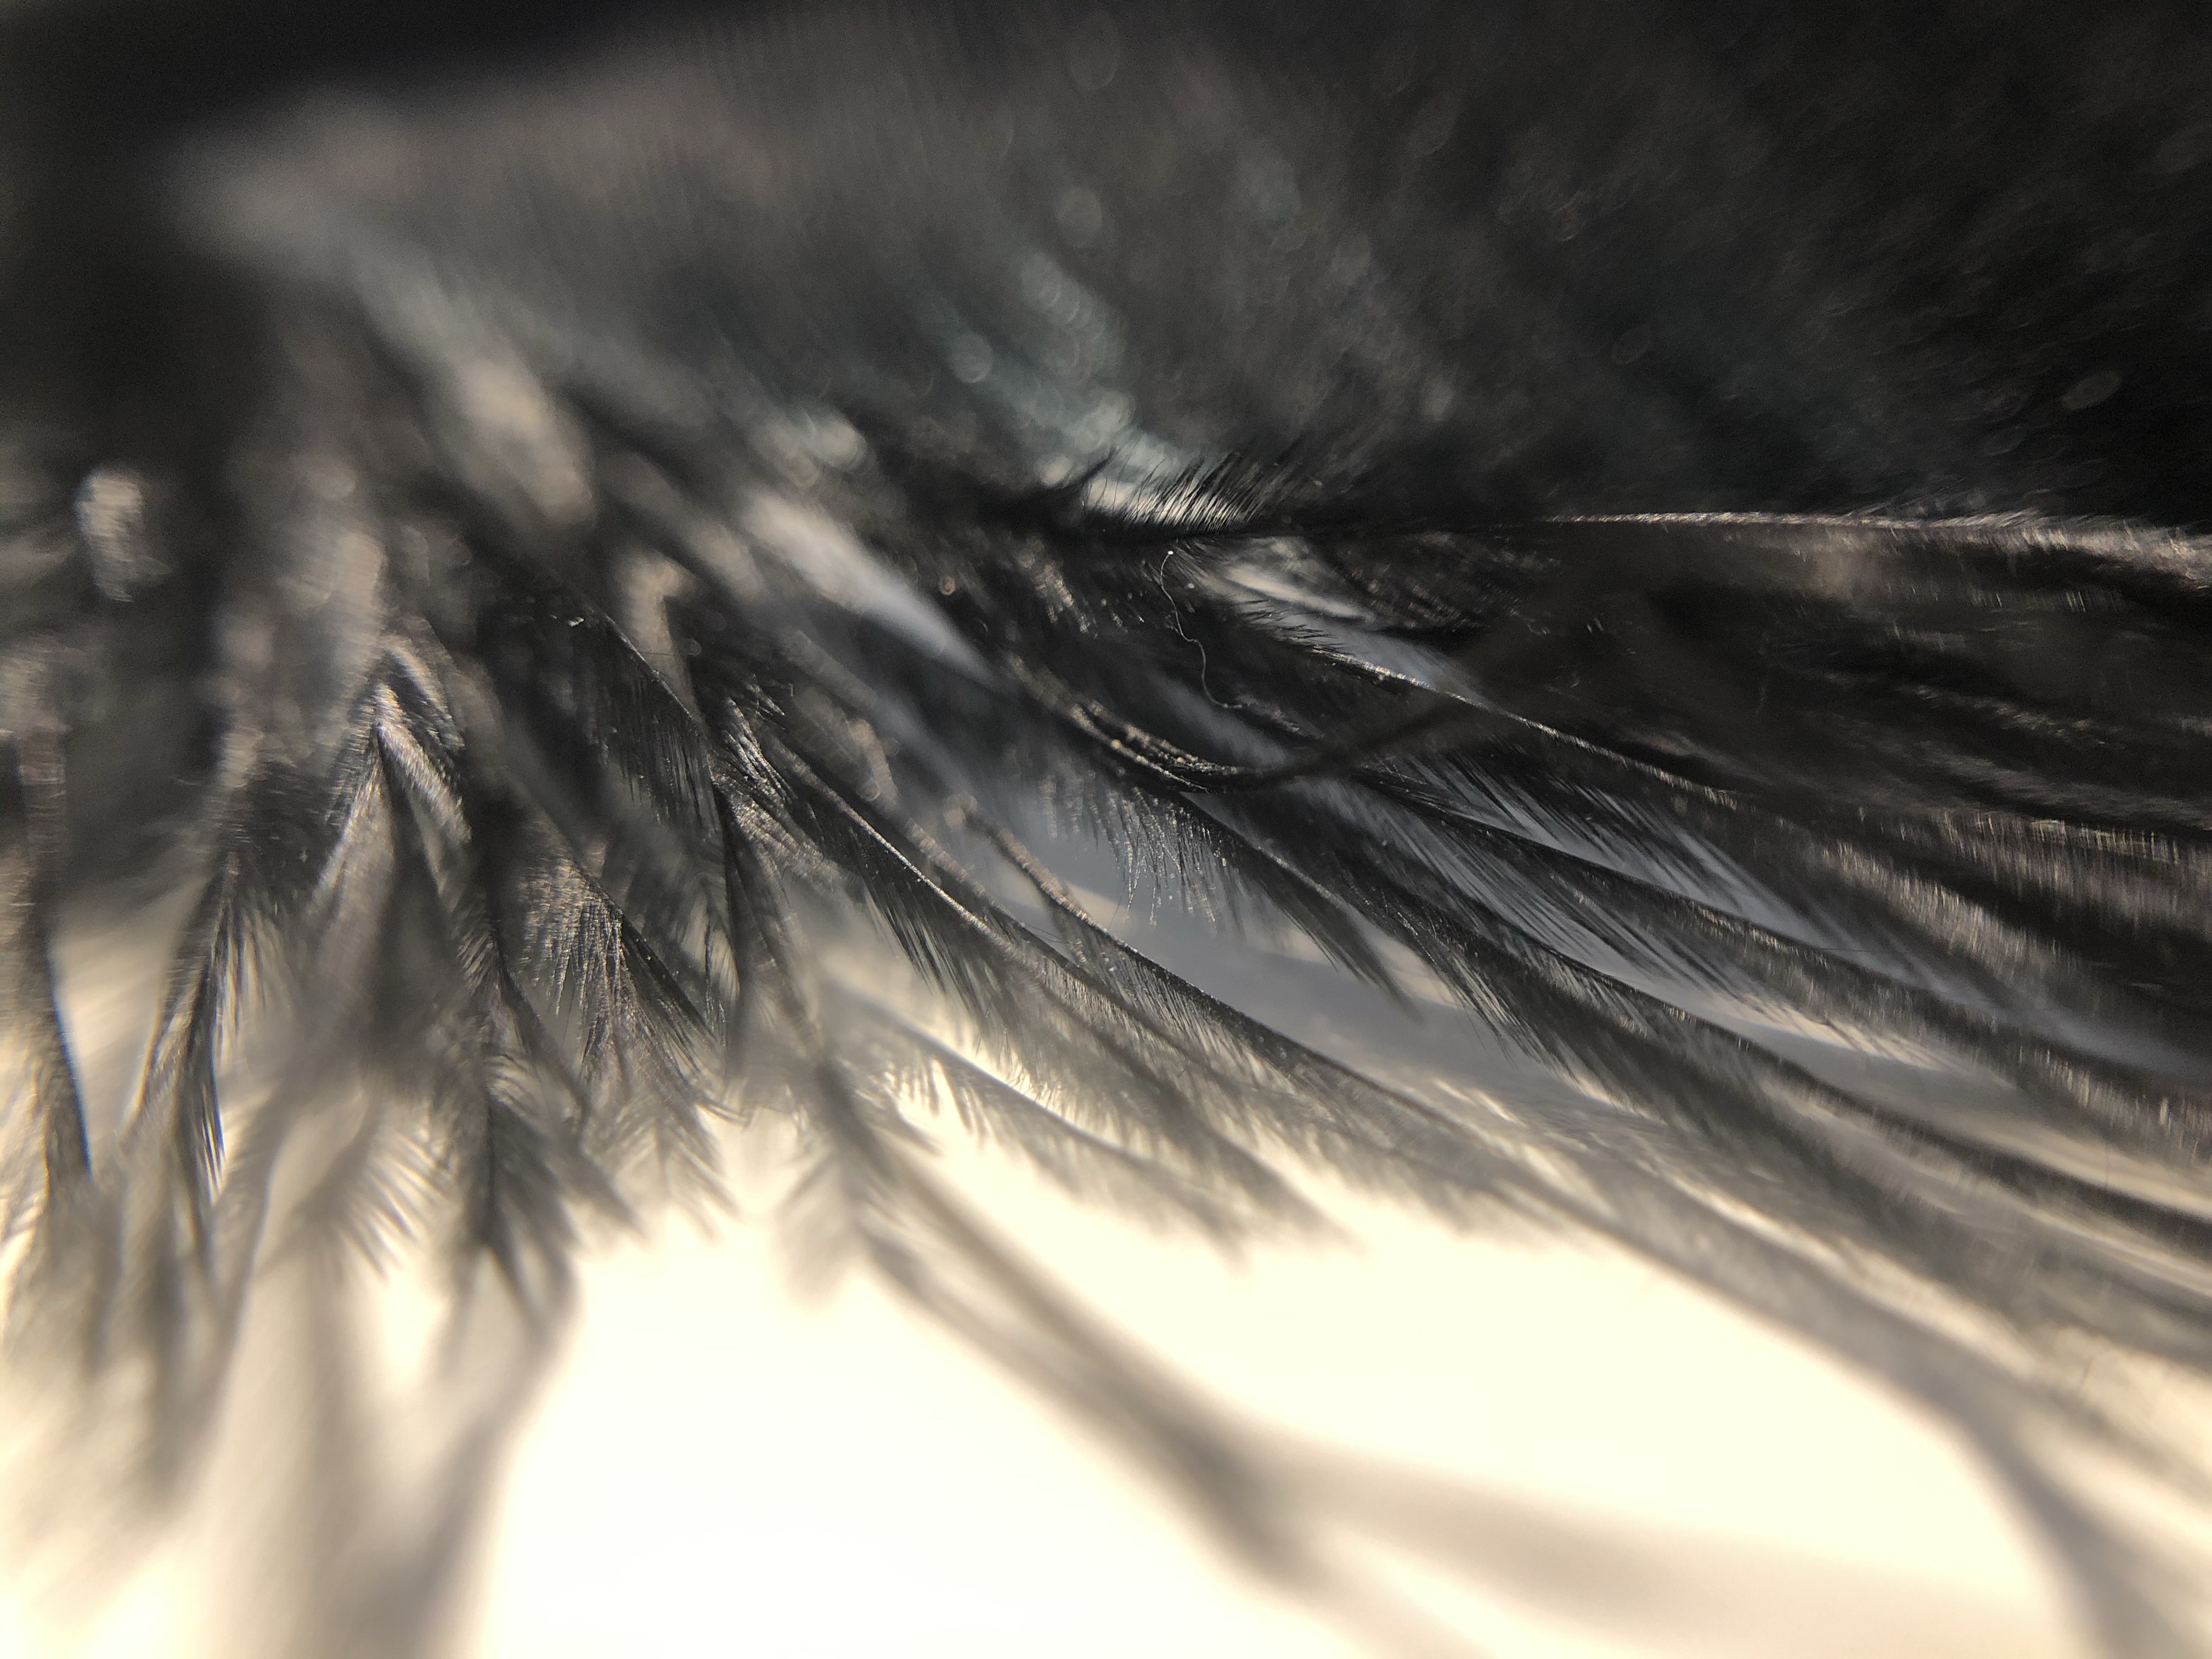
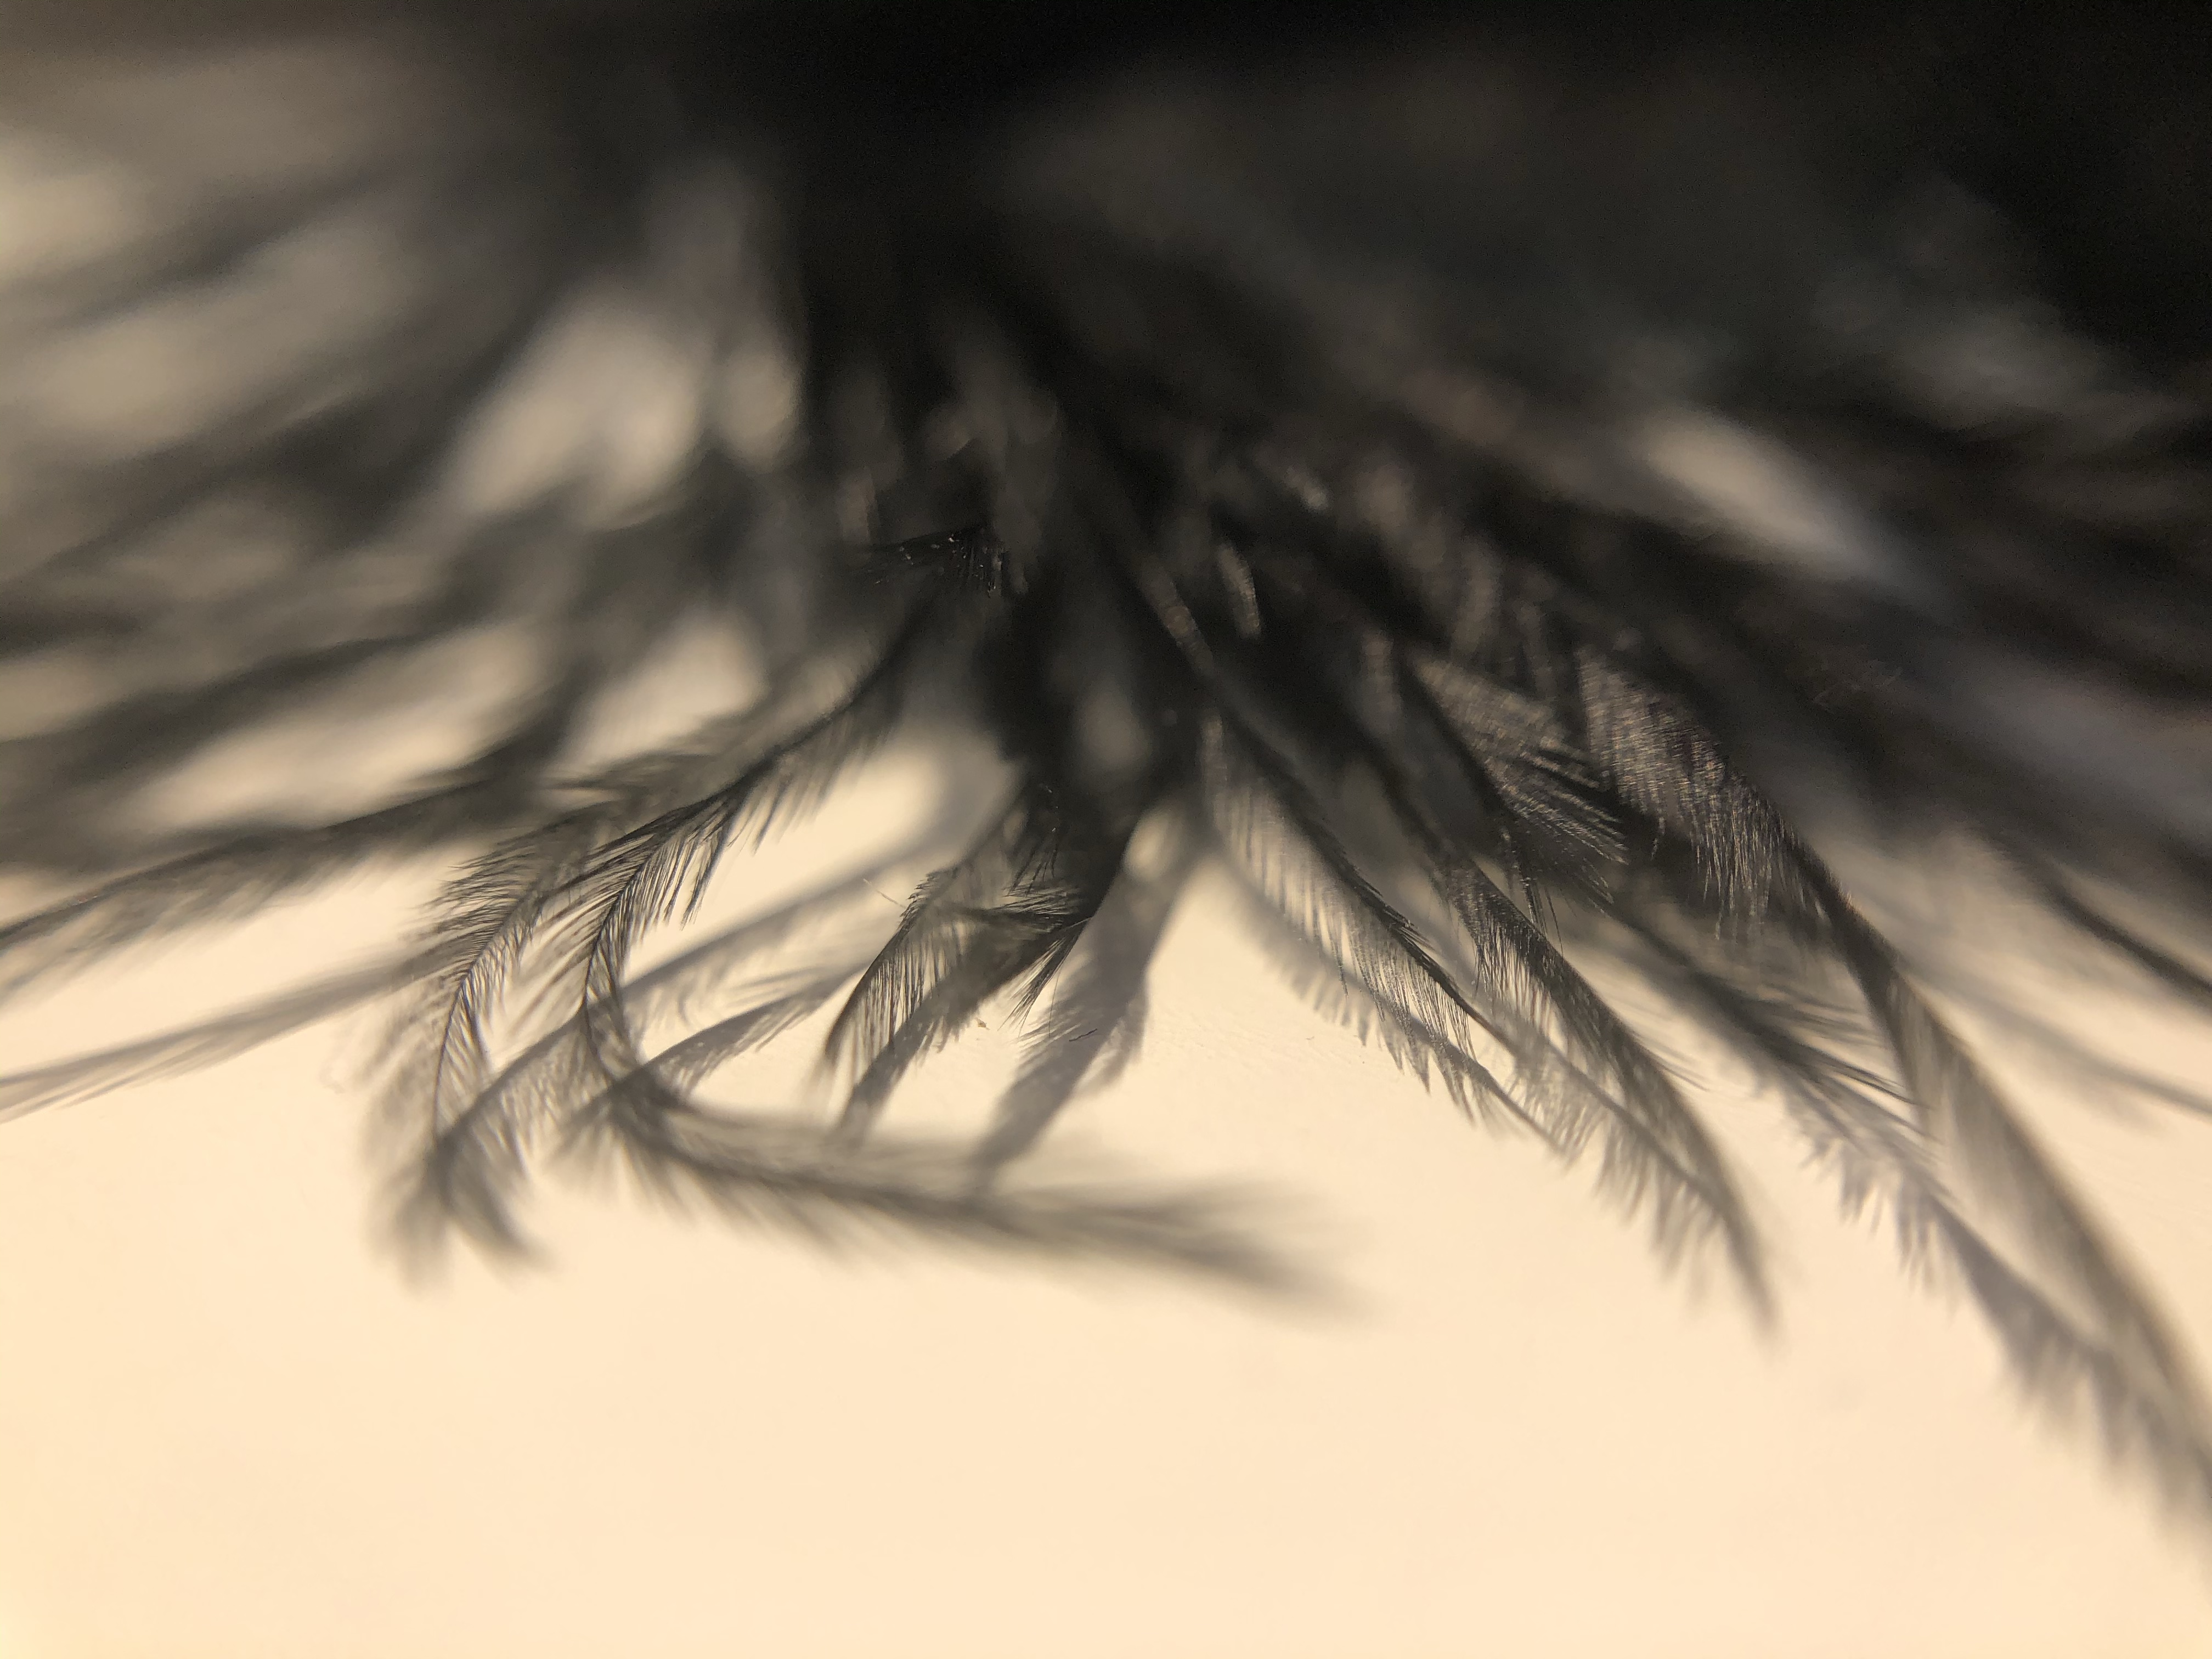
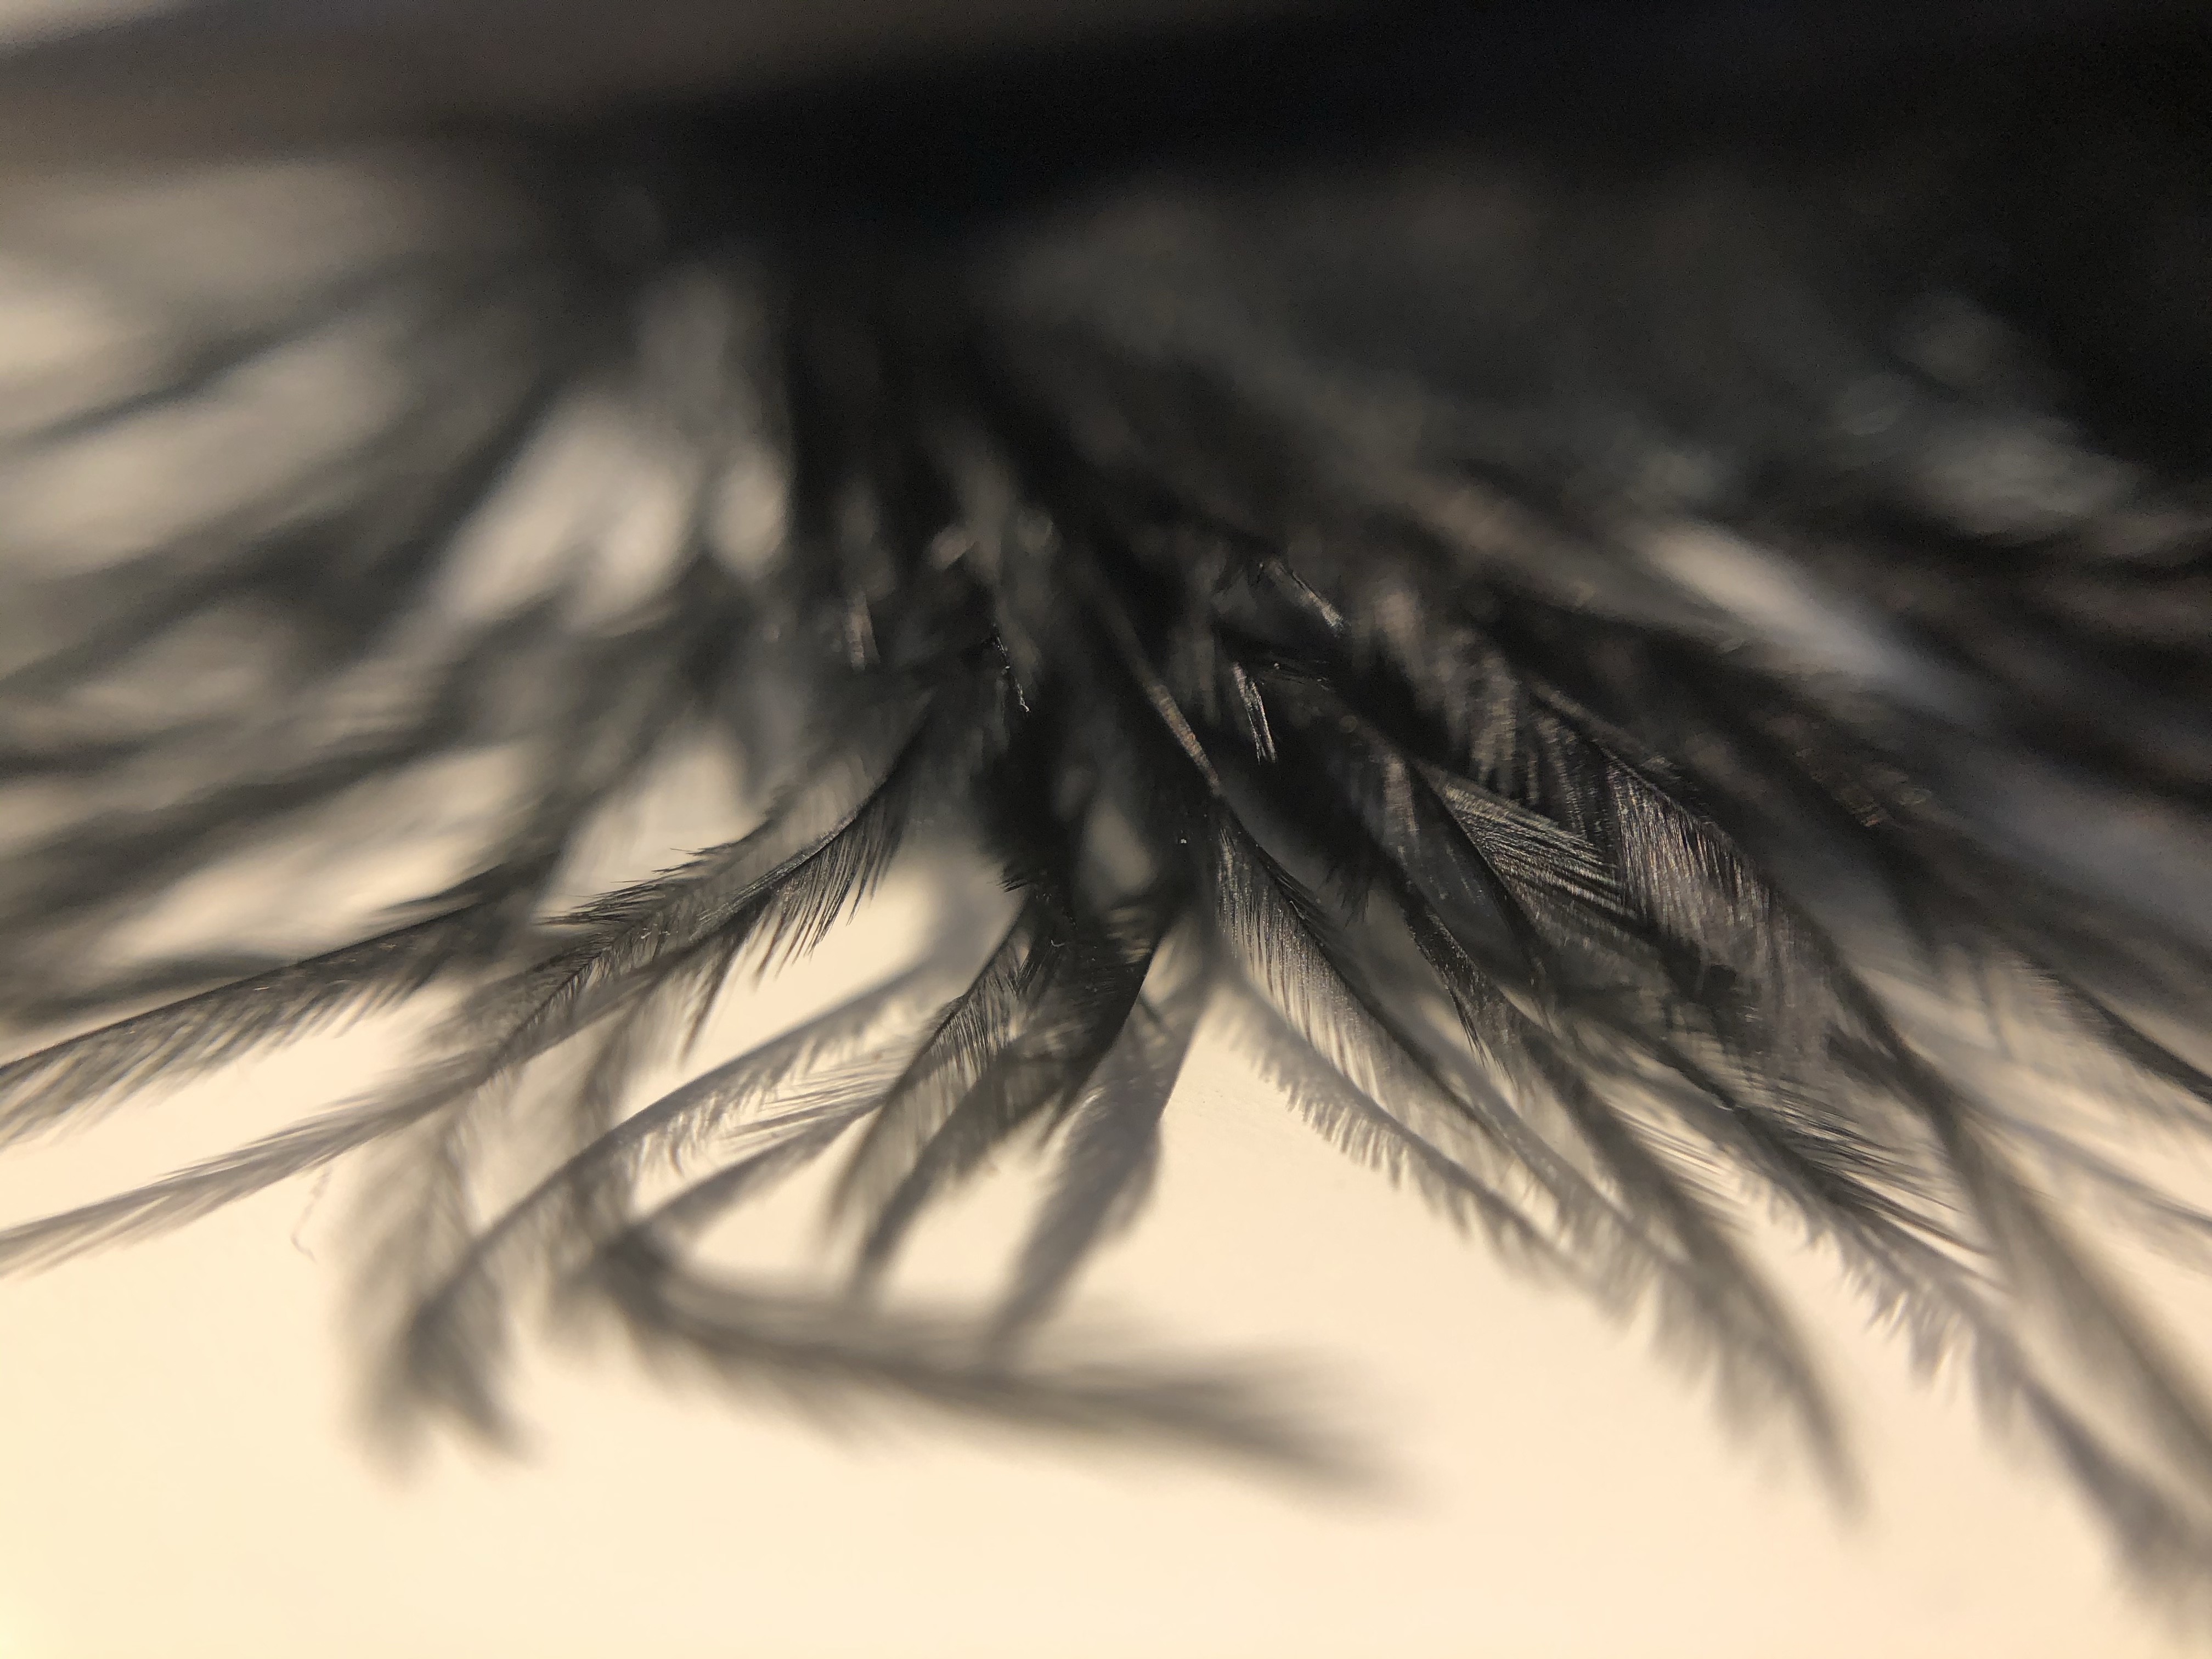
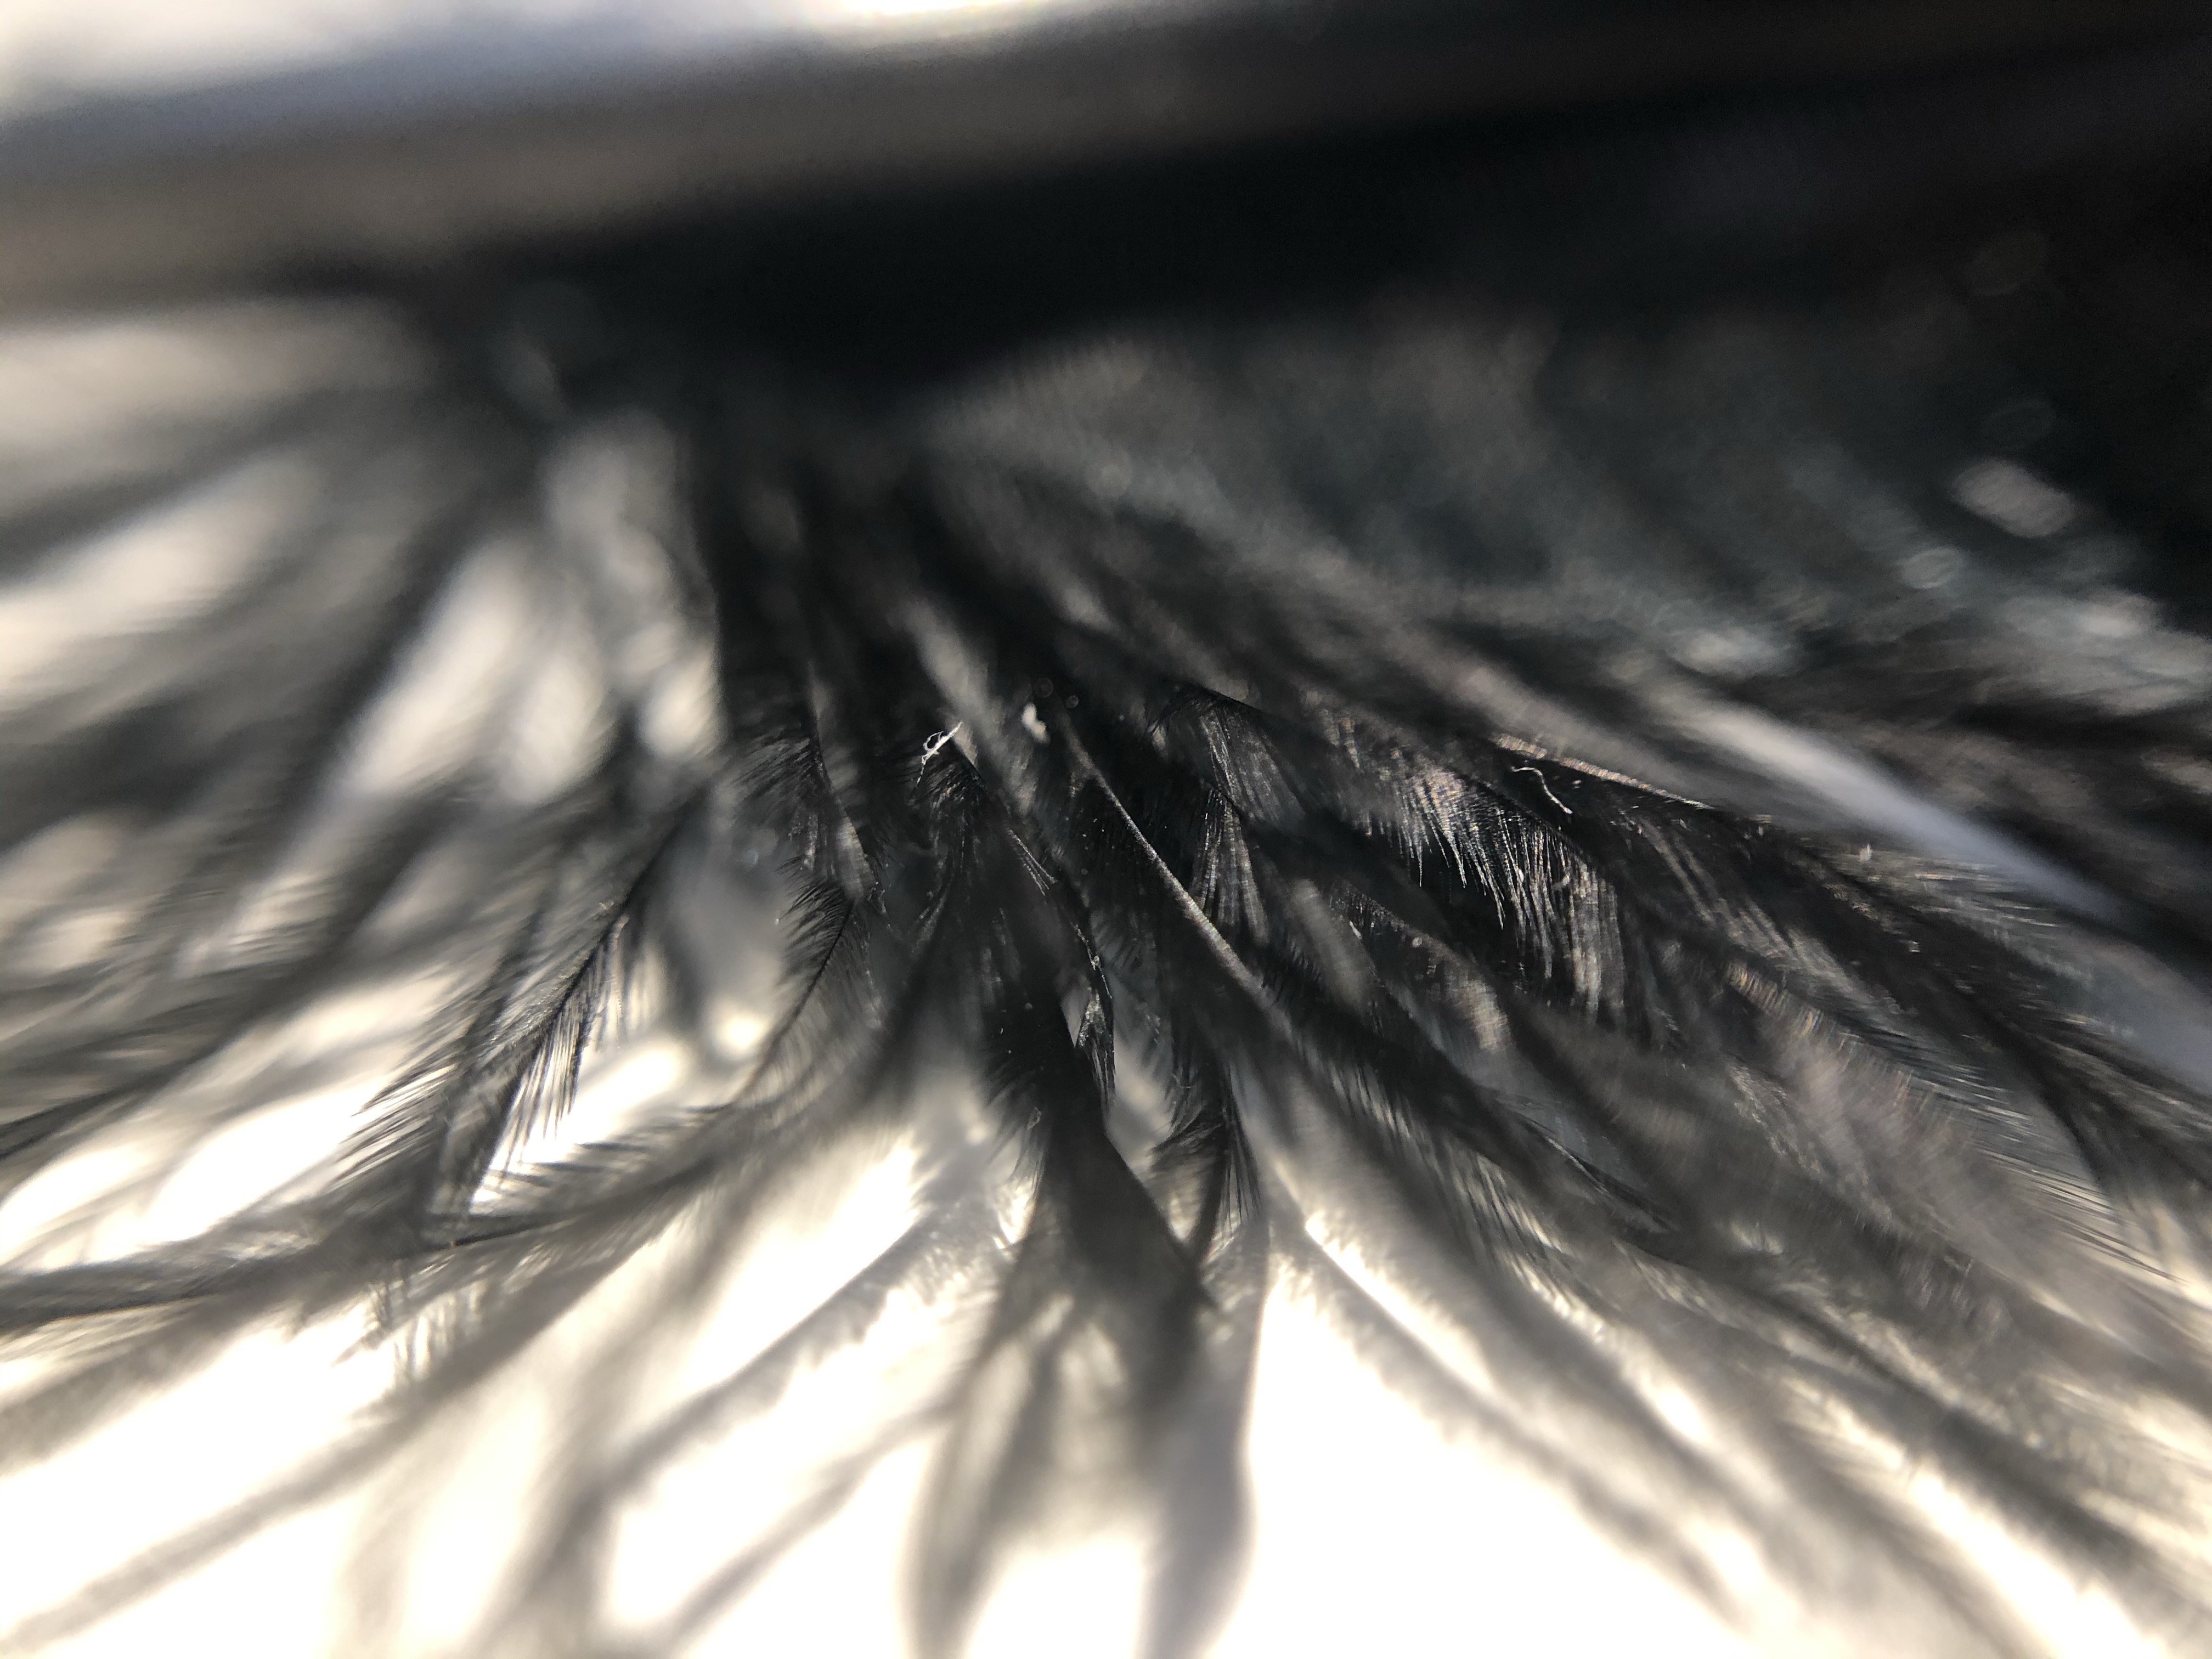
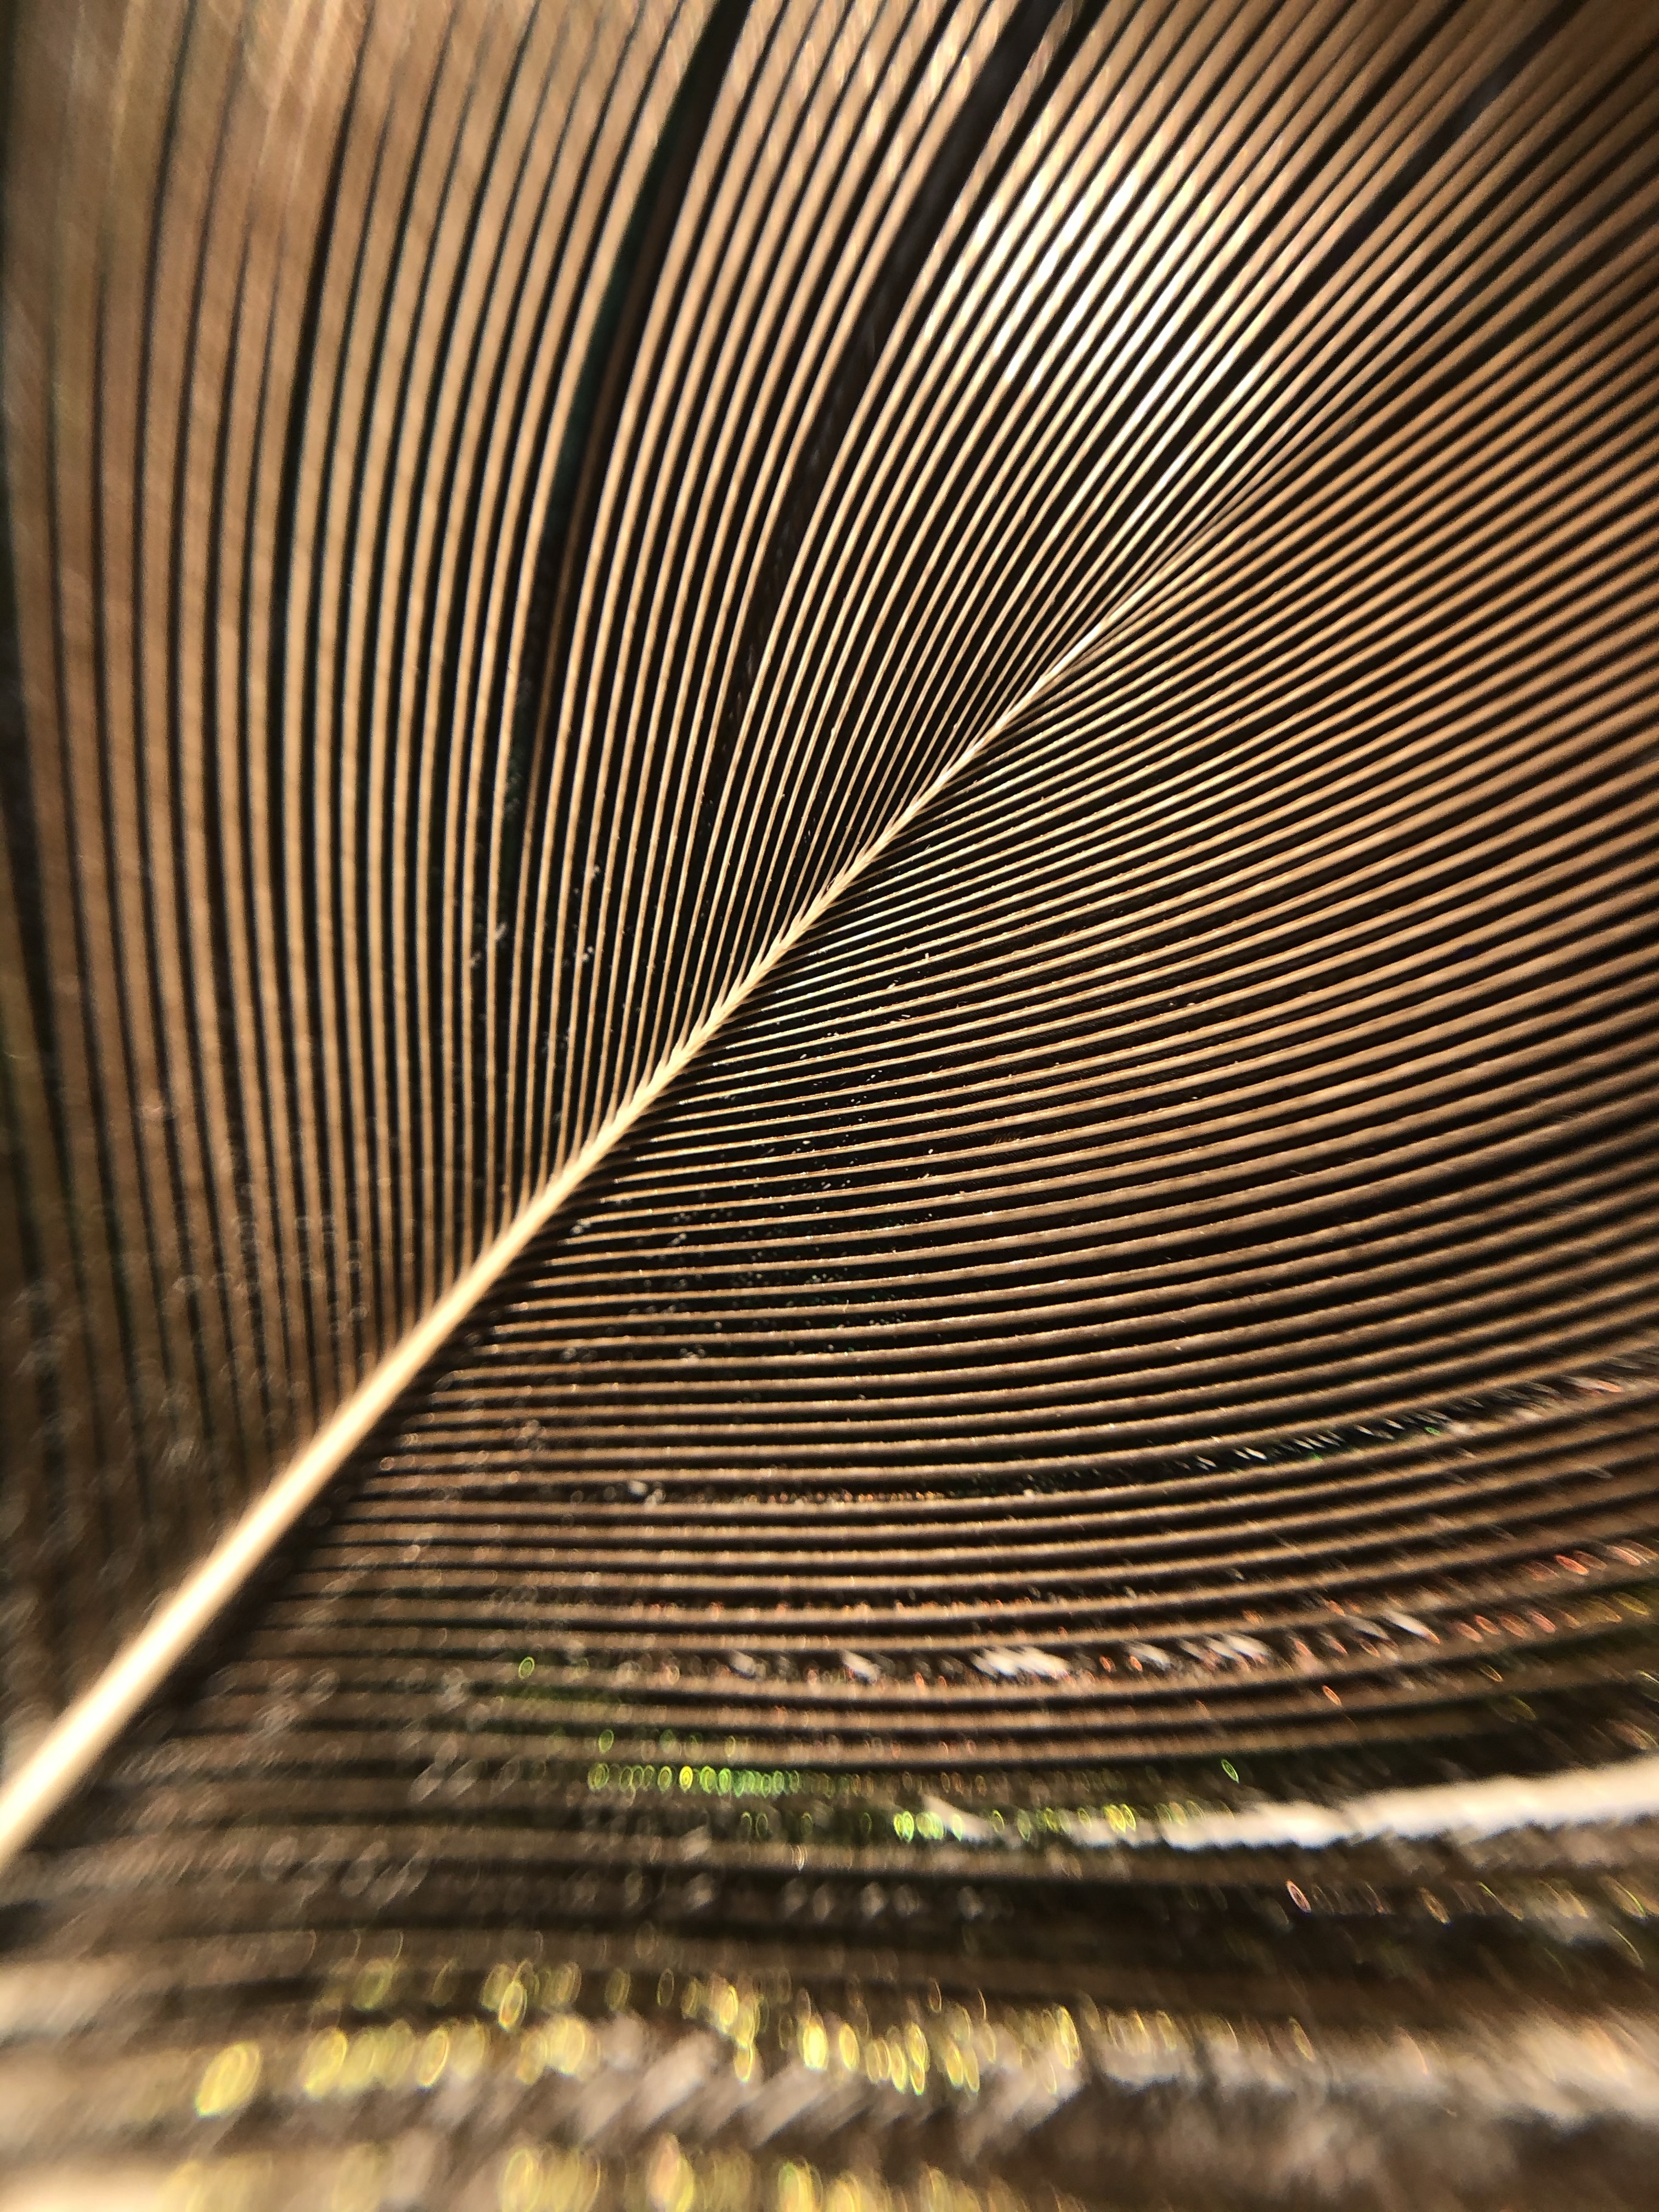
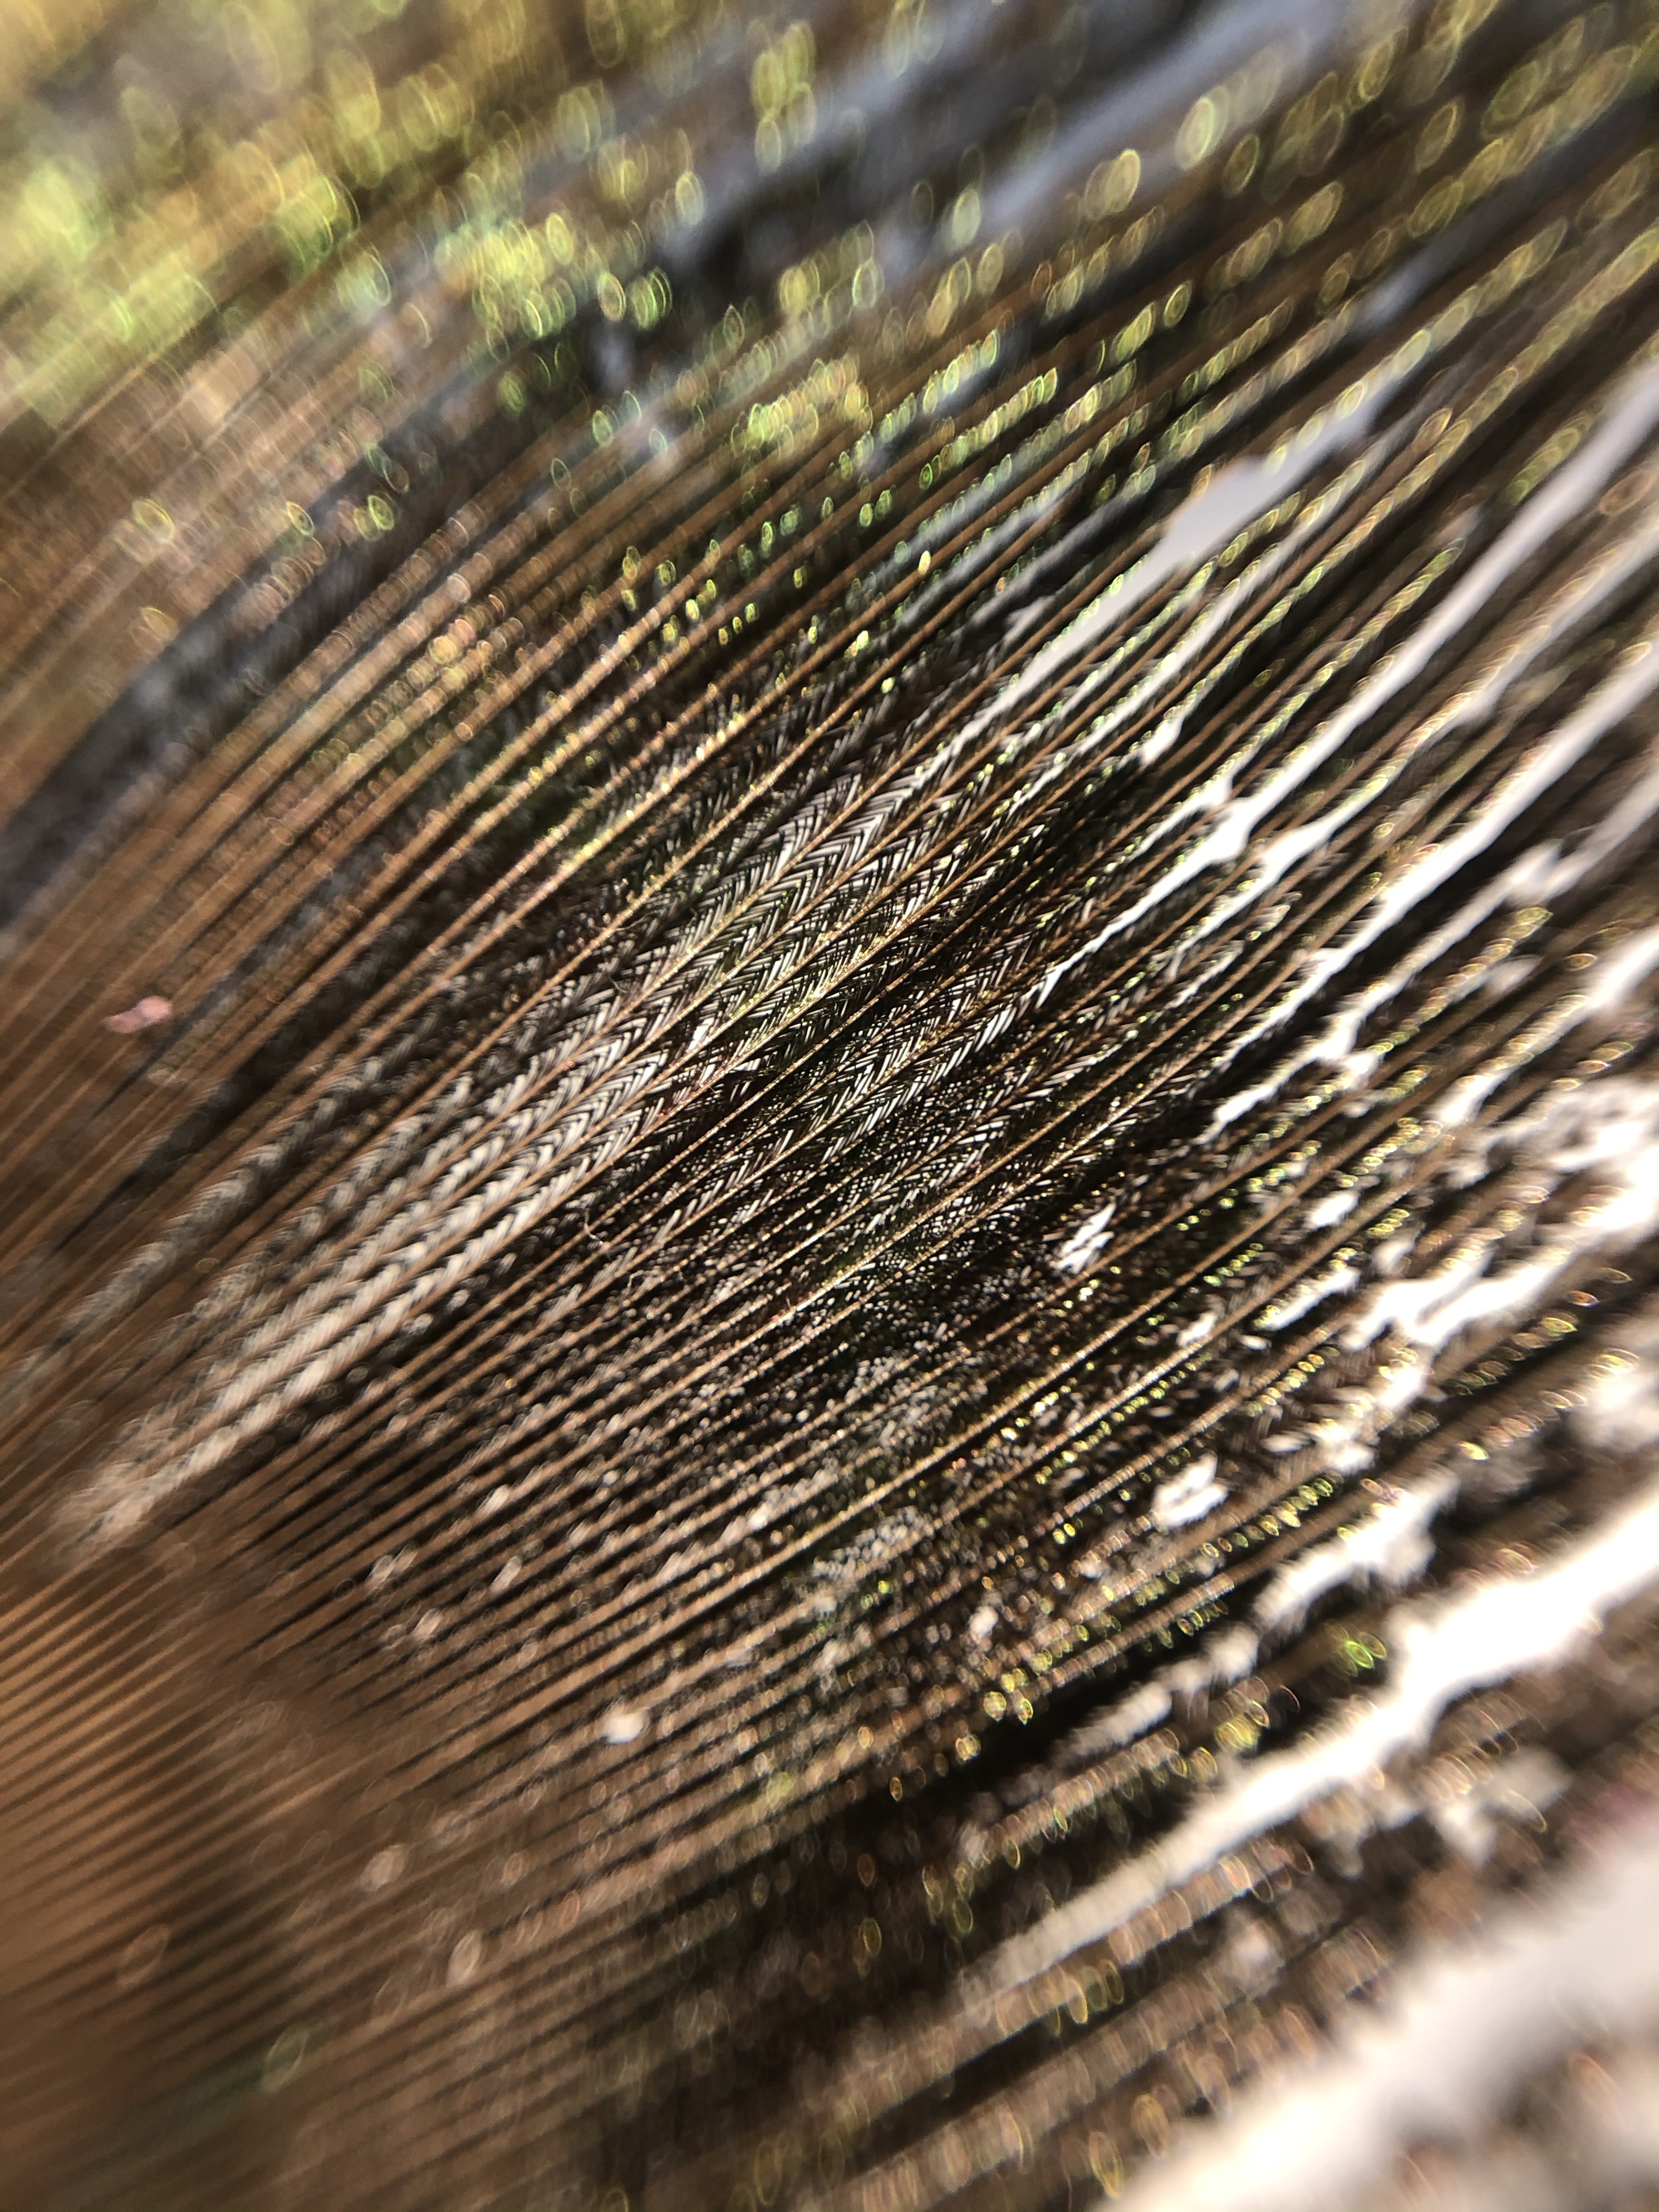
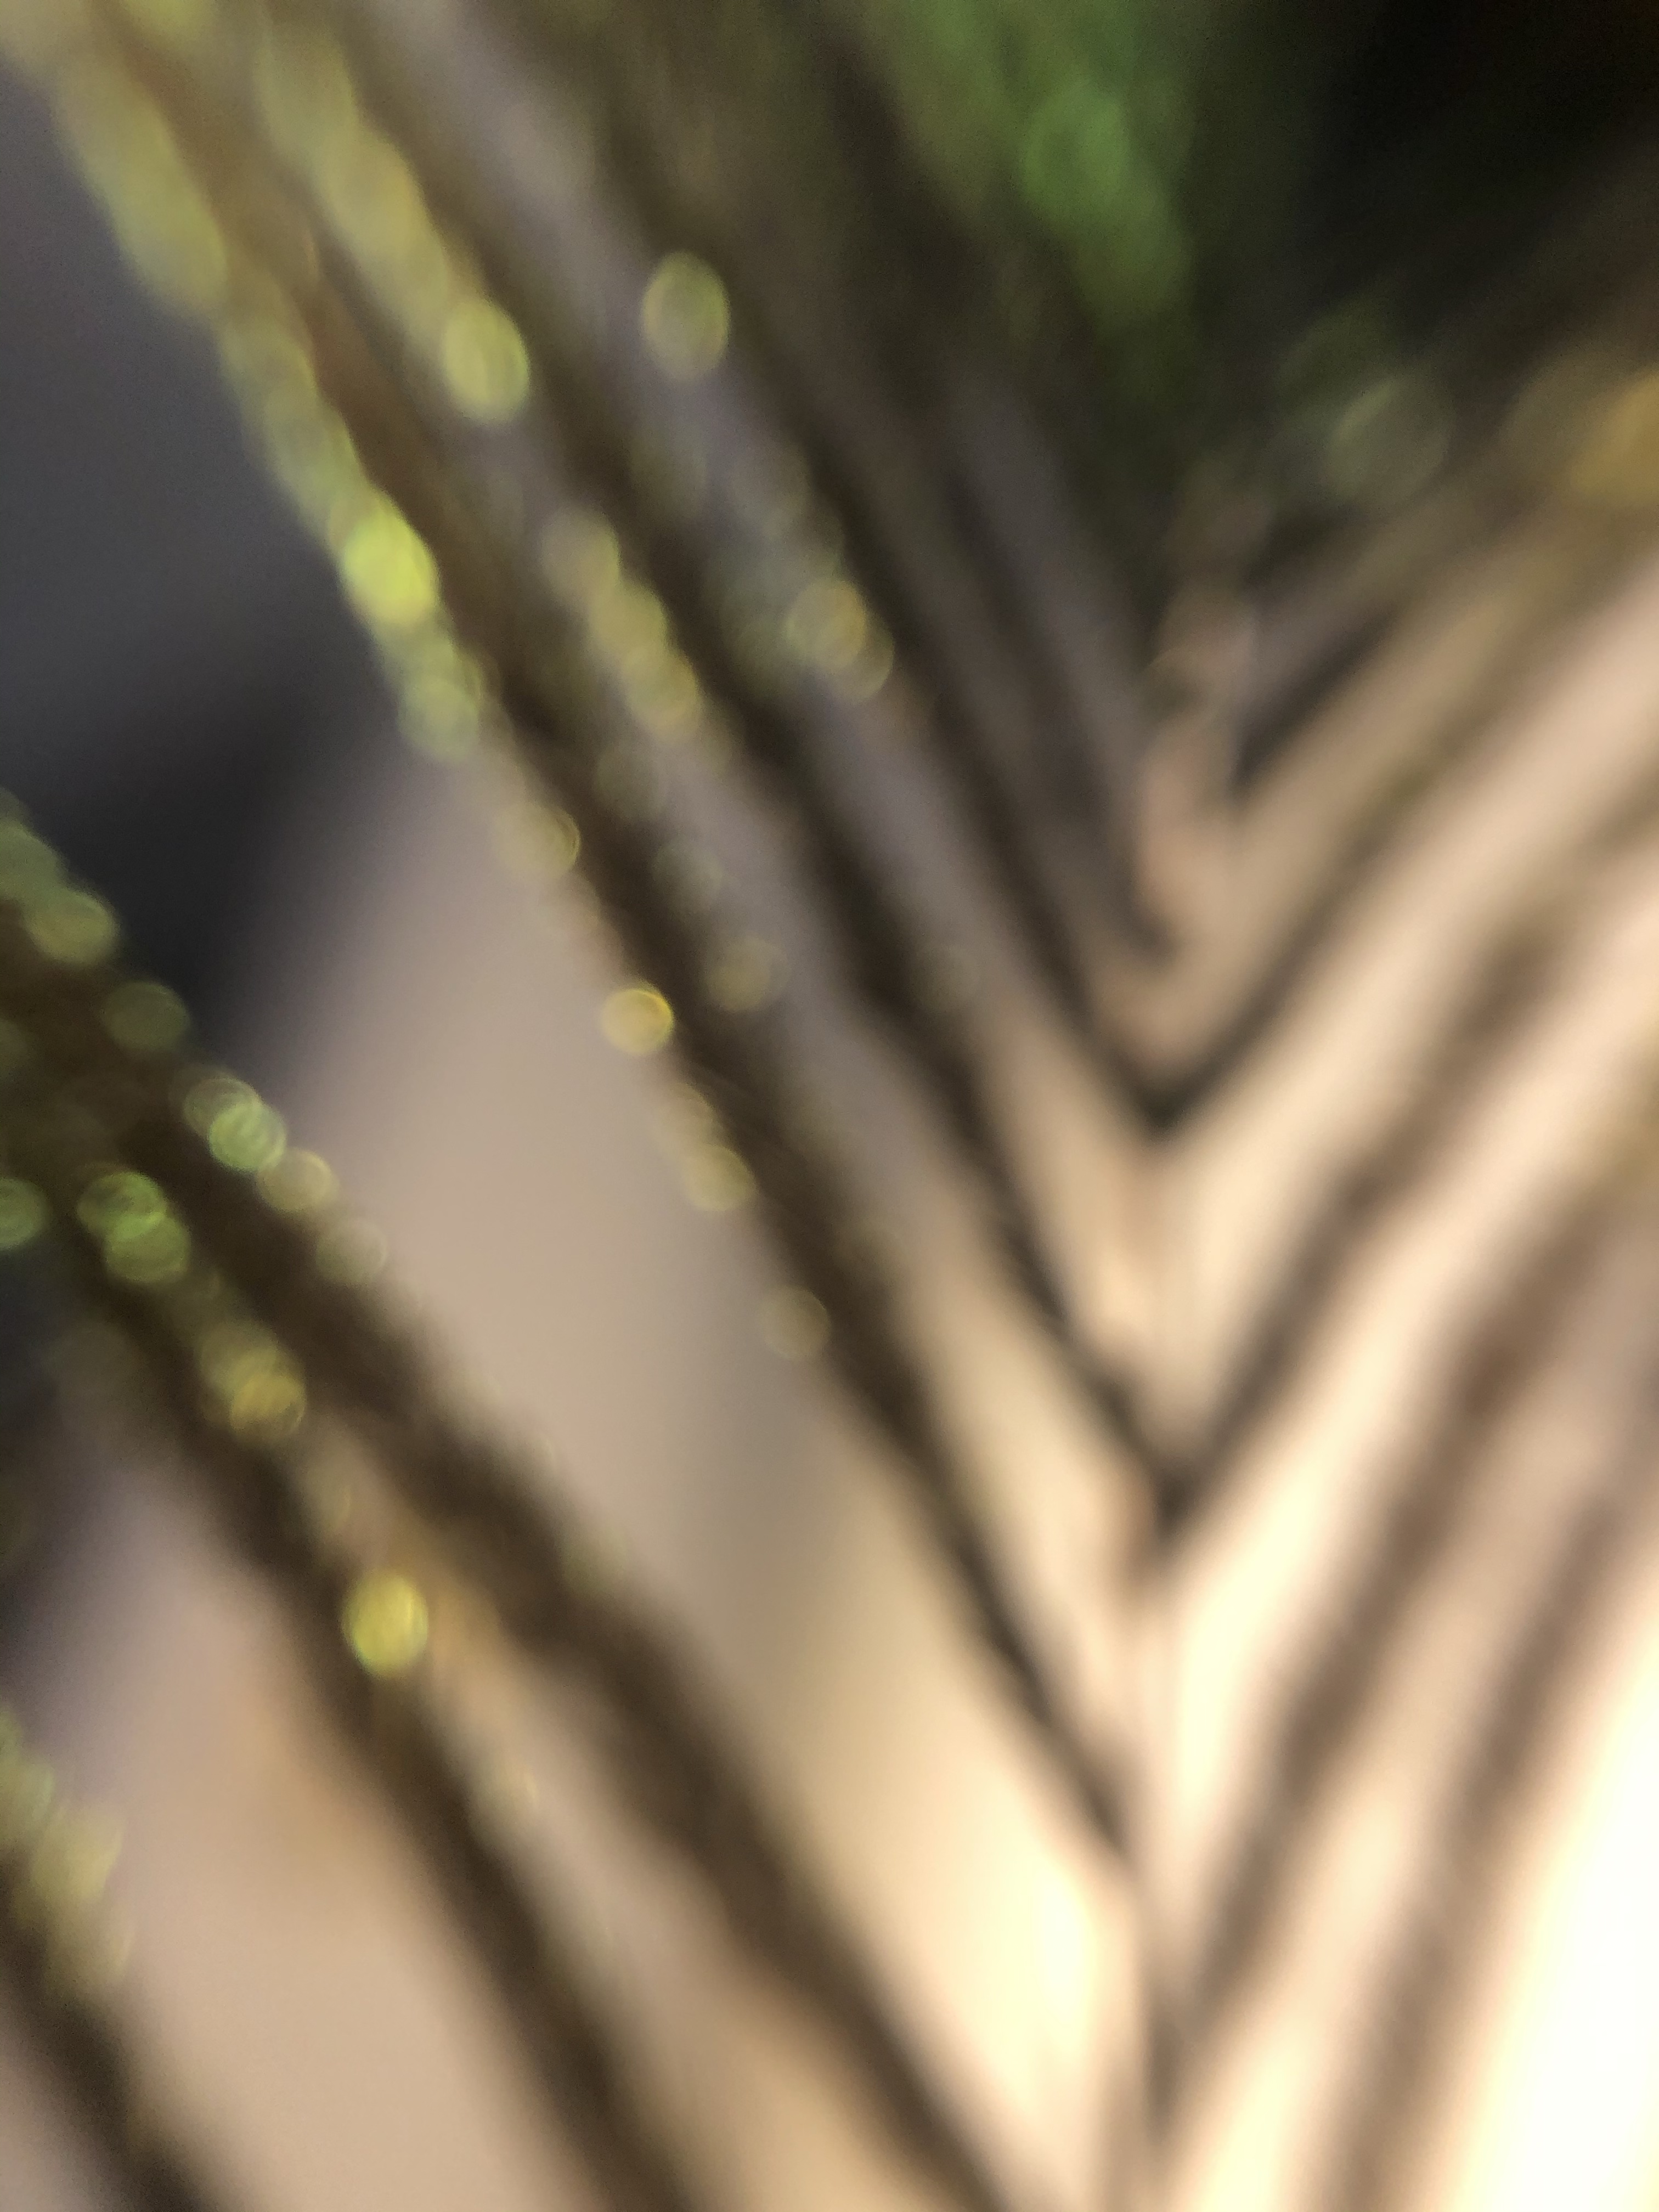
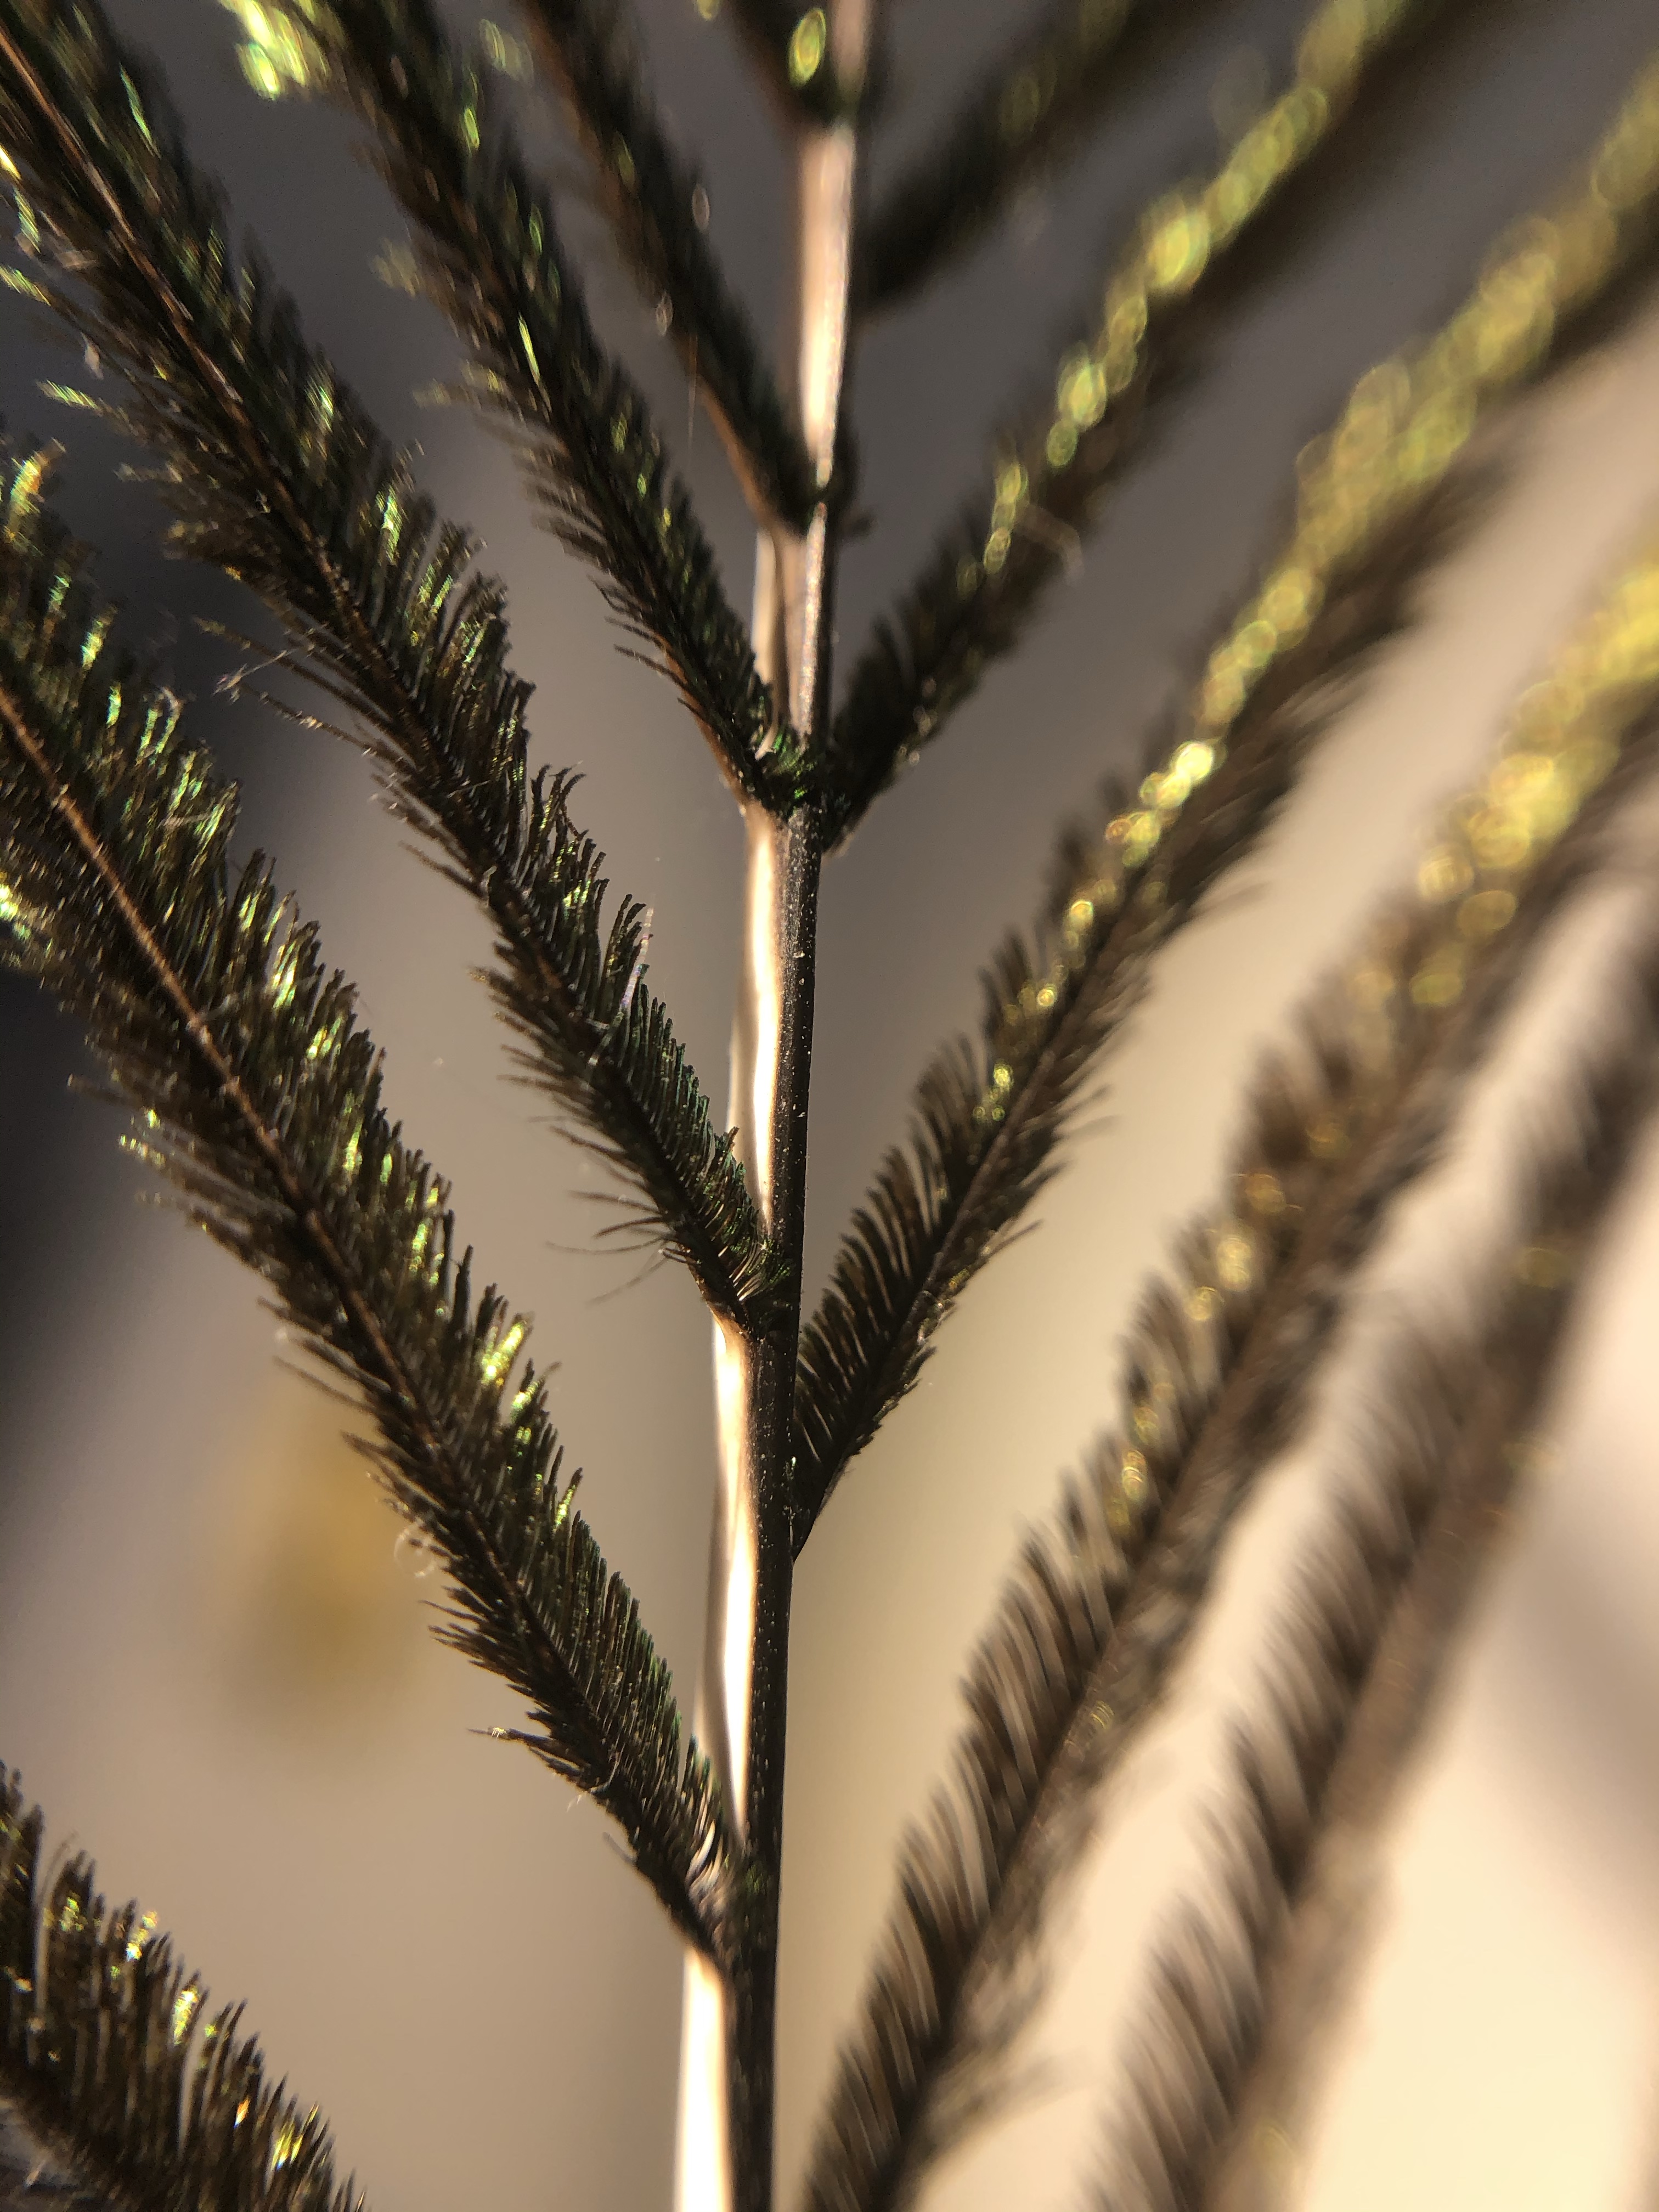
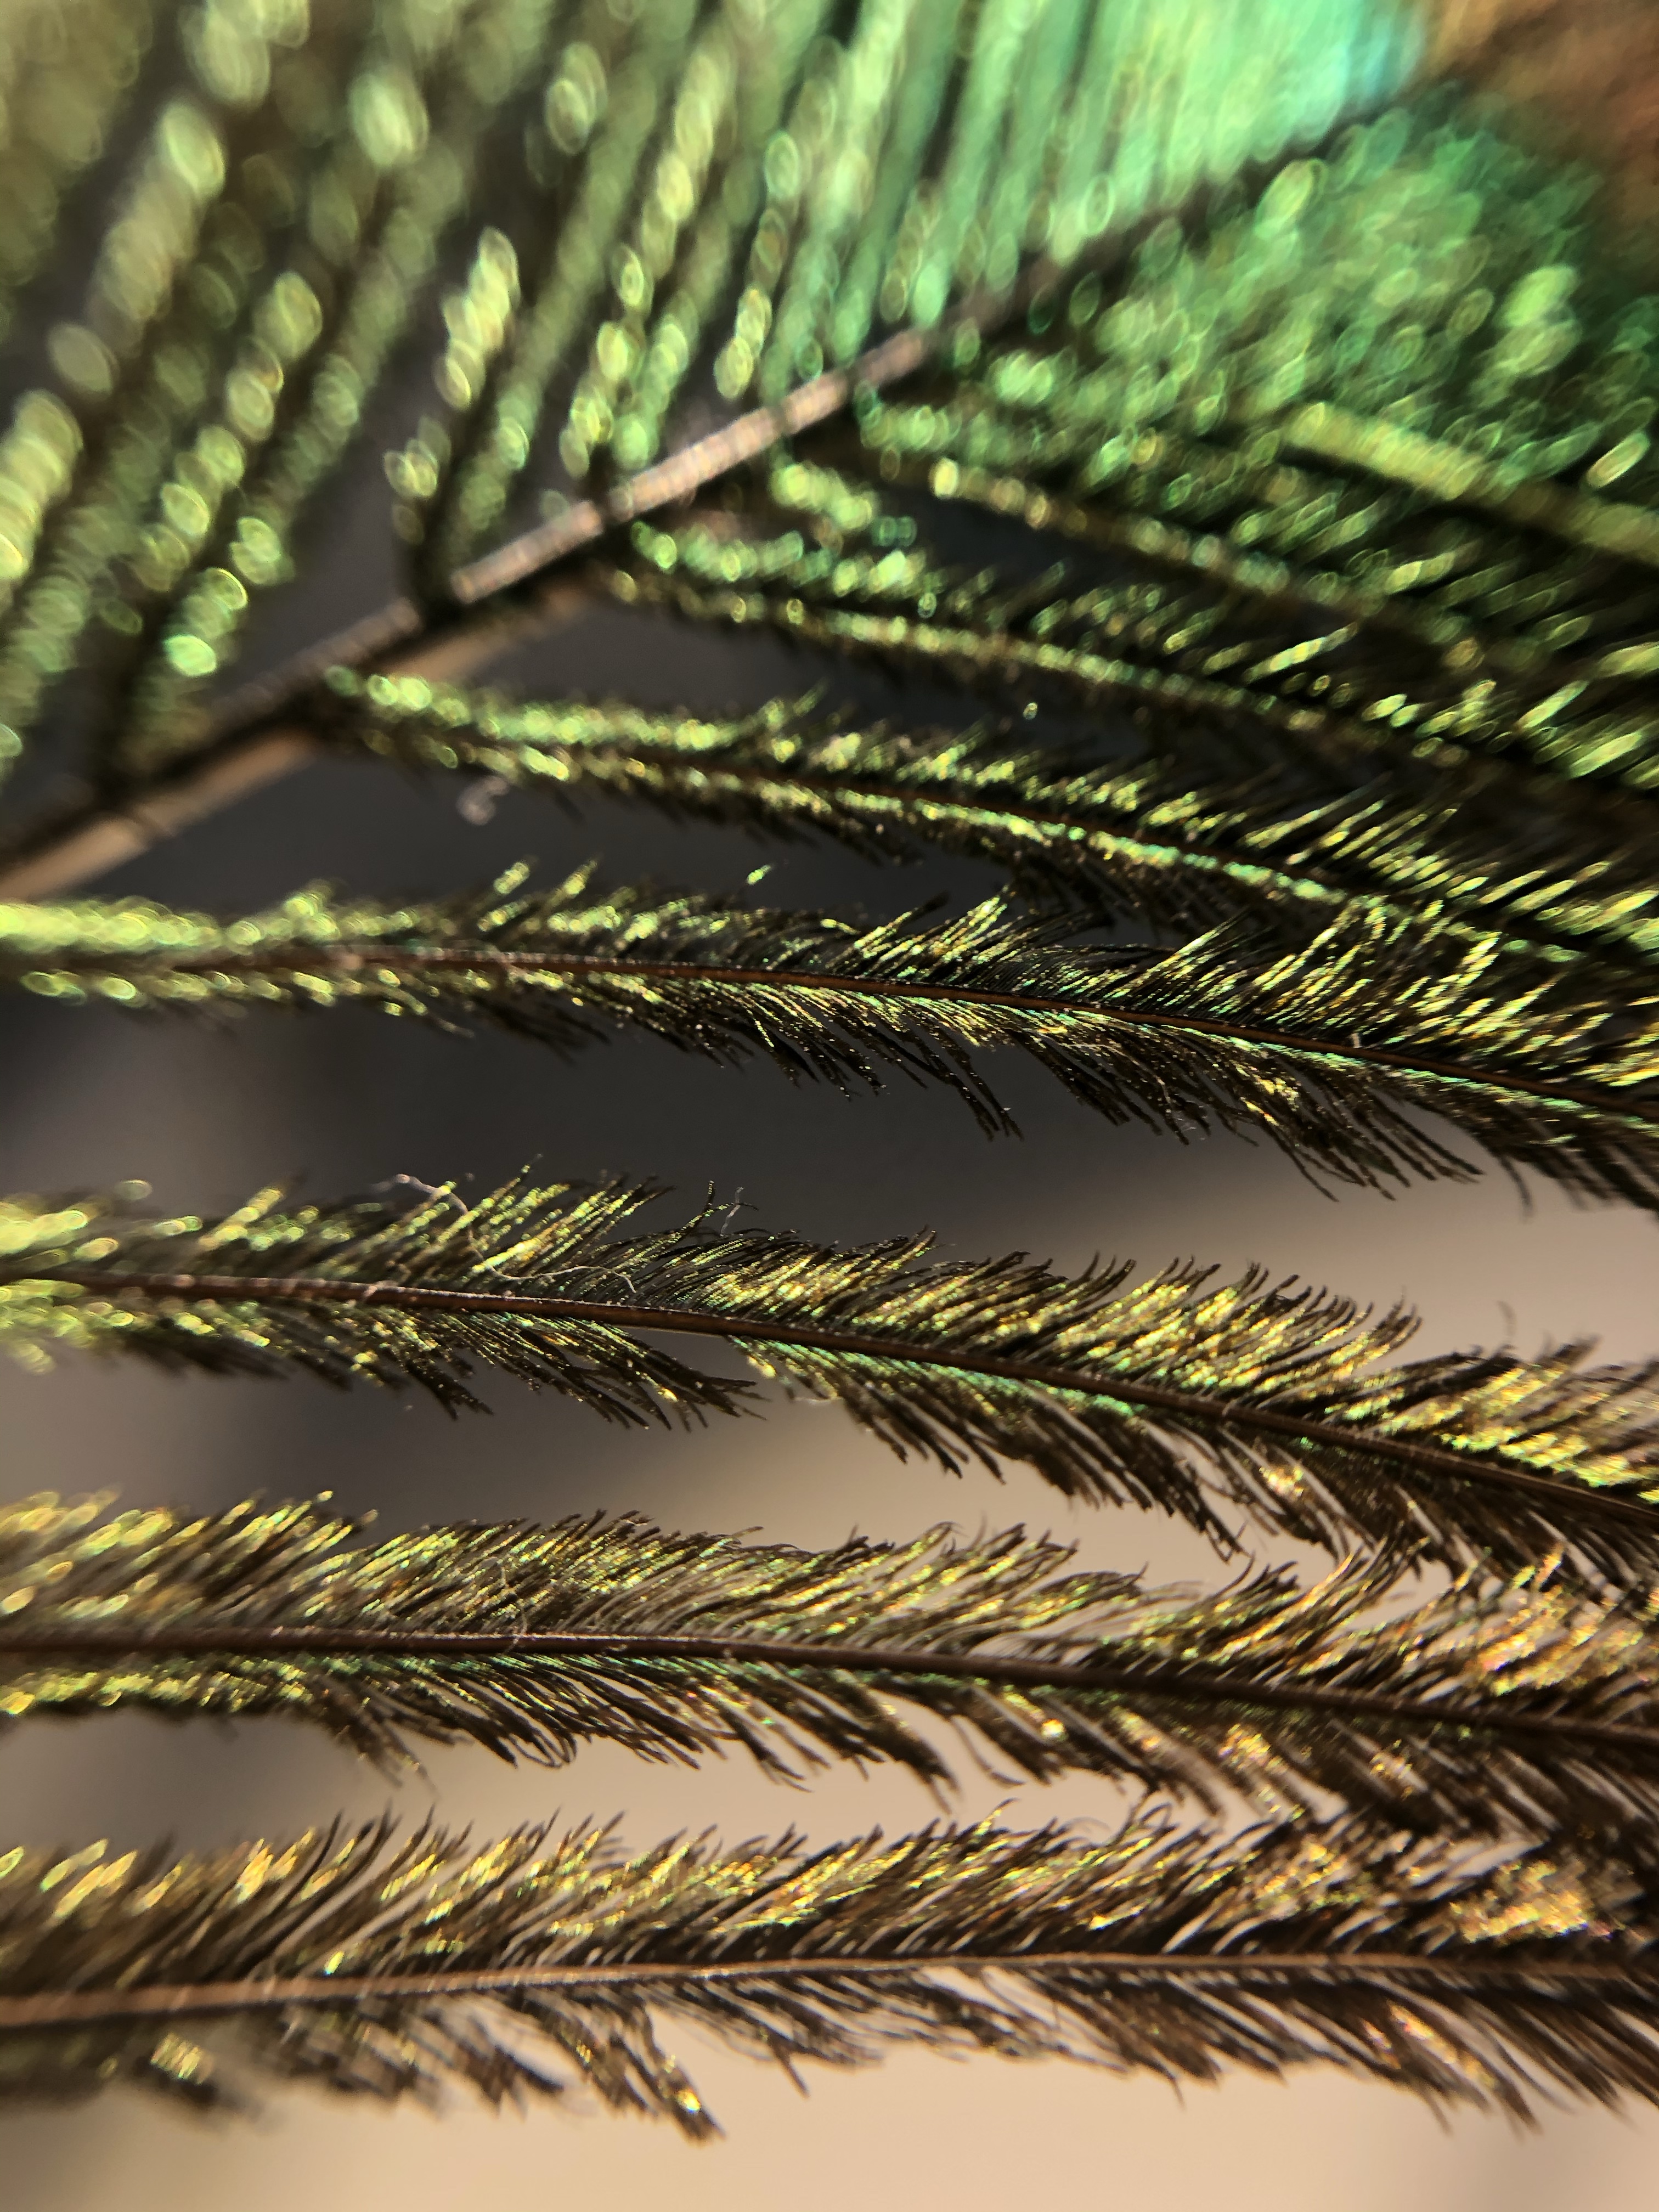
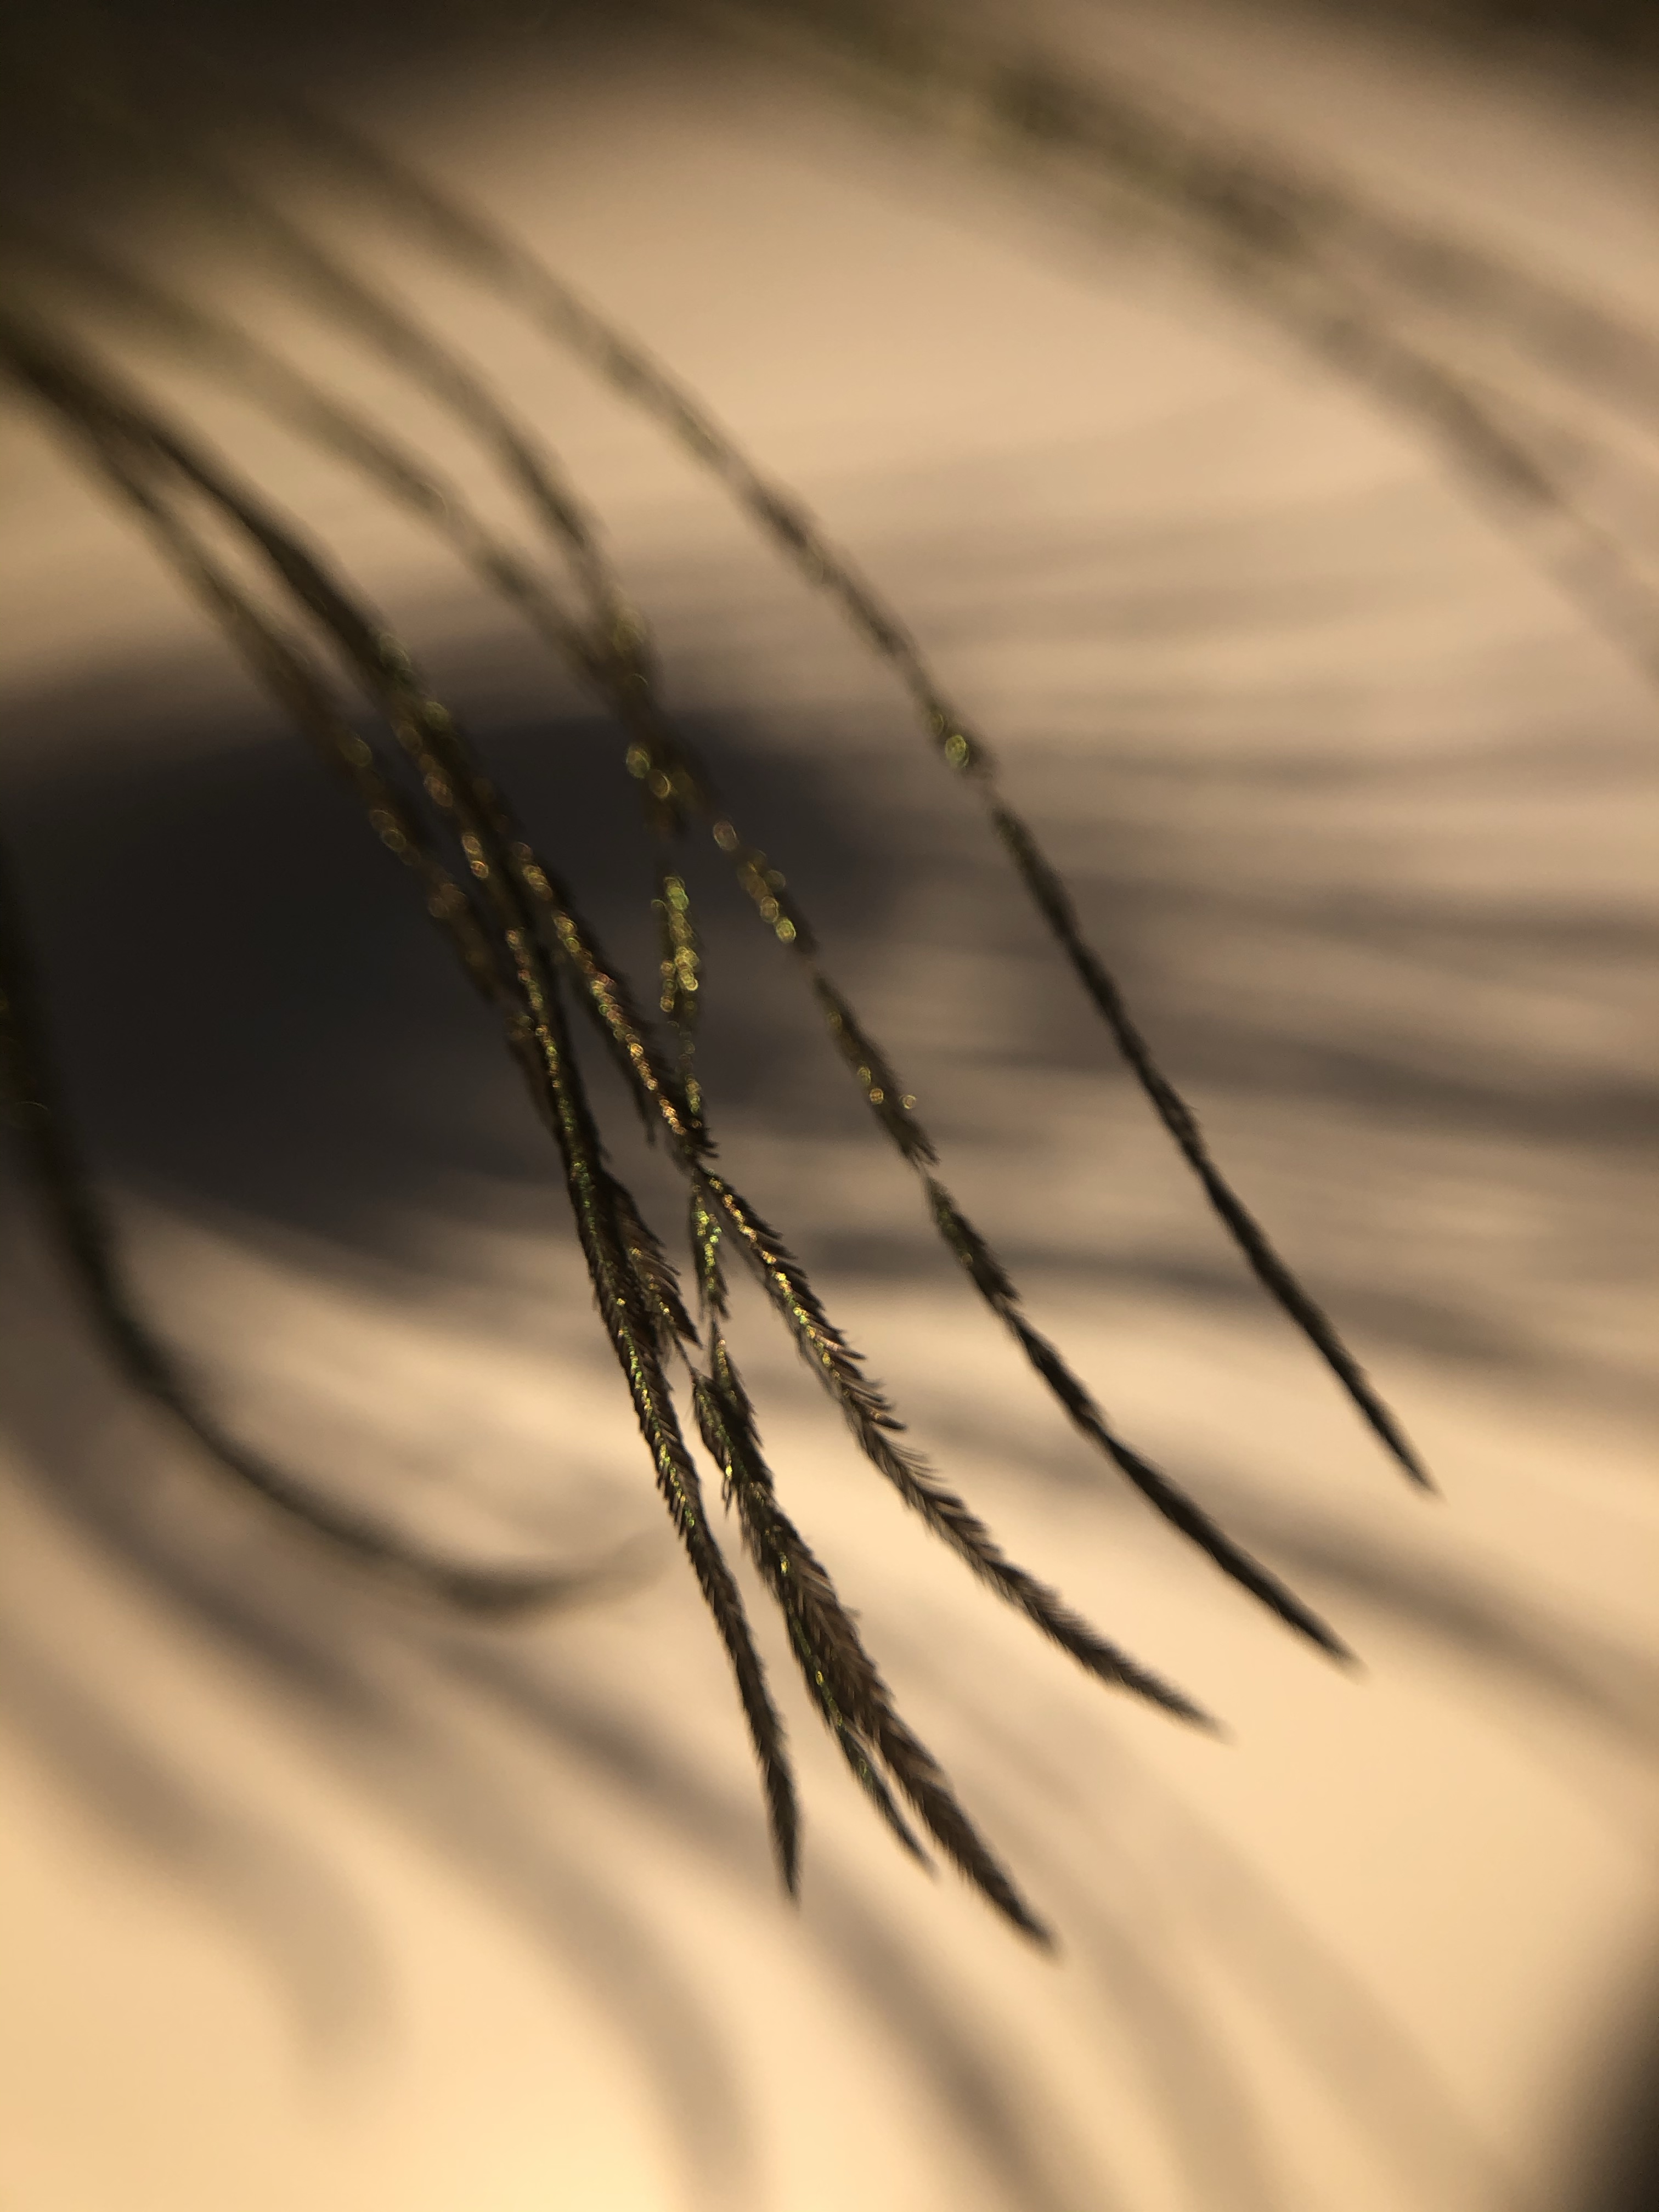
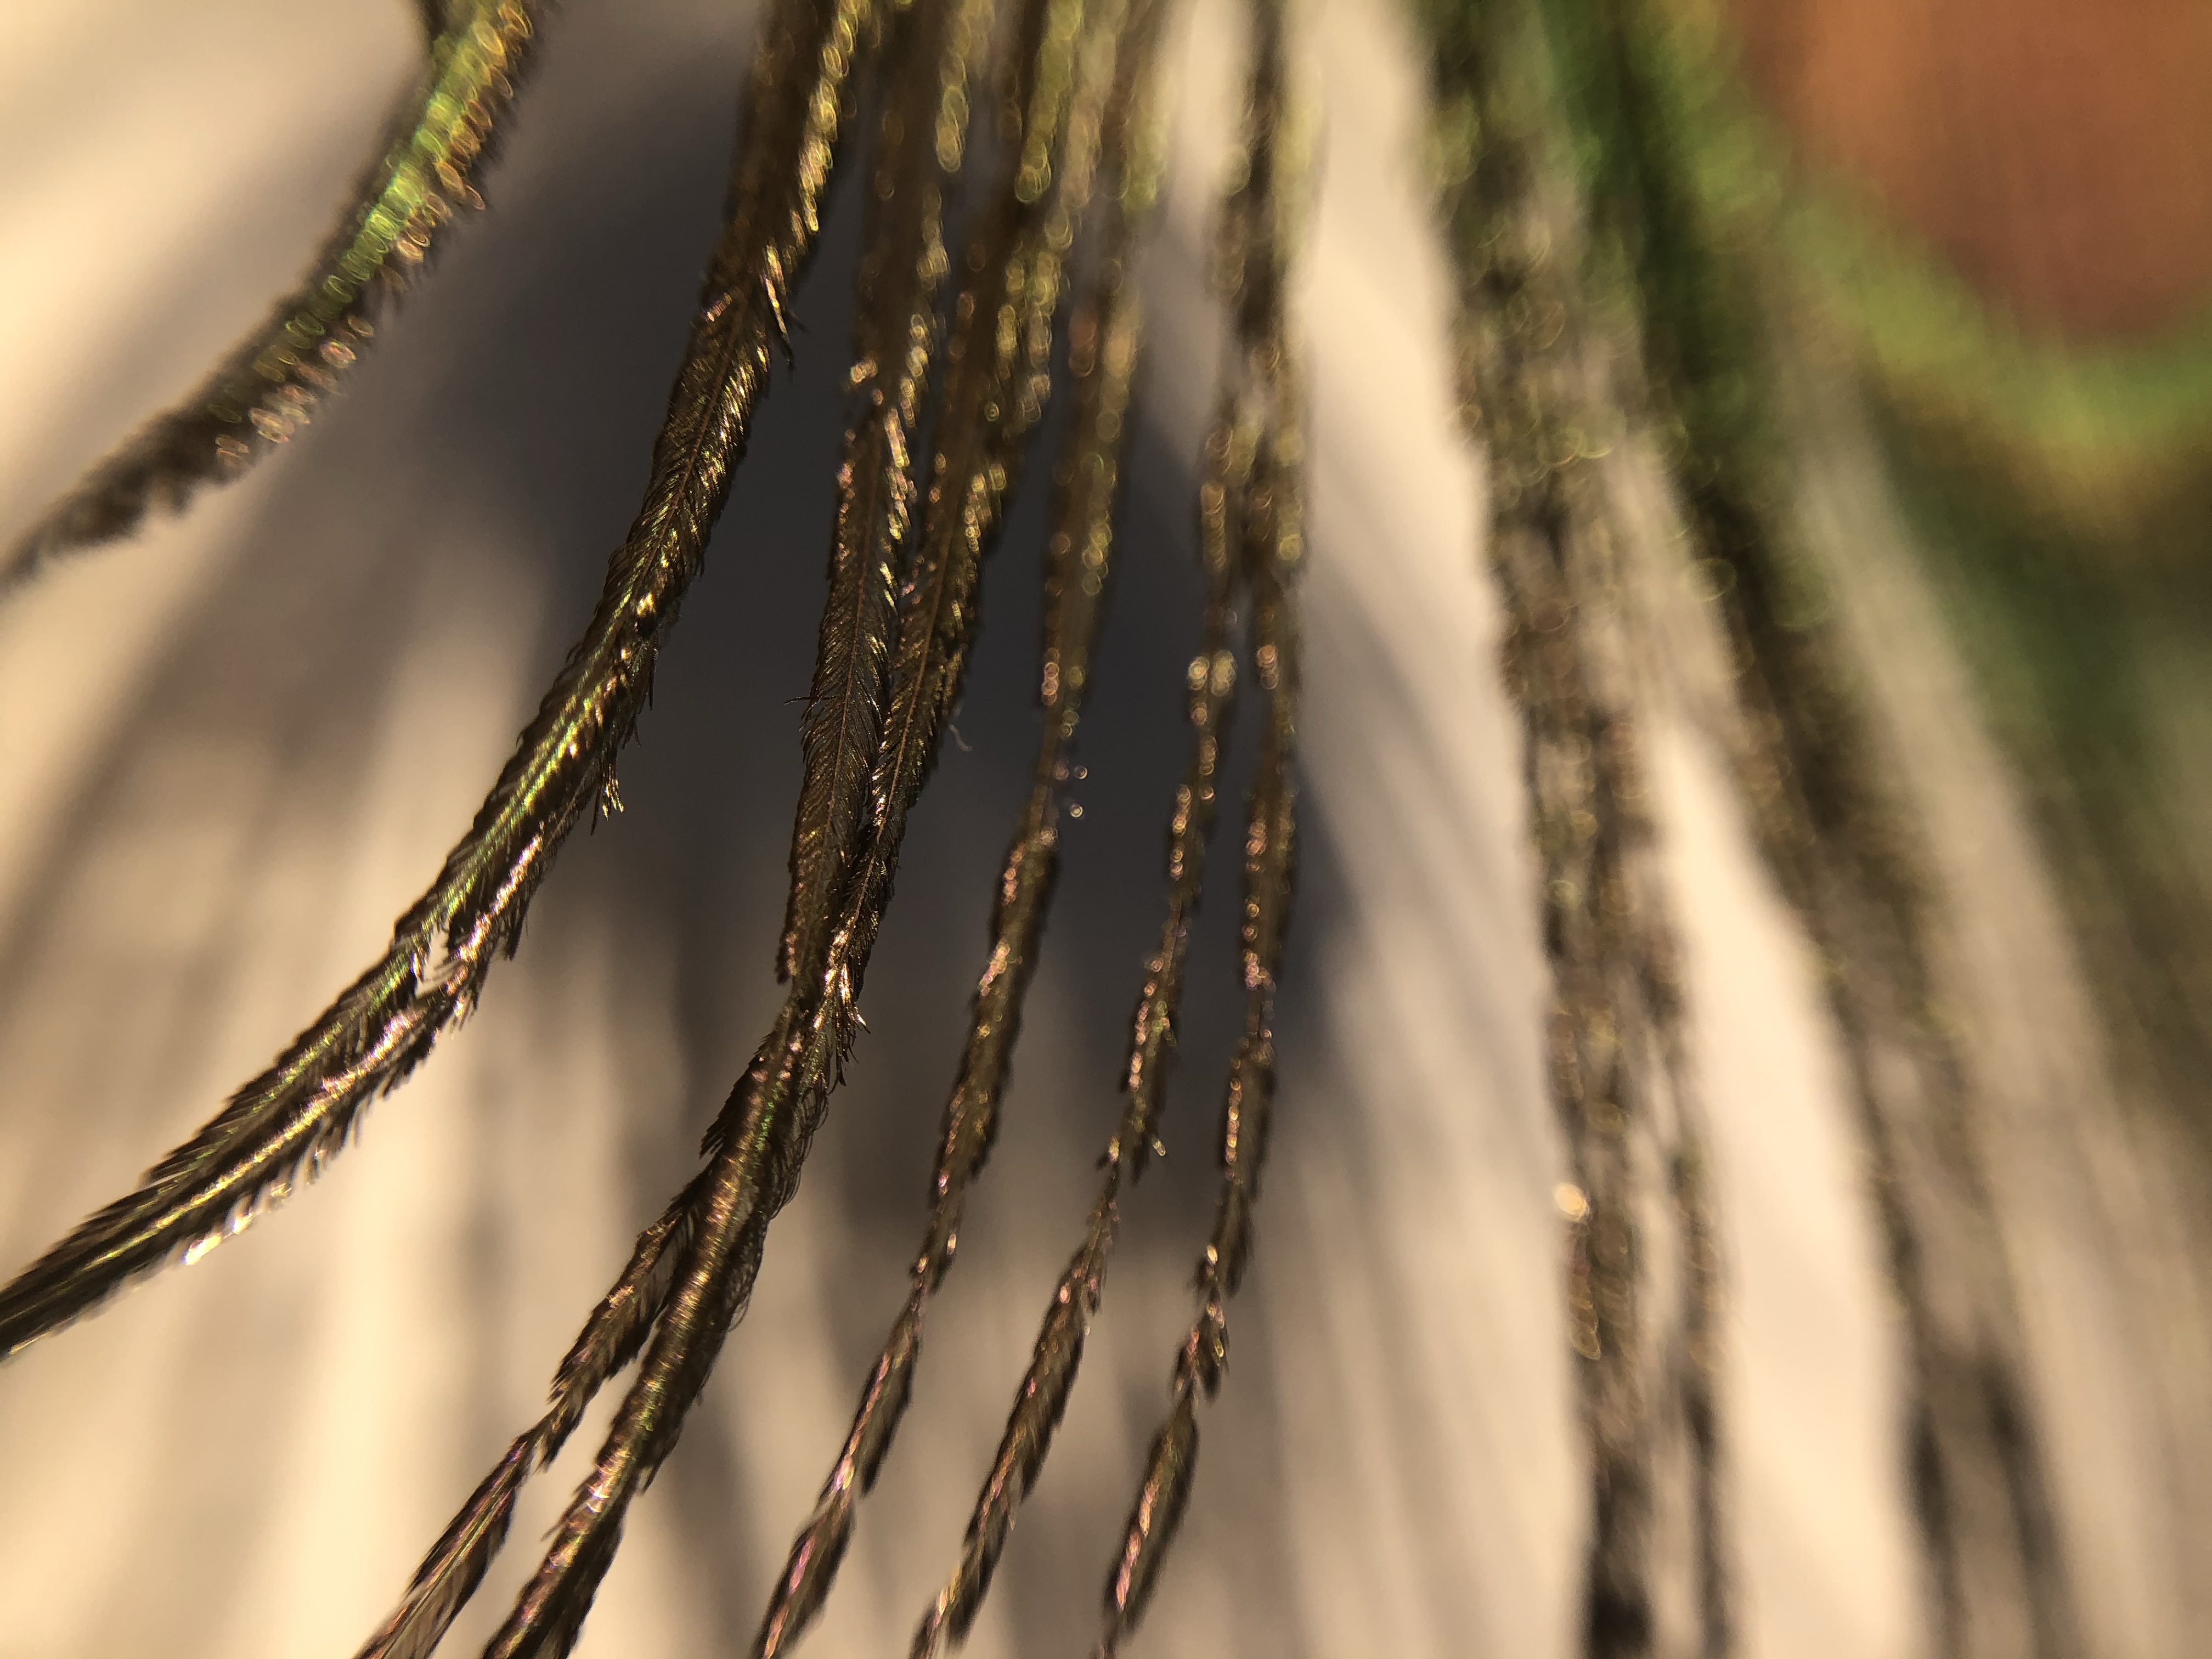
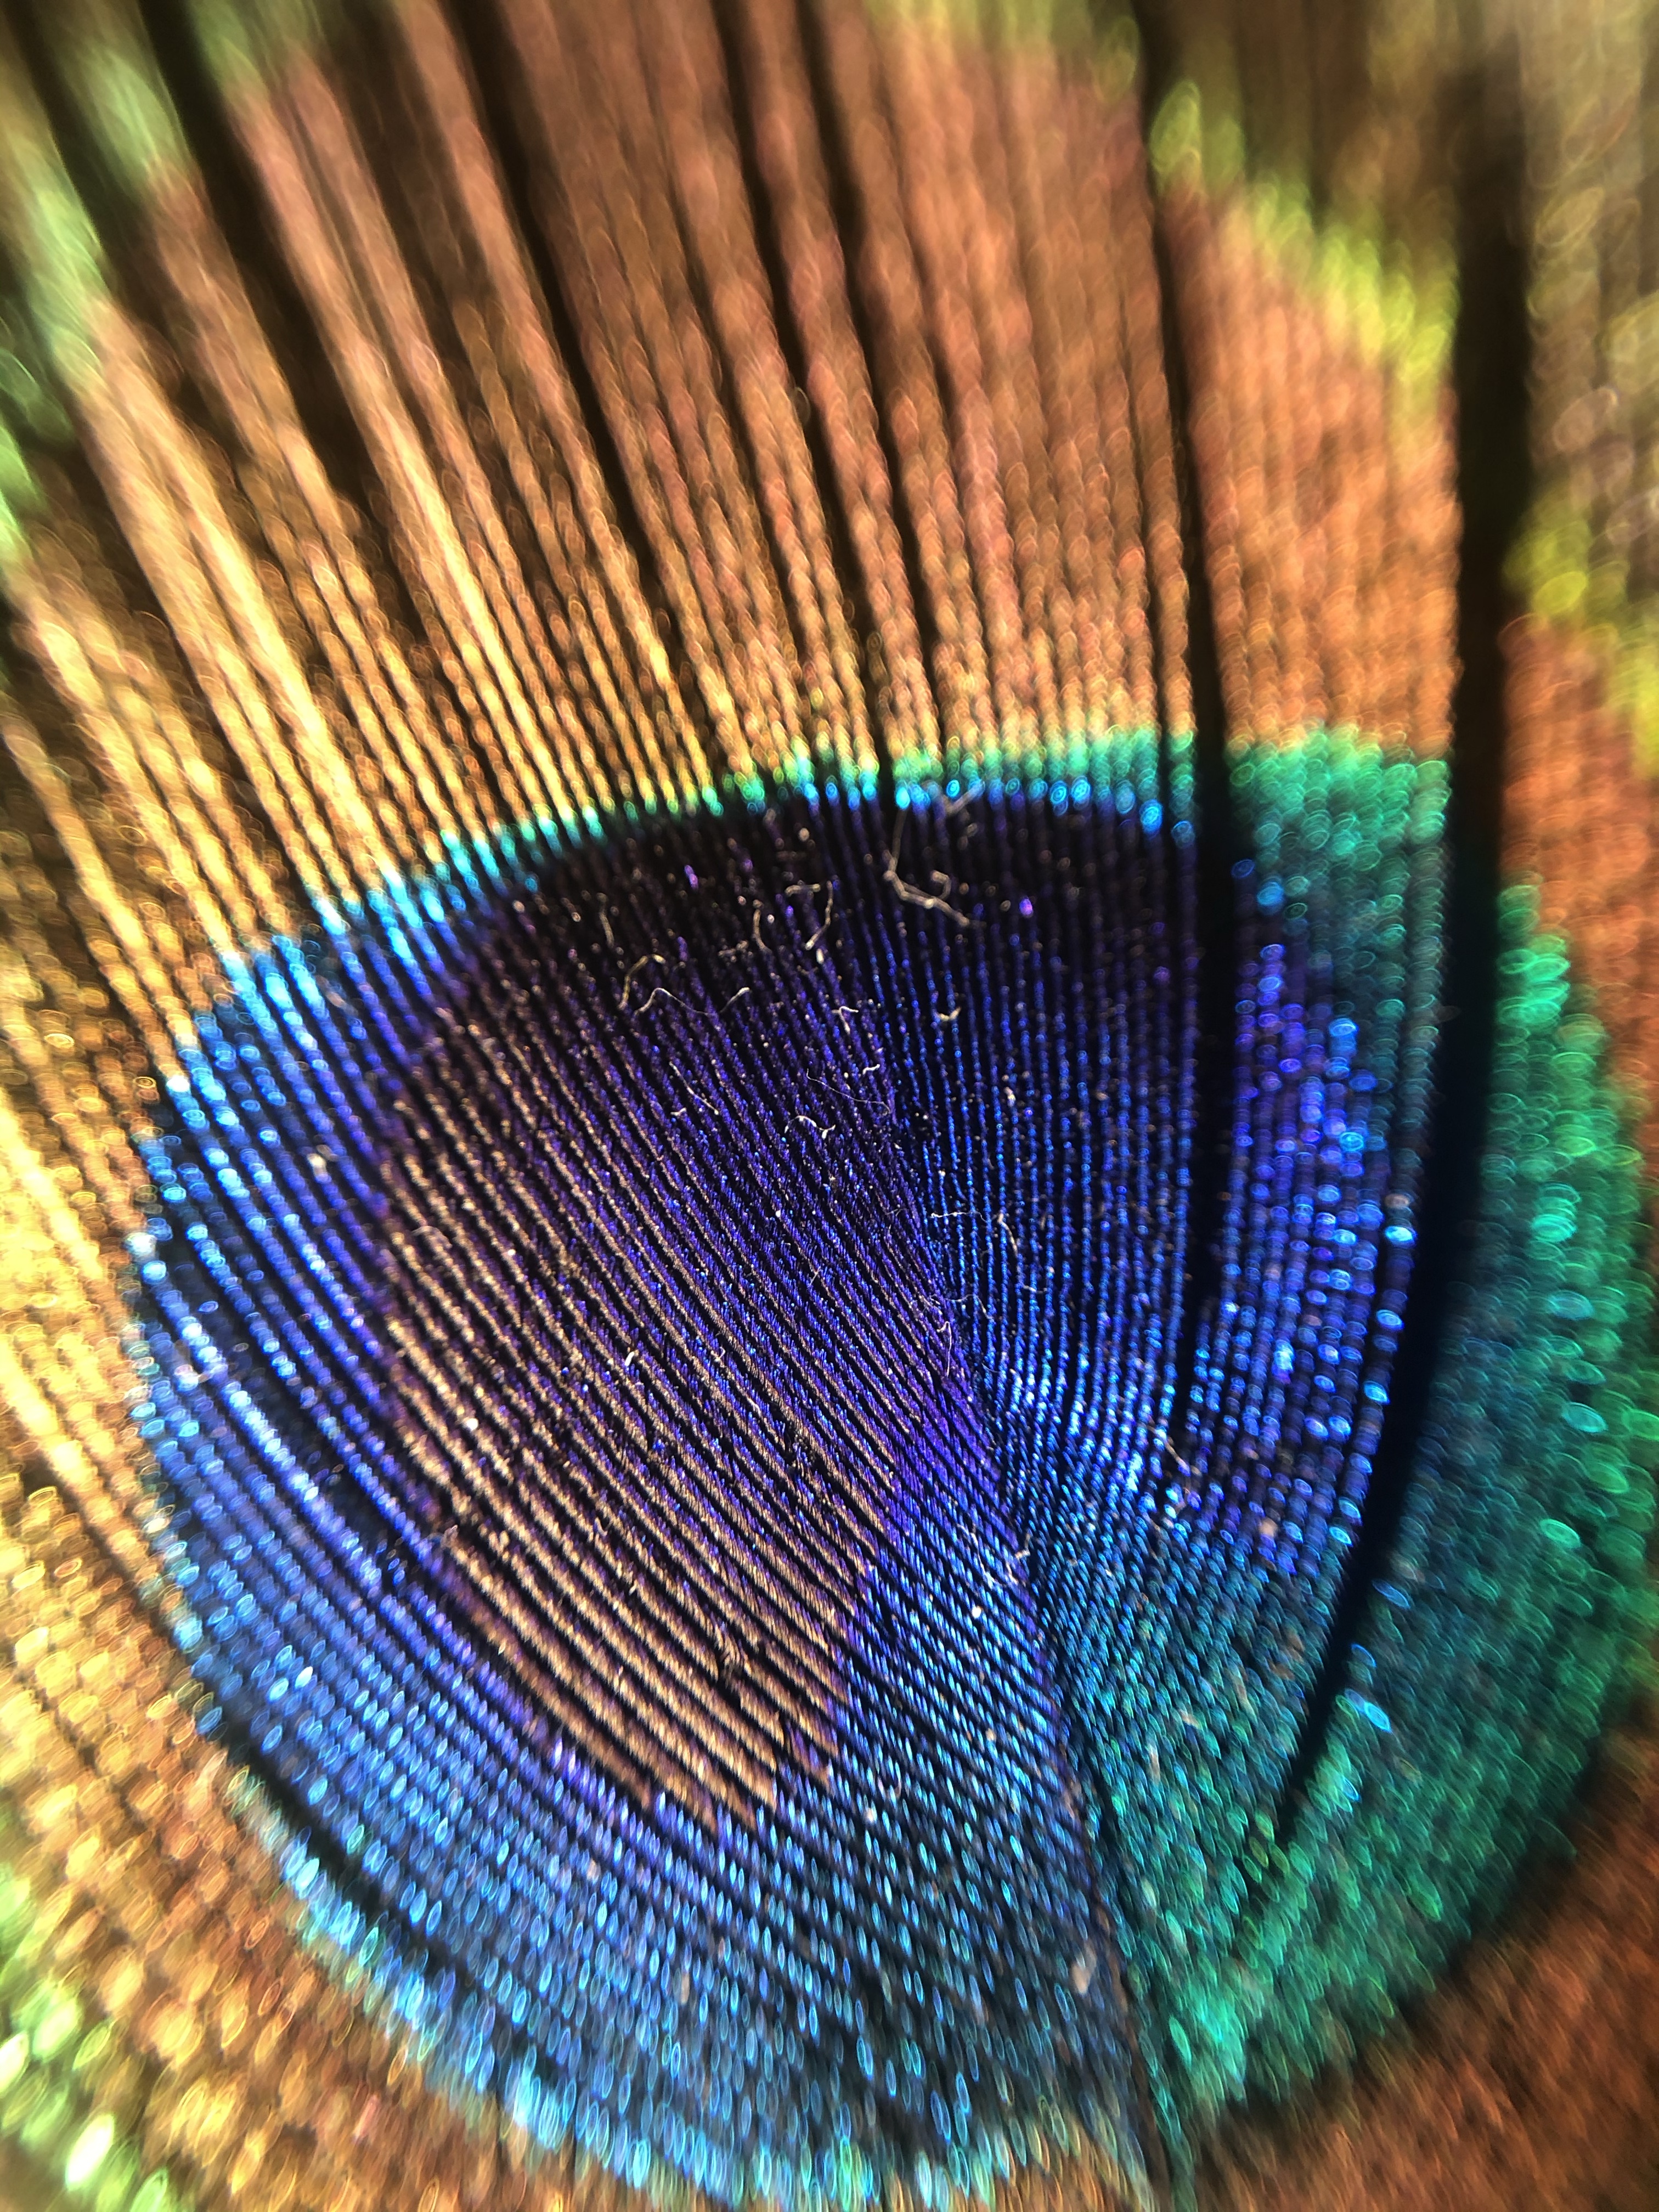
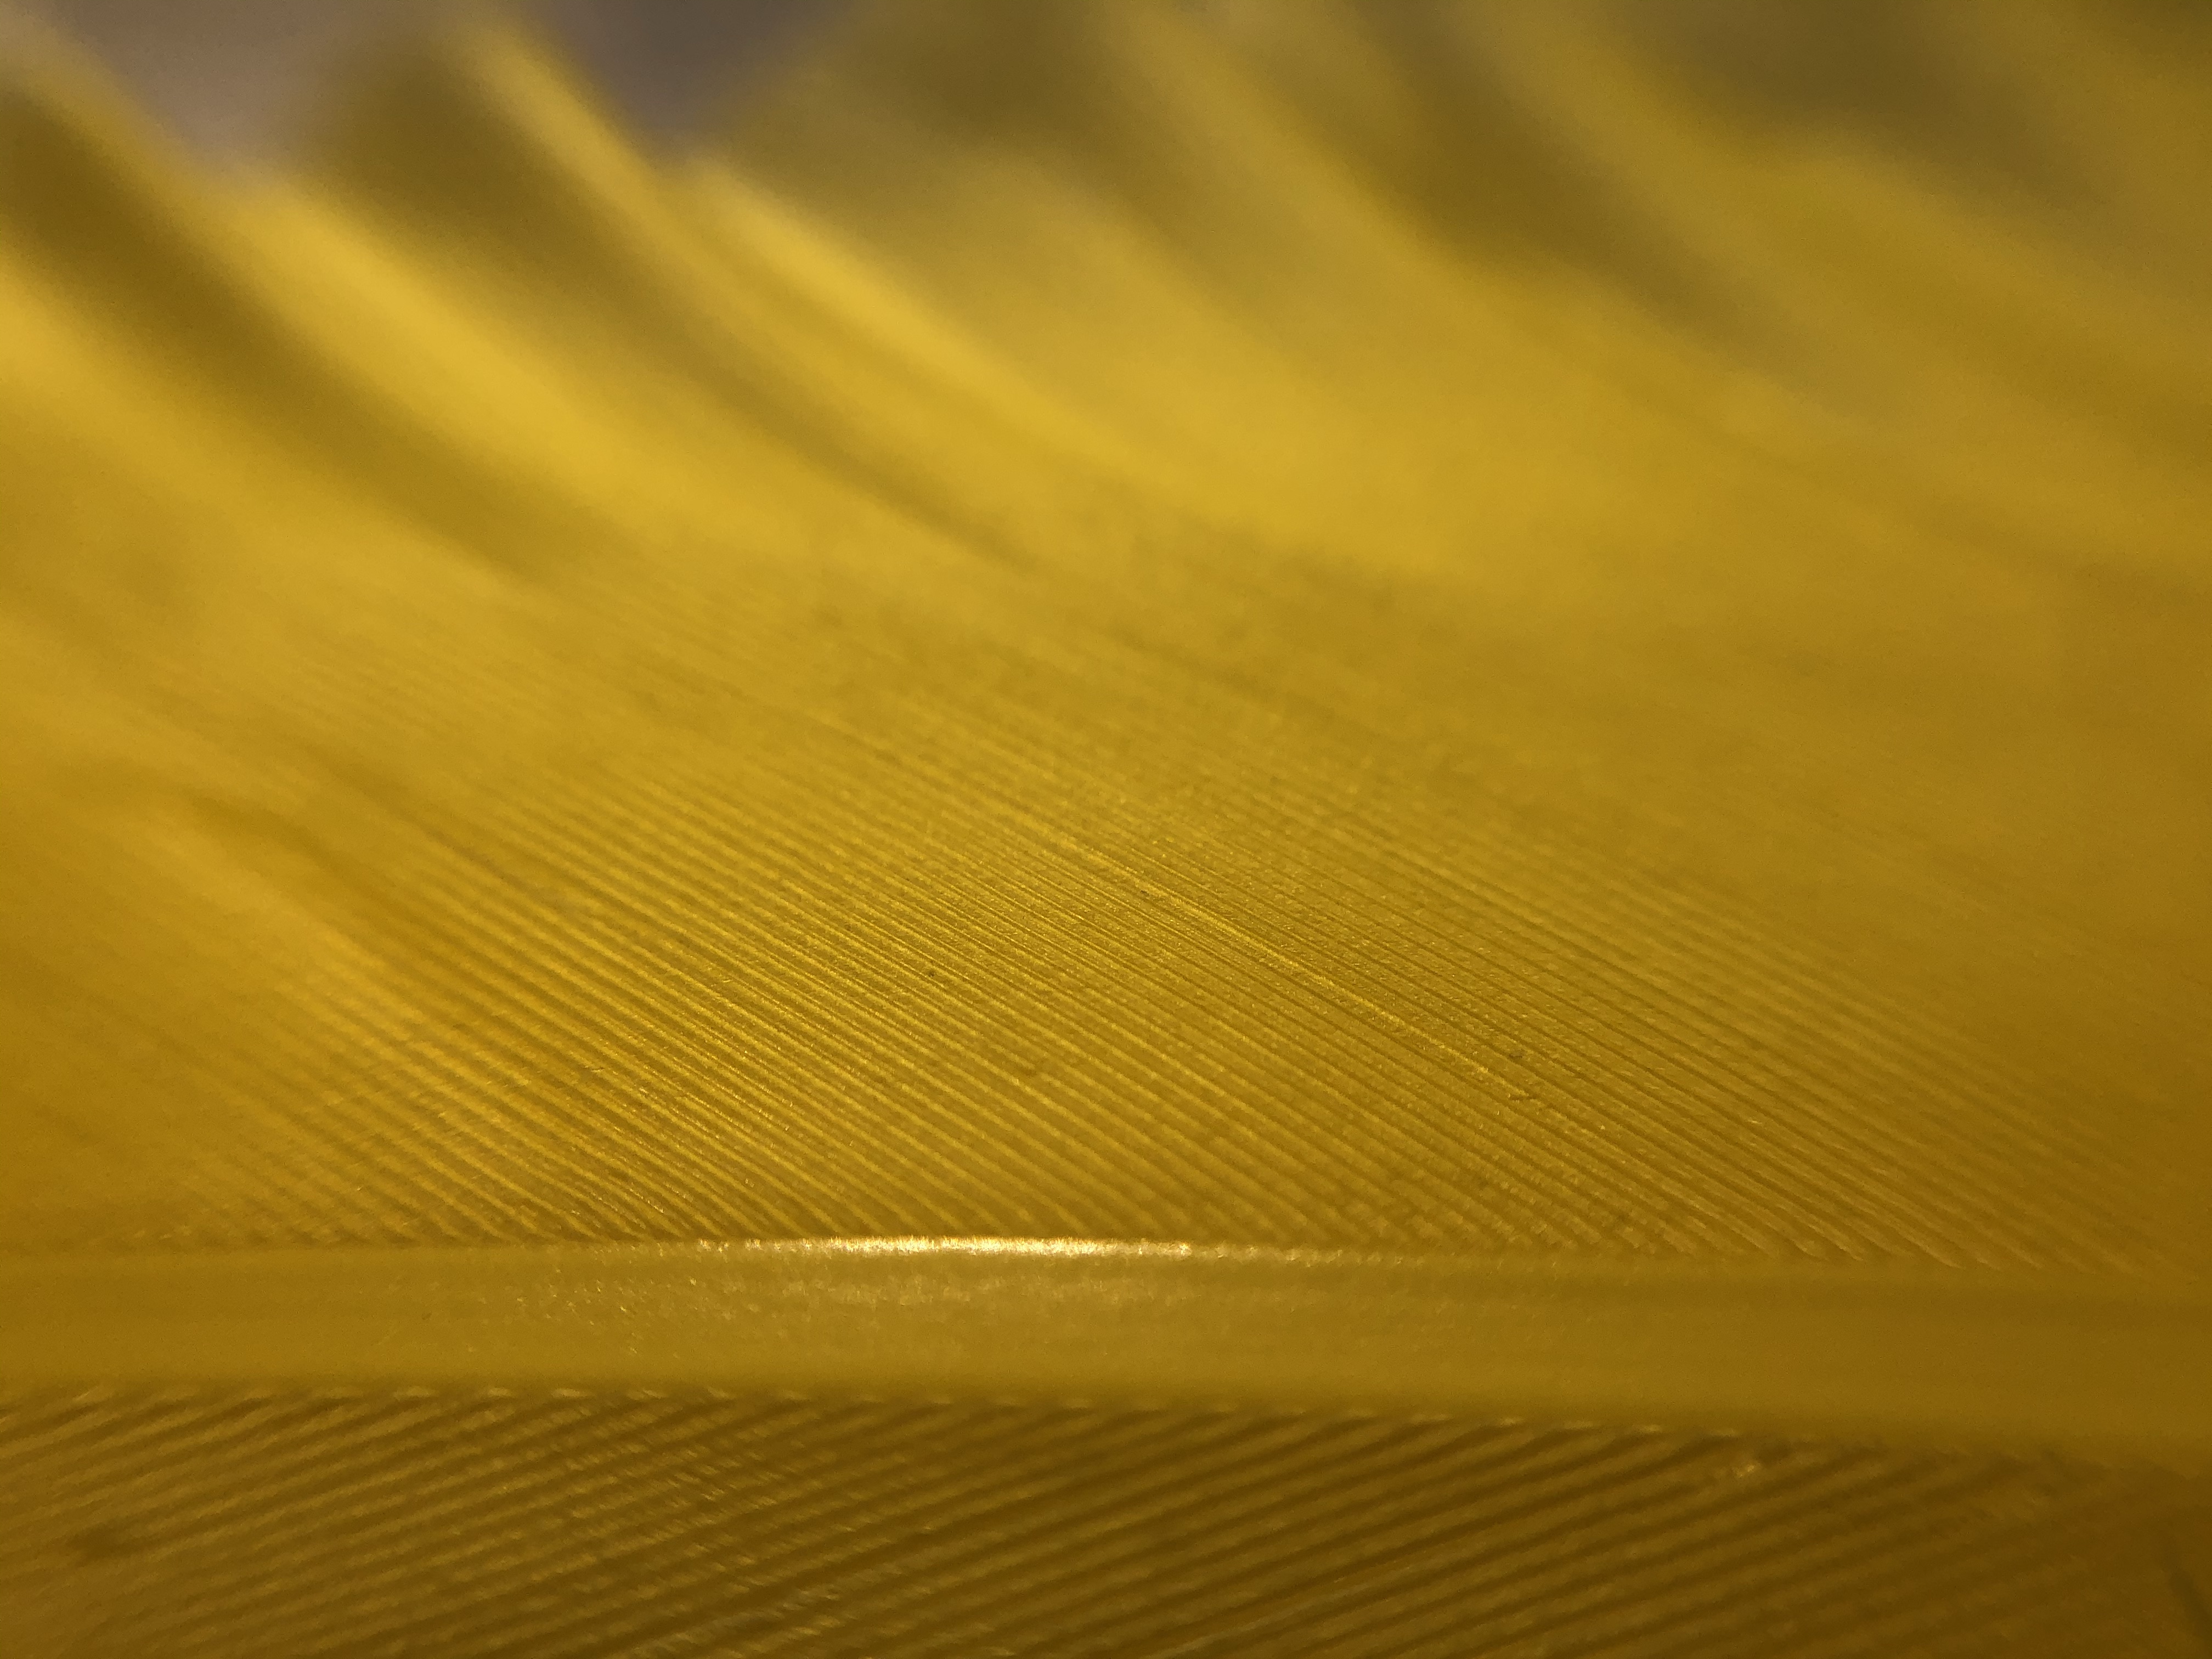
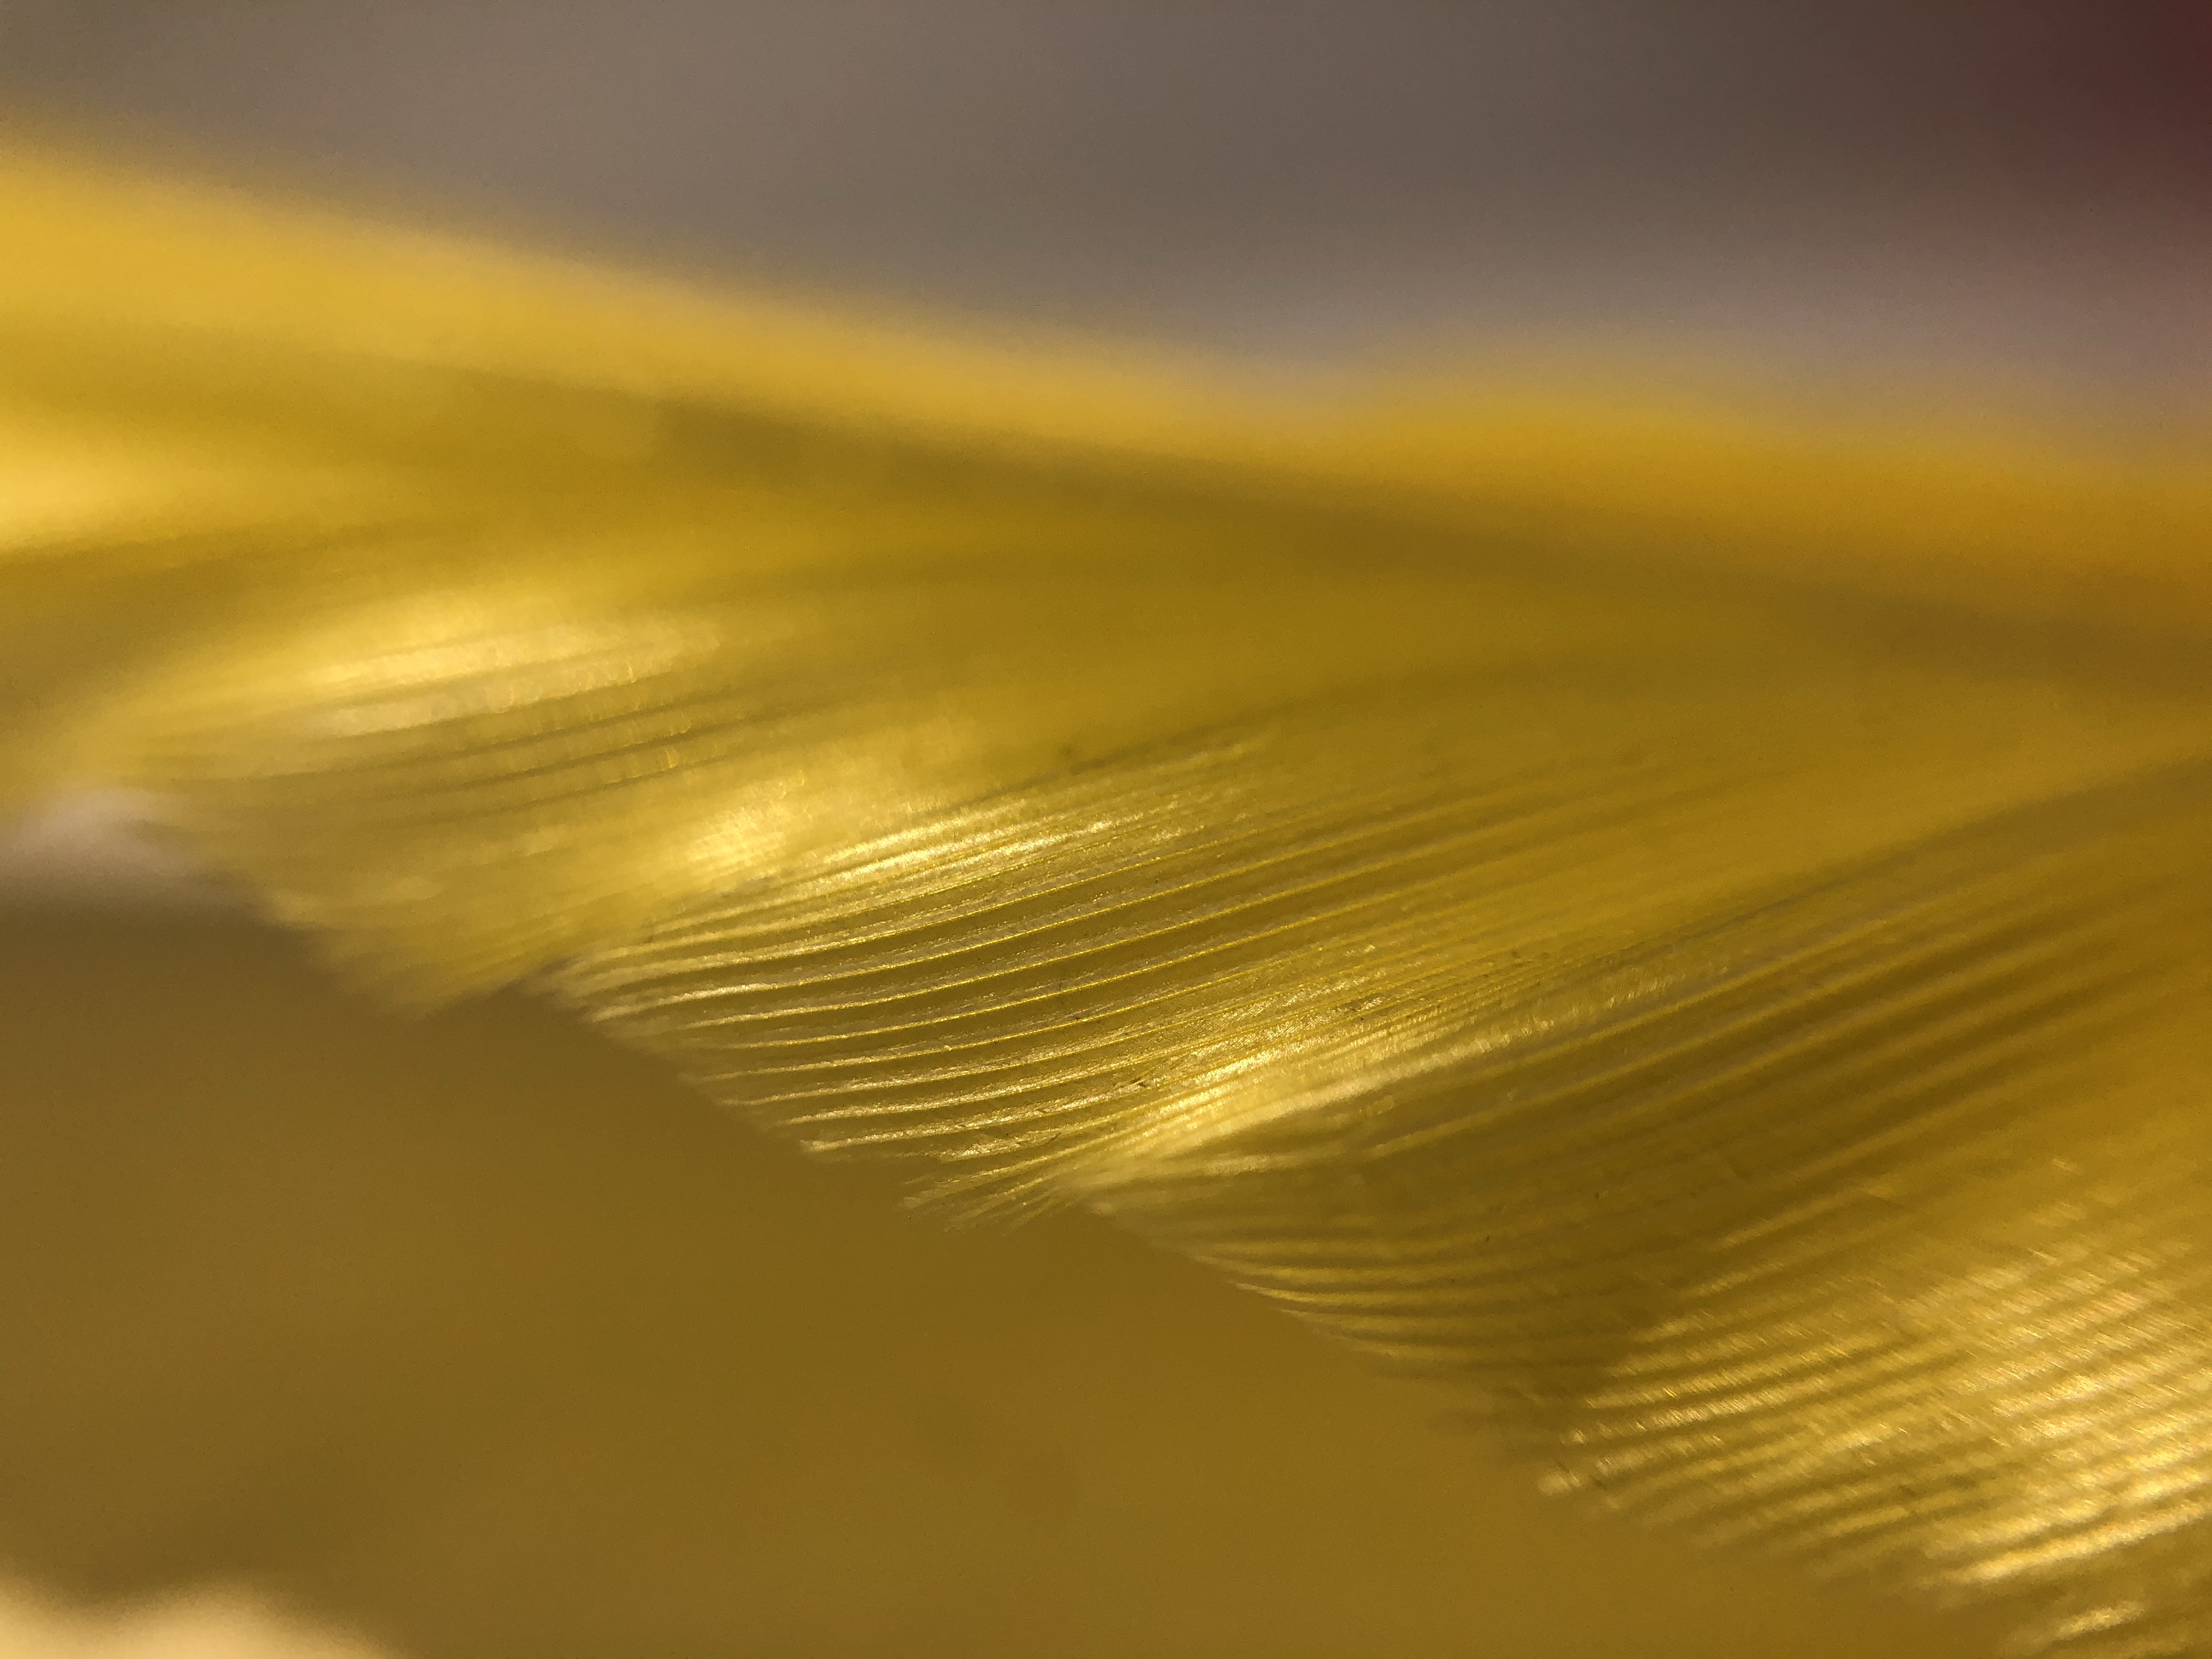
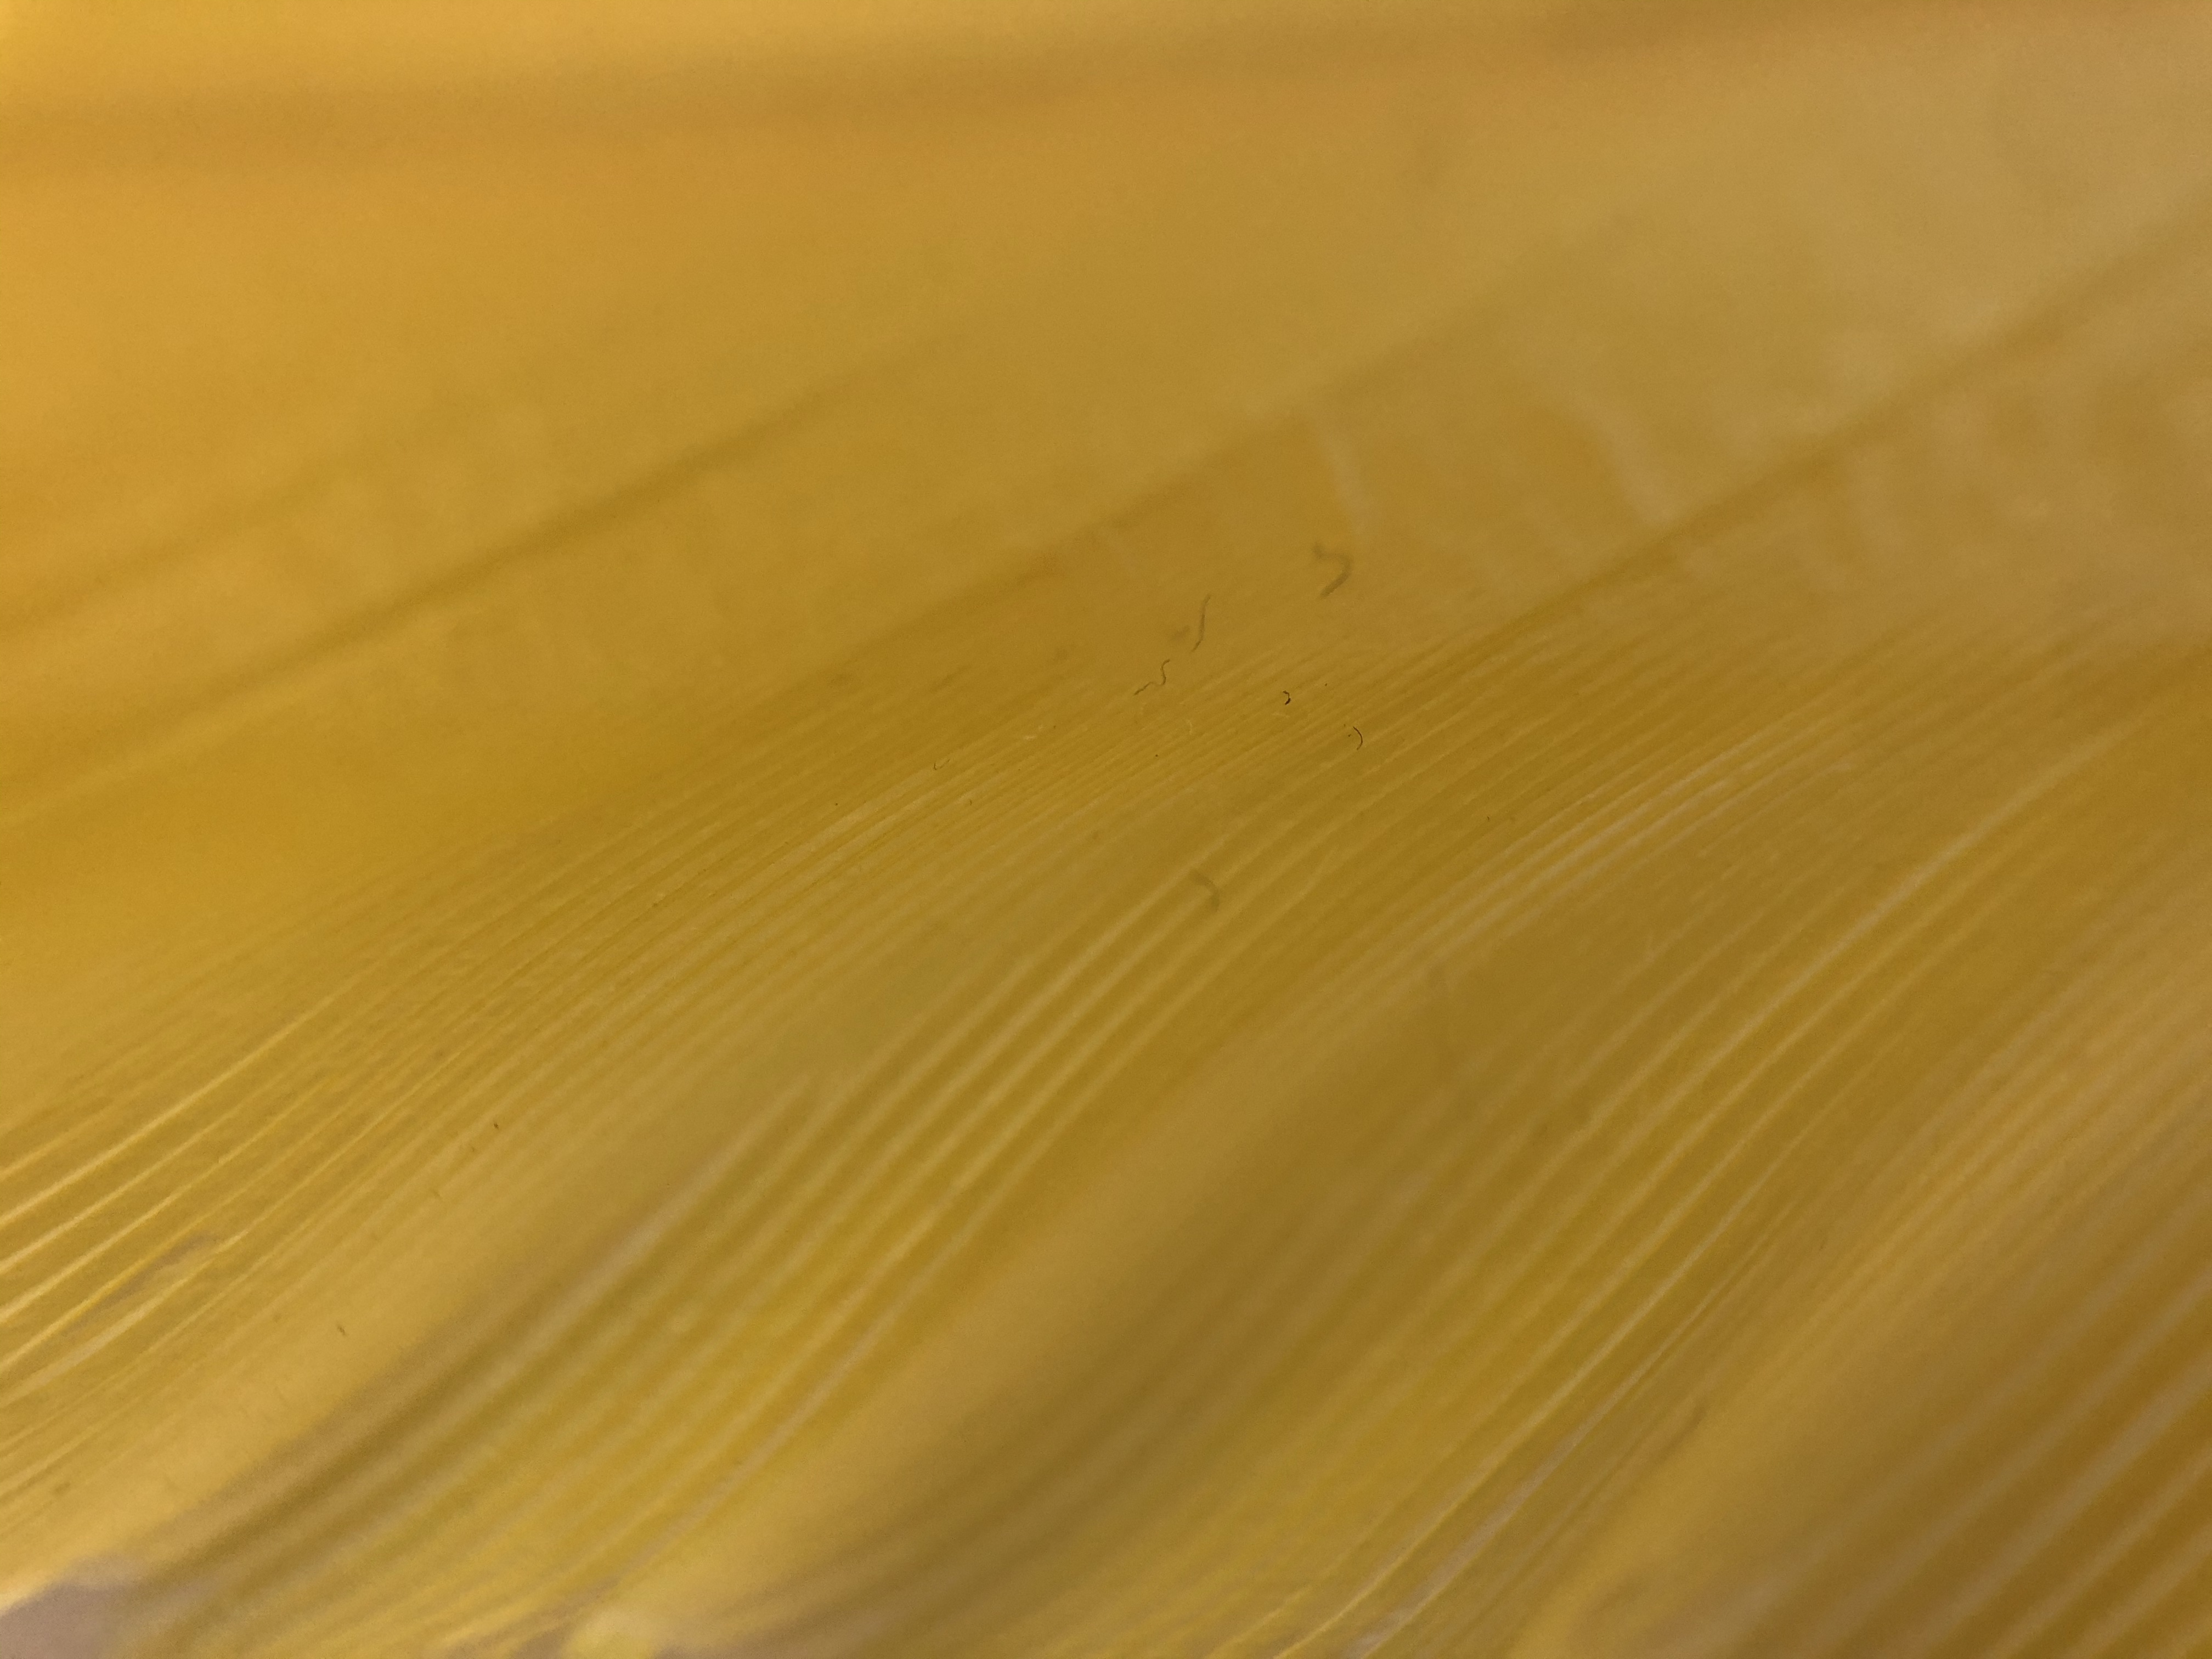
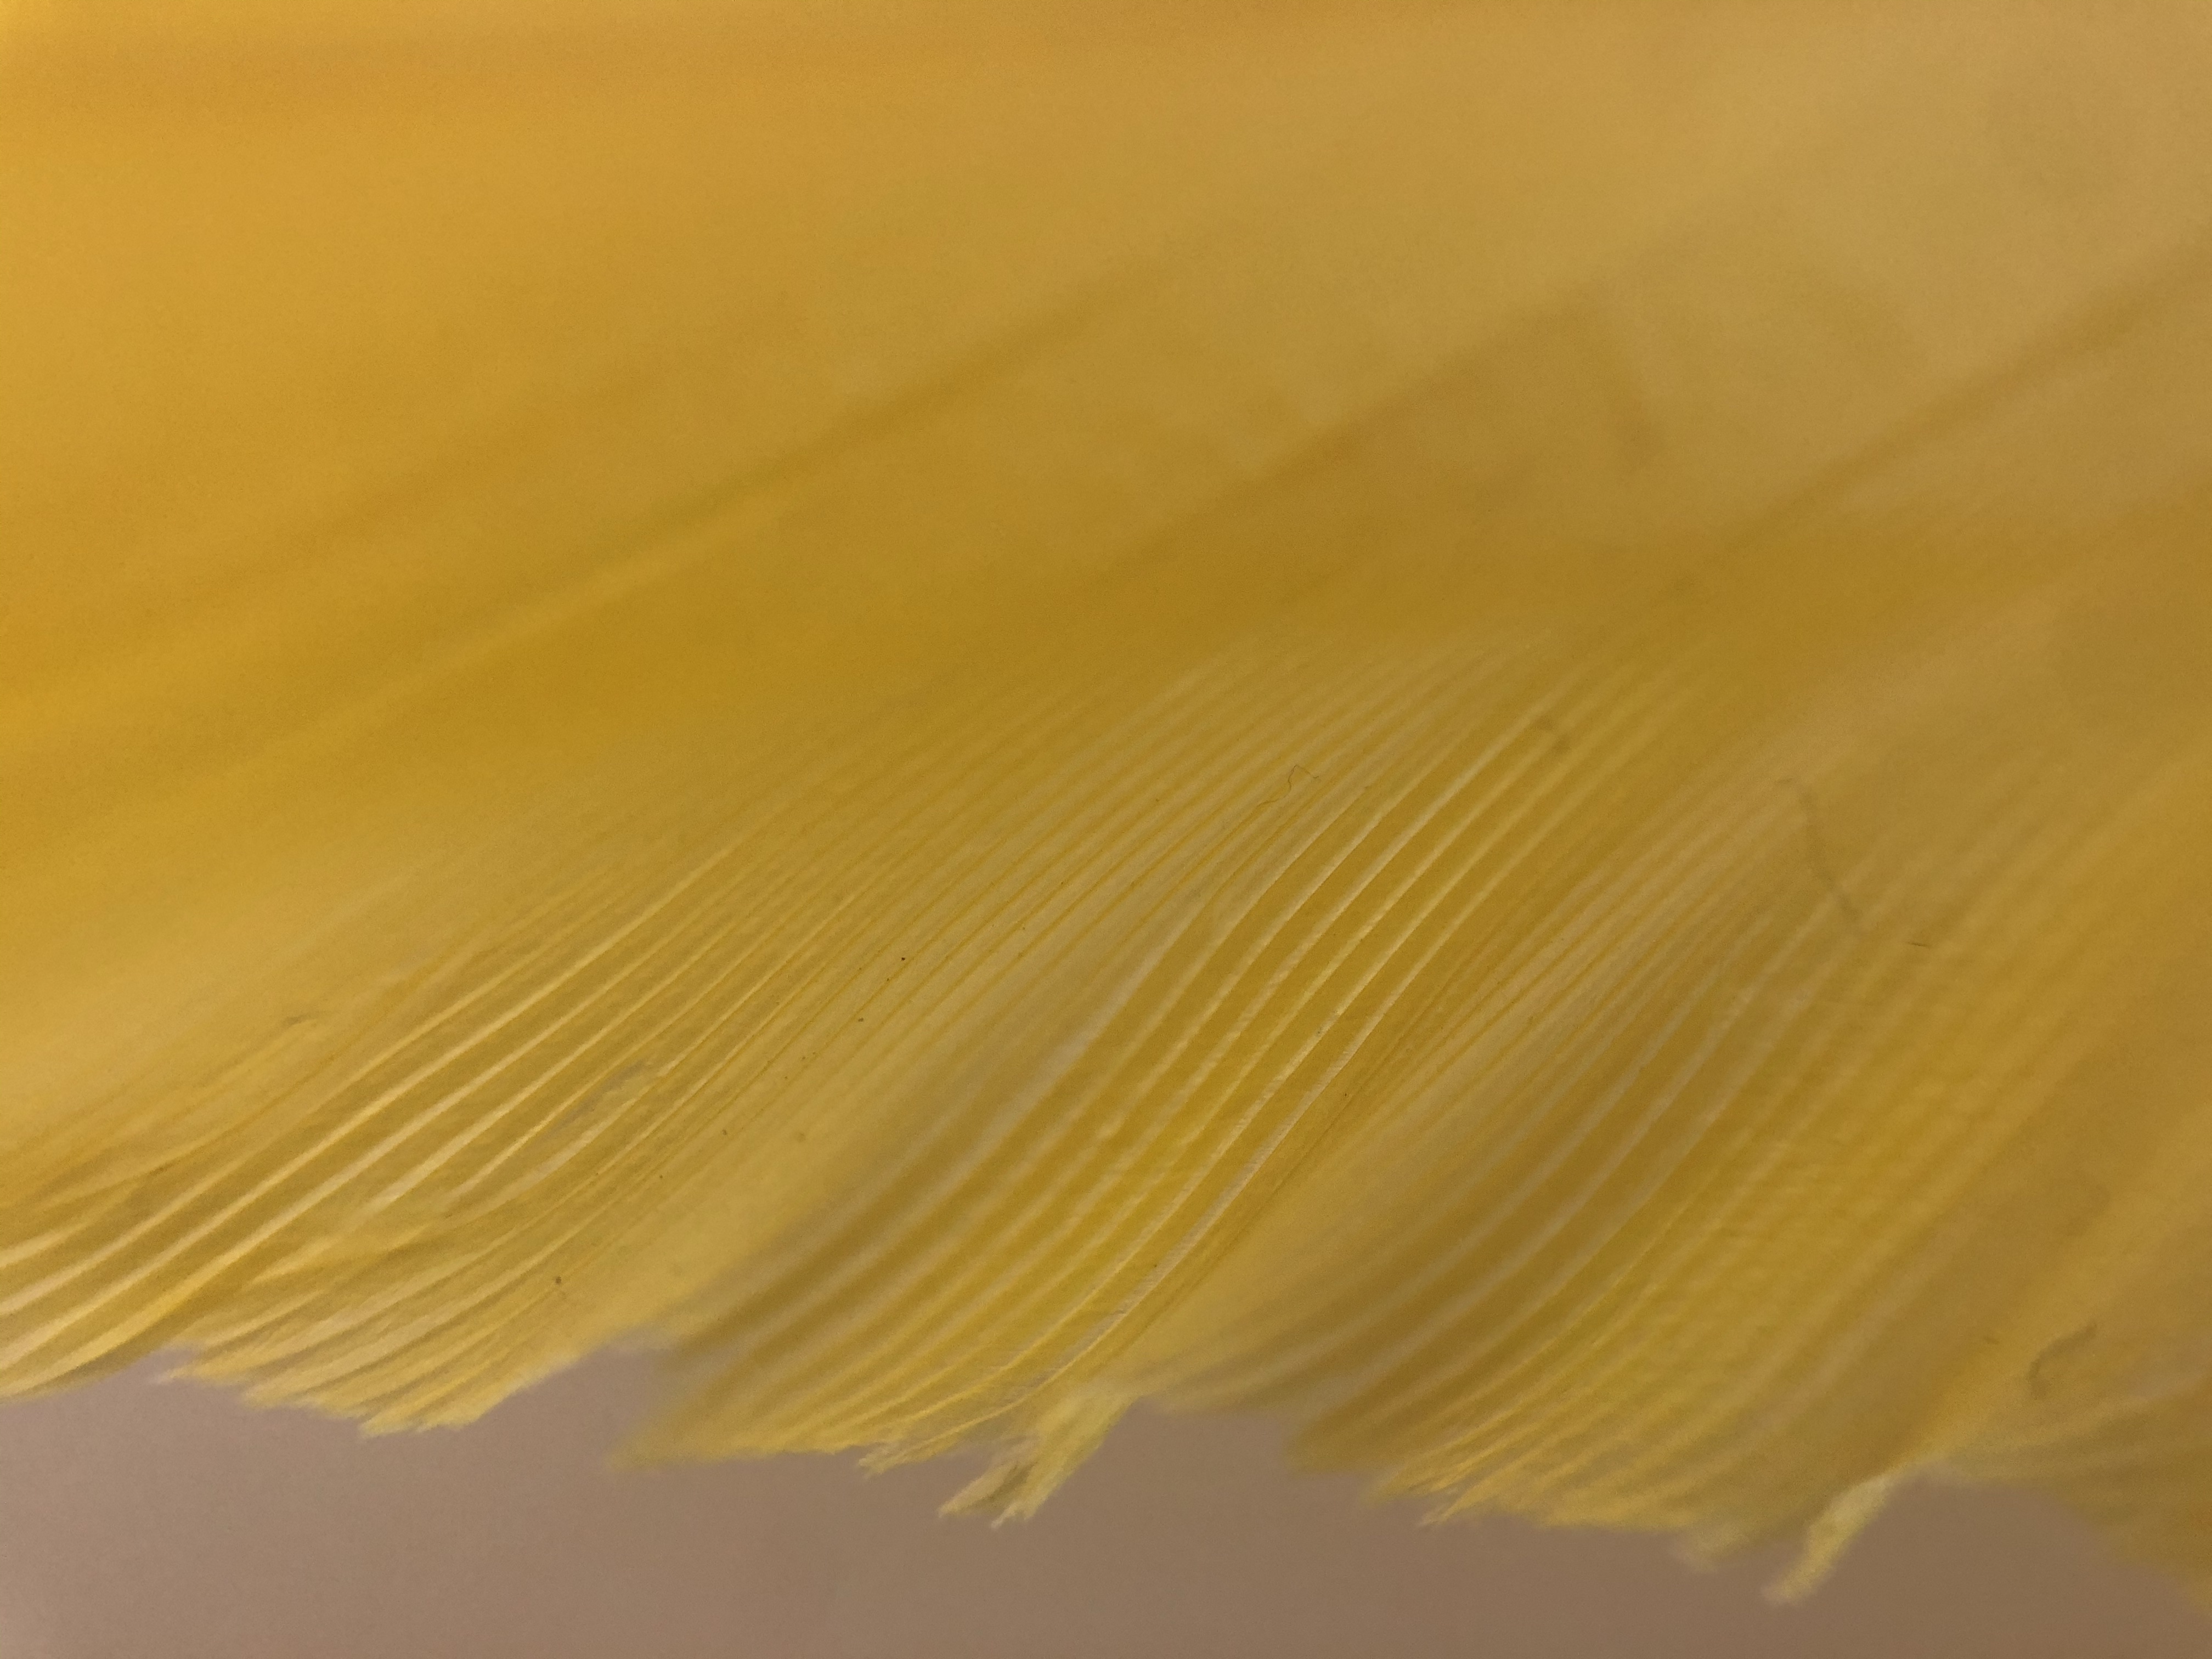
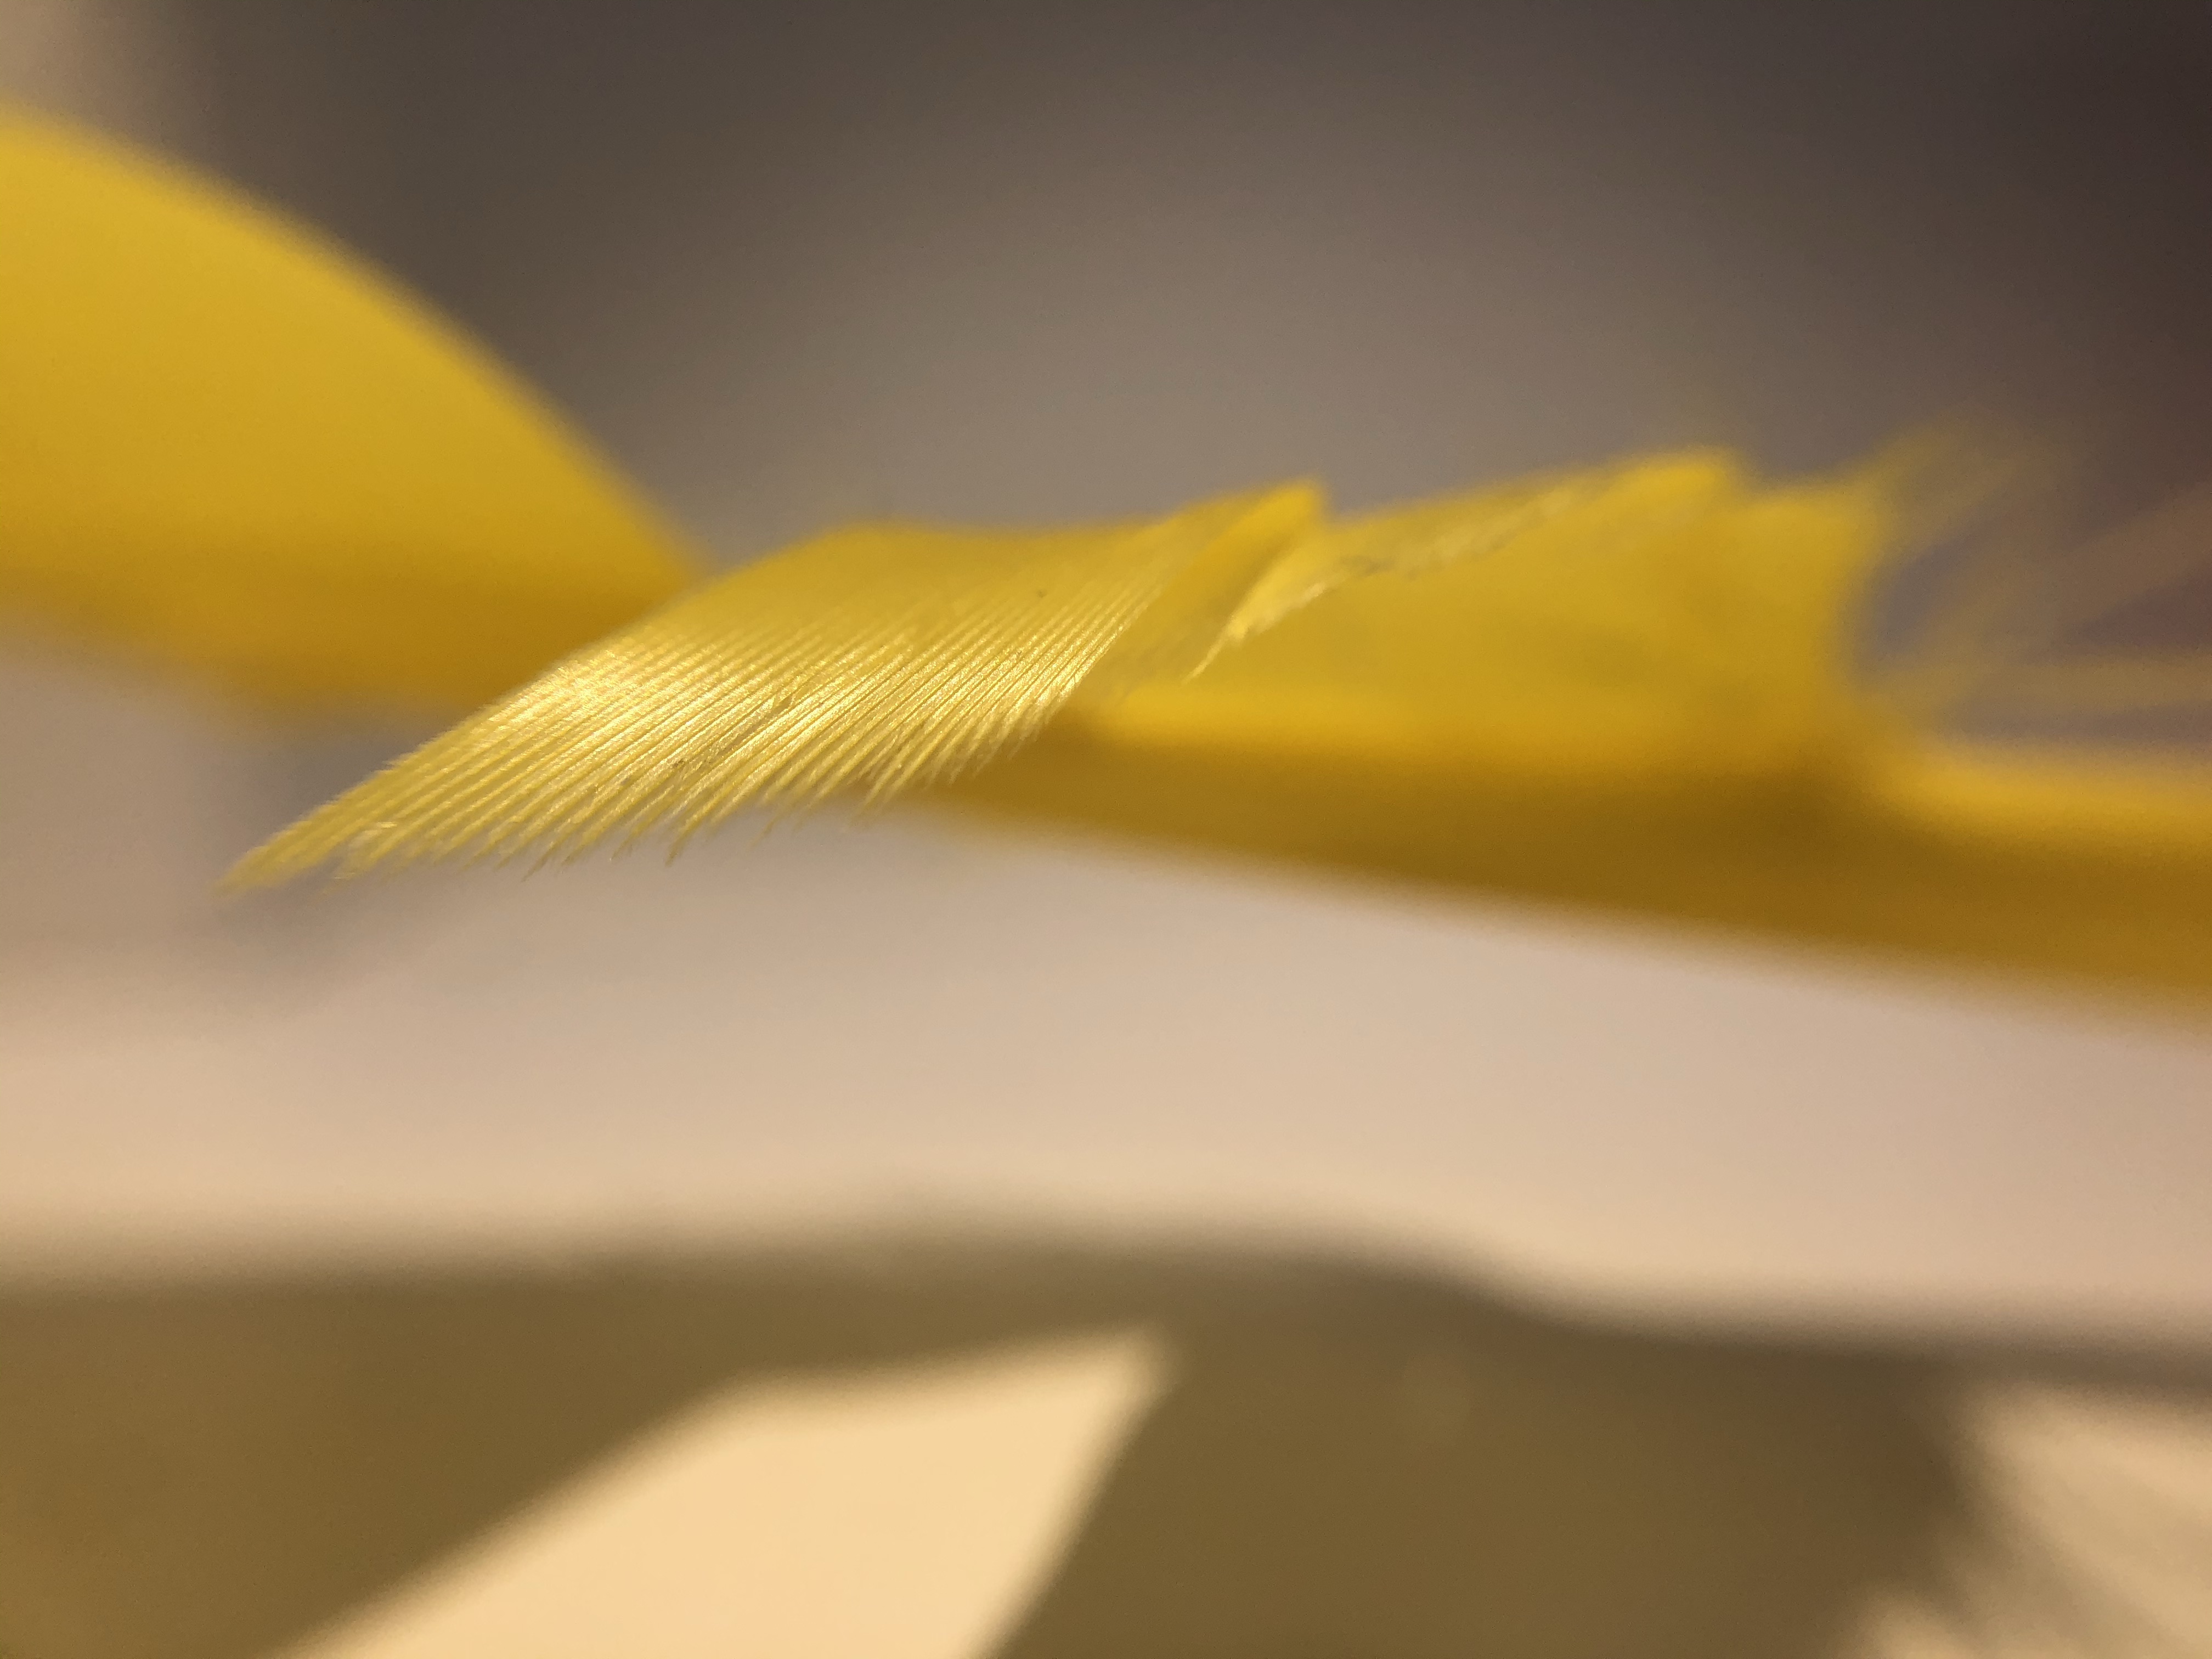
Feathers
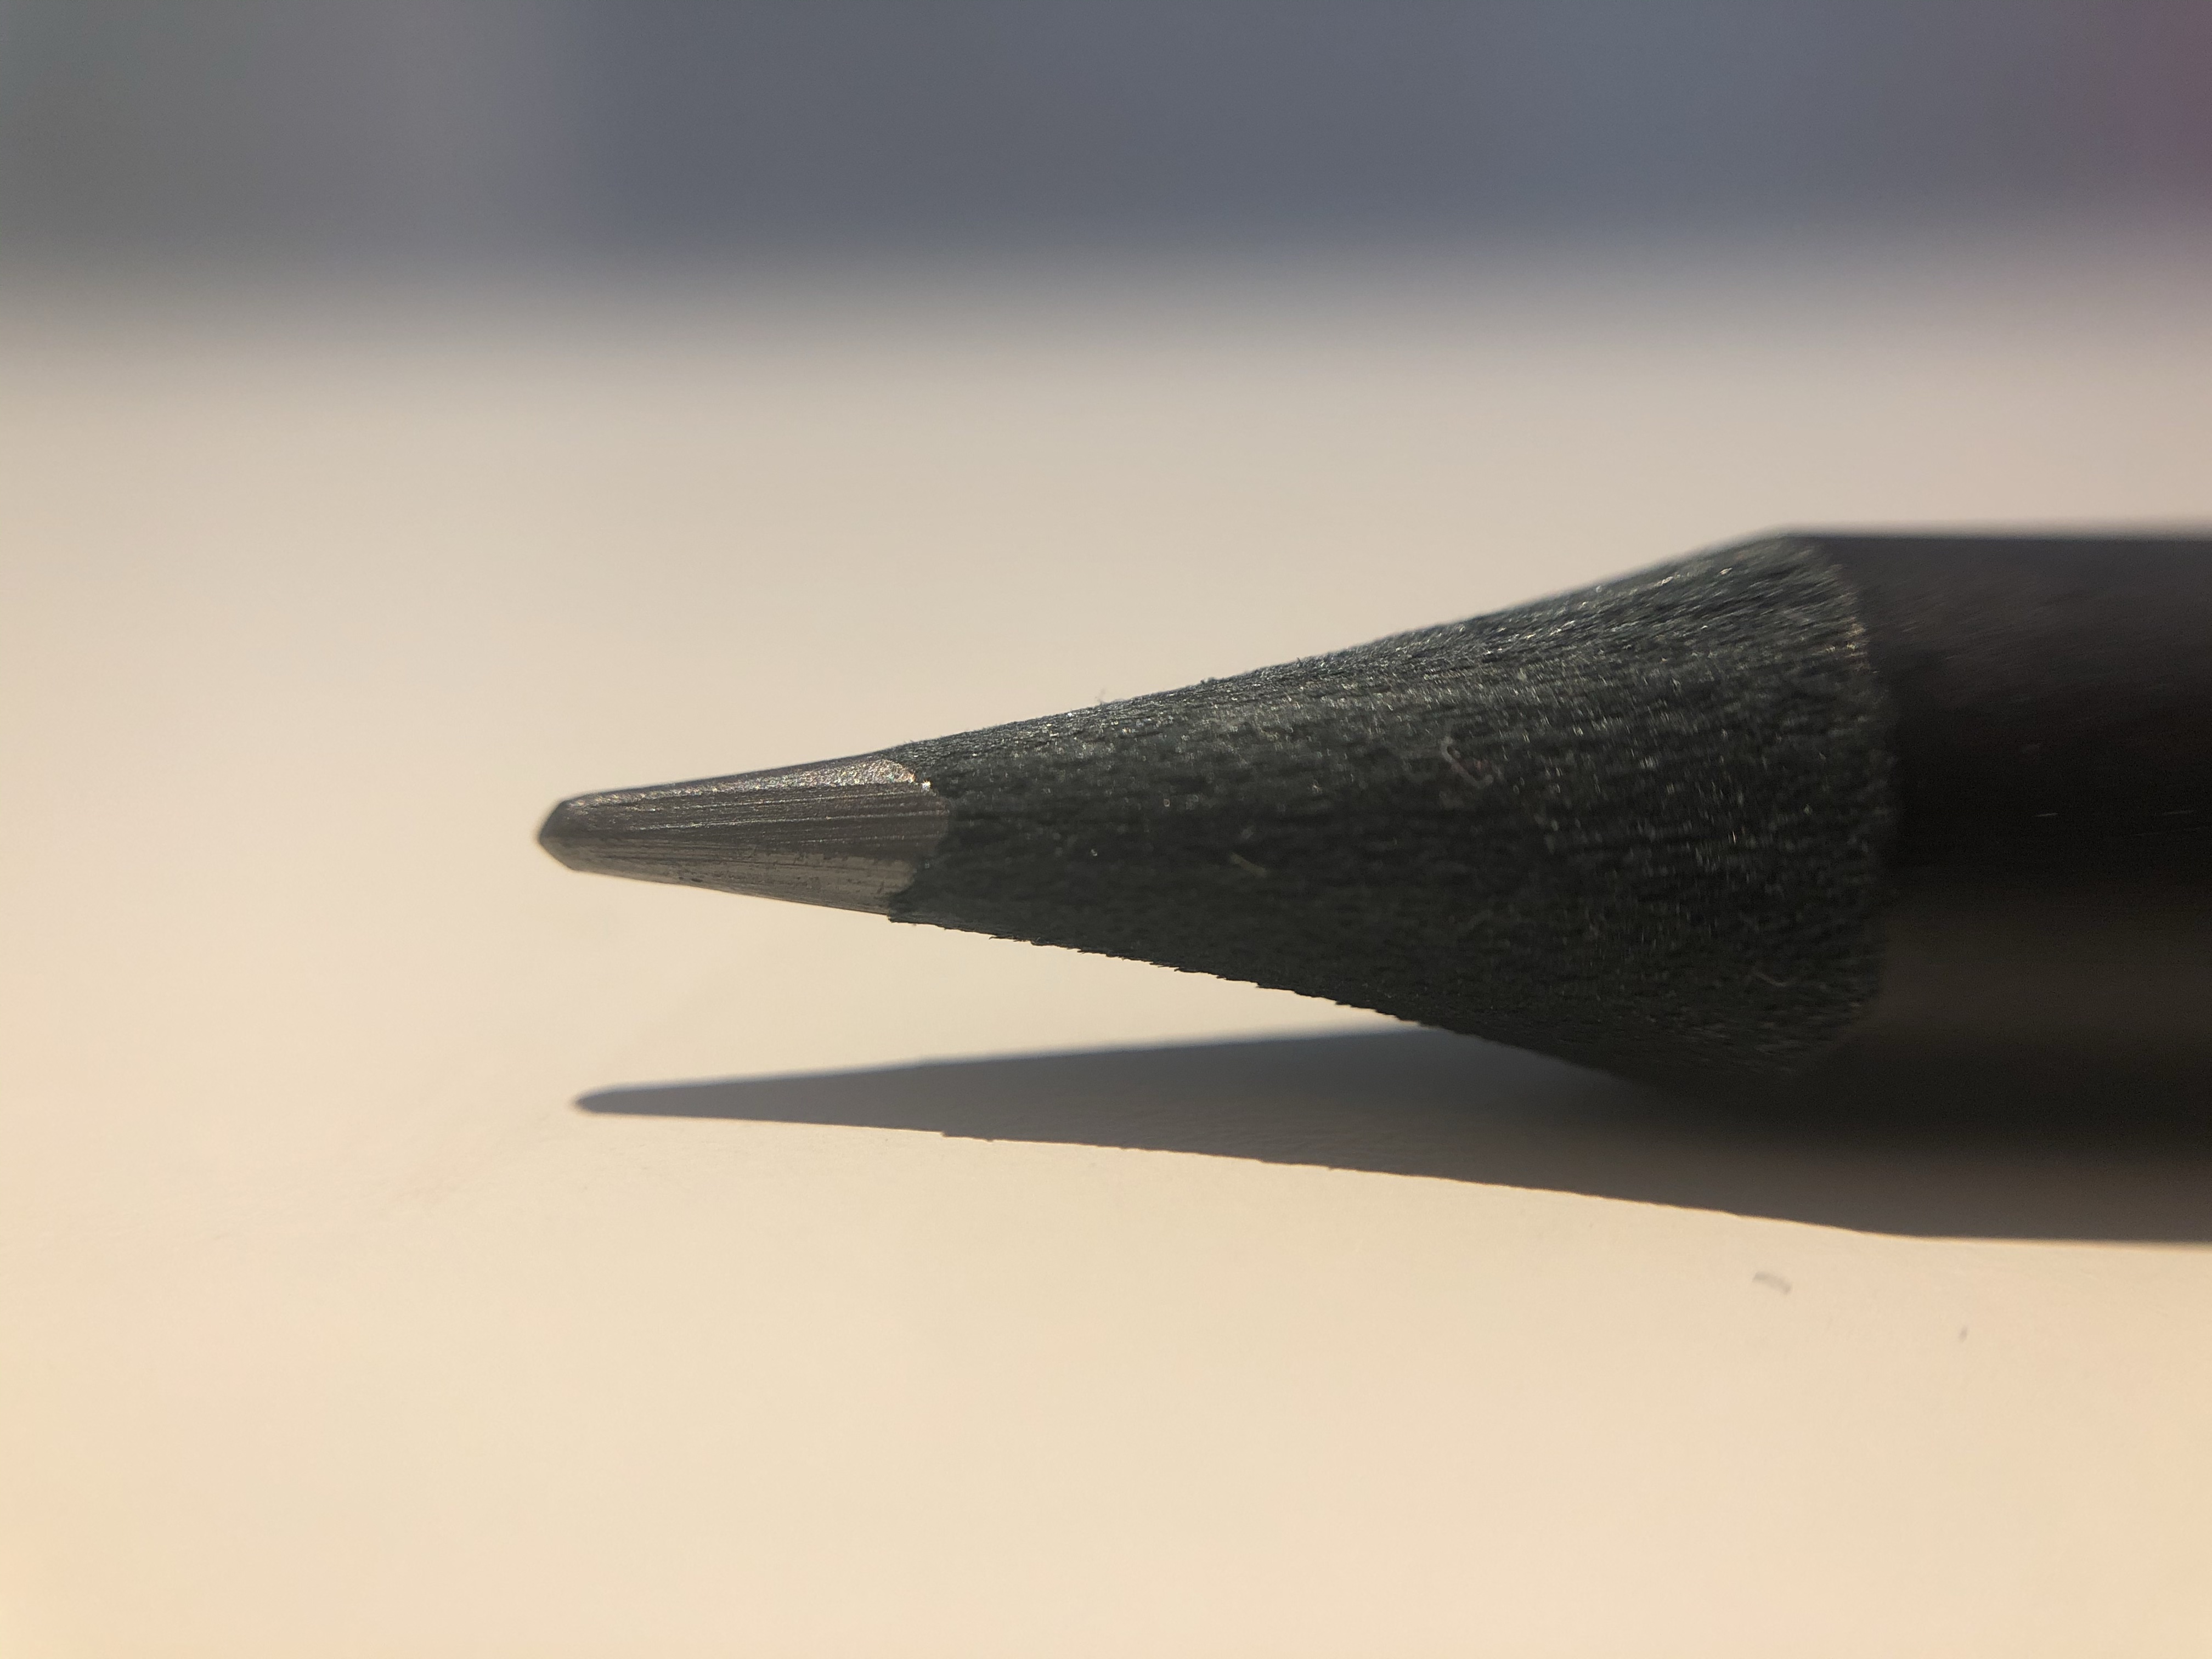
Stationary
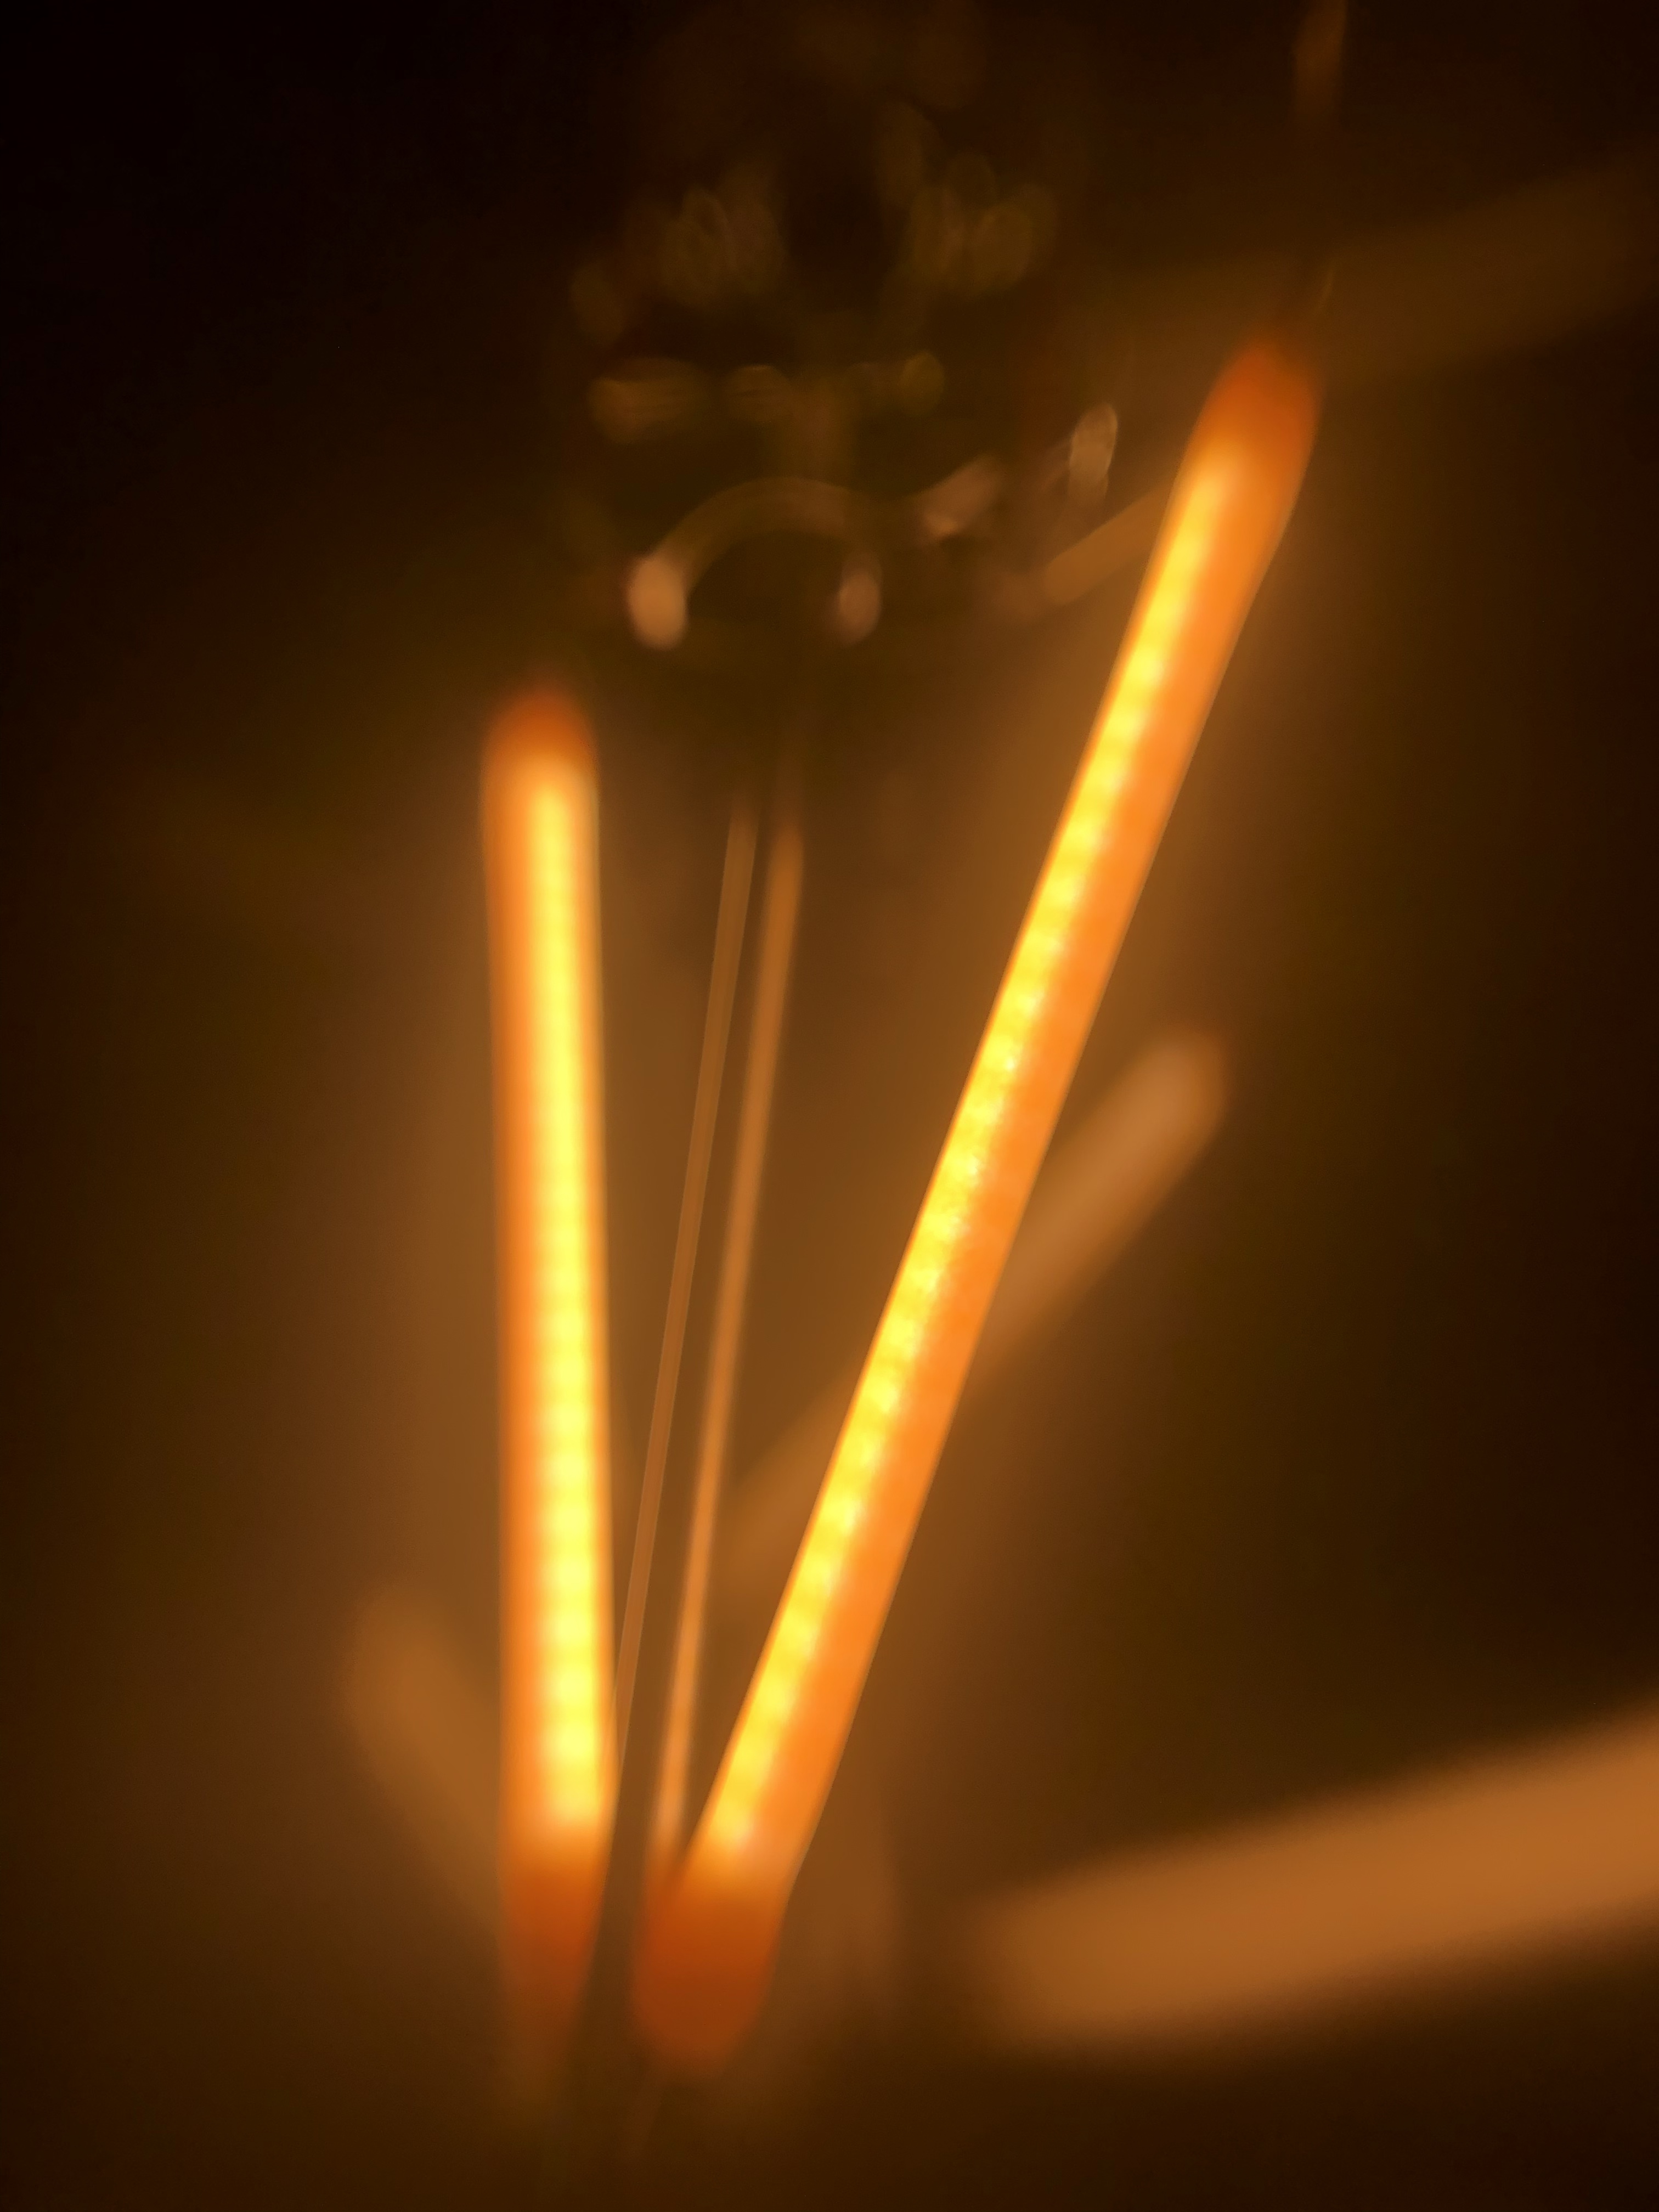
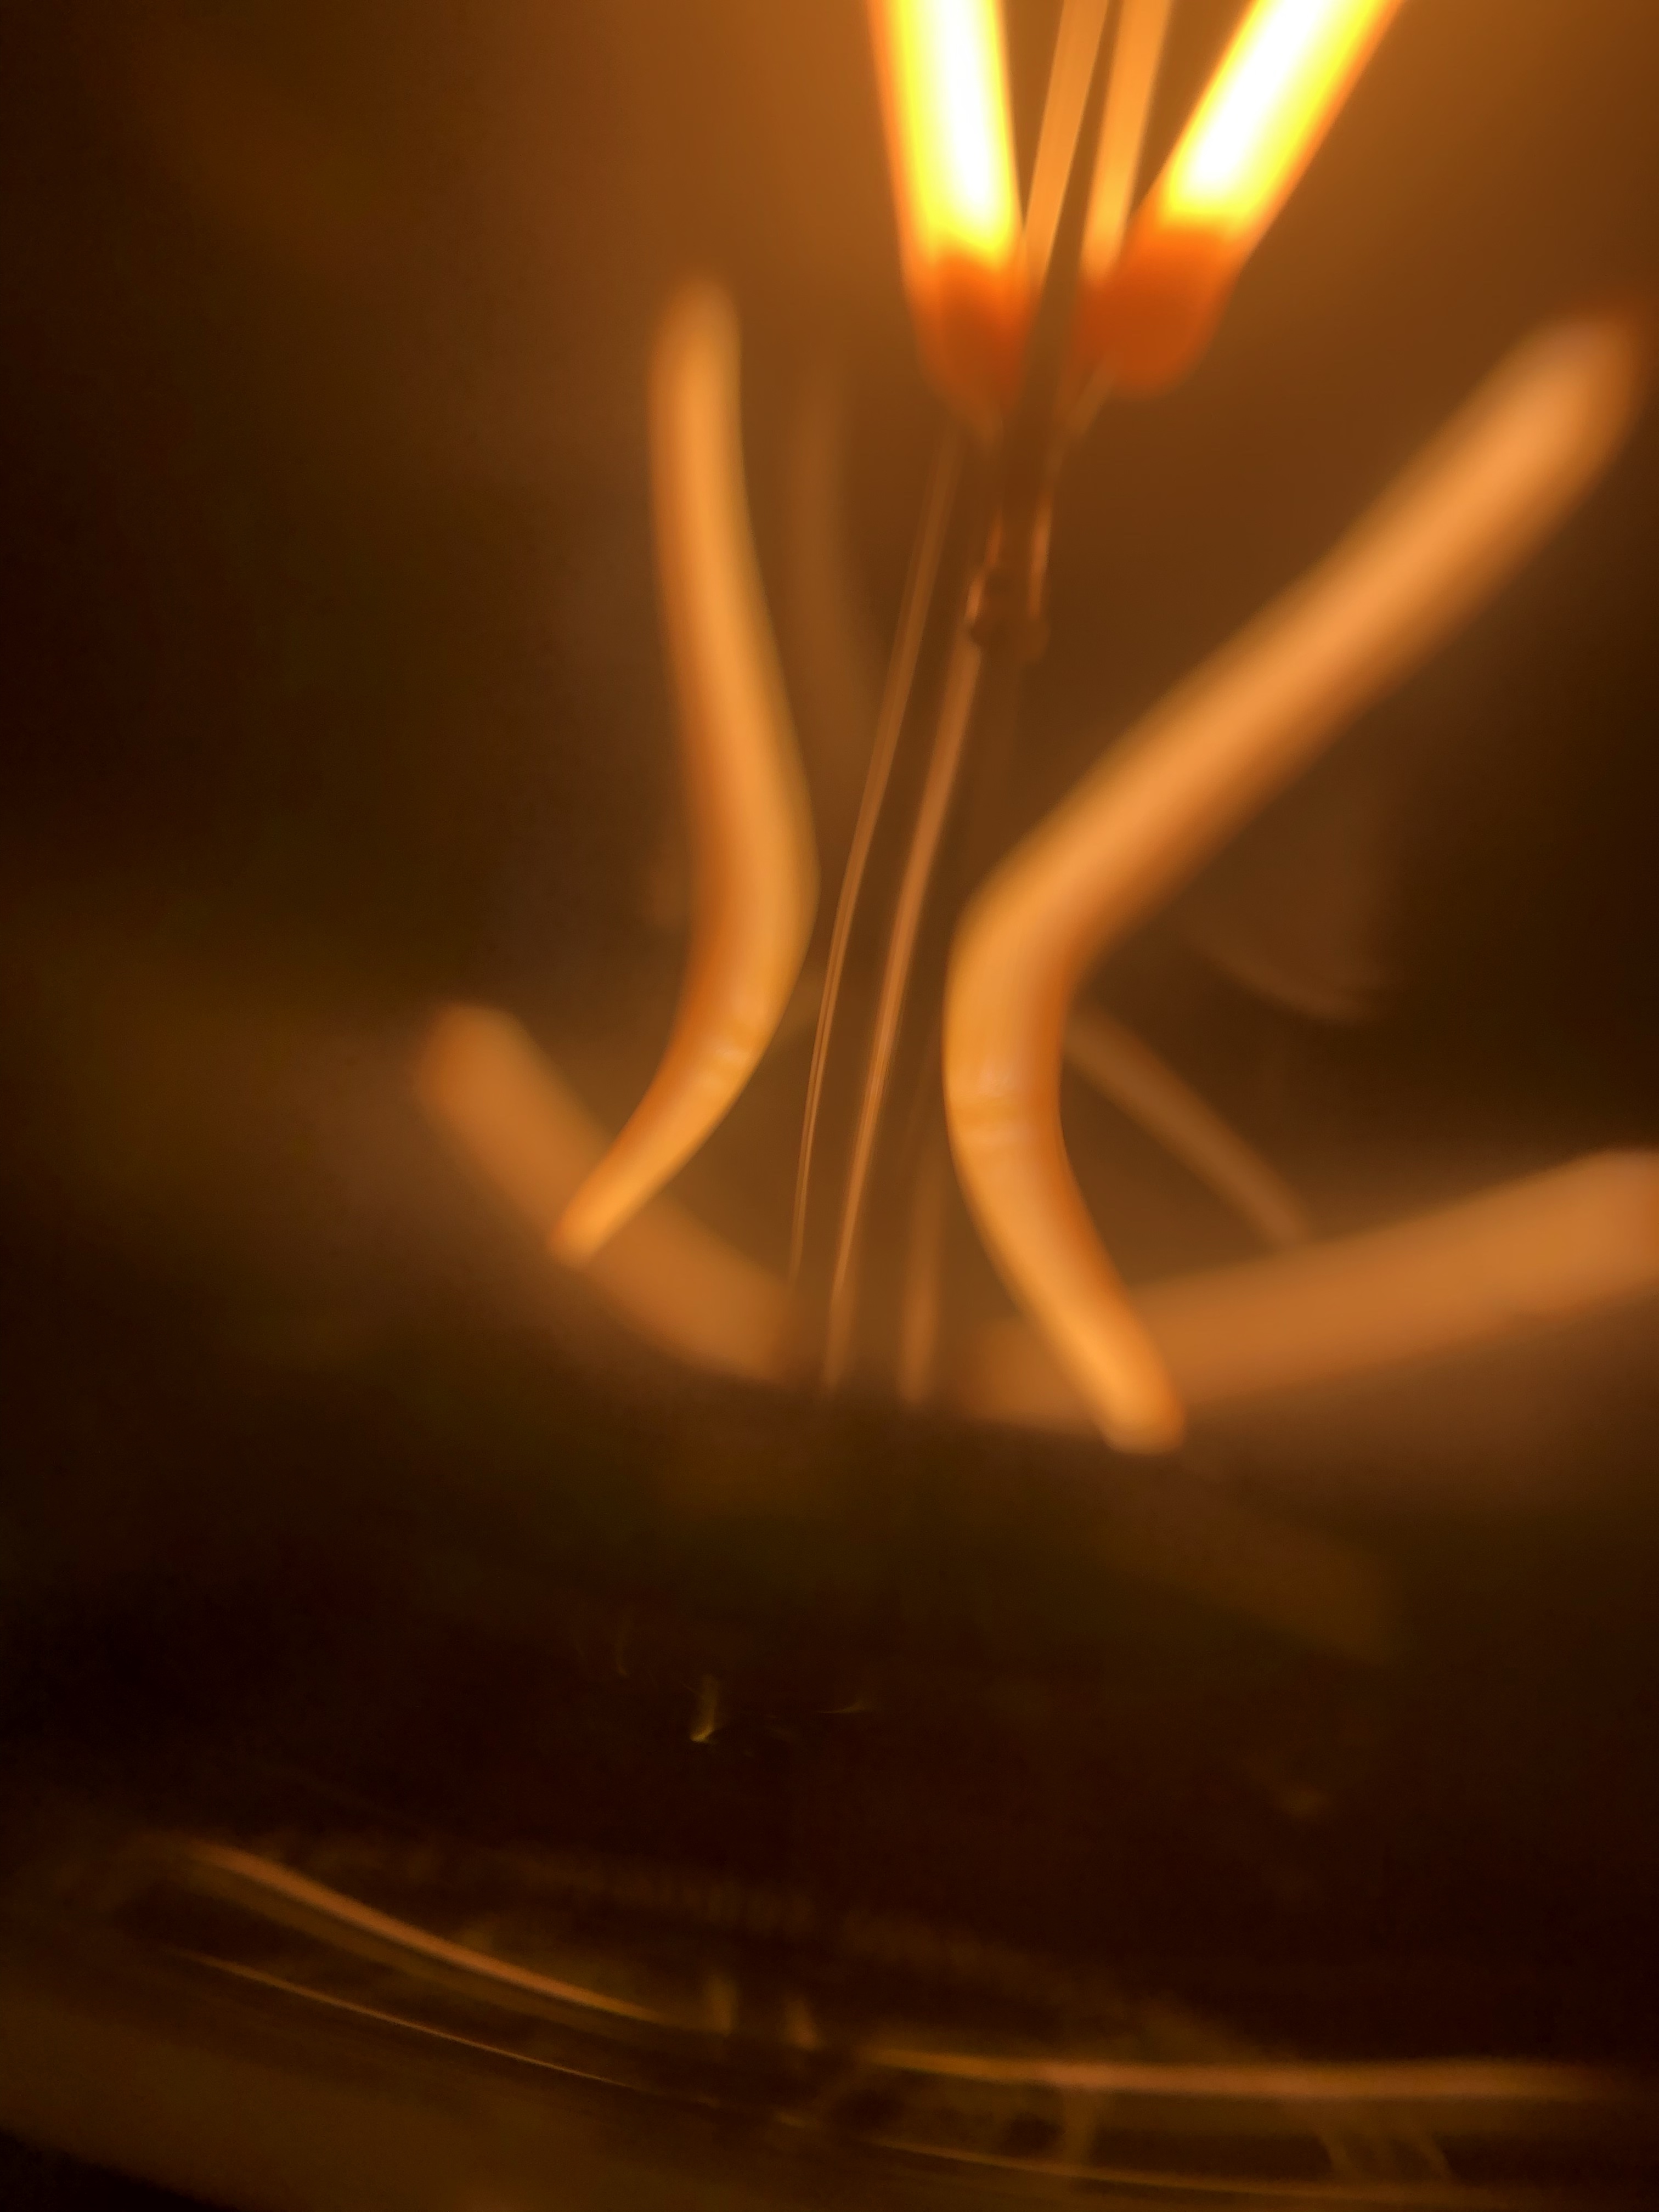
Light Bulb
Level 3

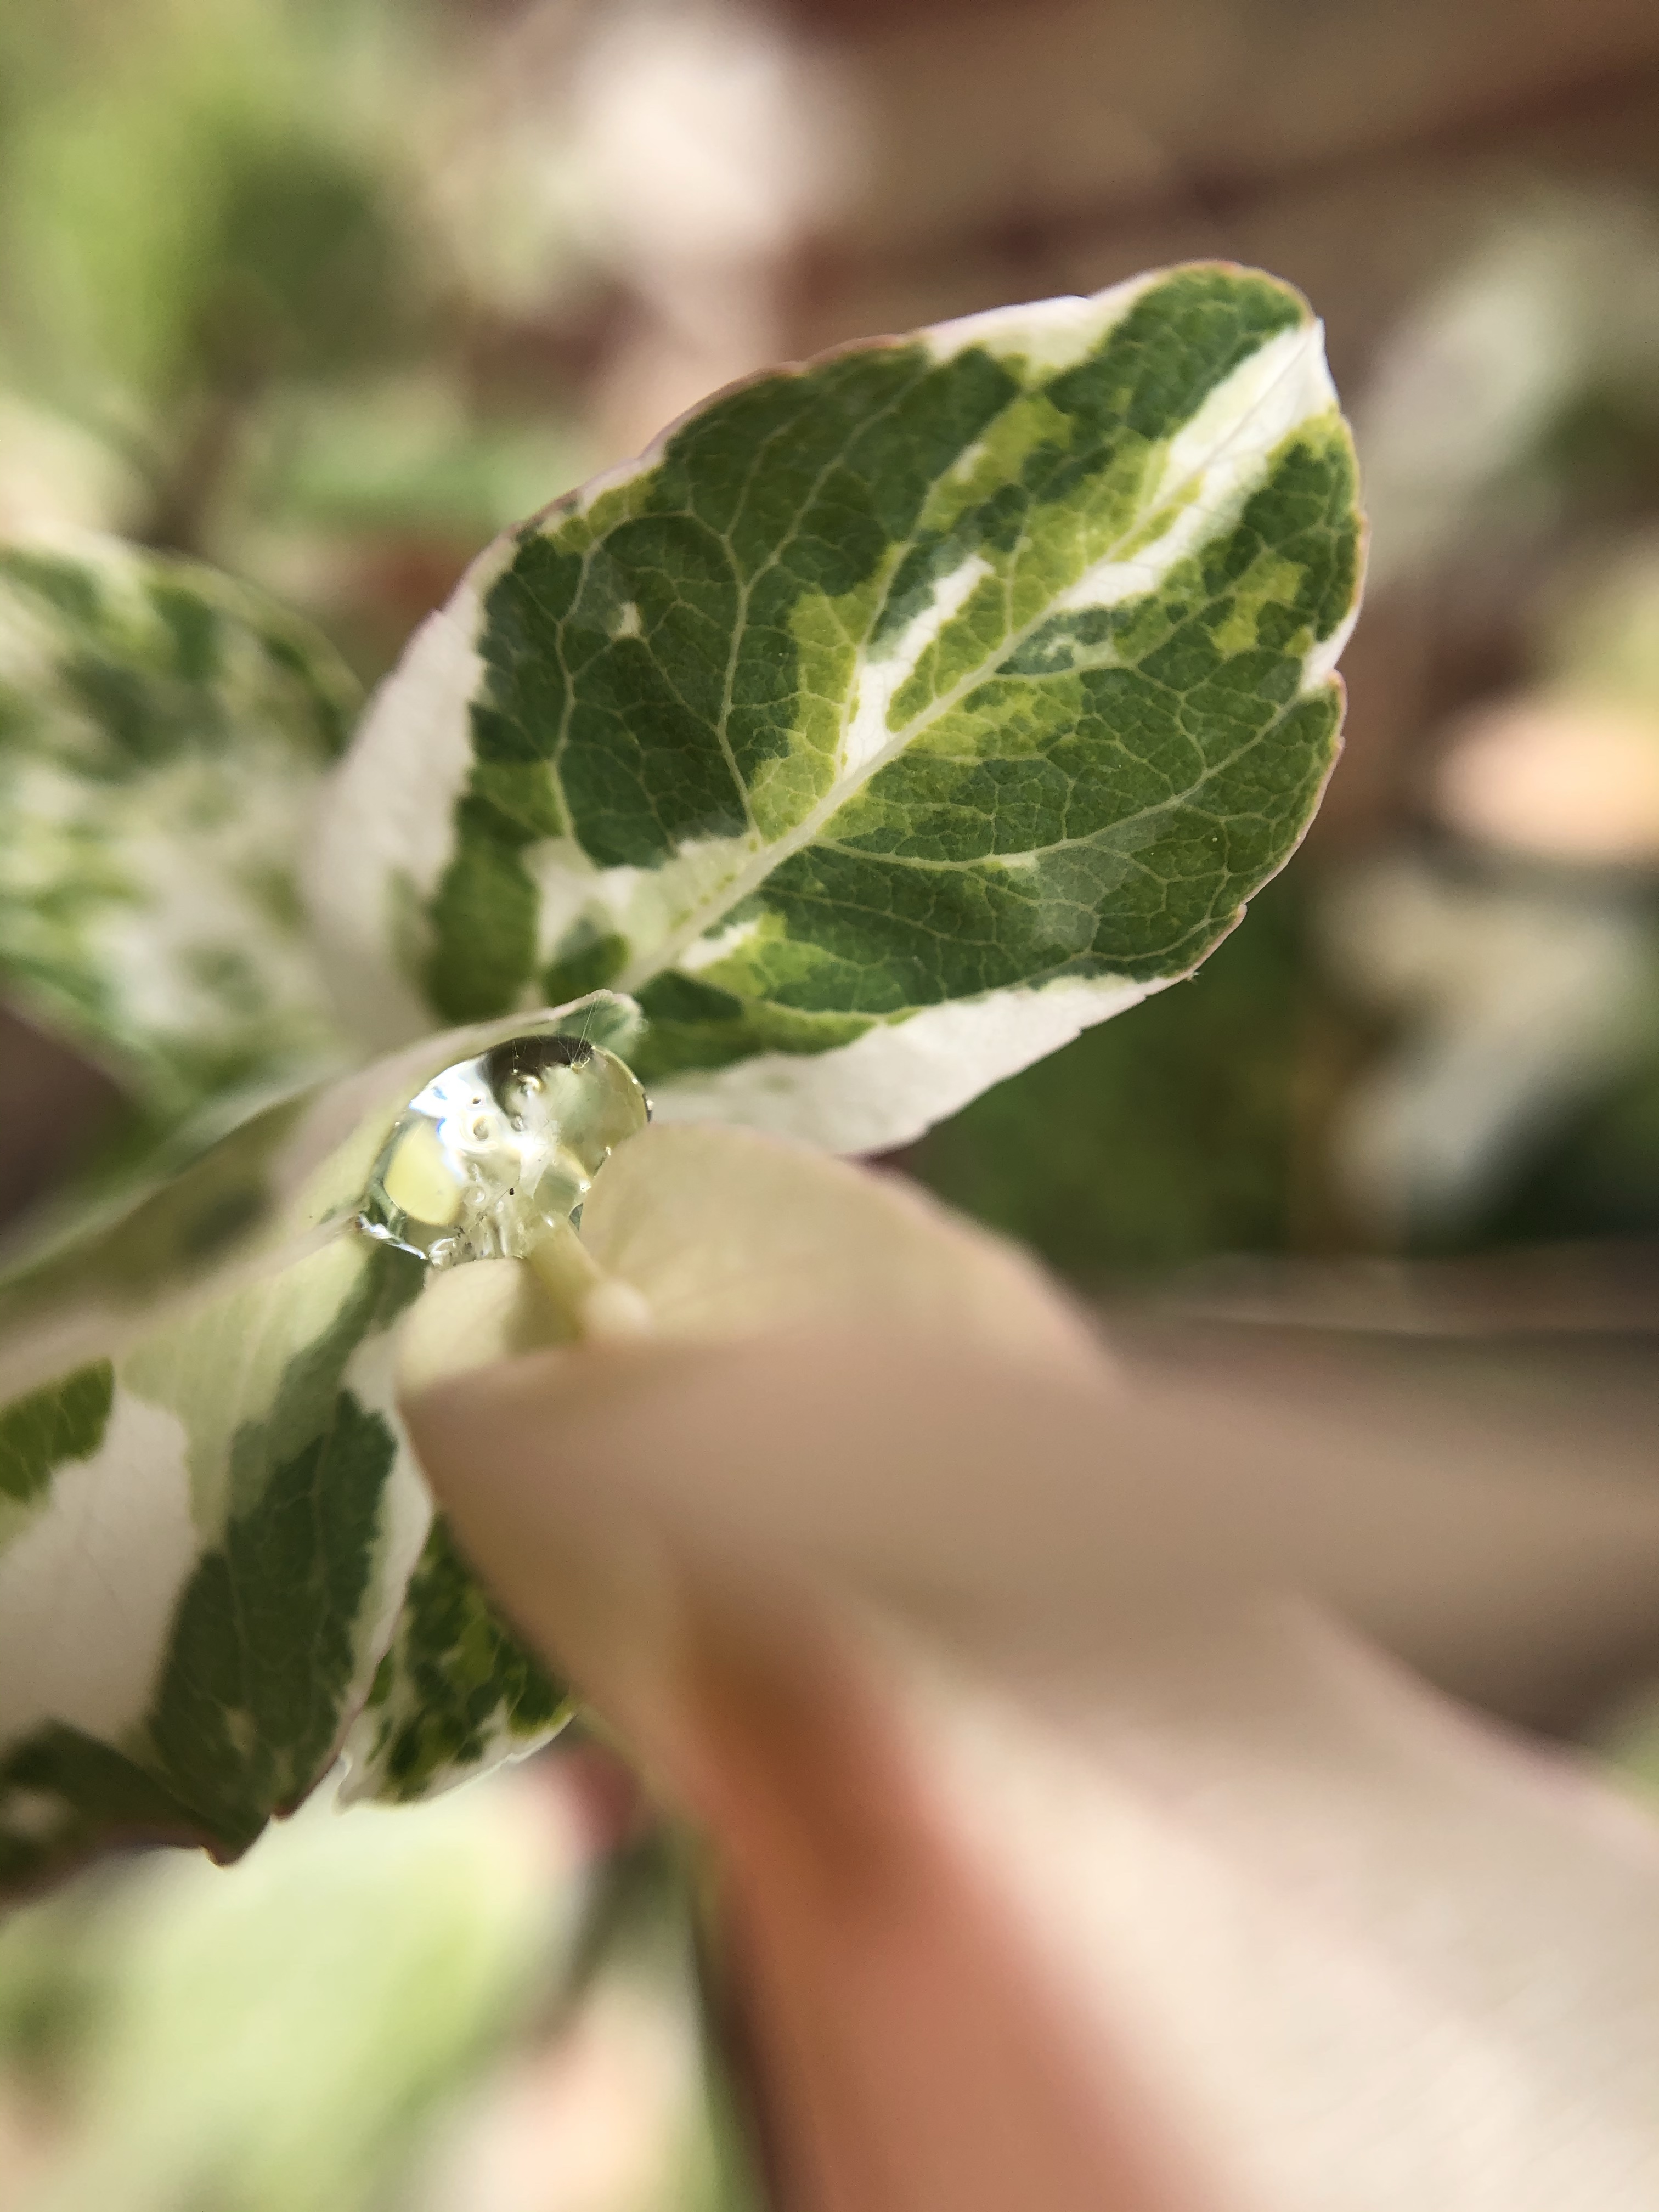
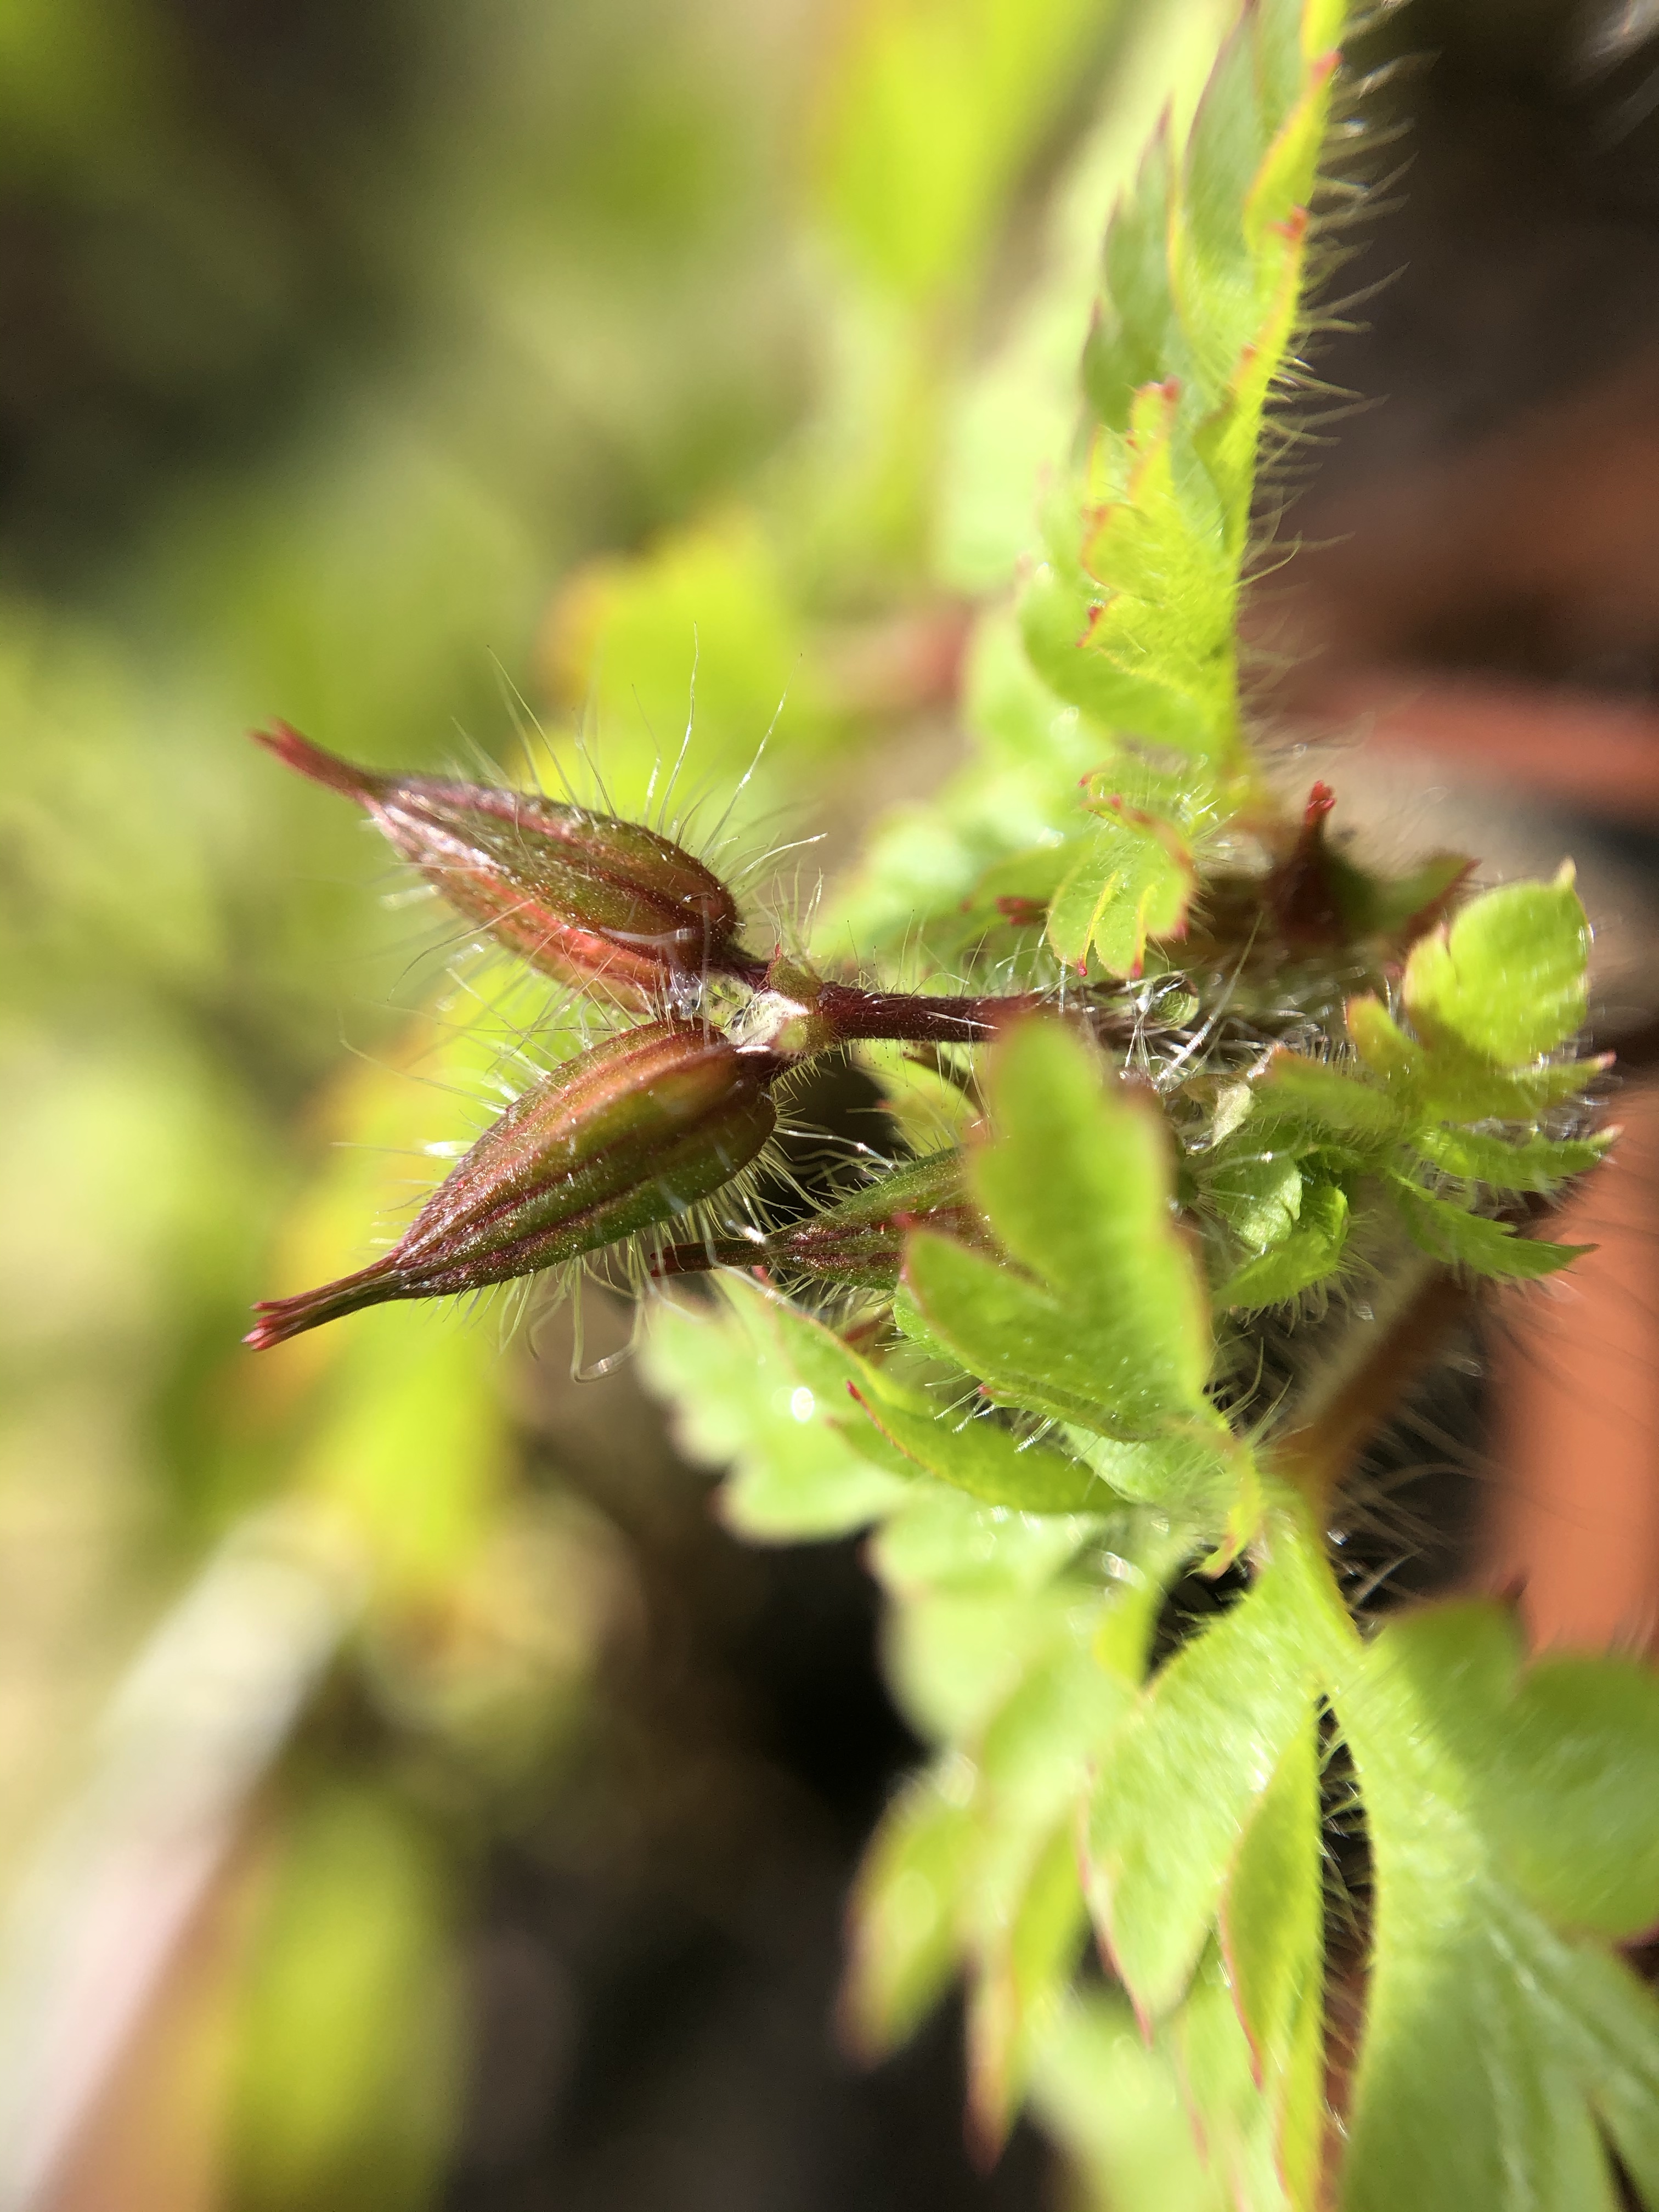
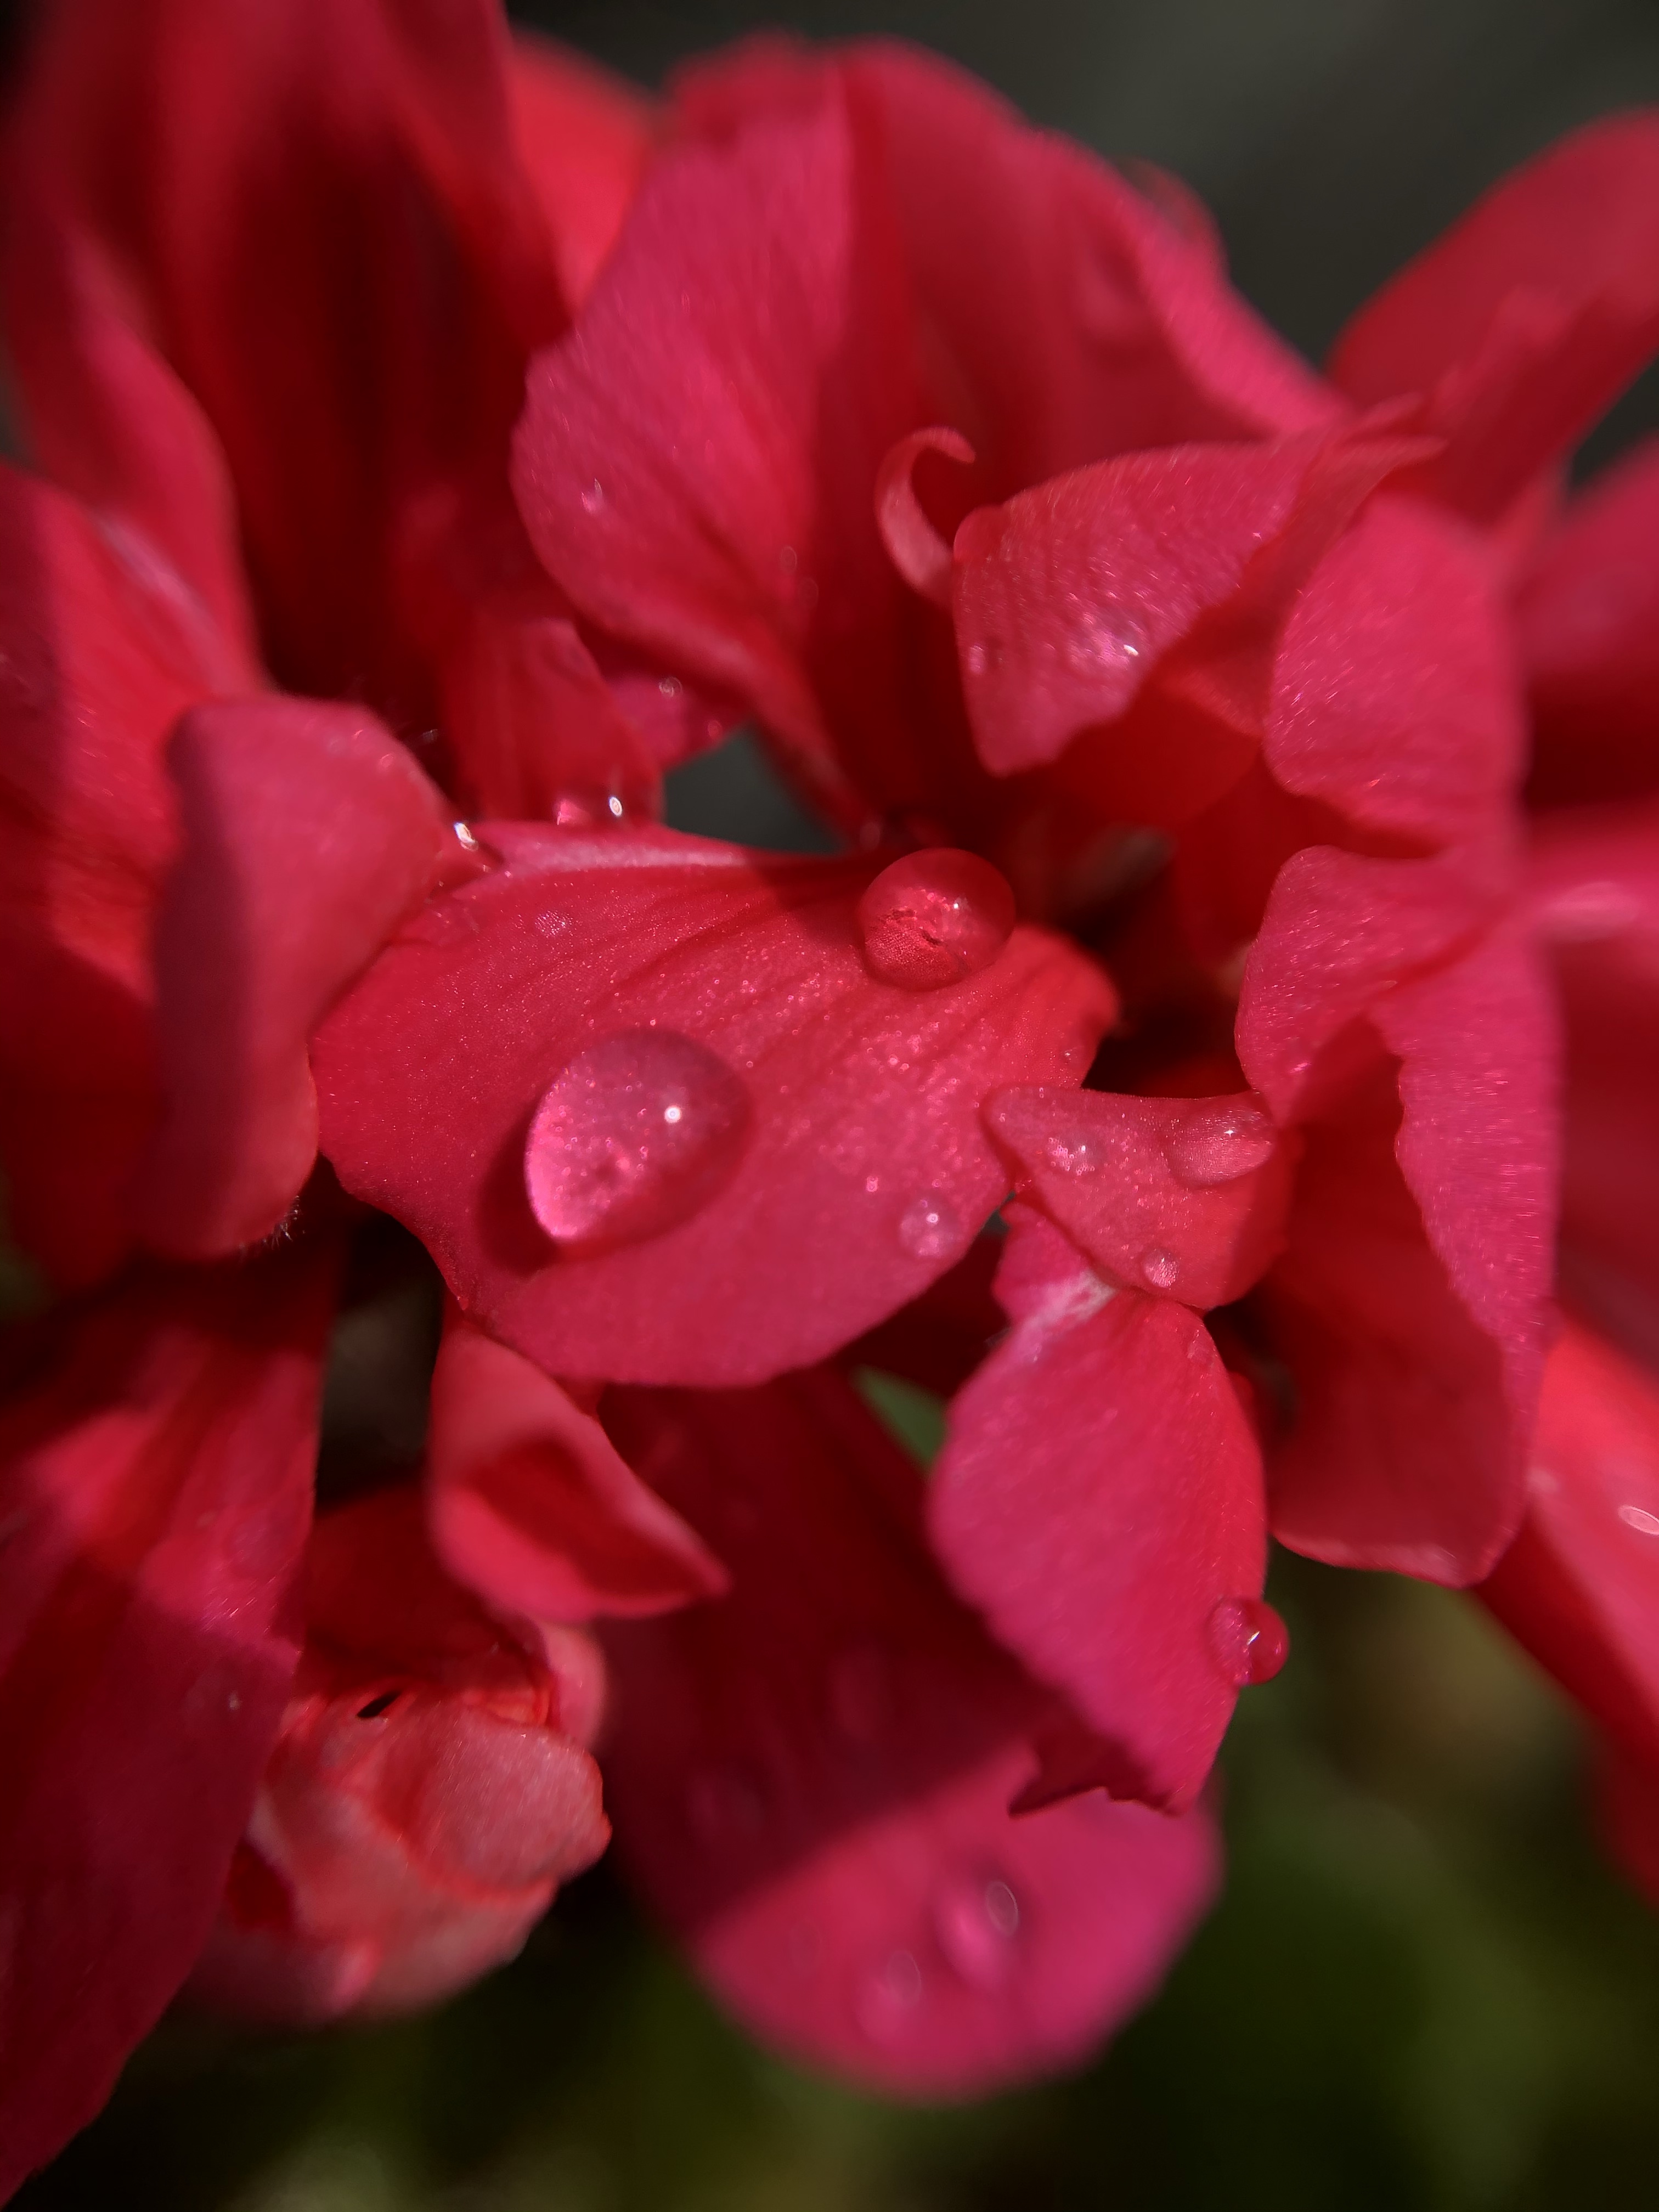
This week I have been trying to experiment with Macro a bit more. Still only using my iphone with a clip on lens I wanted to explore ideas for my next project, Transformations.


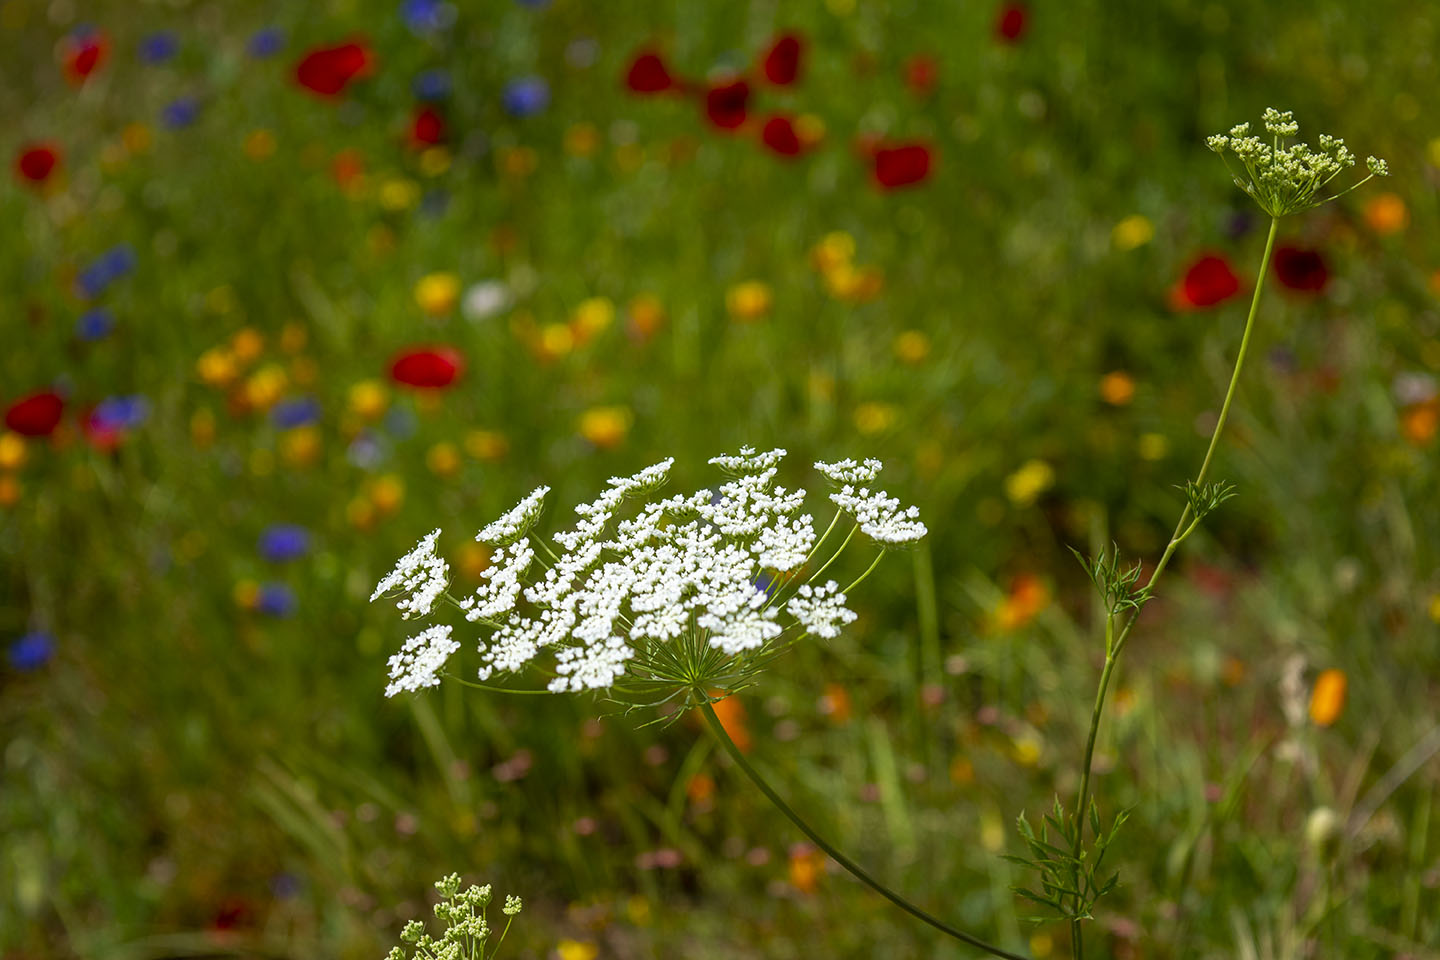
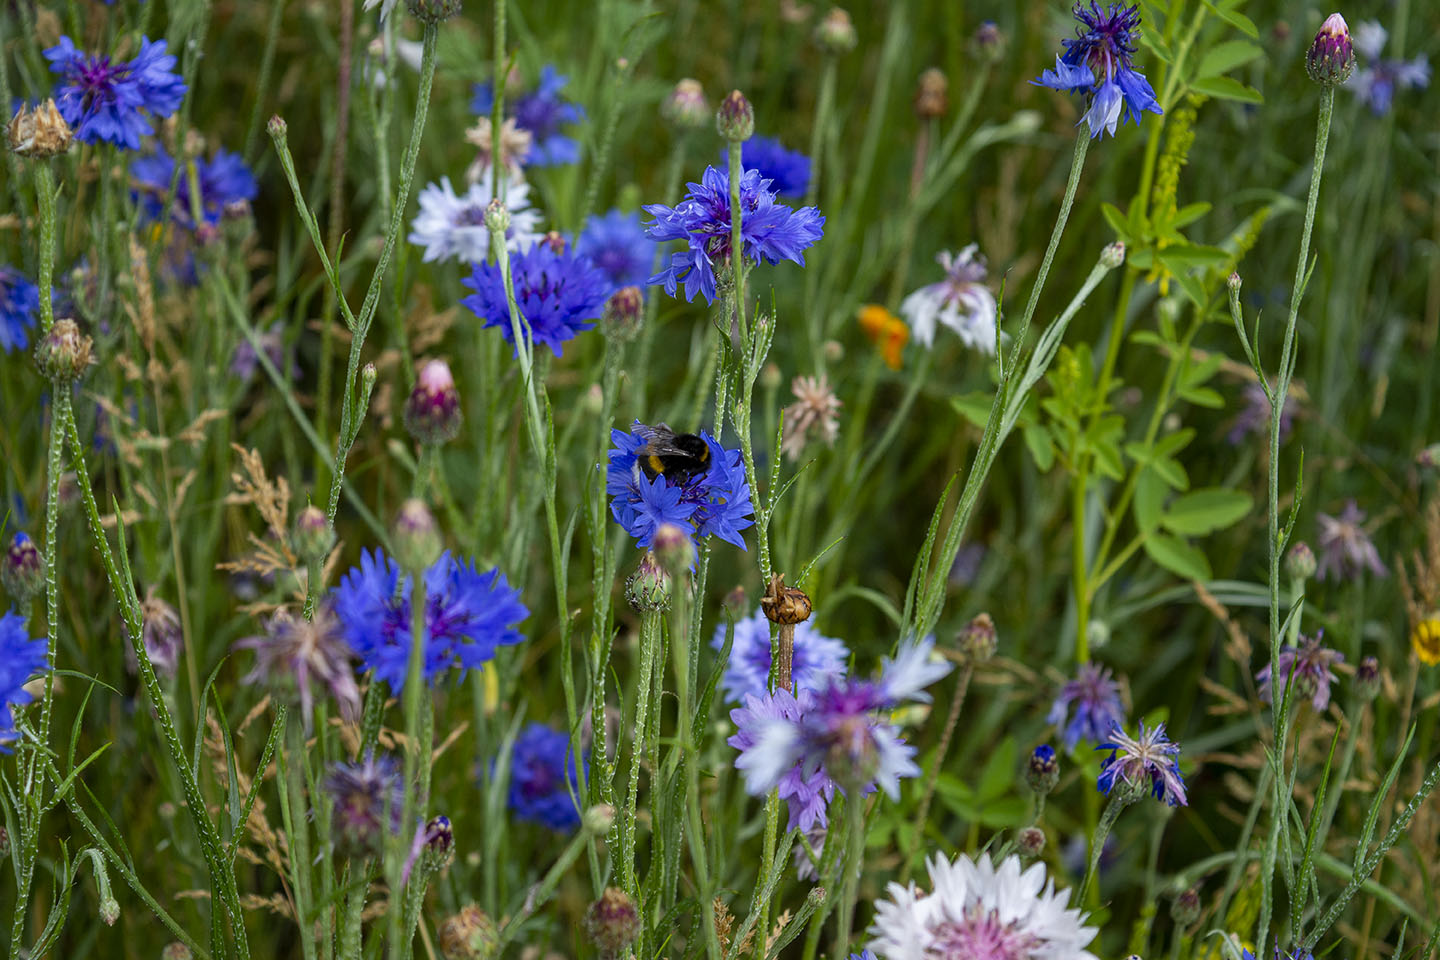
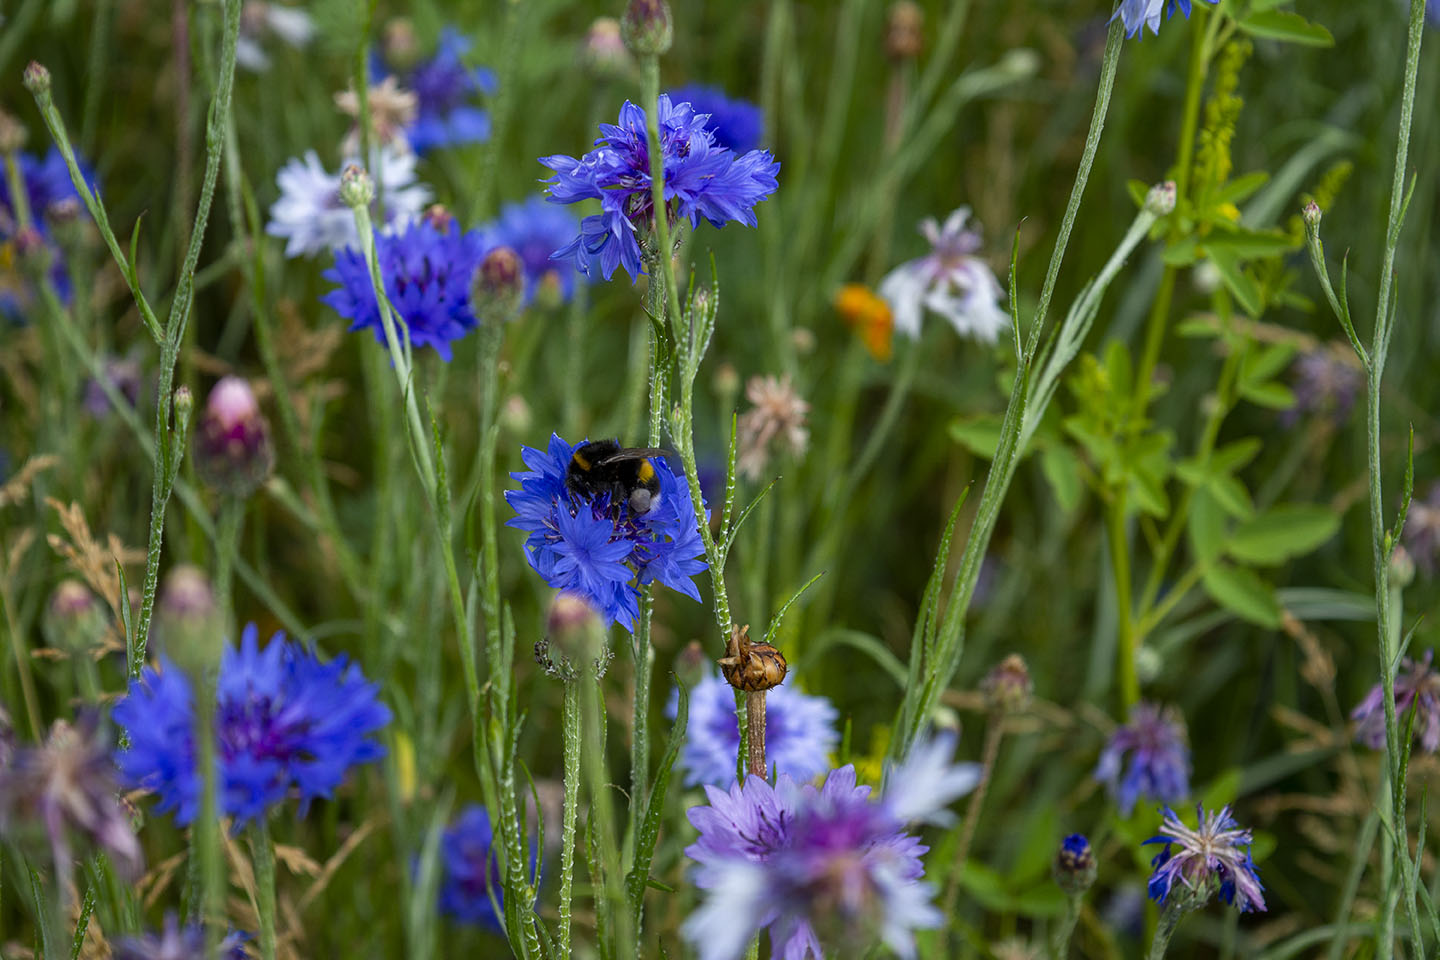
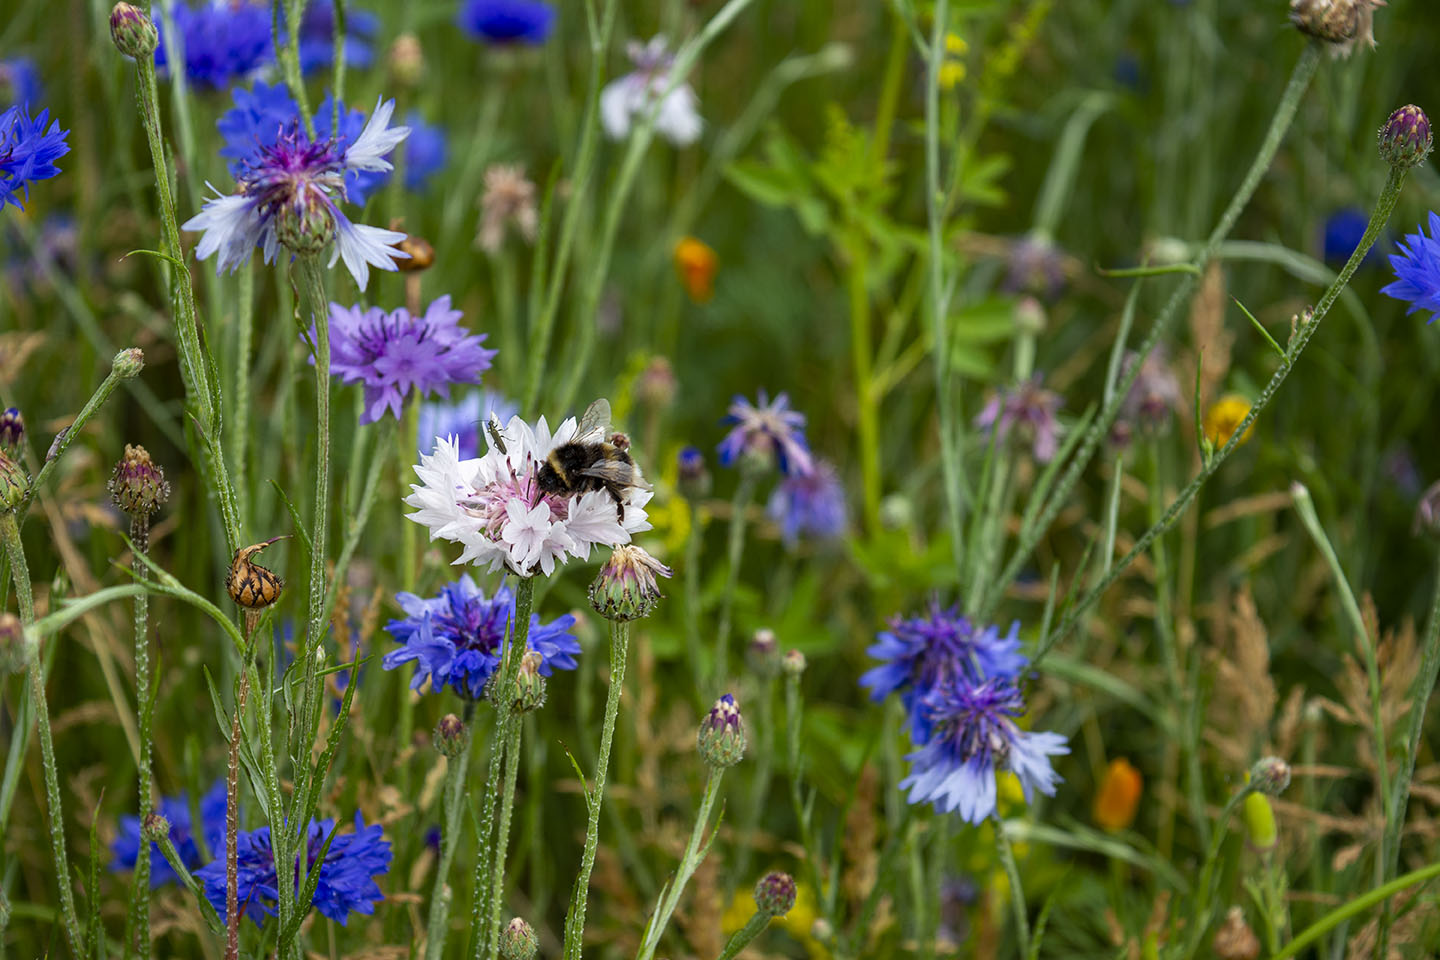
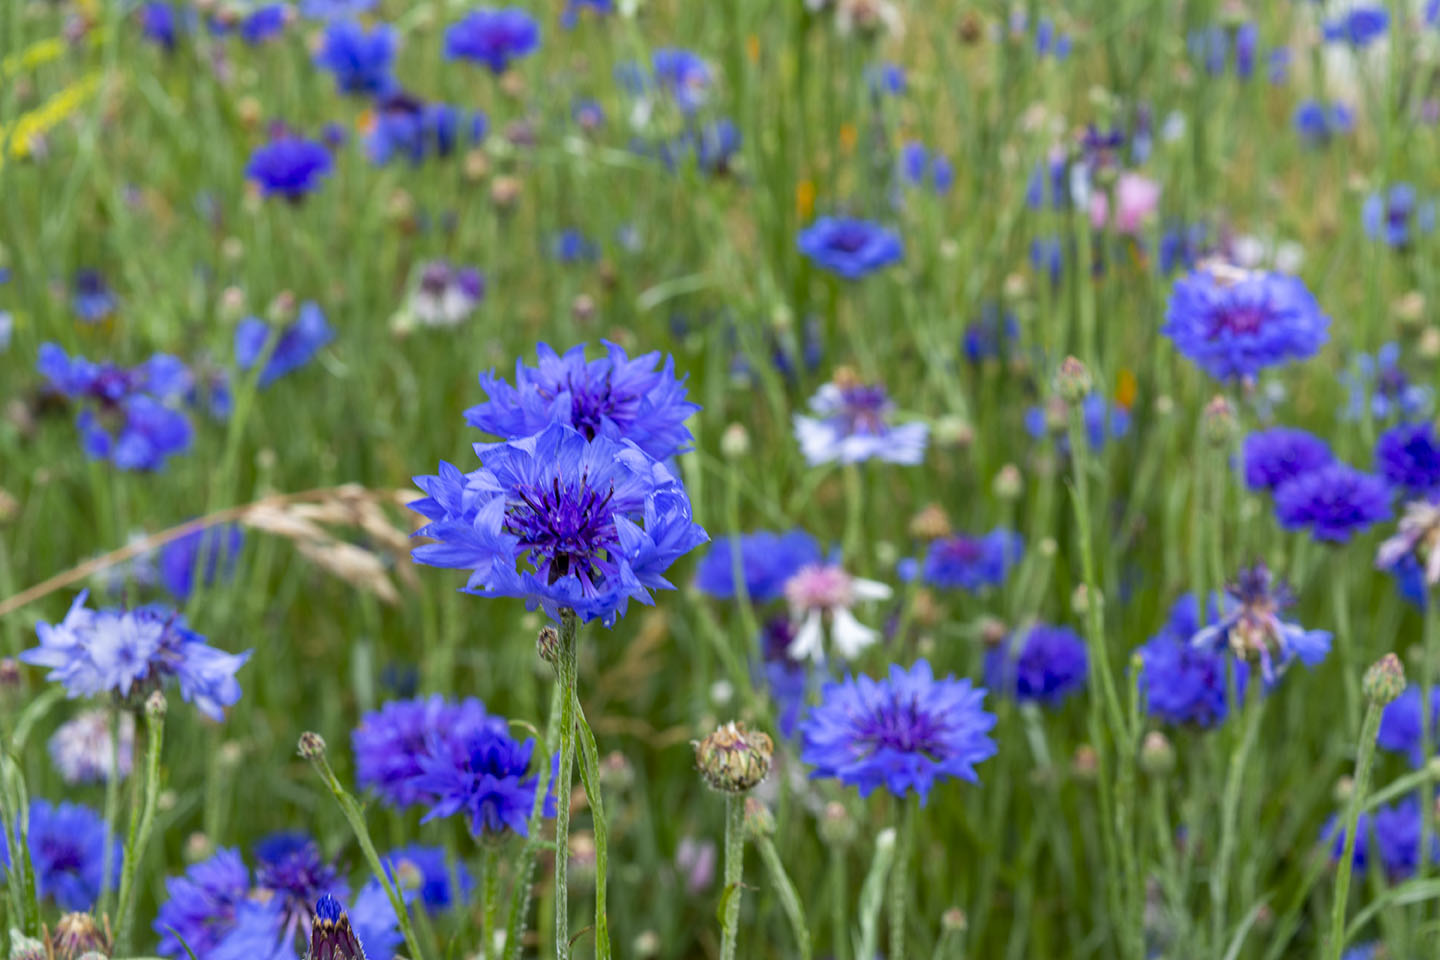
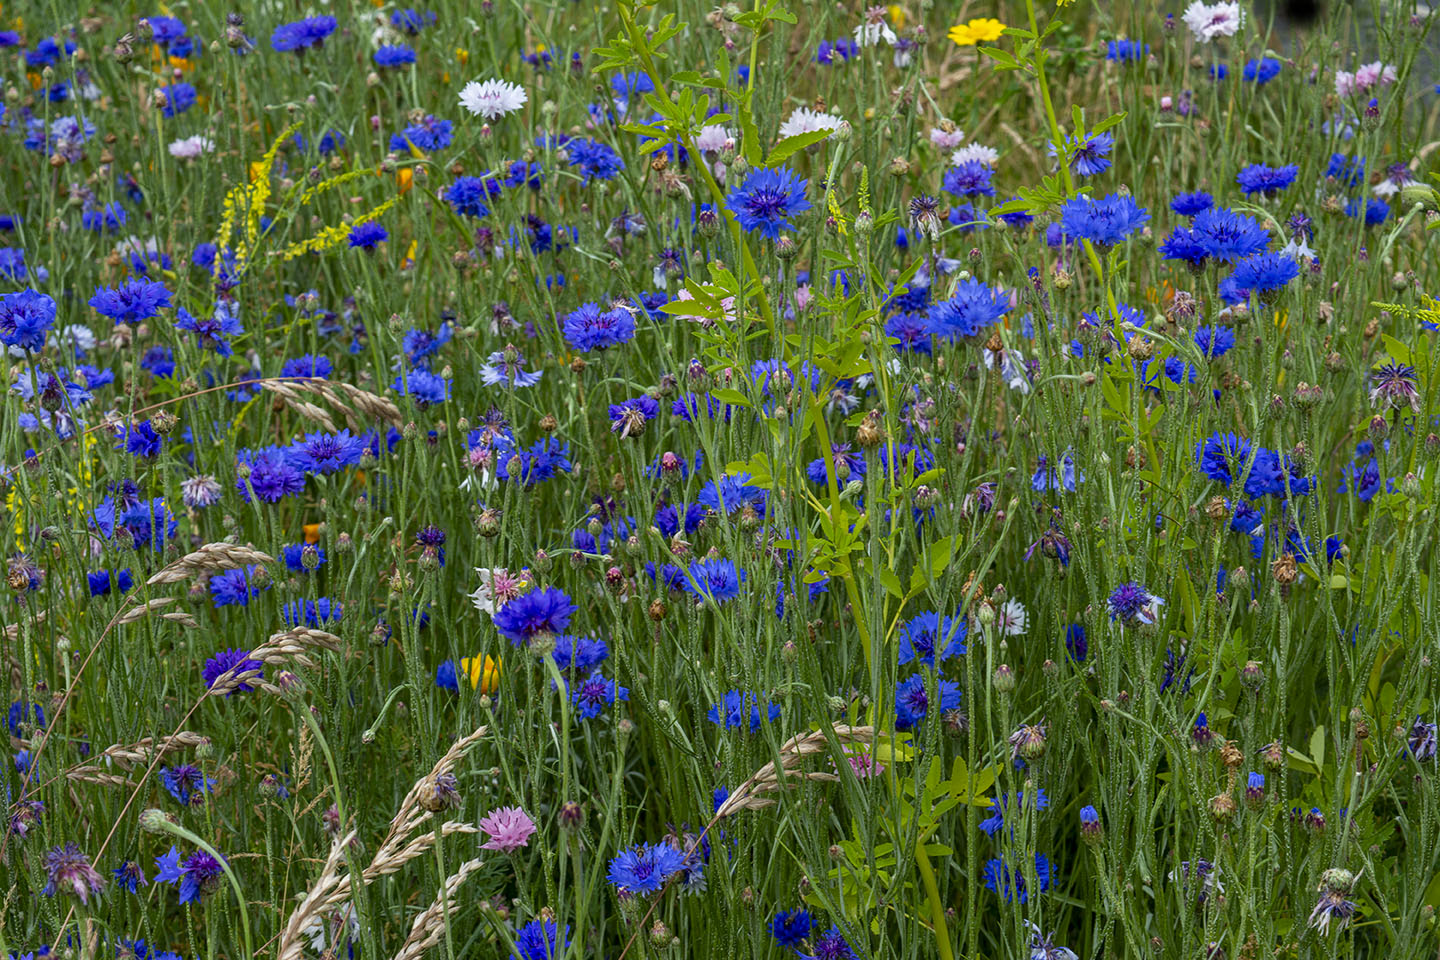
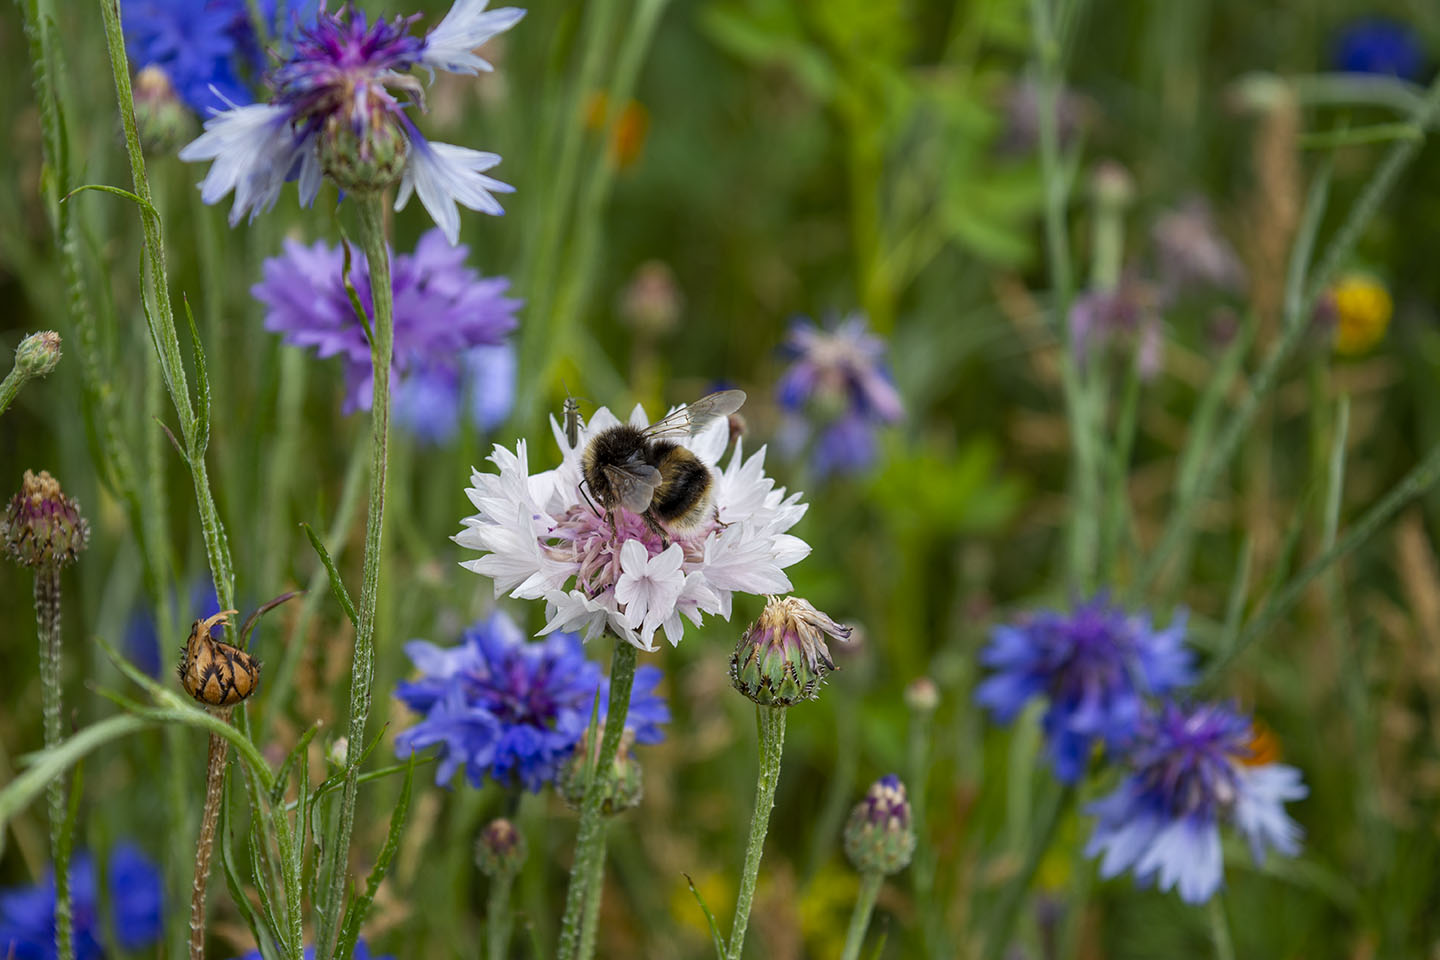
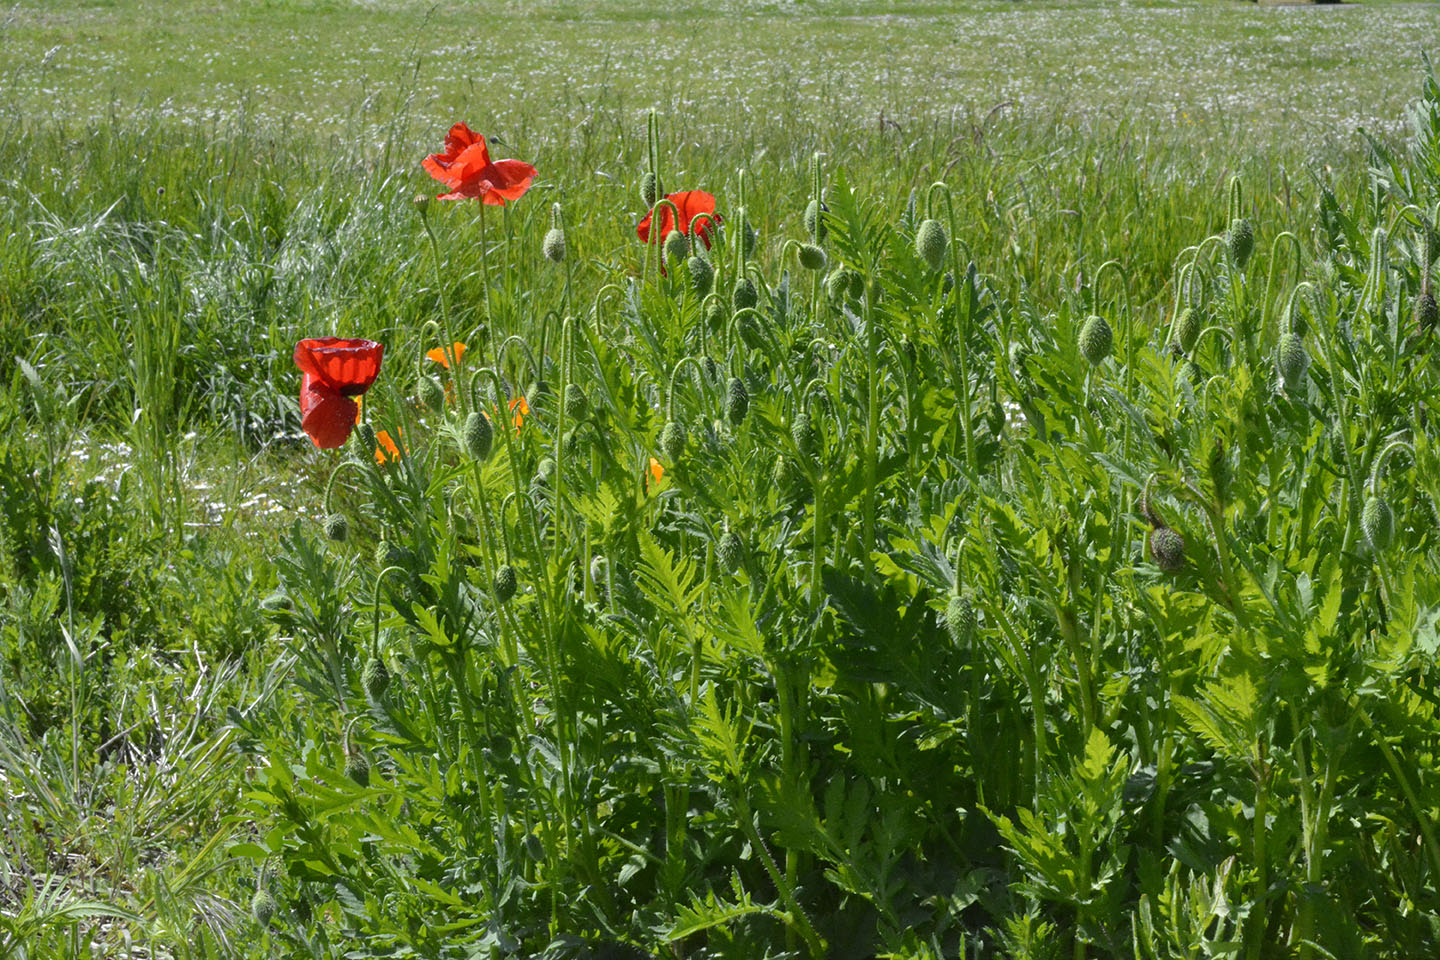
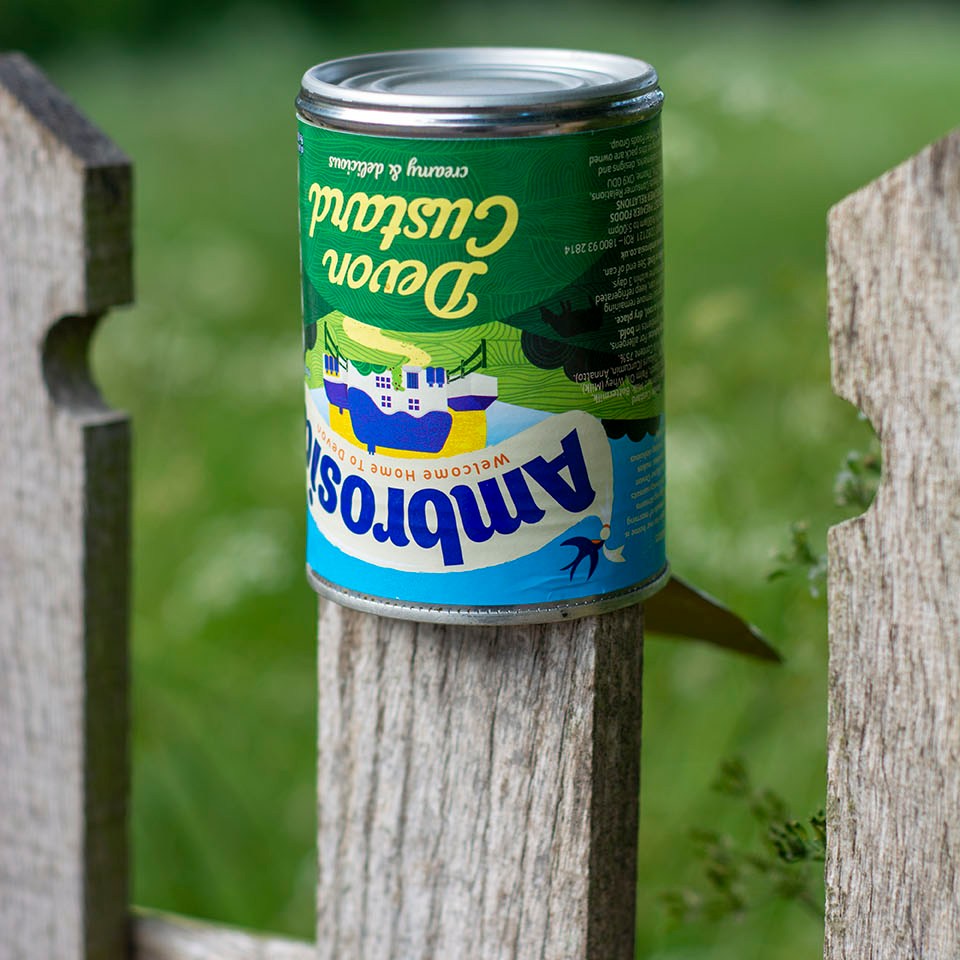
Just across the road from where I live is a patch of wild flowers, Poppies, Daisies and Cornflowers. Always so pretty and full of Bees. Taking these photographs below, I had in mind the overlaying in Photoshop and Cyanotpye.


In photography, multiple exposure is where the shutter is opened more than once on the same frame. This is usually of different images superimposed to form one image.
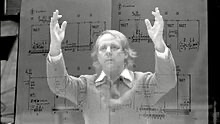
Below is a multiple exposure from 1980.
Multiple Exposures can be more than two images. Often used to create artistic visual effect and has been used in some photographic hoaxes involving ghostly figures.
Photographing multiple exposures is a lot easier now with digital cameras and software like Photoshop. Some cameras can capture double or multiple exposures in camera. Mine can’t, so I have used a process called overlaying through Photoshop.
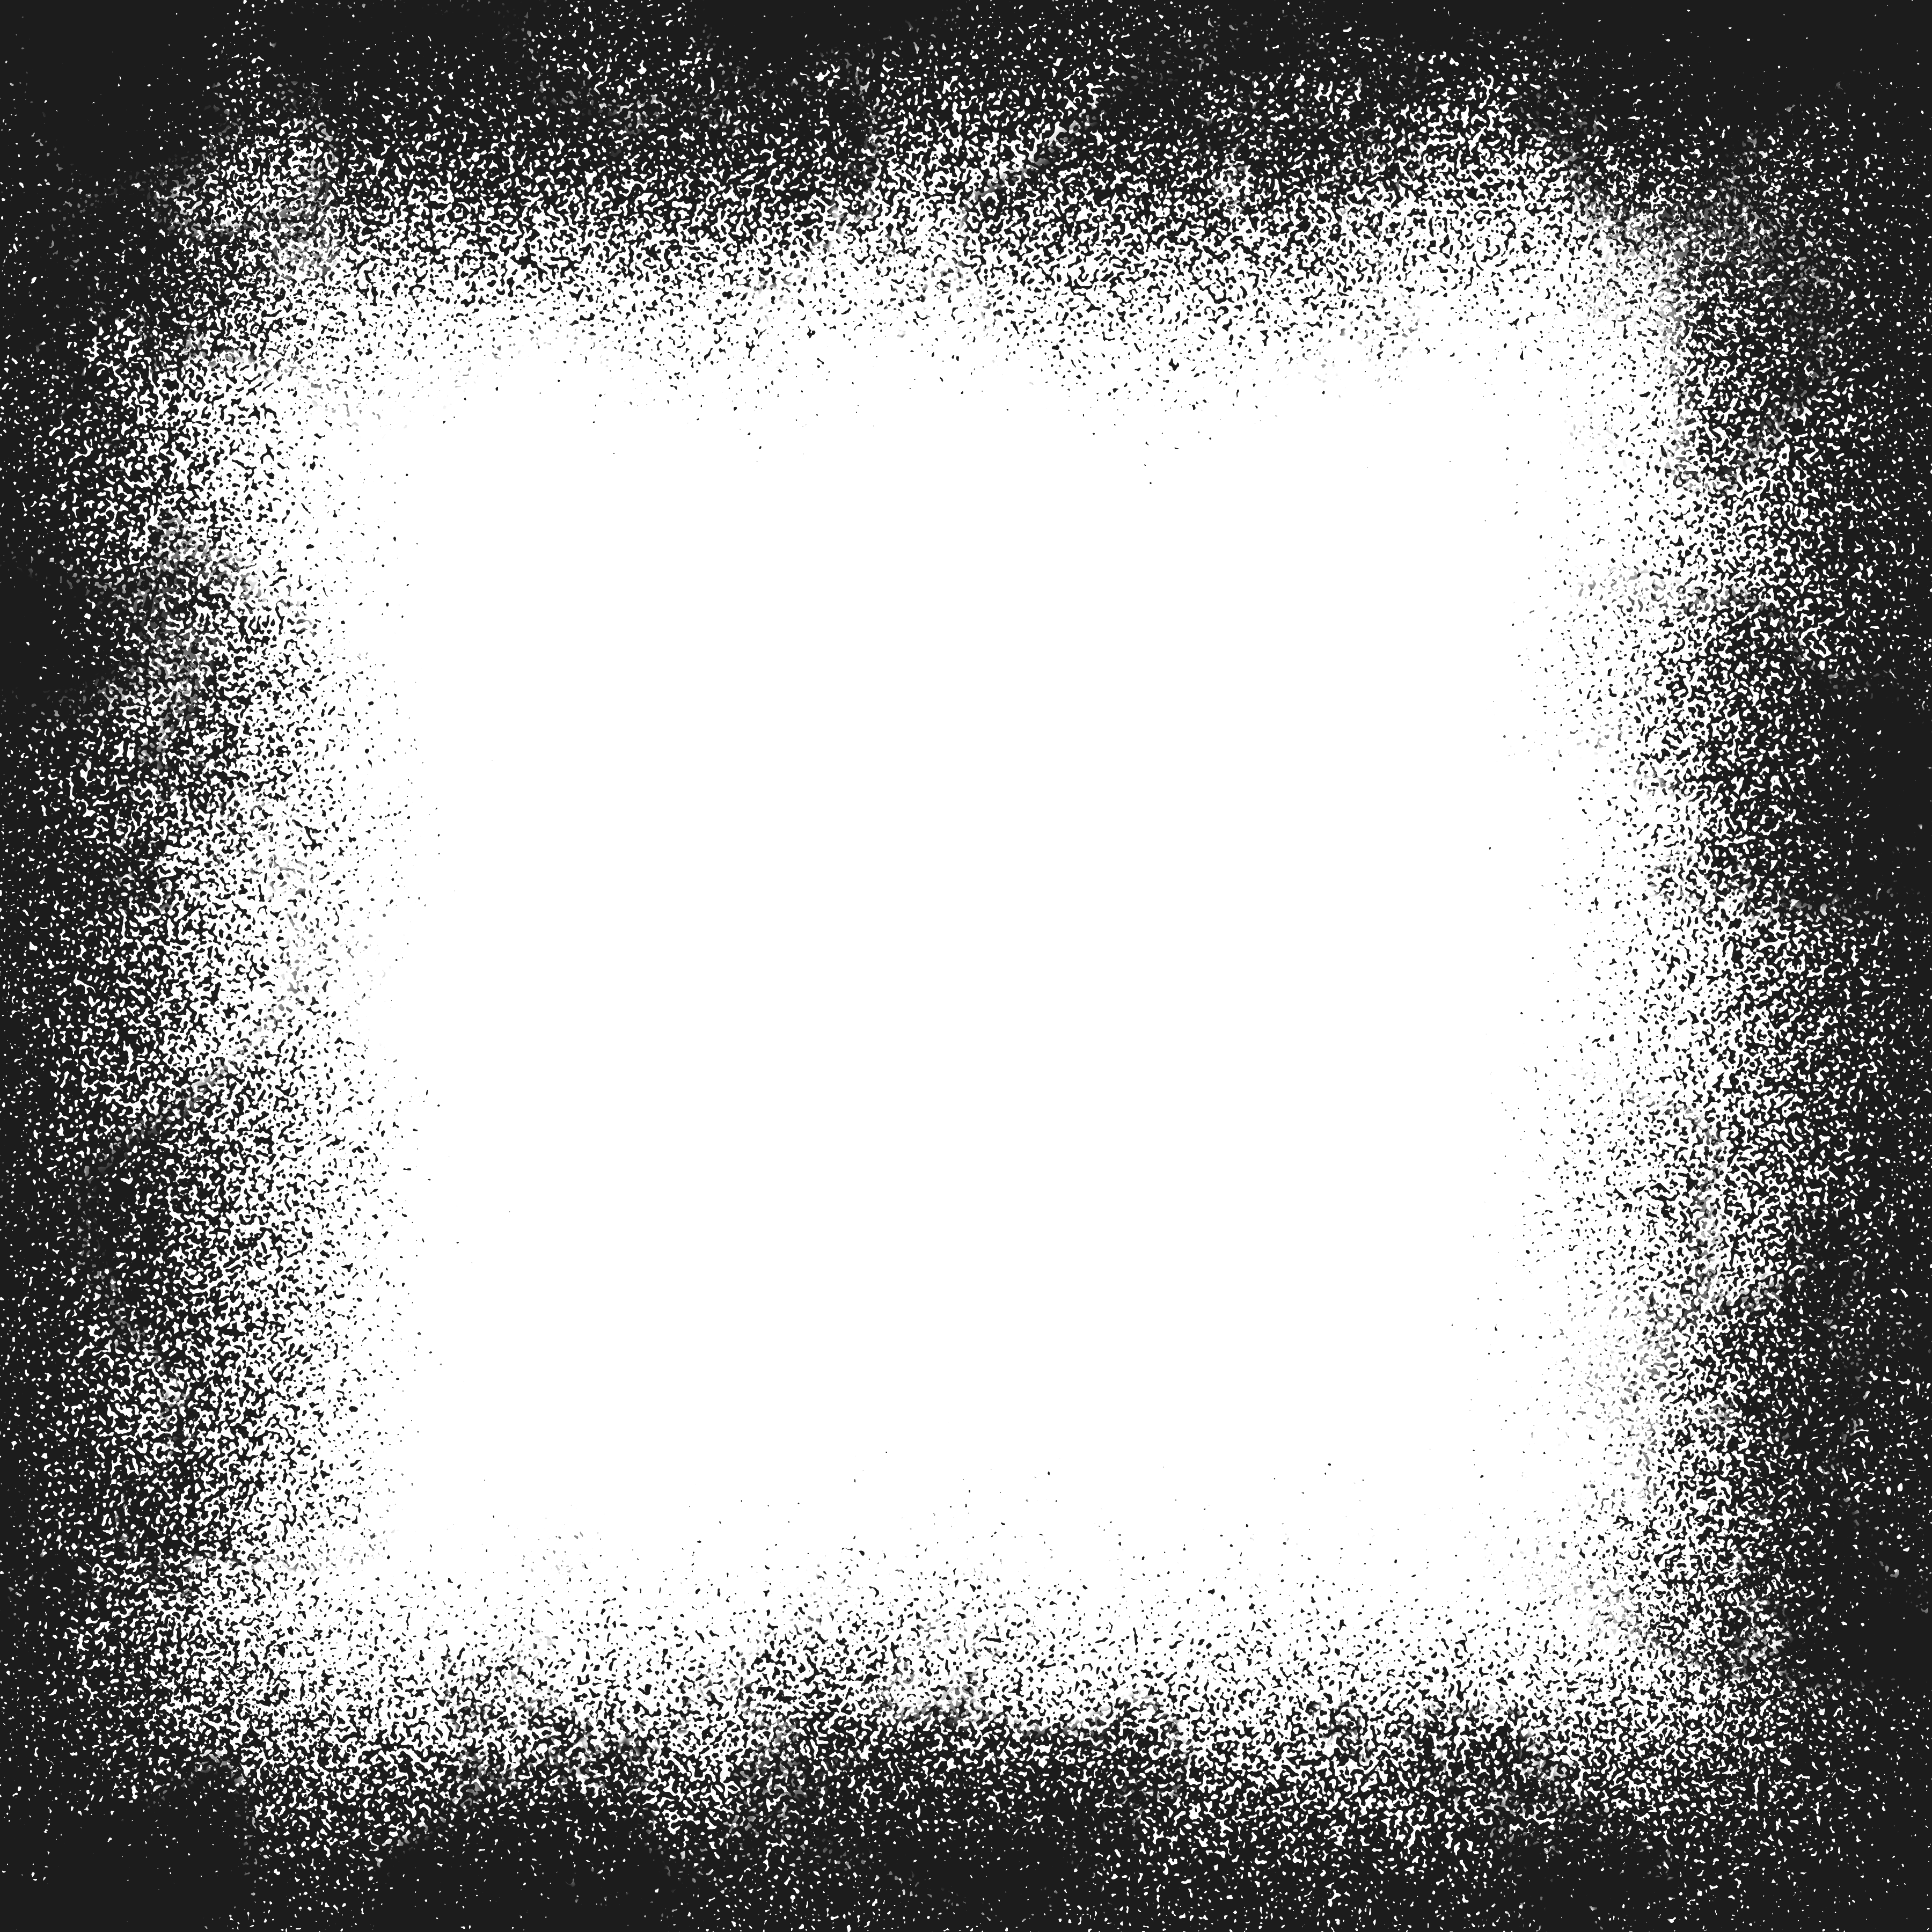
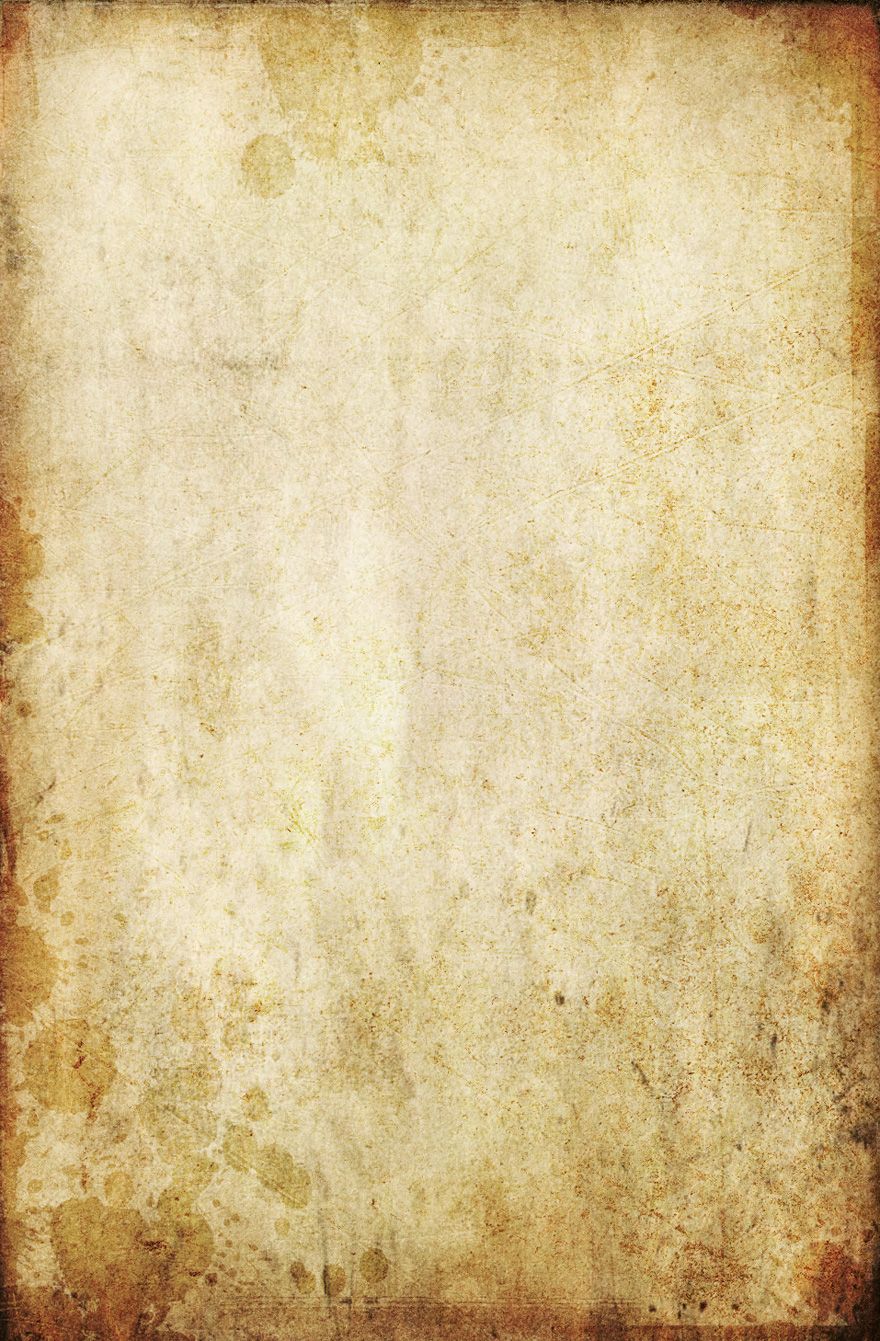
To start trying out this overlaying process I decided to begin with overlaying textures. Below are a selection of textures I have found on the internet and saved onto my computer. With textures and different paper templates you can really create intersting images. For example. make your photographs appear old on old paper, scratched metal or even apply a frame.

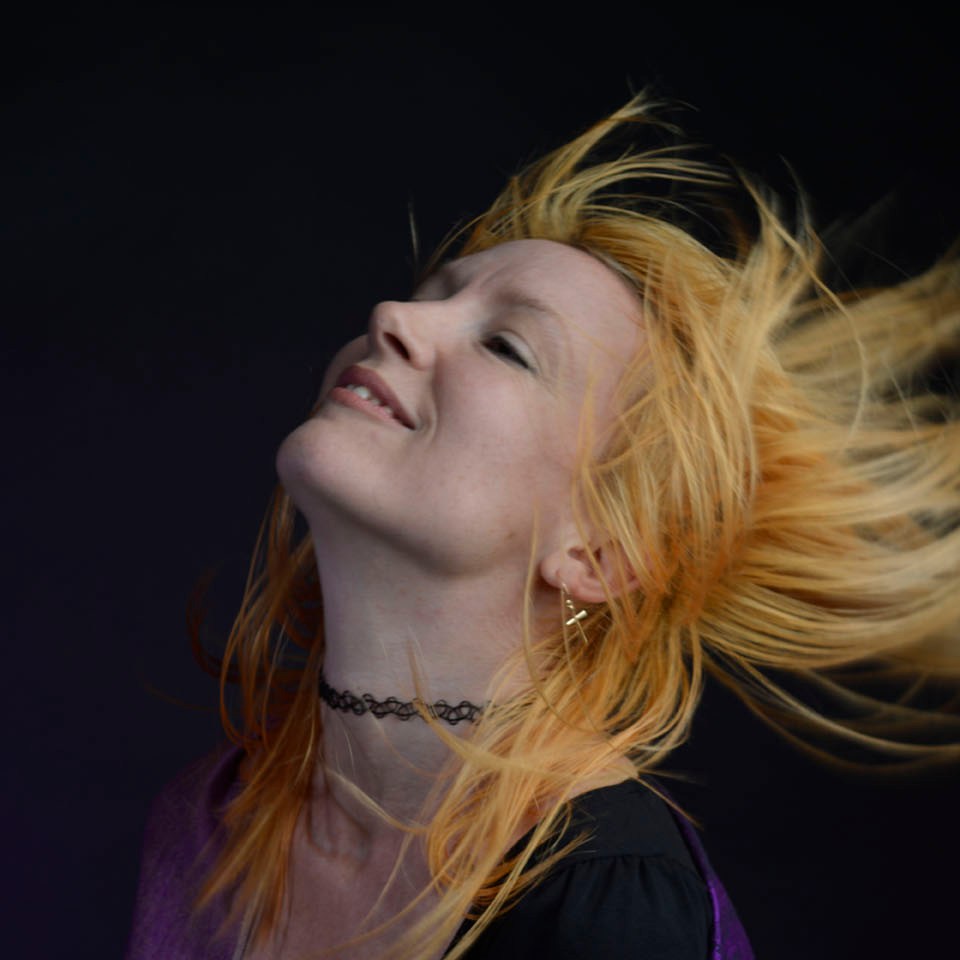
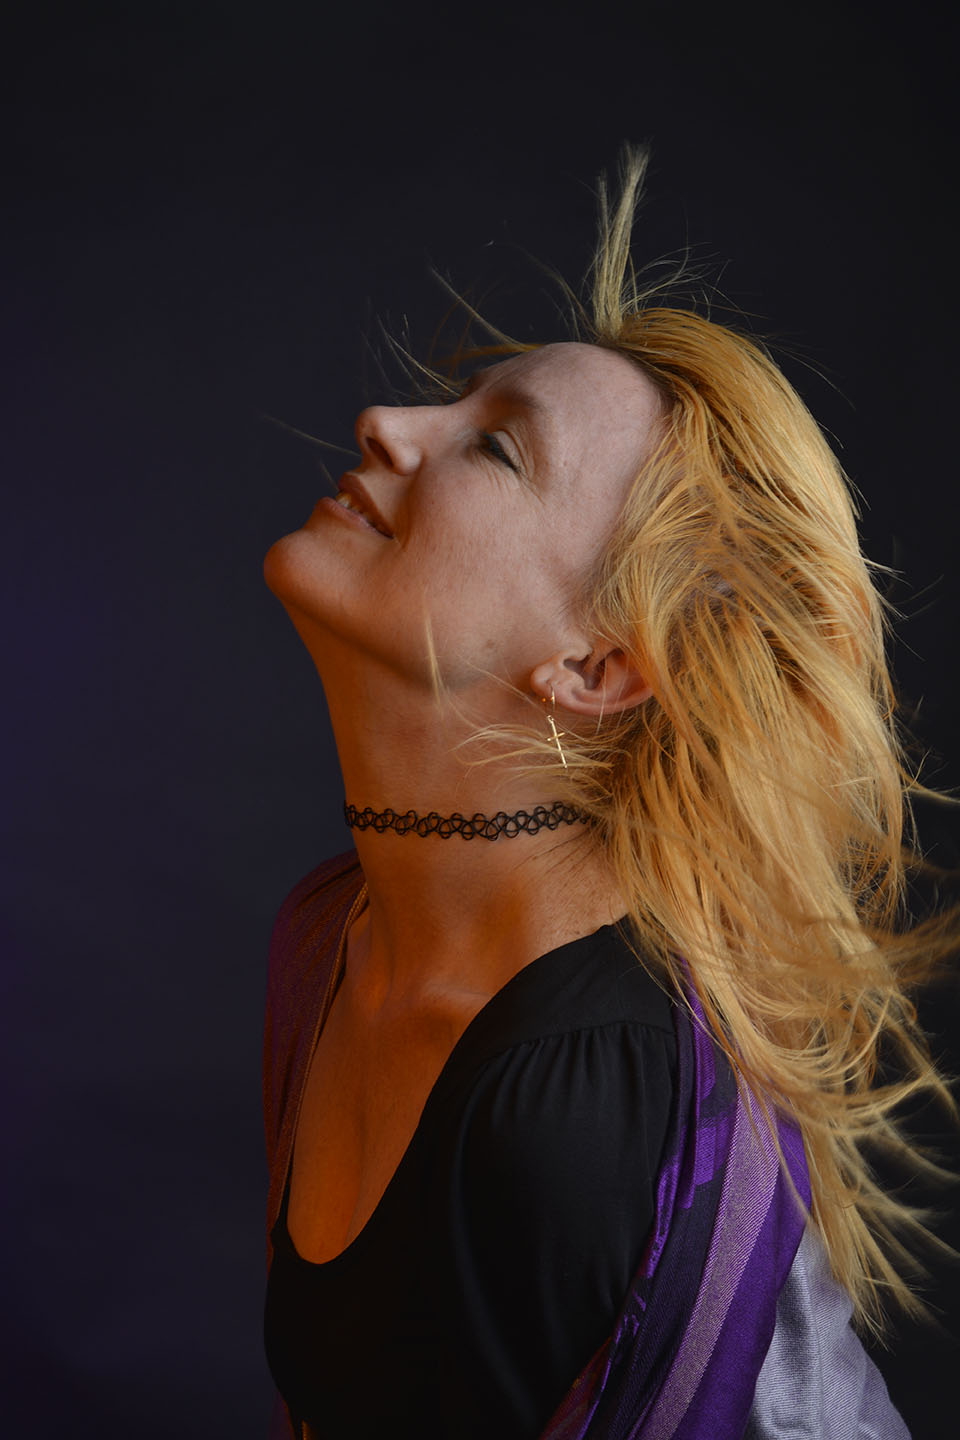
Below, I have taken one of my portraits (right), turned it into Black and White and then applied a scratched metal overlay (left).
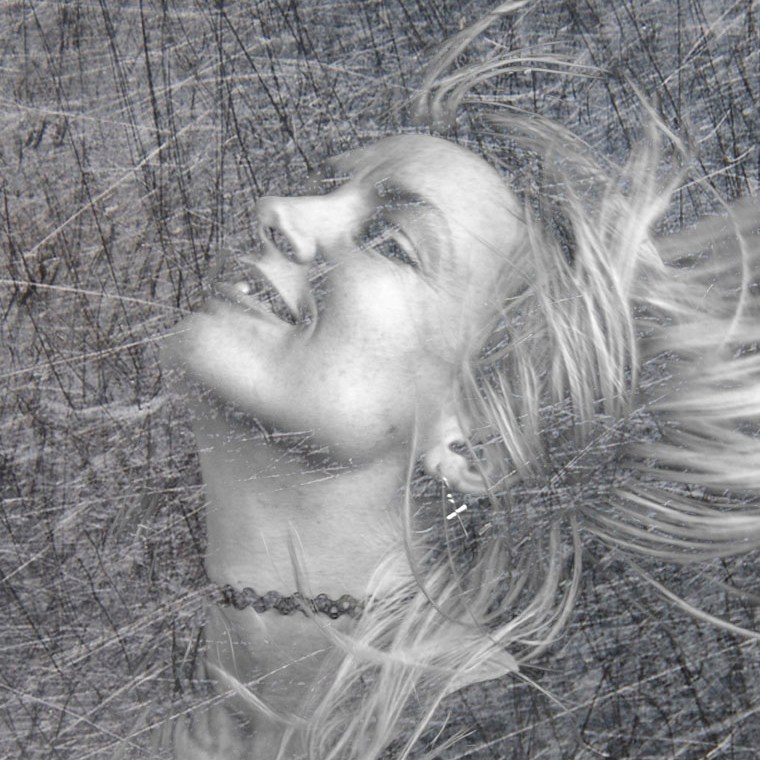
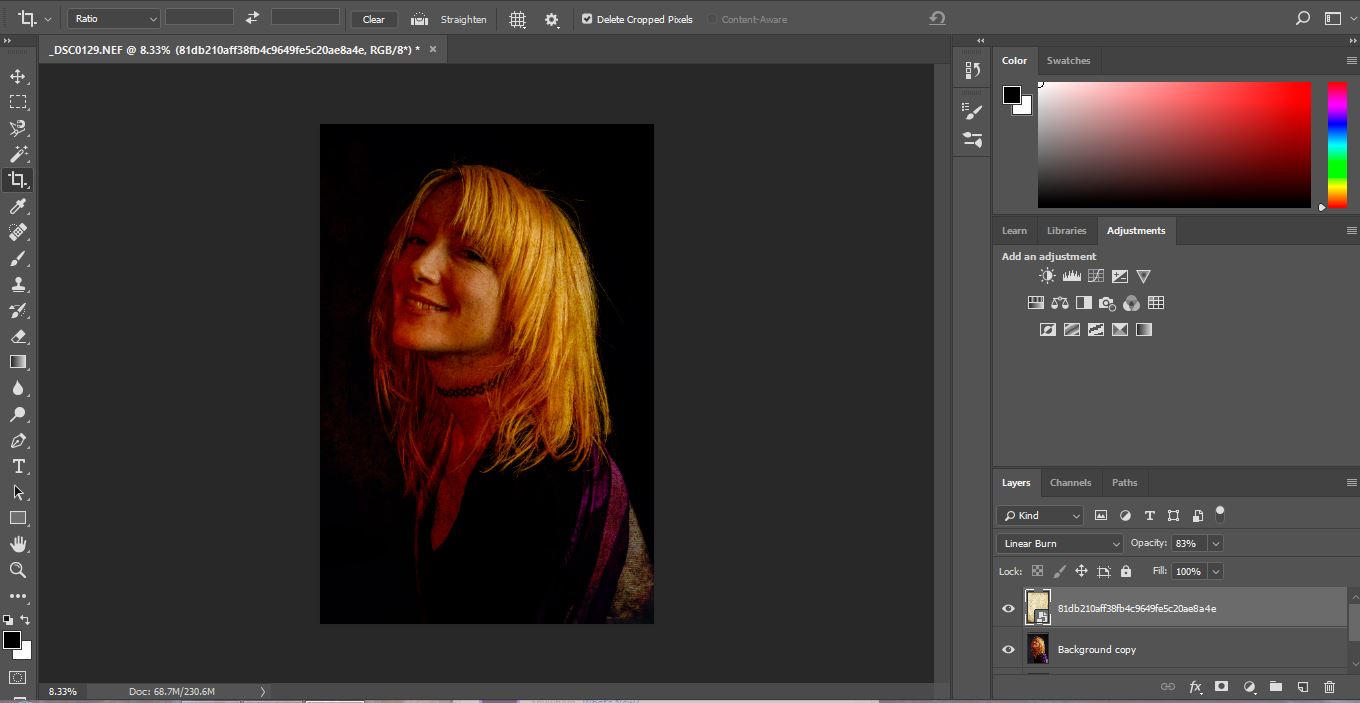
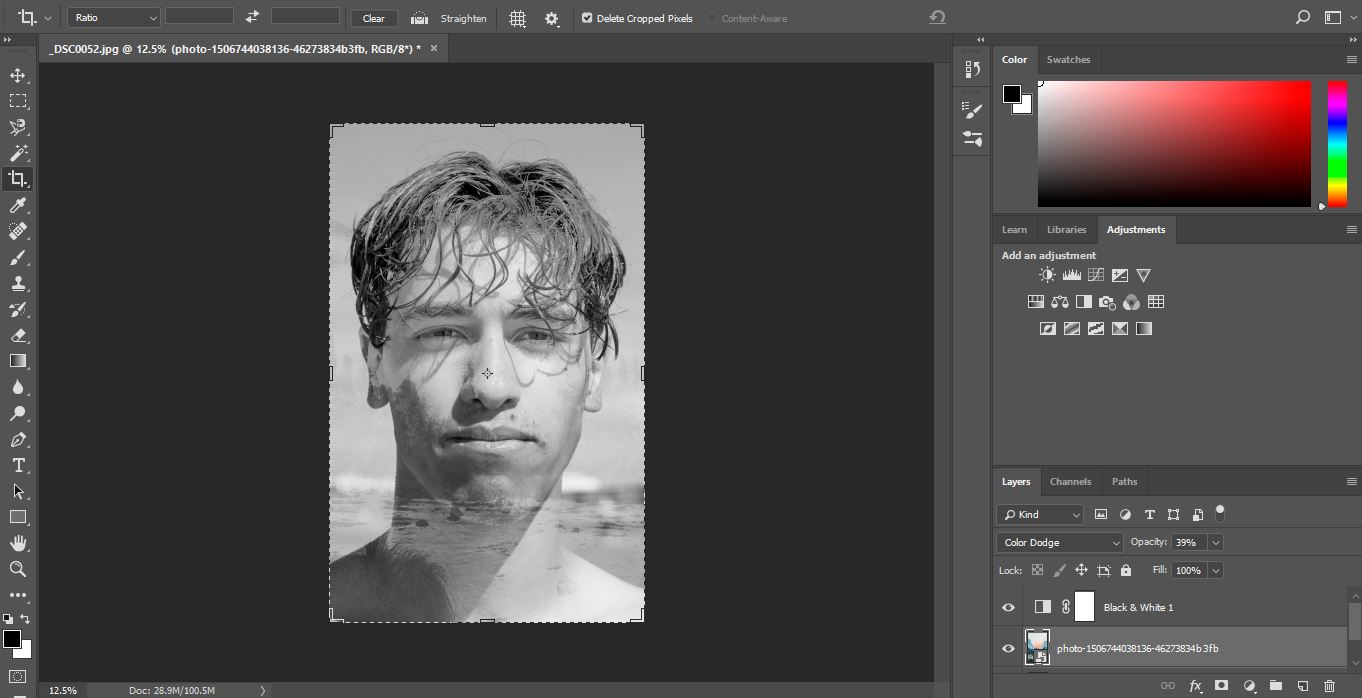
Changing the original image into Black and White gives a greater effect with the scratched metal. Below is a screenshot from Photoshop. With every image you work on in Photoshop, you want to always copy the background layer. This means that if you don’t like what you have changed you are able to to get back to your original image, as this remains unchanged as your background copy. Also, to preserve your original images, converting them into Smart objects will allow you to do non destructive editing.
The screen shot below
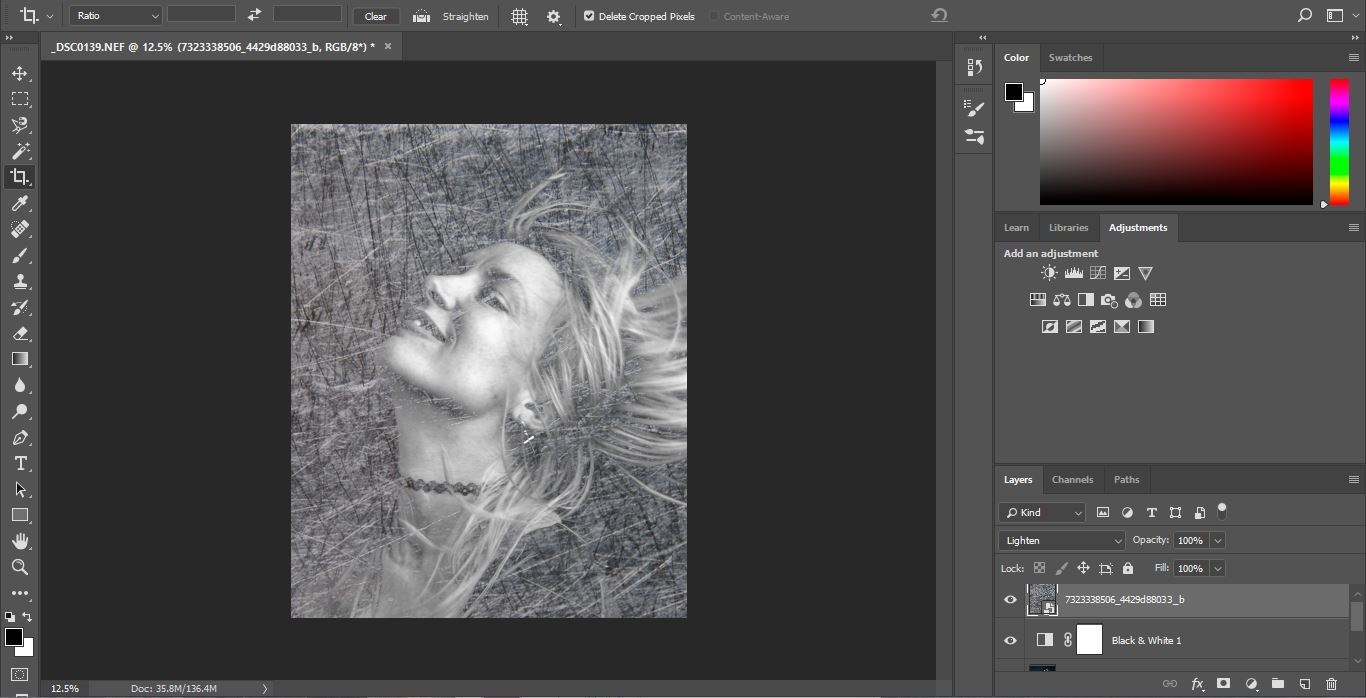
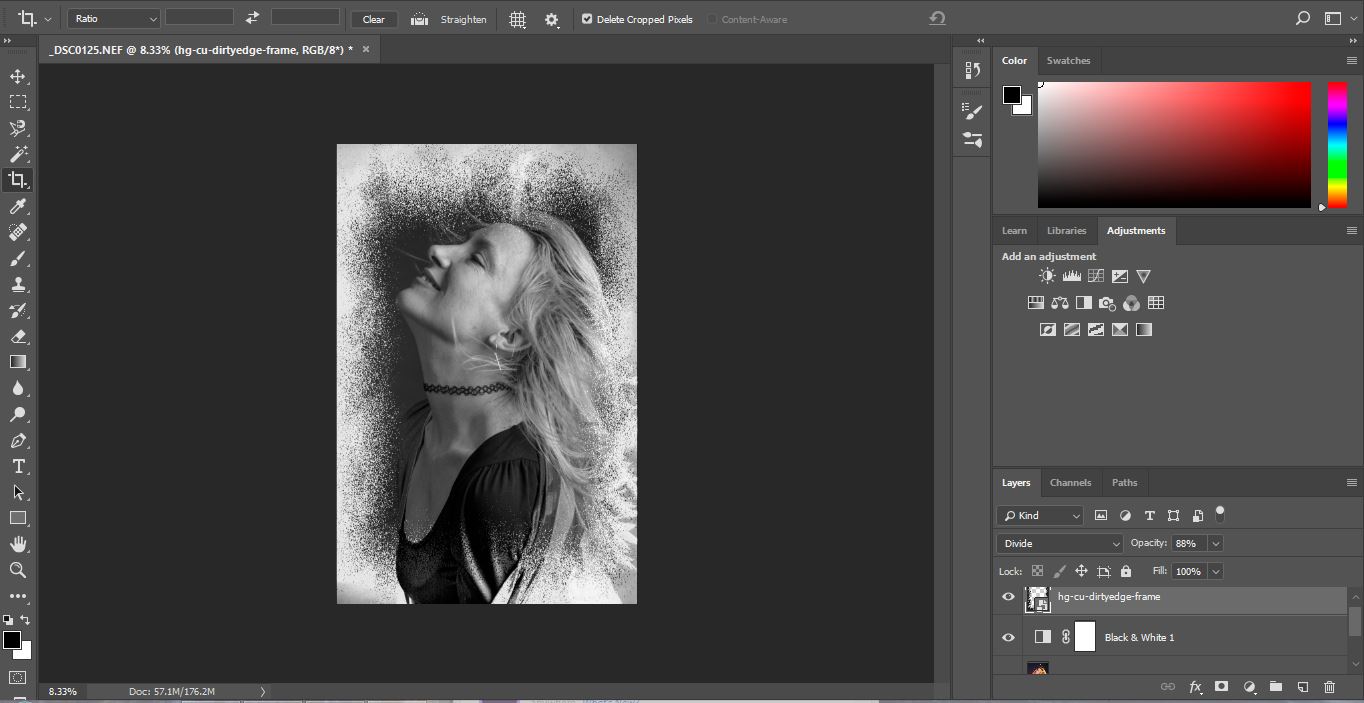
With the same image I have overplayed a frame. Again, converting the image into Black and White as this looked better. This frame I found on the internet, however you can easily create your own or a similar one within Photoshop. Using the Brush Tool, moving over the edges of a blank layer, the same effect can be achieved.
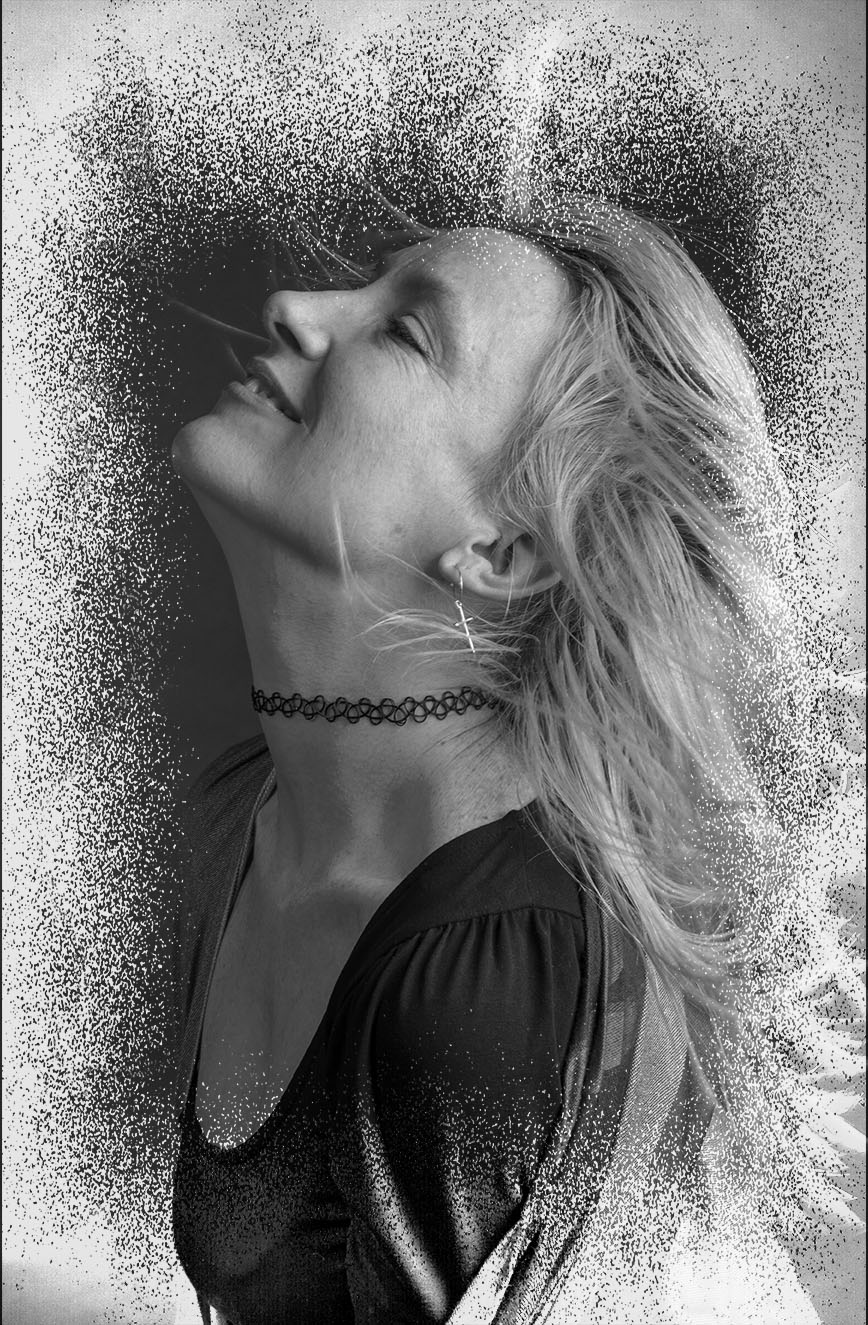
The original frame is black. When I placed it over the portrait image I scrolled through the blending modes. This tool gives slight changes in density, tone and colour to the overplayed image allowing you to create your desired design. I felt with this image, choosing the Divided blending mode with 88% opacity it converted the frame to more negative colours and complimented my portrait.
This Brown paper overlay below hasn’t quite worked in my opinion. With the portrait having an warm tinge to it from the orange filter when shooting, as the brown paper lays over it adds more warmth and doesn’t compliment the portrait.
However, it was good practice for me to look at the colours in a photograph, when looking for overlays.

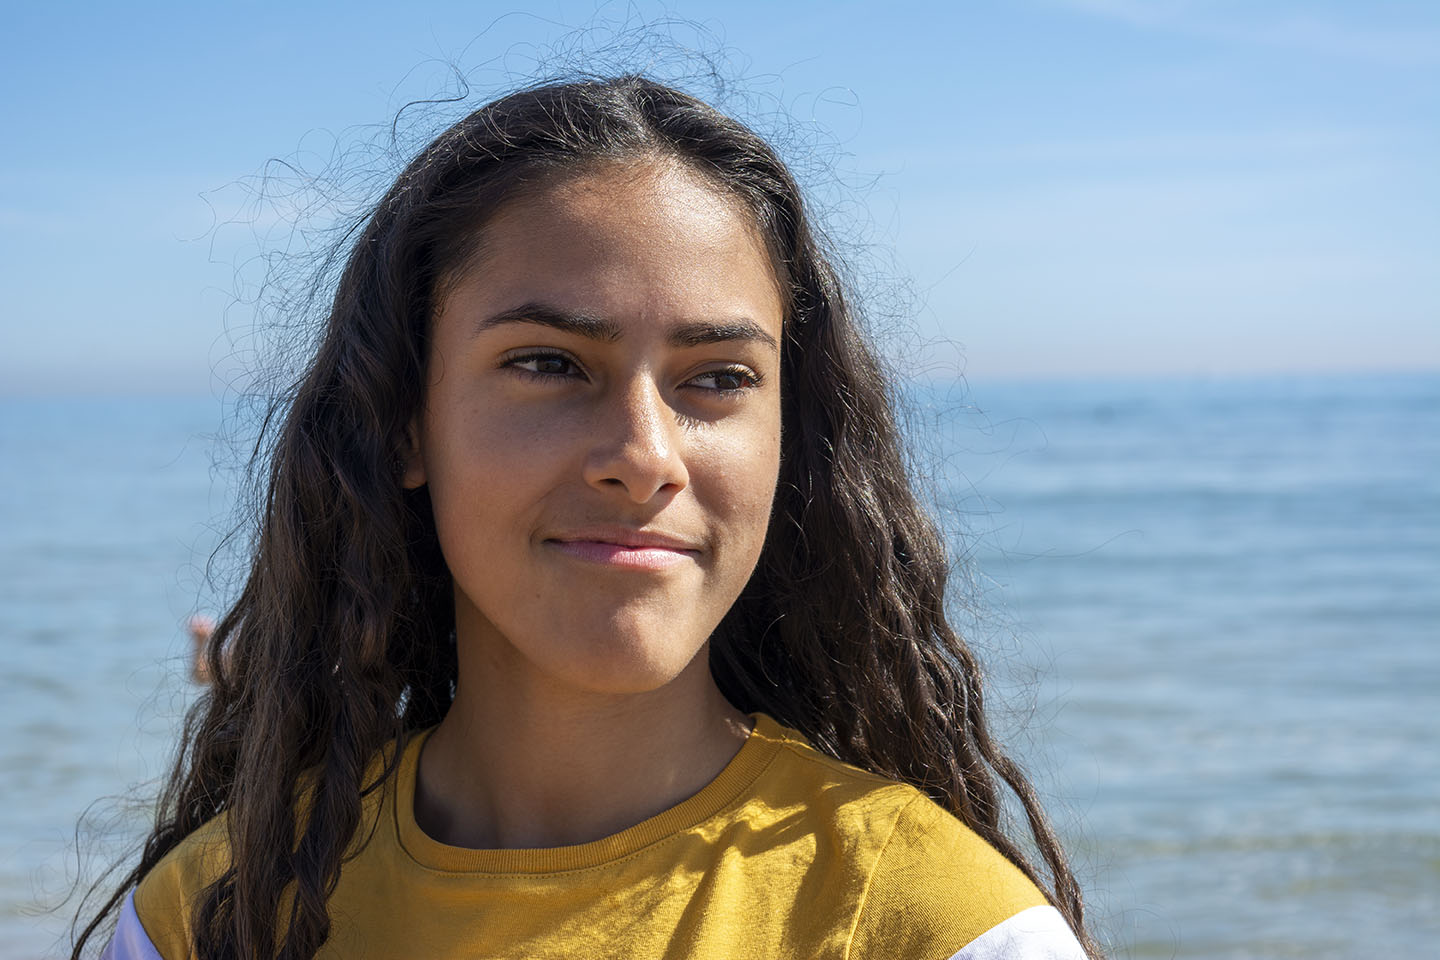
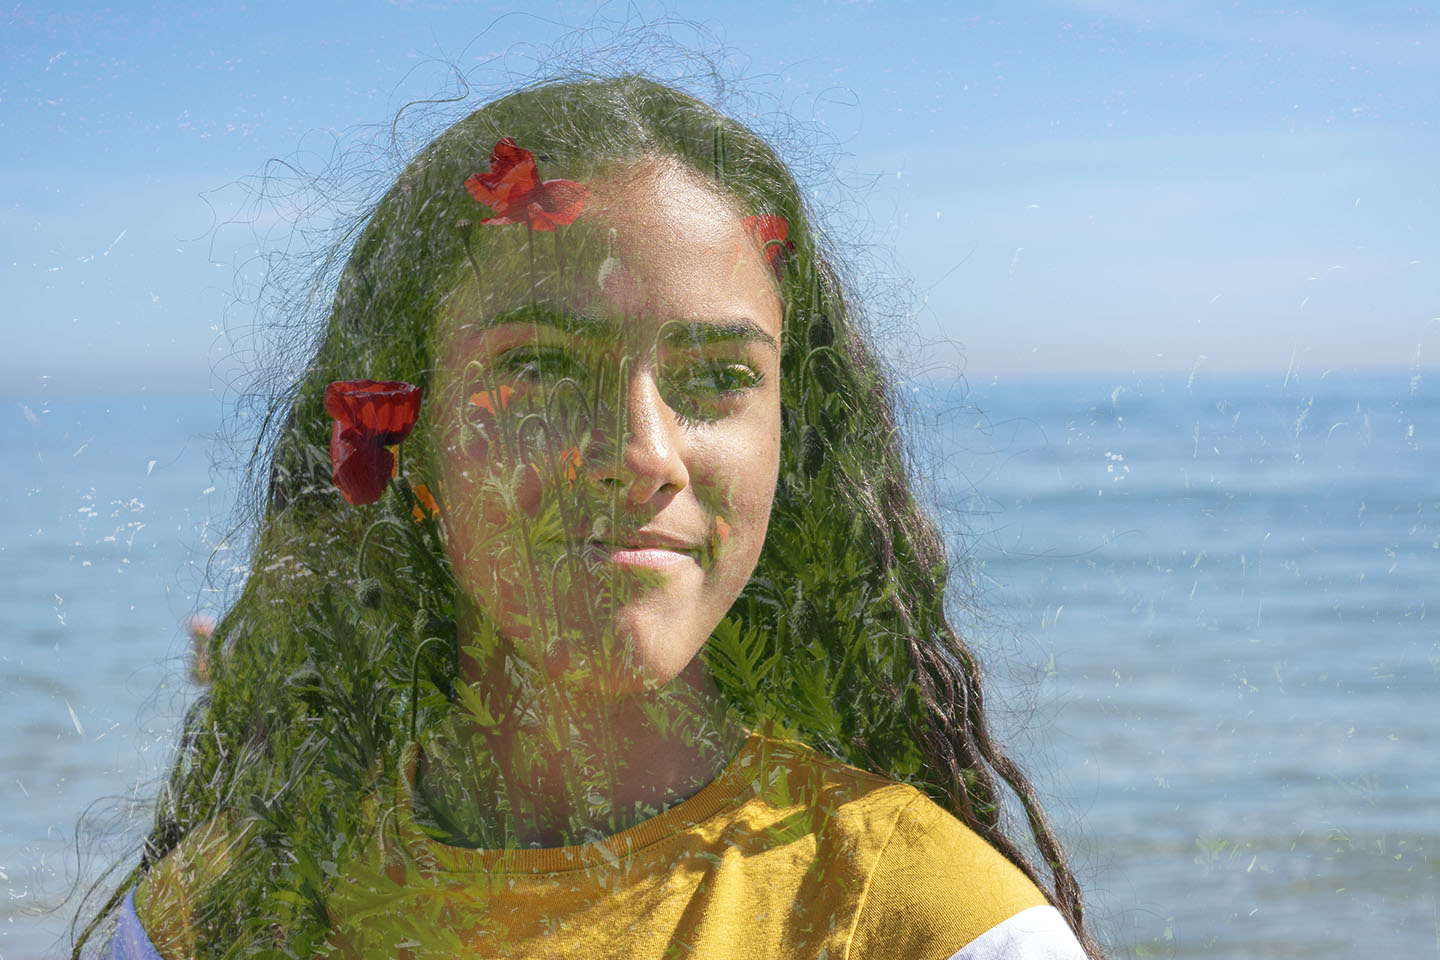
Next, I wanted to try an exagerated example of overlaying. Instead of using frames or textures I wanted to merge two of my own images together.

Then with the same portrait image I wanted to try a more subtle effect. To place the Poppies directly over the face area I had to stretch the Poppy image after placing over the portrait. Using a low opacity I have managed to keep the overlayed image to just showing over the face and not the water.
When I have researched overlaying images, I came across images using portraits and mountain or forest scenery. As I hadn’t got any images that I had taken of mountains etc, so I sourced an image from the internet.
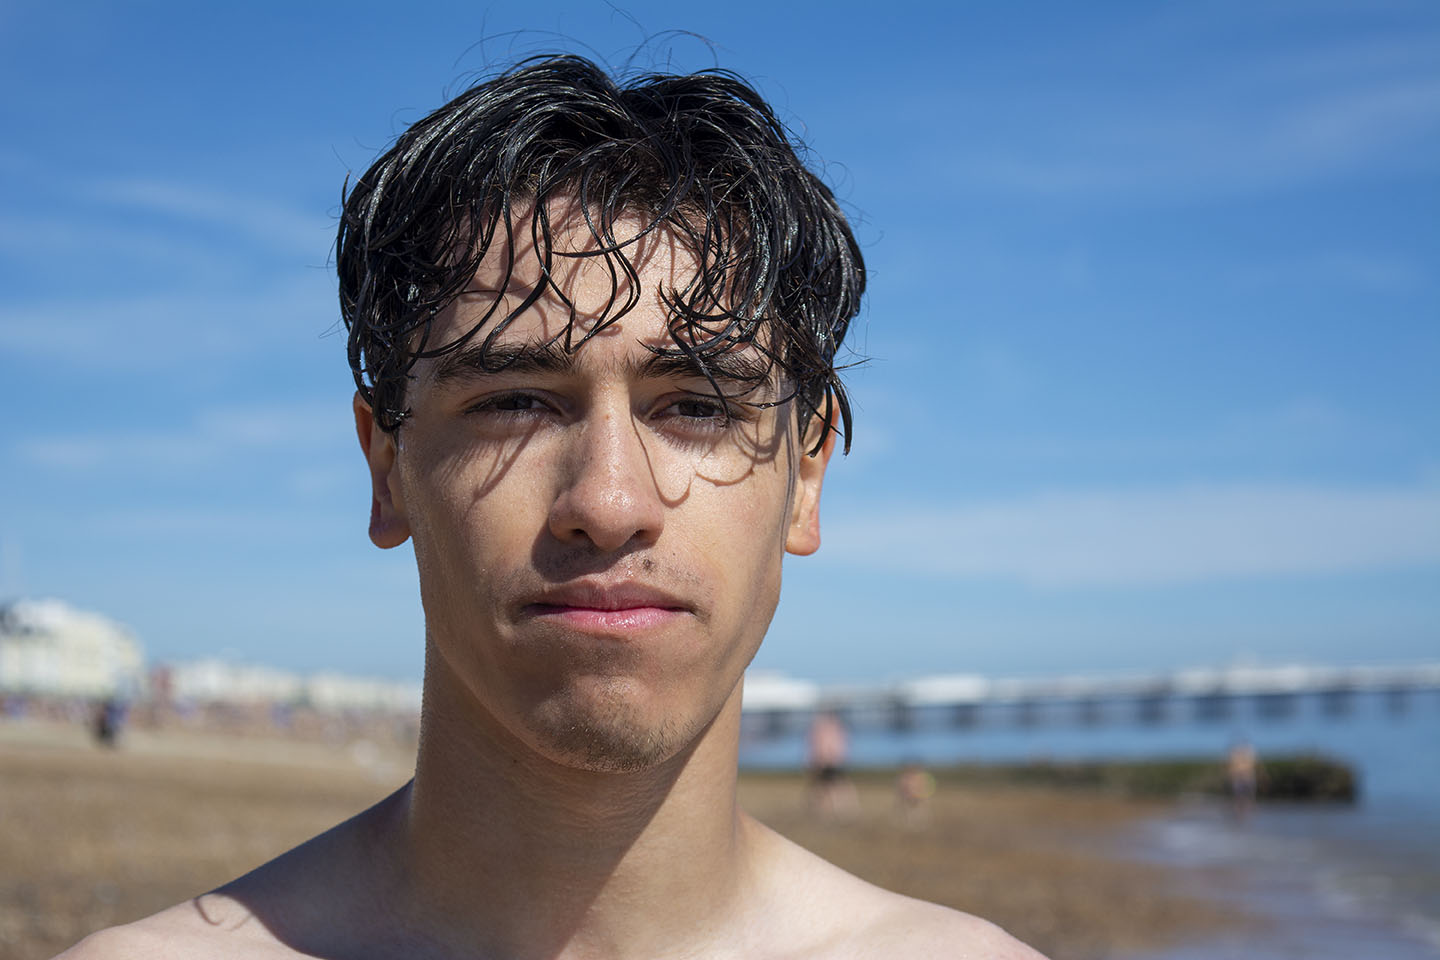

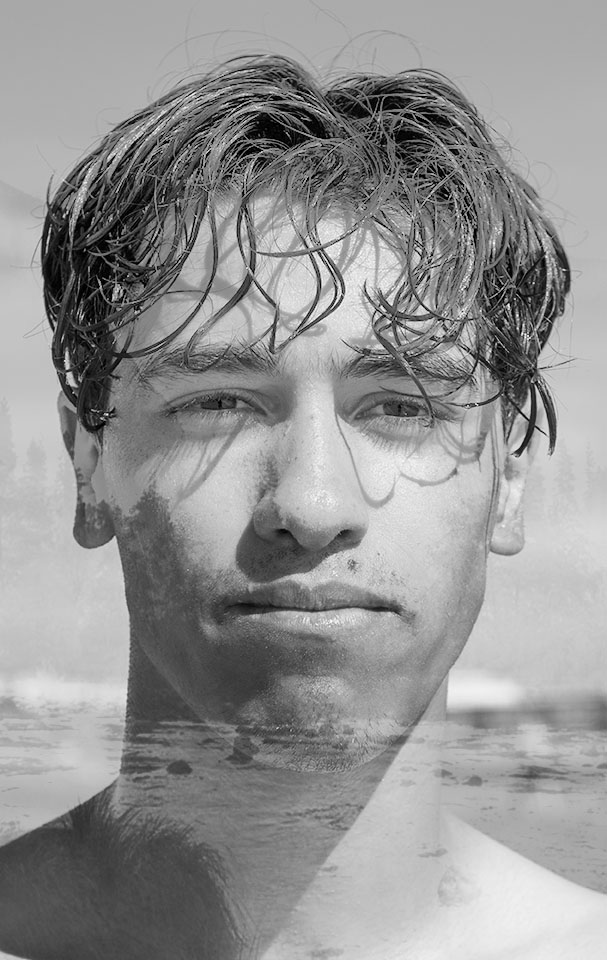
As my portrait image had background in it, I cropped the image to focus on the face. Changed the images into Black and White, then overlay and re-position. Colour Dodge blening mode with 39% opacity was used.

Tilt and Shift photography is the use of movement by the lens to alter your point of perspective and focus. A traditional camera lens will pretty much capture what you are seeing with your eye and project it on to the sensor. But a Tilt and Shift lens will change the position of the image on the sensor, adjusting the lens’ perspective.
“Tilt–shift” encompasses two different types of movements: rotation of the lens plane relative to the image plane, called tilt, and movement of the lens parallel to the image plane, called shift. Taken from Wikipedia
The two images below show how using a Tilt and Shift lens can change the perspective lines. When you stand in front of a building and look, the lines of that building will appear to be getting closer together as you look towards the top. Using a Tilt and Shift lens will straighten those lines.
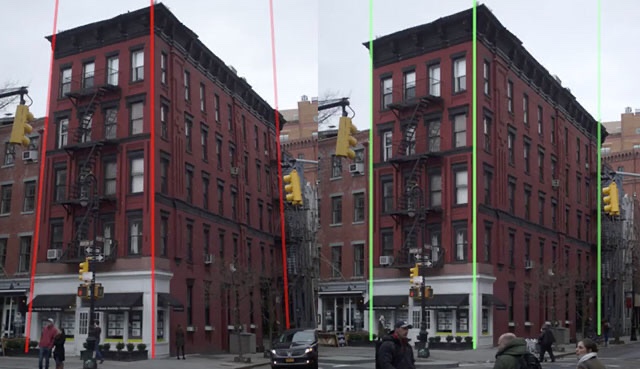
Landscape or City photographers would use this technique for a more pleasing to the eye outcome.
Below are three examples of other peoples photographs where the Tilt and Shift has been used to create the feeling of a toy town.
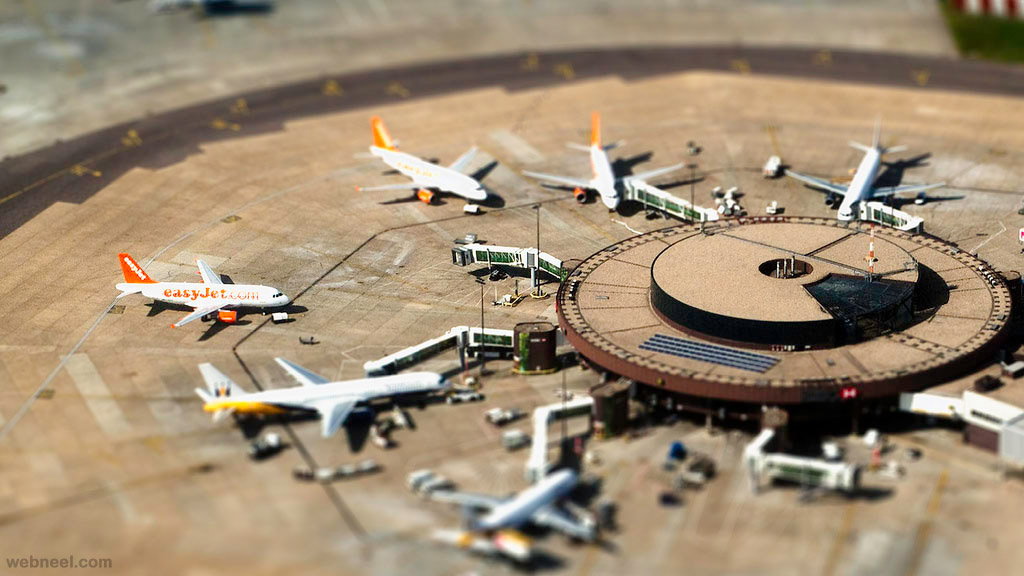
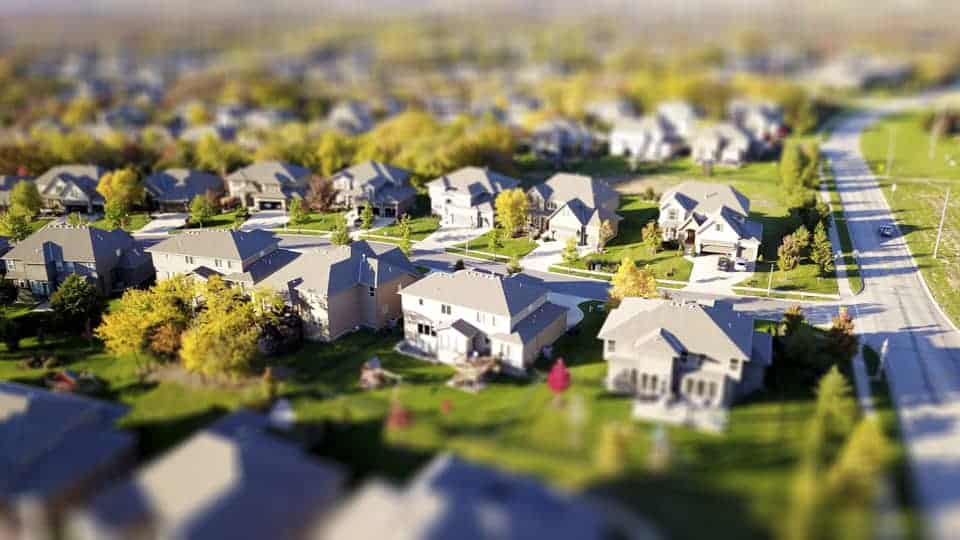

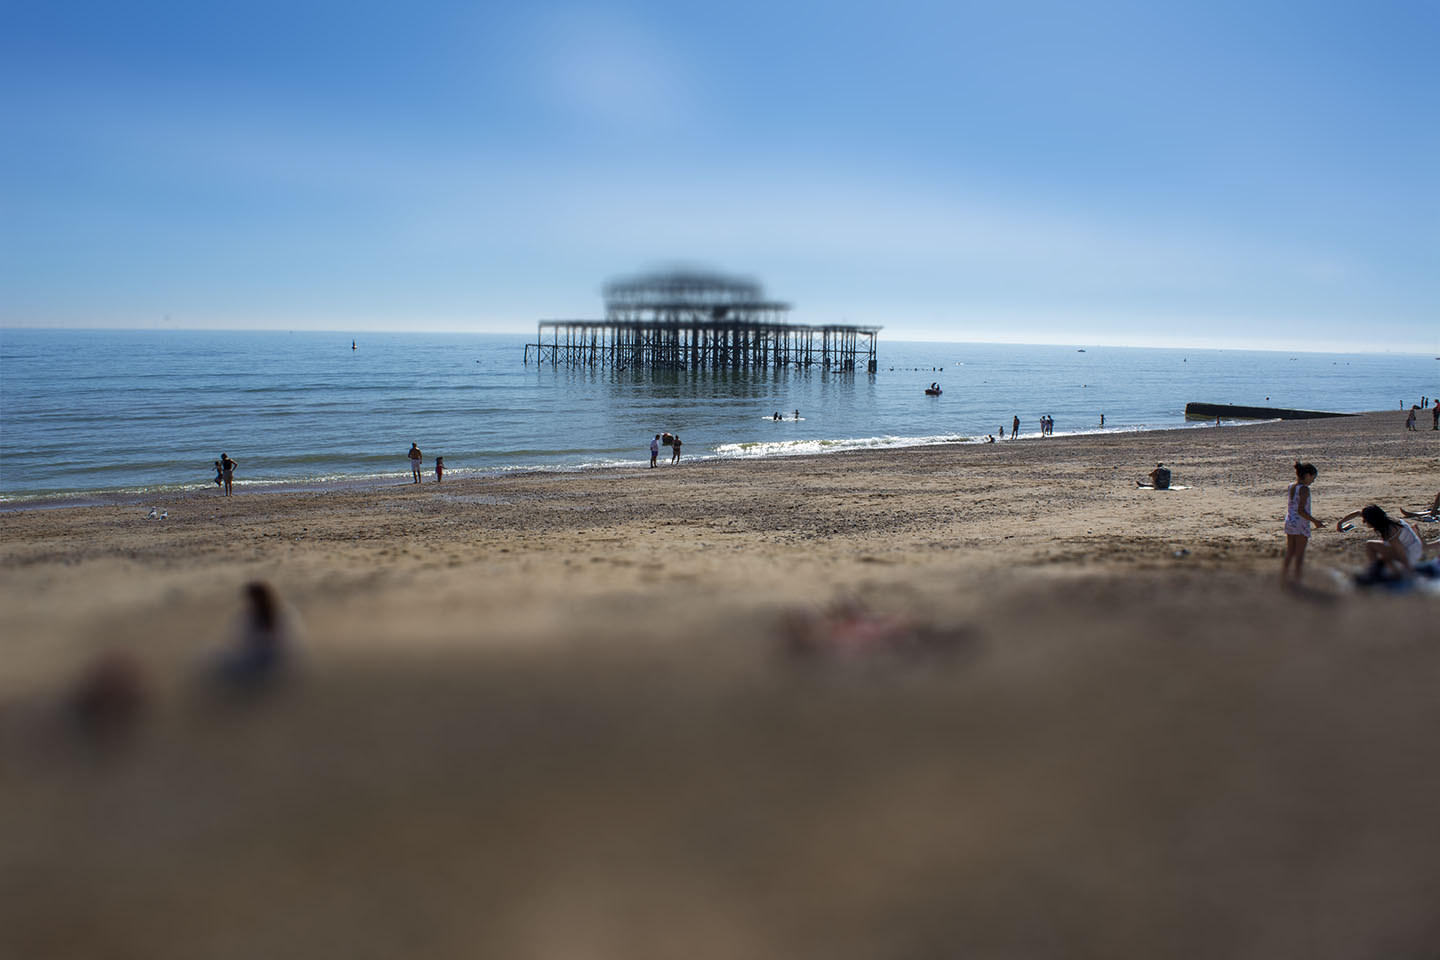
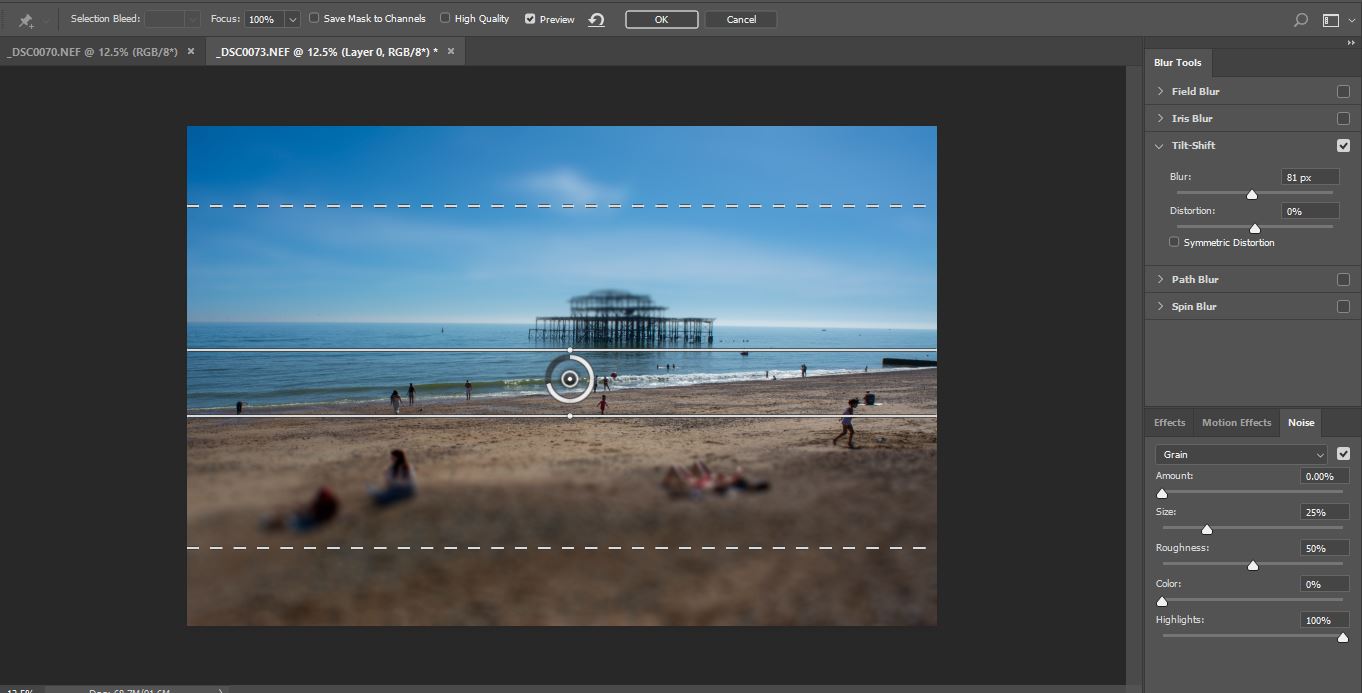
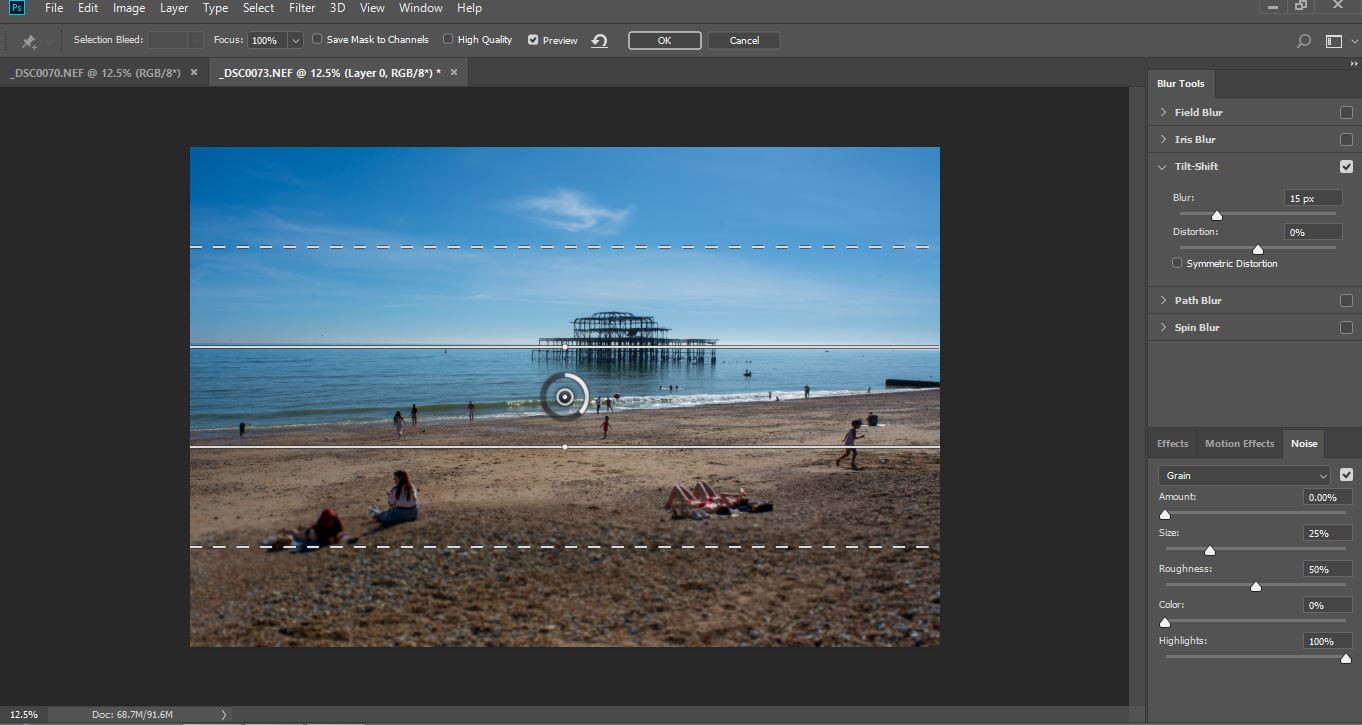
I don’t have a Tand Shift Lens how ever in post production you can use a filter to produce the same effect. Using the filter in this way on landscapse can give a different illusion of size. It can make the focused area appear to look small and model like.
Below is my first attempt at producing a Tilt and Shift image through Photoshop. I quite like it as it adds a very different perspective on this well known view. However, it hasn’t quite given the desired effect. I should have positioned myself at the top of the hill and shot from looking down. I need to look for more vantage points on the future.
These next photographs I took, I had Tilt and Shift in mind. You can see how the people are starting to look like small model figures.
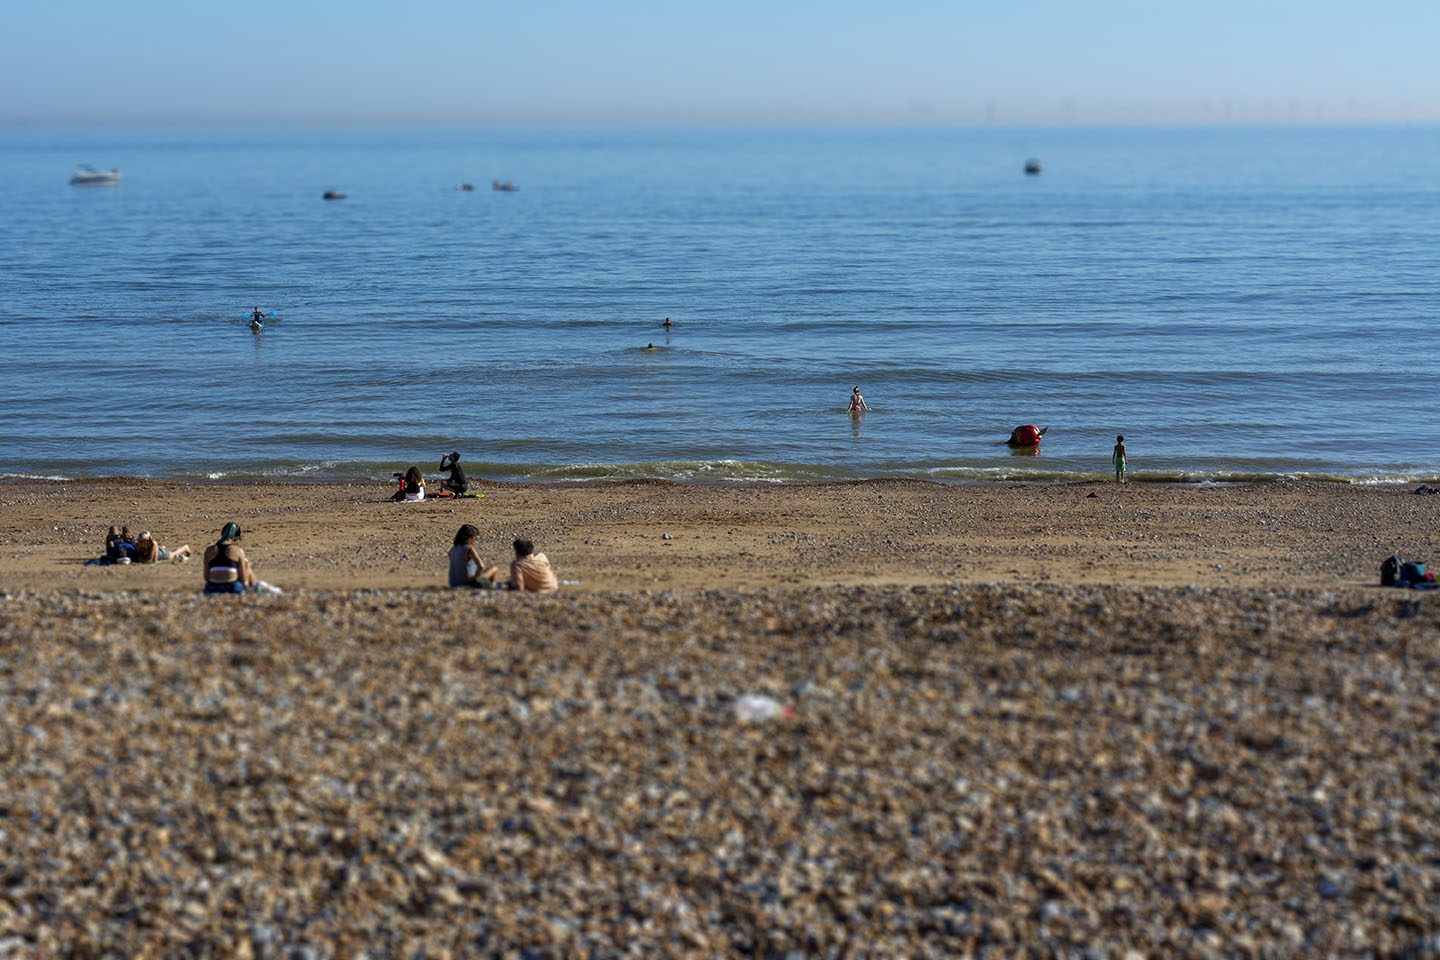
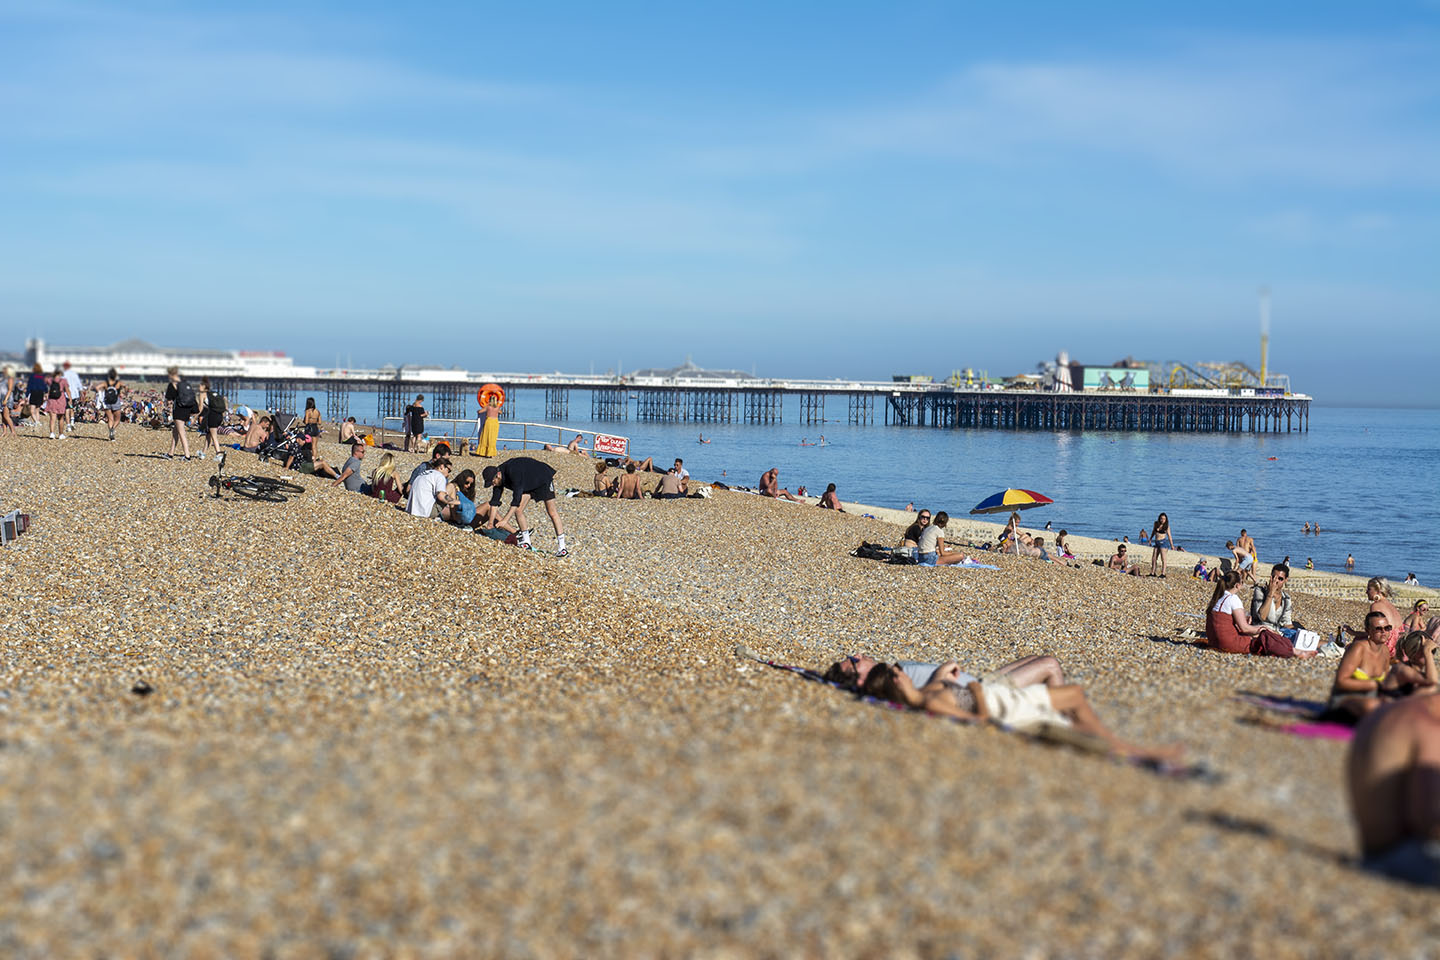
I have exagerated the gradiant here to see the outcome.


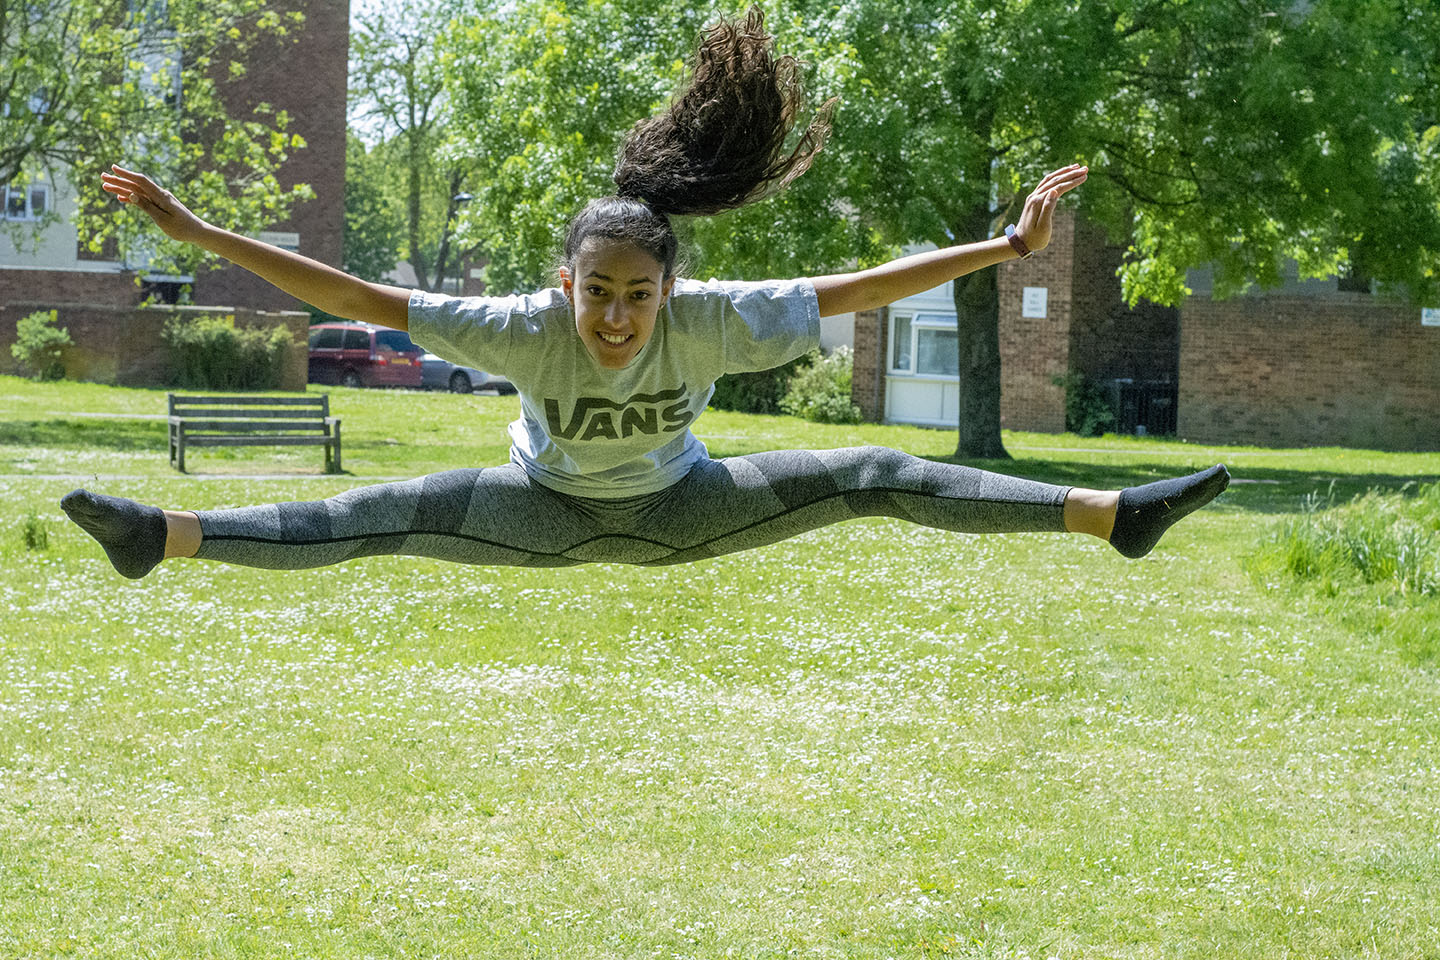
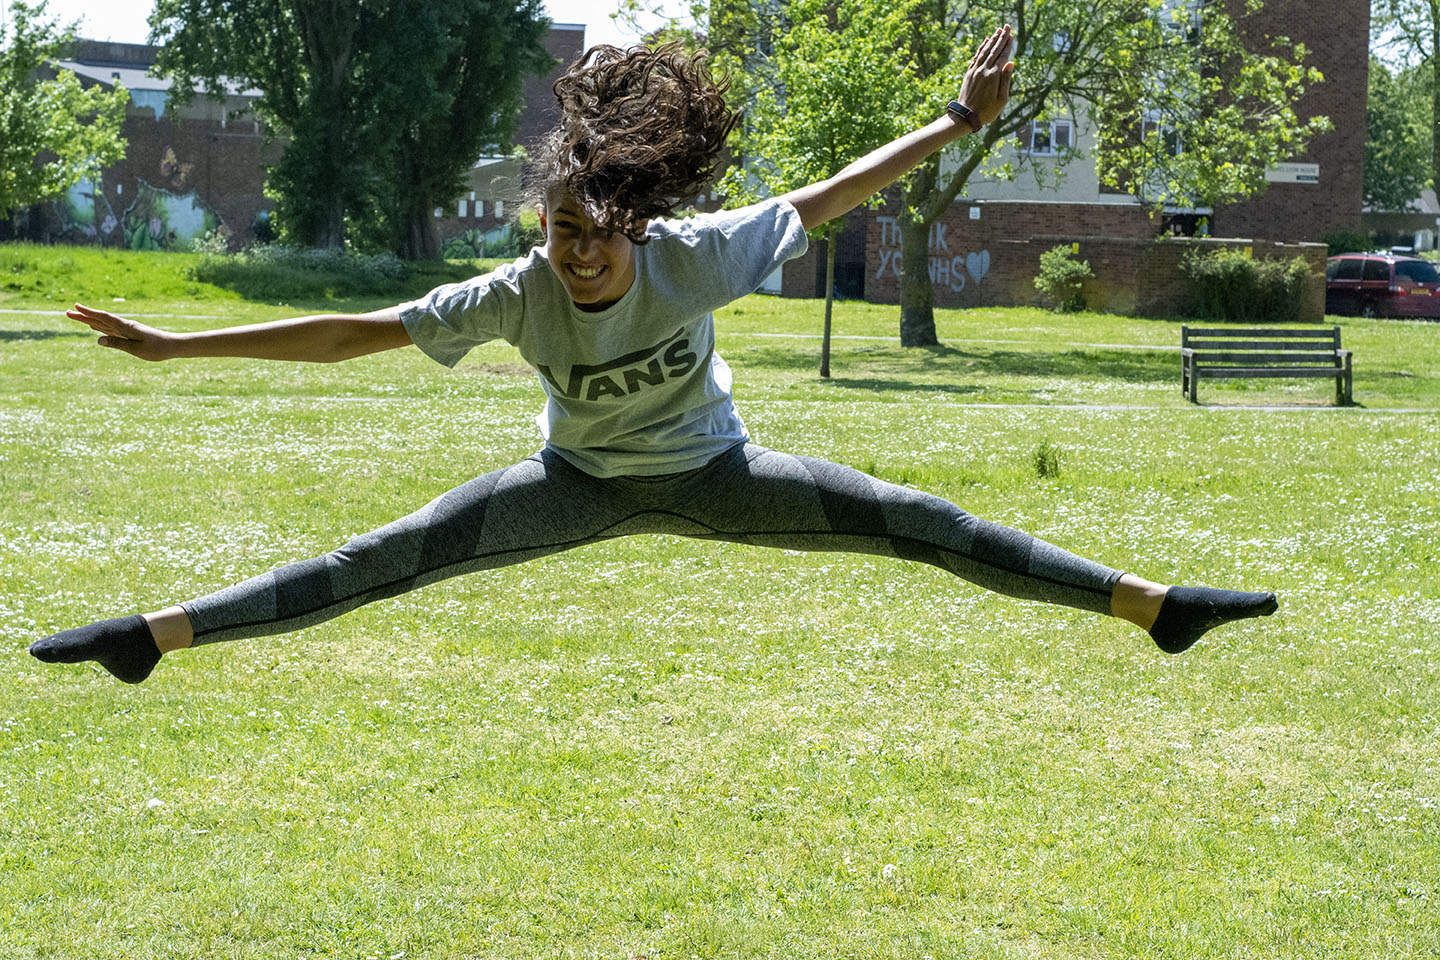
I don’t usually take action shots, however I quite like these two of my eldest daughter in a split leap! I need a bit more practice I think, trying to capture her perfectly in the centre of the frame.
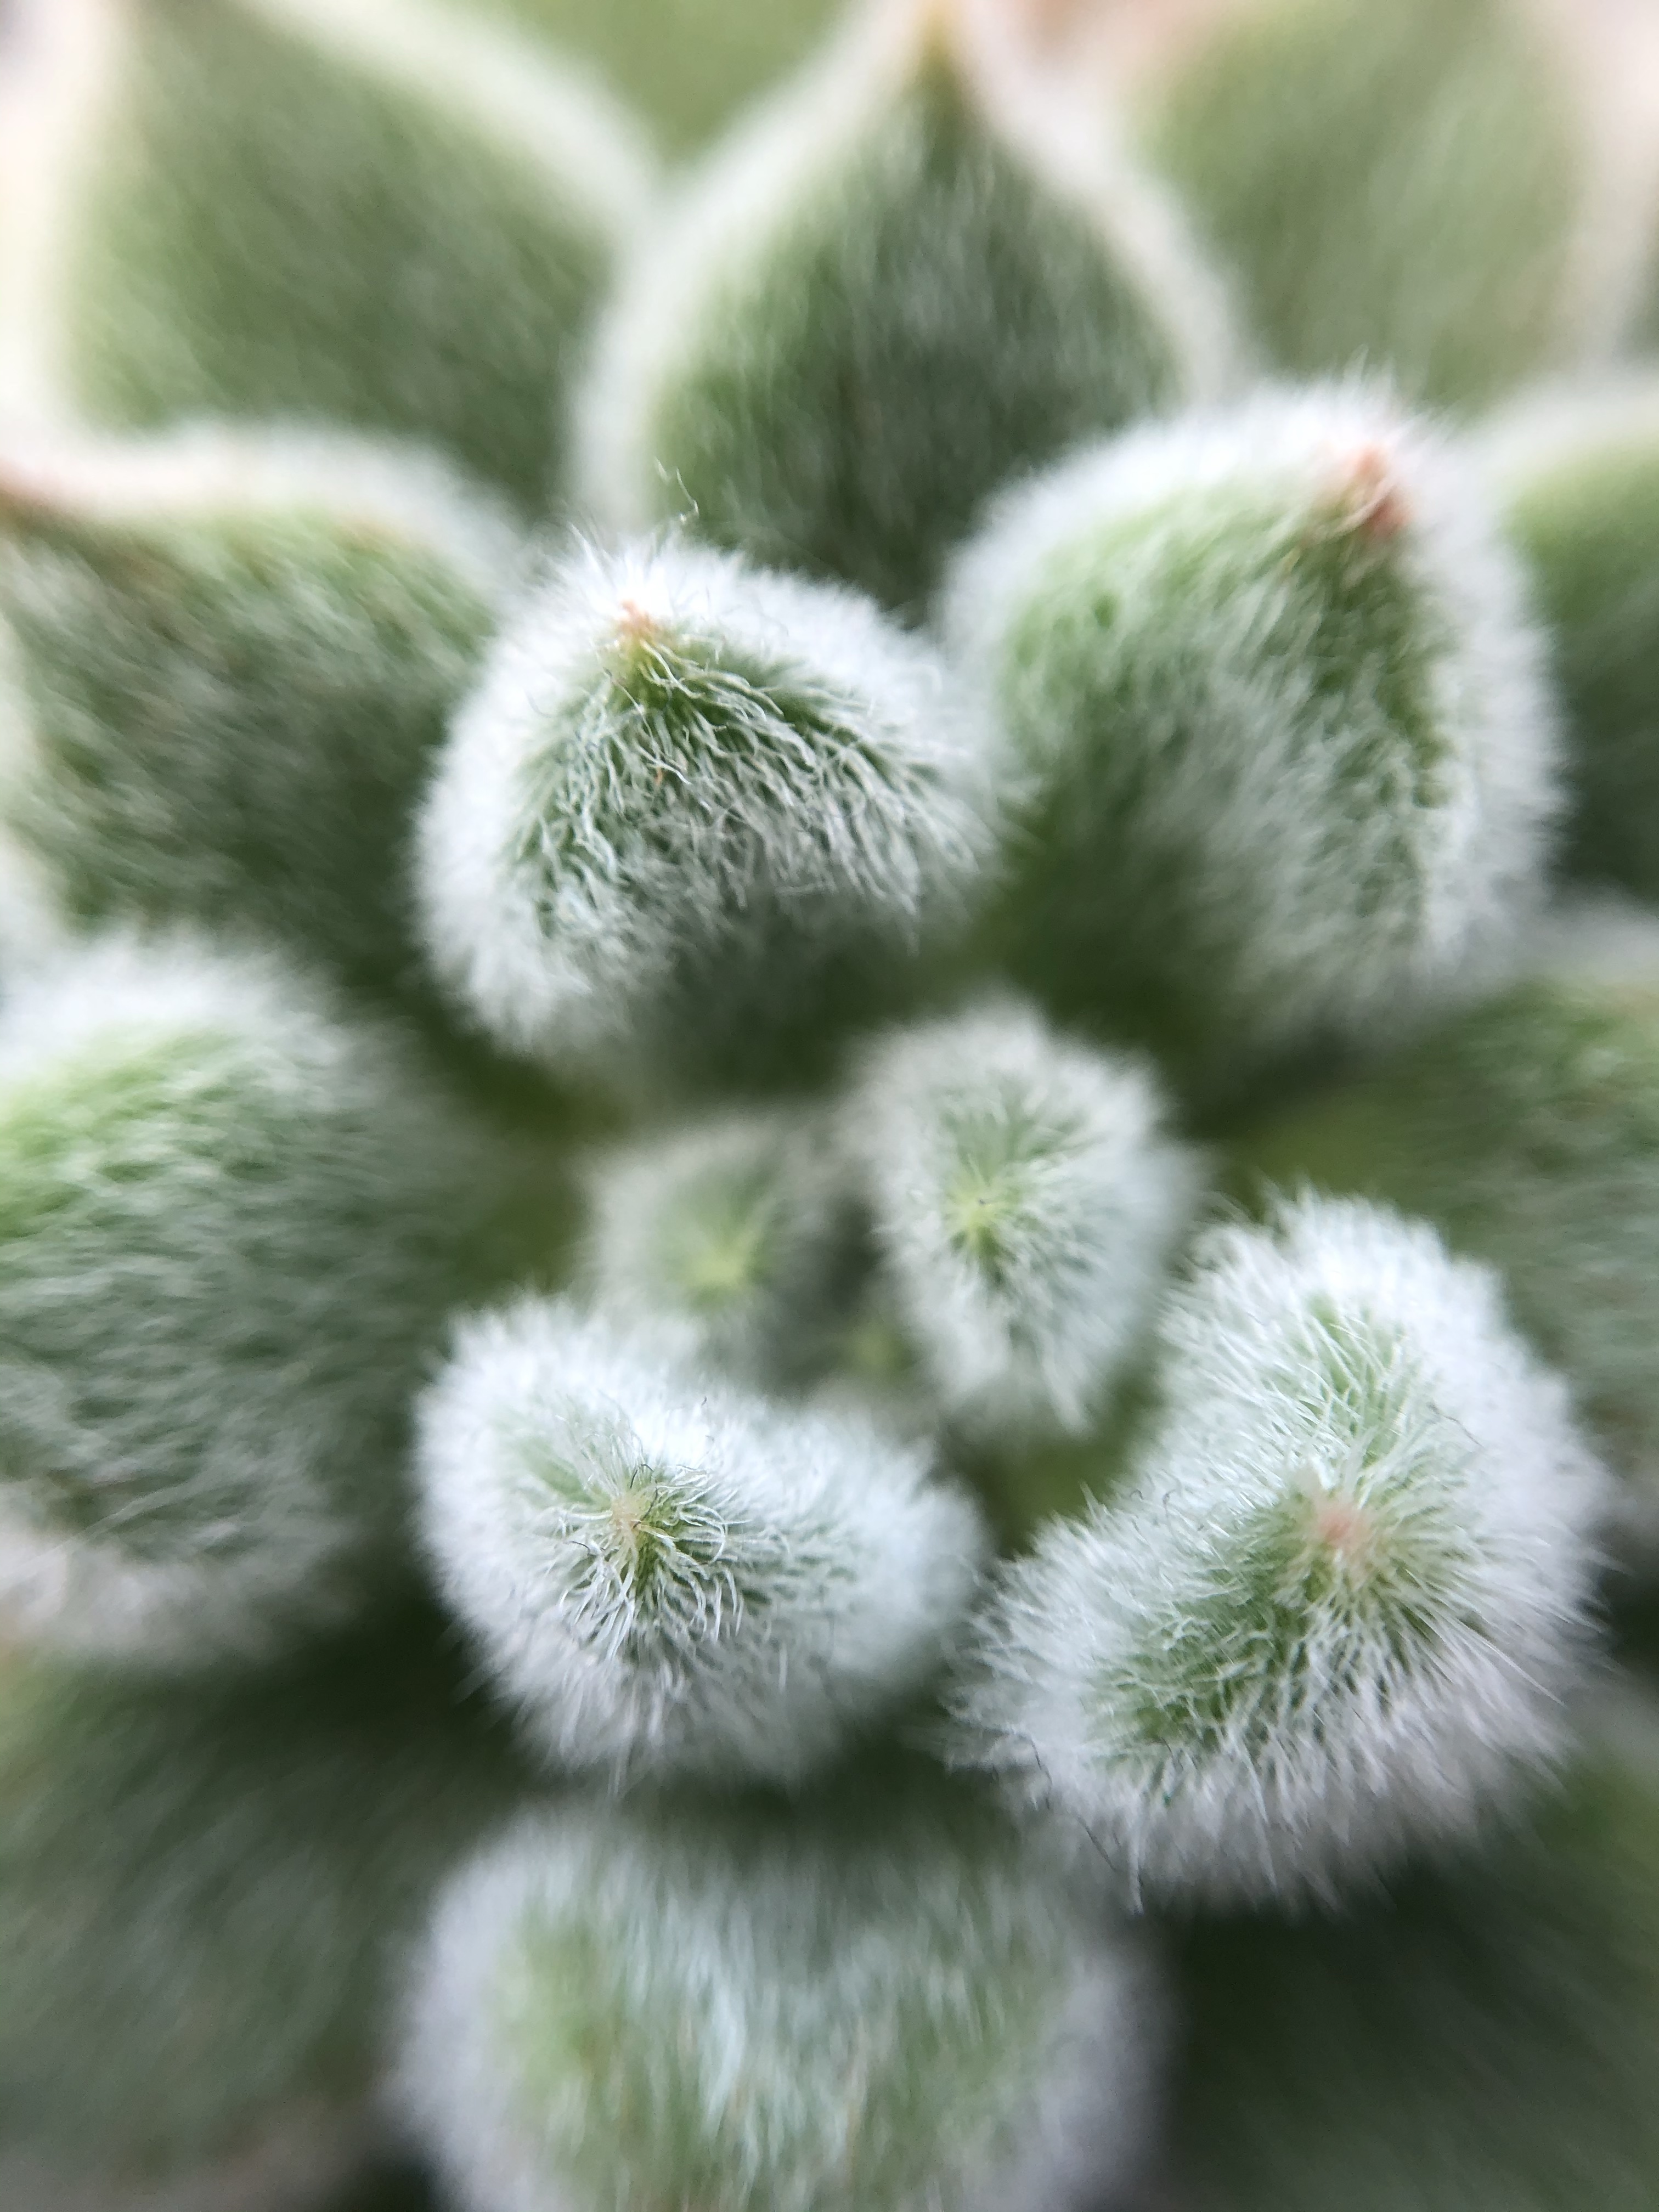
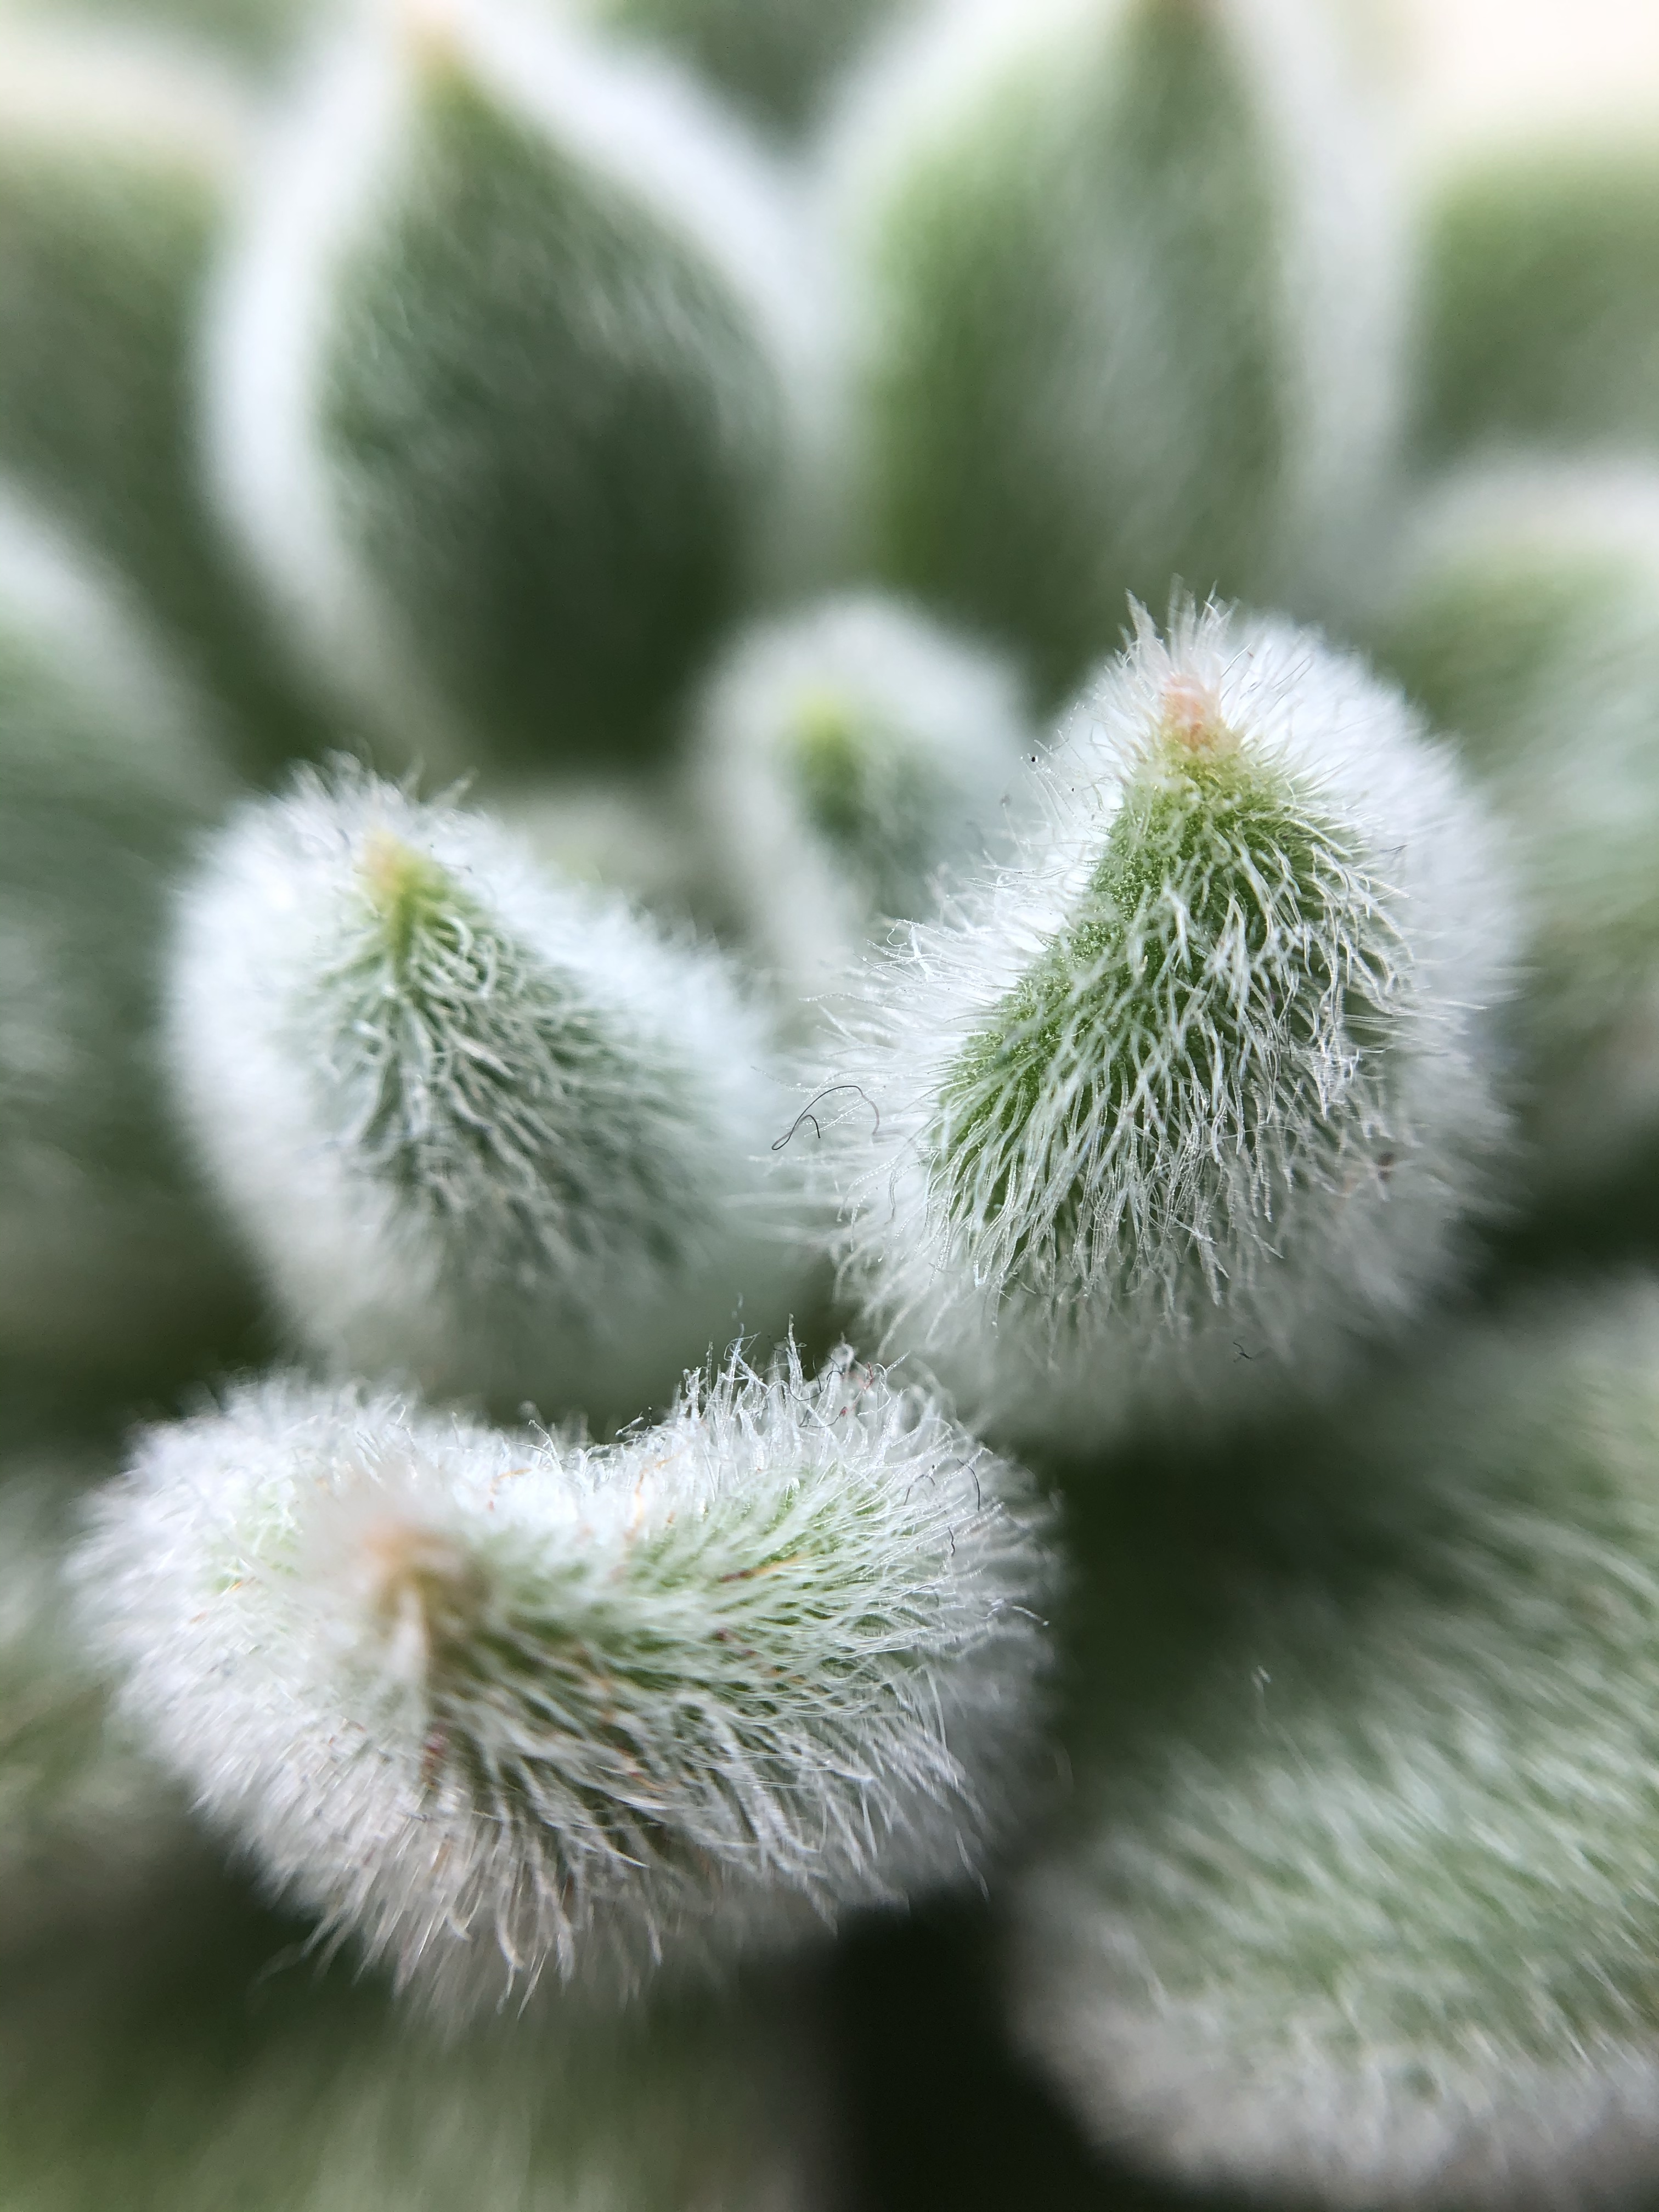
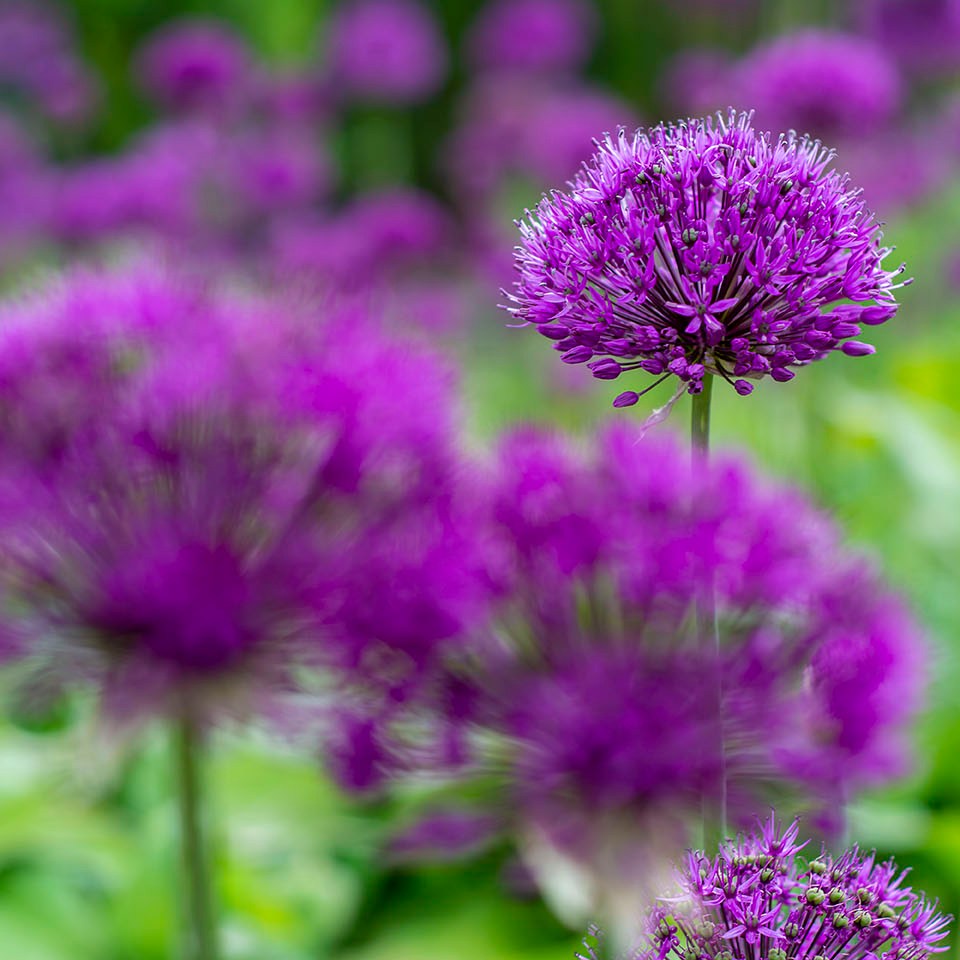
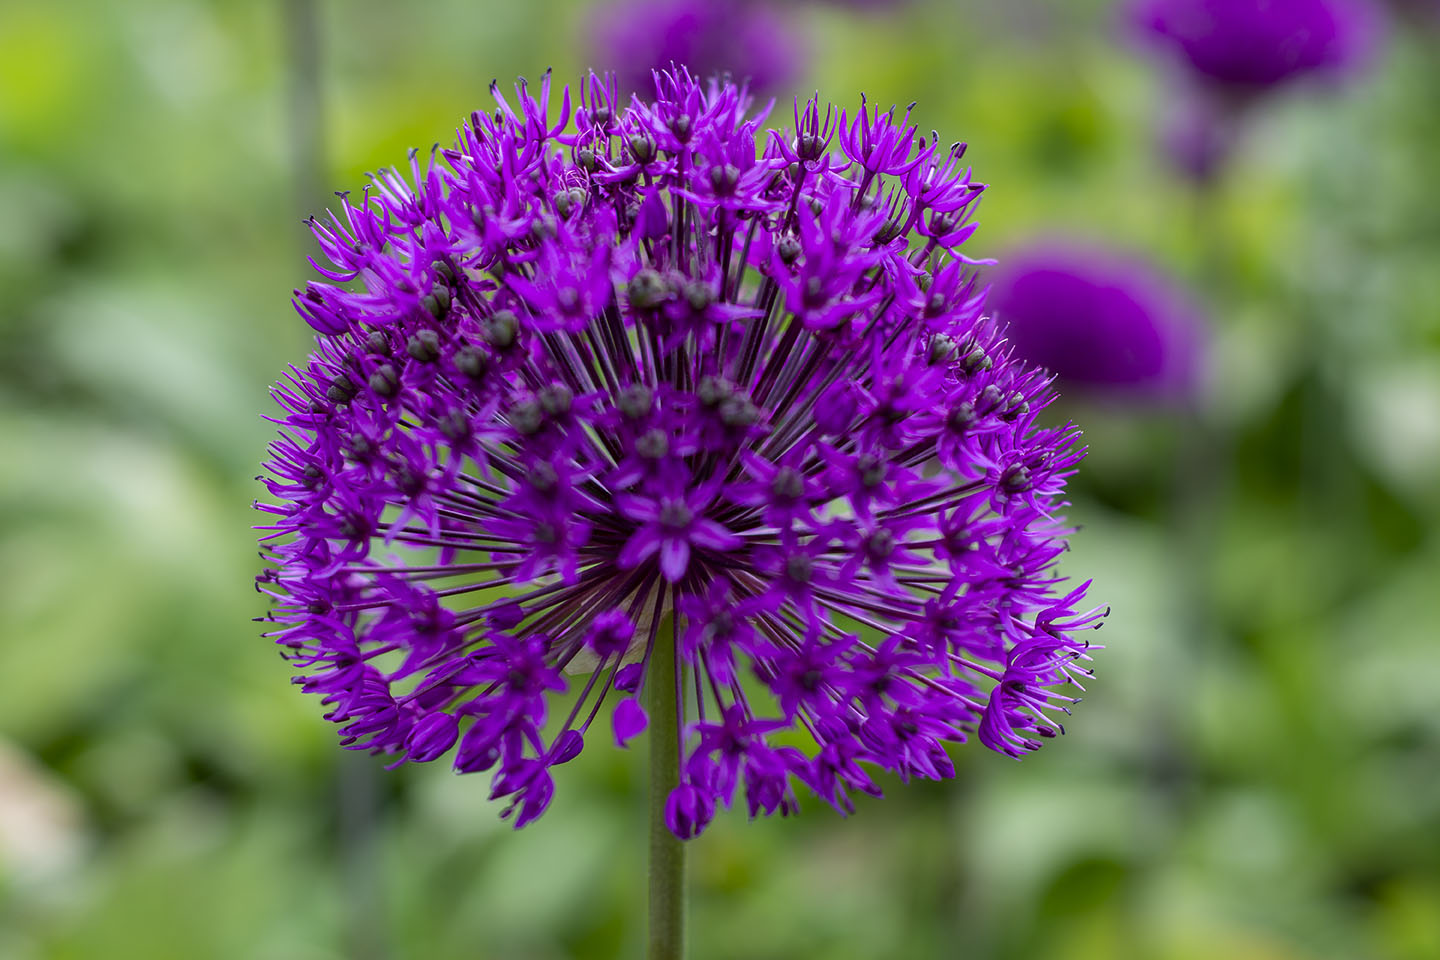
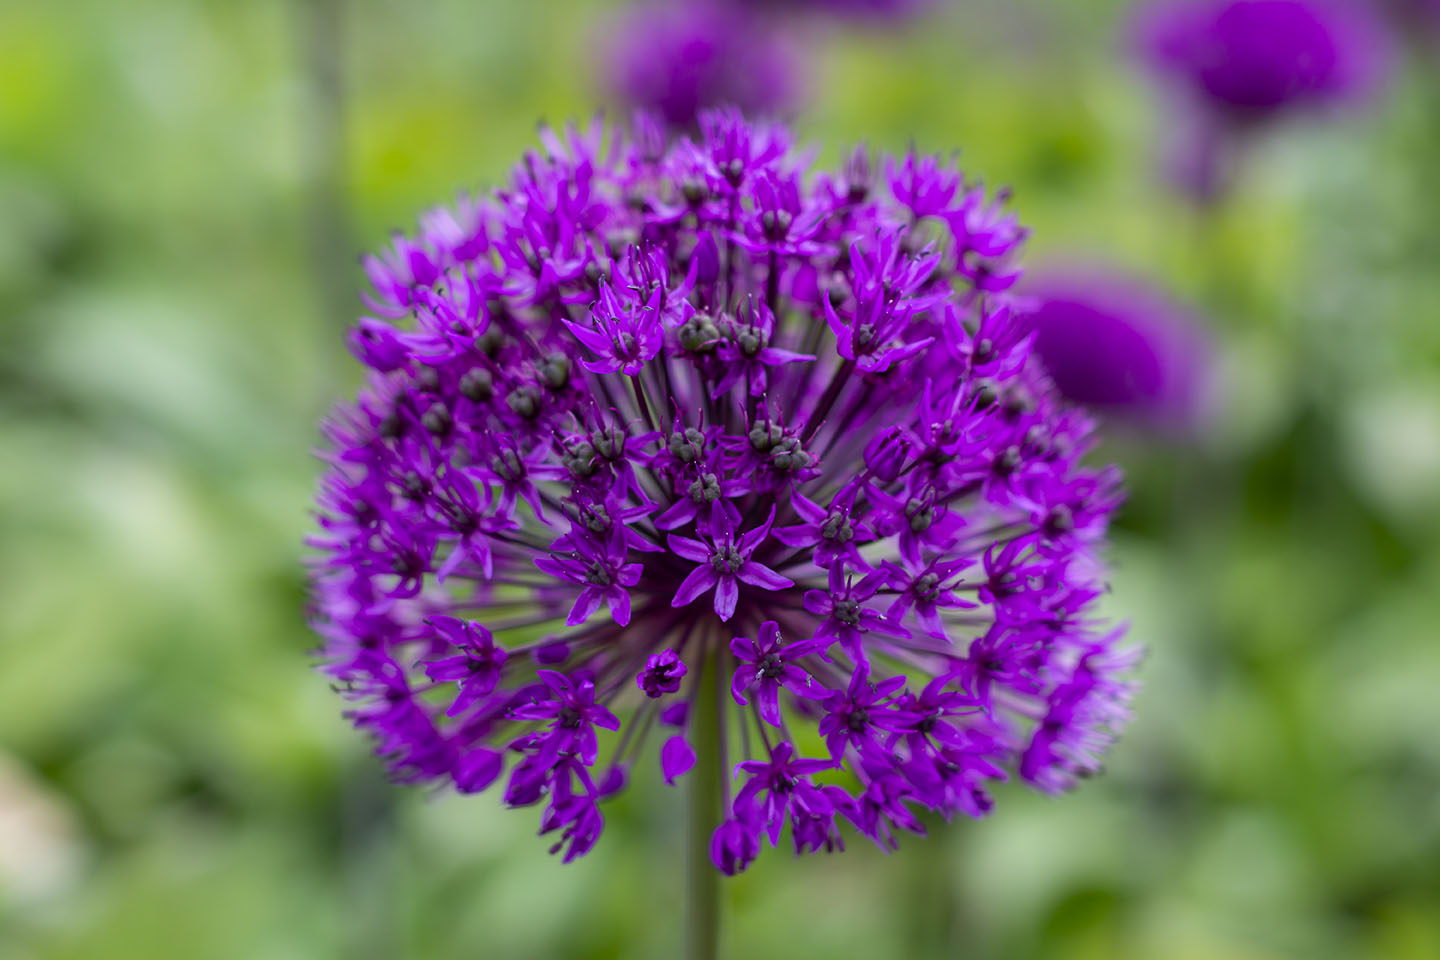
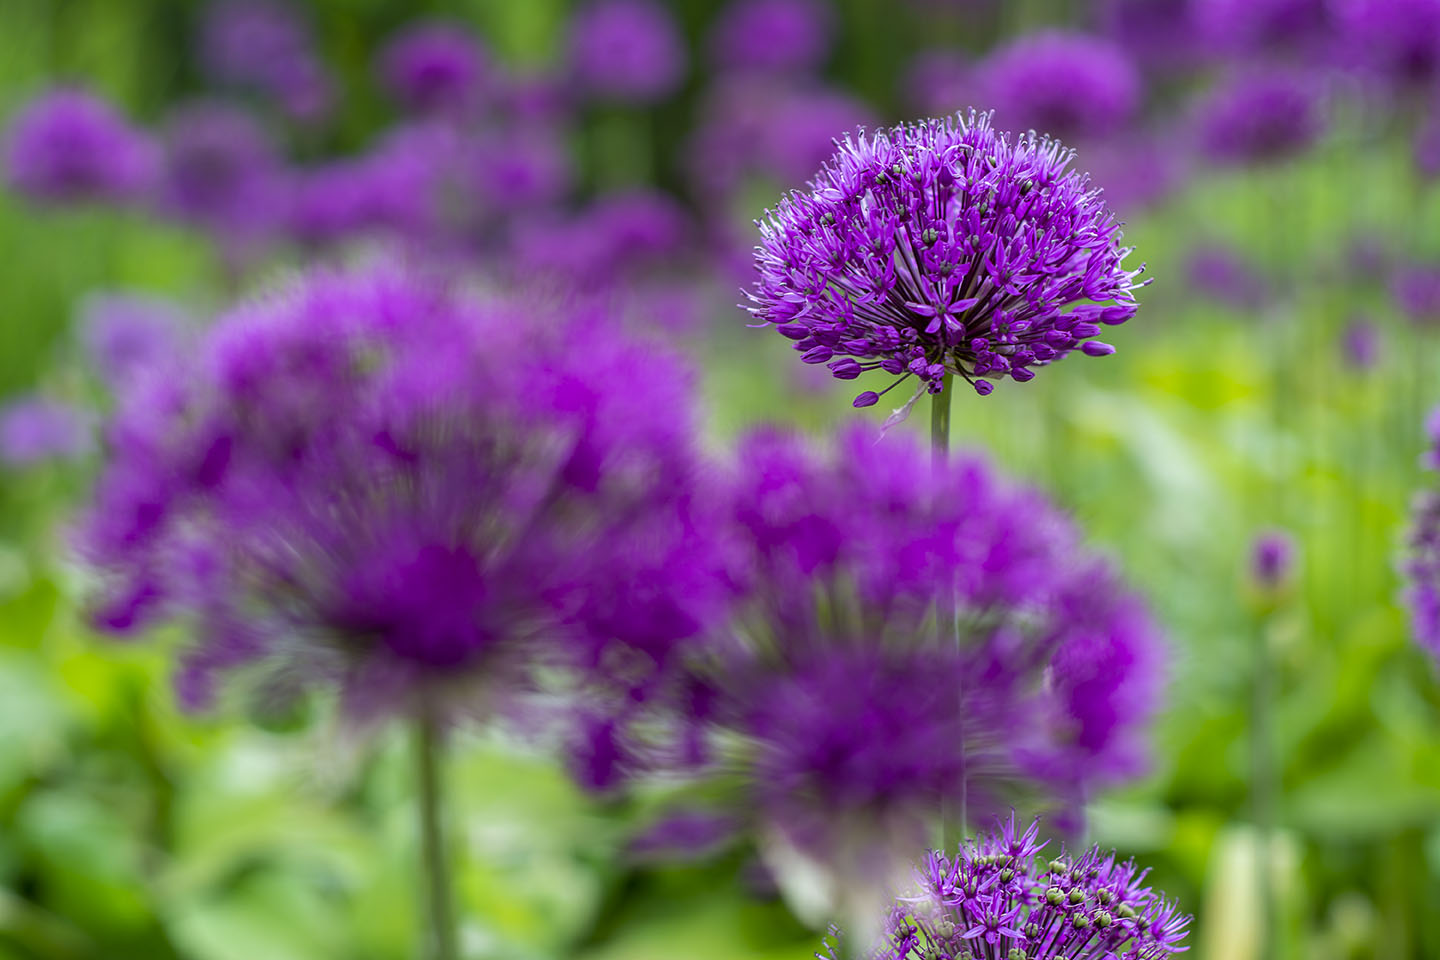
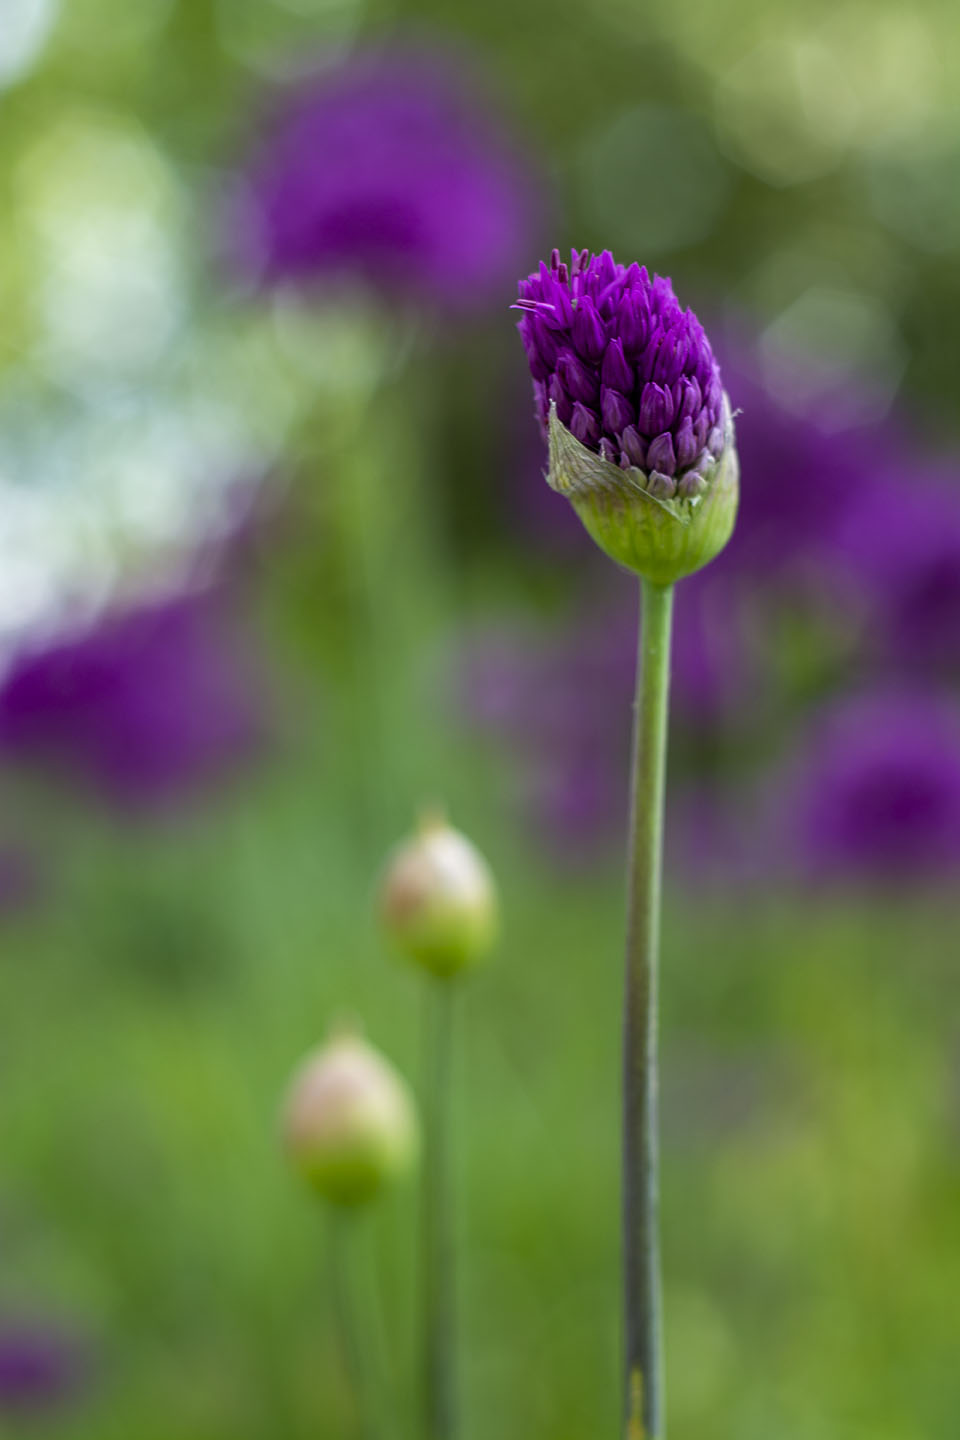
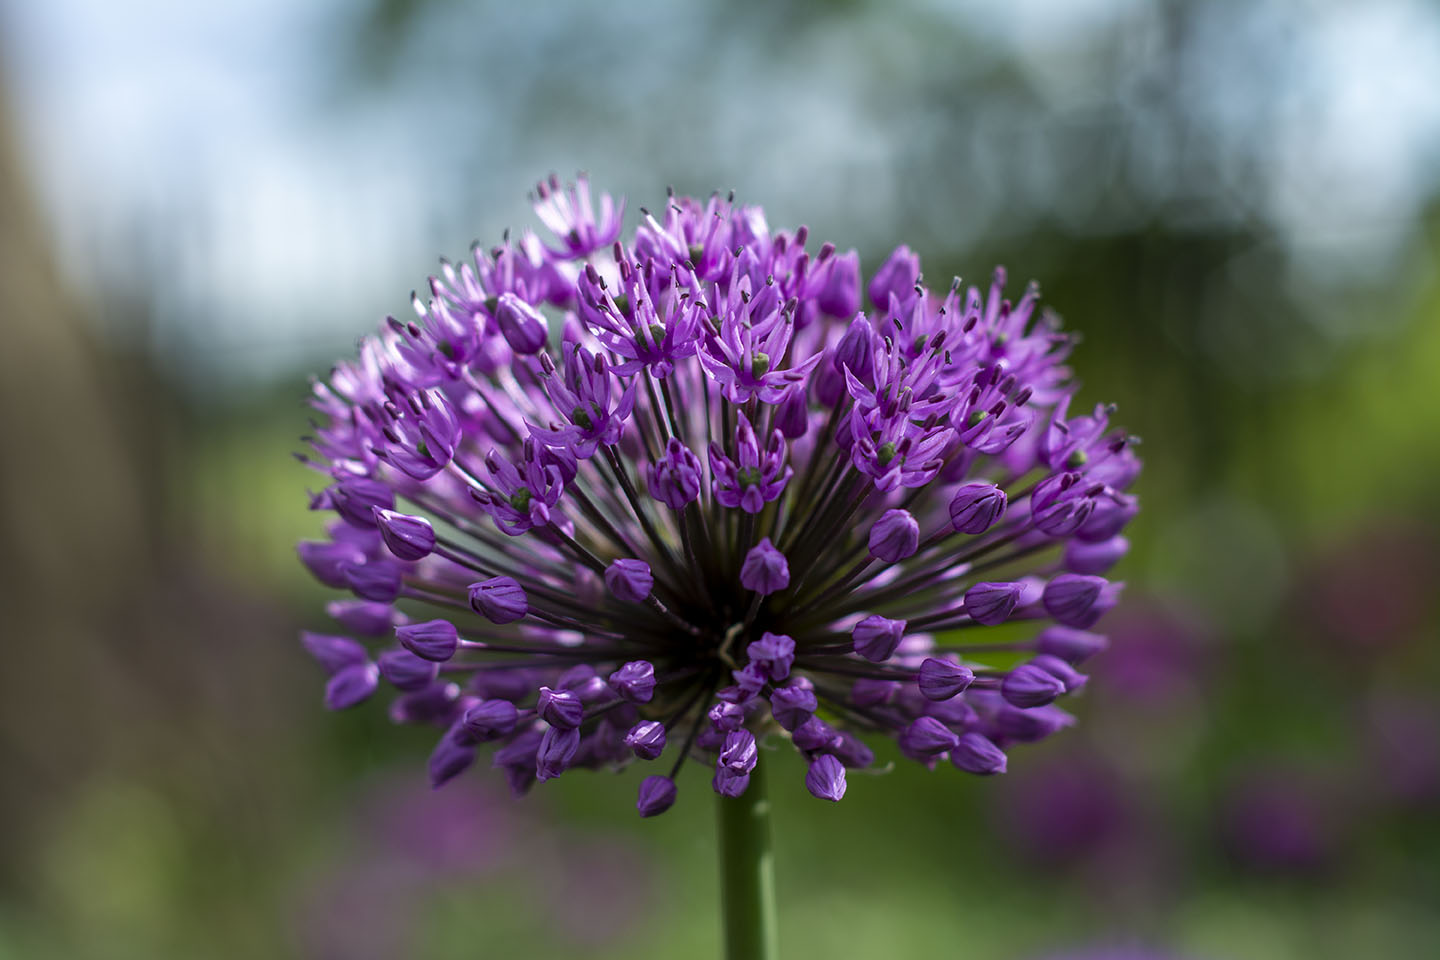
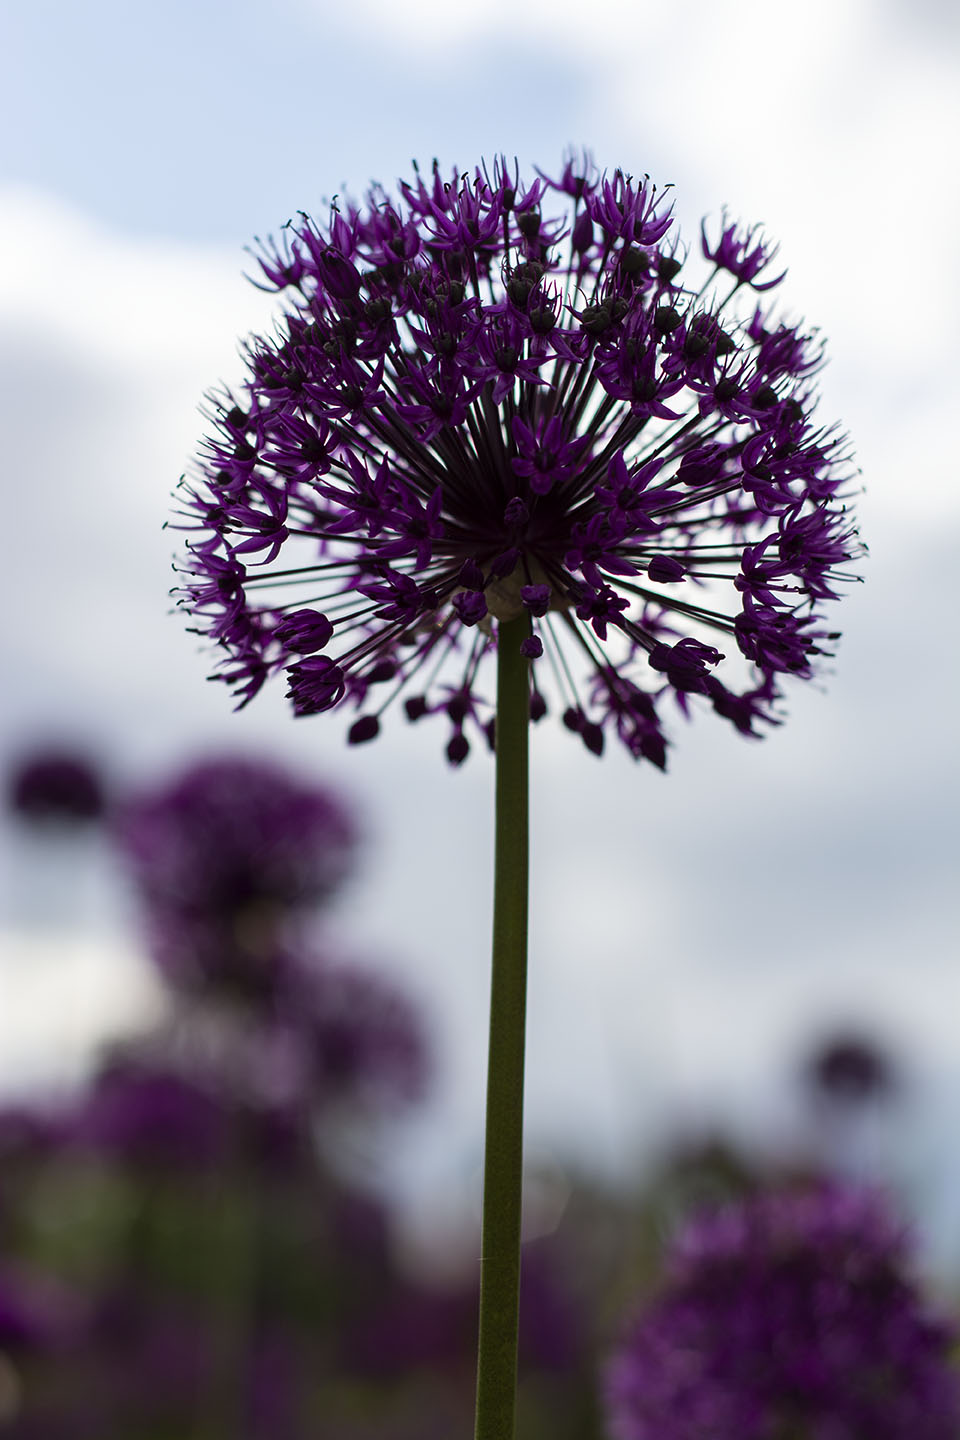
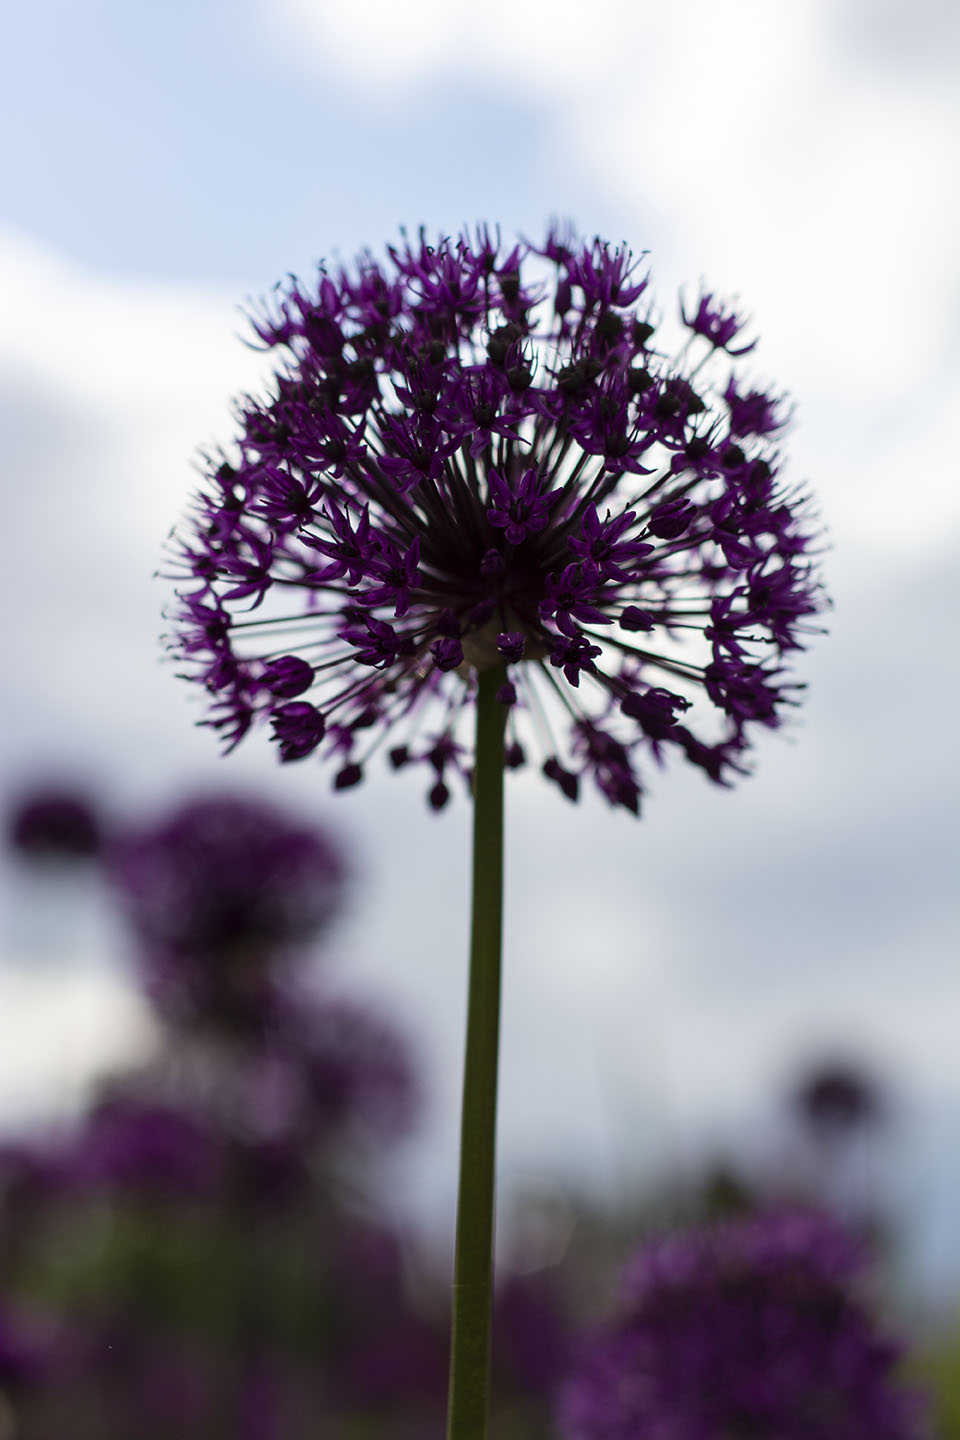
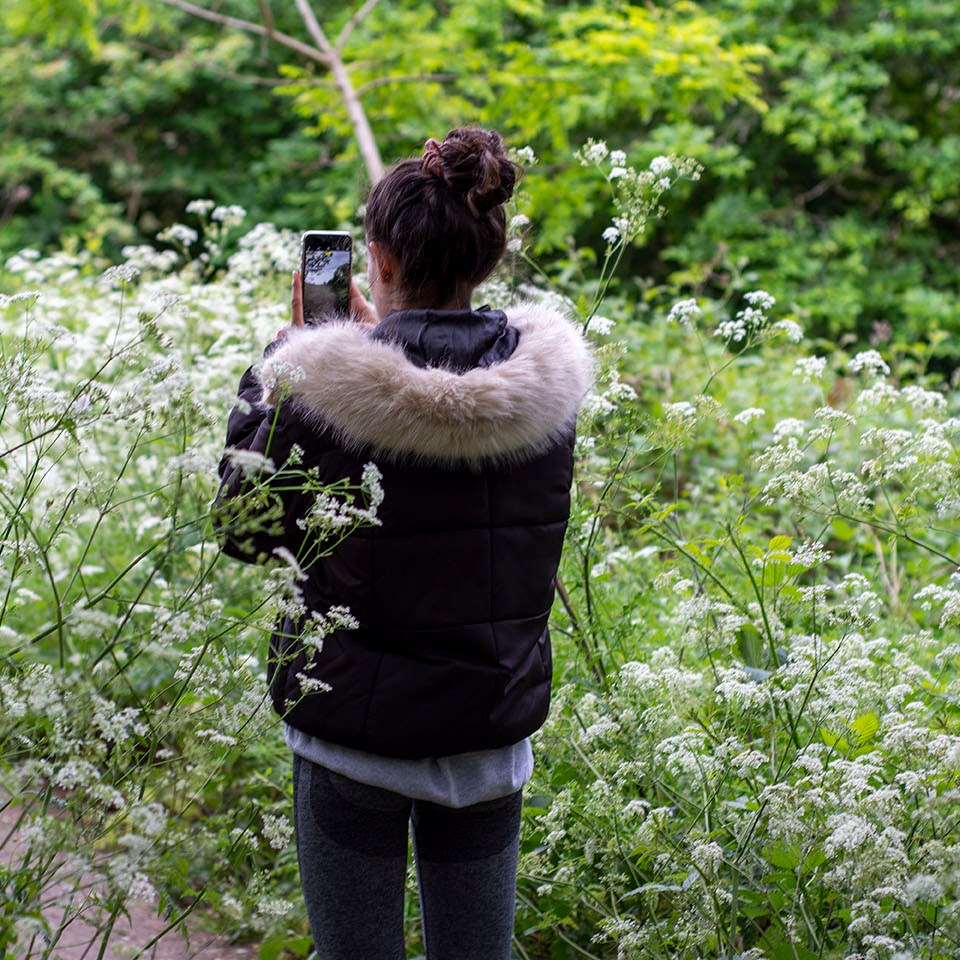
On a walk this week I stopped in the Terrace Gardens to try and capture some of the beautiful purple Alliums bordering these gardens.


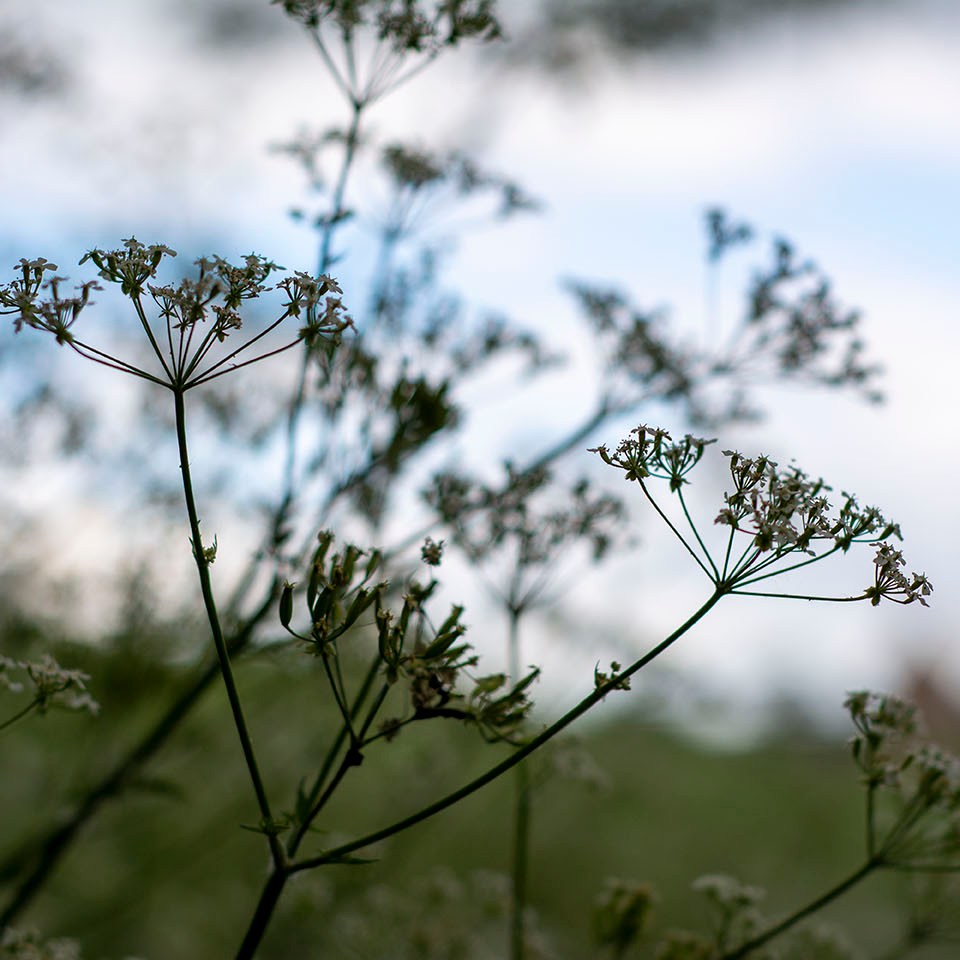
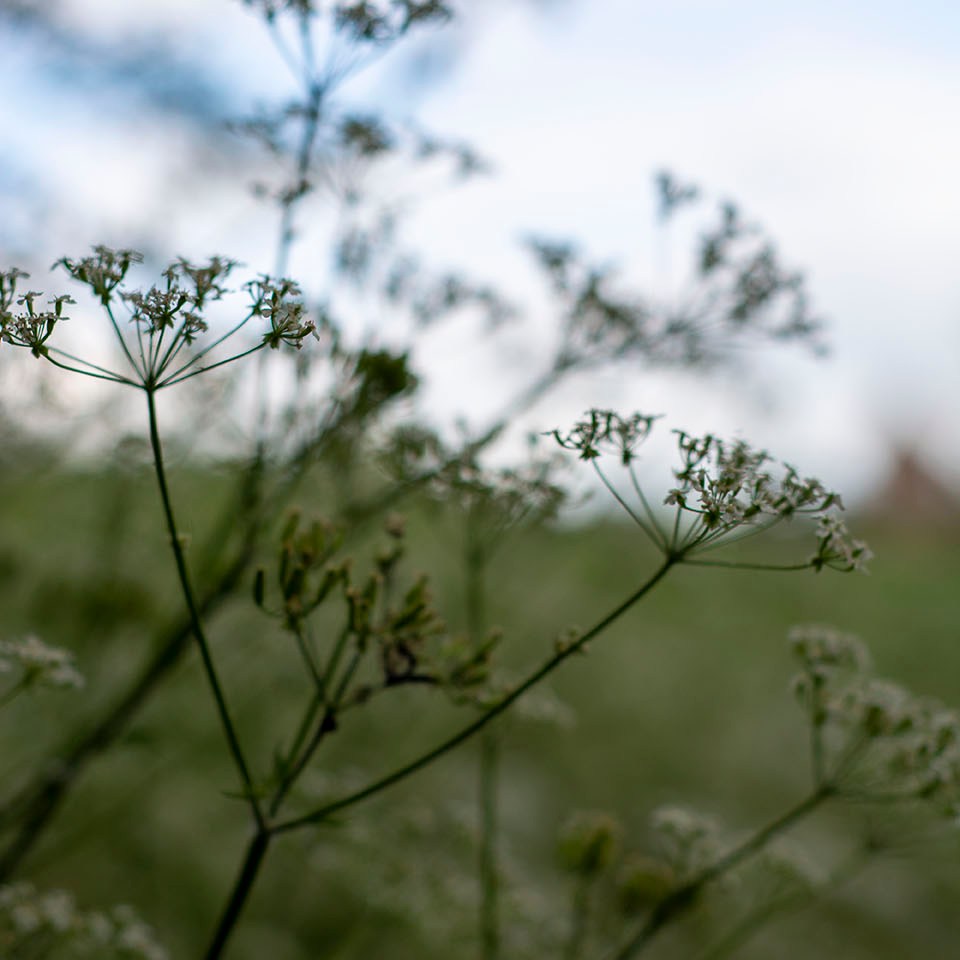
All the natural spaces outside are full of Cow Parsley at the moment. Walking out of the Terrace Gardens you come to an area that has been left to be over grown with Cow Parsley. I need to go back before it all dies to get some more shots.

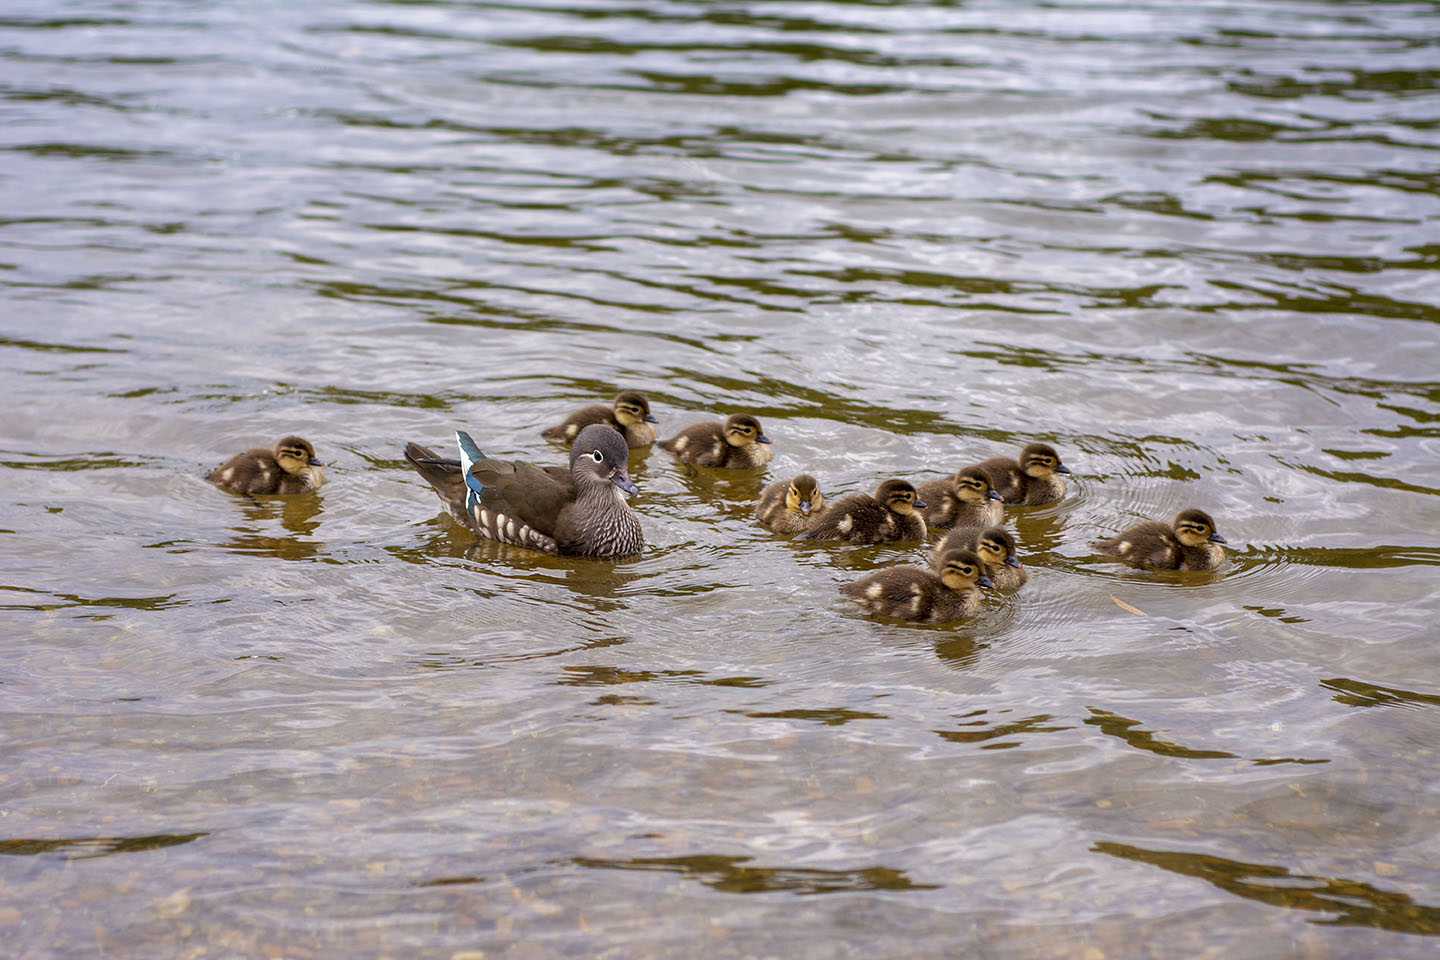
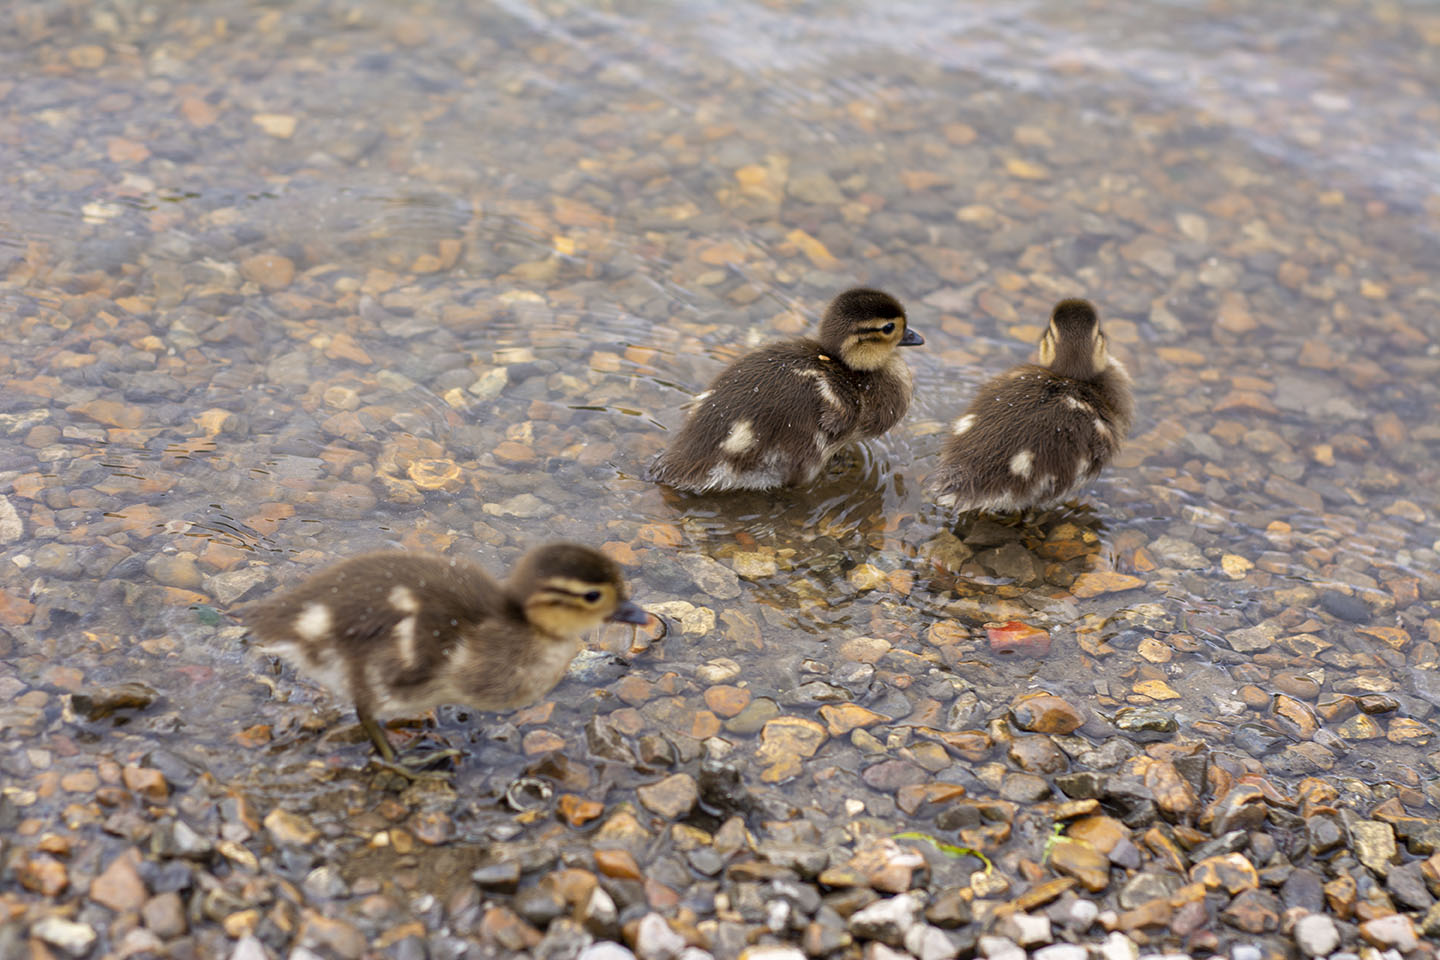
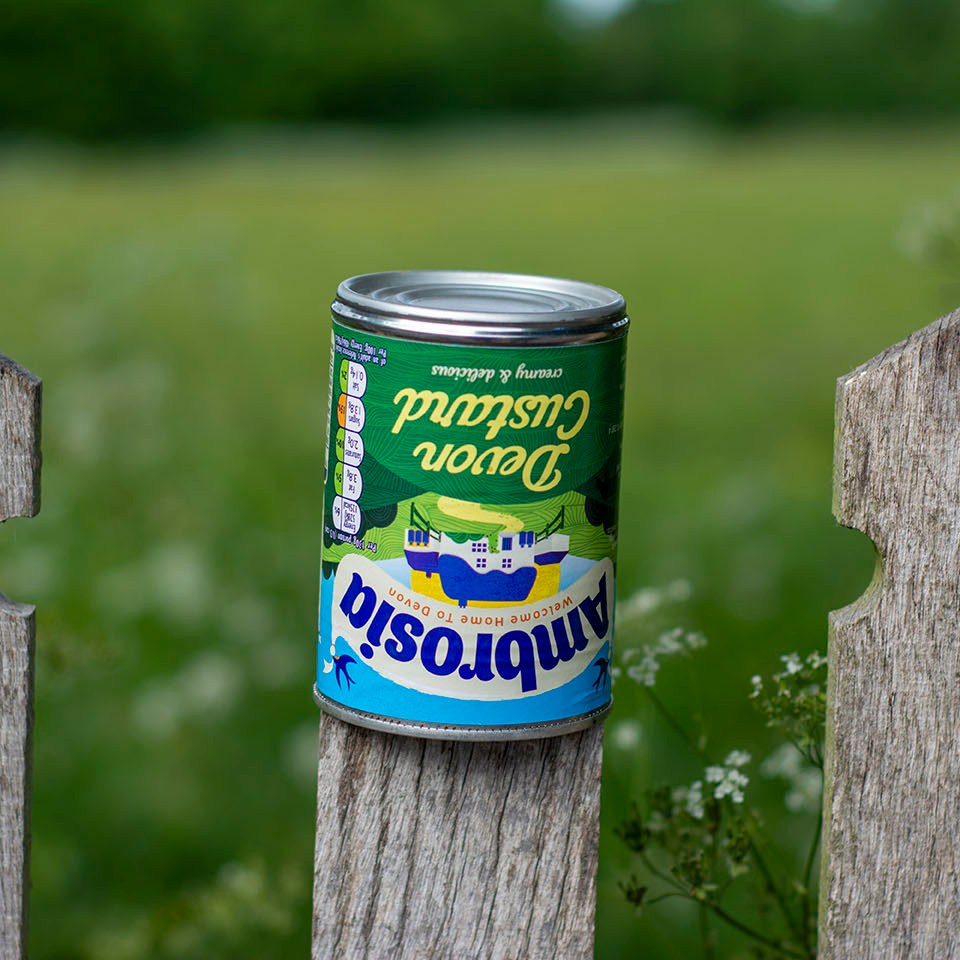

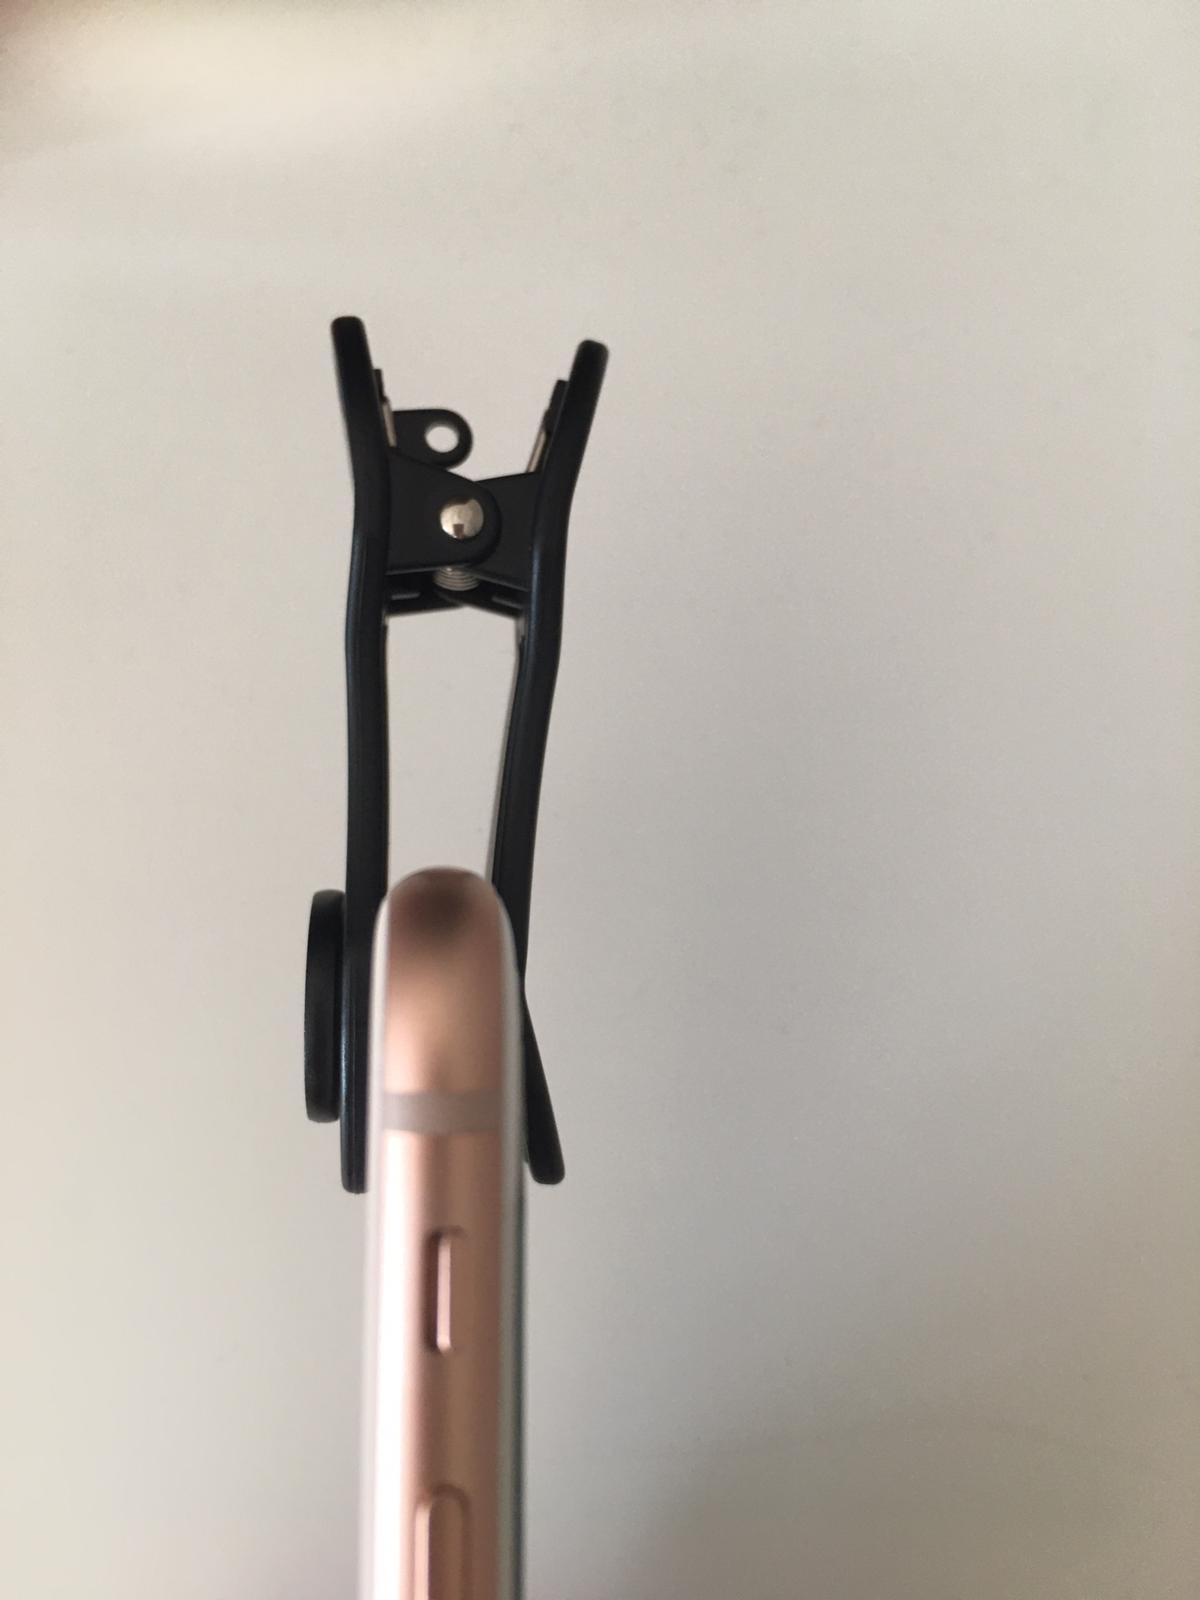
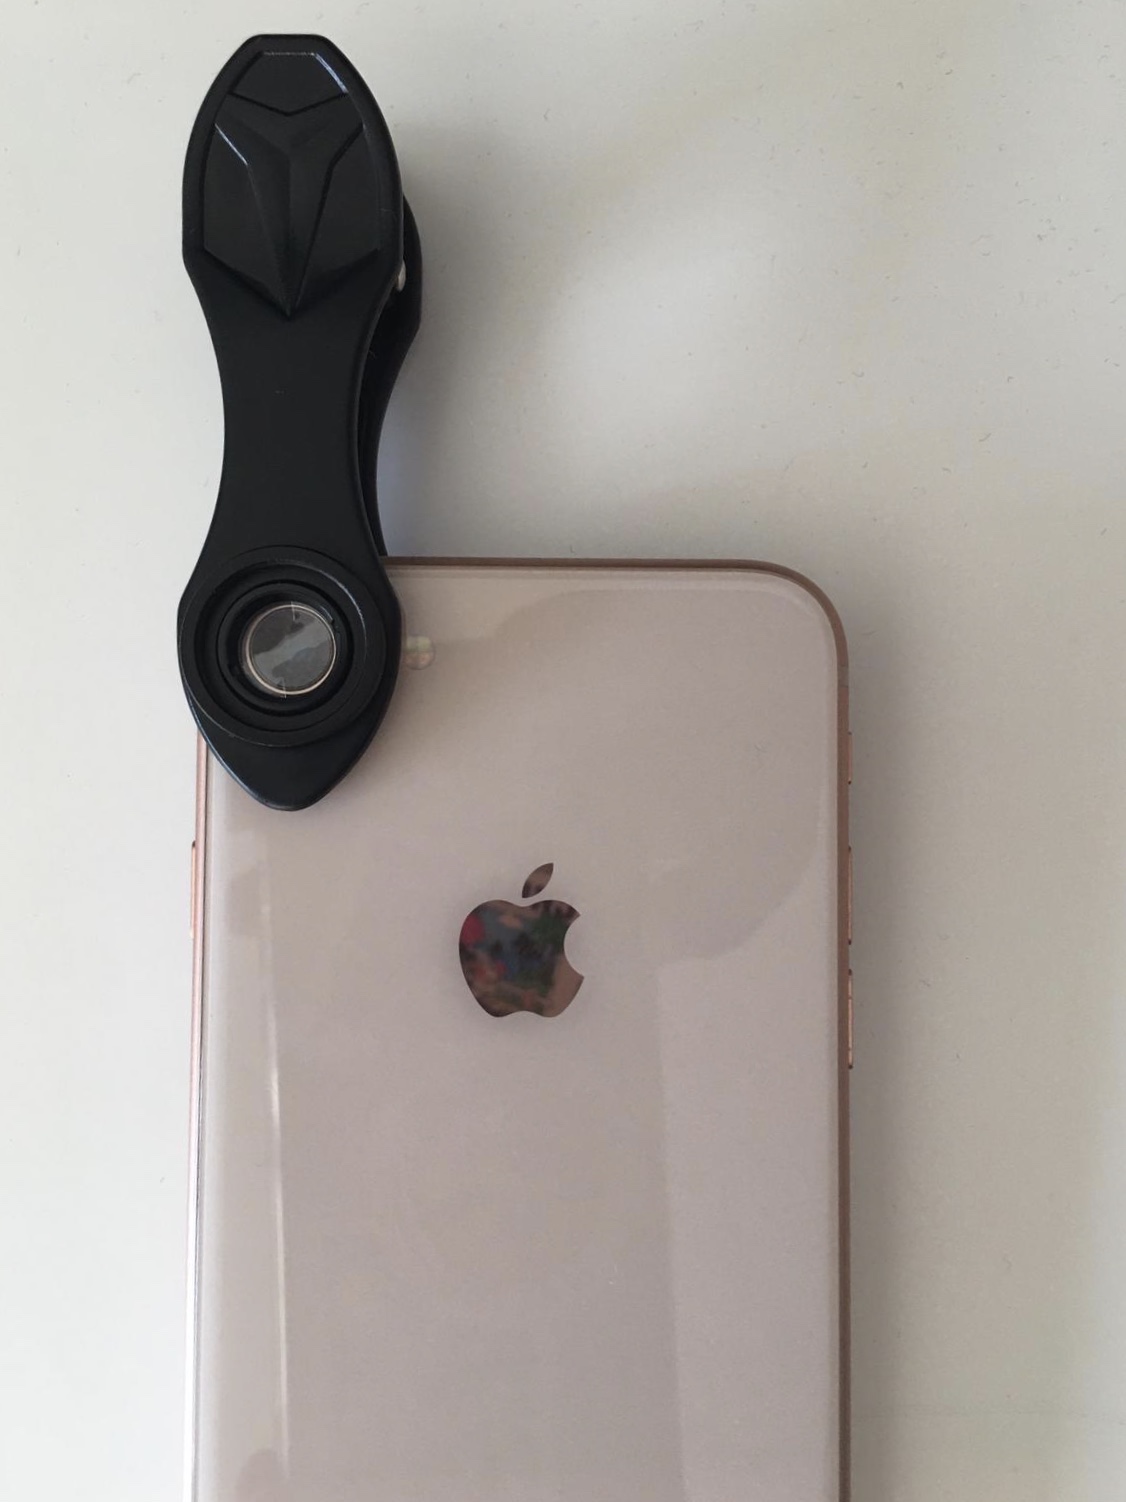
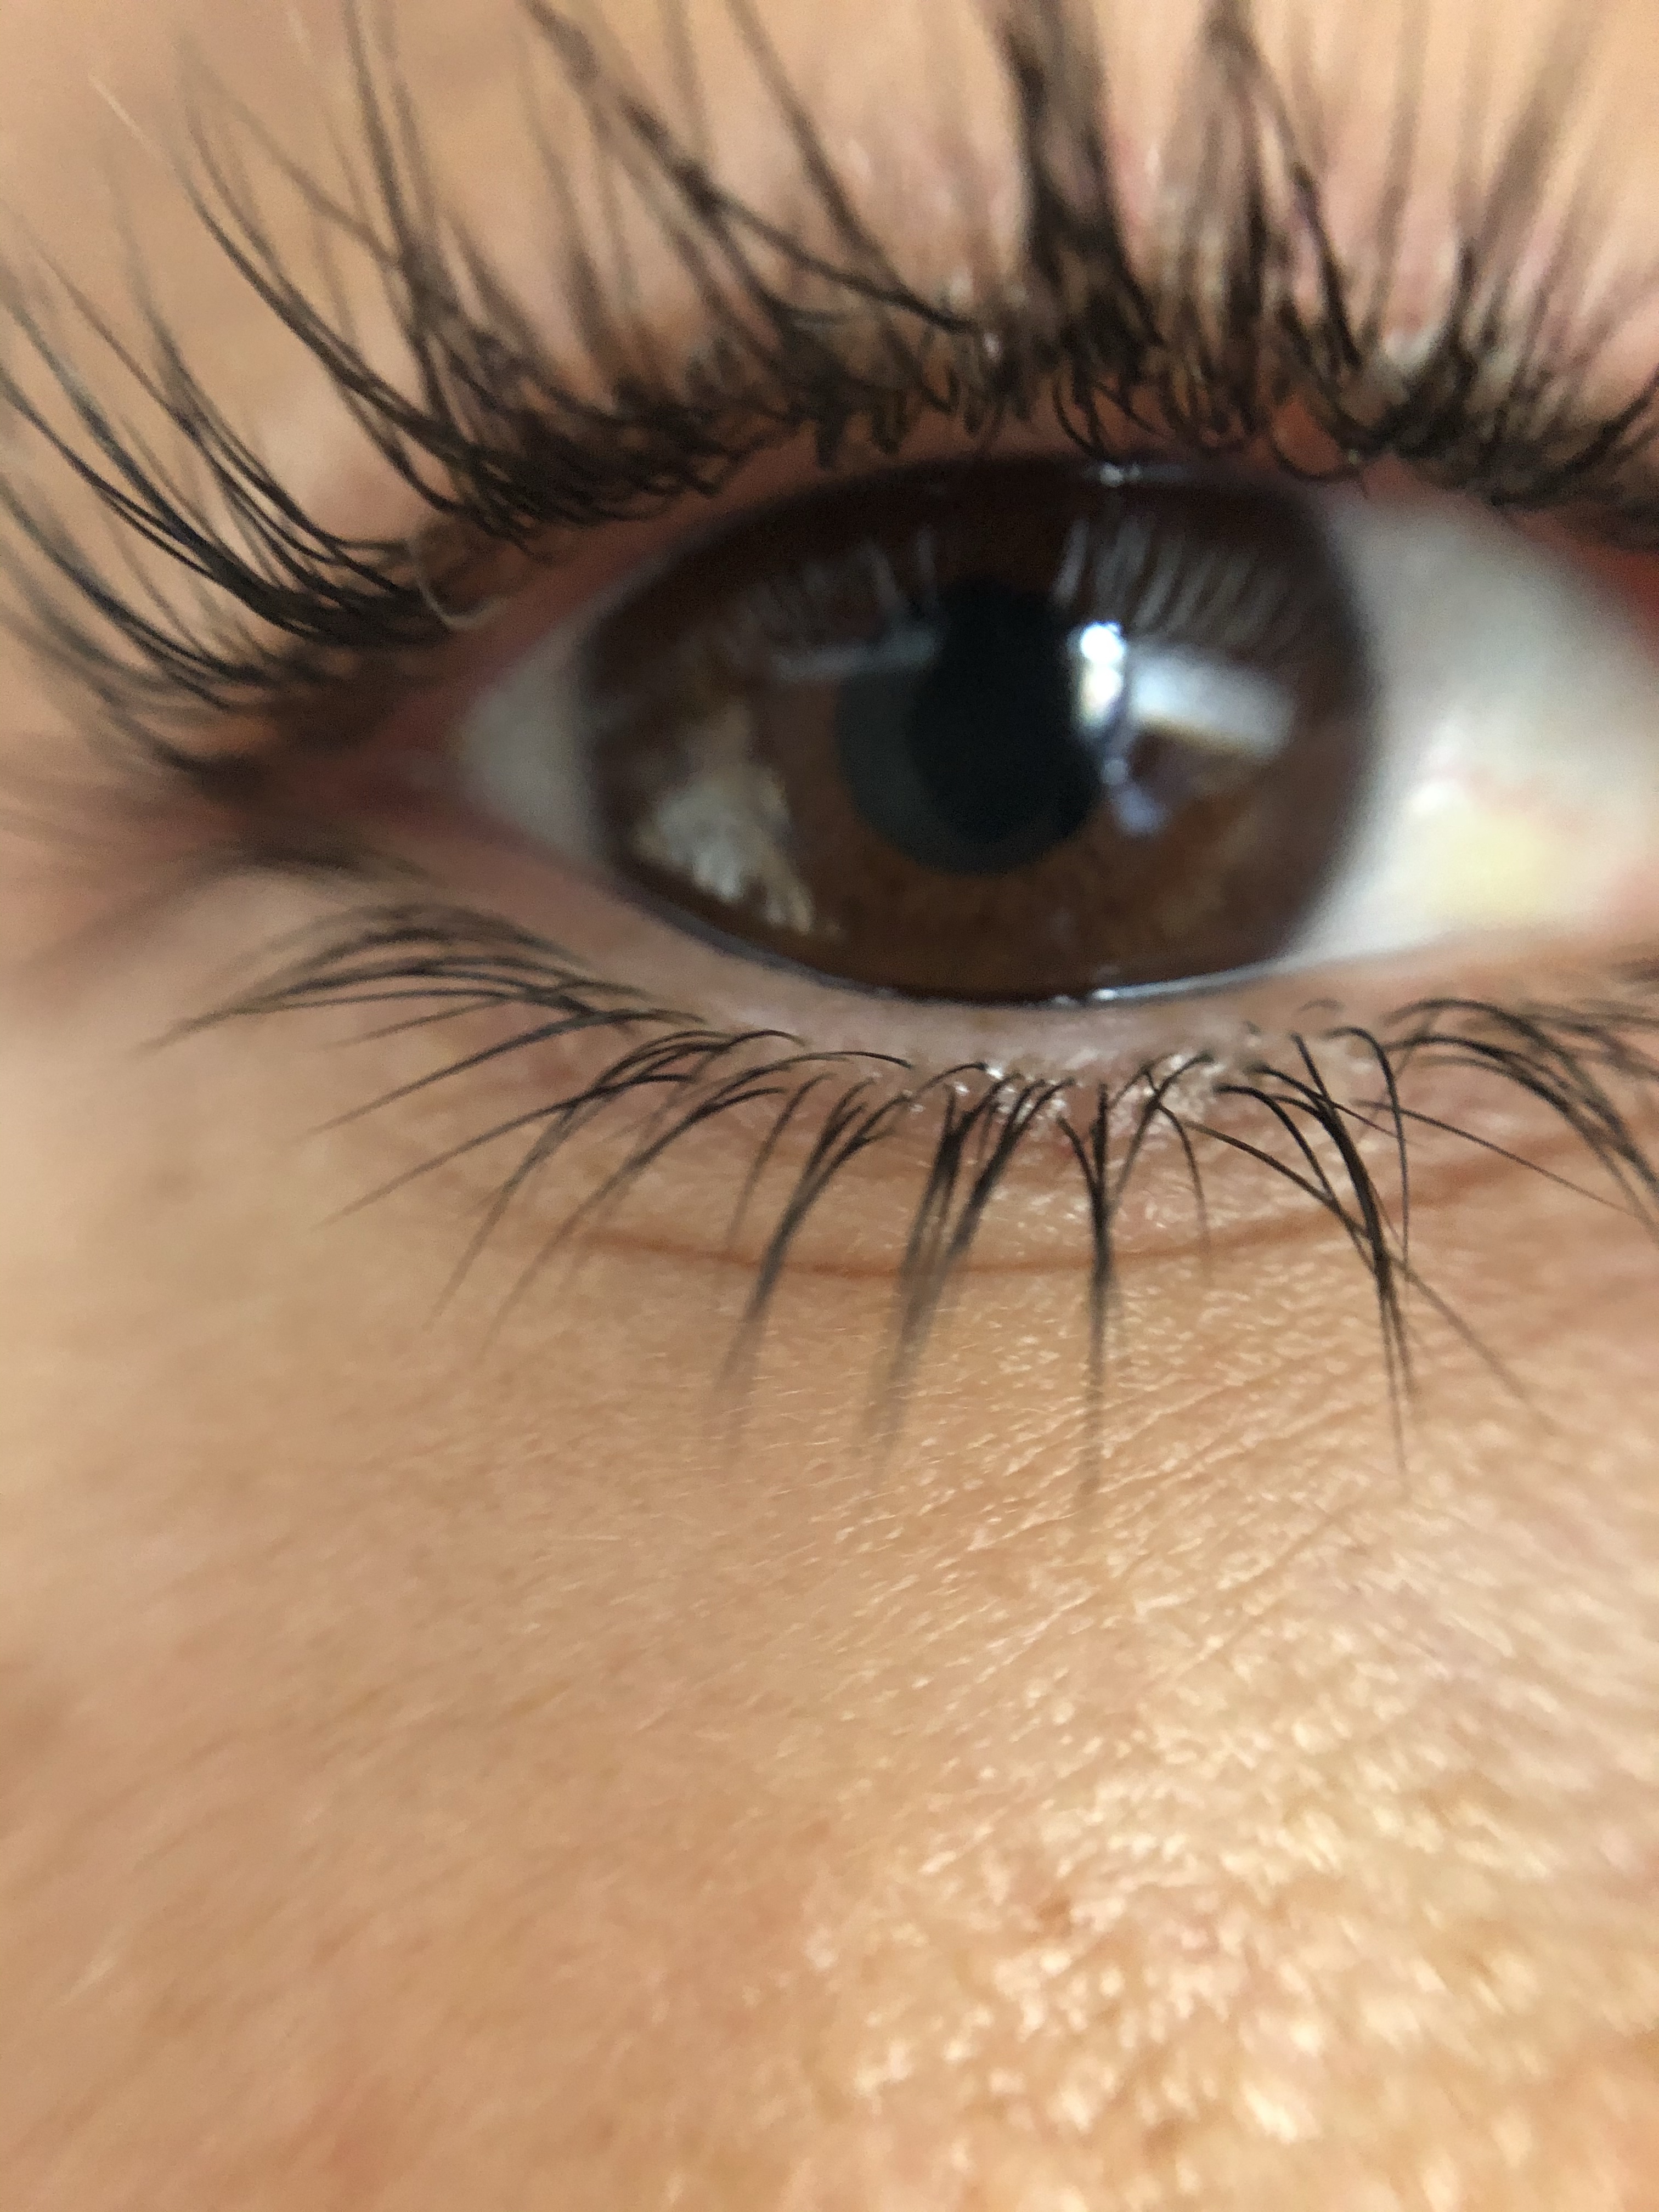
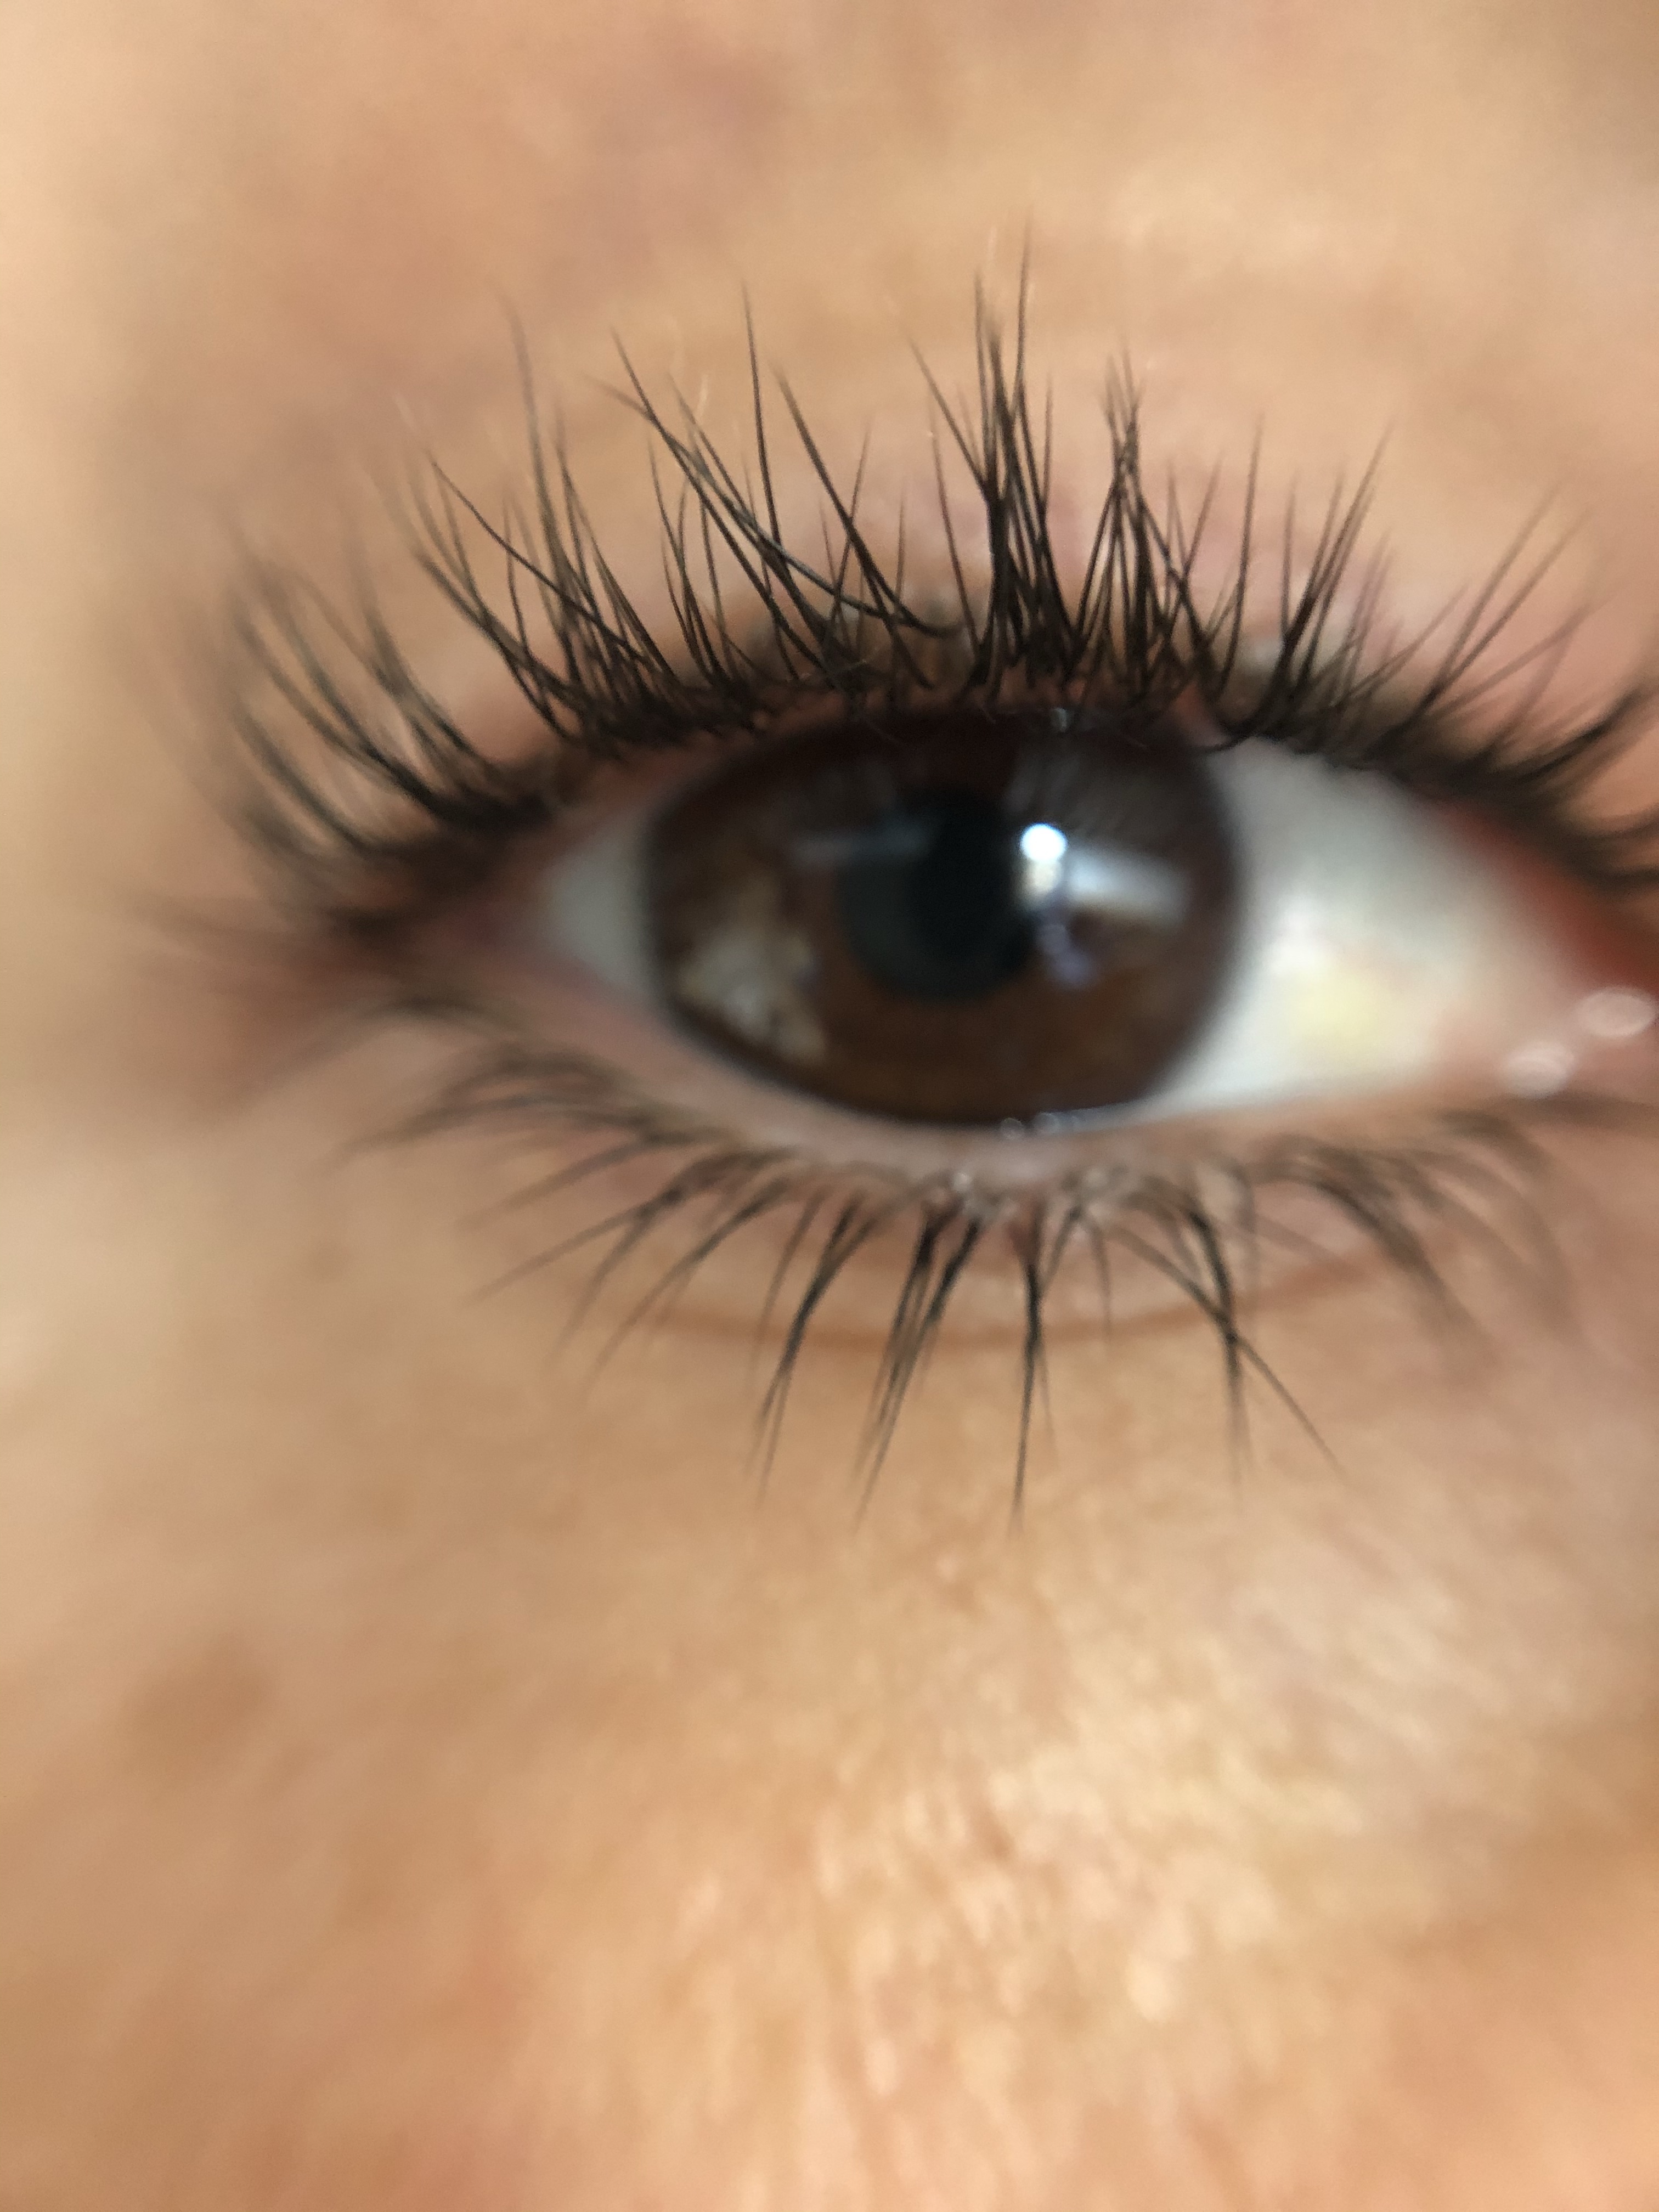
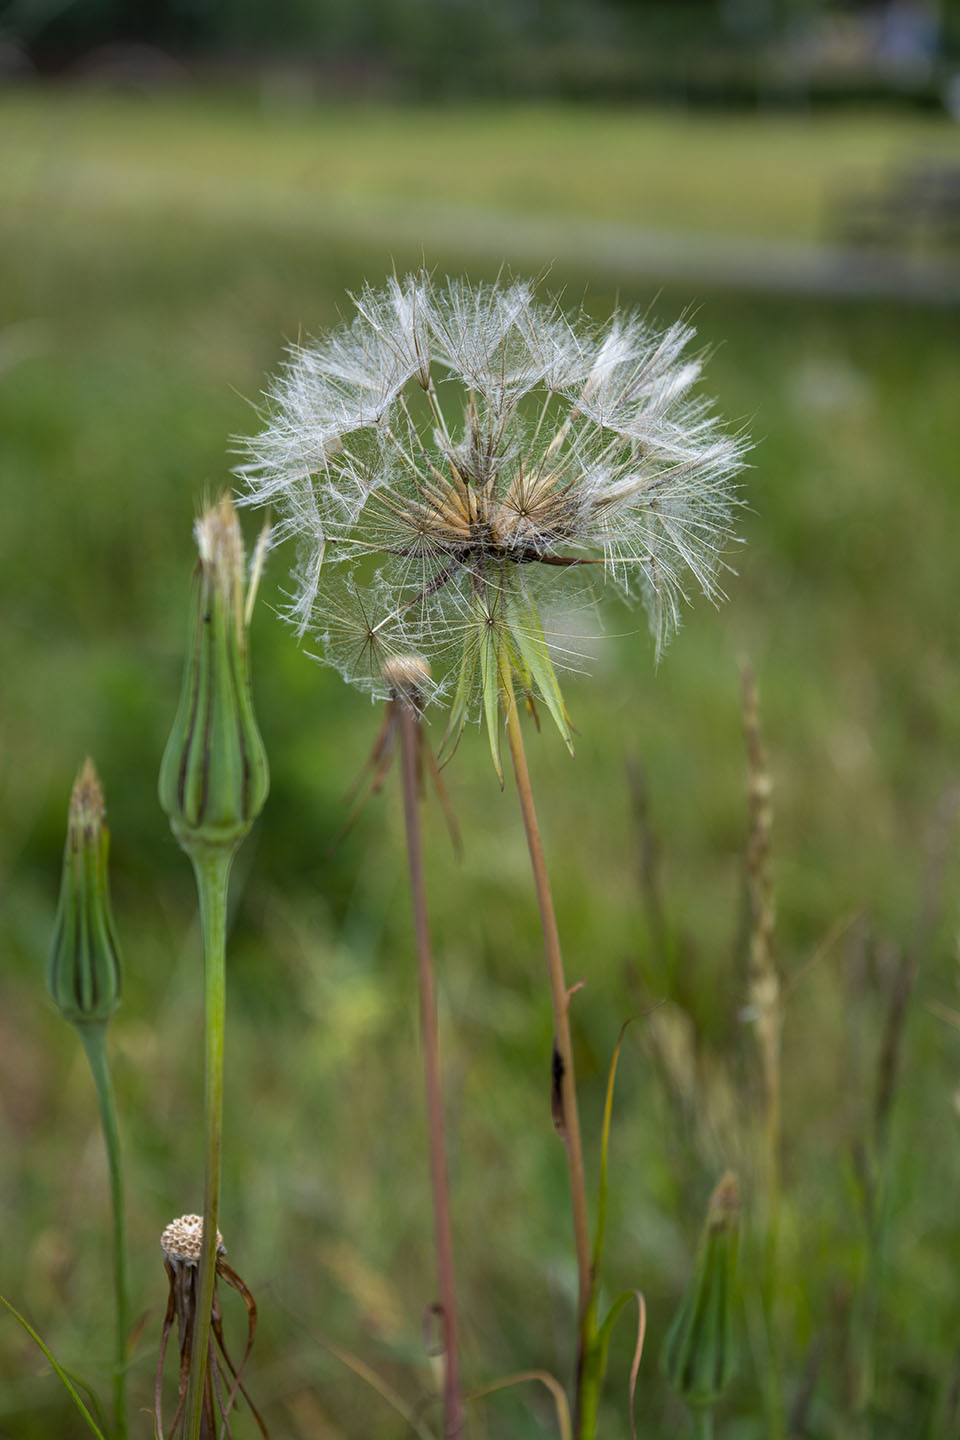
Macro photography is extreme close up photography. Used a lot to capture images of insects, flowers or anything very small. A Macro Lens or equivalent equipment is needed to magnify a subject. Macro Lenses can come in different focal lengths eg. 60mm, 100mm, 180mm. Longer focal length lenses are ideal for photographing wildlife and harder to get to places enabling you not to disturb your subject. These lenses will allow you to be different distances from the subject but not change the magnification of the subject.
You can reproduce an image of something very small, life size or even bigger. Usually a Macro lens reproduces images with a ratio 1:1, actual size. This is known as the reproduction ratio.
There are other equipment you can use to produce Macro images if you don’t have a Macro lens.
Macro Filters are screwed into a normal Lens thread just like UV or ND filters also known as secondary lens. Allowing the primary lens to focus more closely.
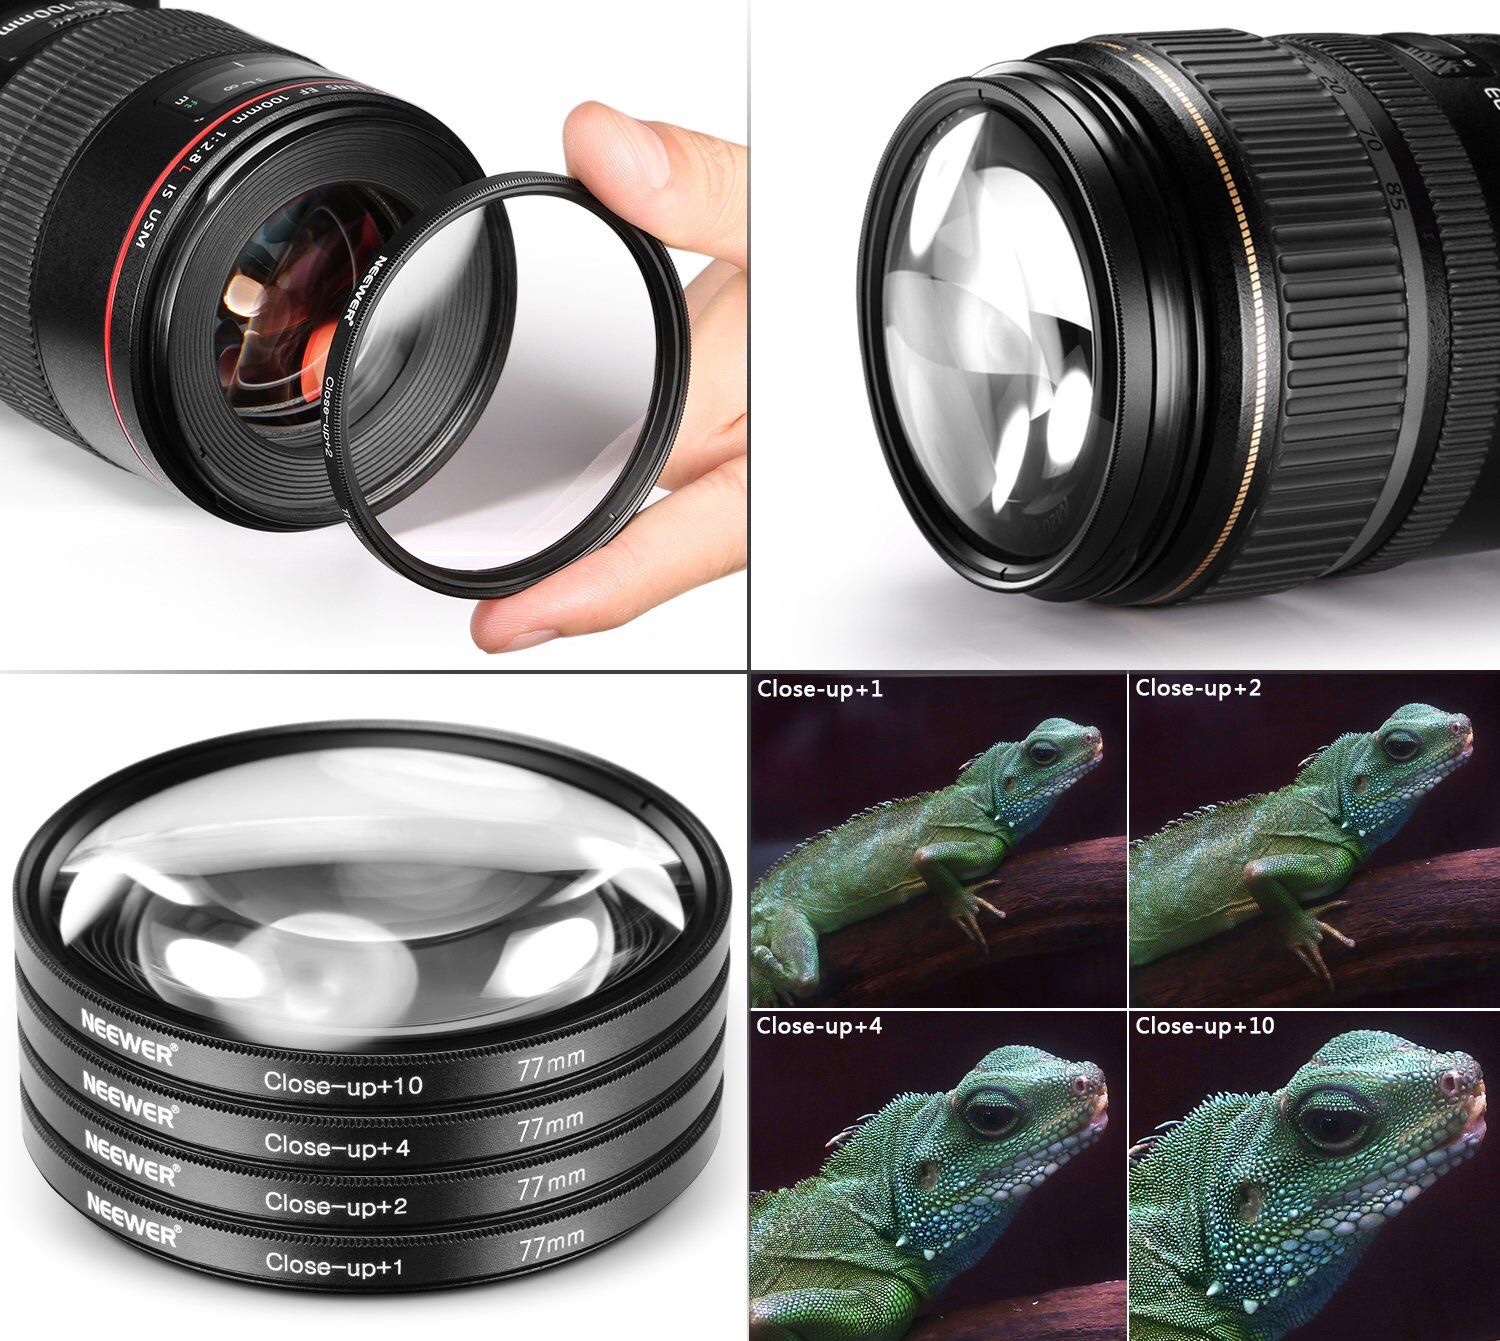
Adding one or more Macro filters adds to the magnification.
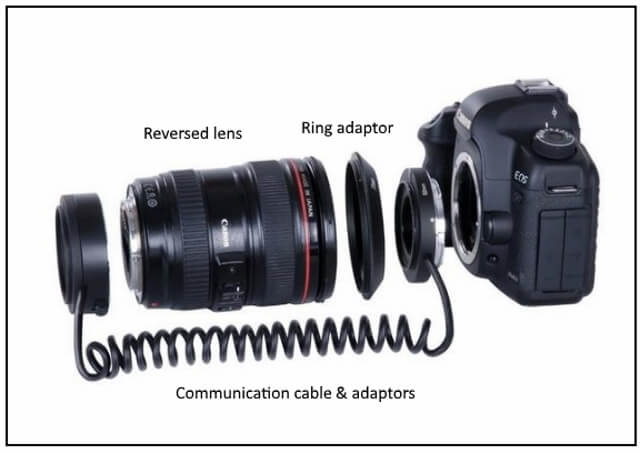
A reversing ring is a good and in-expensive way of achieving Macro photography. The ring allows you to attach your lens on your camera the opposite way to normal. With this you can achieve very close focusing.

A Bellows is a pleated extendable part of the camera. Made for large or medium format cameras. The Bellows allows you to move the lens away from the camera much further than extension tubes.


Macro lenses are not just used for Macro photography, they make great portrait lenses too.
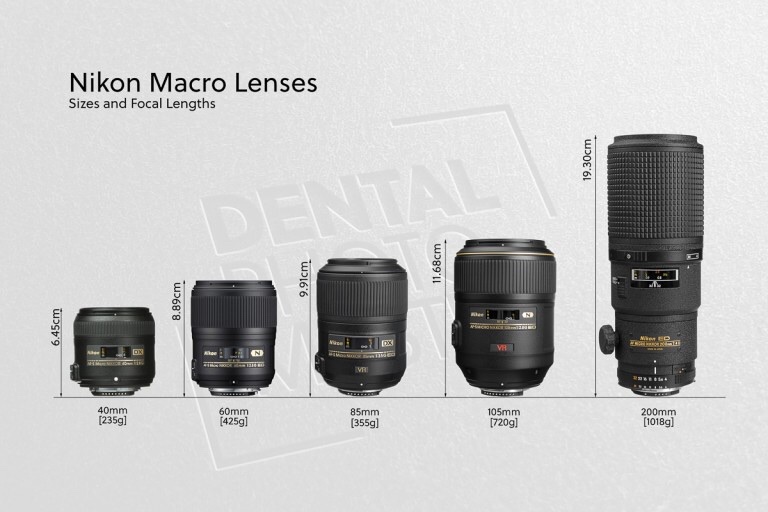
• Focal lengths up to 60mm – Useful in product photography (e.g. jewelry) and small objects that can be approached and lit in a controlled environment.
• 60-150mm – Usable with caution for insects, flowers, and small objects from a greater distance.
•Above 150mm – Ideal for critters where additional working distance and additional lighting options are preferred.
Taken from http://www.digital-photography-school.com
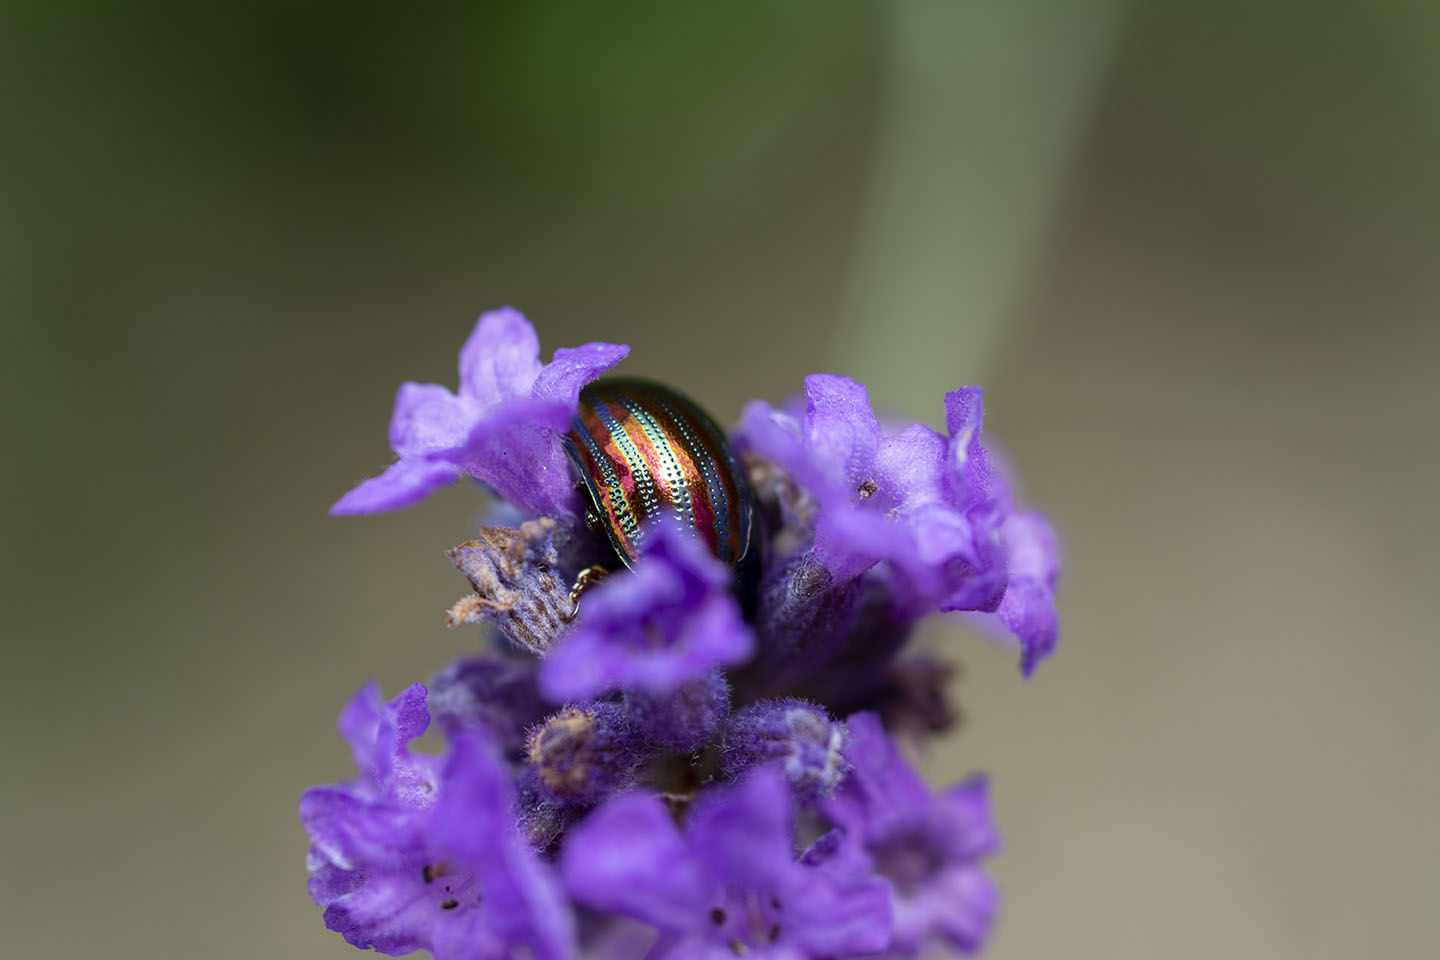
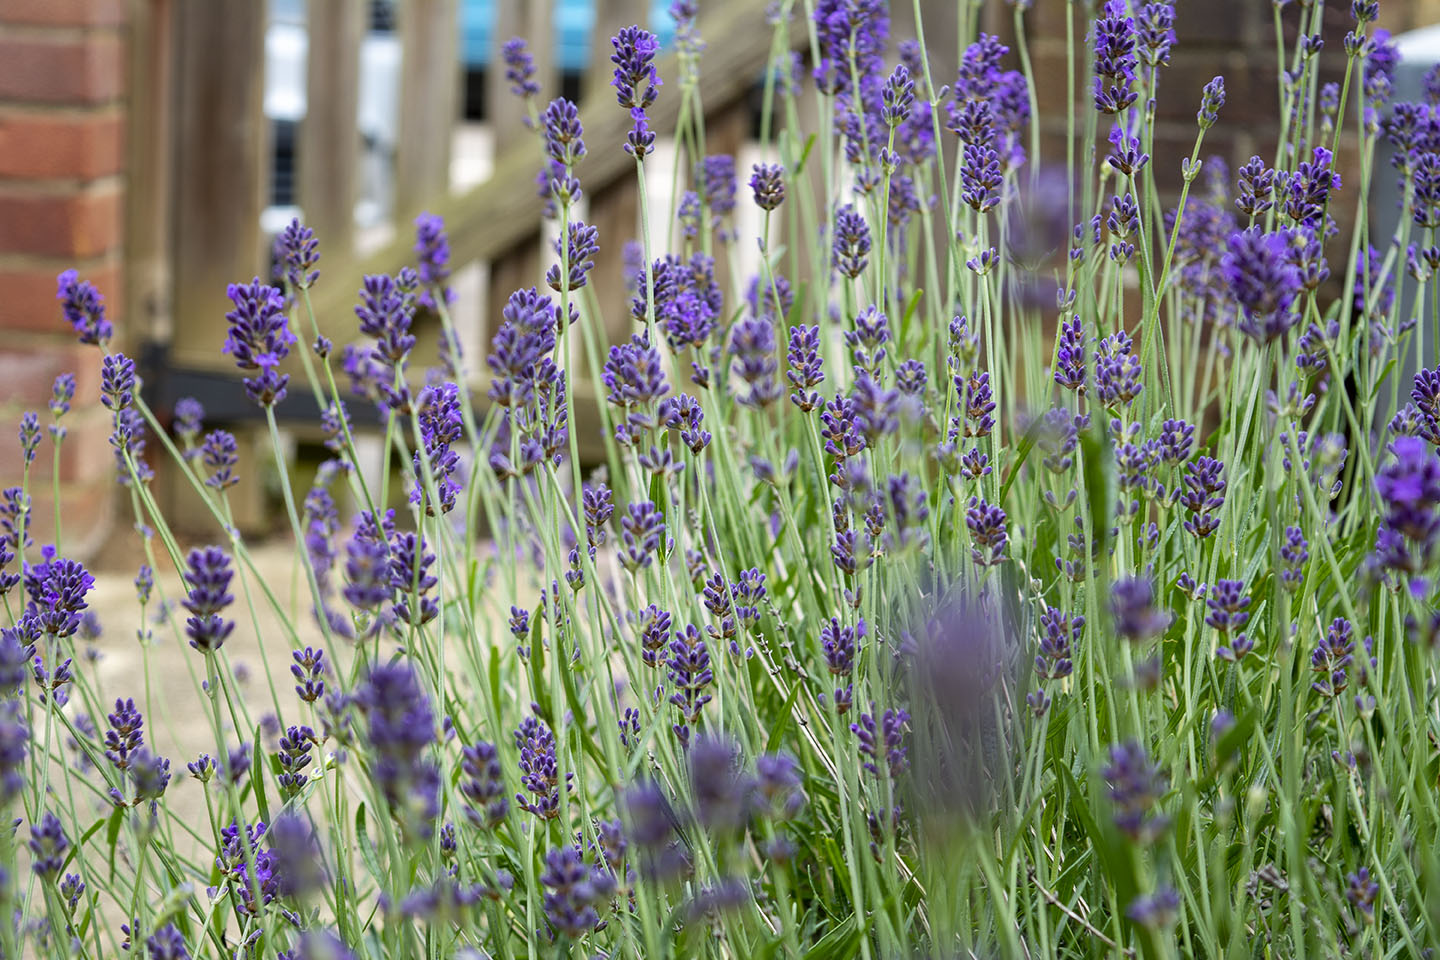
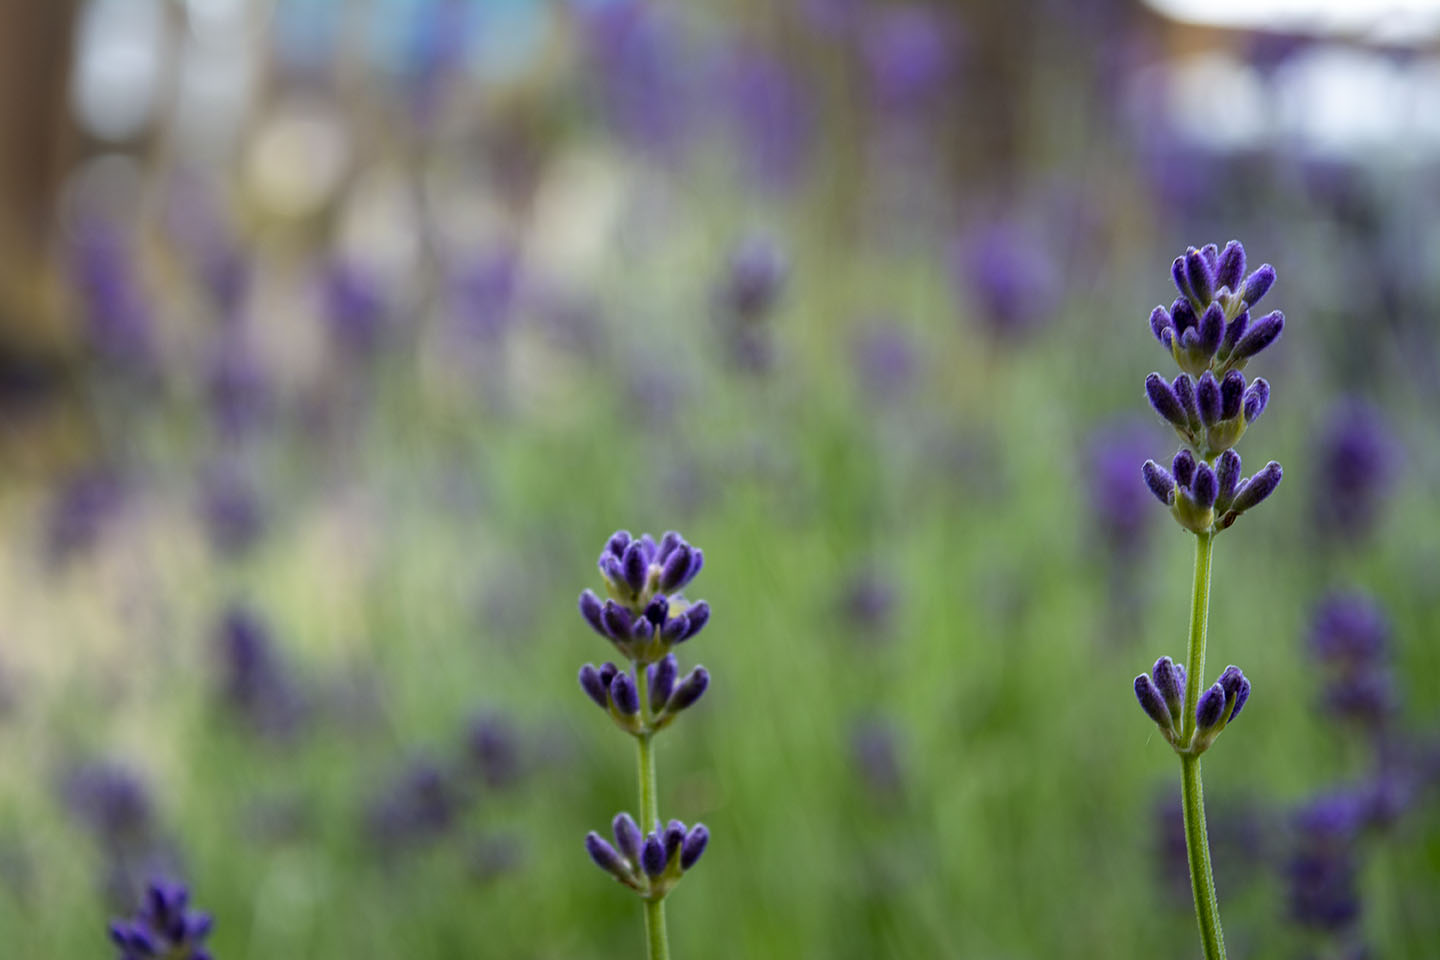
I really loved the colours of the Rosemary Beetle on the Lavender, so I cut a piece with a beelte on and placed it on a plate to try and get a better shot. I had to coax the beetle off the plant as they seem to love being face down in the Lavender.
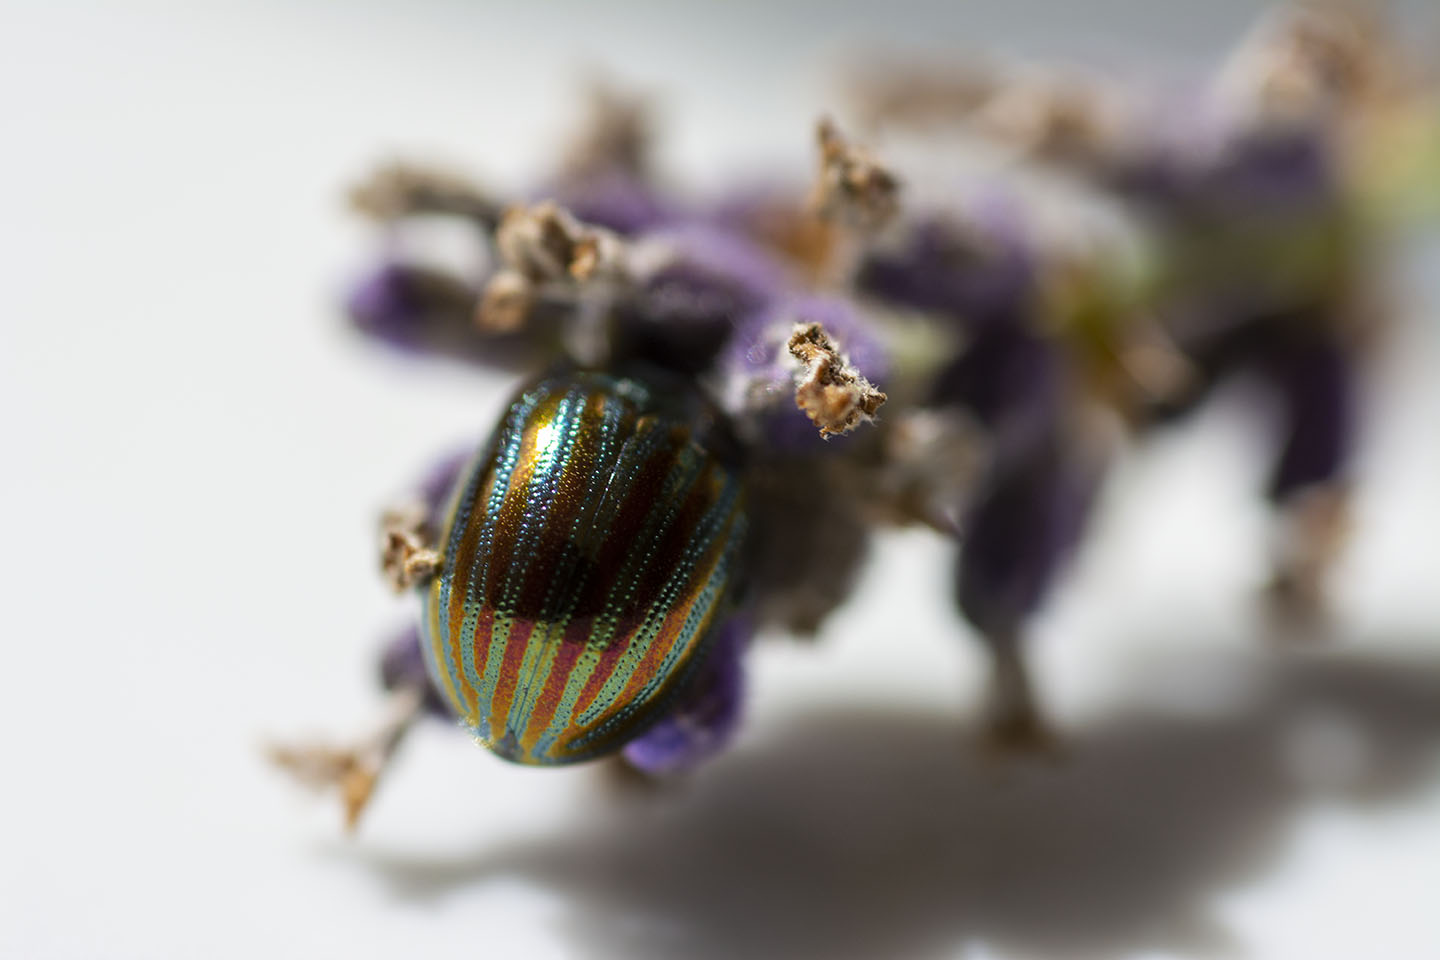
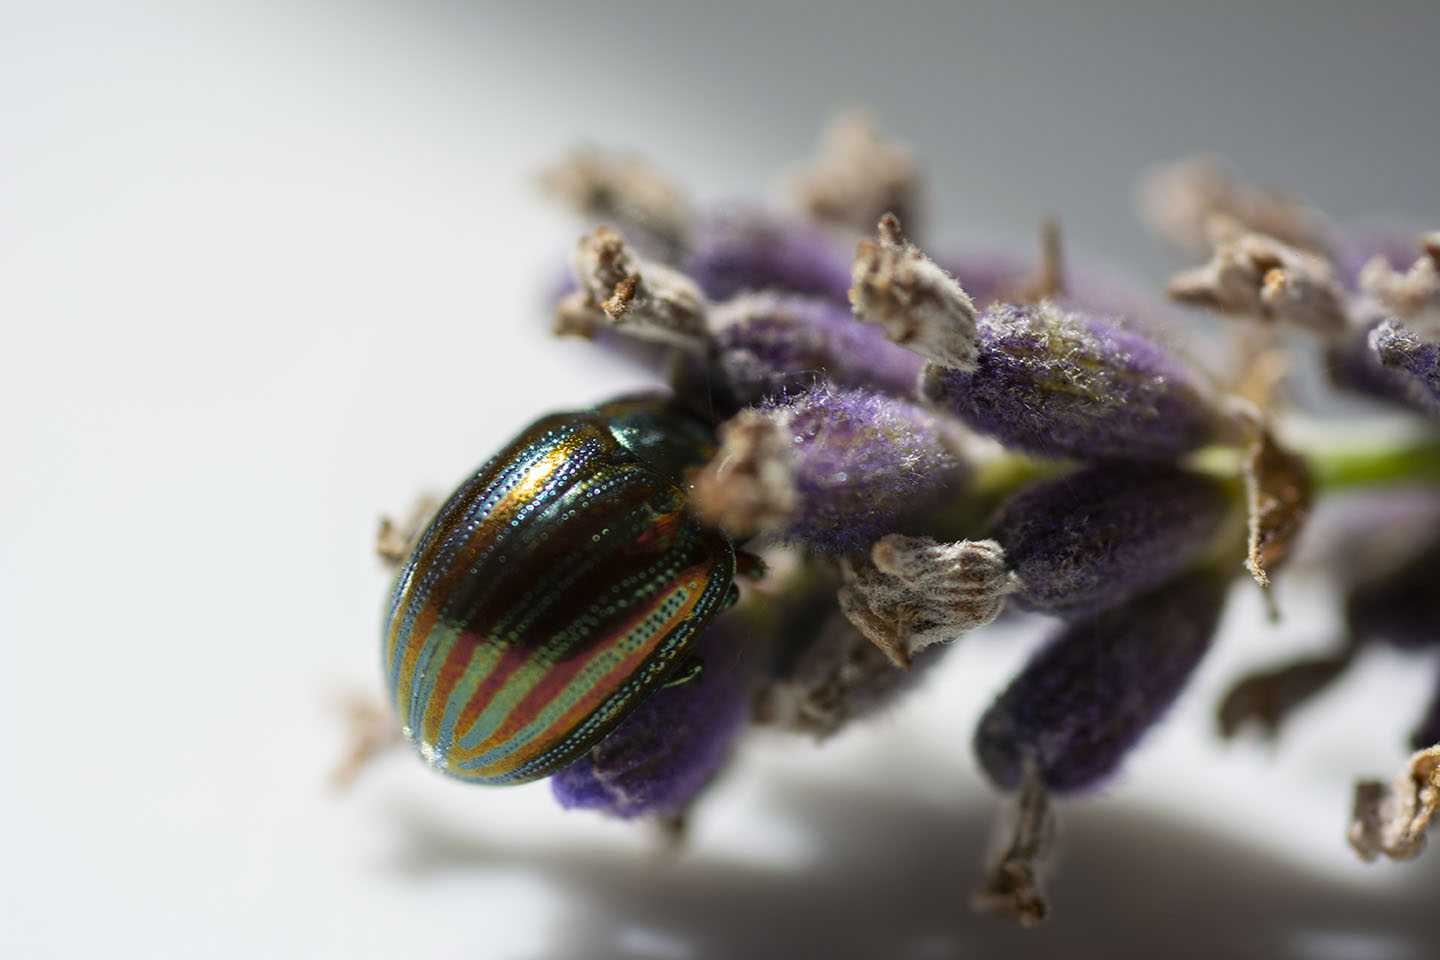


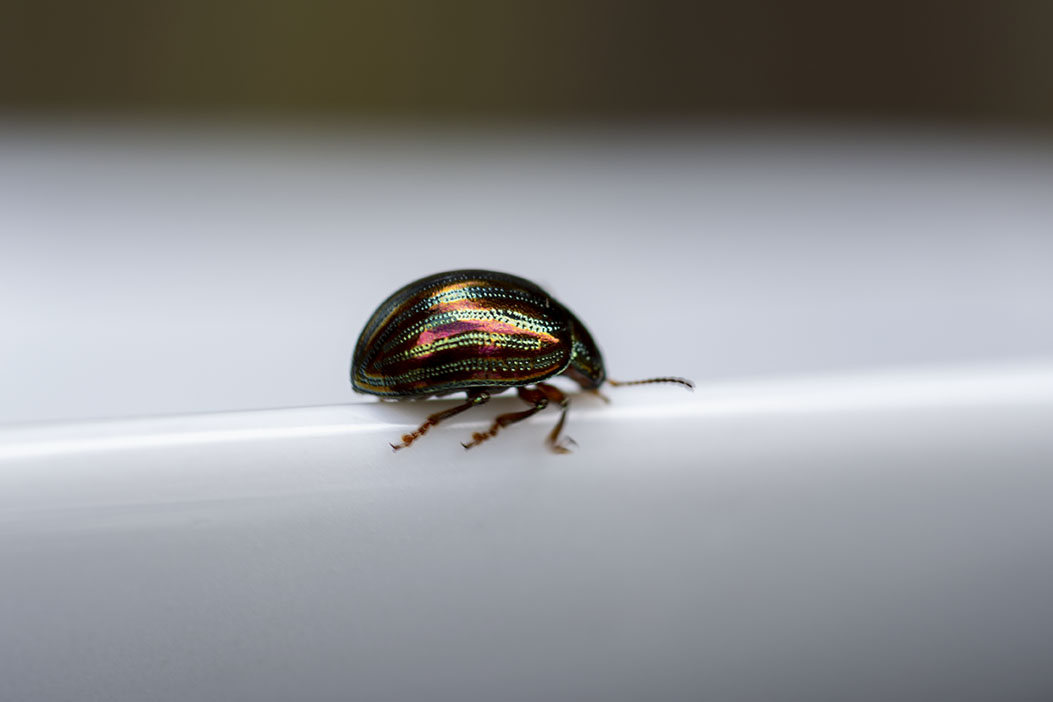
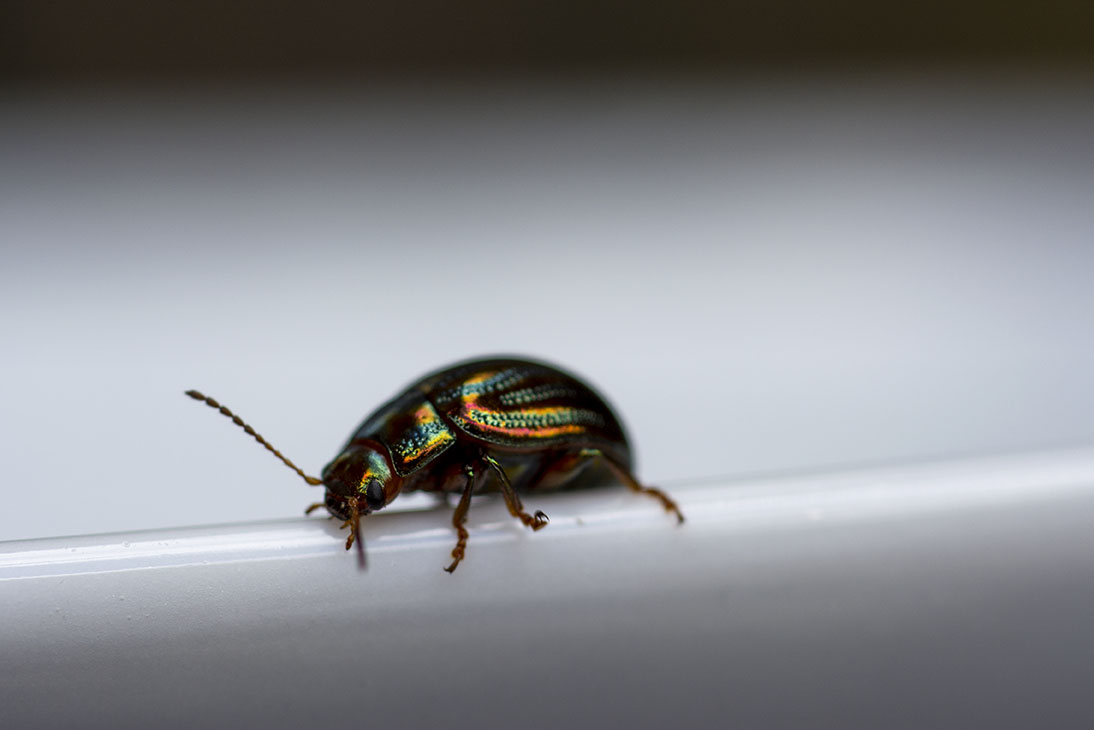
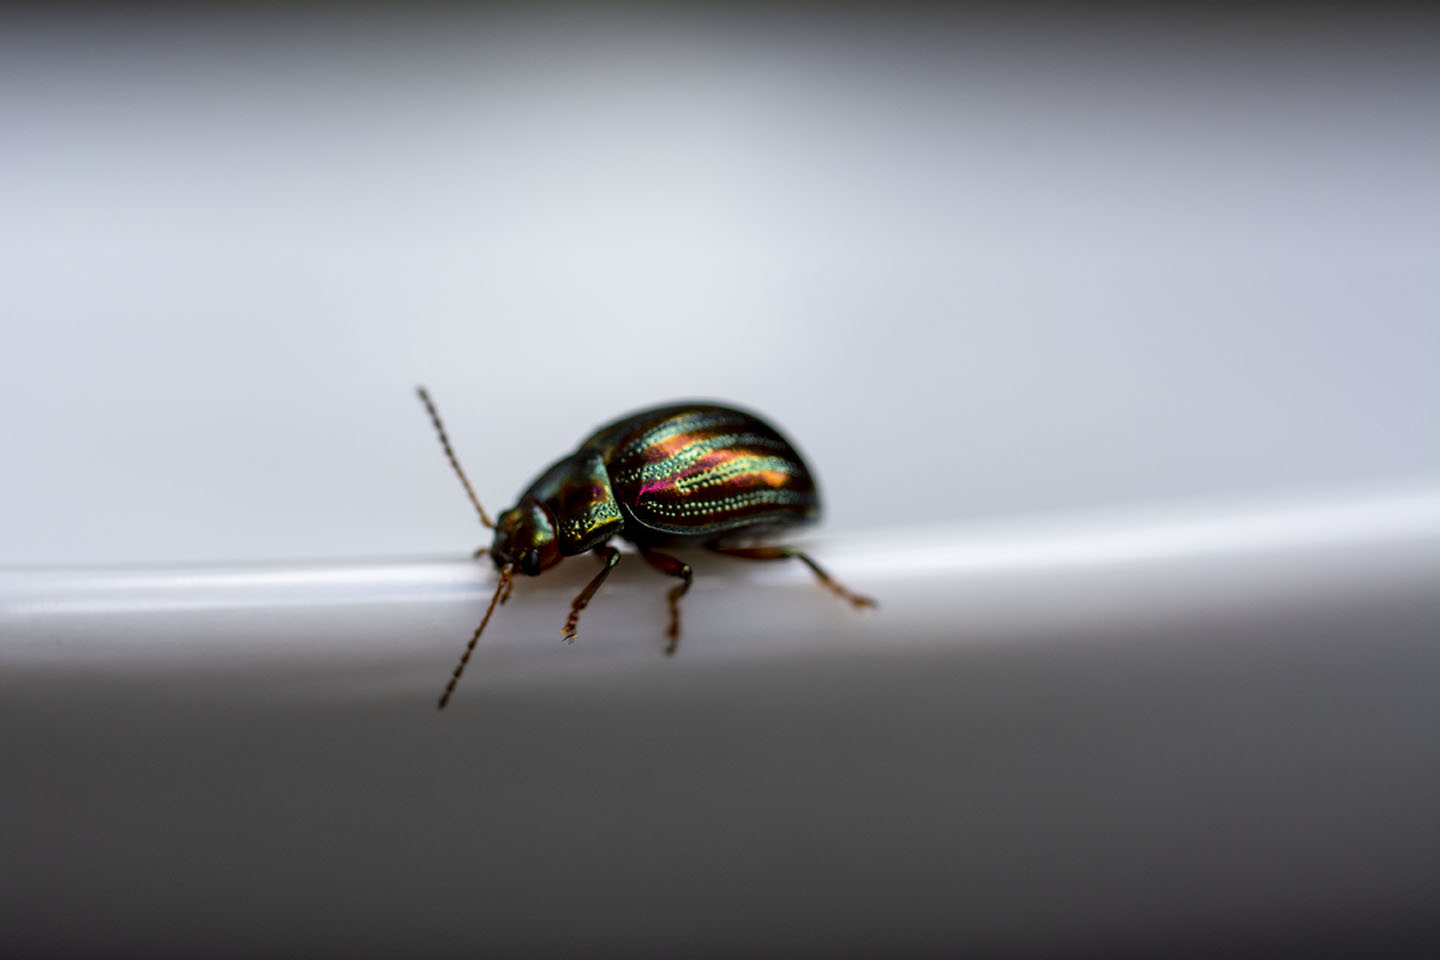
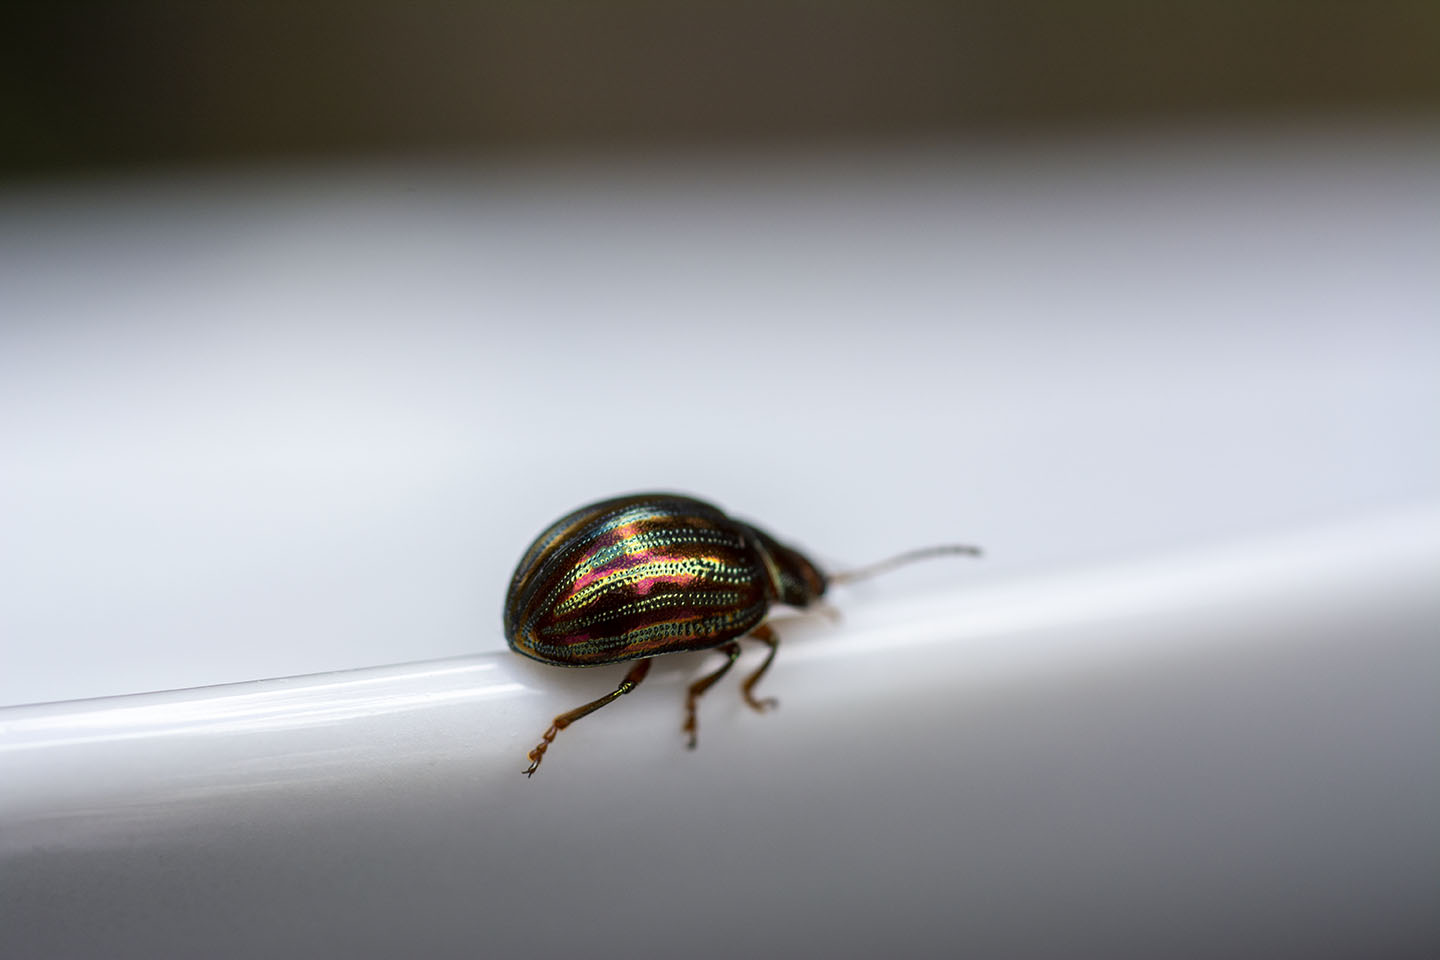

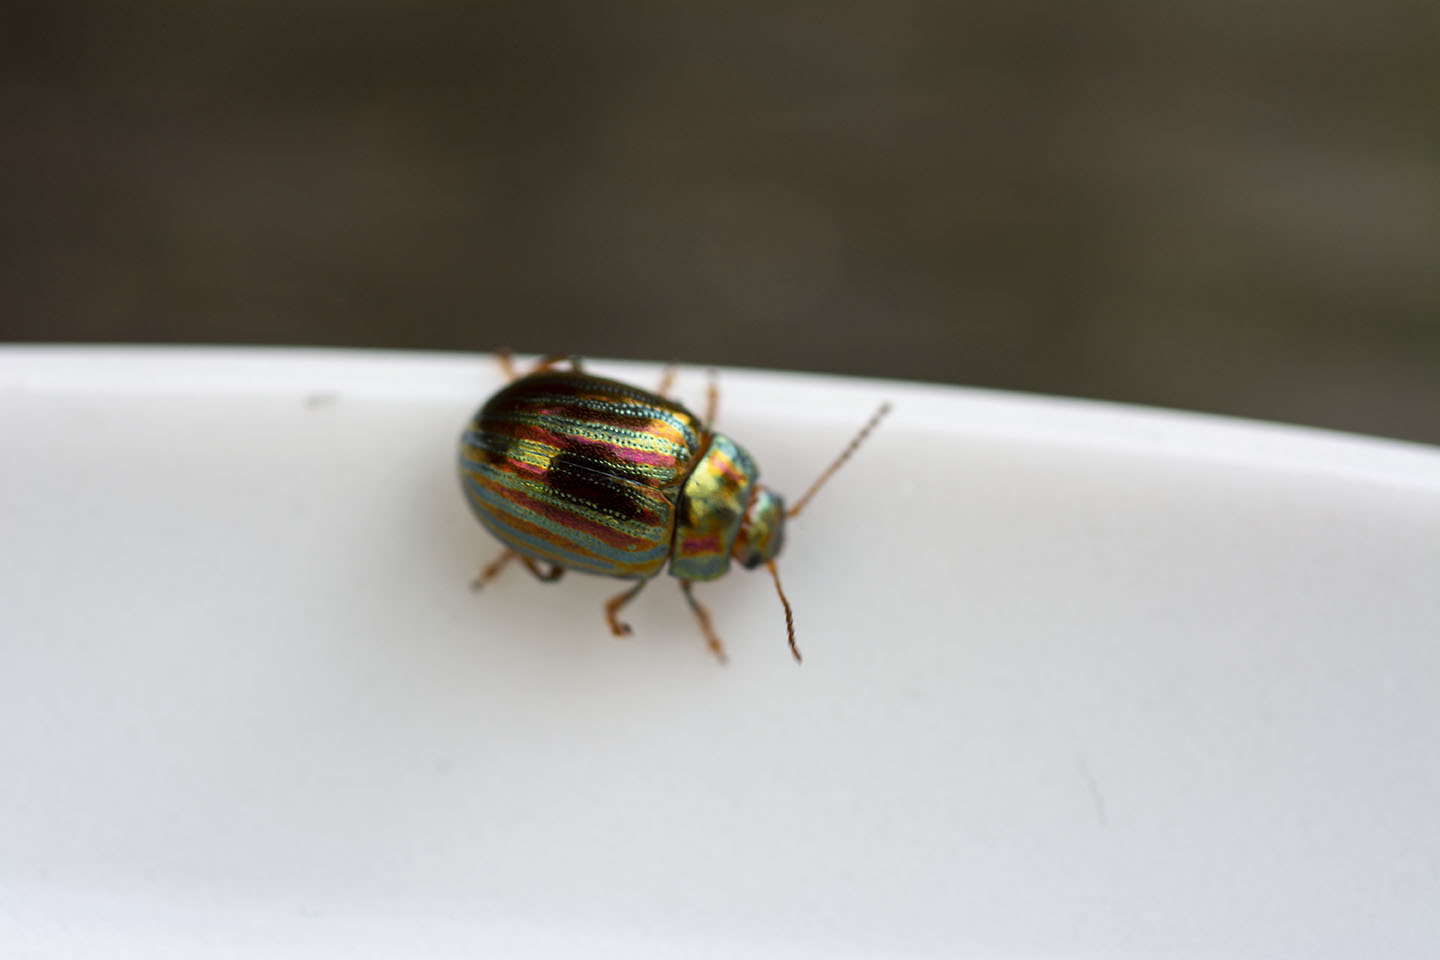
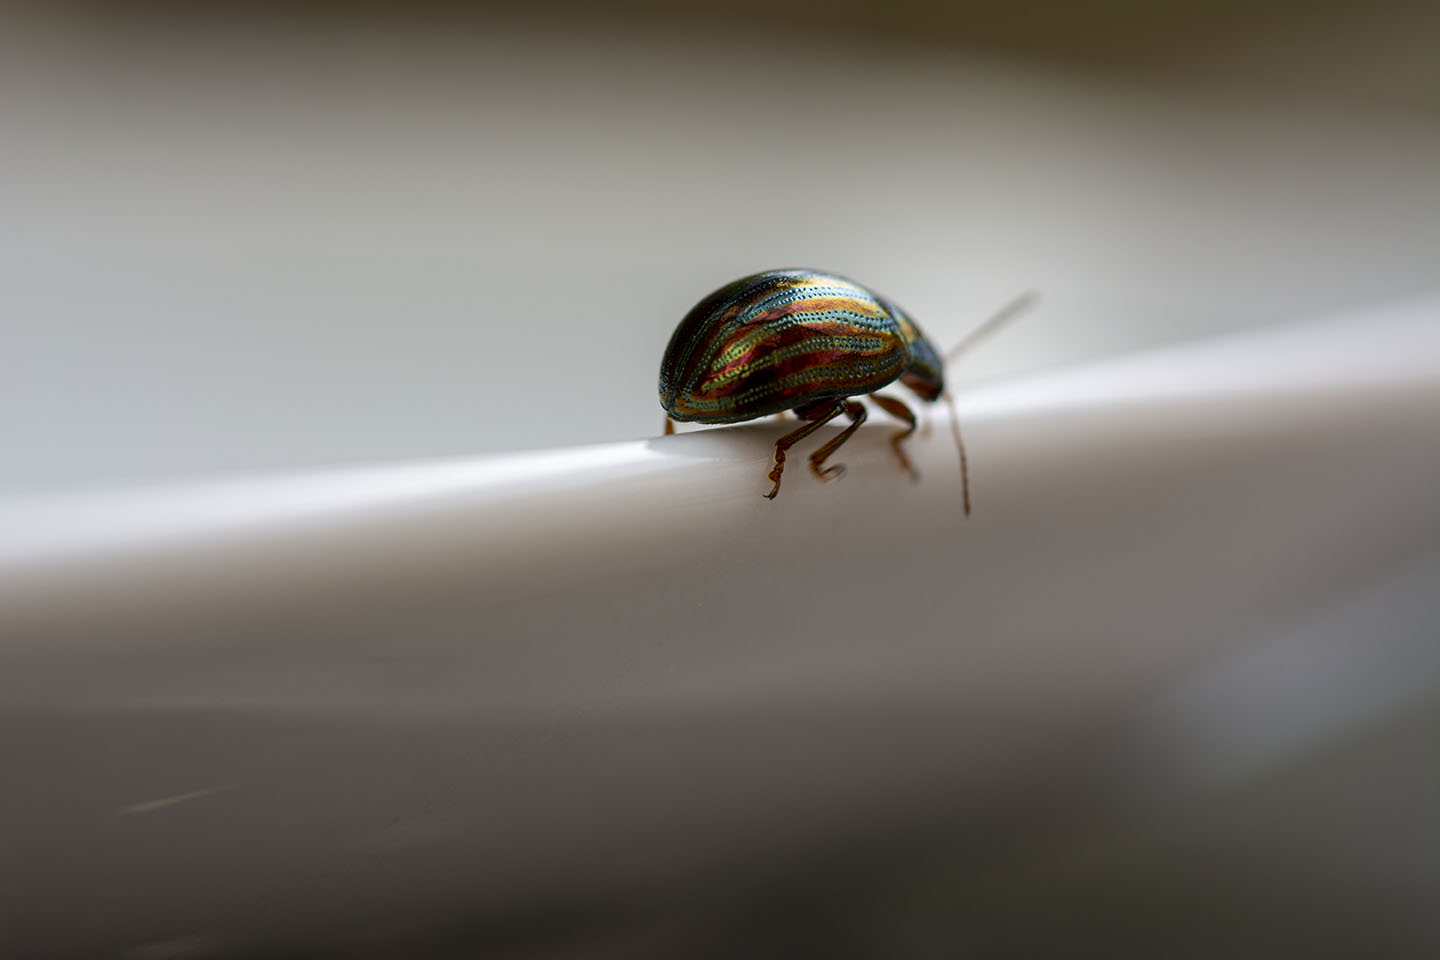
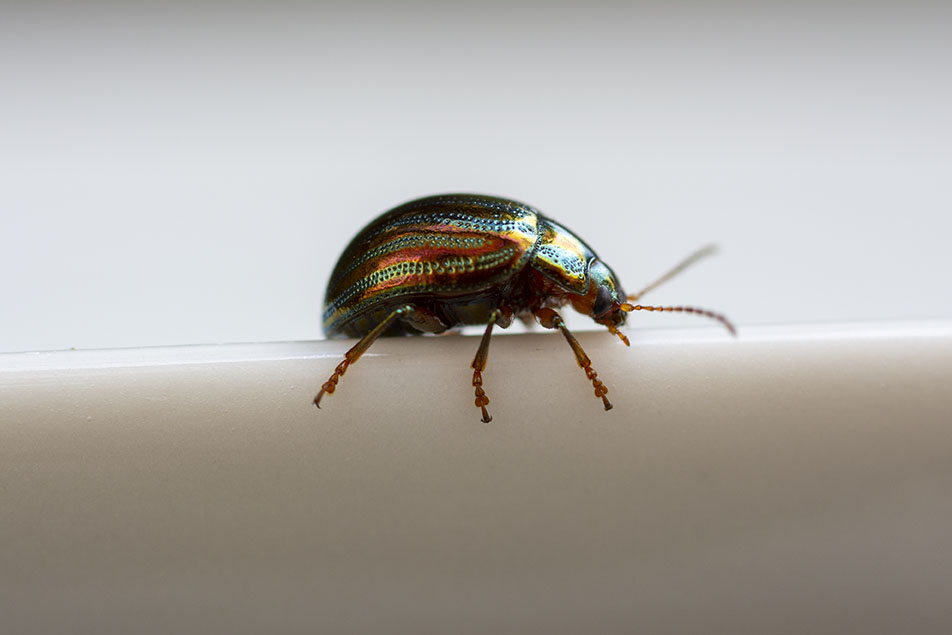

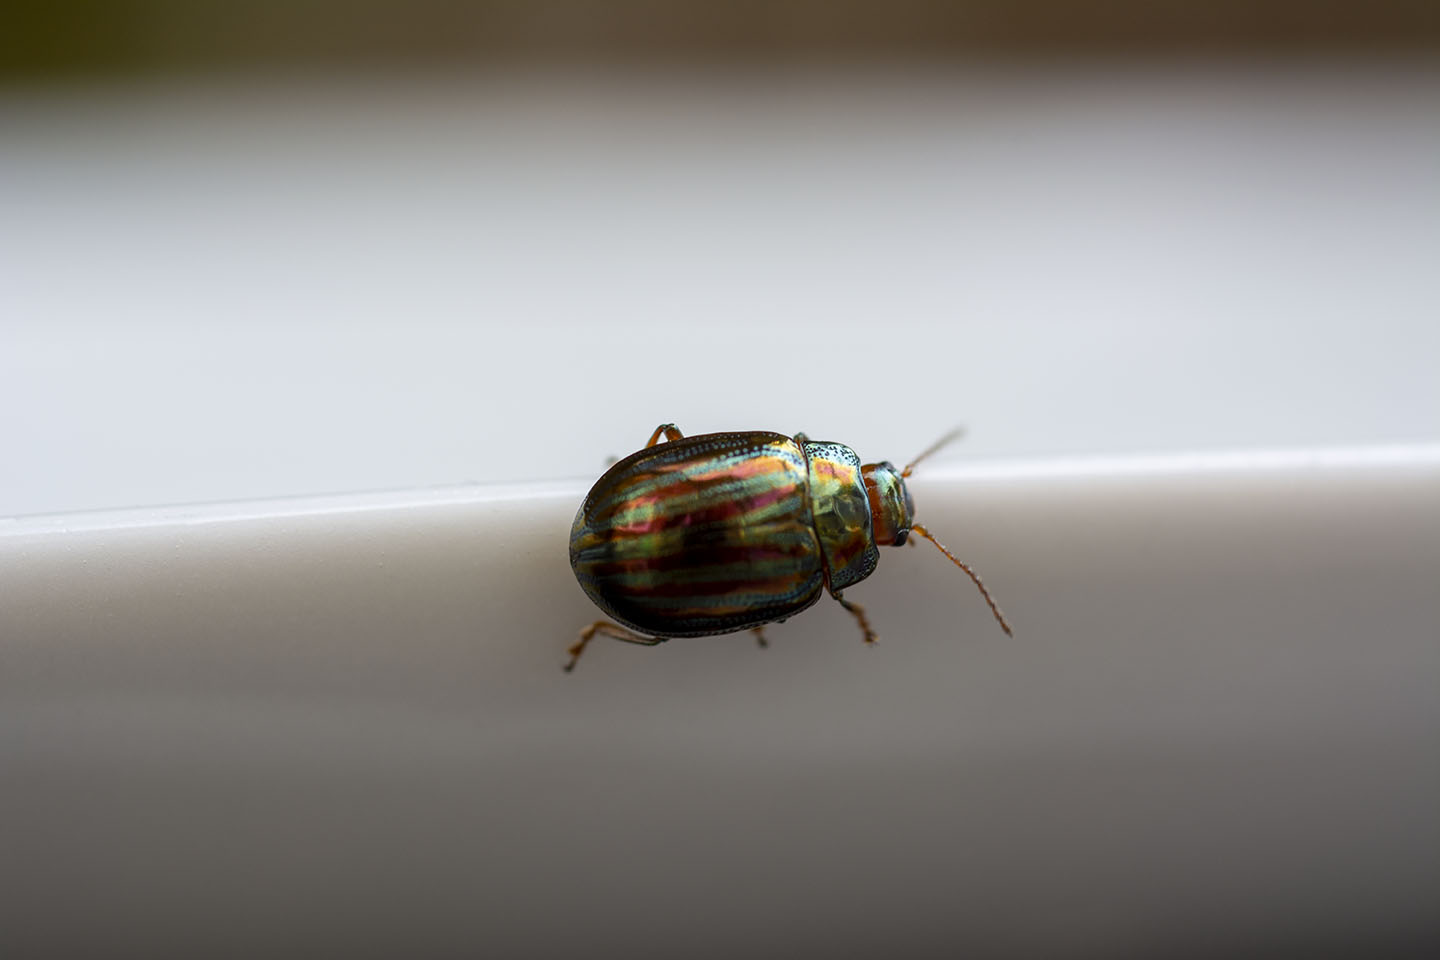
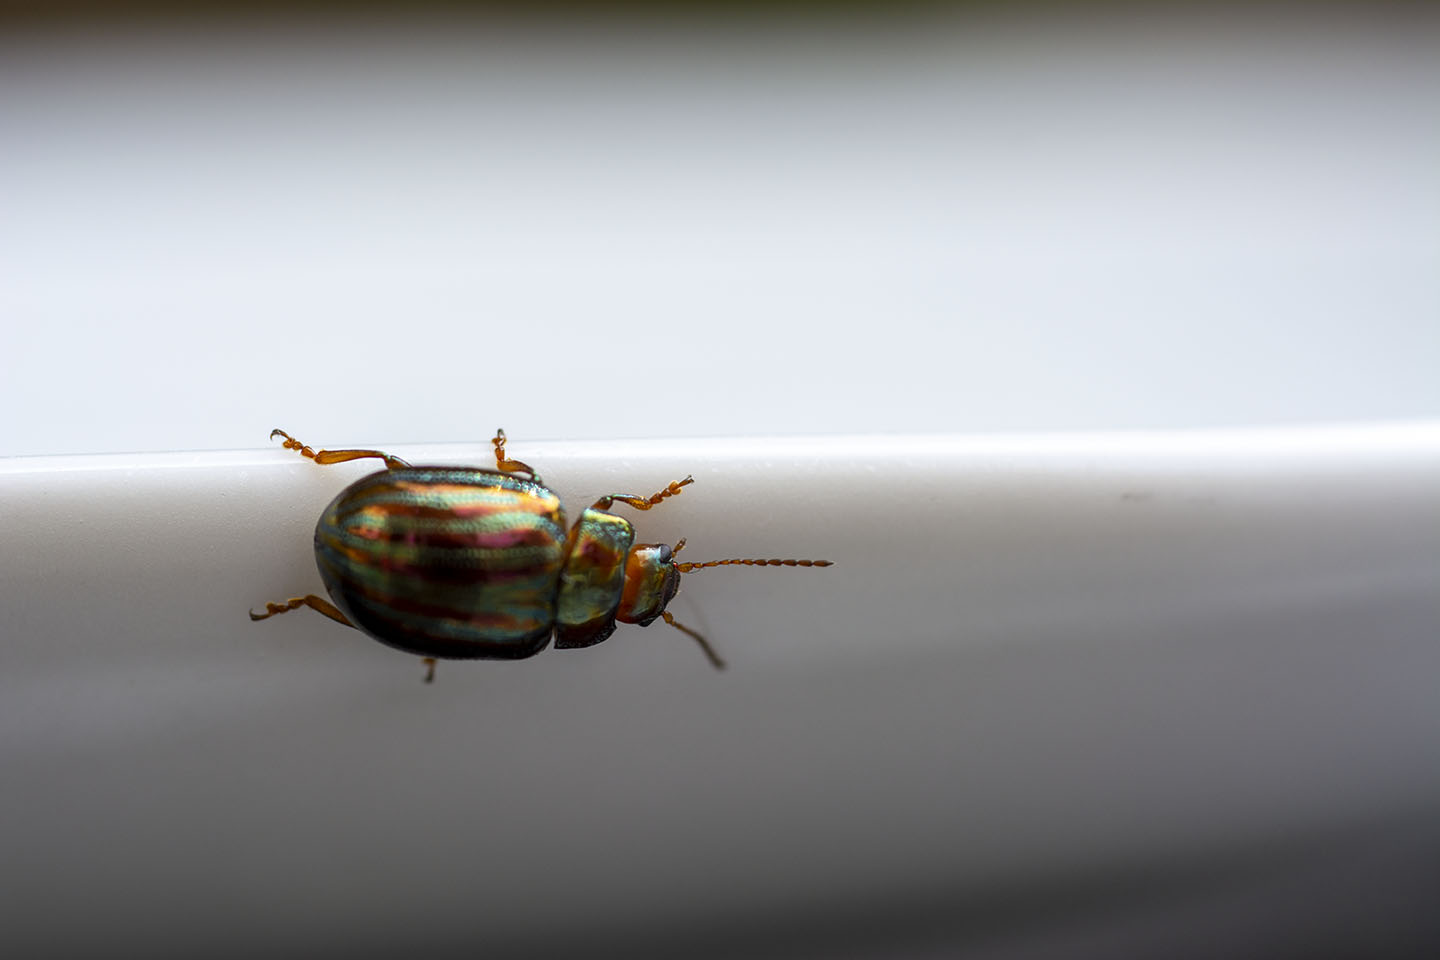
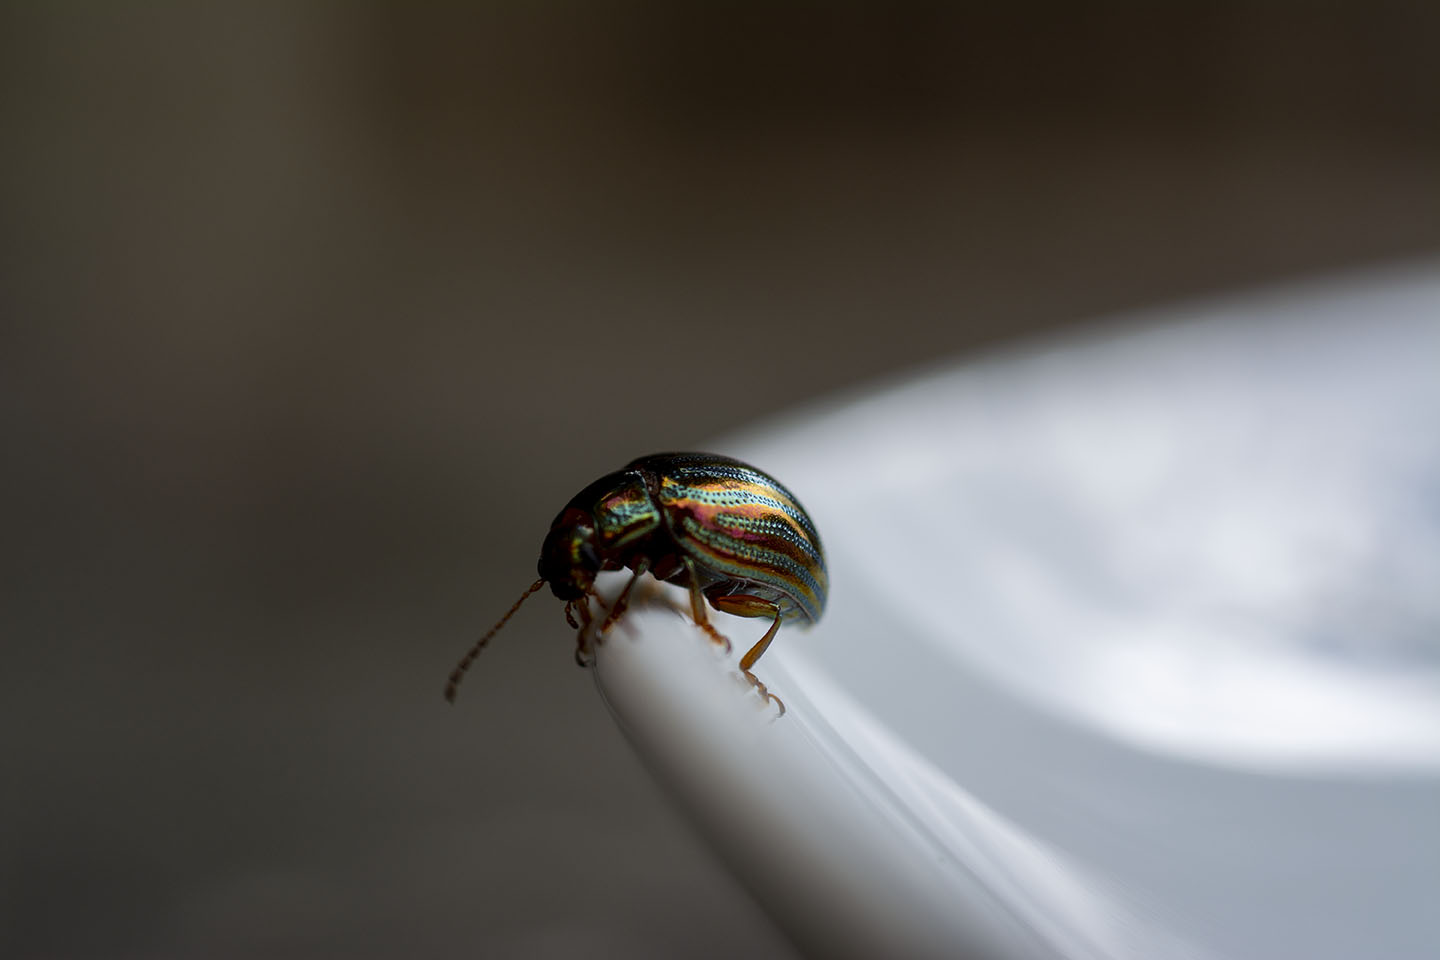
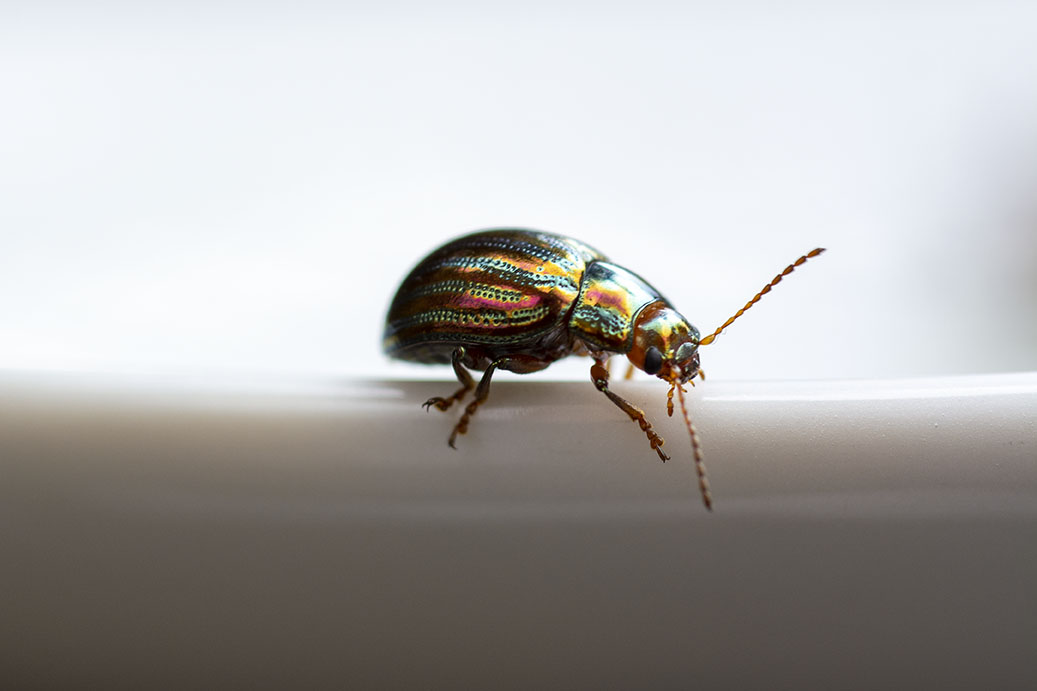
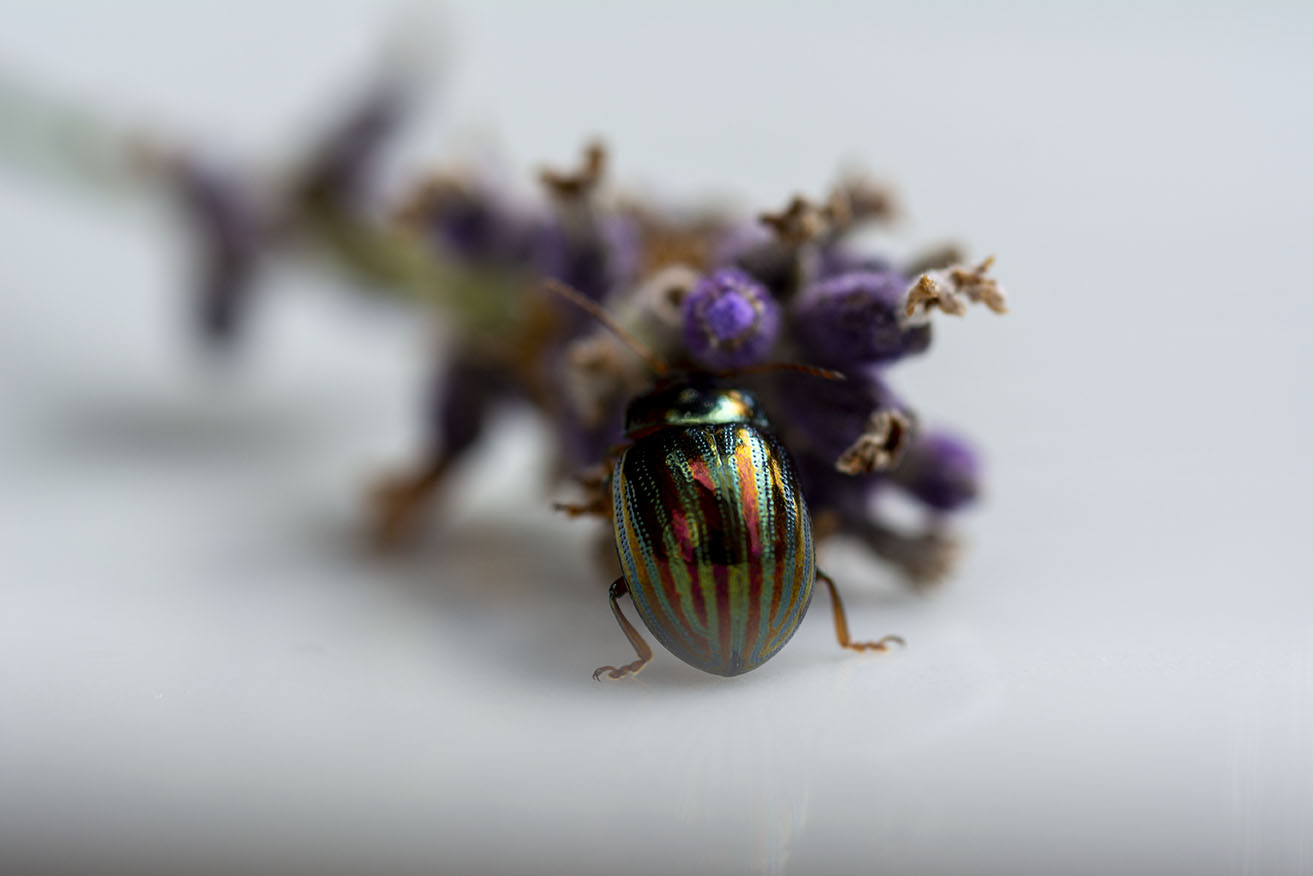
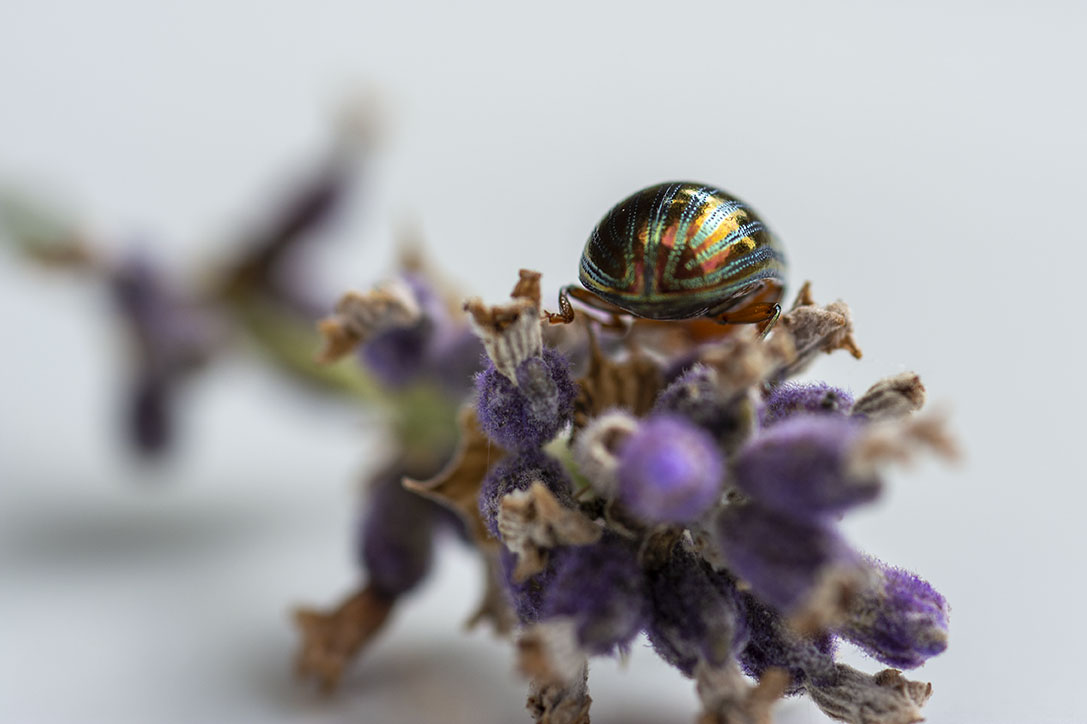
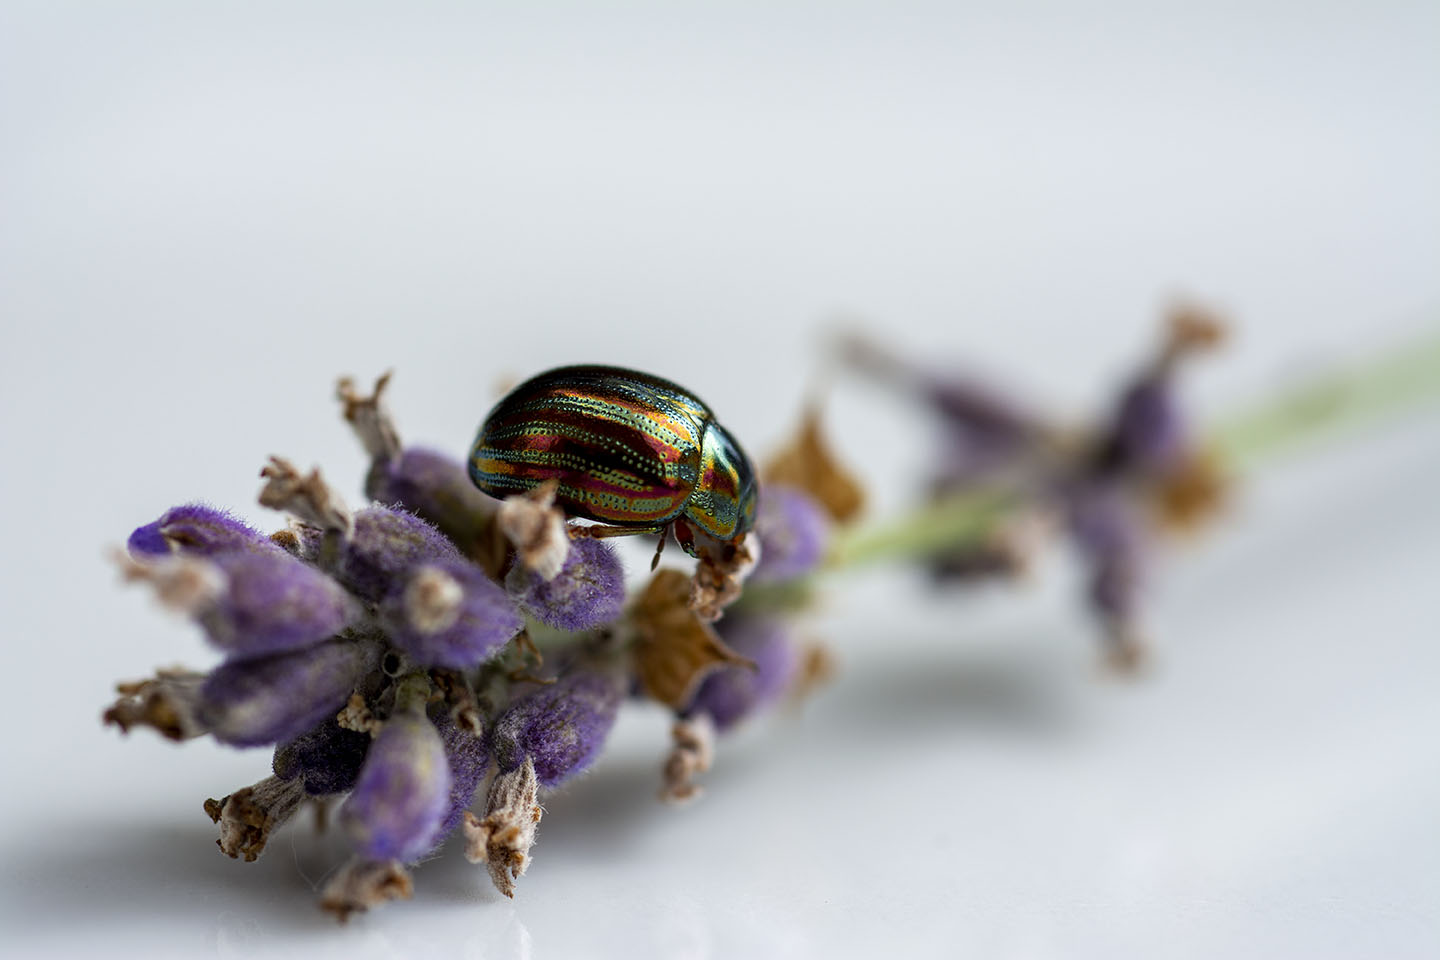
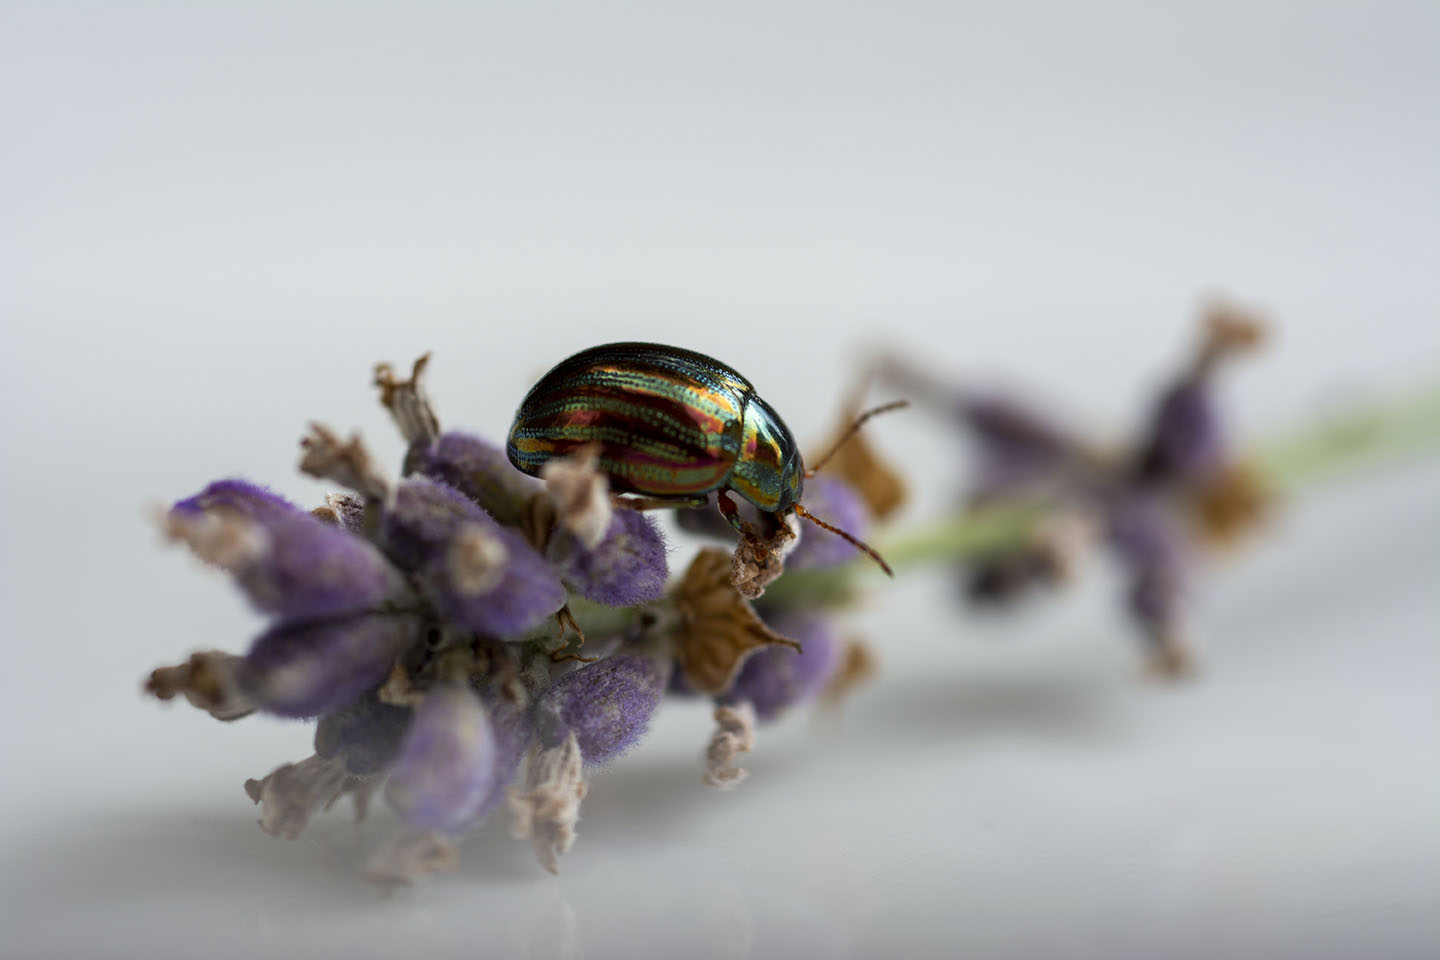
Macro photography is fantastic and I love the detail that can be magnified. This photograph below shows I have captured this beautiful beetle using a Macro lens. The beetle that is just bigger than a ladybird and appears to be a lot larger. The focus point is on its legs and everything else(the beetles back etc) are slight out of focus.
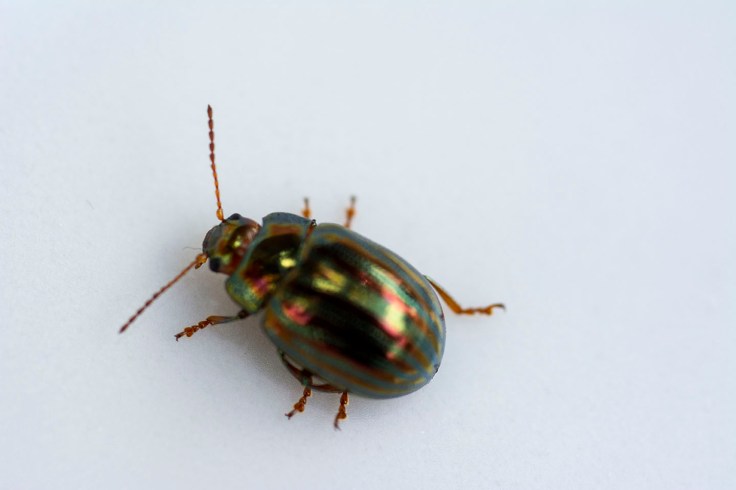
With Macro photography the depth of field is very shallow, so to be able to photograph this beetle fully I need to do some Focus Stacking. This is where many shots are taken of a subject but each time the focal point is changed. Then all of the images are stacked together in Photo shop. This will allow a larger area of the photograph to be in focus.
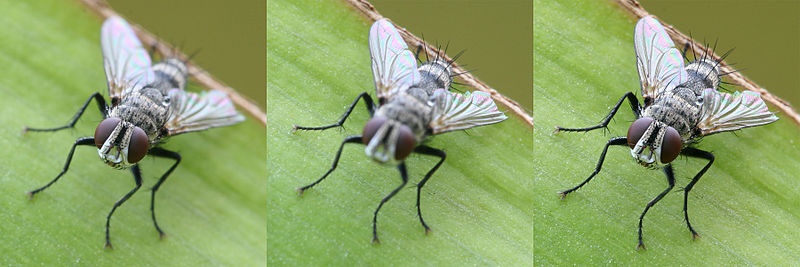
These three images above, show how you can achieve a better Macro image using focus stacking. The first image the focus point is the front of the fly(the eyes), the second image the focus point is the back of the fly(the wings) and the last image is the two images stacked together. I definitely am going to try this technique if I can get a subject to be still enough.

Cyanotype is a photography printing process that produces a Cyan-Blue print. It was used by engineers to create low cost copies of designs and drawings well into the 20th century, known as blueprints.
This process was first introduced by a man called Sir John Herschel in 1842. Two chemicals are used in this process, ferric ammonium citrate and potassium ferricyanide.
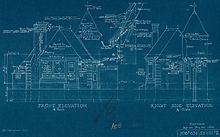
A blueprint is categorised by White lines on a Blue background. This would have been a negative image of the original image. Although this process is not now used for Blueprints (as they are all done digitally) the name still refers to floor plans.
Below is an example of an early Blueprint.
Born in Britain, Anna Atkins had an interest for all things scientific from a young age as her father was a scientist. Through her father’s connections she made friends with Sir John Herschel and he probably introduced Atkins to the process, Cyanotype.
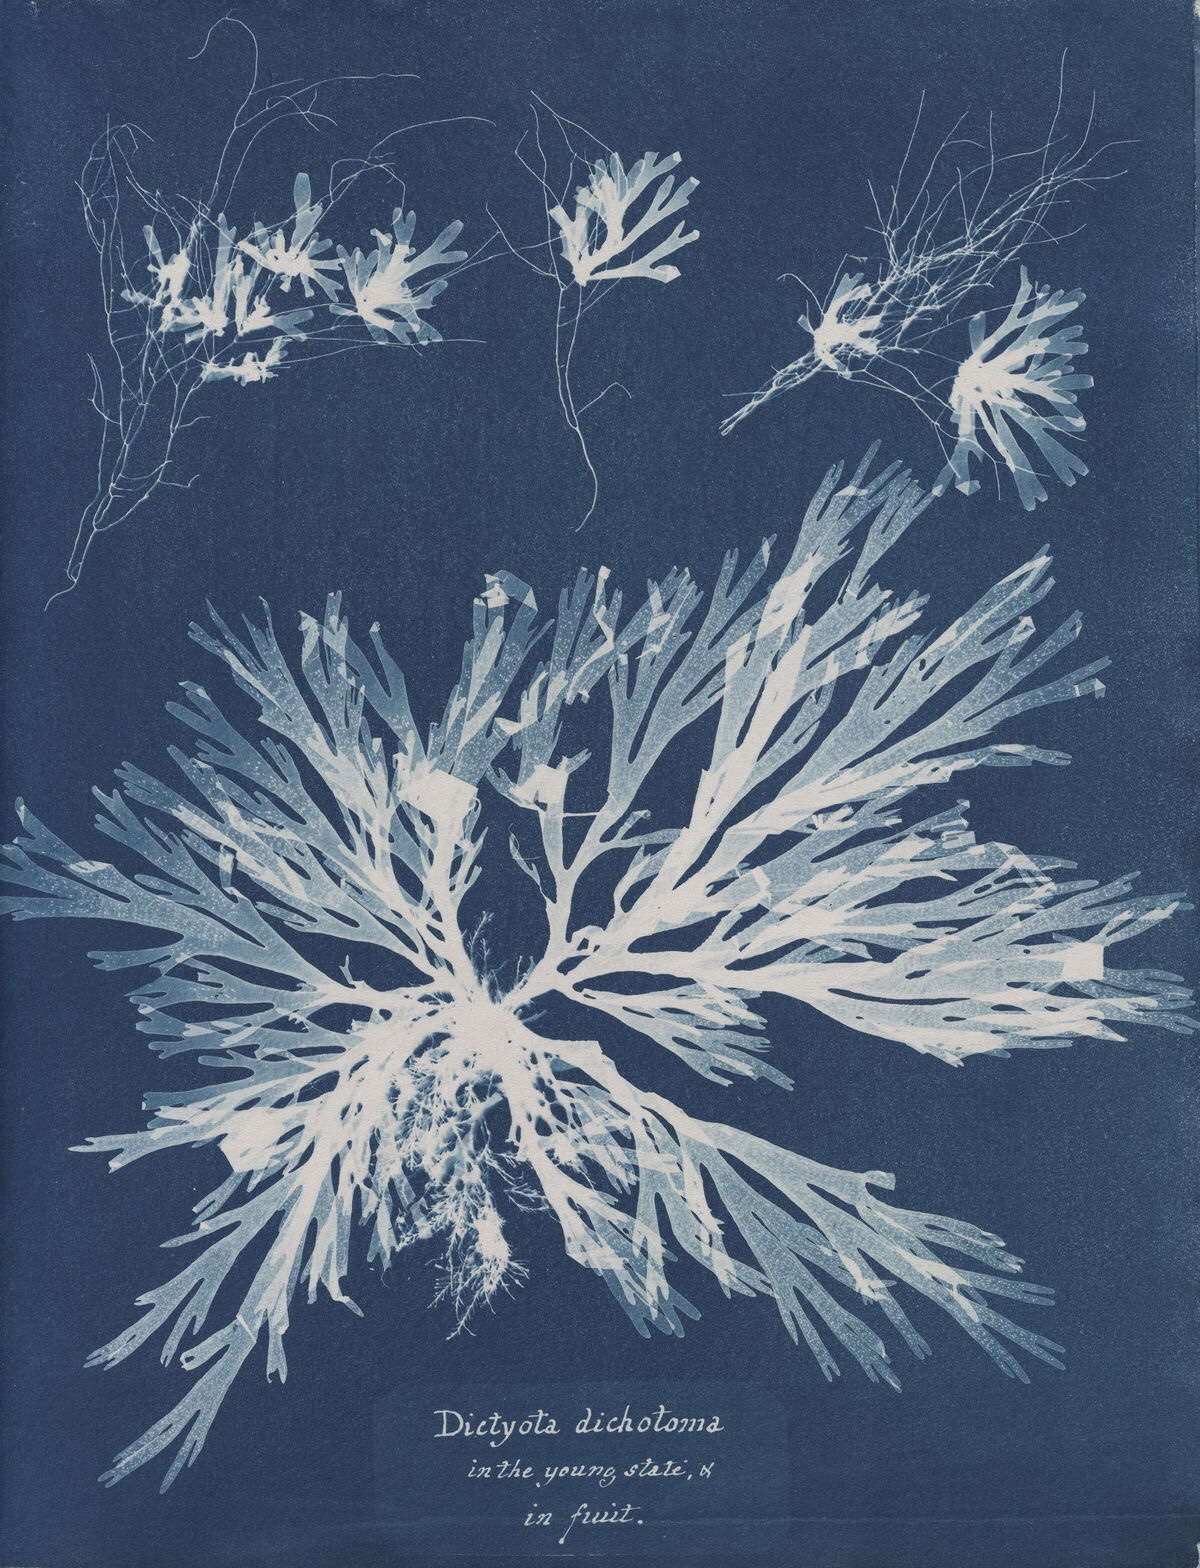
She had a passion for botanicals and in 1841 she found a book by English physician William H Harvey to be visually insufficient. This book had listed and described all the new algae specimens to be found. This inspired her to produce her Cyanotypes of algae. From this, she went on to record several different species of algae and plants using this process.
Anna Atkins is said to be one of the first to publish a book with photographic images.
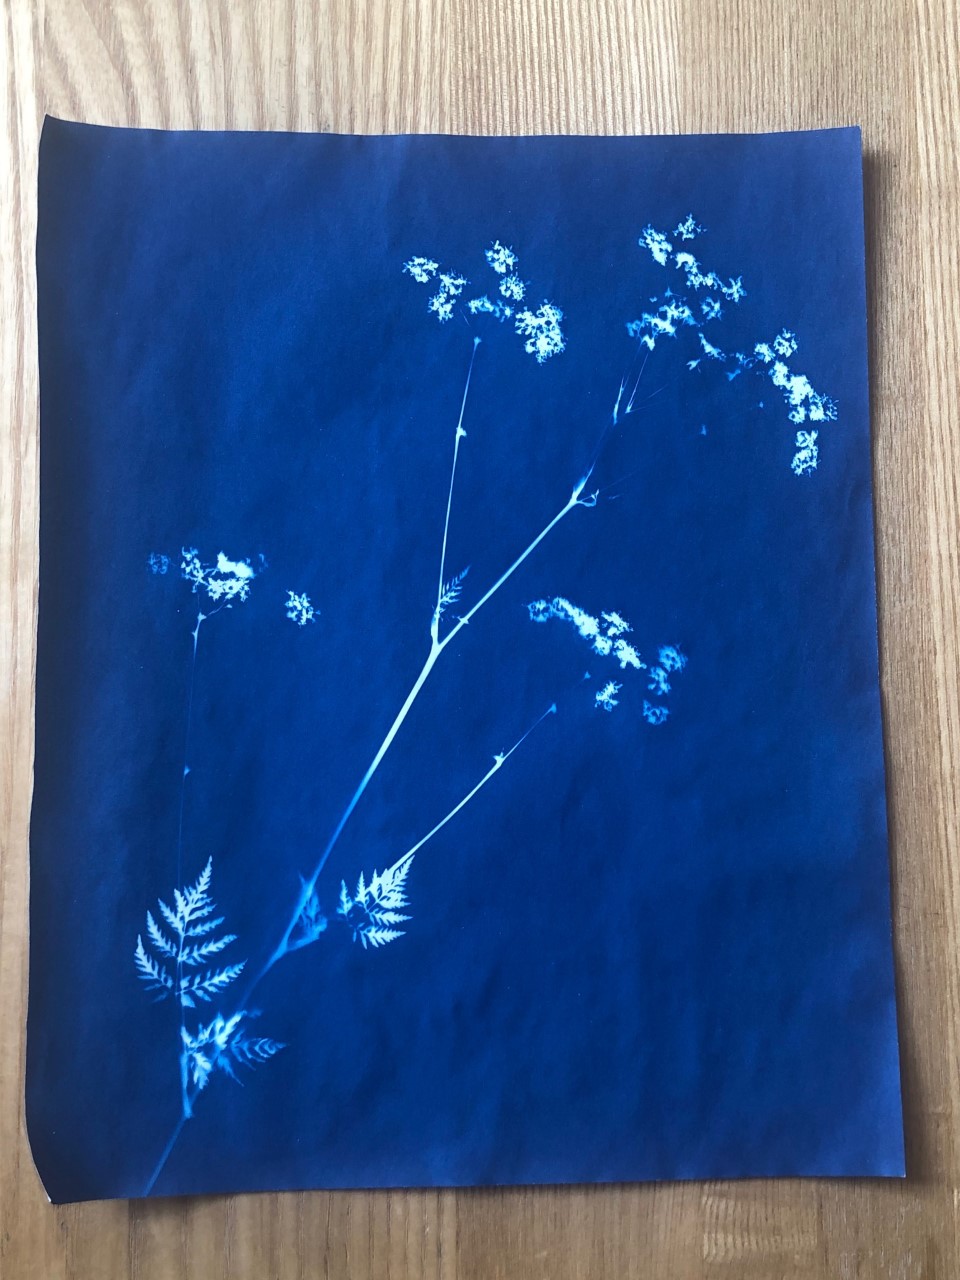
I stumbled across this photographic process while I was doing some research for my new project, Transformations. It was the colour that grabbed my attention first. Producing images in one colour with options of different tone.
There are many Cyanotype kits available to buy to produce prints at home. As it was my first time trying this process, I opted to get pre-treated Cyanotype paper. This paper has the chemicals on each sheet, all that is need to do, is expose to the sun, wash off with water and then leave to dry.
I laid each object or plant on a piece of cyanotype paper in a slightly dark room. Then used a piece of Perspex from a photo frame to lay over the top. This is to help the objects lay flat to give better definition when exposed to the sun. I think that a sheet of glass would be better as it’s heavier to press down better (I need to get one).
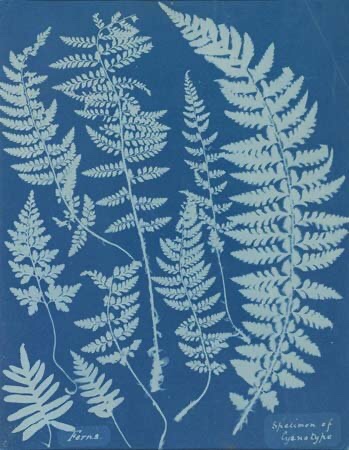
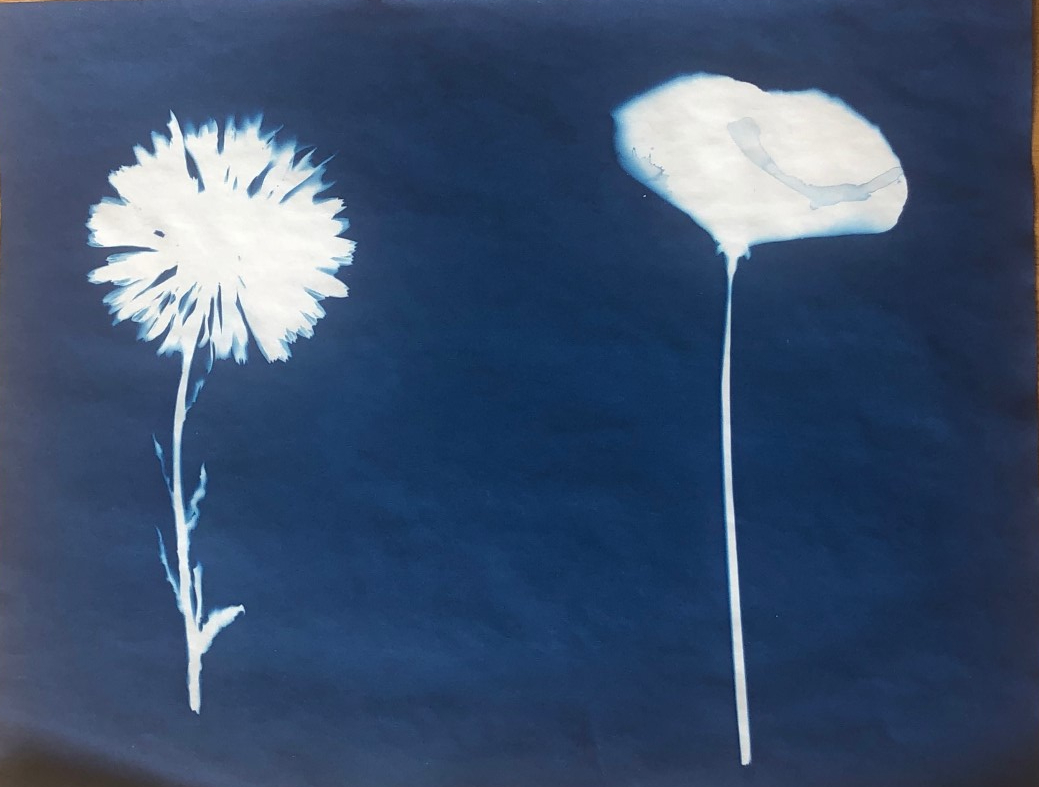
Below are some of my first attempts at Cyanotype. I’m really pleased with the outcome and I love the process.
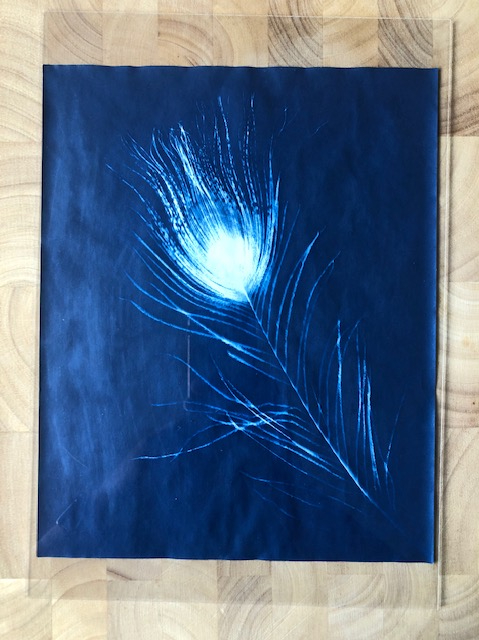
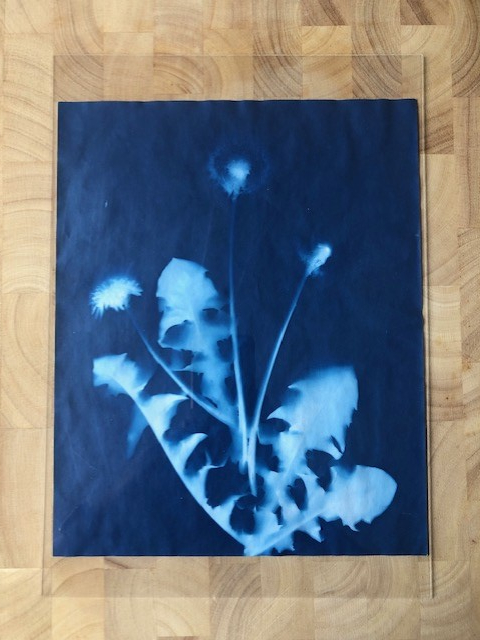
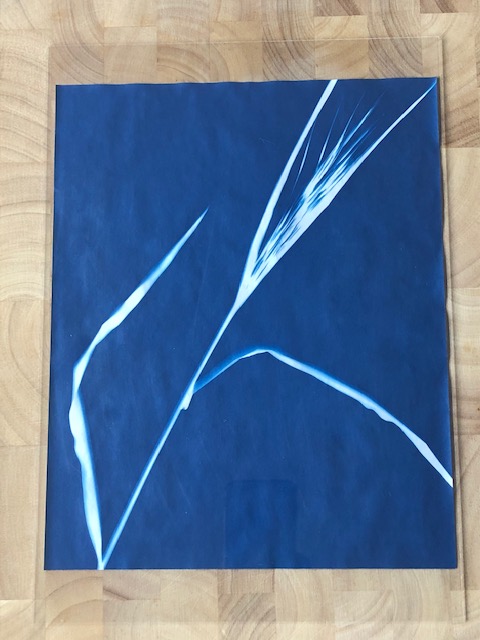
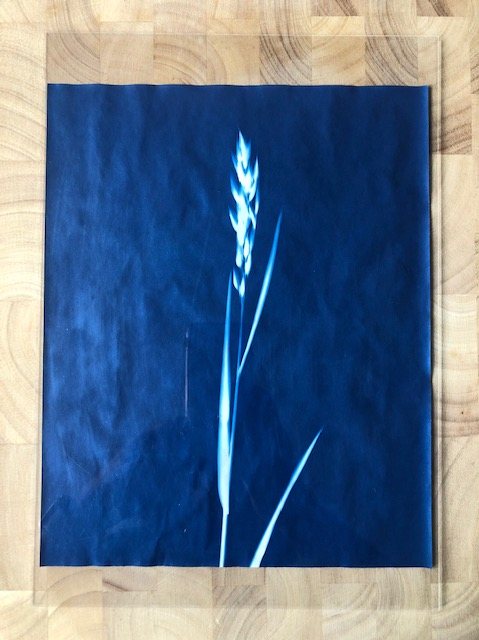
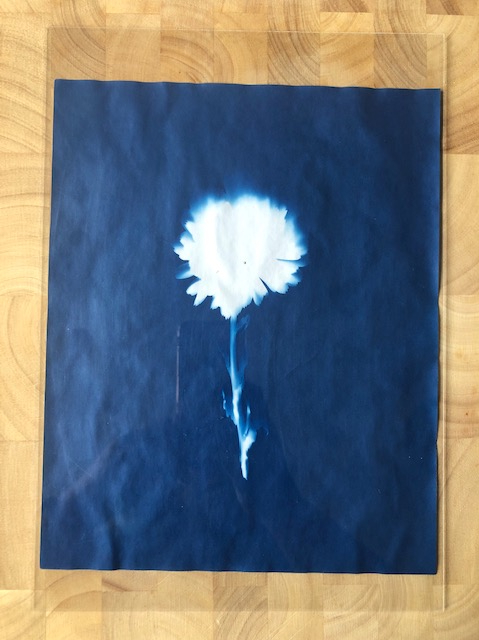
As you can see, the flatter objects or plants like the feather and grass left strong lines as they were flush to the paper. Softer lines were created when the objects rise slightly from the paper when exposing.

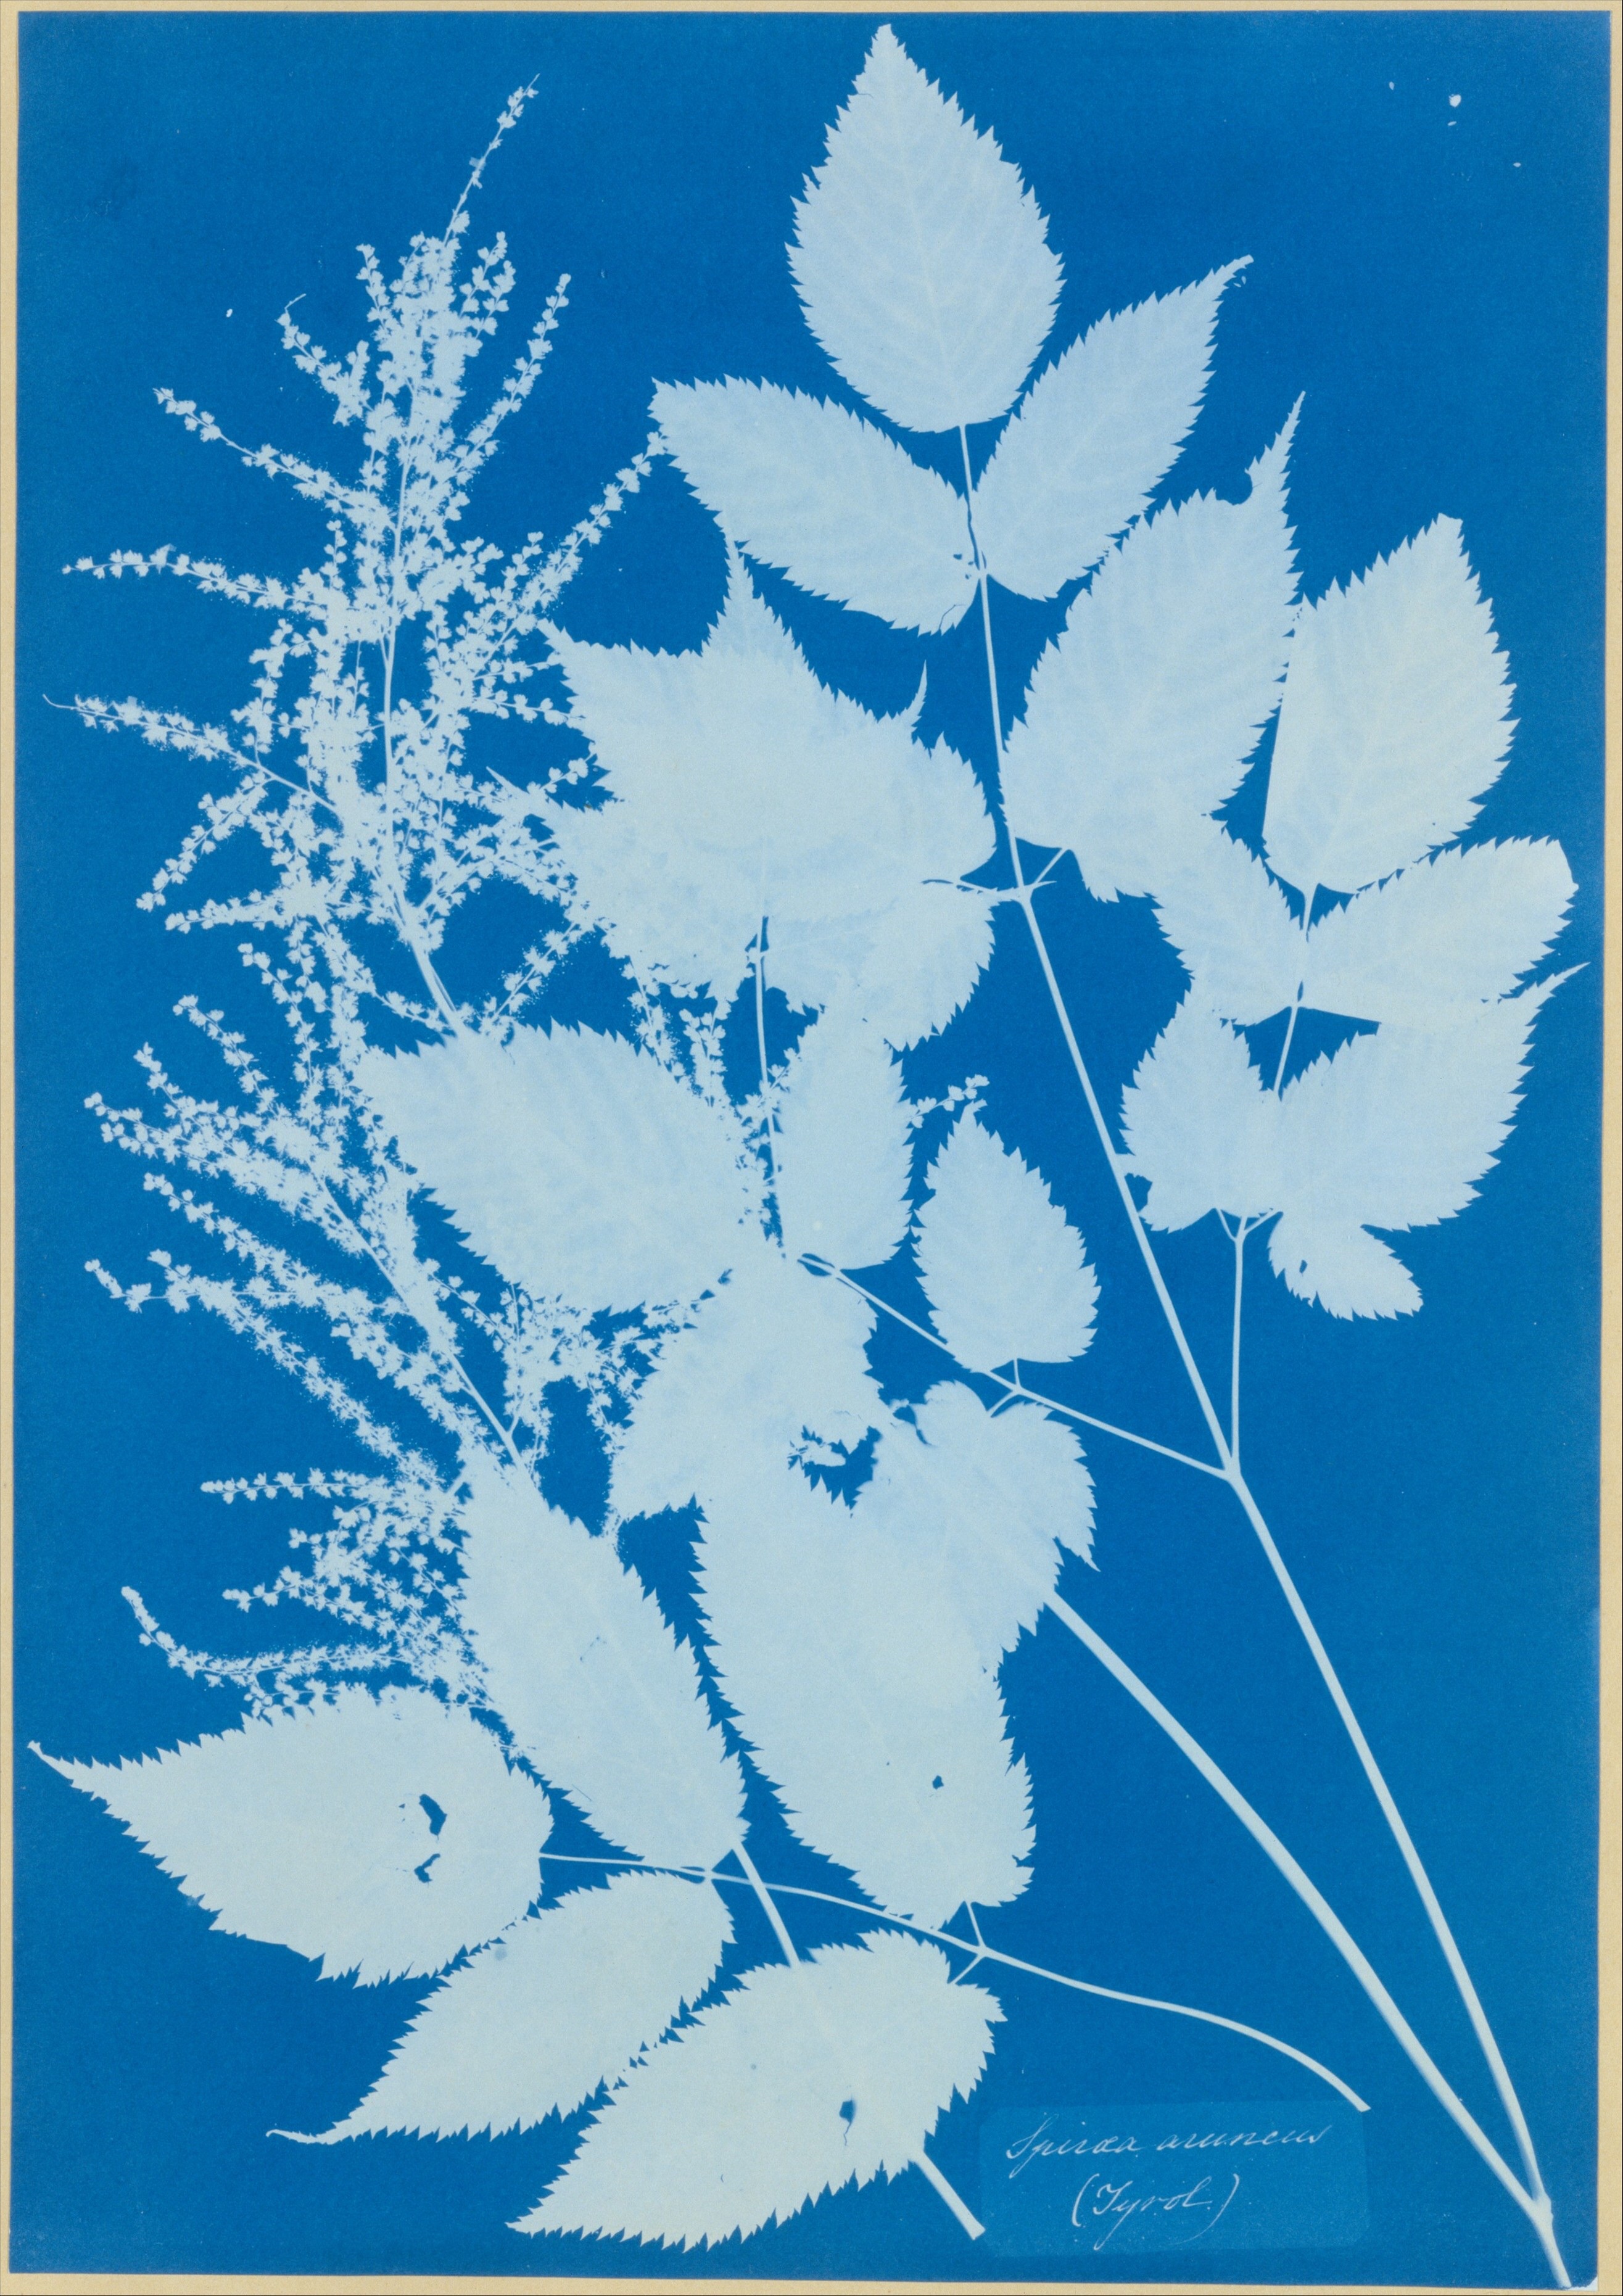
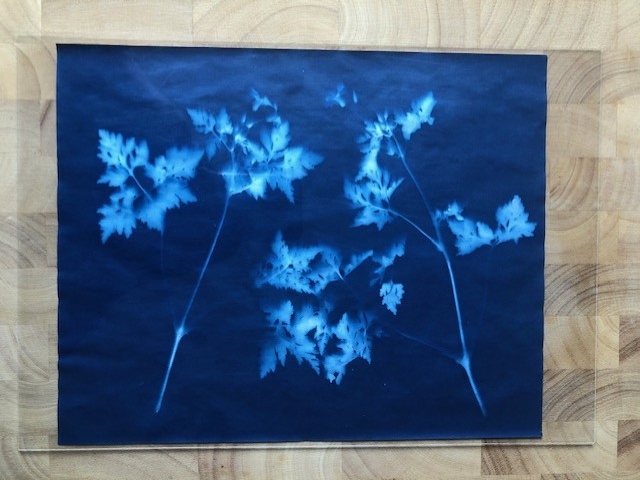
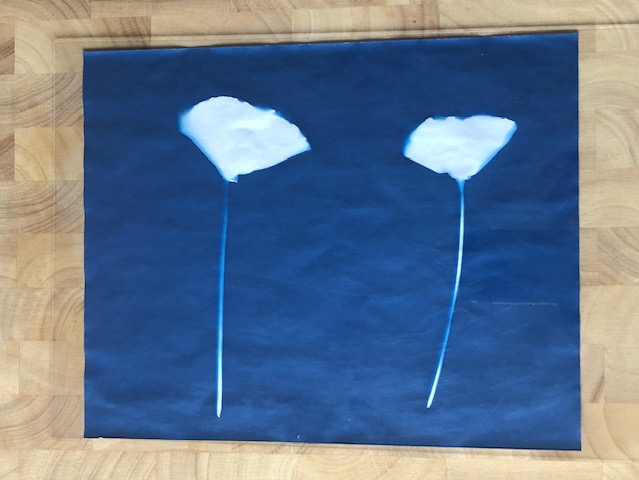
I have pressed some of the flowers and leaves I had used before and tried again. Below are my results. Much sharper lines and edges. This is because the foliage is flatter and therefore lets less light seeping in.
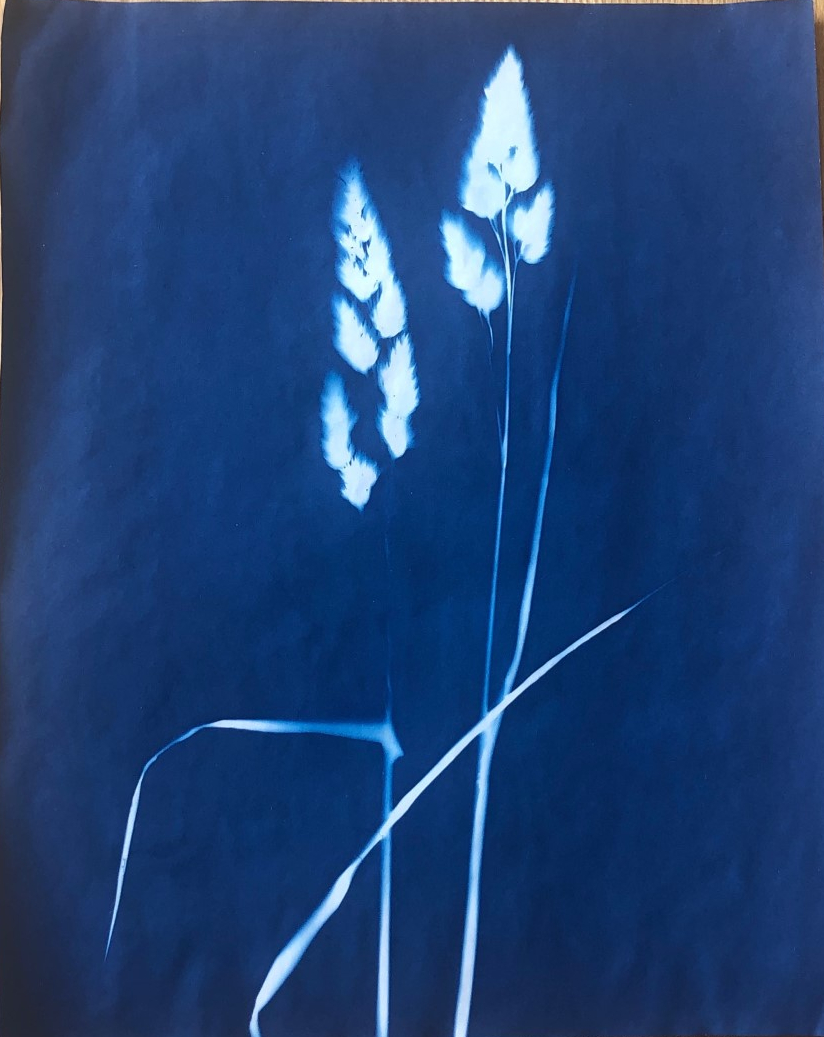
I need to perfect my technique as you can see water marks on some of my prints. This is from laying flat drying and not removing the excess water. Drying flat helps to stop the crinkles and kinks. Also, when completely dry leaving under some heavy books for a few days helps to be flat again.
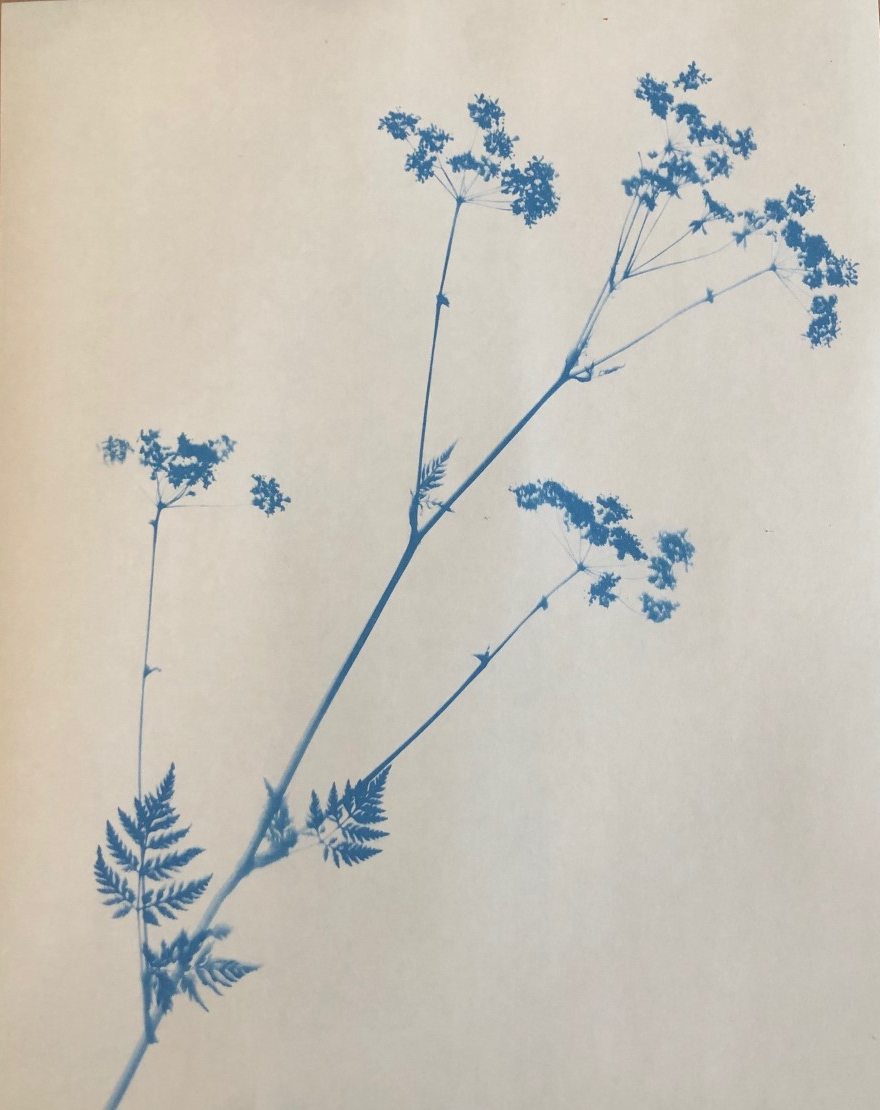
Laying objects on the paper is not the only way to create Cyanotype images, you can transfer your own images. Converting your chosen image into a negative in post production then print onto some acetate. When printing, be sure to print on the slightly misty side not the shiny side. If not, the ink will not dry and the result in smudging. Then, place the printed acetate on top of the Cyanotype paper, weigh down with glass and the expose.

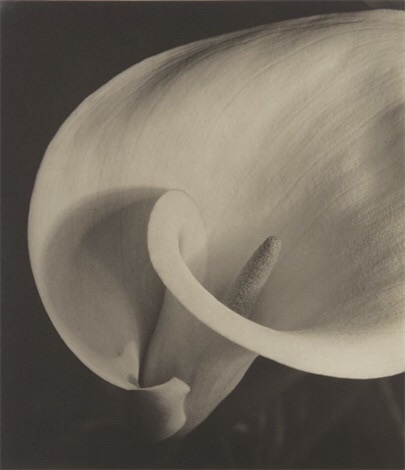
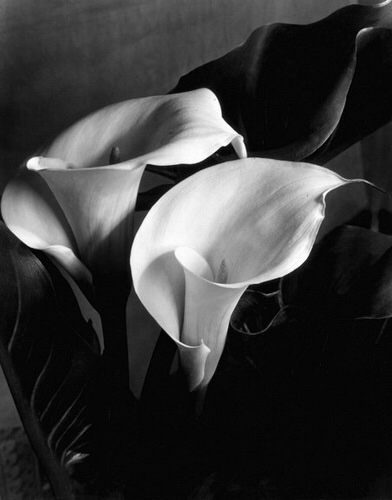
Imogen Cunningham 1883-1976
Imogen Cunningham was an American photographer famous for her industrial landscapes, nudes and botanical images.
Her floral and plant photographs from the 1920’s became her most well known work.
Around this time in her career she came together with other like minded photographers , such as Ansel Adams, Edward Weston and Willard Van Dyke to form a Group called F/64. This group was renowned for producing sharply focused and carefully framed images.
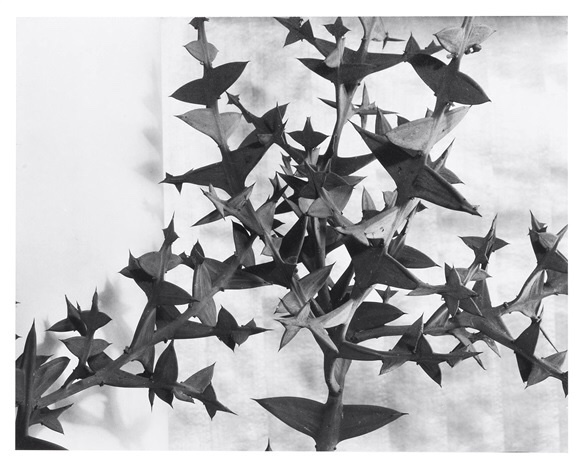
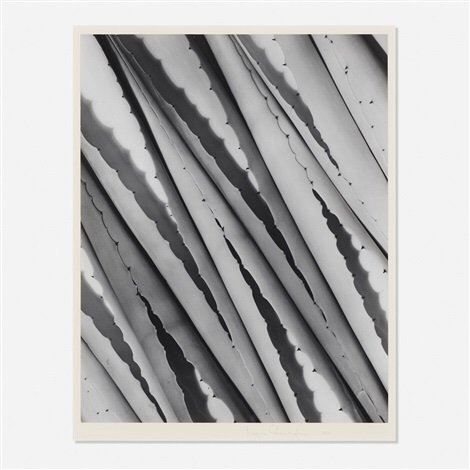
Below I have selected some of Cunningham’s images that interested me.
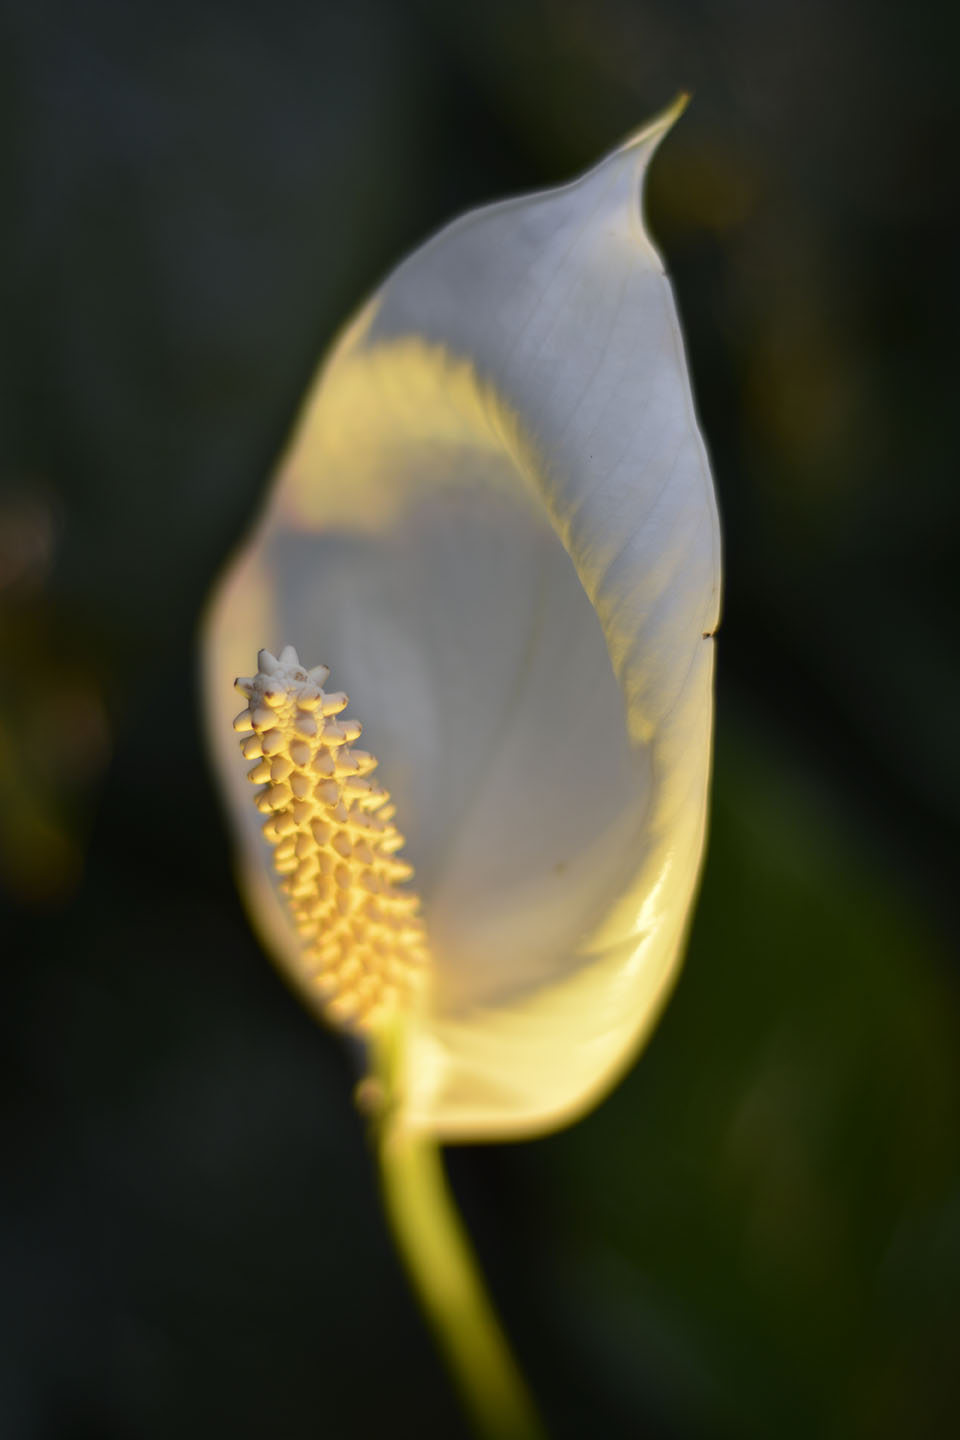
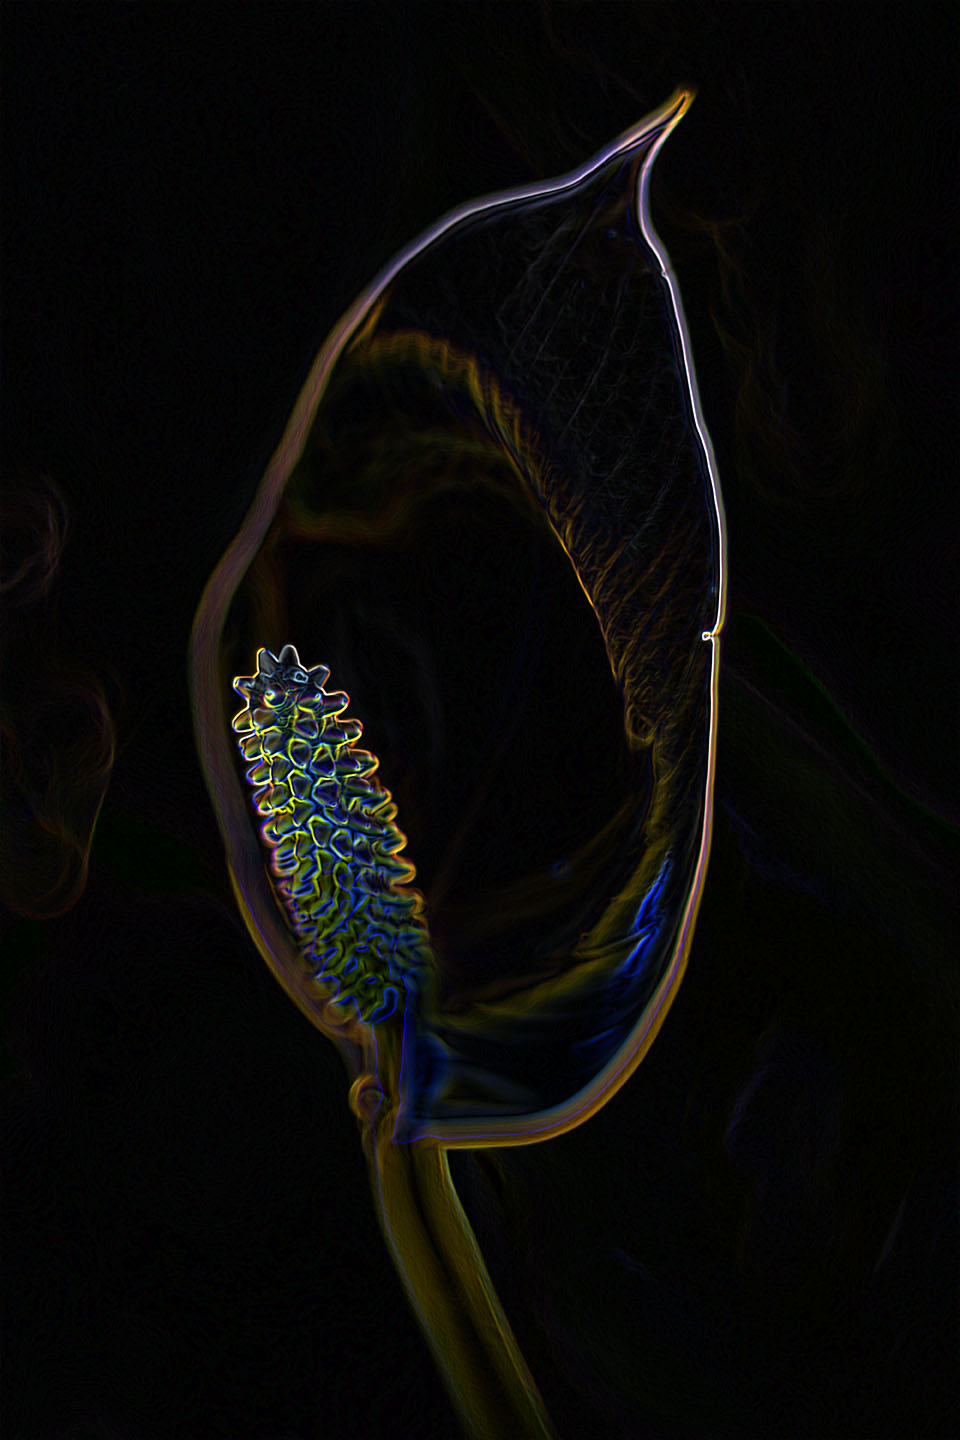
Below is my image of a Lilly taken at Kew Gardens. Like Imogen Cunningham’s photographs, I like taking a simplistic approach and focusing on the beautiful shapes of the plants. On the right, I have transformed my image within Photoshop to produce a more dramatic and creative feel to the flower. Cunningham’s photographs are in Black and White I wanted to try some experimenting myself.
I find the way she produces her images in Black and White adds to the creation of drama and depth of the shapes created in the frames.
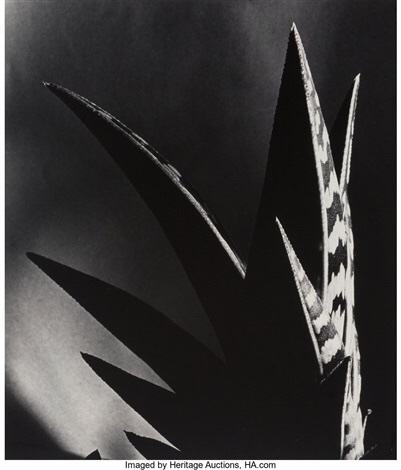
Below is one of my favourites. I love the way Imogen Cunningham has gotten in close to the plant and filled the frame with just the edging of the long, slightly pointy foliage. Taken slightly on the diagonal, this adds an abstract pattern that totally transforms the plant.
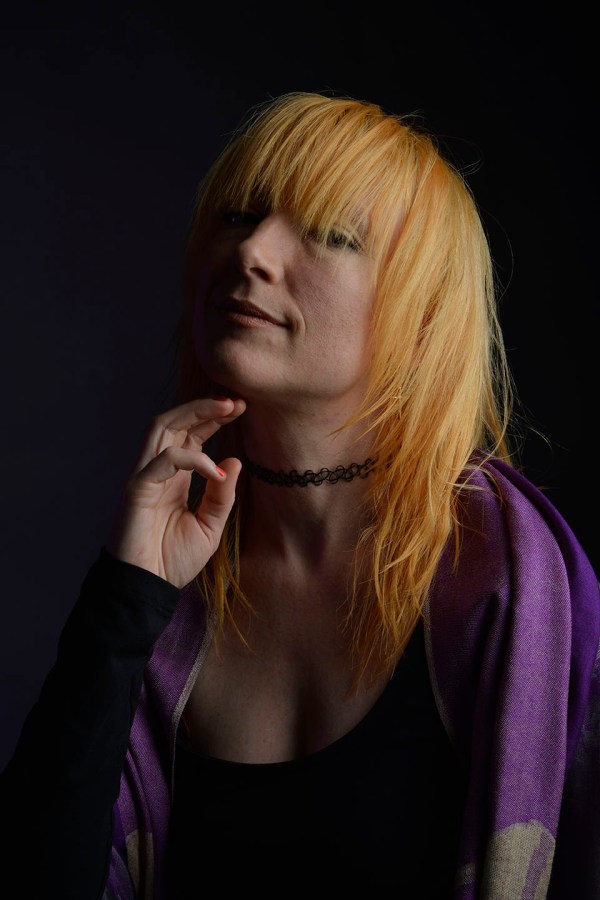
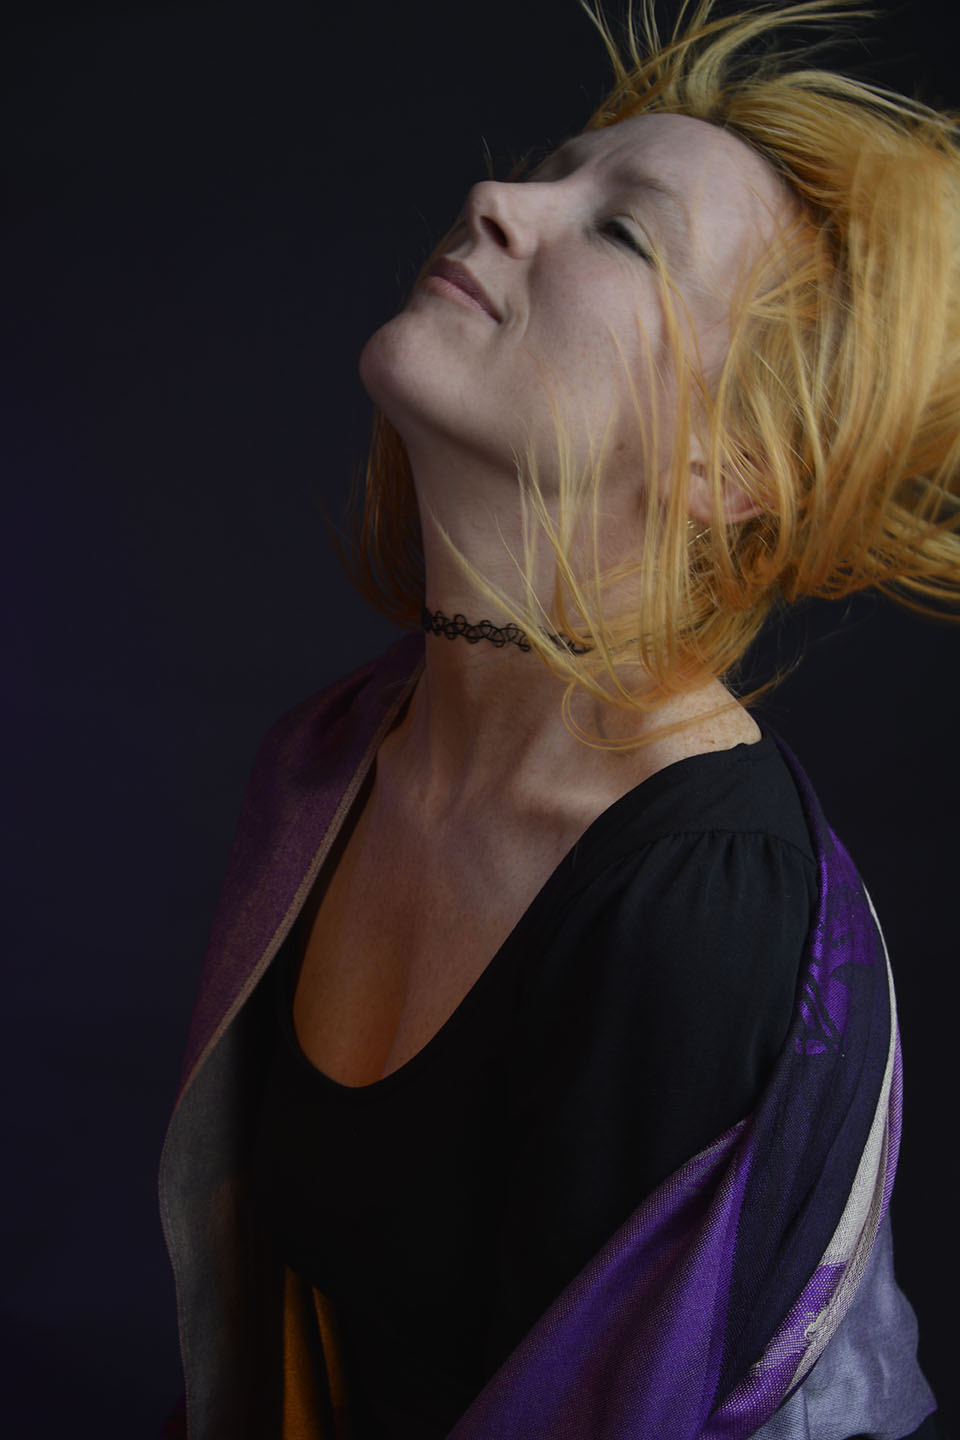
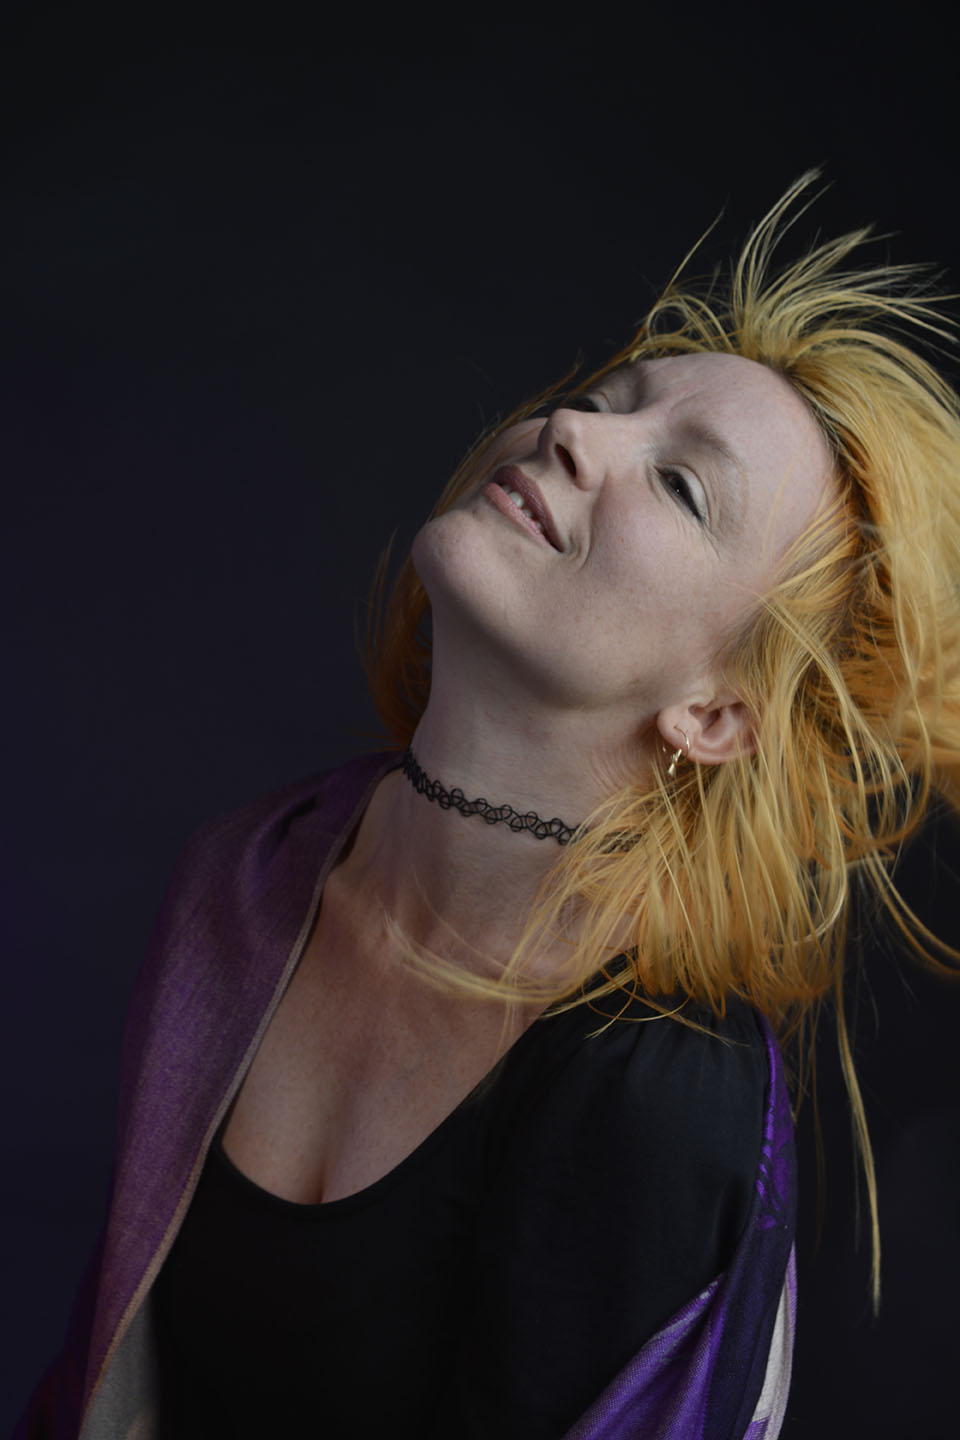
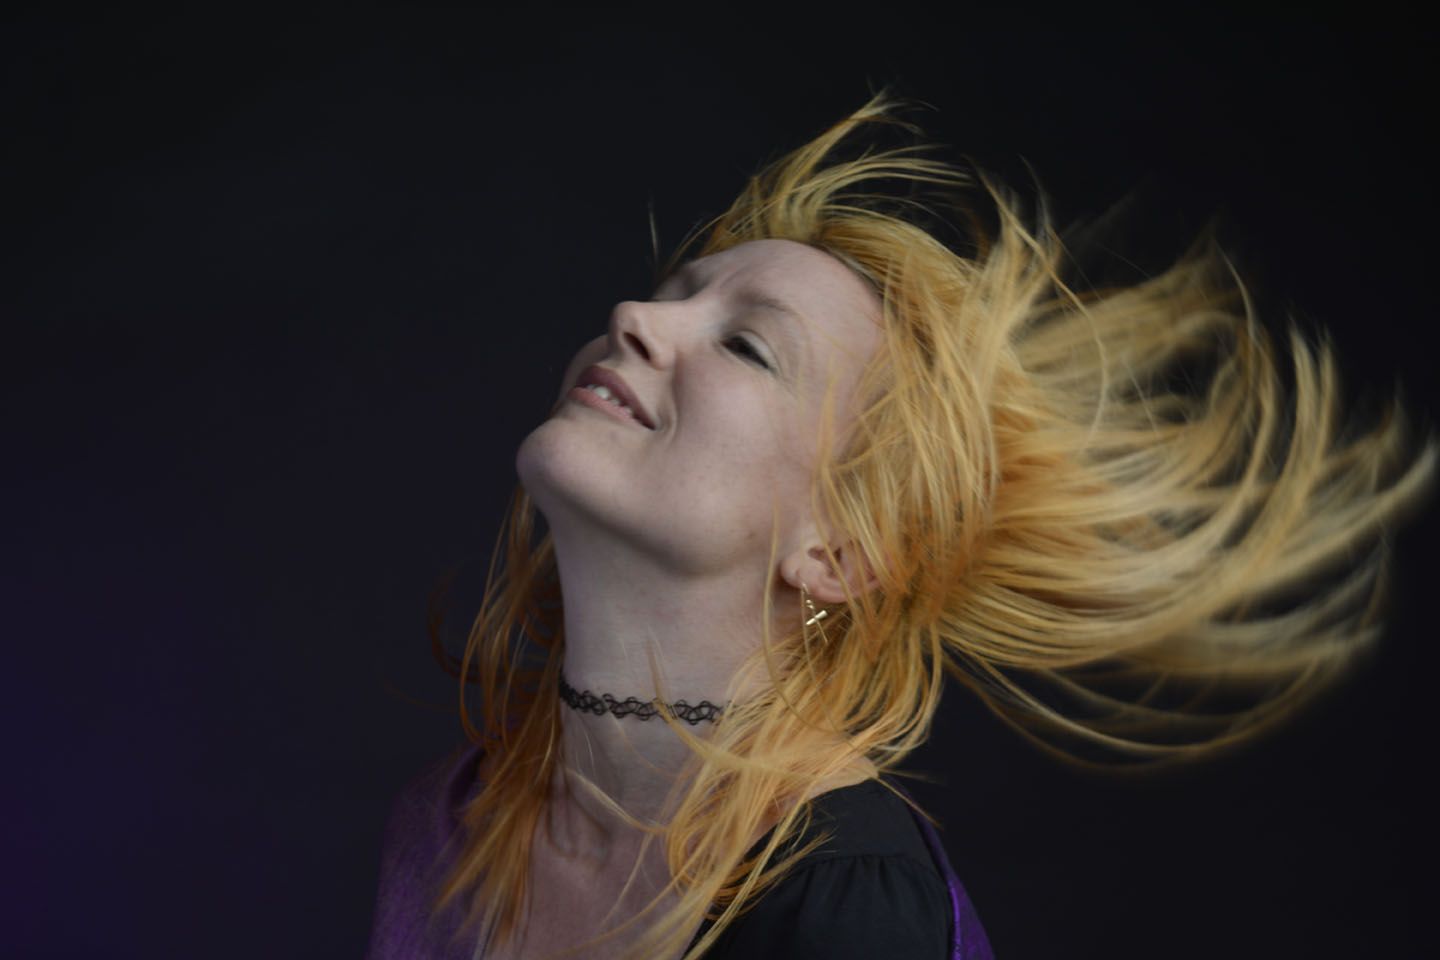
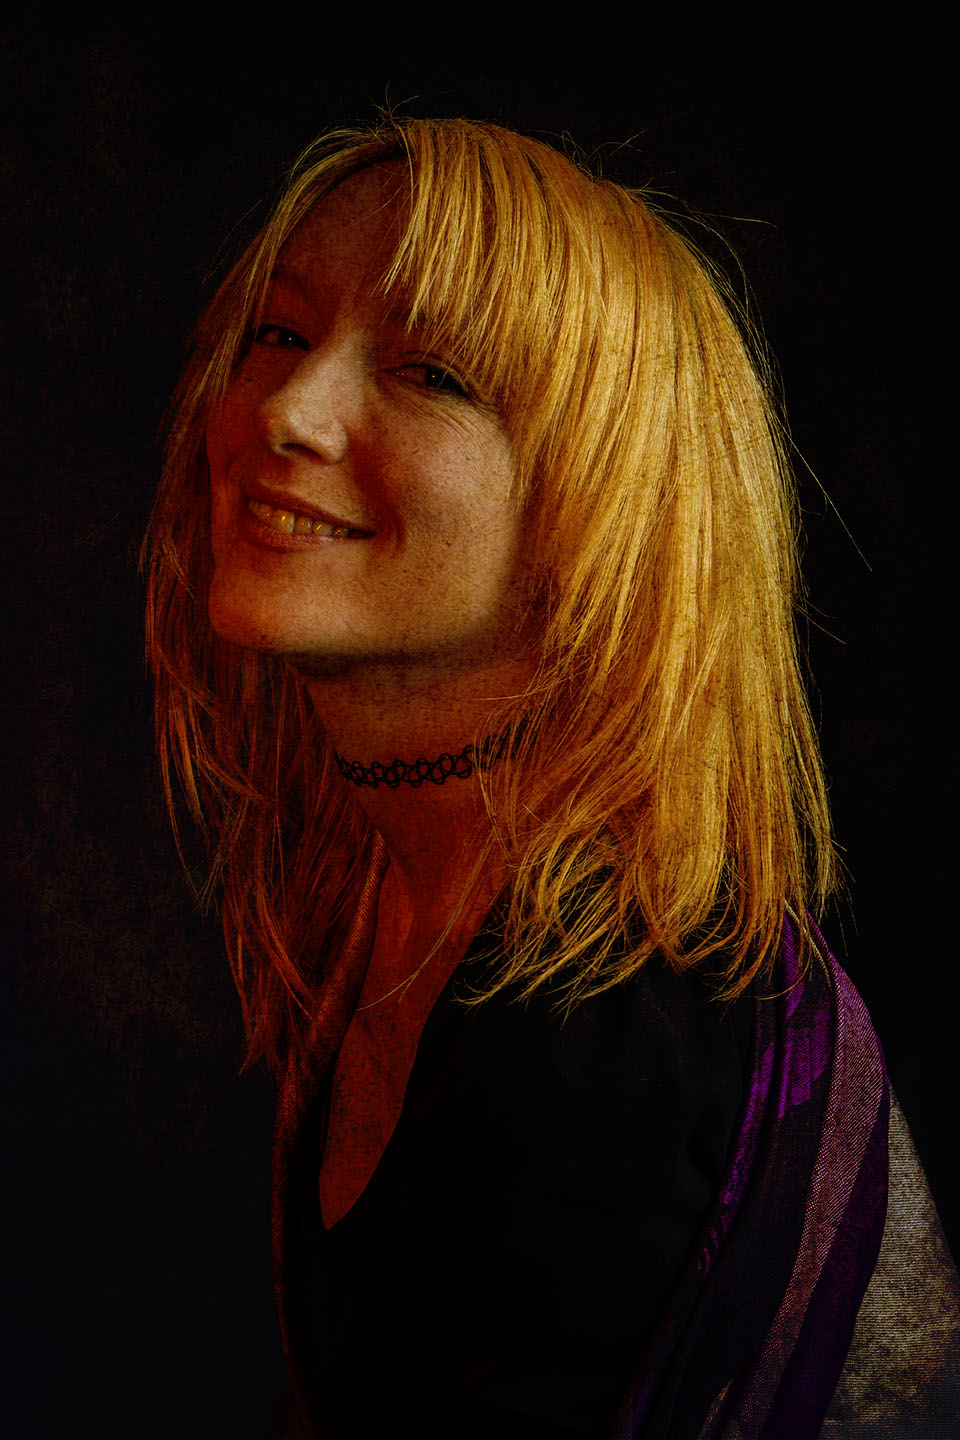
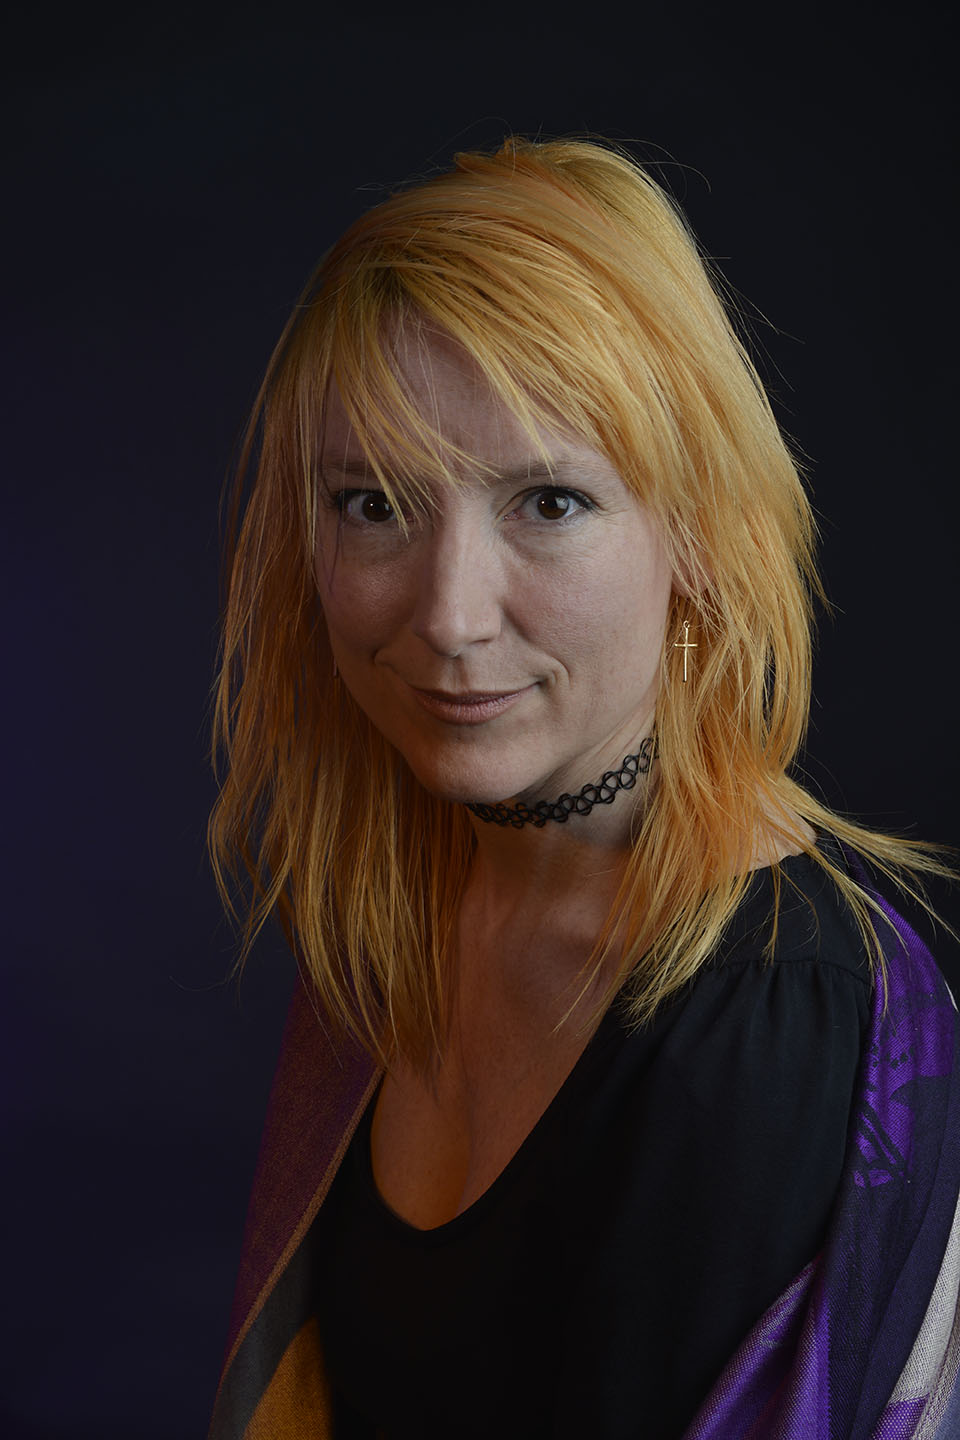
Today in class I took the opportunity to take some portrait photographs of another students model.
Below is a photo of the set up. Quite complicated with four lights. One, to light the background slightly and the other three to light the model.
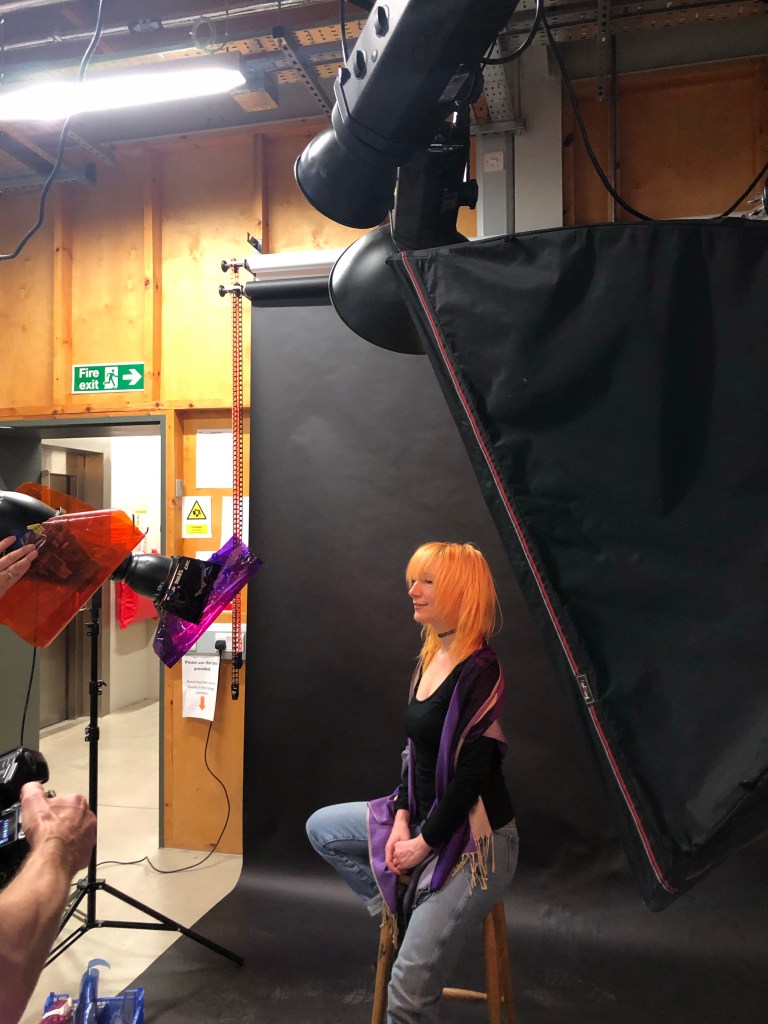

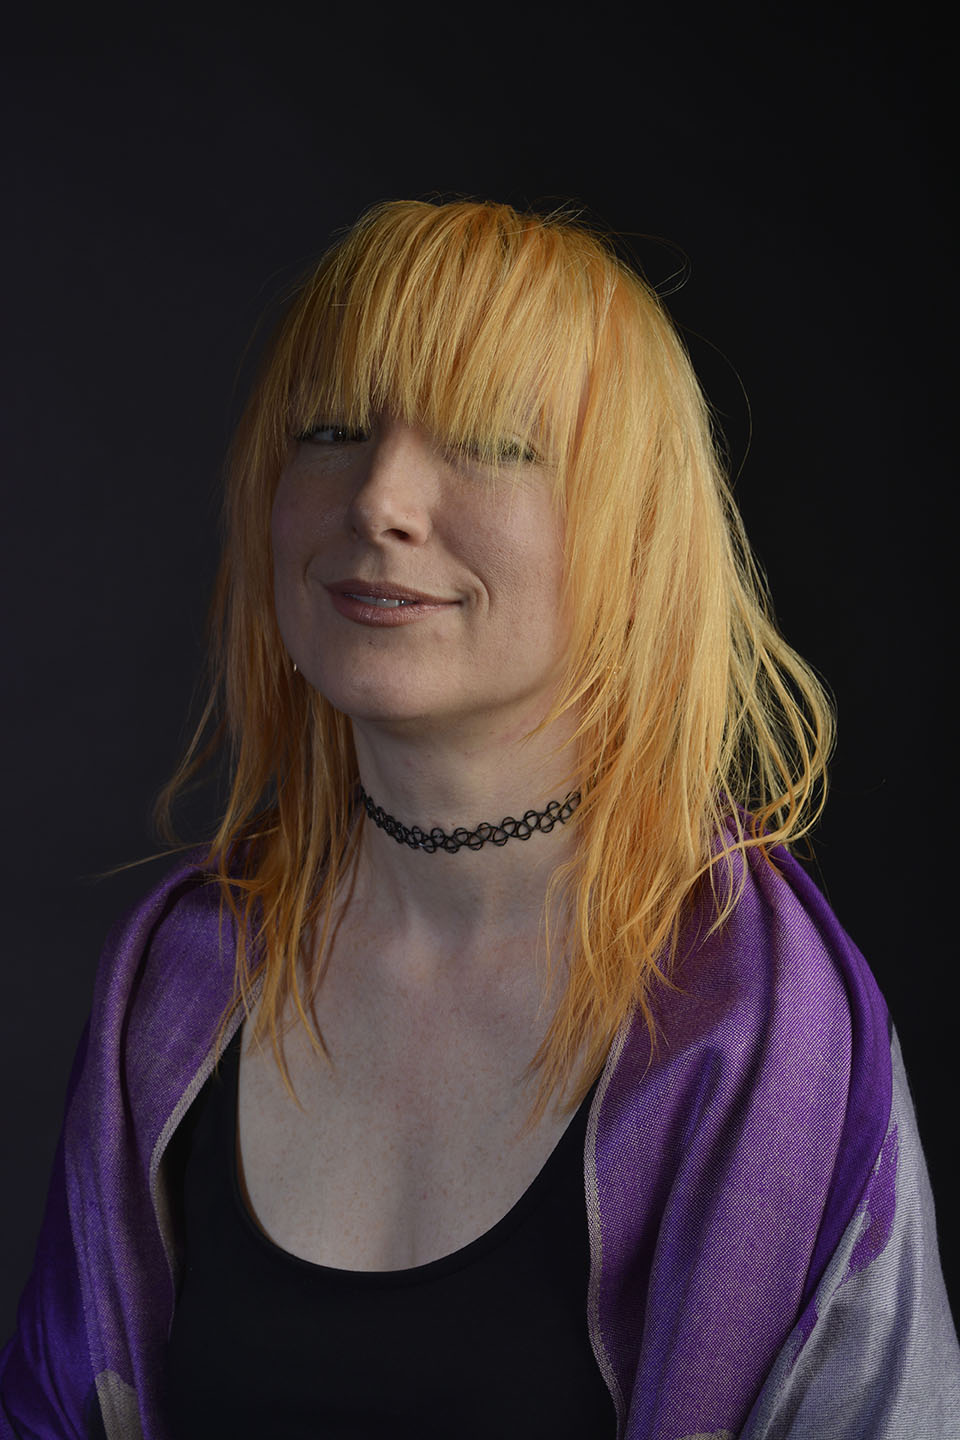

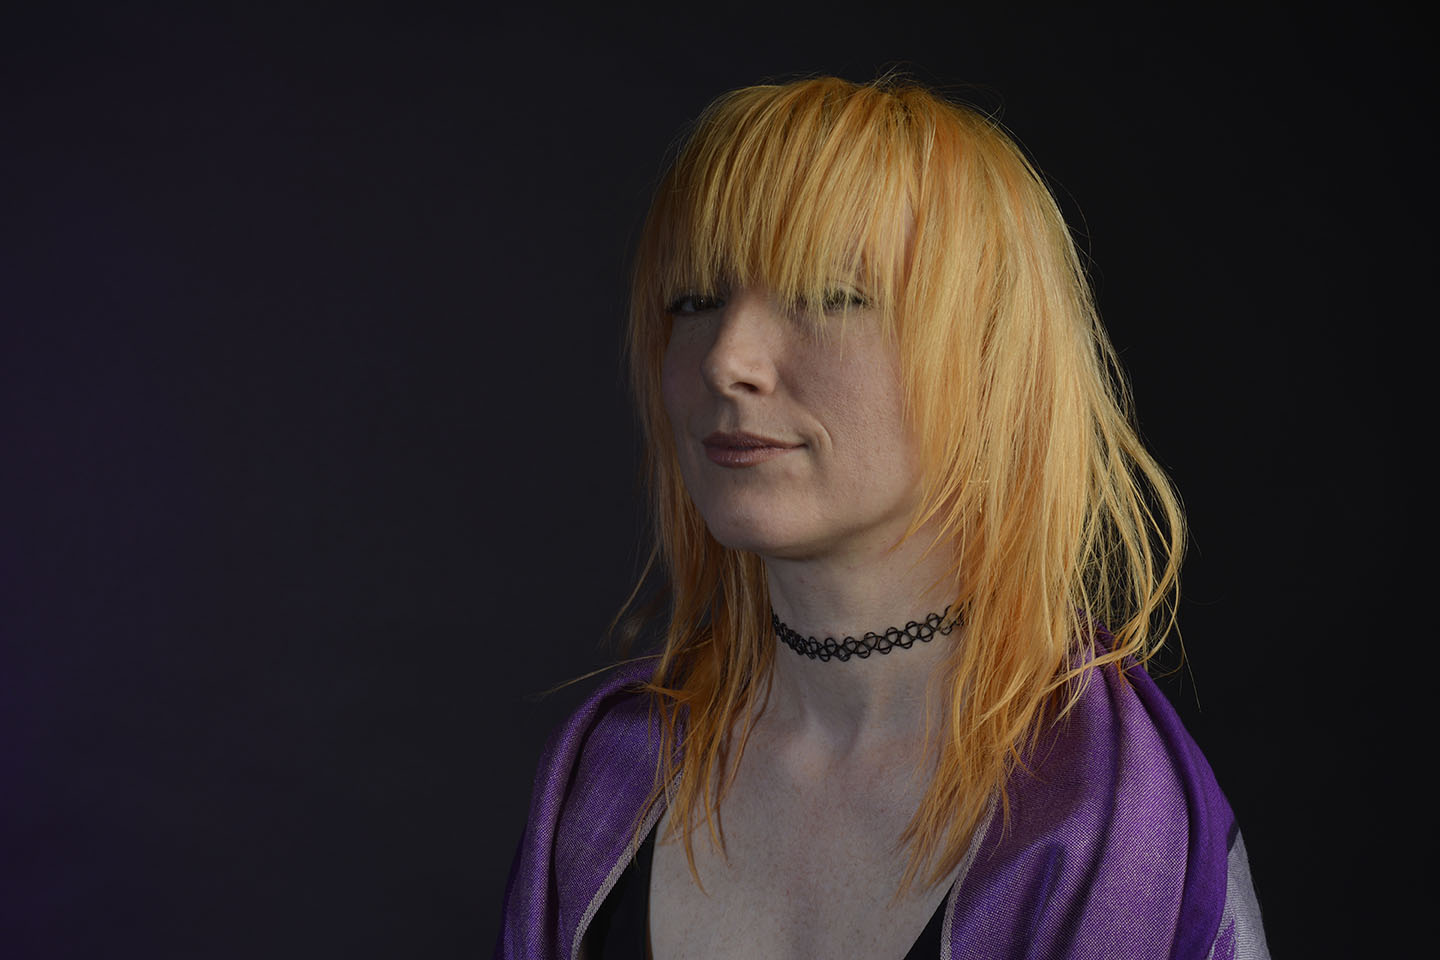
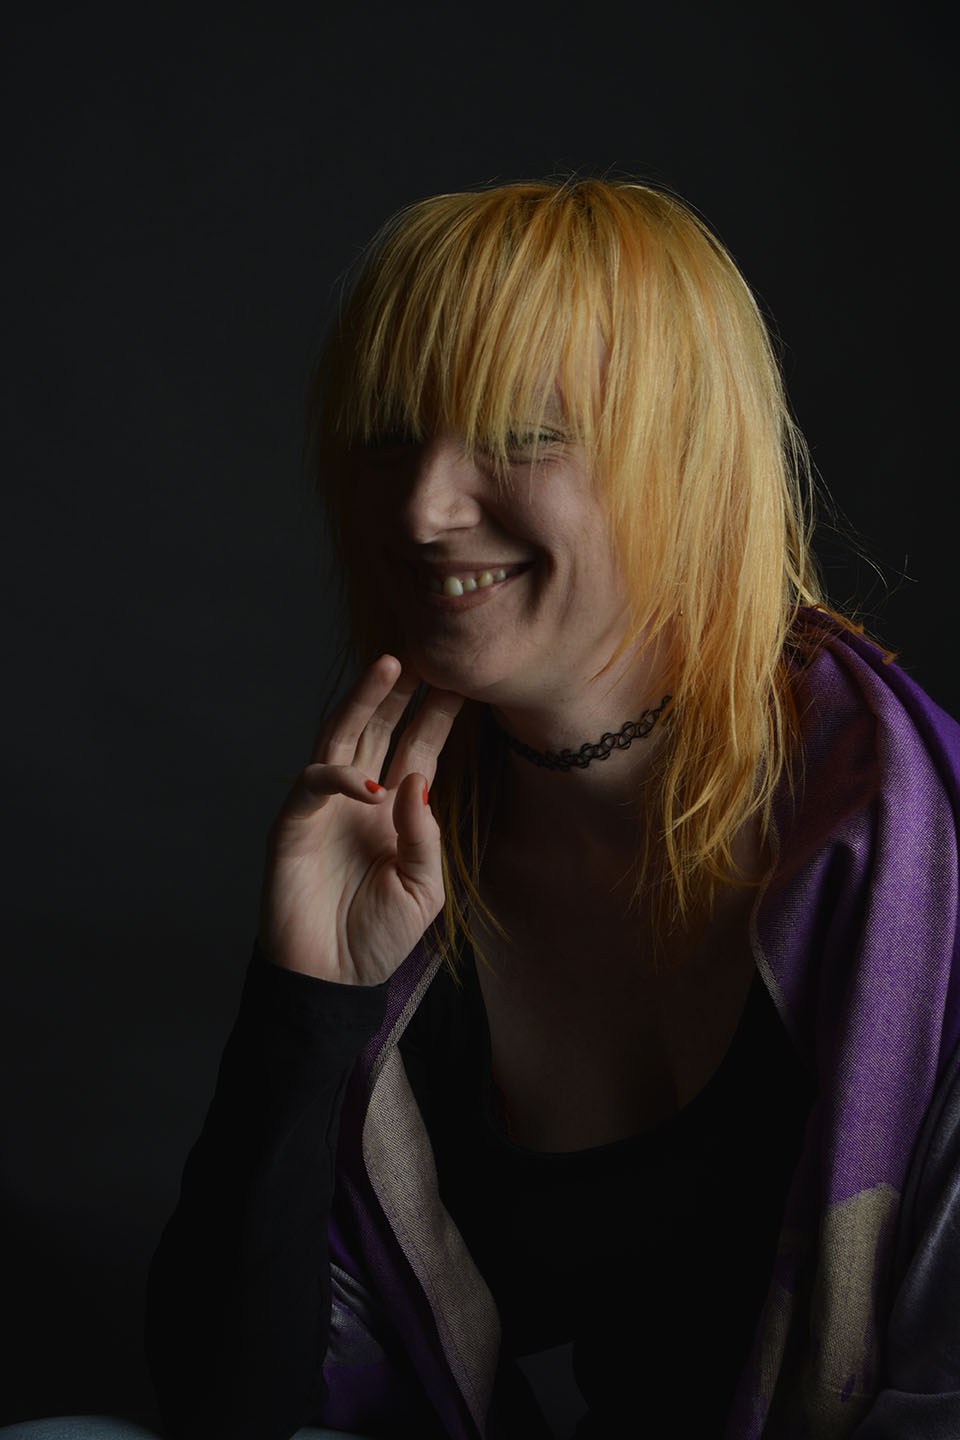
Colour gels/filters were used in these next set of photographs. To complement the models purple shawl and slightly orange hair, purple and orange cellophane have been taped across separate lights. The set up photograph above shows the colours on the lights.
The colours add warmth to the photographs.
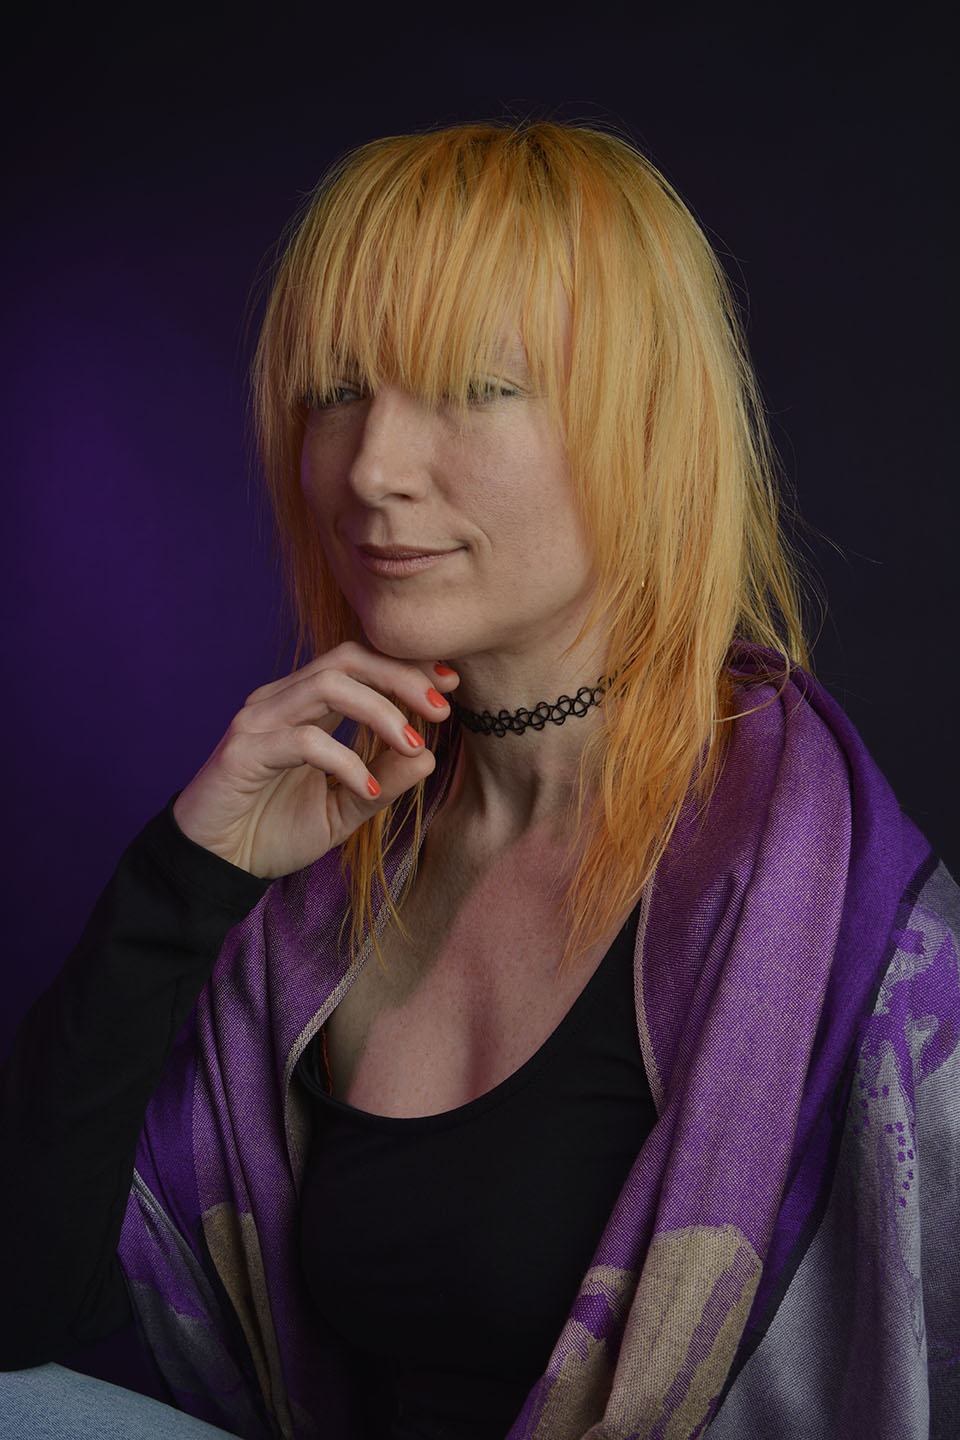
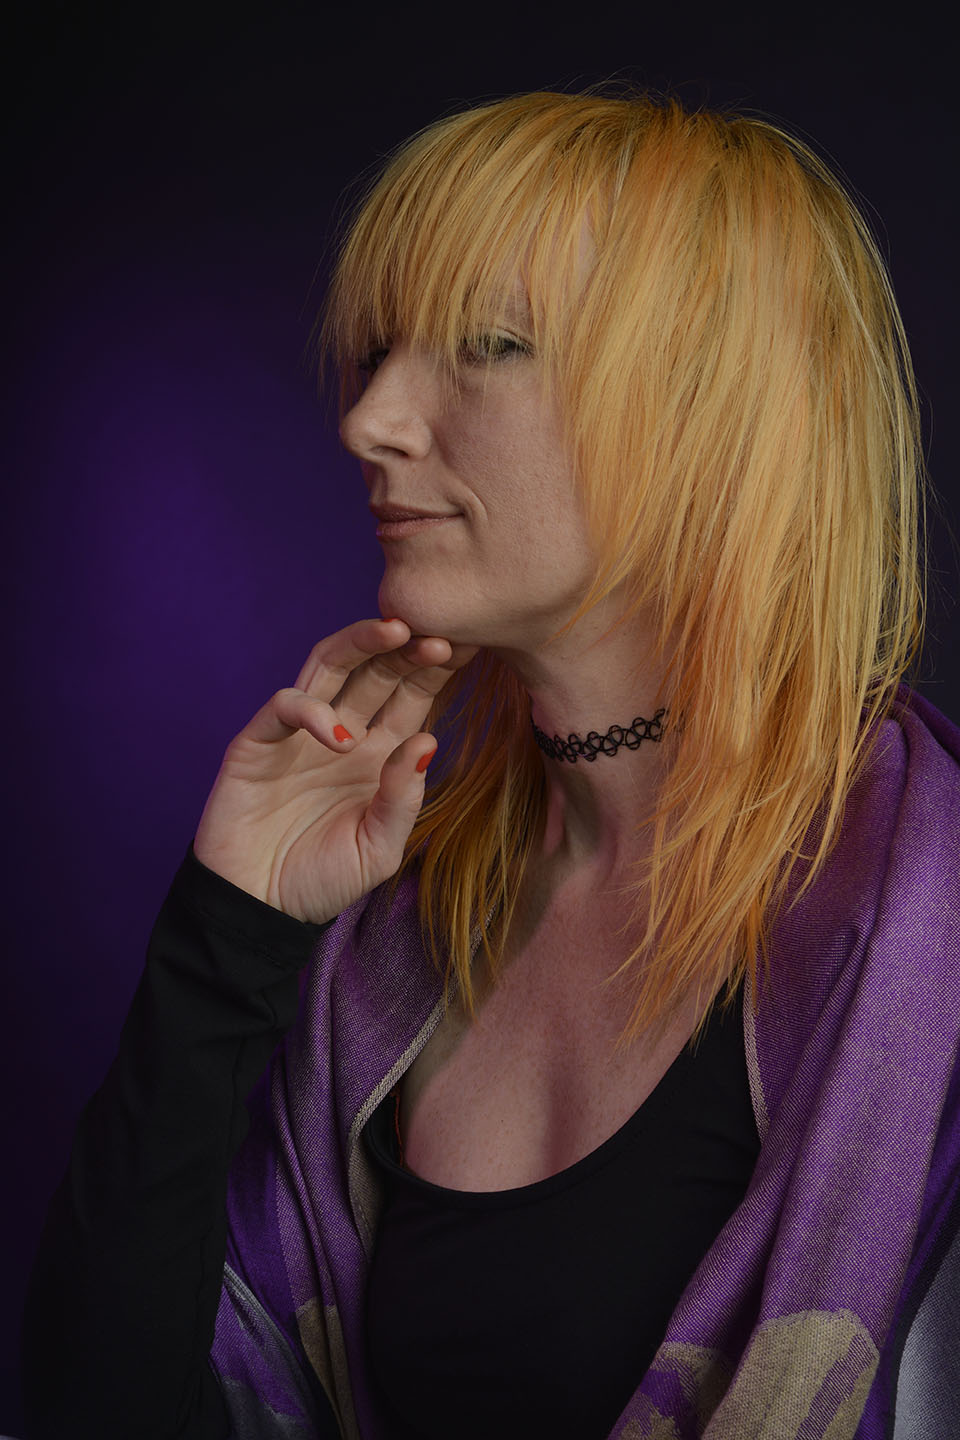
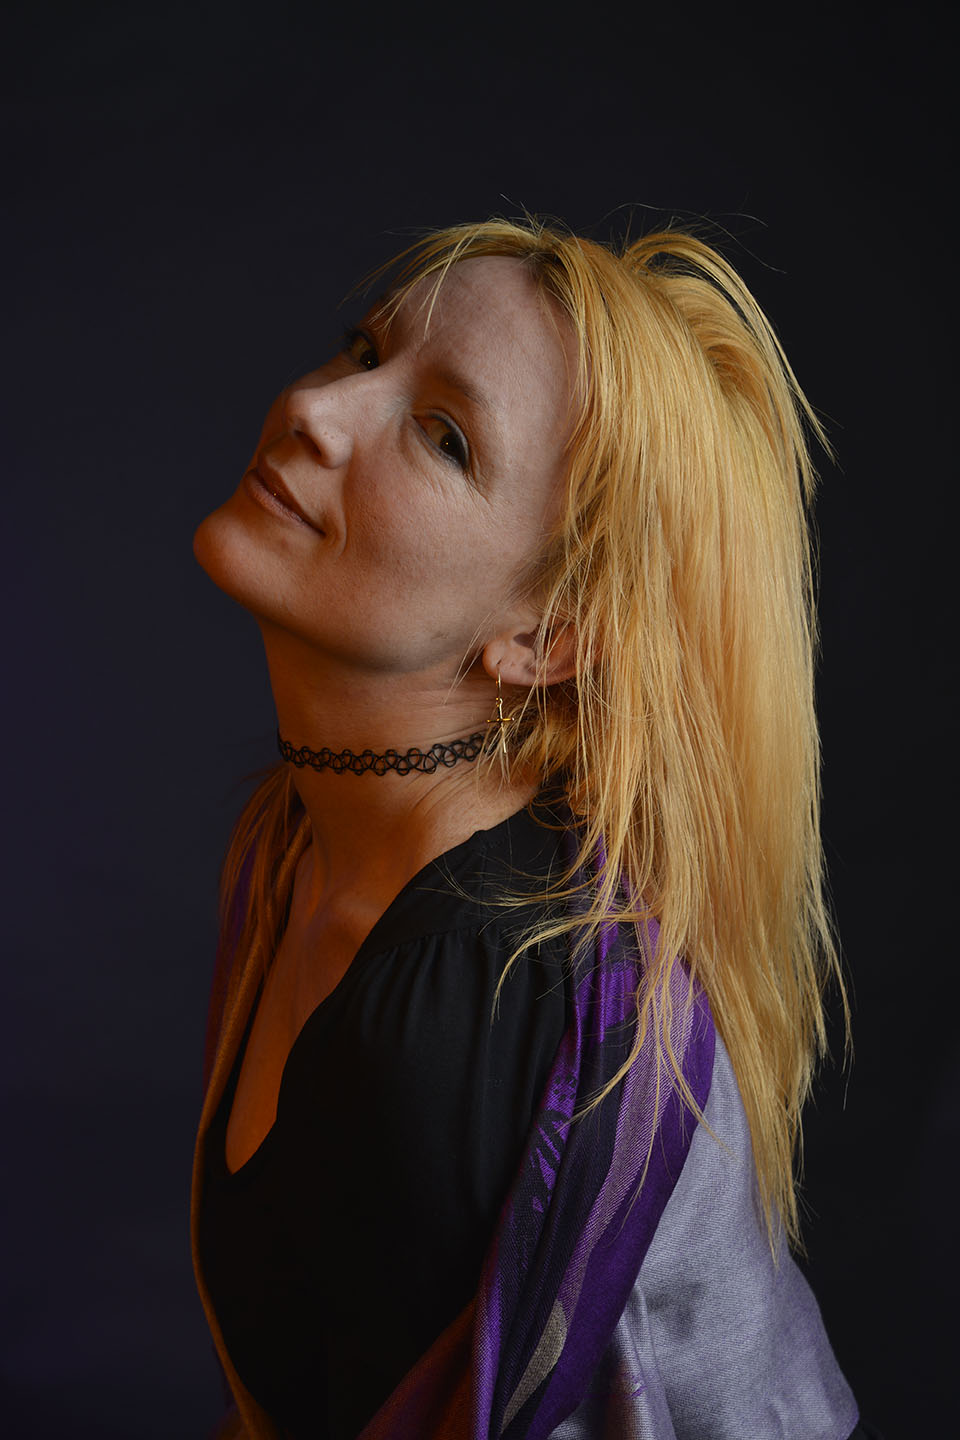
Care had to be taken when taping the cellophane to the lamps as the can get very hot. We also had to be careful of the lead from one of the lights. It was on a free standing tripod and not a pantograph like the rest.
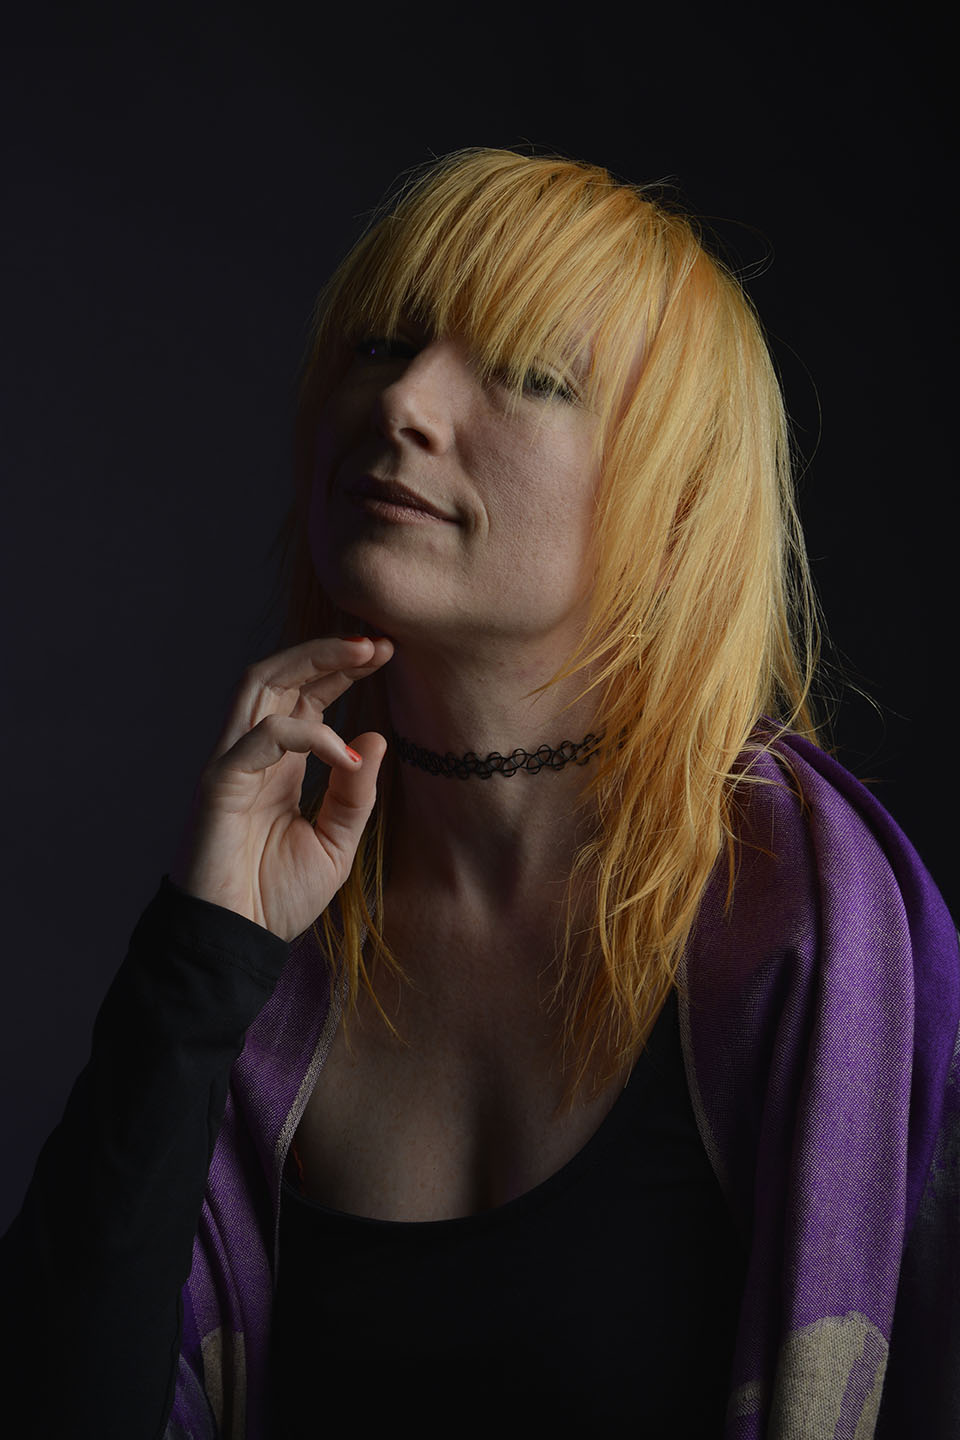
Trying to have a go at capturing some movement shots. Initially I wasn’t able to capture the model mid hair flick. My shutter button wasn’t pressing down. I quickly realised I had the focus on automatic. This meant the lens was searching for a focusing point that was constantly moving, therefore not able to be pushed down. After I switched to manual focus, I captured these below.