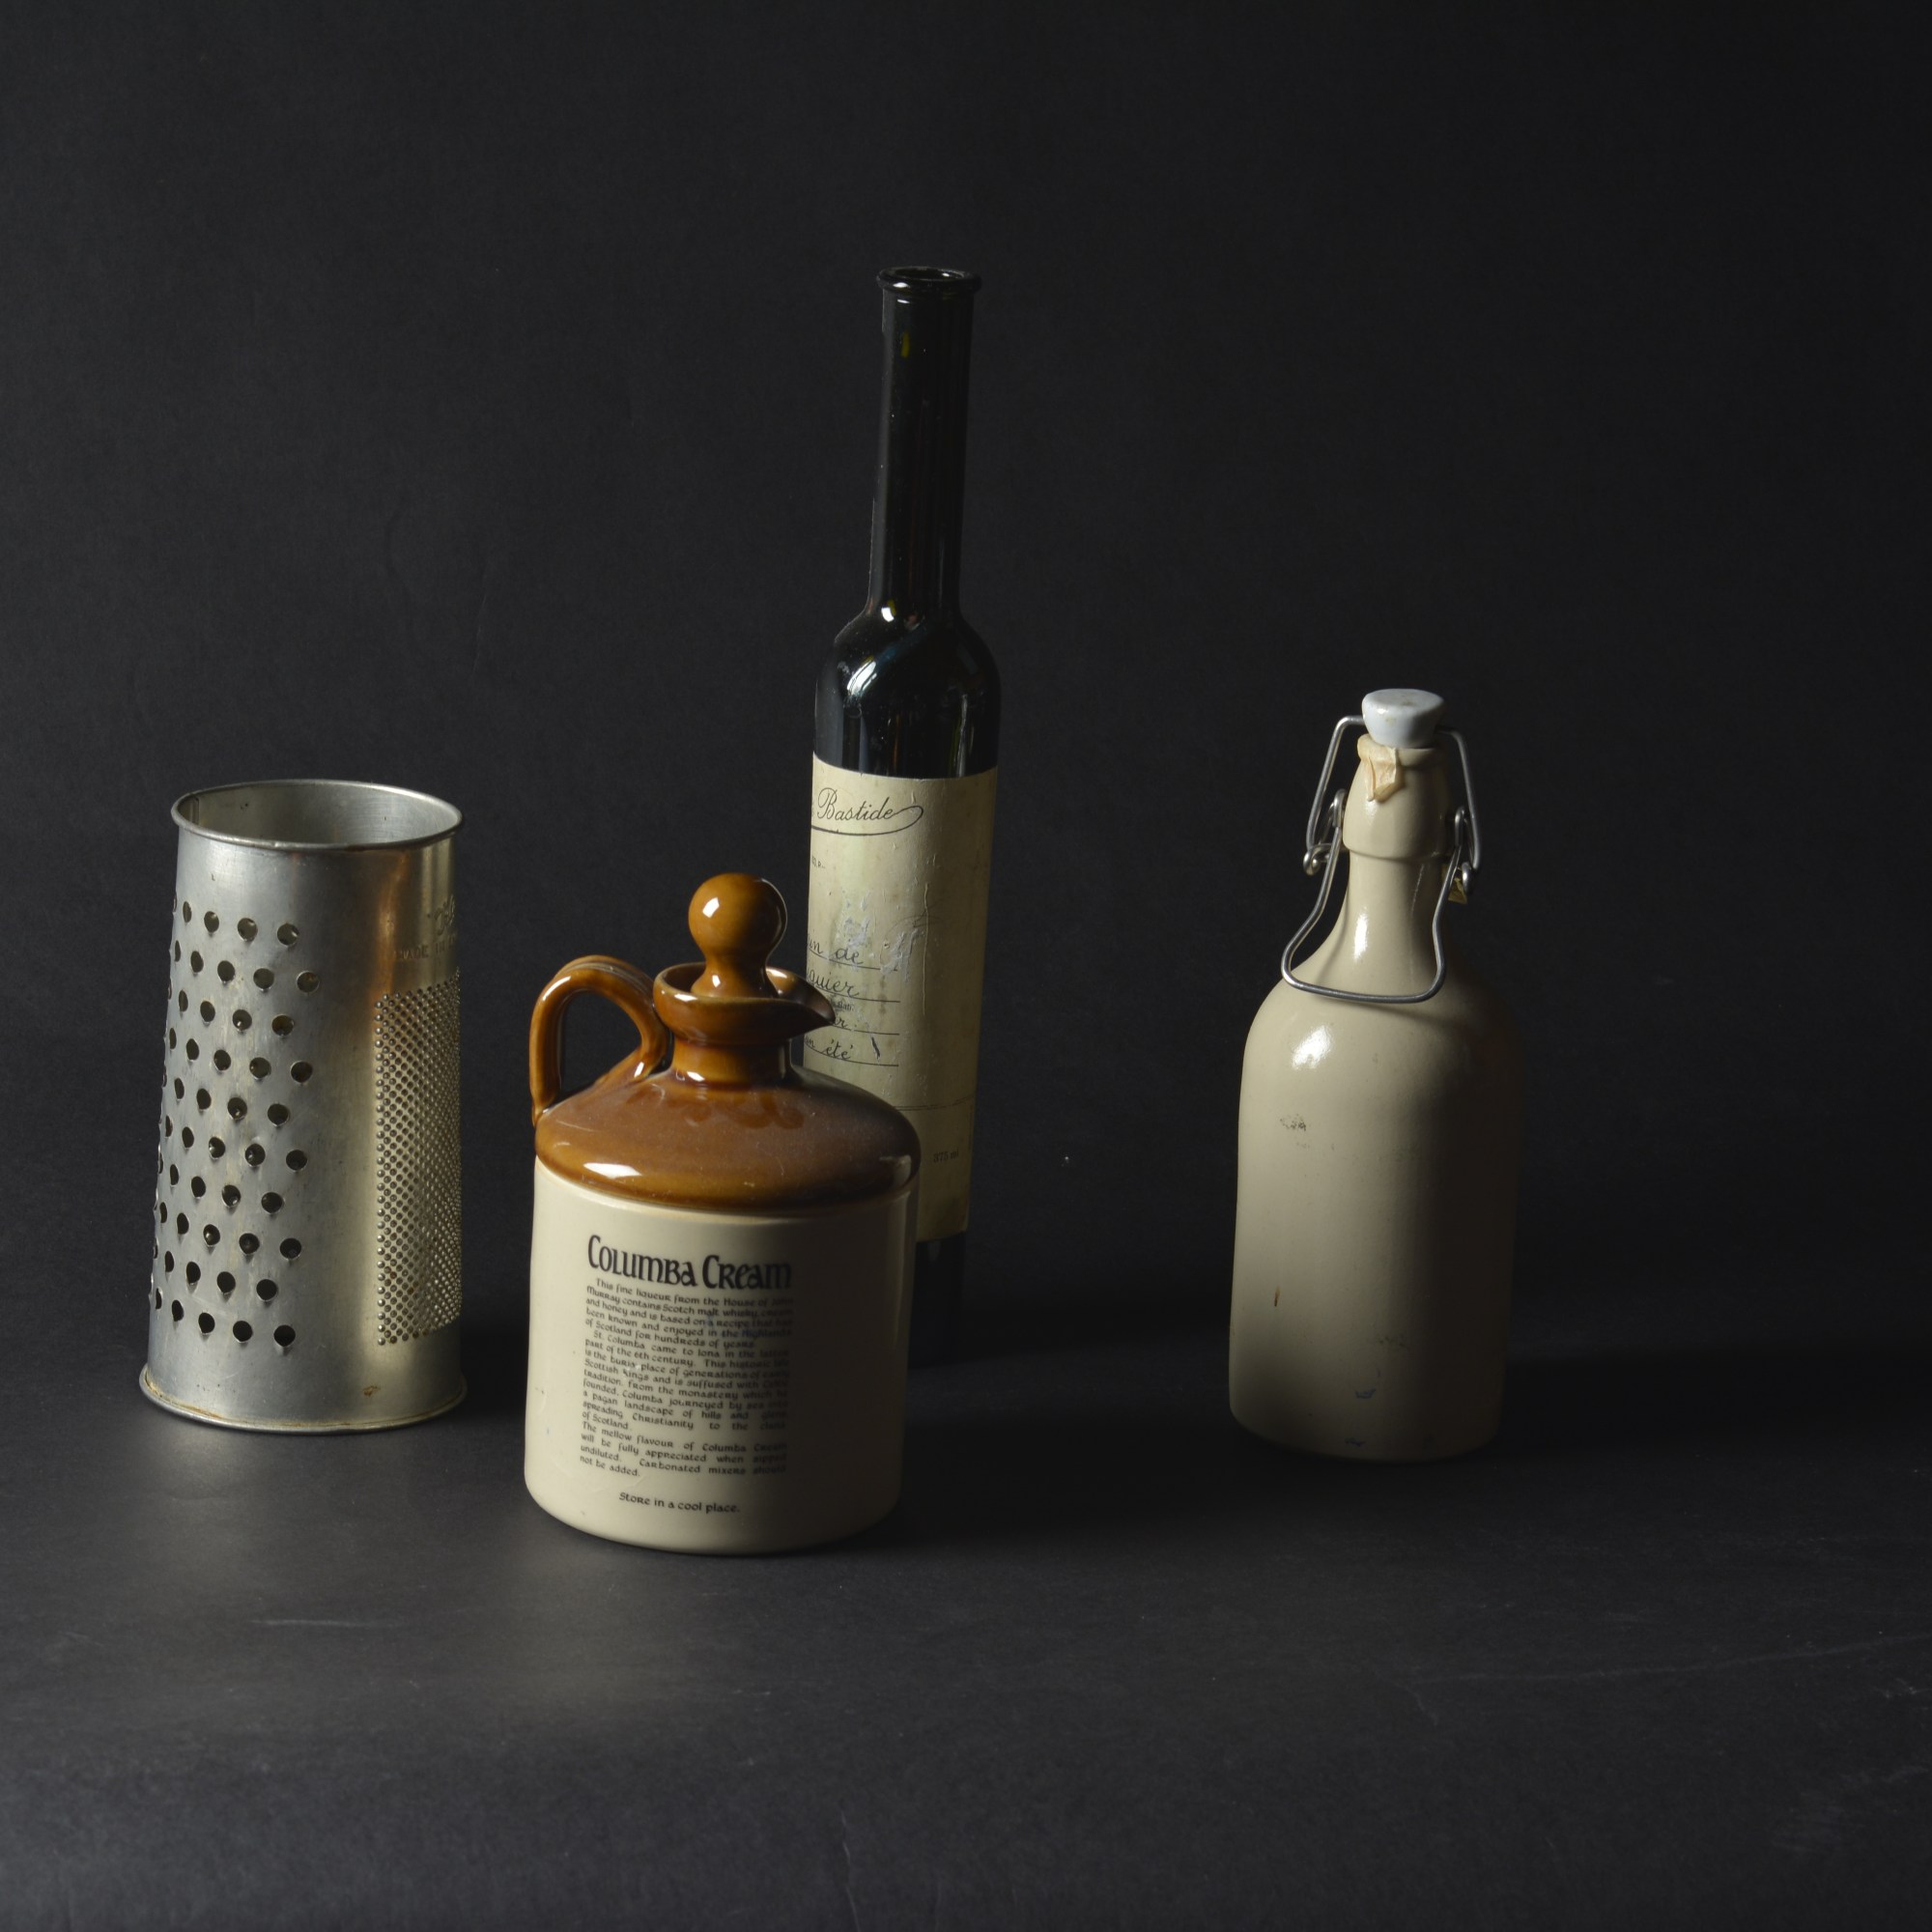
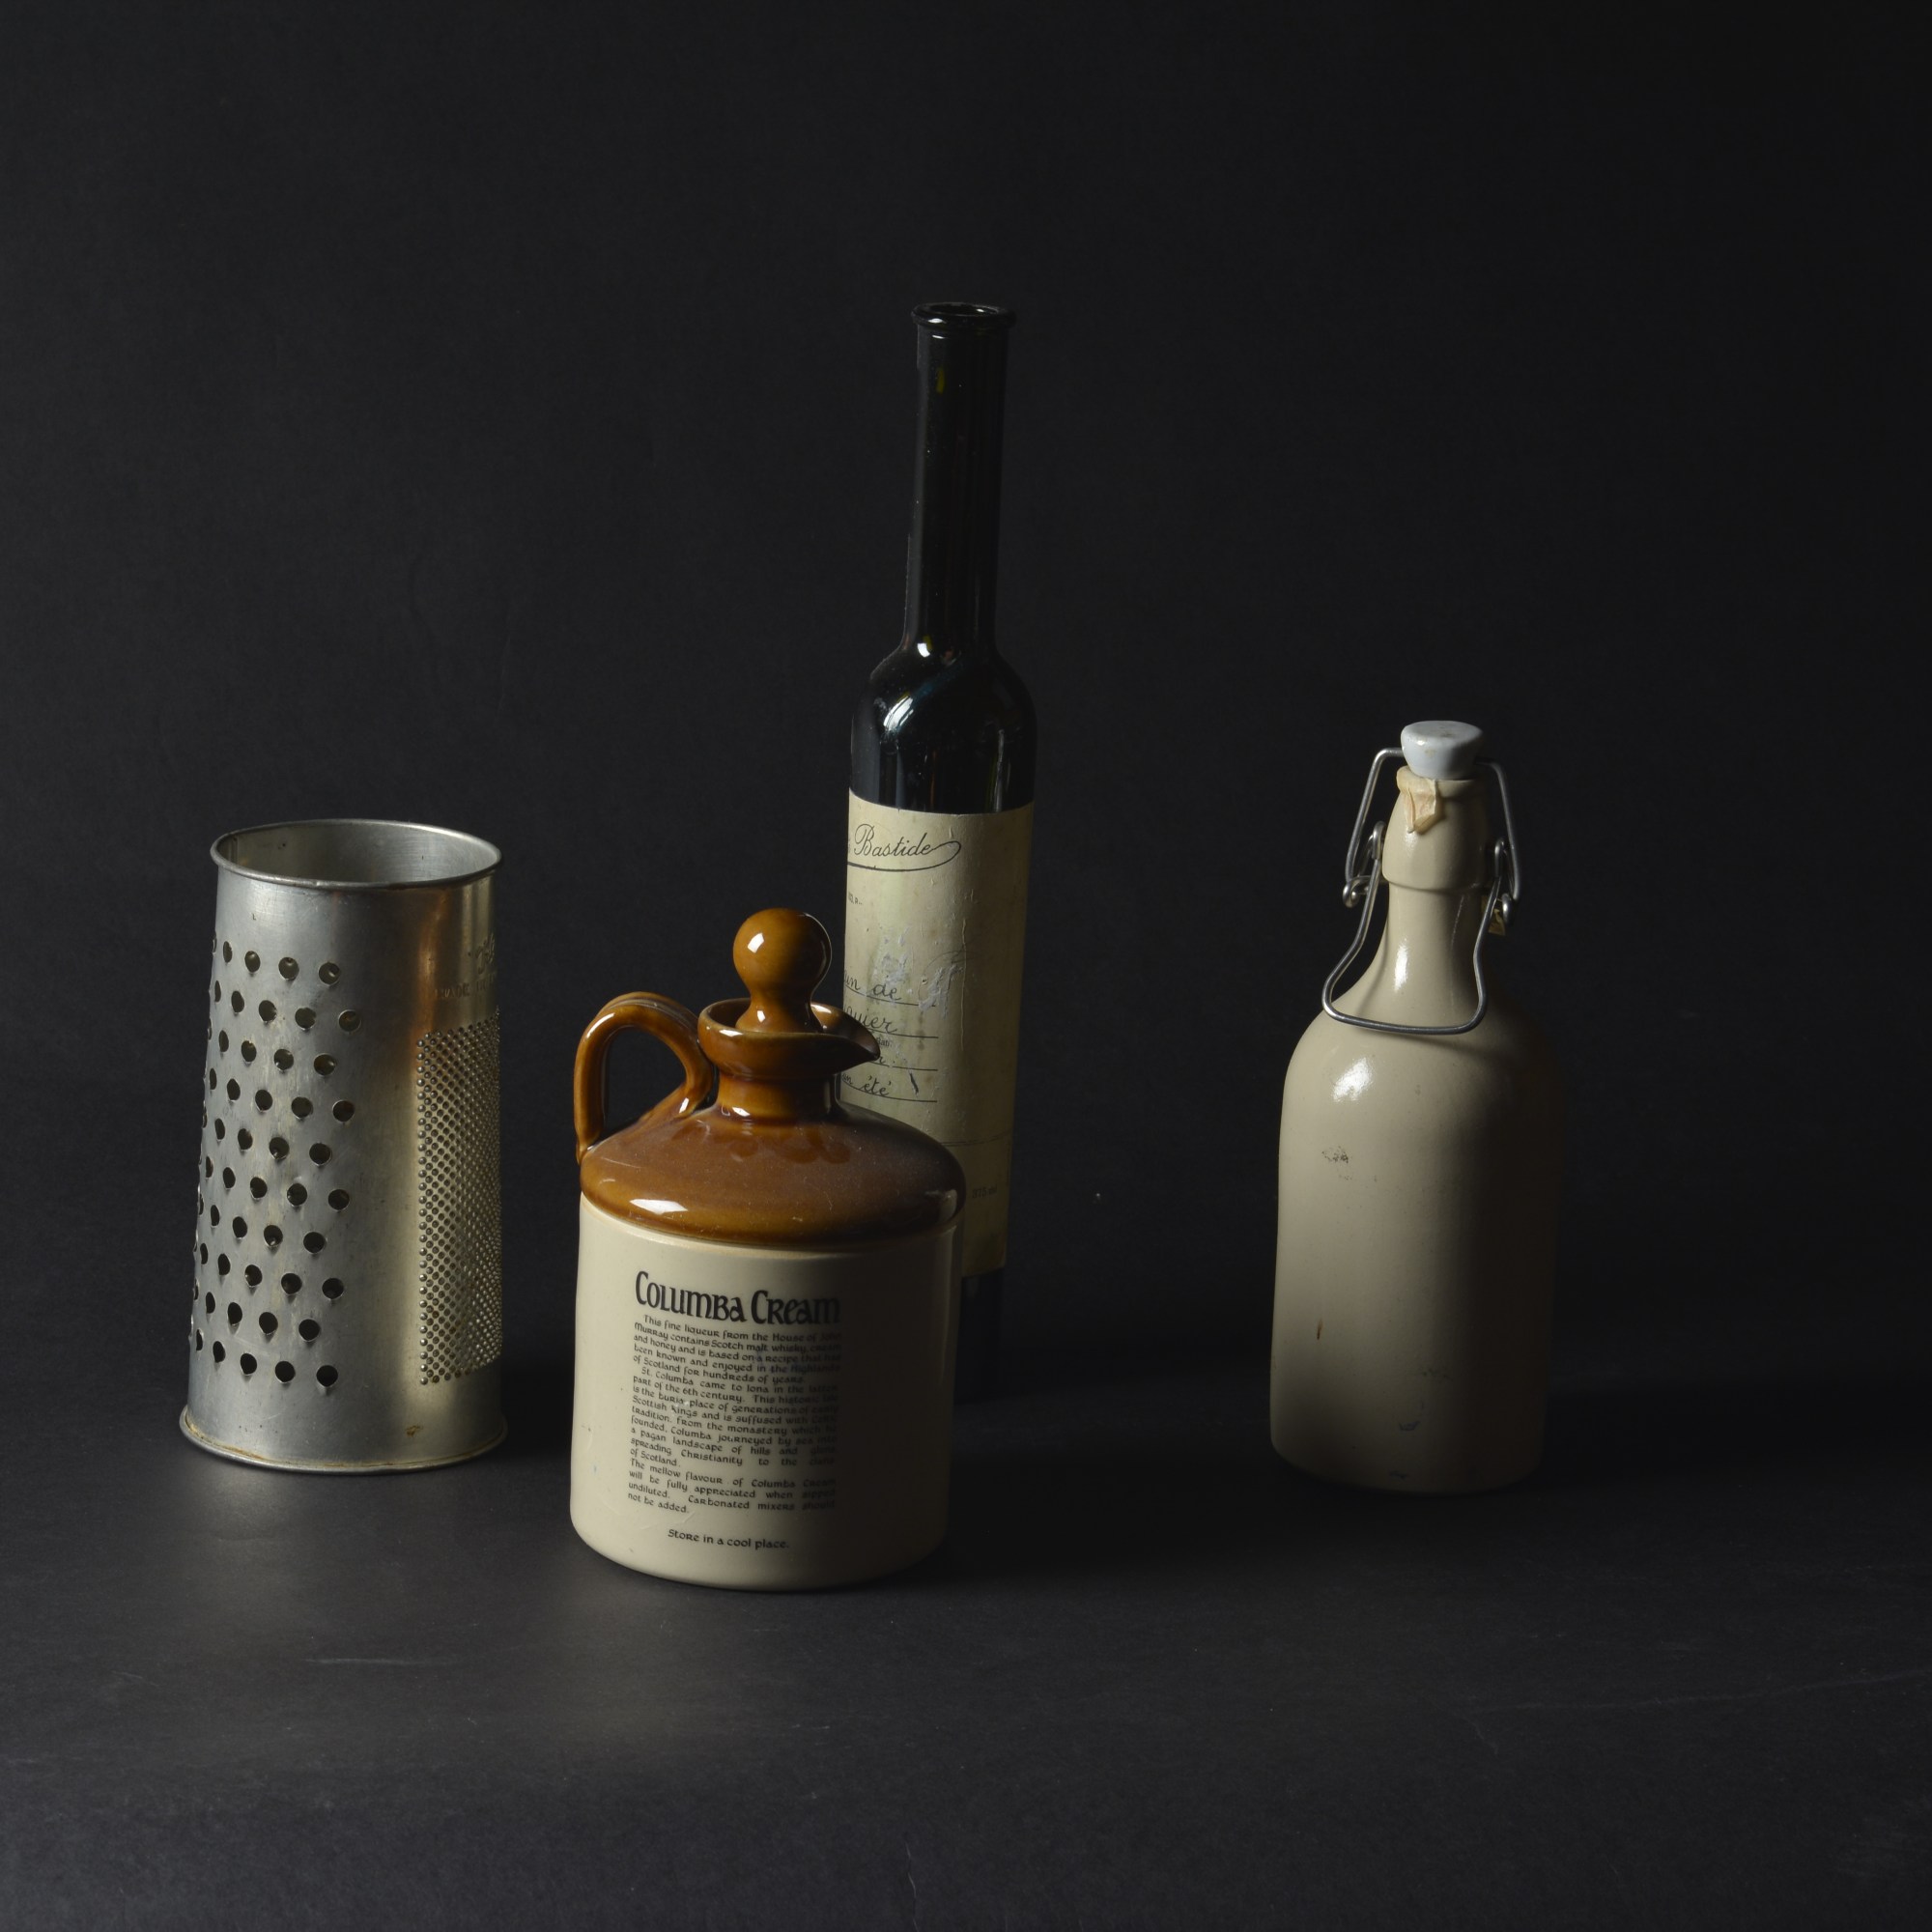
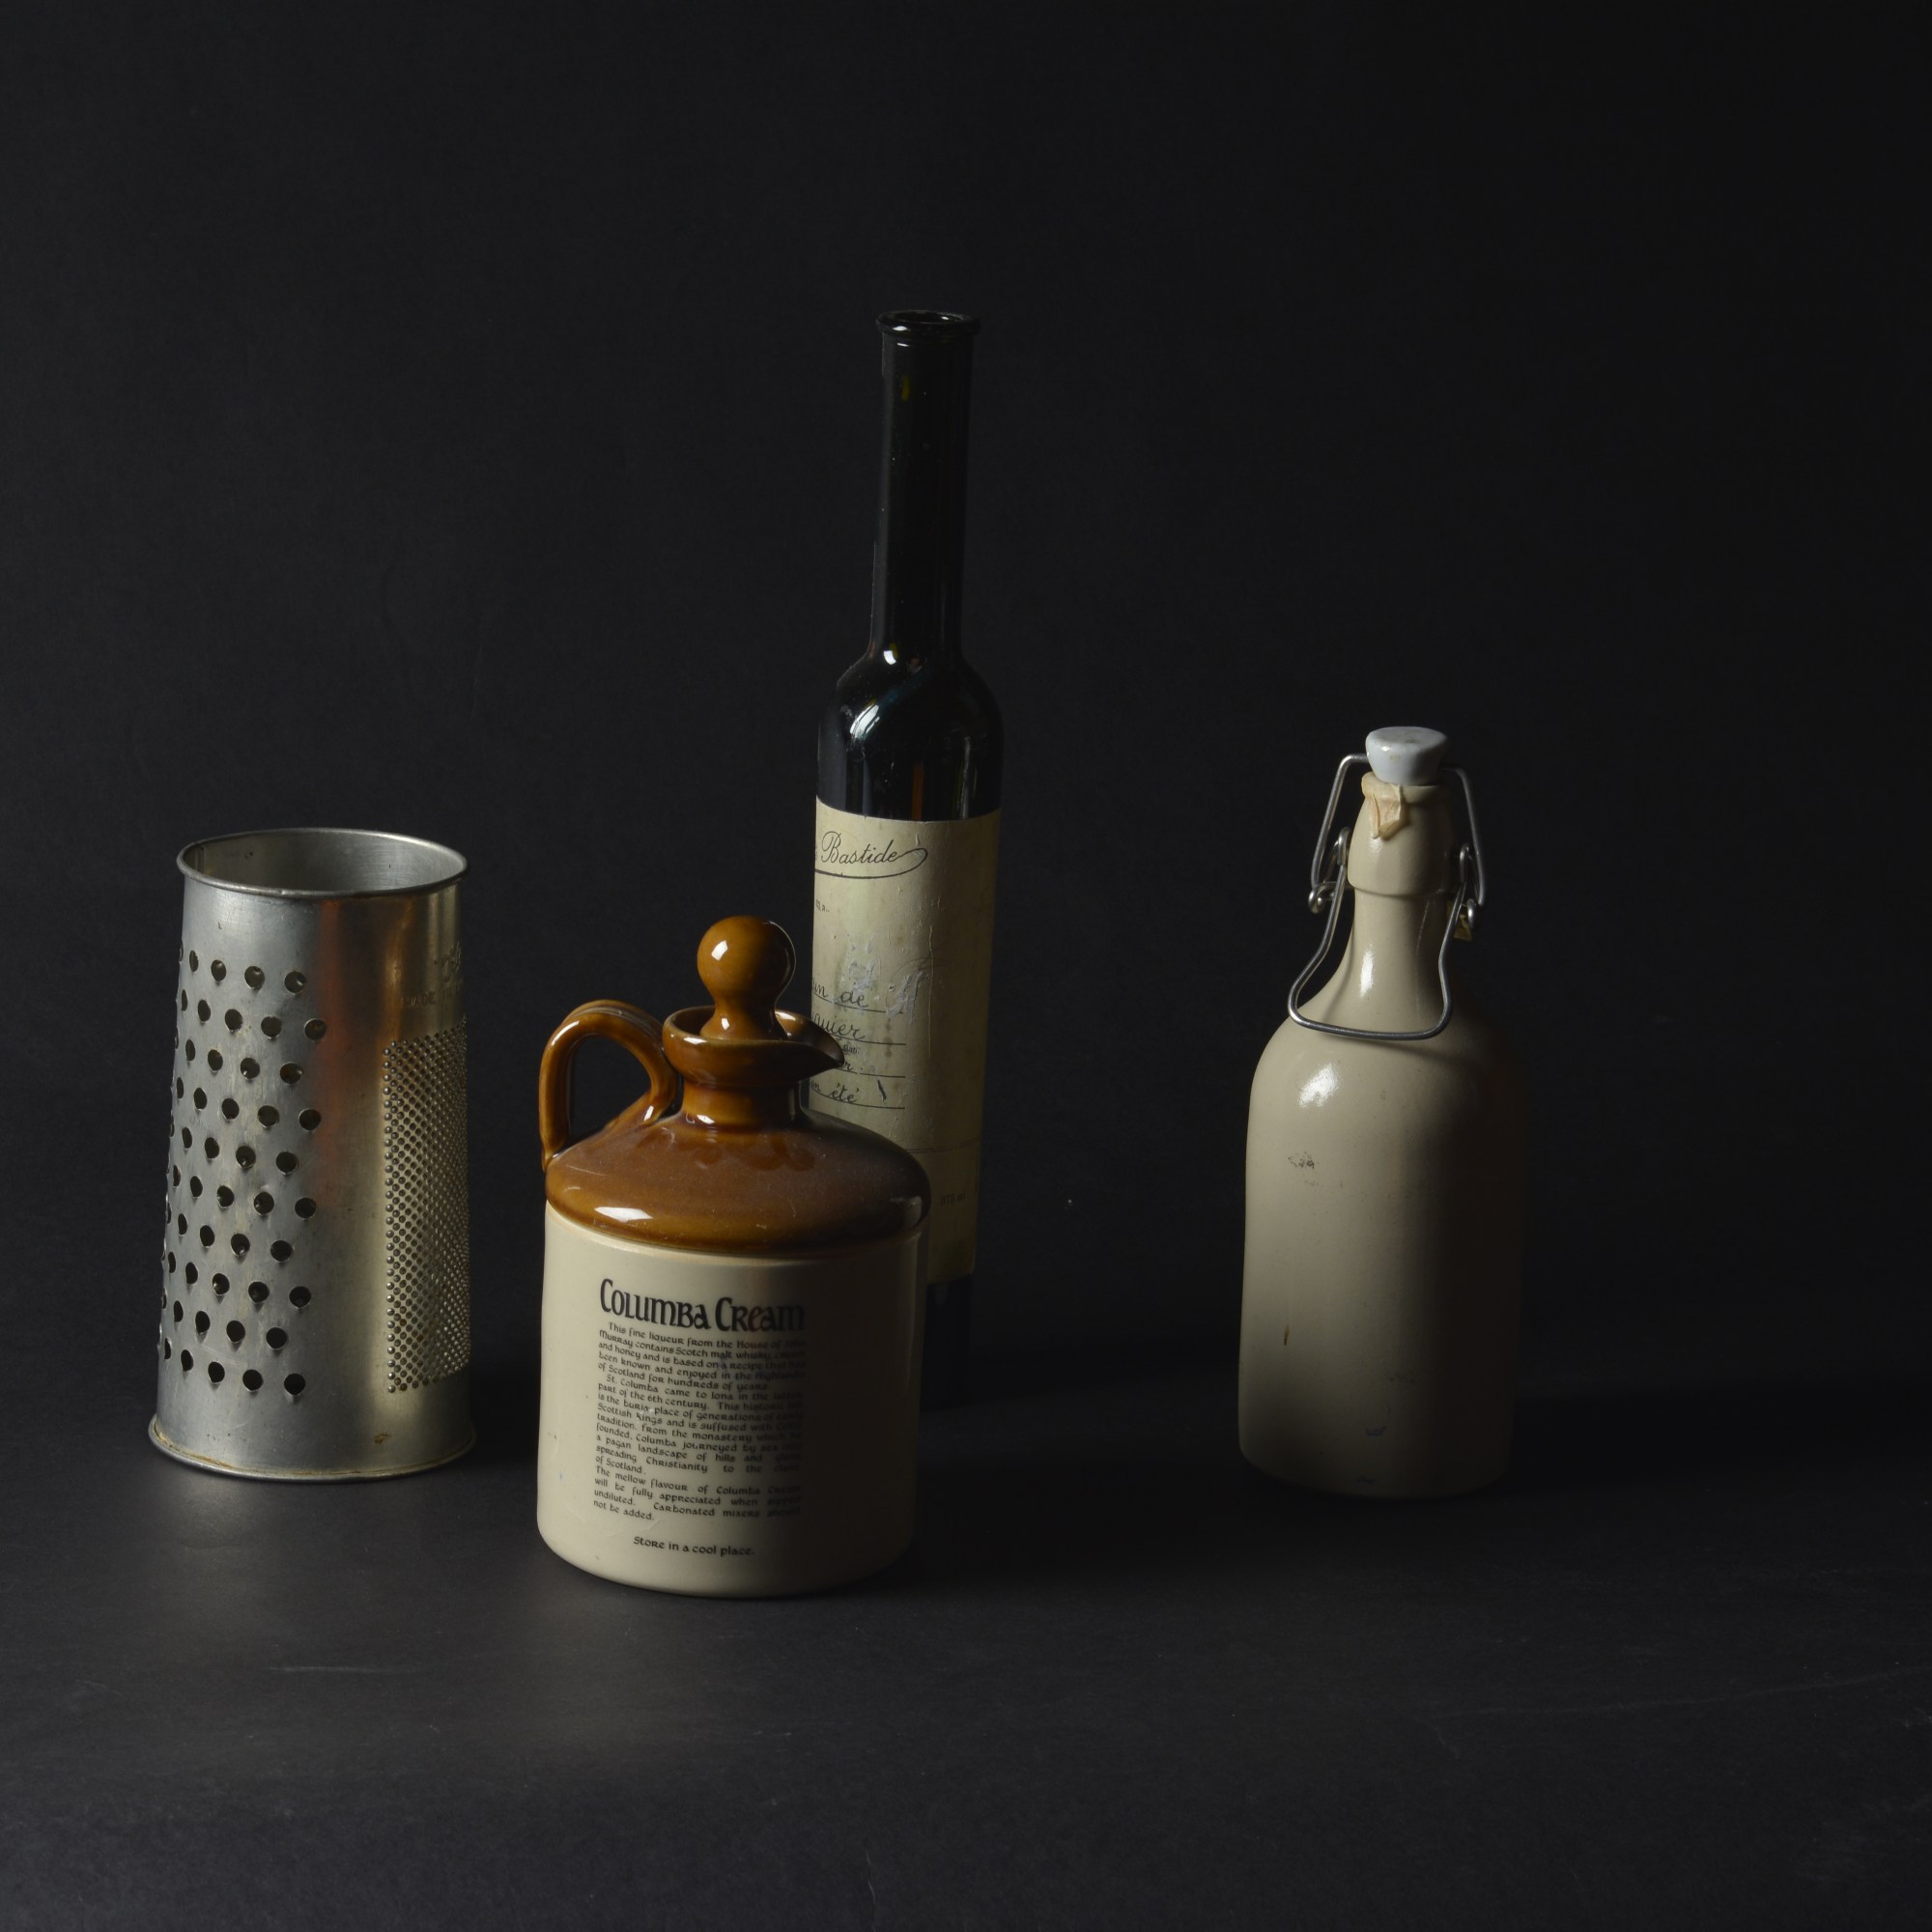
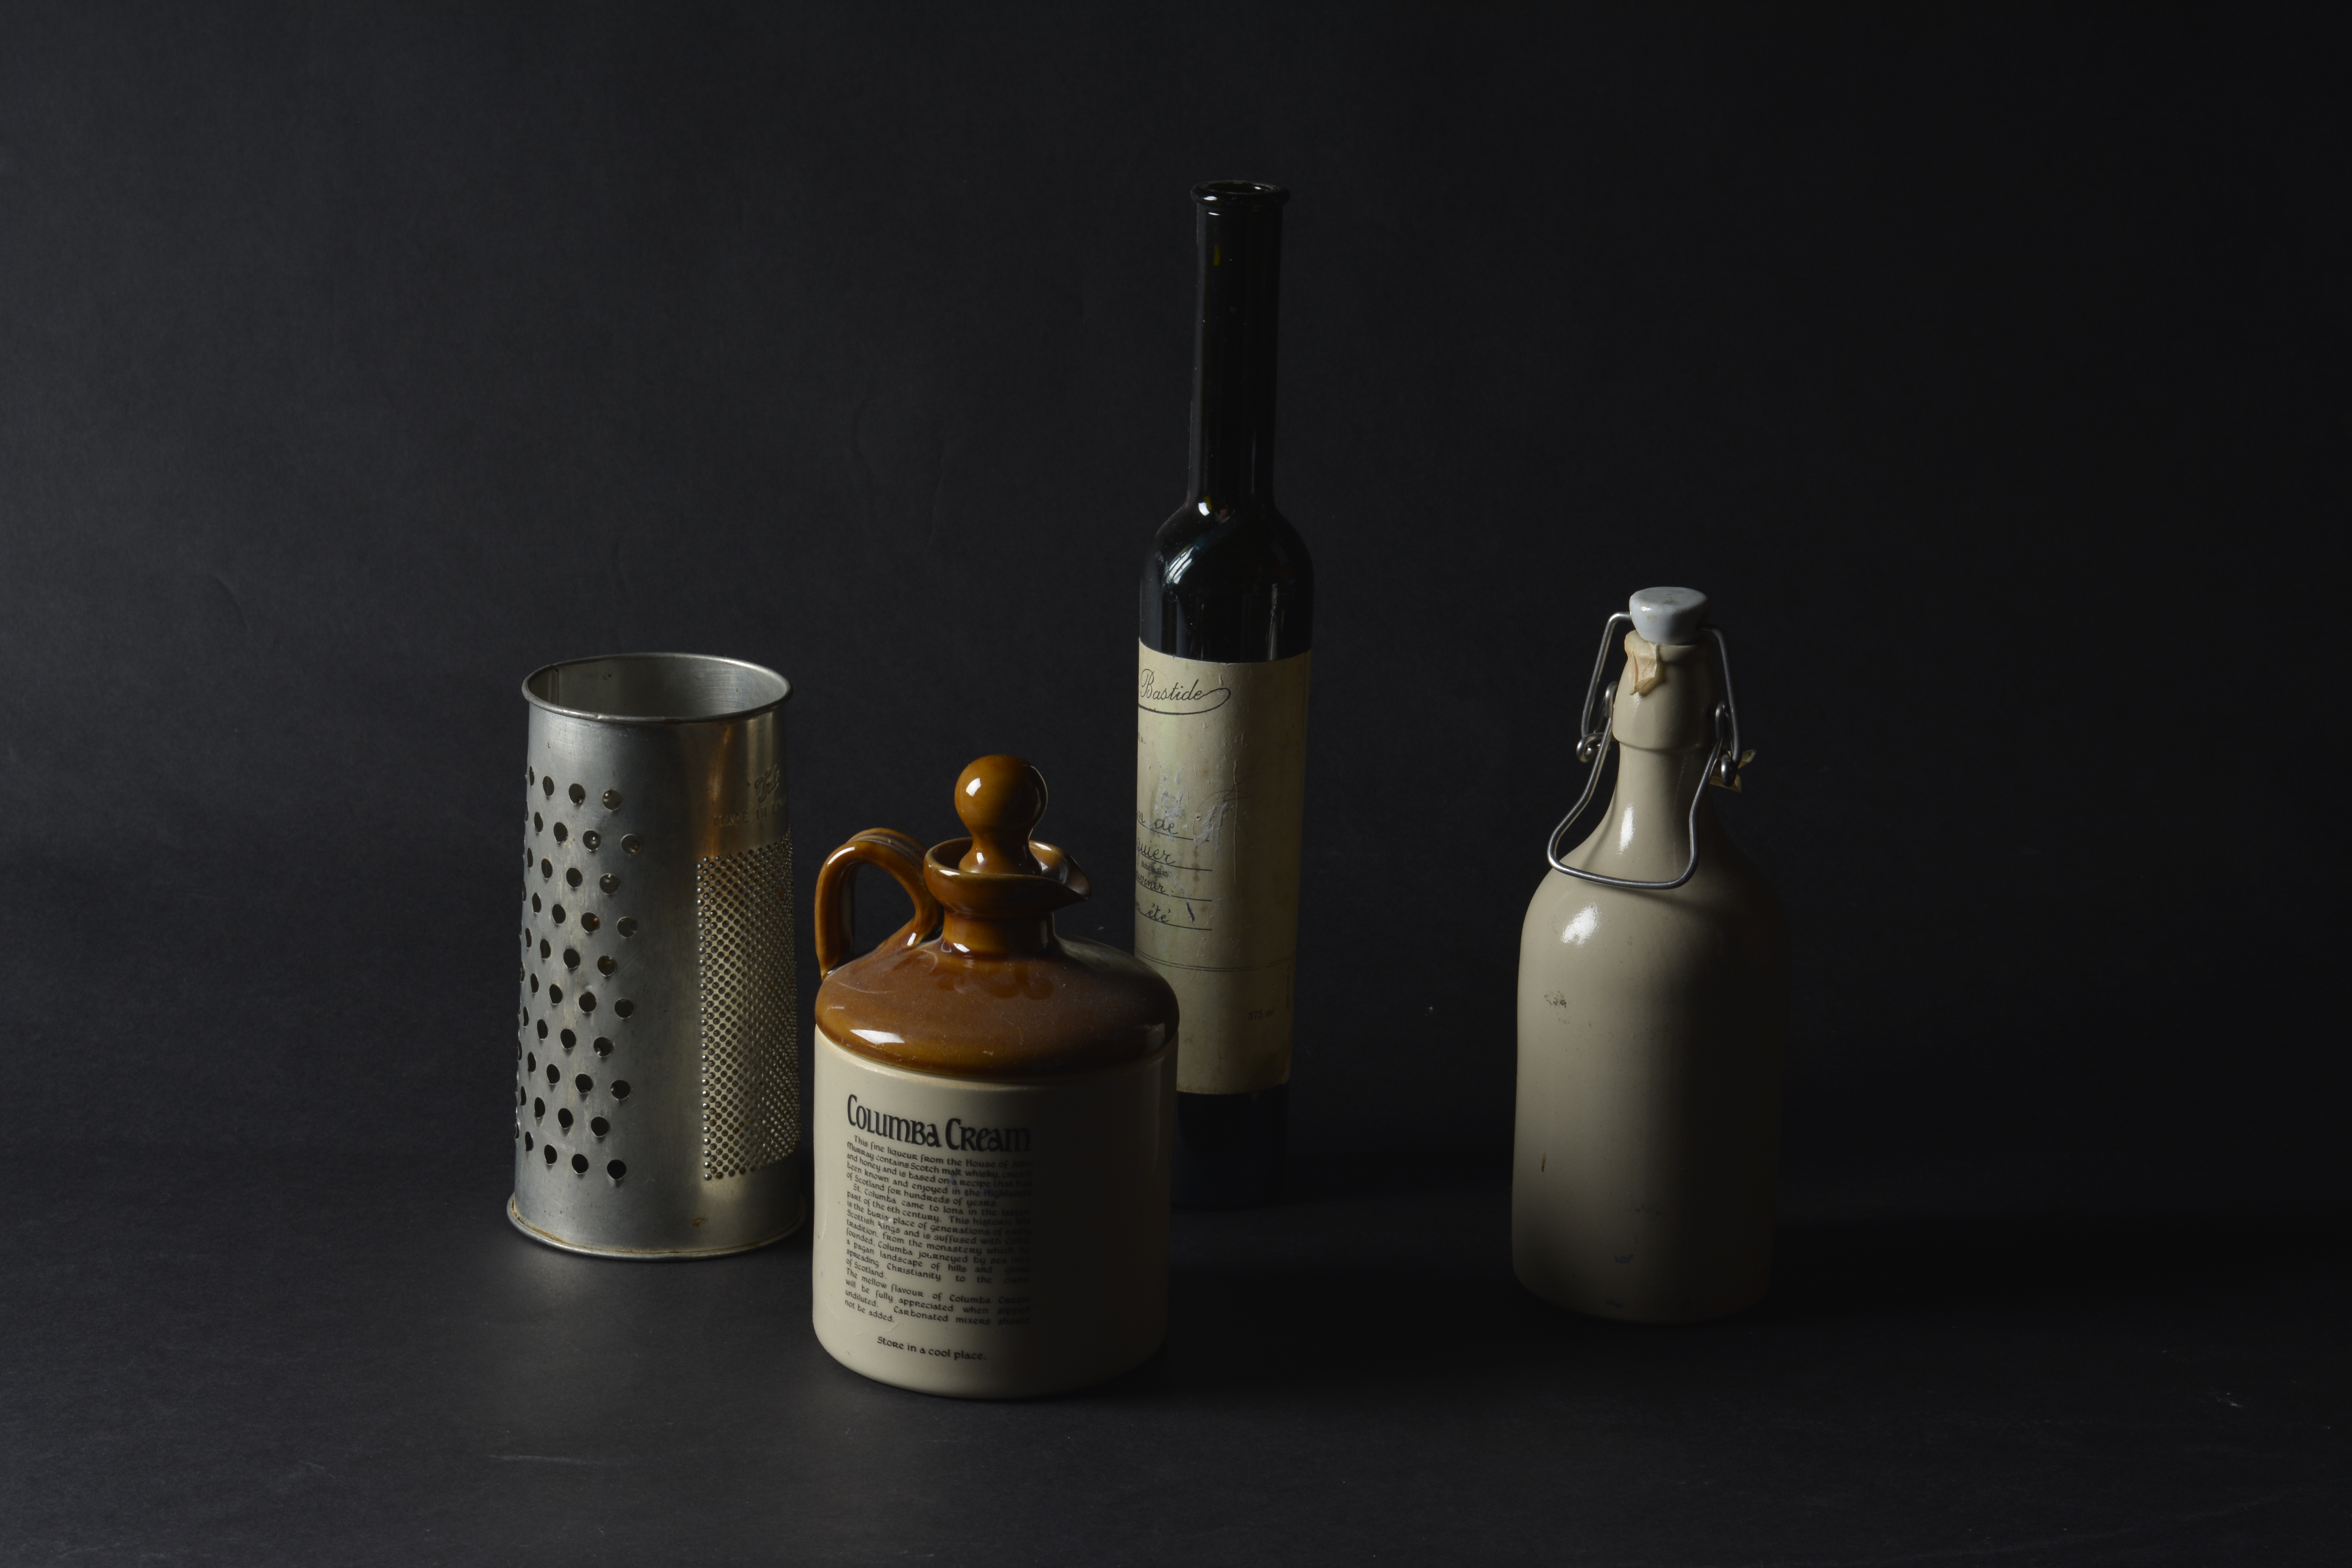
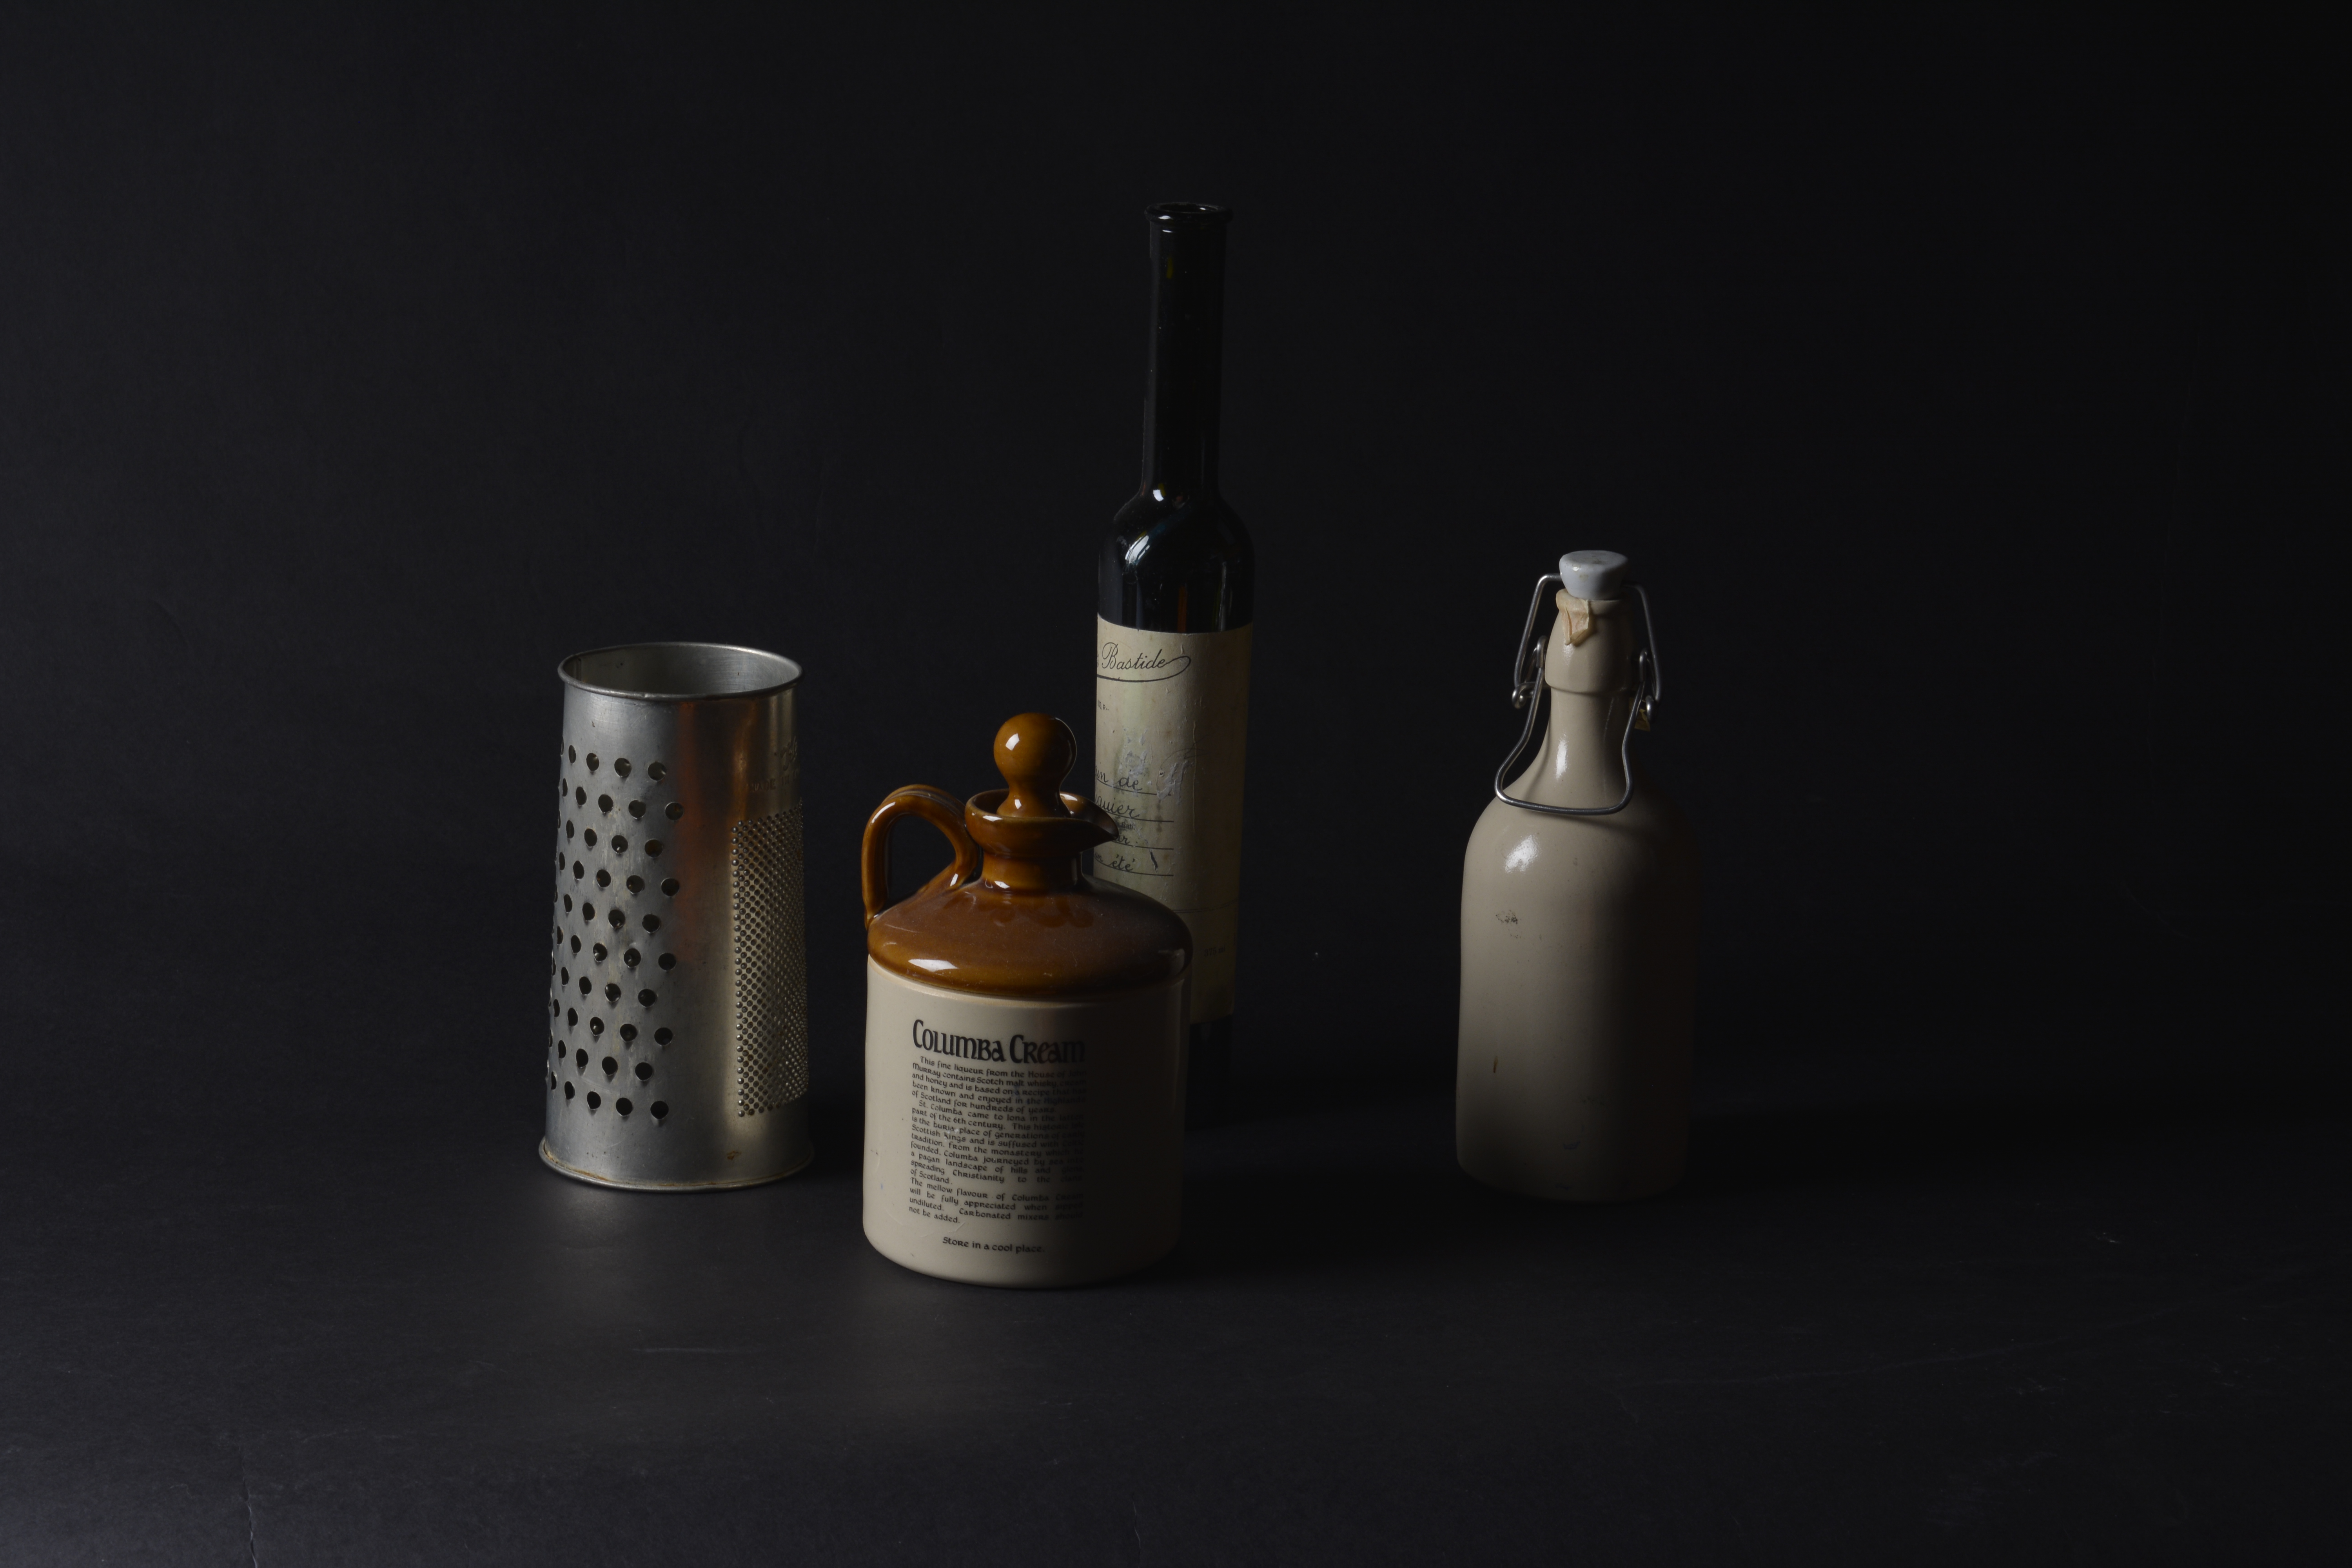
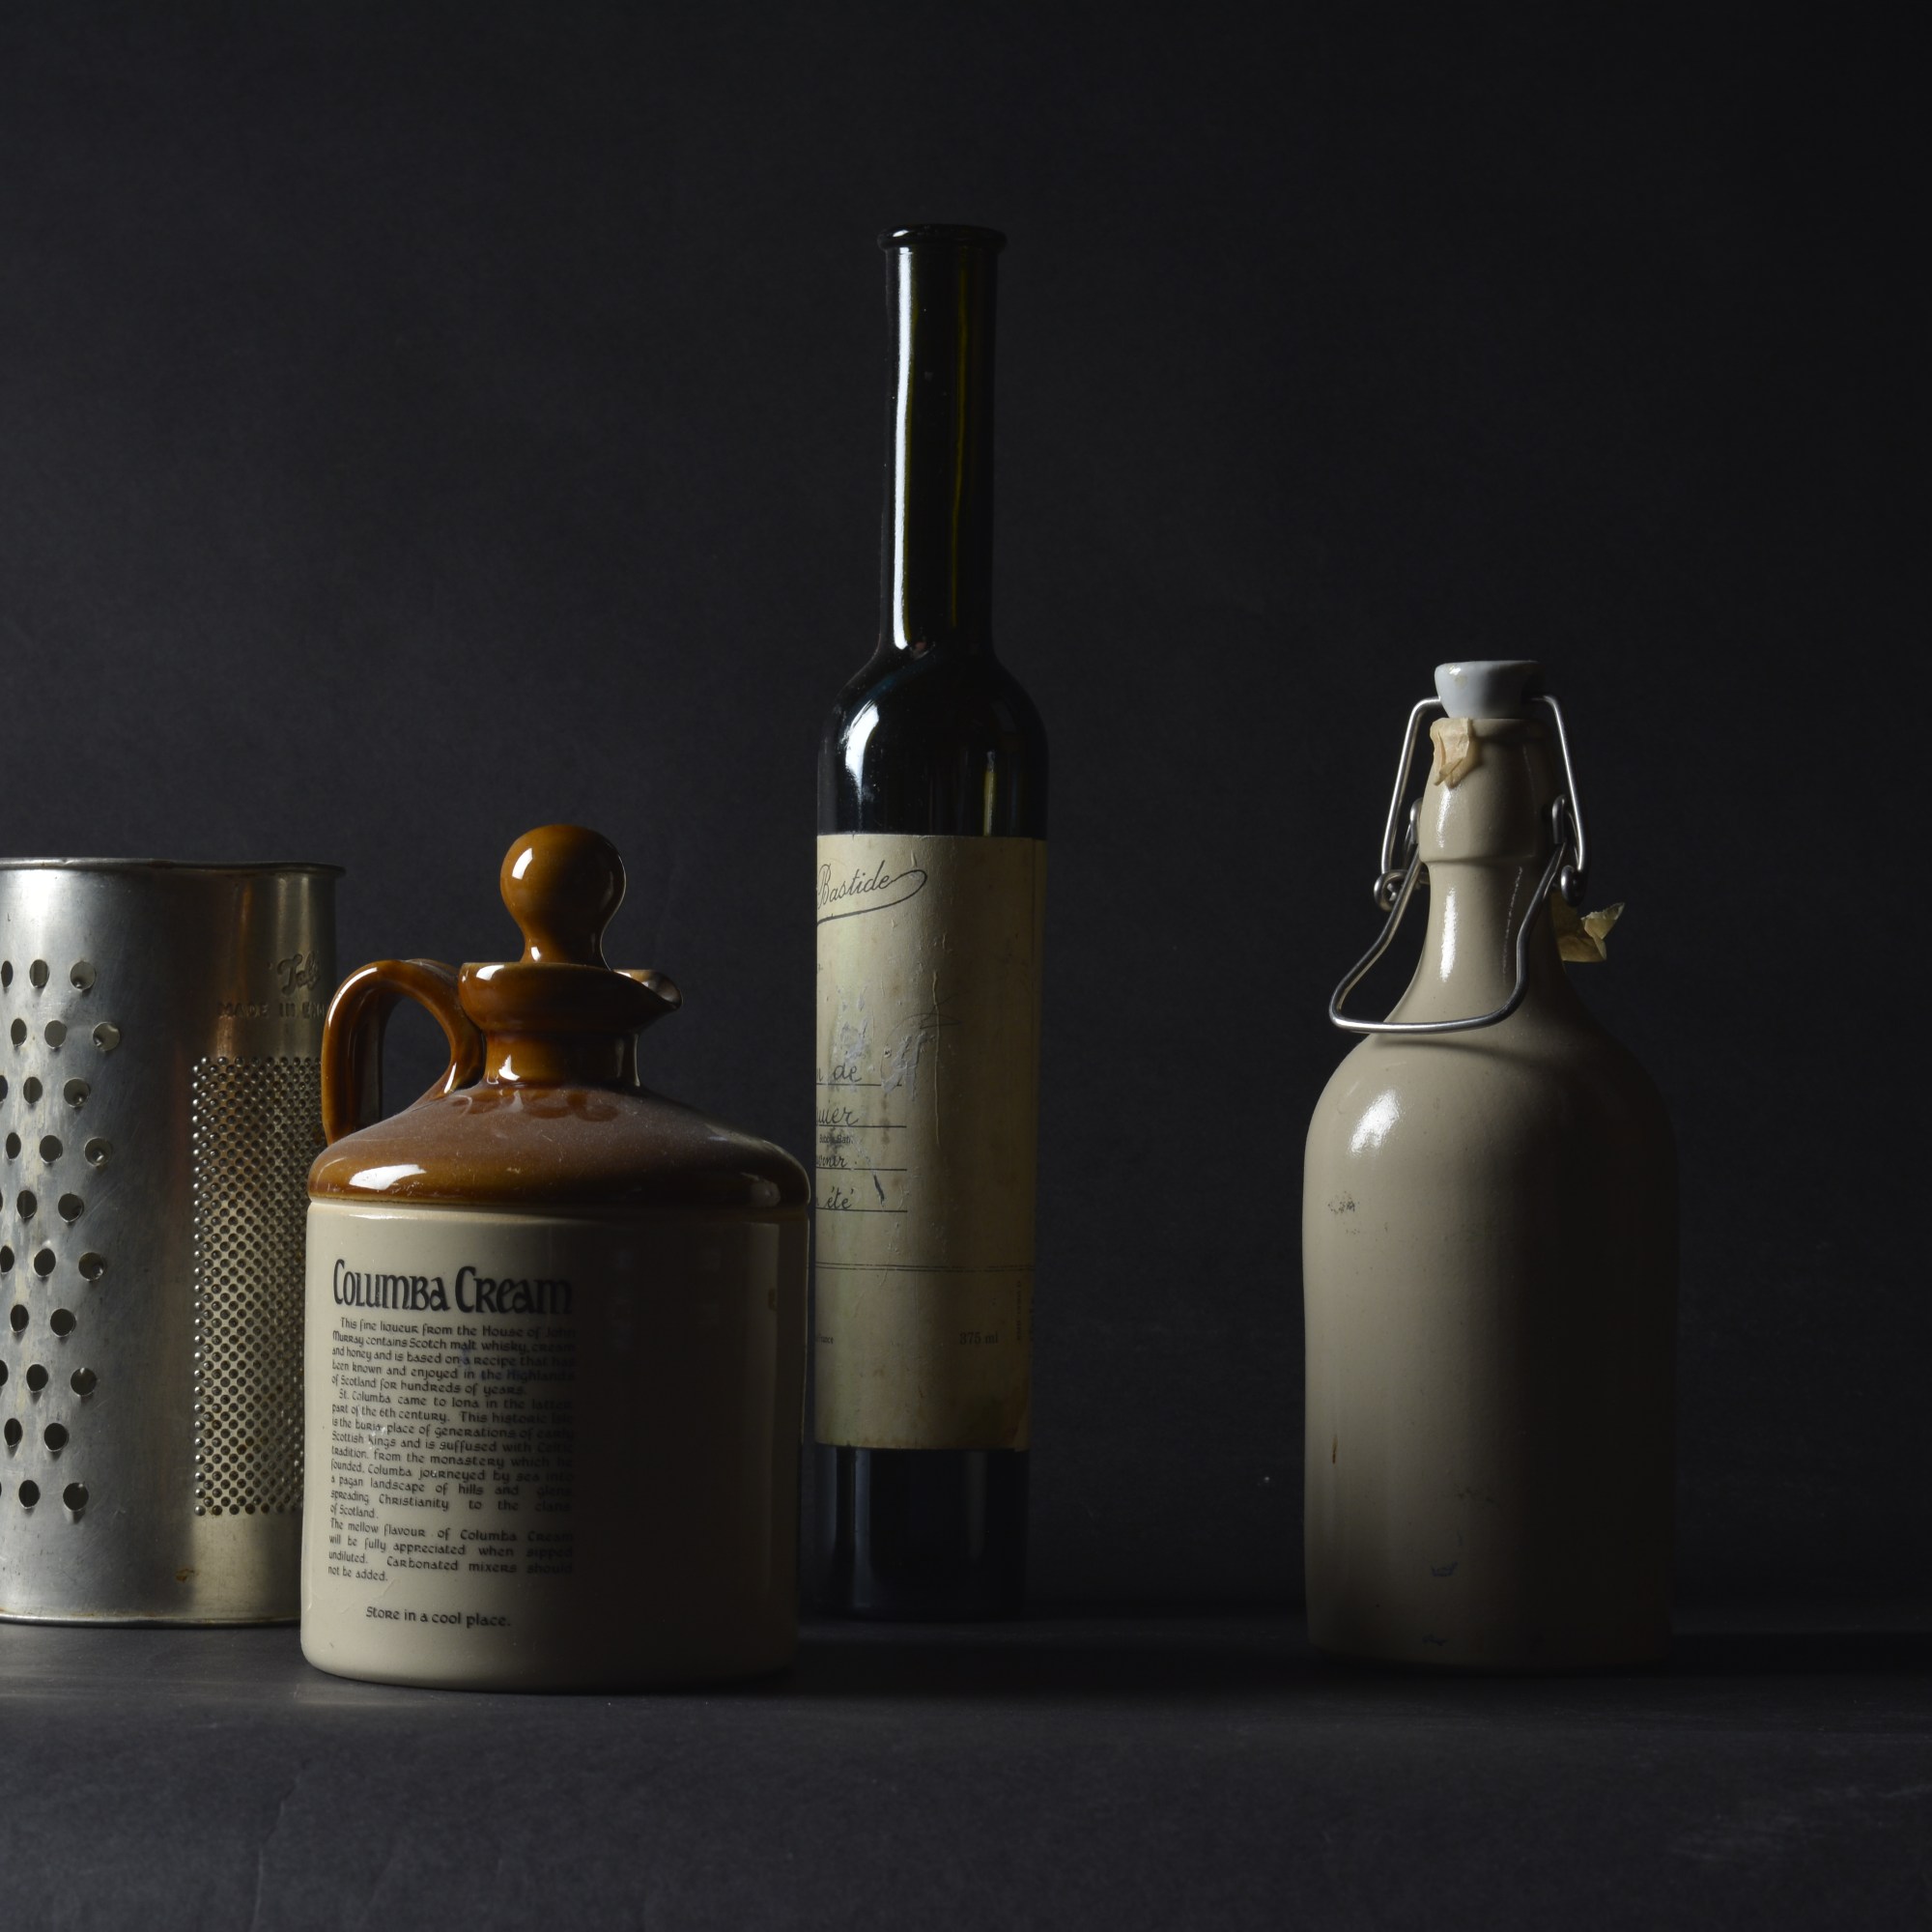
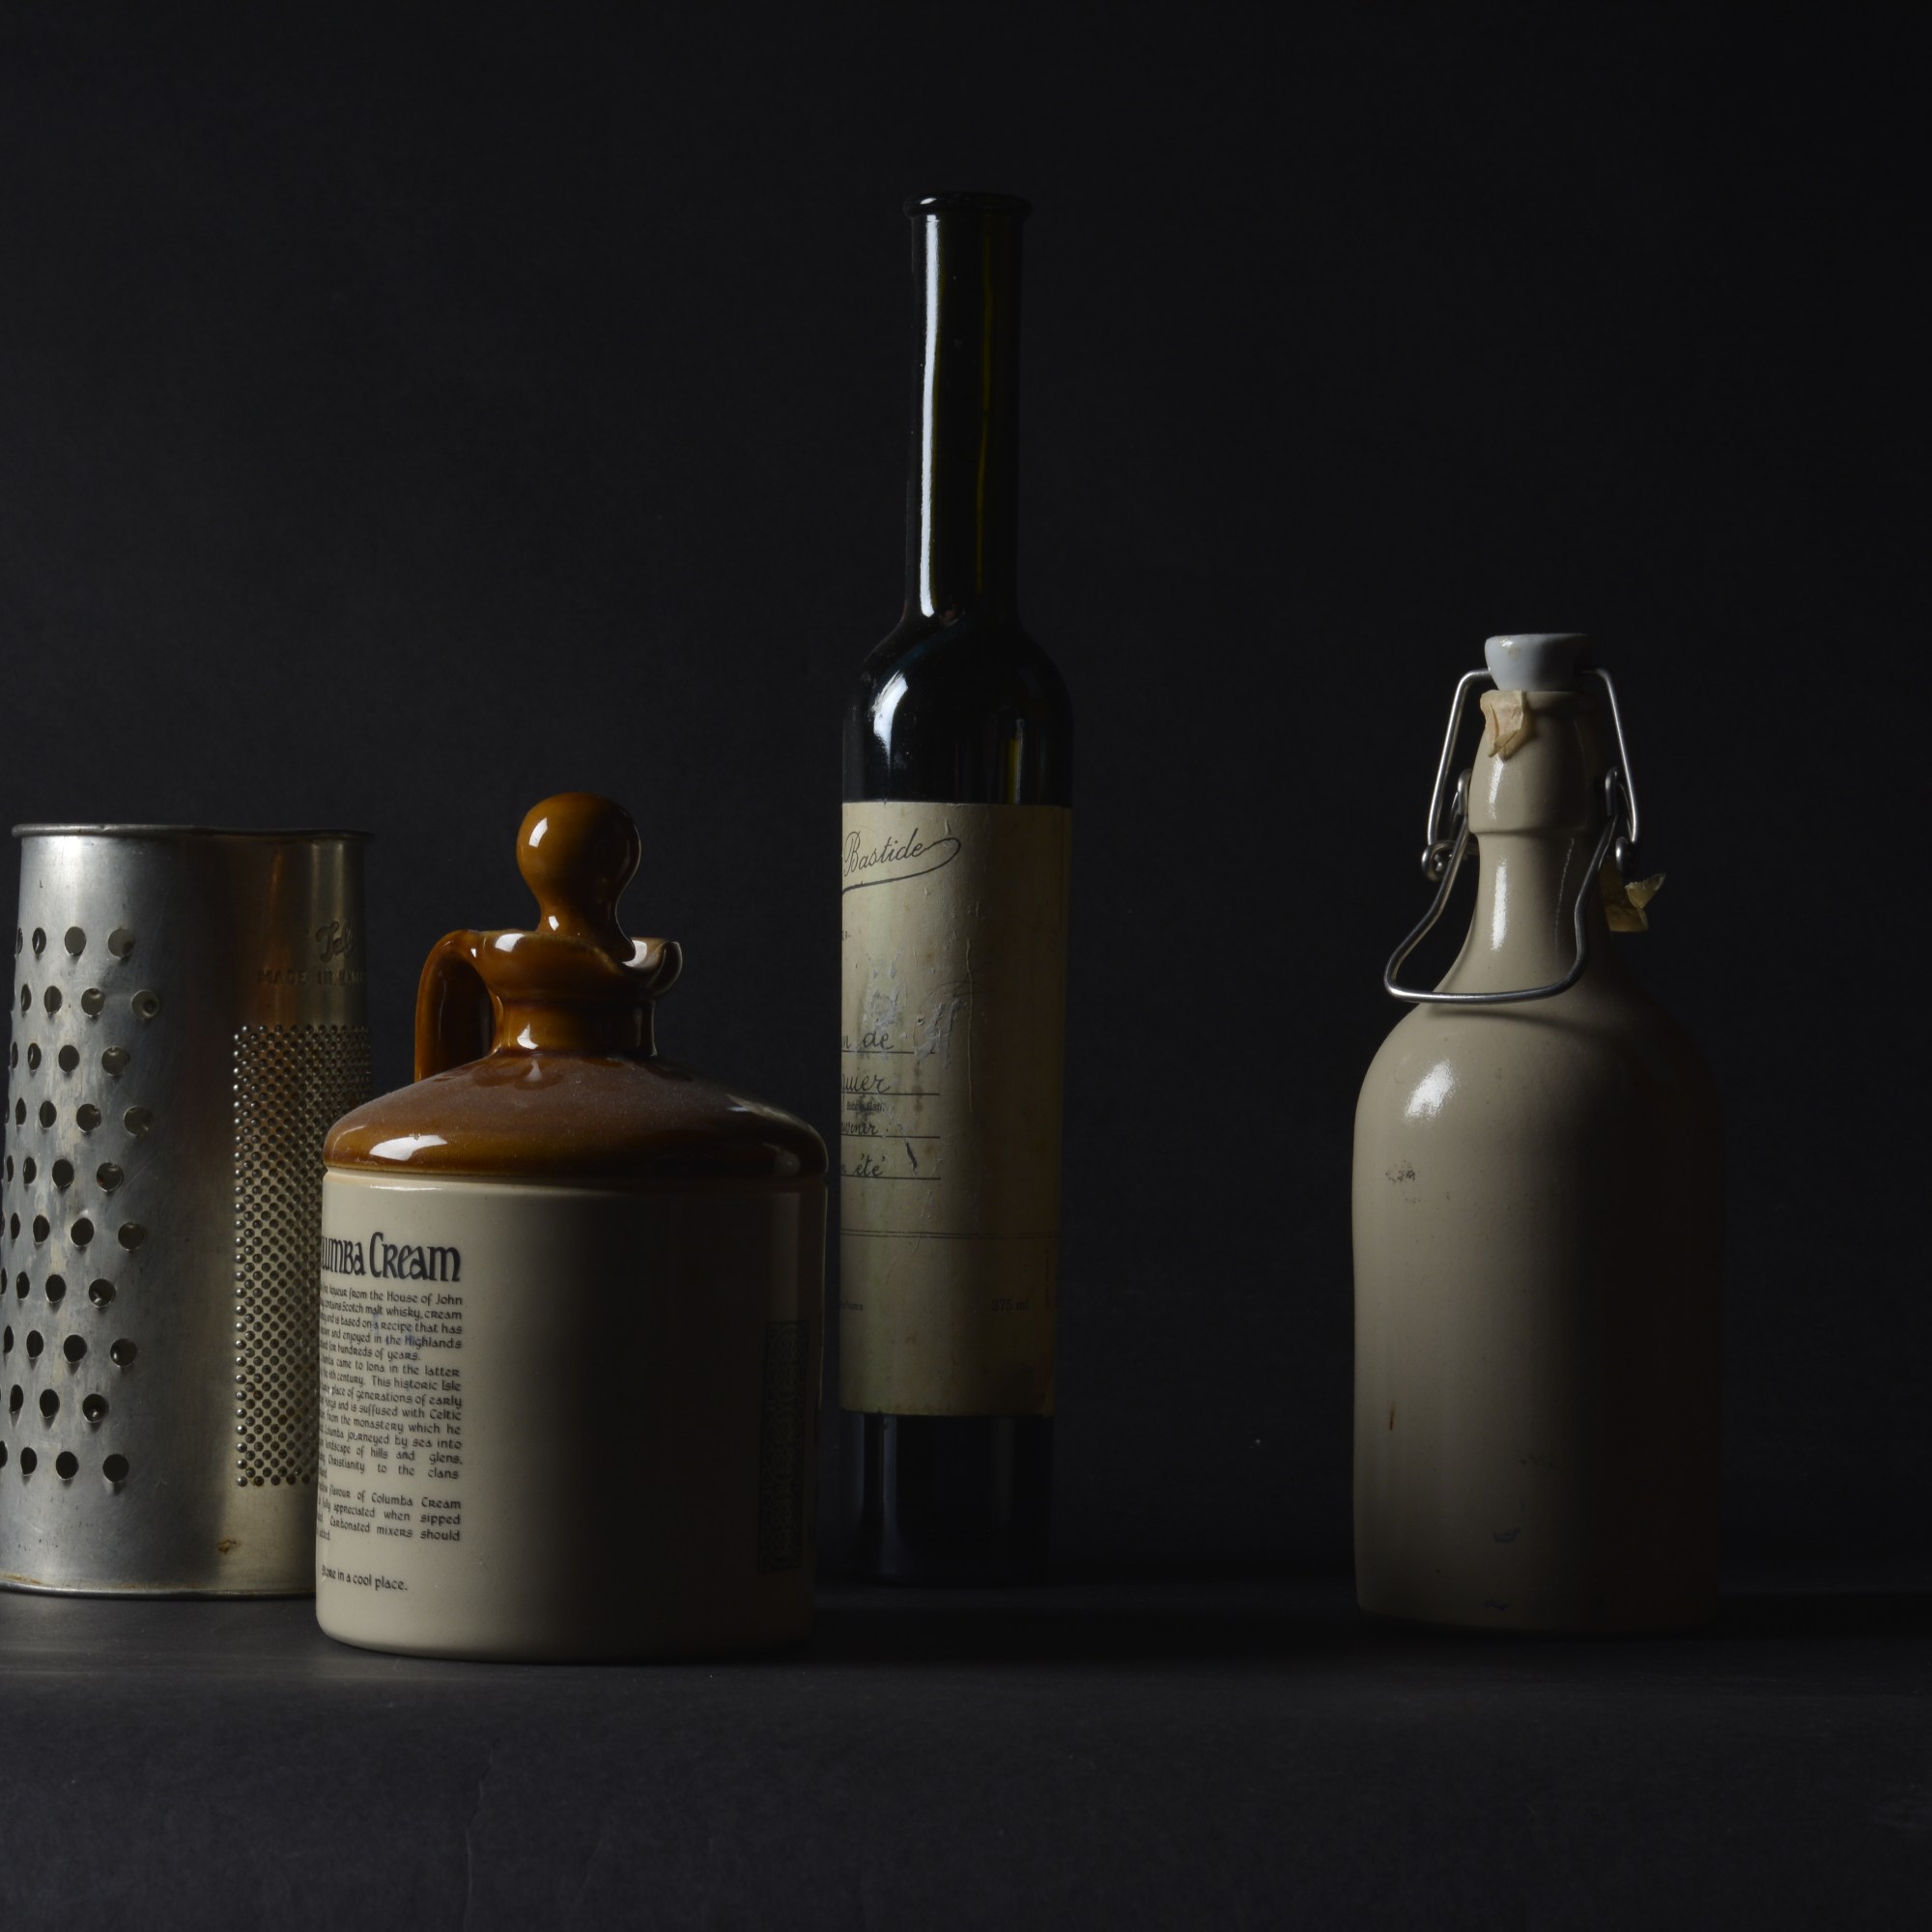
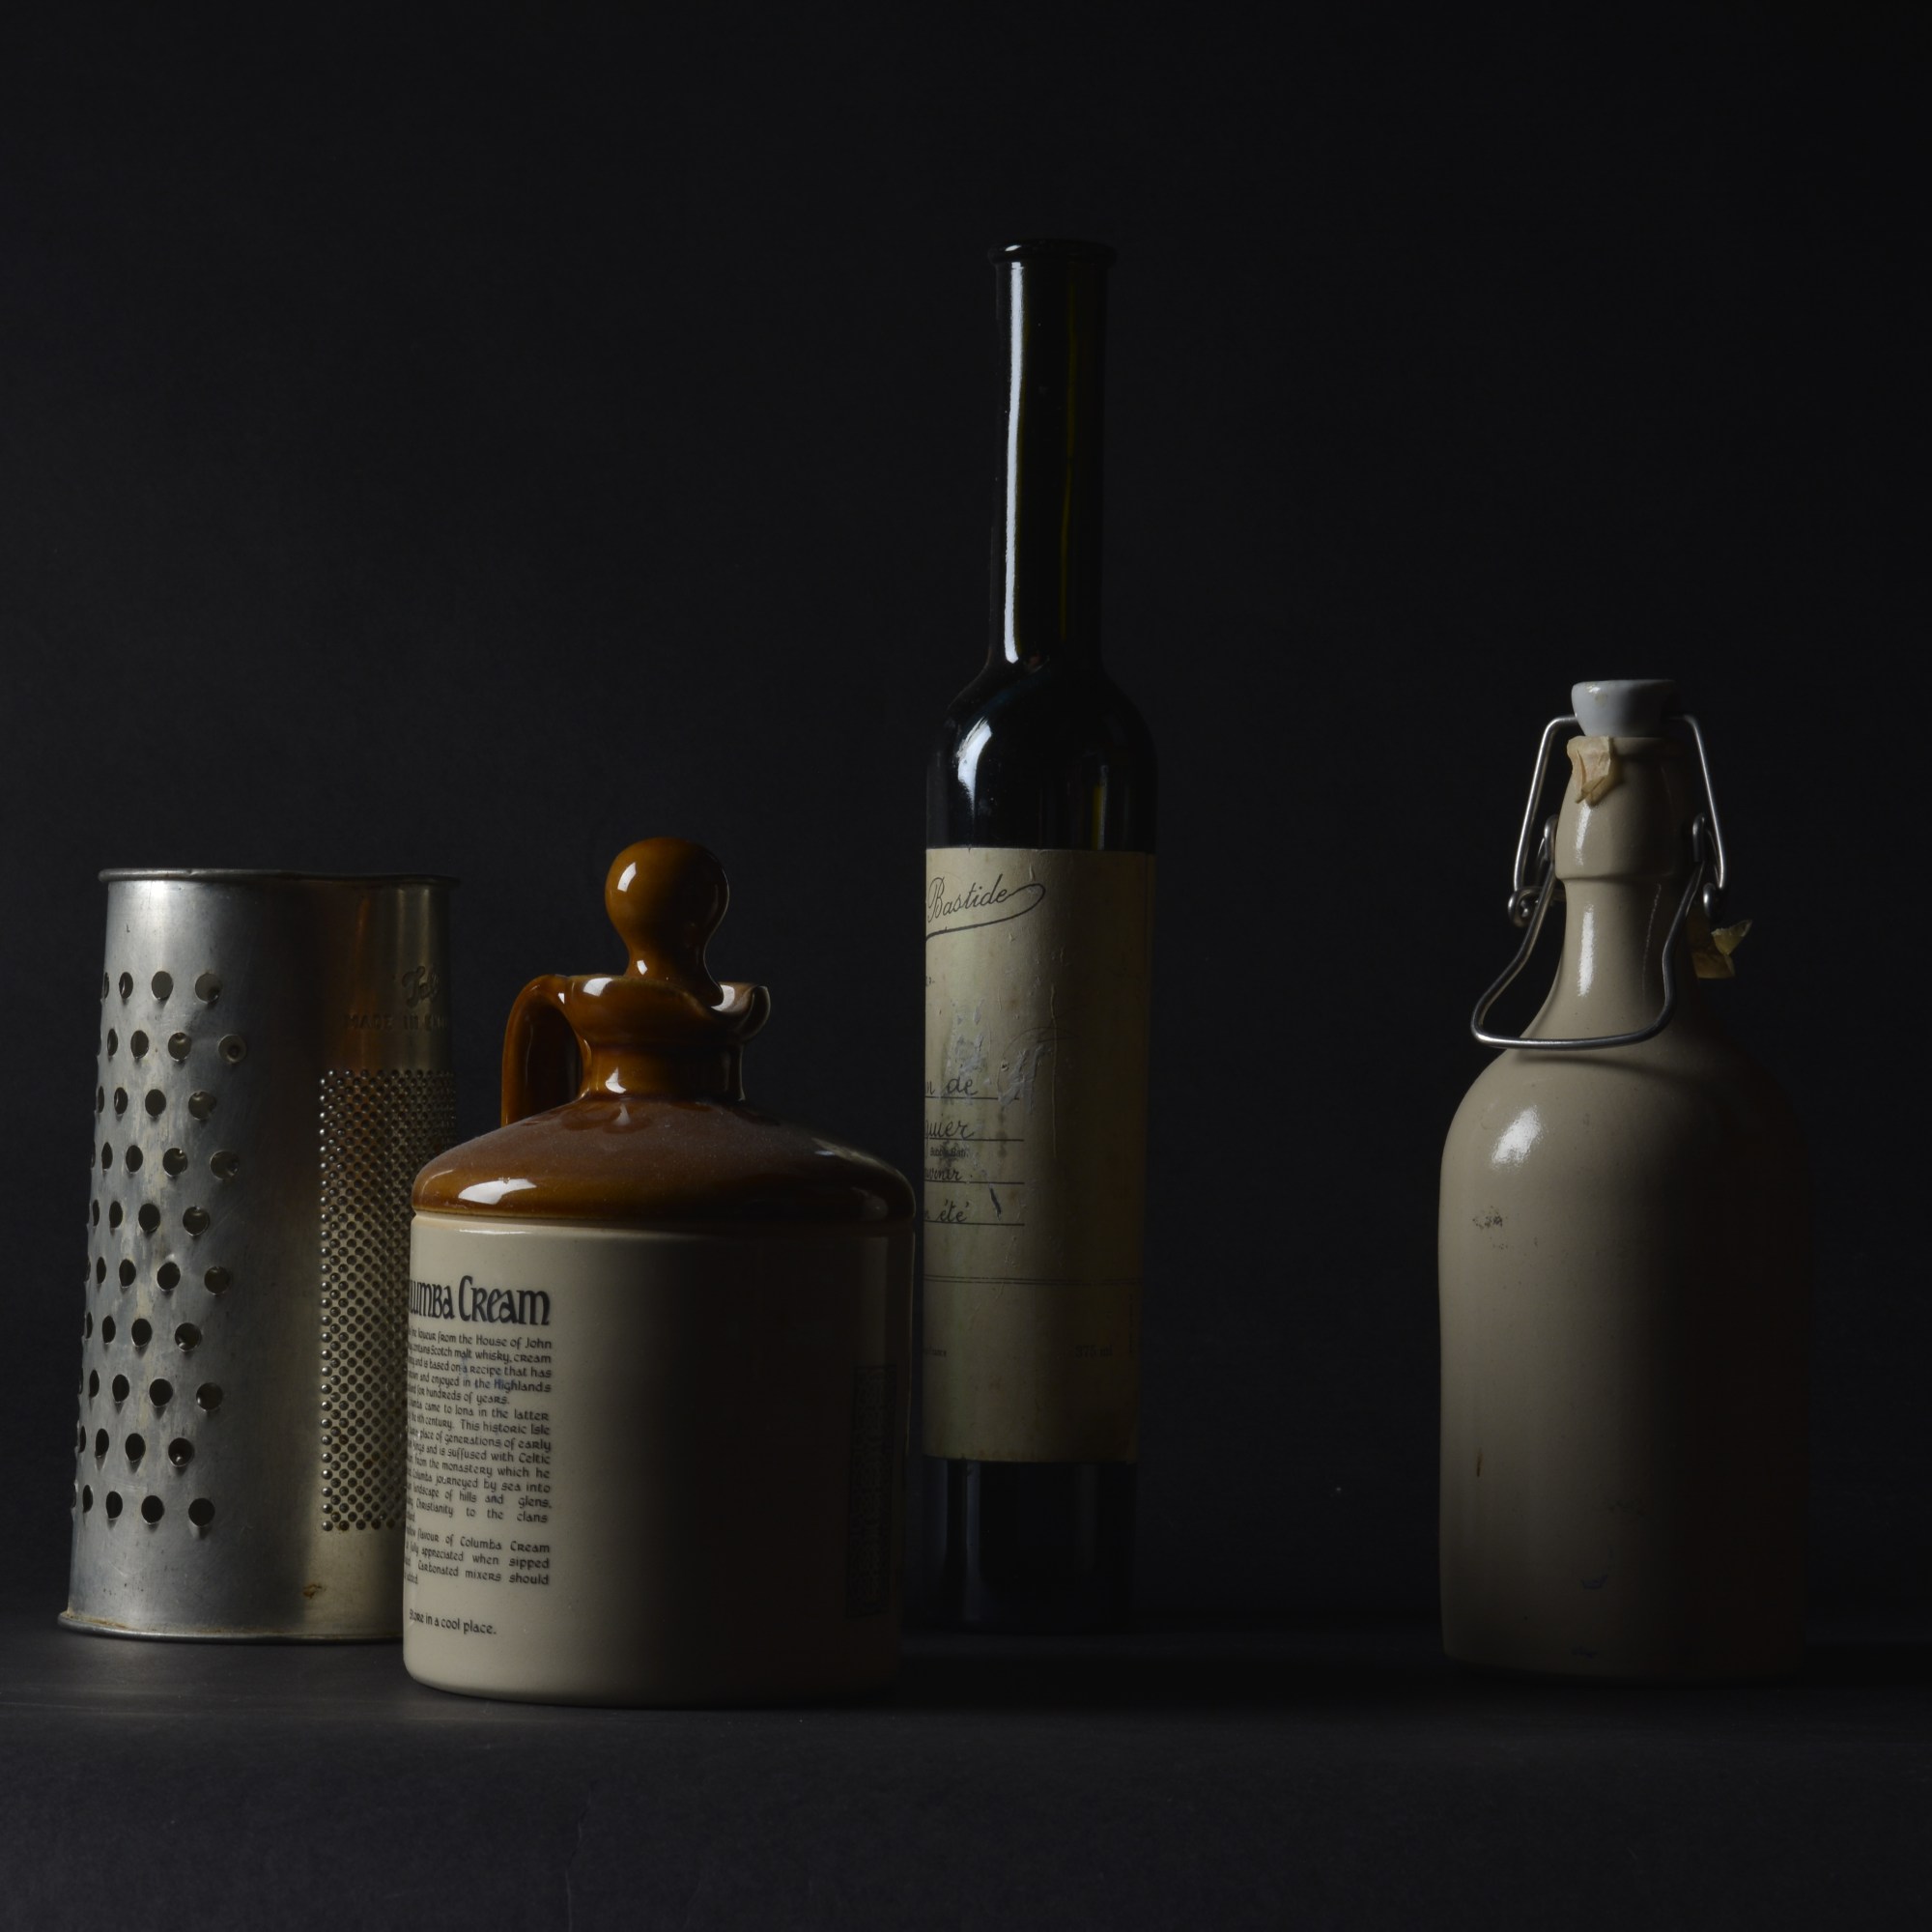
To try to correctly expose the still life, I took several shots at different Apertures. As you can see, the higher the Aperture, the darker the photograph.
F-8 F-9 F-10
F-11 F-13
F-11 F-13 F-14
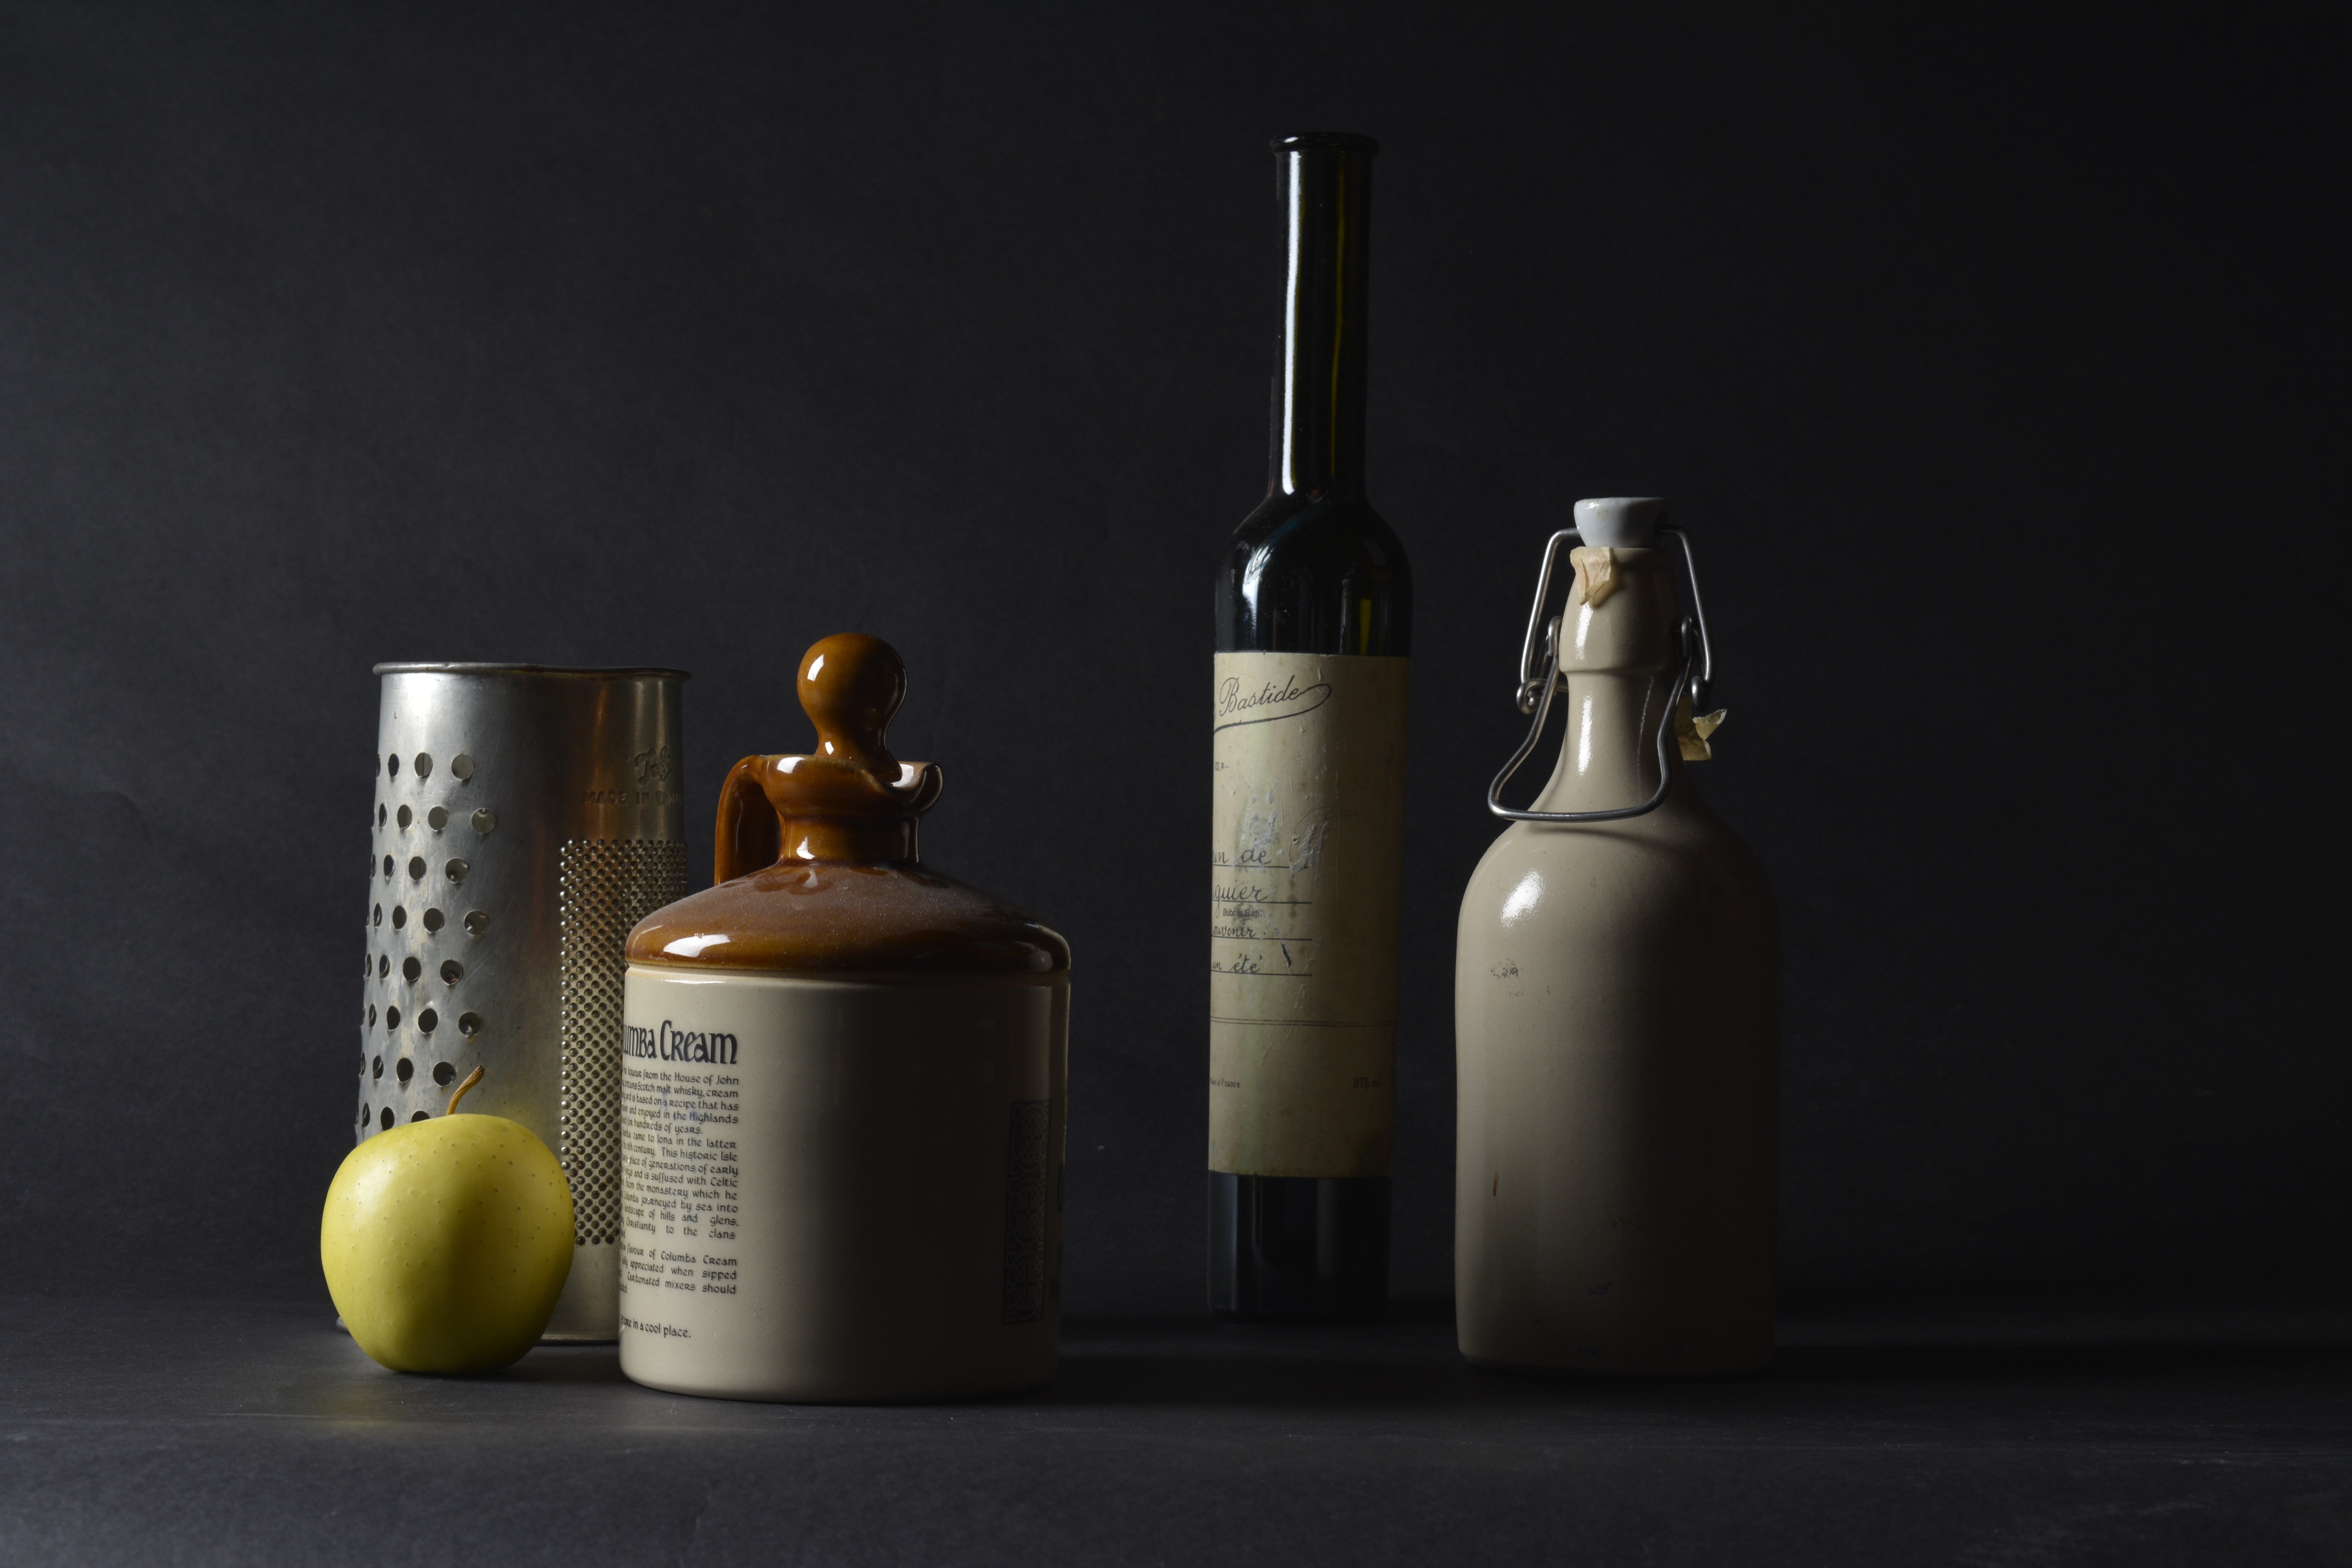
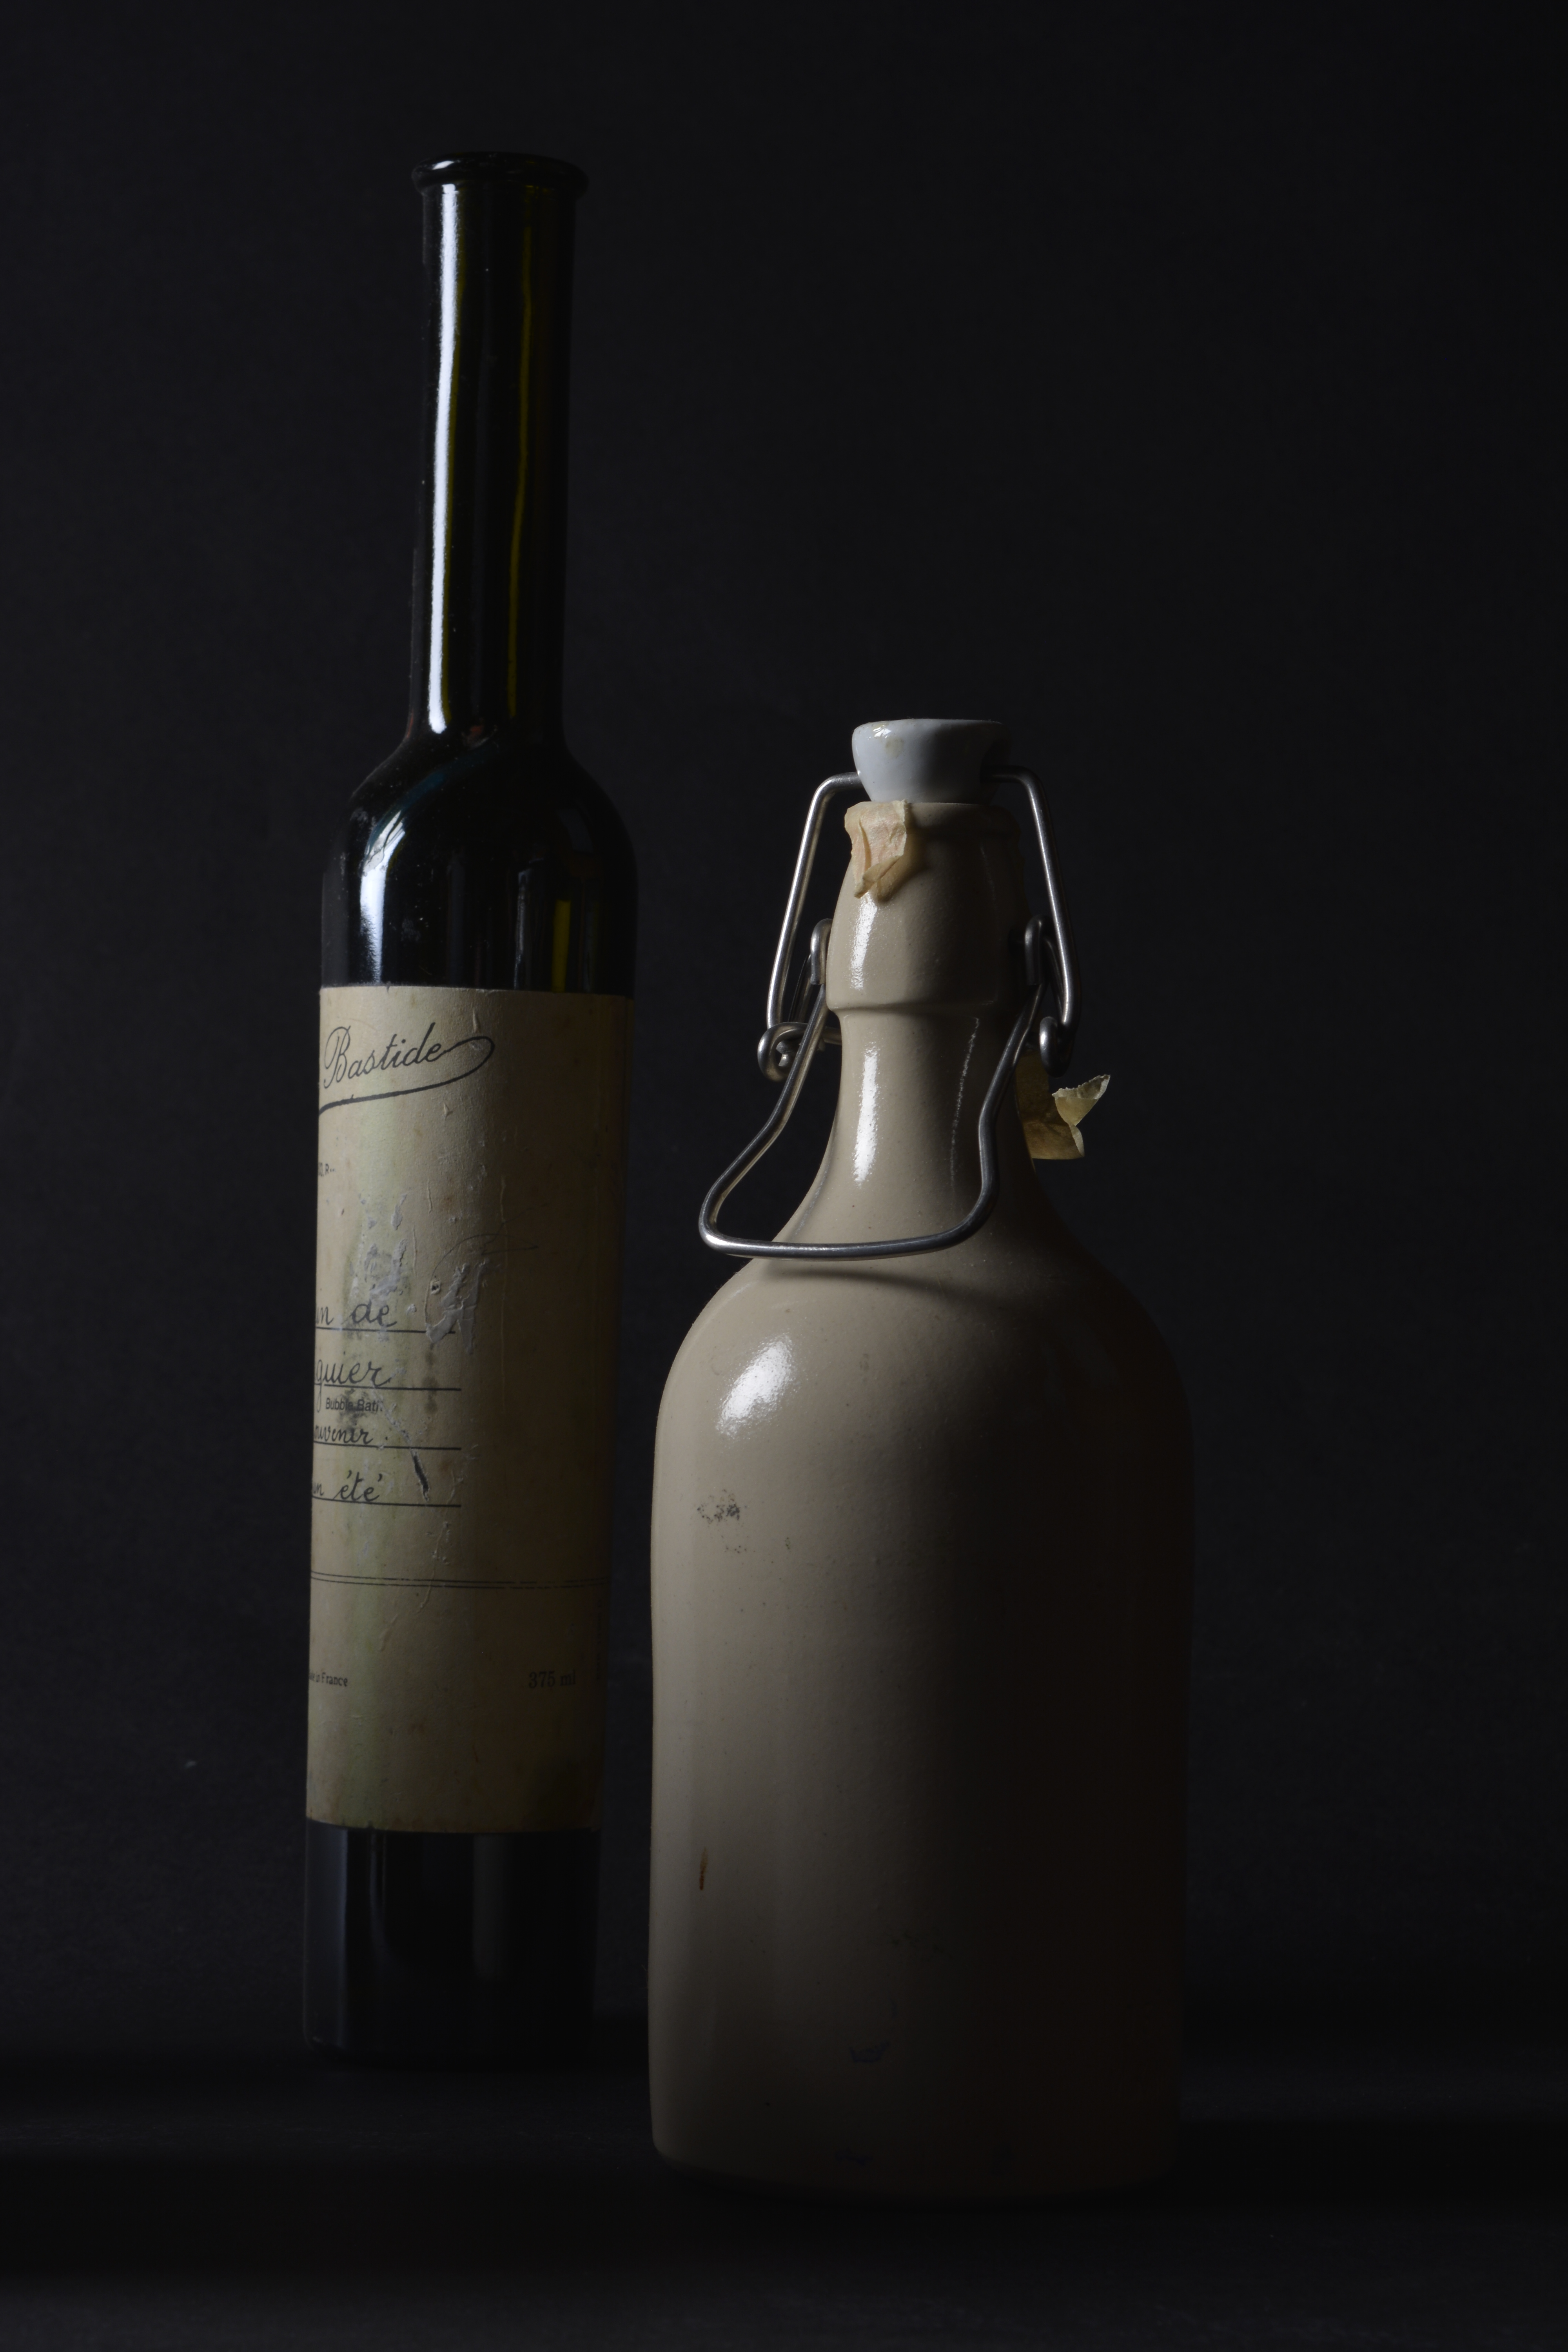
I think that using an aperture of F-11 achieves the best exposure for the left hand side of this still life set up, however it does leave the right hand side slightly under exposed. I don’t mind it too much, as it’s like the light is shinning bright from the apple. Also the catch lights on the shinny surfaces are just right.
F-11 F-11
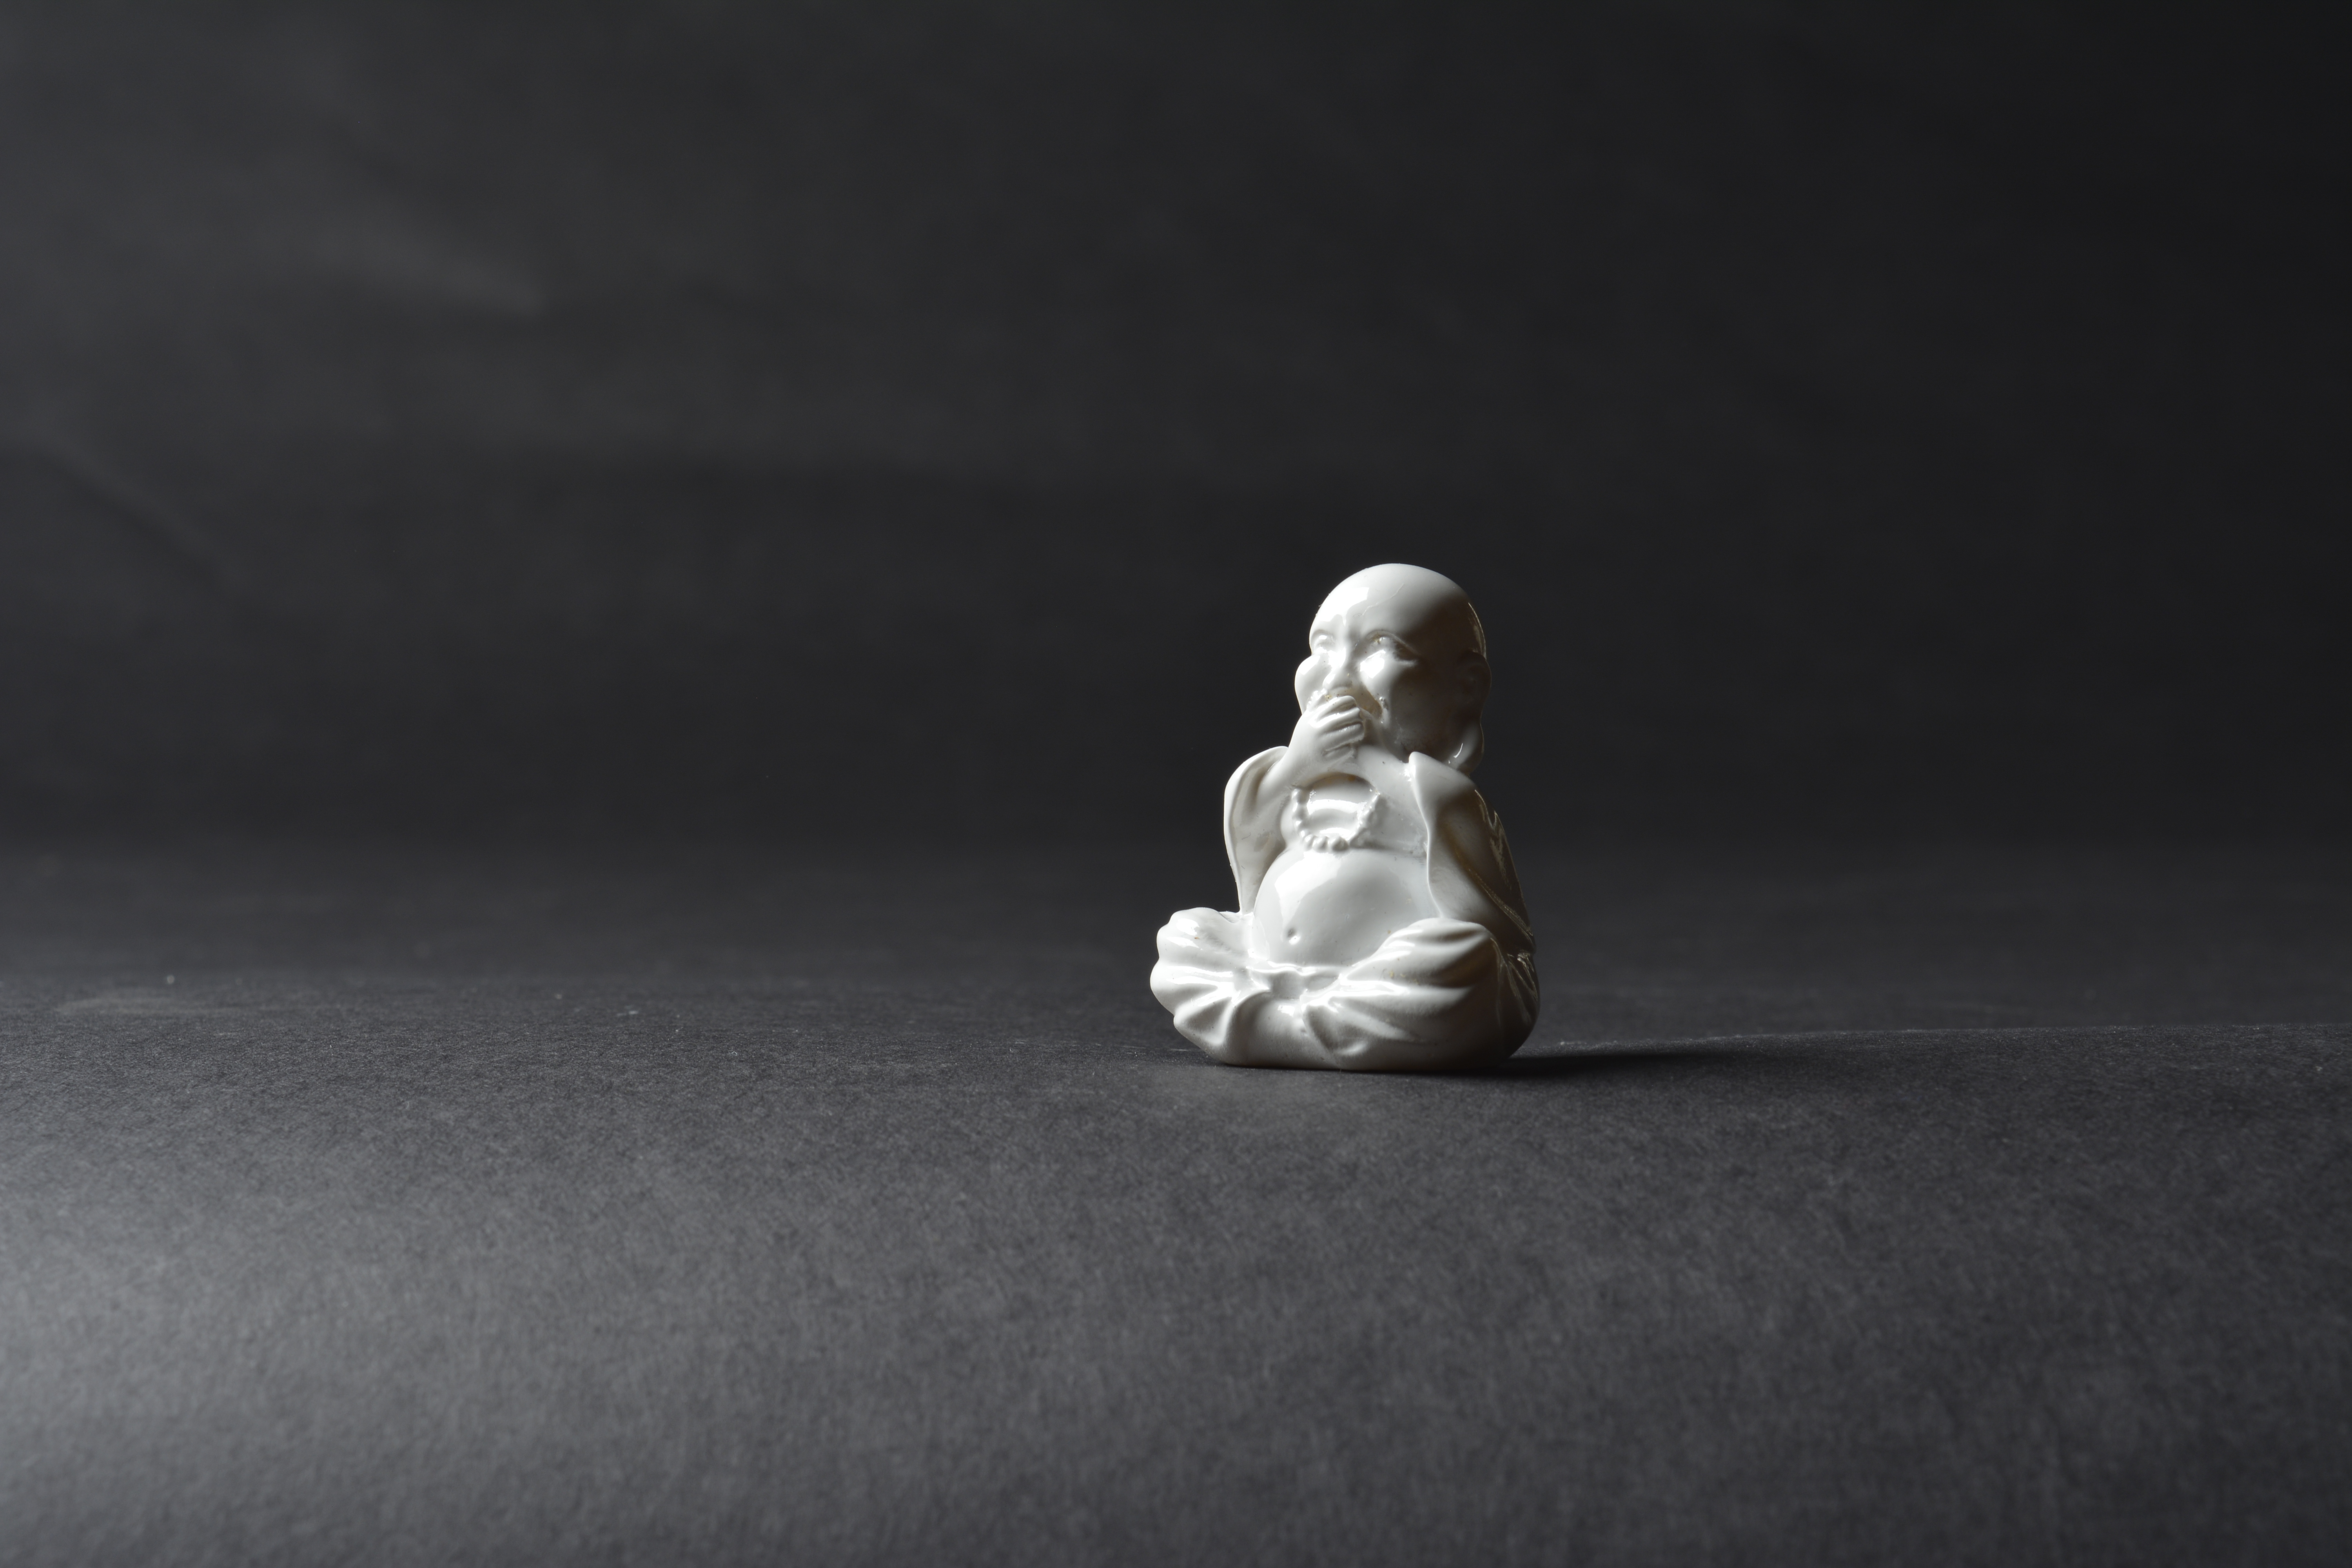
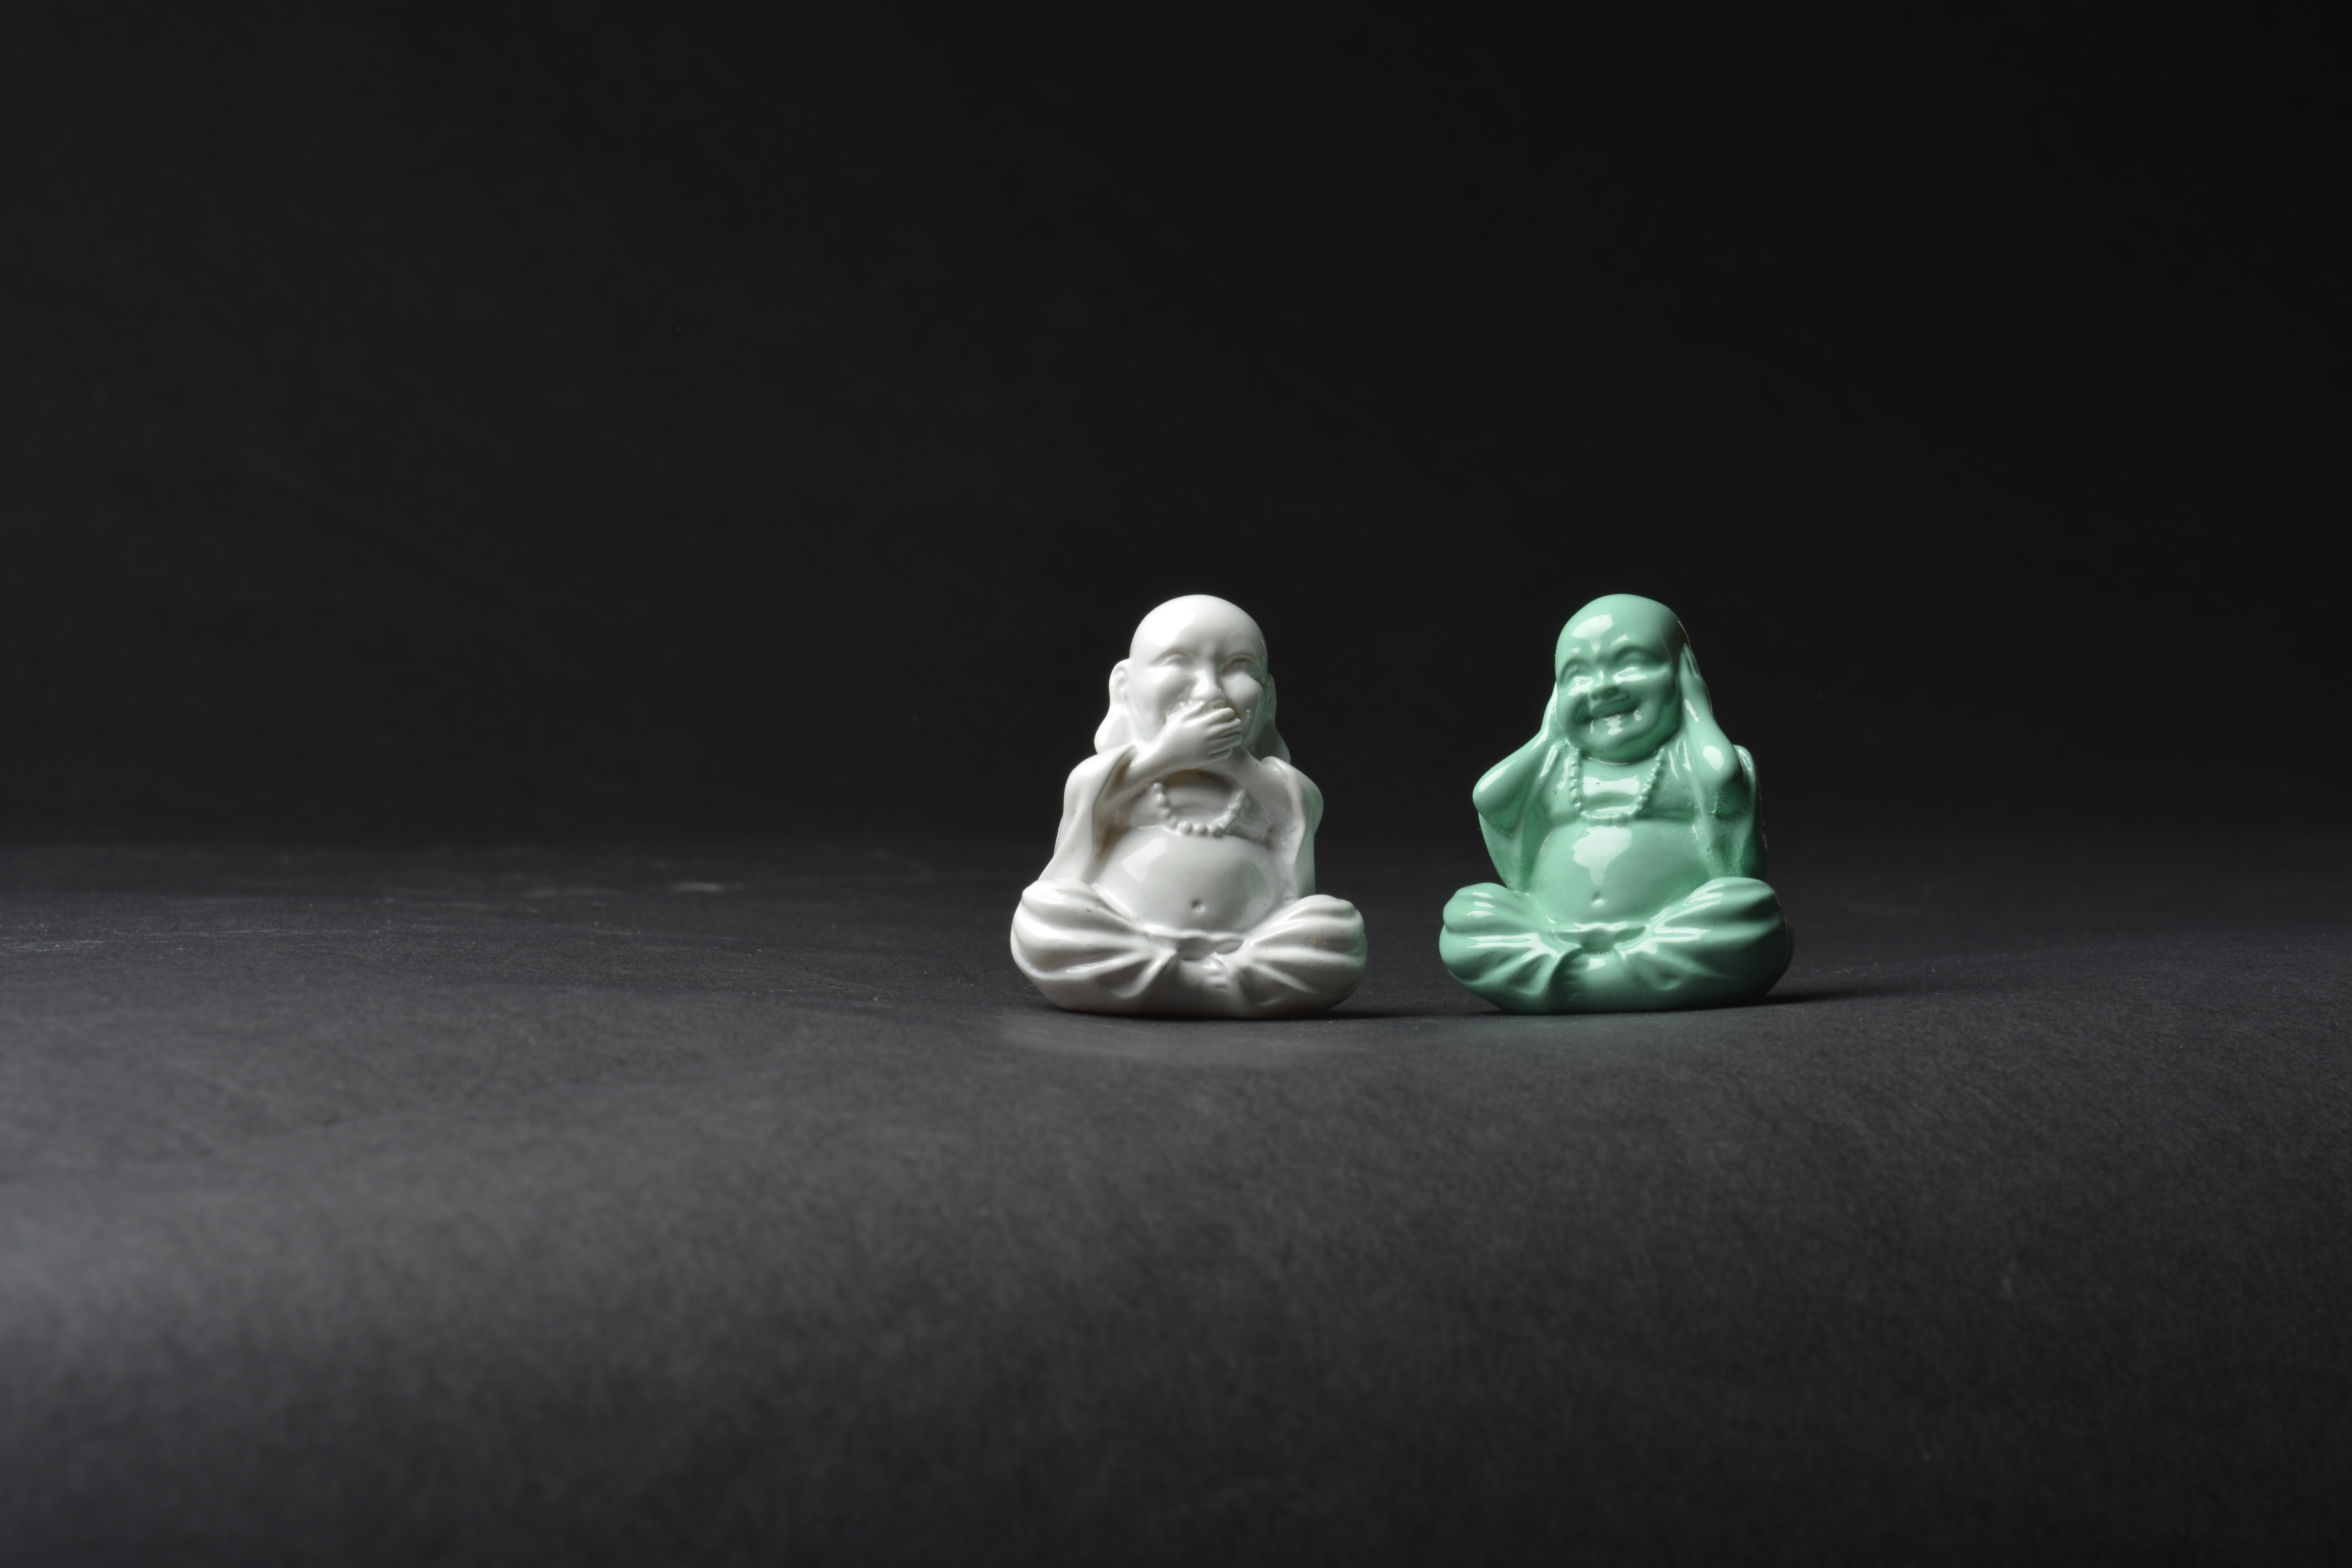
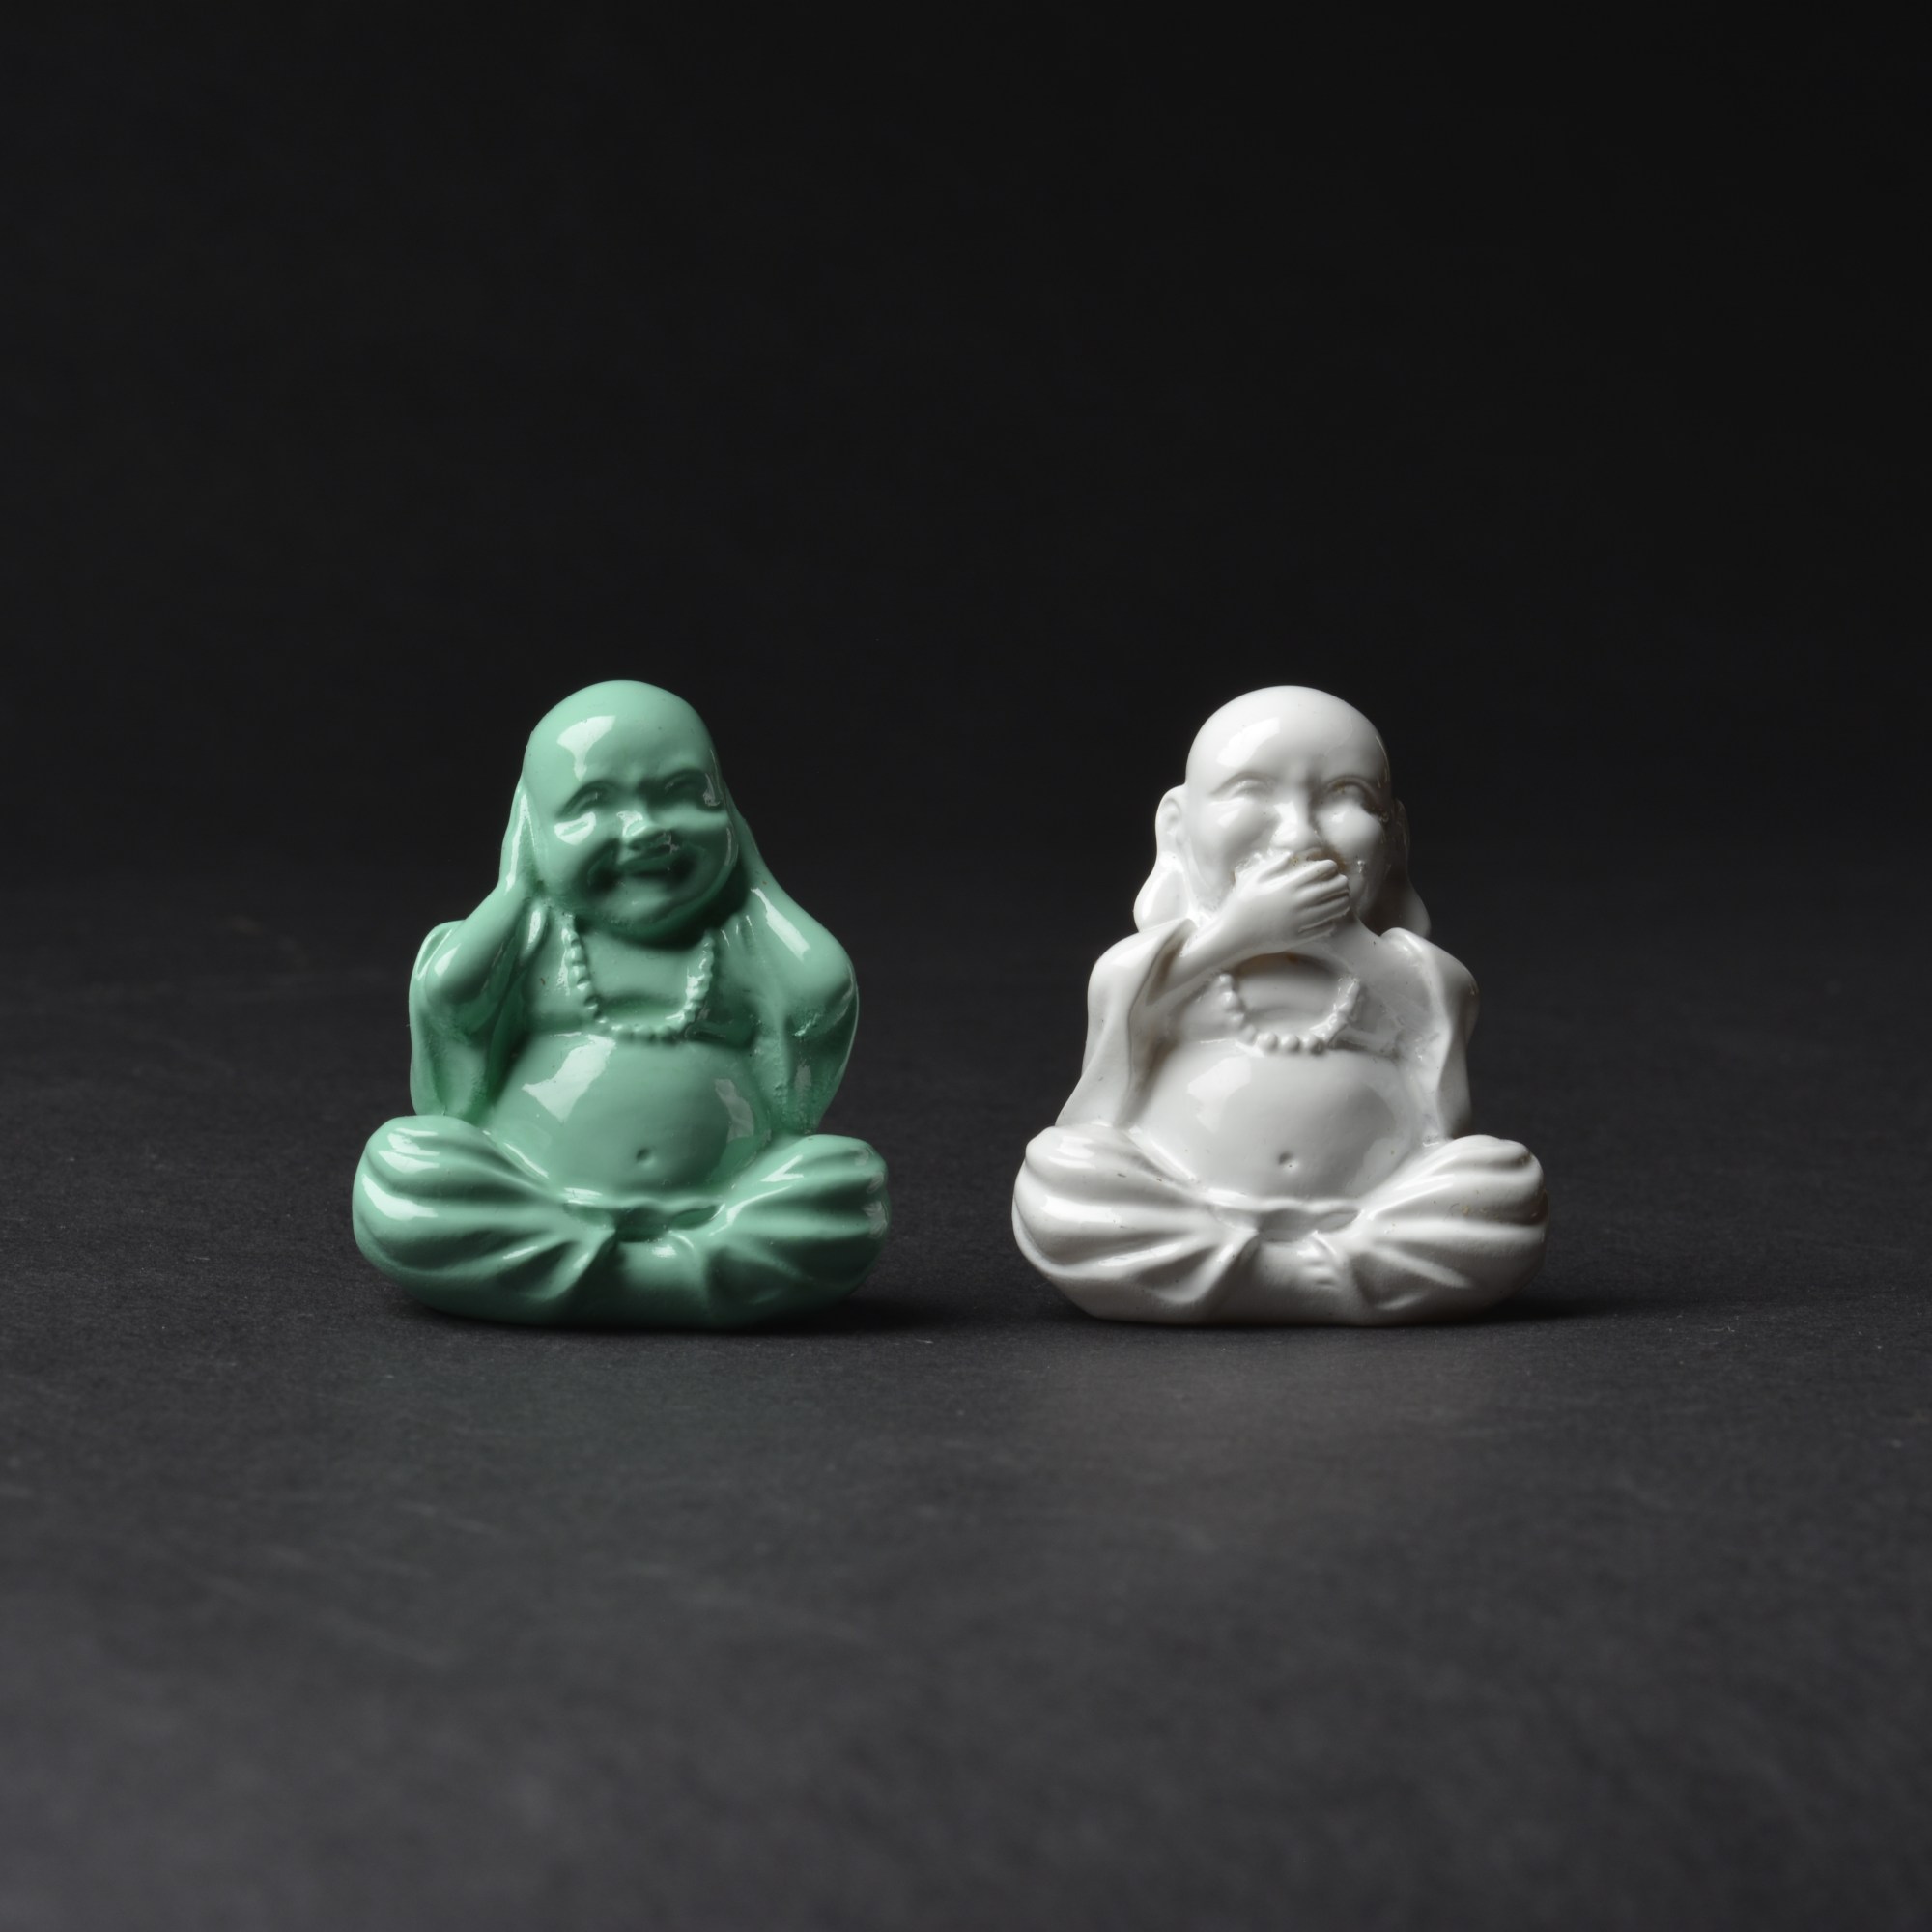
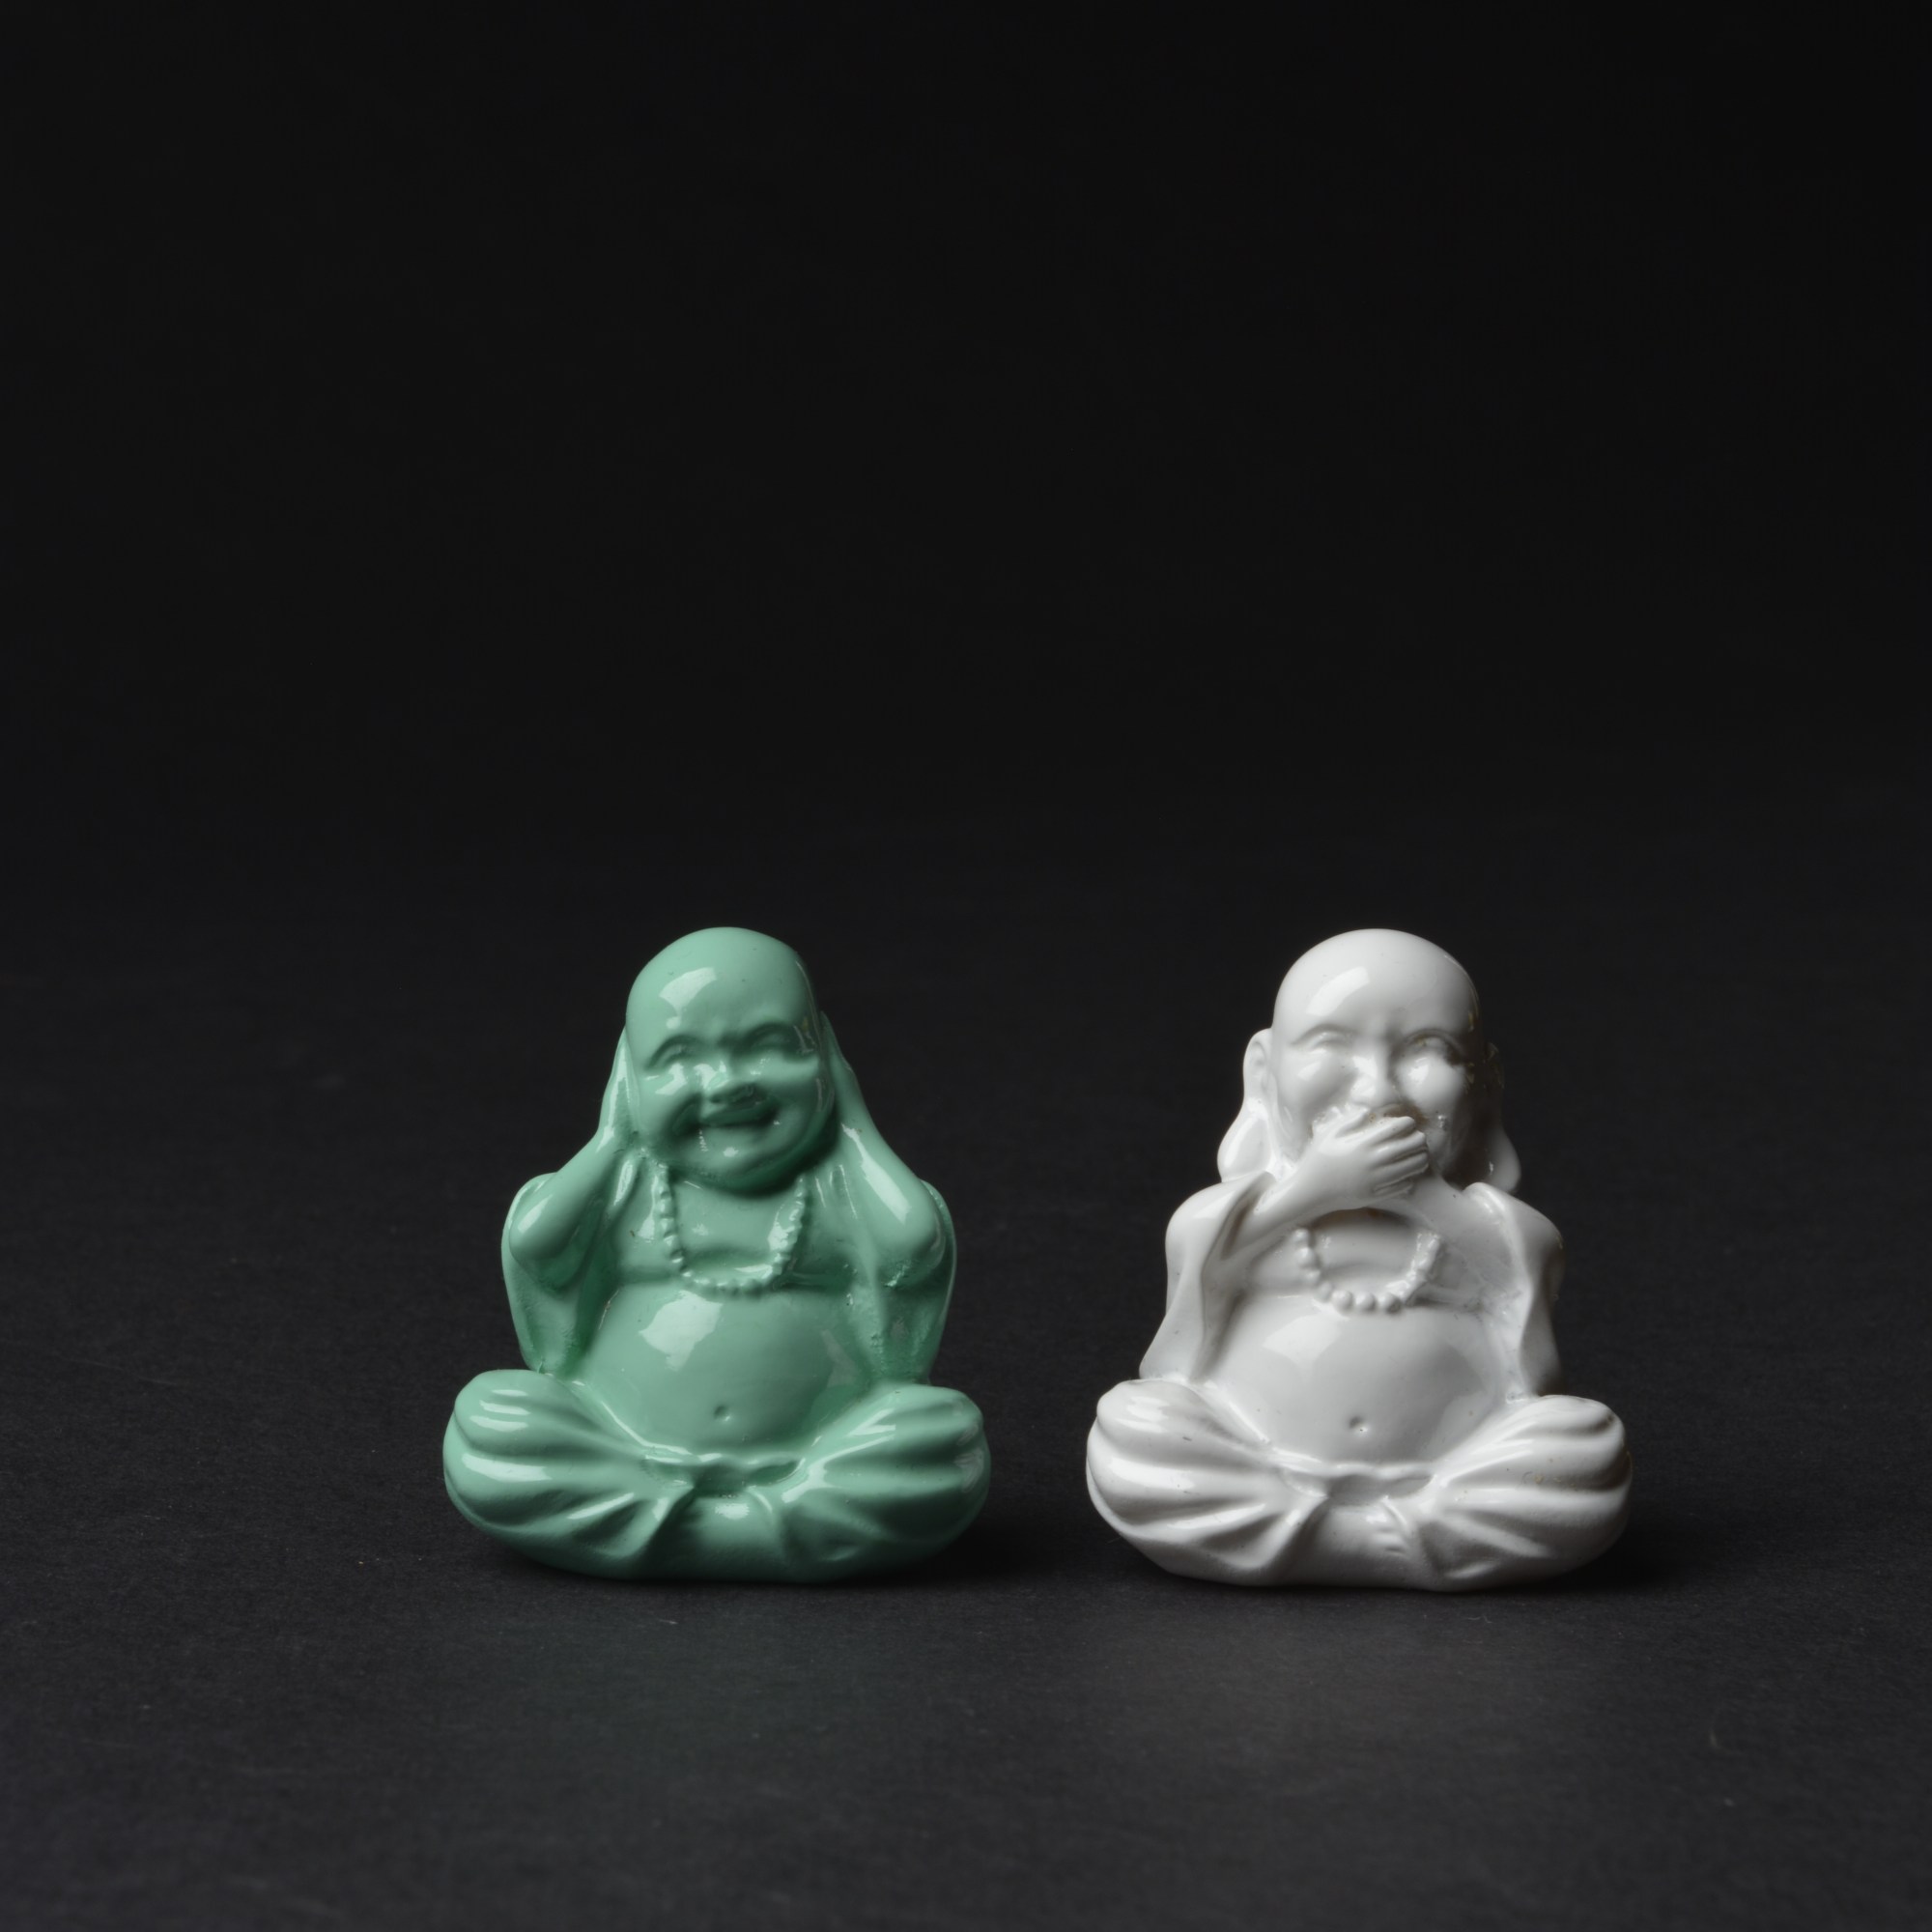
Below, I needed a really high Aperture so not to over expose the white Budda.
F-11
F-13 F-14
F-16 F-18
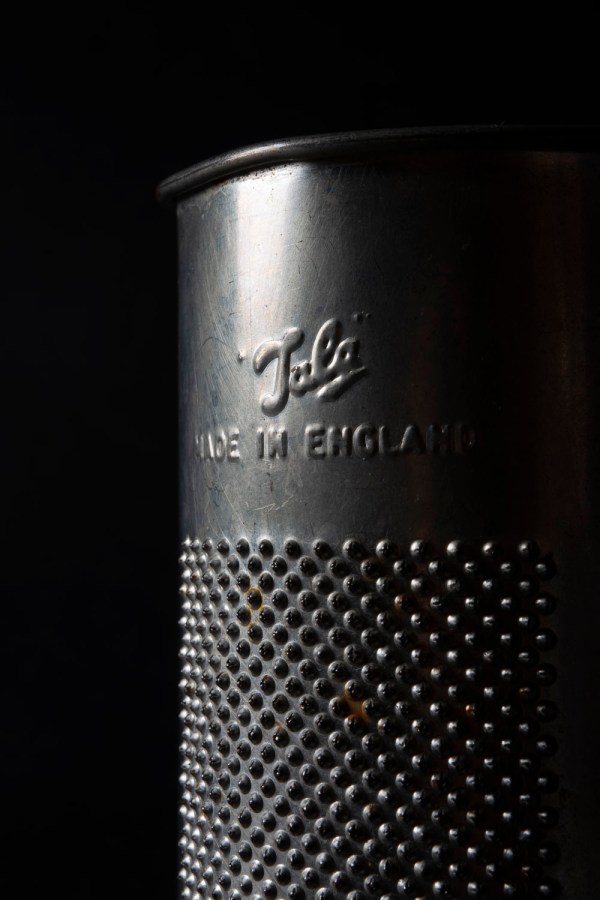
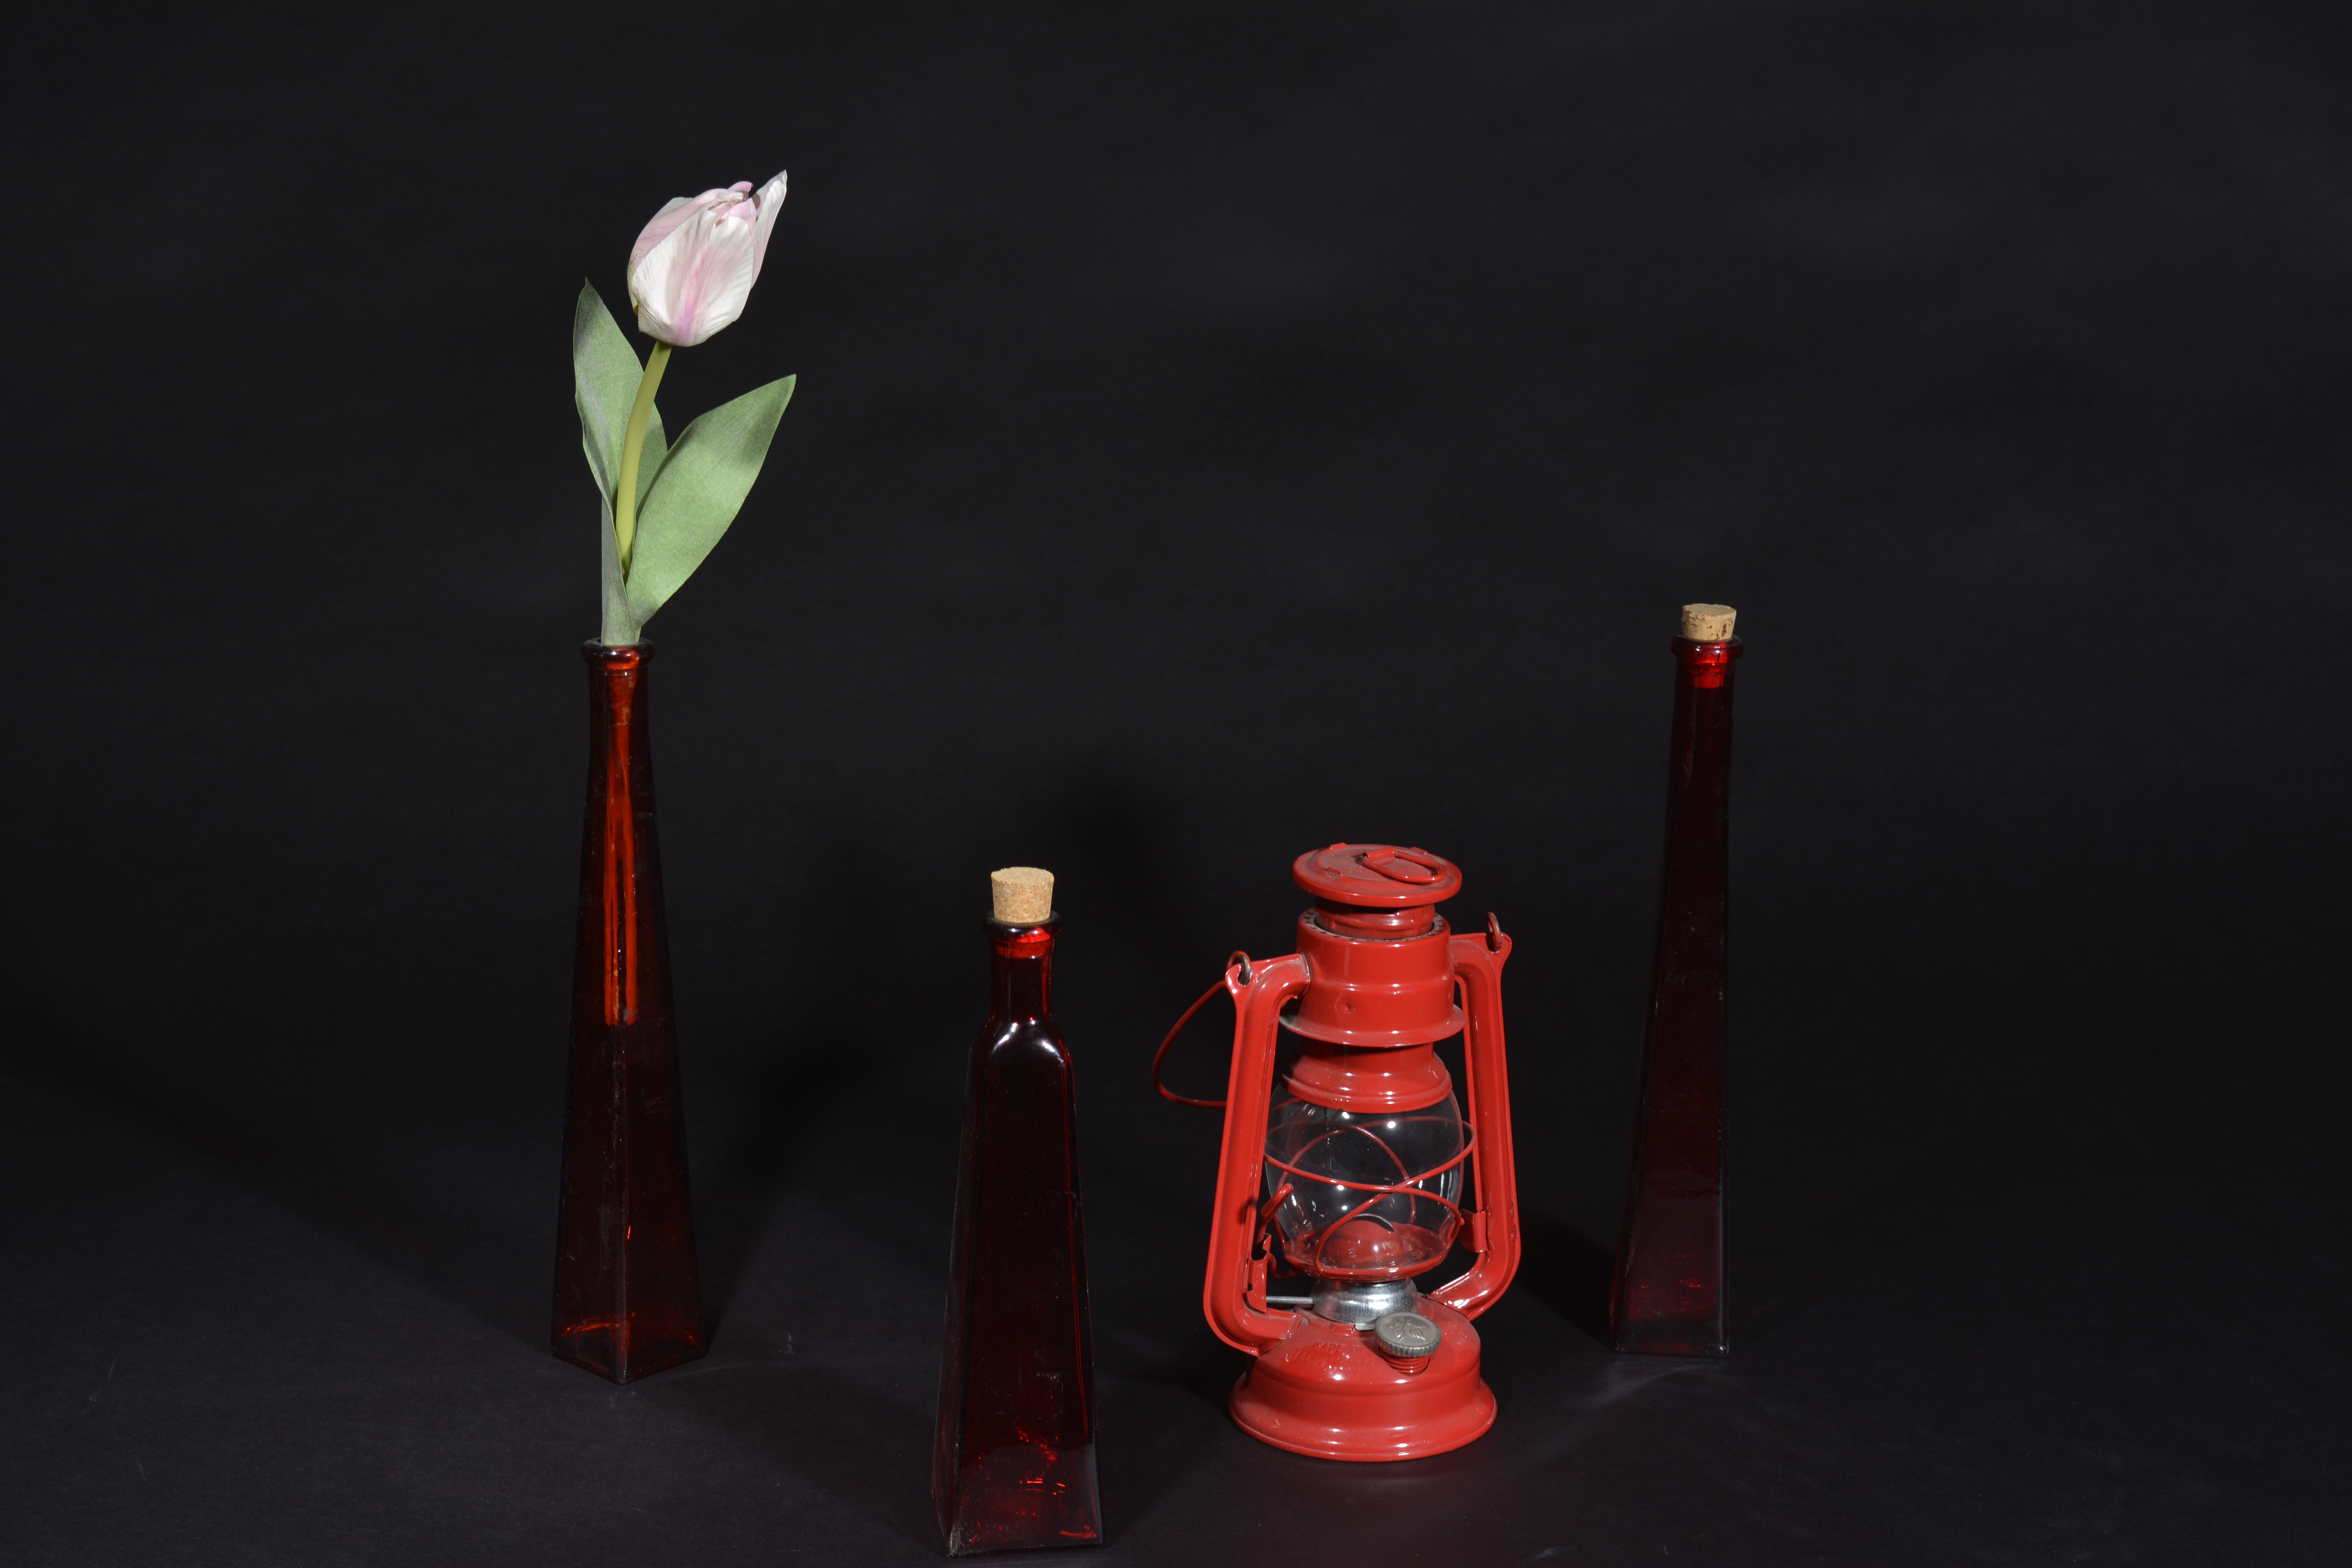
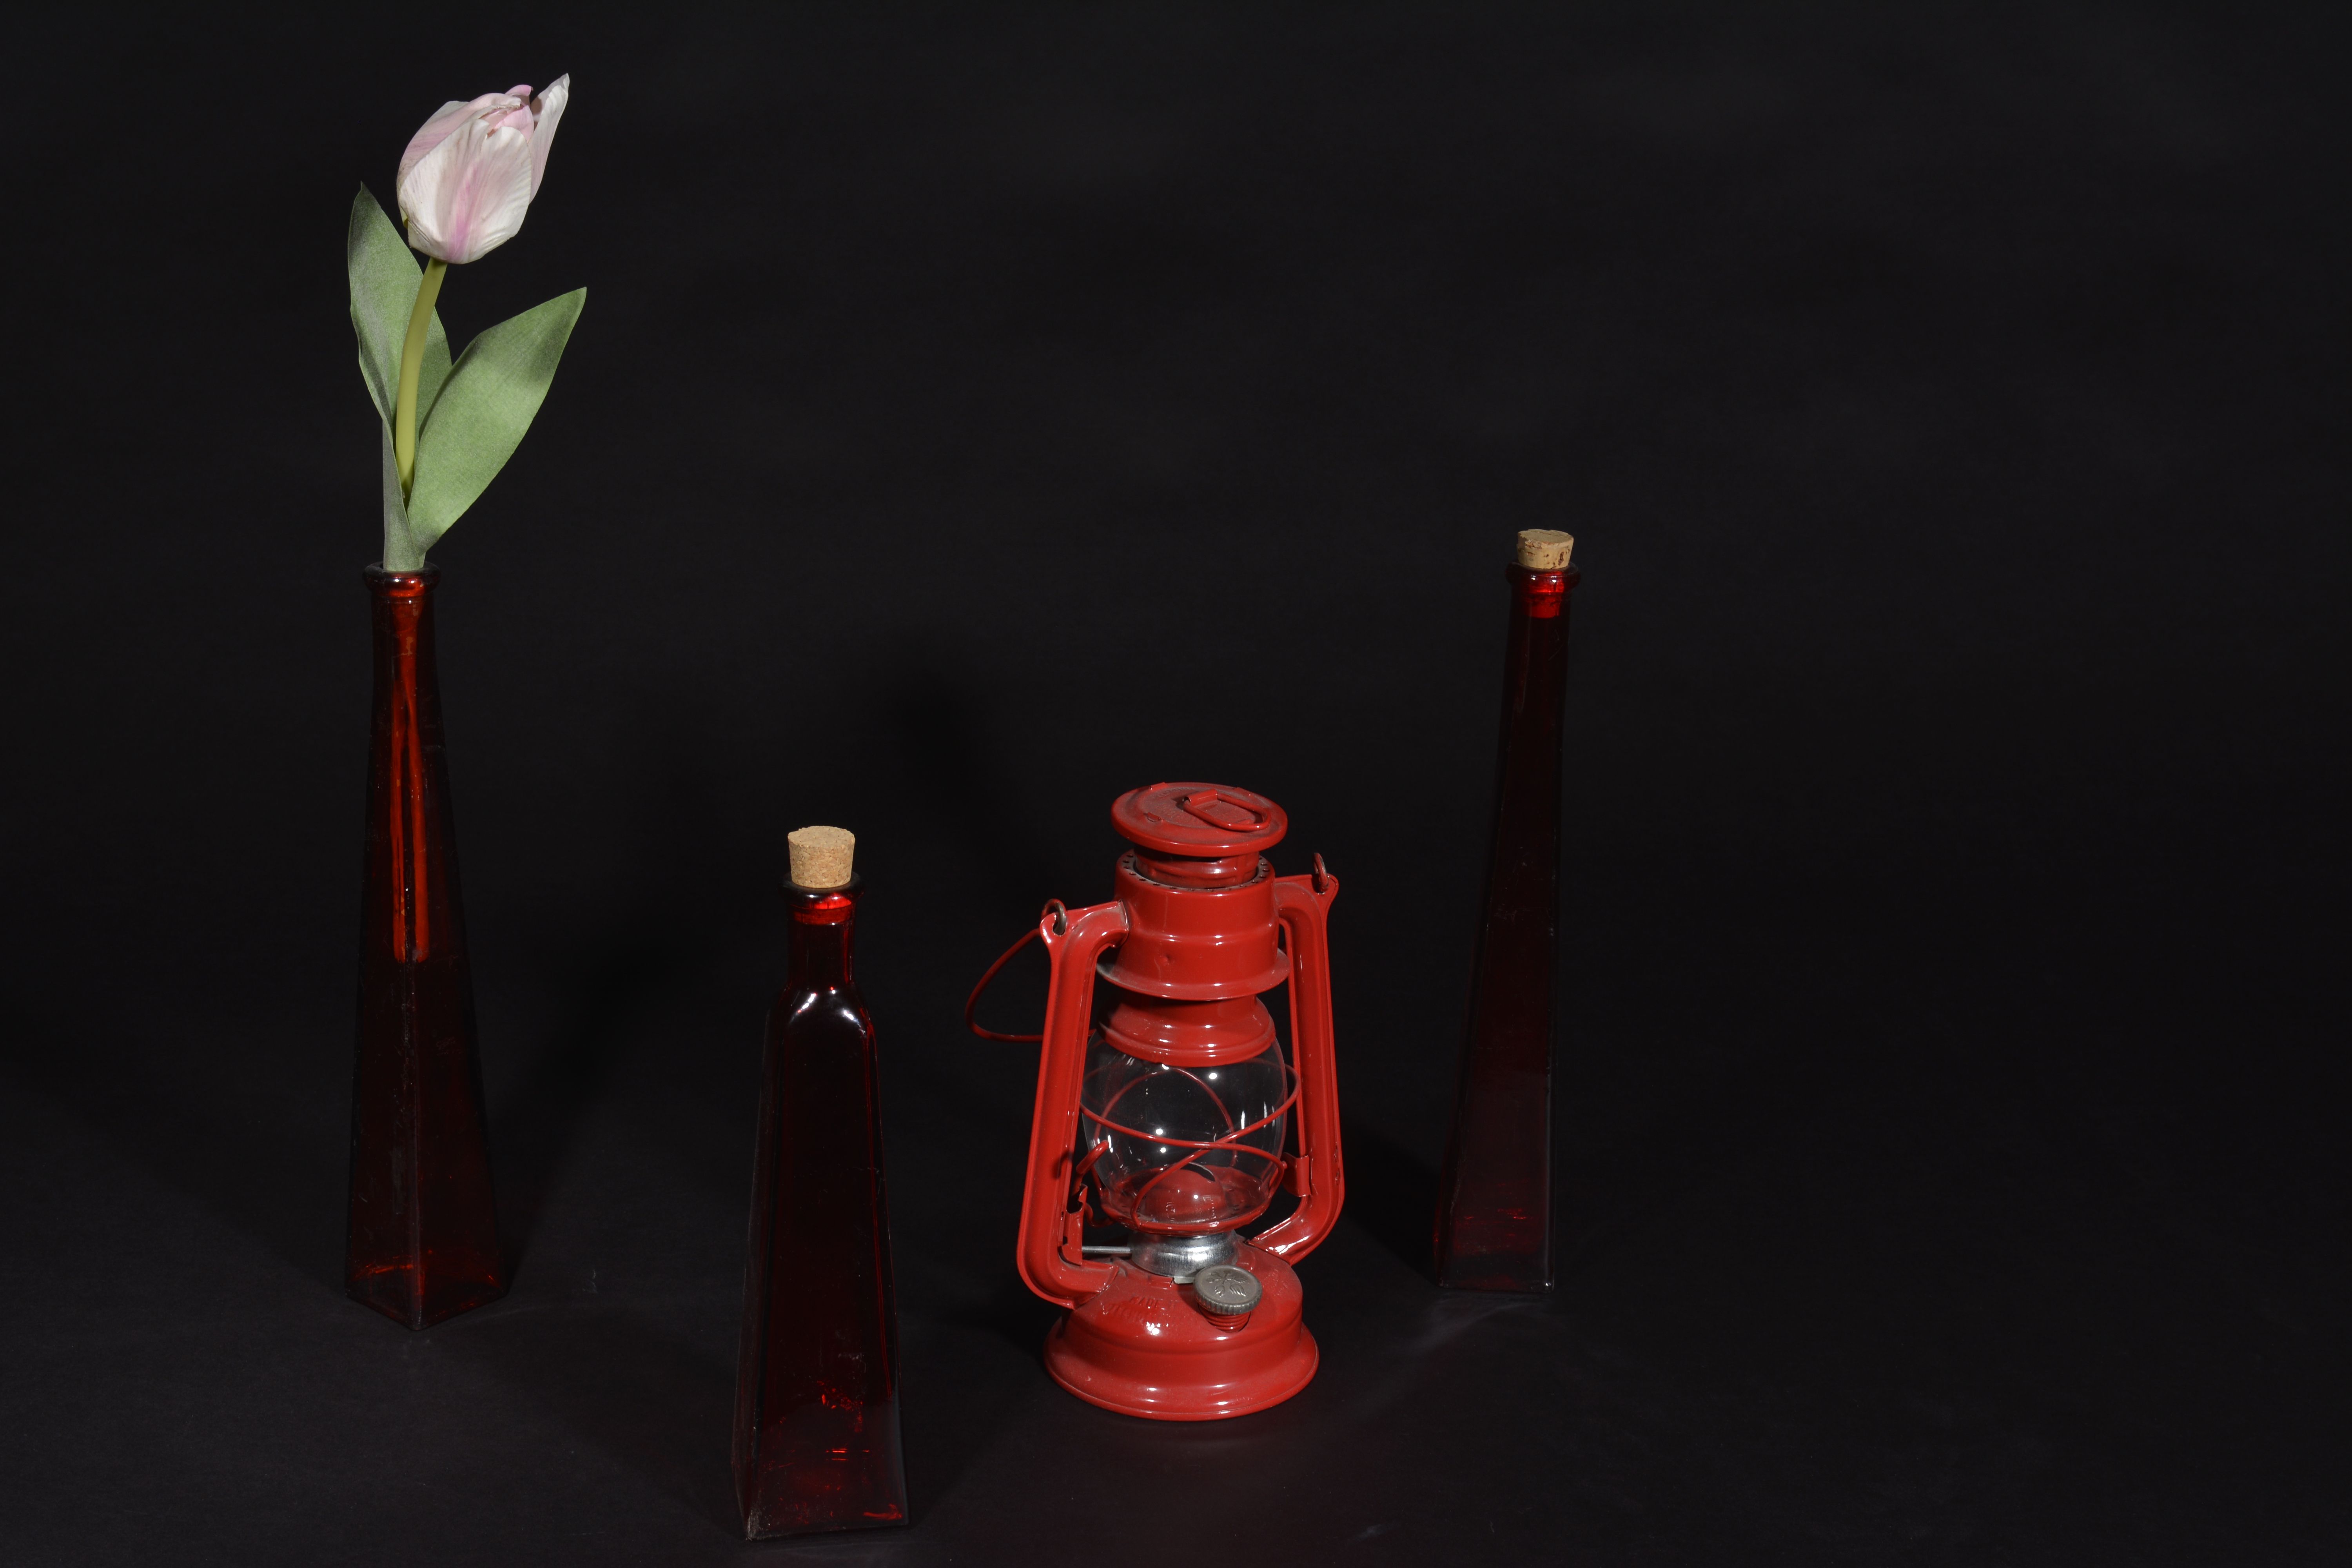
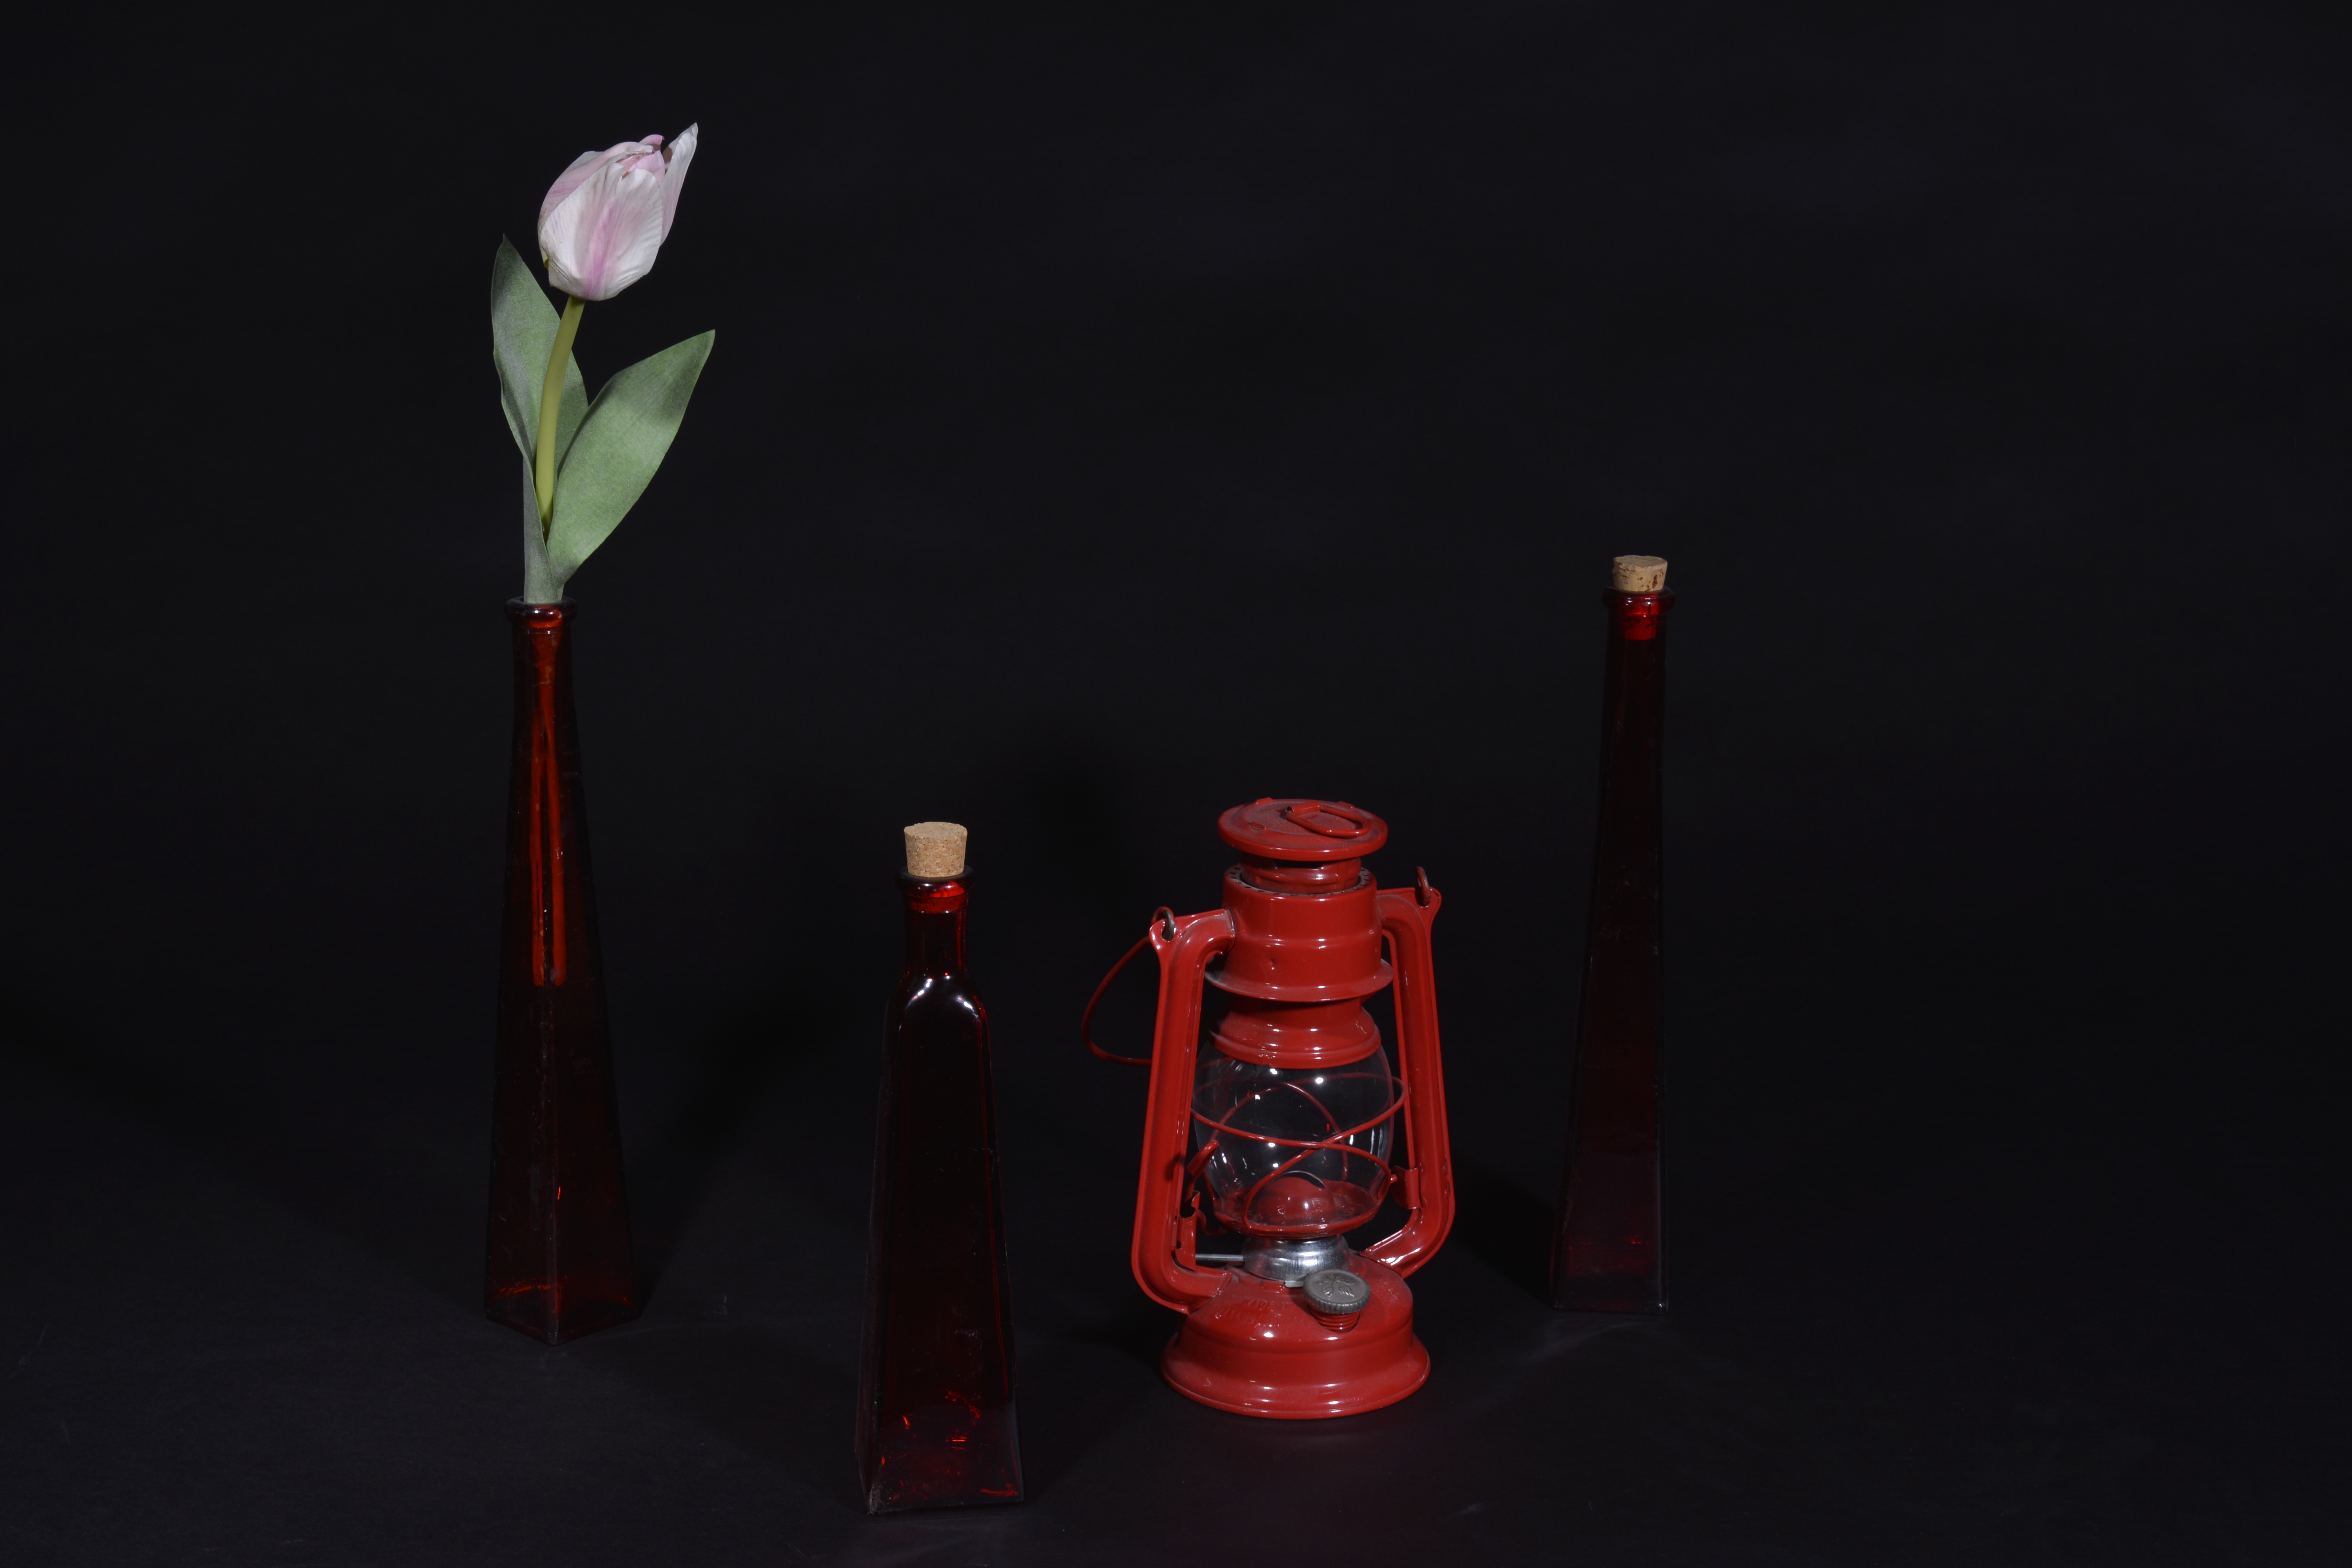
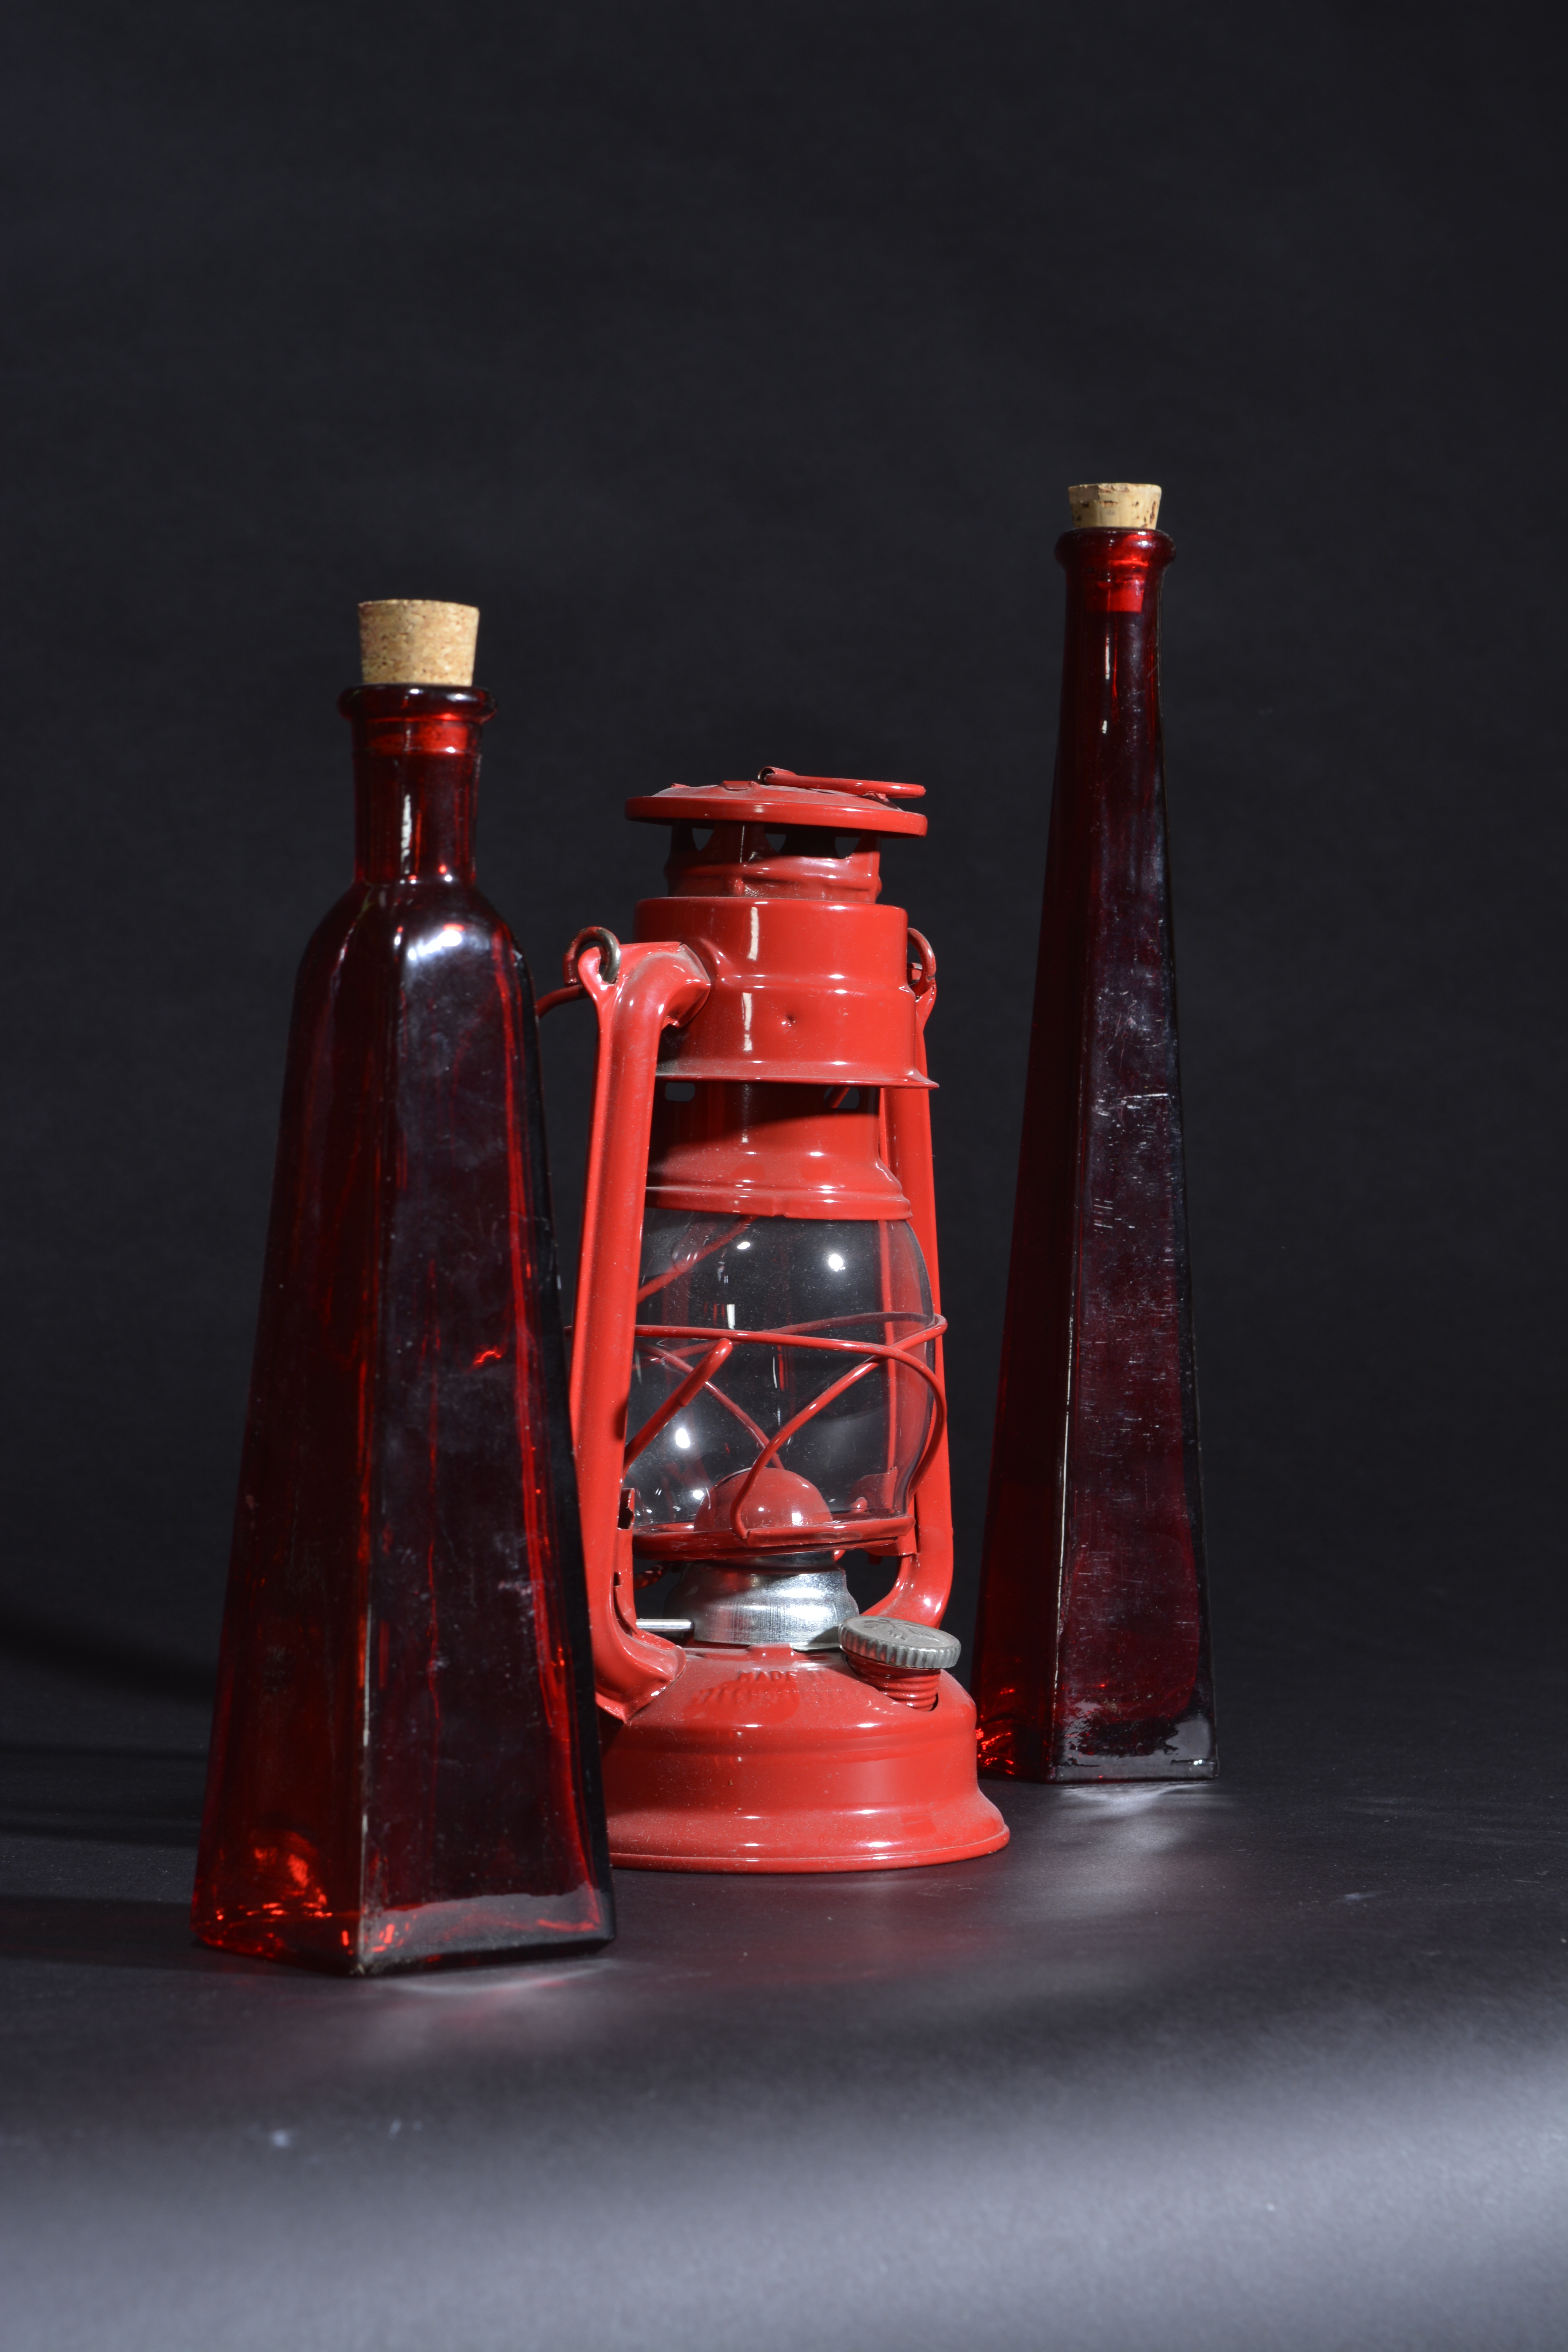
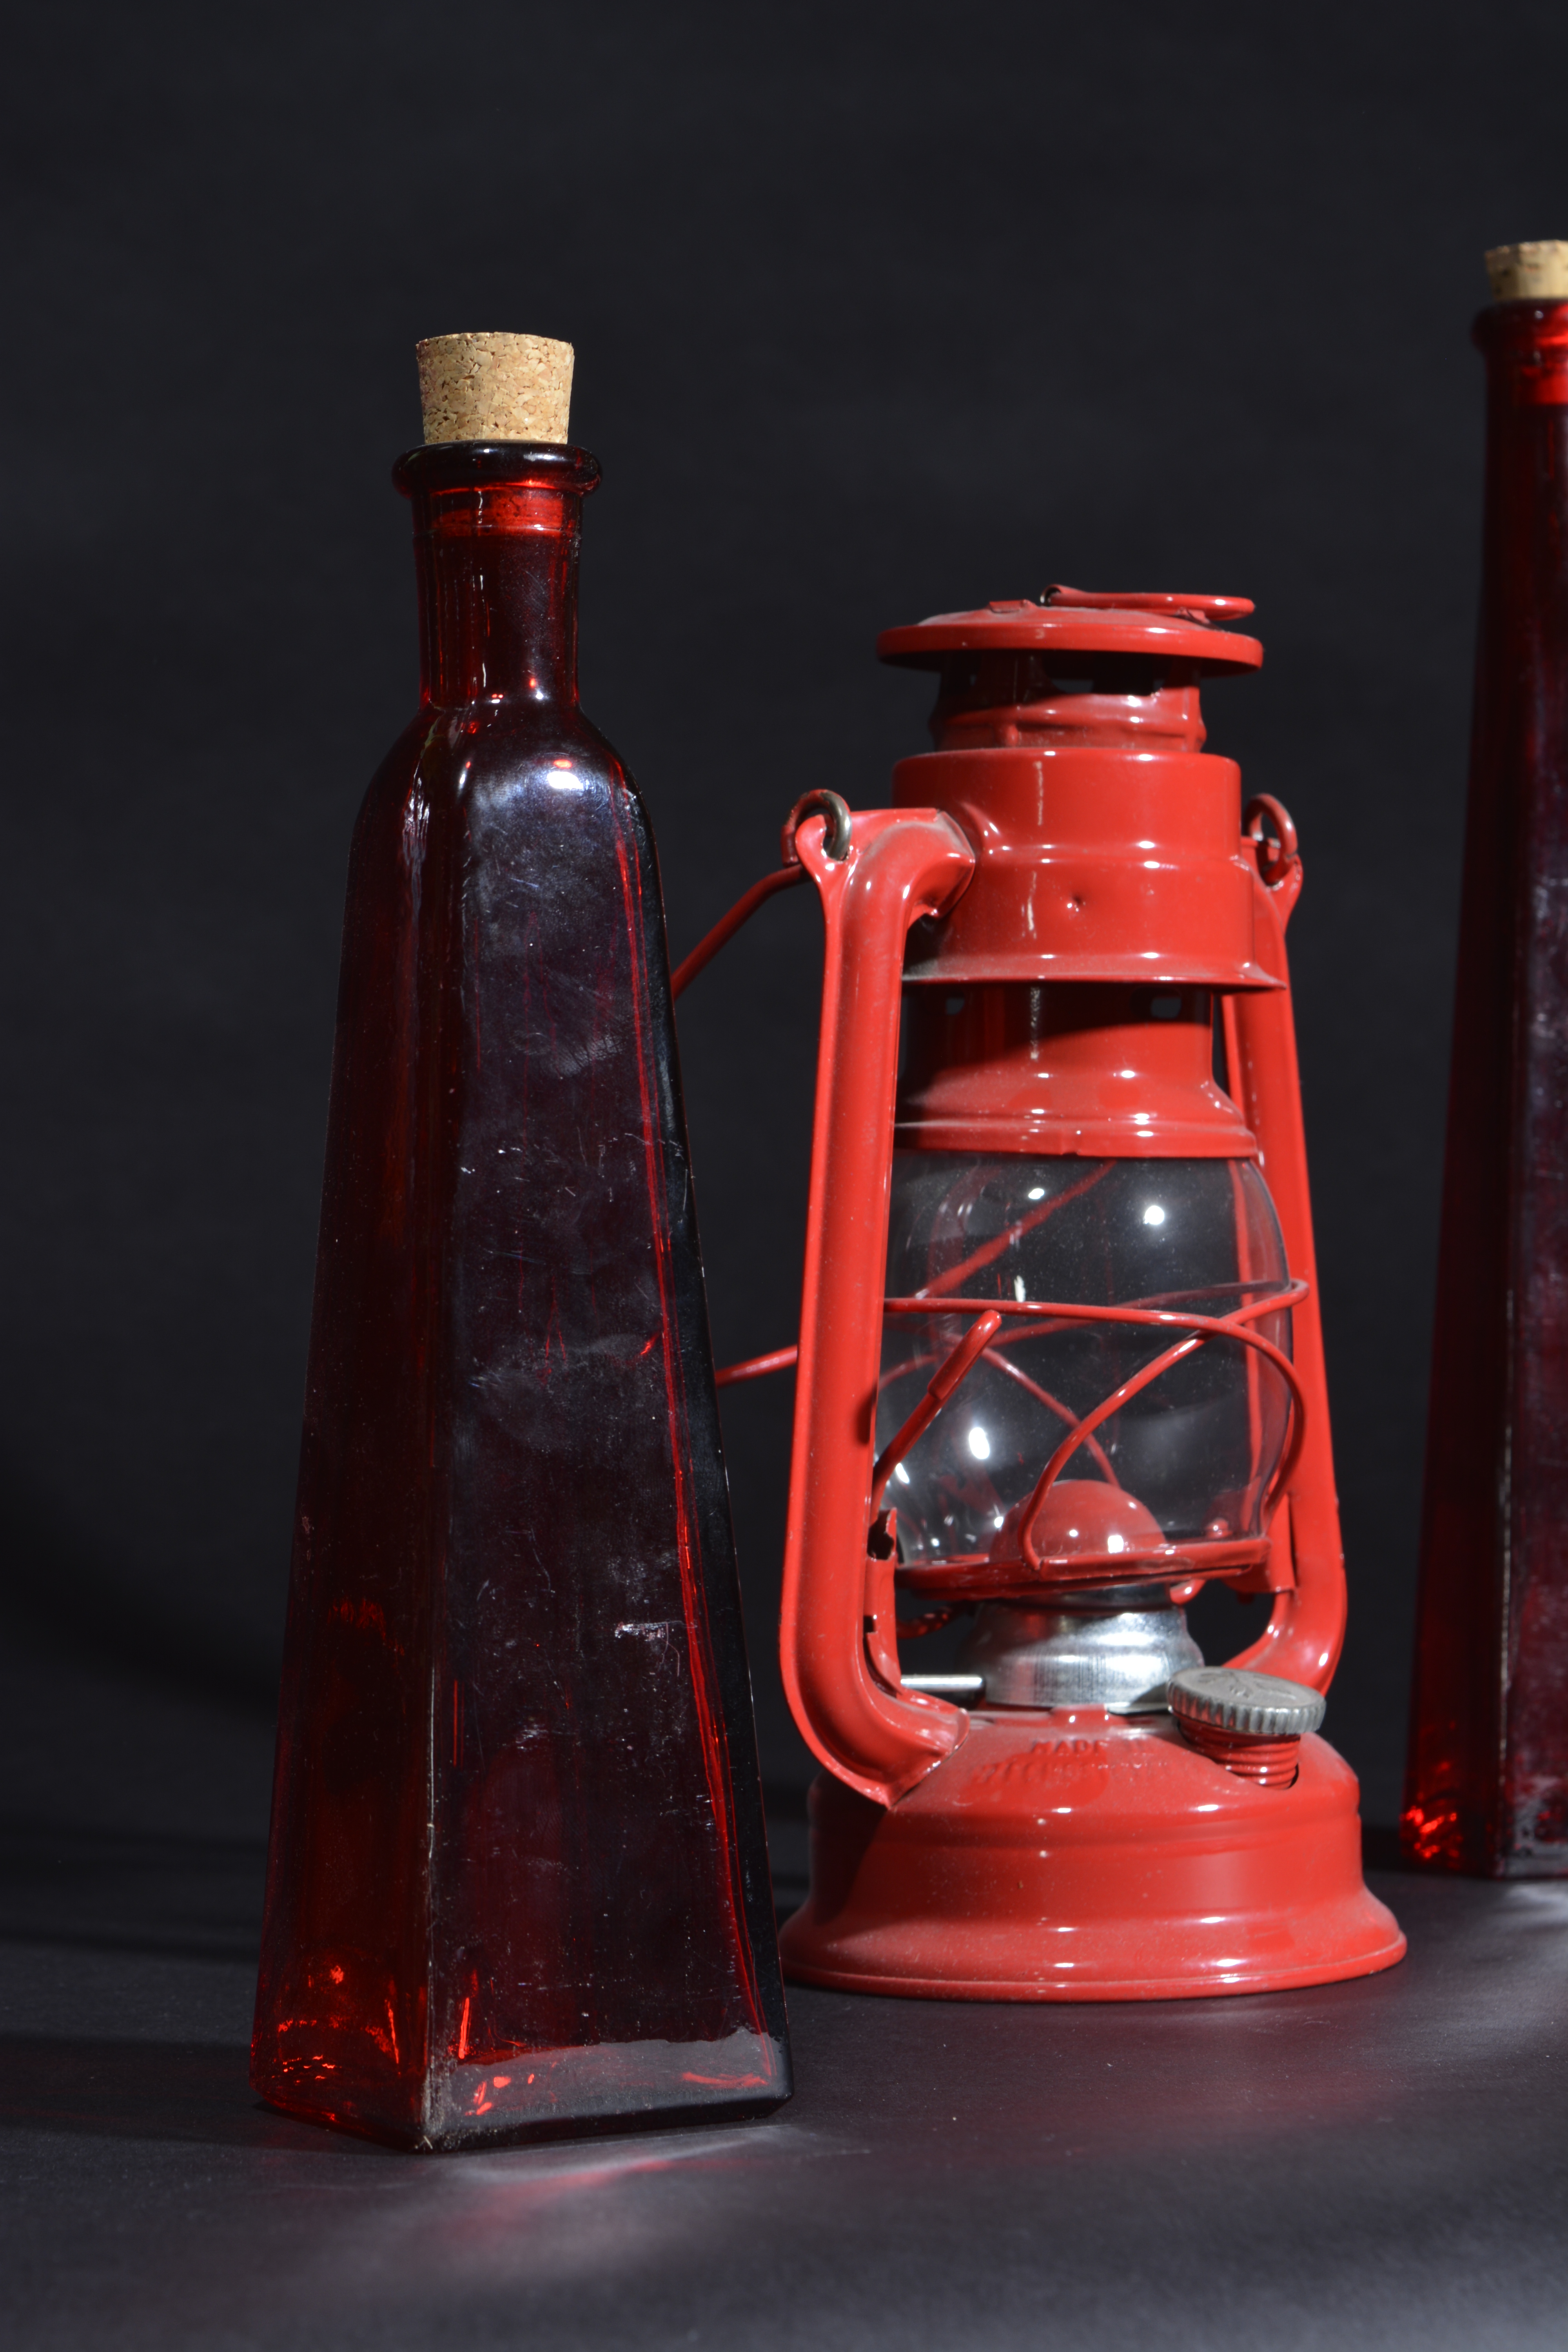
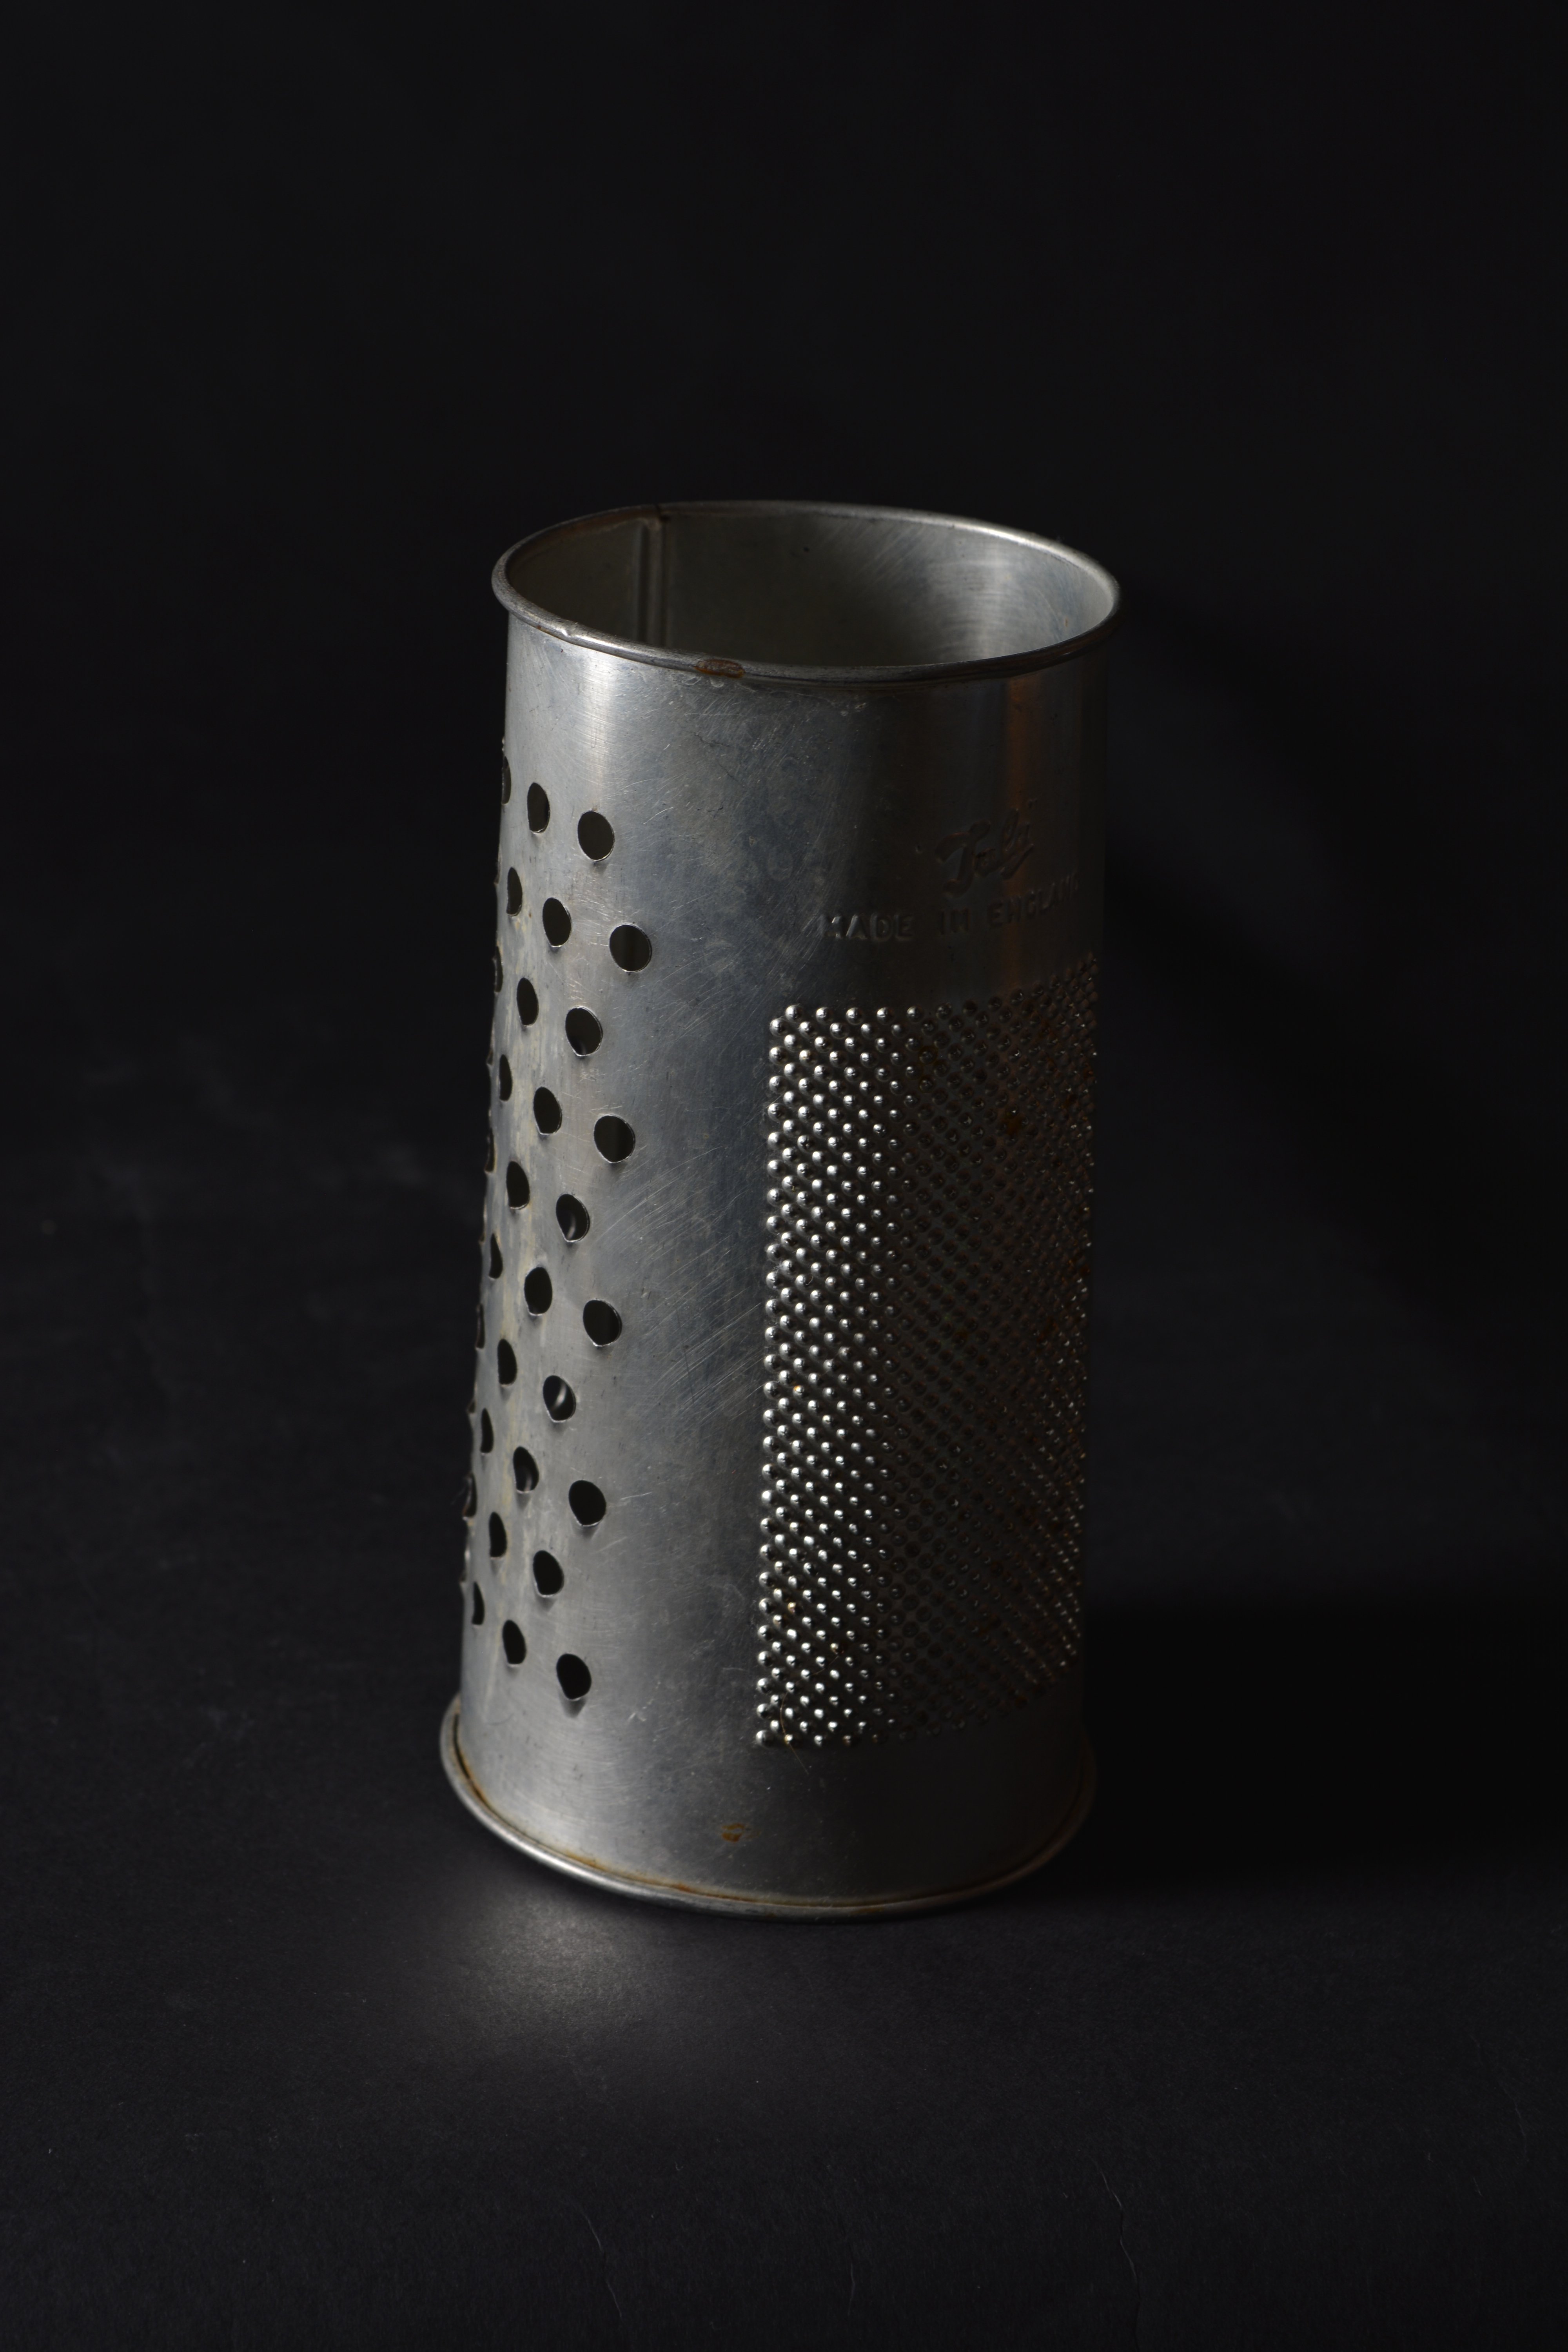
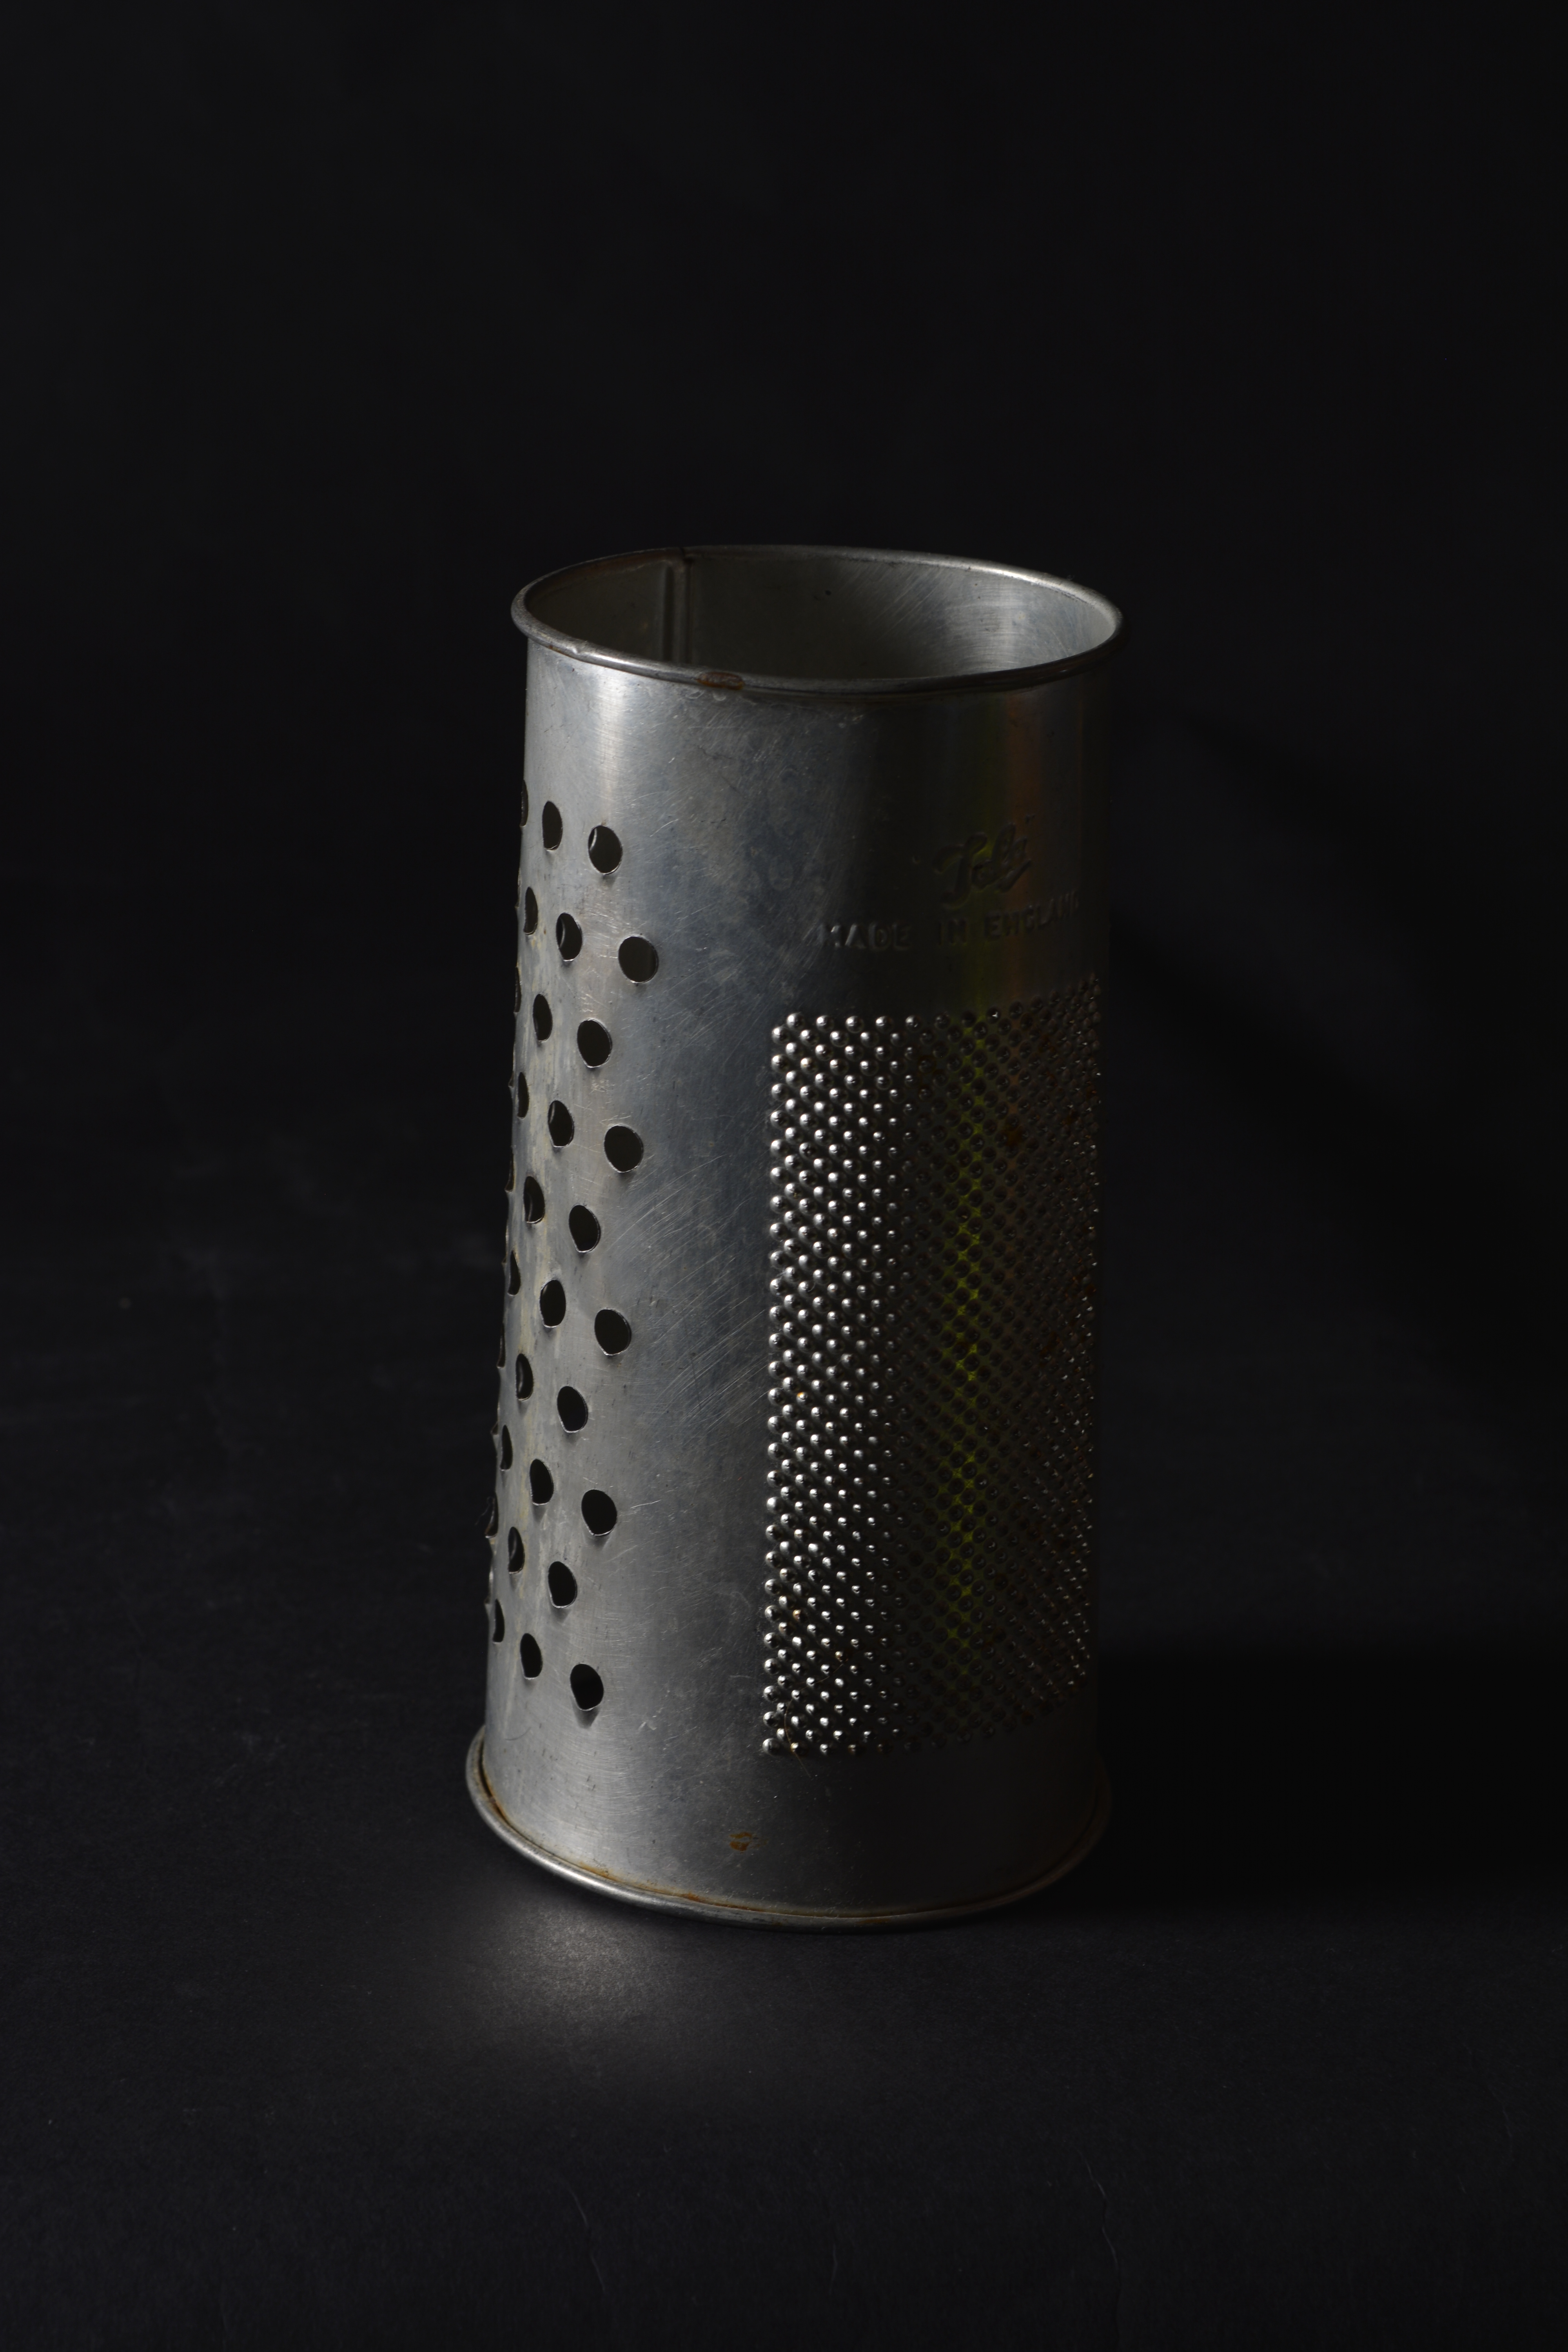
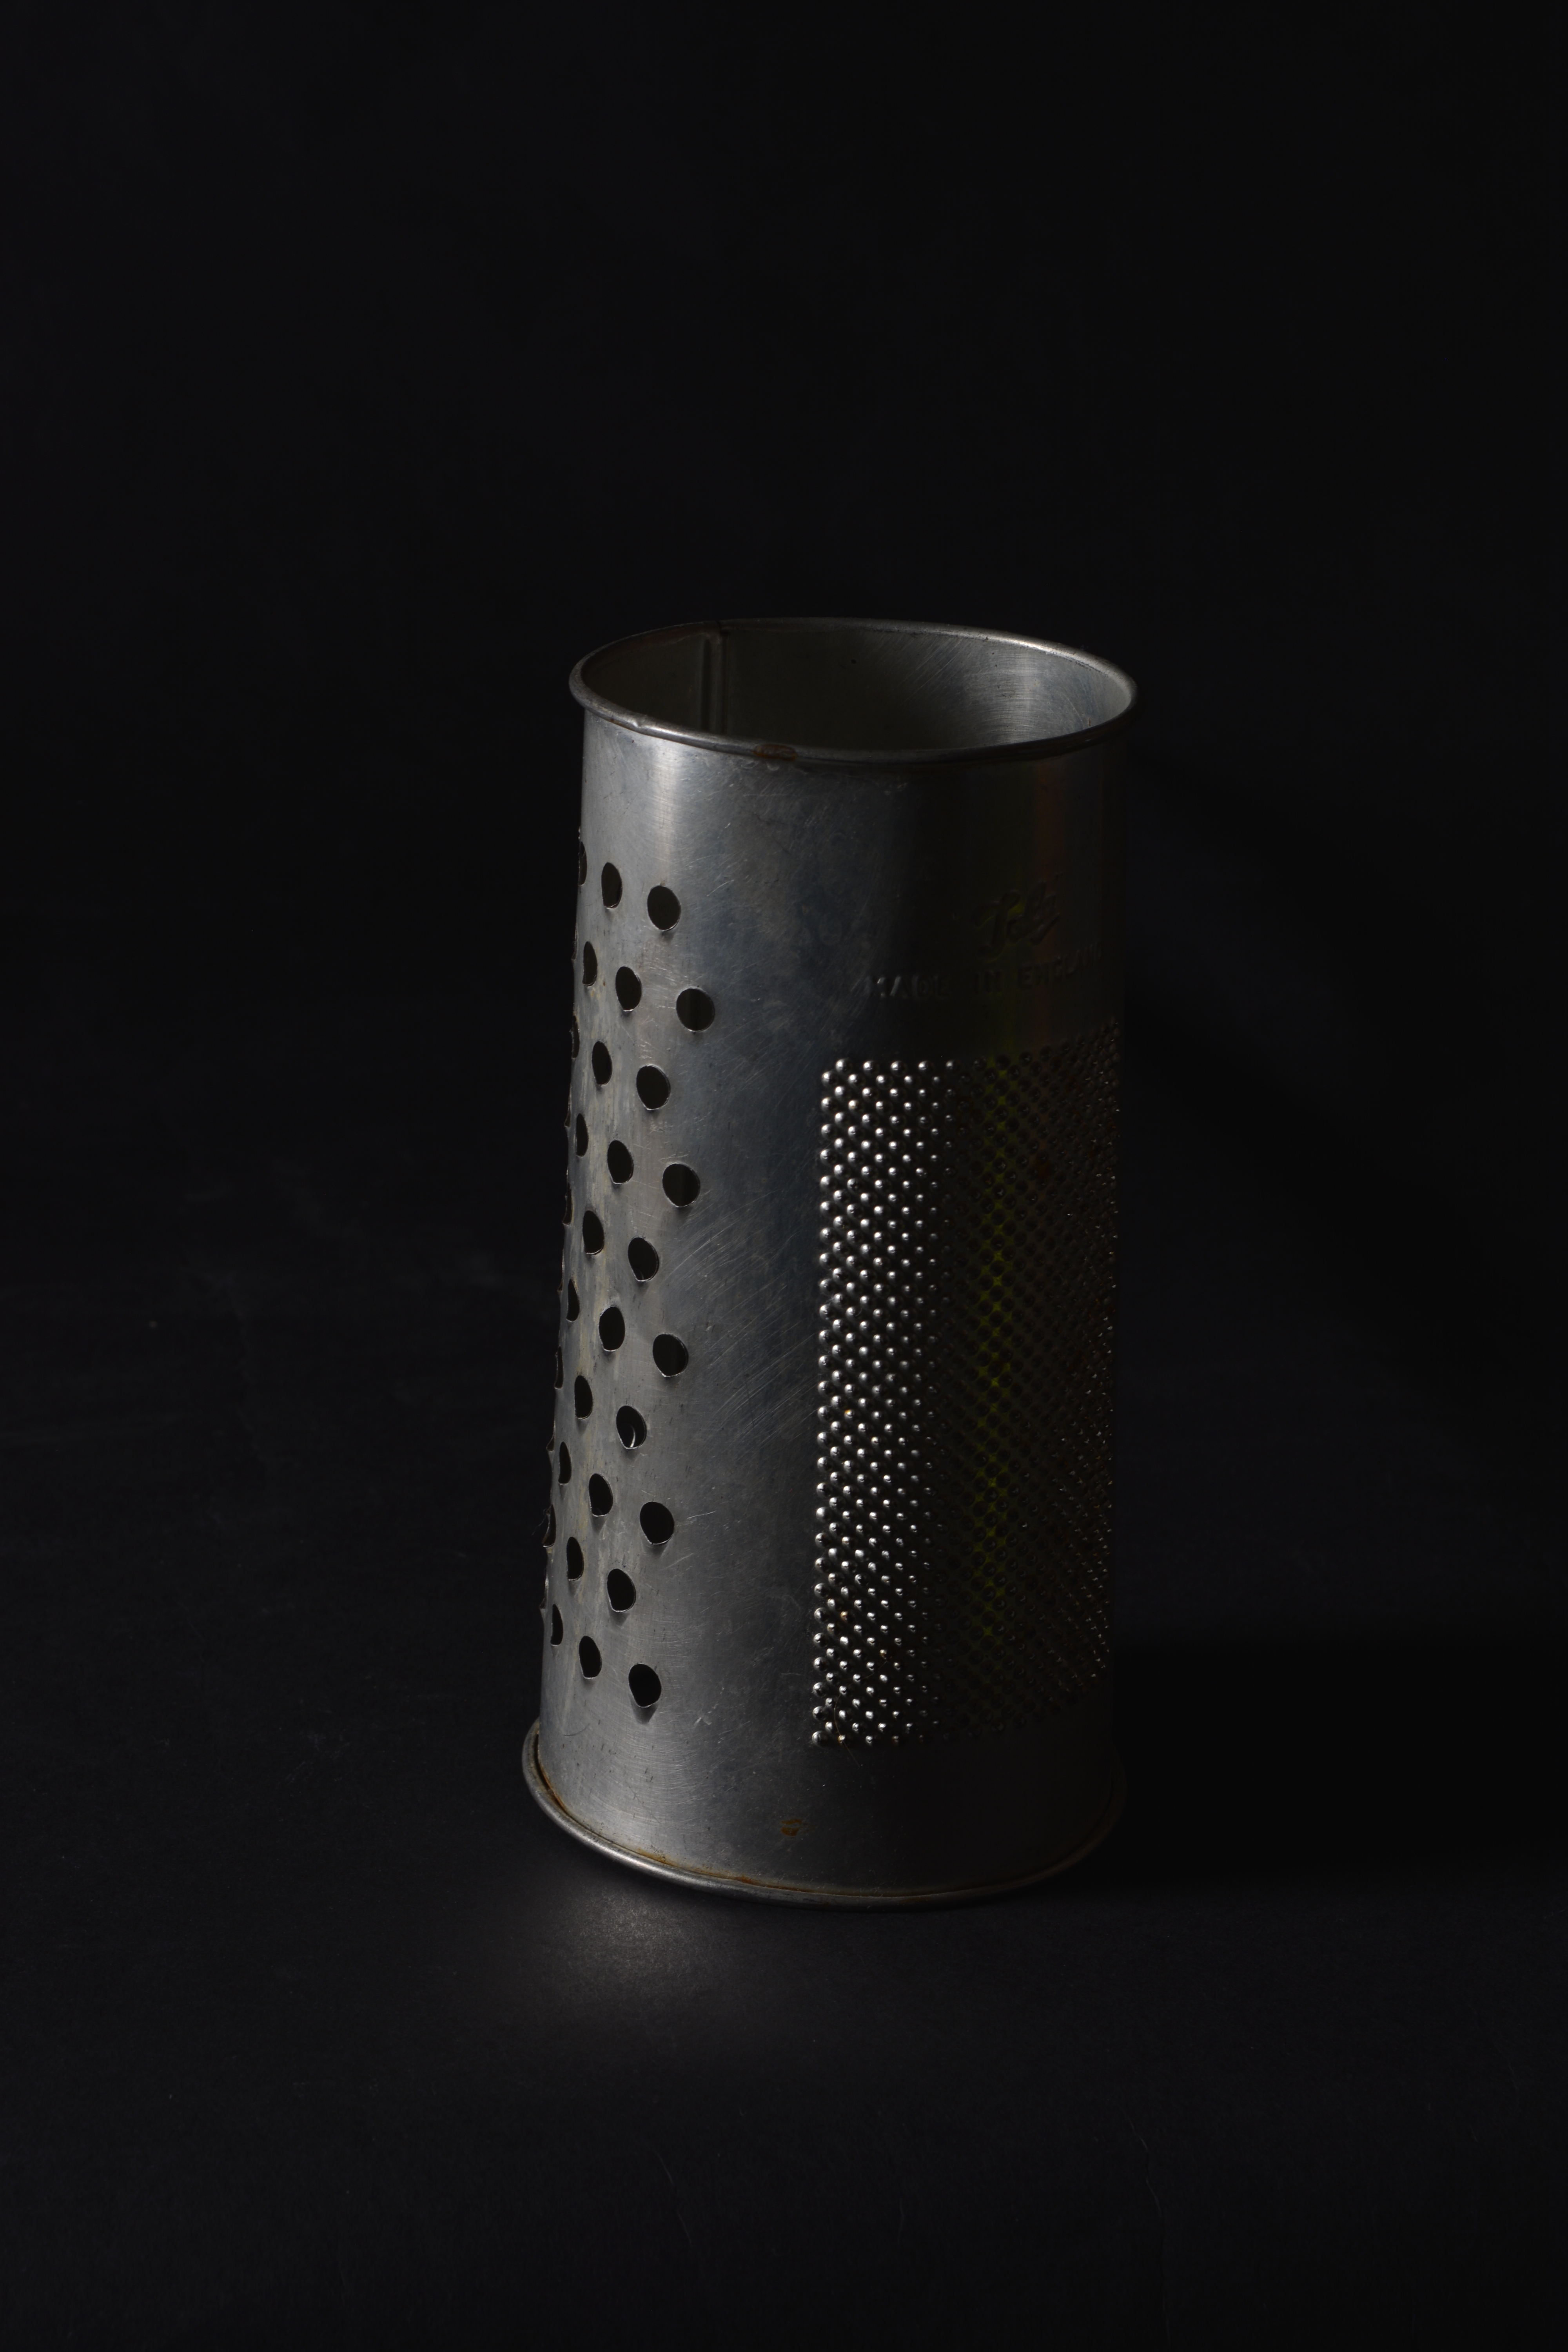
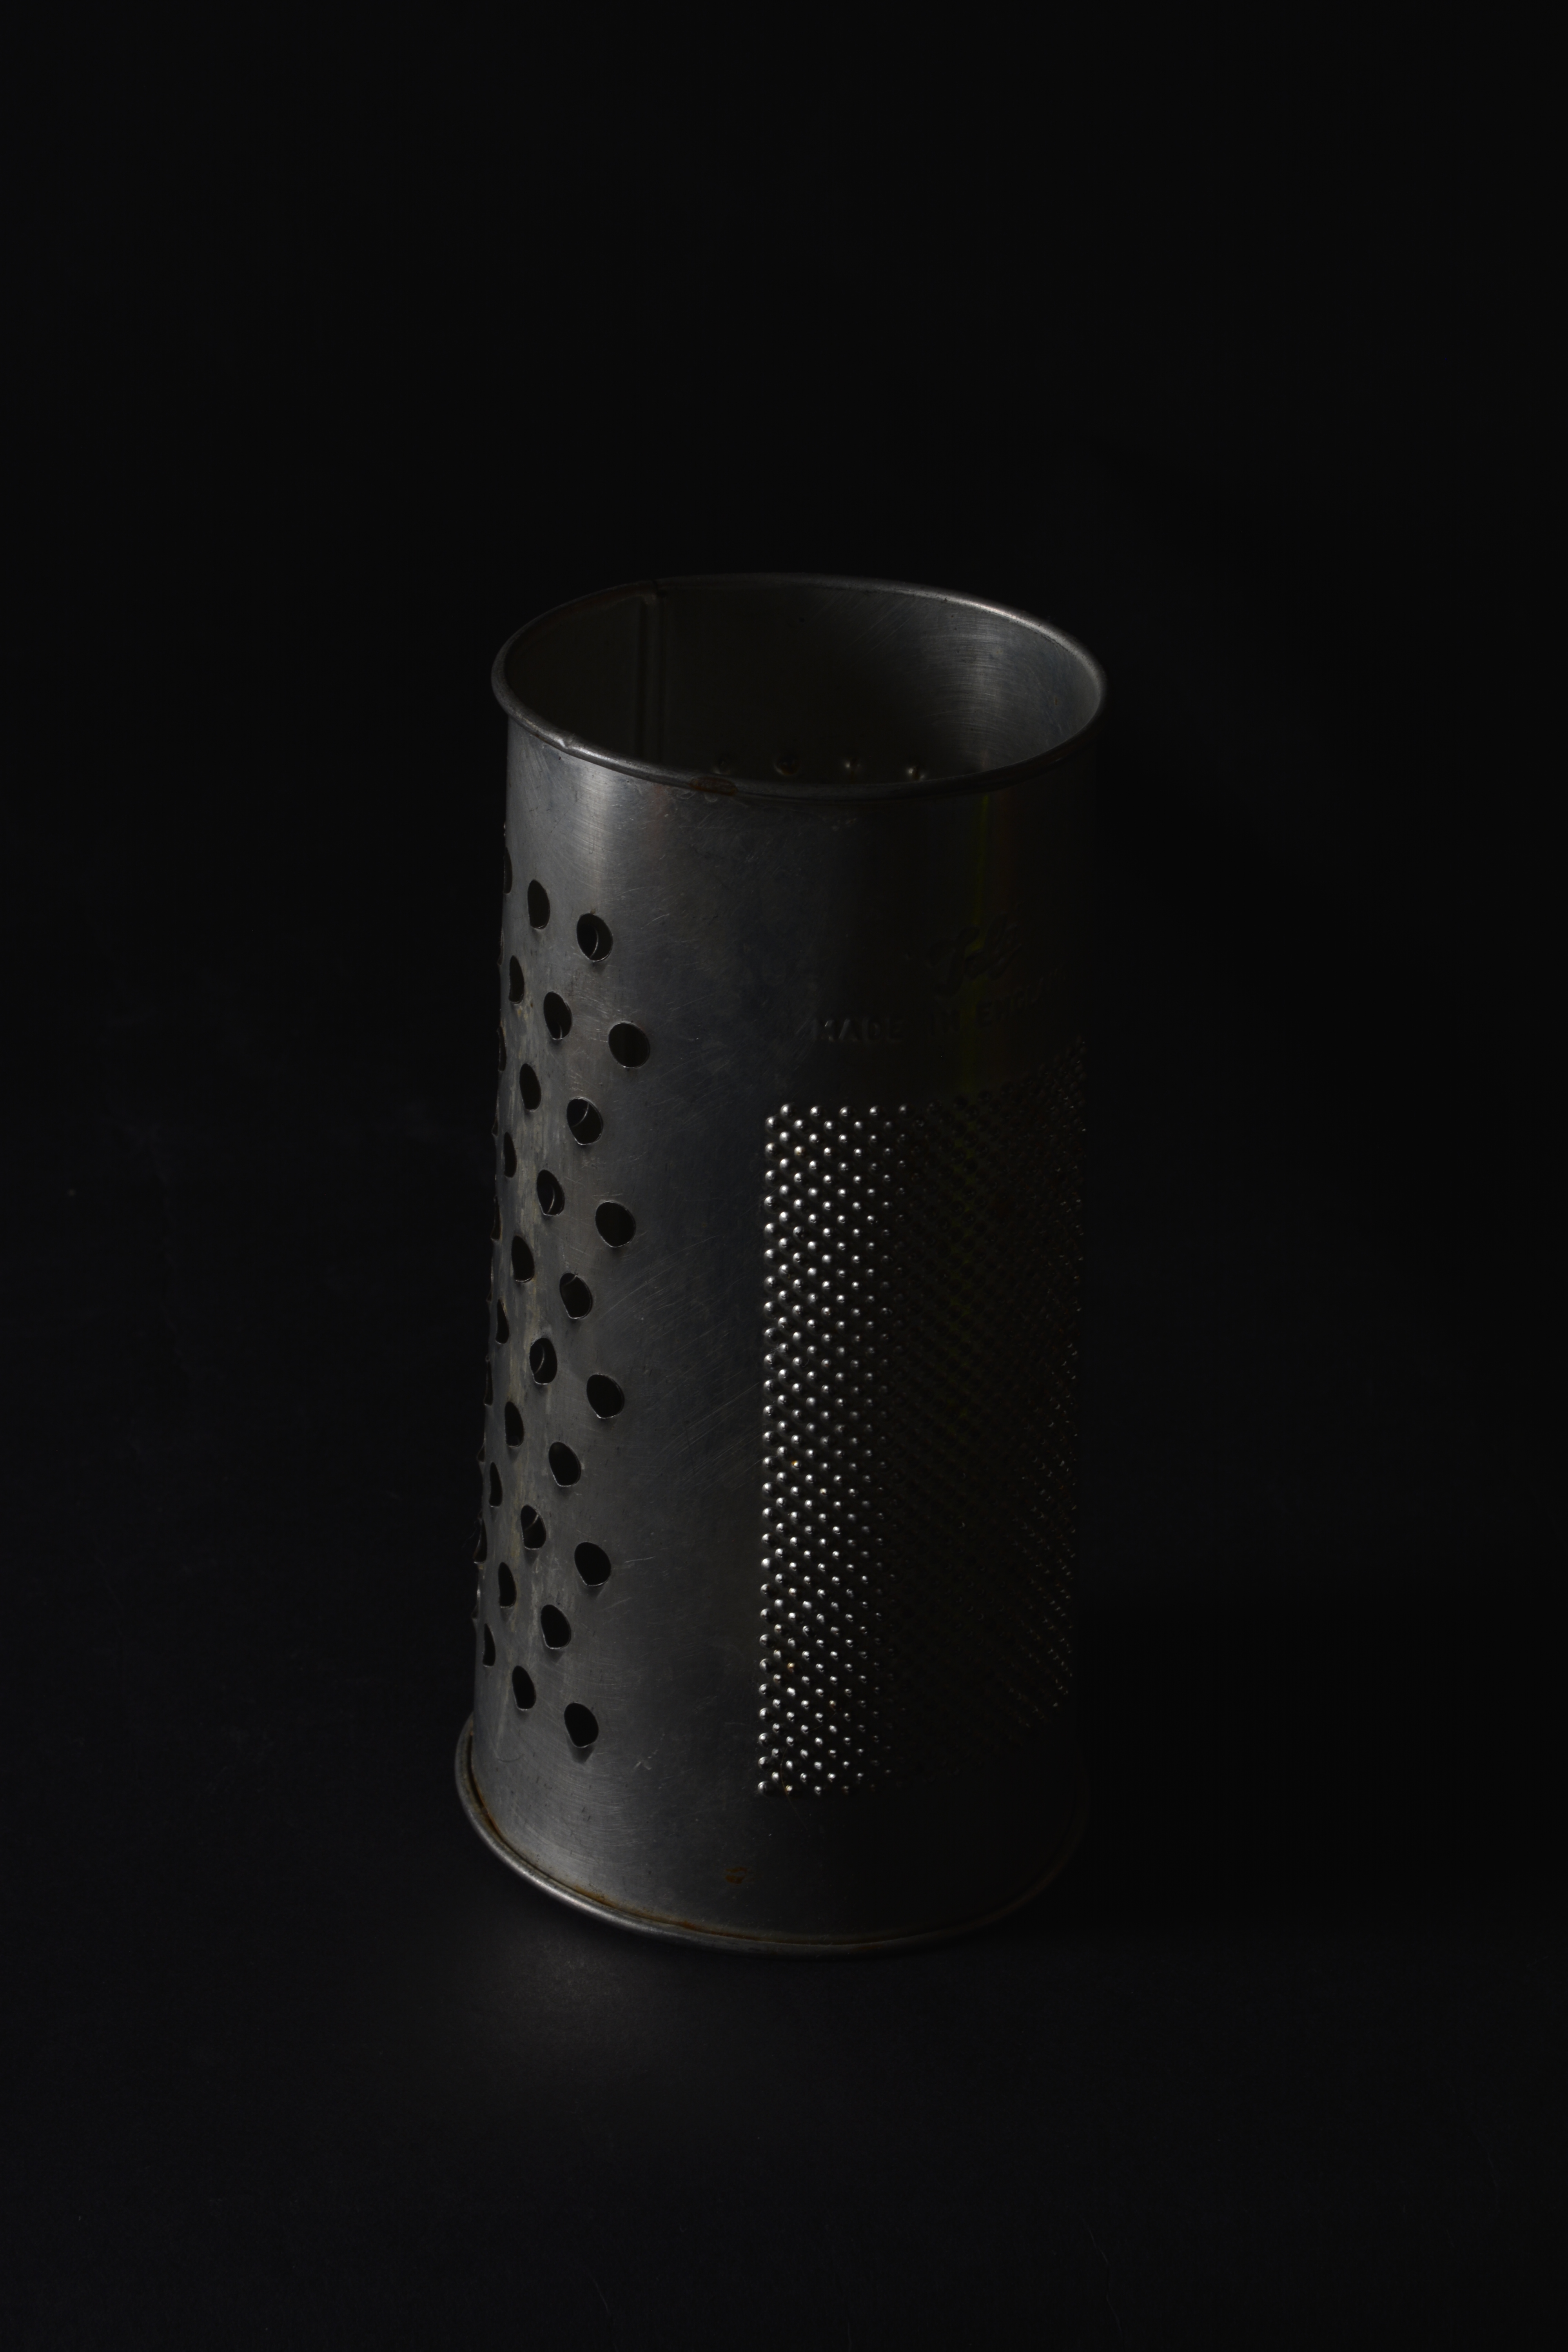
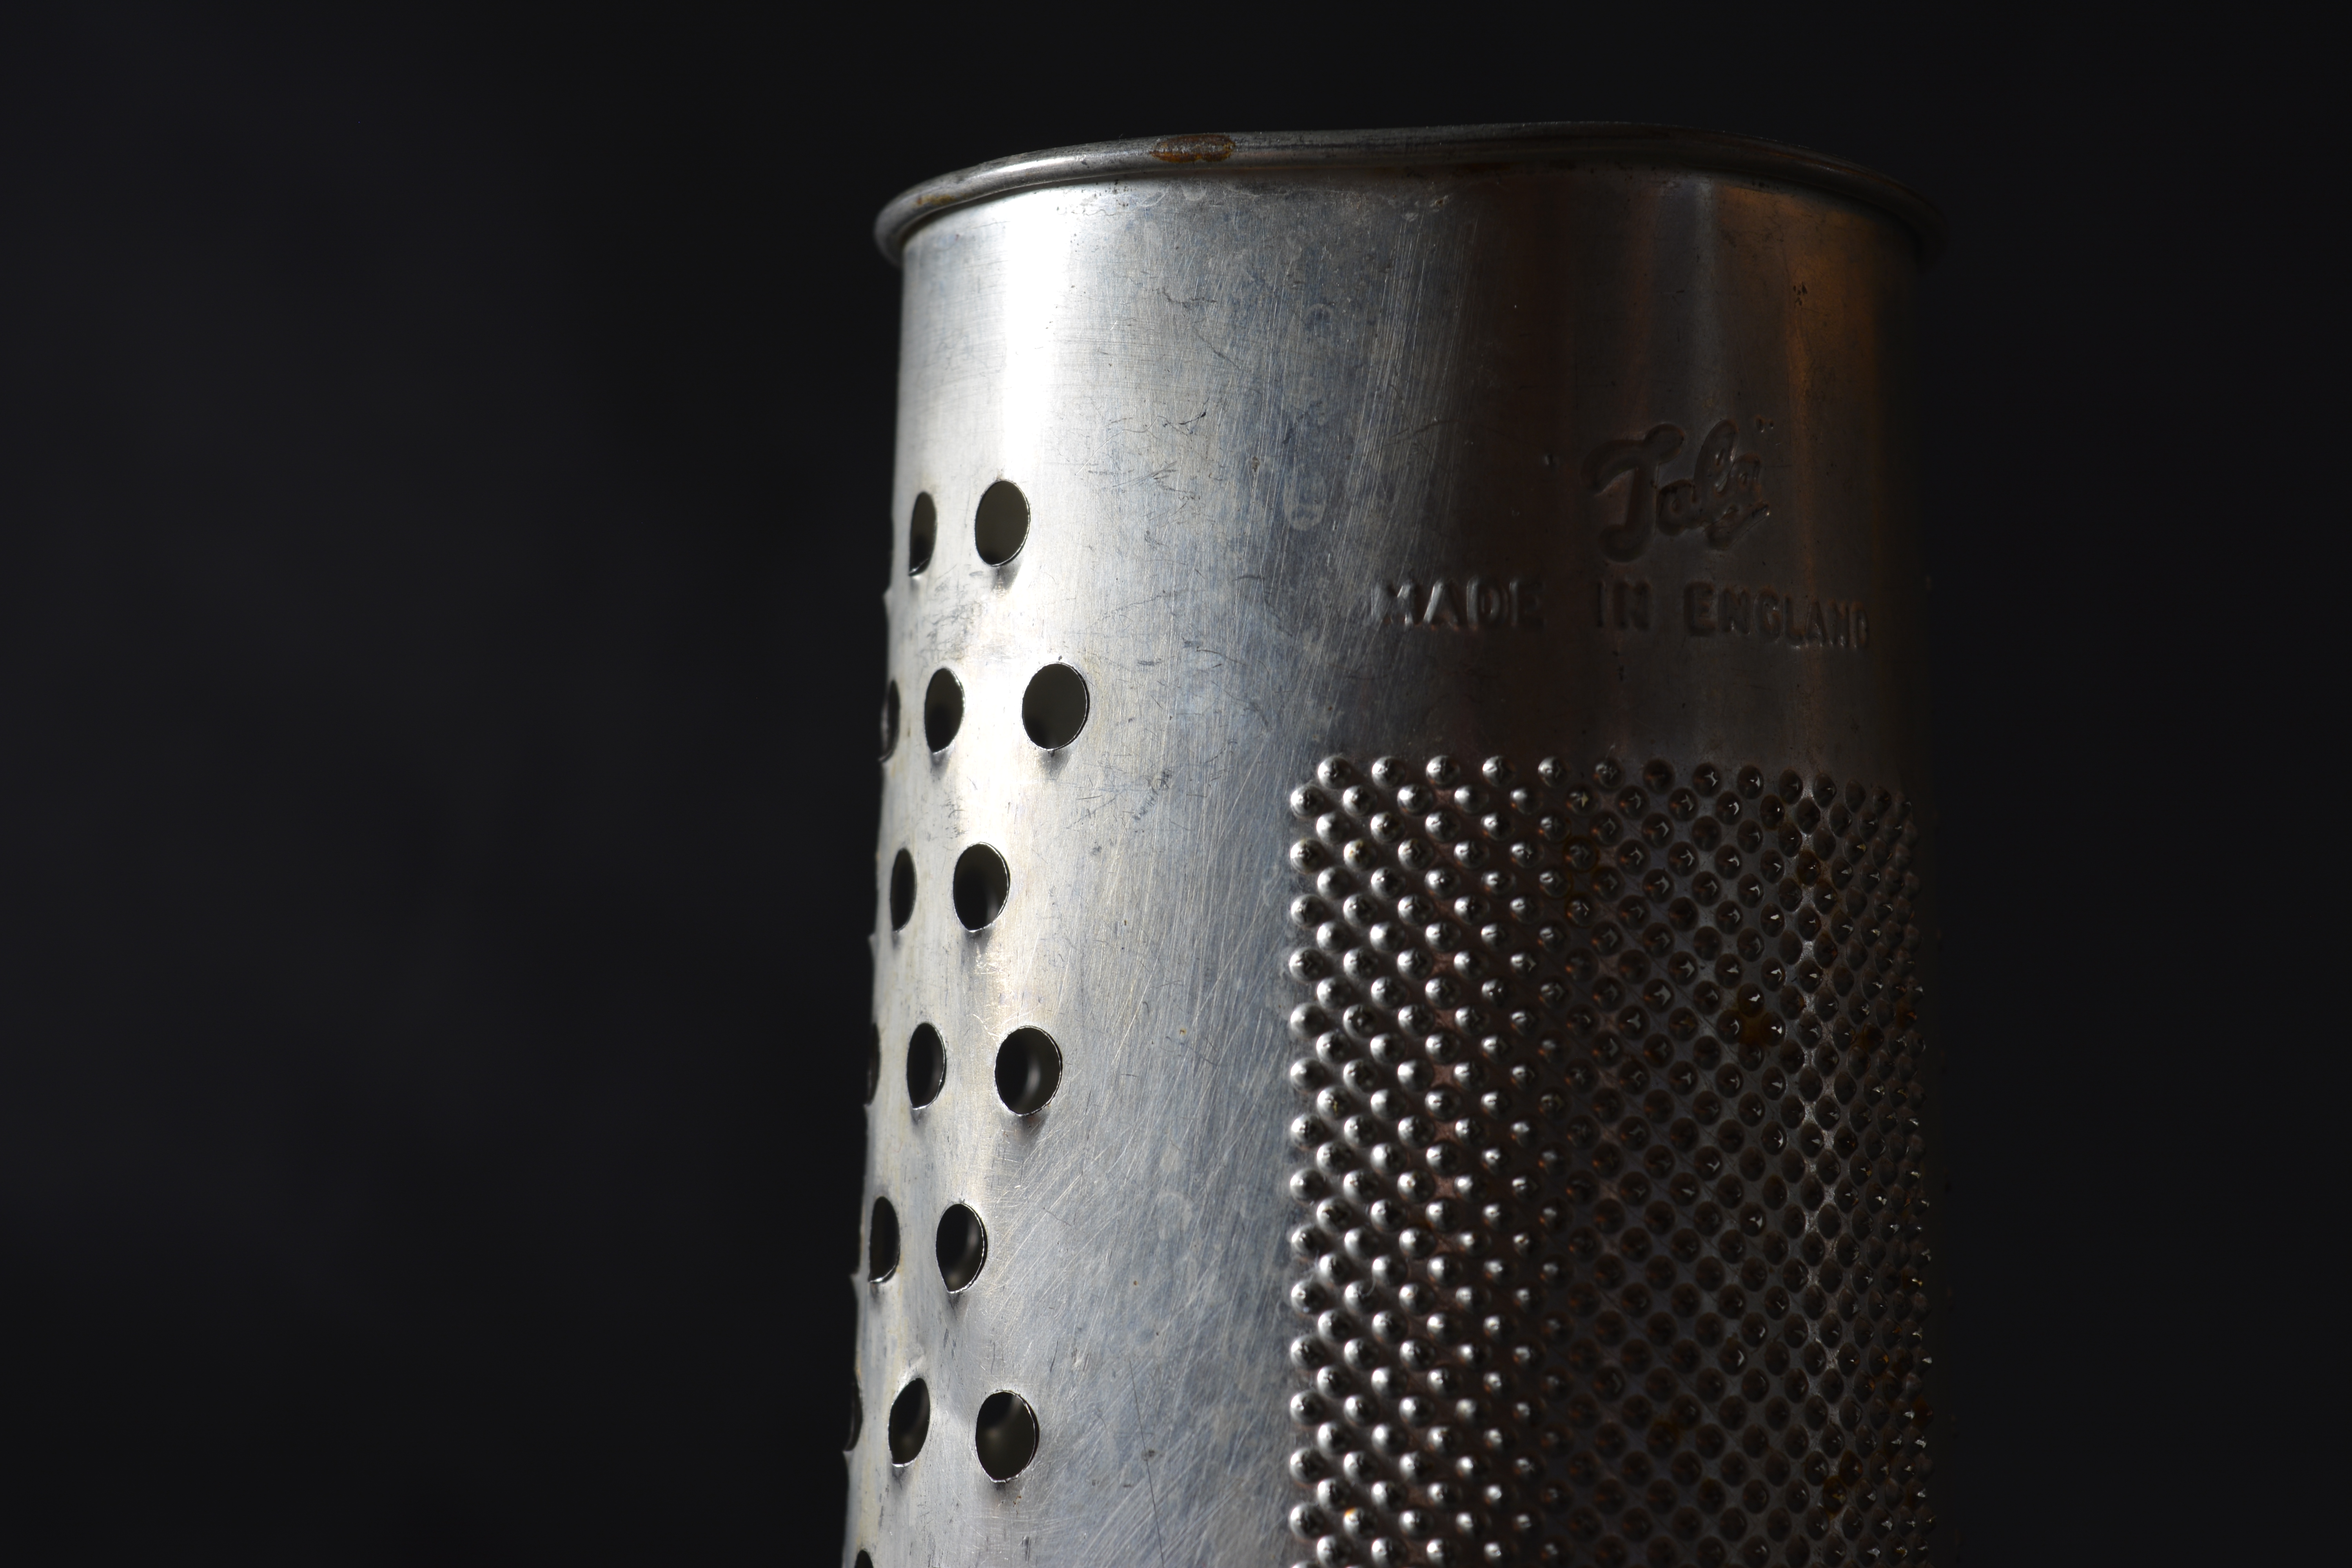
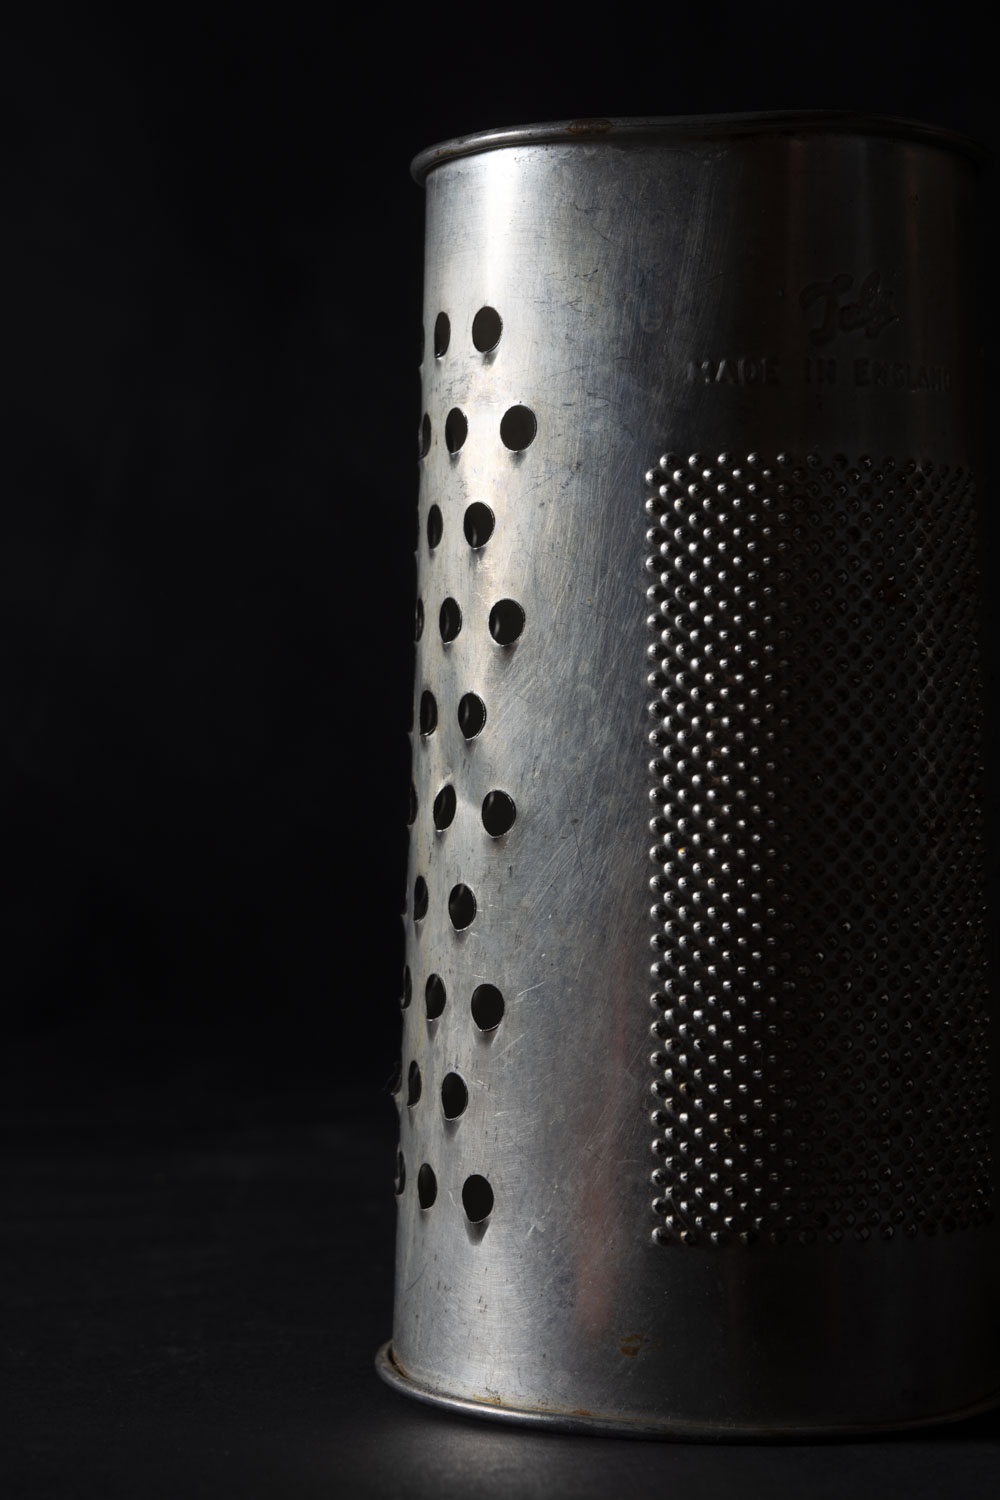
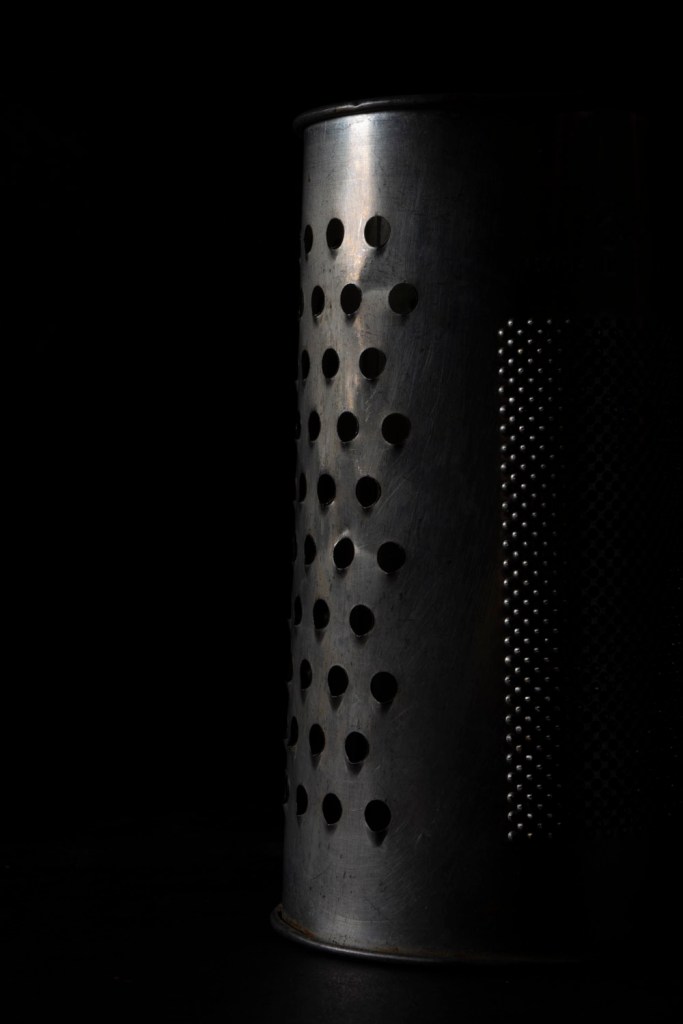
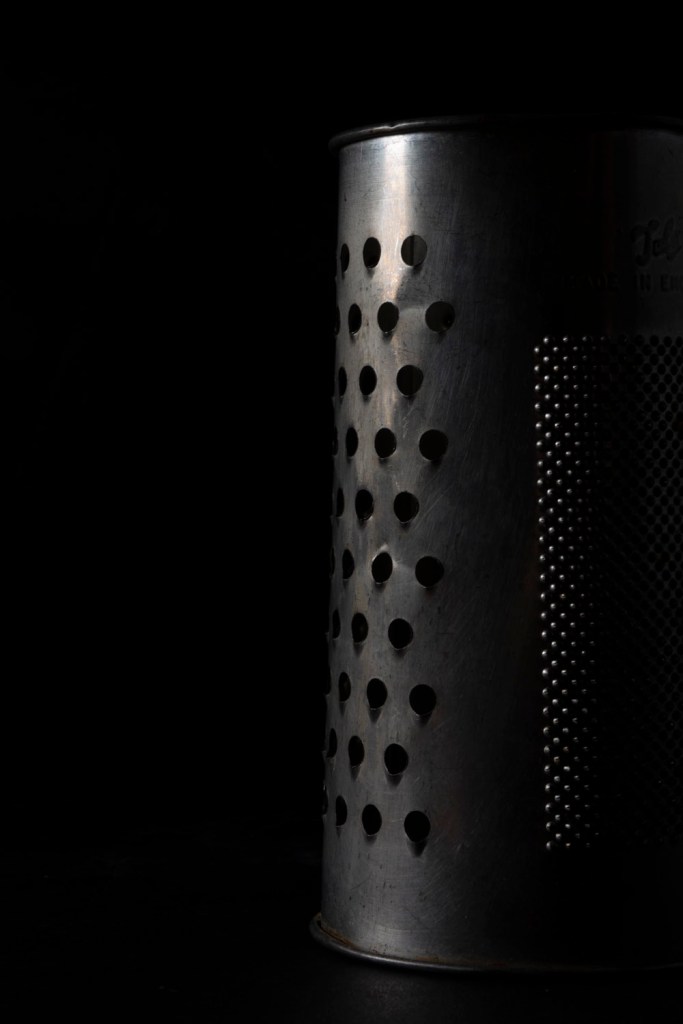
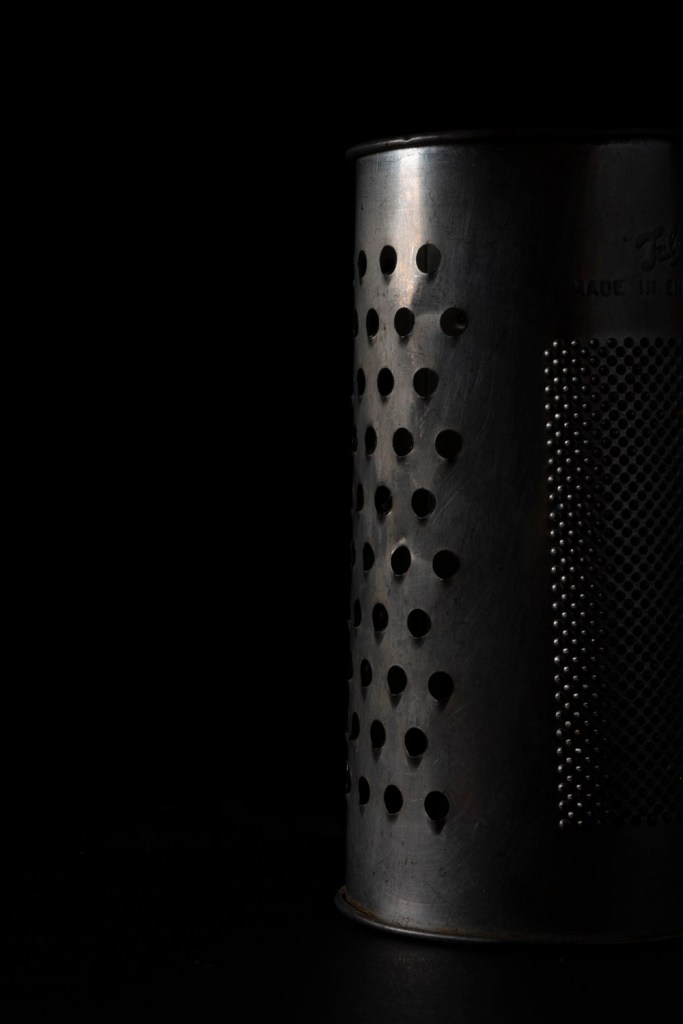
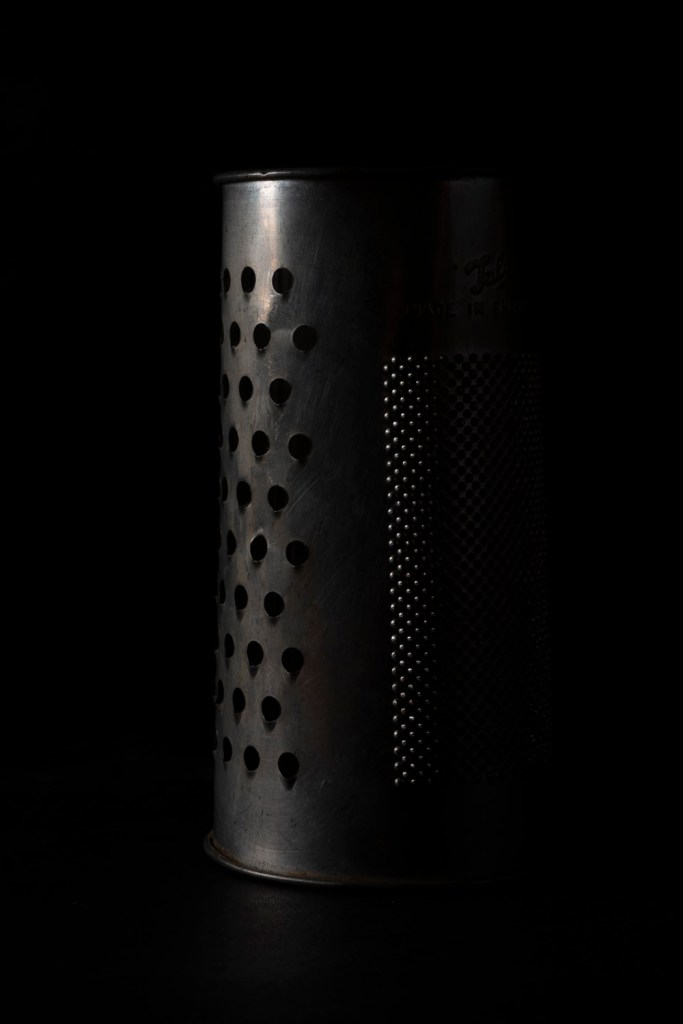
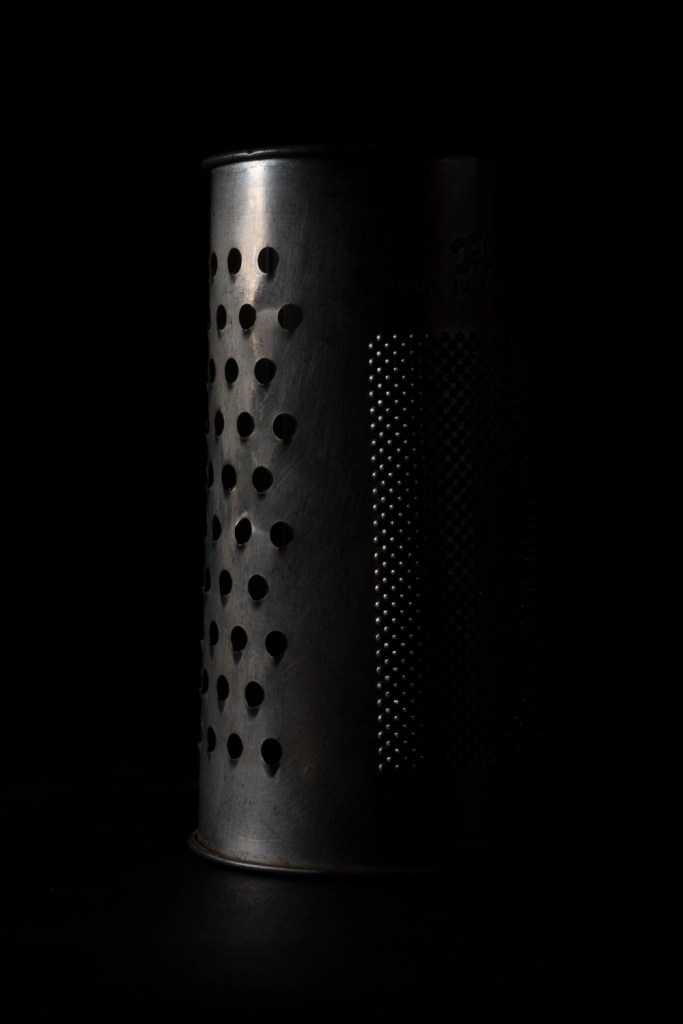
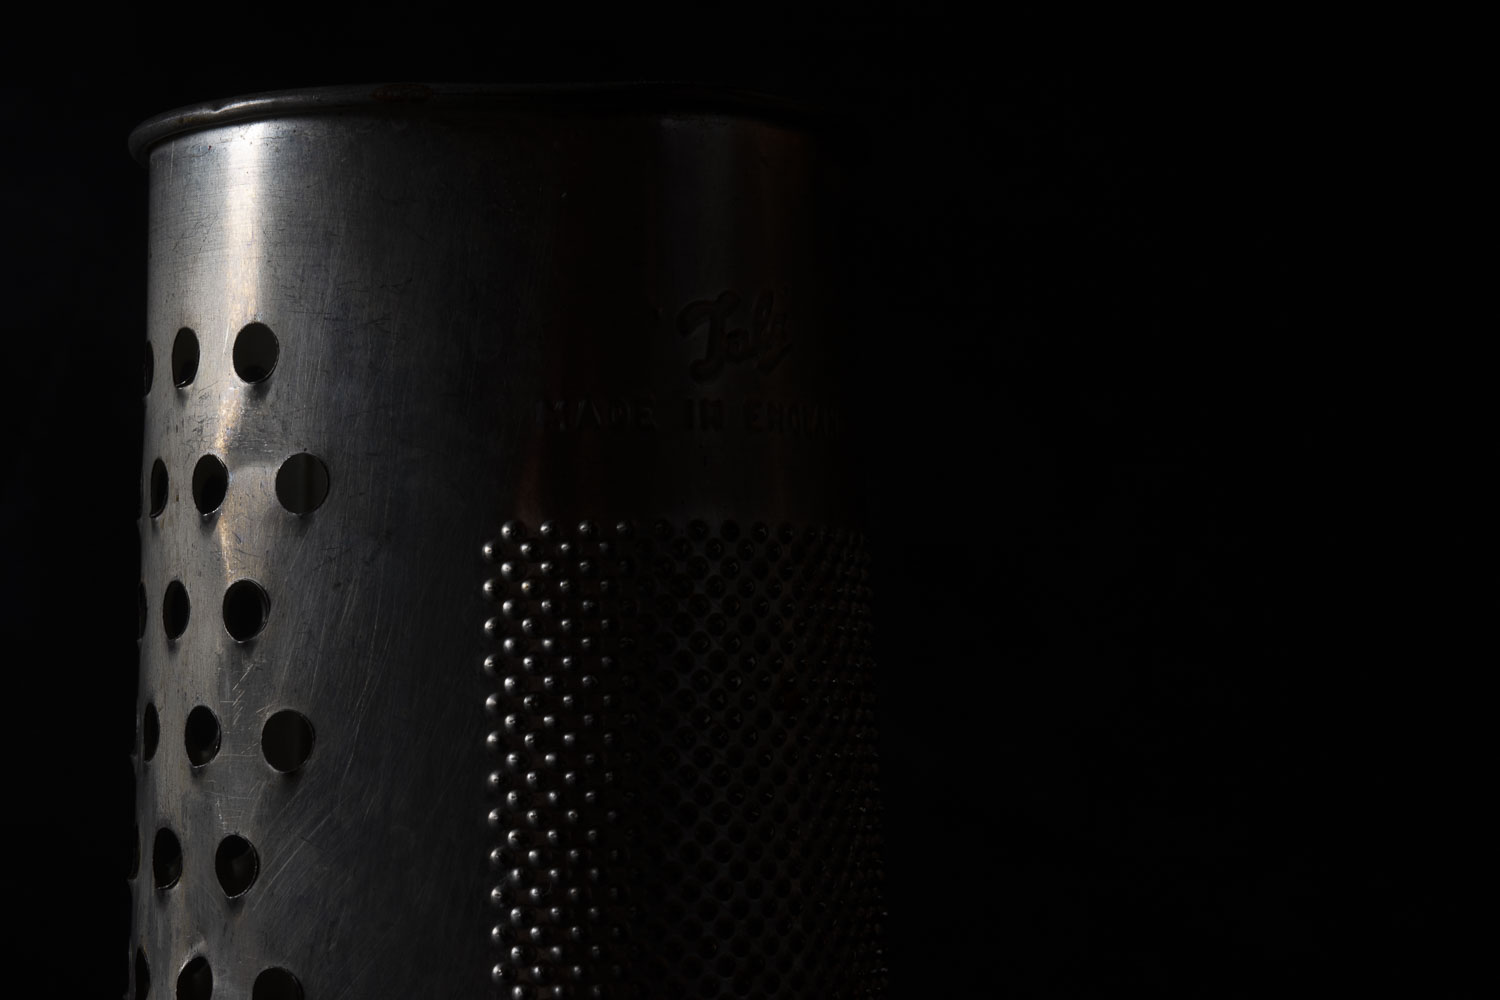
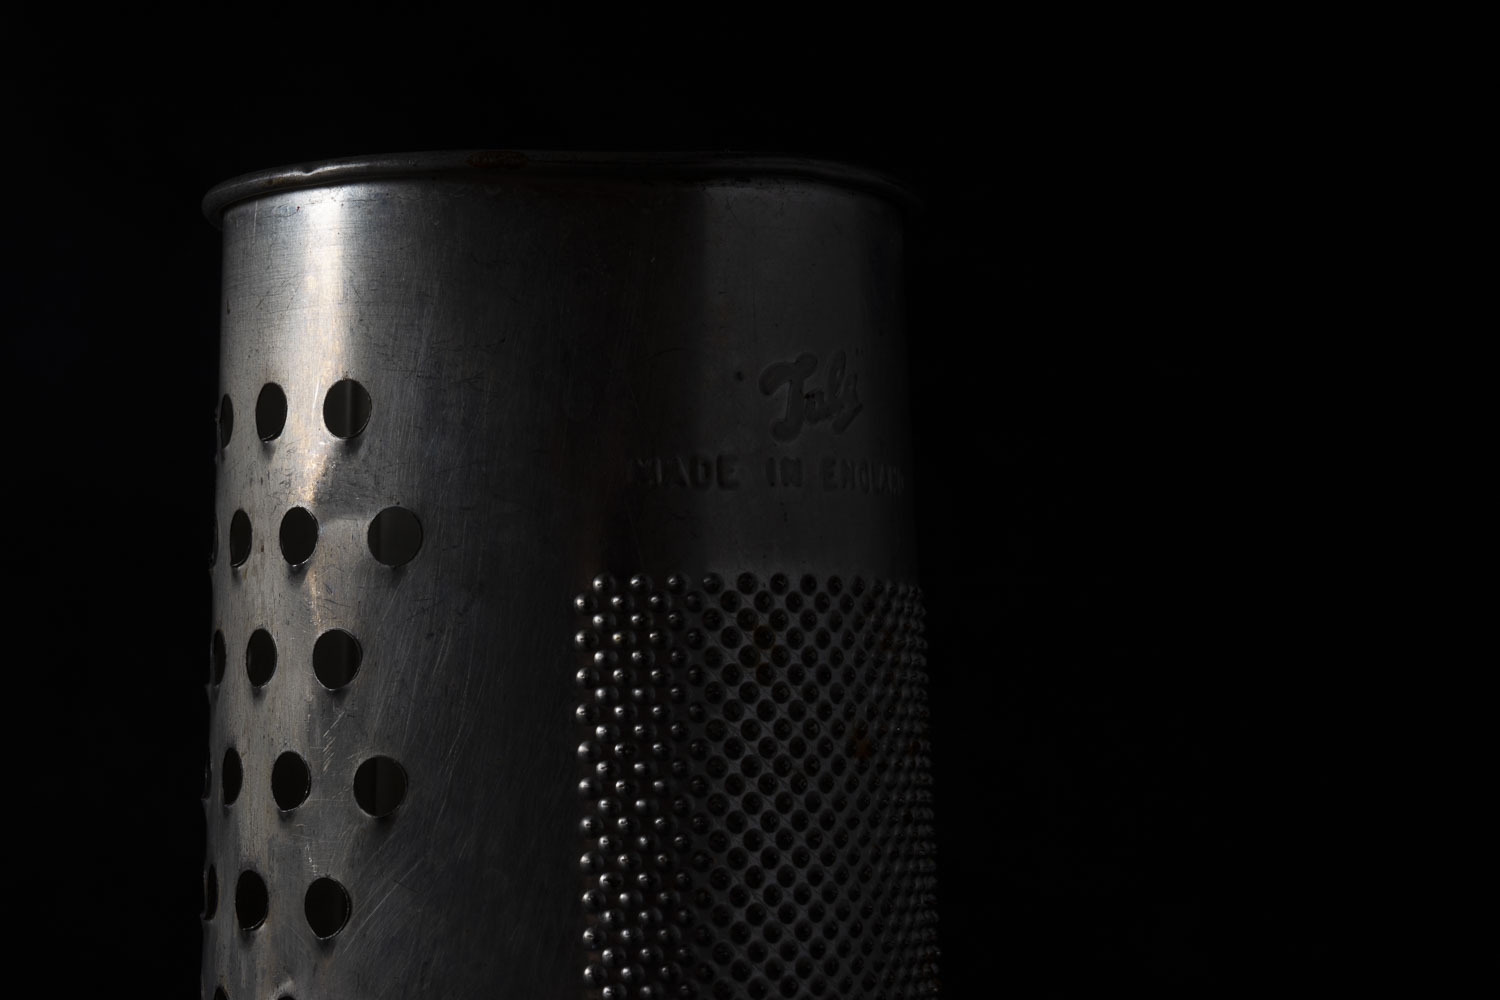
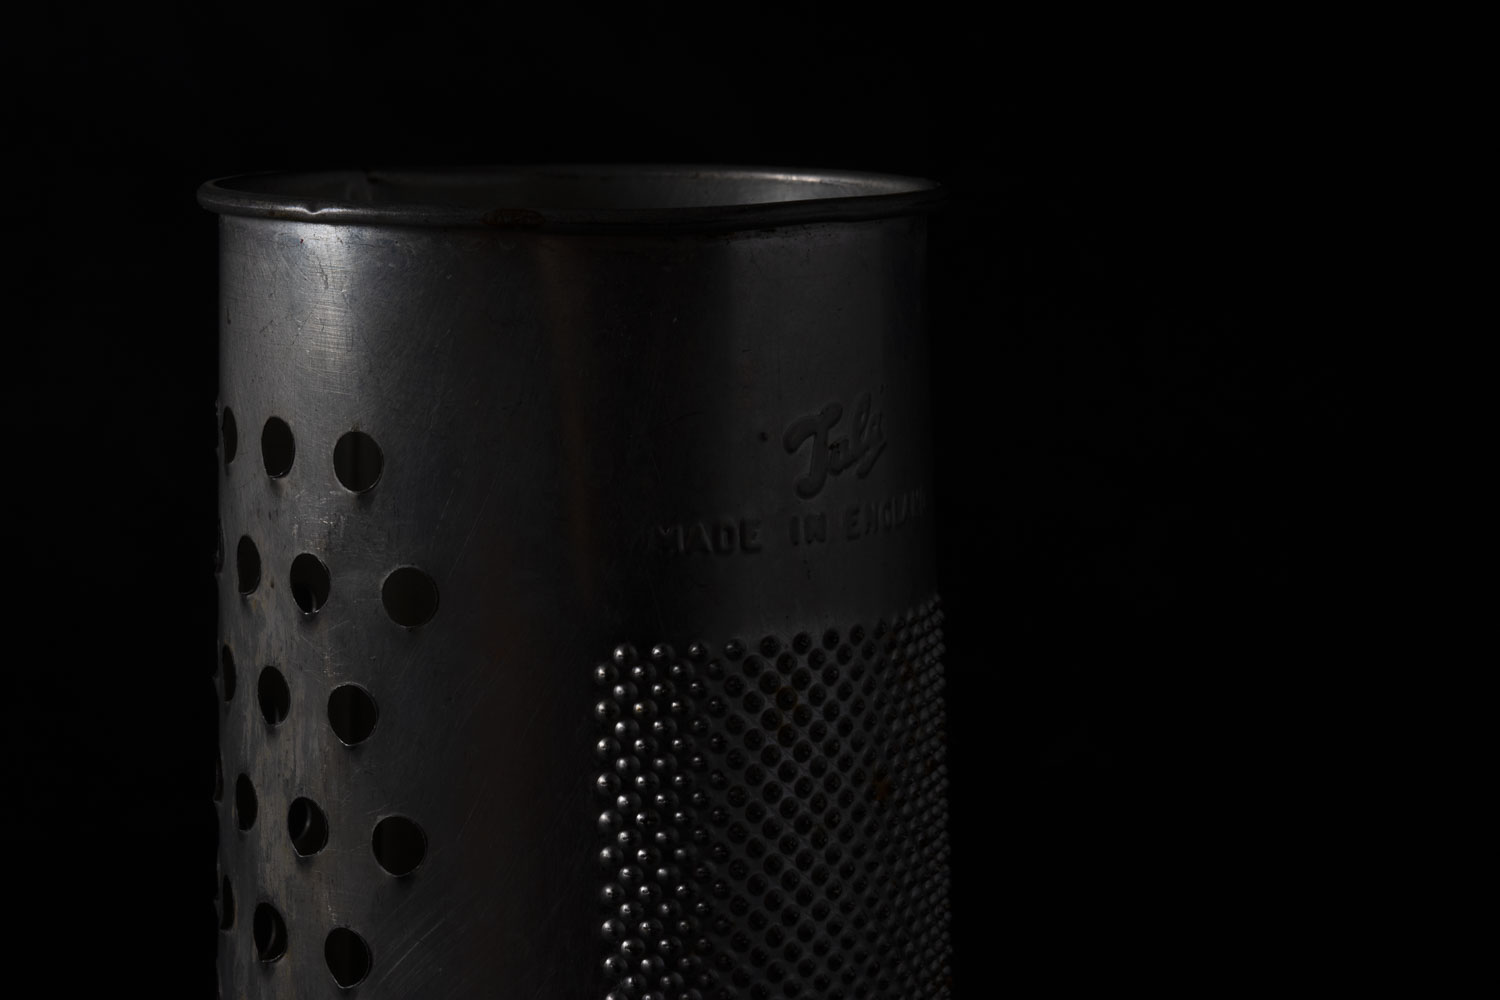
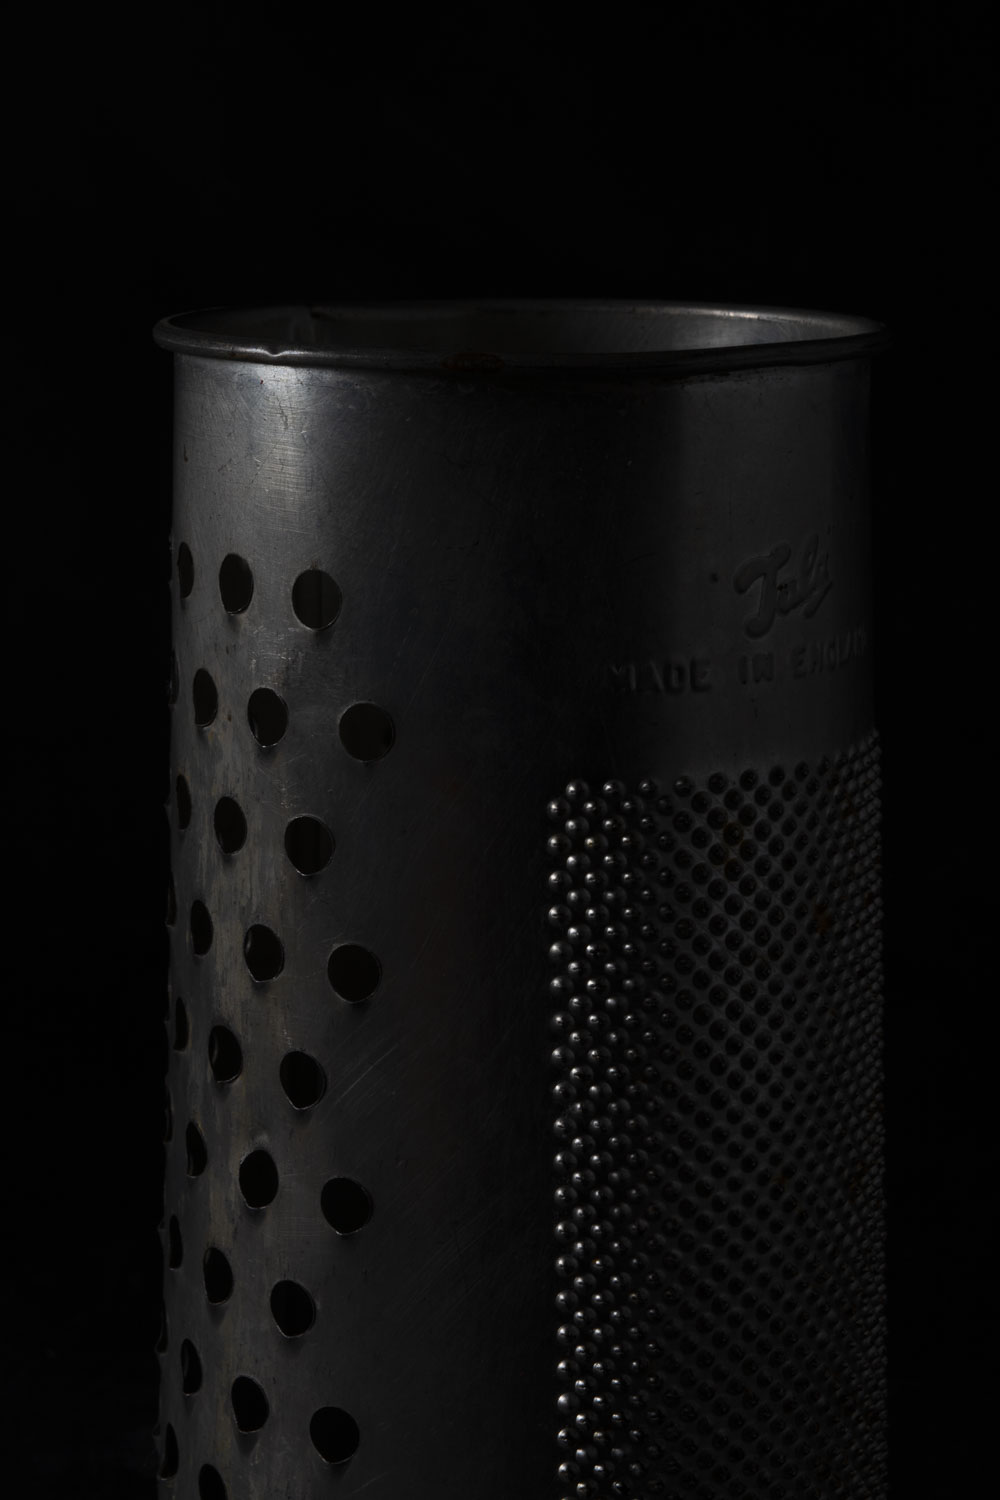
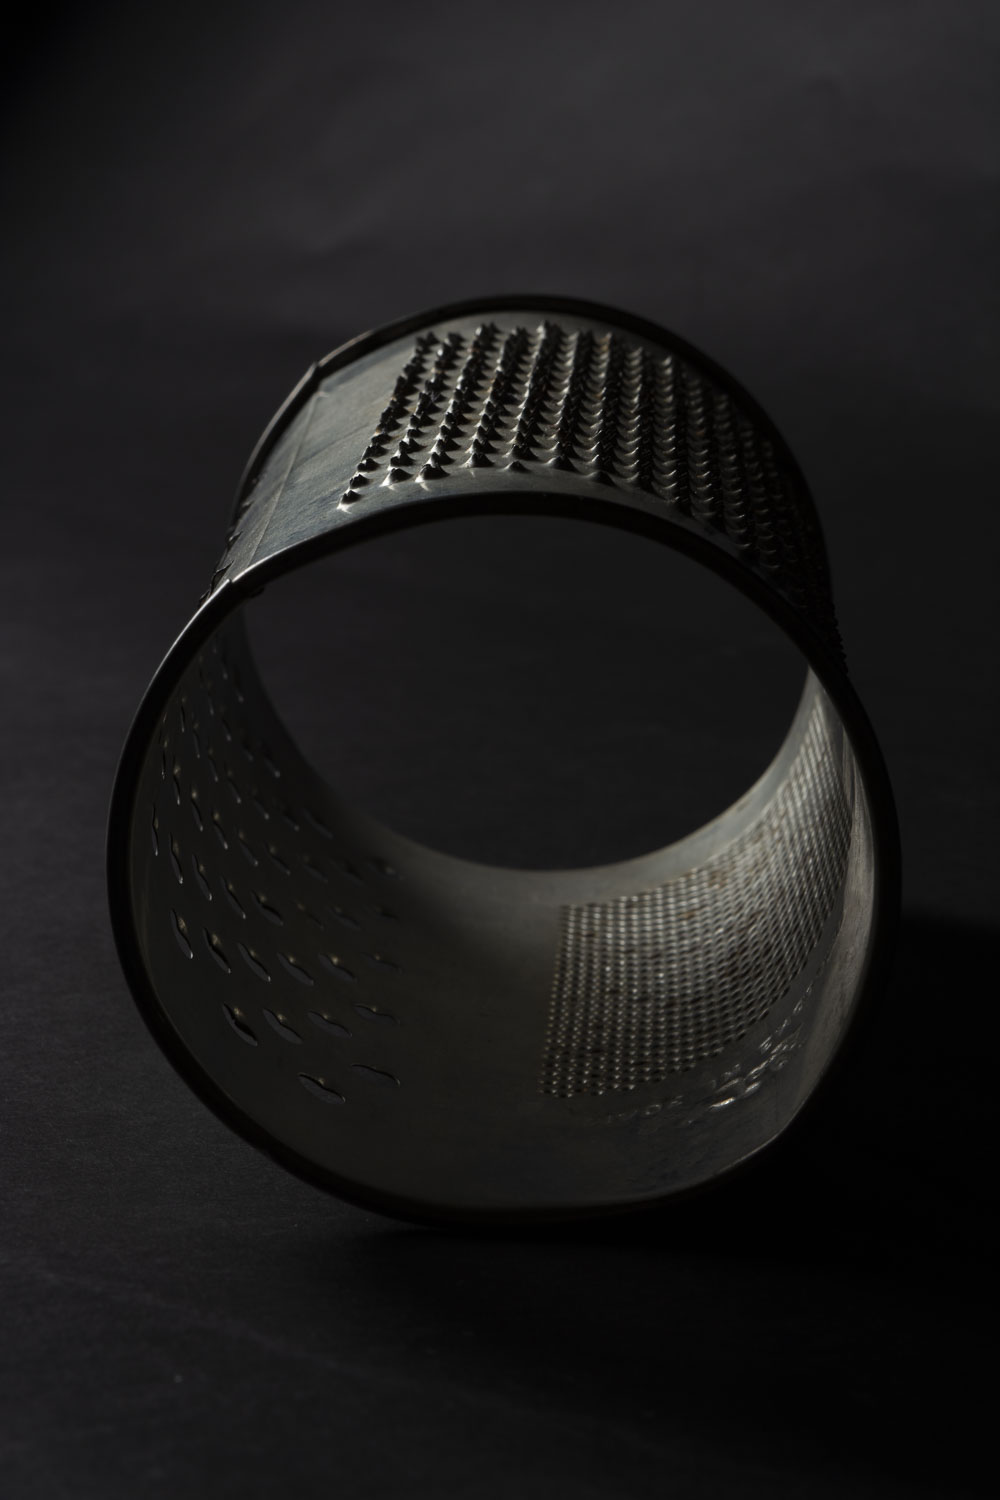
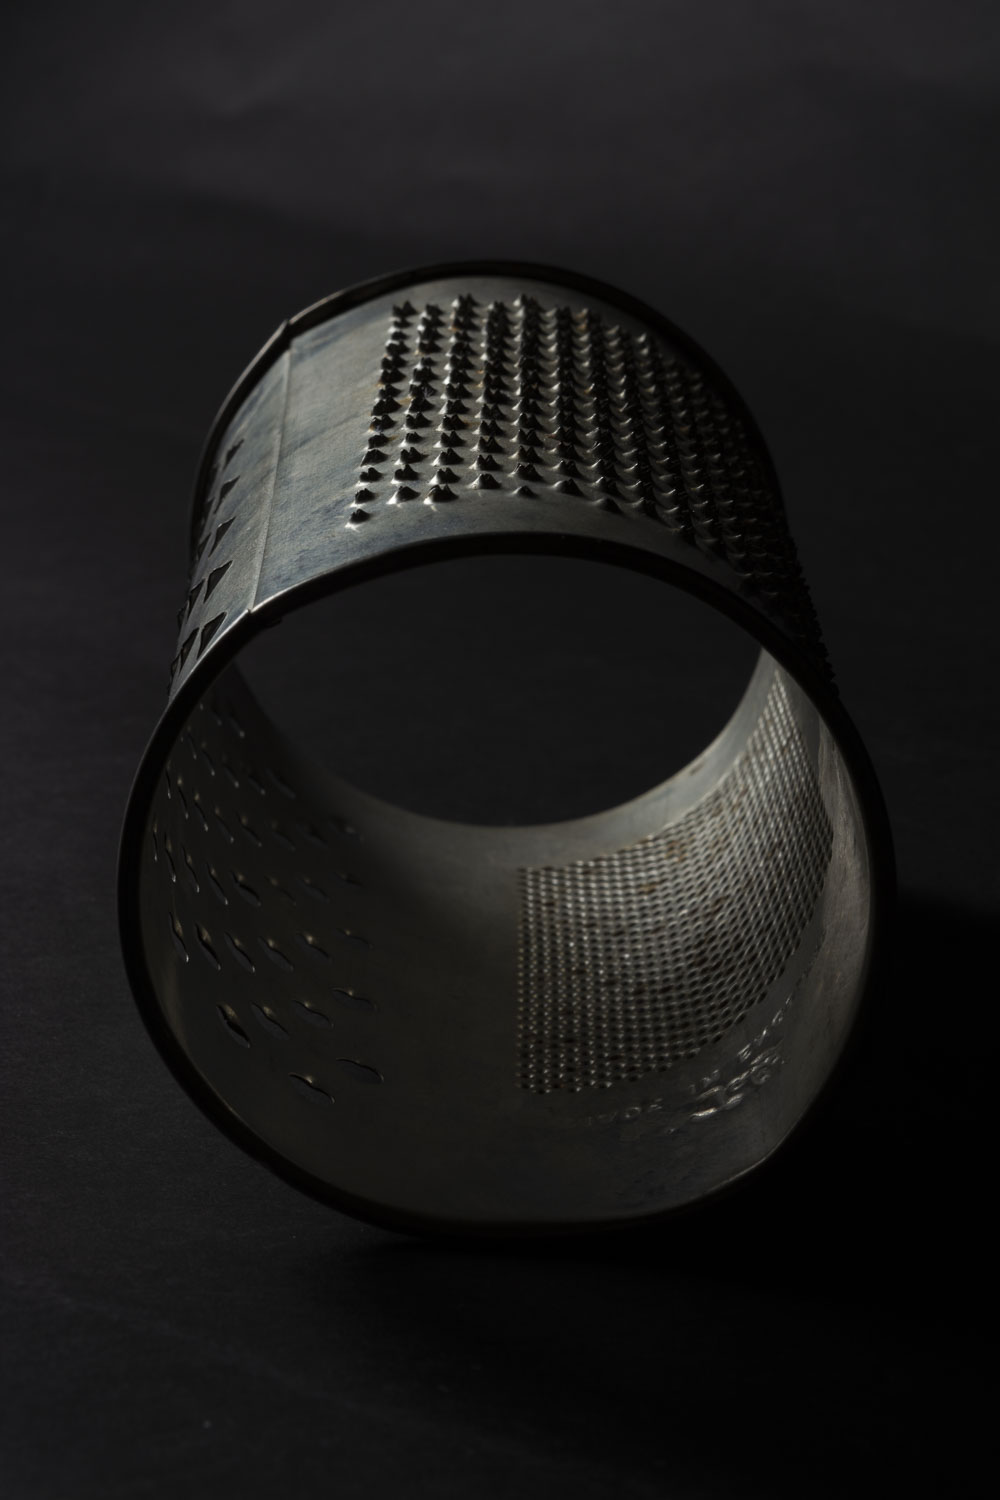
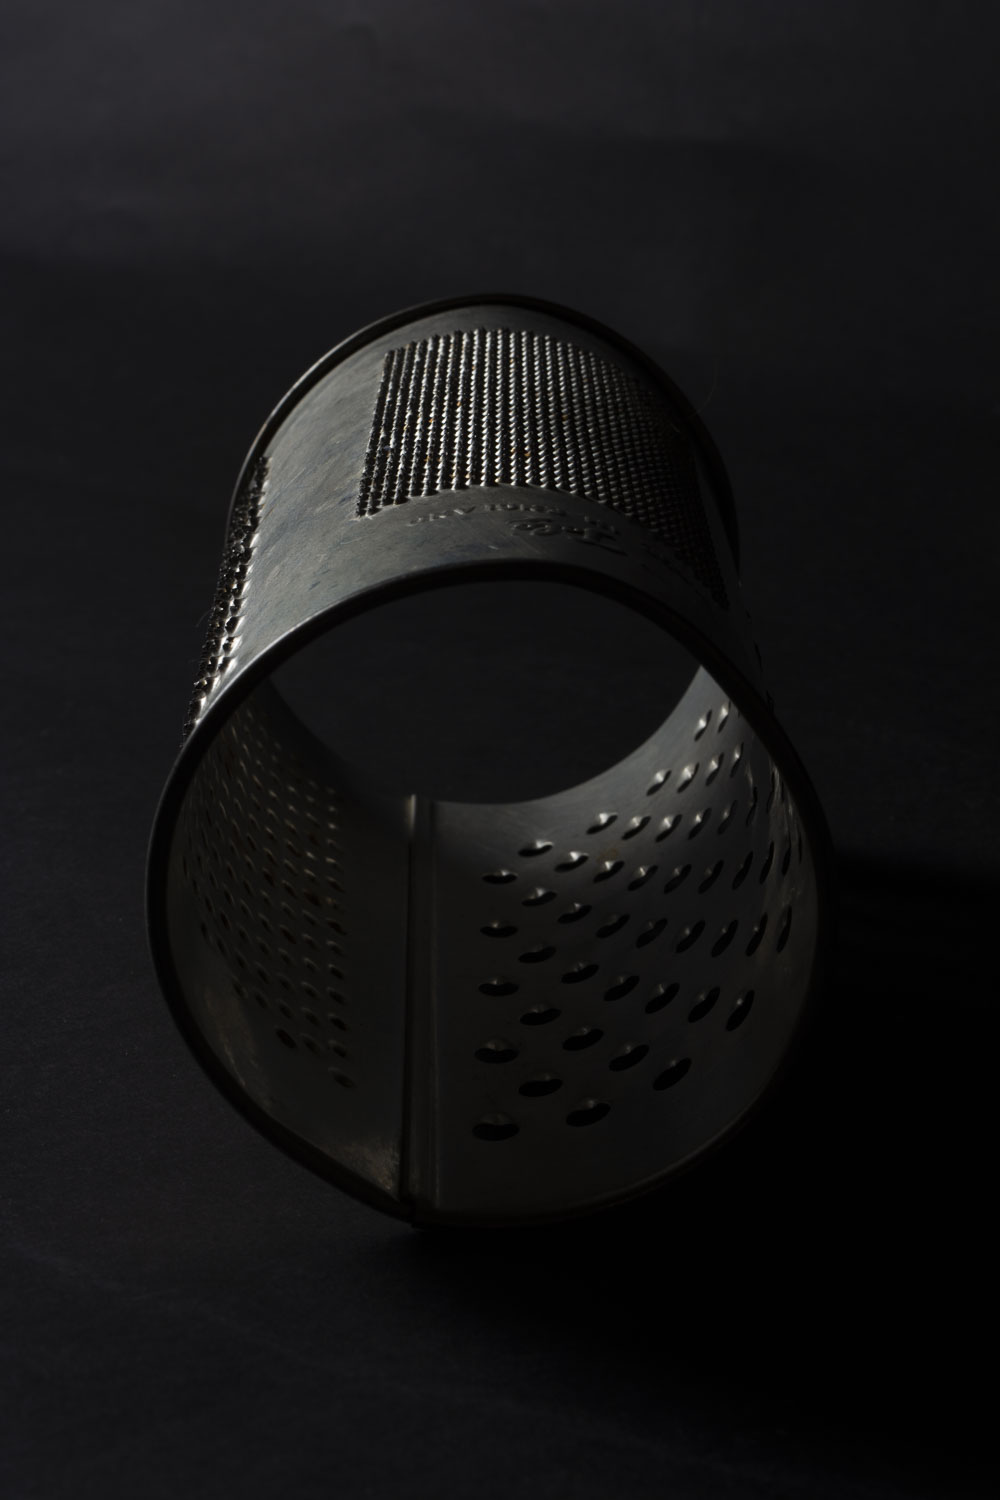
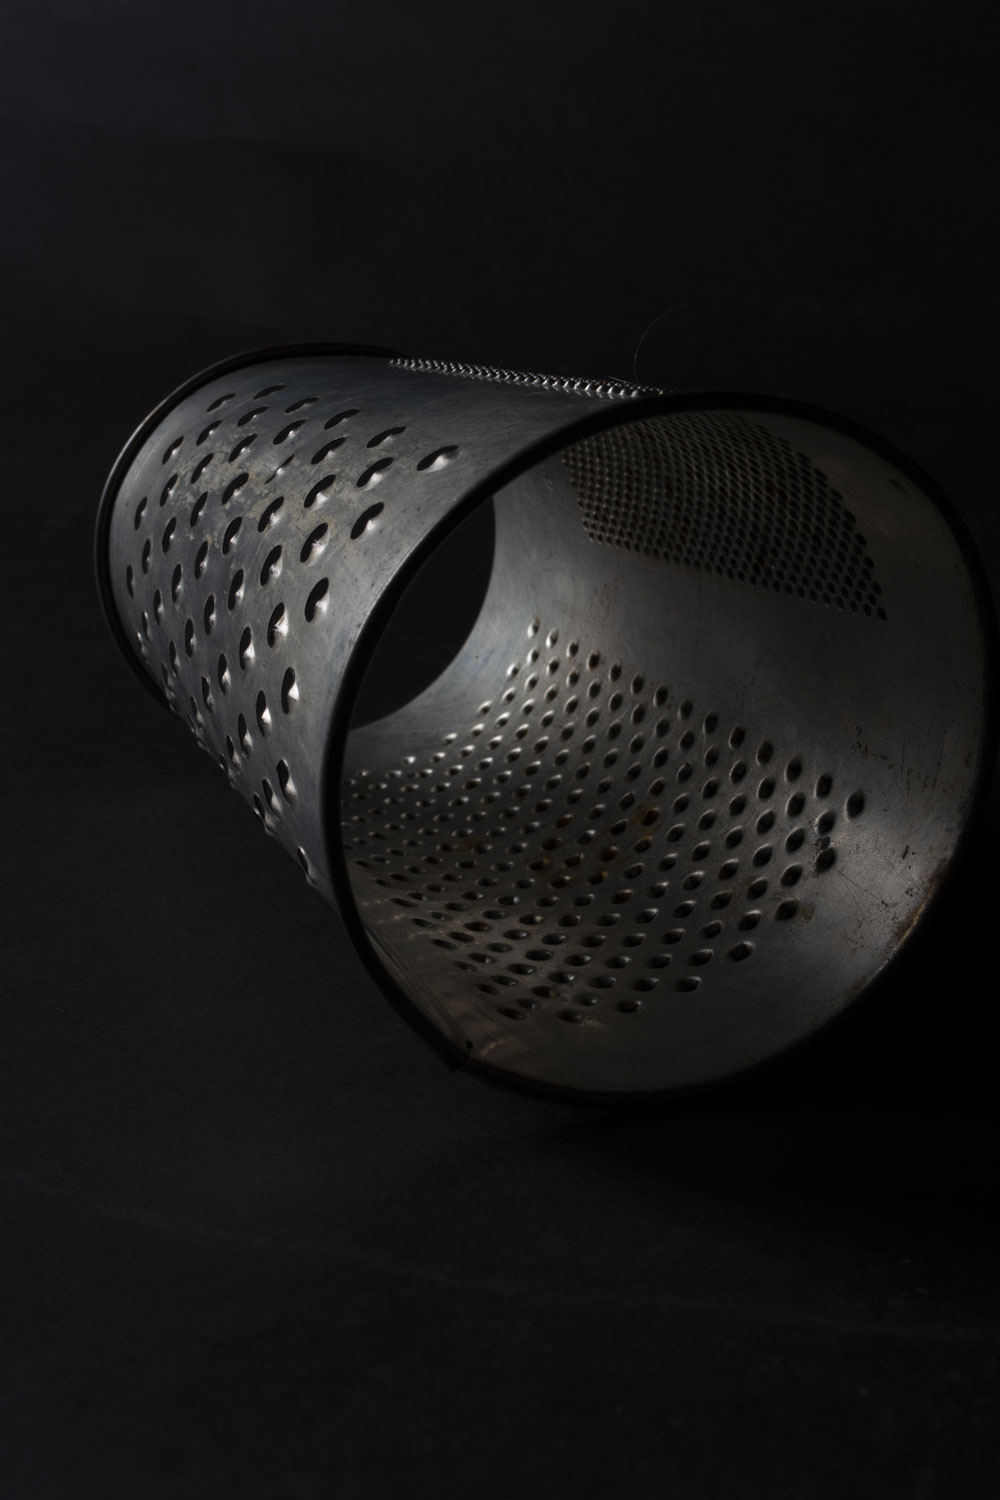
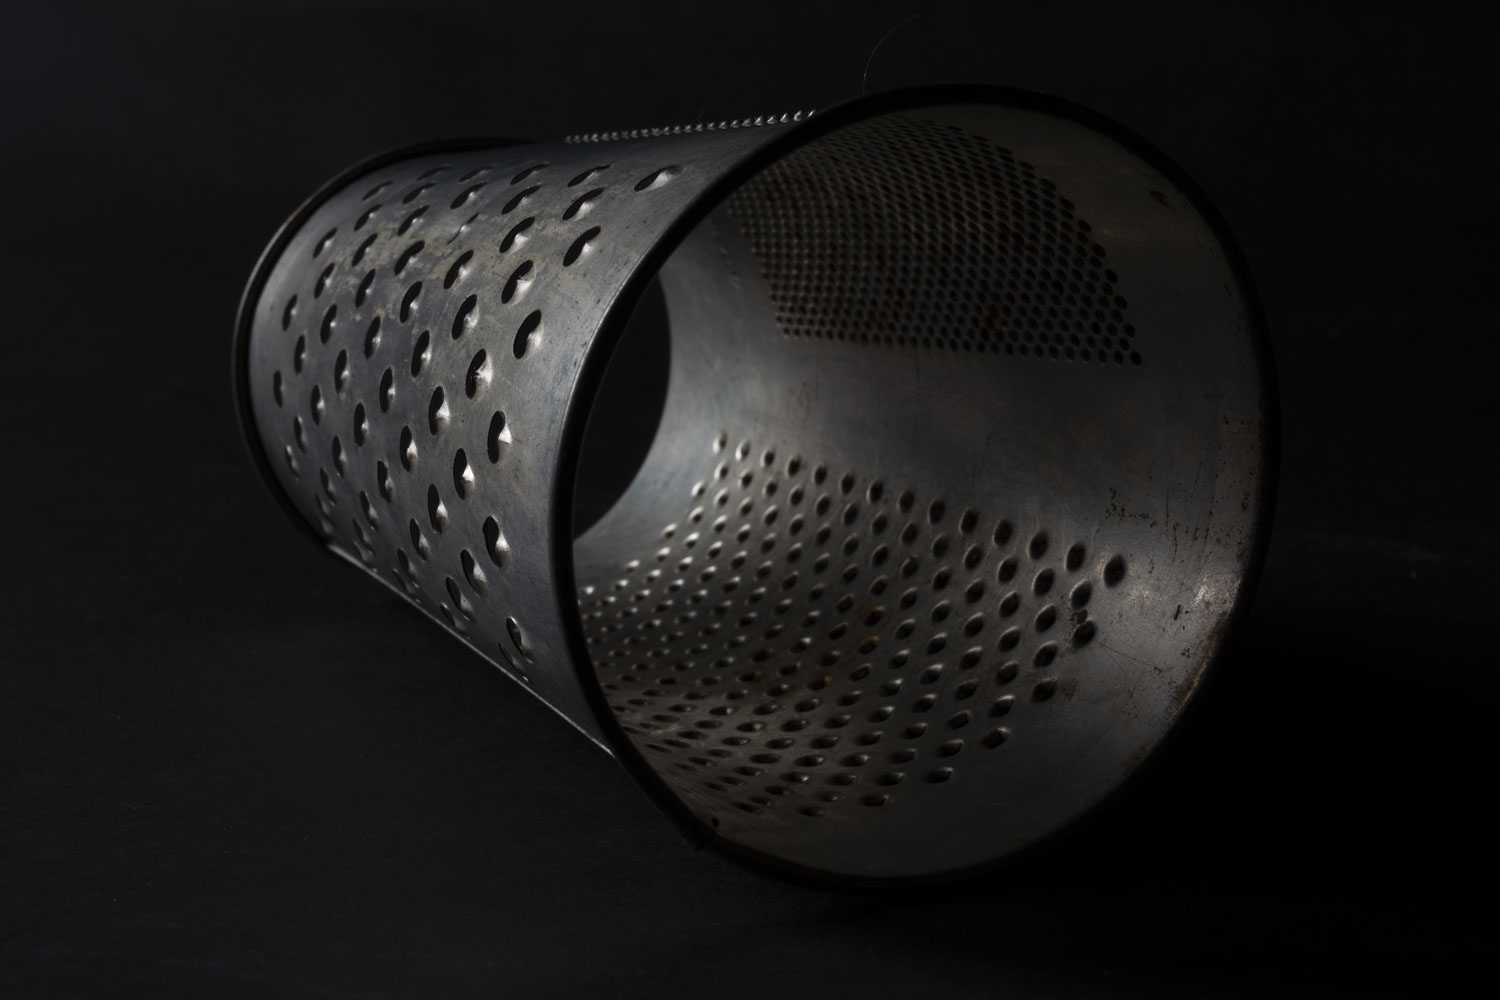
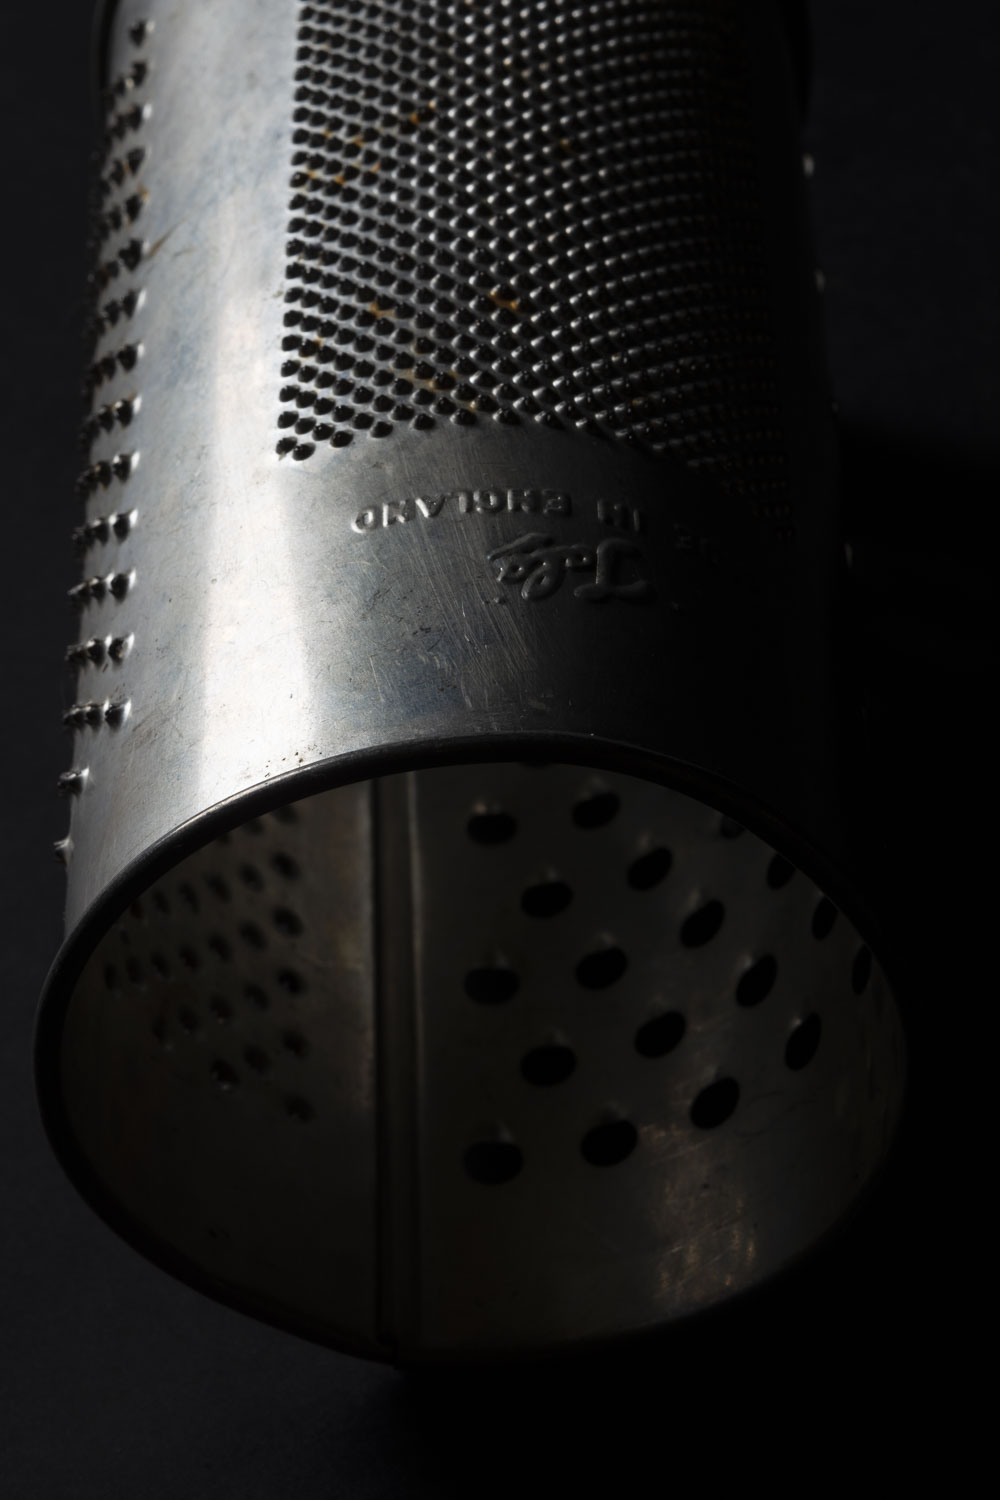
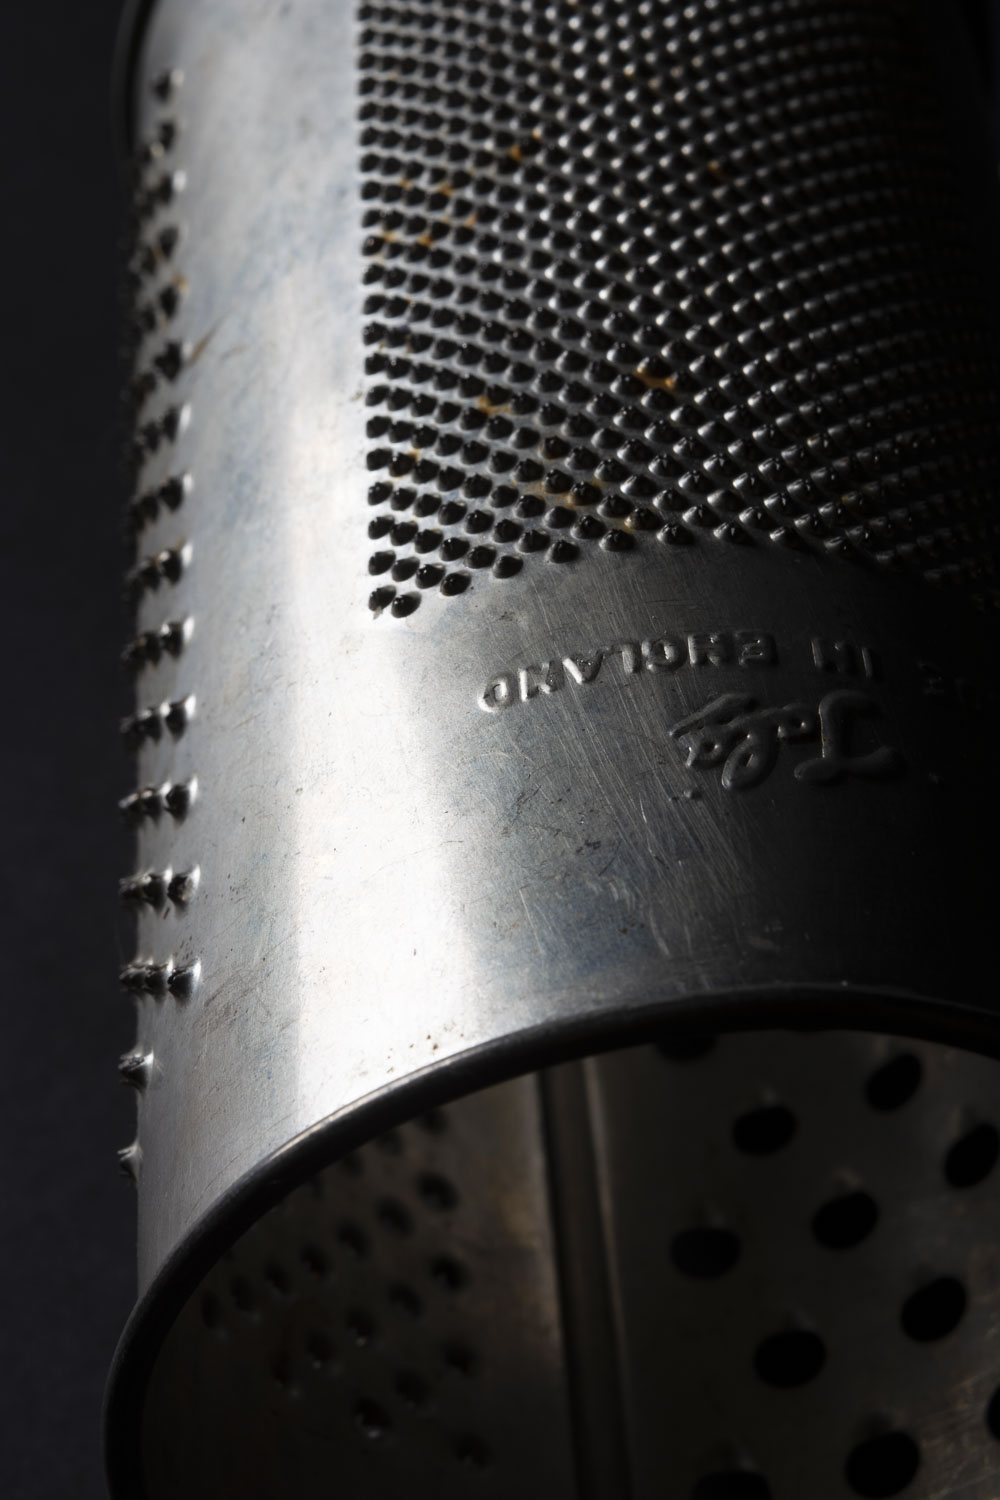
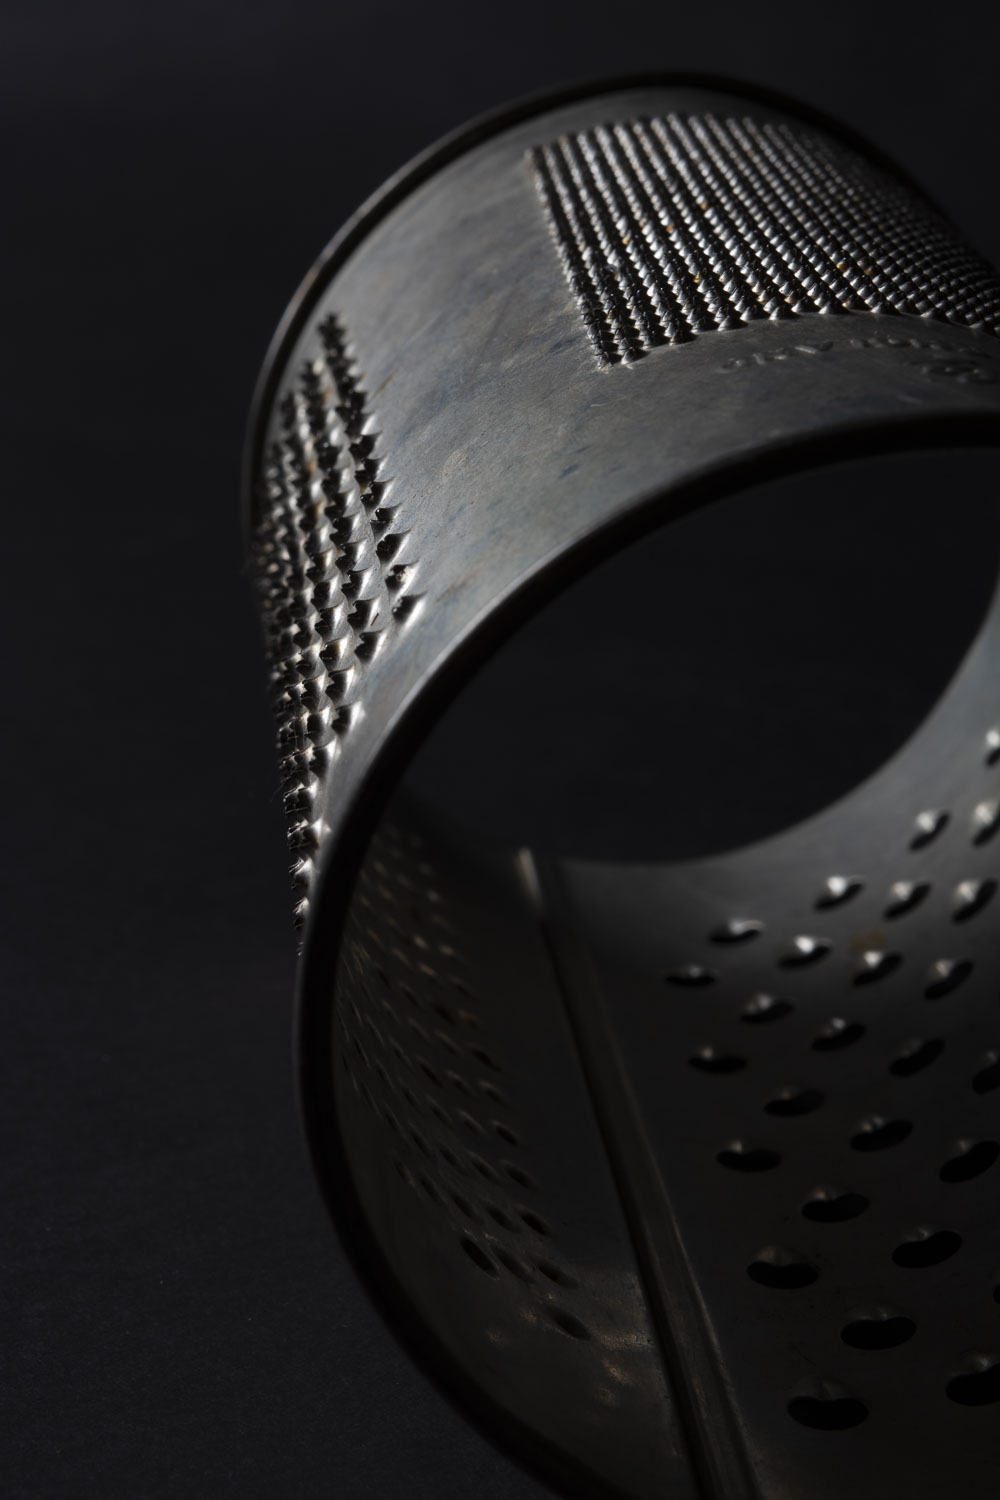
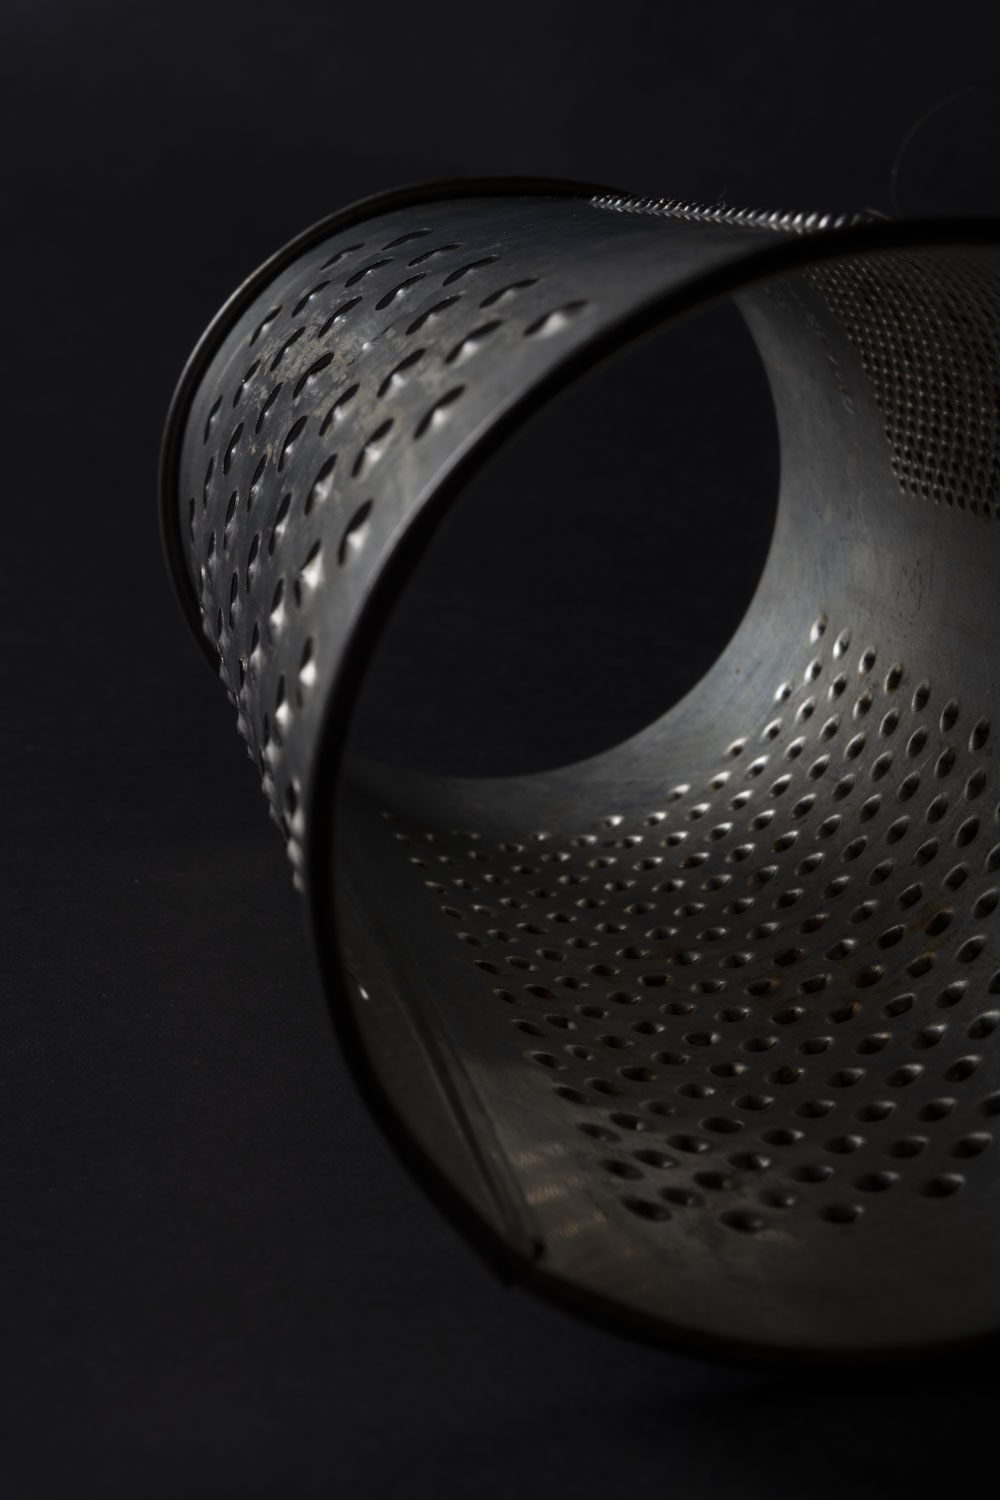
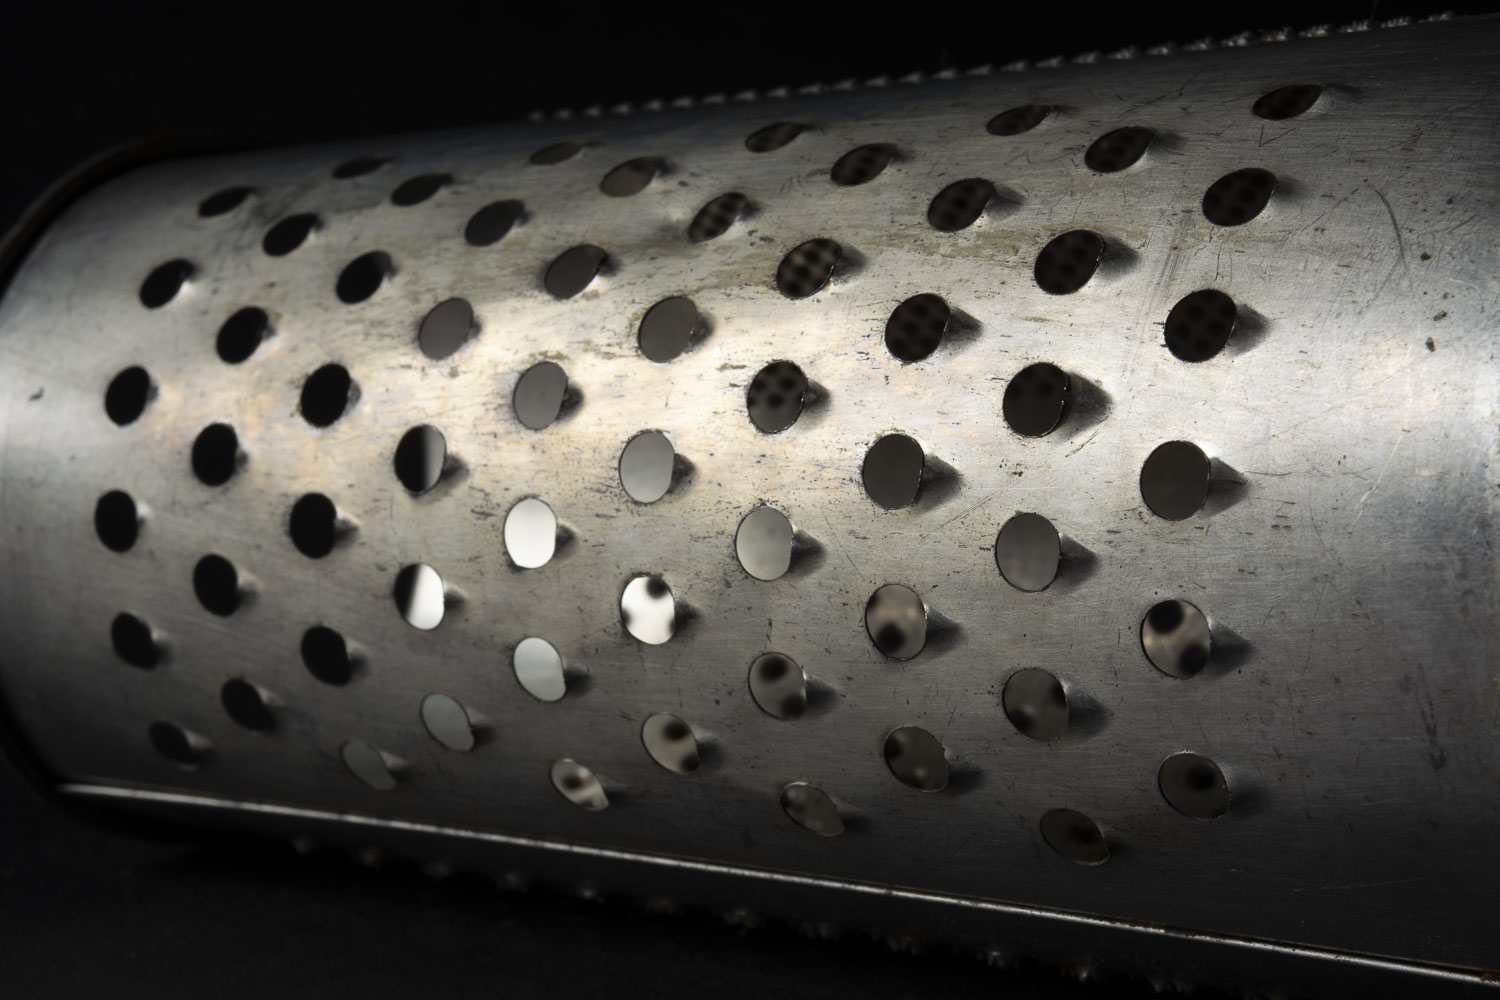
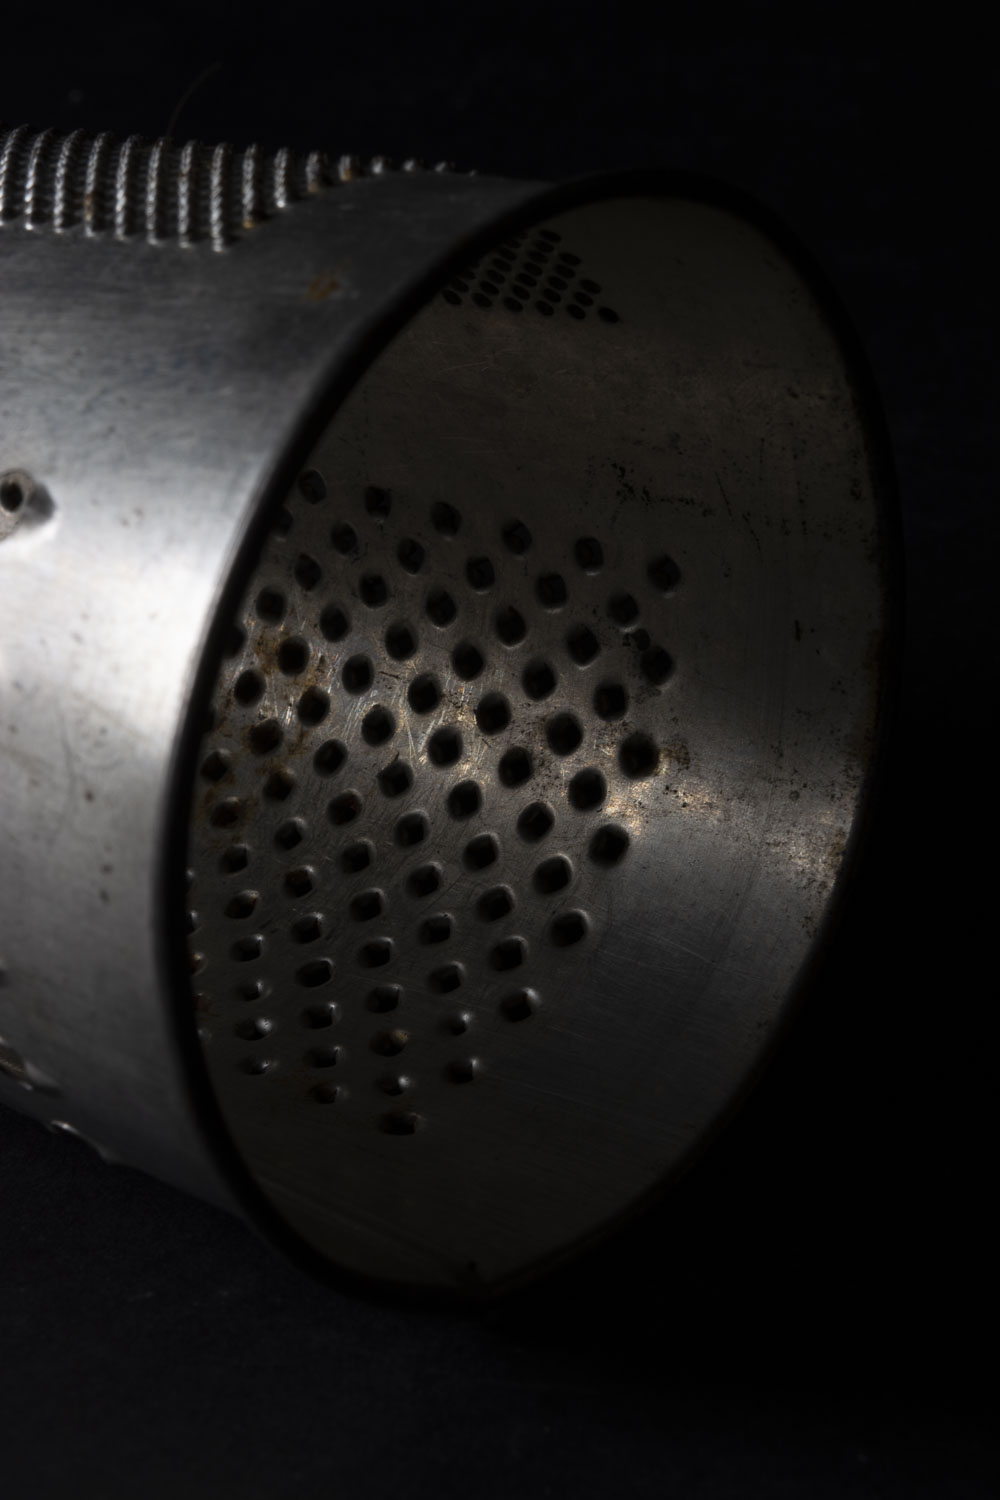
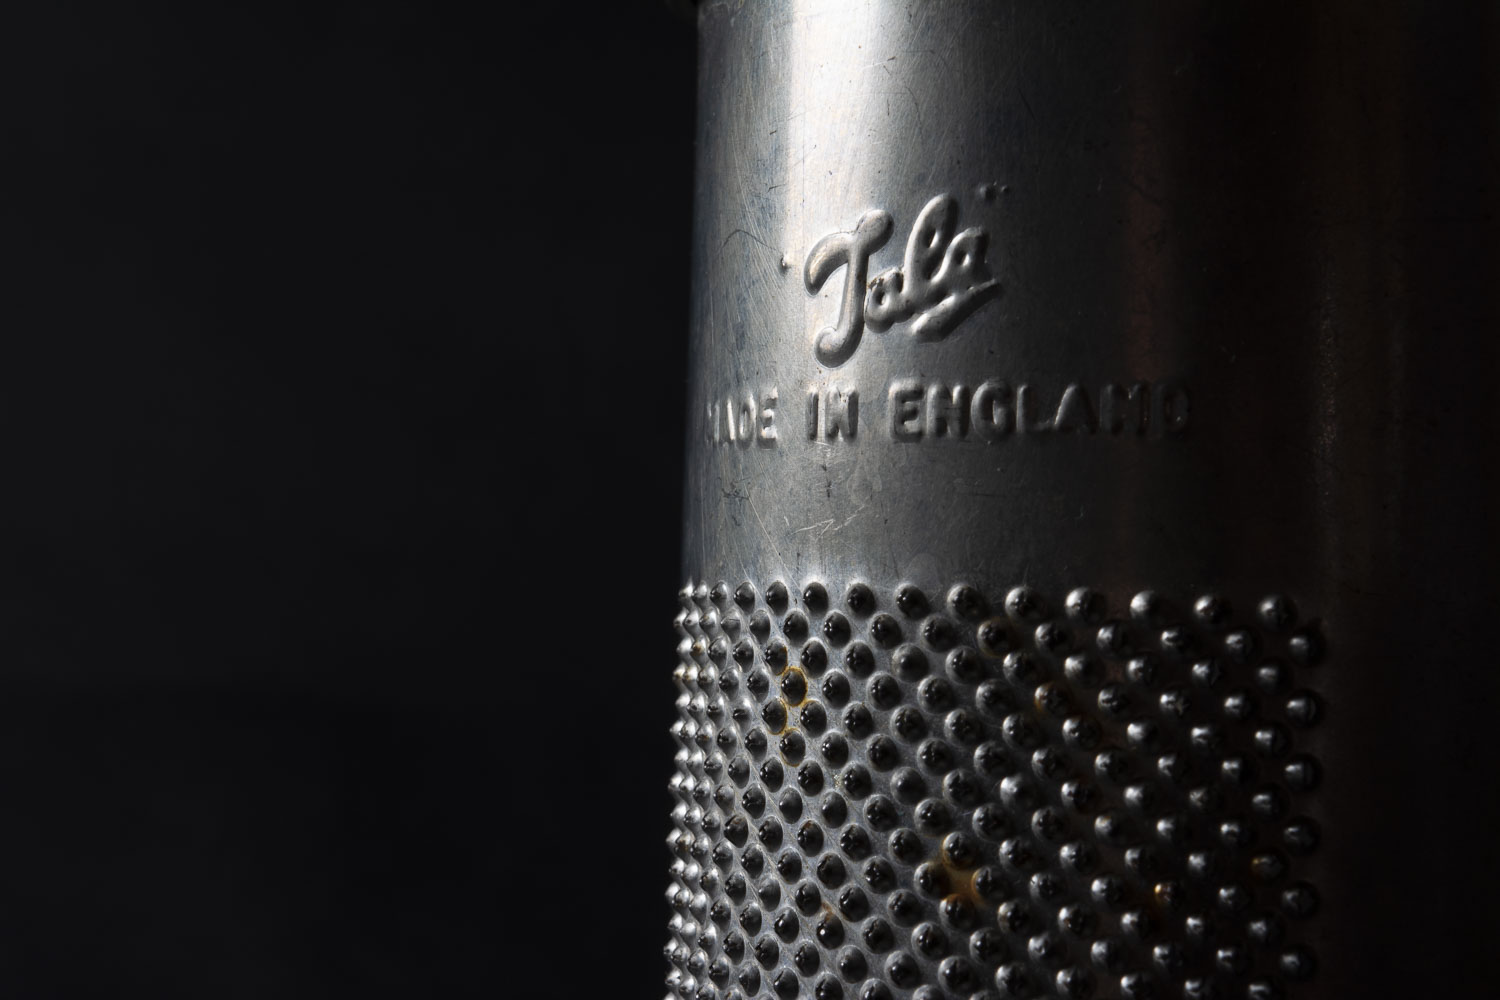
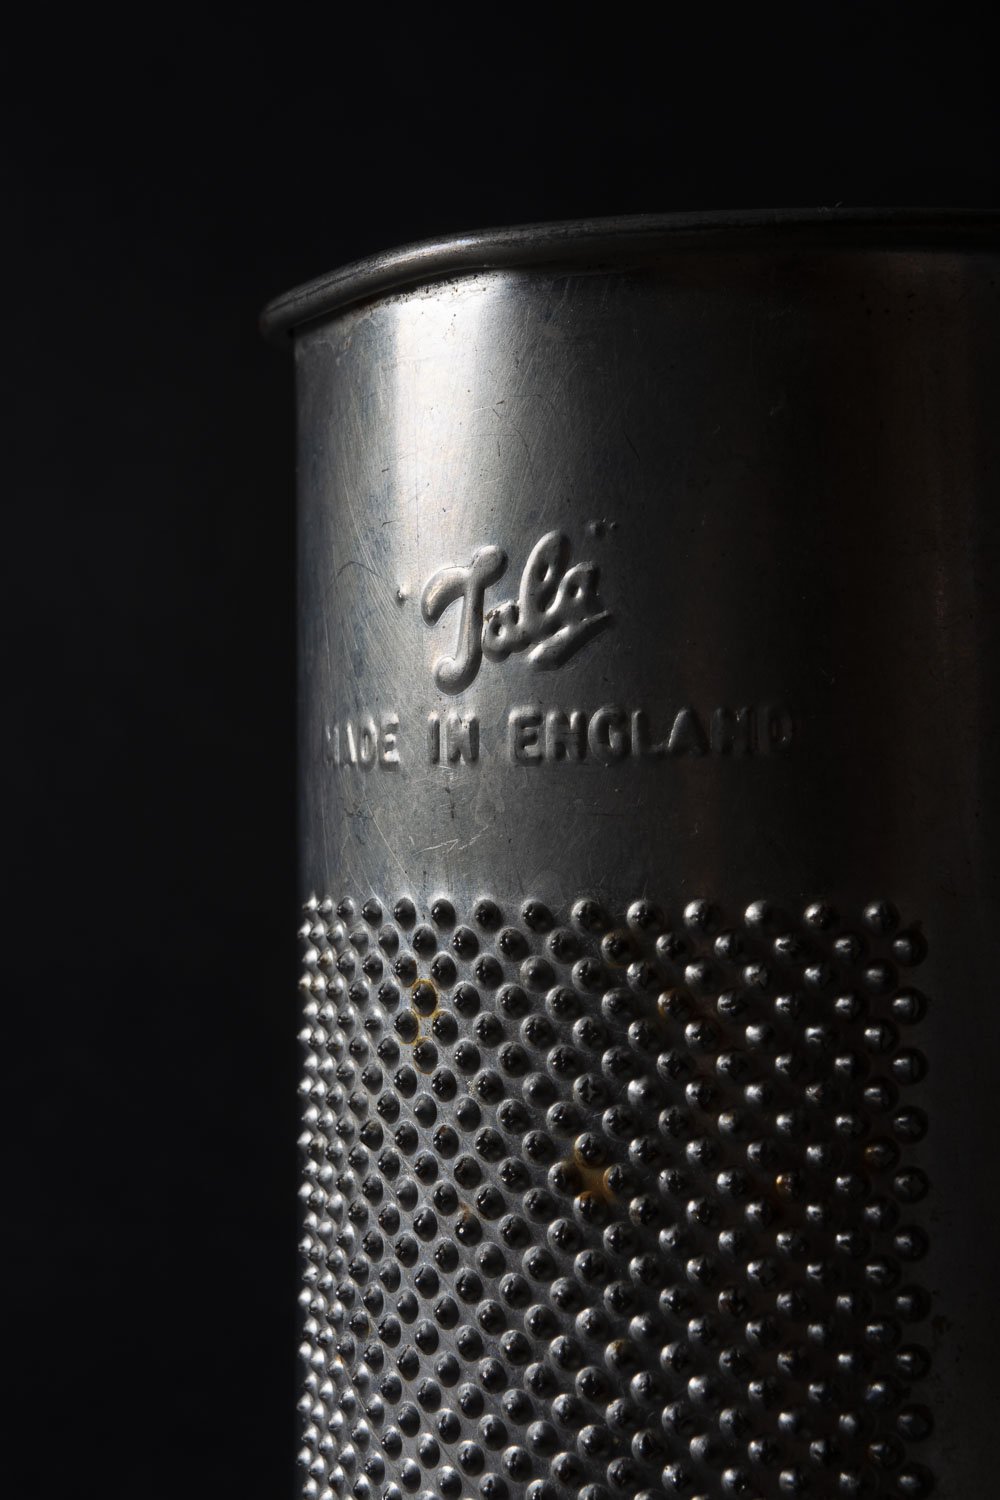
I quite like to photograph old metal and different textures. I seperated the grater from the bottles.
Light to dark with Apeture
F-7.1 F-8 F-9
F-10 F-11 F-13
F-7.1 with silver reflector
with out refector
With a reflector -moving
central composition, slight reflector
with reflector
Below, playing with different angles and one light source.
This week I purchased a second hand Prime Lens for my Nikon camera. F stop 1.8 This lens is a manual focus lens and therefore I have to be really careful and work hard to get the correct focus.
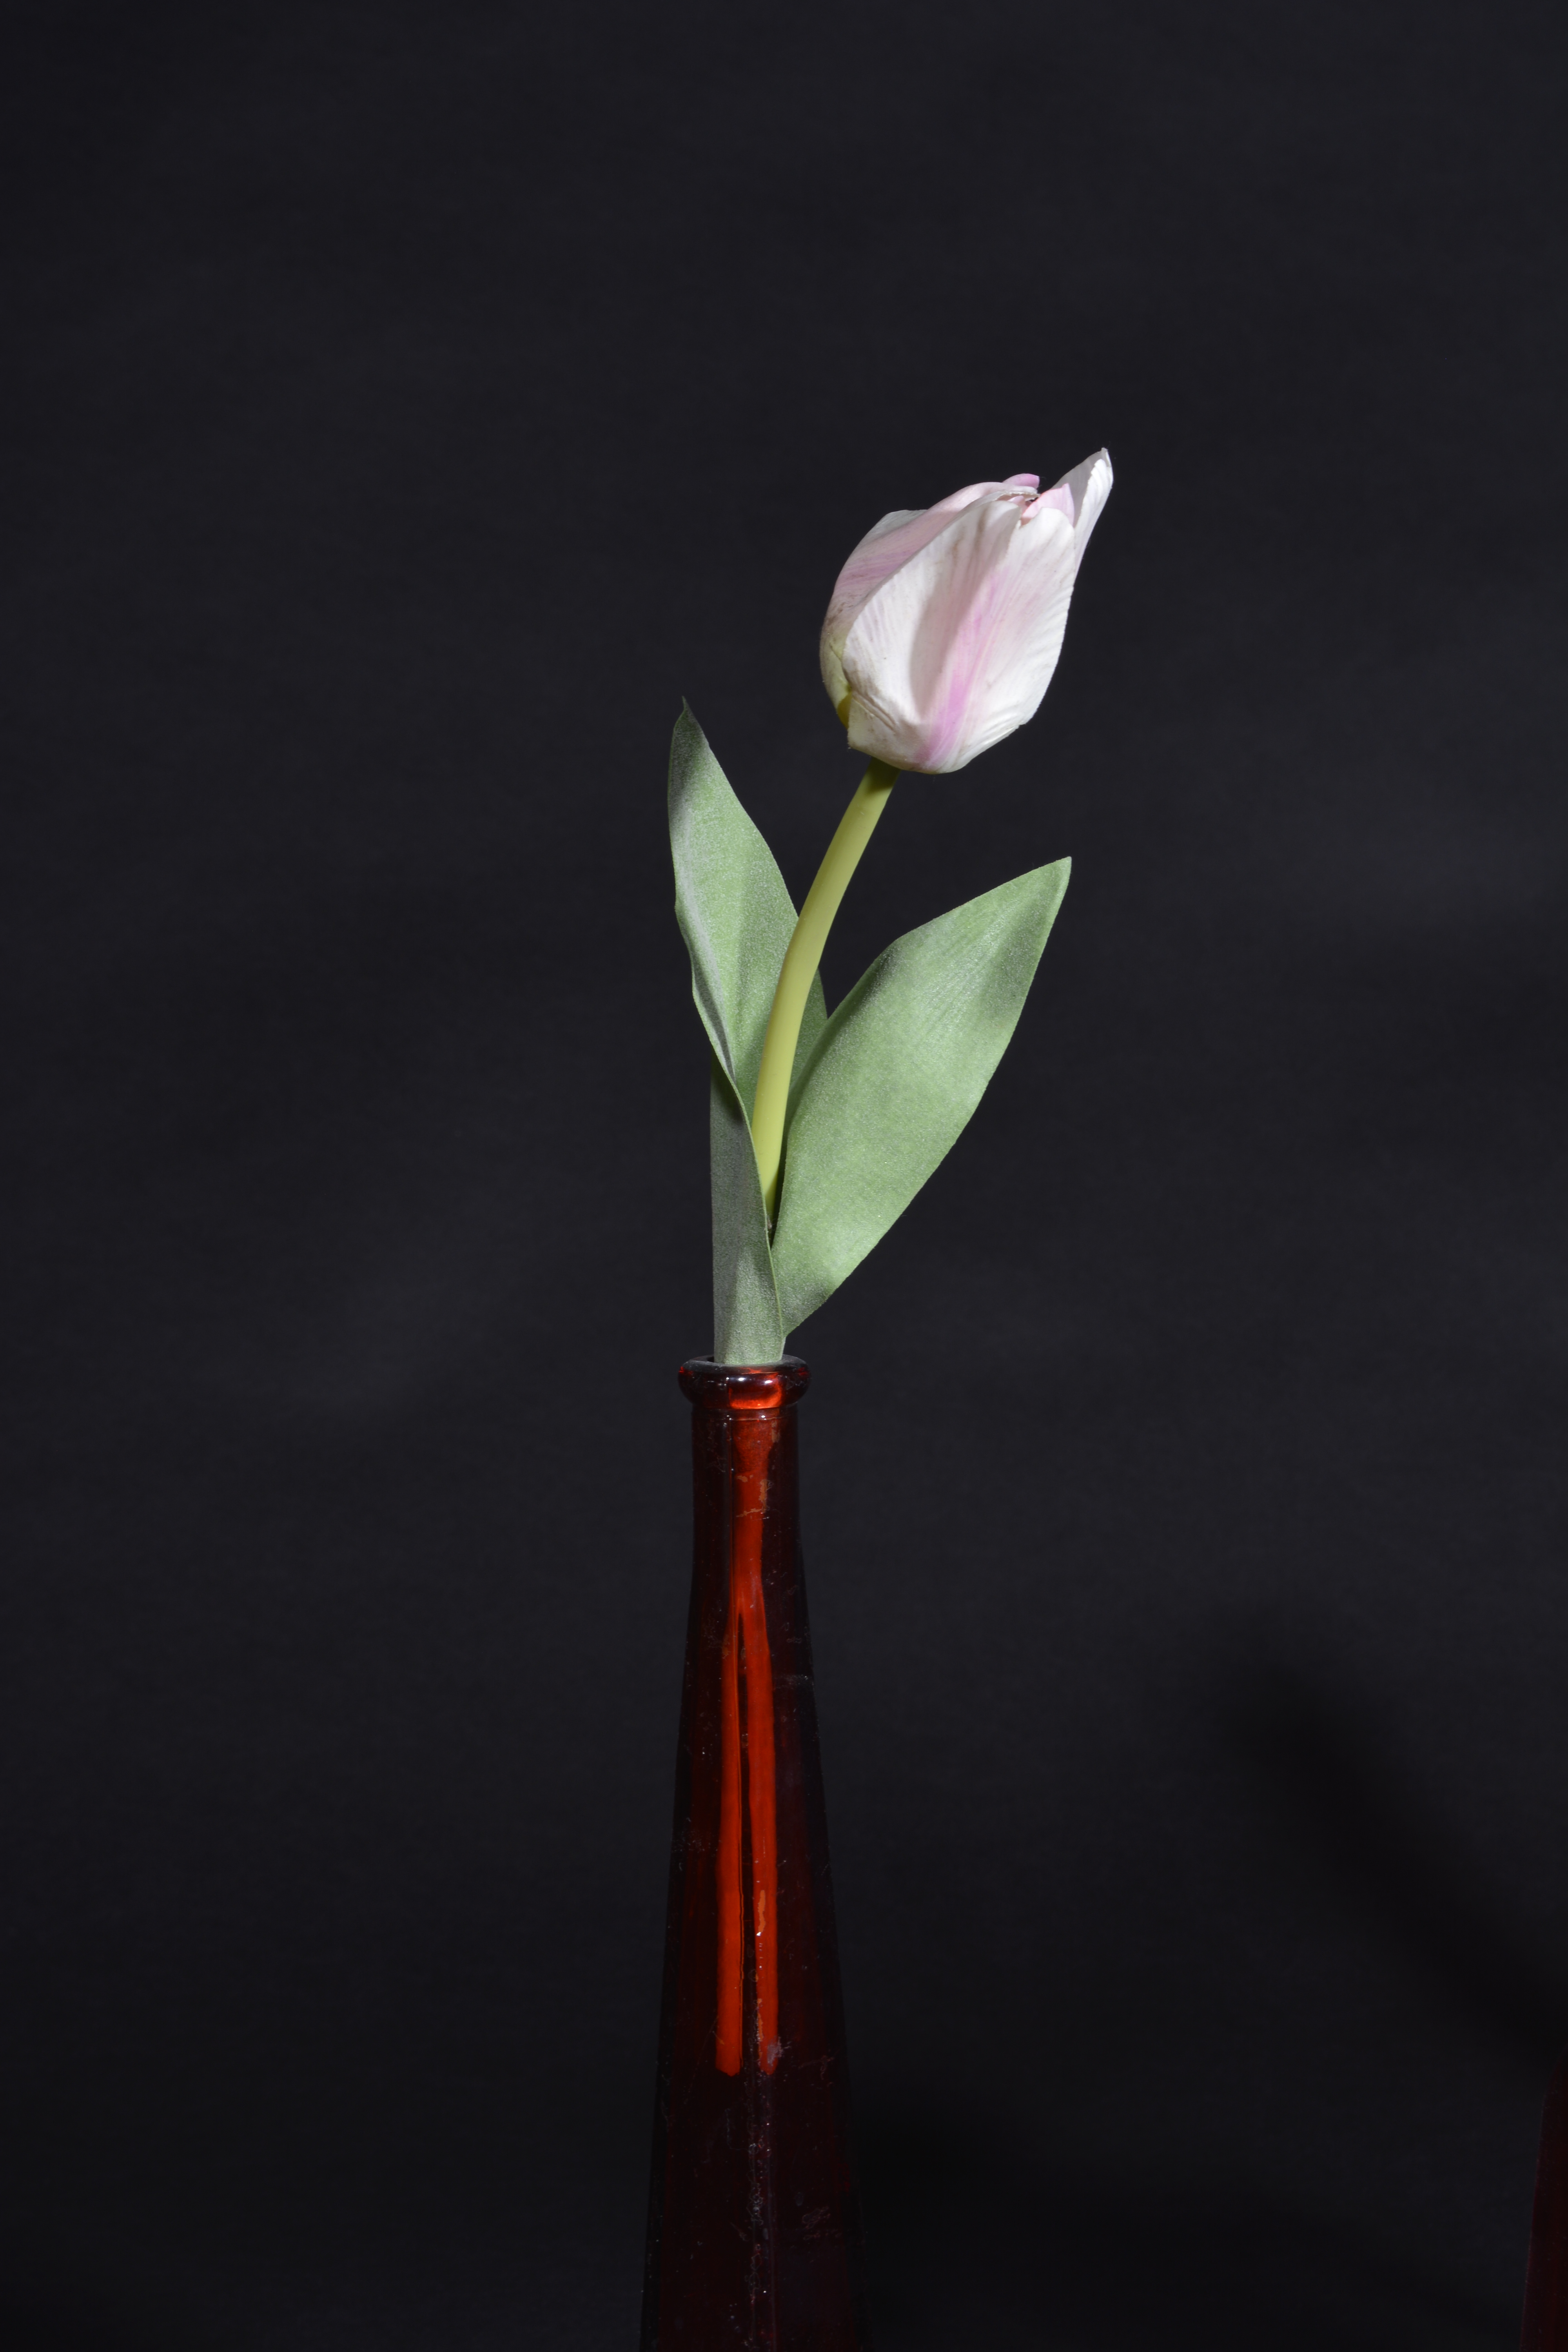
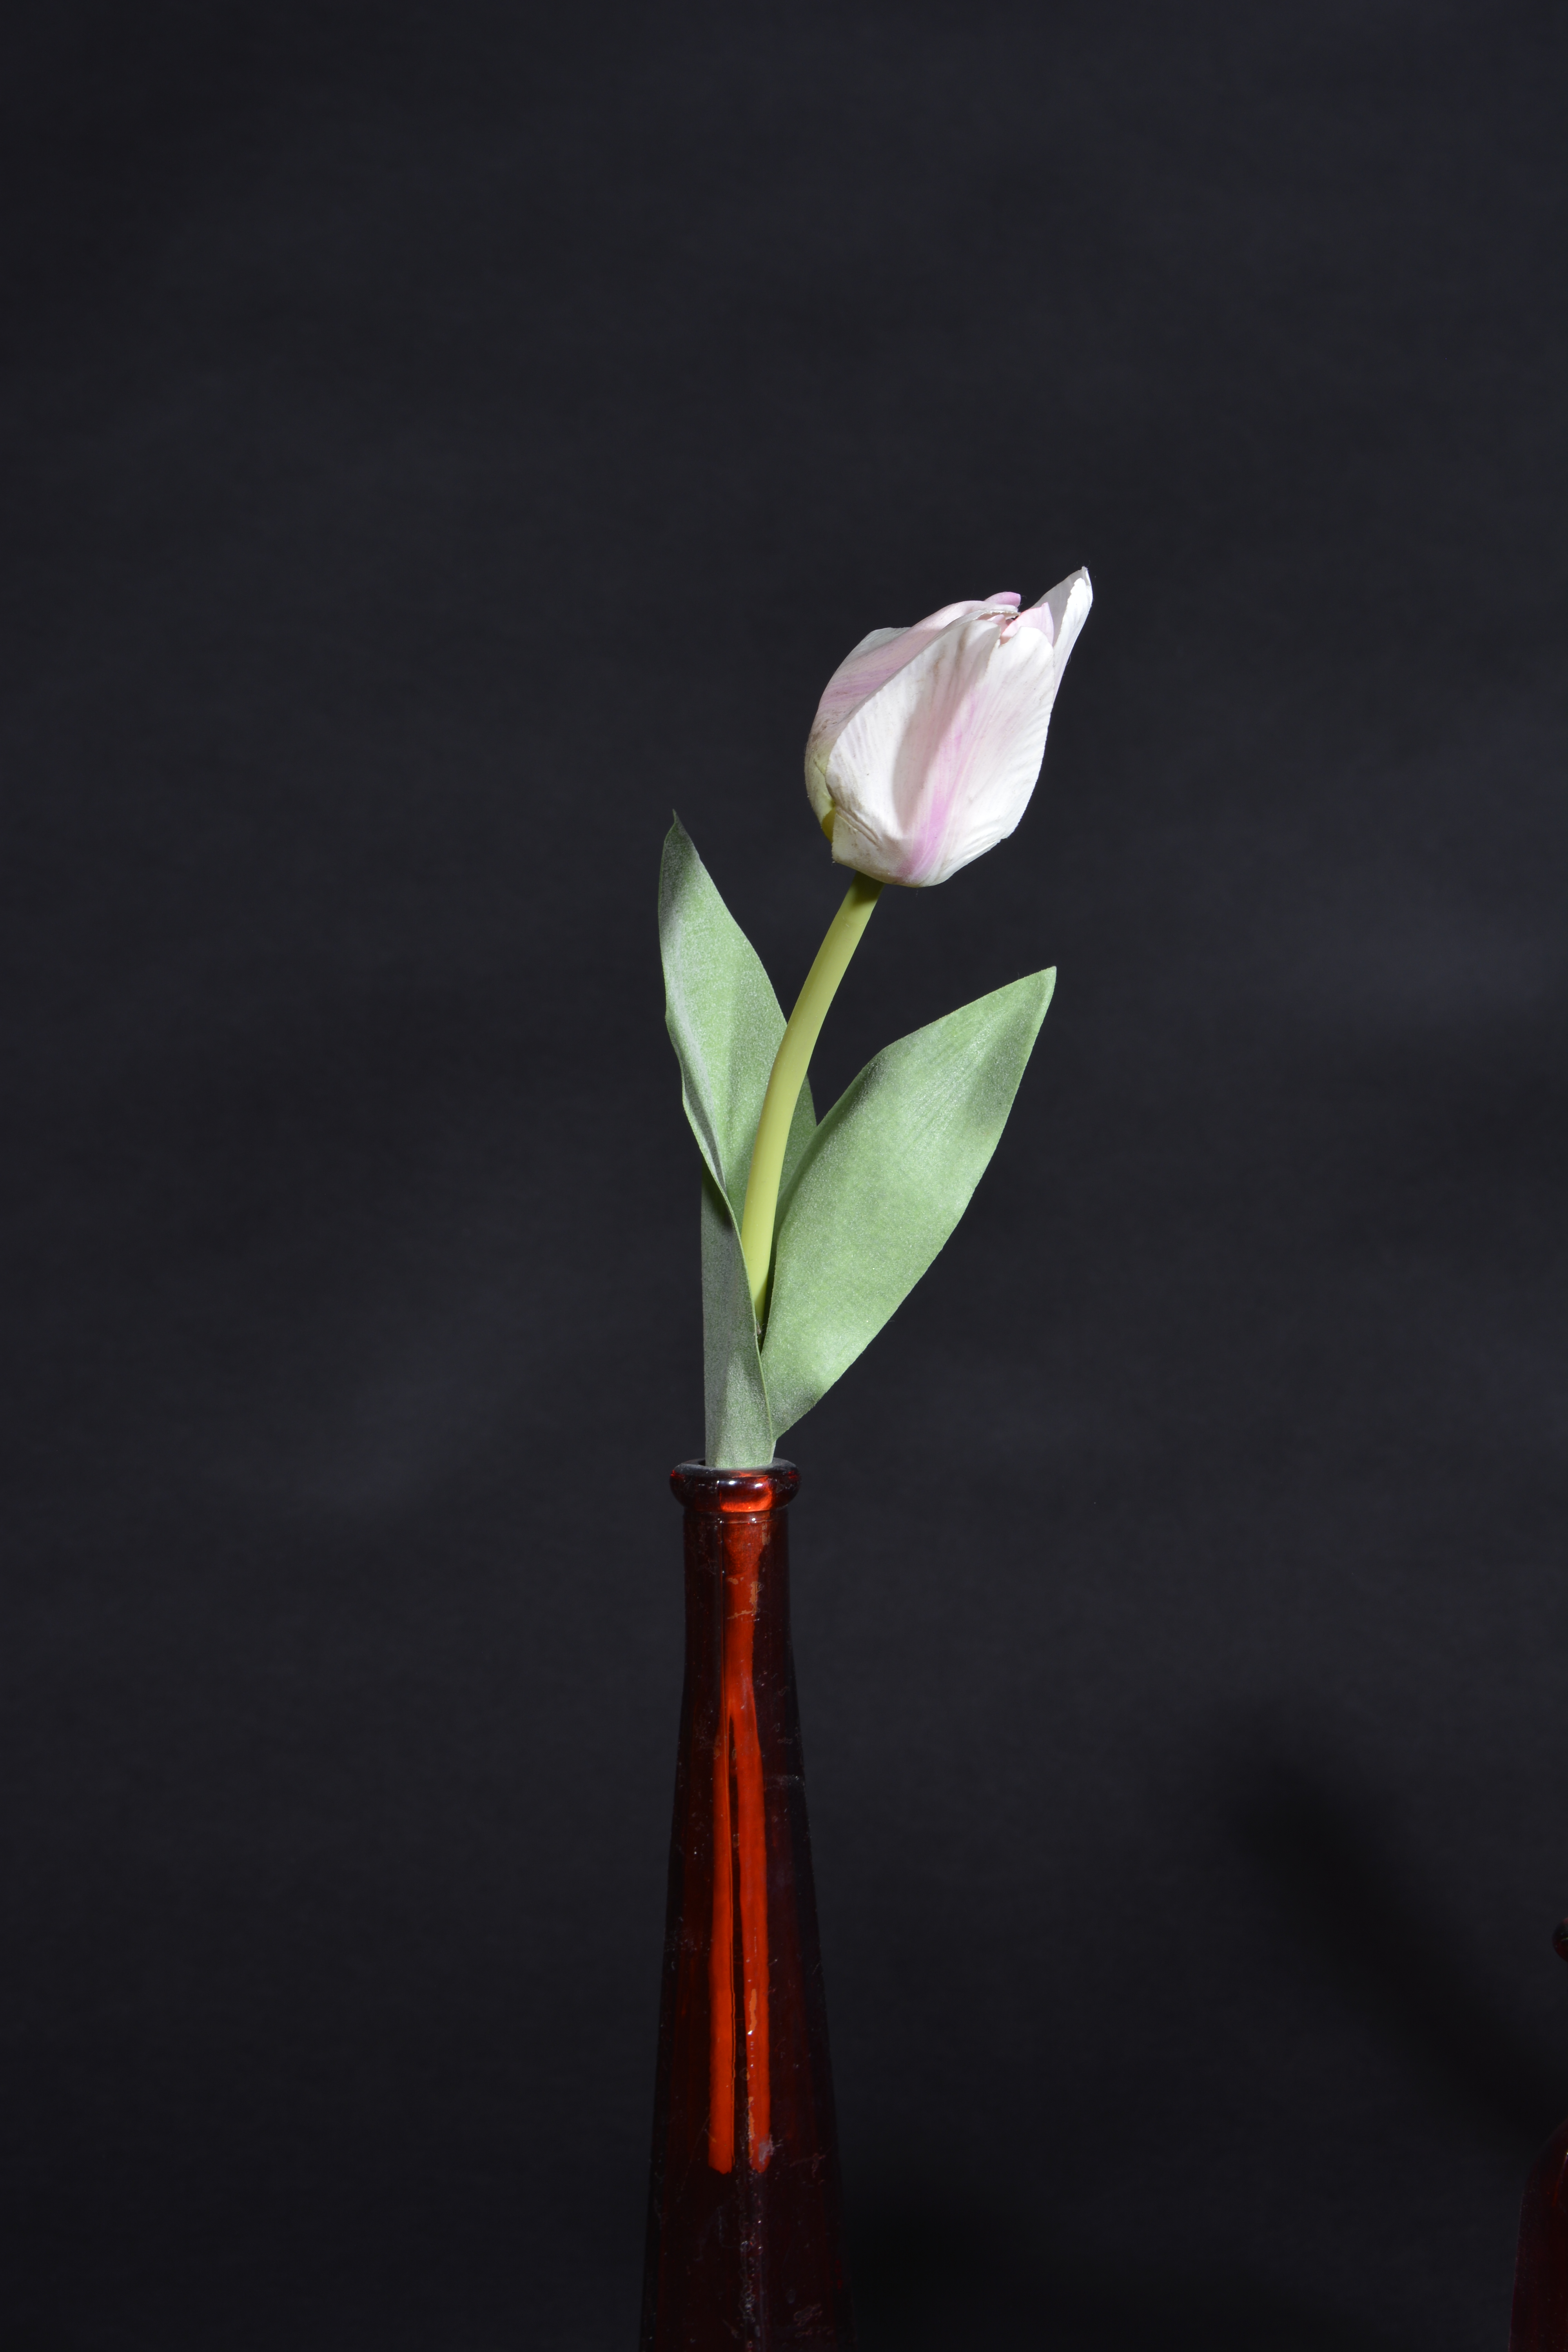
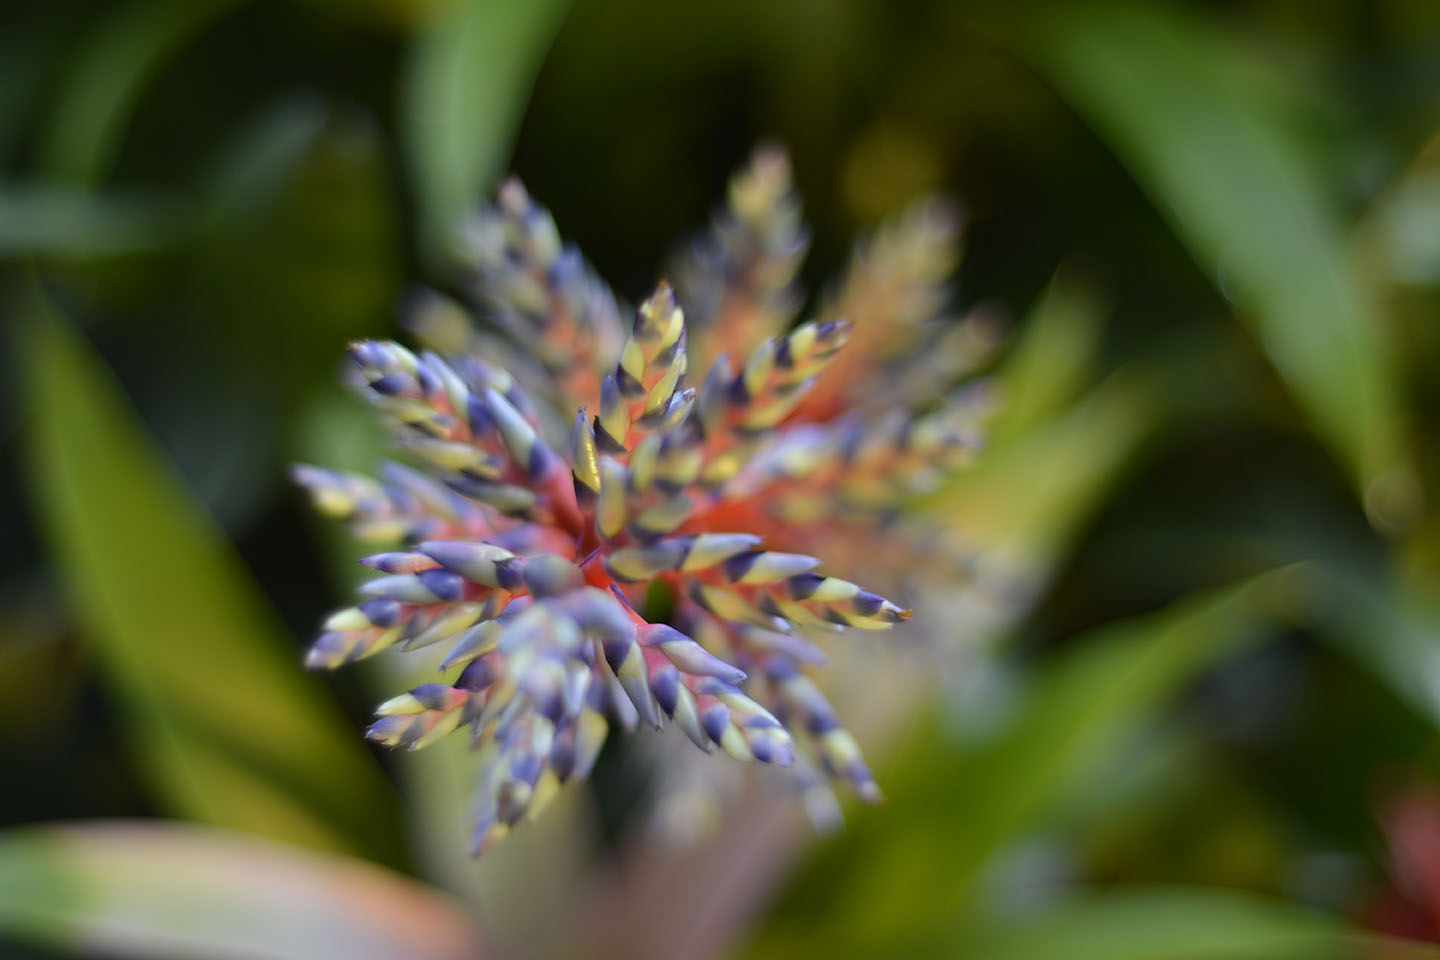
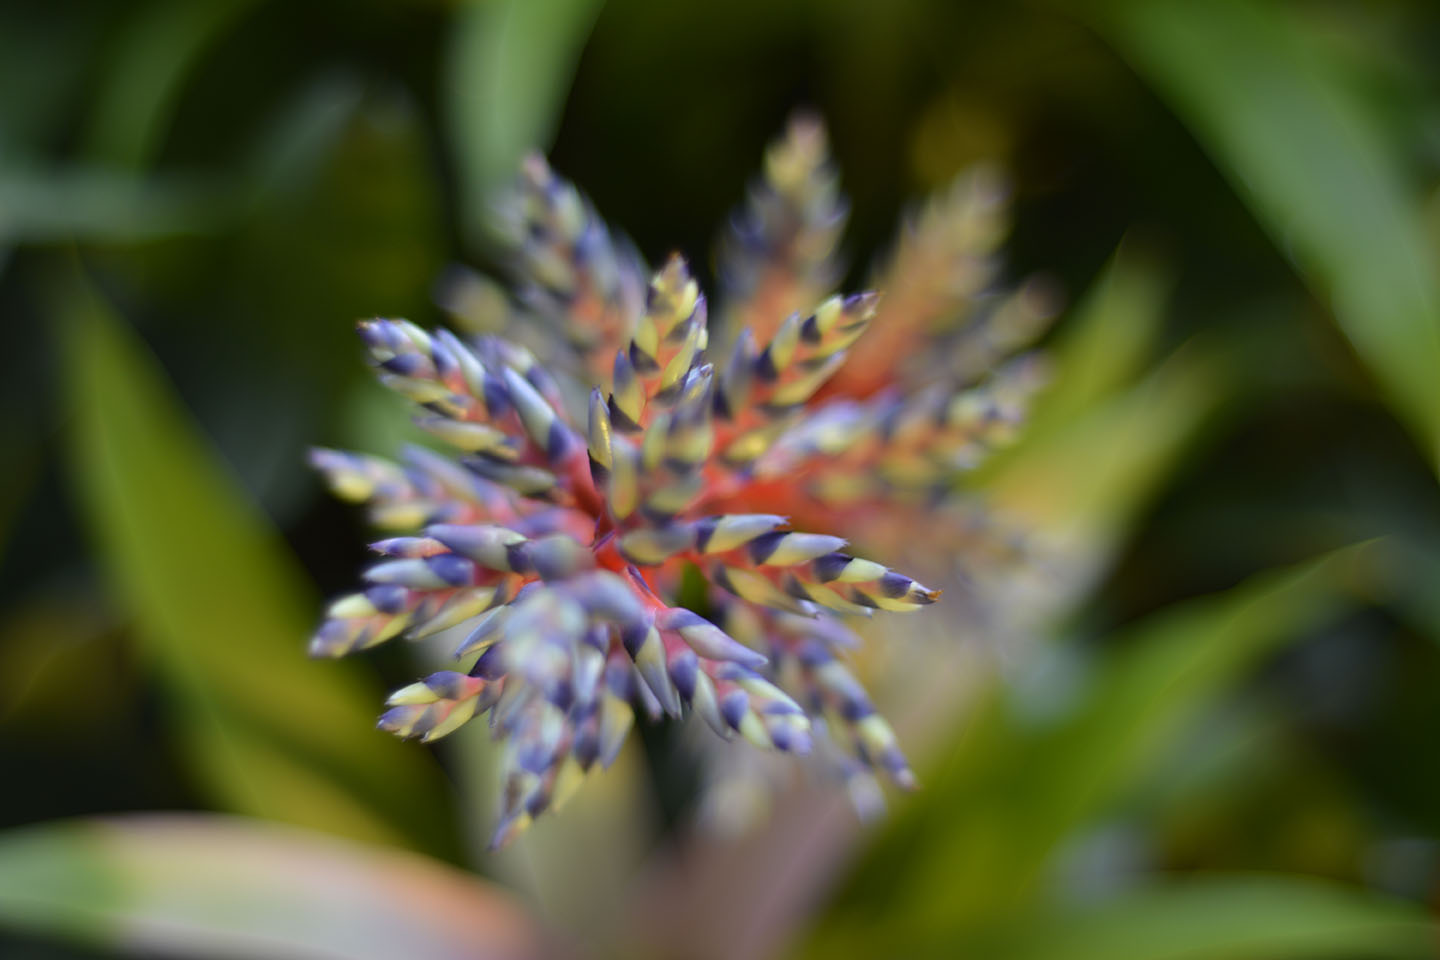
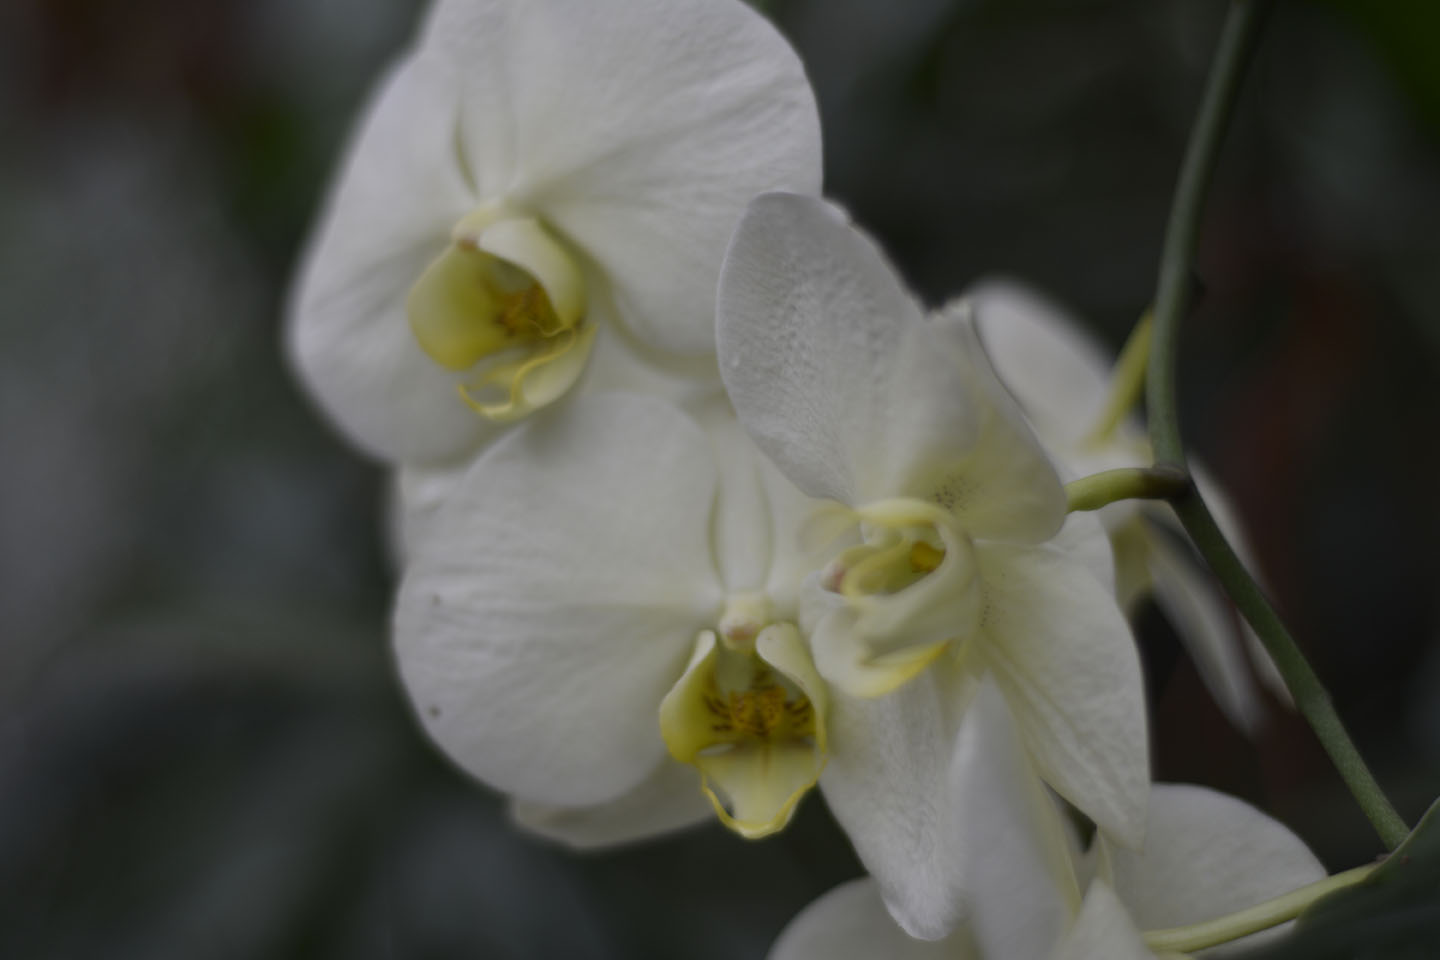
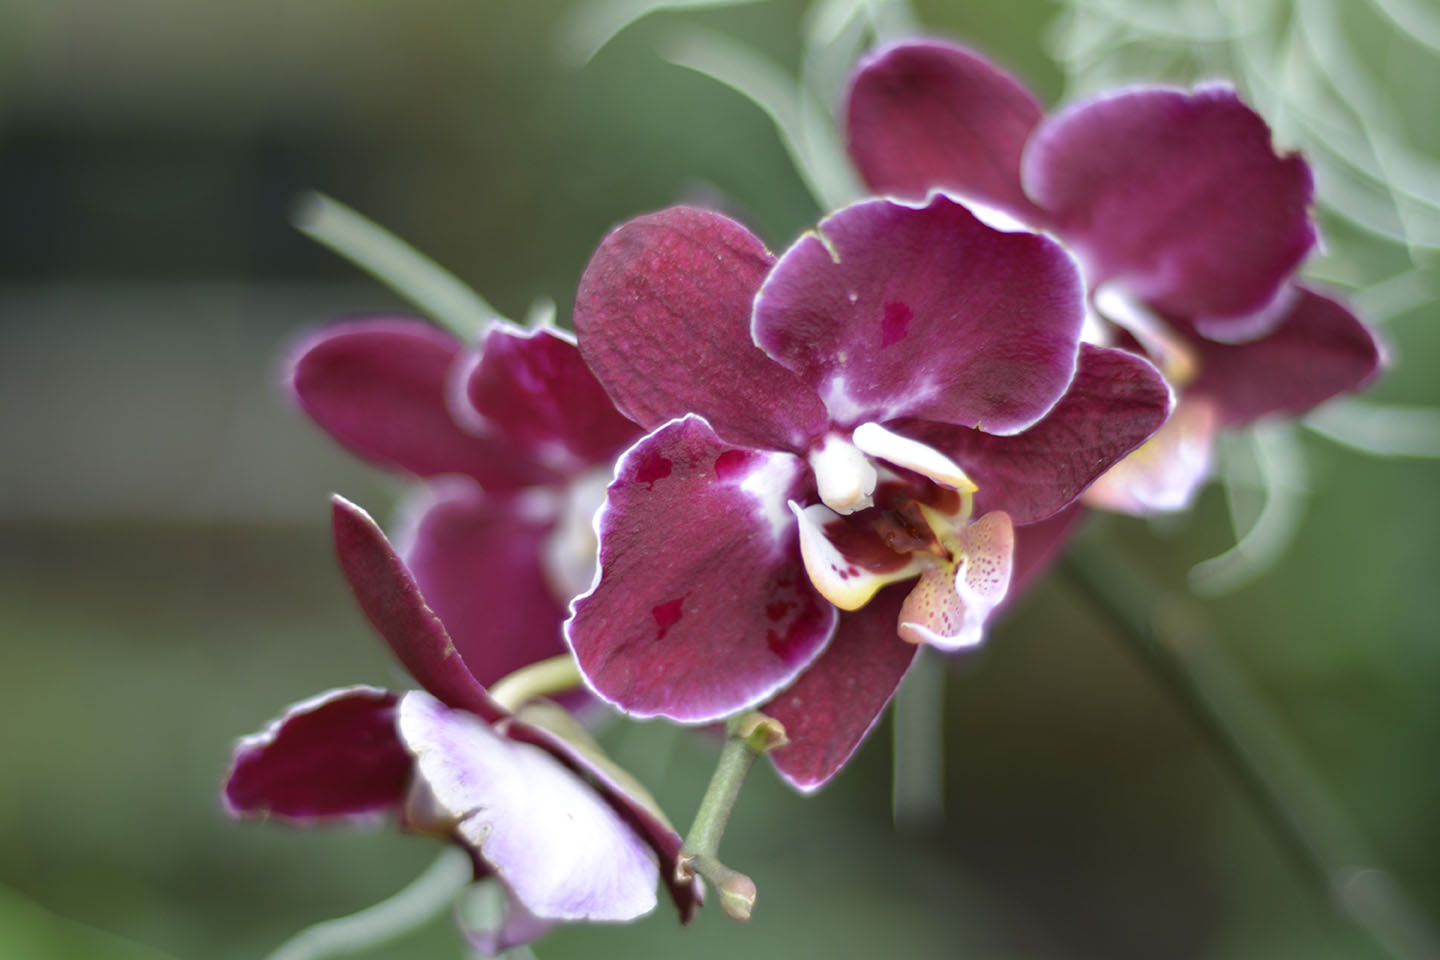
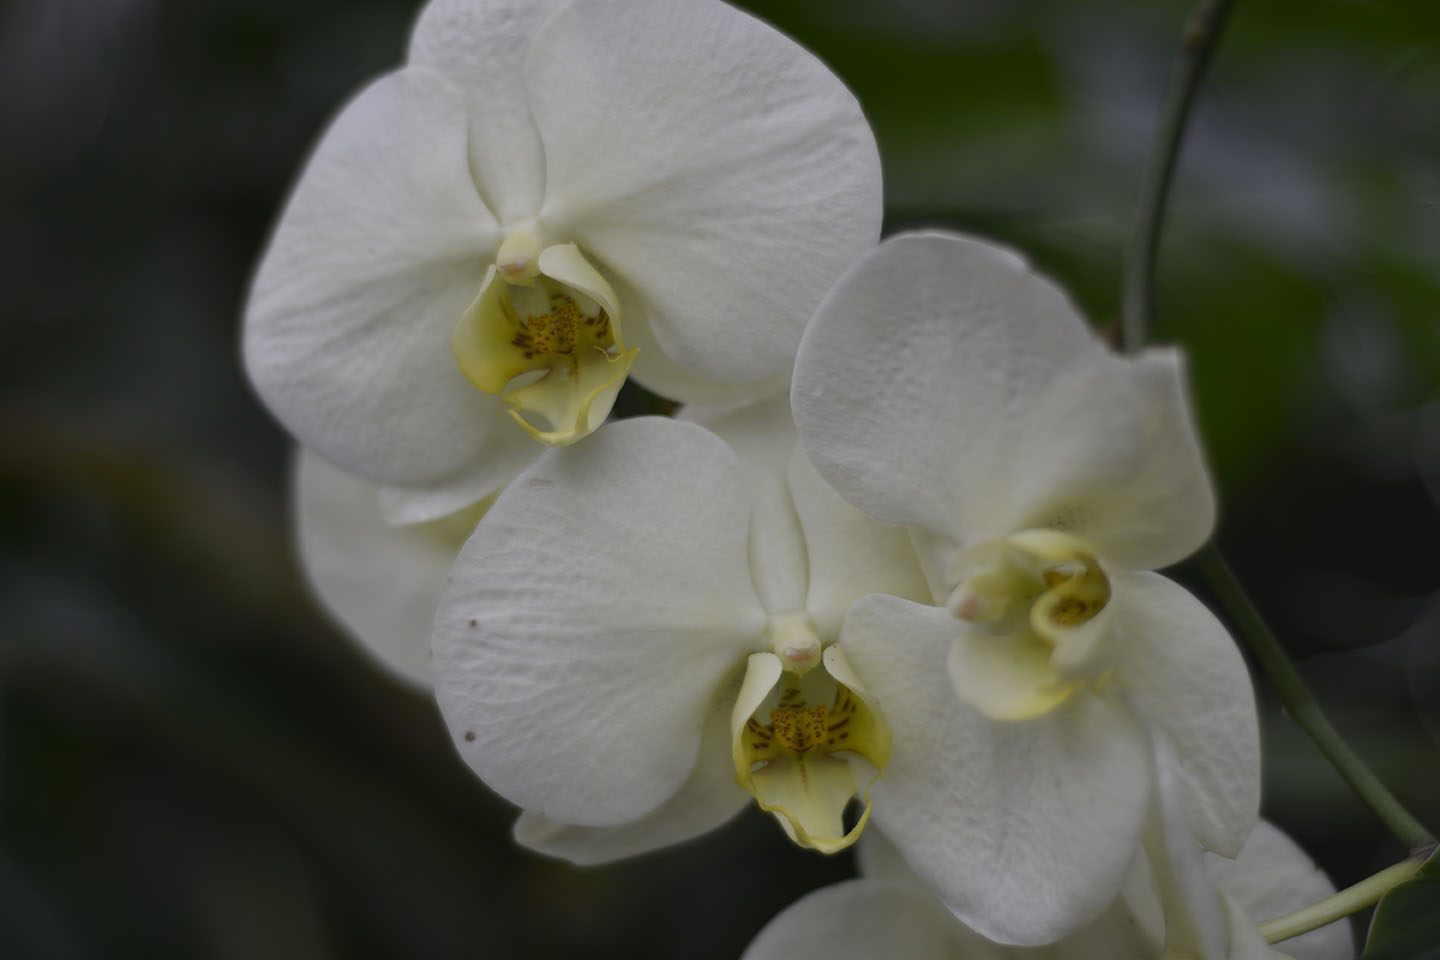
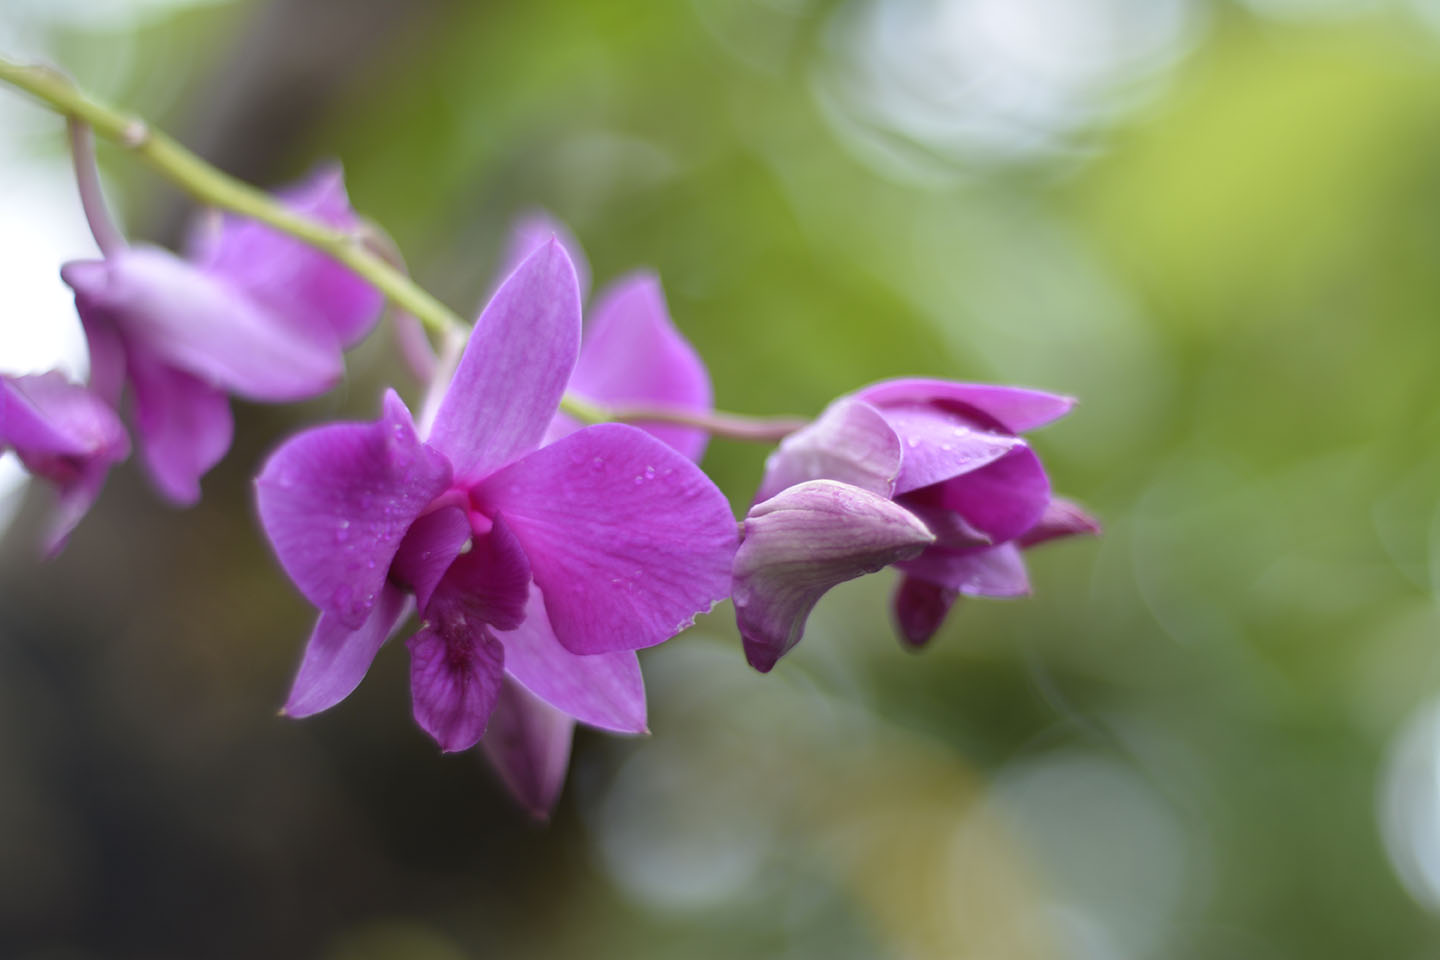
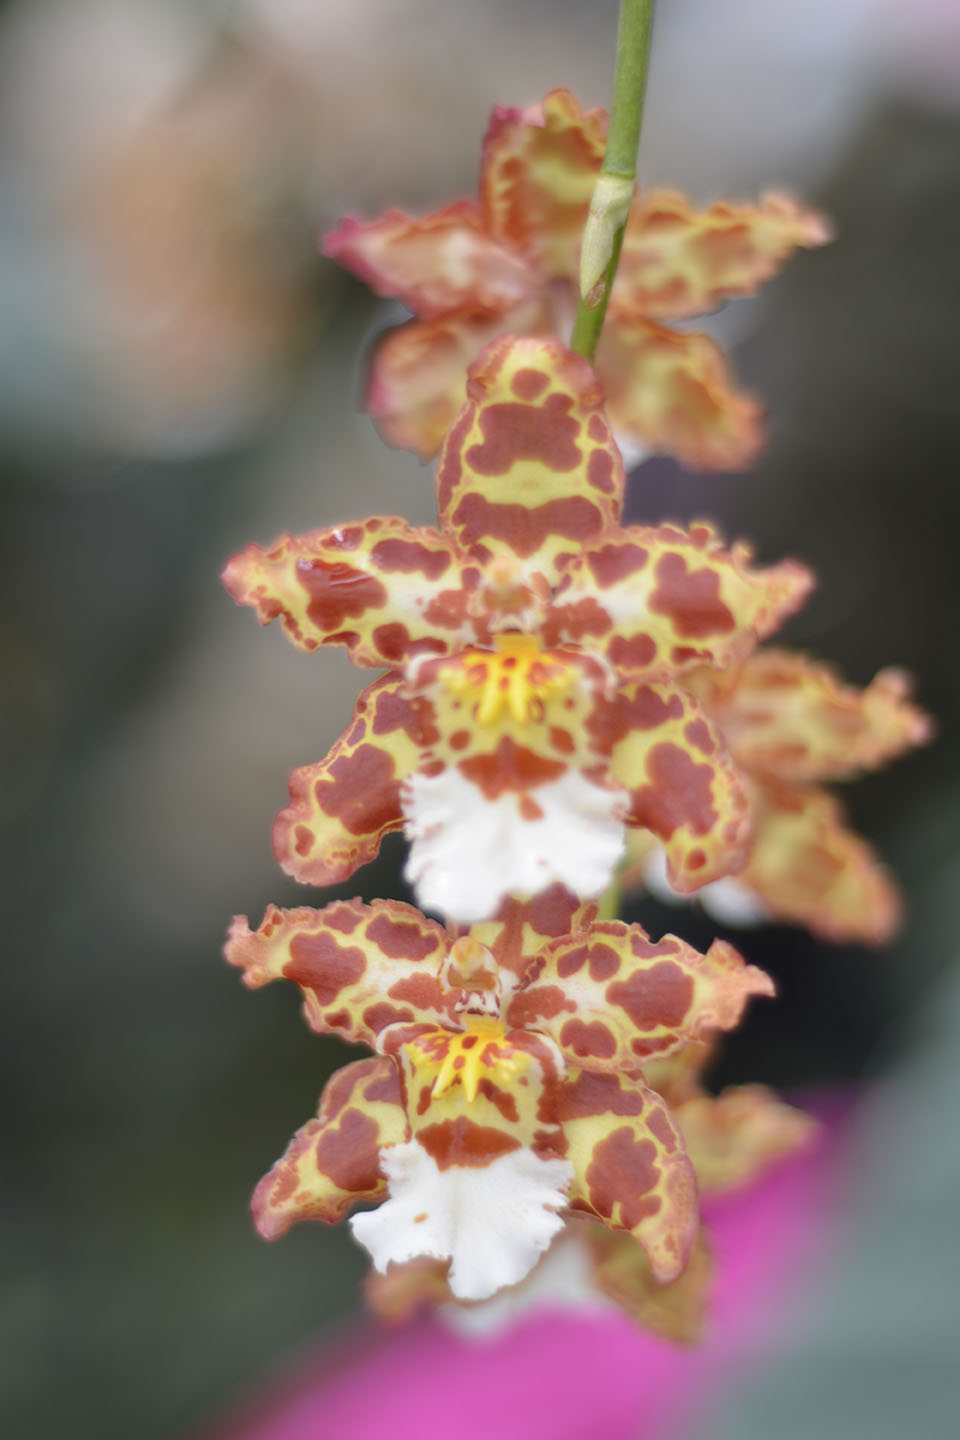
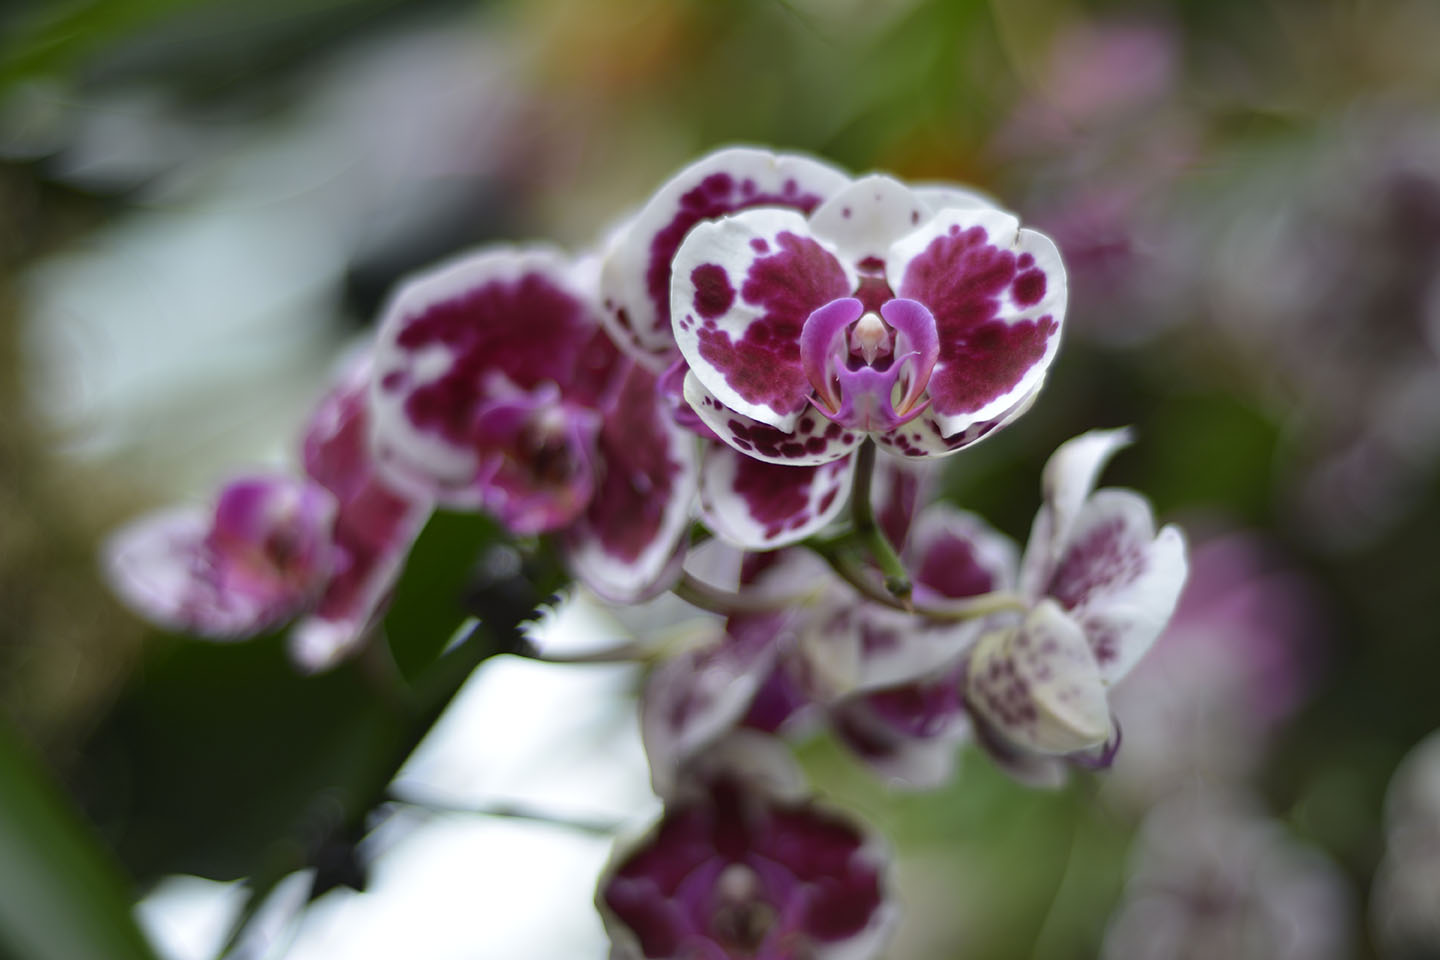
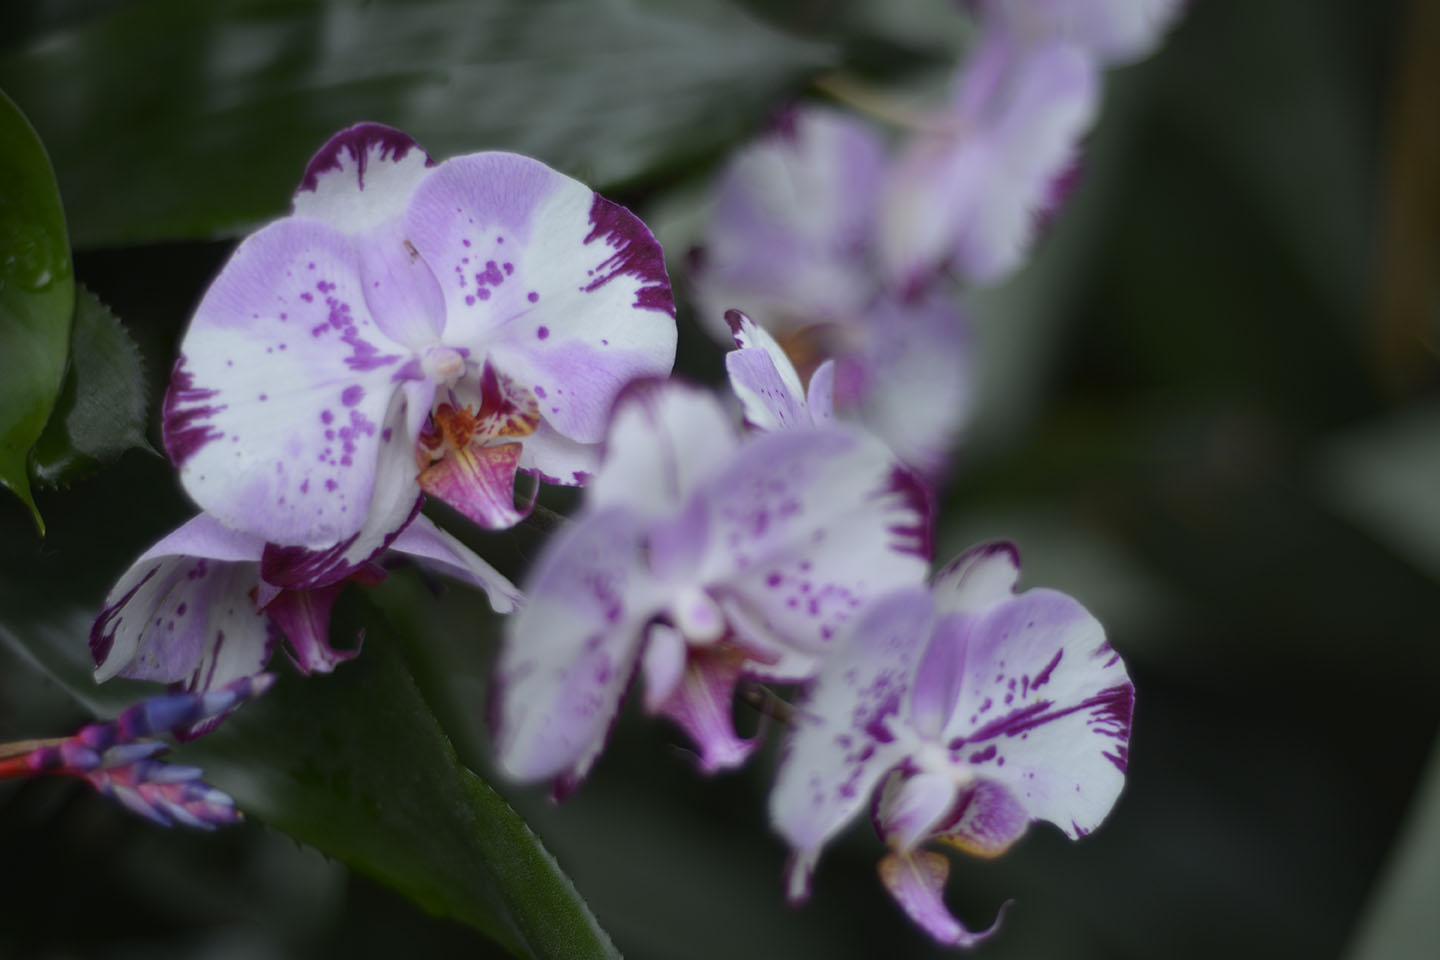
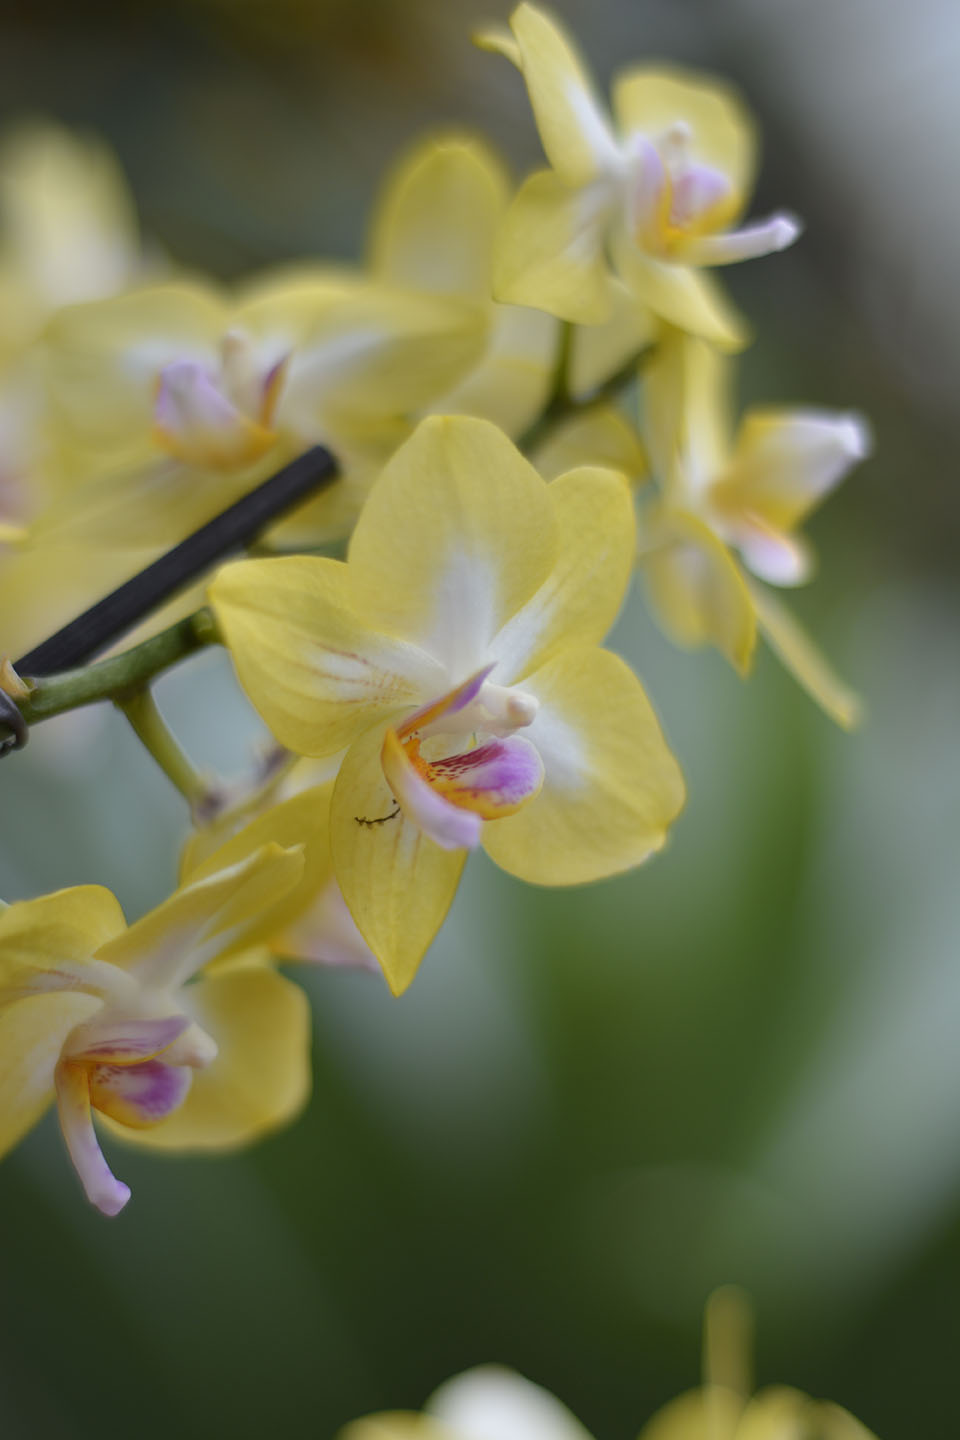
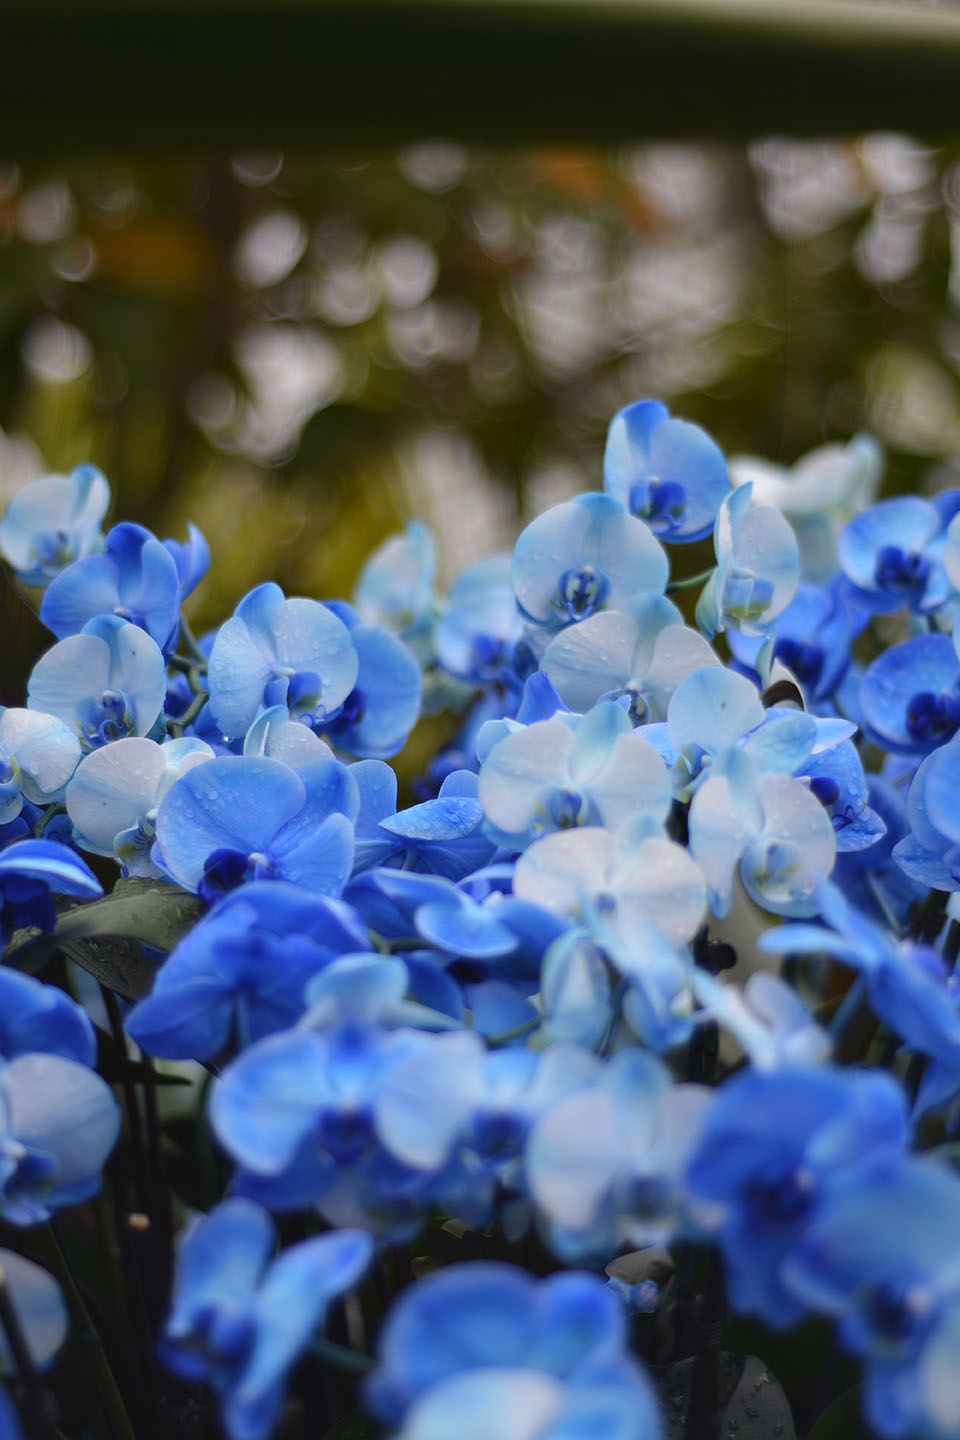
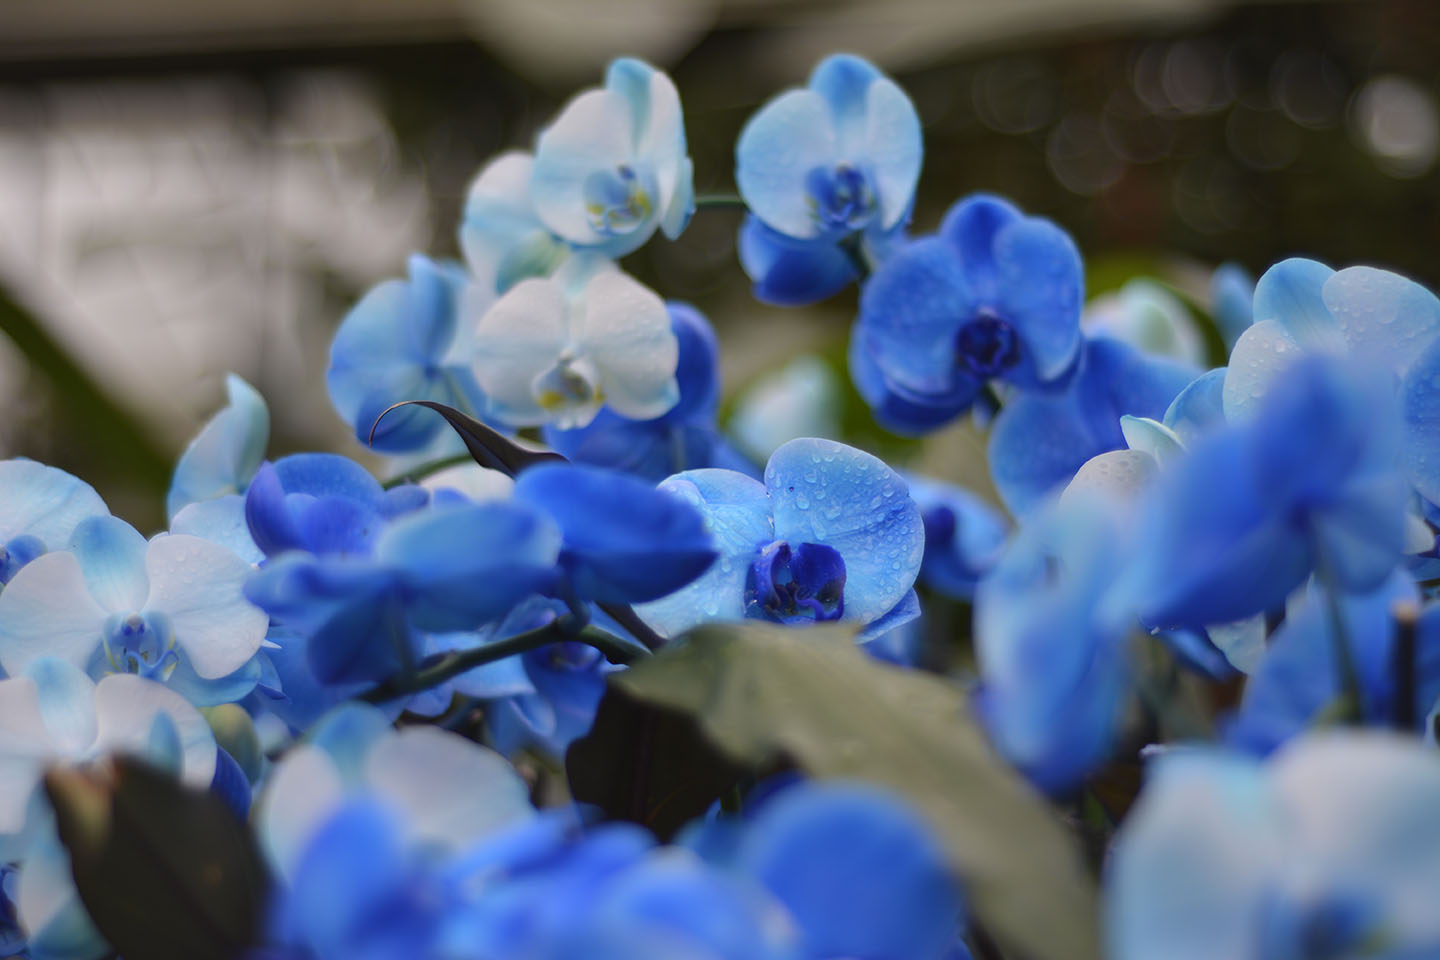
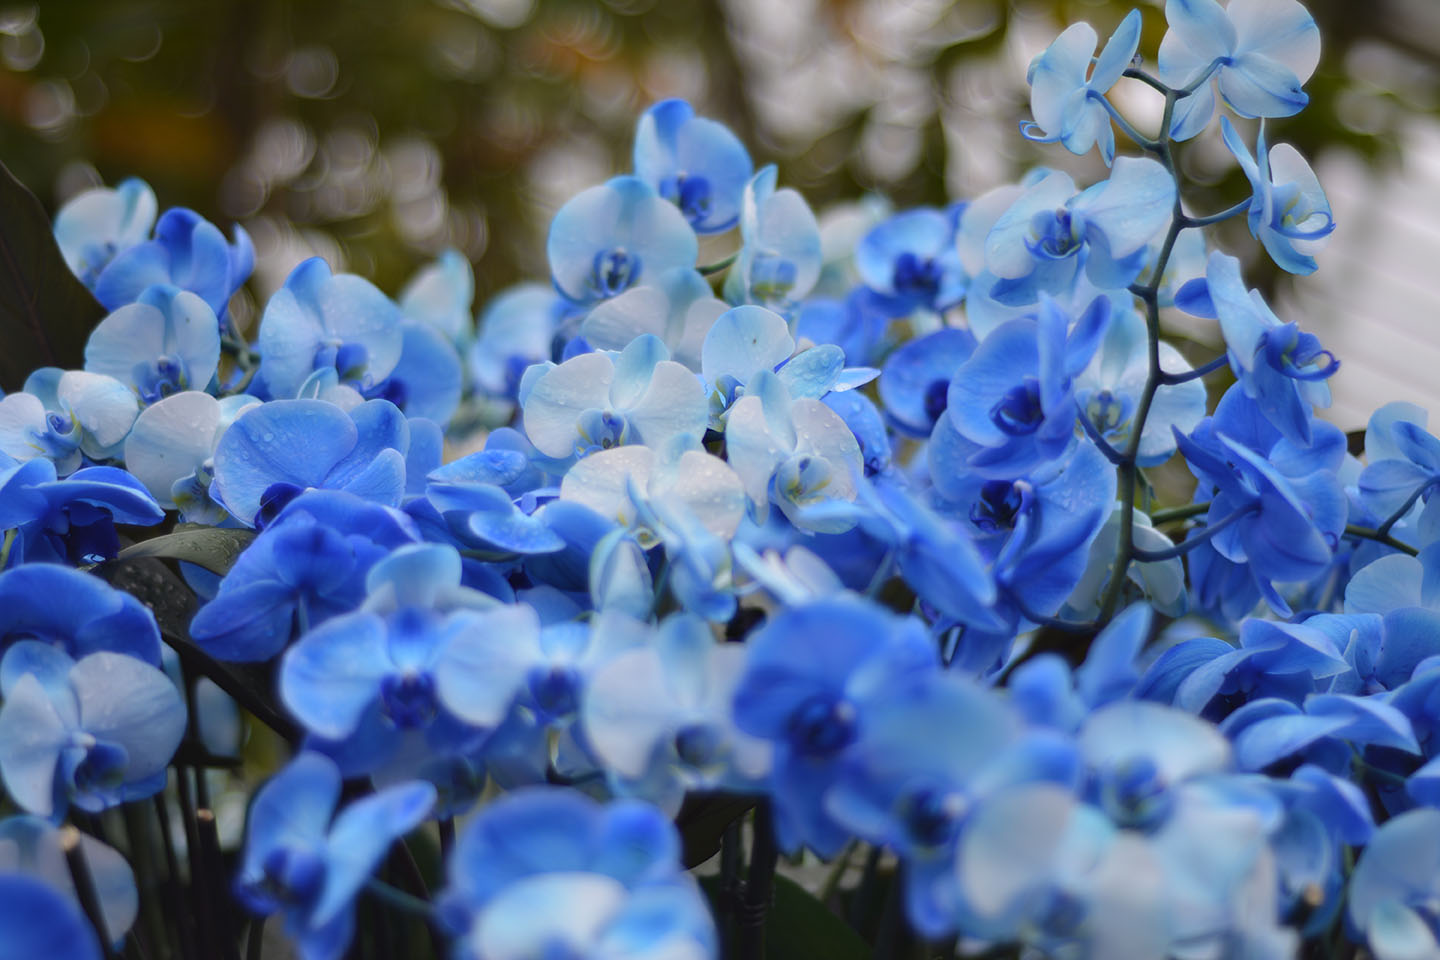
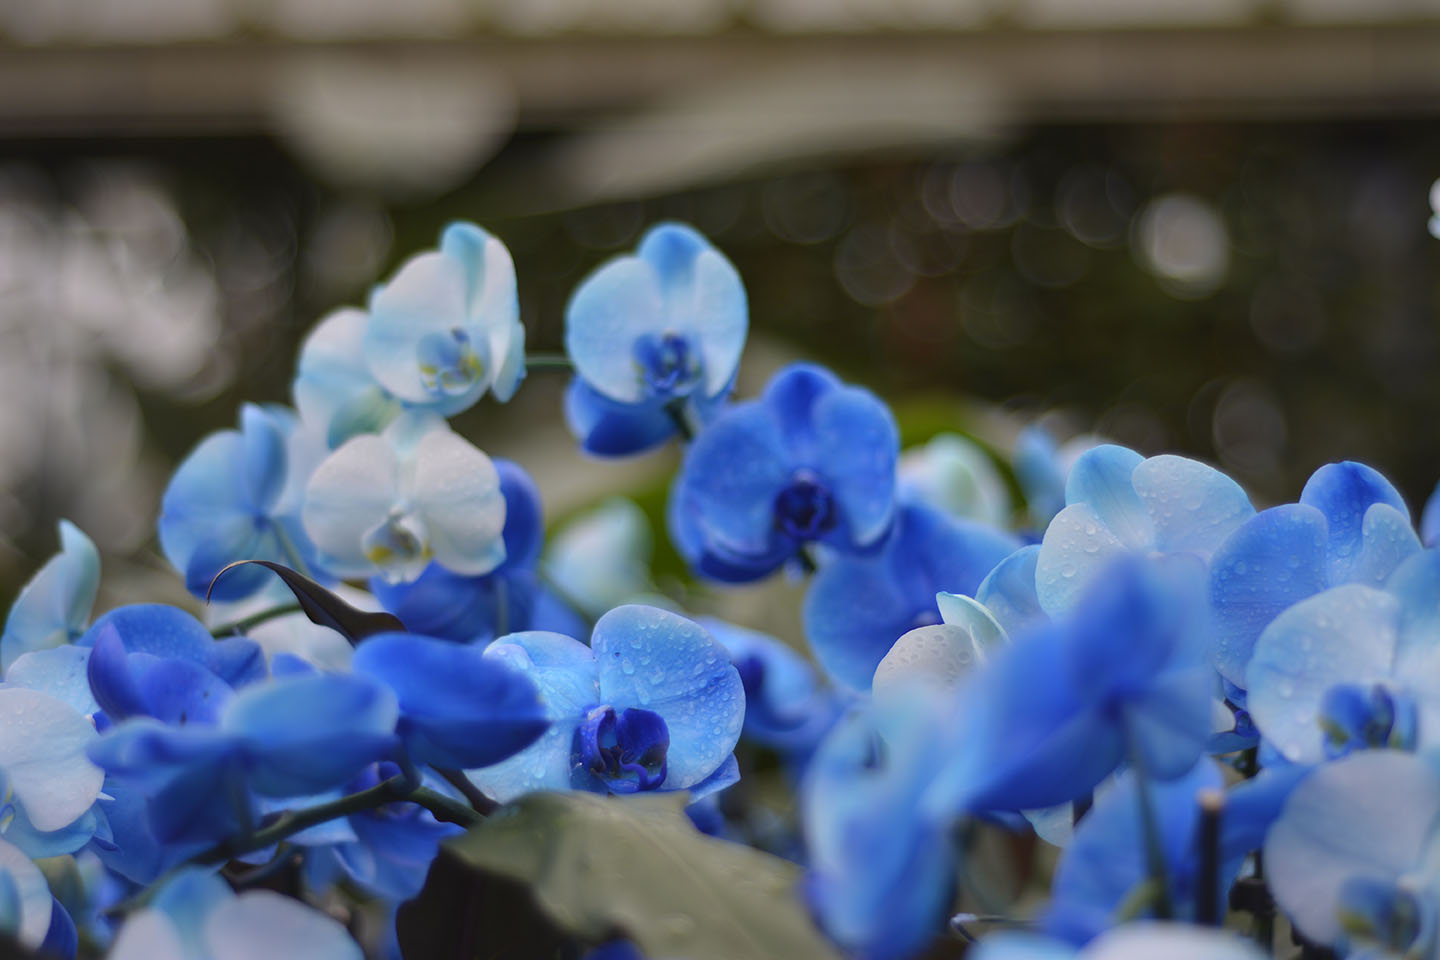
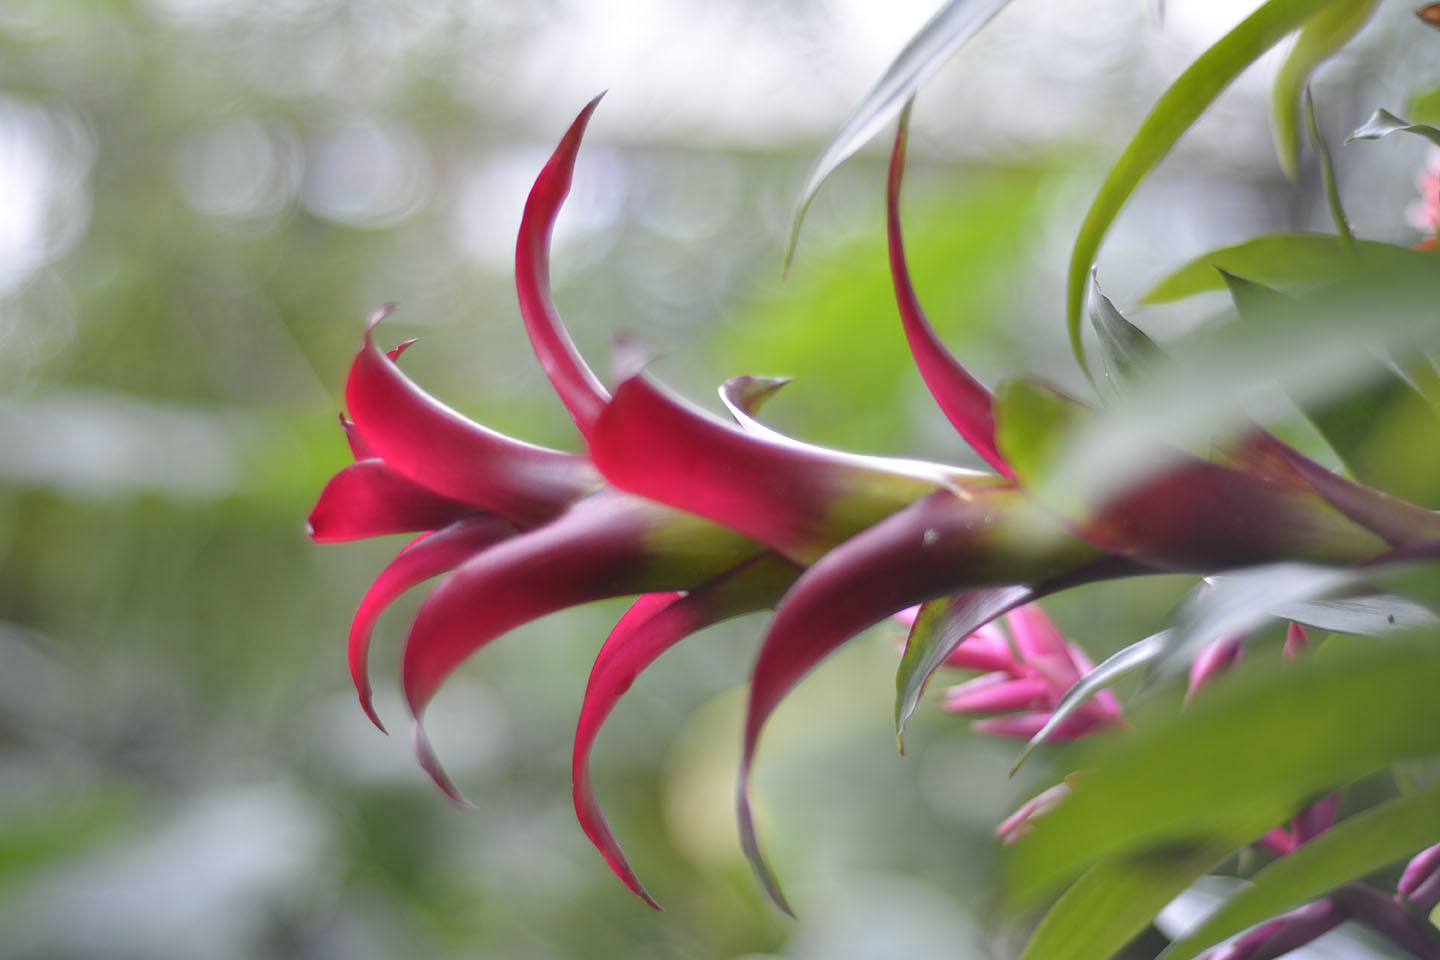
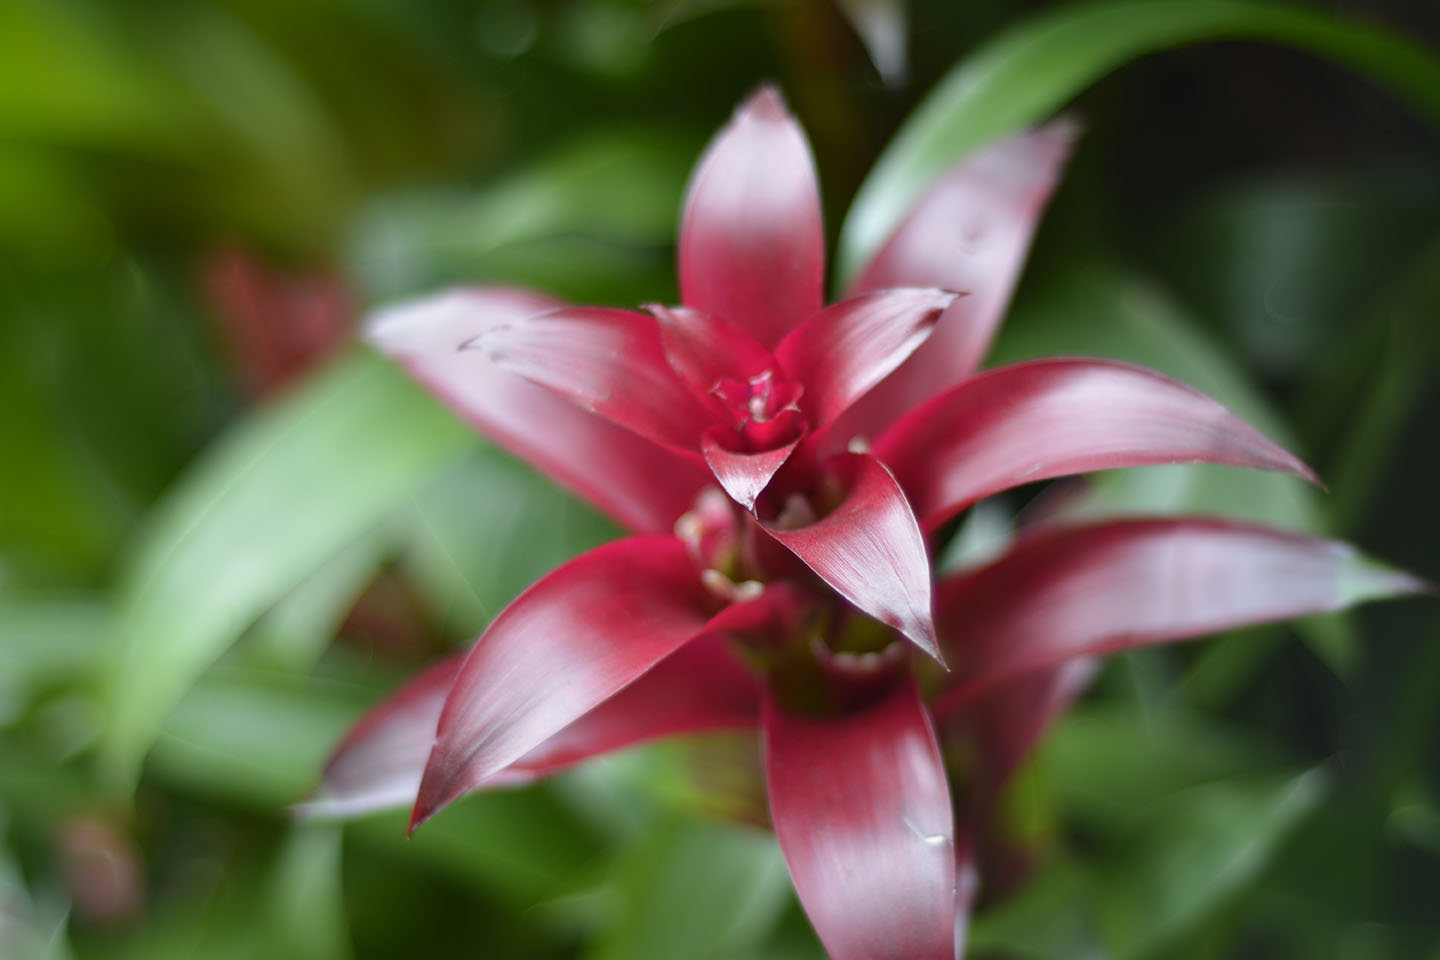
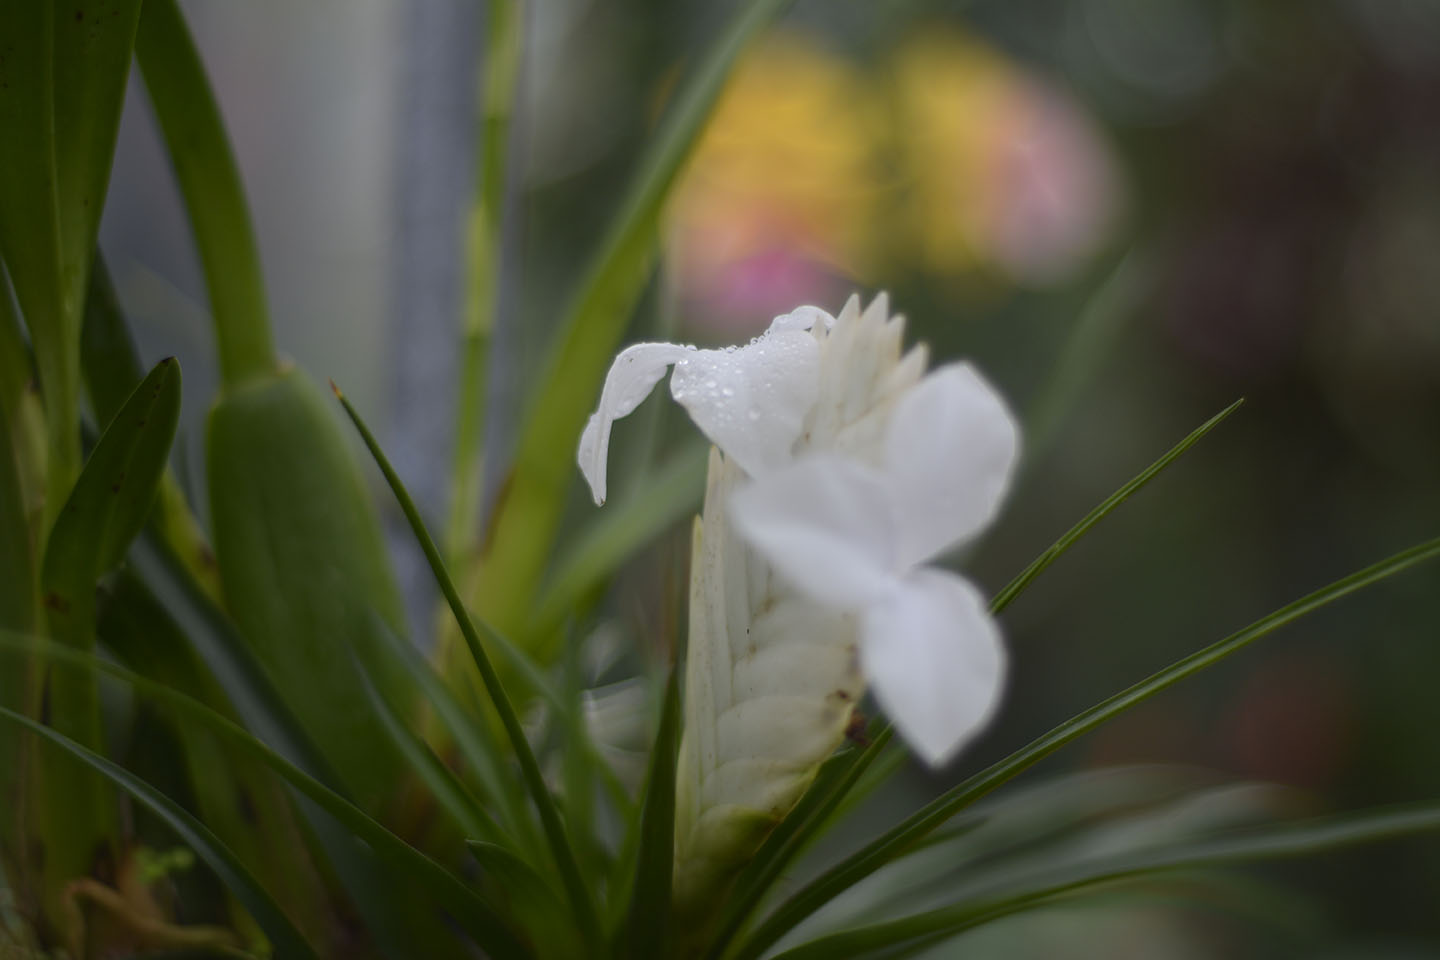
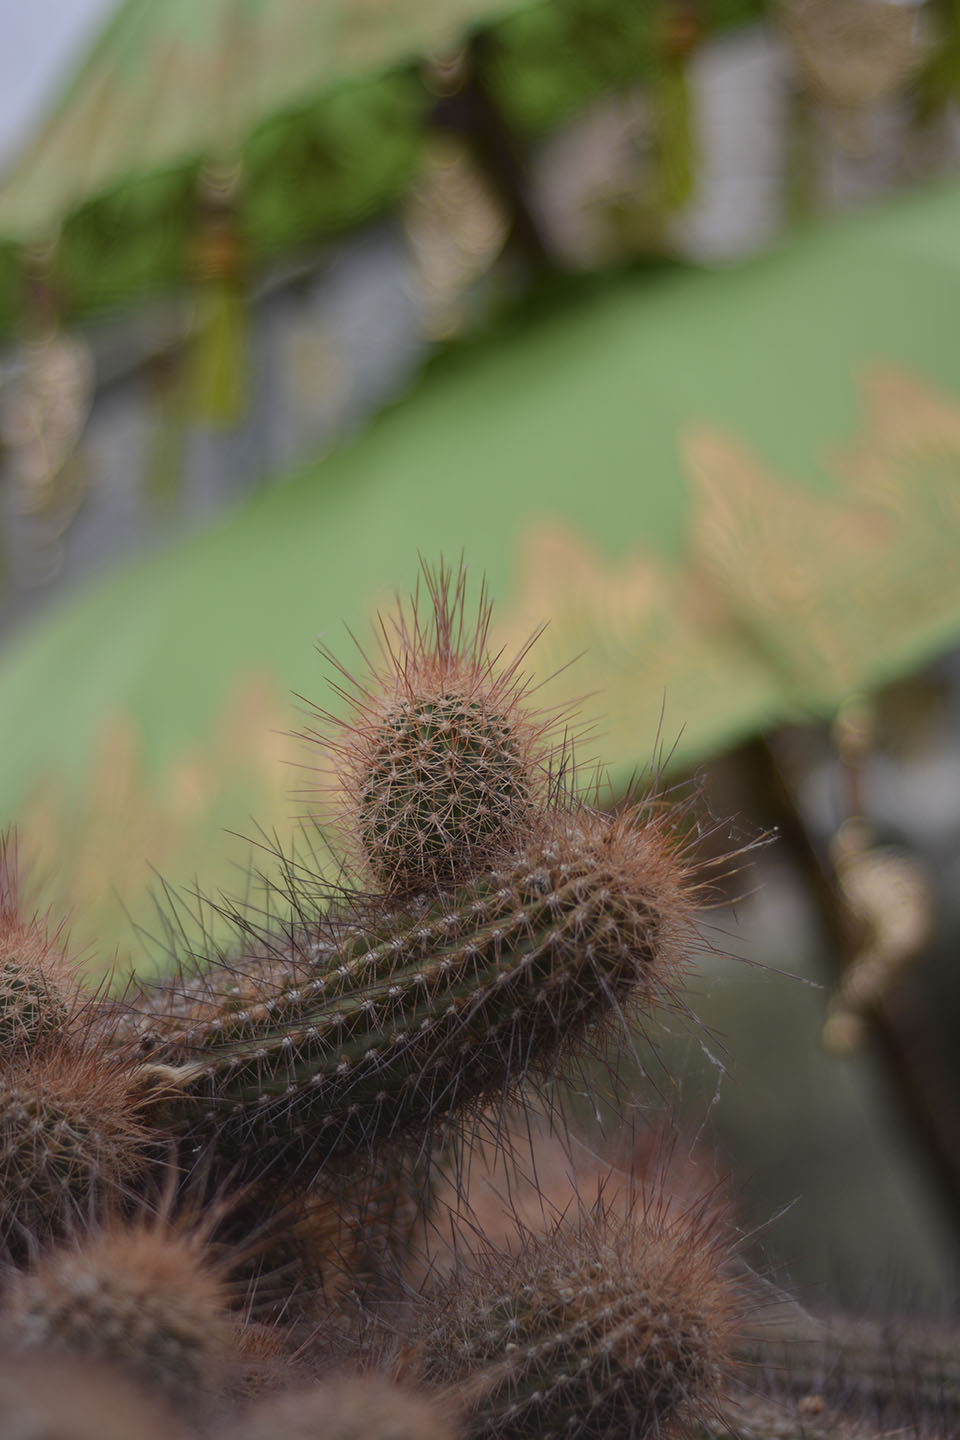
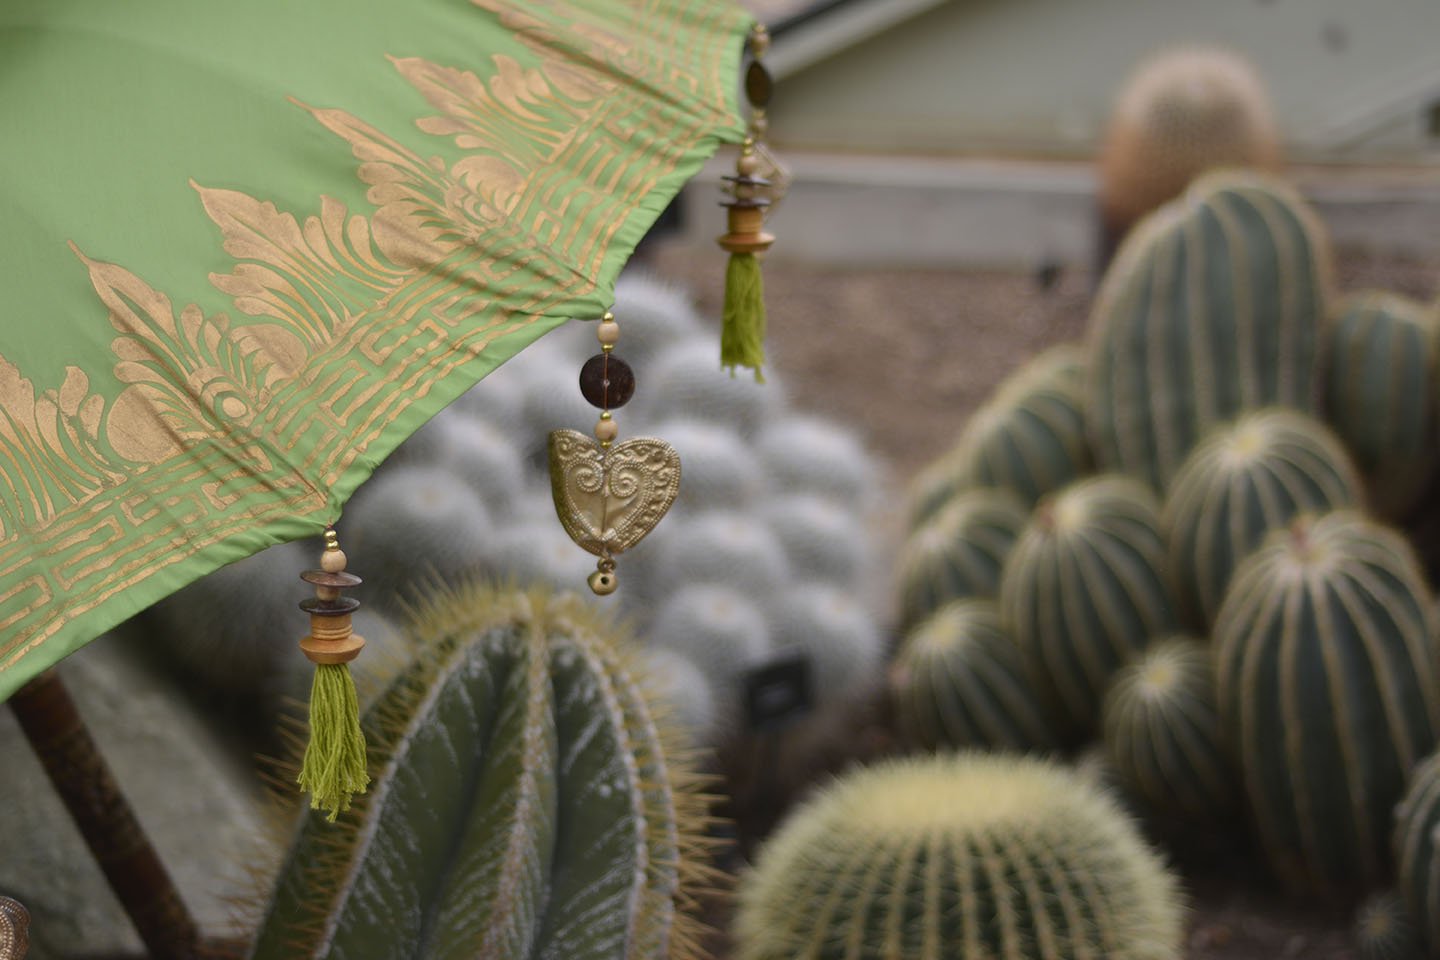
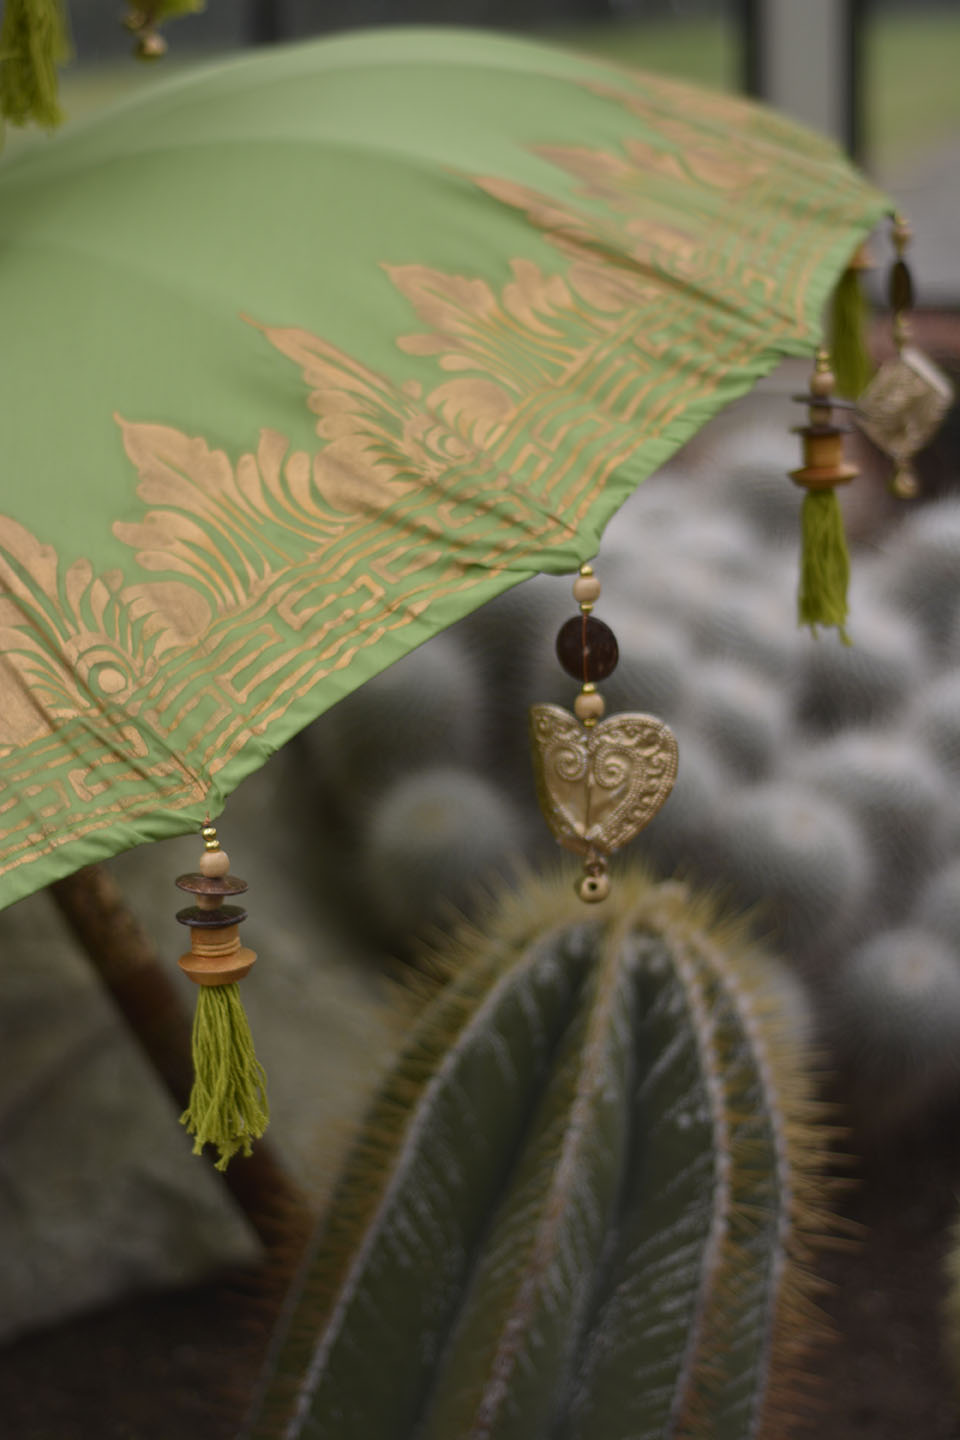
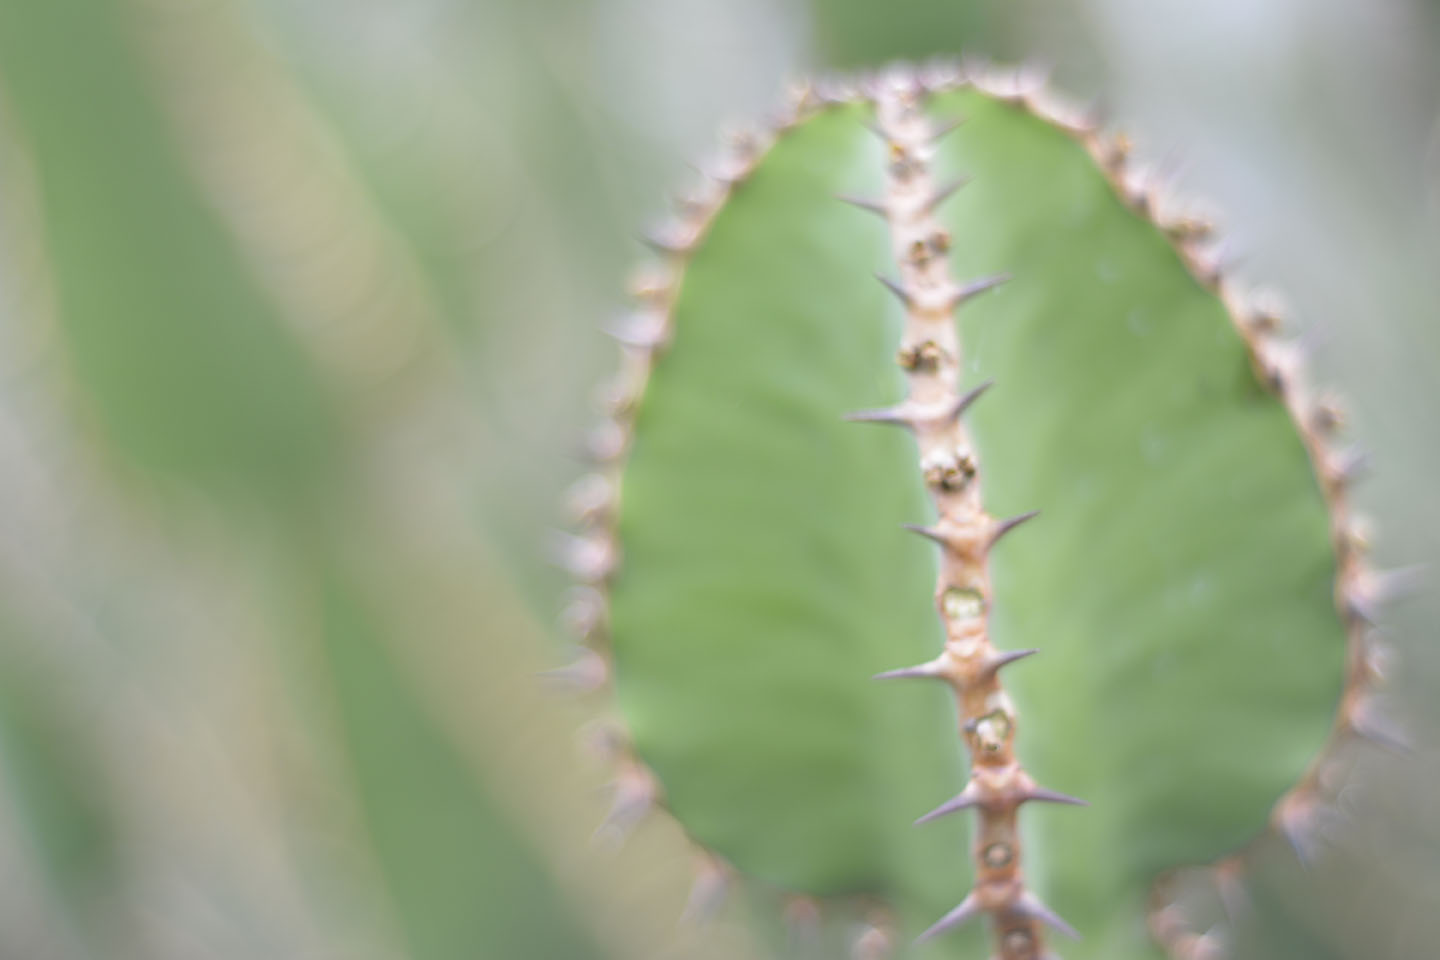
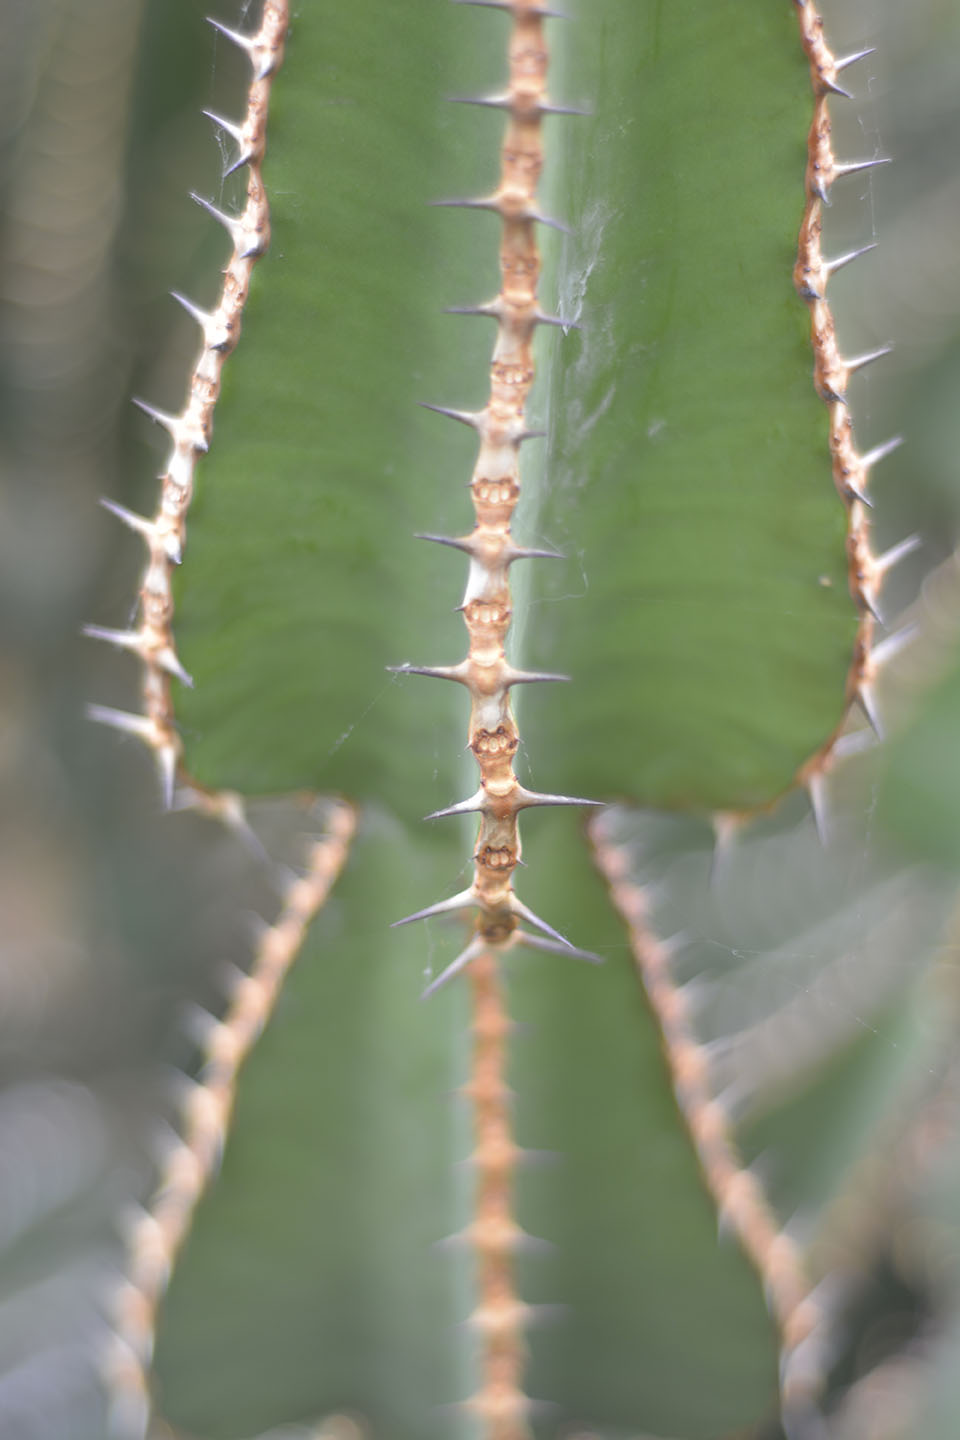
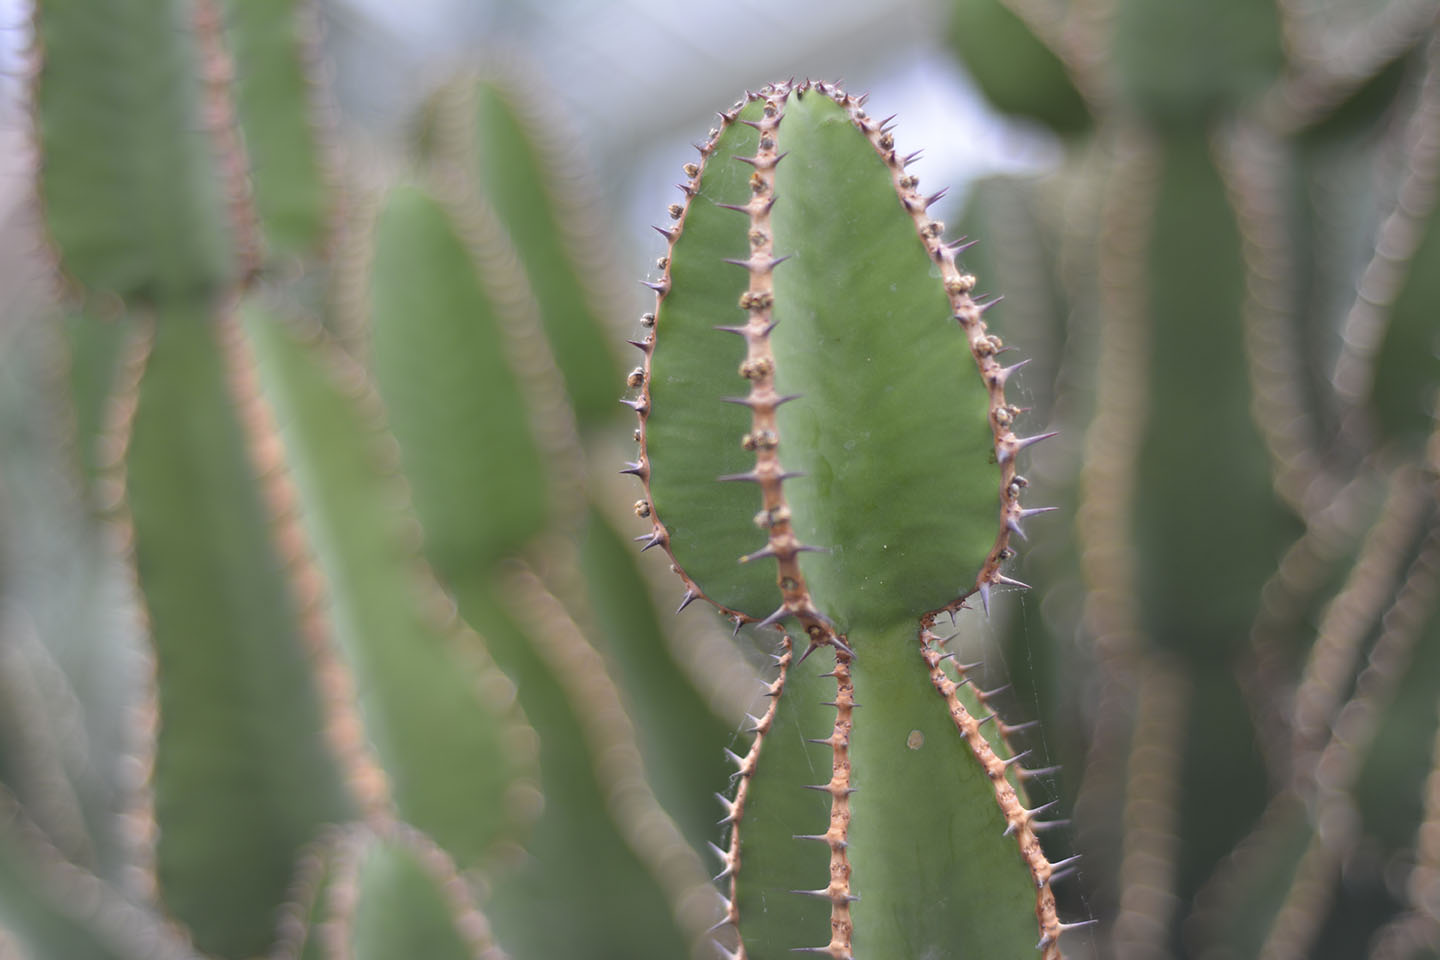
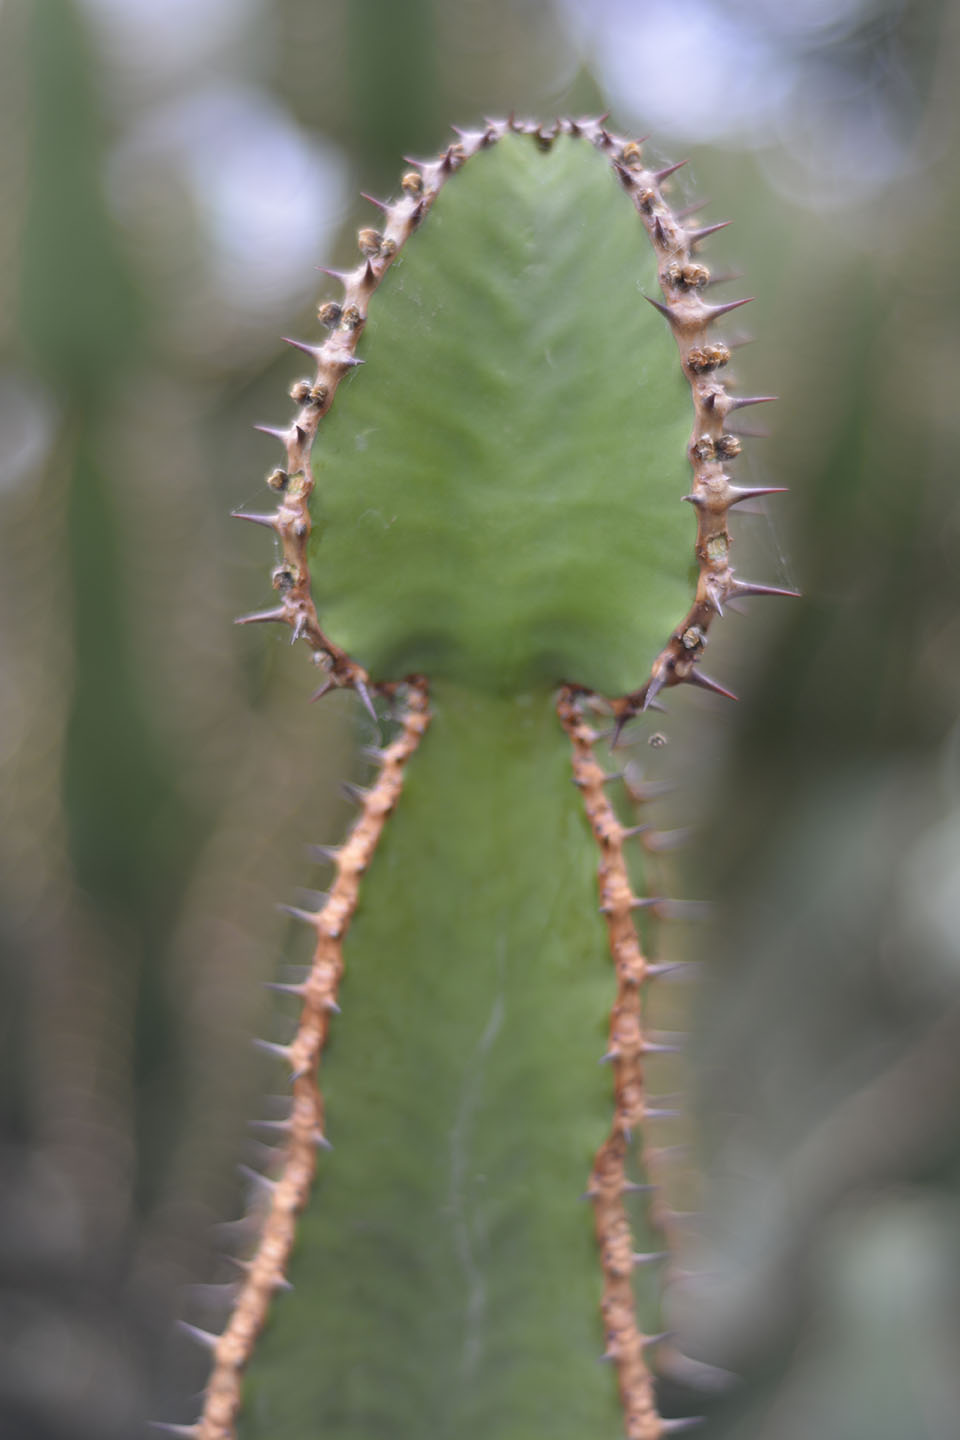
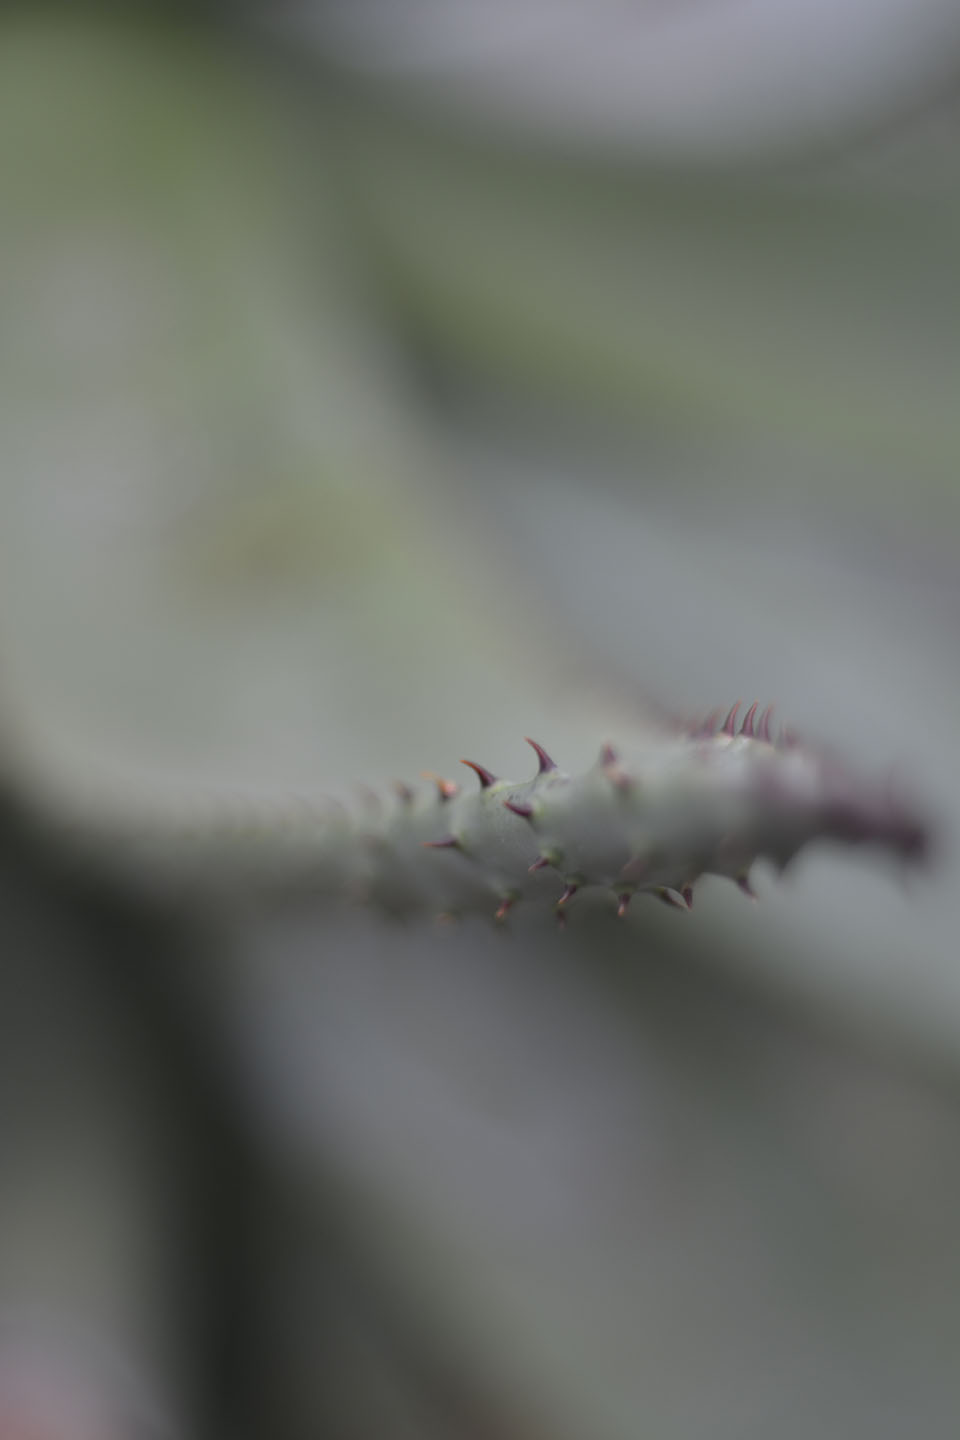
Visiting the Orchids Festival at Kew Gardens this week, I took my prime lens to see if I could get some close up shots of the flowers.
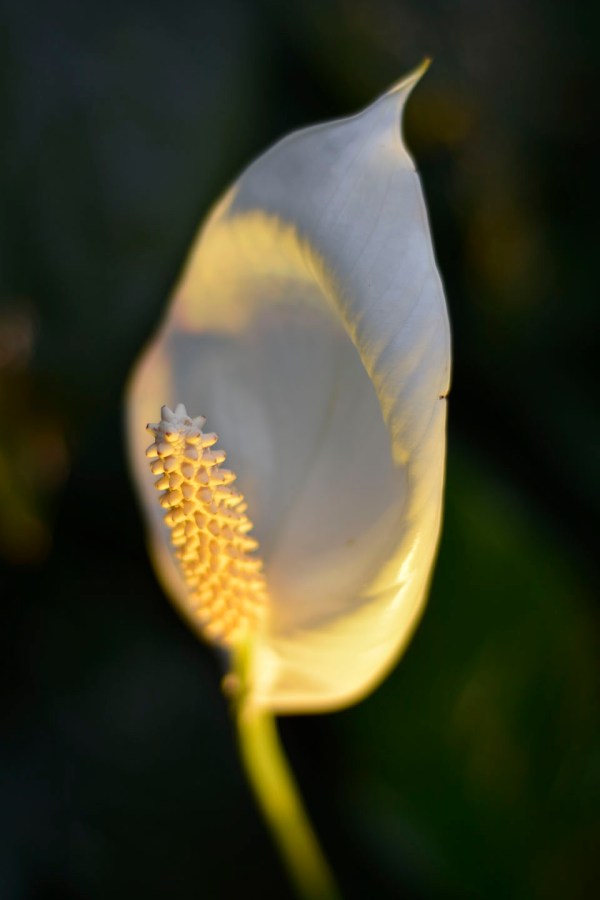
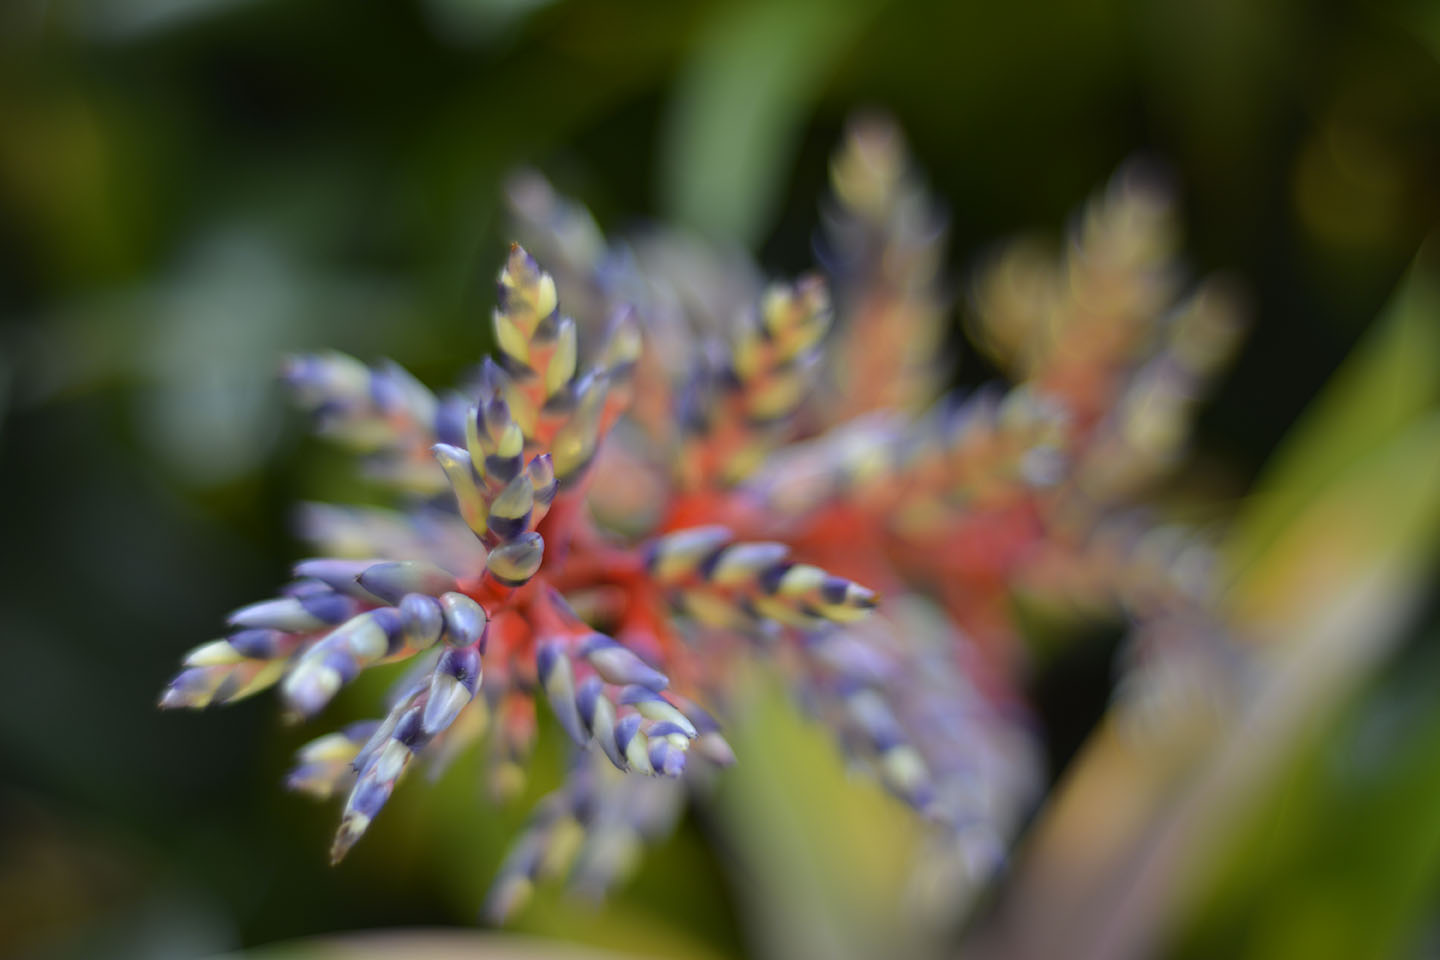
I was so excited by the low aperture range in this lens, that I didn’t change from F stop 1.8 the whole afternoon. Not a problem for some of the pictures I had taken, however looking through them I can see that I should have played around with the aperture a little bit more.
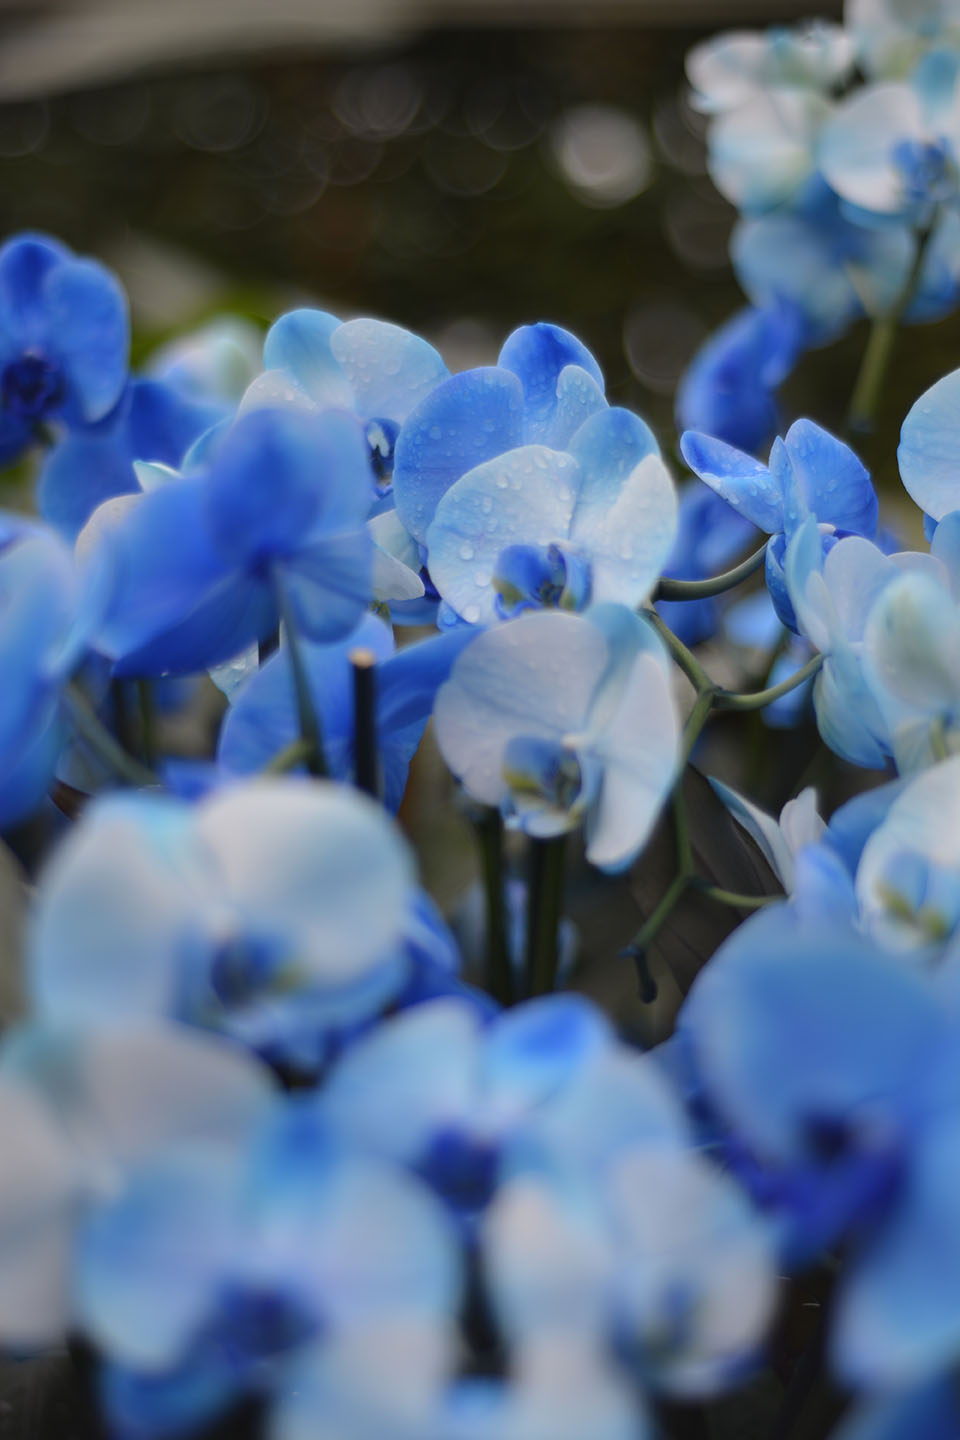
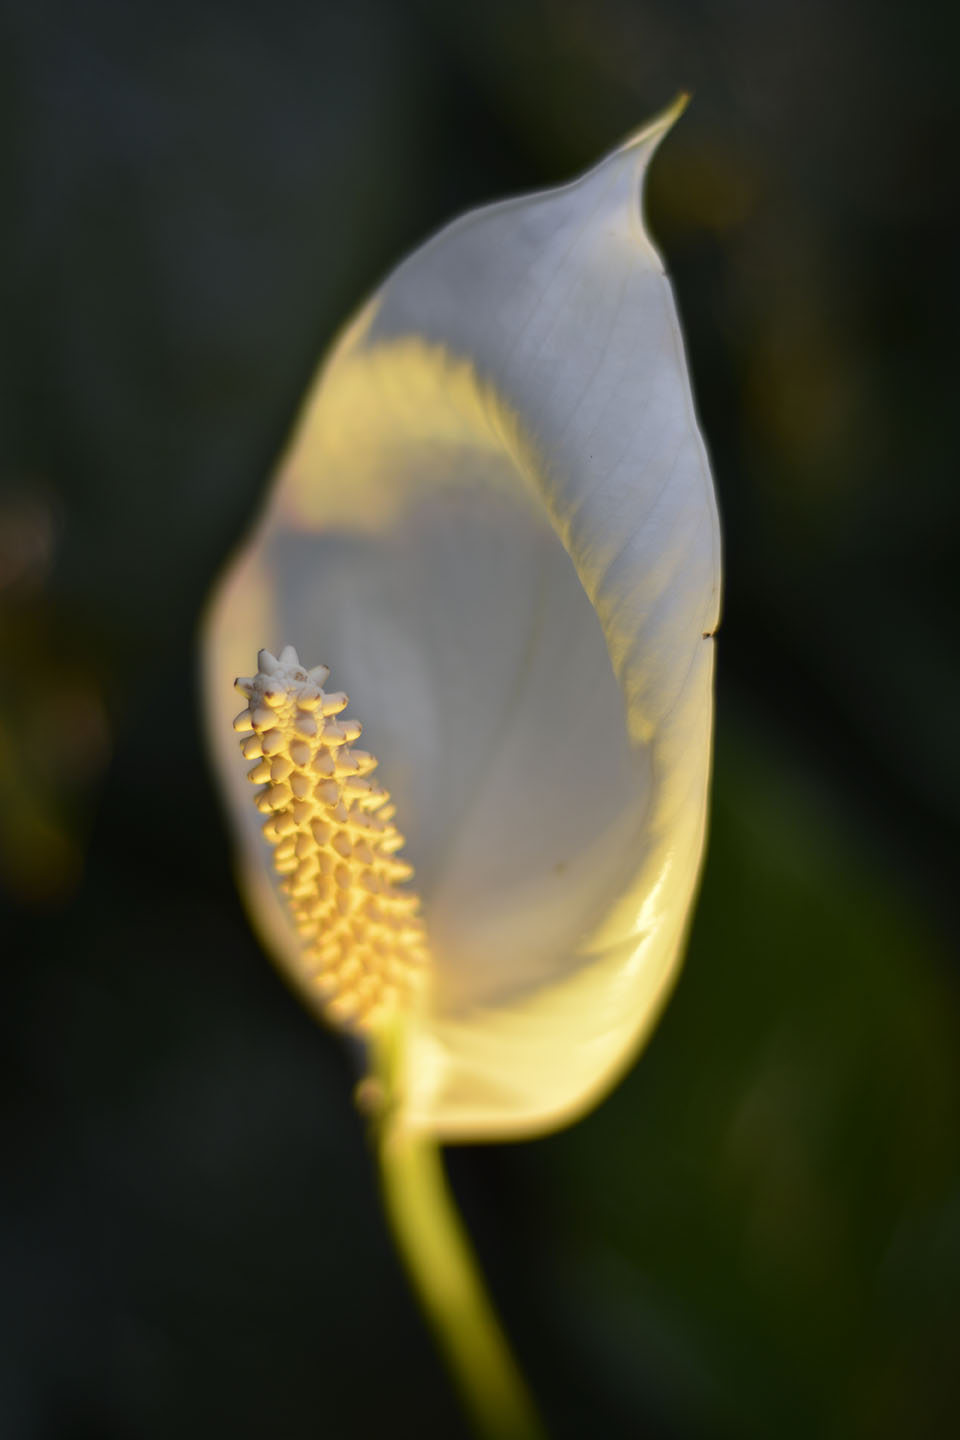
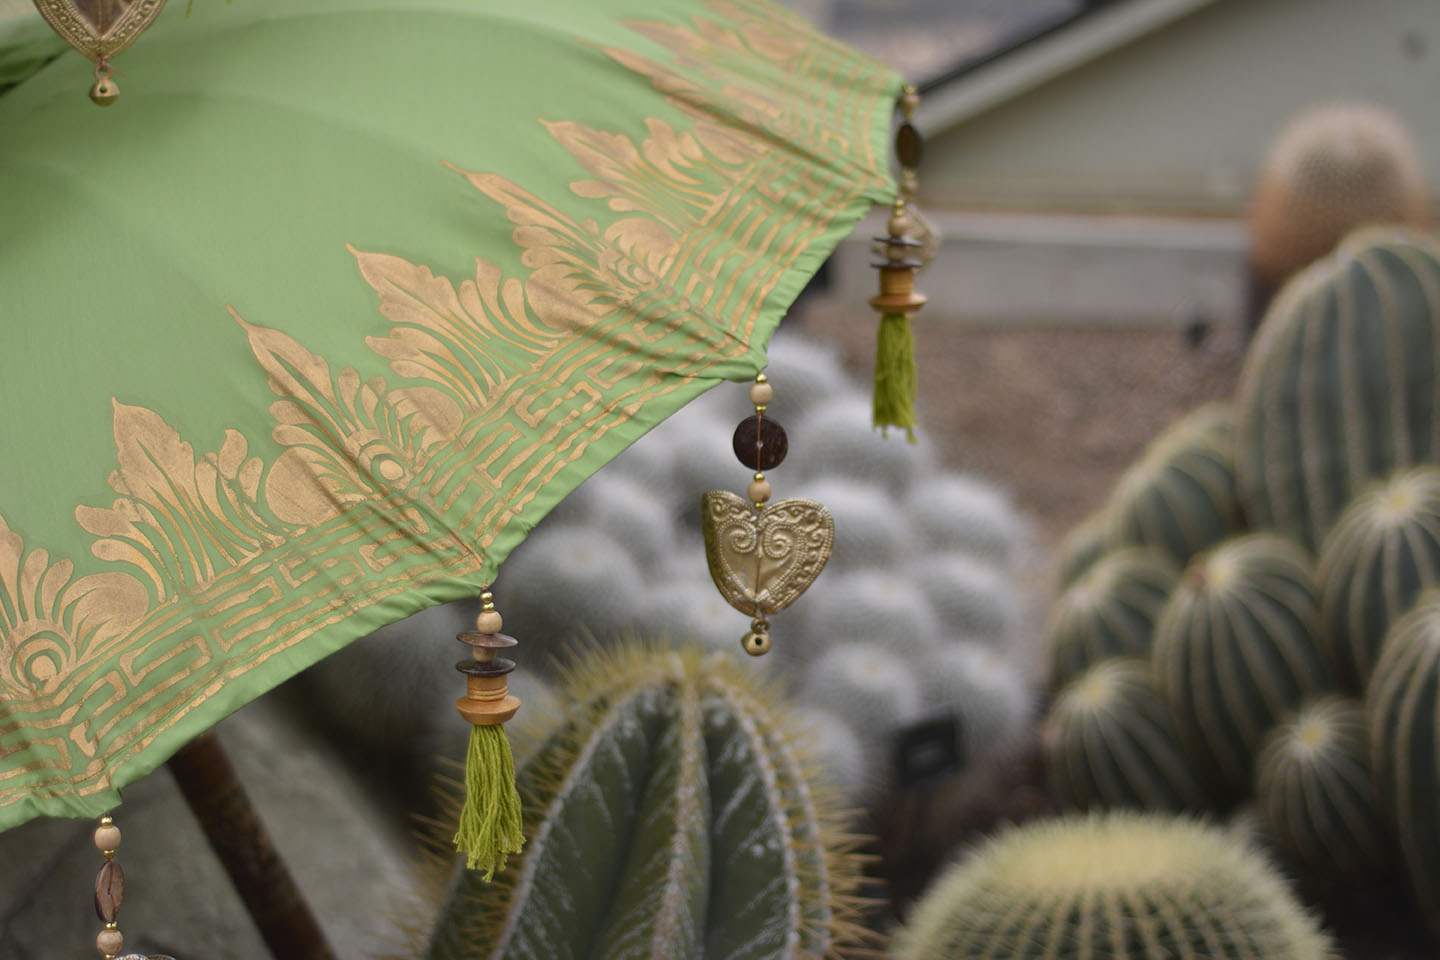
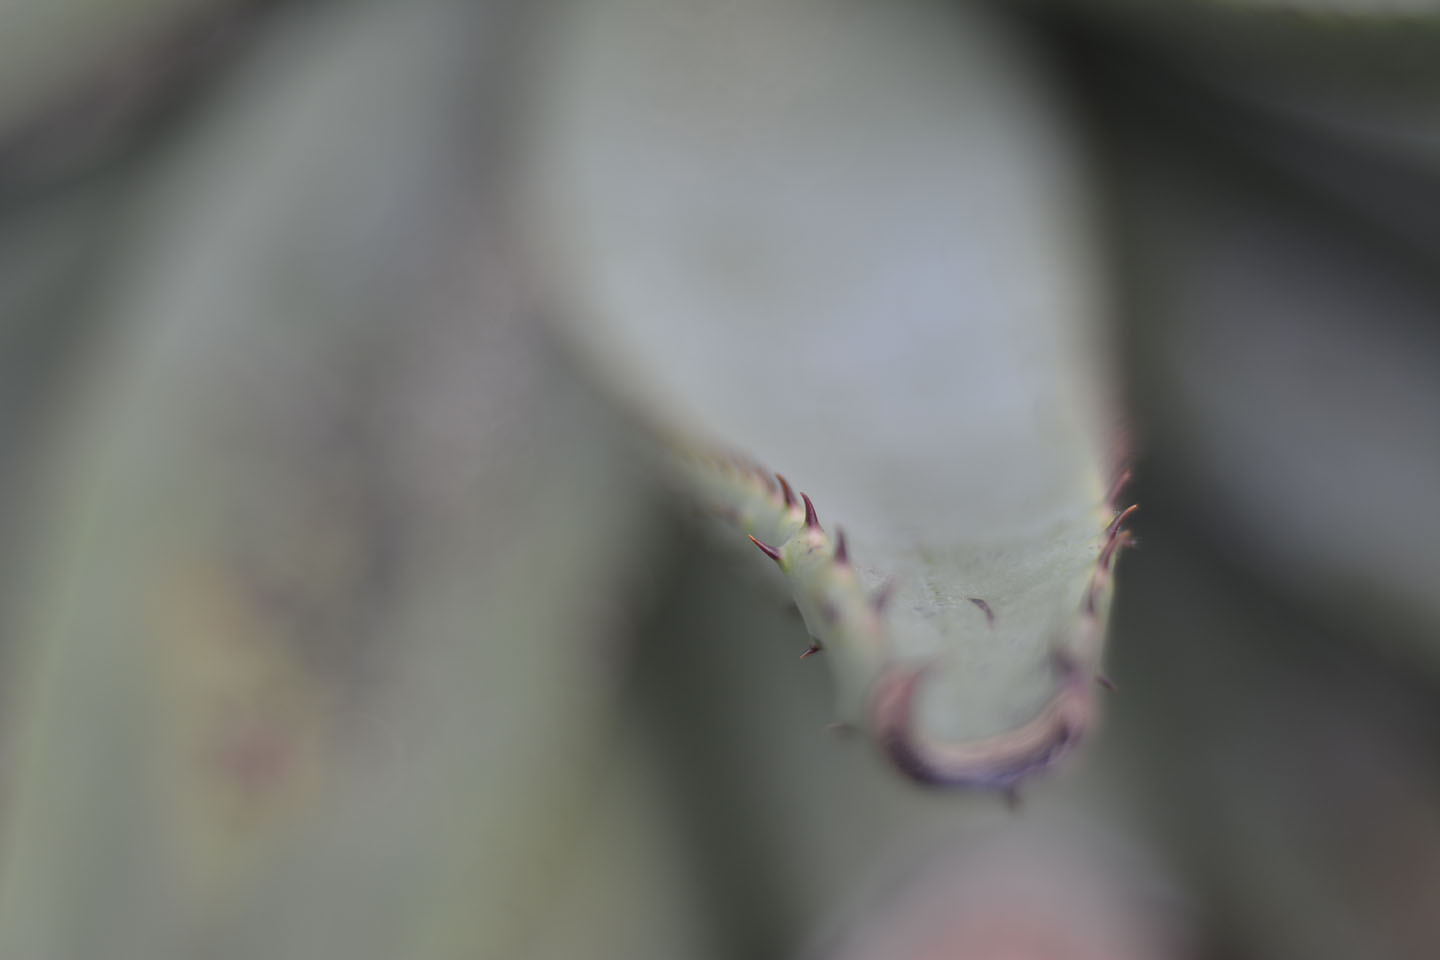
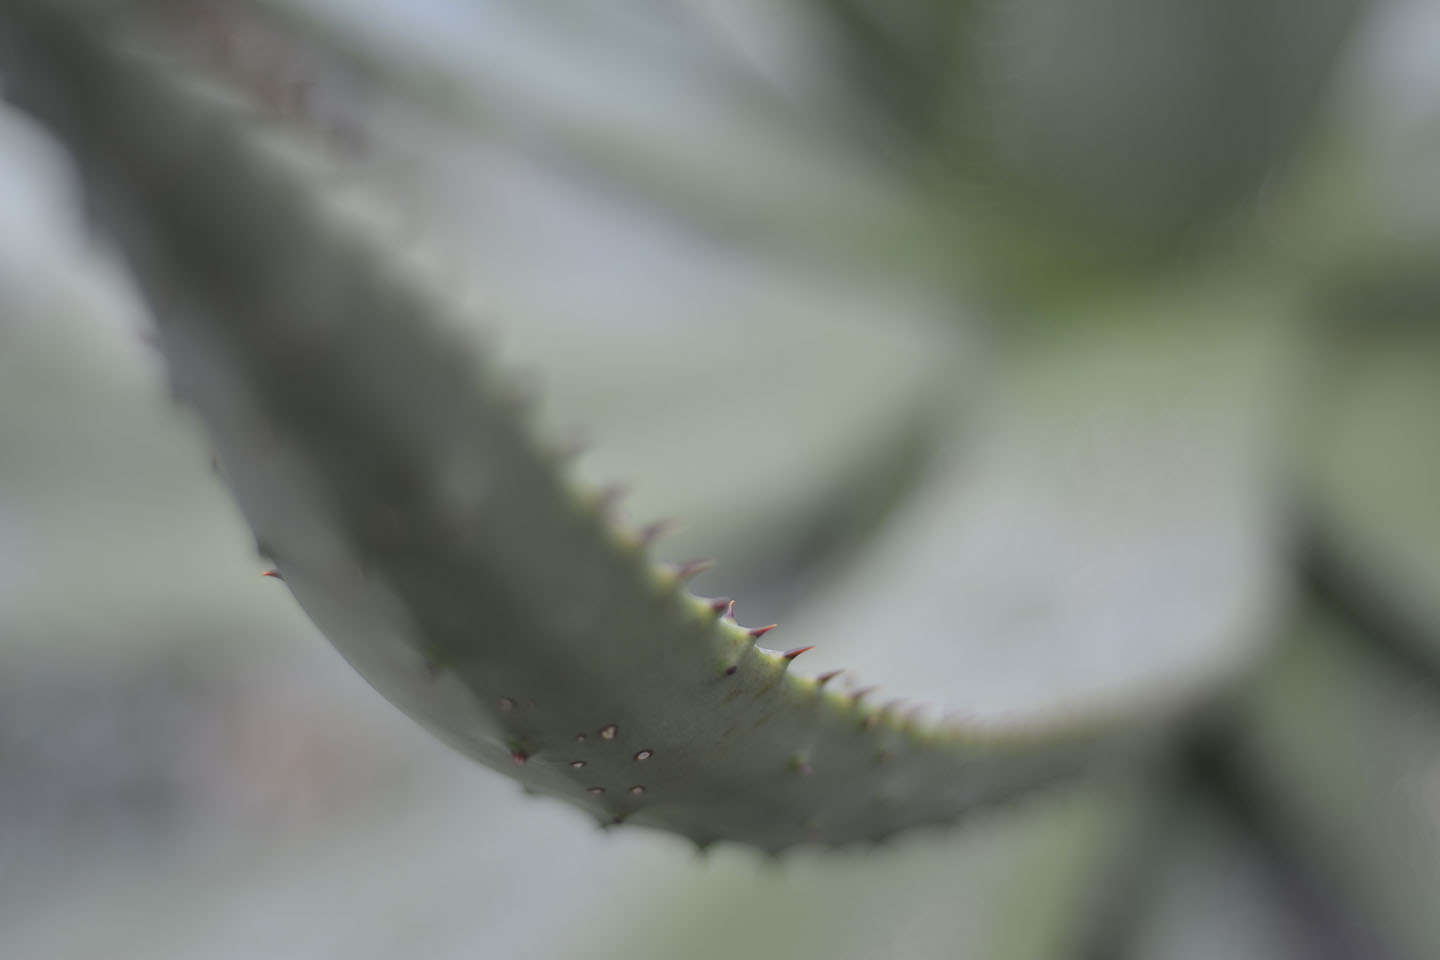
Keeping my Aperture on F stop 1.8 meant I had a very shallow depth of field. On some of the photographs I took the focus area wasn’t wide enough.
As you can see from the some of the photographs below, most of one flower is in focus and gets blurred towards the edge of the flower. If I had upped the aperture to perhaps 2.8, I may have been able to get in the whole flowerhead.
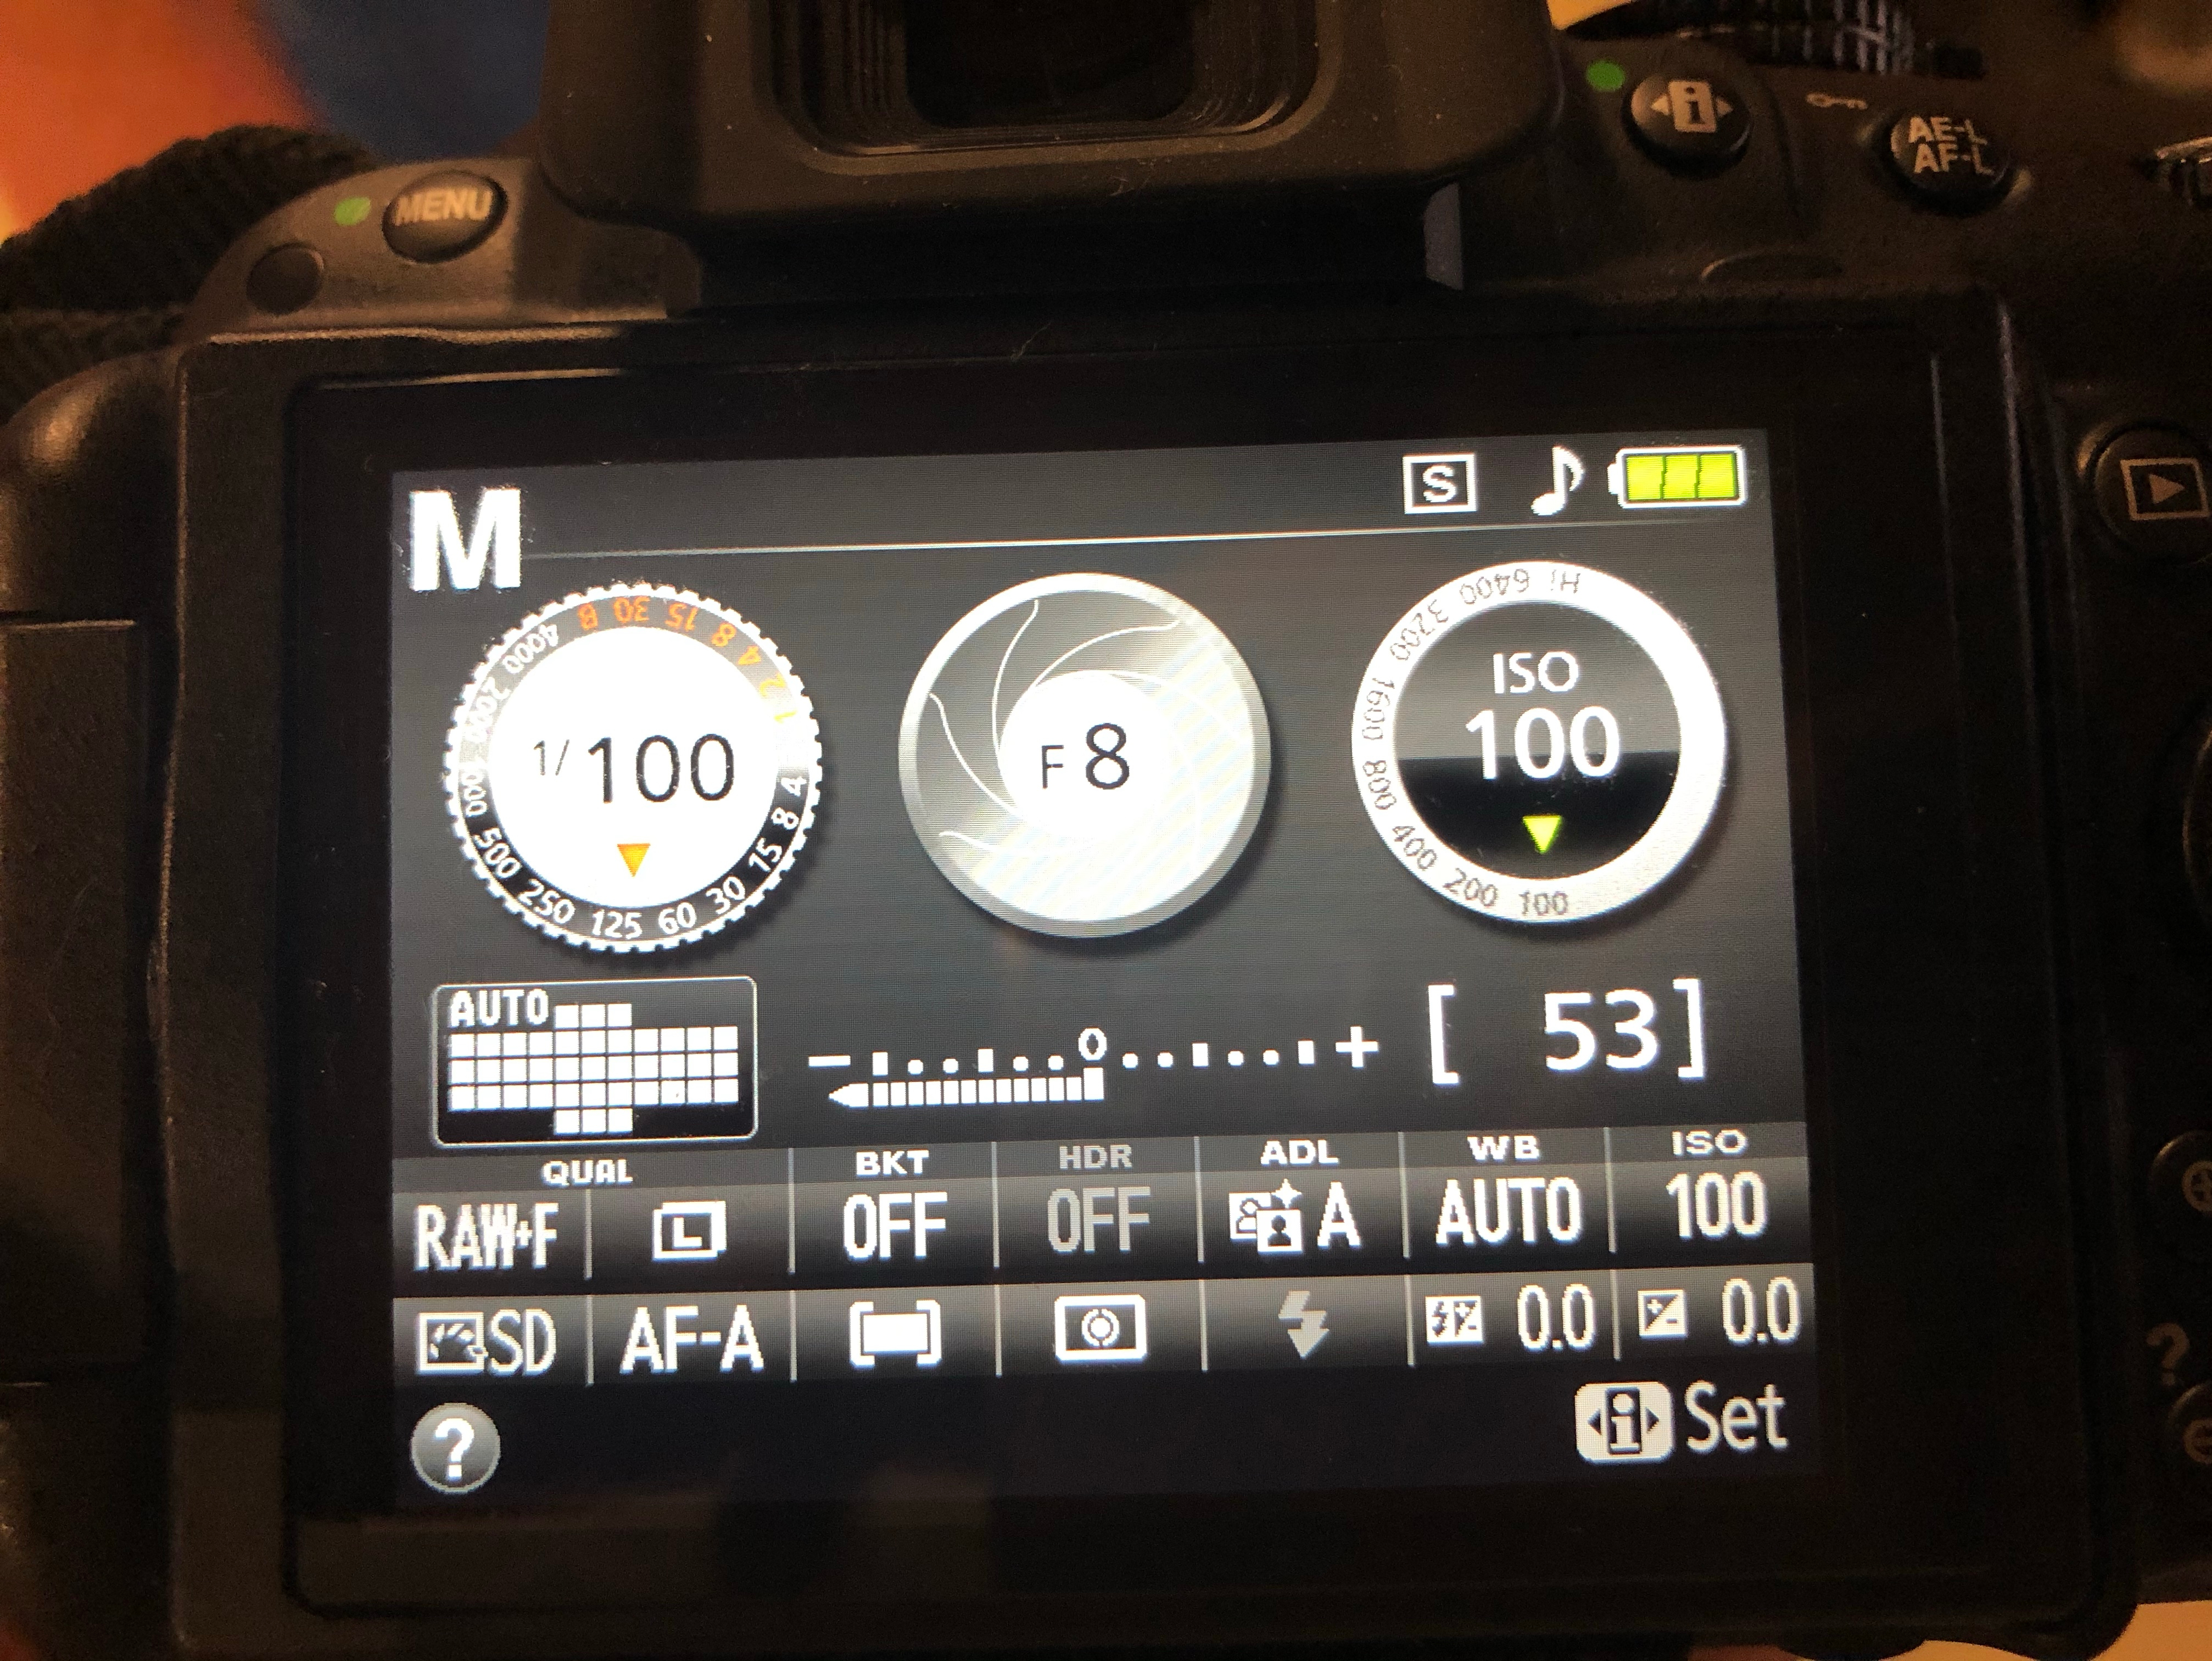
General go to settings when doing a studio shoot are as follows, Shutter Speed 100, F-Stop 8, ISO 100. After finding and setting your correct lighting, changing your Aperture will also help with getting a correctly exposed photograph.
Initial camera settings
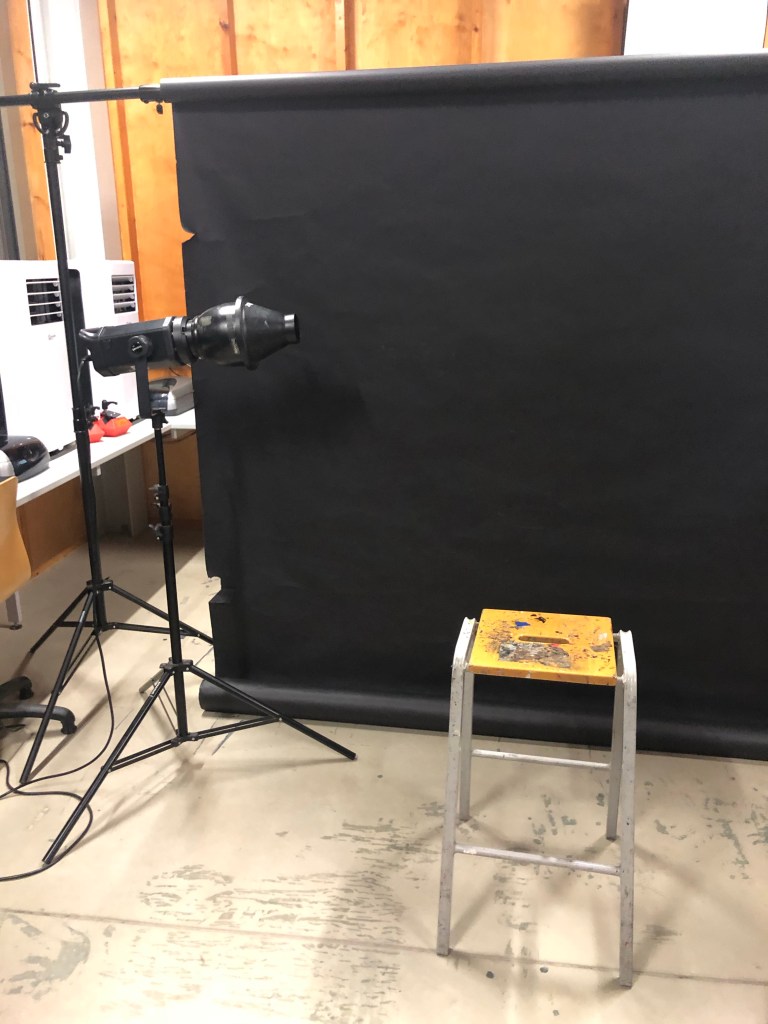
Black Background
For this set up I used a black paper backdrop , one light source and a stall for the model to sit on. (See photo below).
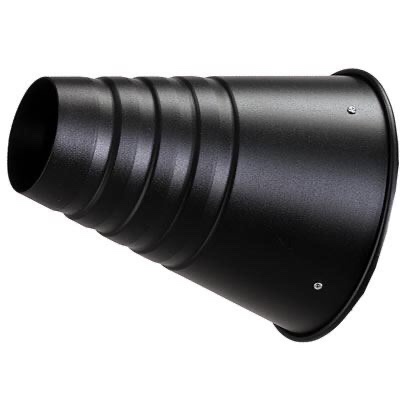
Lighting set up with Snoot attatchment
To achieve a harsh light, source I have added a snoot attachment to the modelling lamp. This has a smaller opening which controls the beam of light, ideal for directing the light on specific areas.
Snoot attachment
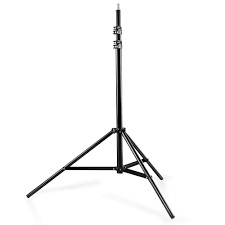
In a studio set up, most lights are suspended from the ceiling on pantographs. However if this is not available to you, or you wish to make a studio set up, most modelling lamps or flashguns can be mounted on a suitable tripod with an adapter. The hazard with using a tripod is tripping over. The lead and the legs can cause this, so make sure excess wires are taped down and tripods positioned safely.
Tripod
These three photographs below show the key light gradually getting brighter with each picture. Starting at a low light level of number 1 until the desired lighting level is reached.
Below the key light is getting to a better strength level of level 4. You need to take test shots to see what to adjust to get the desired effect and a correctly exposed portrait.
Rim Lighting
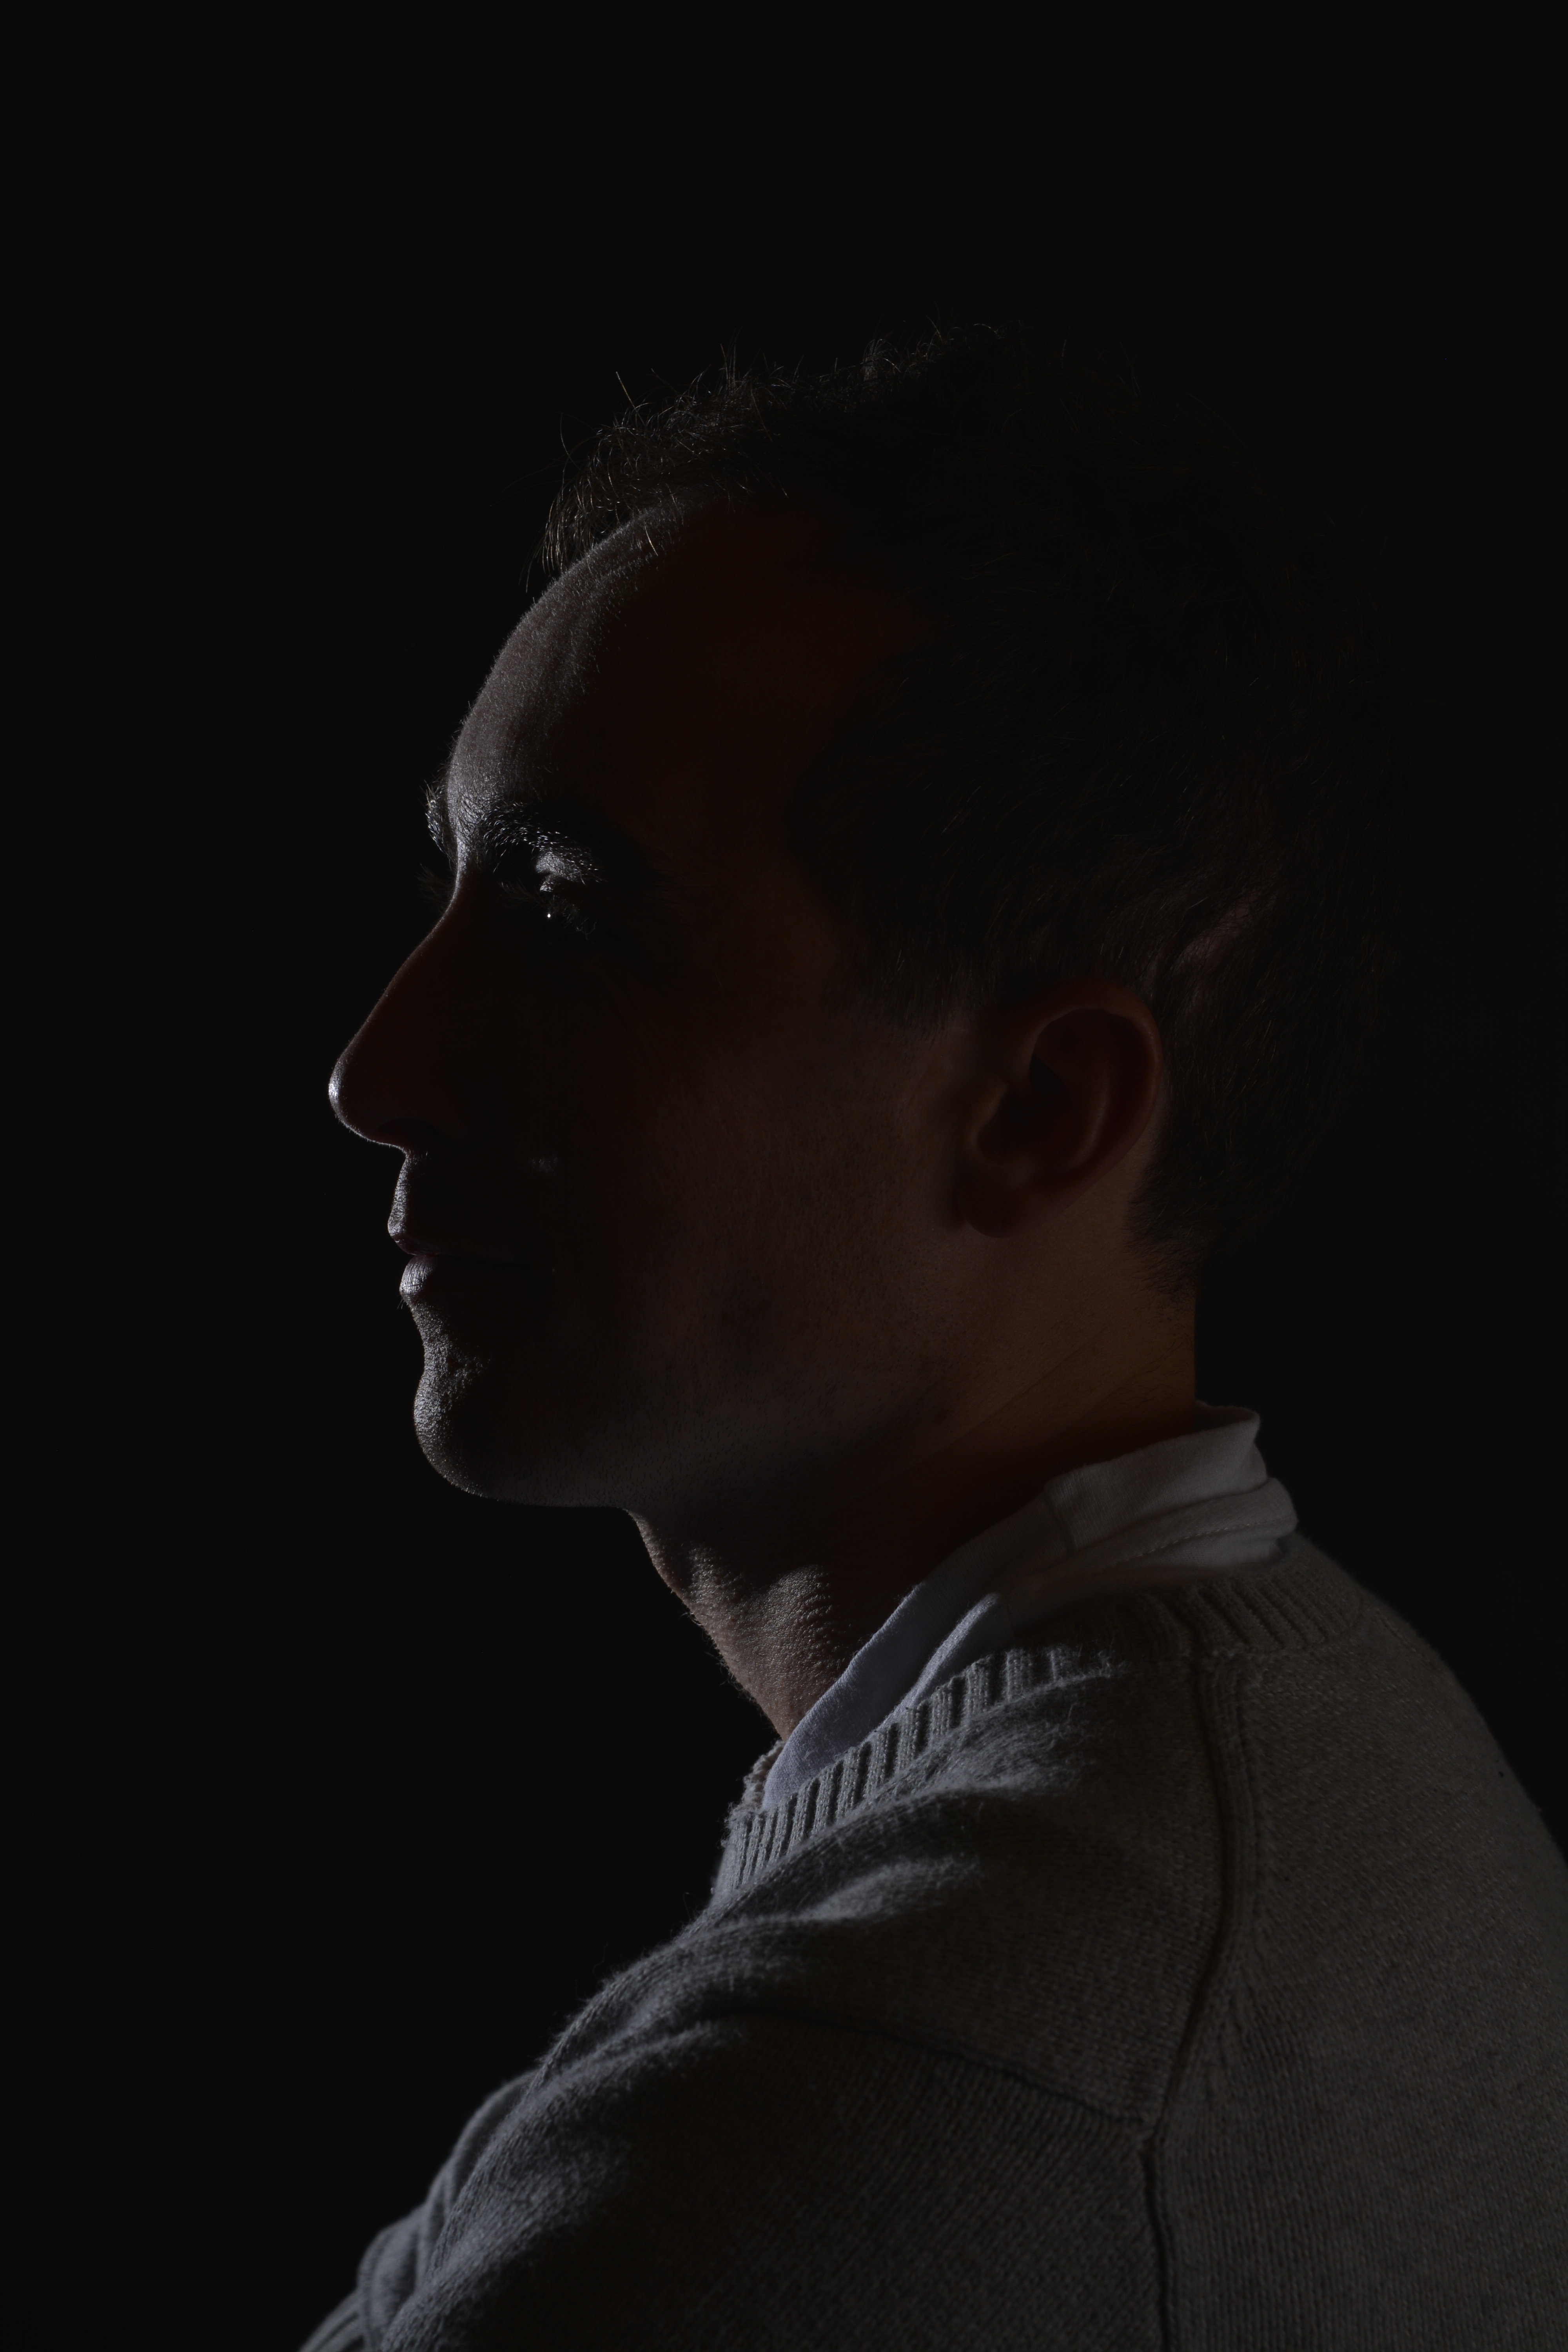
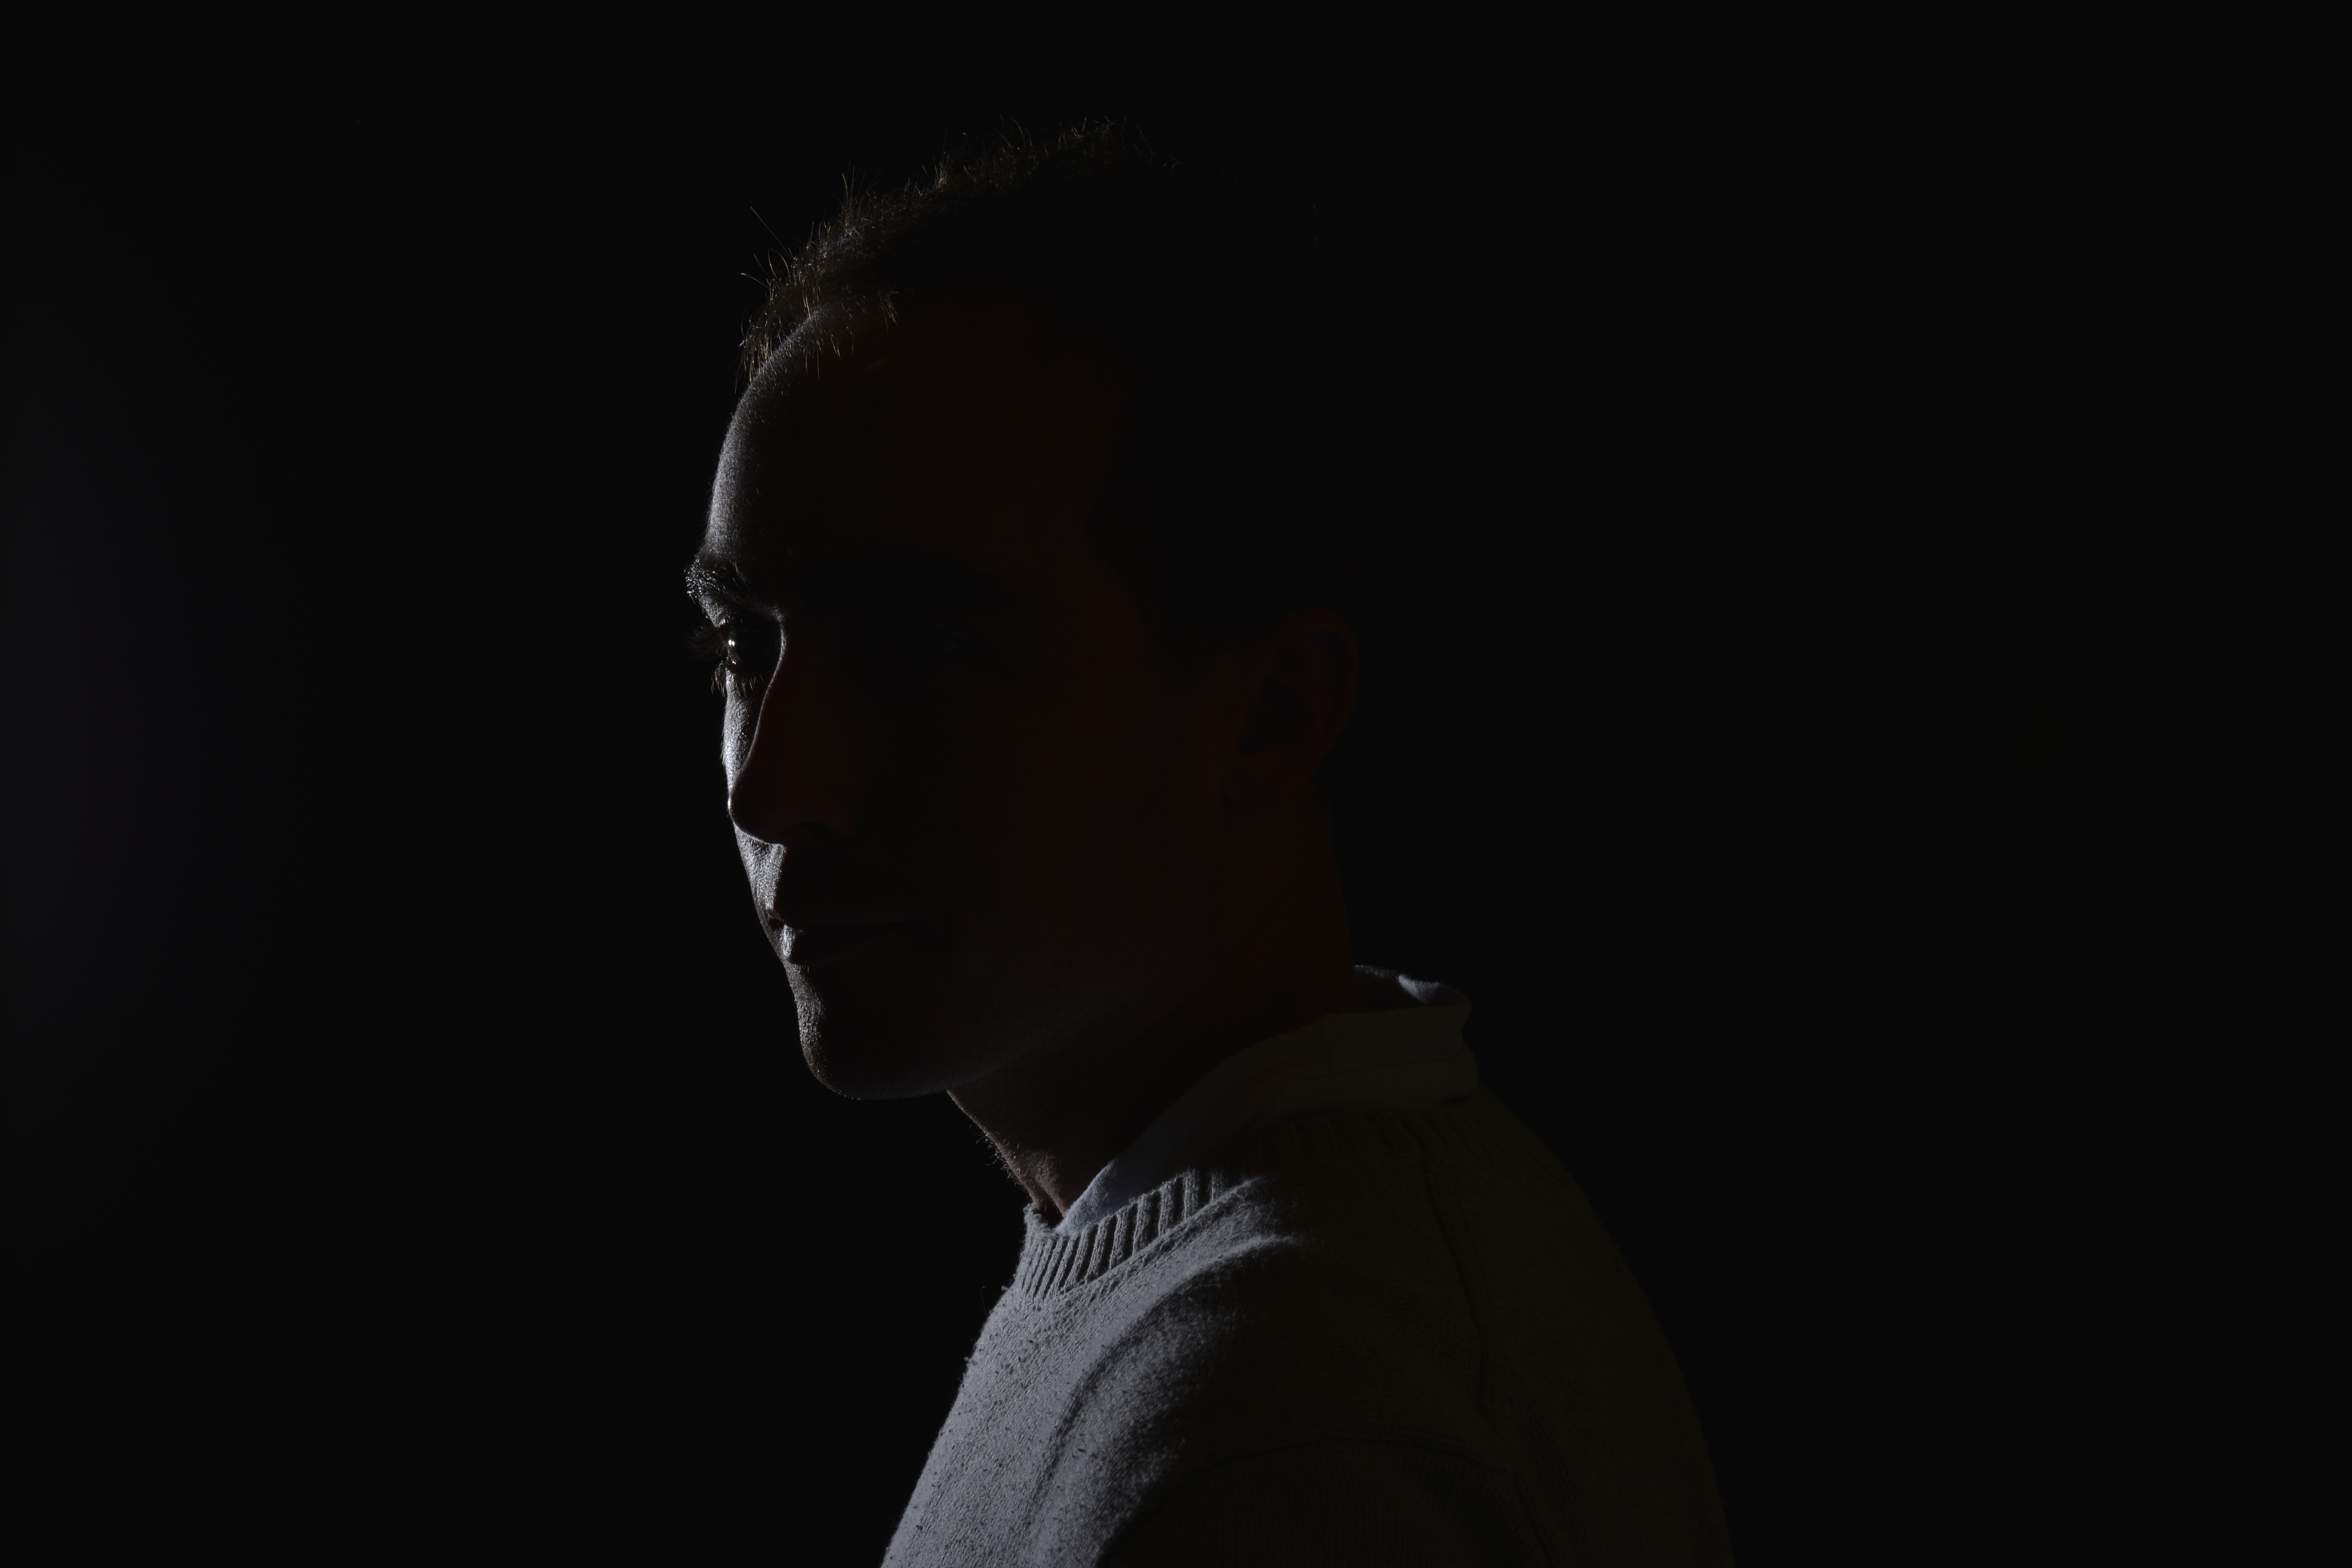
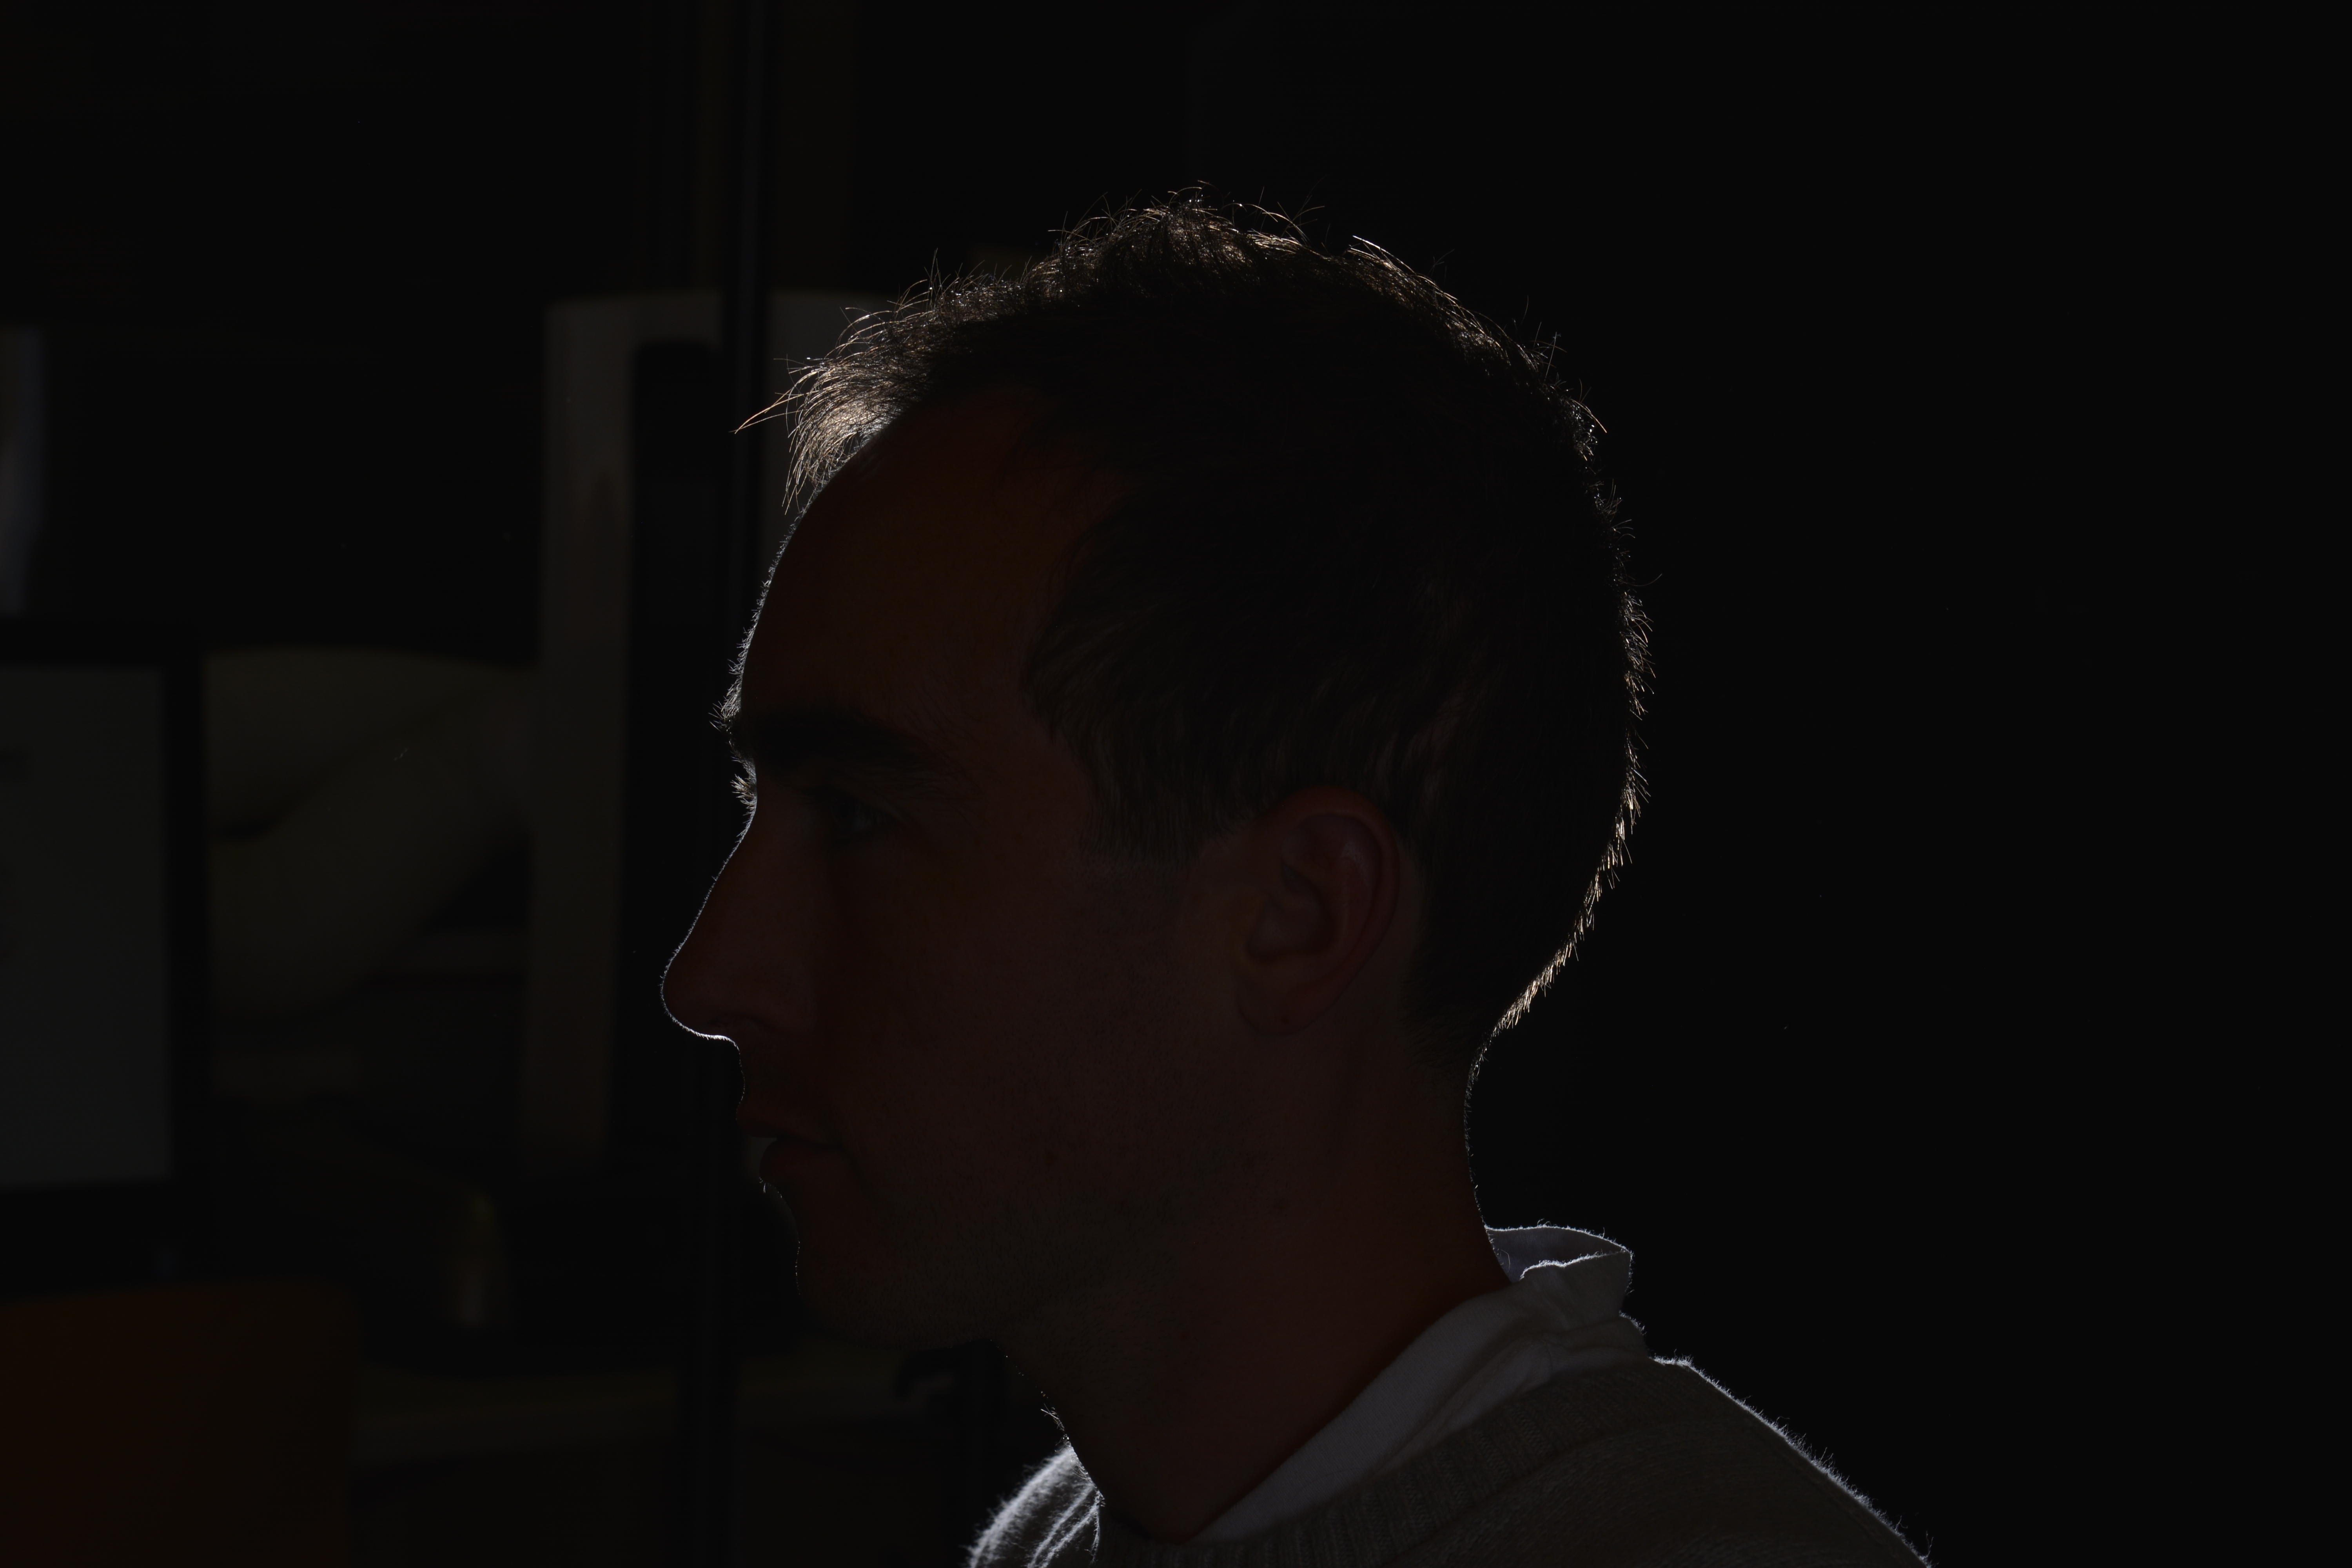
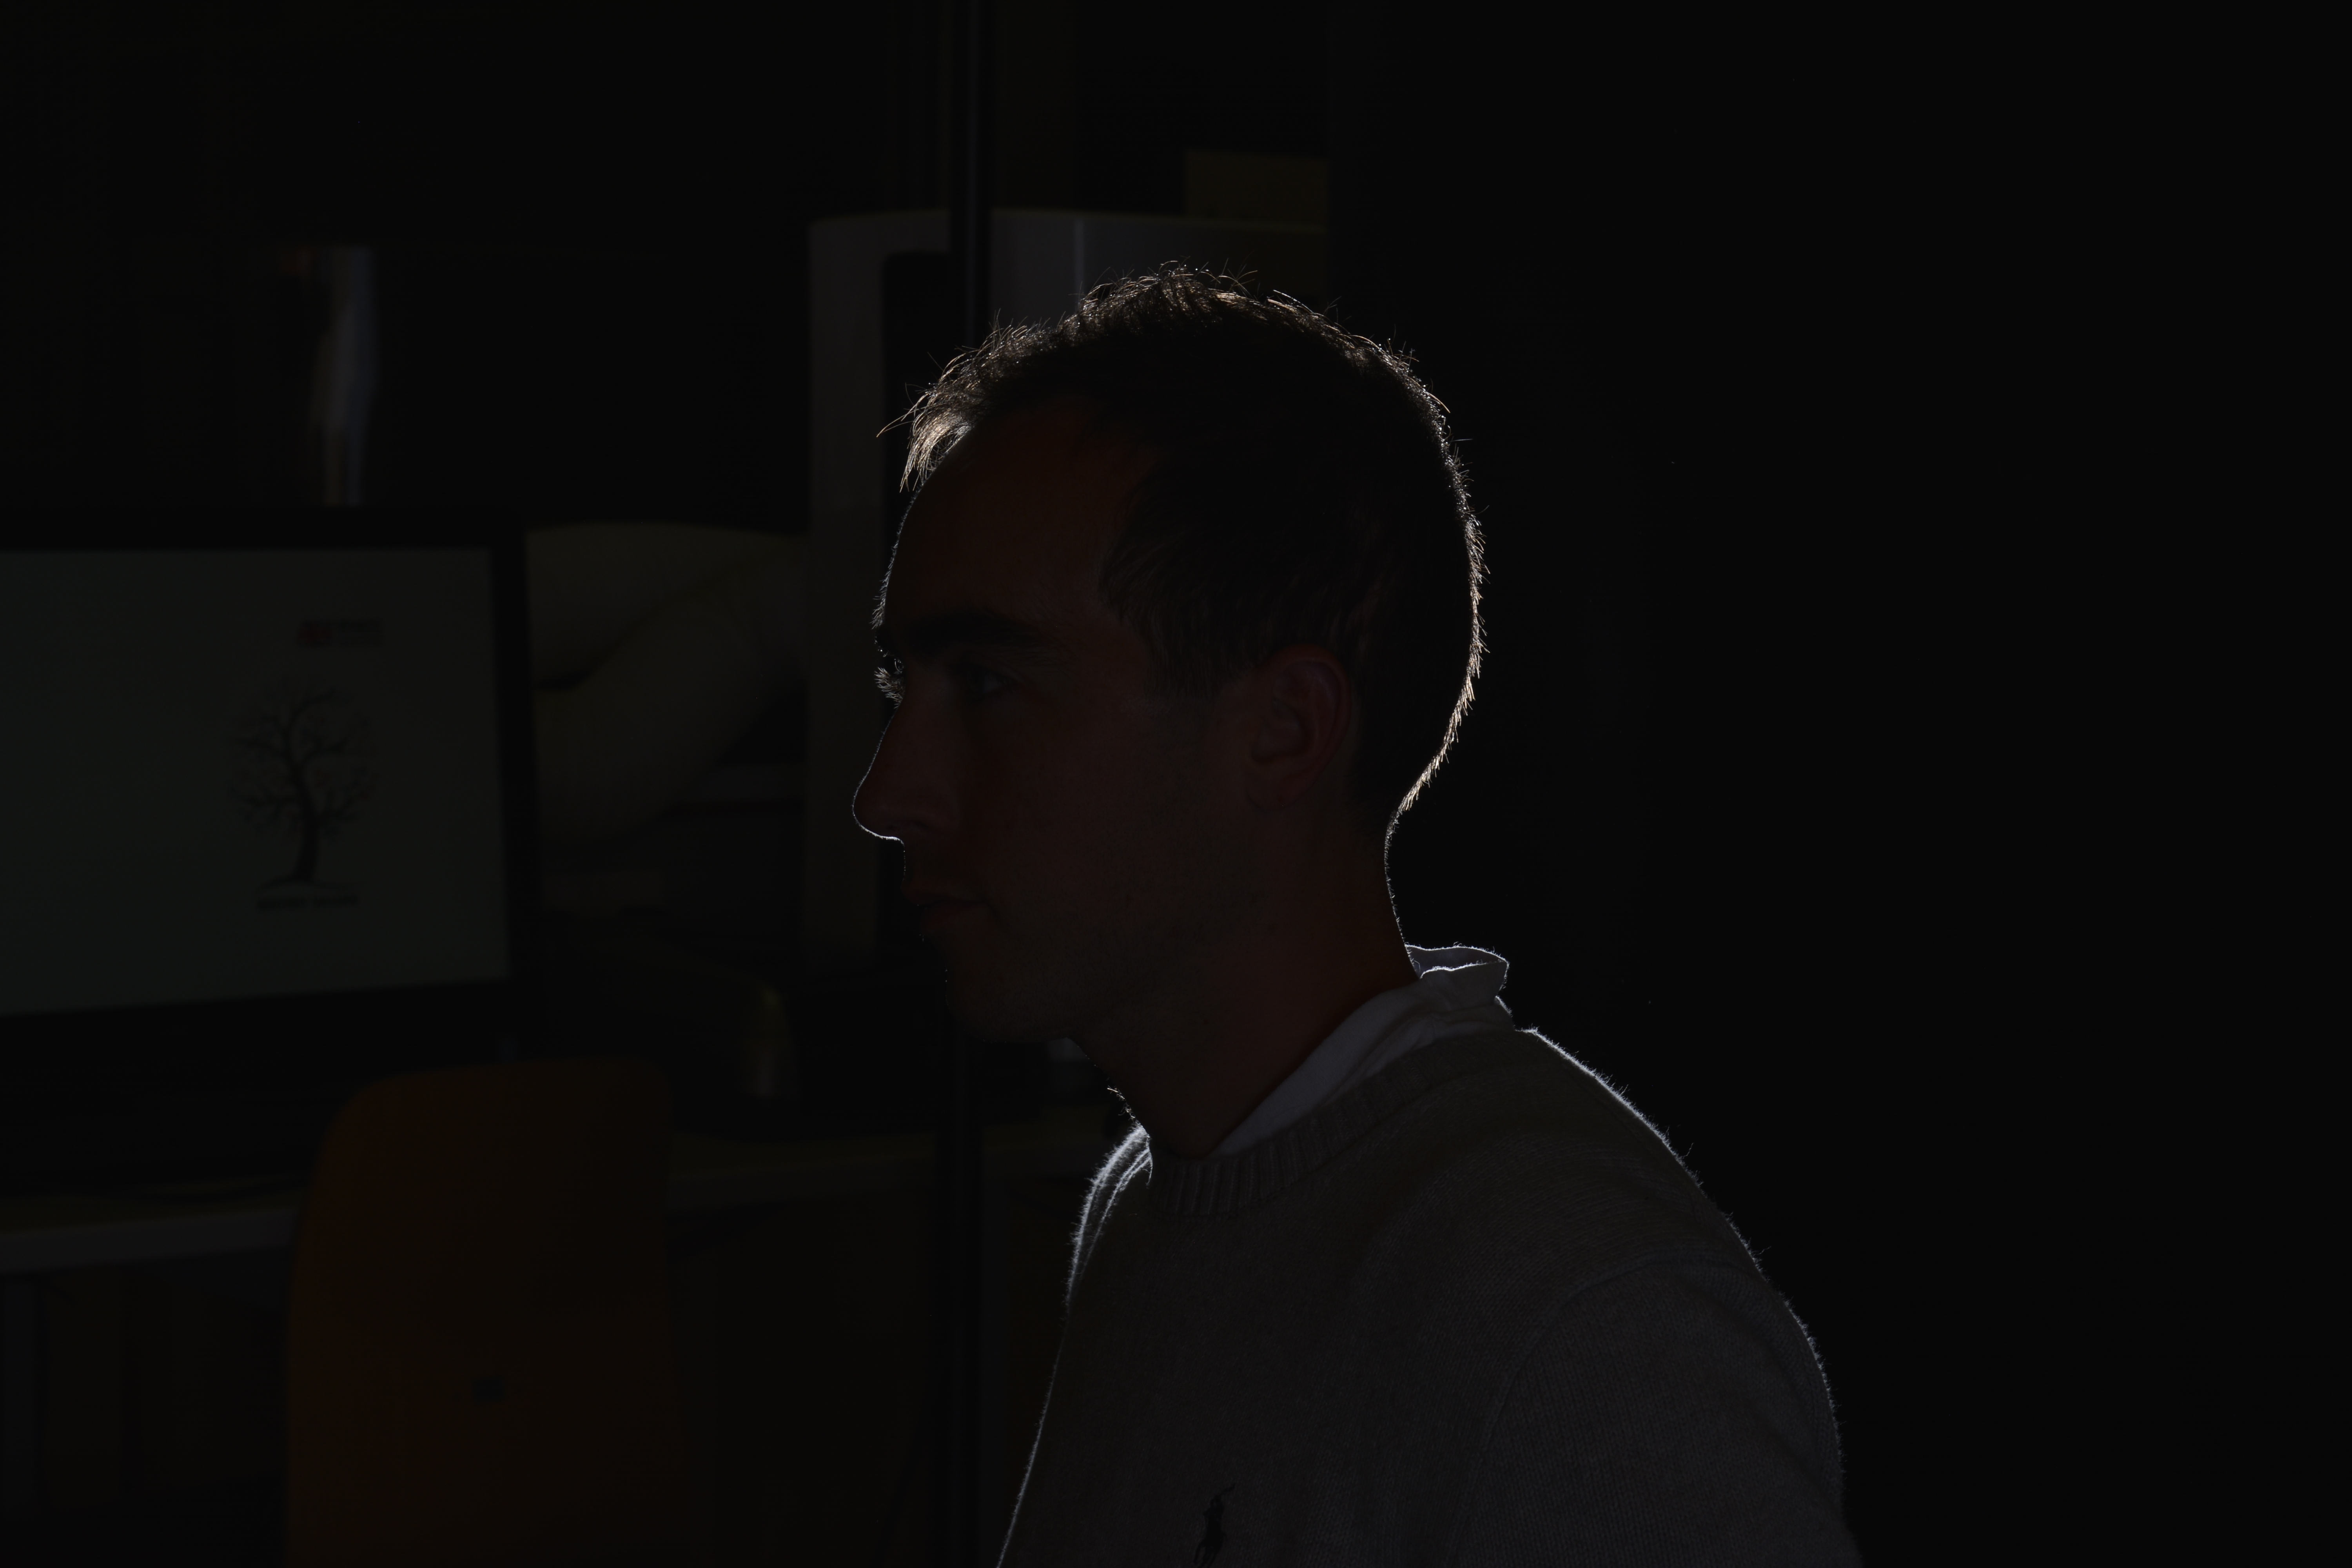
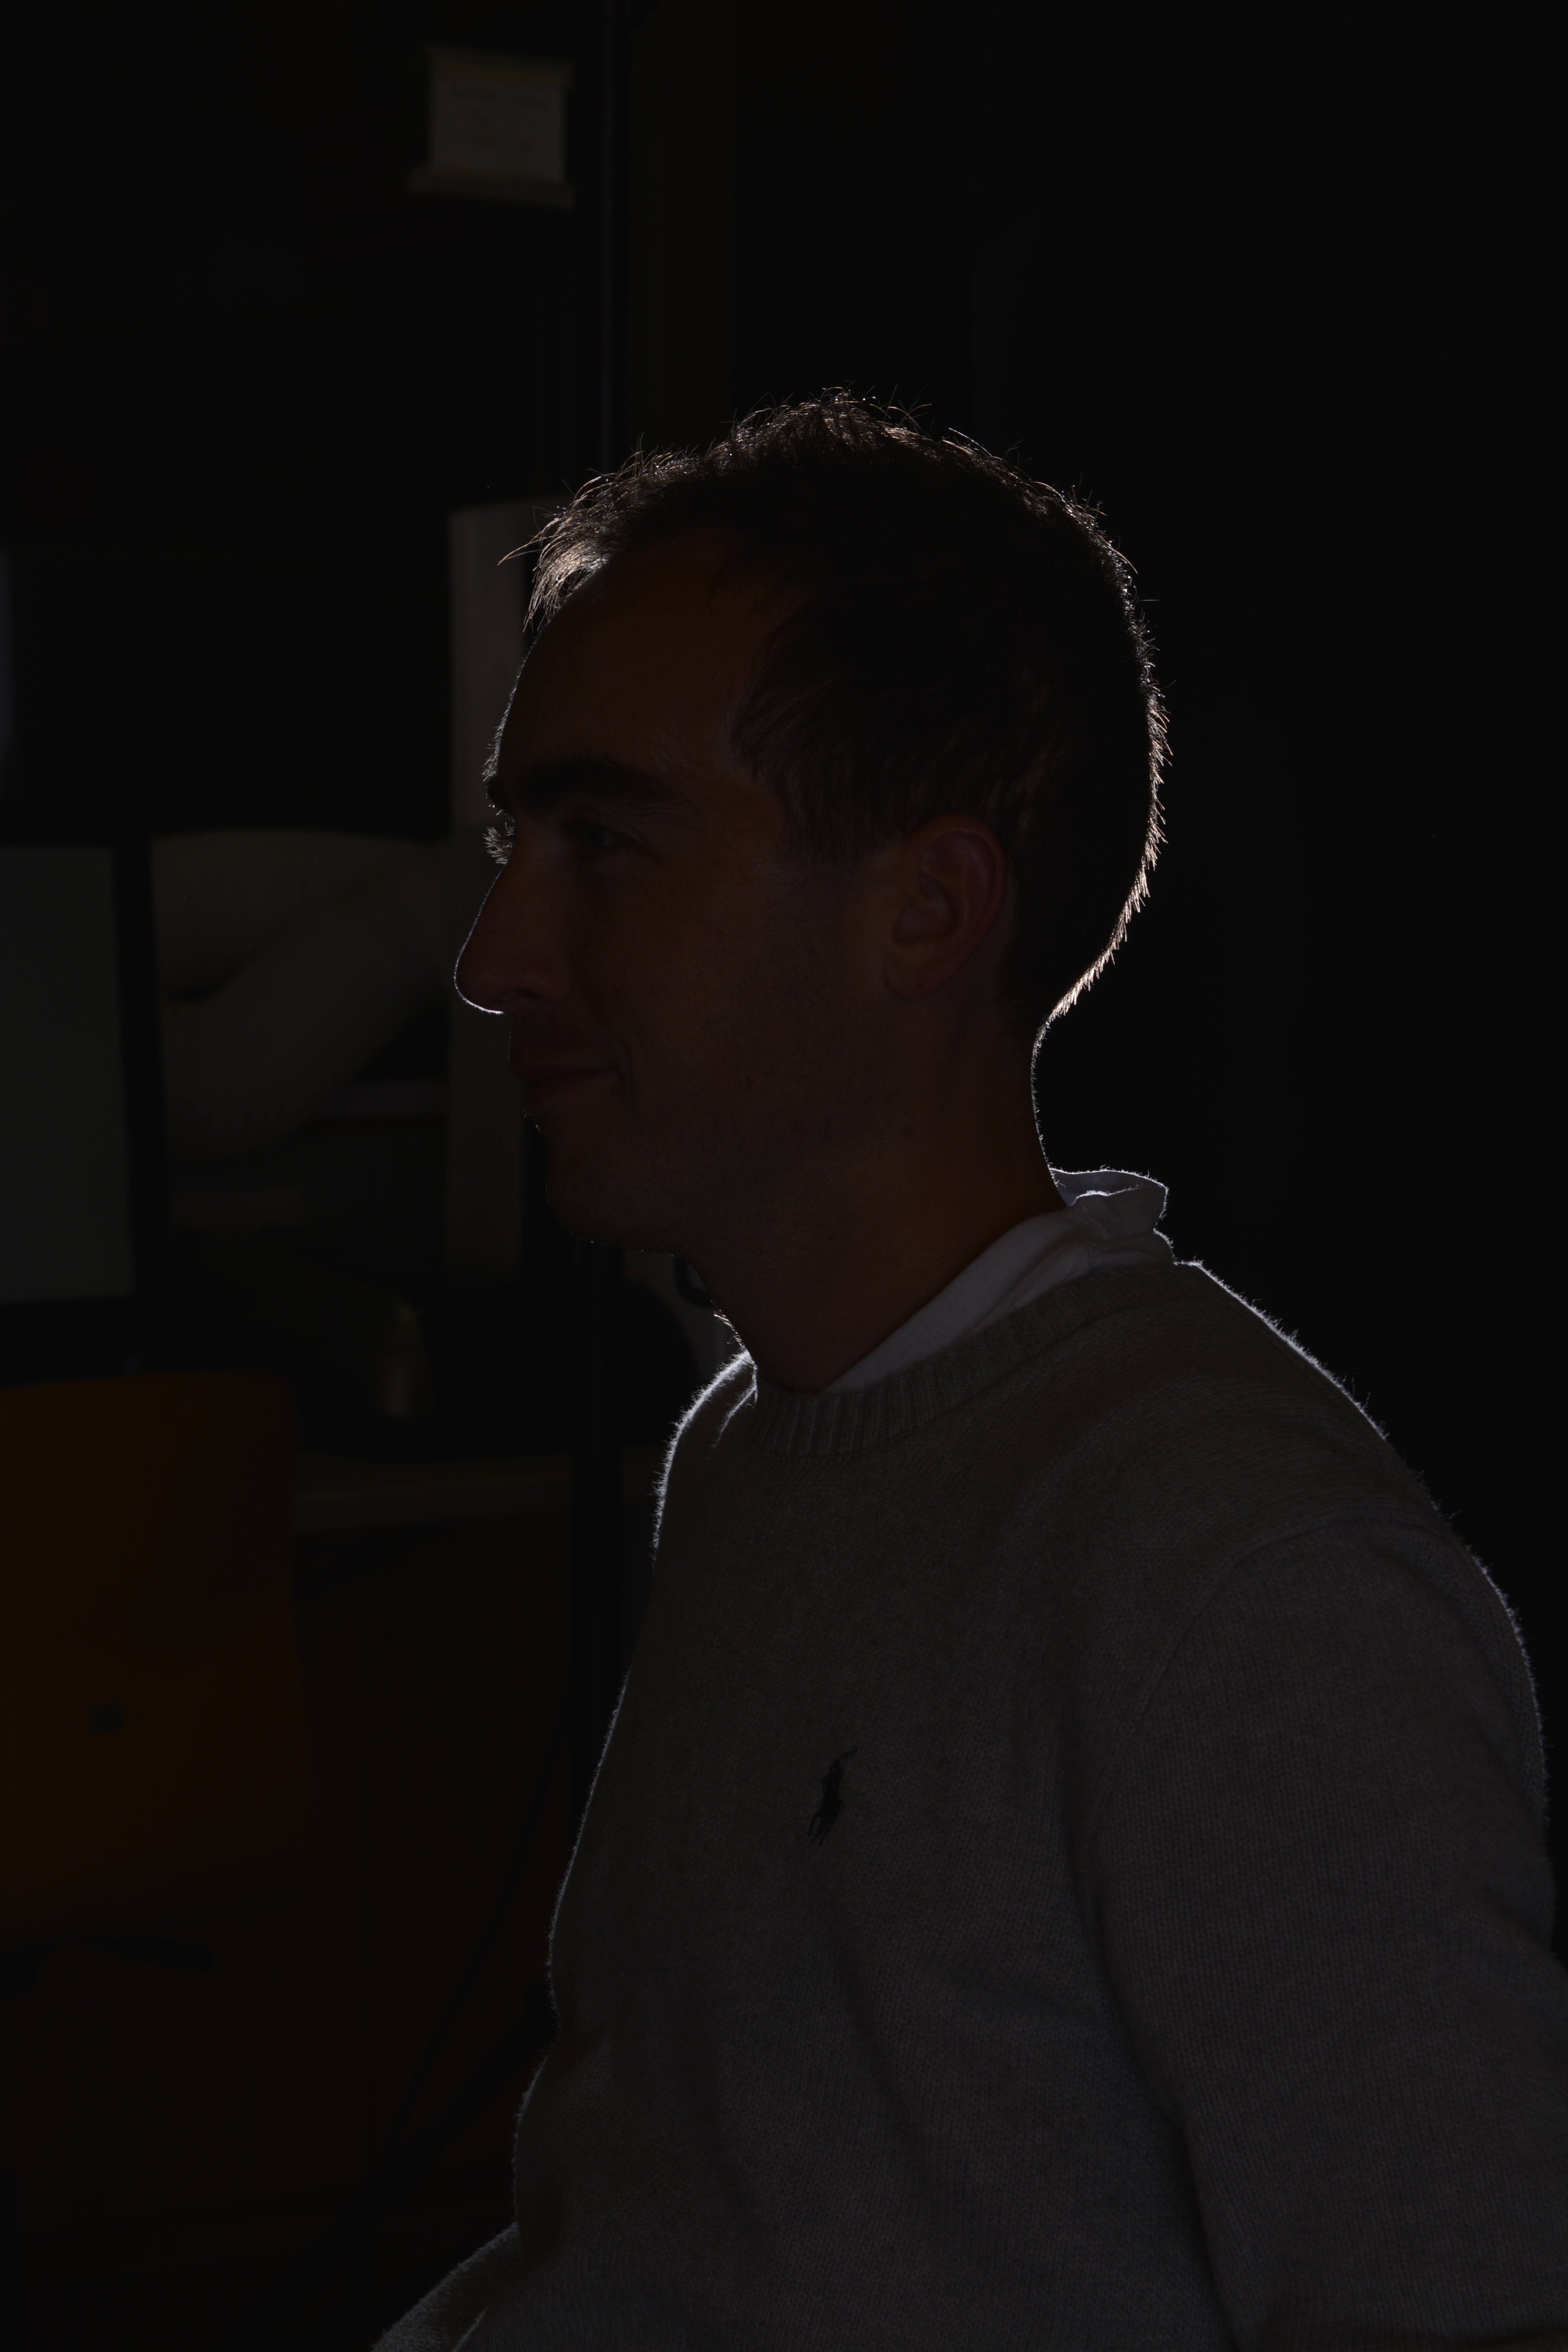
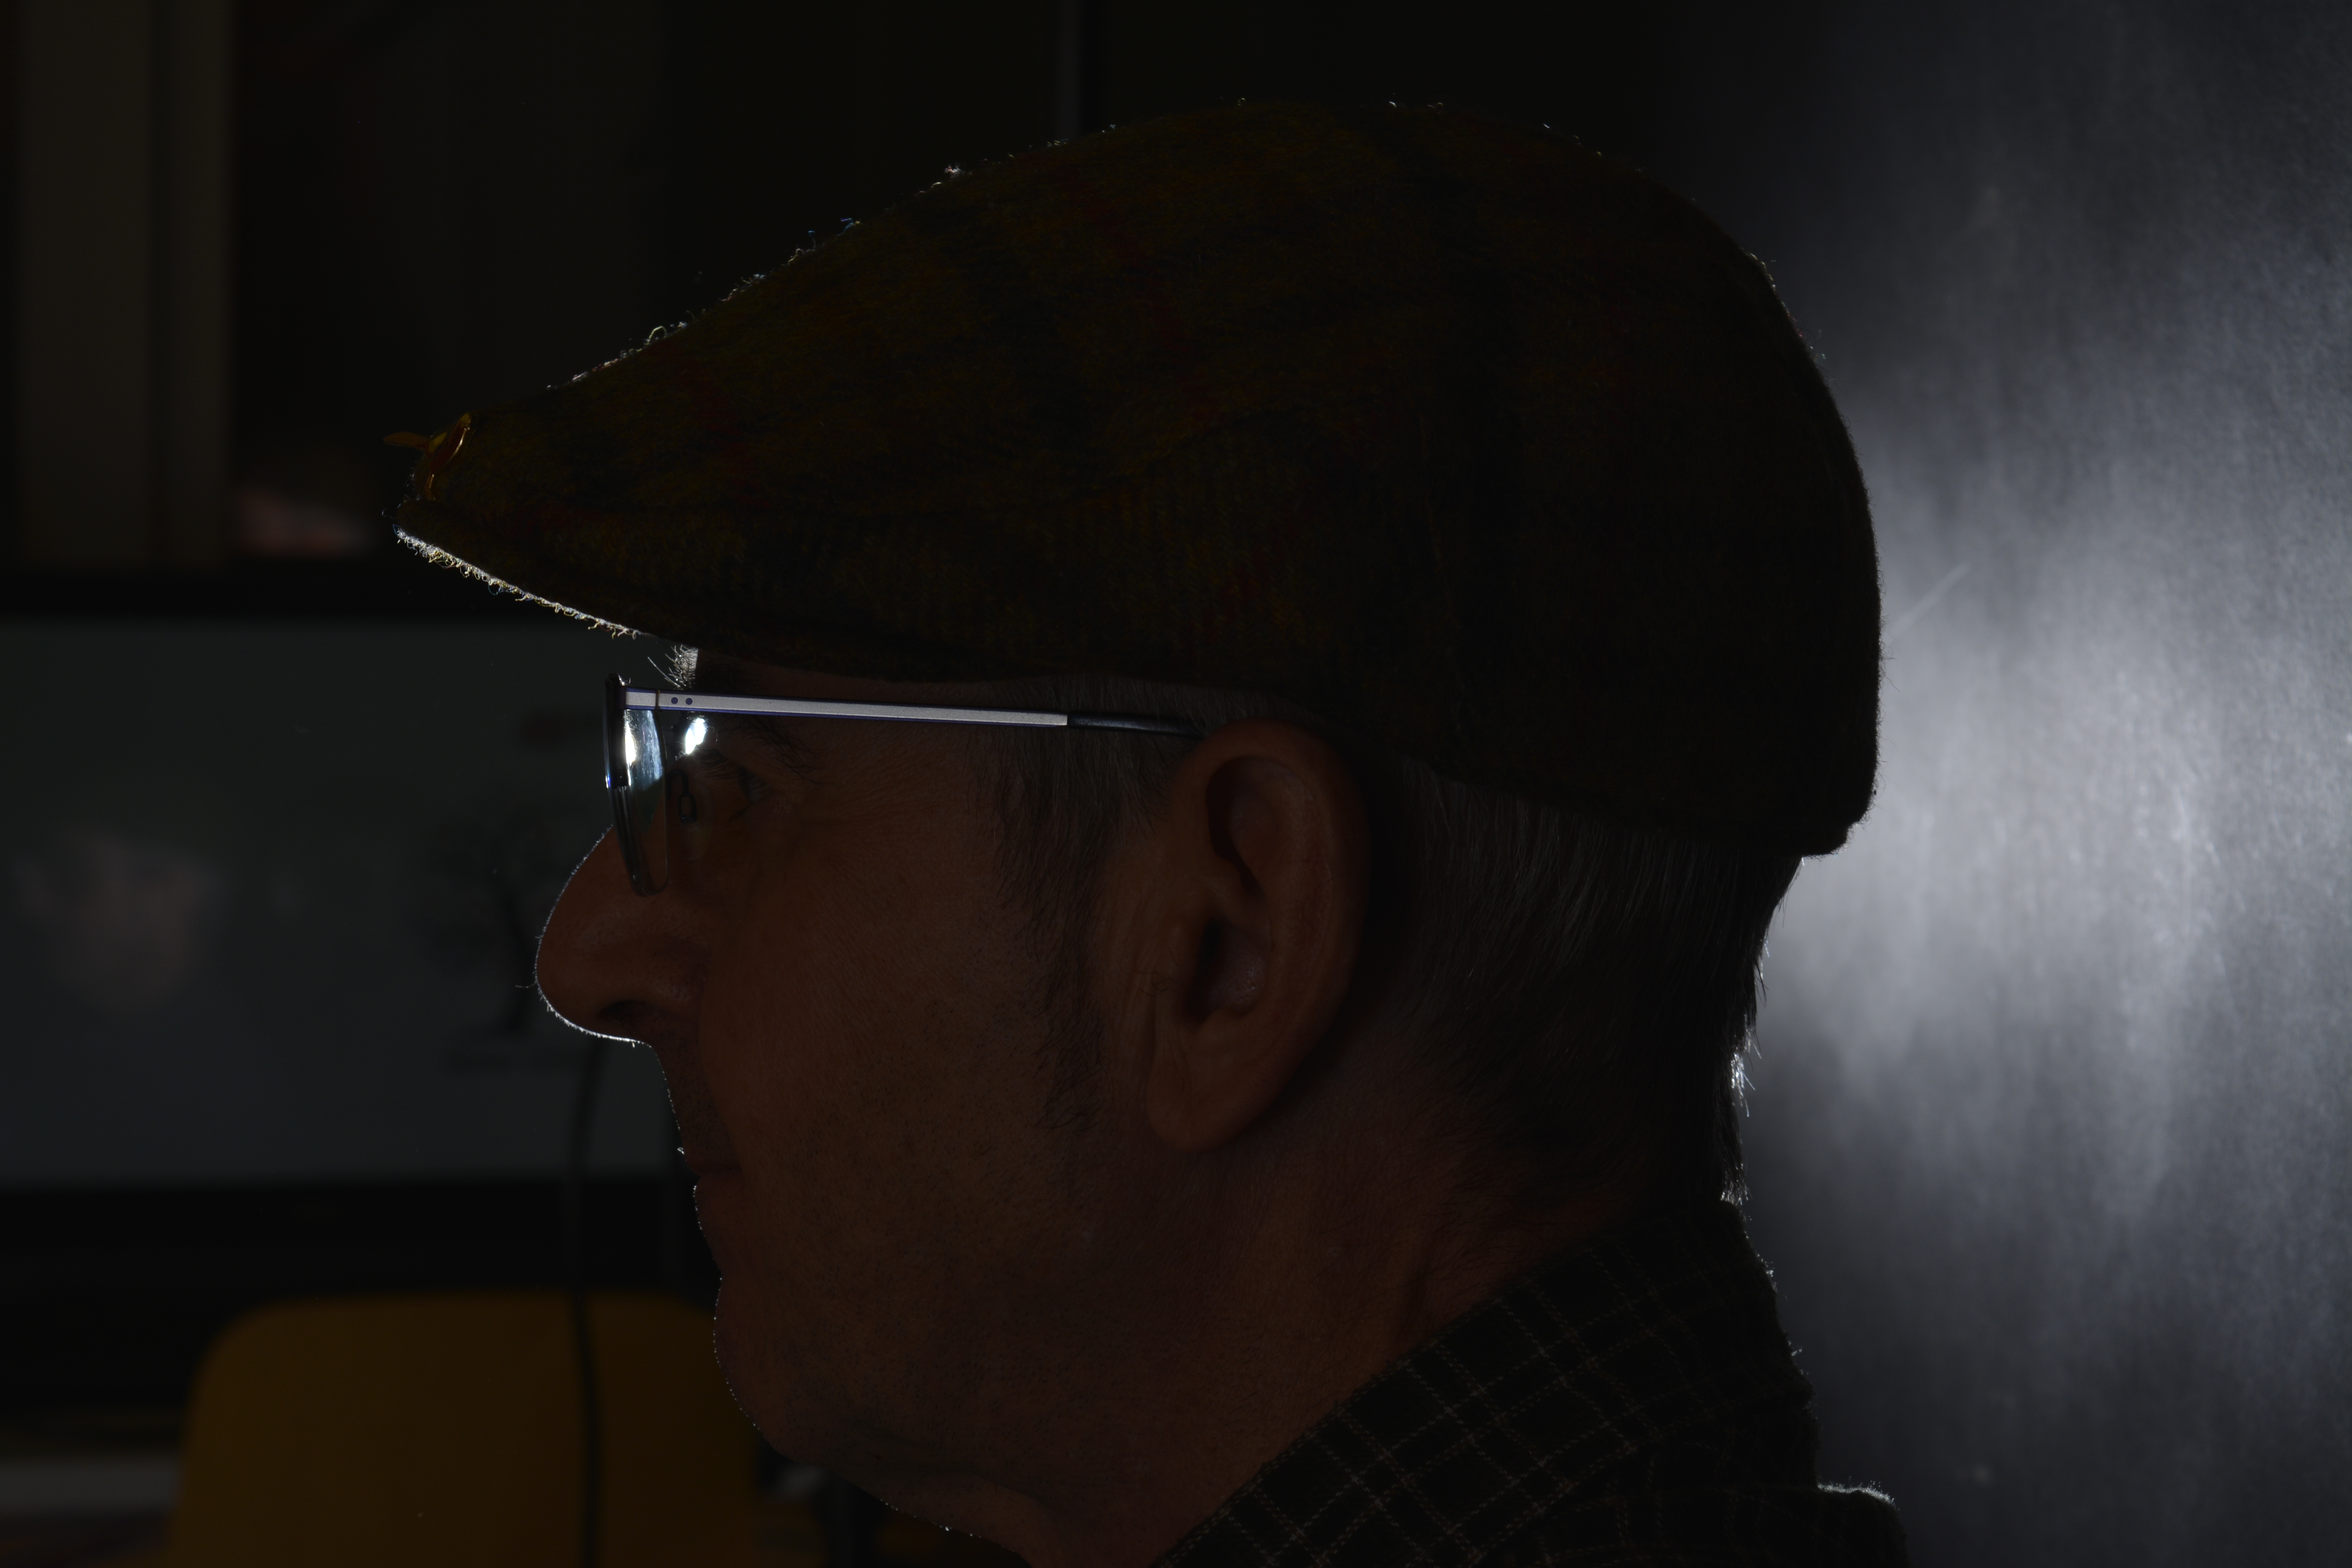
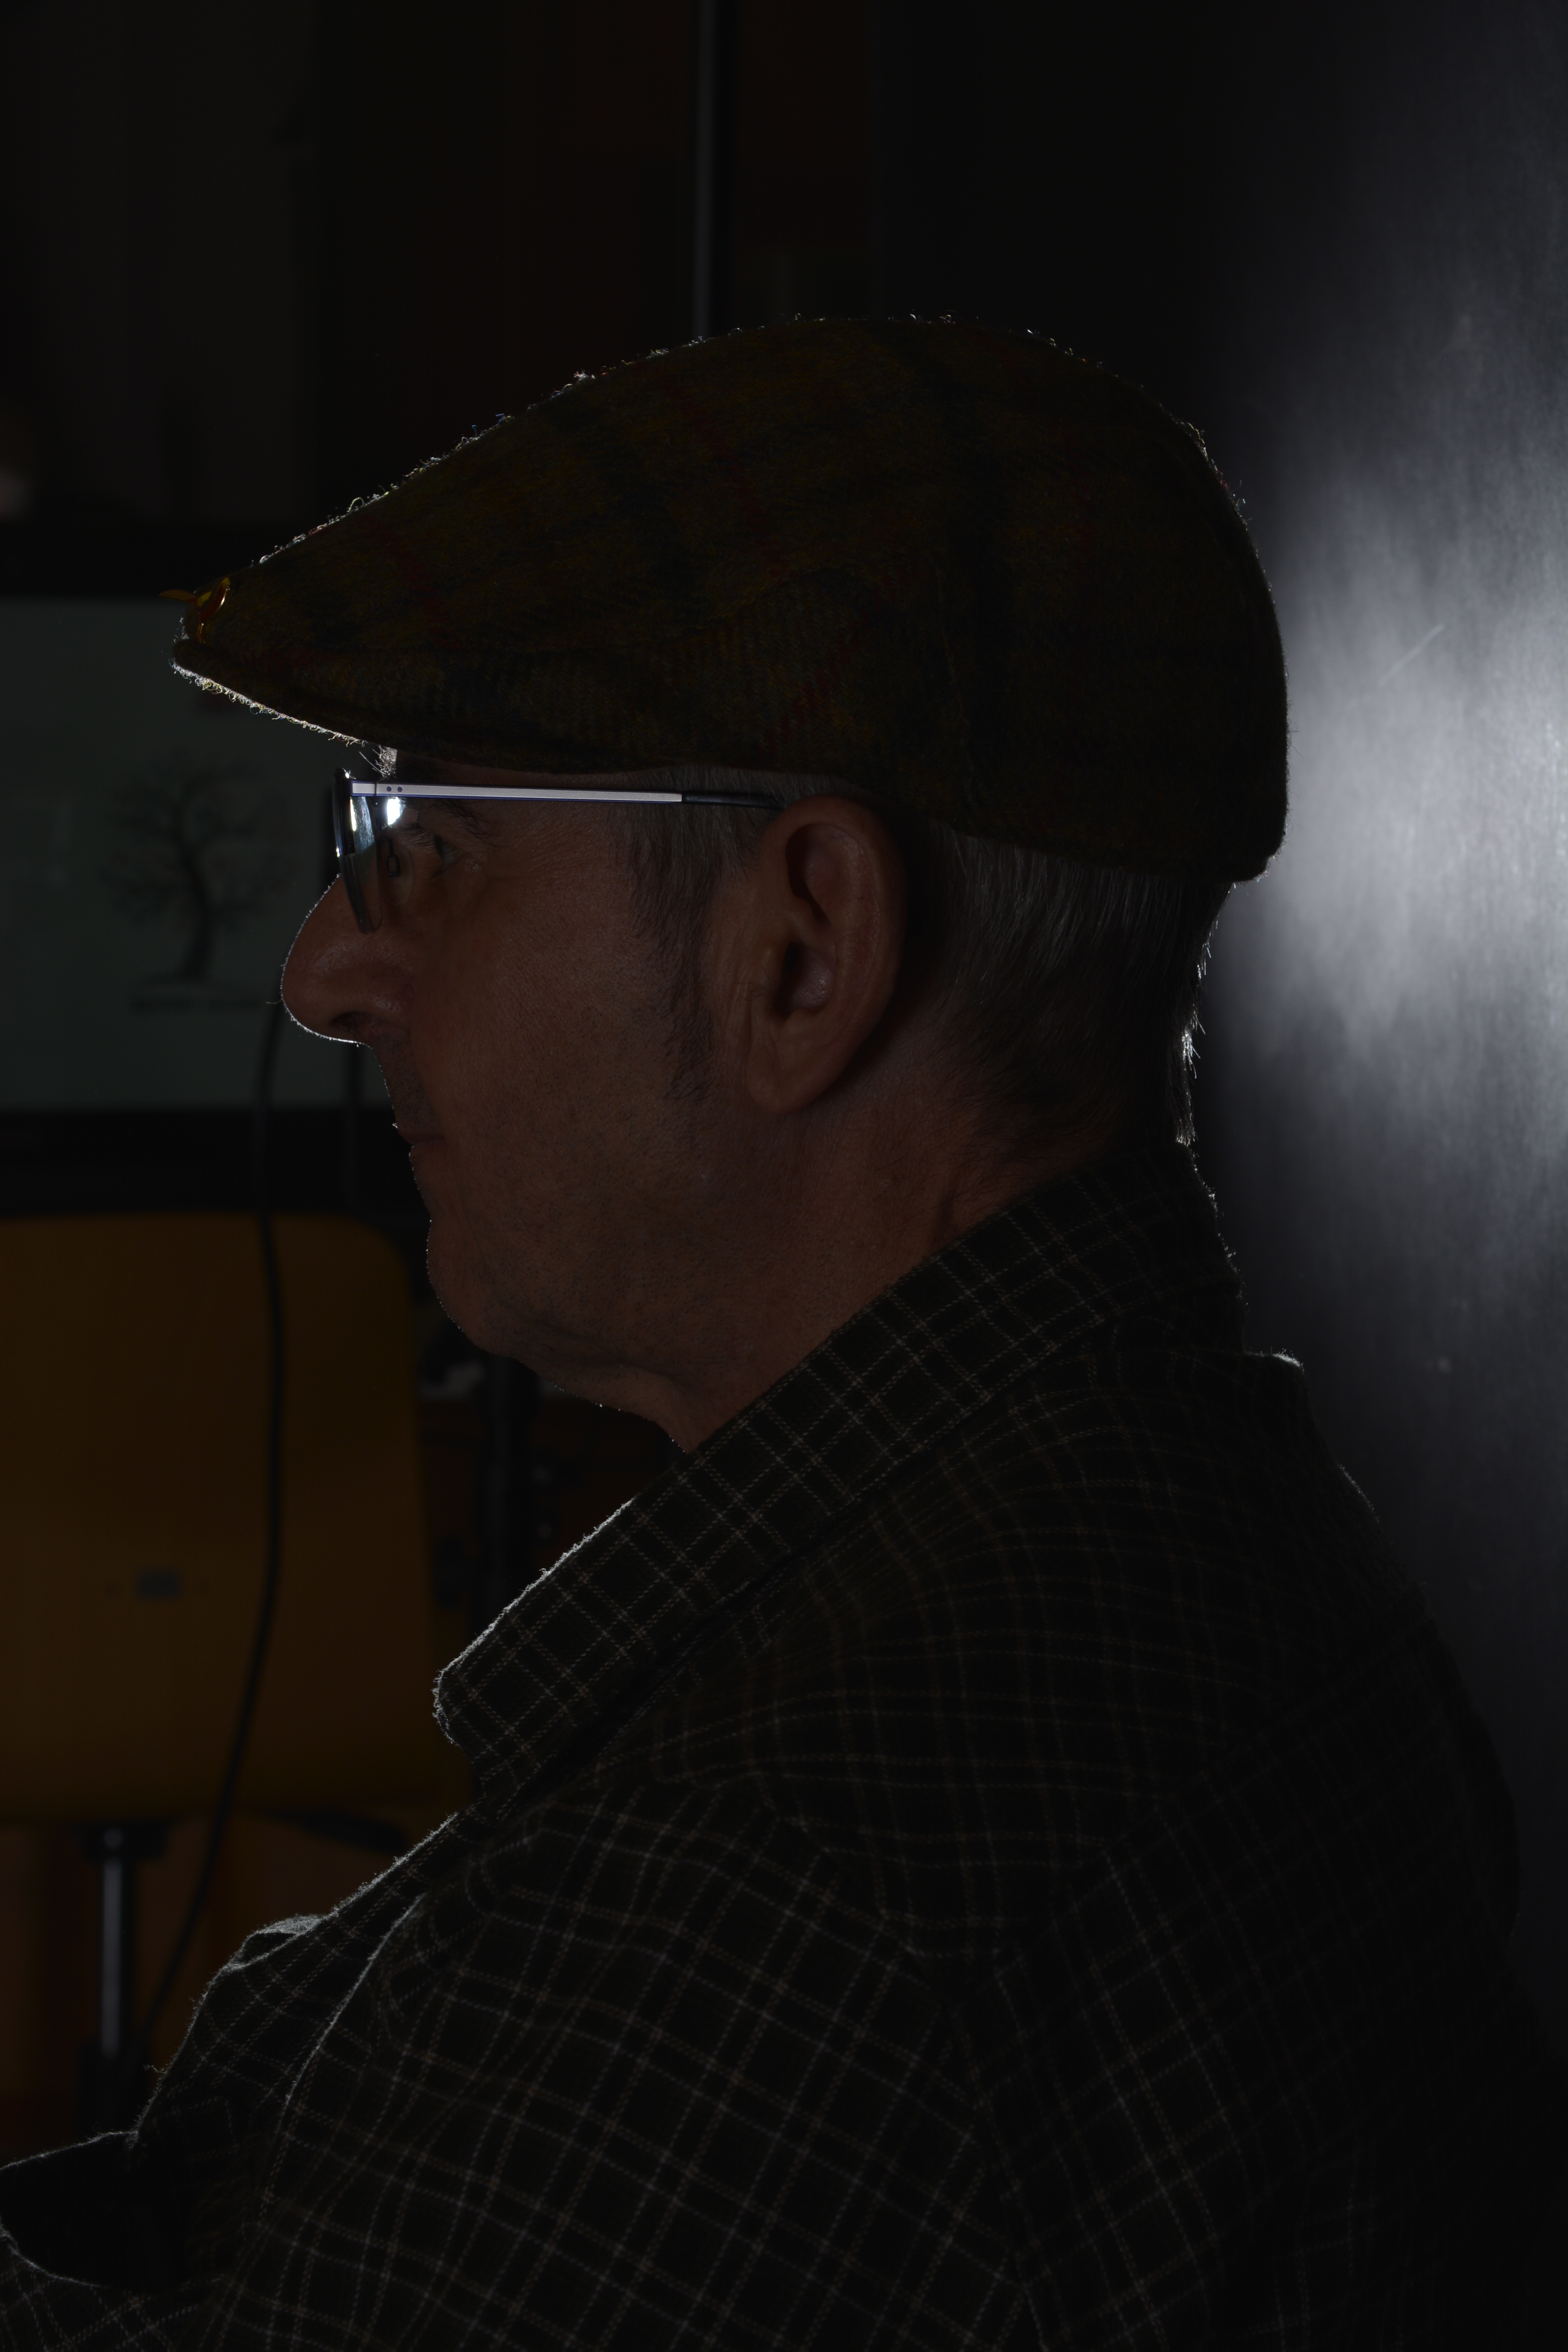
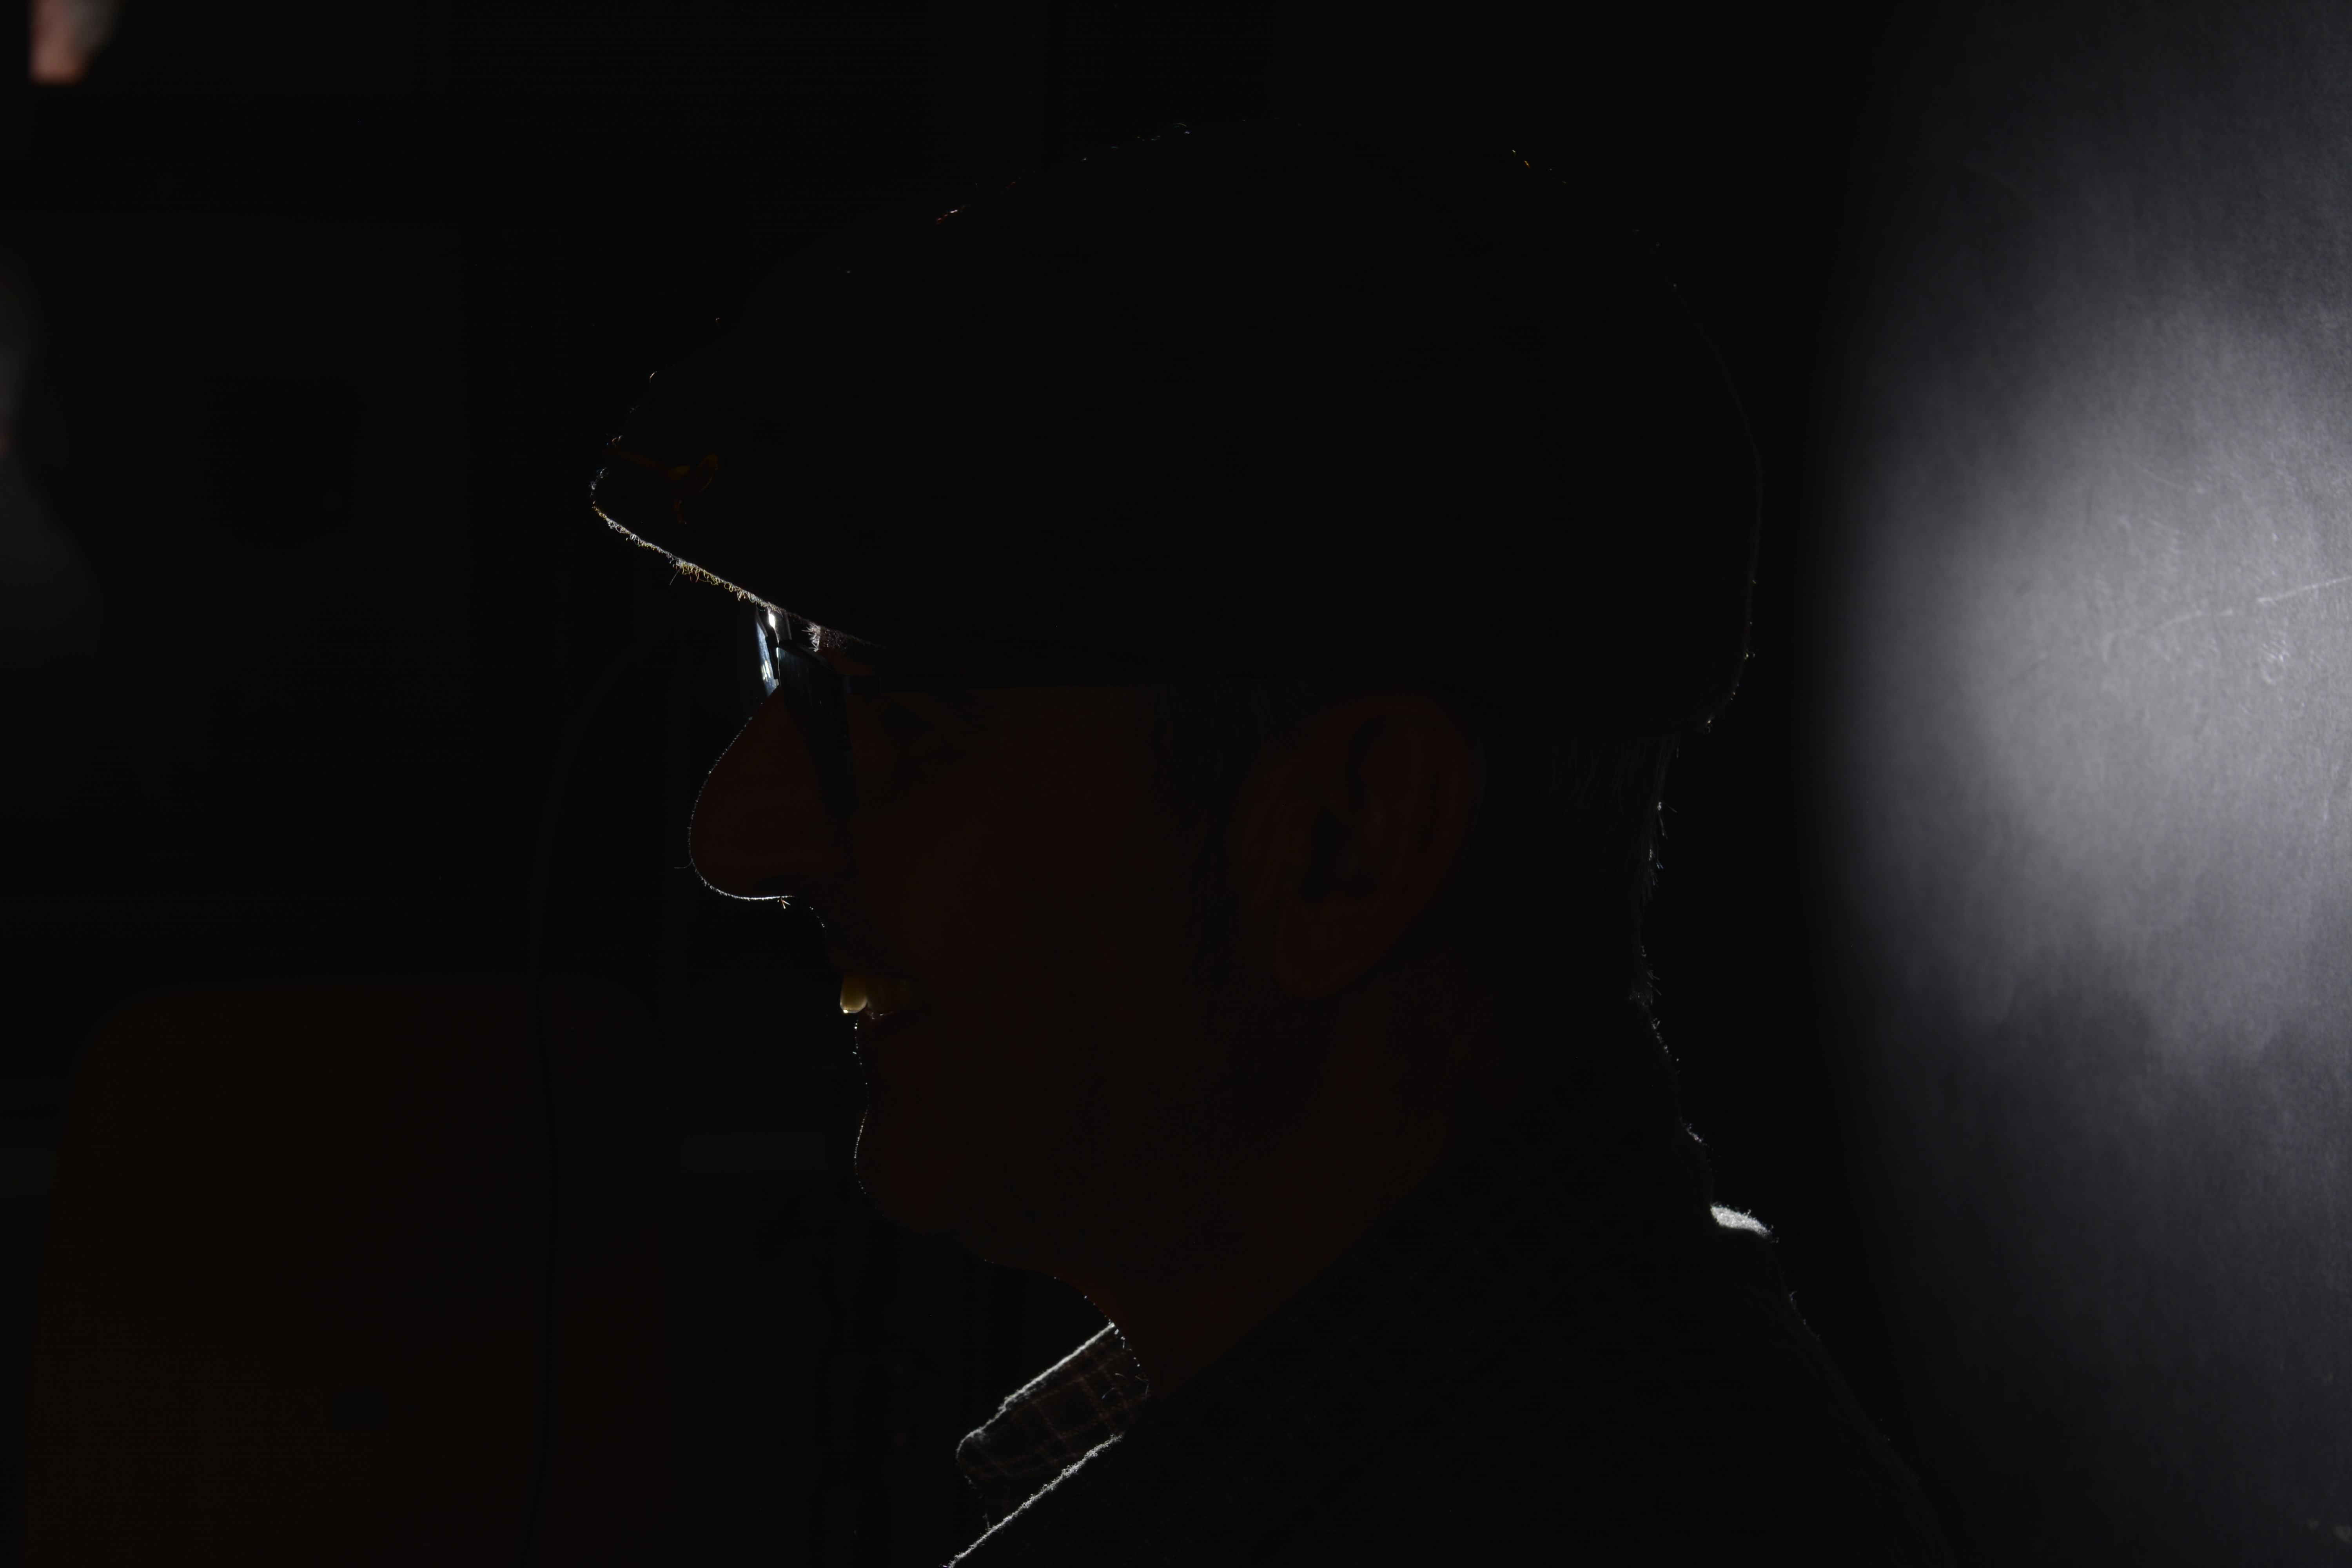
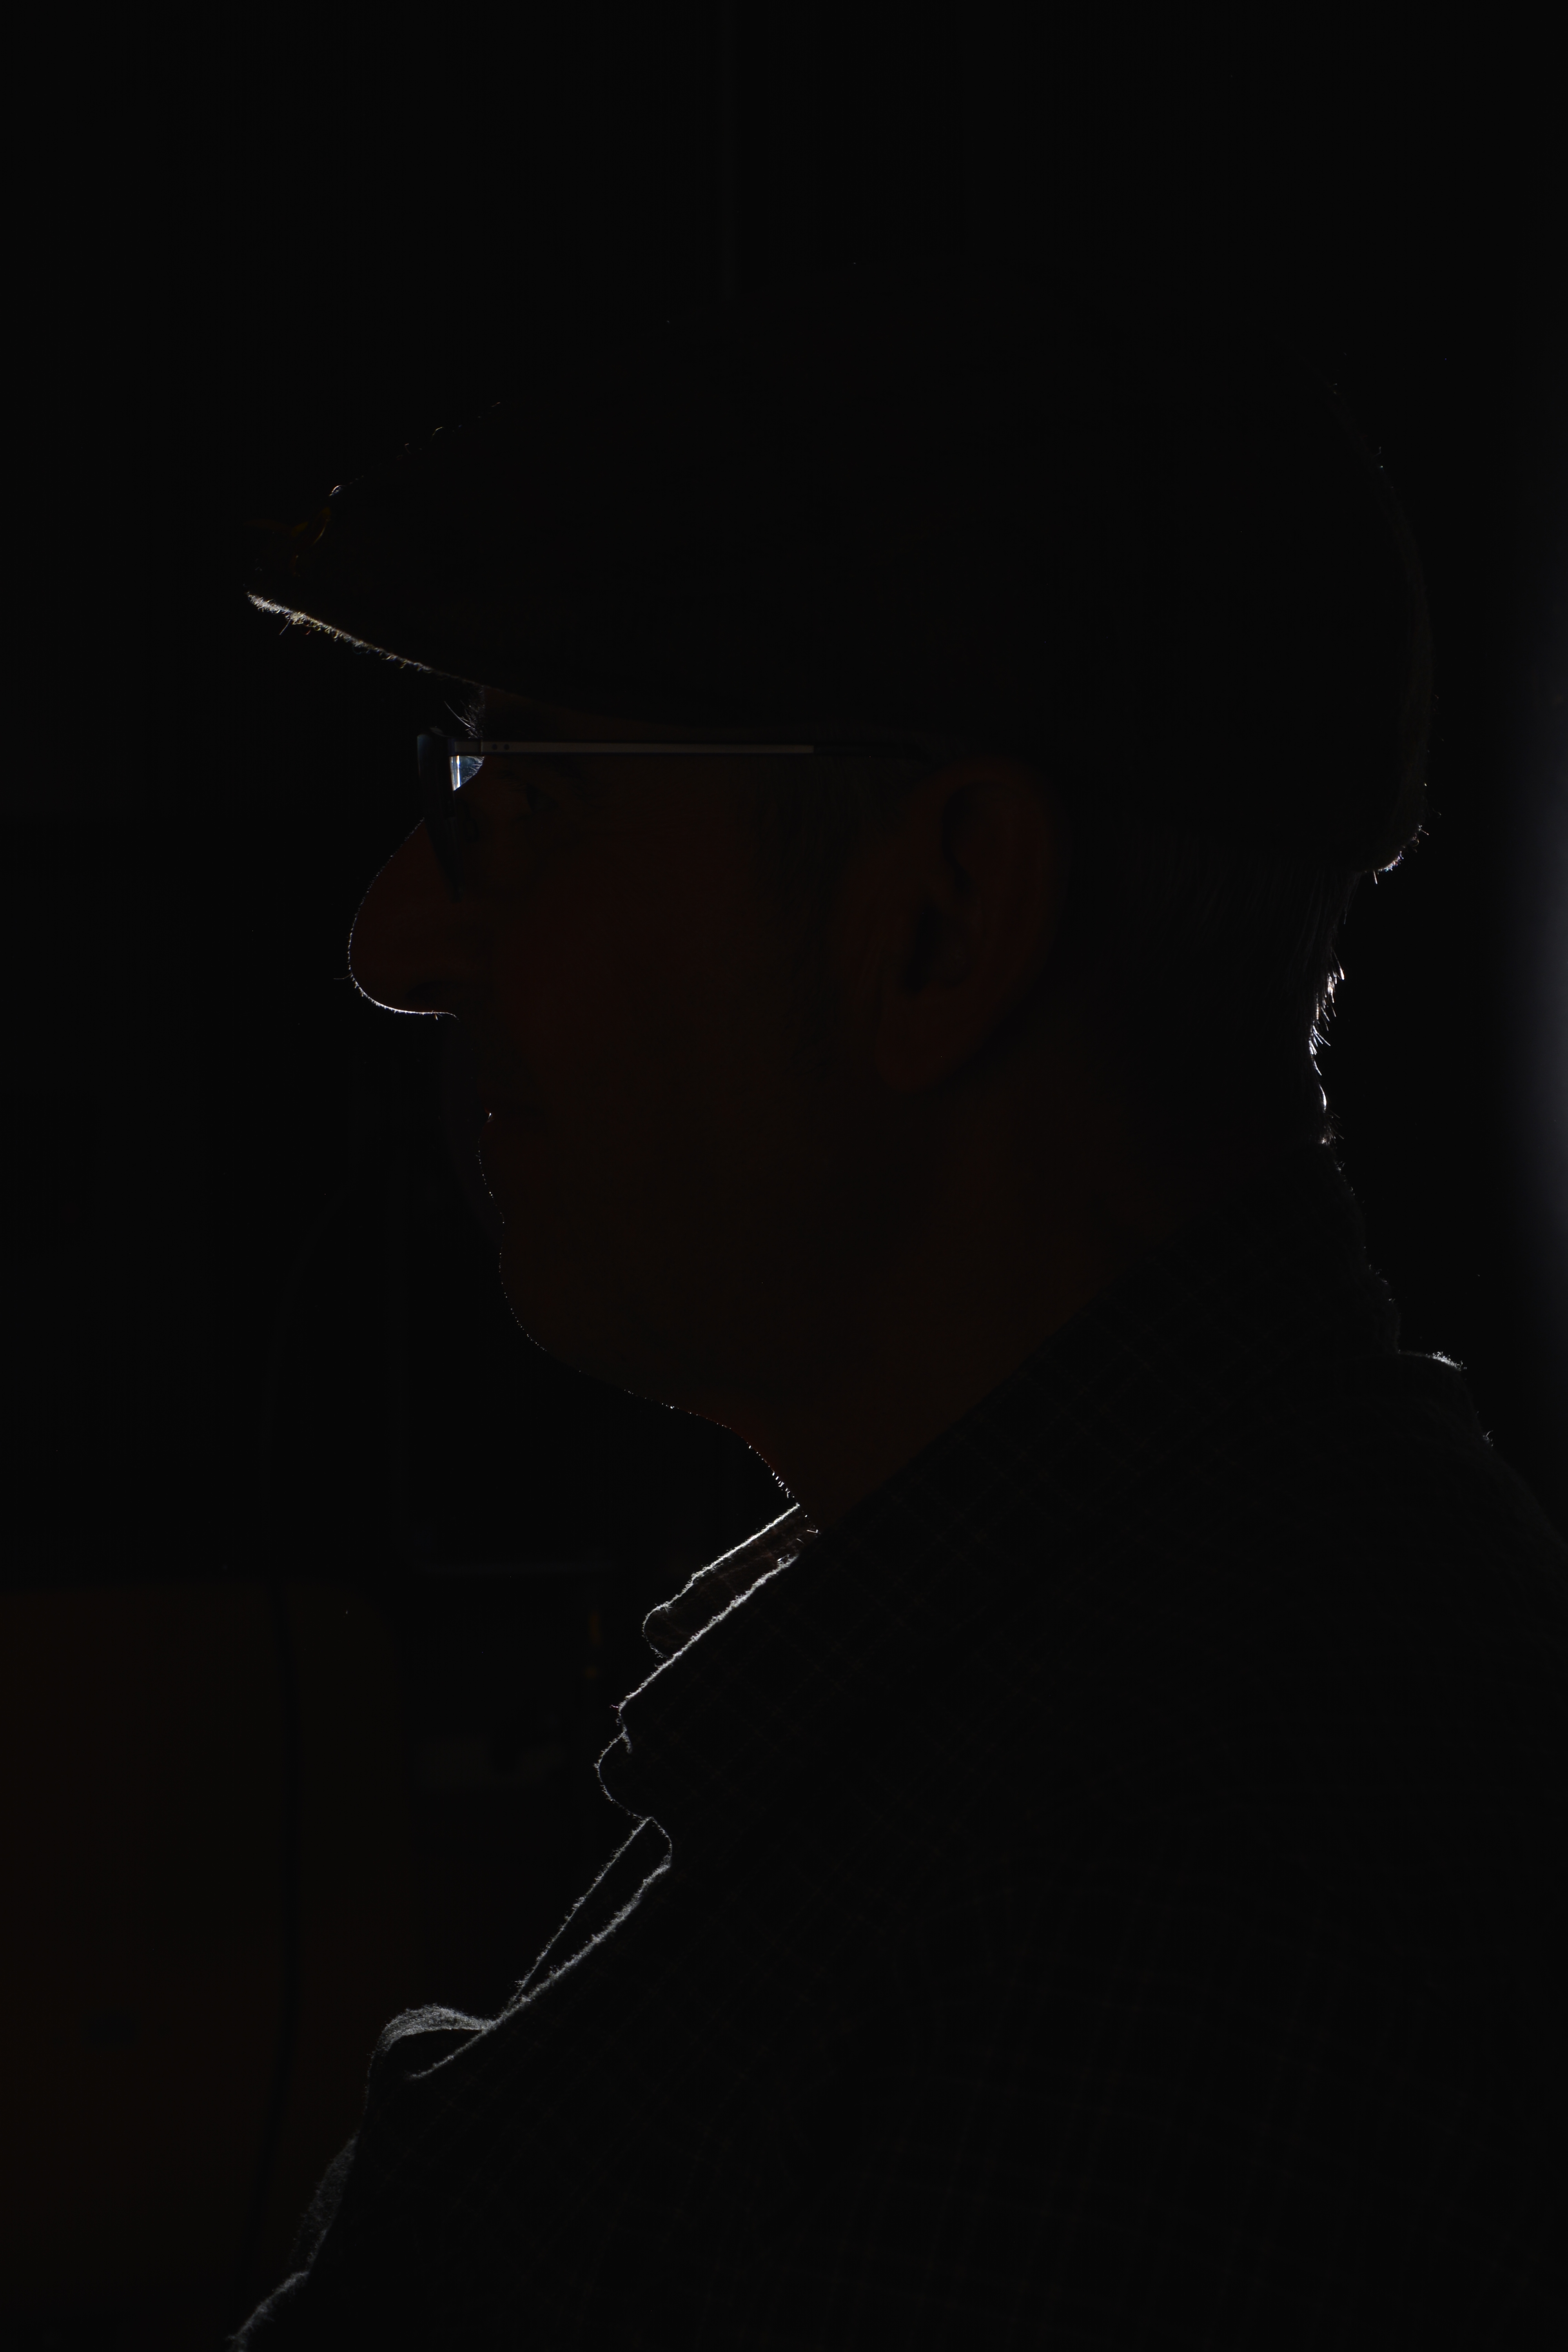
Keeping the model facing the same direction, I moved myself to the right. So from split lighting, I was trying to create some back or rim lighting. Back or Rim lighting is where the subject is lit from behind, this creates a halo effect around the subject and leaves it in silhouette.
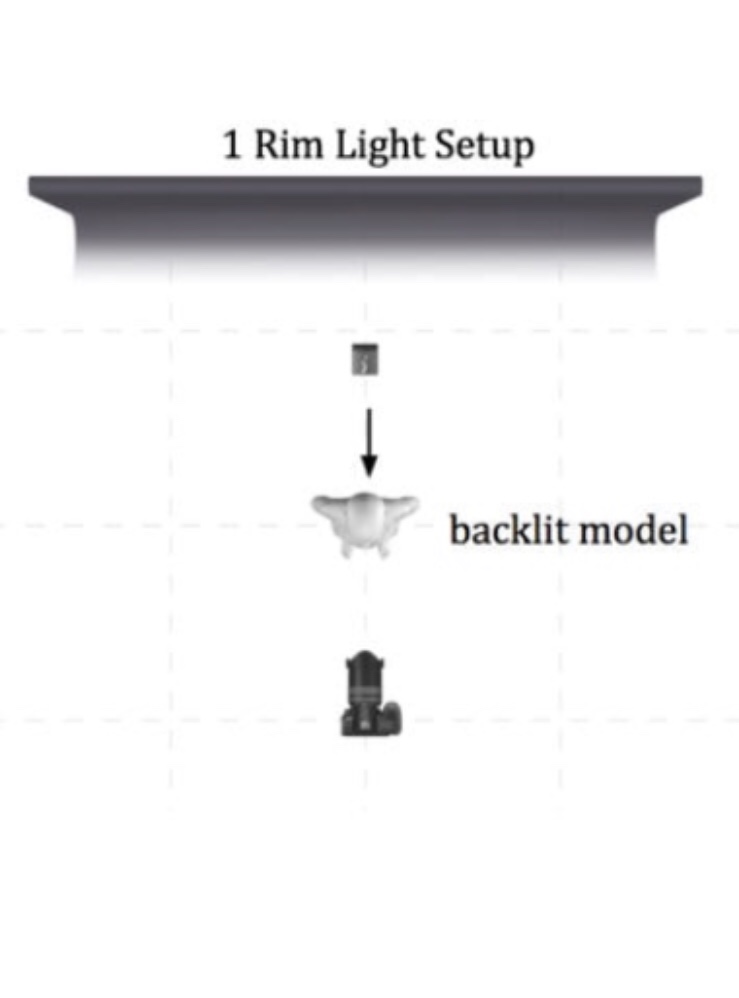
I was just playing with angles to see how it would look. However doing this I have captured the classroom in the background and not the backdrop. If I was going to try and photograph with Rim lighting, I would move the subject forward and place a light behind facing towards the subject and me. As the the diagram below shows.
White Background
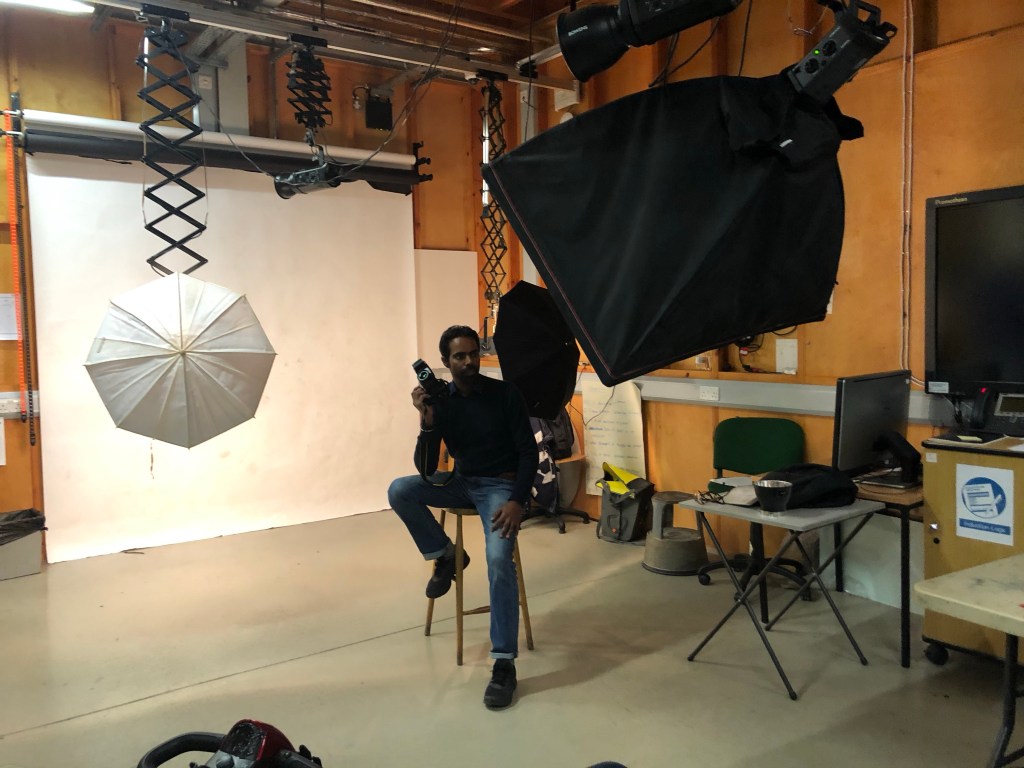
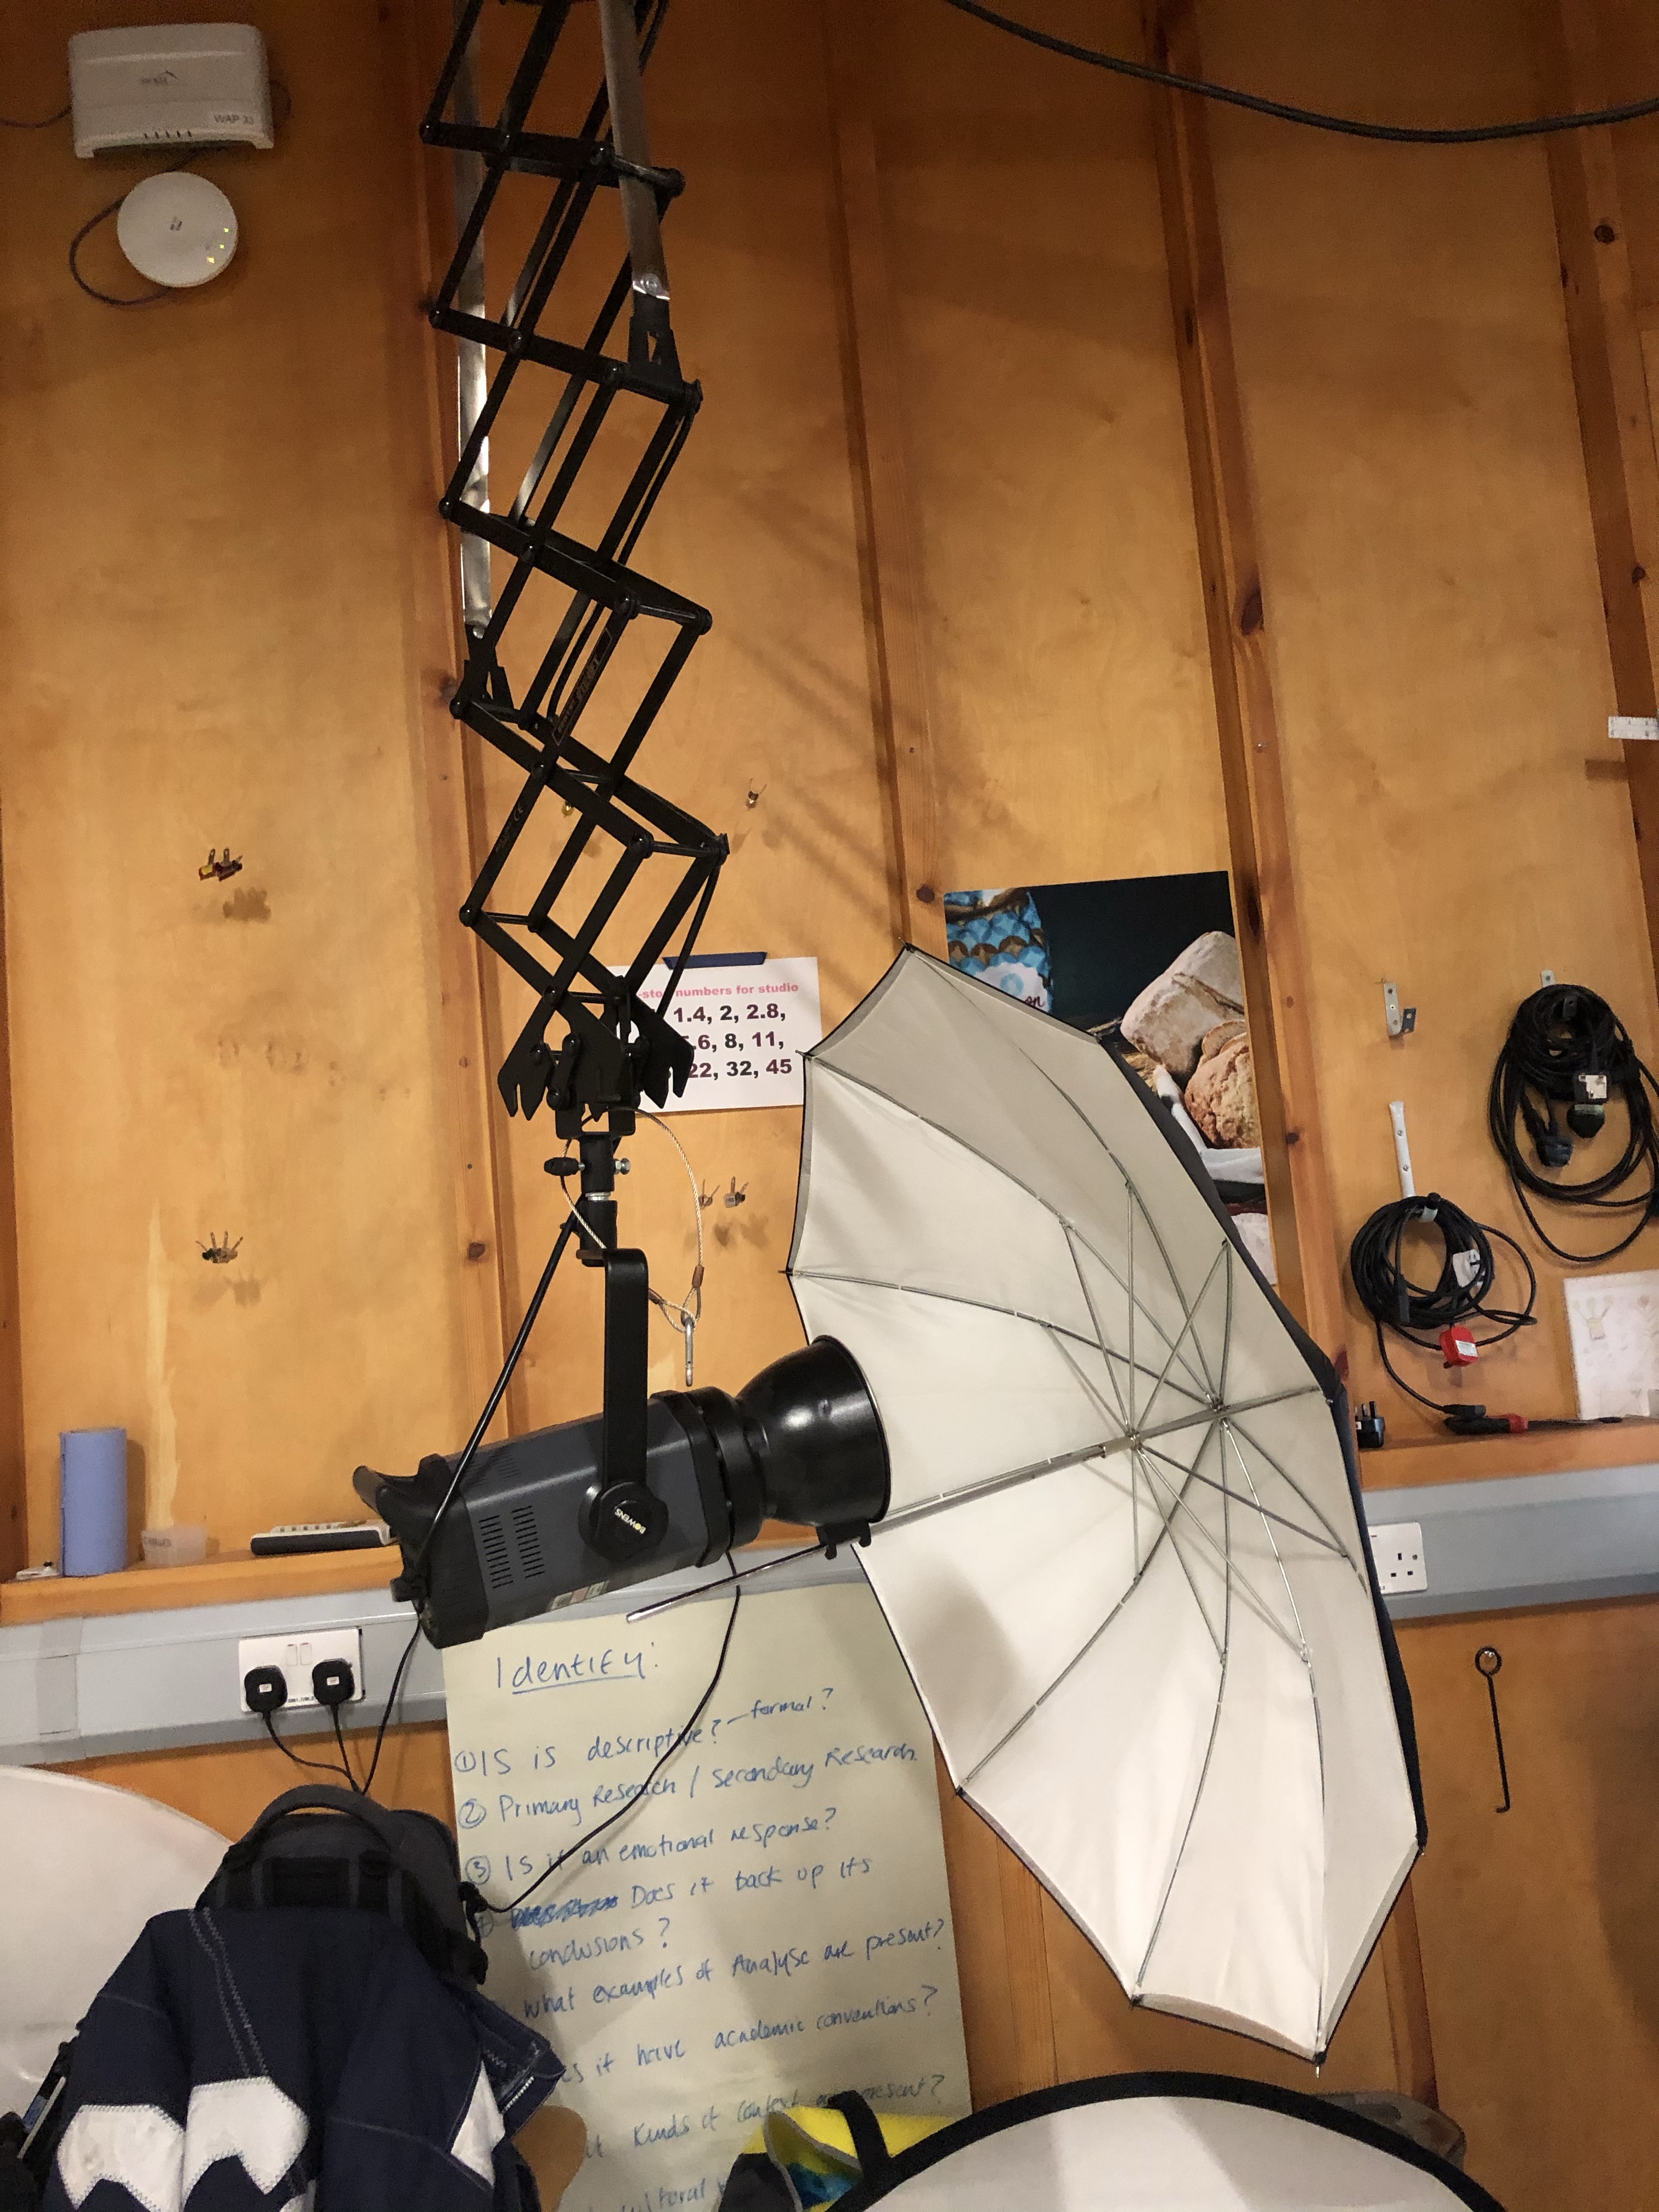
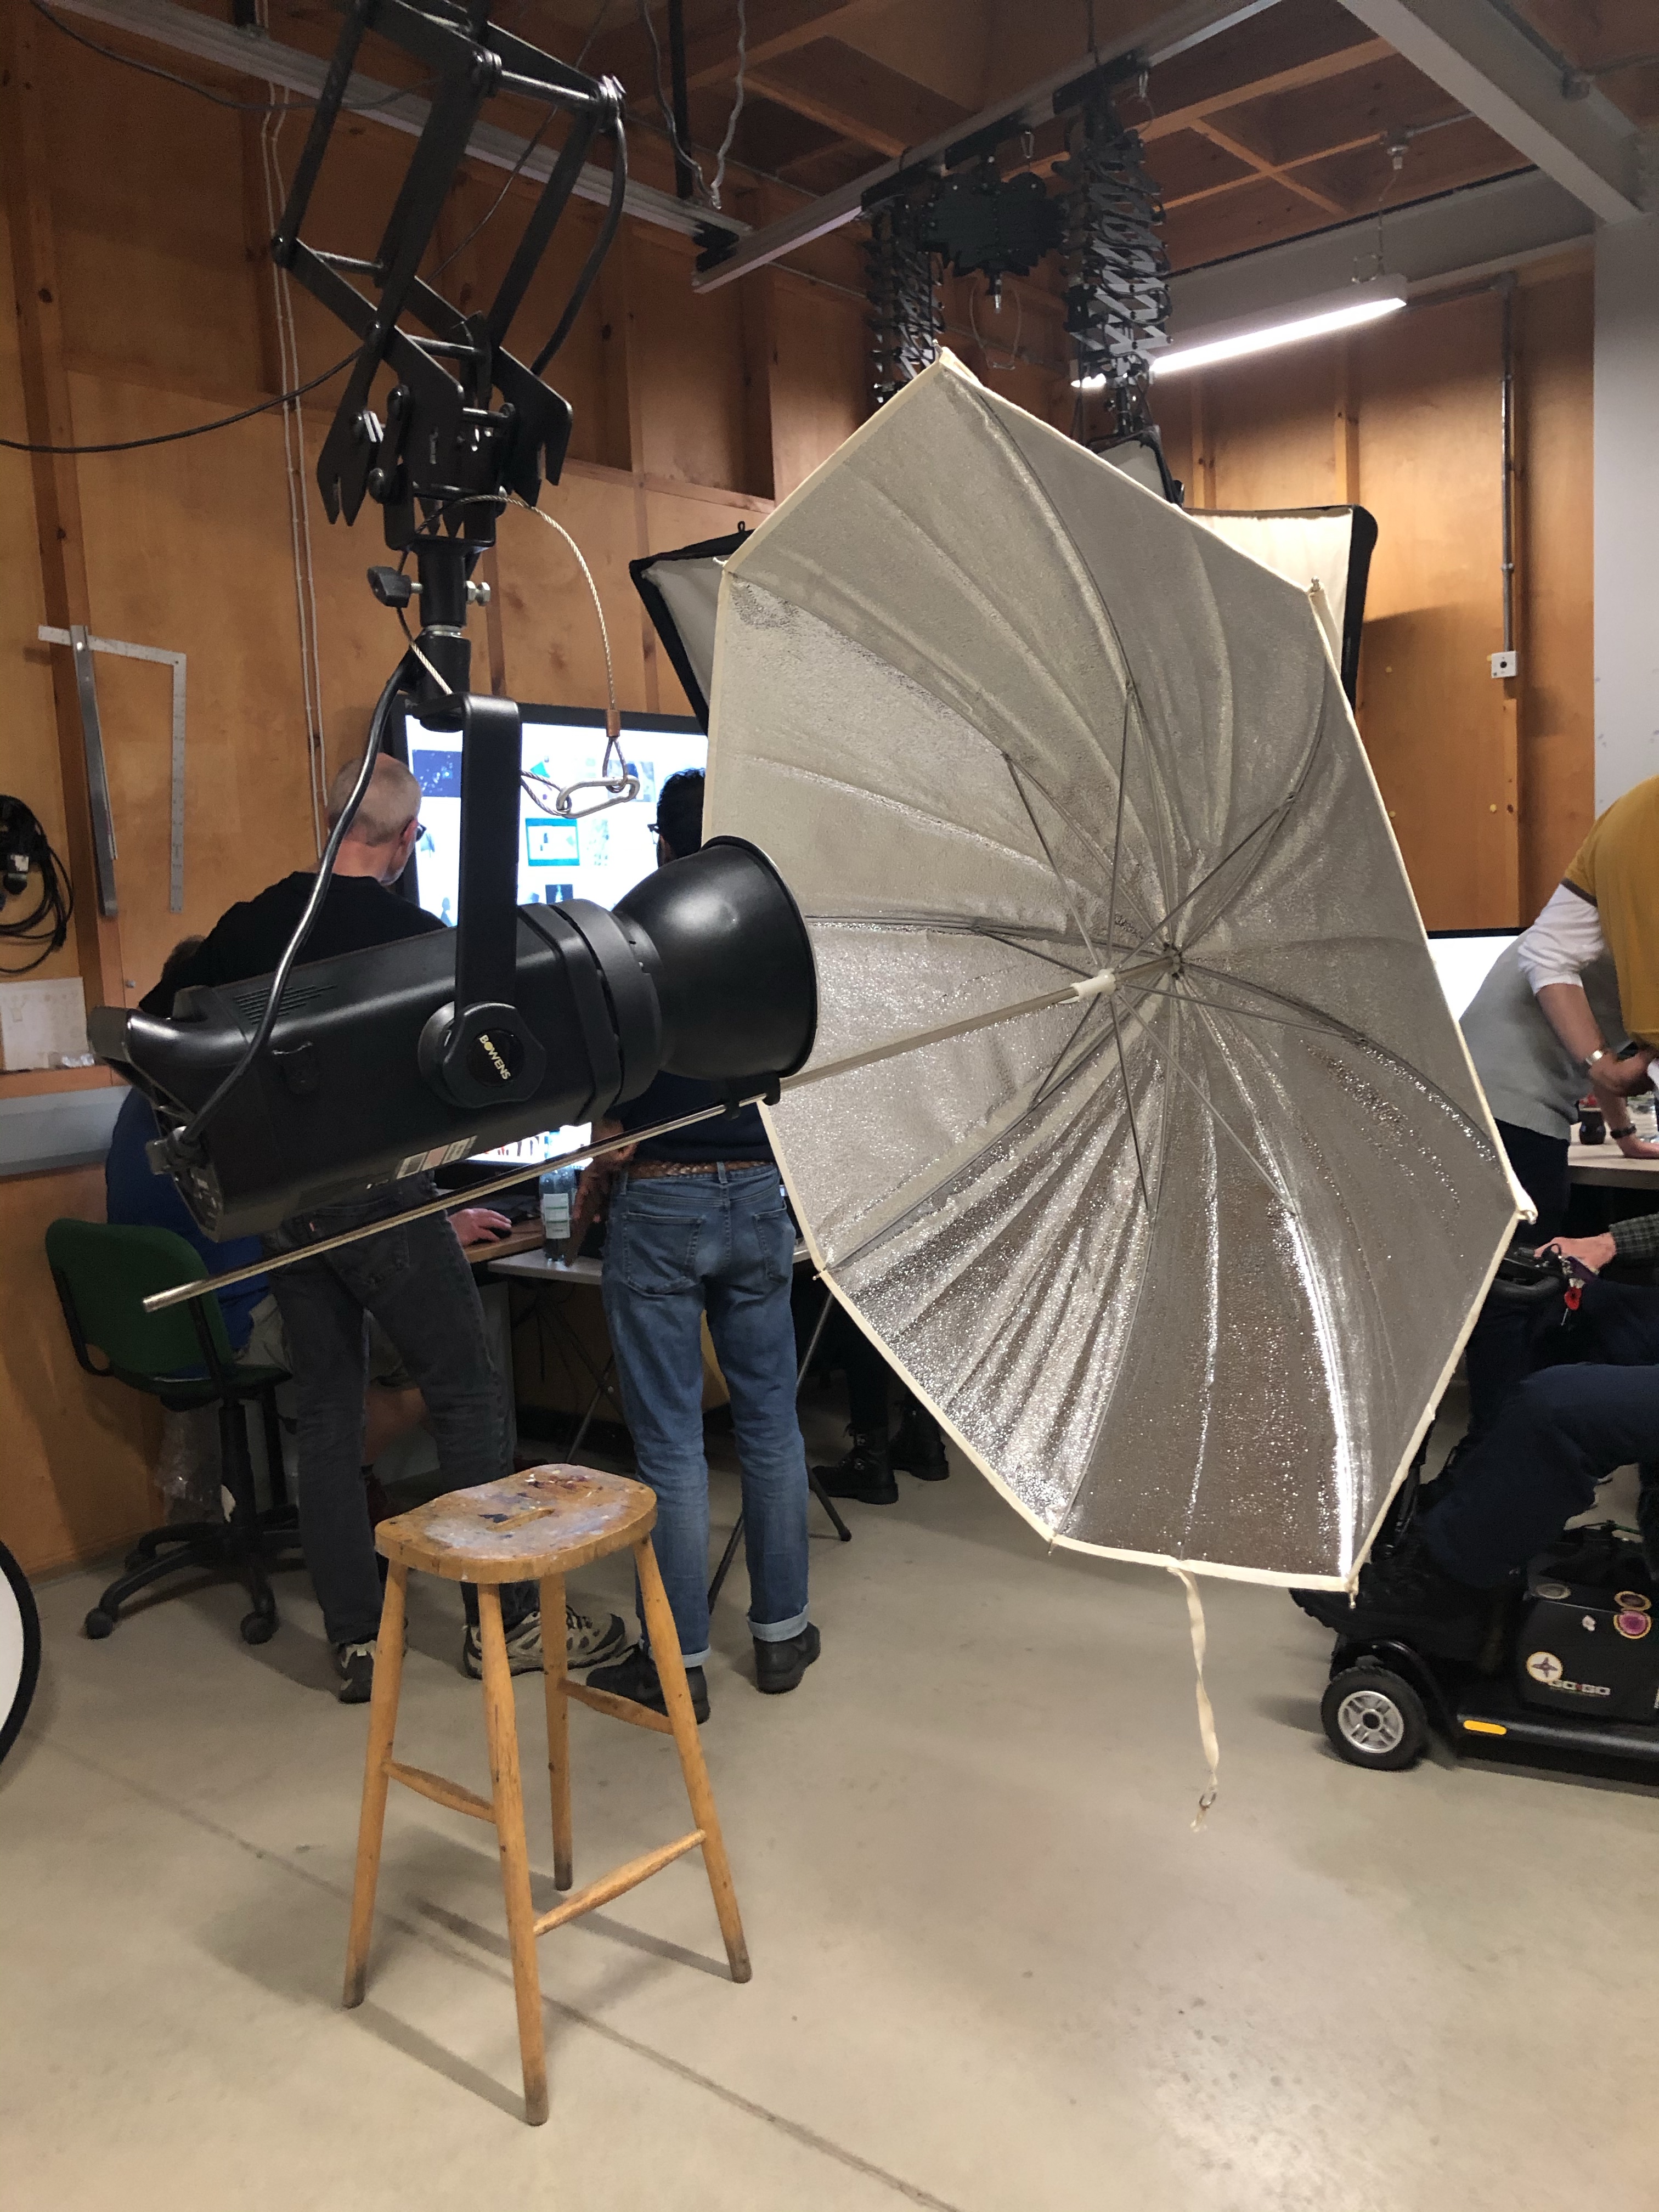
For a softer lighting set up I have used a white paper background, one key light, two fill lights and a stall for the model. (see photo below).
White background lighting set up
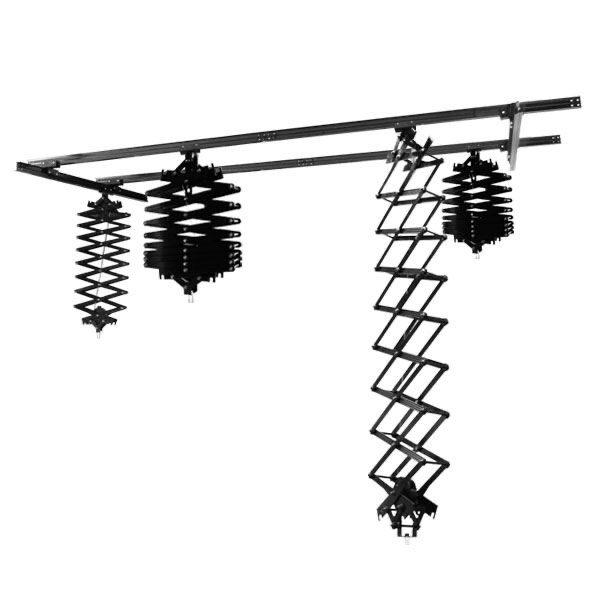
All the modelling lights are suspended from a ceiling track using pantographs. Using the lights in this way, you eliminate the trip hazards, provided the leads run up towards the ceiling. However you add another hazard of banging your head. I had to be very careful when positioning the lights and making sure the pantographs were secured in the correct height position.
Pantographs on a ceiling track
To create a softer light, umbrellas attached to the modelling lamps with adapters have been used to bounce the light back onto the backdrop. Bouncing the light back softens it as it travels.
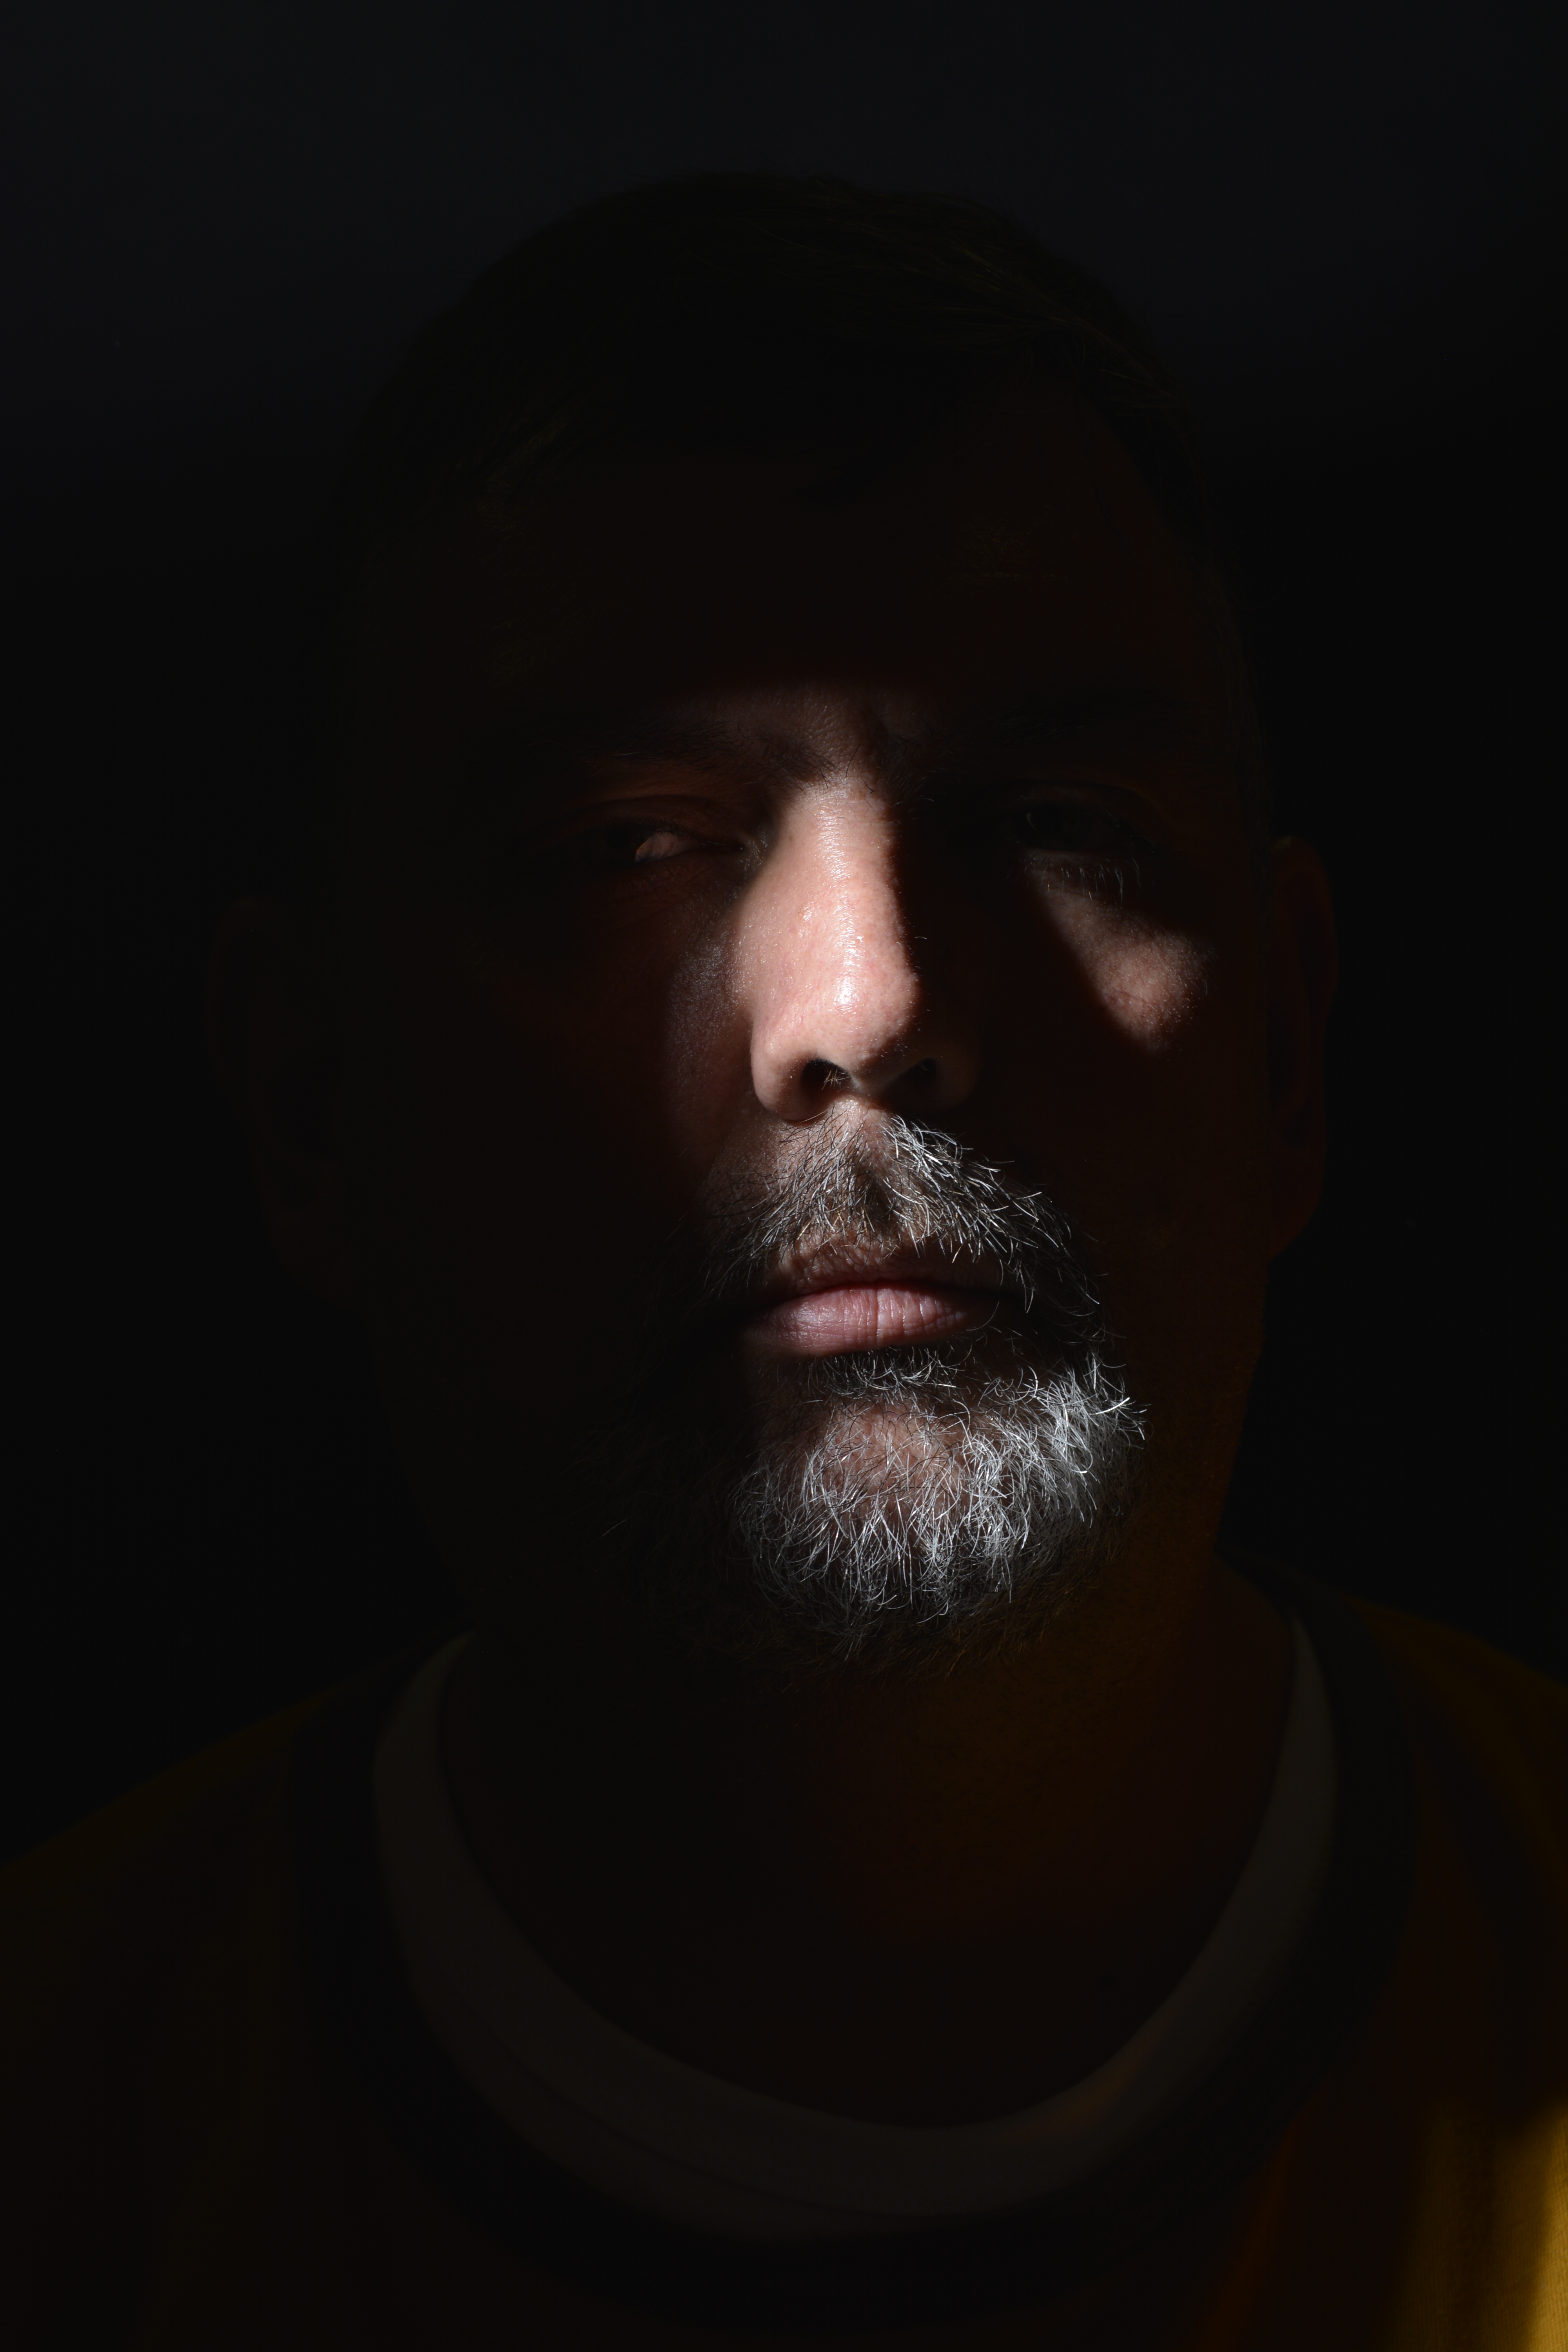
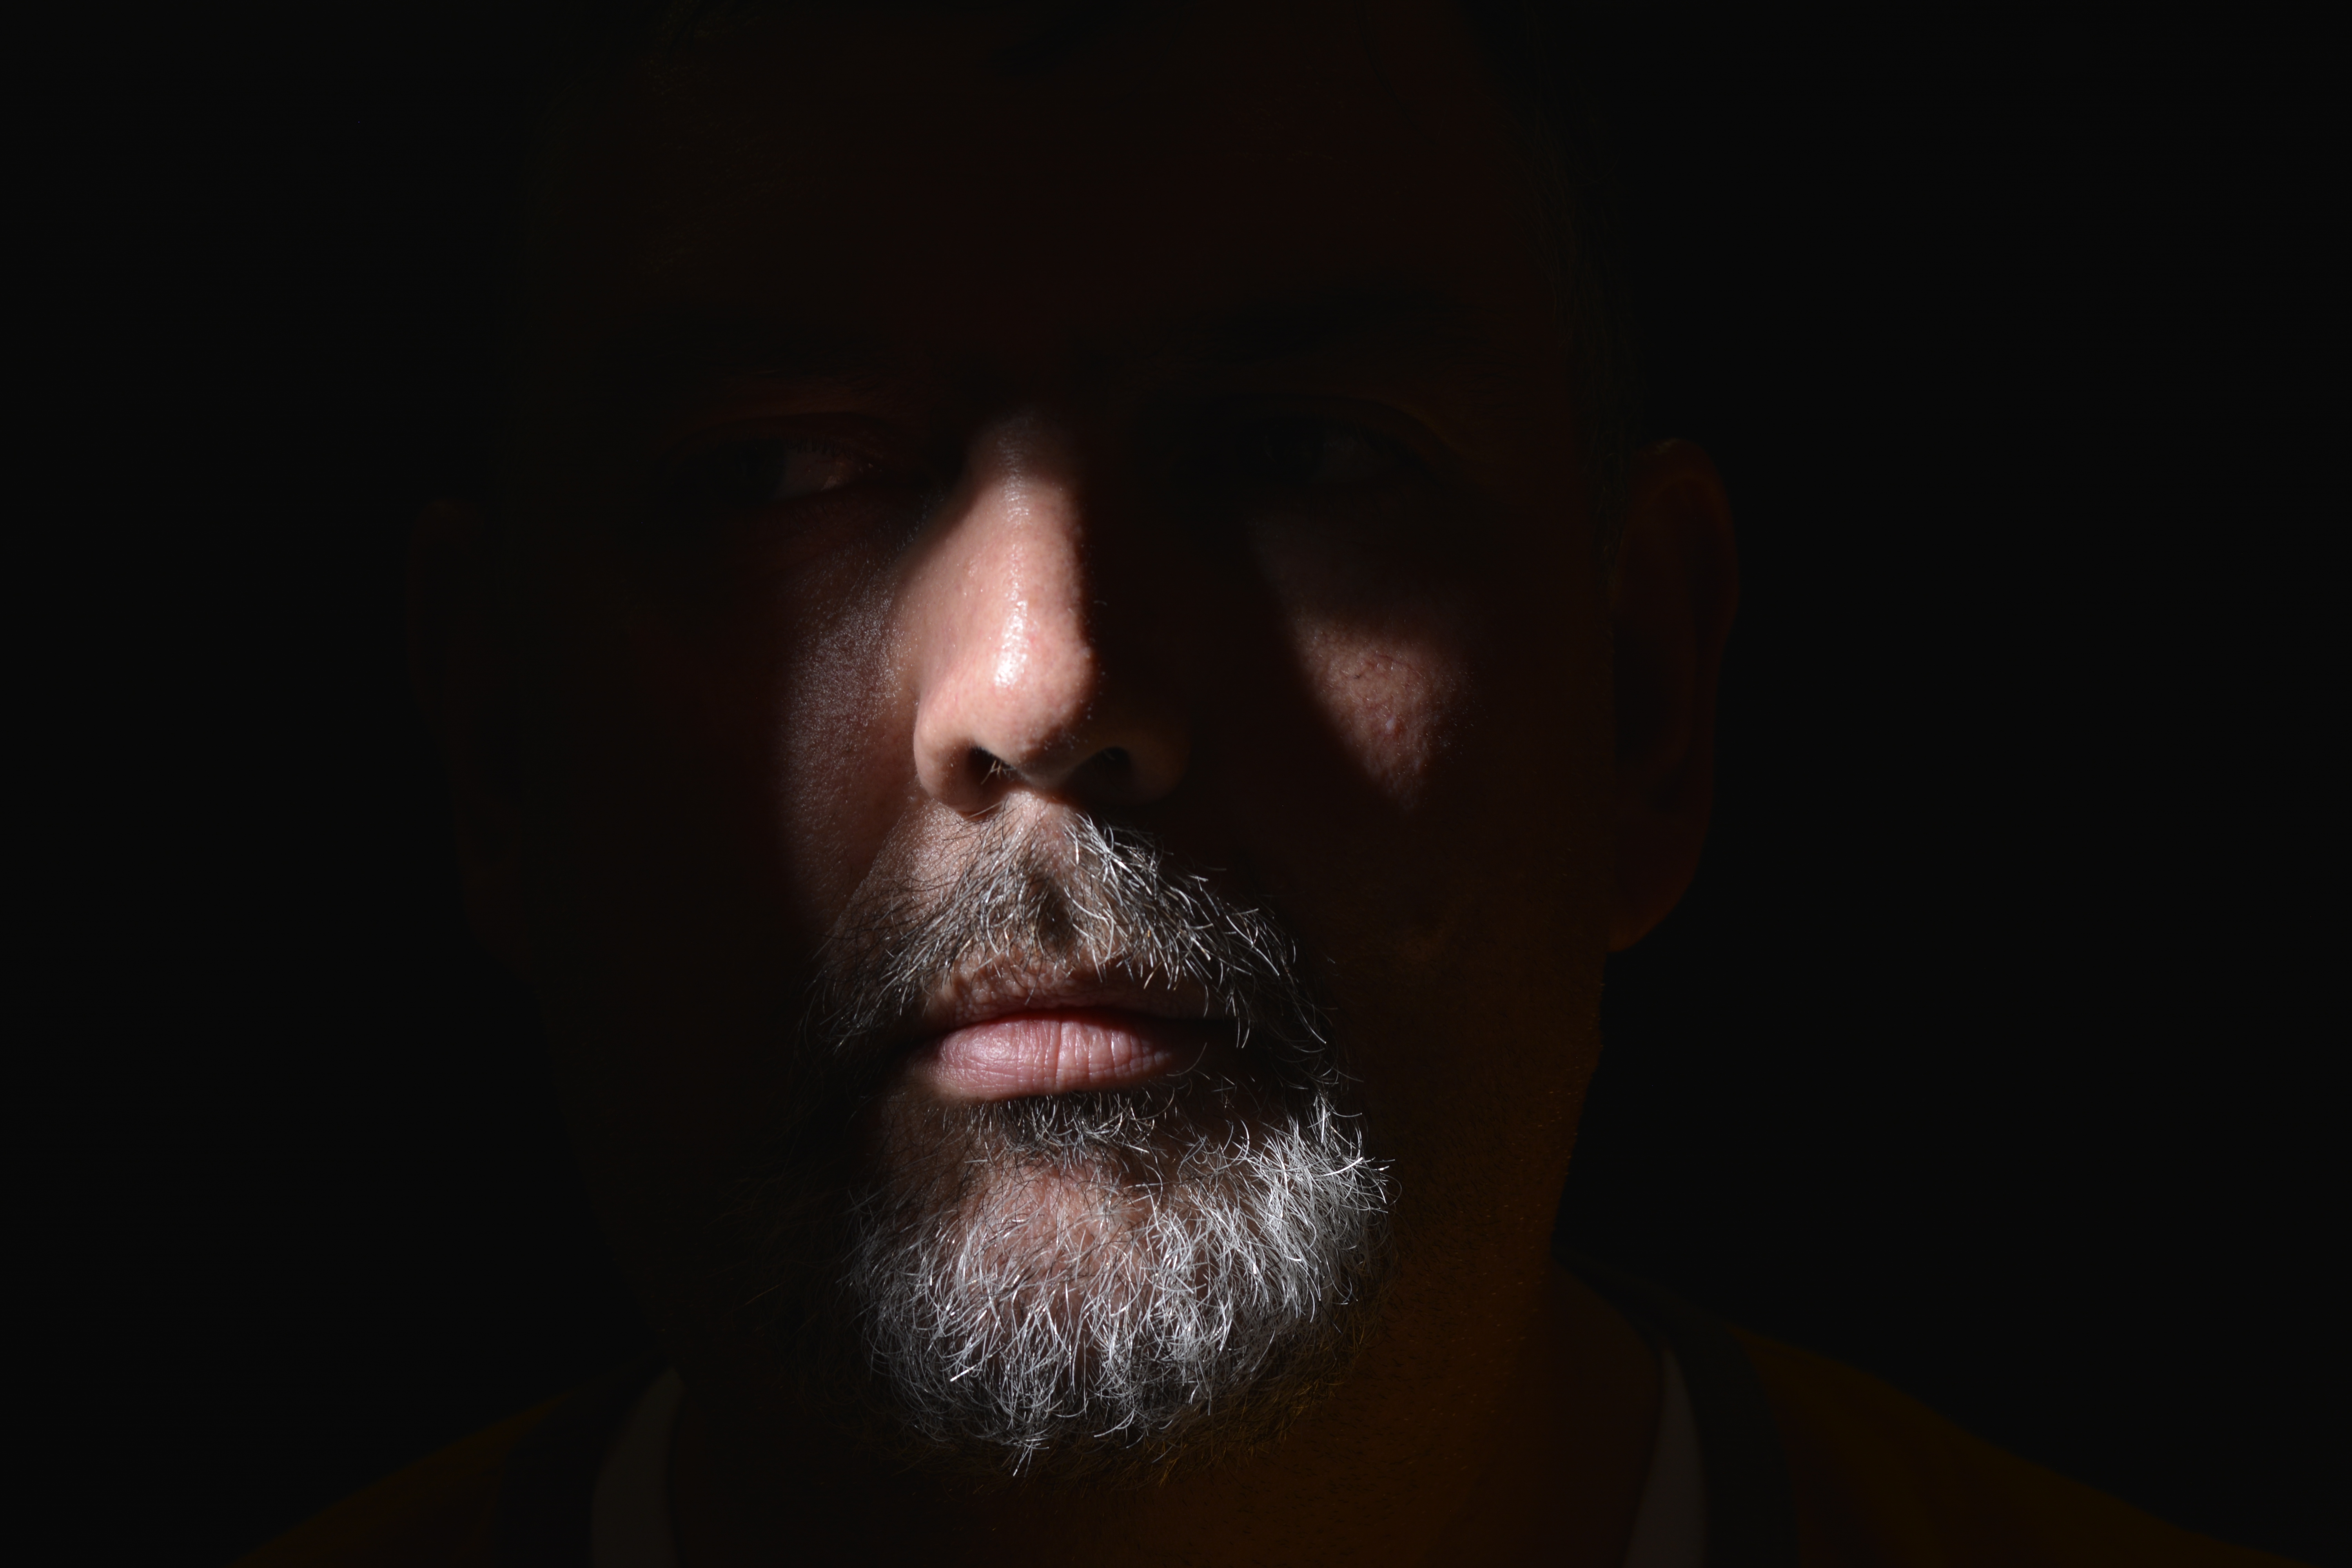
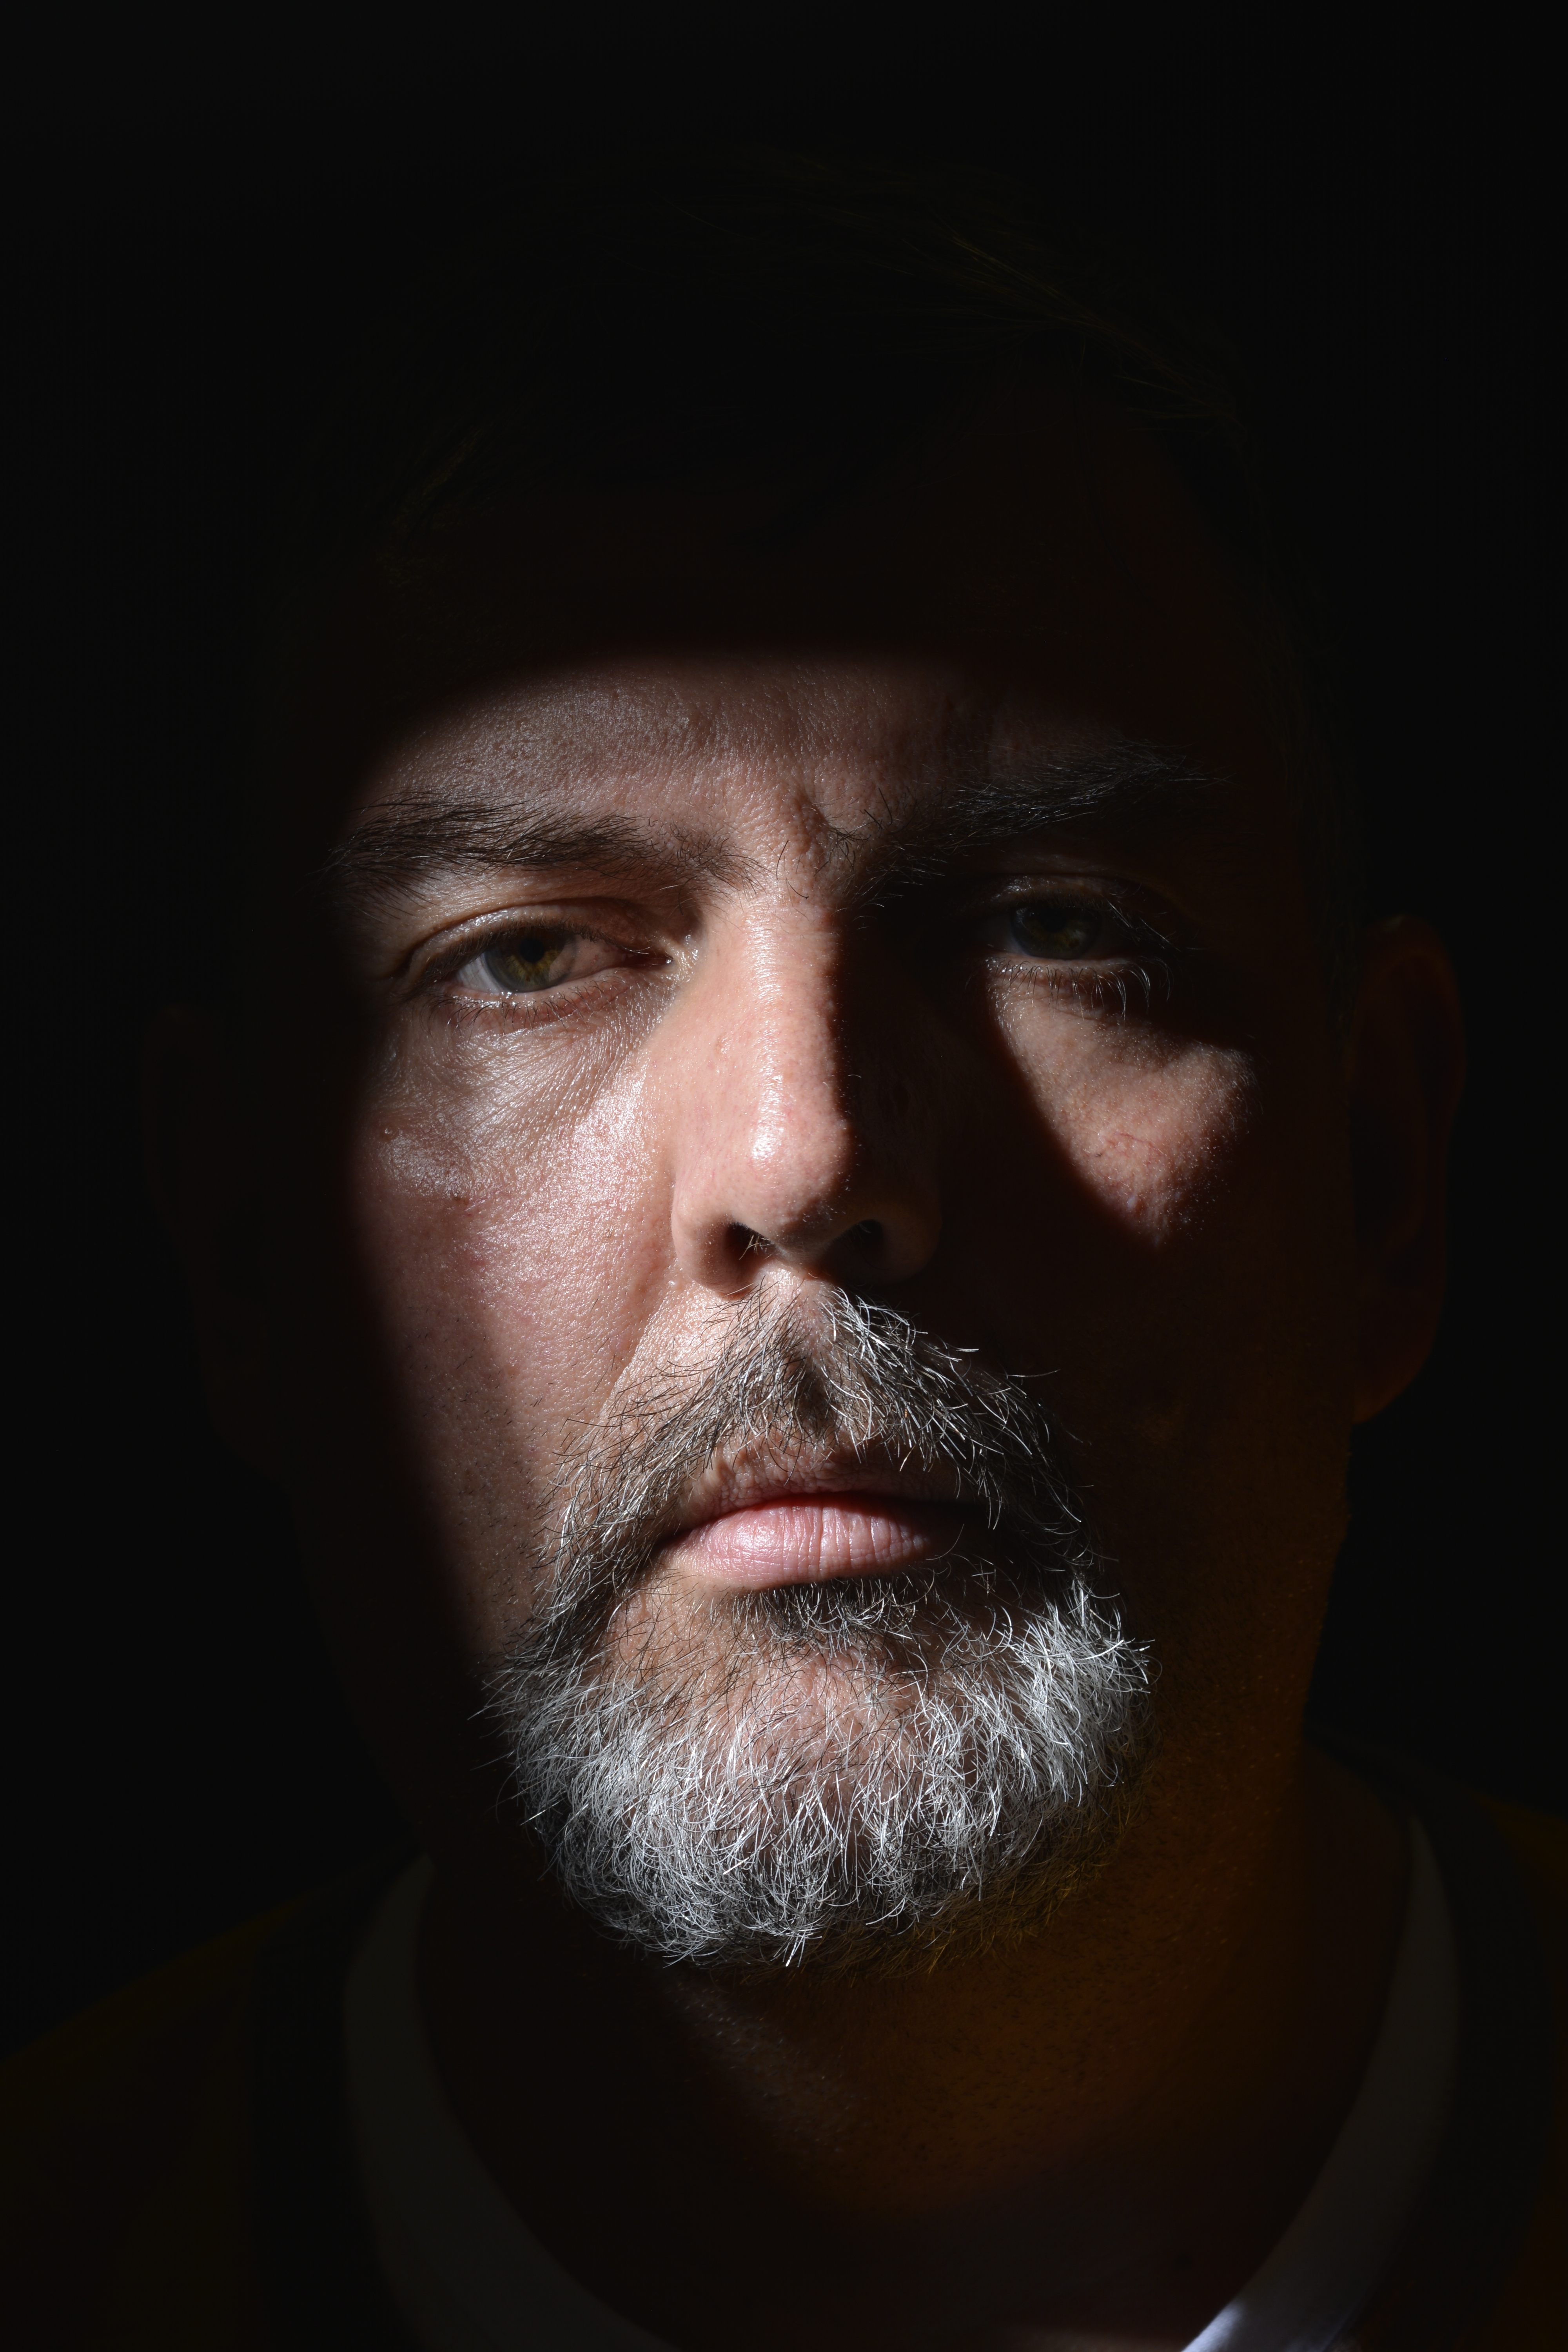
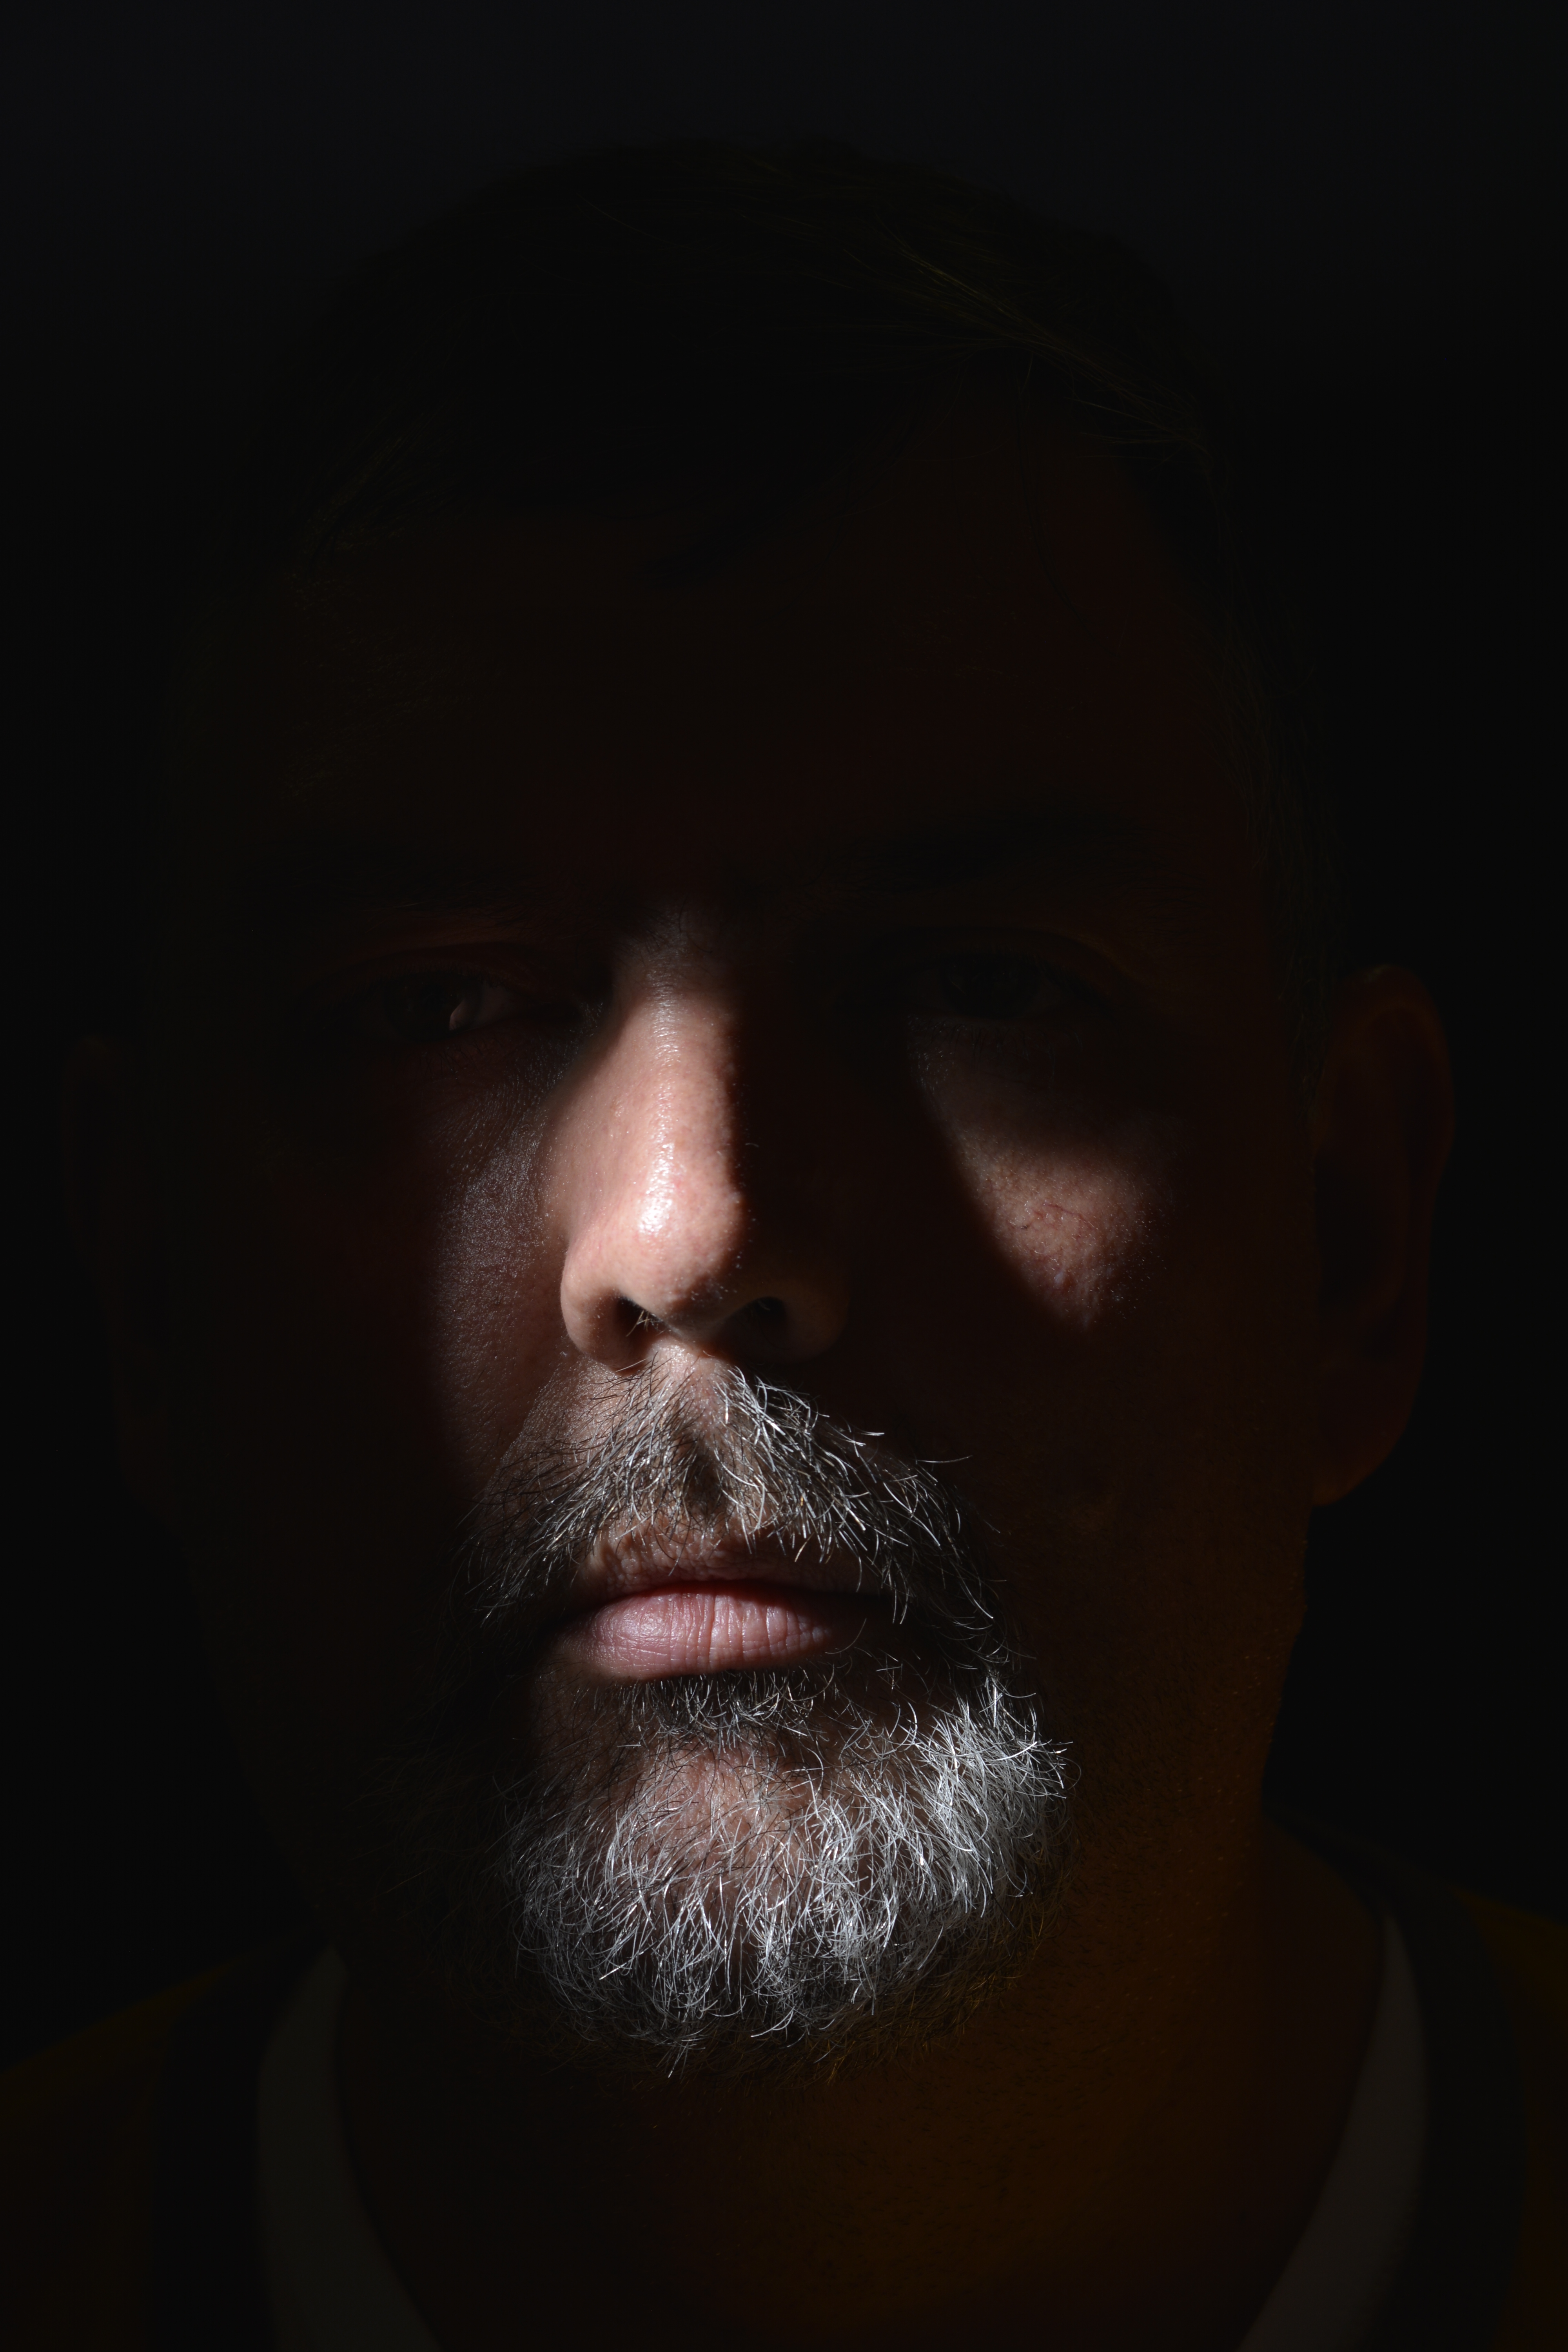
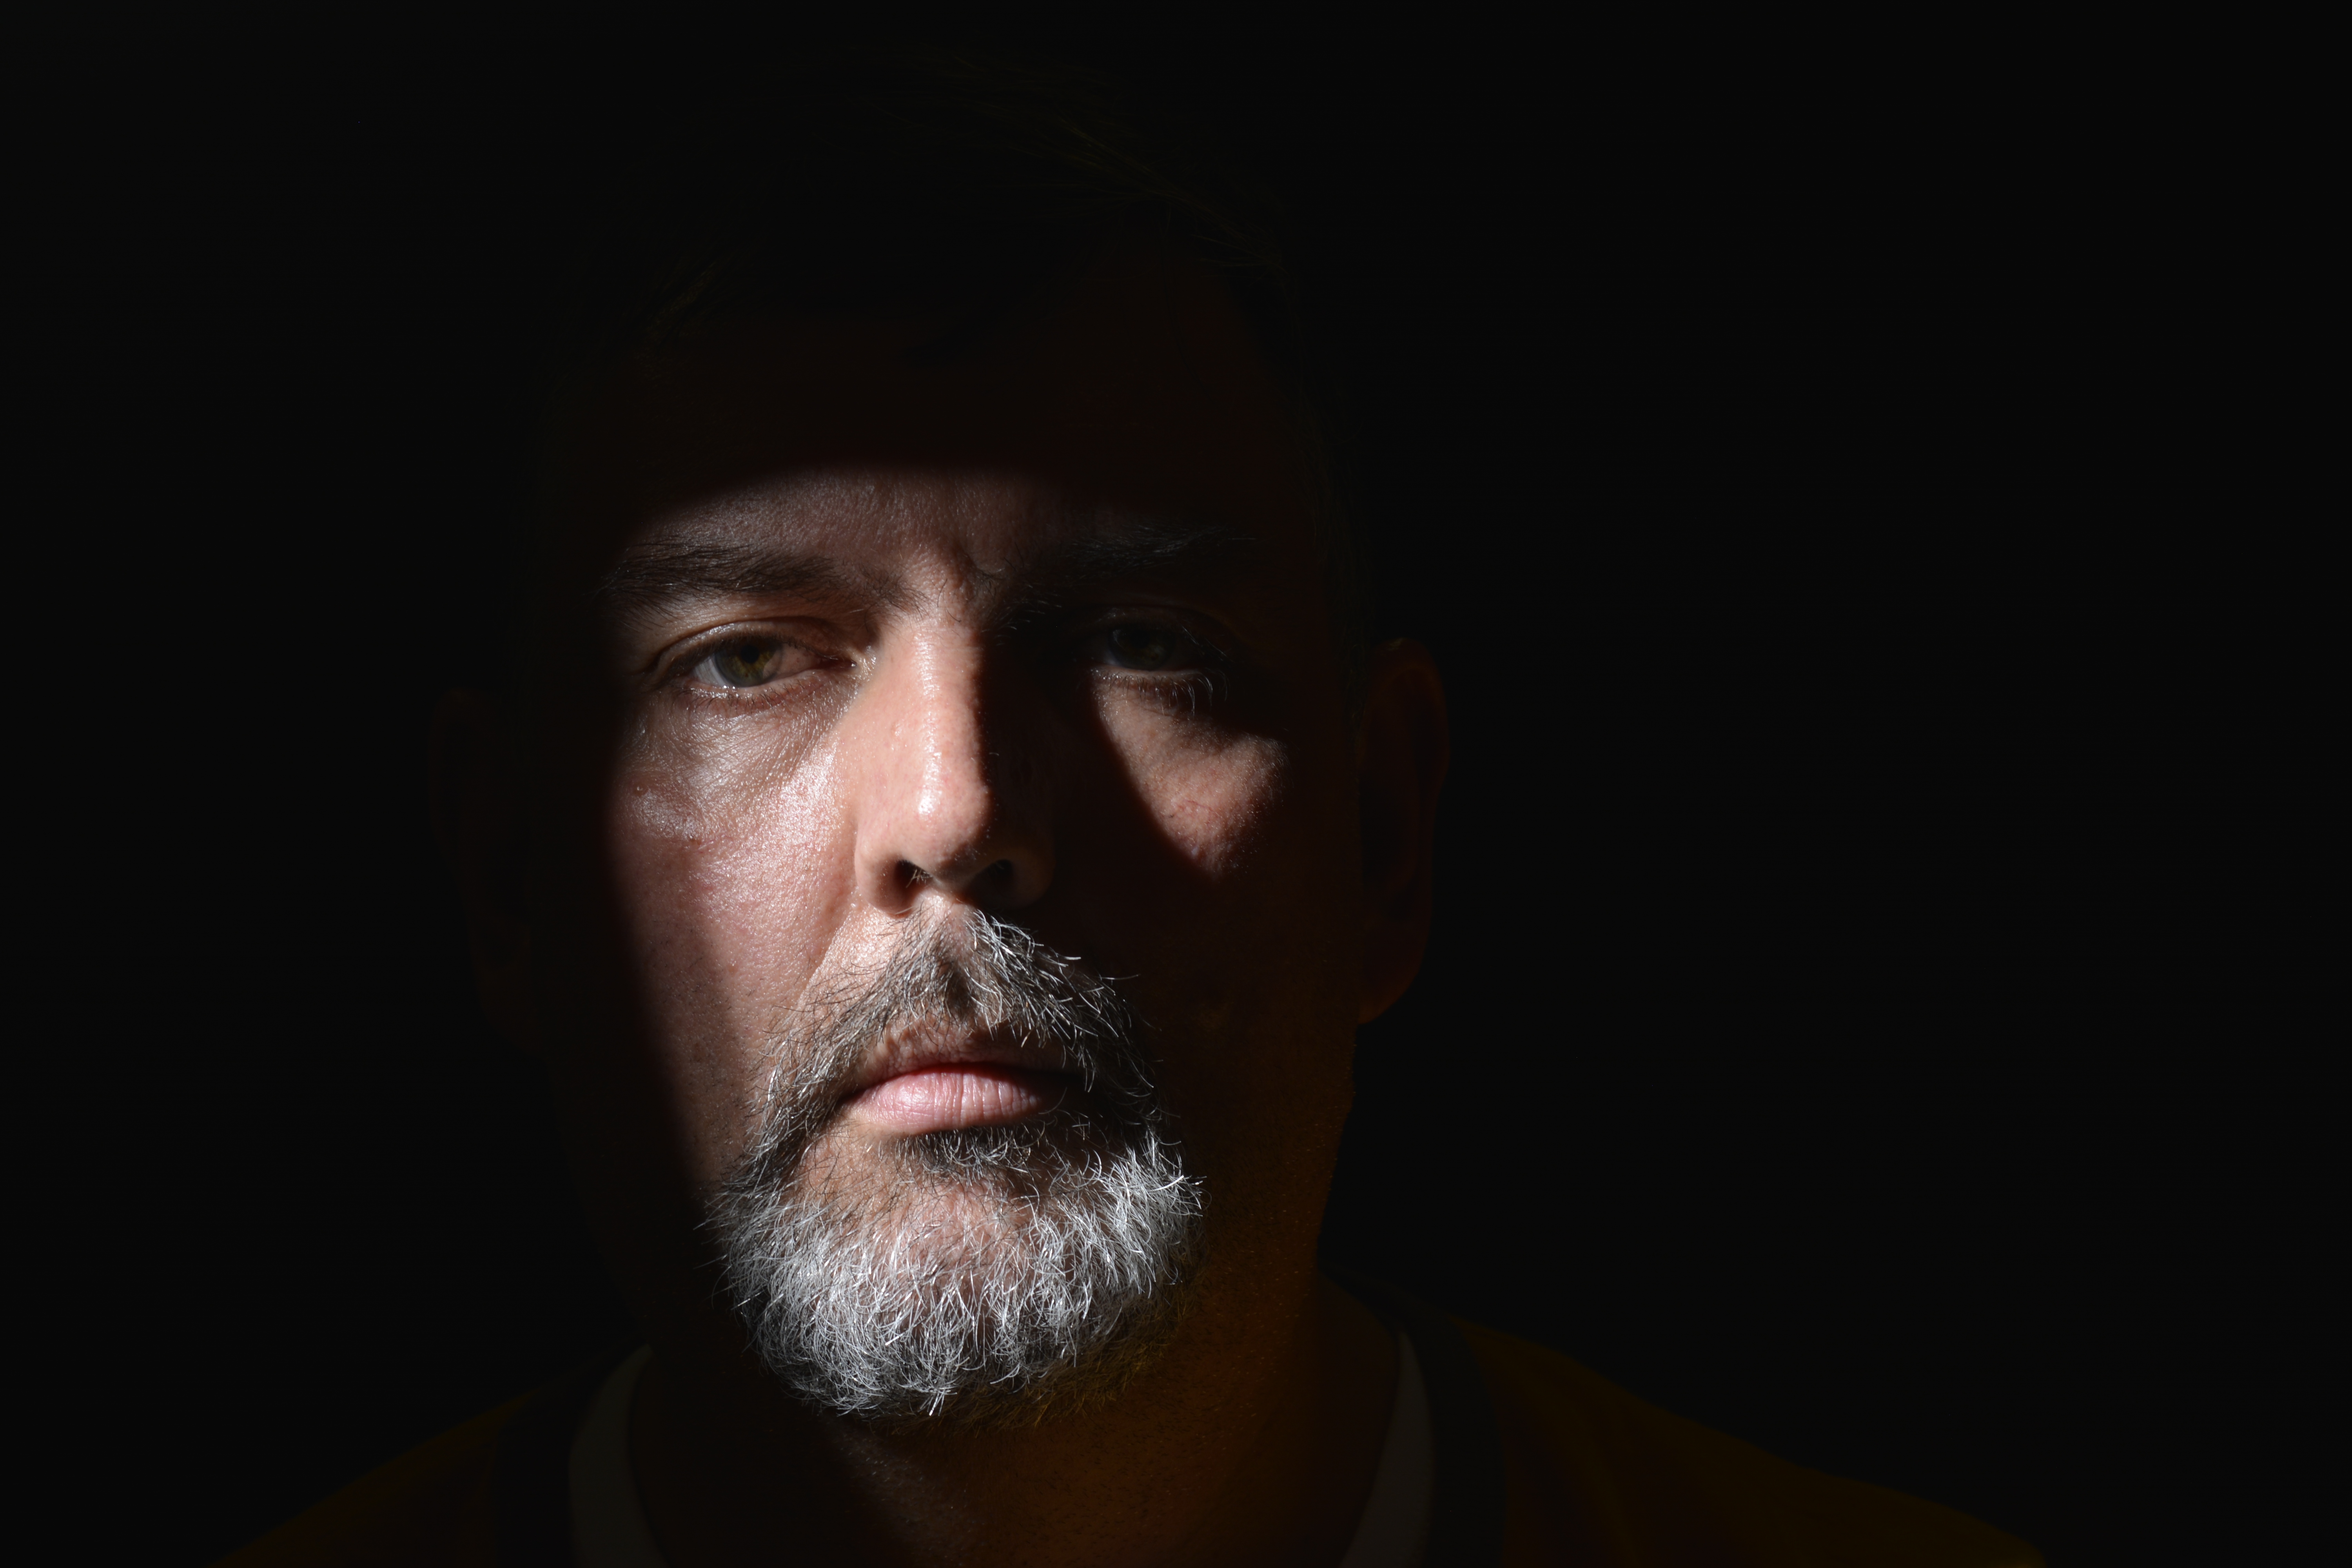
Spot Lighting
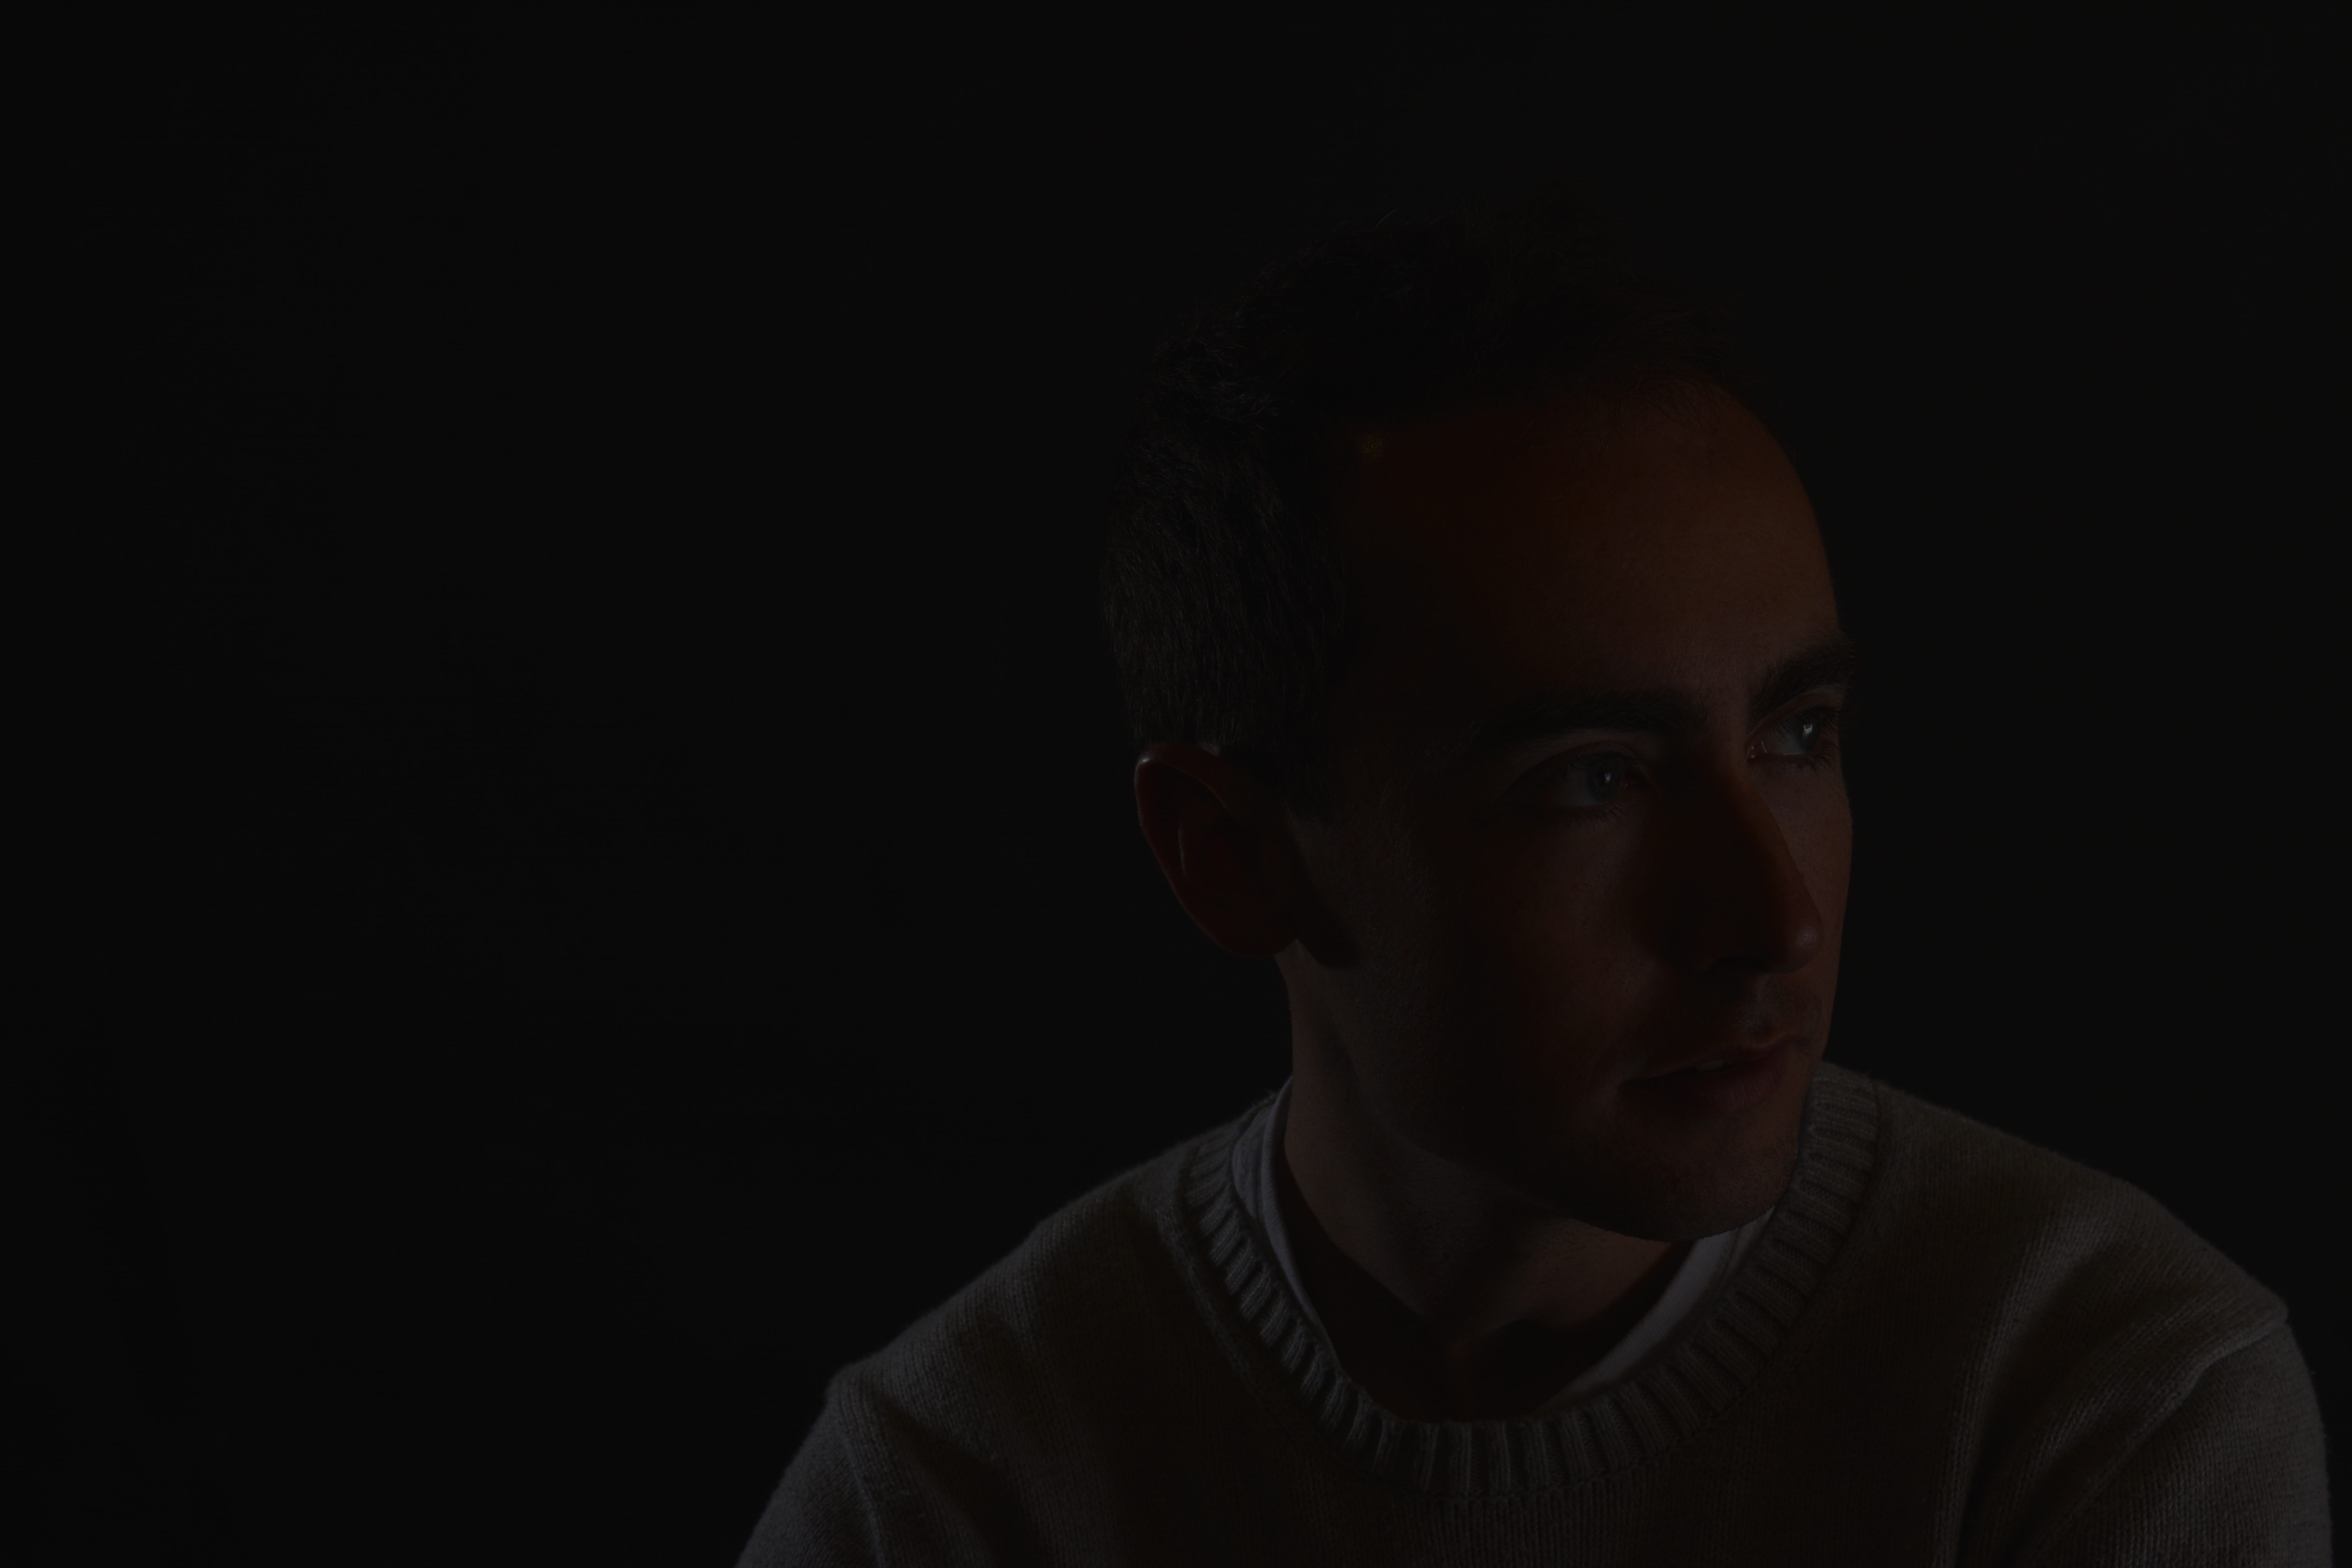
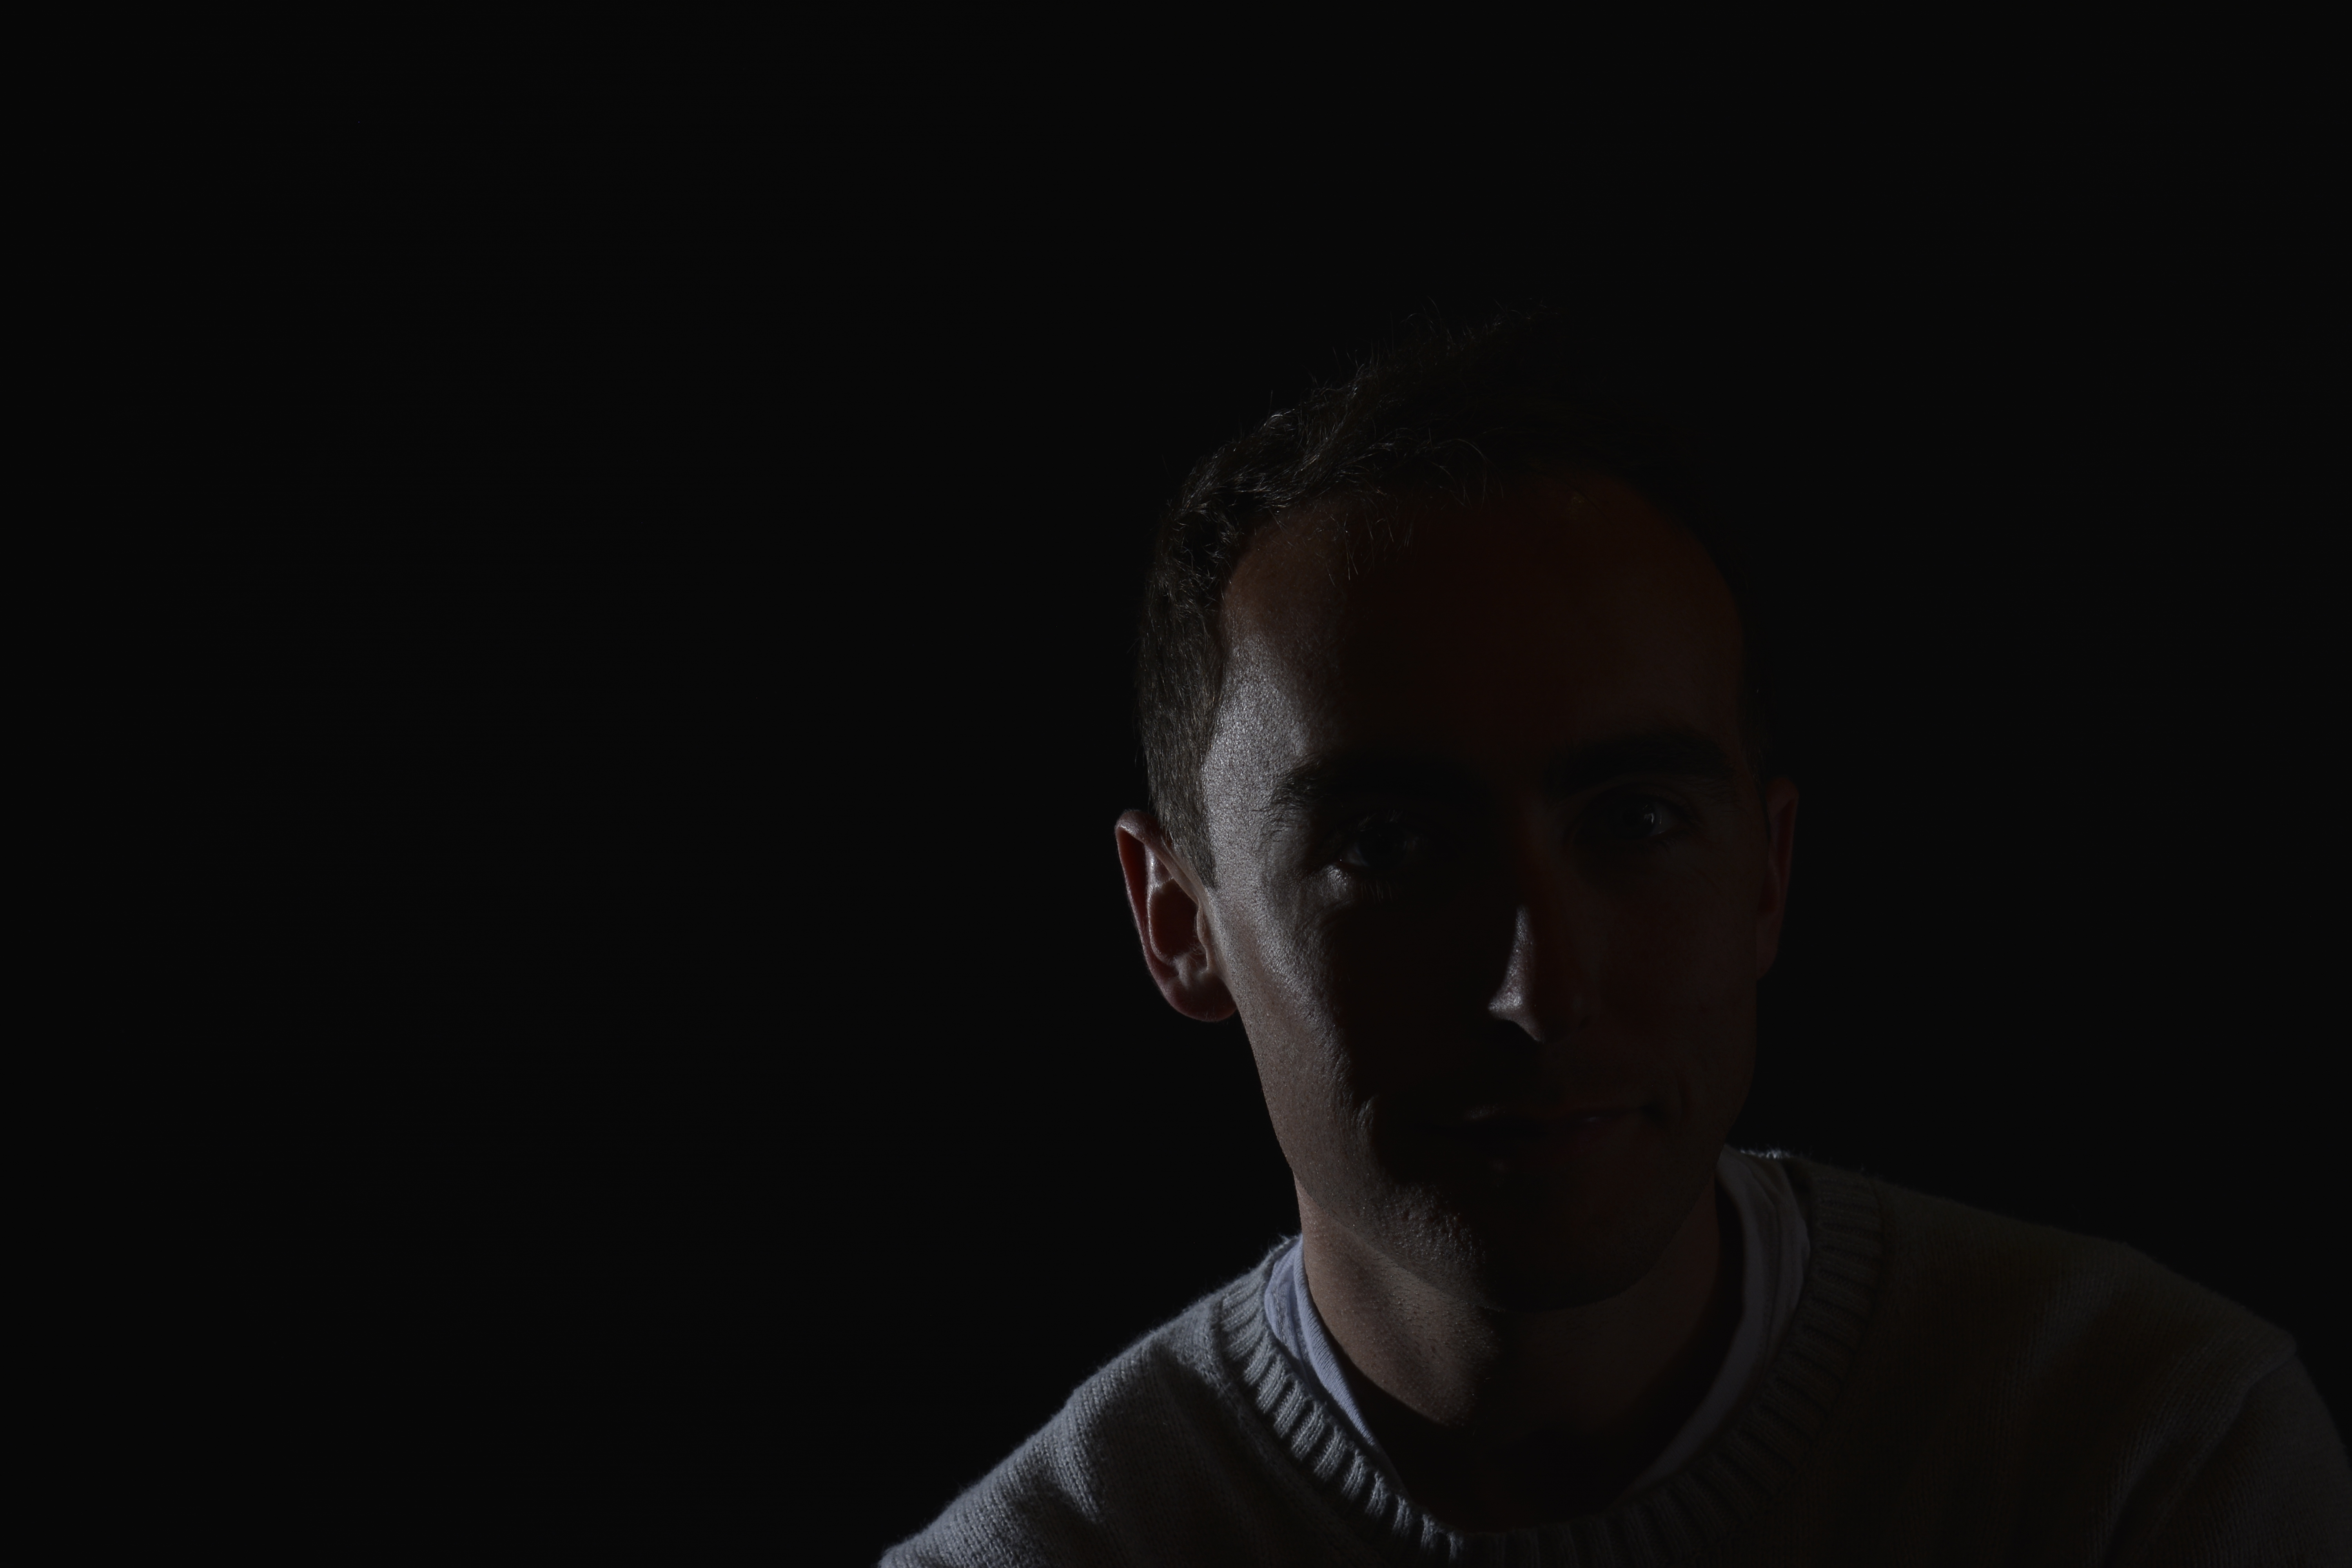
Spot lighting is a very harsh and concentrated form of lighting usually using a snoot attachment to direct the light.
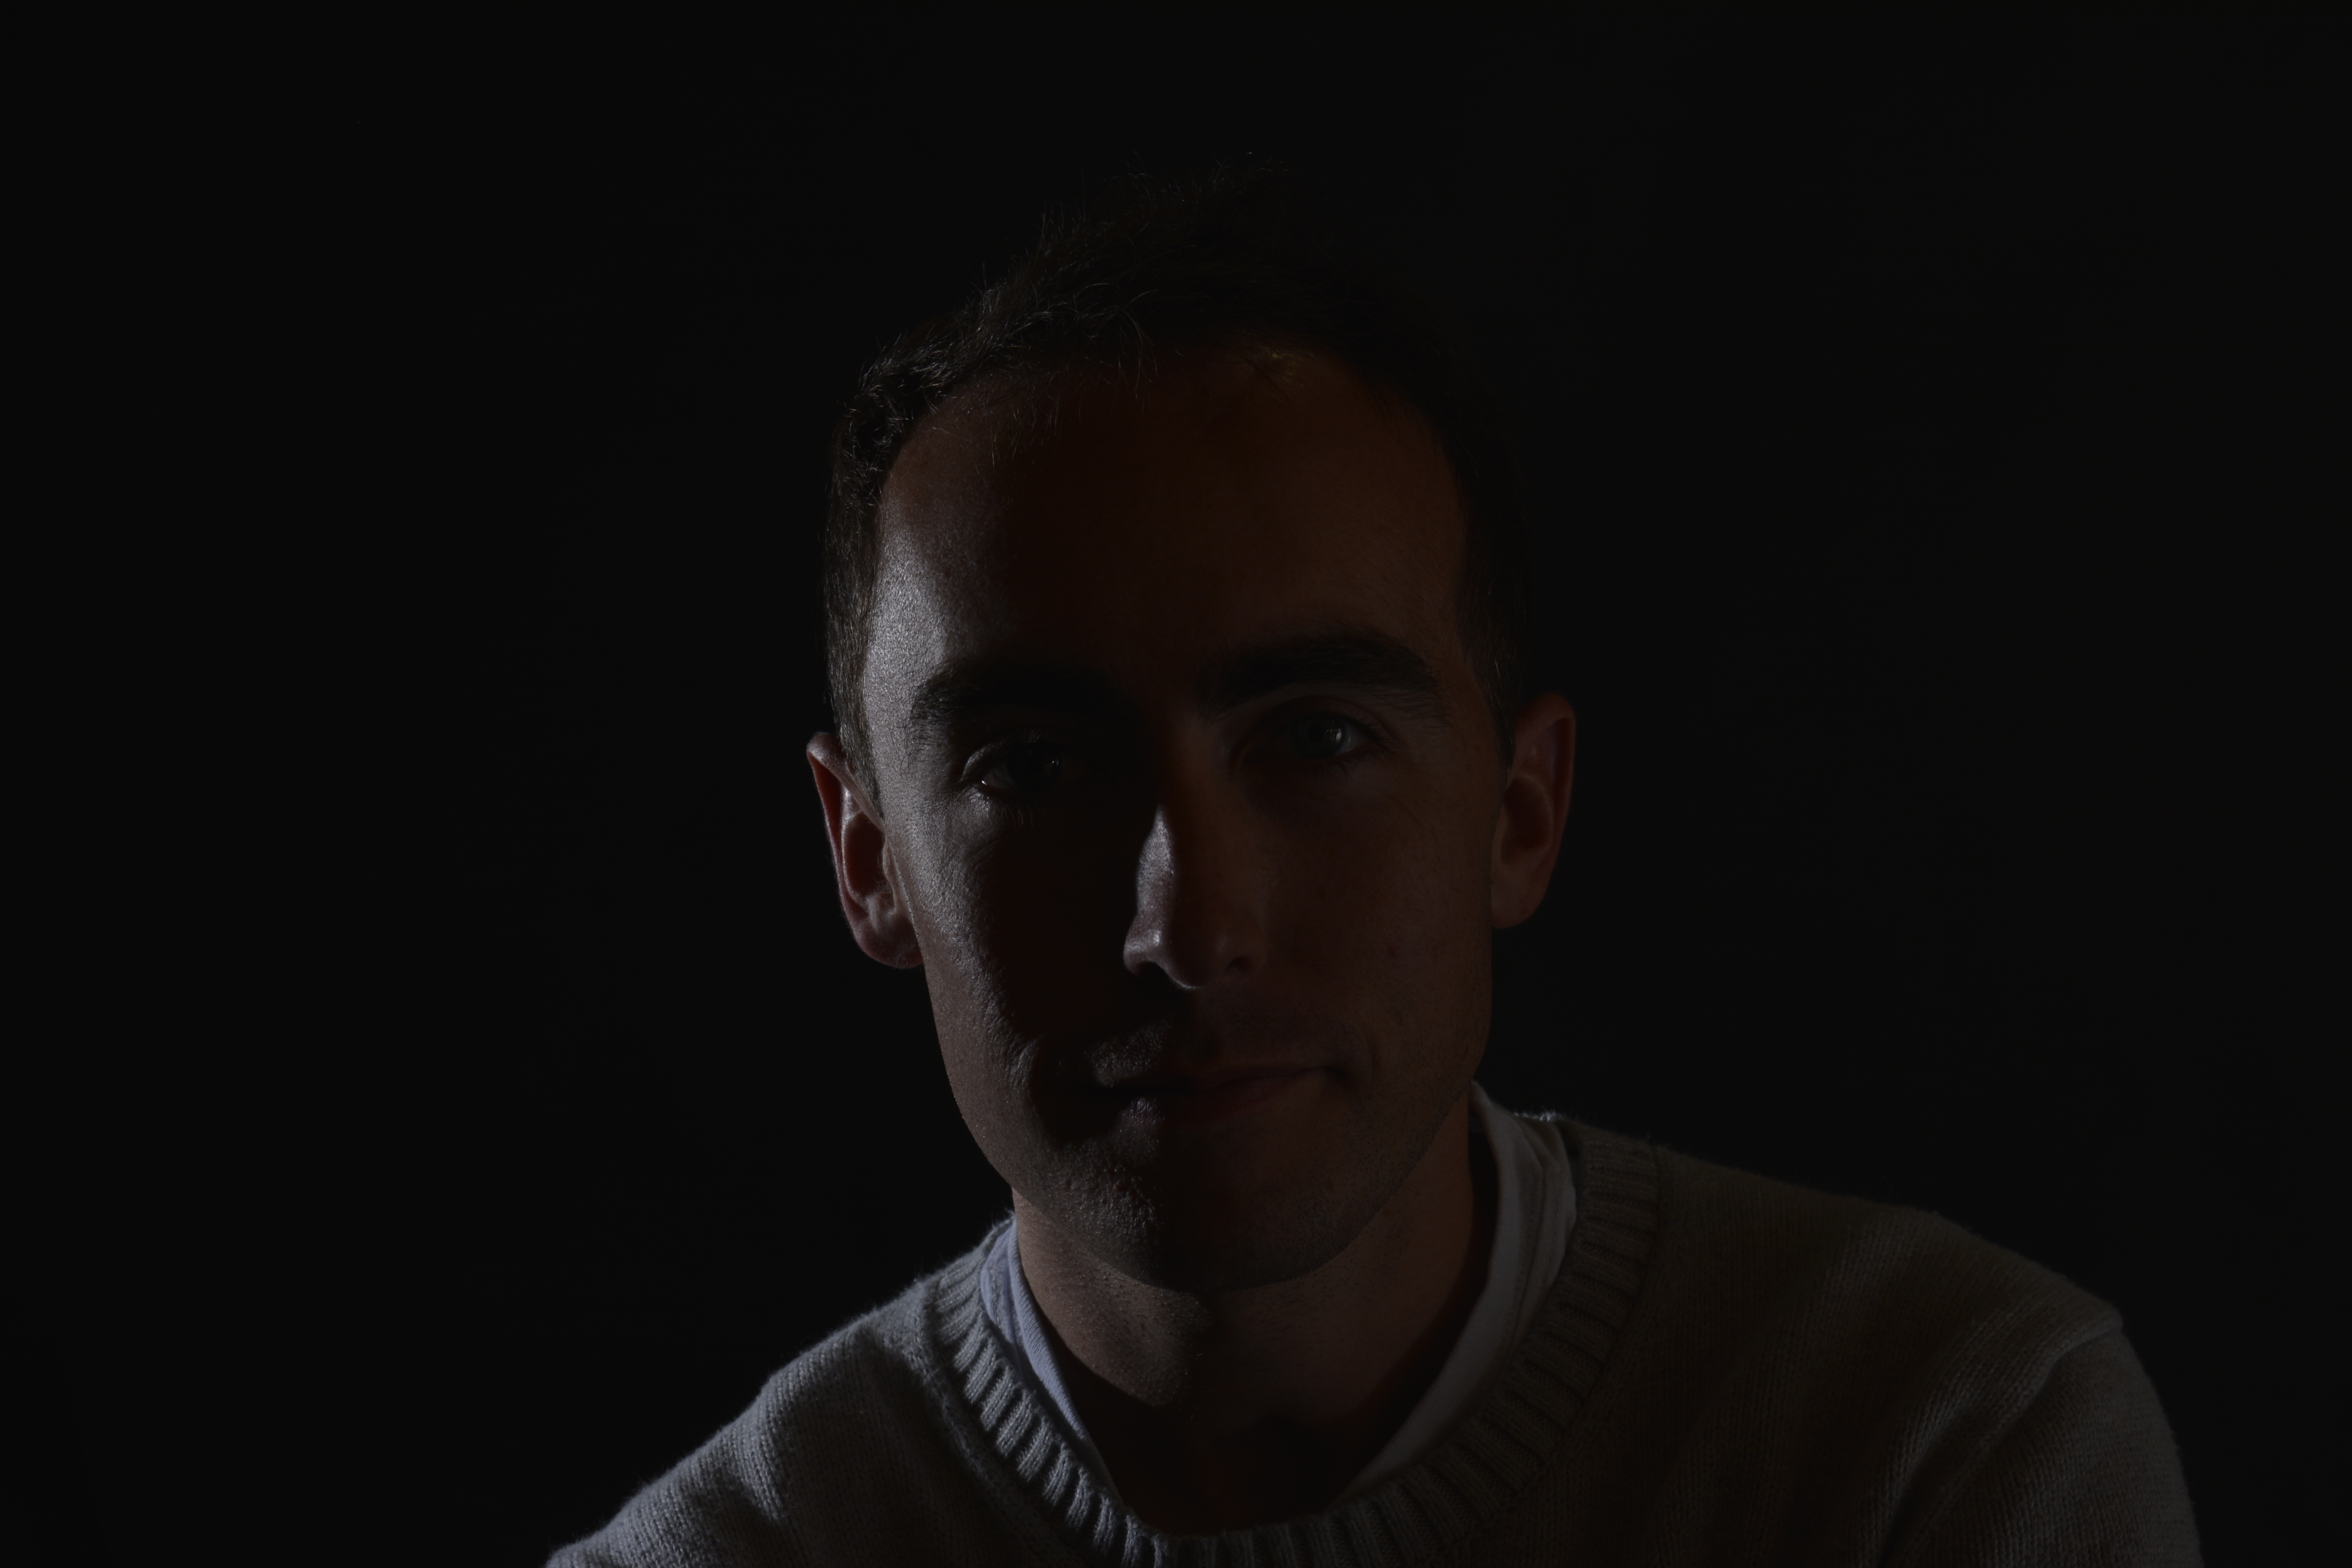
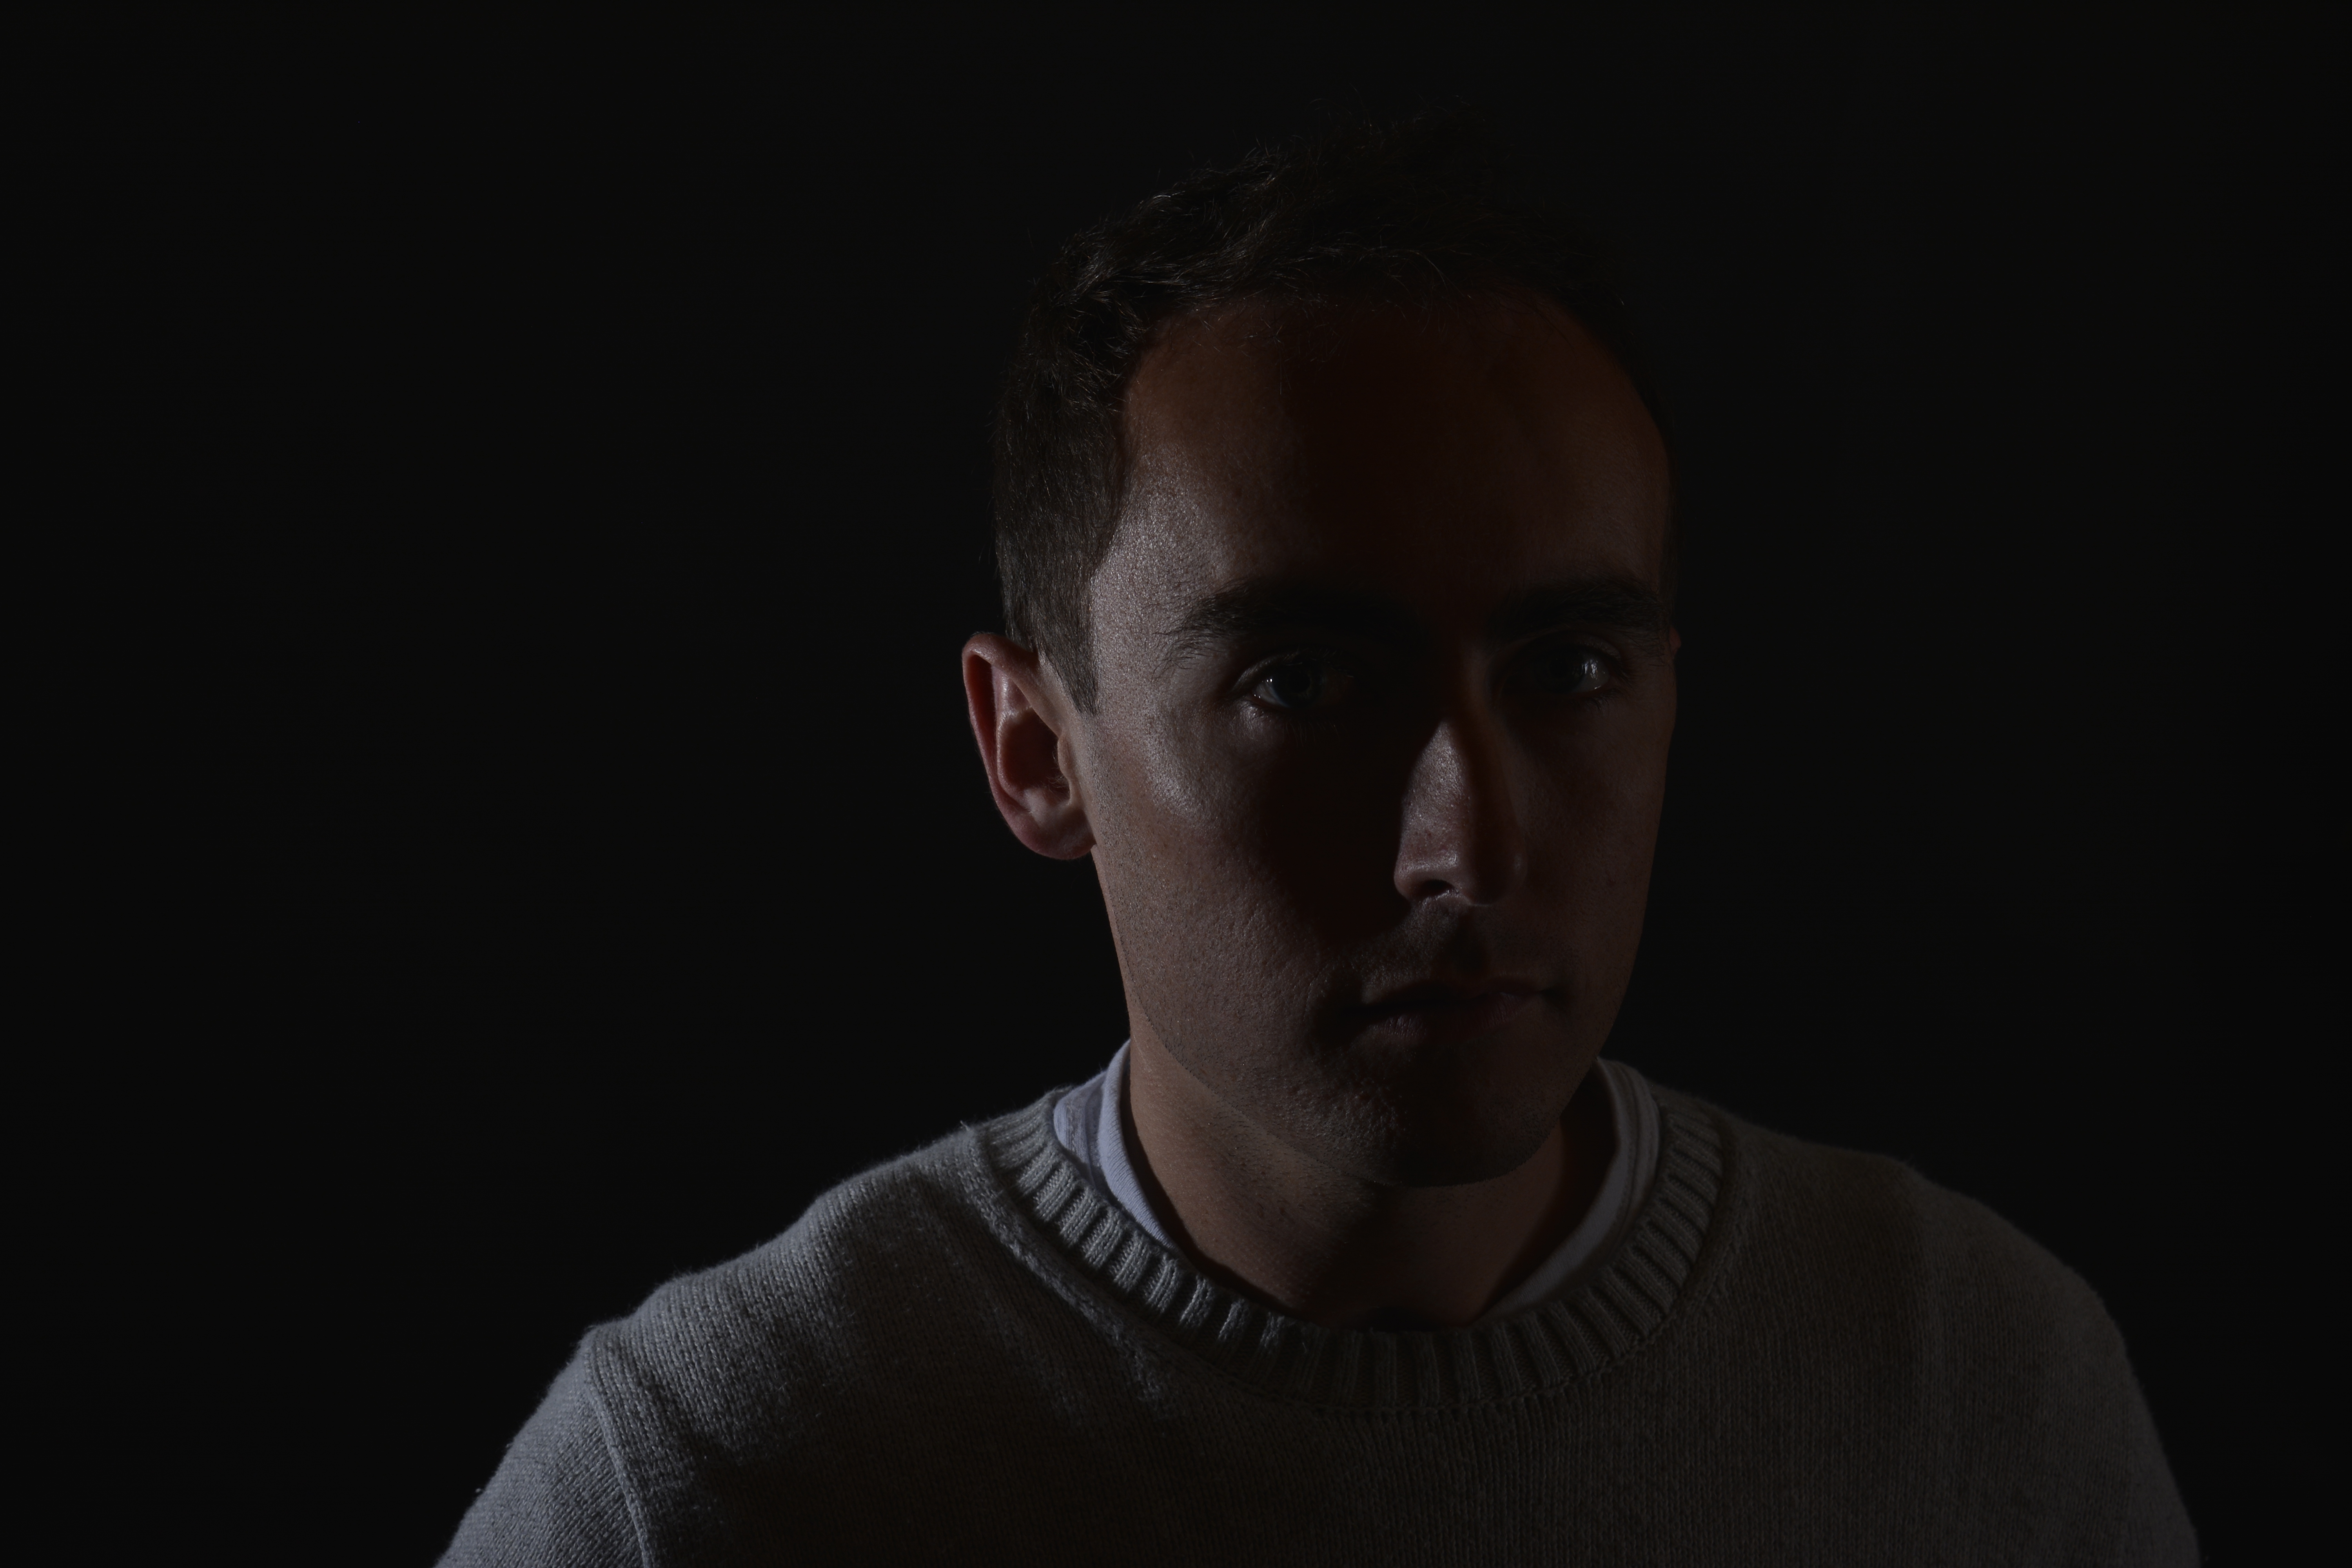
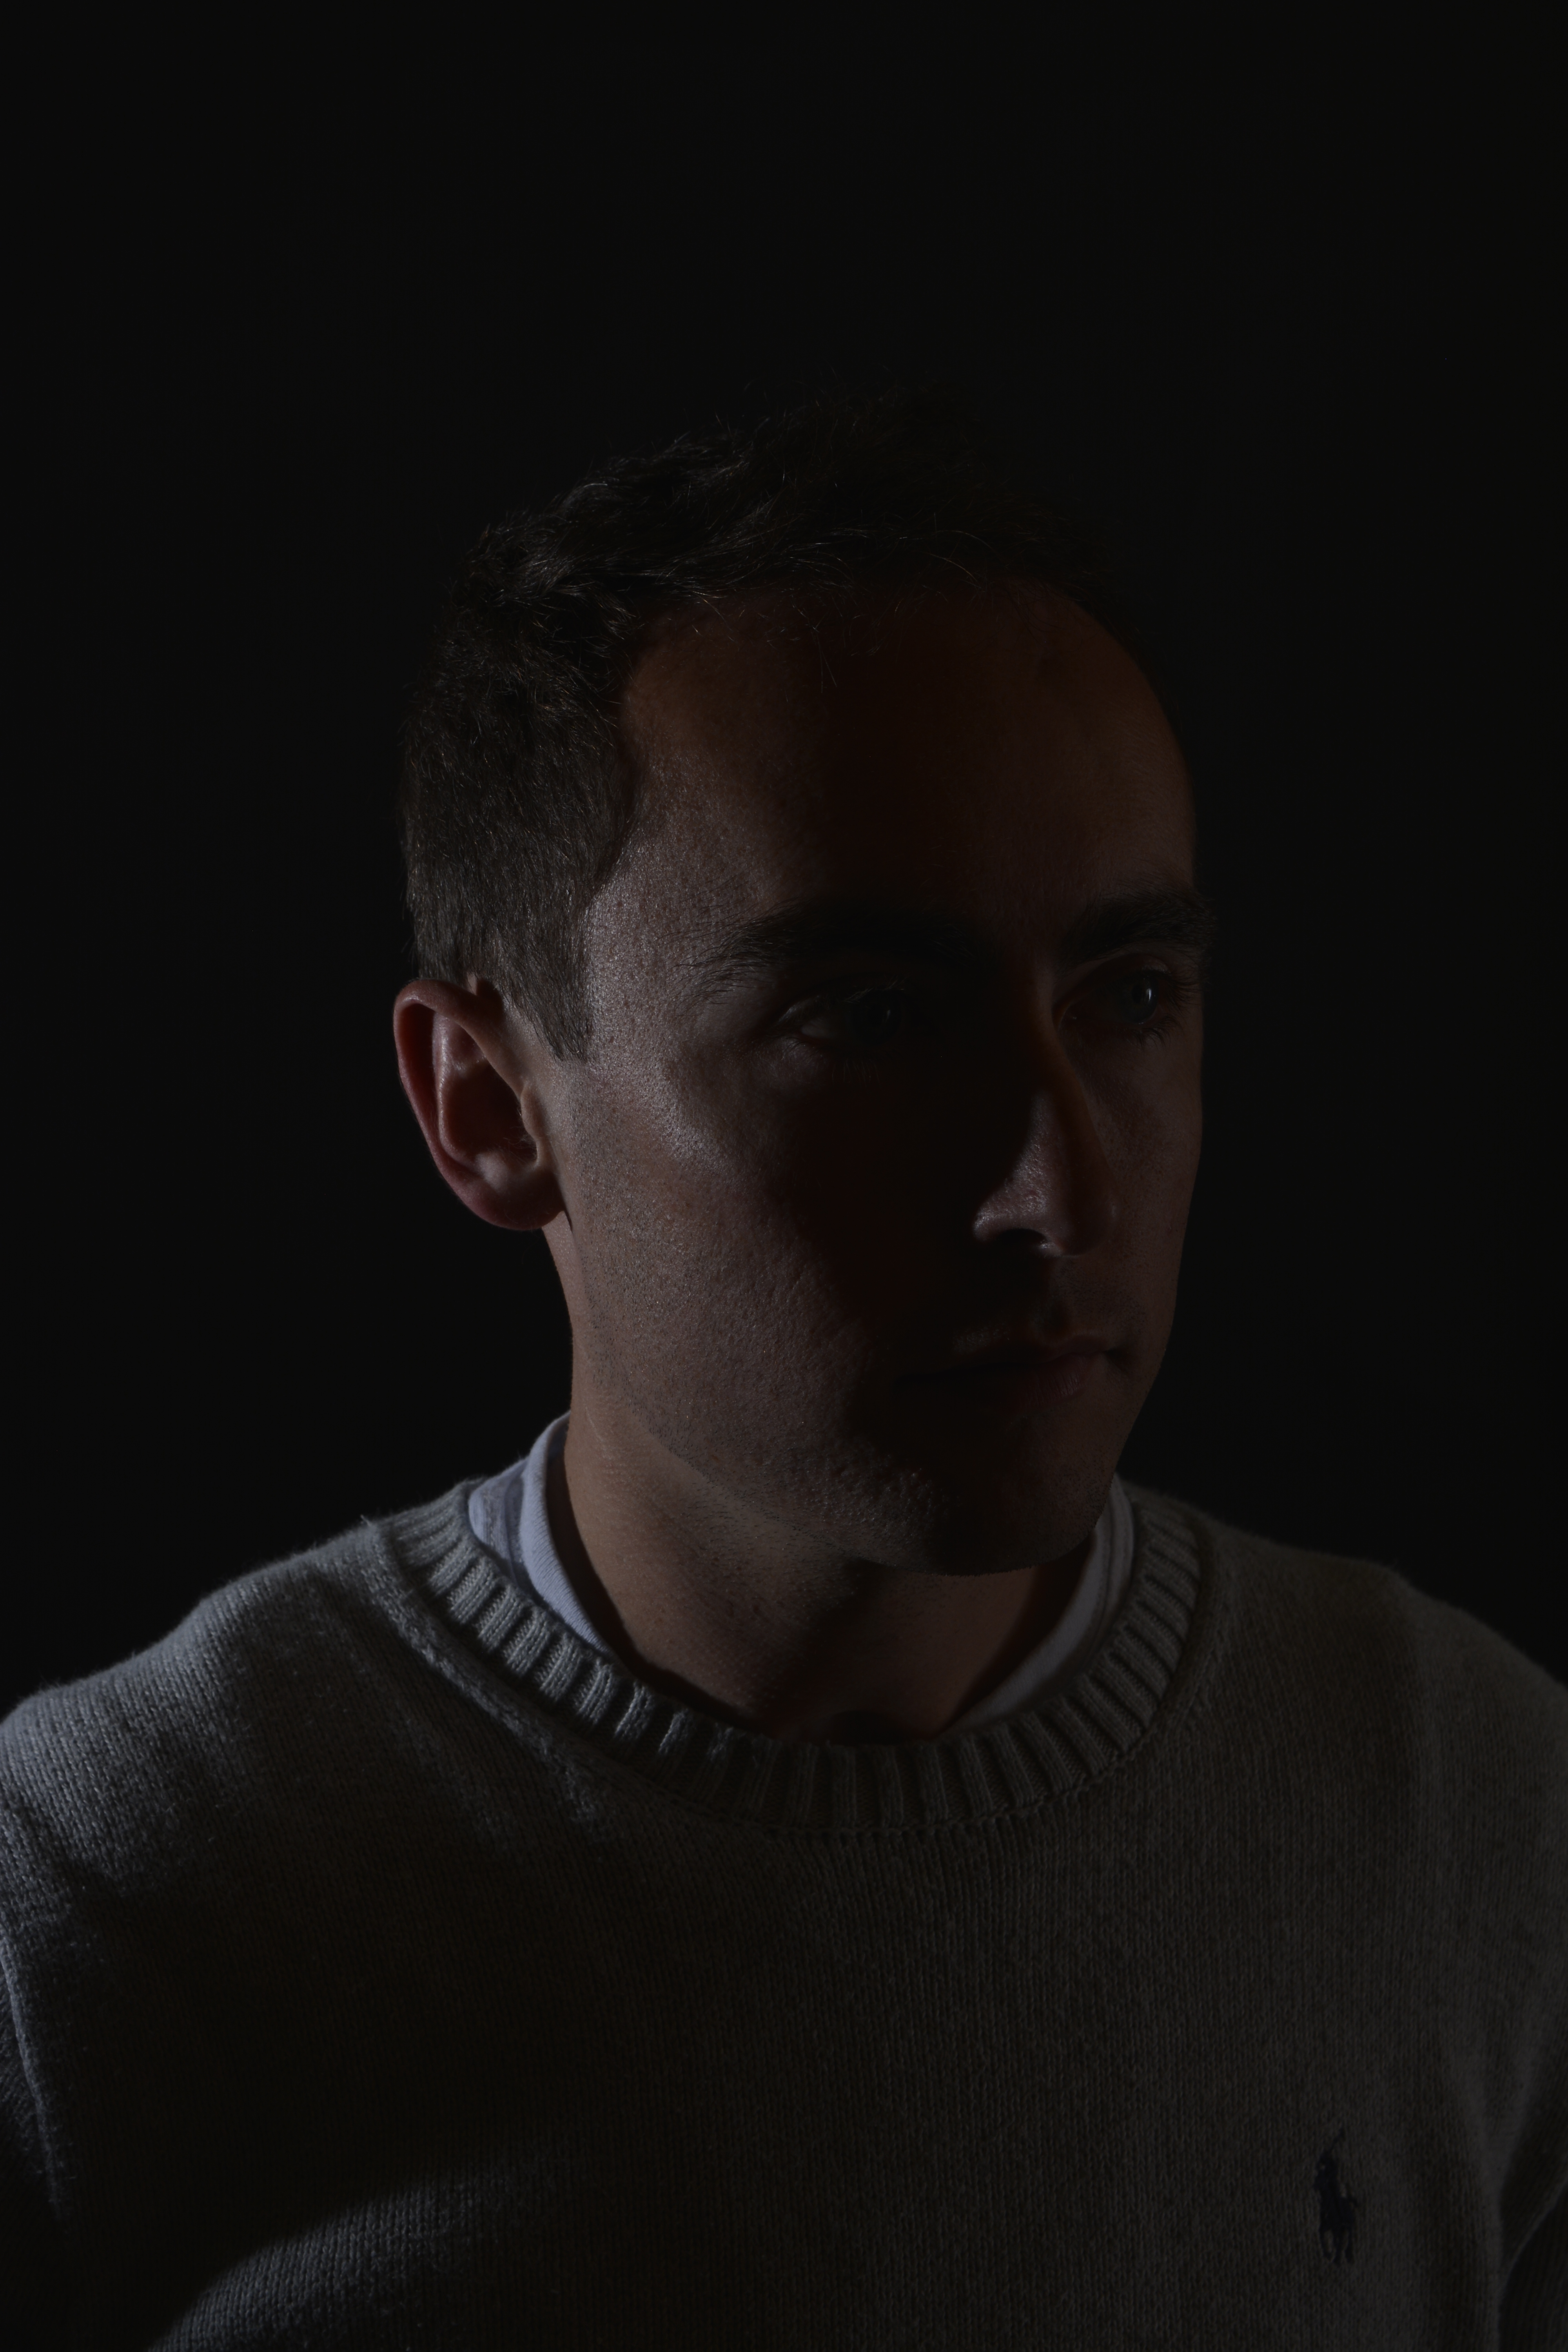
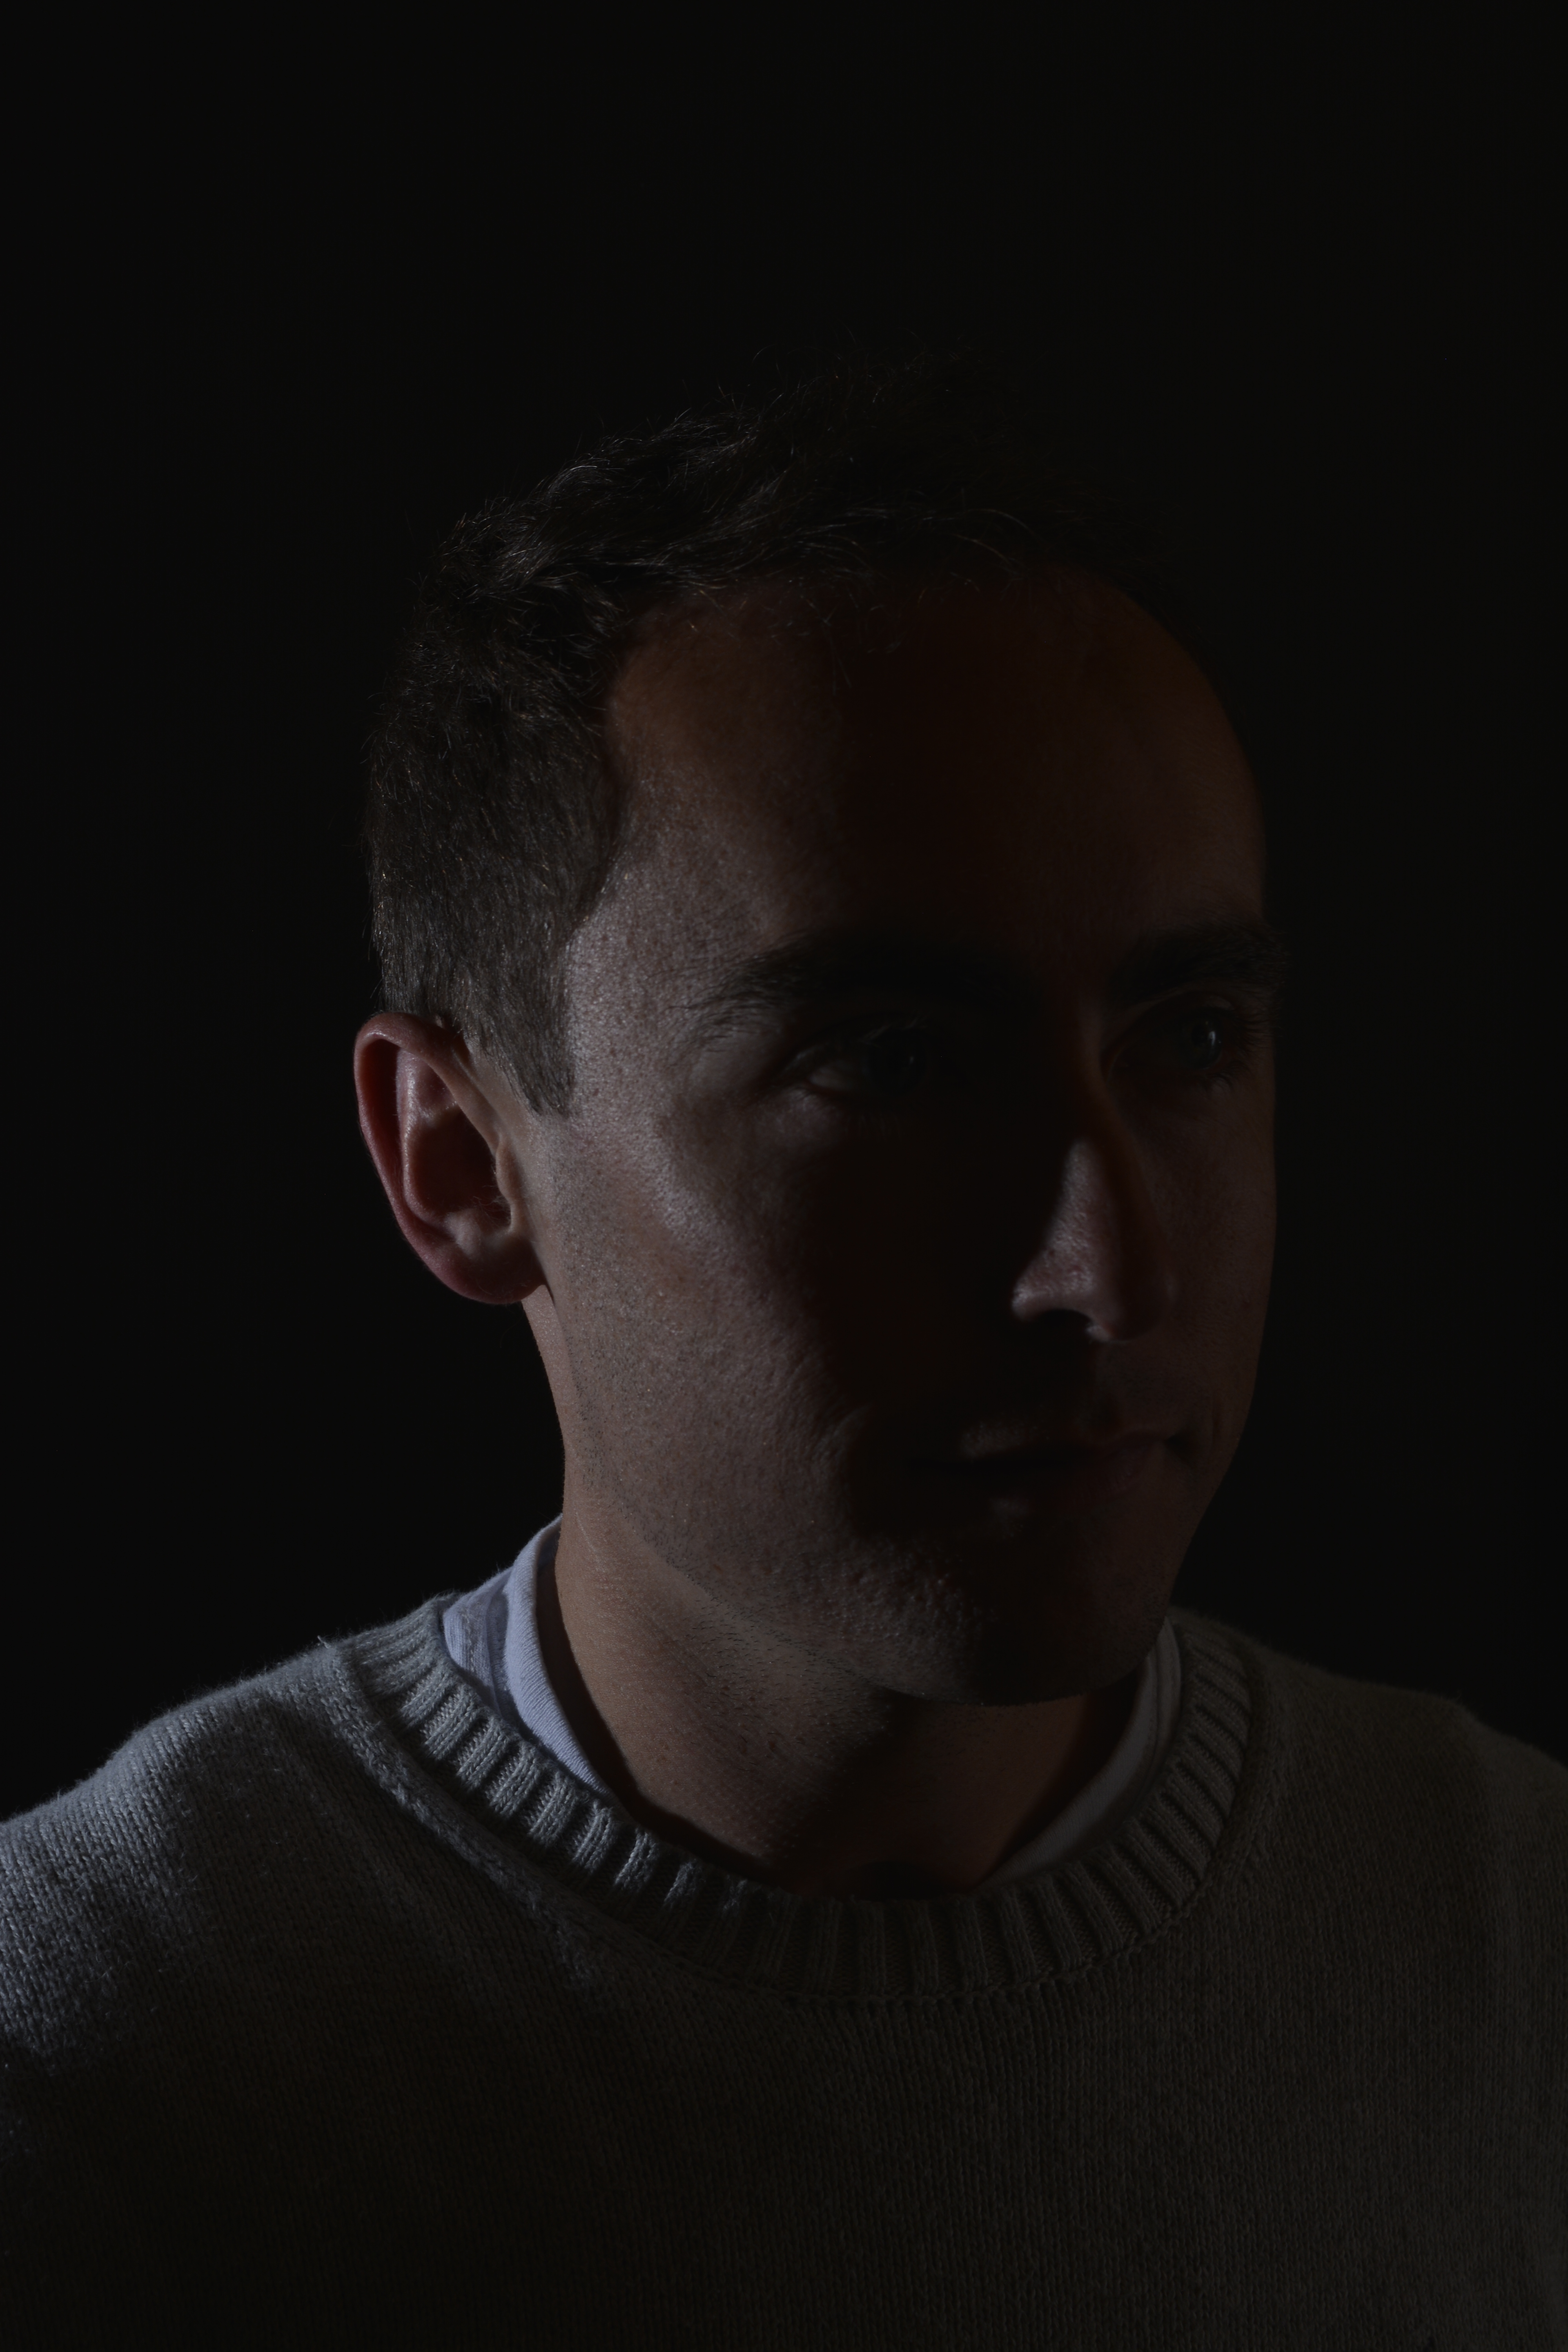
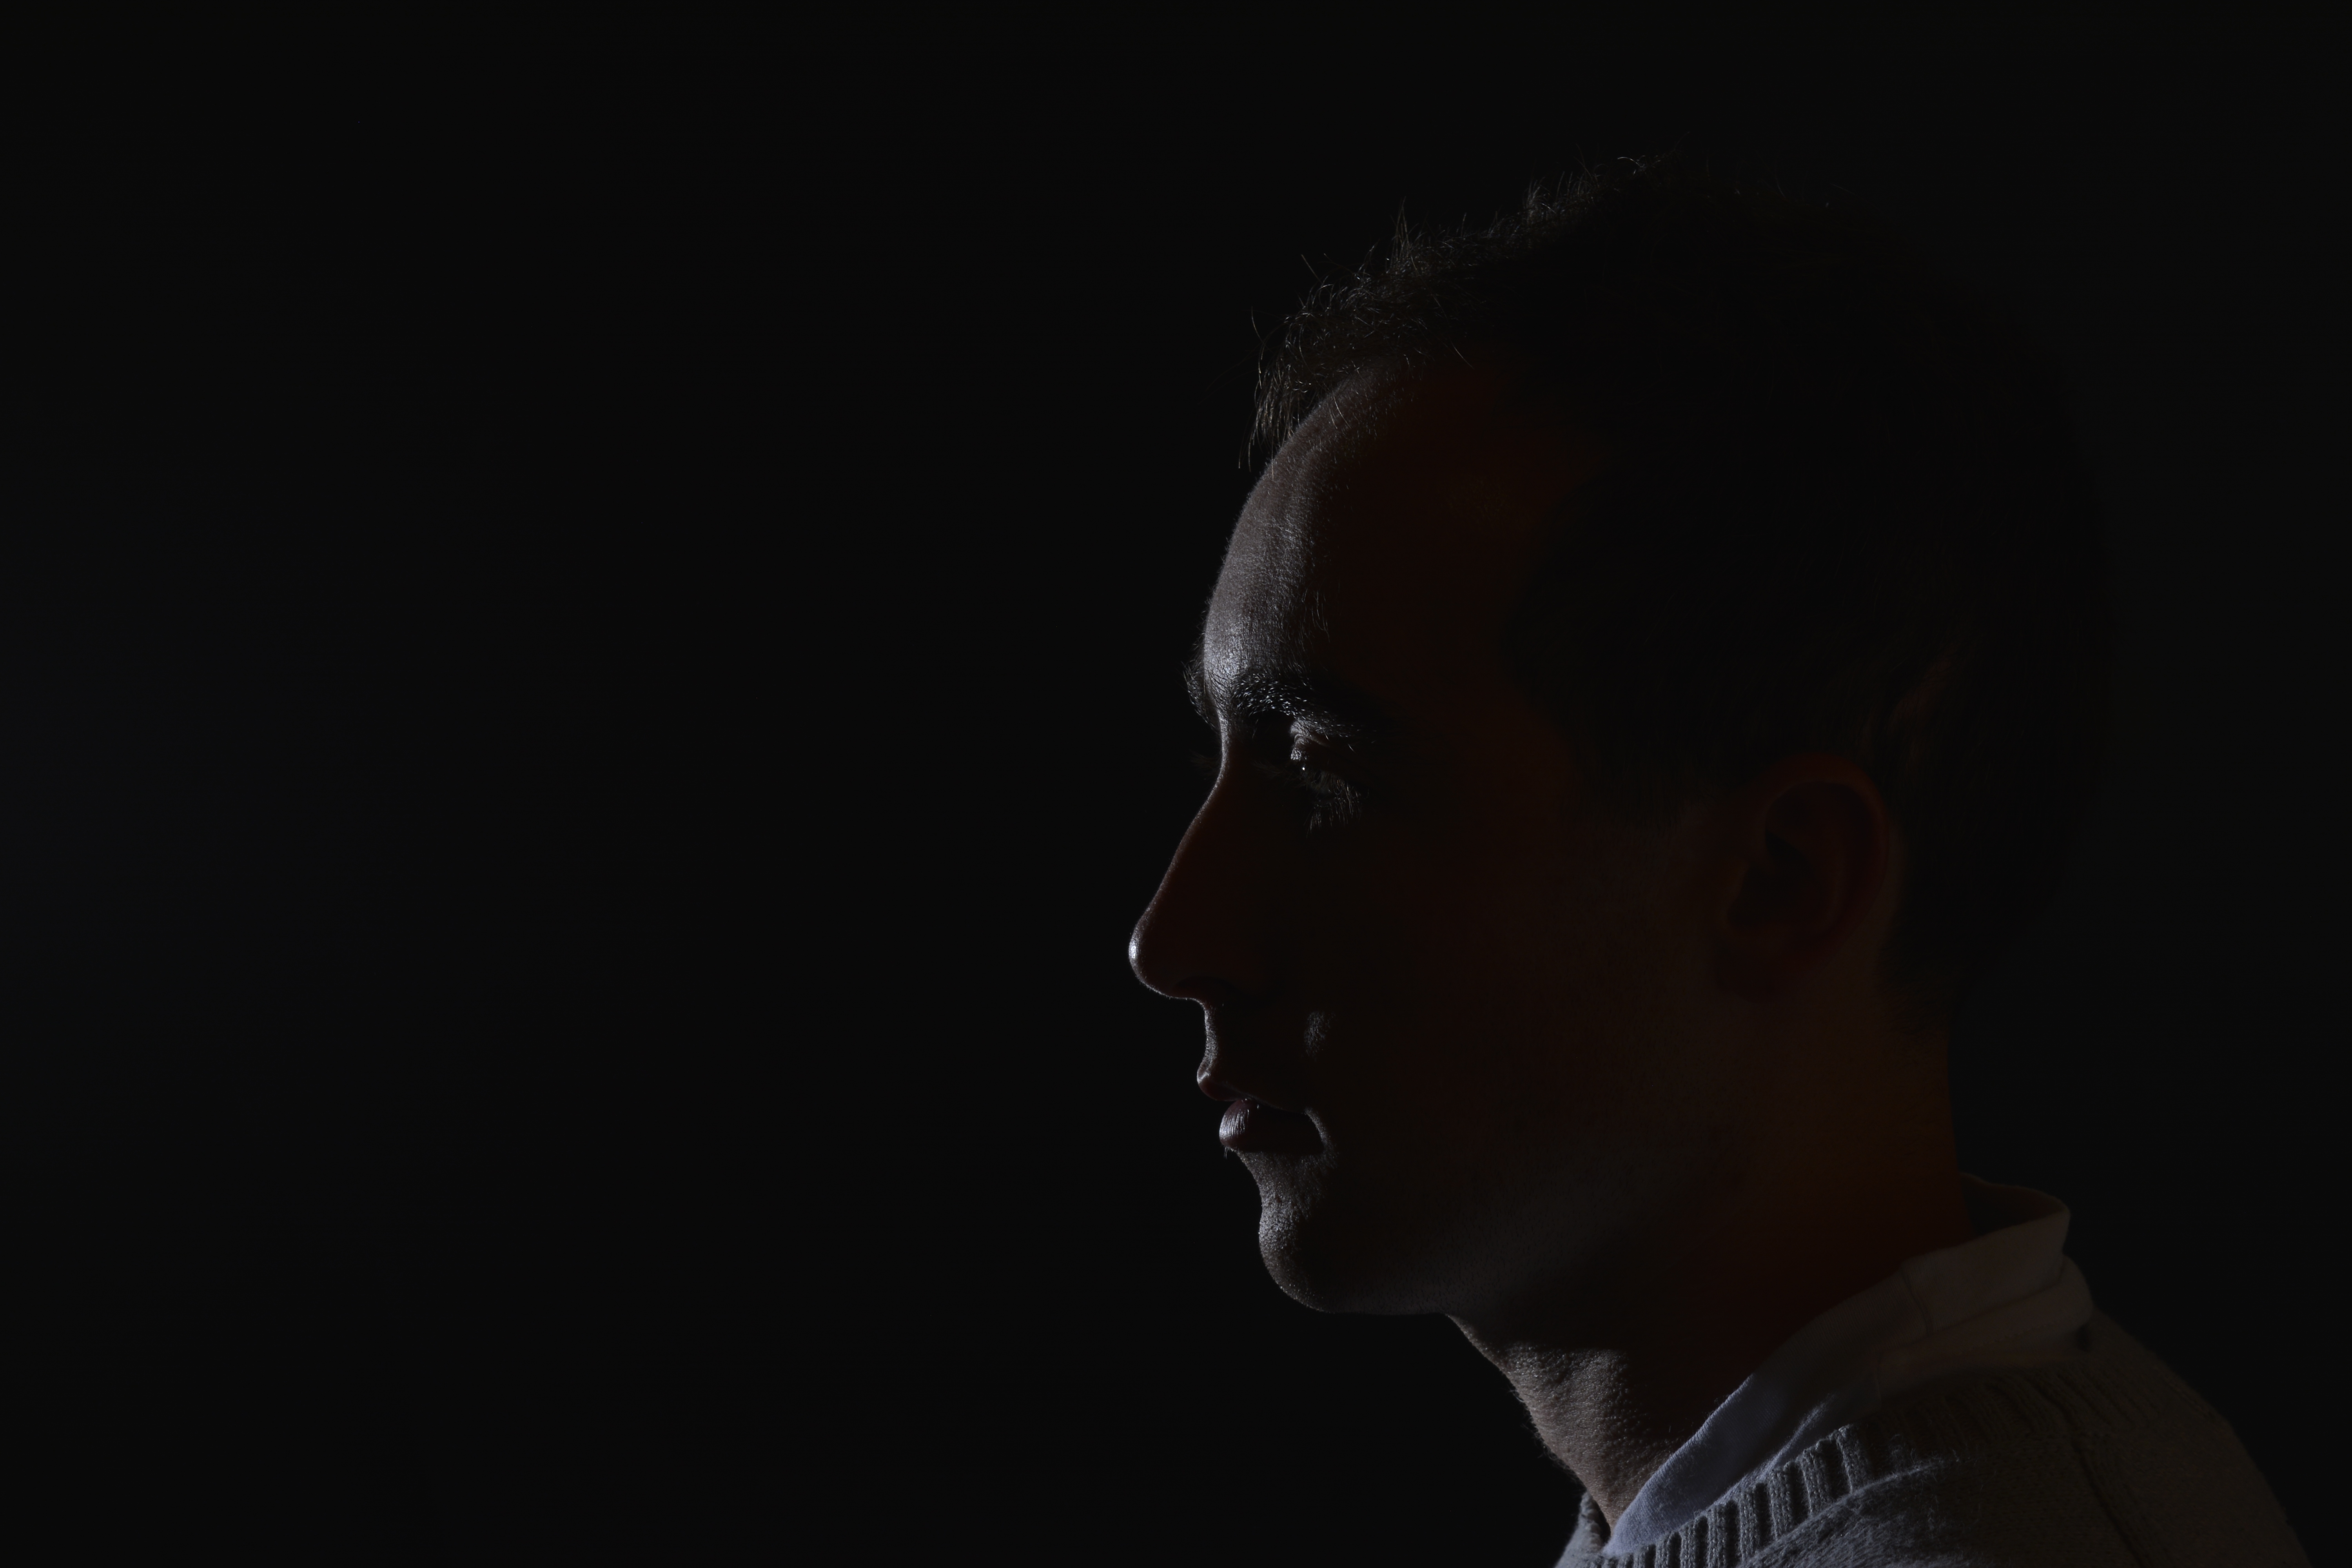
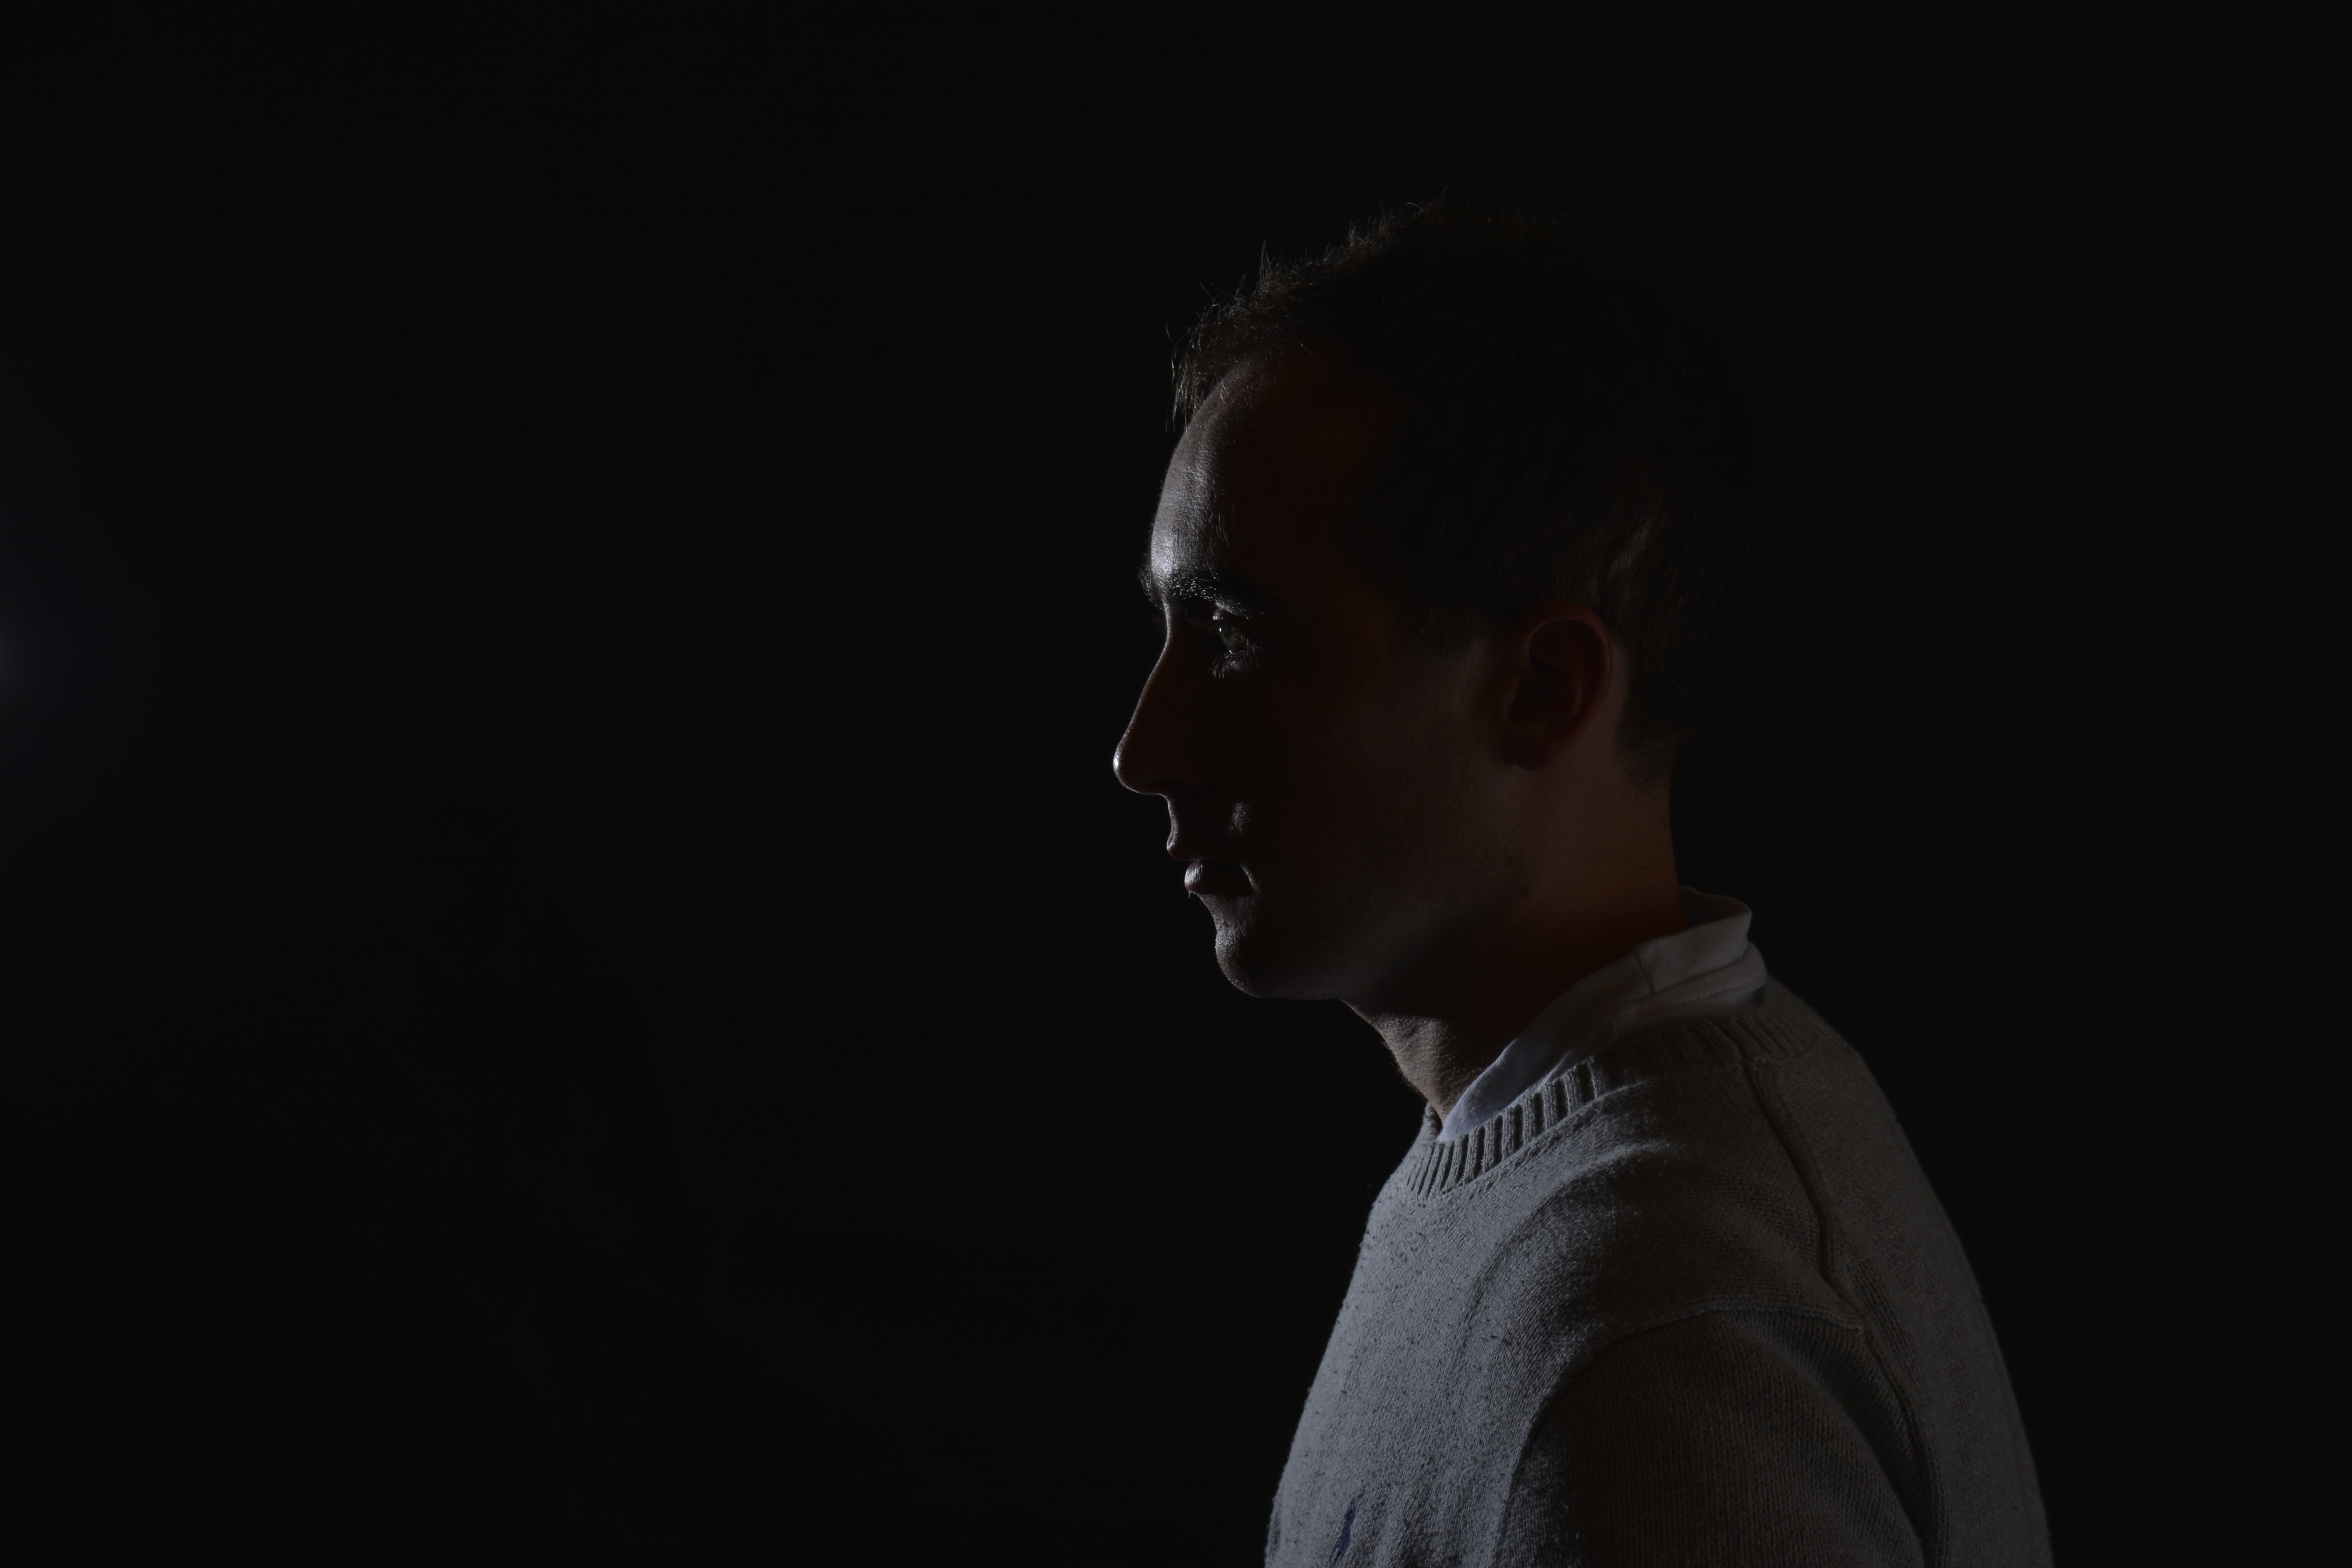
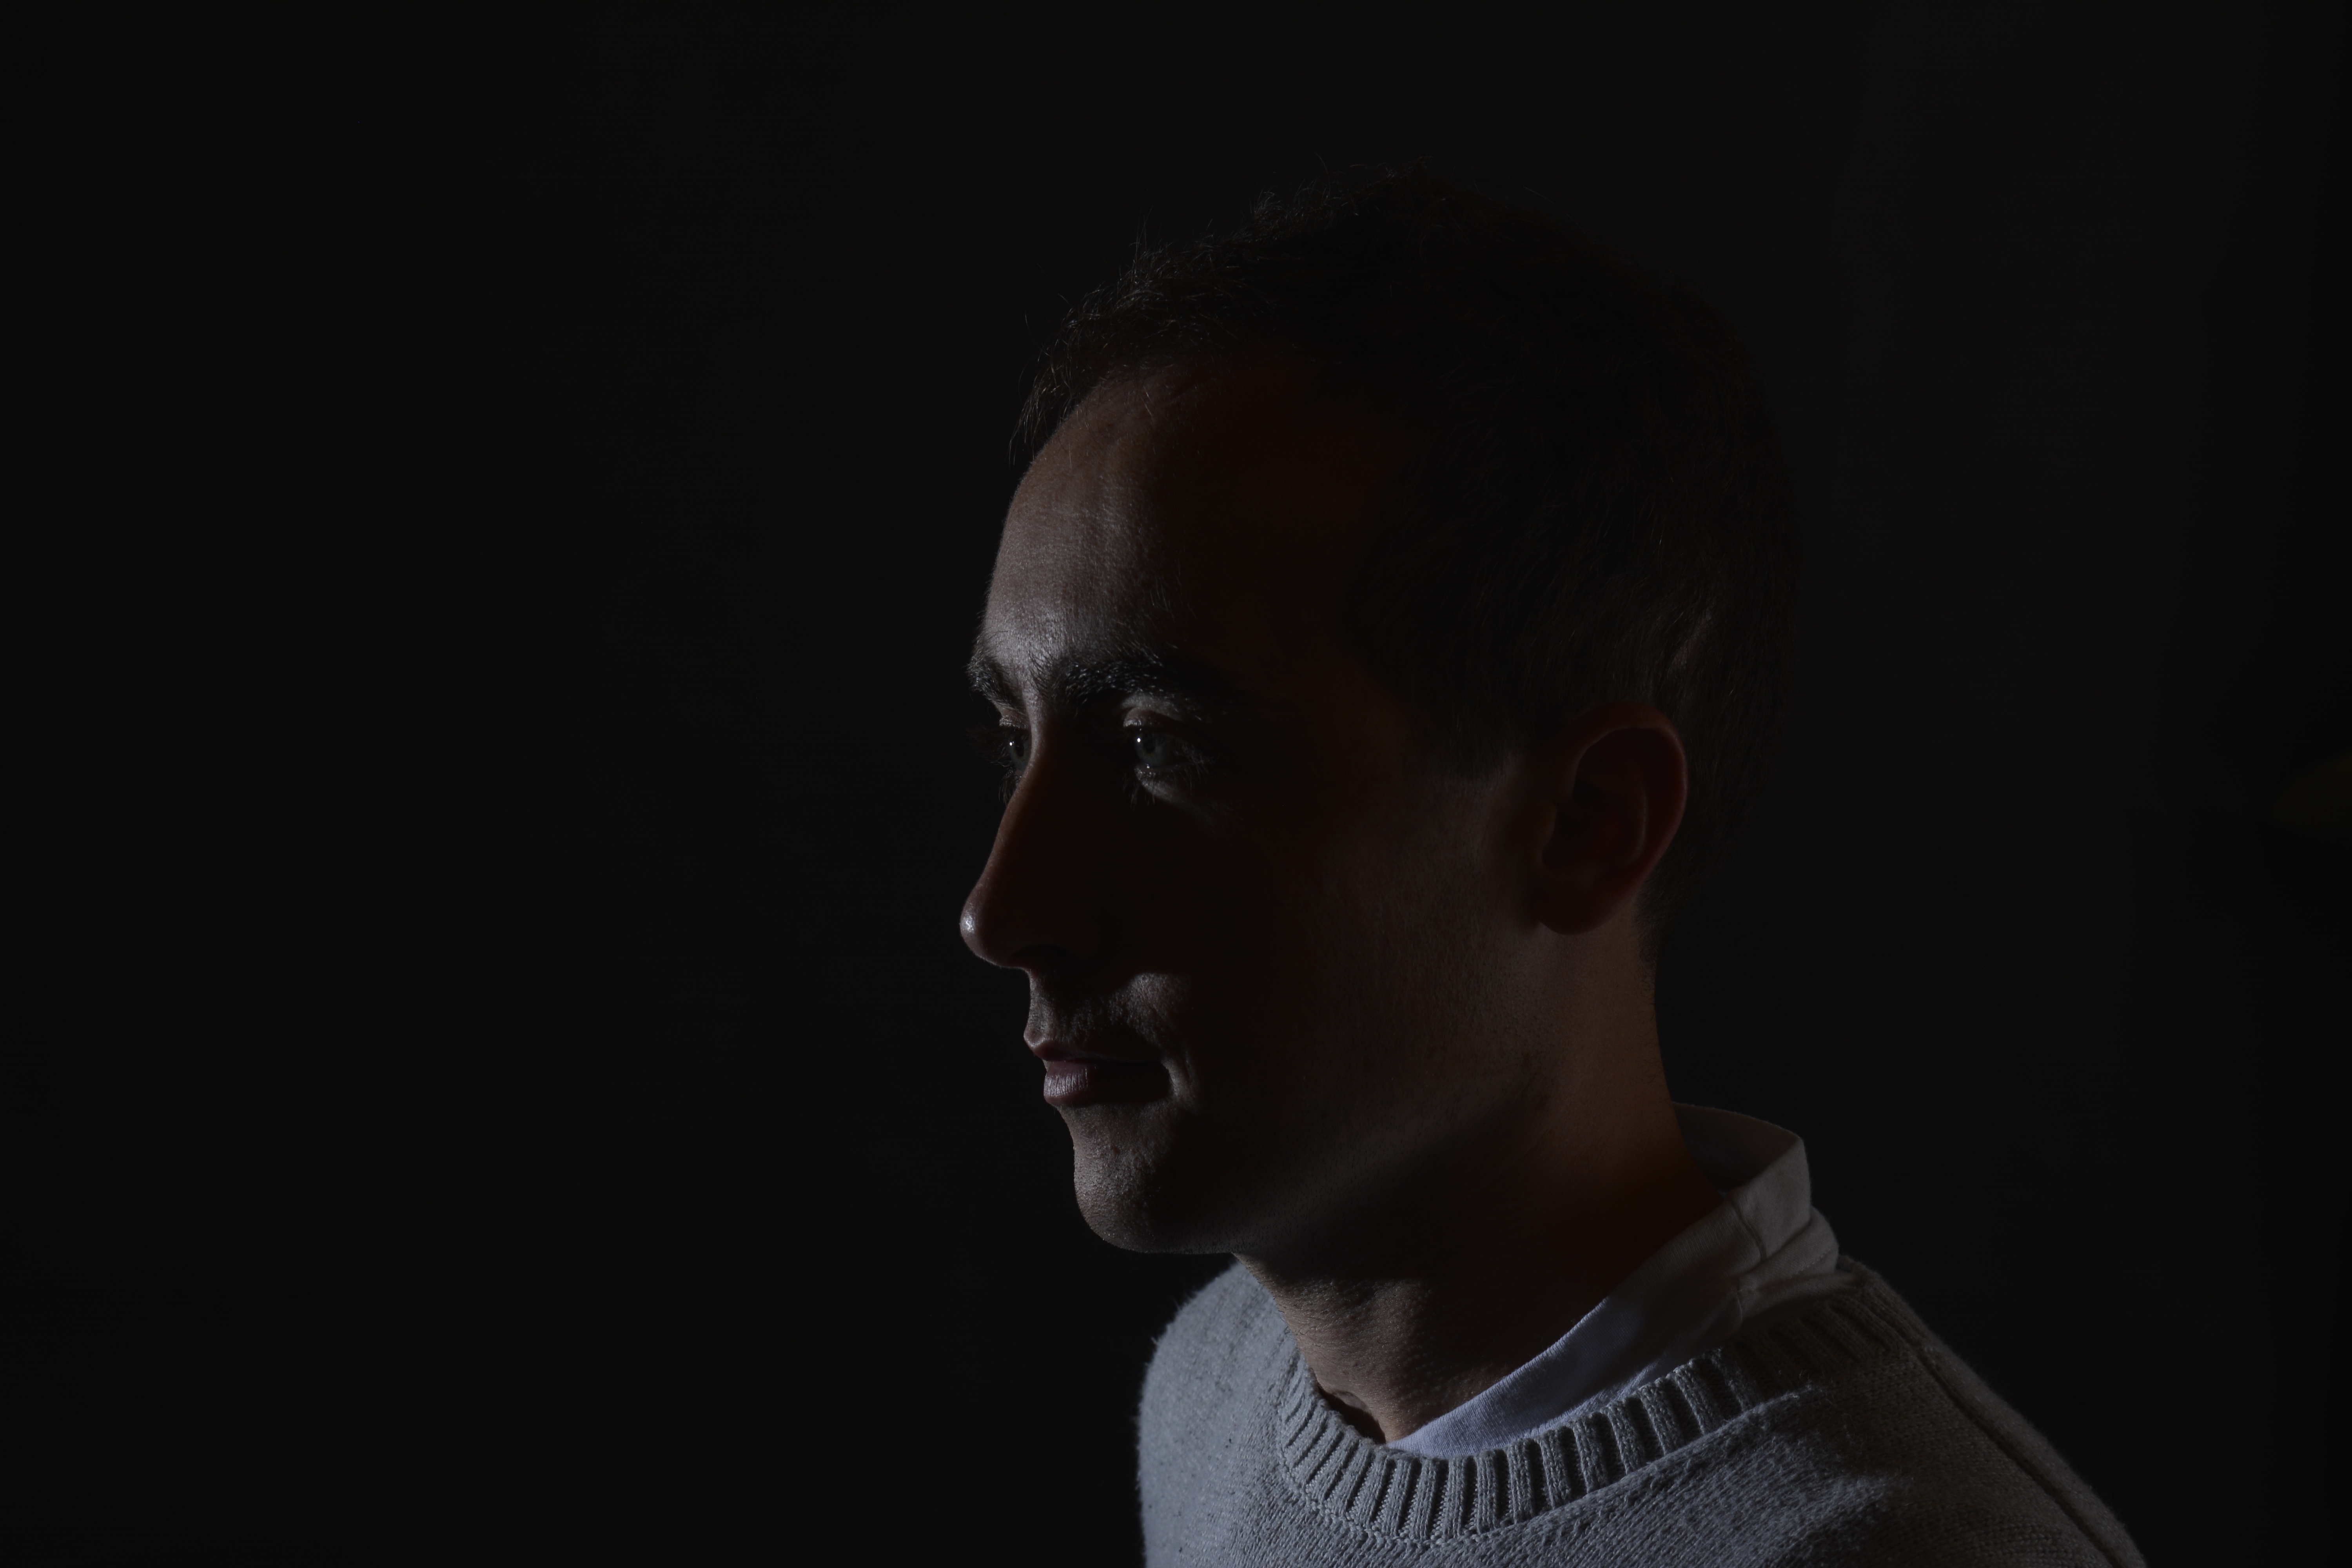
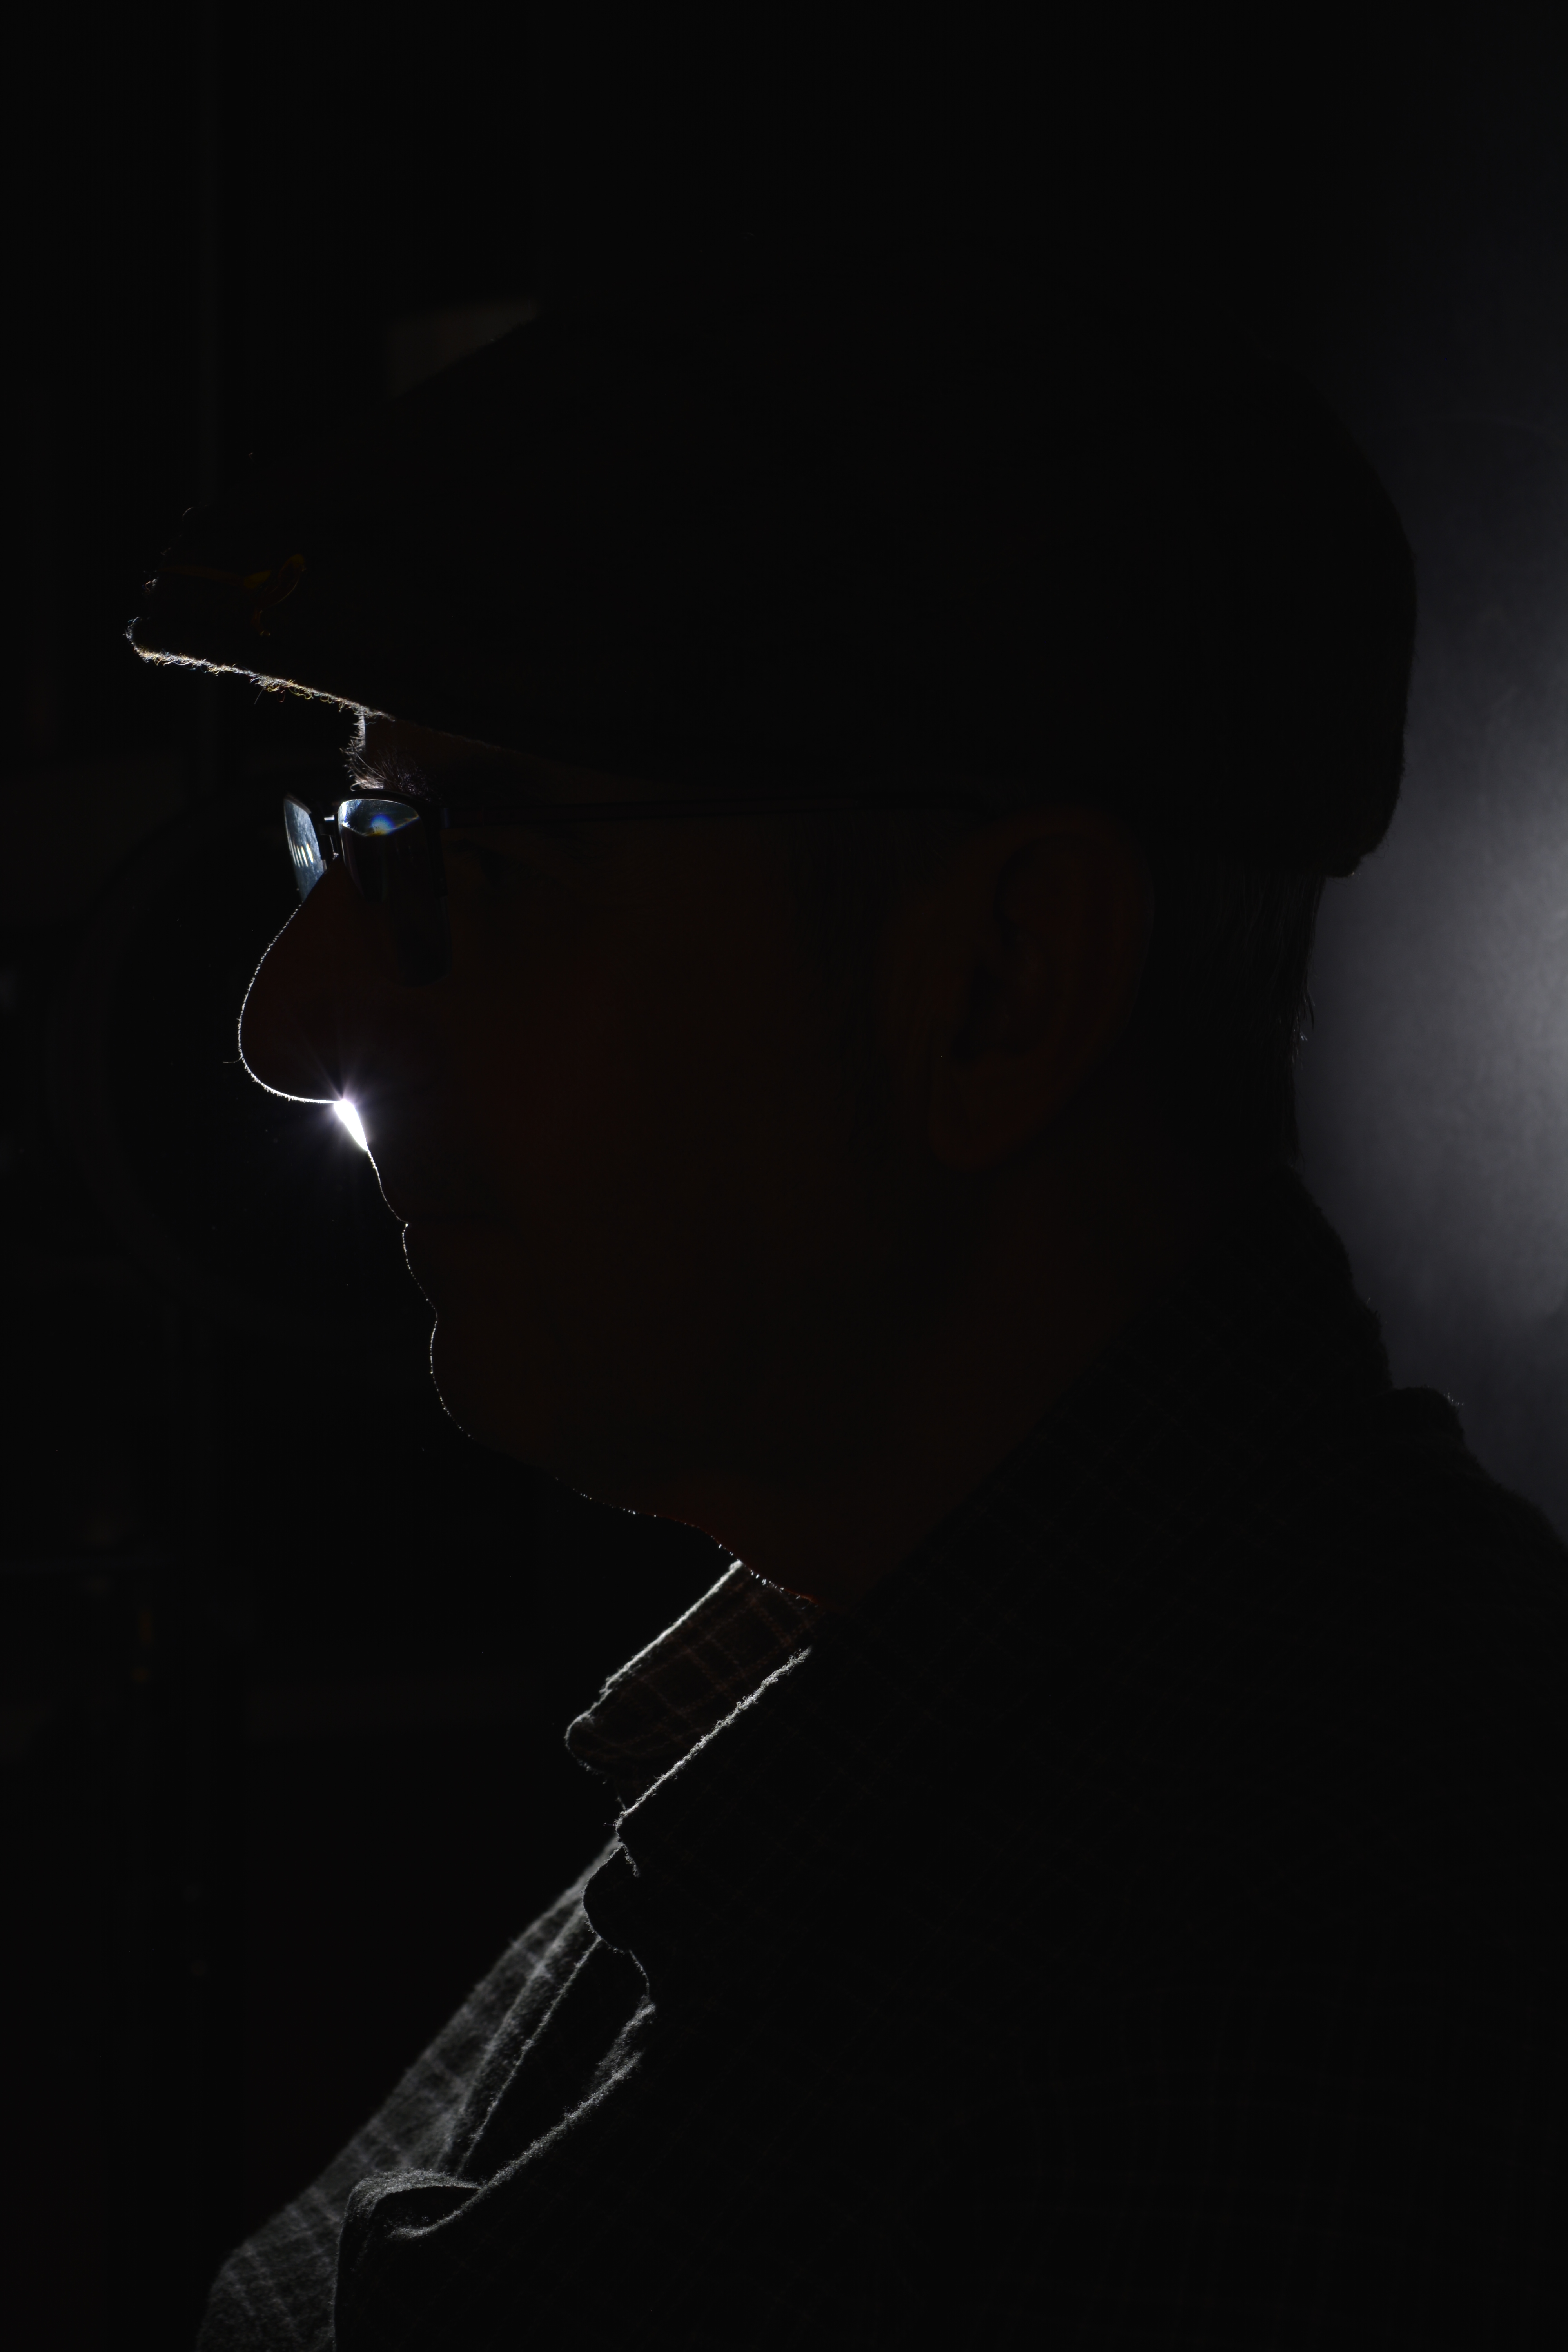
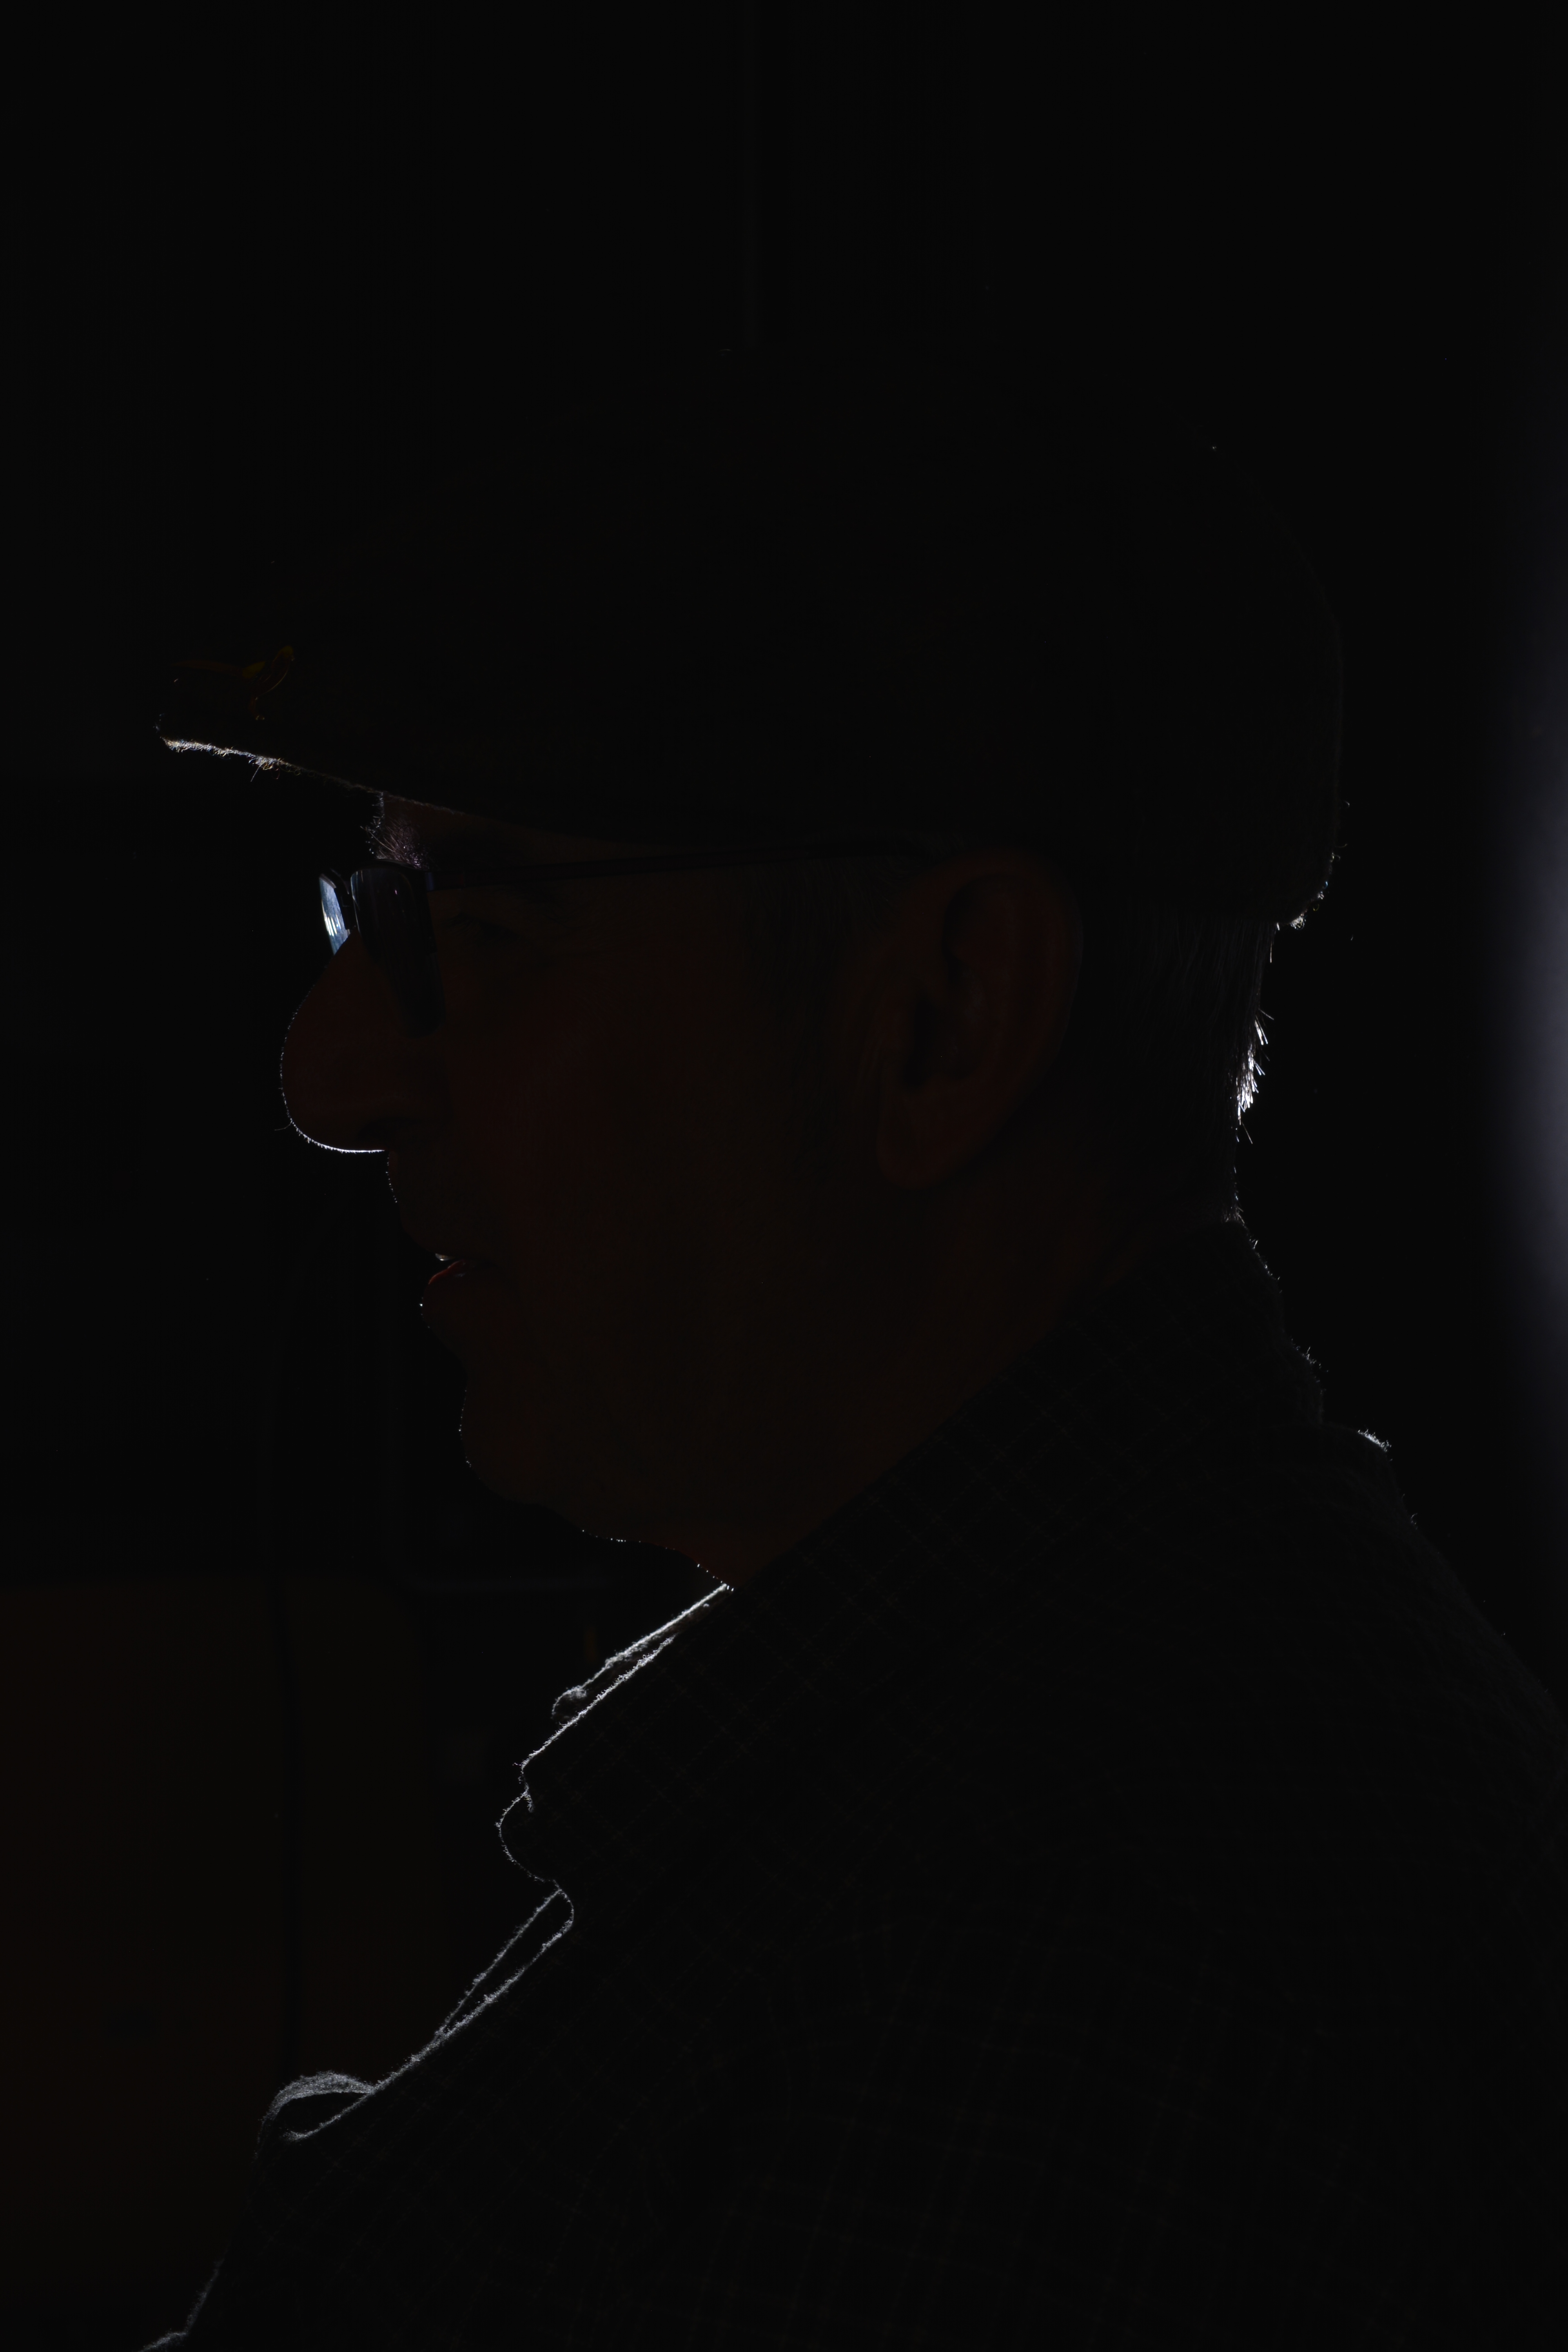
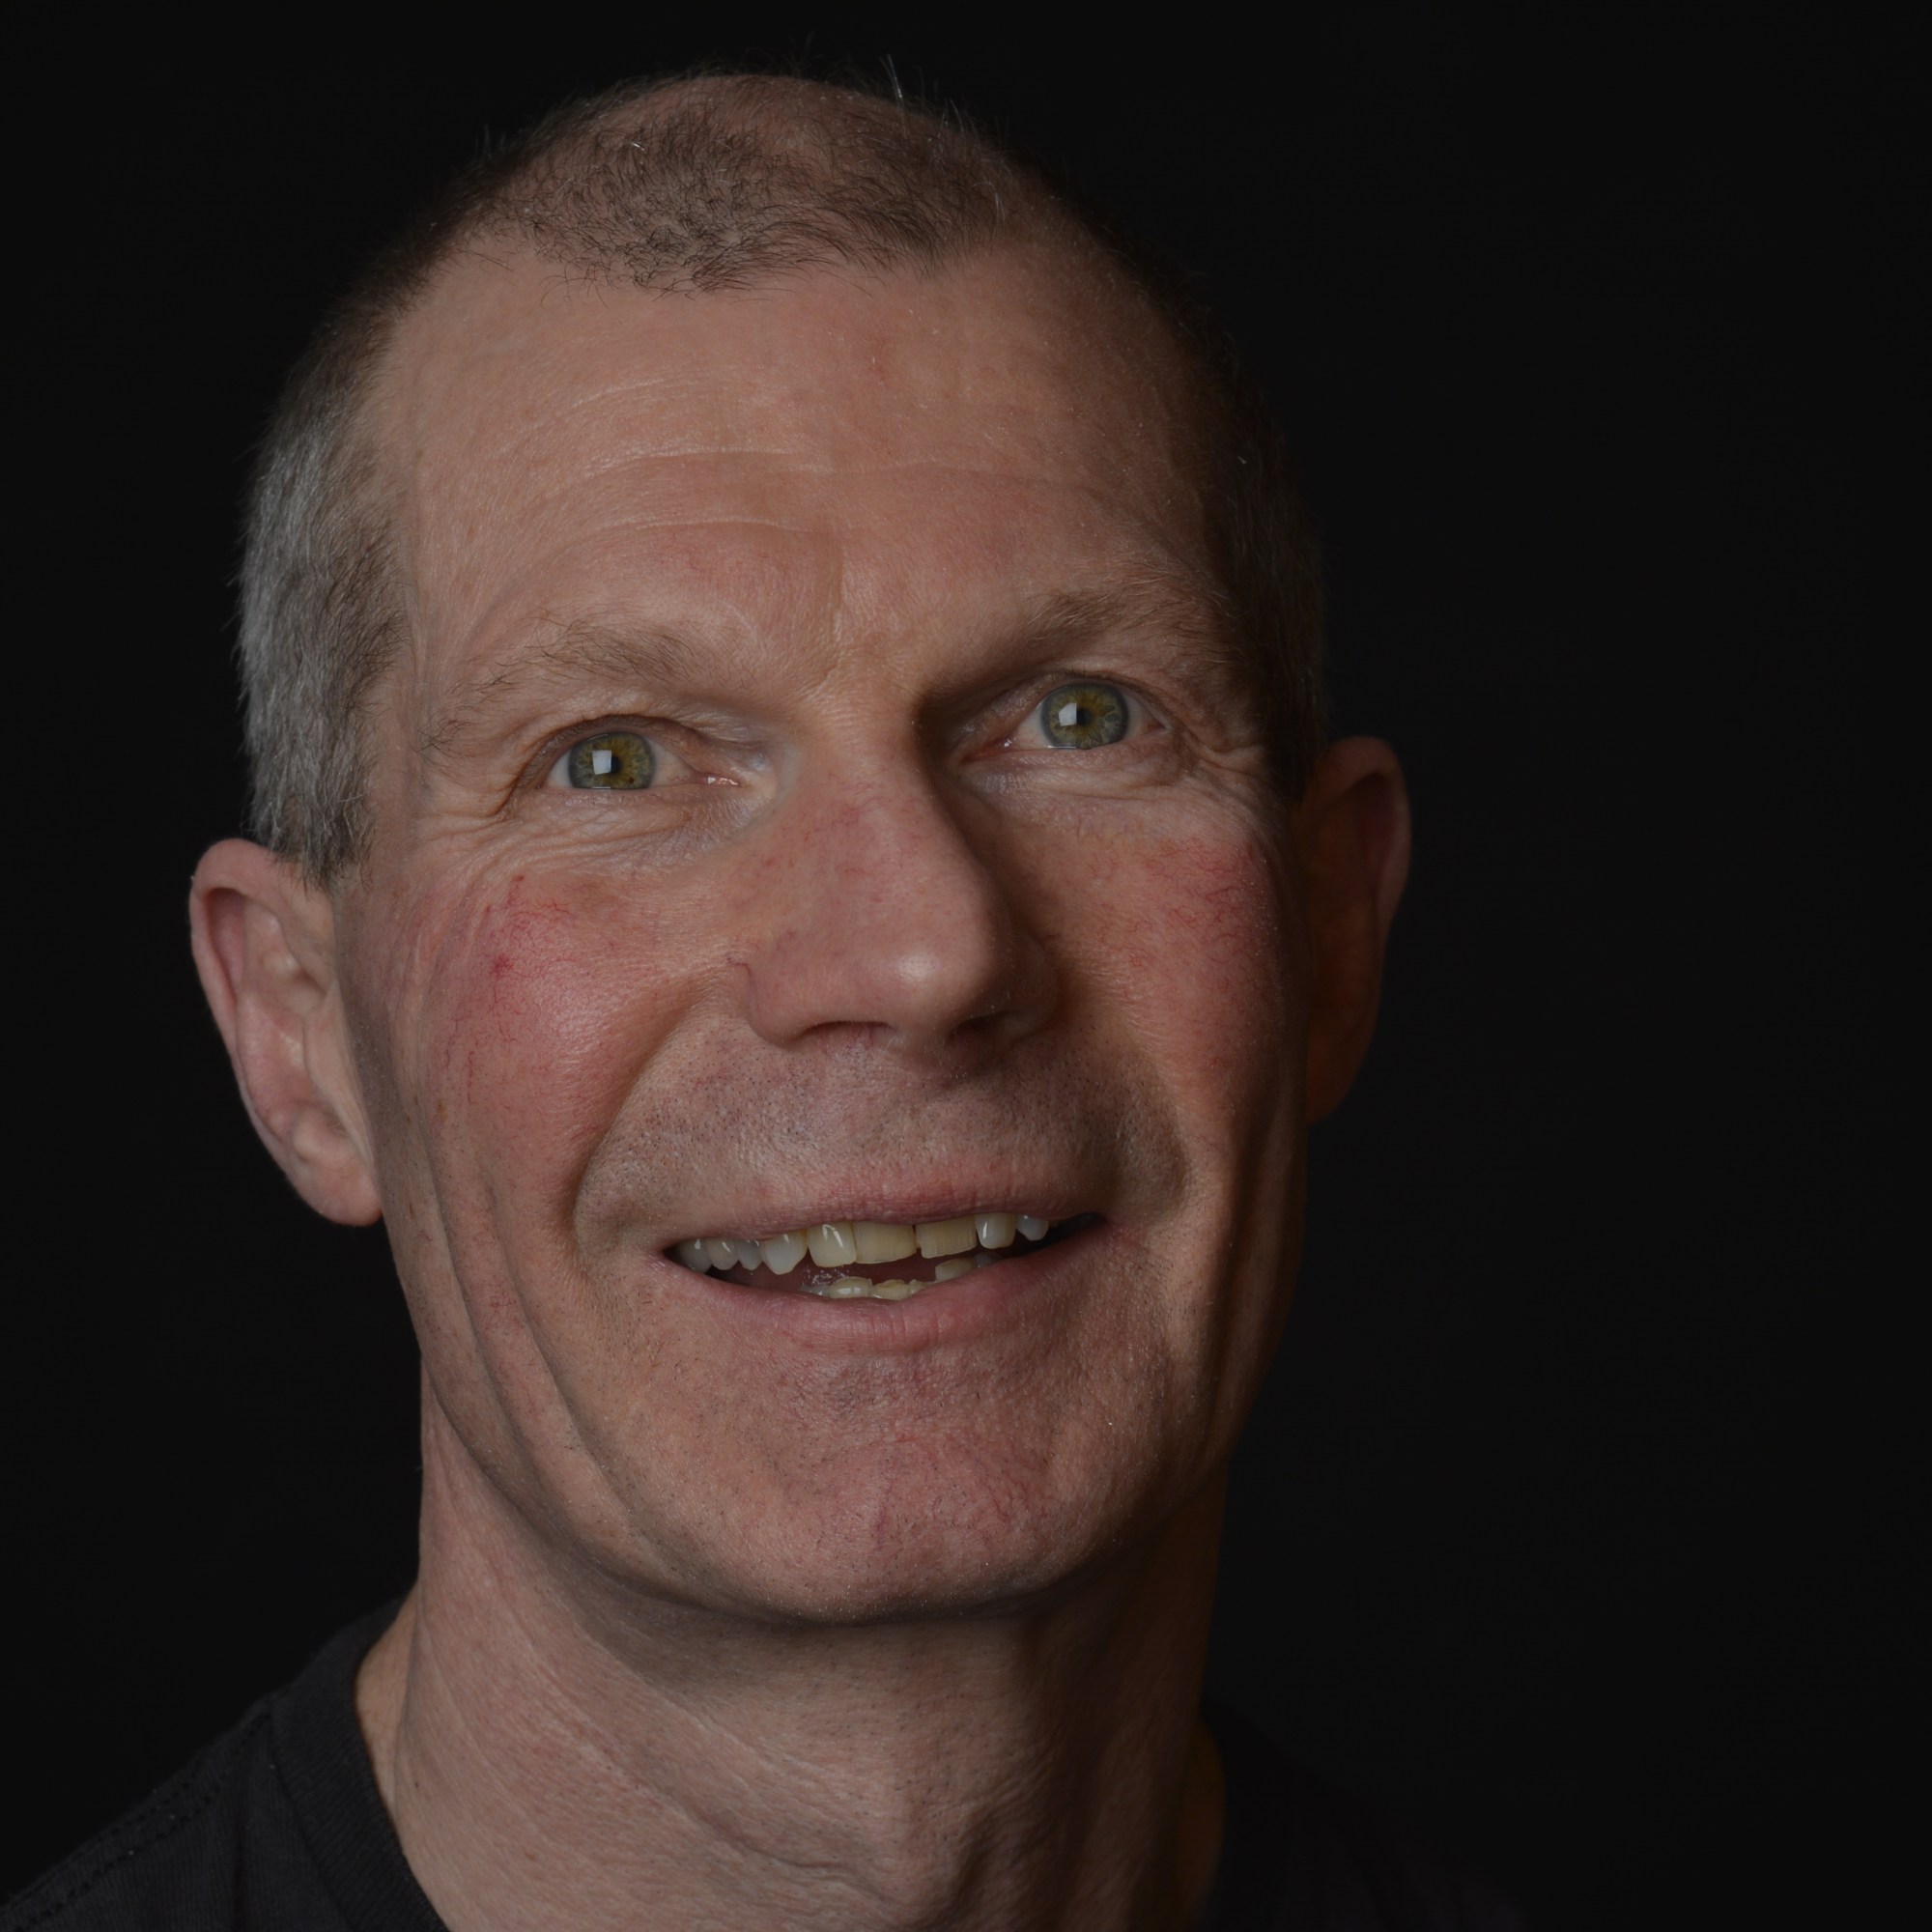
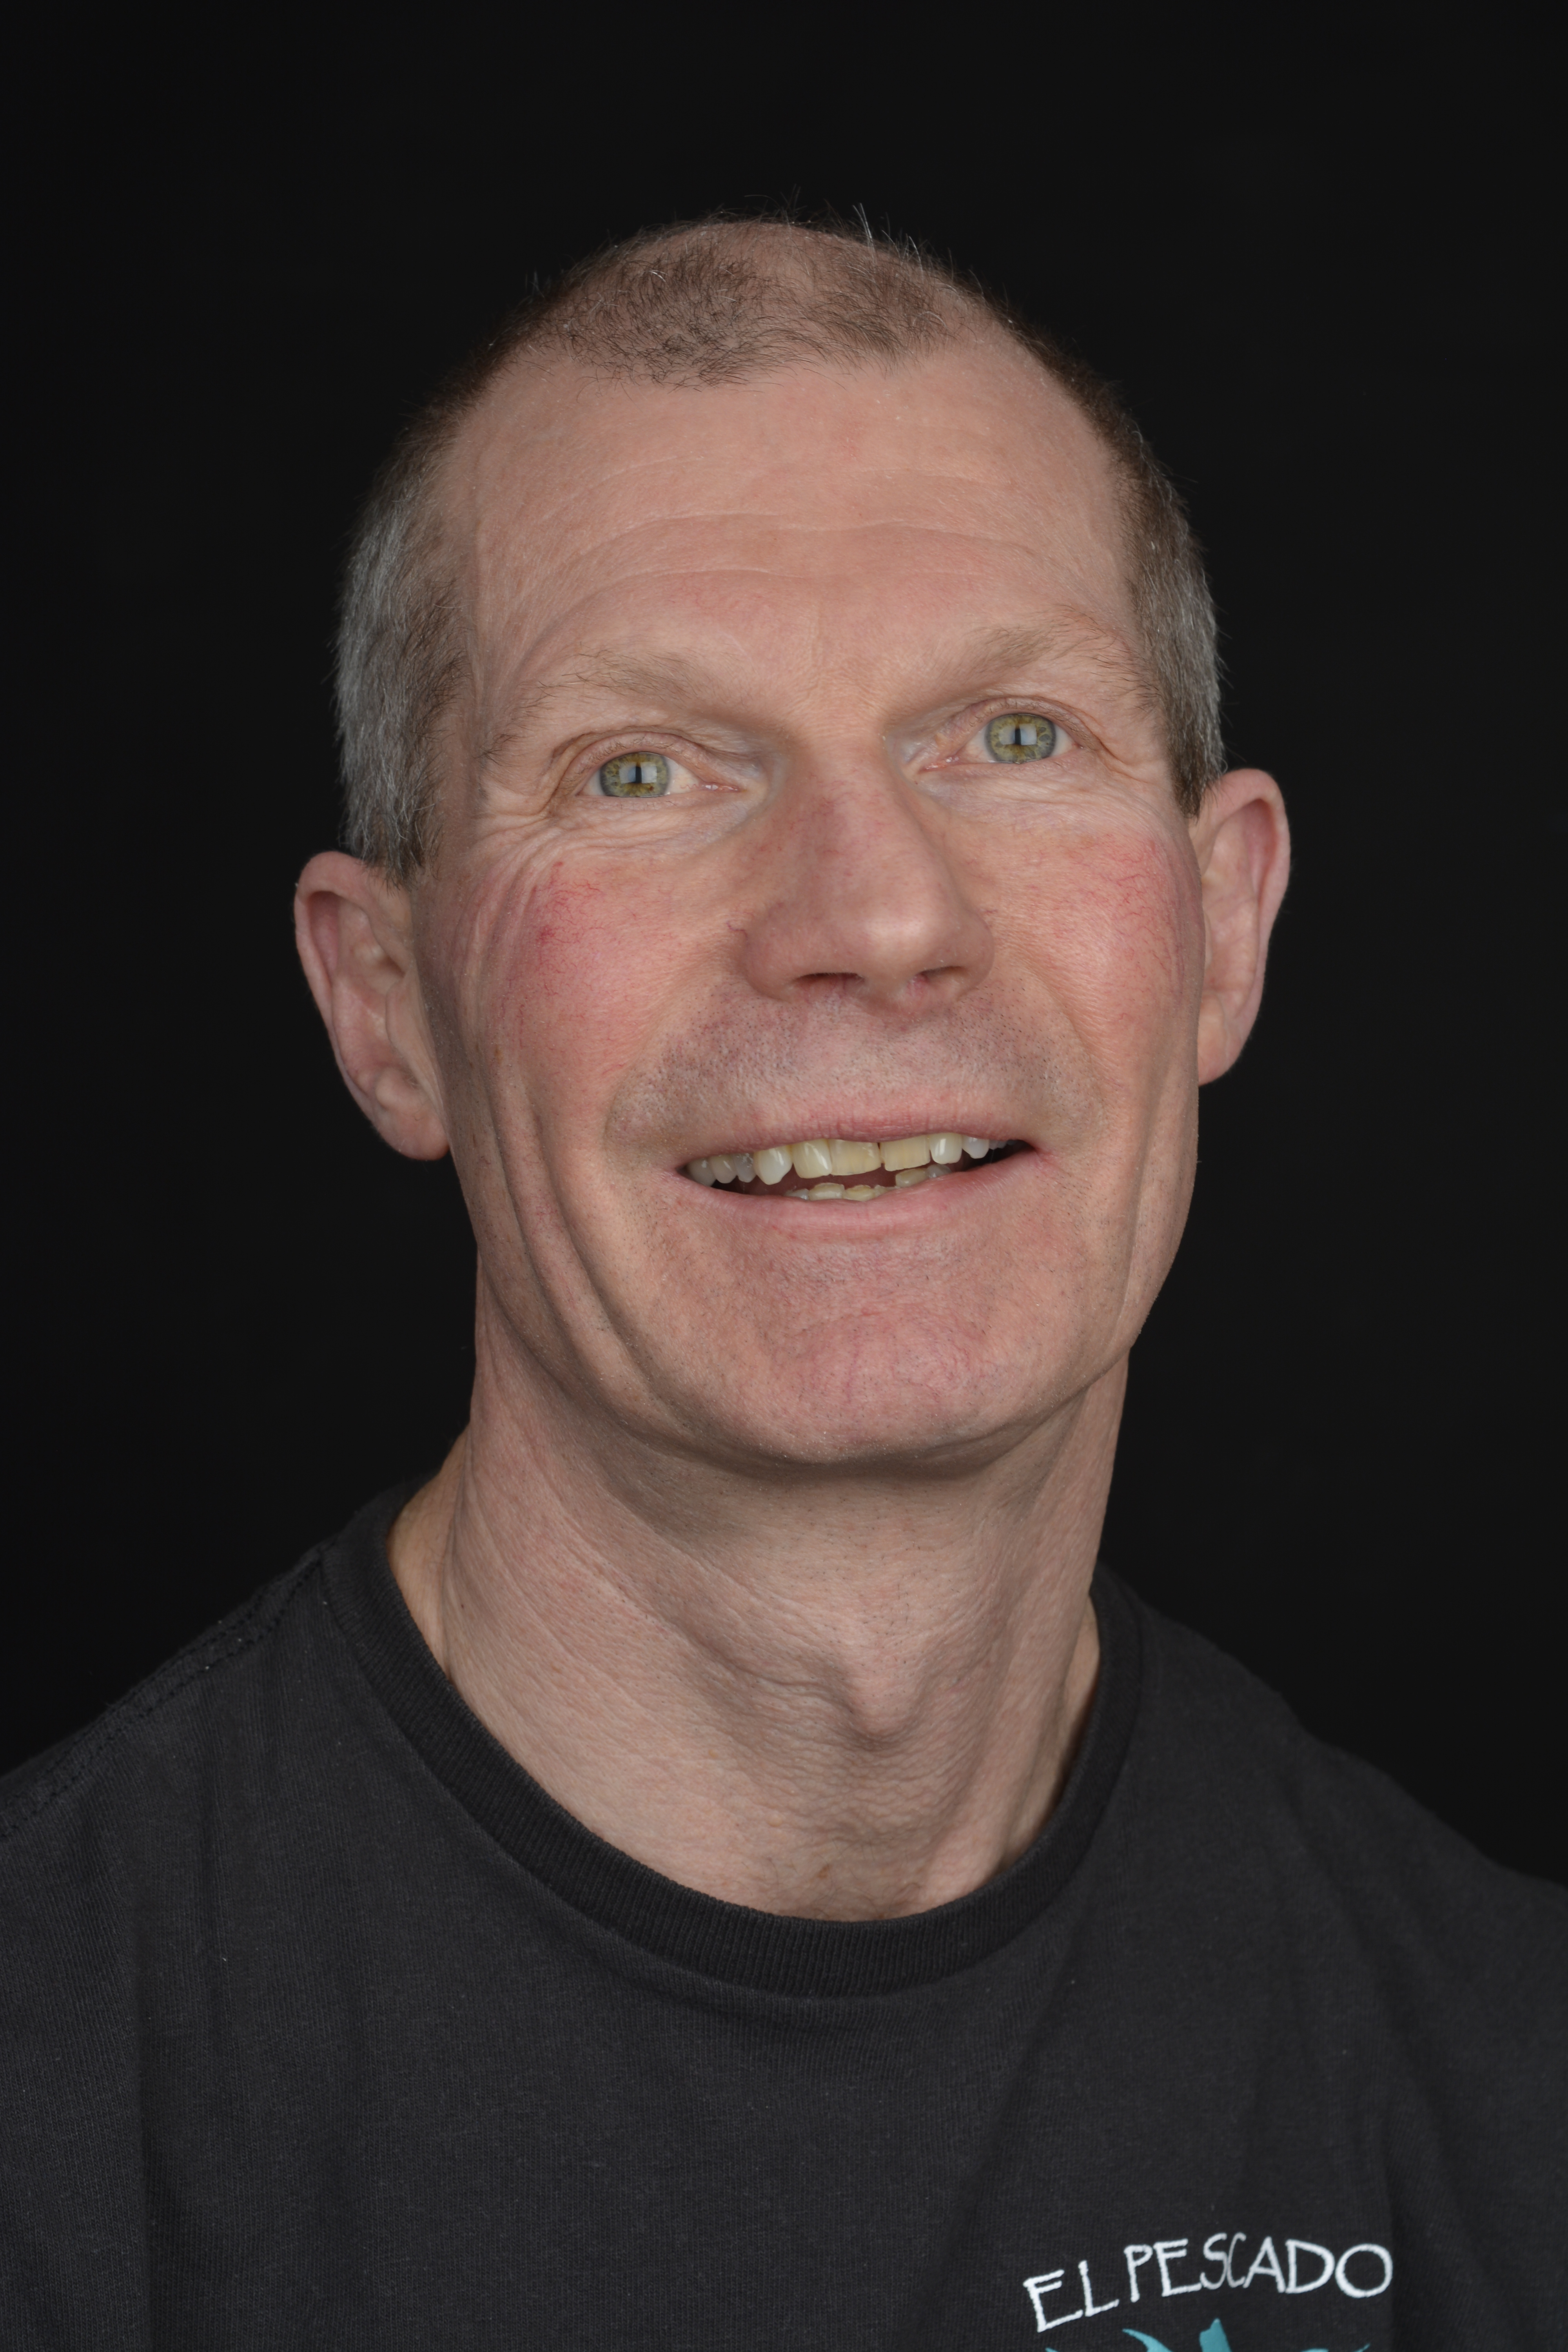
With these photographs below, two pieces of card have been used at right angles to block some of the light, to create specific shadow shapes across the face. It’s very dramatic but still looks a natural shape, as if not created in a studio.
This portrait of Tony has worked quite well I feel. I like the way he just appears out of the darkness. I also like the idea of shaping and moulding a light source to create shadow shapes in a photograph. I would like to experiment this technique more.
Clam Lighting
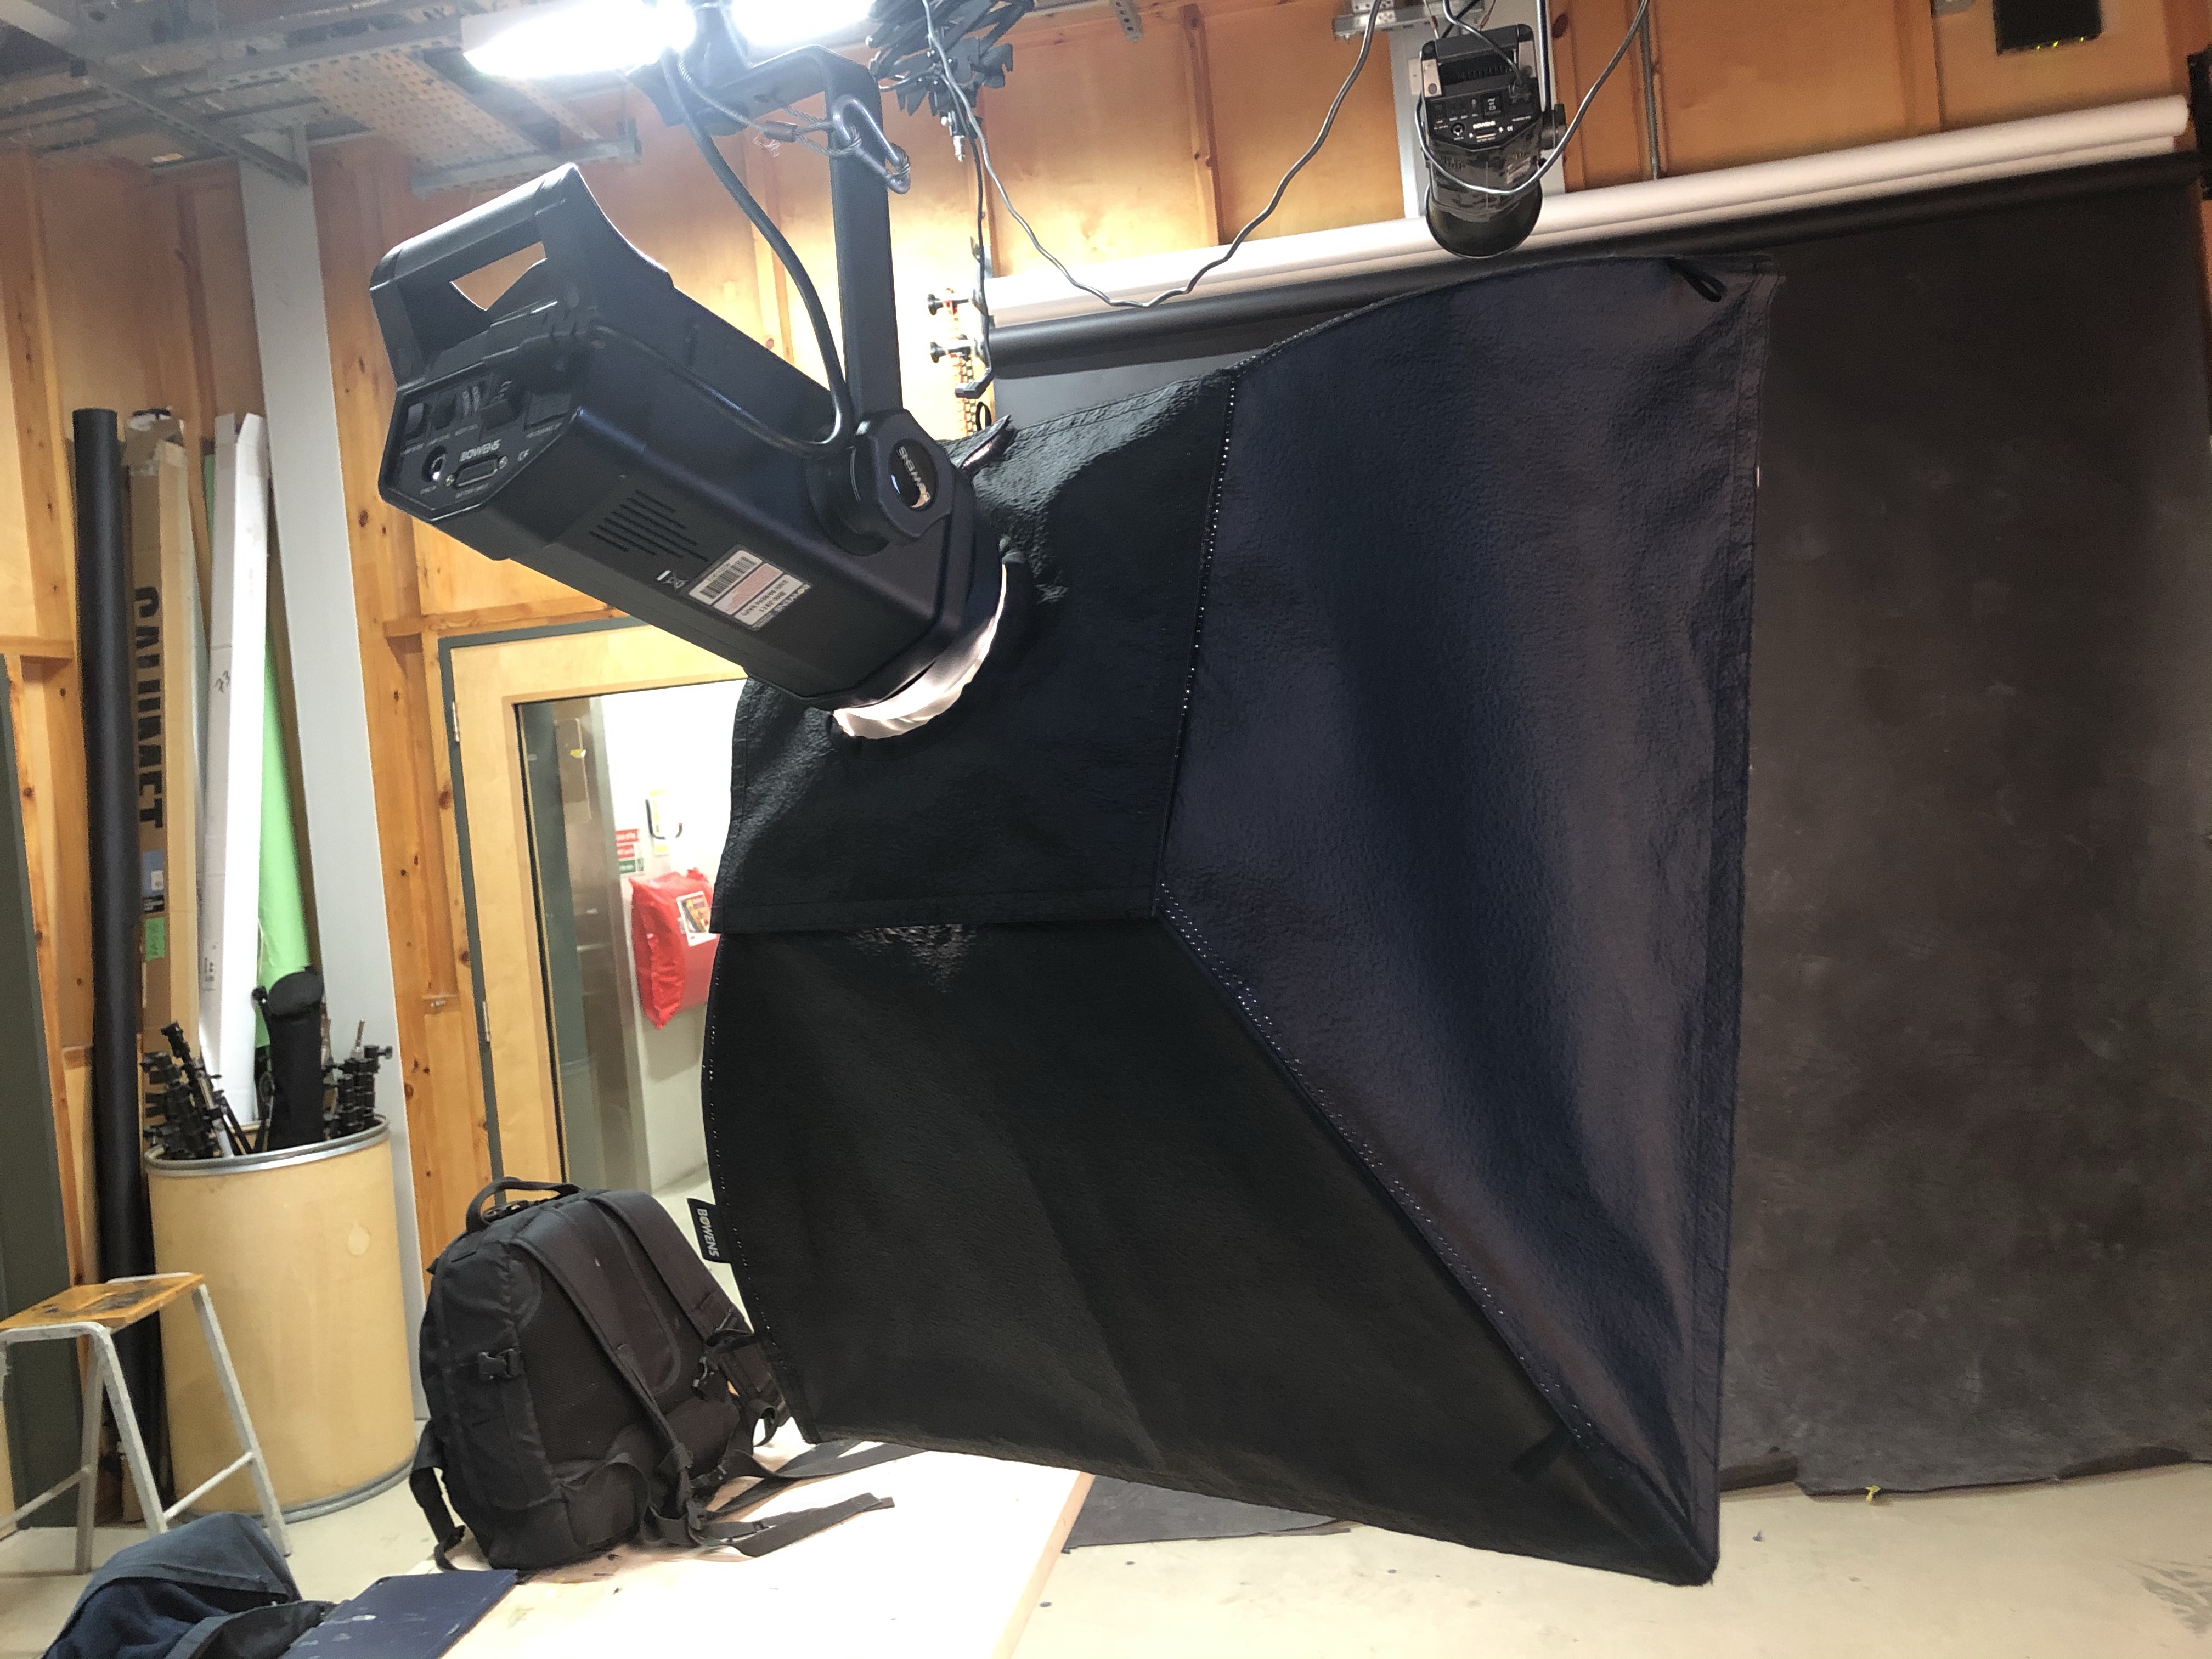
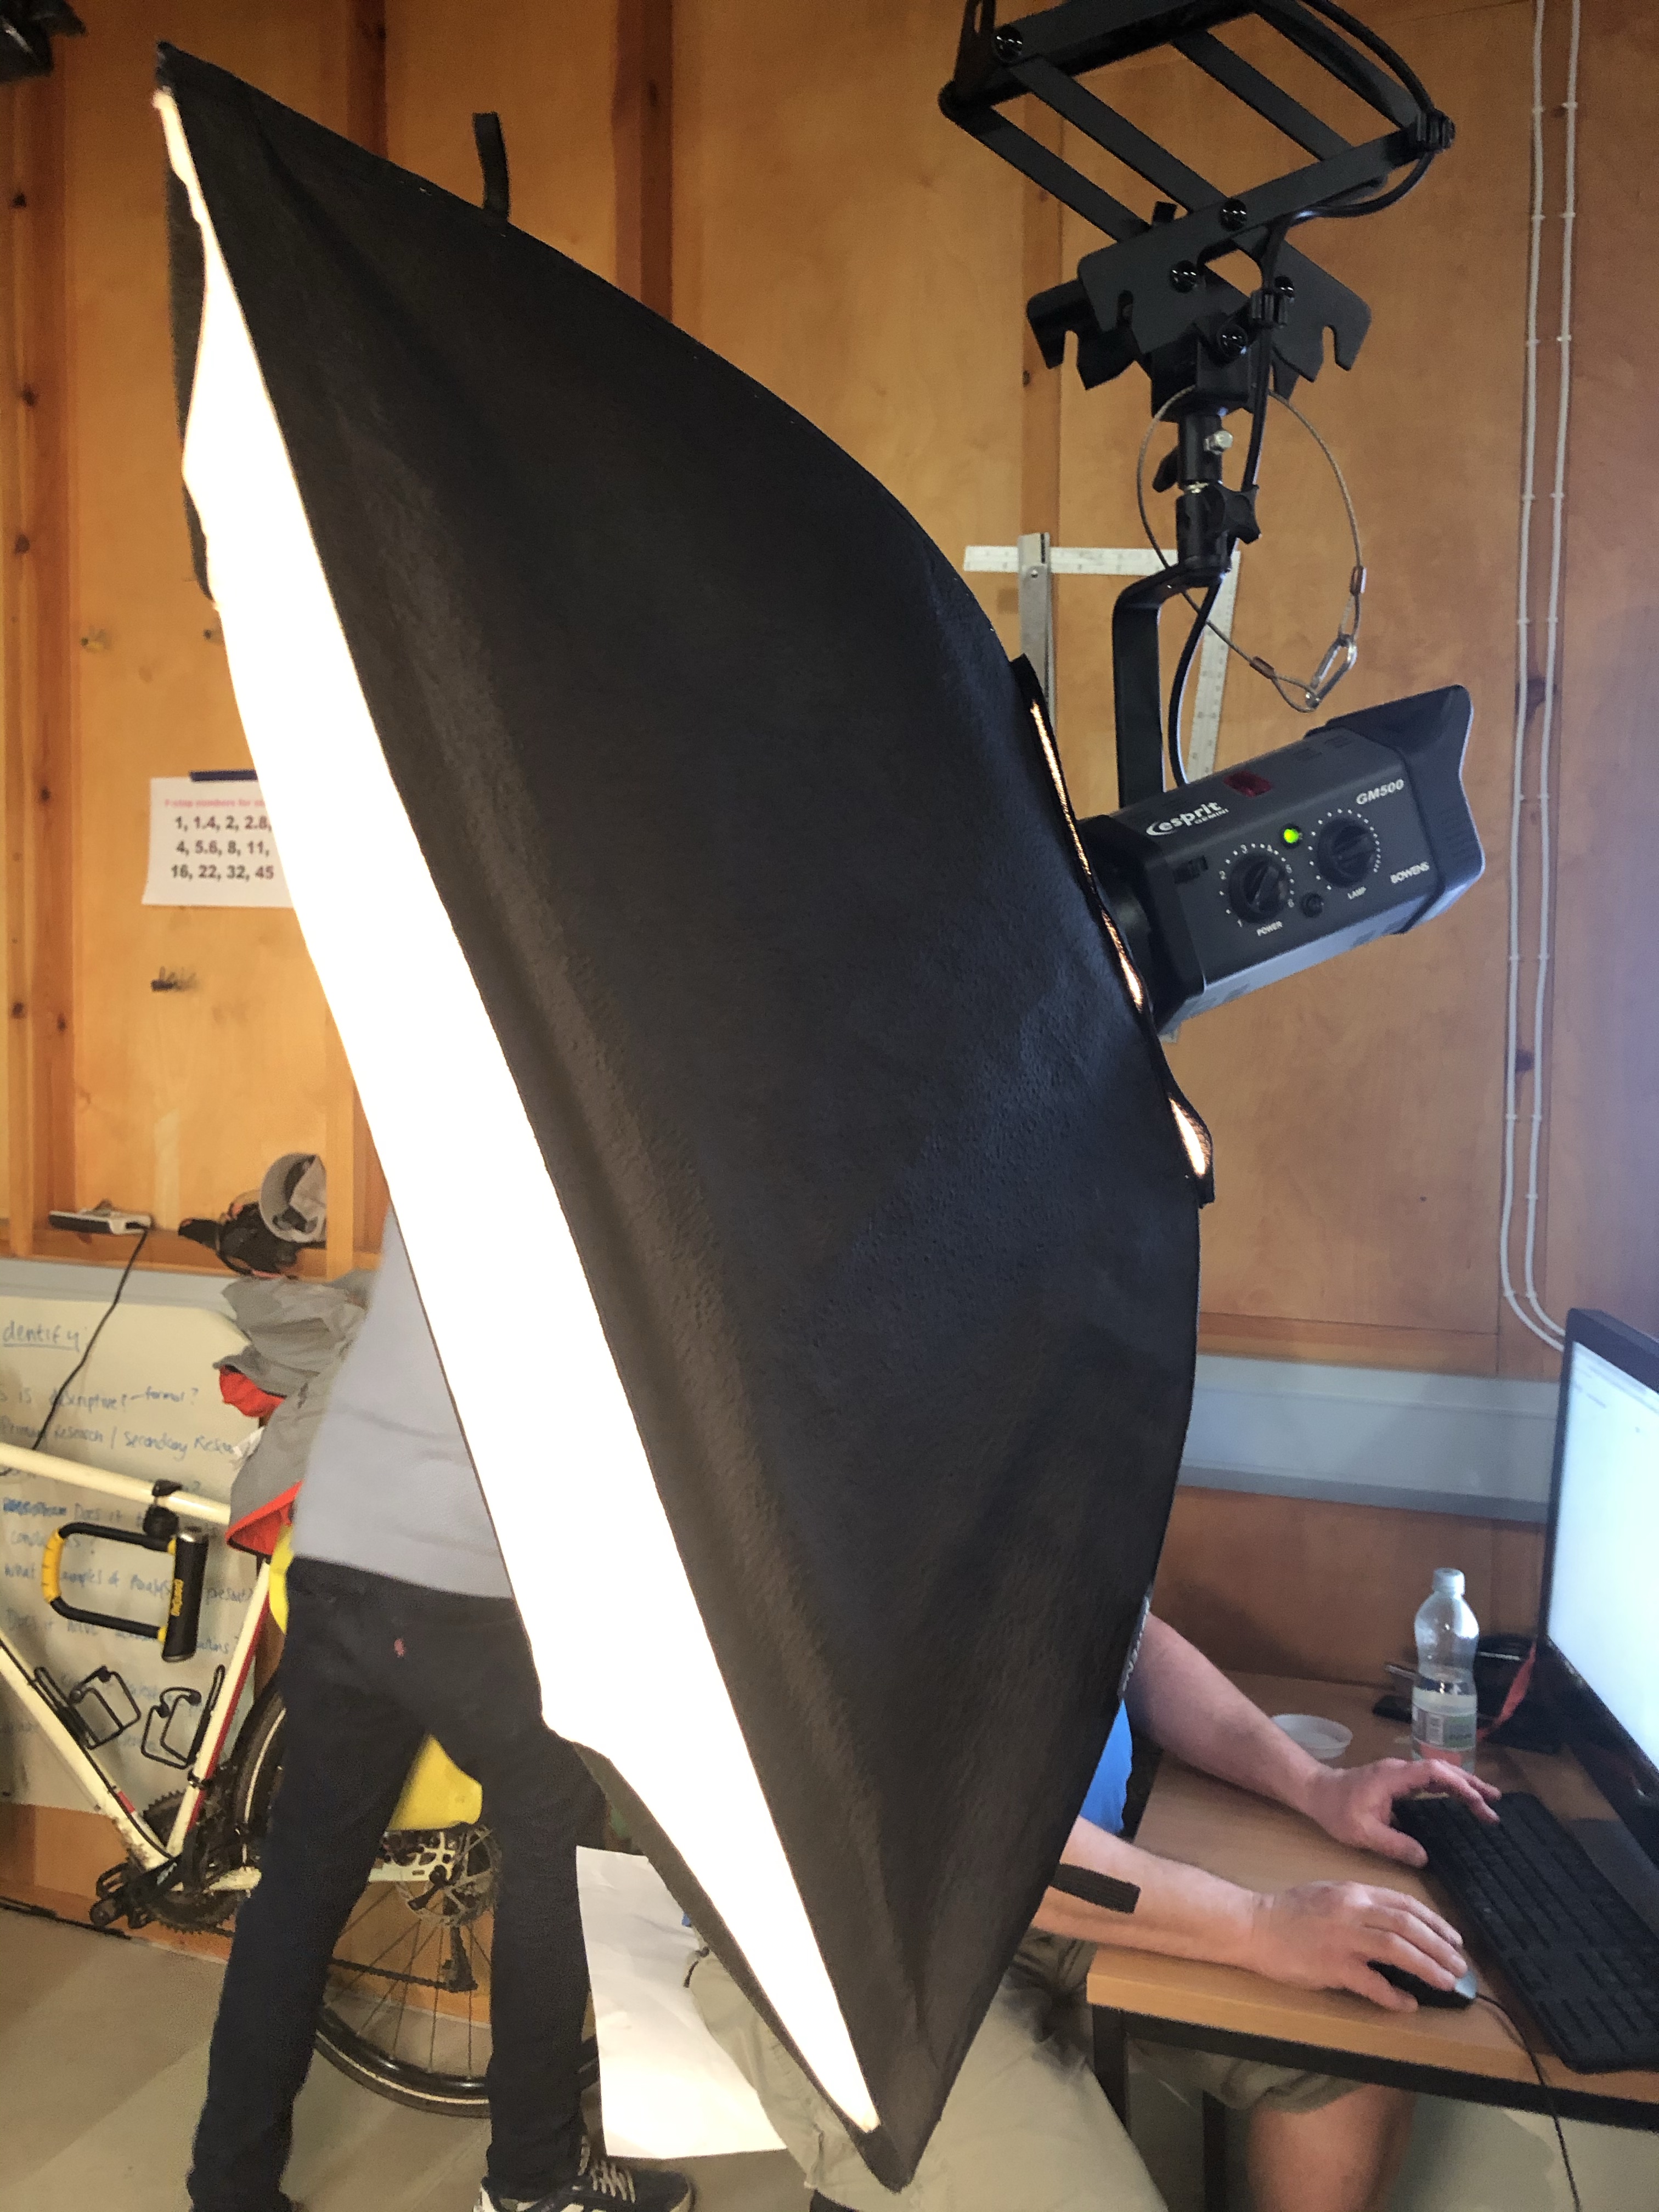
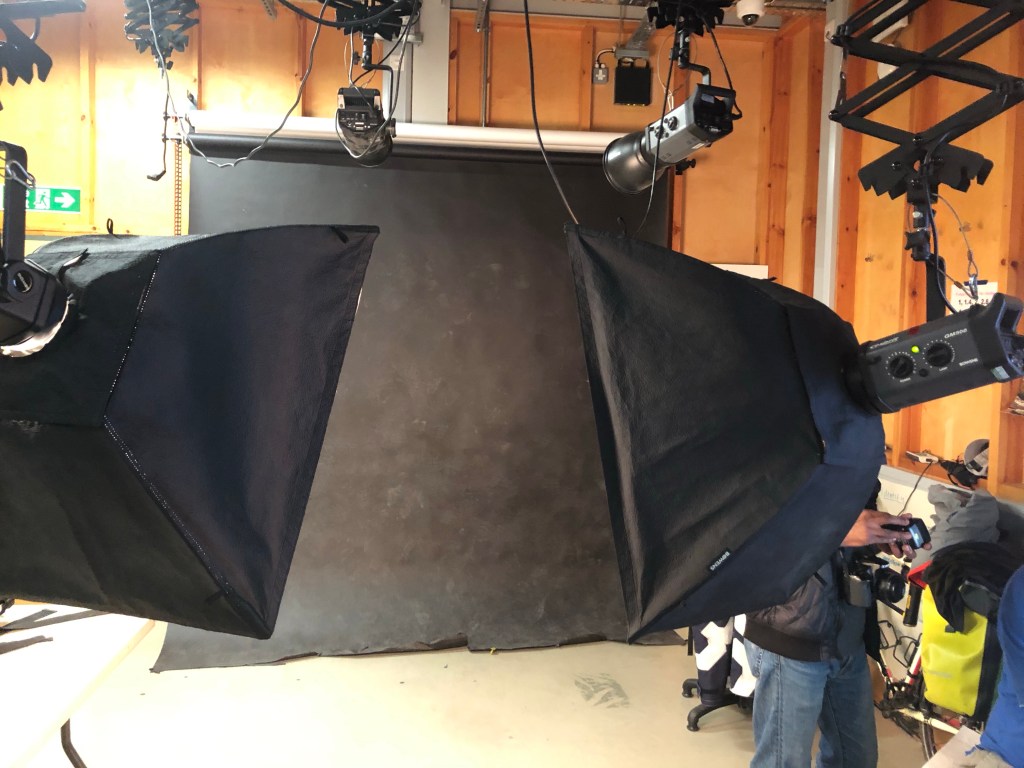
The 2 studio lights used for Clam Lighting both with Soft Box attatchments
Clam Lighting set up using 2 x Soft Boxes and a Black backdrop
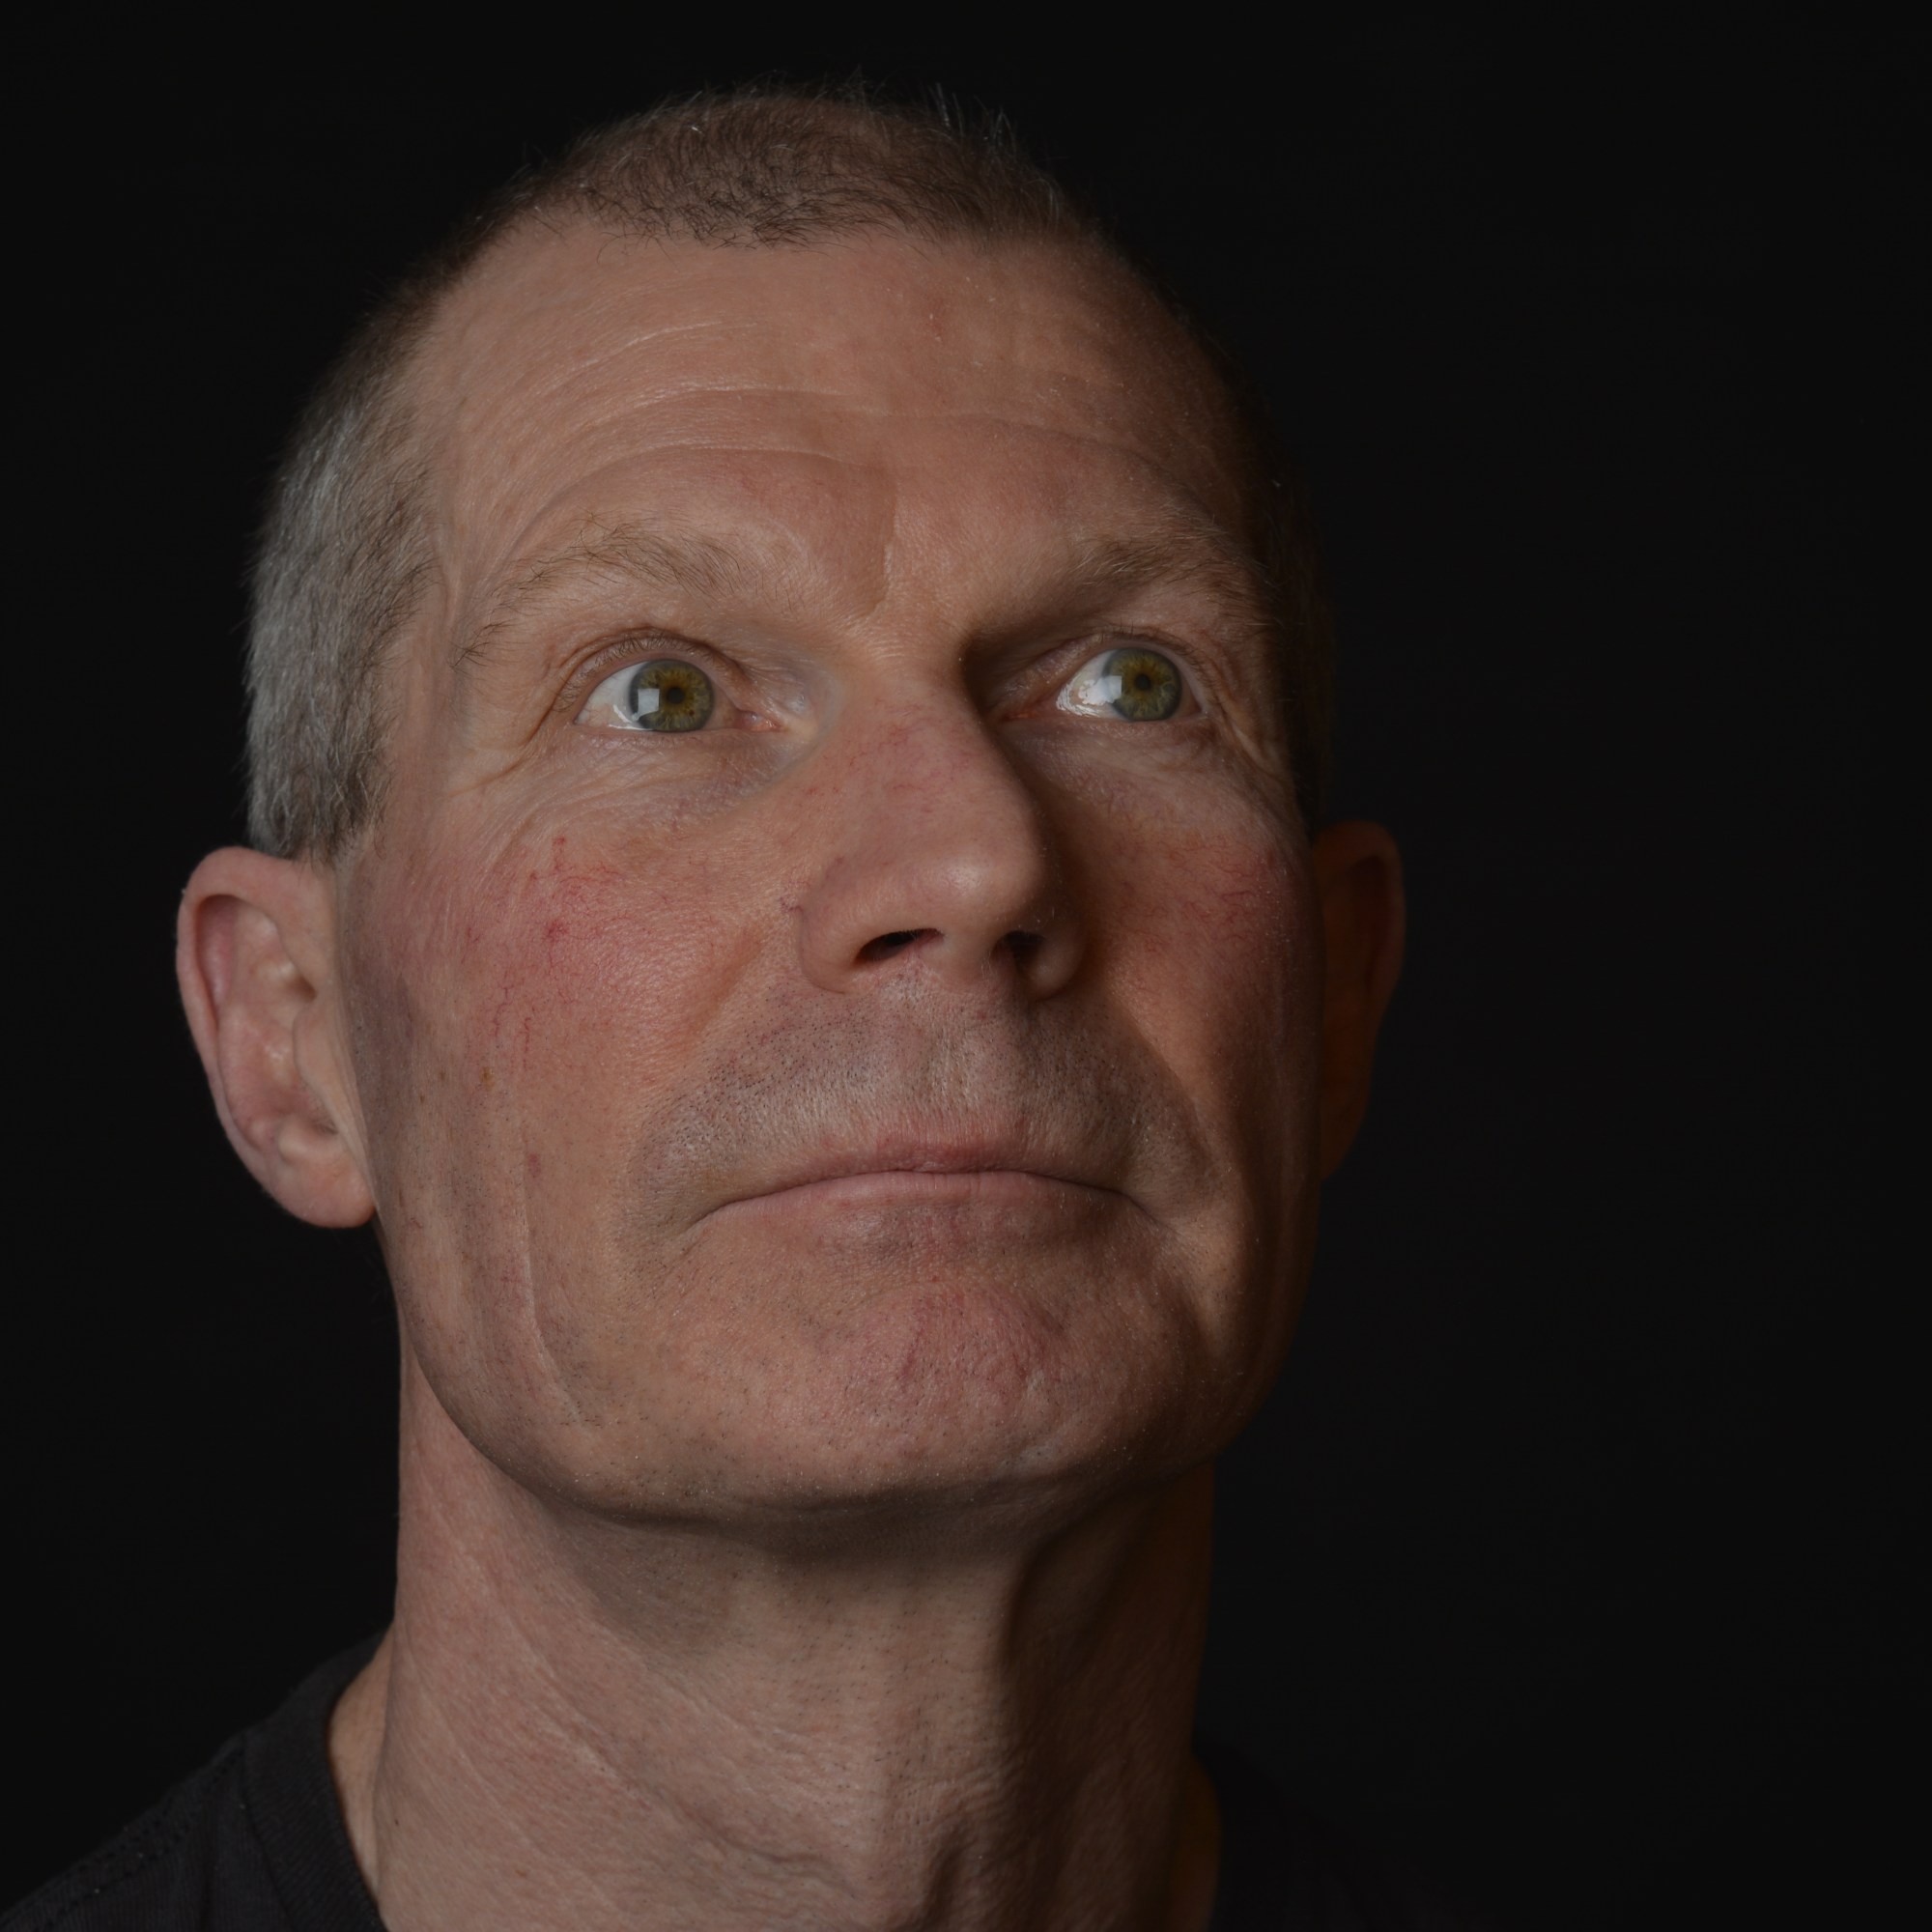
Starting with Aperture F 8 and one soft box
With one soft box the the face is not lit well enough.
2 x soft boxes F-8 Too bright
With using two soft boxes and Aperture F 8, the face is too bright and therfore the skin loses some of its natural colour. To try to rectify this, changing the Aperture from F 8 to F 11 helps to make the face a little darker.