
Cyanotype is a photography printing process that produces a Cyan-Blue print. It was used by engineers to create low cost copies of designs and drawings well into the 20th century, known as blueprints.
This process was first introduced by a man called Sir John Herschel in 1842. Two chemicals are used in this process, ferric ammonium citrate and potassium ferricyanide.
A blueprint is categorised by White lines on a Blue background. This would have been a negative image of the original image. Although this process is not now used for Blueprints (as they are all done digitally) the name still refers to floor plans.
Below is an example of an early Blueprint.
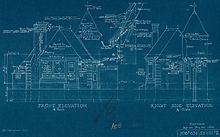
Canada, 1936
Anna Atkins 1799-1871
Born in Britain, Anna Atkins had an interest for all things scientific from a young age as her father was a scientist. Through her father’s connections she made friends with Sir John Herschel and he probably introduced Atkins to the process, Cyanotype.
She had a passion for botanicals and in 1841 she found a book by English physician William H Harvey to be visually insufficient. This book had listed and described all the new algae specimens to be found. This inspired her to produce her Cyanotypes of algae. From this, she went on to record several different species of algae and plants using this process.
Anna Atkins is said to be one of the first to publish a book with photographic images.
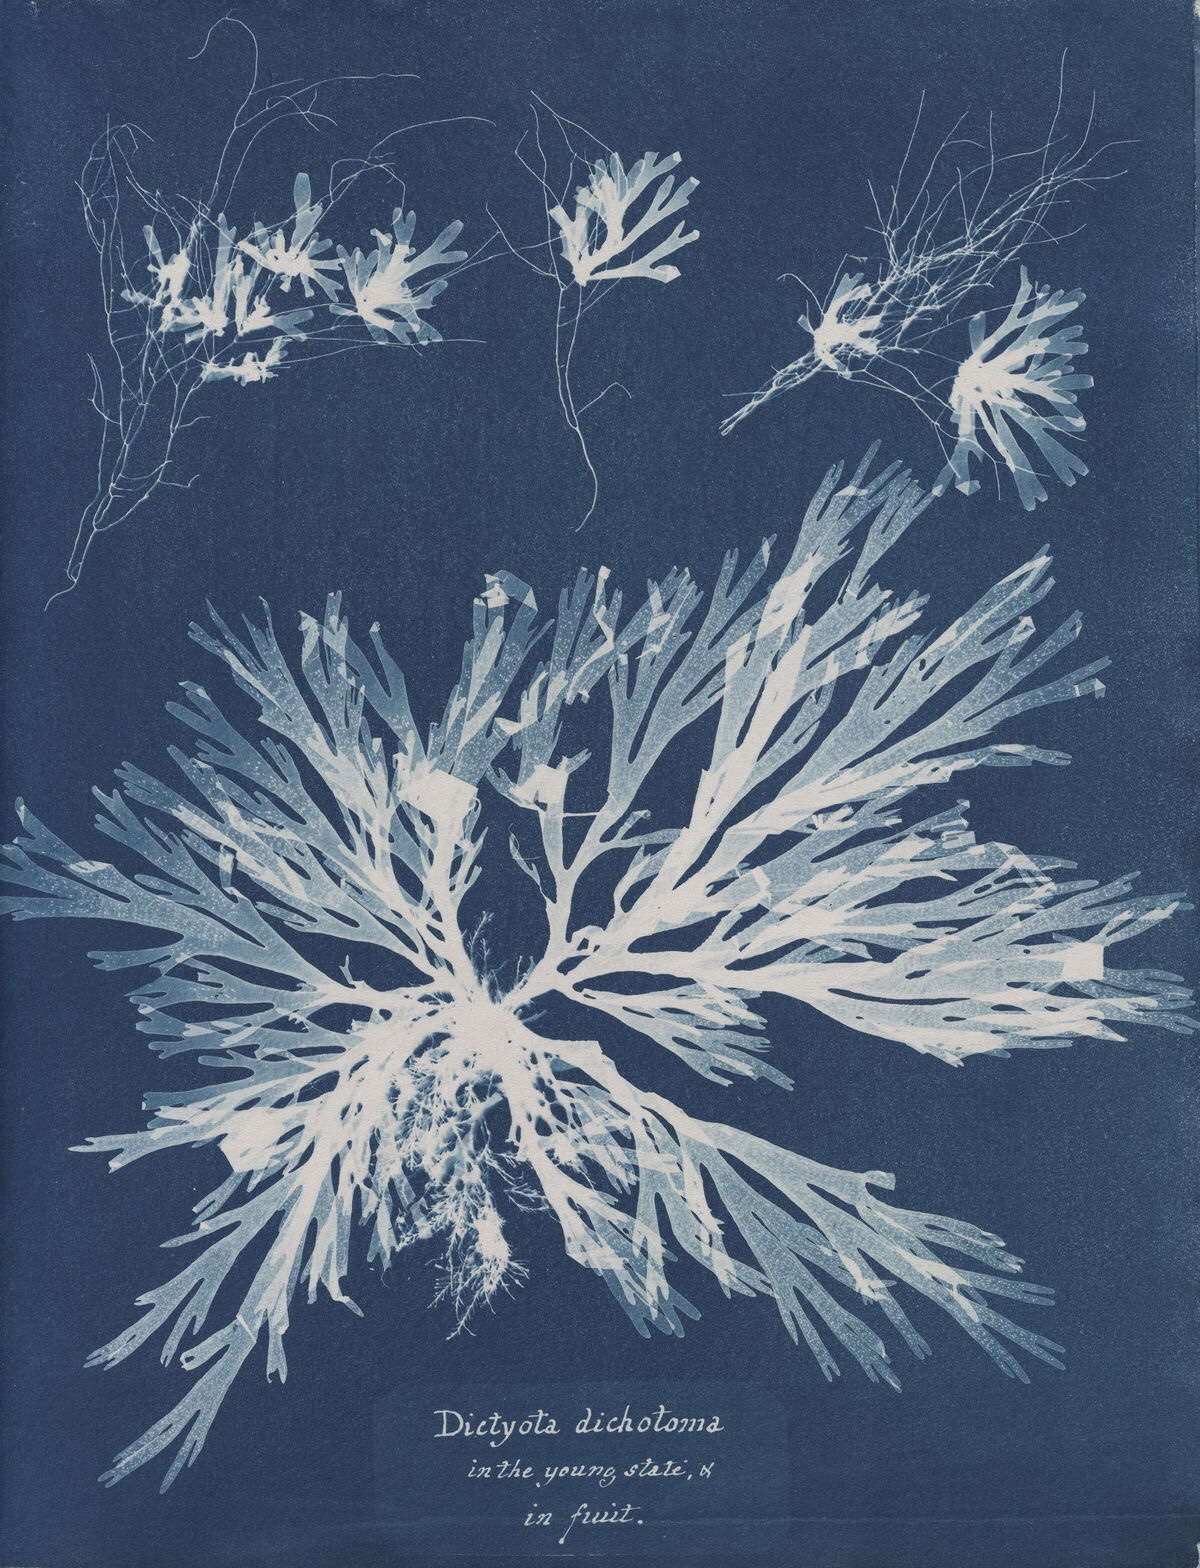
1849-50
Anna Atkins
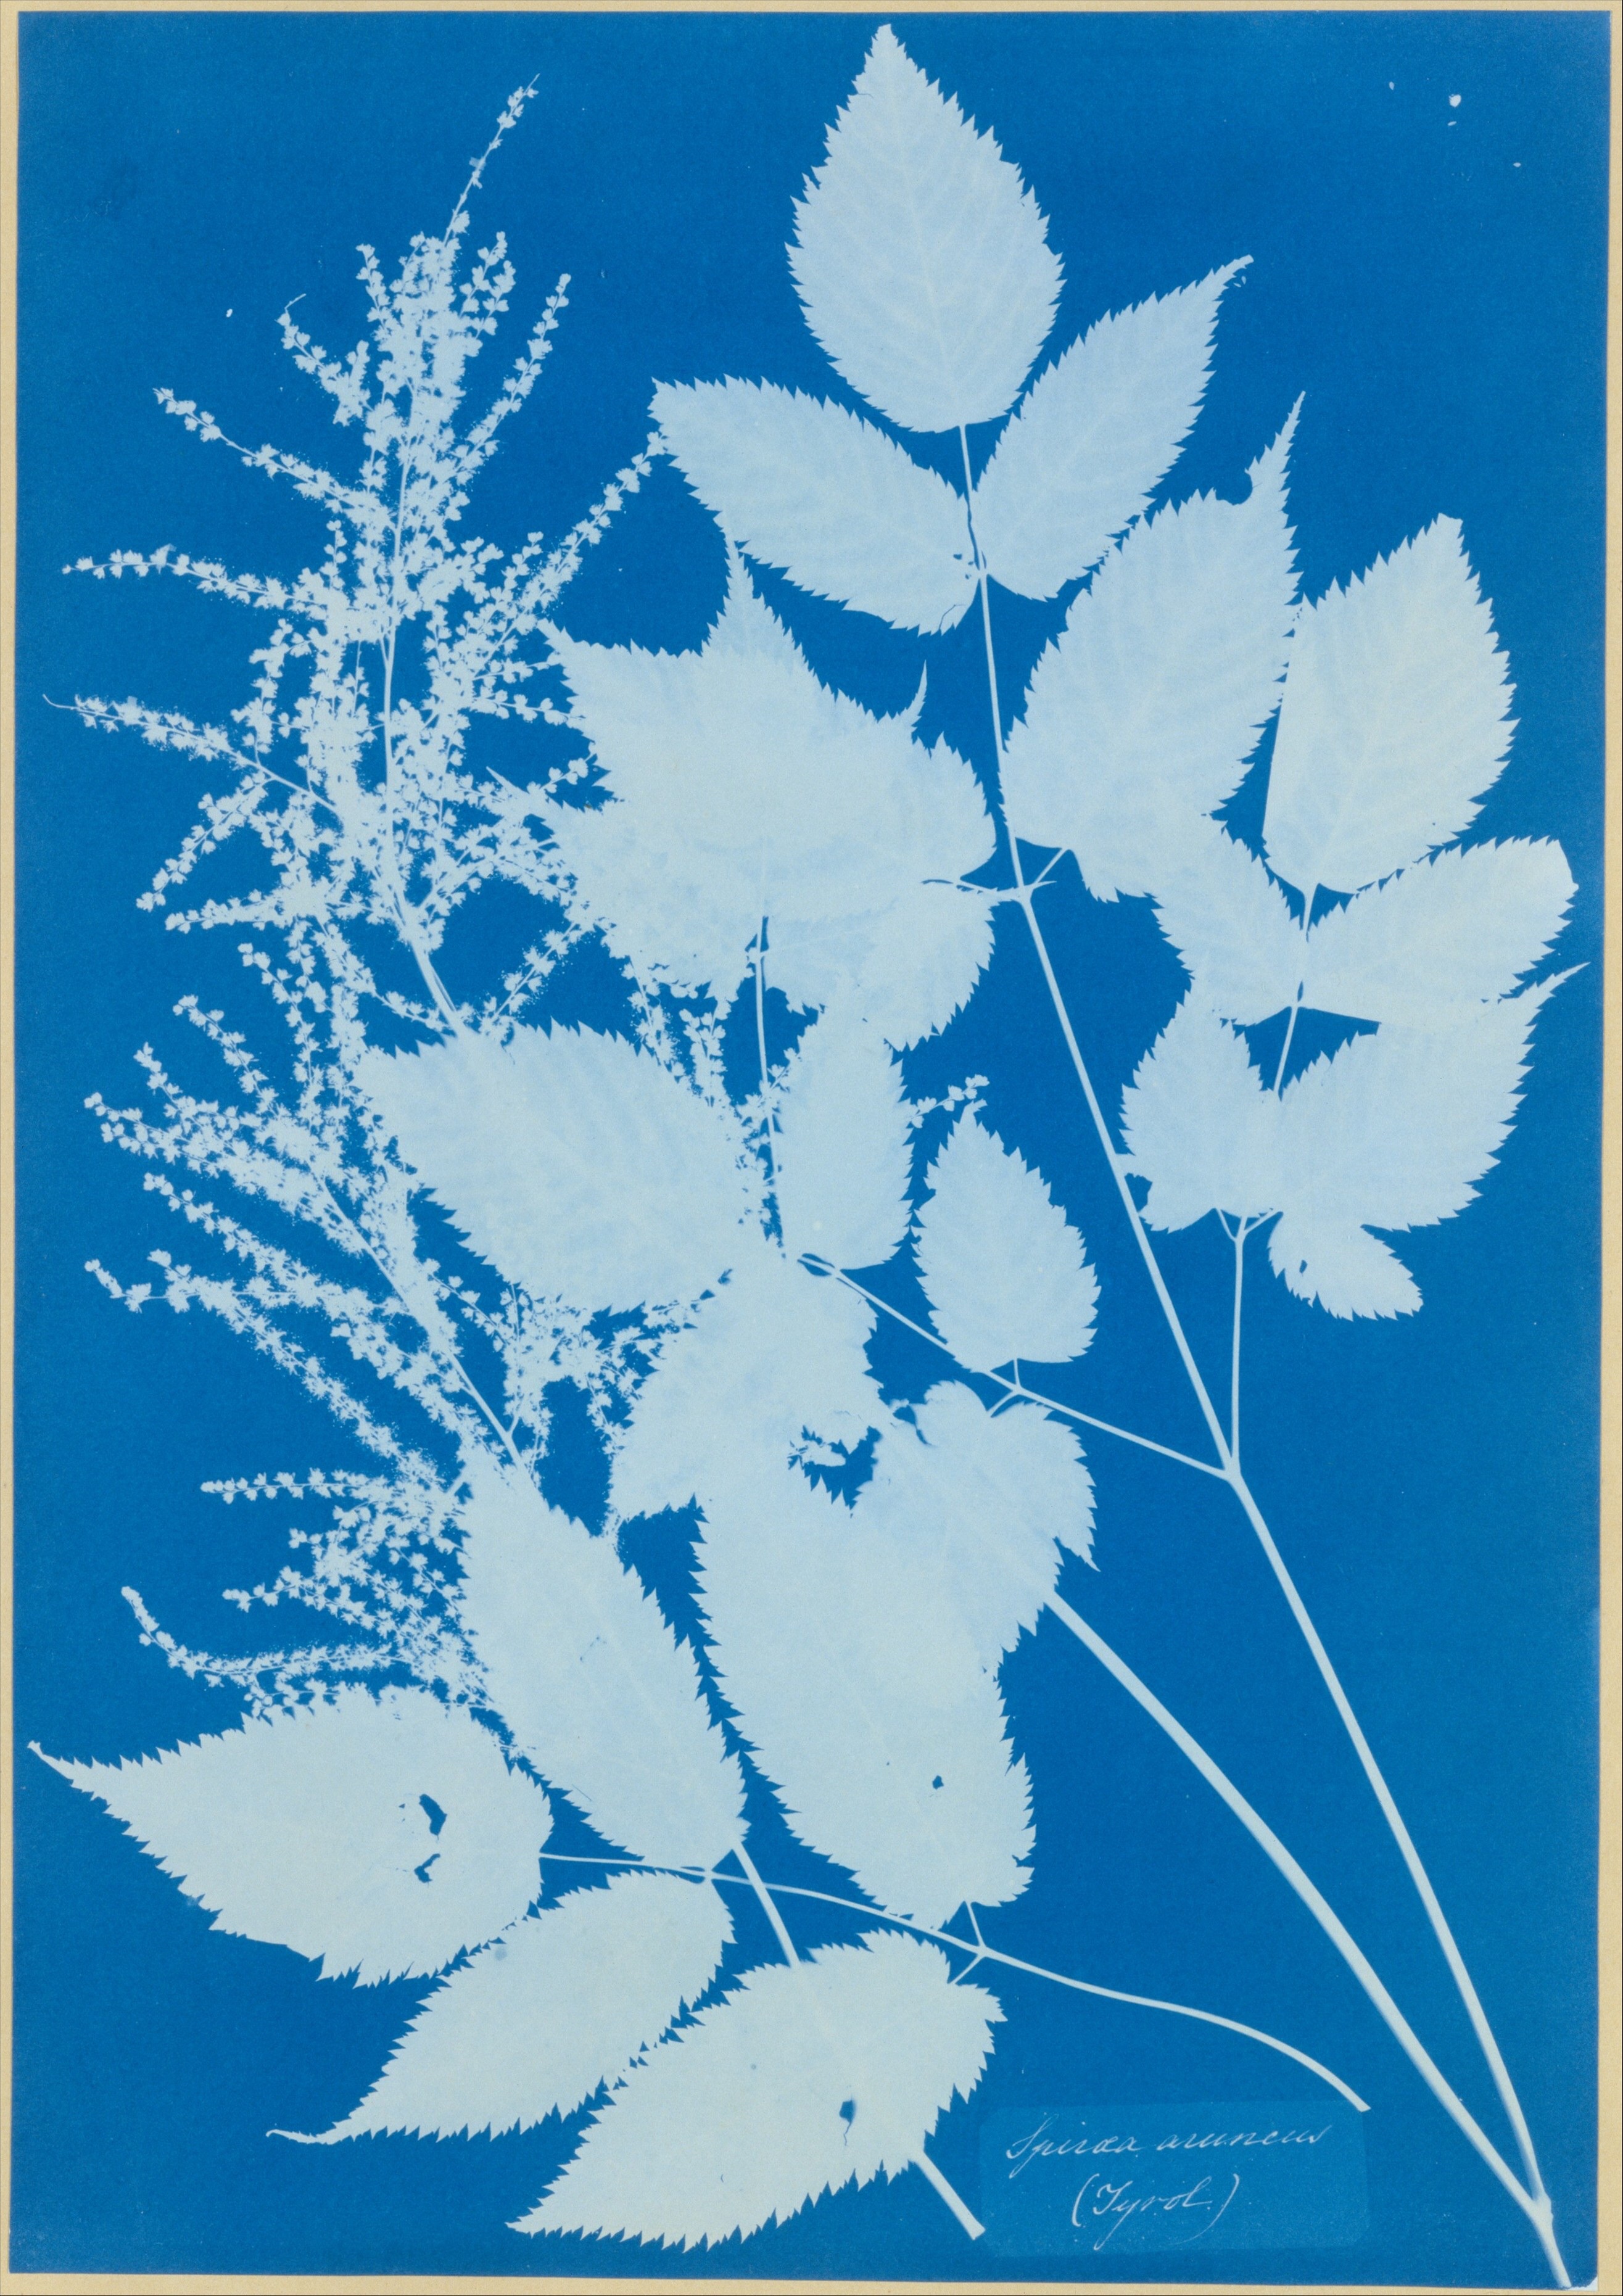
Anna Atkins
1840’s
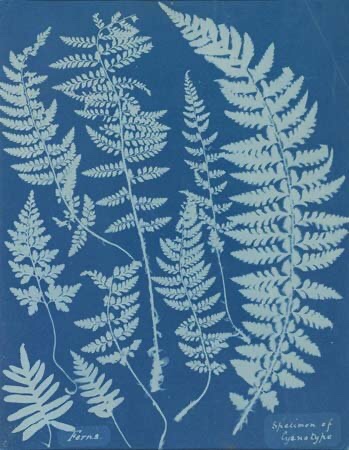
Anna Atkins
I stumbled across this photographic process while I was doing some research for my new project, Transformations. It was the colour that grabbed my attention first. Producing images in one colour with options of different tone.
There are many Cyanotype kits available to buy to produce prints at home. As it was my first time trying this process, I opted to get pre-treated Cyanotype paper. This paper has the chemicals on each sheet, all that is need to do, is expose to the sun, wash off with water and then leave to dry.
I laid each object or plant on a piece of cyanotype paper in a slightly dark room. Then used a piece of Perspex from a photo frame to lay over the top. This is to help the objects lay flat to give better definition when exposed to the sun. I think that a sheet of glass would be better as it’s heavier to press down better (I need to get one).
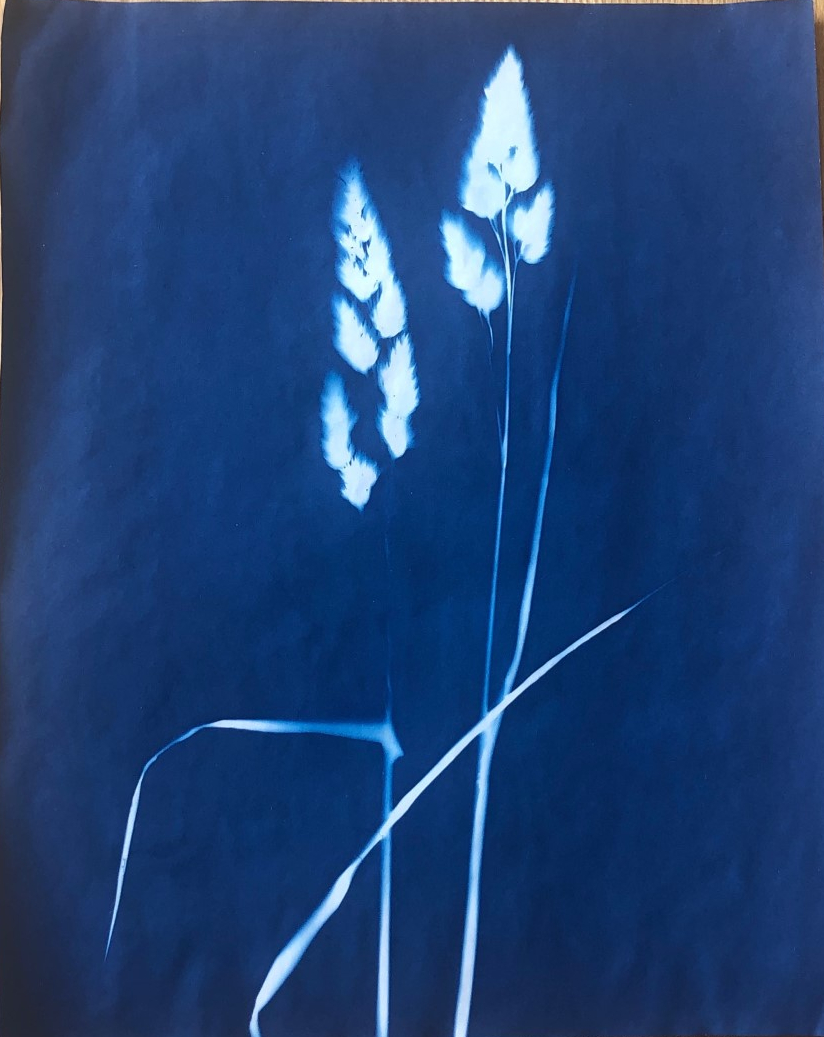
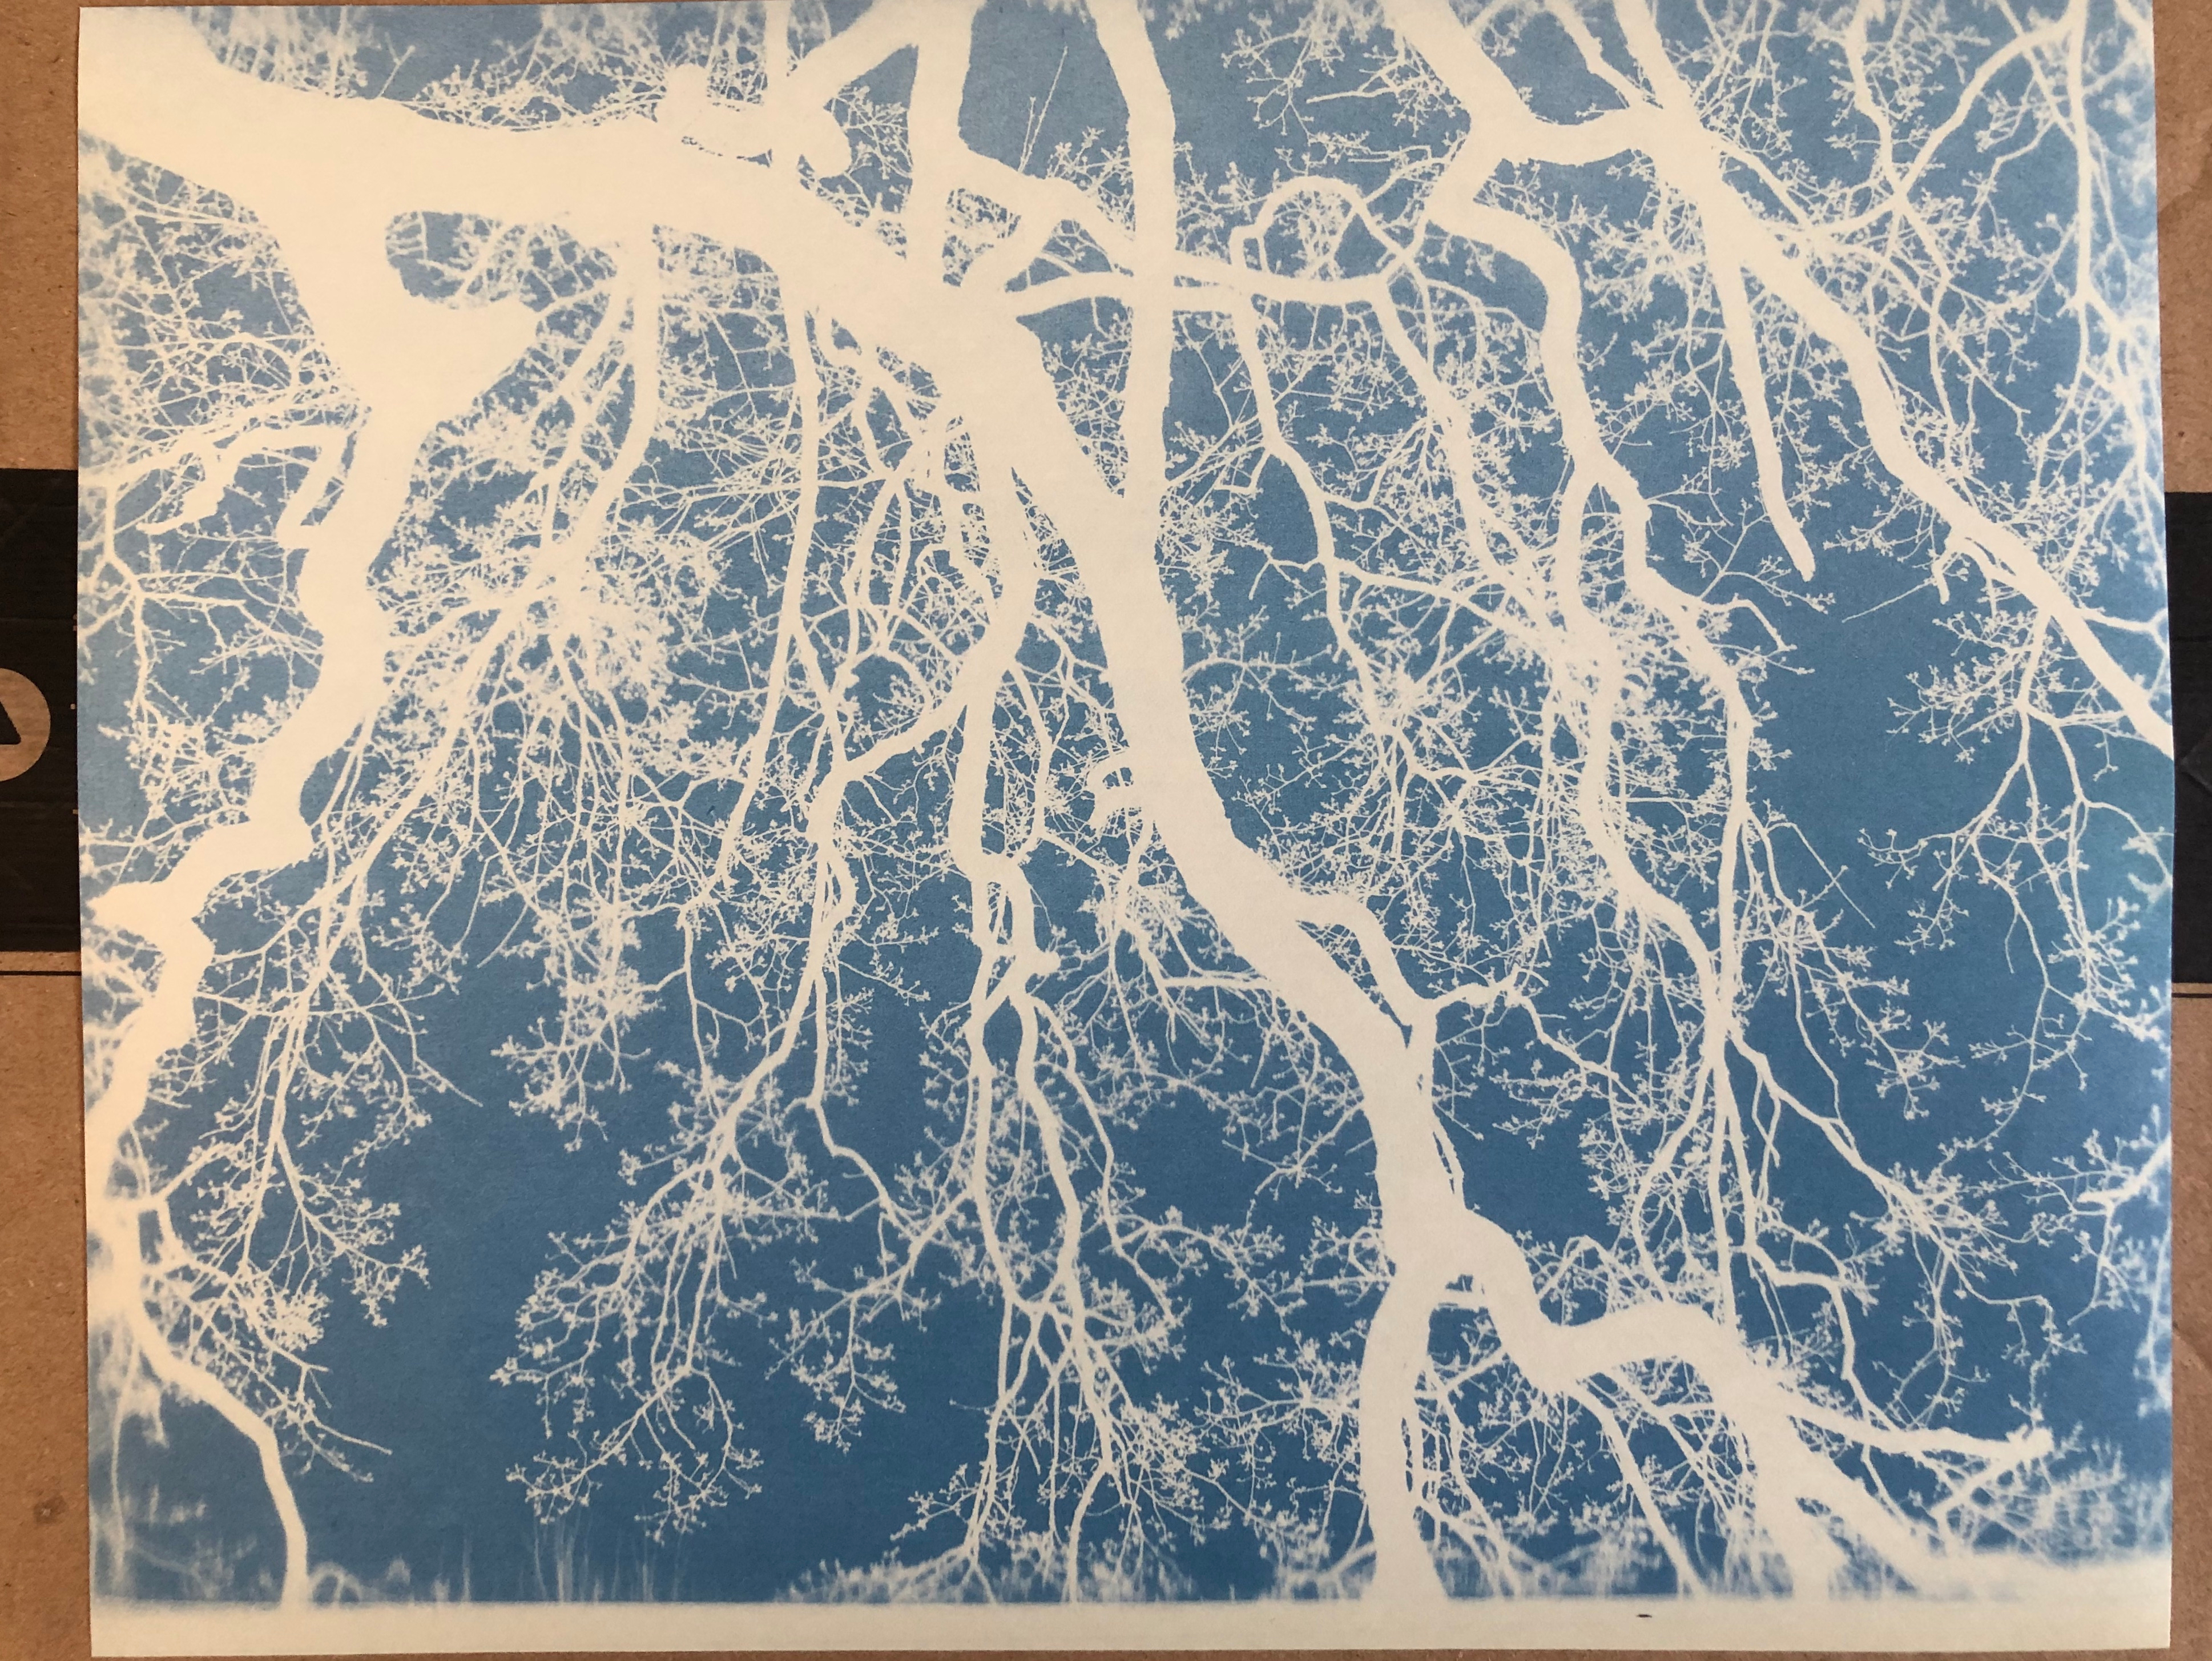
Below are some of my first attempts at Cyanotype. I’m really pleased with the outcome and I love the process.
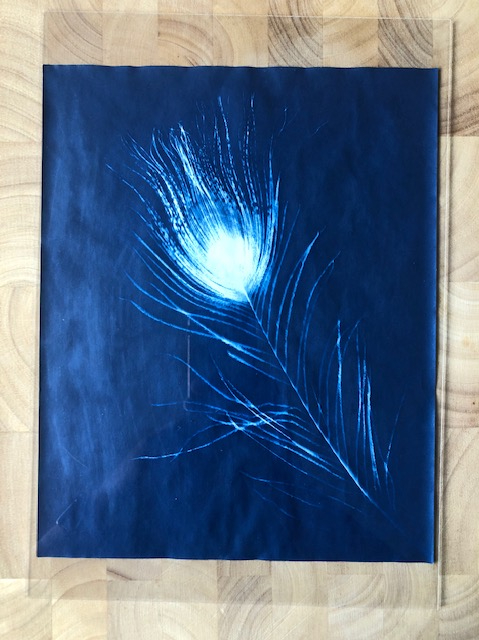
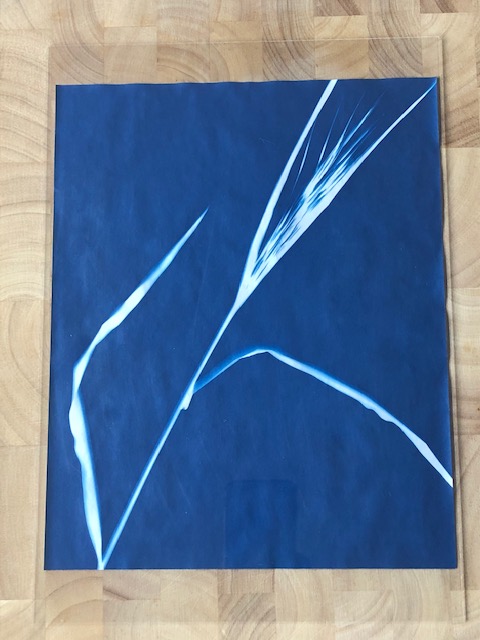
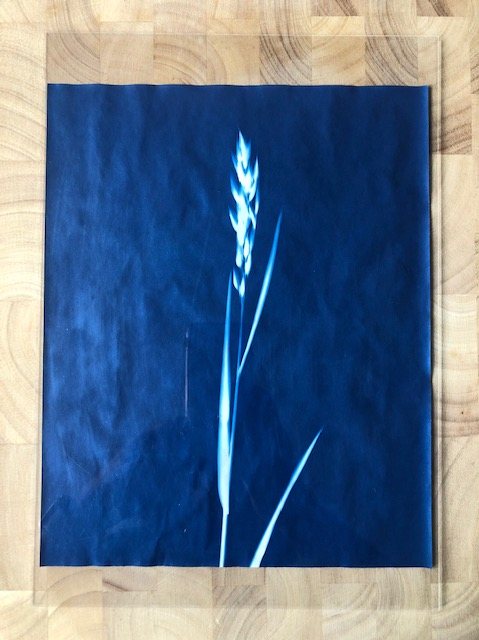
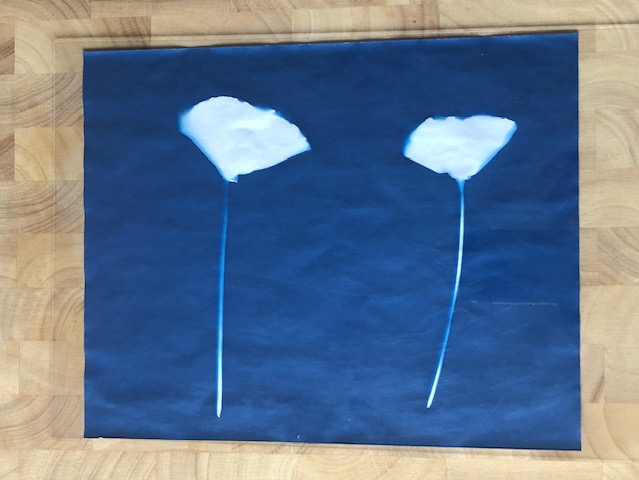
As you can see, the flatter objects or plants like the feather and grass left strong lines as they were flush to the paper. Softer lines were created when the objects rise slightly from the paper when exposing.

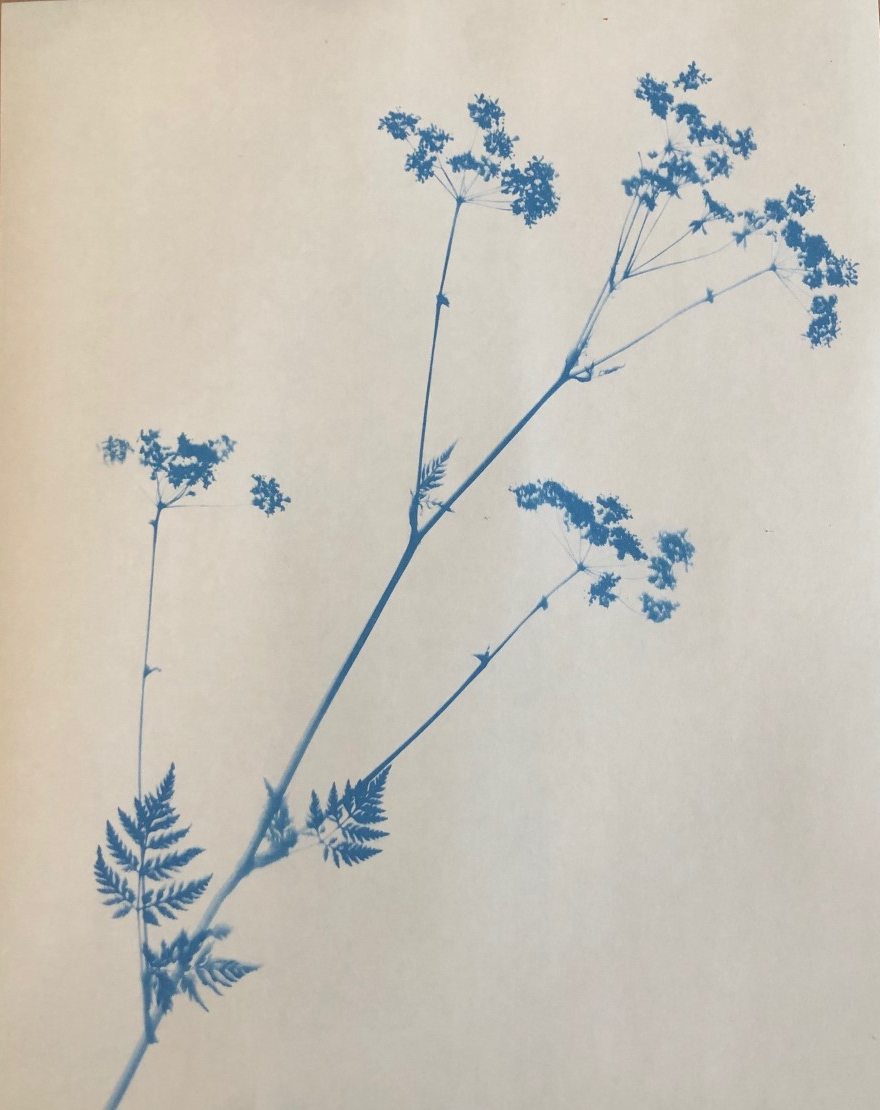
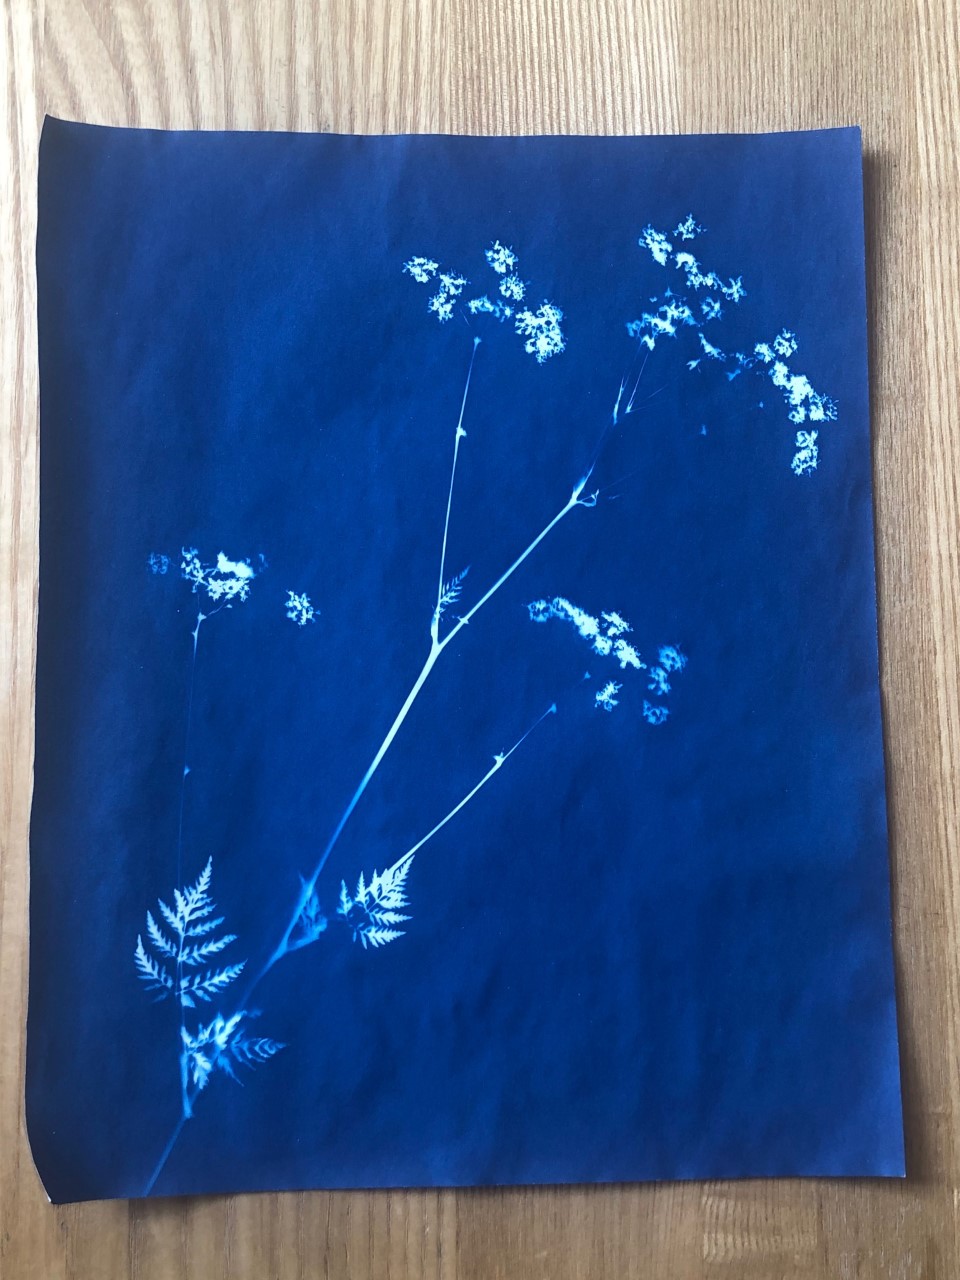
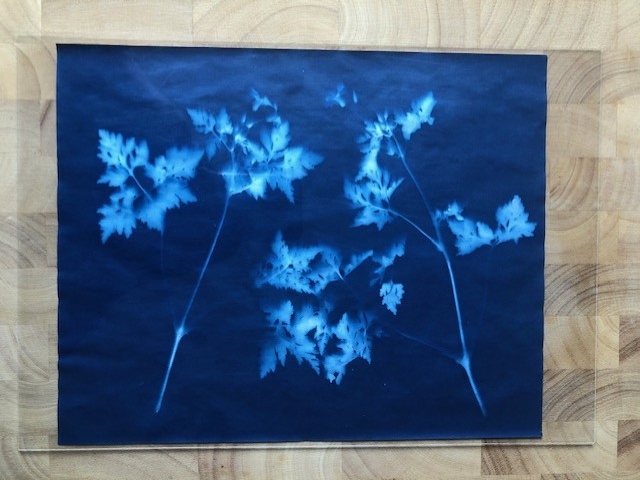
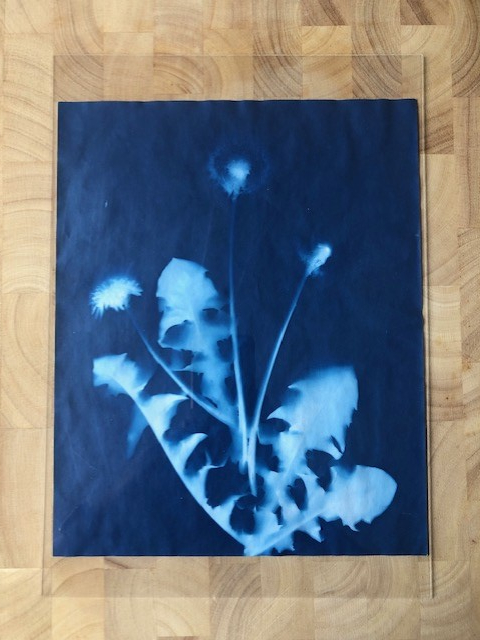
I have pressed some of the flowers and leaves I had used before and tried again. Below are my results. Much sharper lines and edges. This is because the foliage is flatter and therefore lets less light seeping in.
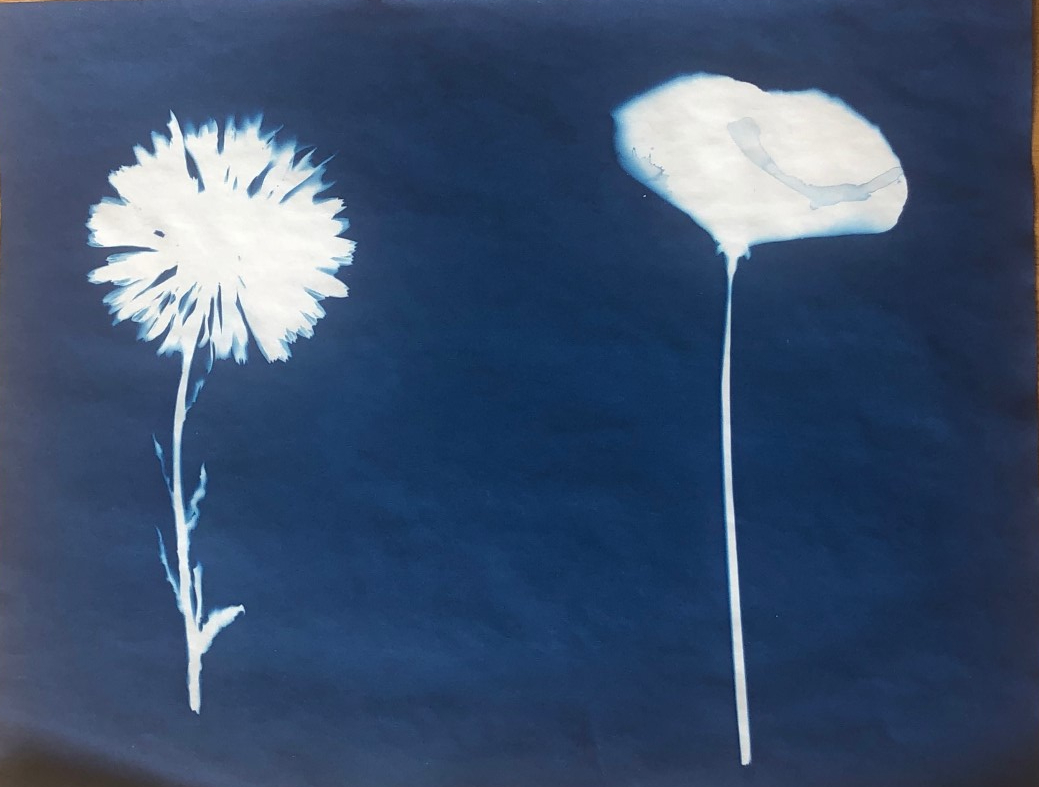
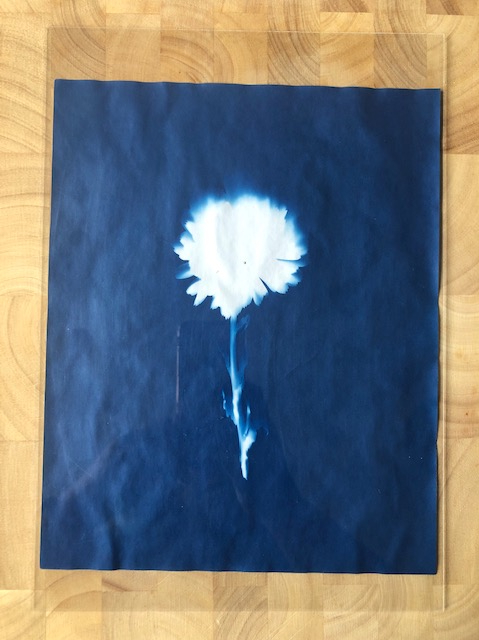
I need to perfect my technique as you can see water marks on some of my prints. This is from laying flat drying and not removing the excess water. Drying flat helps to stop the crinkles and kinks. Also, when completely dry leaving under some heavy books for a few days helps to be flat again.
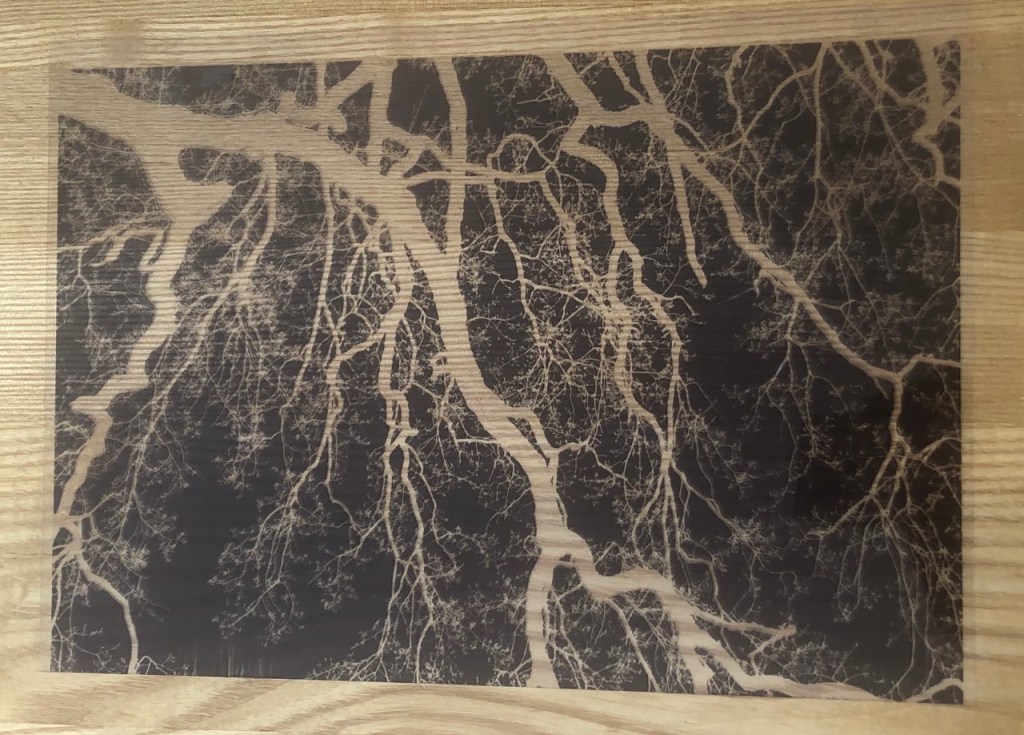
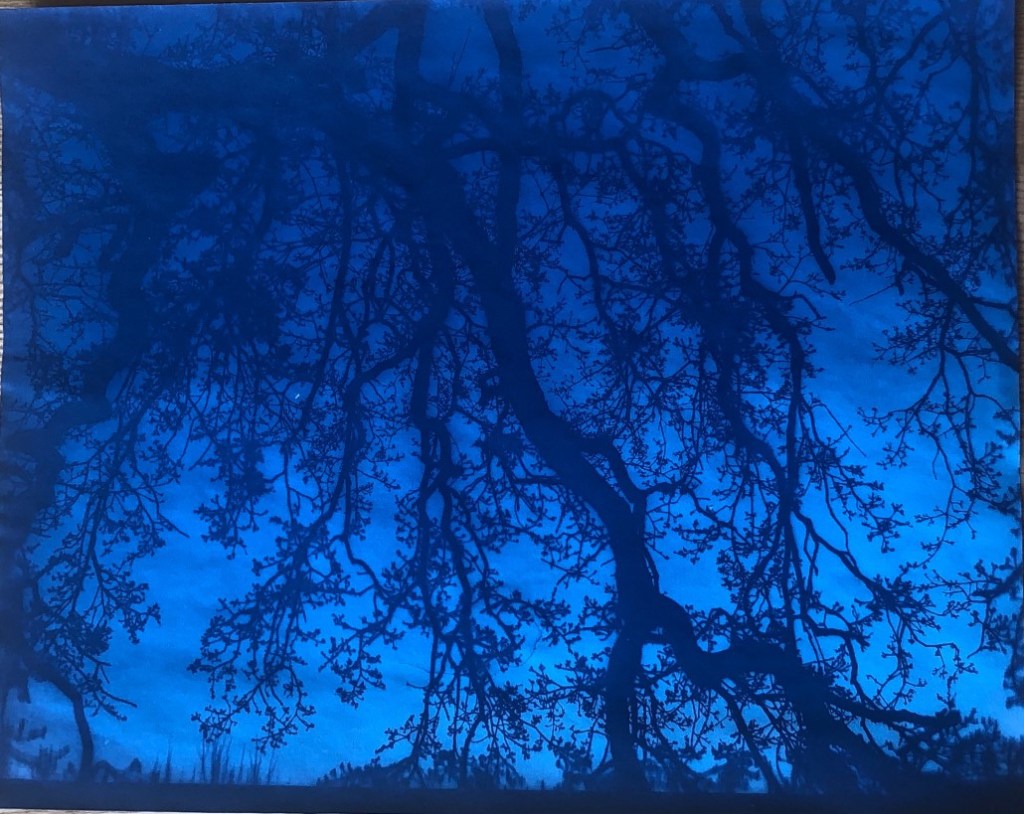
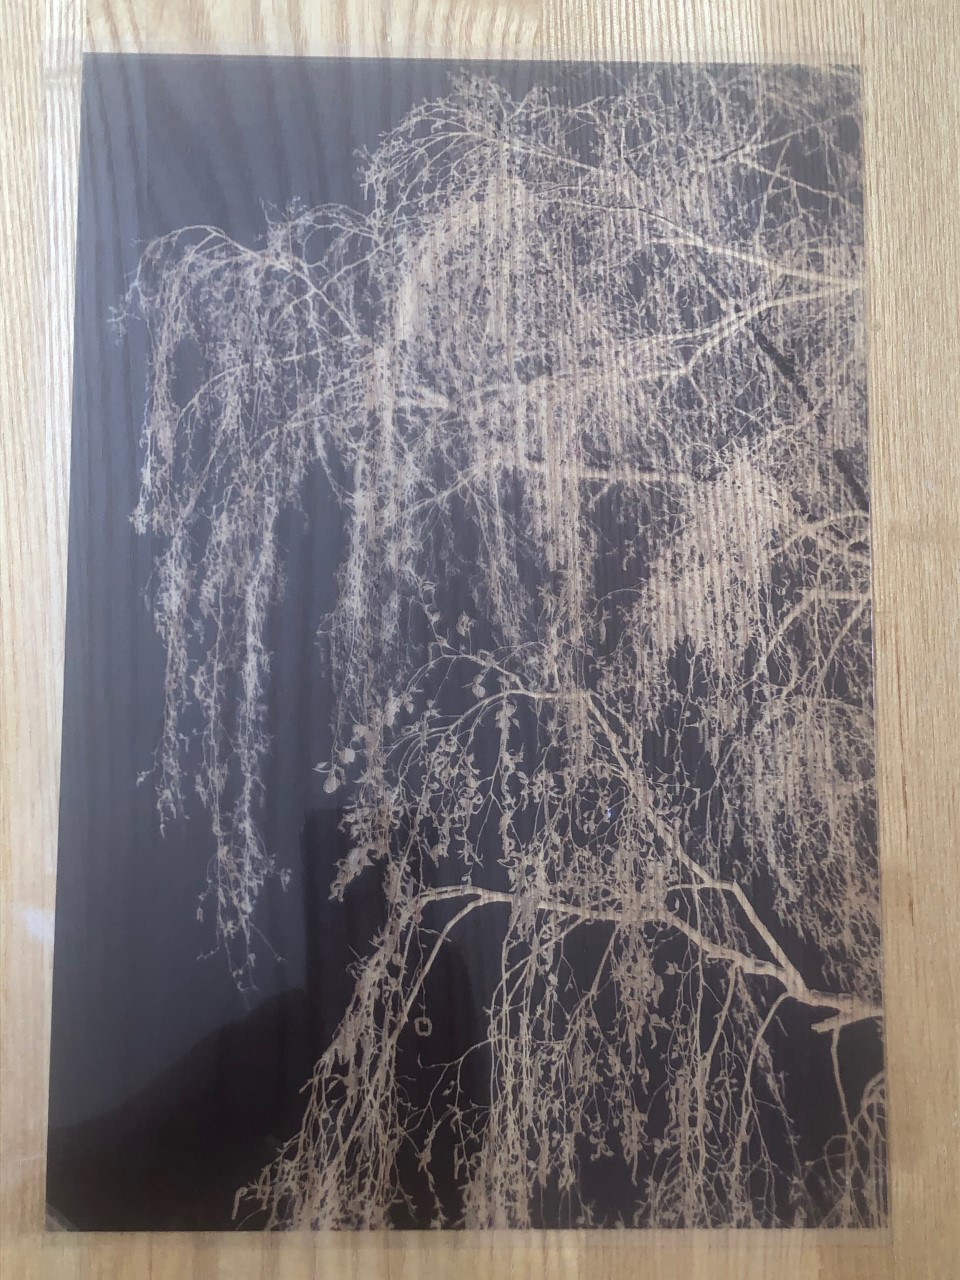
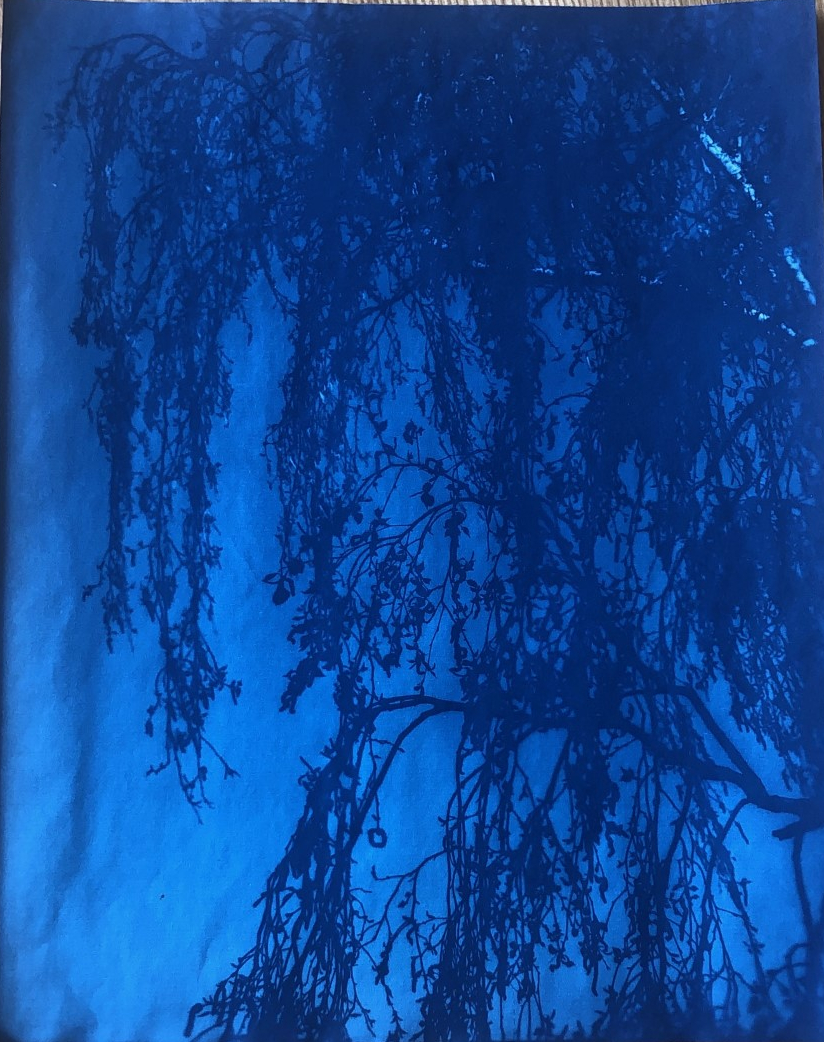
Laying objects on the paper is not the only way to create Cyanotype images, you can transfer your own images. Converting your chosen image into a negative in post production then print onto some acetate. When printing, be sure to print on the slightly misty side not the shiny side. If not, the ink will not dry and the result in smudging. Then, place the printed acetate on top of the Cyanotype paper, weigh down with glass and the expose.

Leave a comment