
P1, P2, P4
In photography, the technique HDR-High Dynamic Range is used to produce an image that is similar to what you would see with your human eye.
For example, if you were inside a beautiful building, like a church, you know that to expose the stained glass windows you would set your camera to a certain aperture. However by doing this you would be under exposing the interior and therefore it would appear dark. And vice versa, if you were to expose correctly for the interior, the stained-glass window would be overexposed. In the end you are always having something over or under exposed in your photograph.
To achieve HDR image you need to capture between five and ten different exposures of the same image. Generally 1 F stop difference for each image. Then all these images are merged together to form one image through light room or photo shop. The correct exposure part of each photograph is used and in the outcome is, you have a correctly exposed image.
Using this technique you can achieve an outcome that is close to how you actually see it. However HDR photography can so easily be exaggerated and therefore your final image may look unnatural.
The image below demonstrates this. Although all the beautiful colours were probably there, it does however look fake and unnatural. Perhaps the colours were pumped up a little during the postproduction process?

This next image below, shows how you can achieve a more natural look to your photograph using a HDR technique. As a photographer you can see that in one photograph you would never be able to expose for under and over the jetty. So this technique helps you show all that detail from the water and the sky within one image.

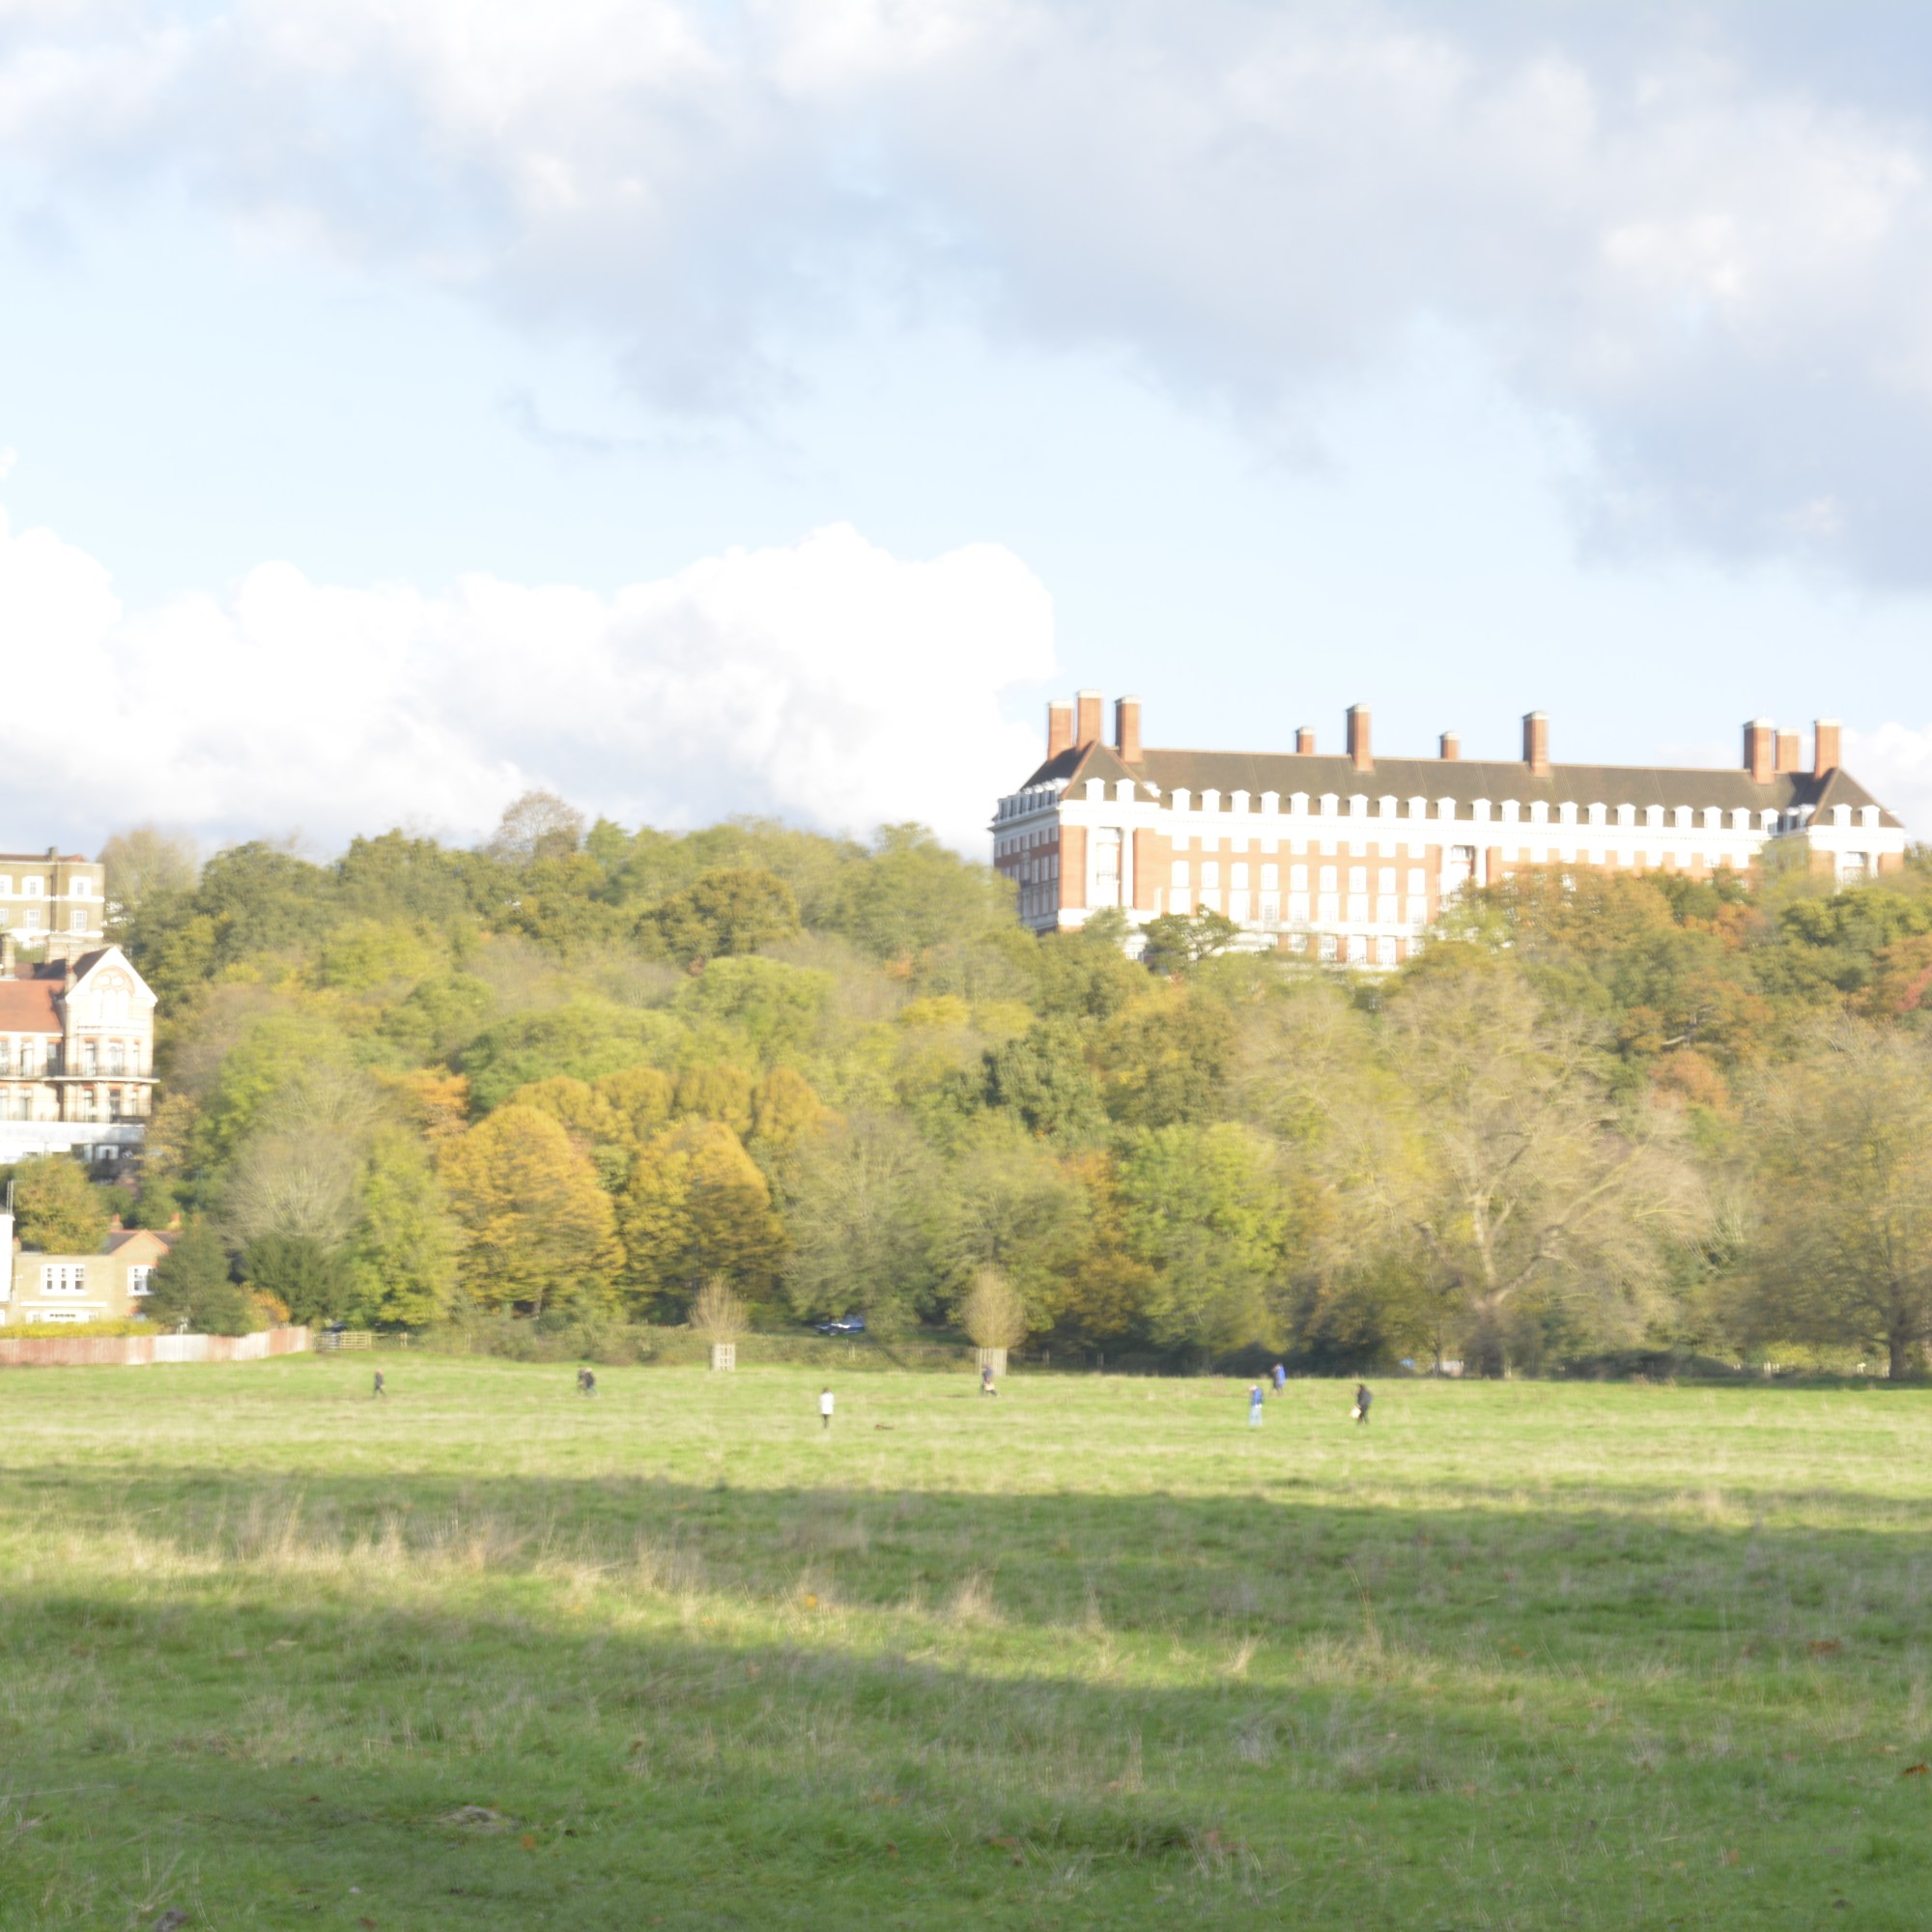
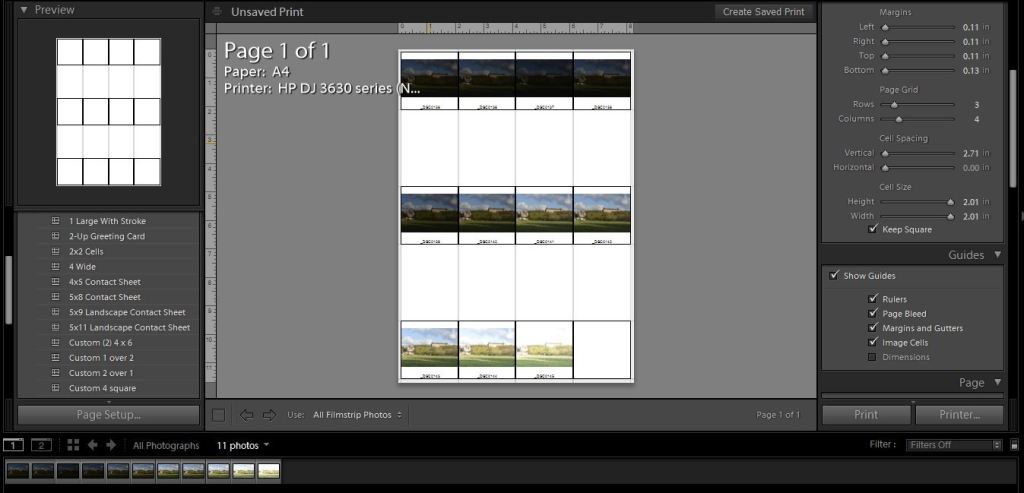
To keep the same view within my frame each time I took a photograph, I used a tripod. The only thing I changed each shot was the aperture, 3 notches (1 Fstop) each time. I started very underexposed and worked towards being over exposed.
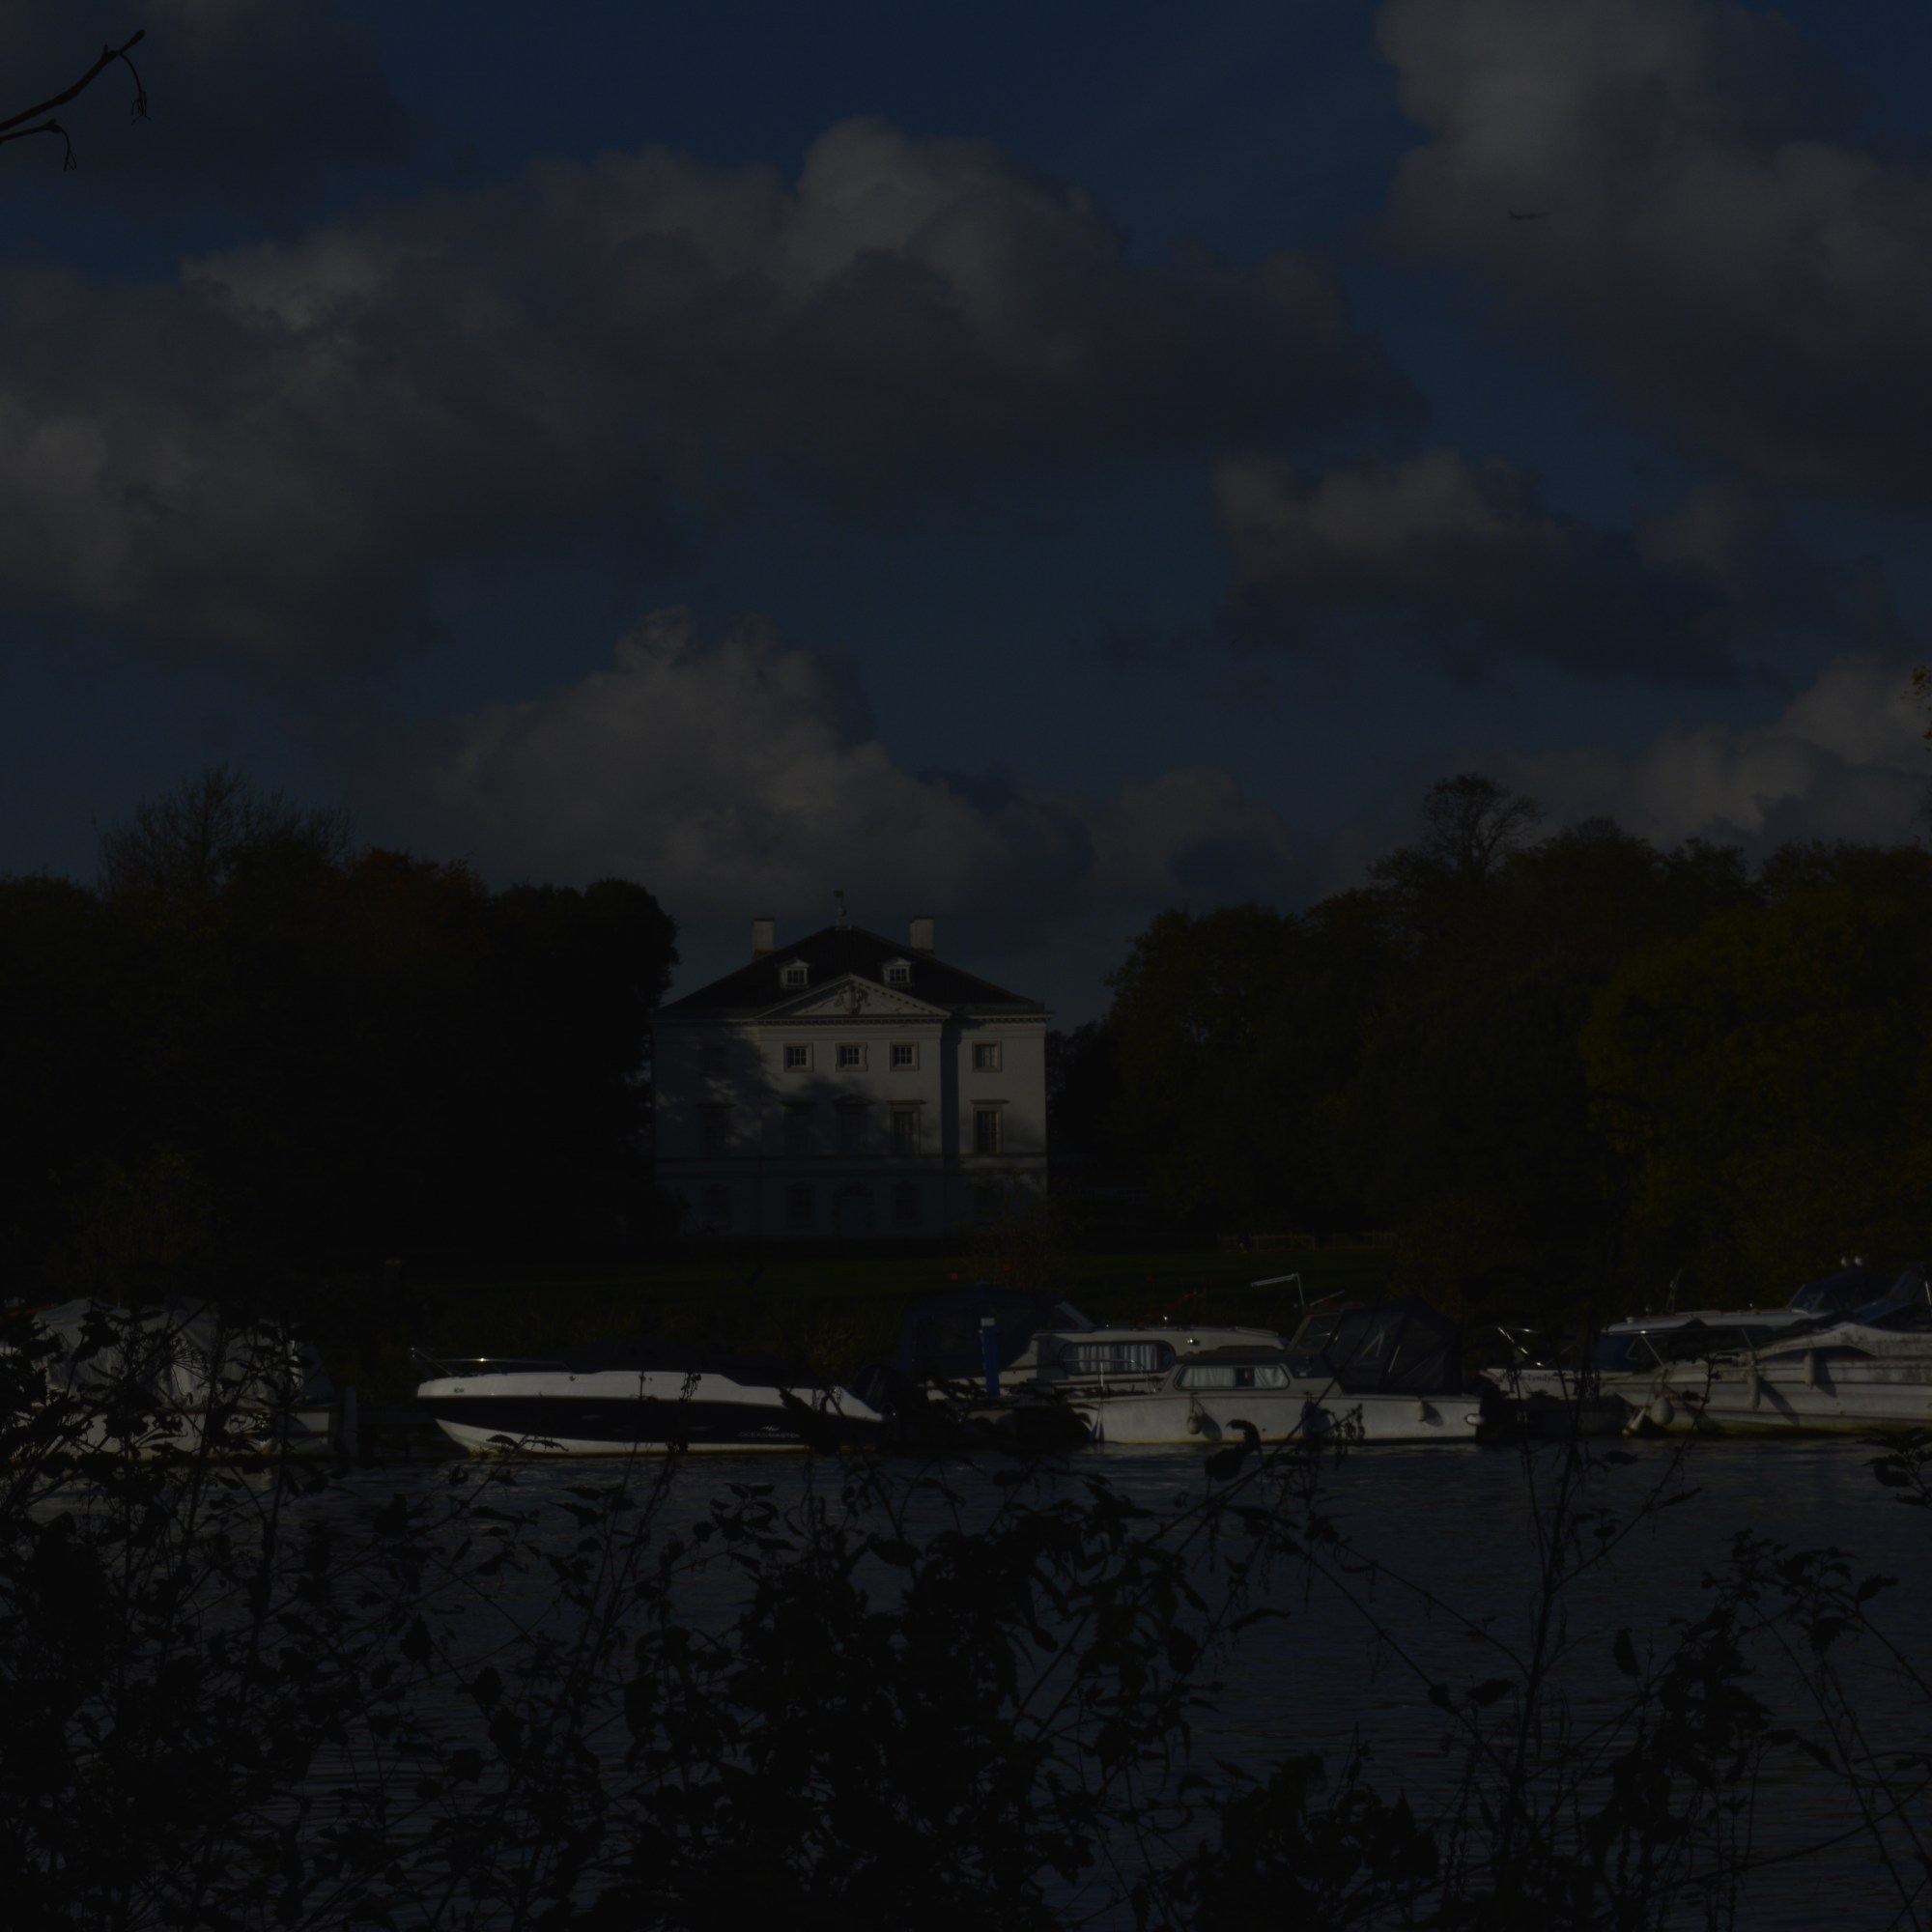
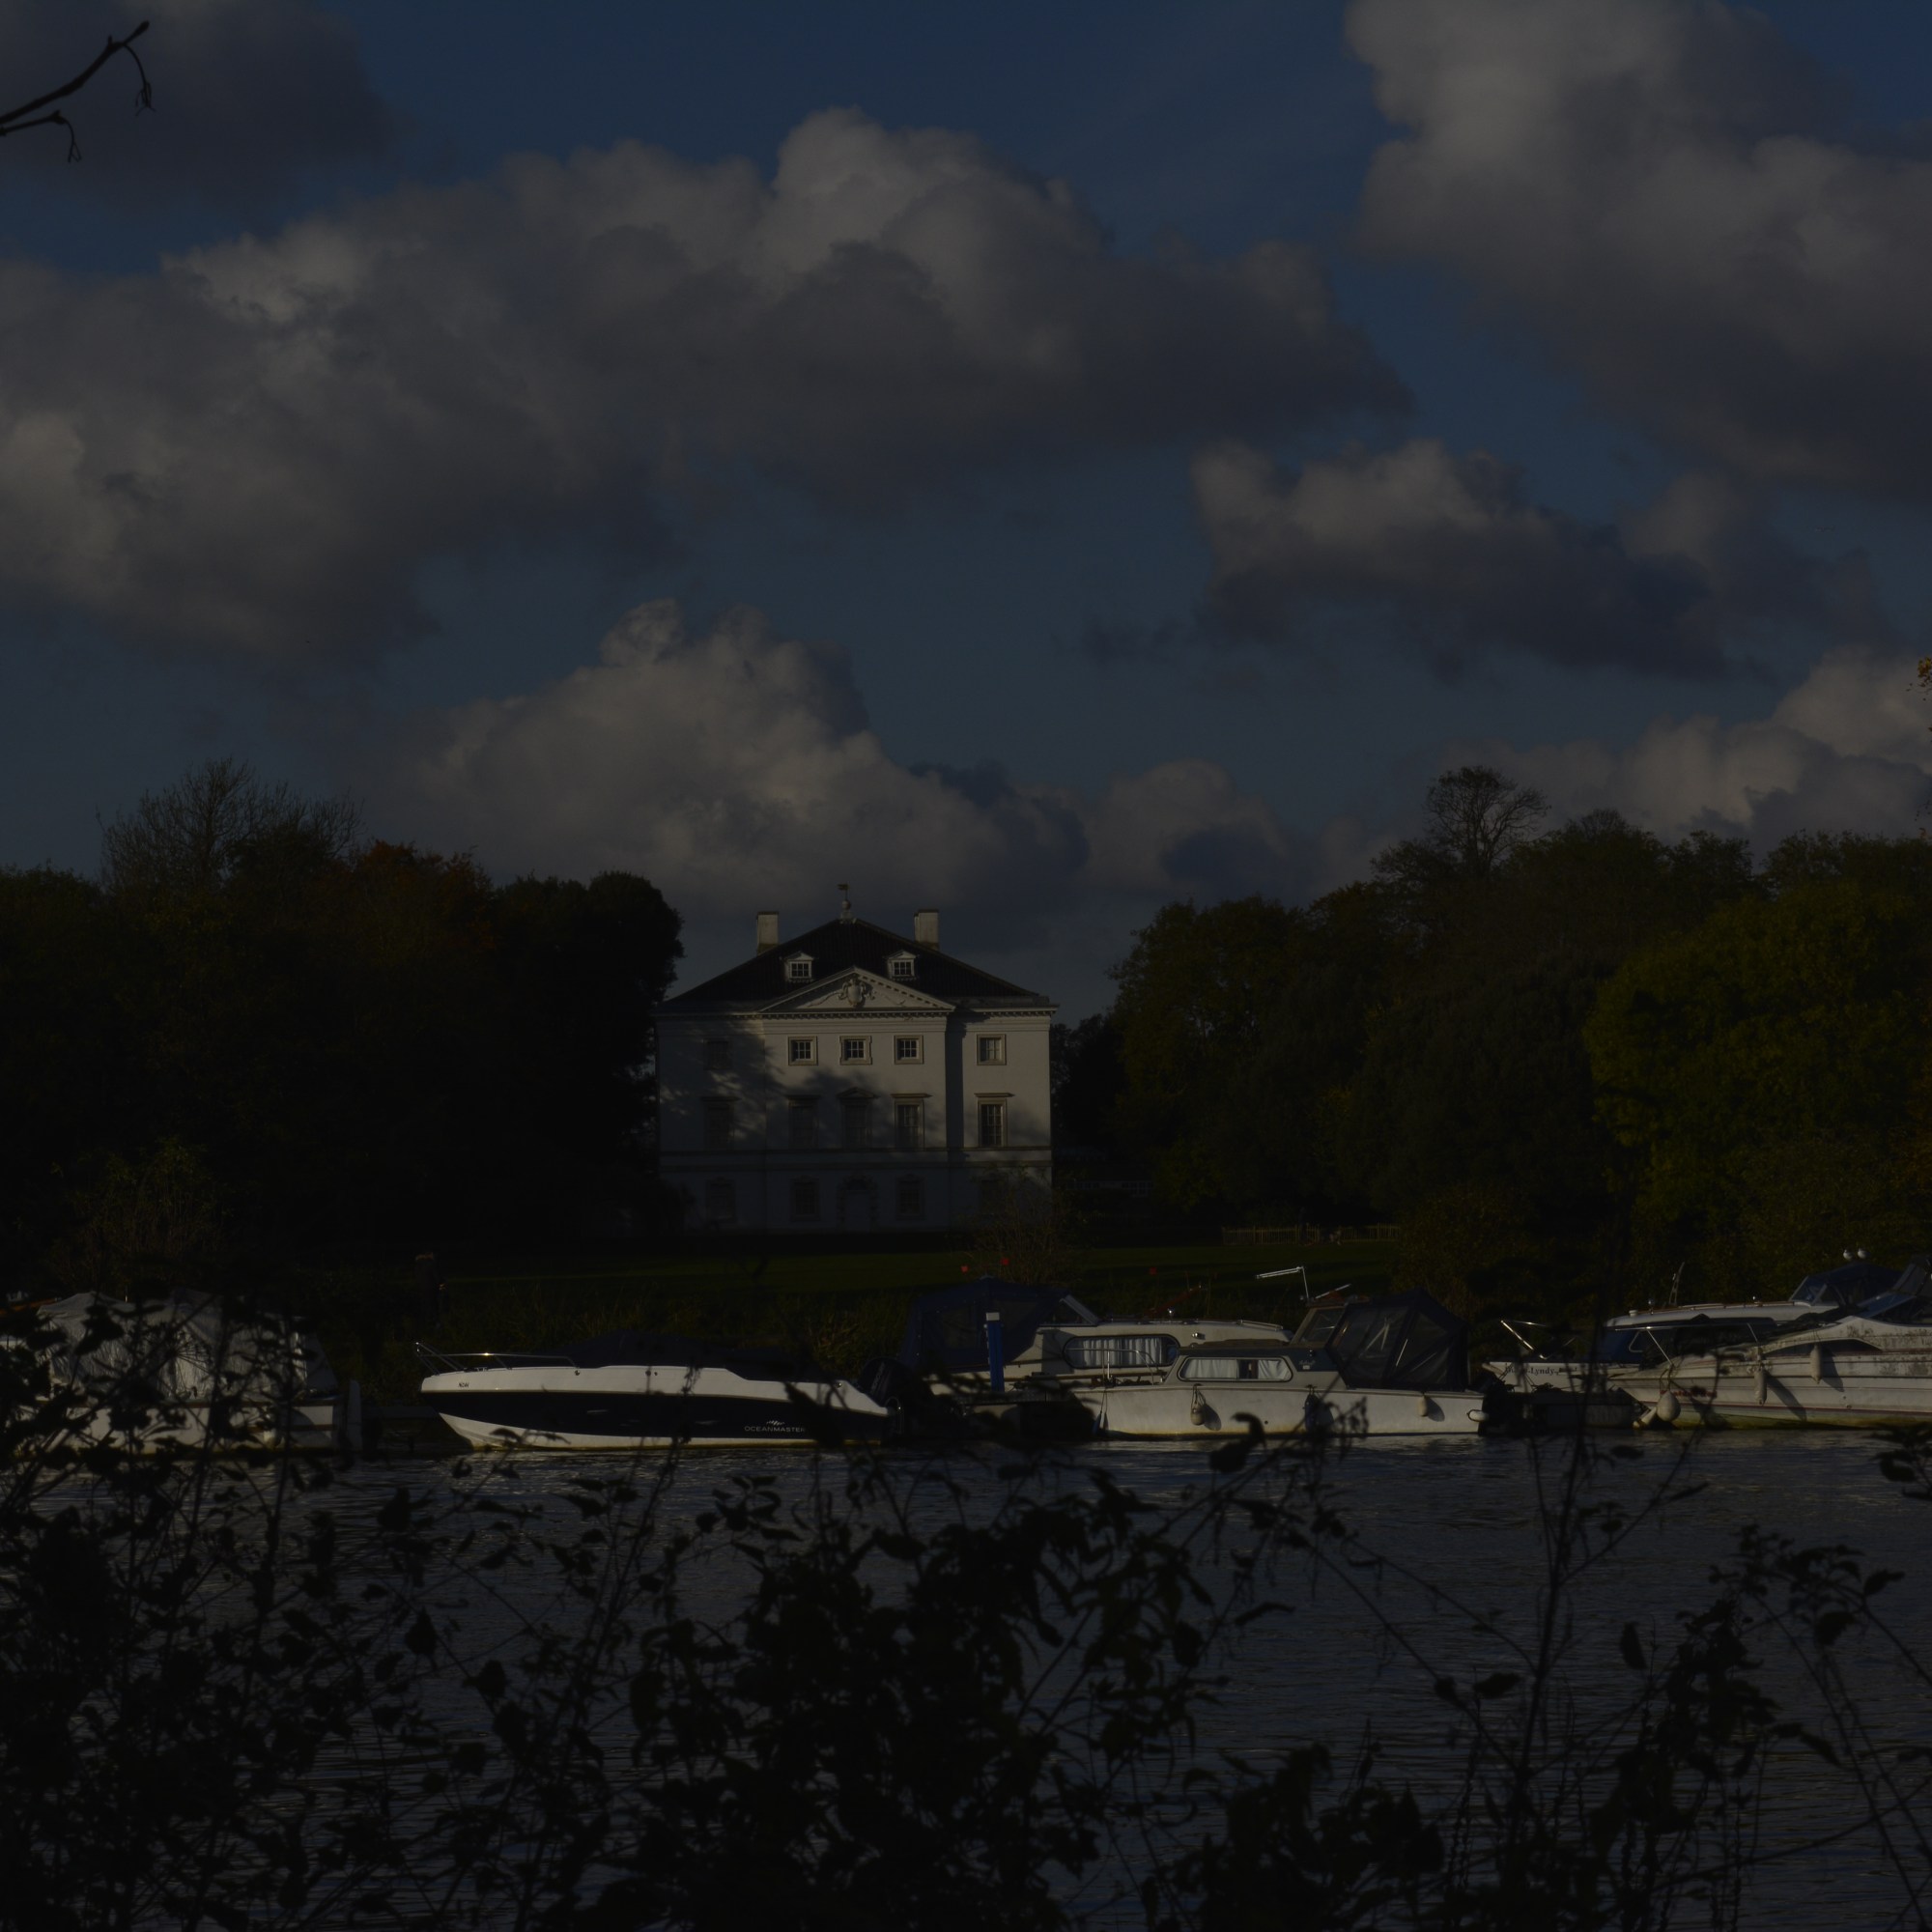
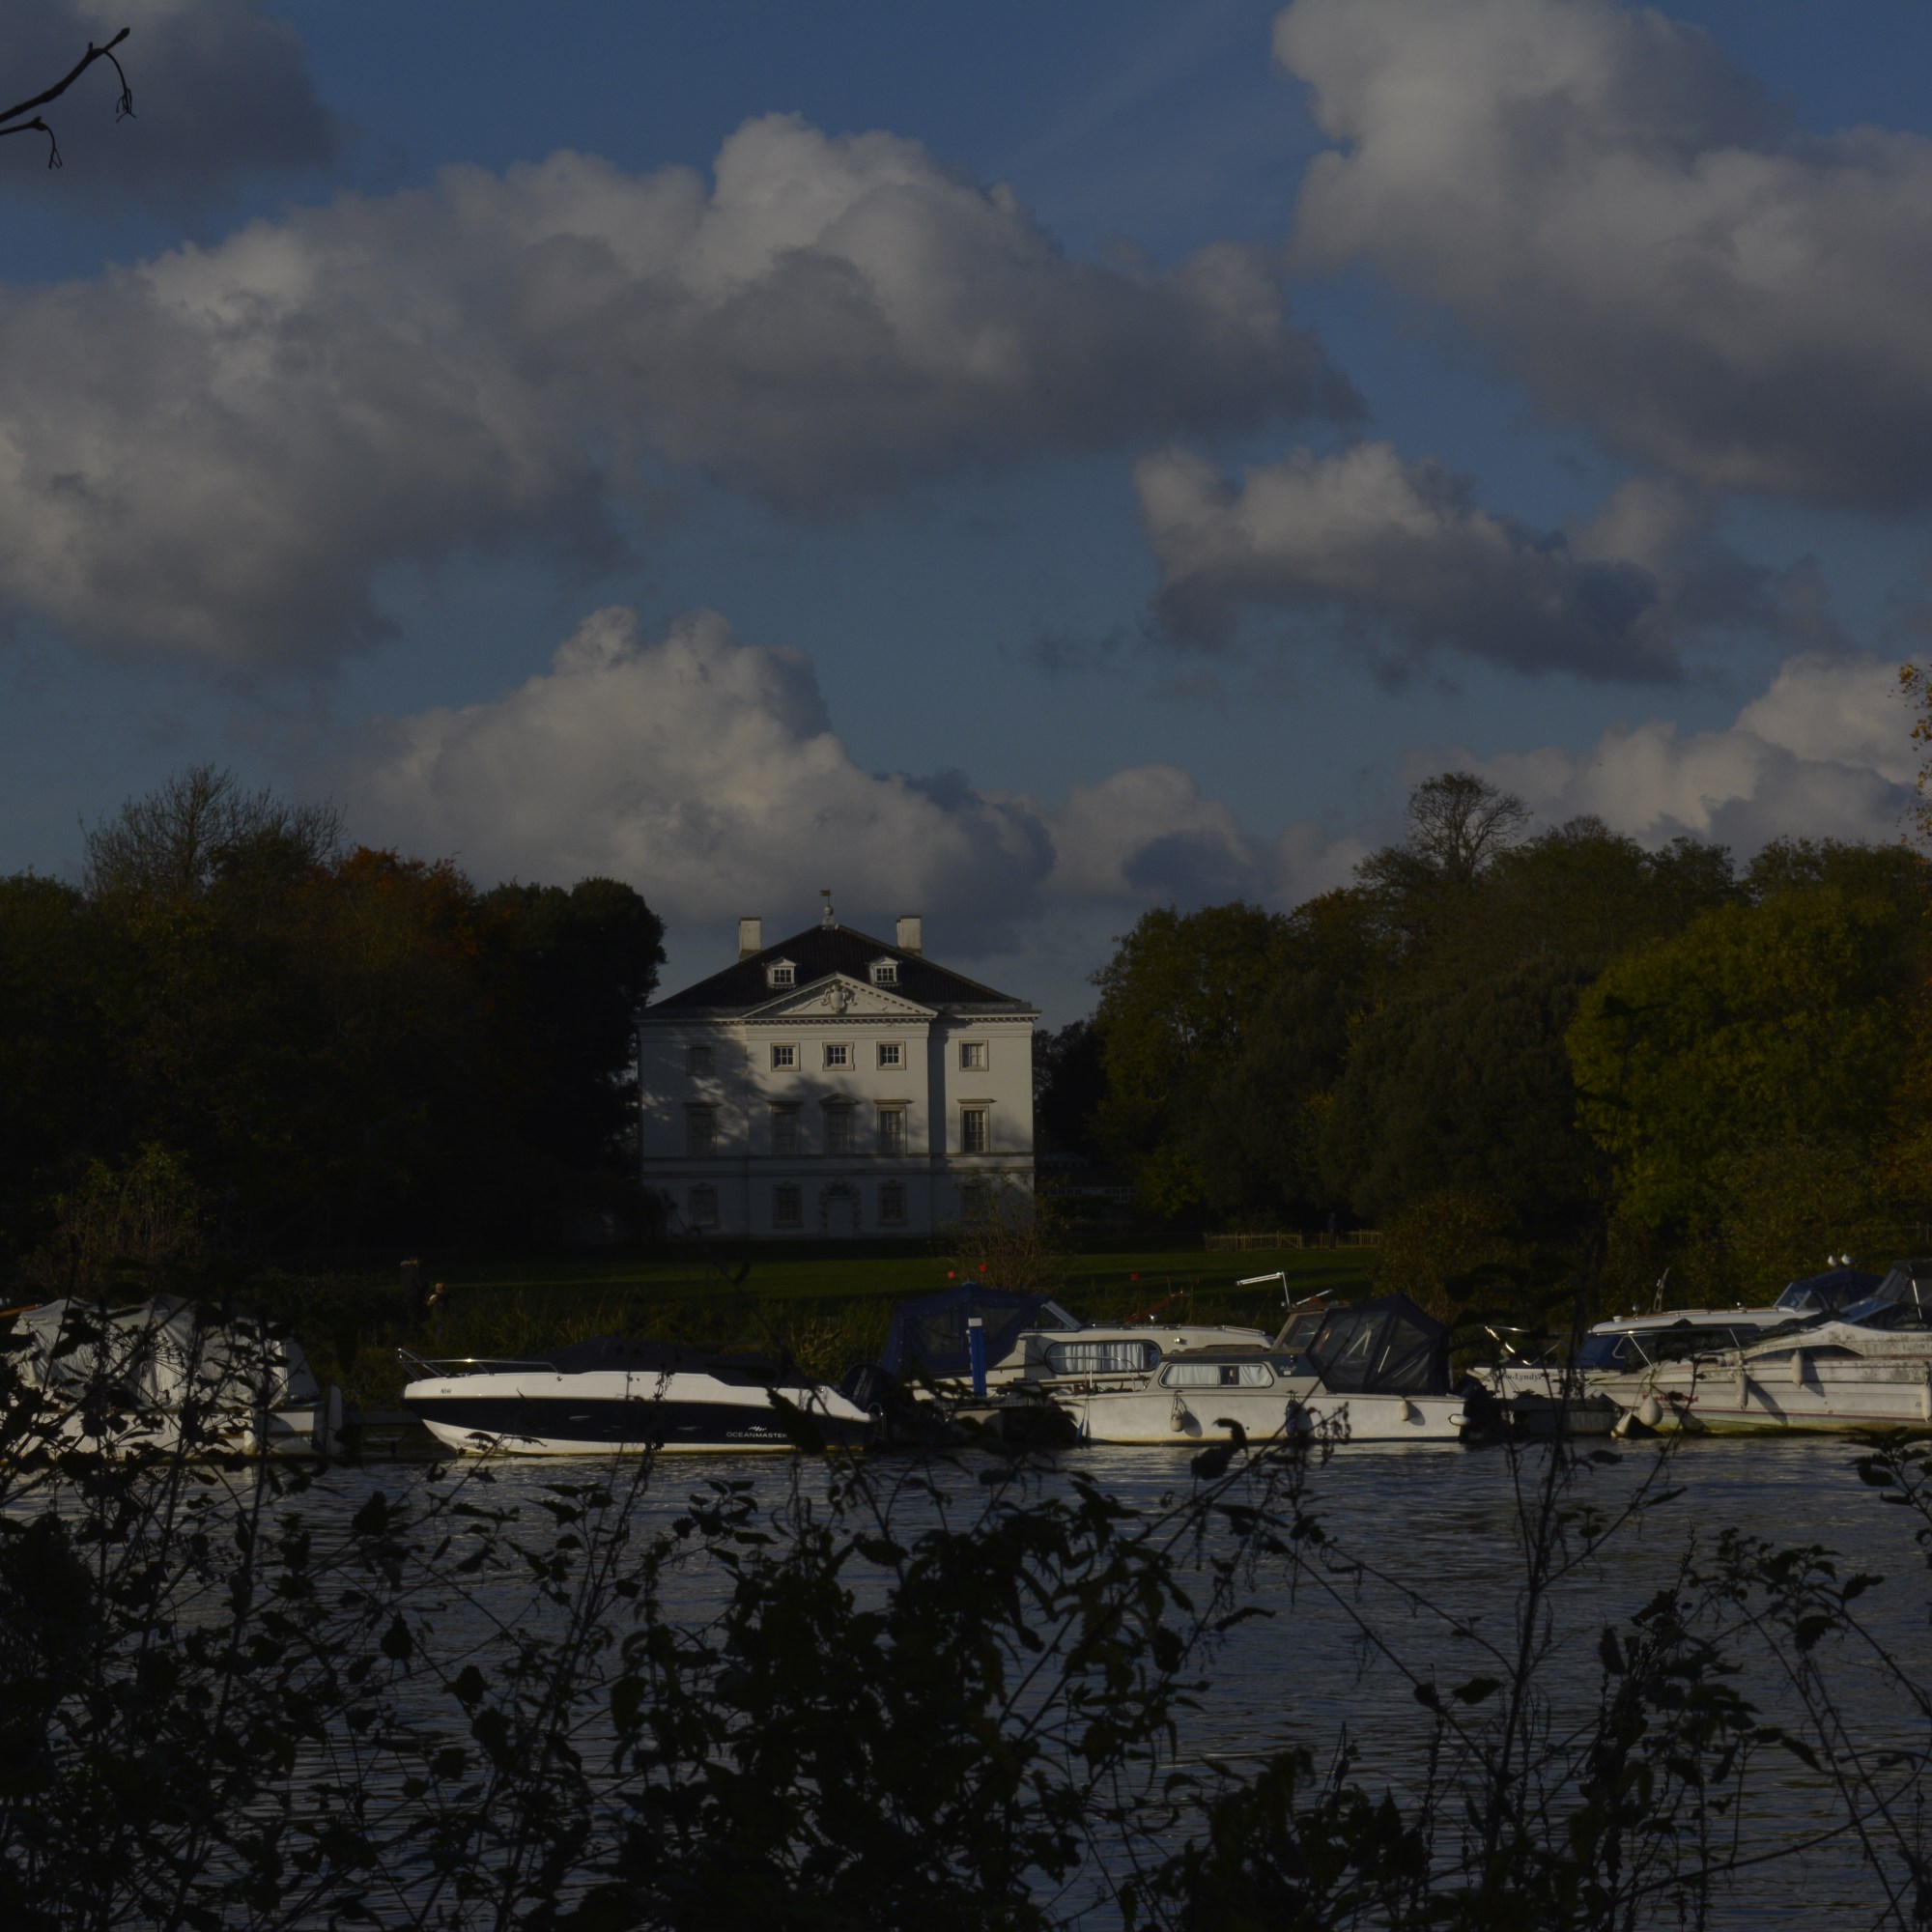

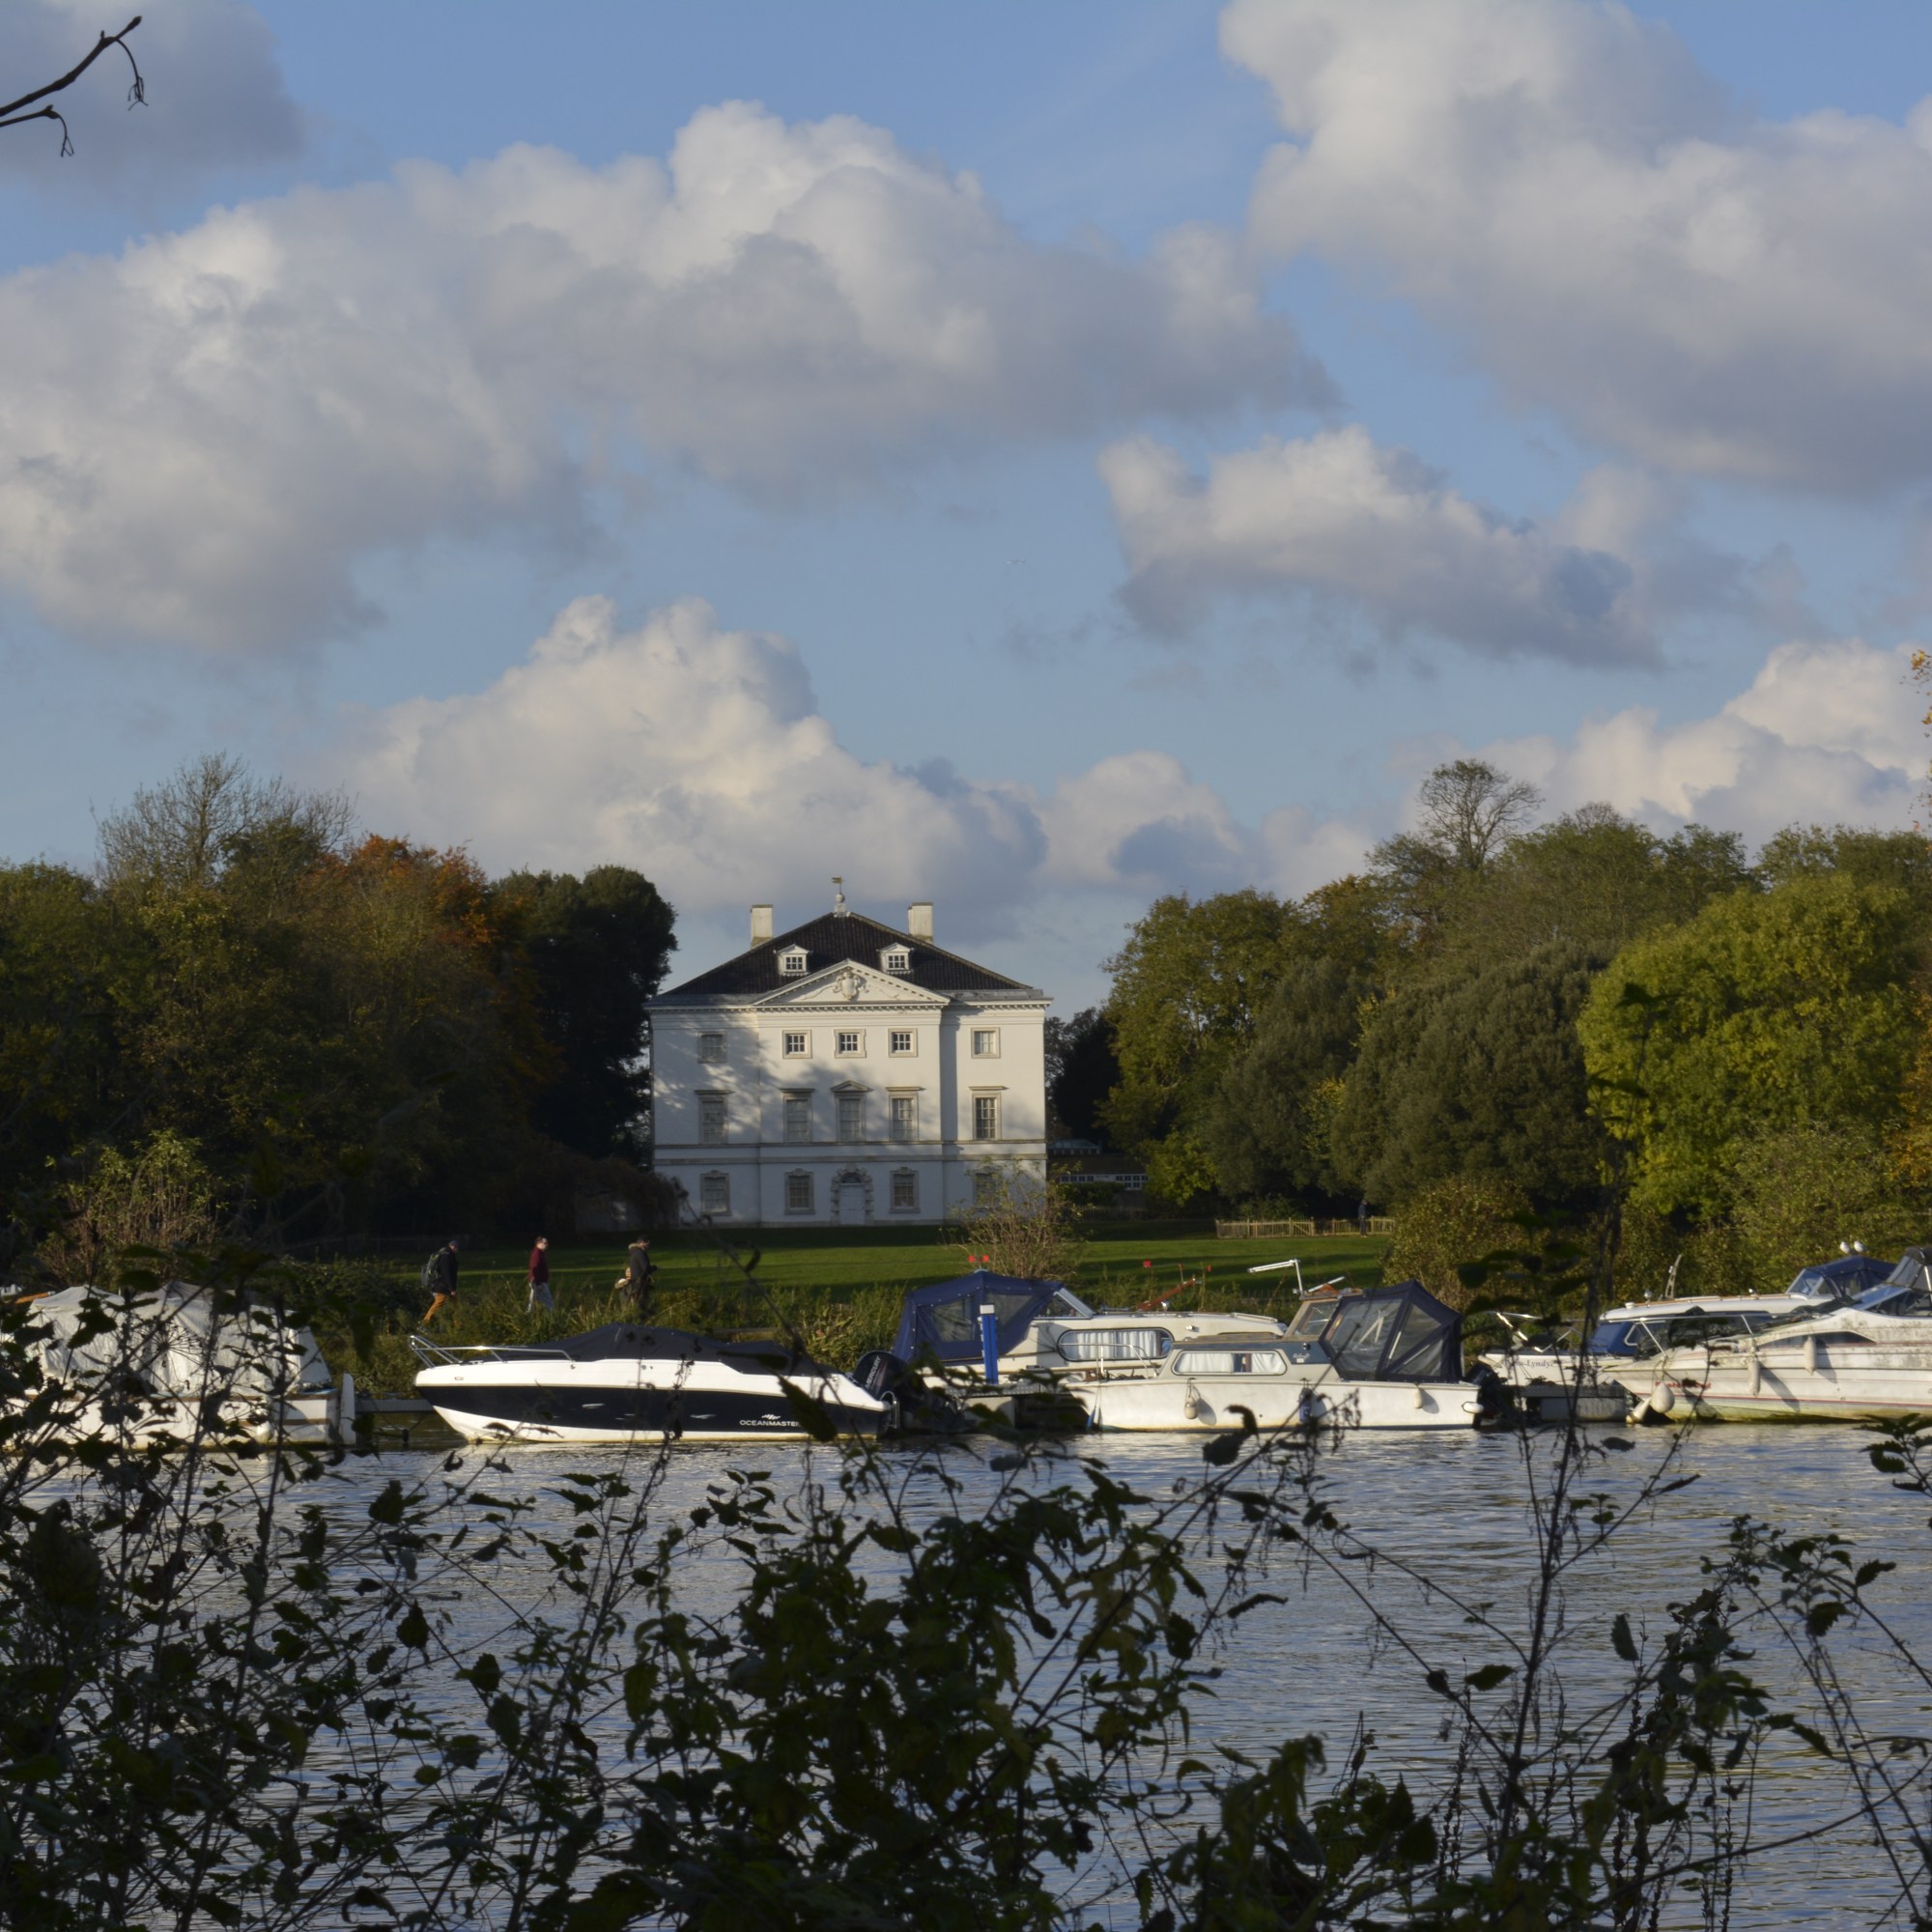
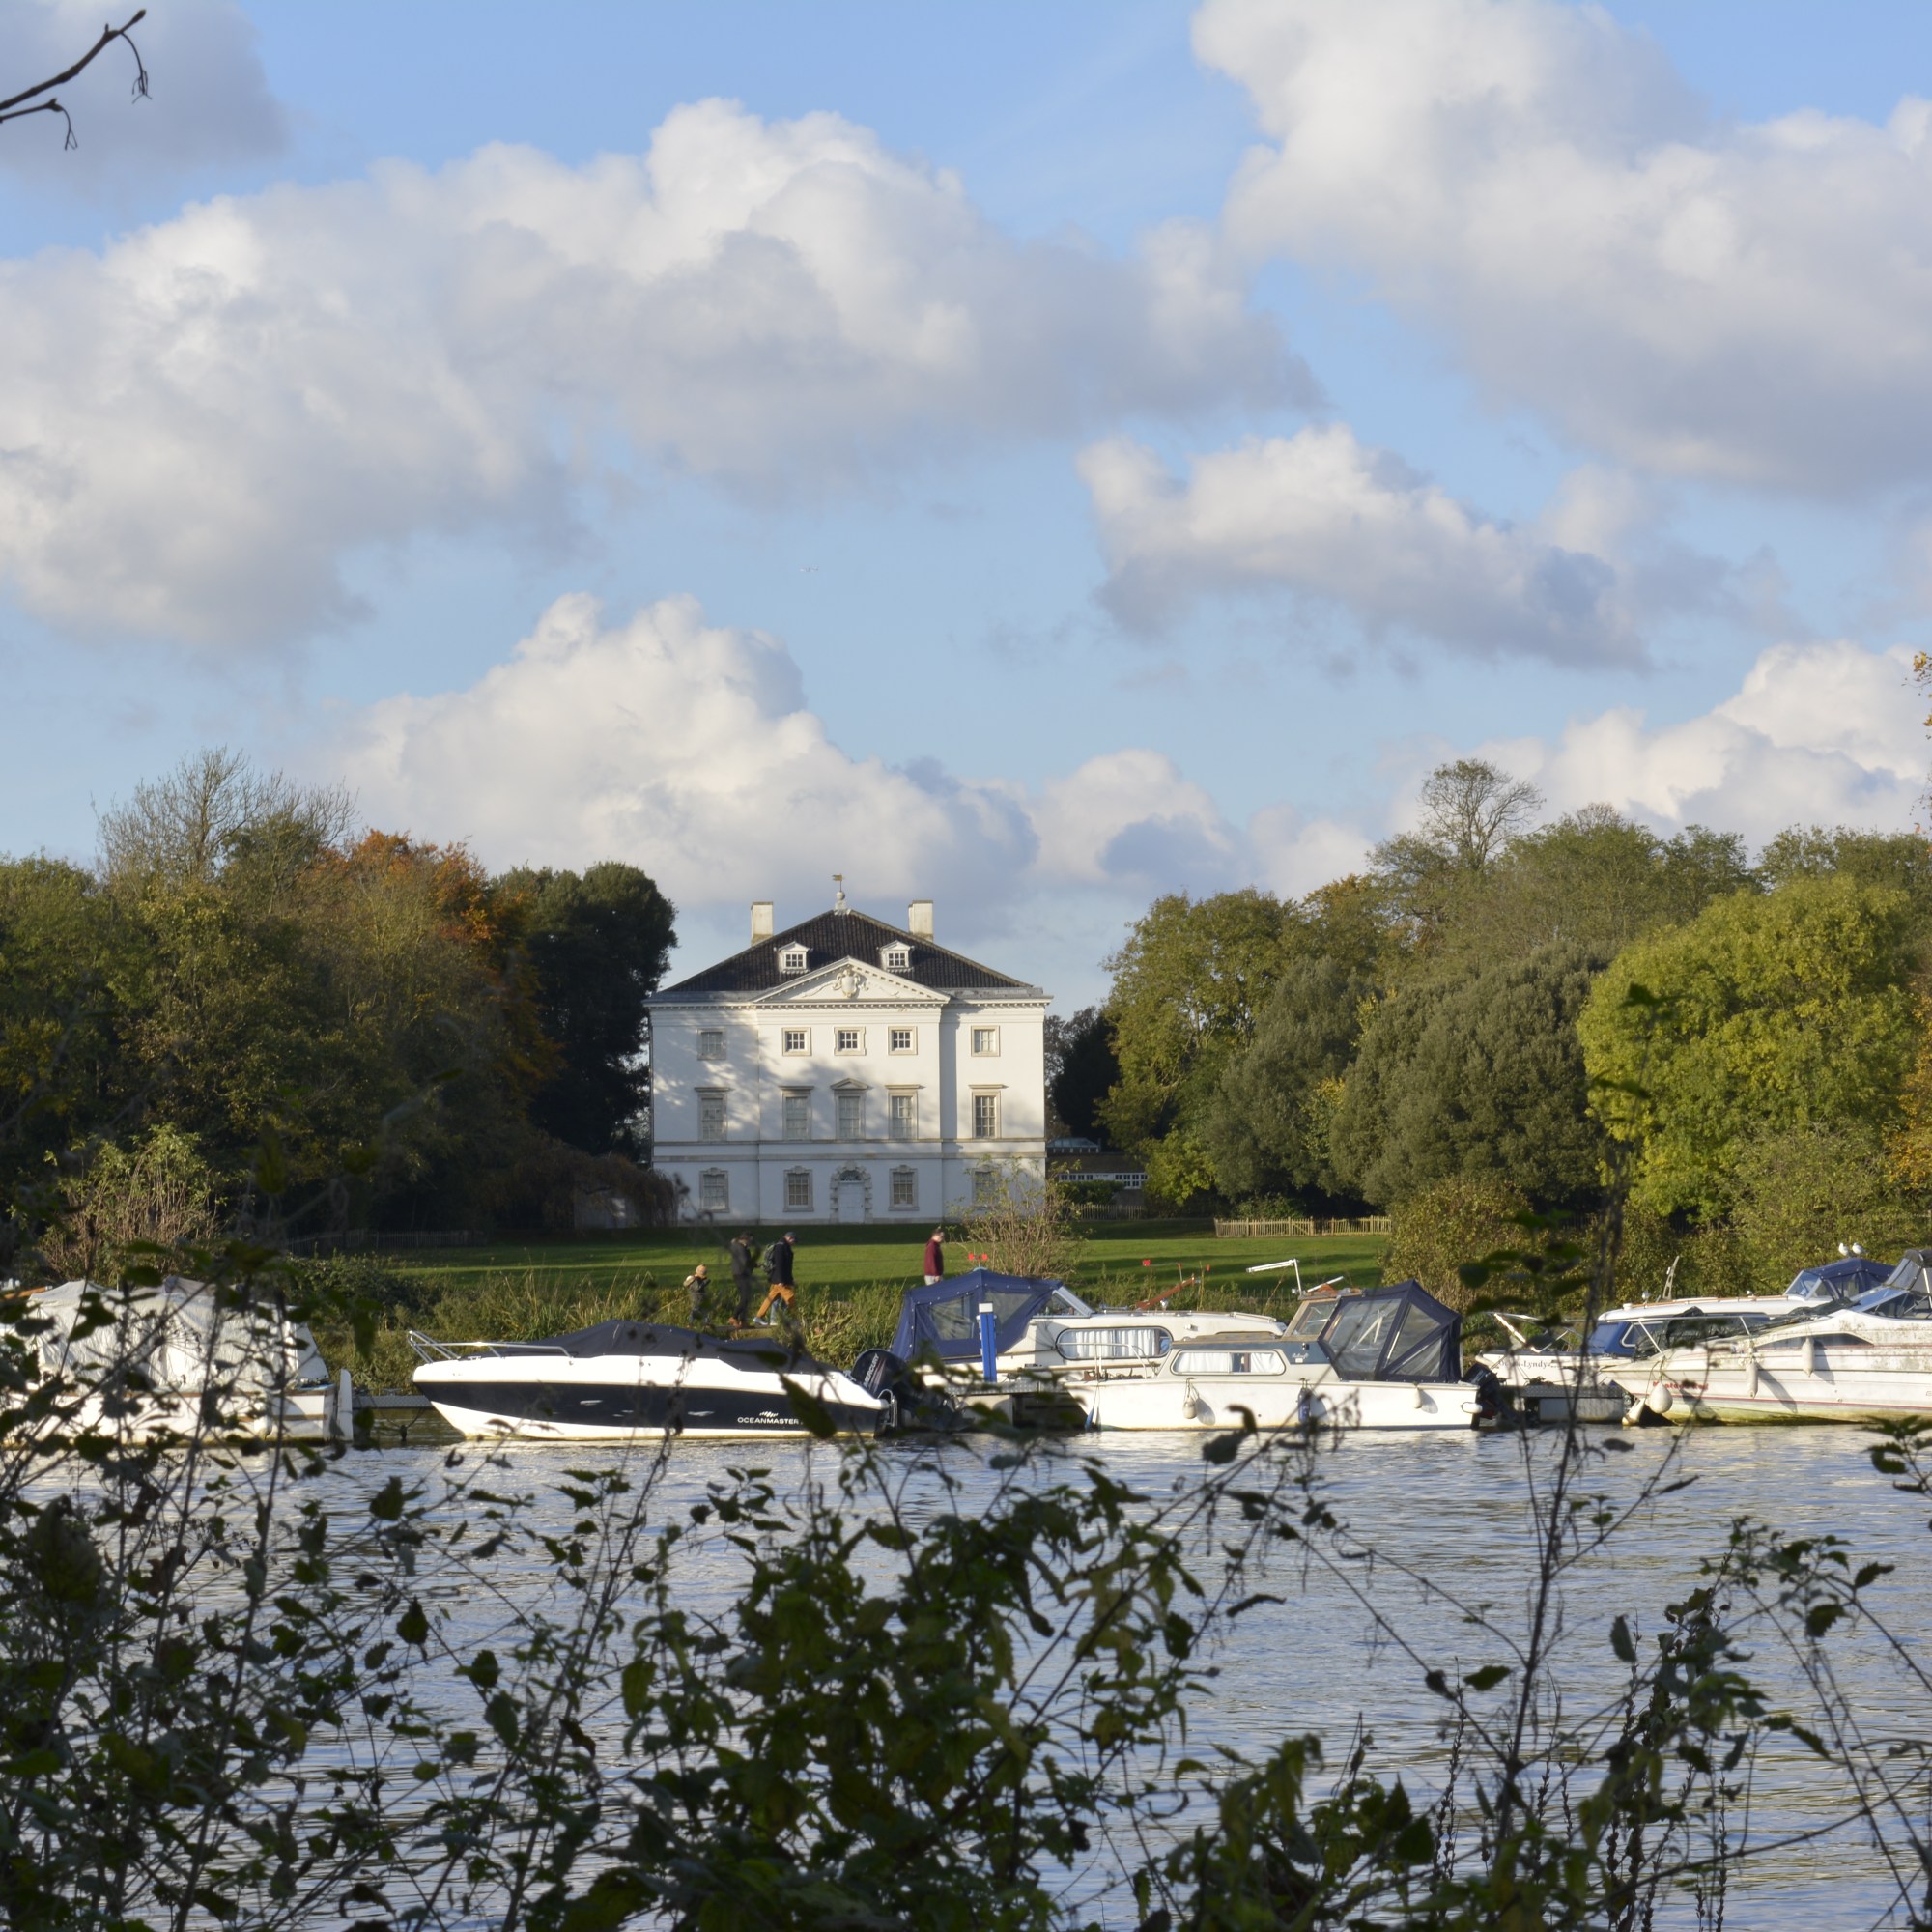
Below is the final outcome. Within Lightroom, I highlighted all the images I needed, clicked on the PHOTO menu, then MERGE and then HDR.
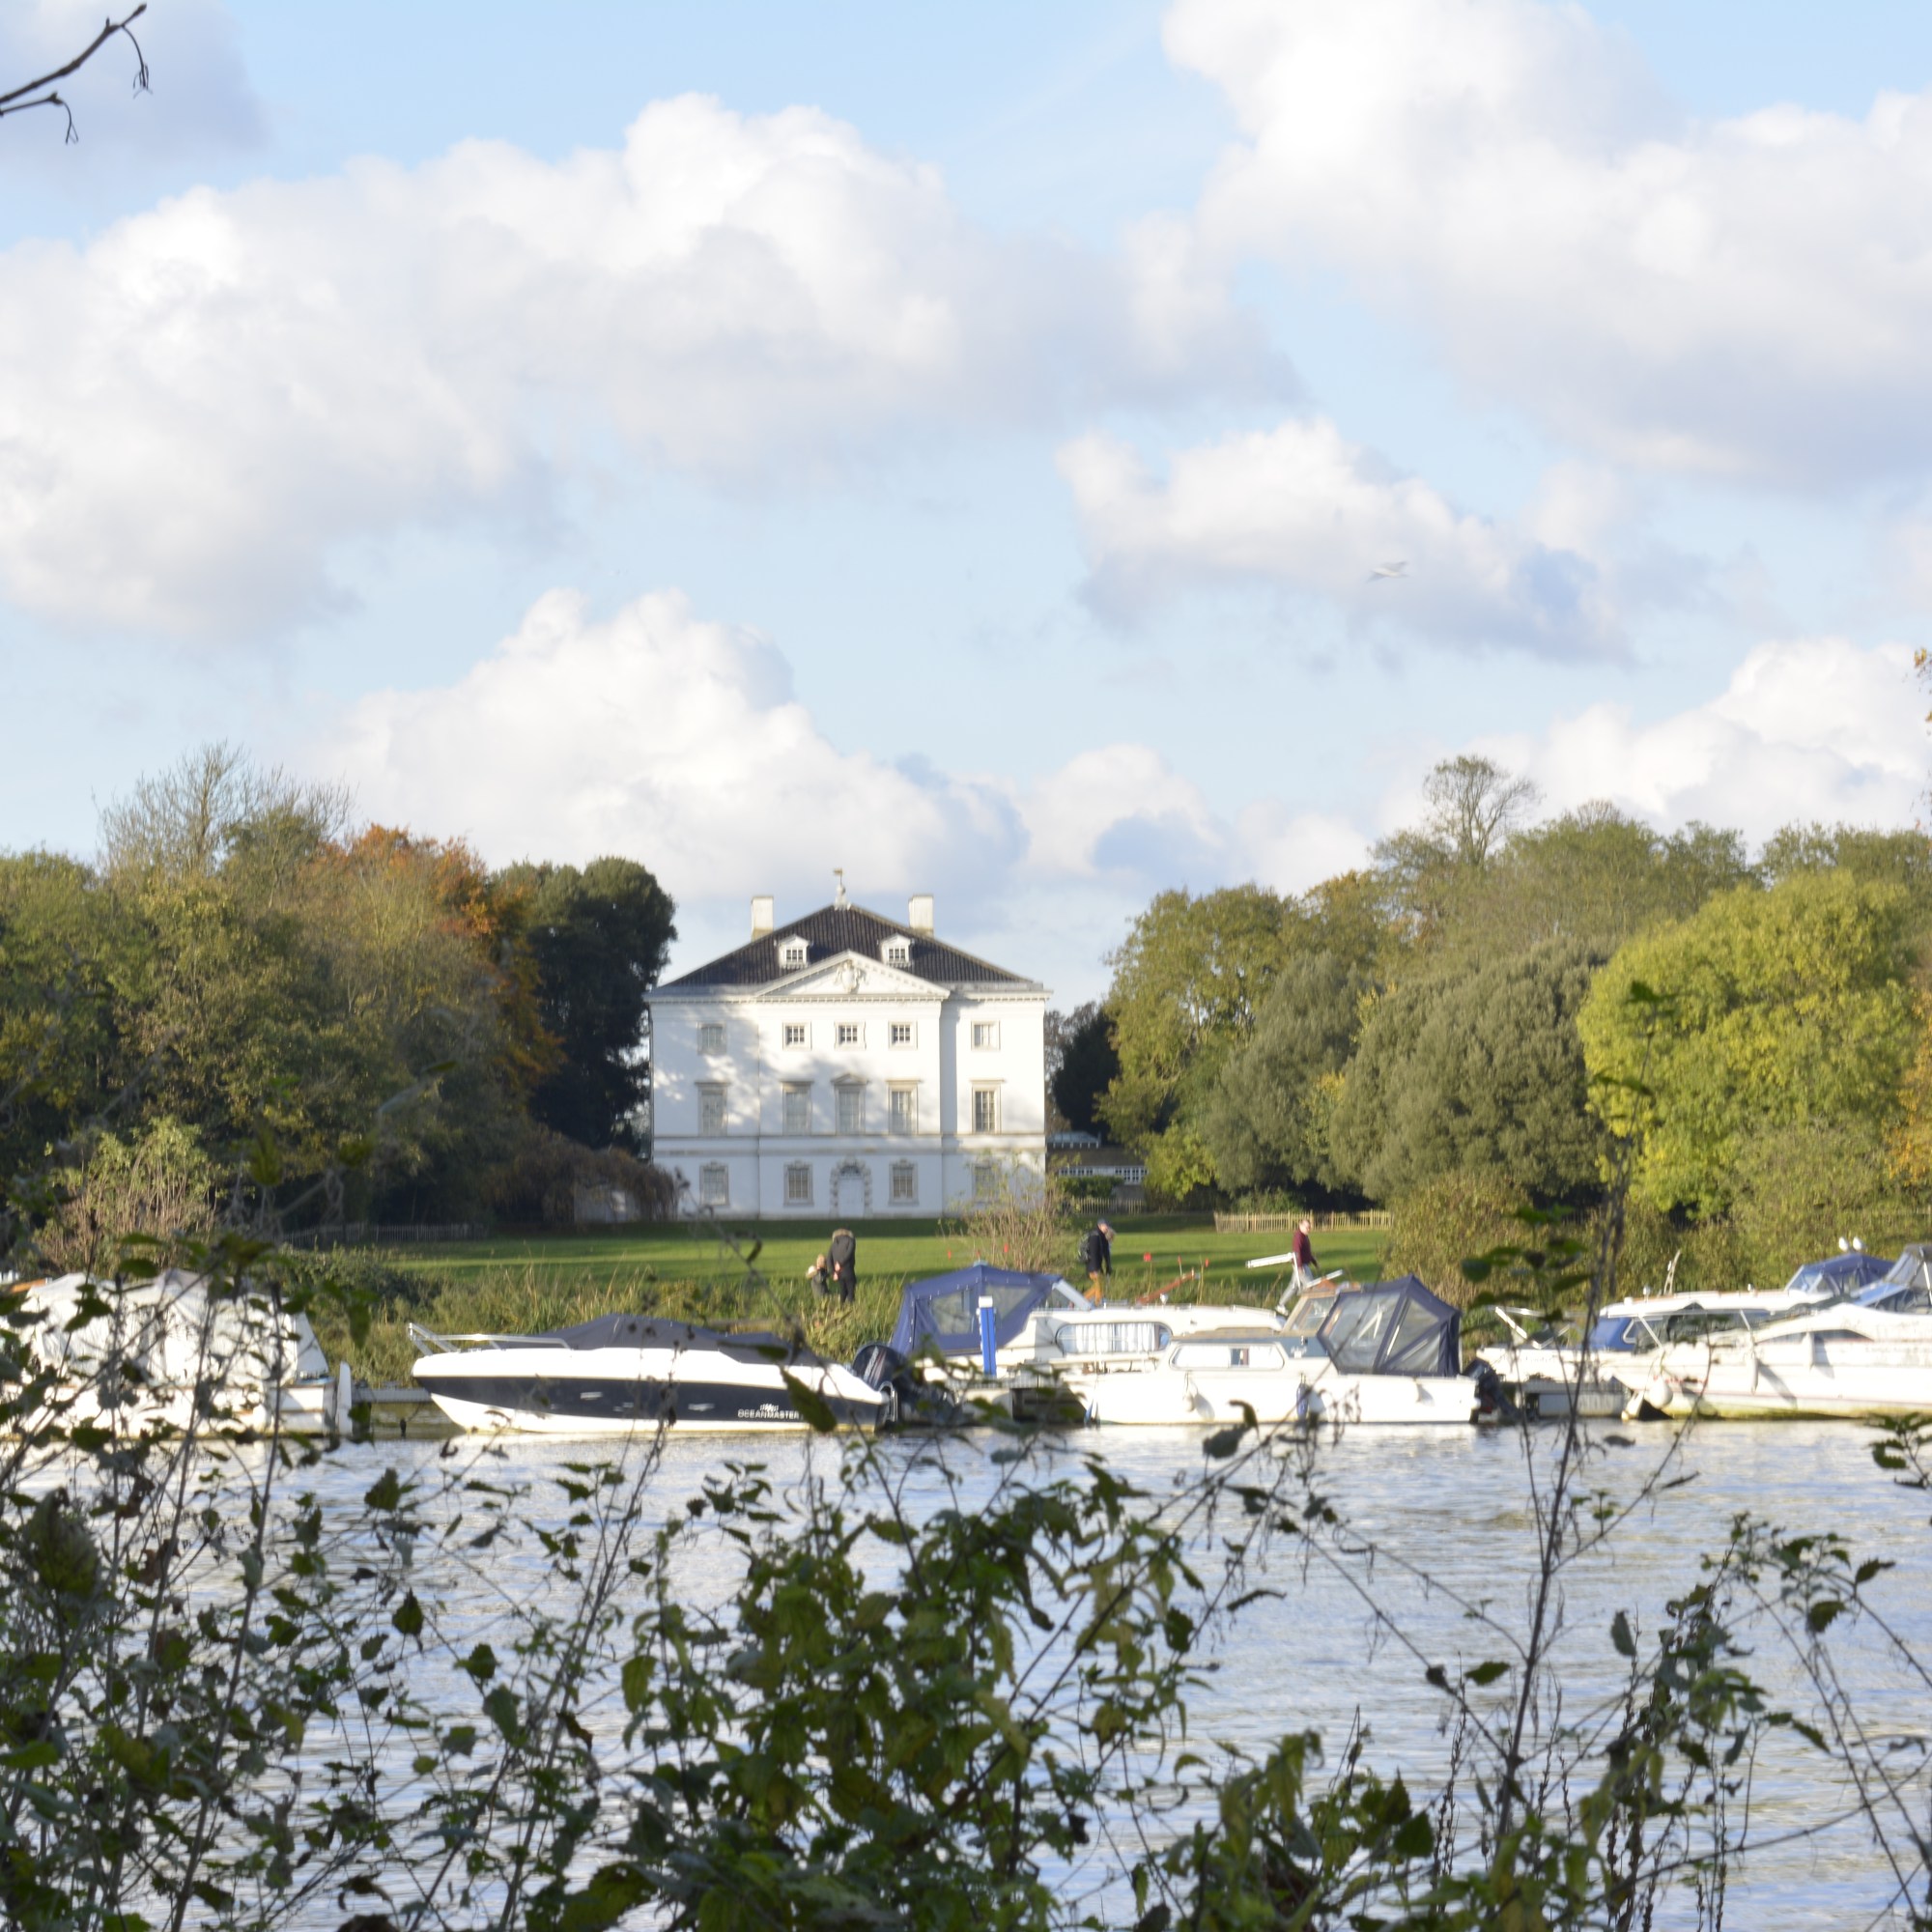
HDR Image of Marble Hill House

I am pleased with the result! The view has come out exactly as I saw it. A very natural scene with the foliage and trees all equally exposed well, even at the different depths of the photograph.
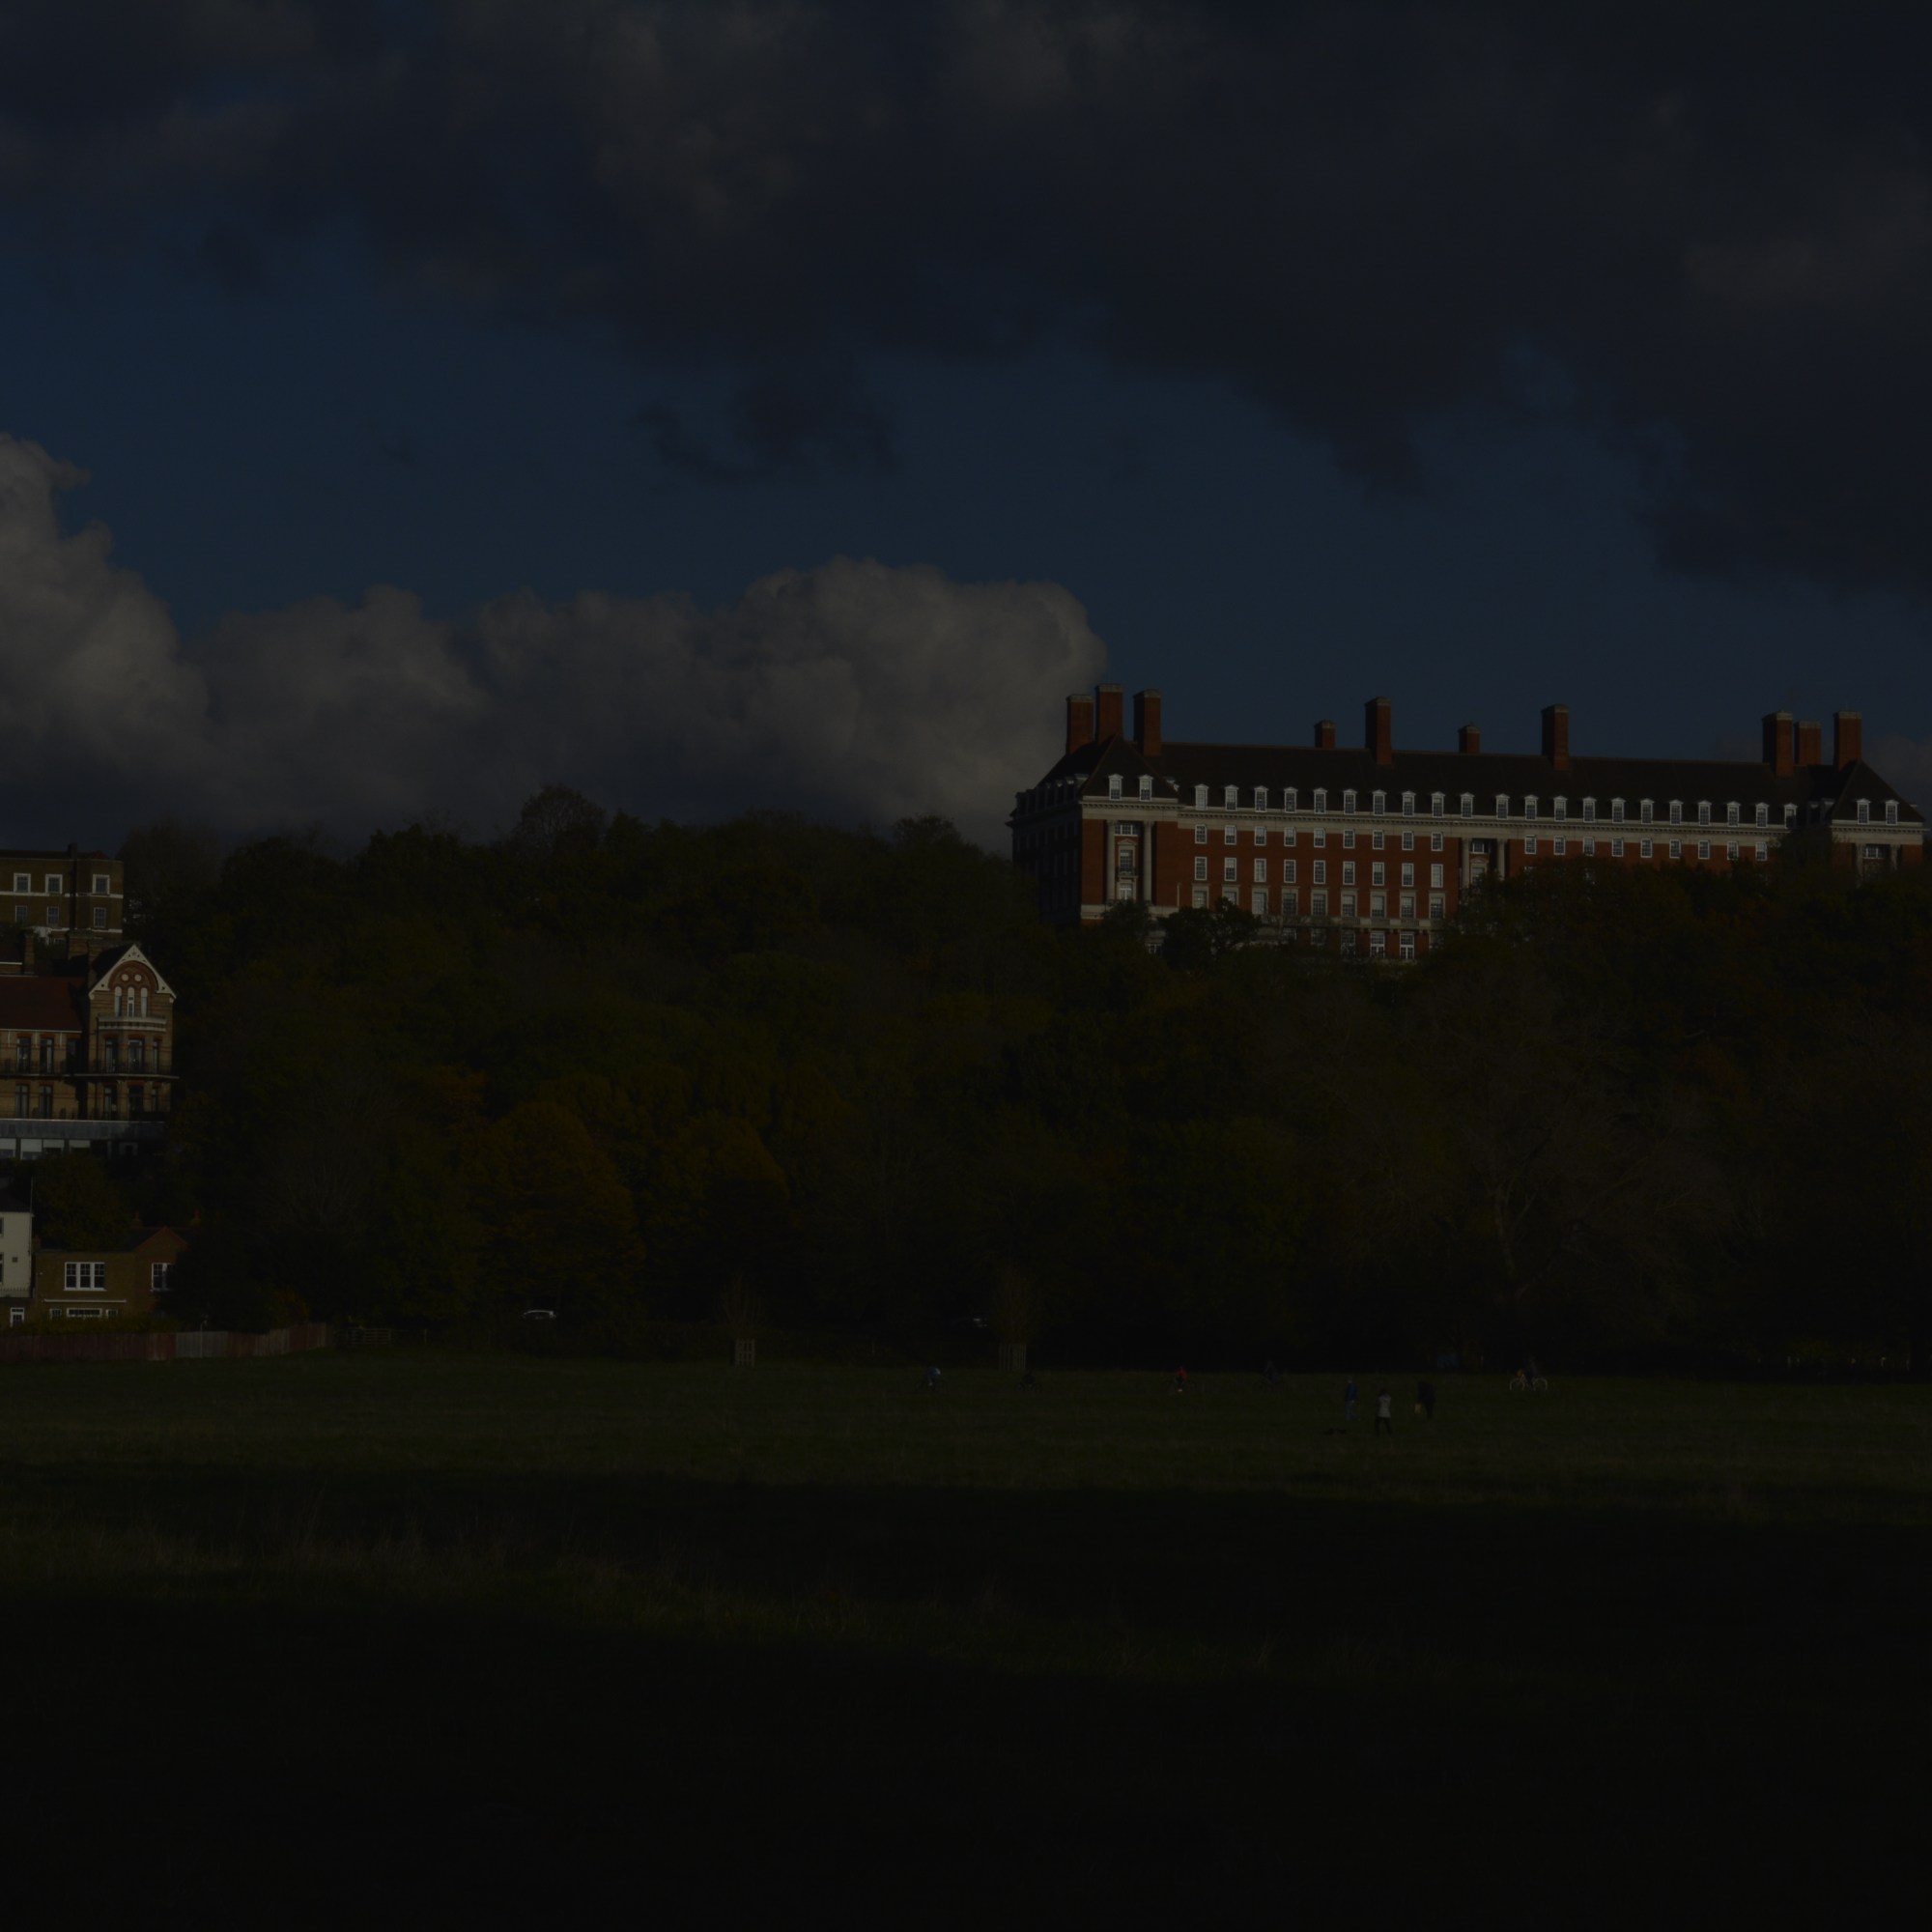
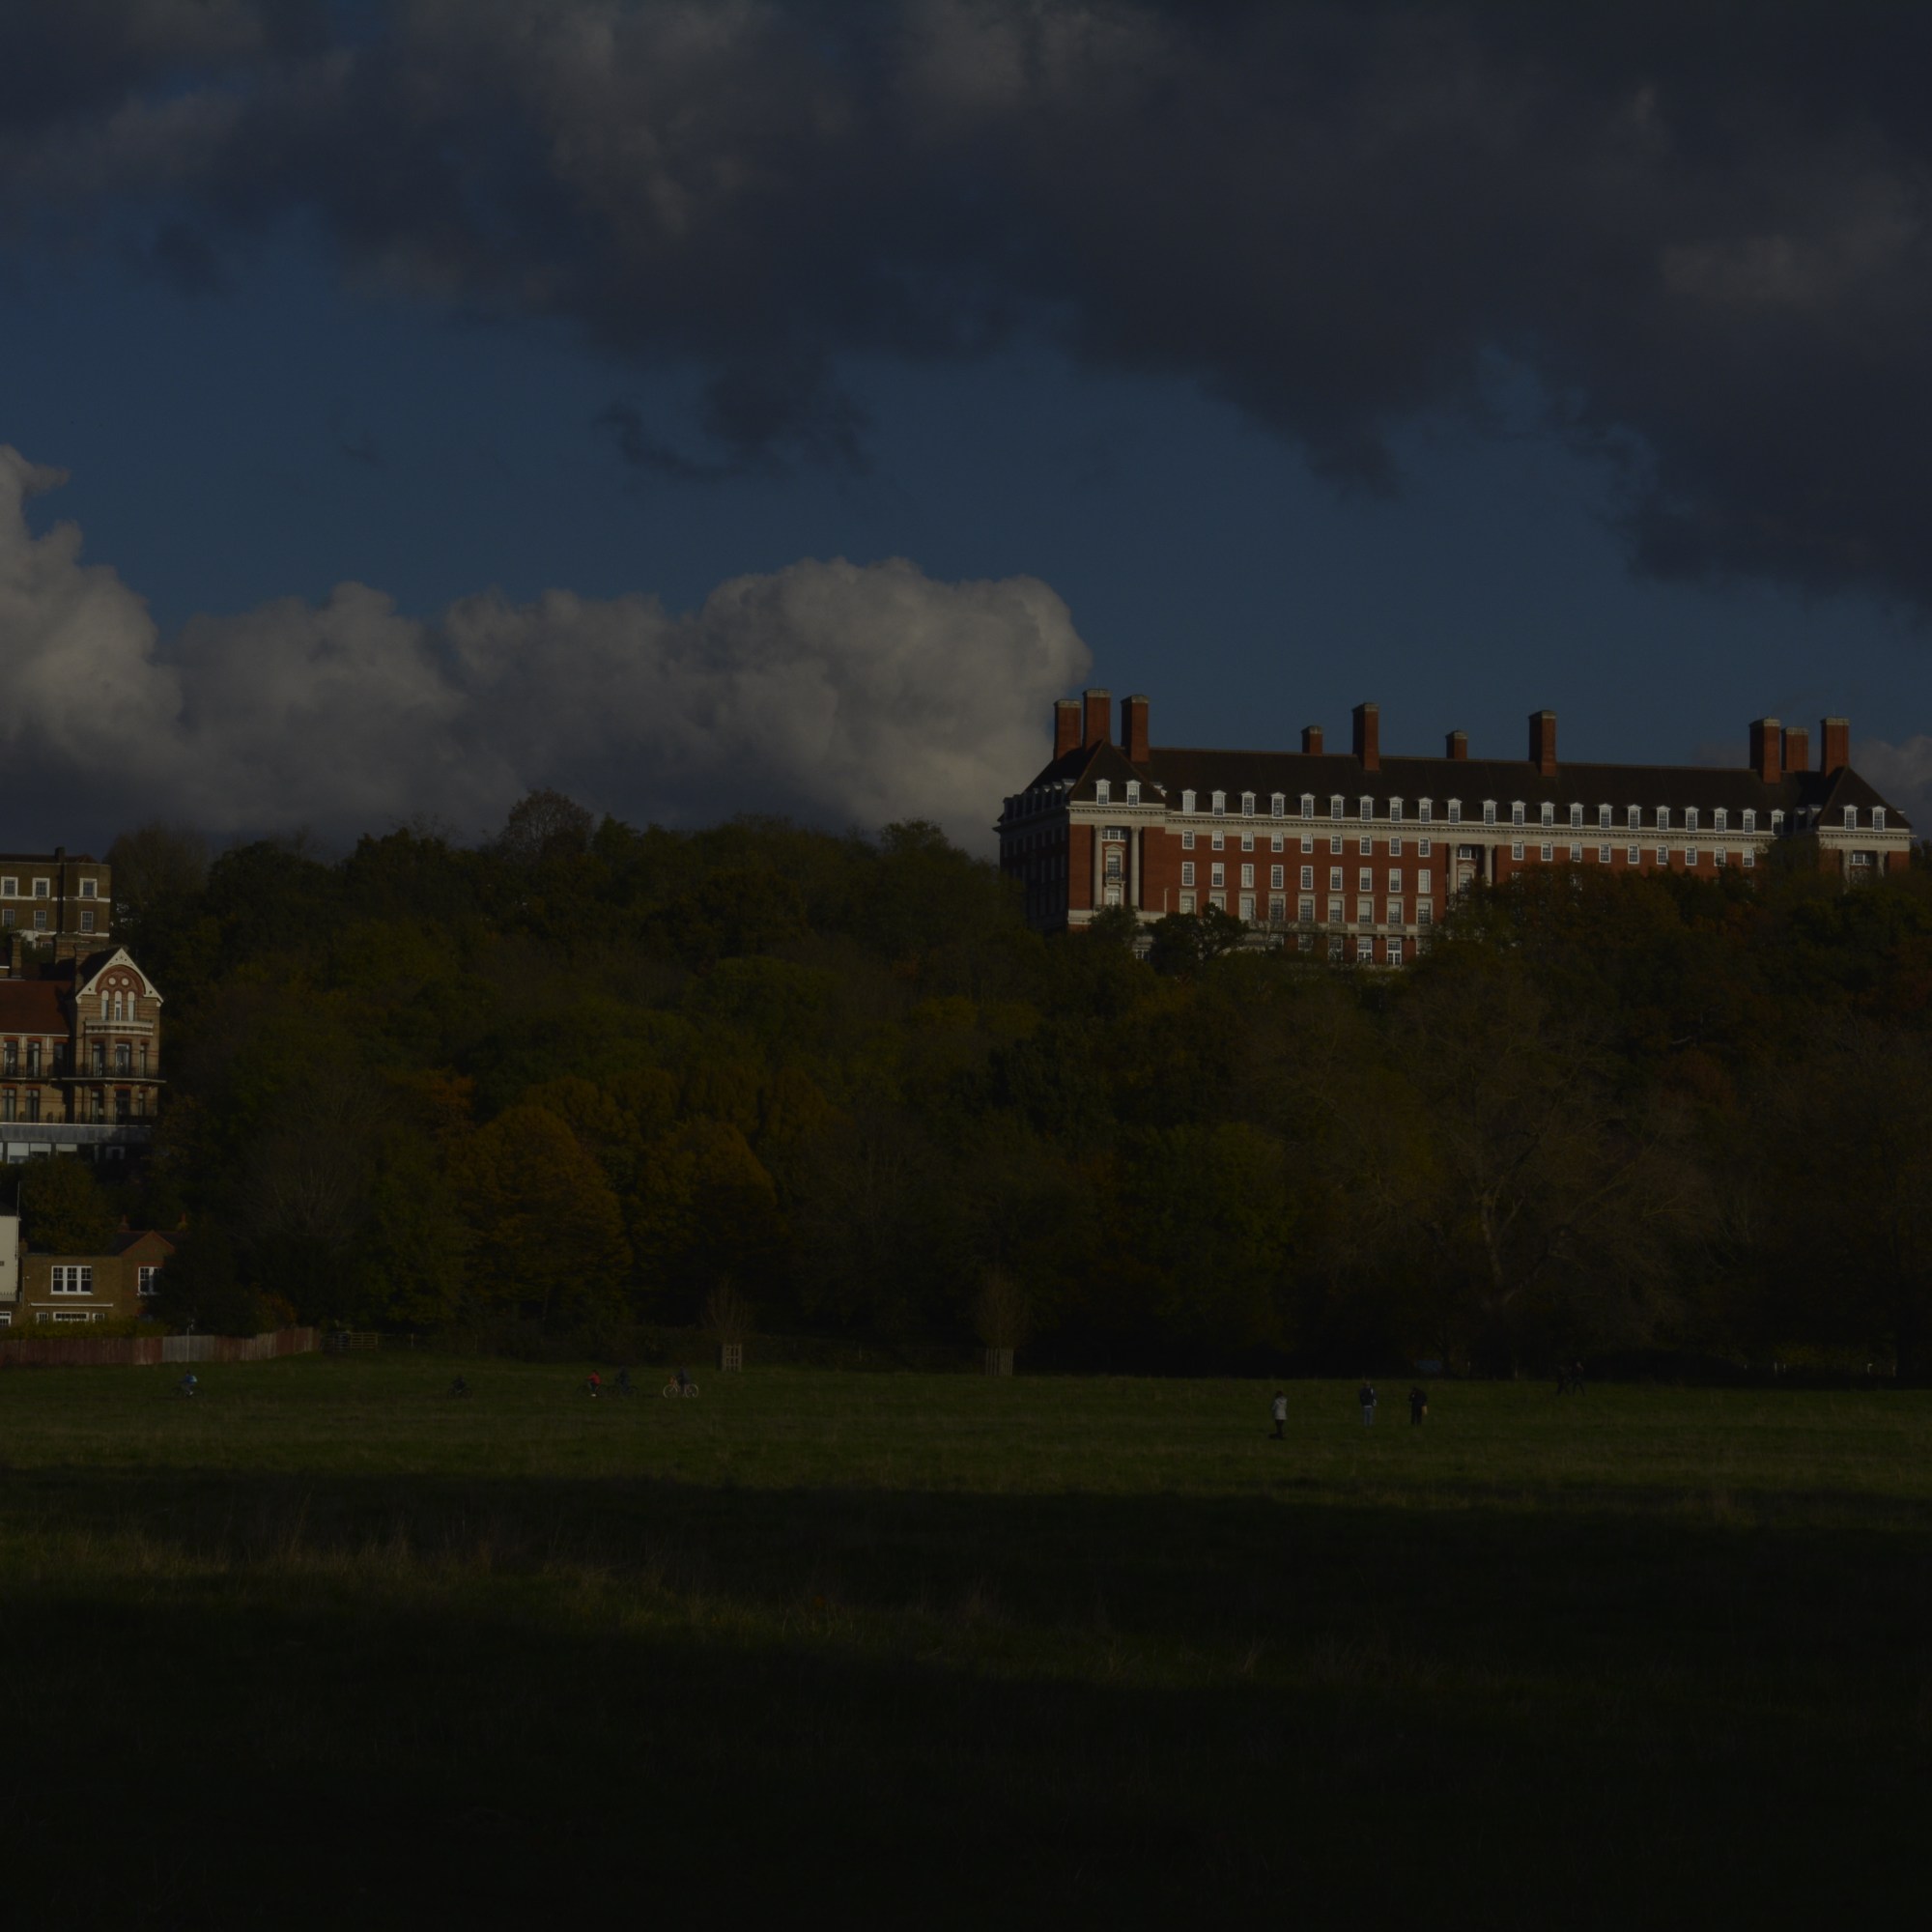
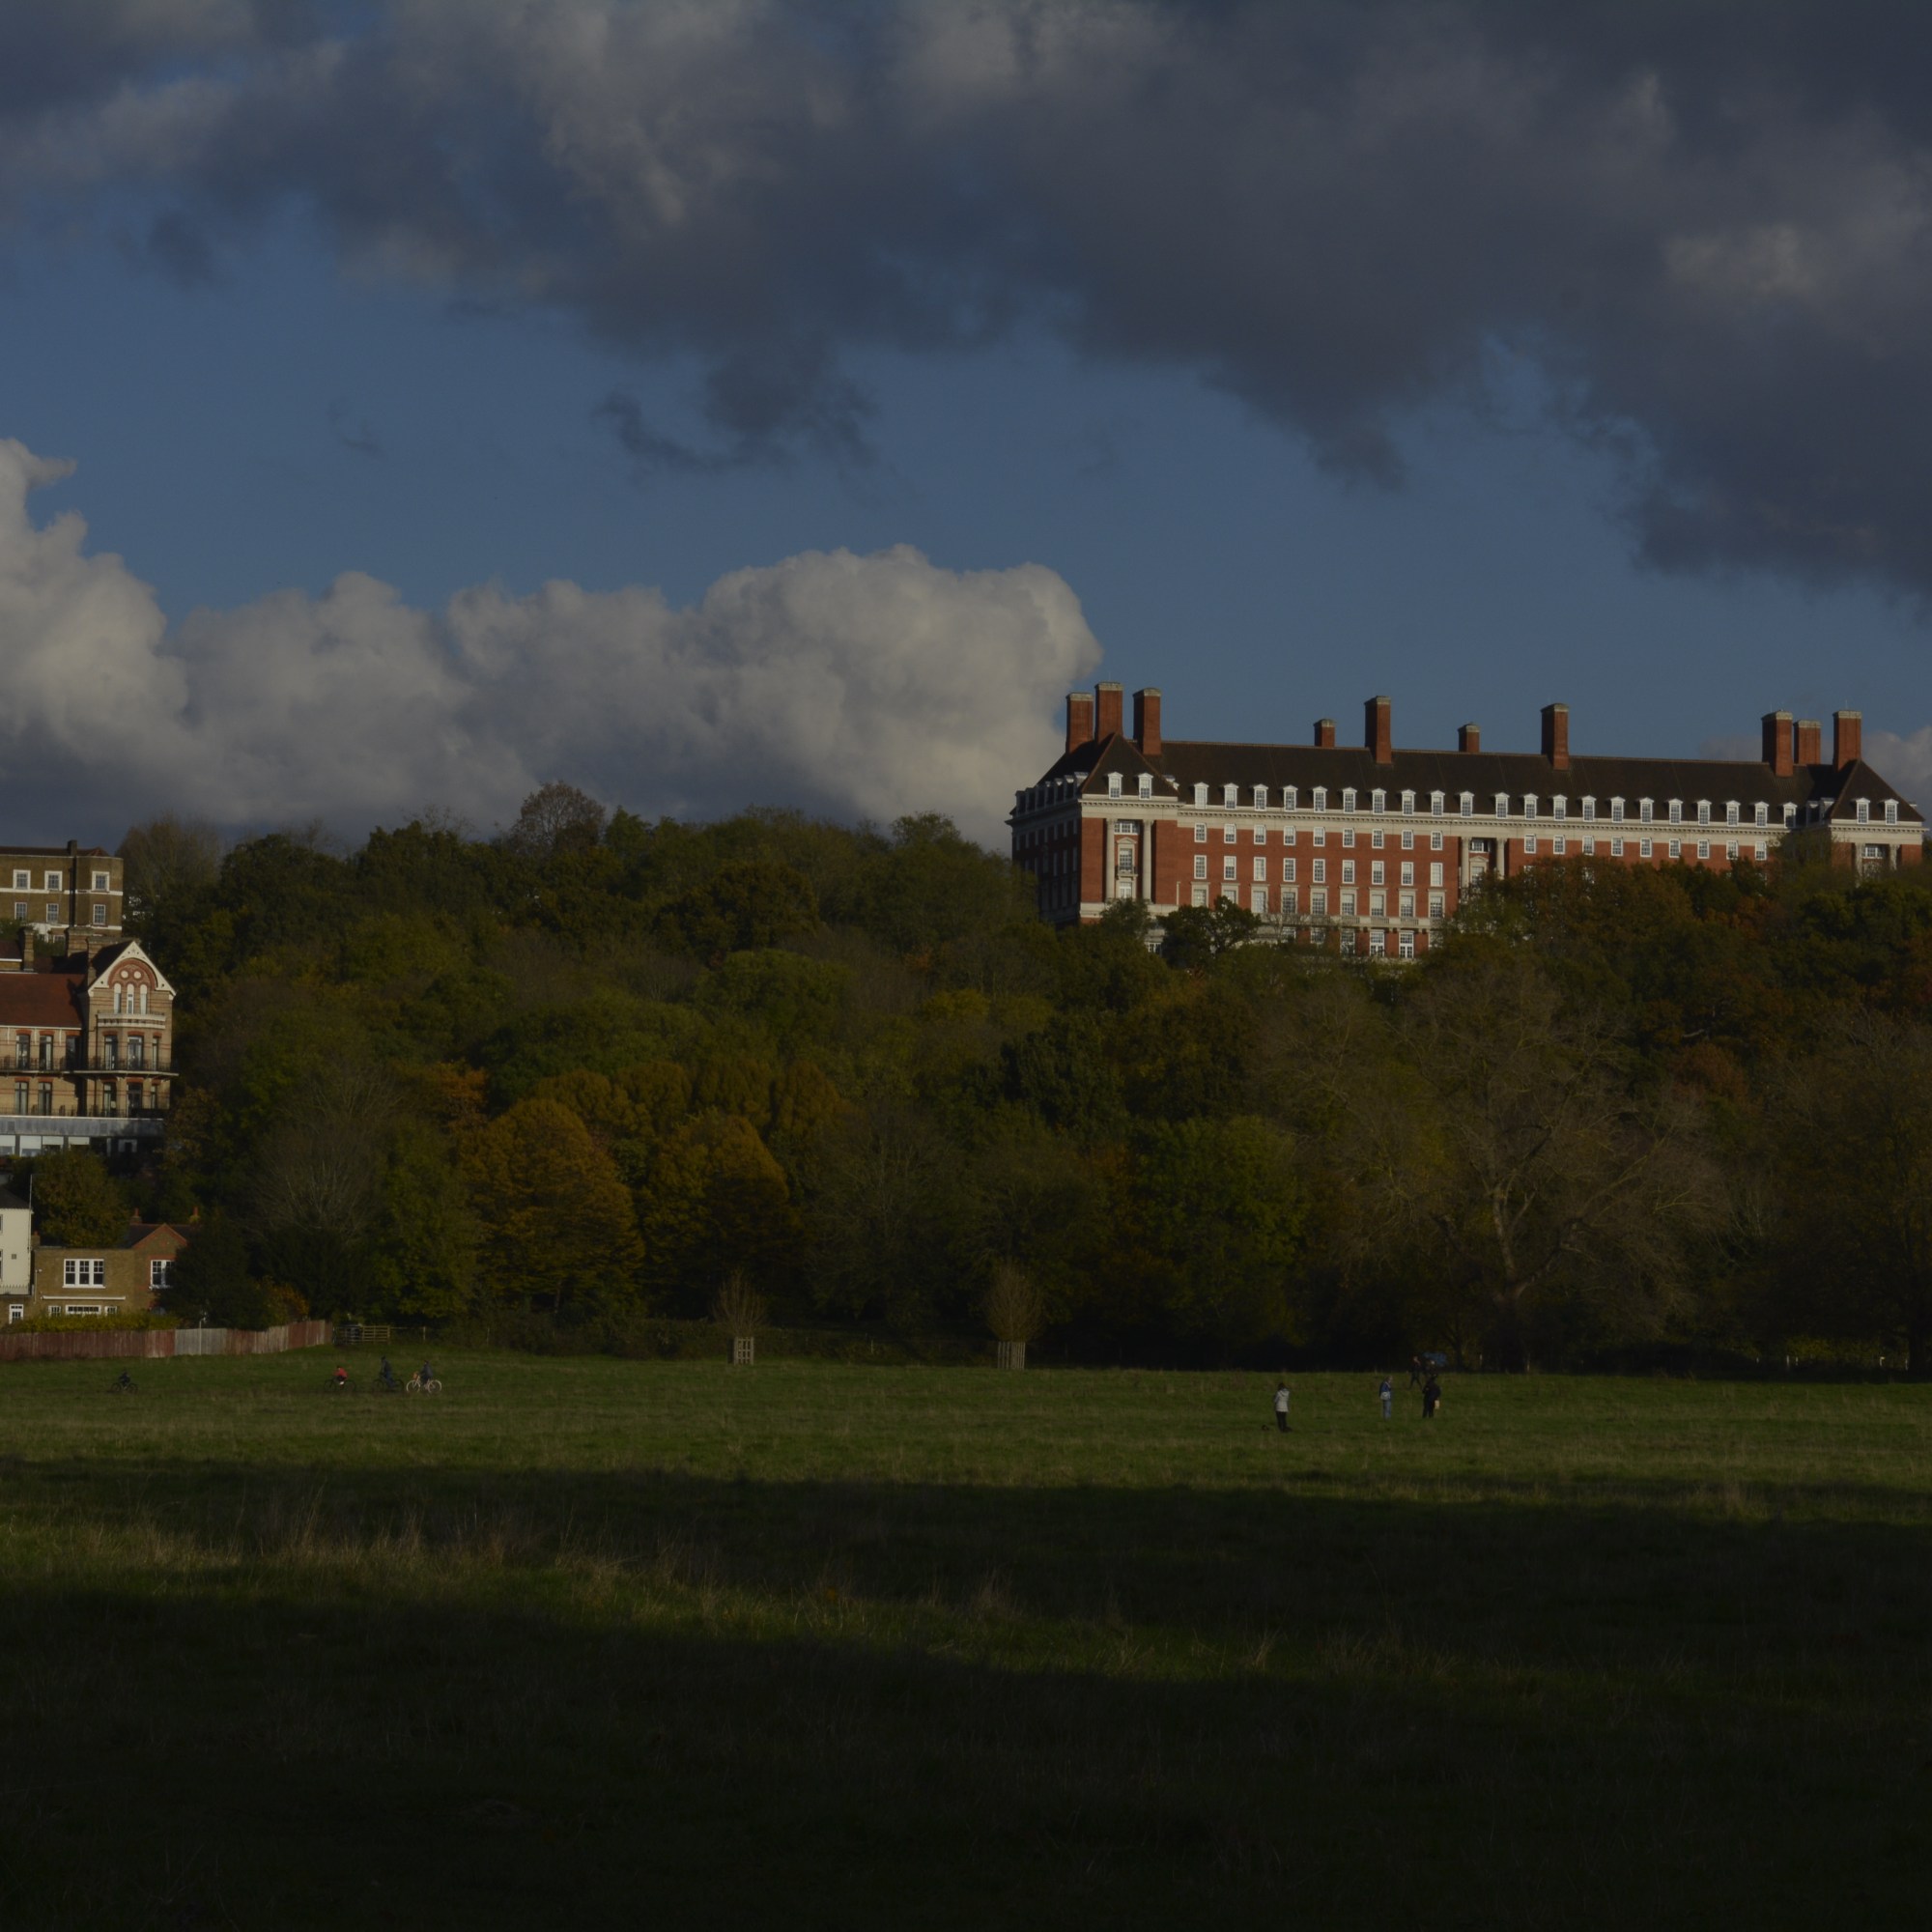
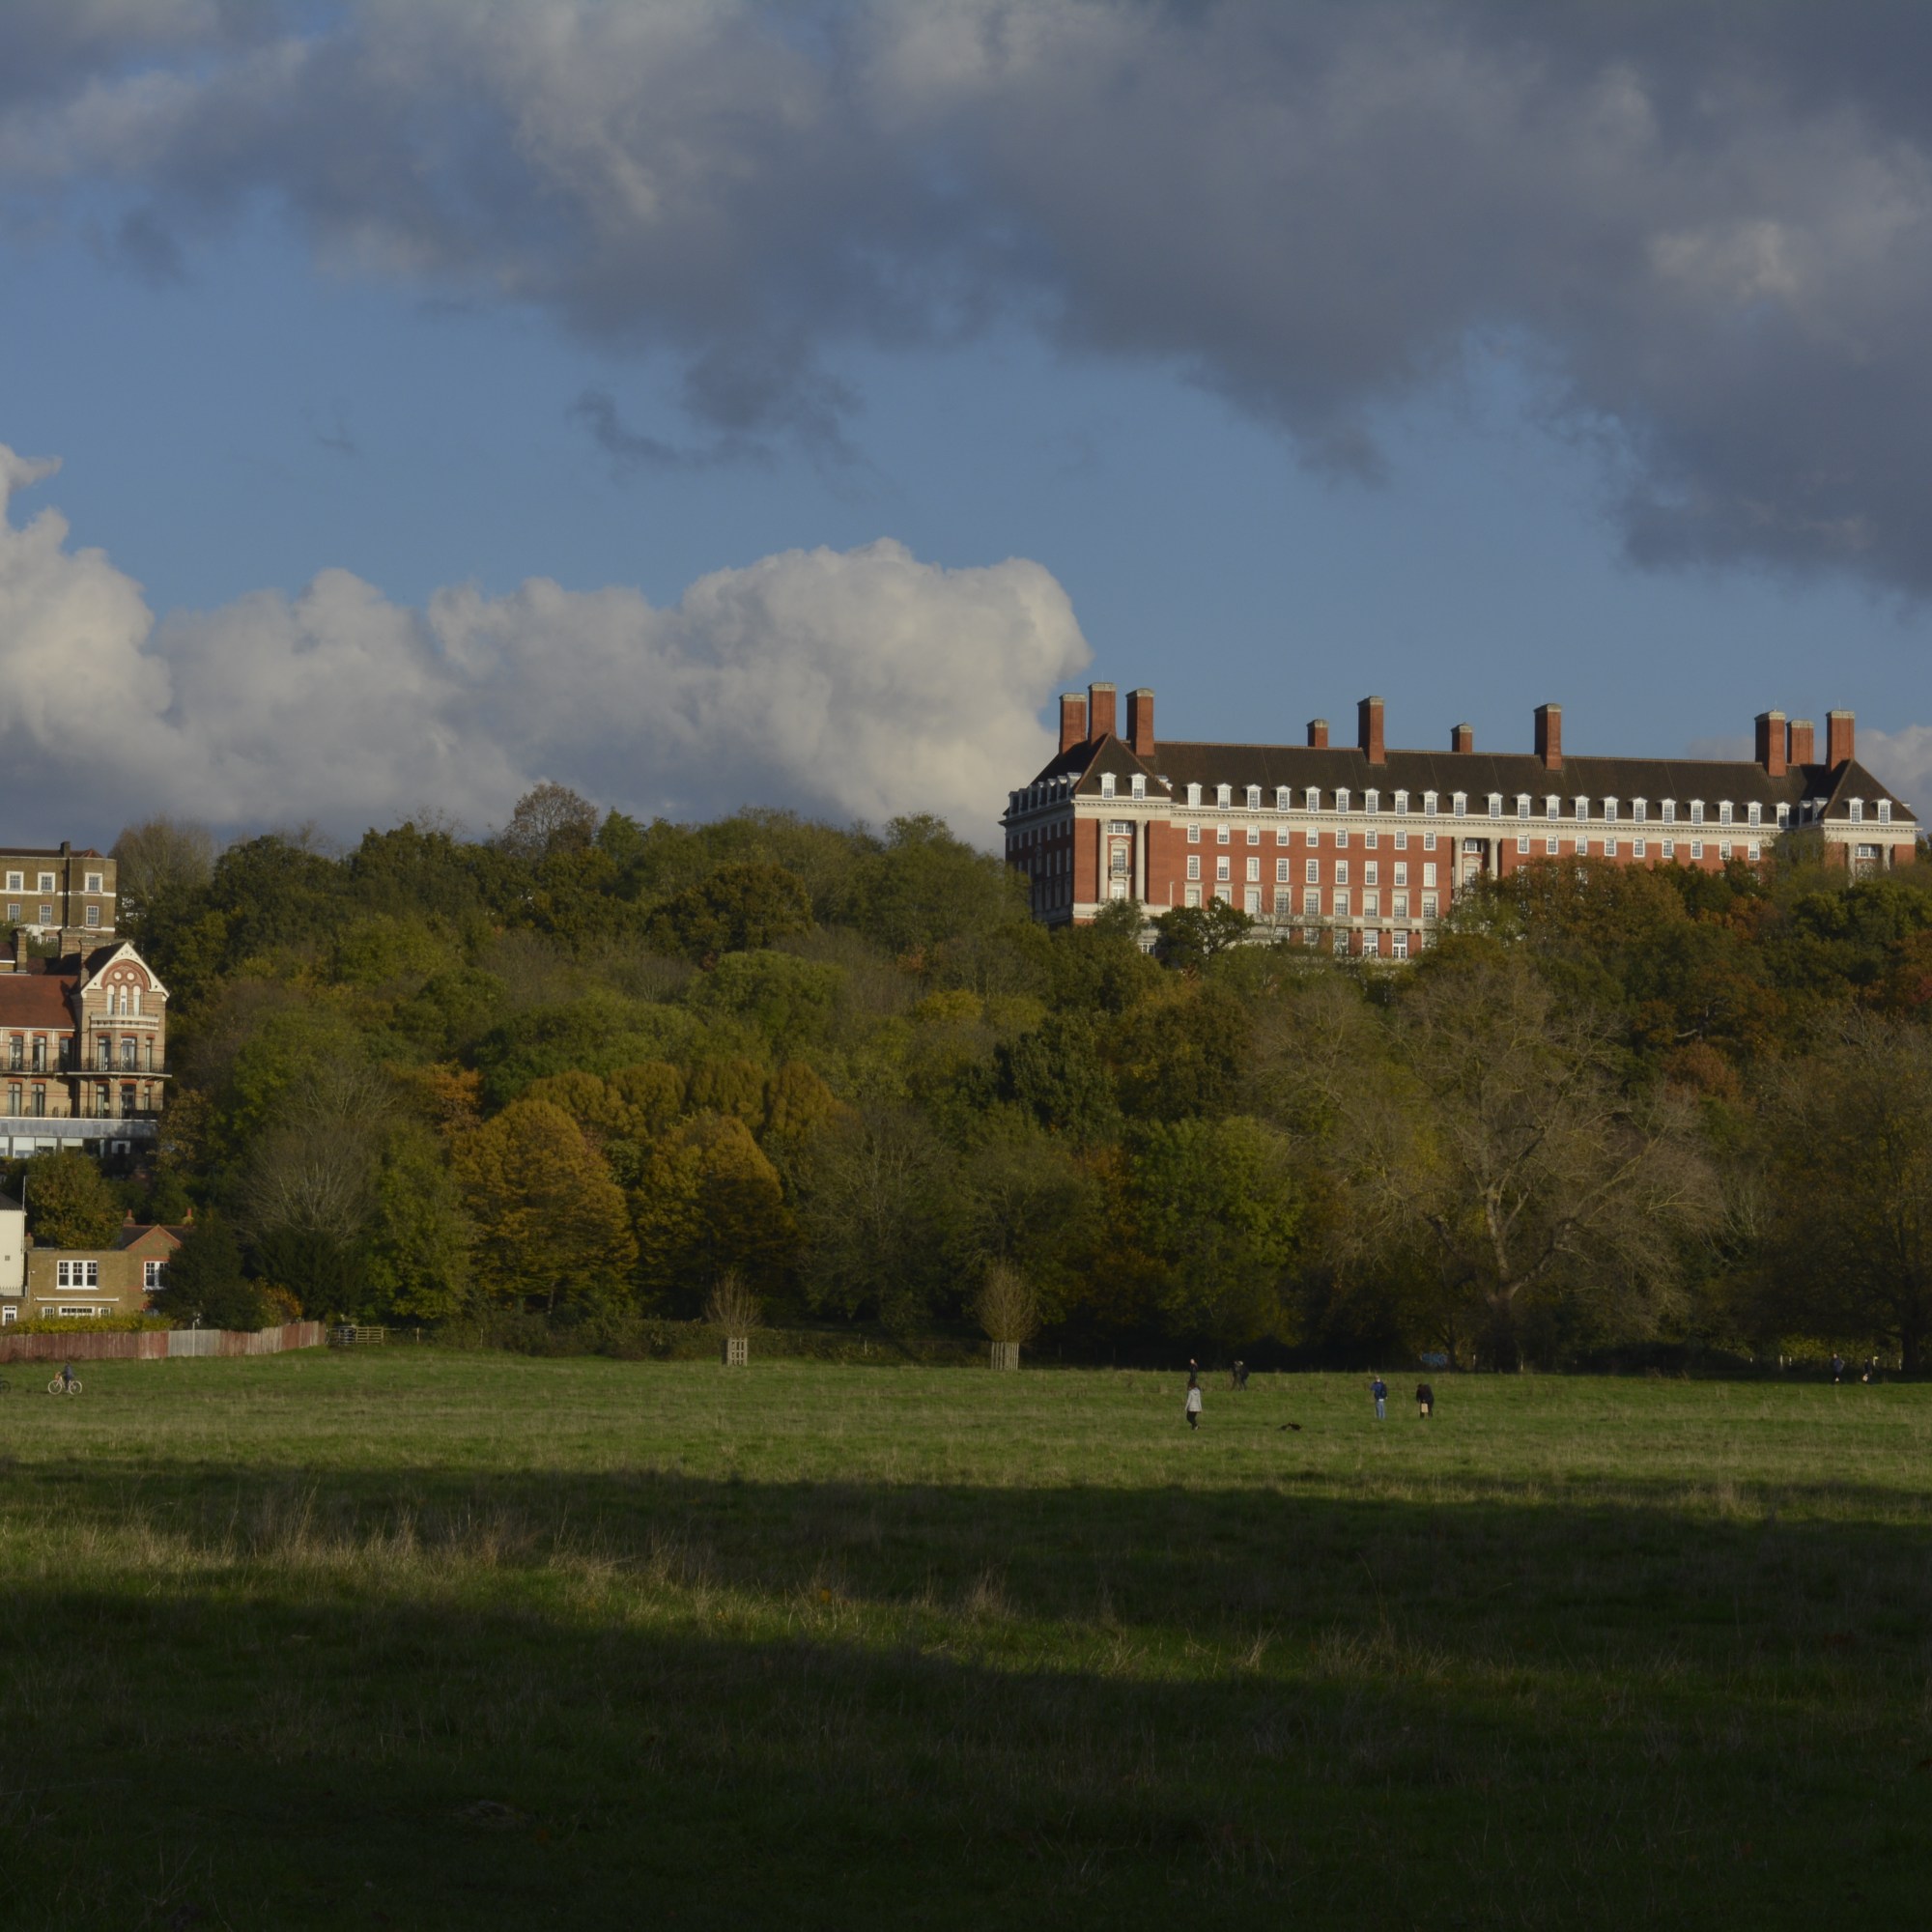
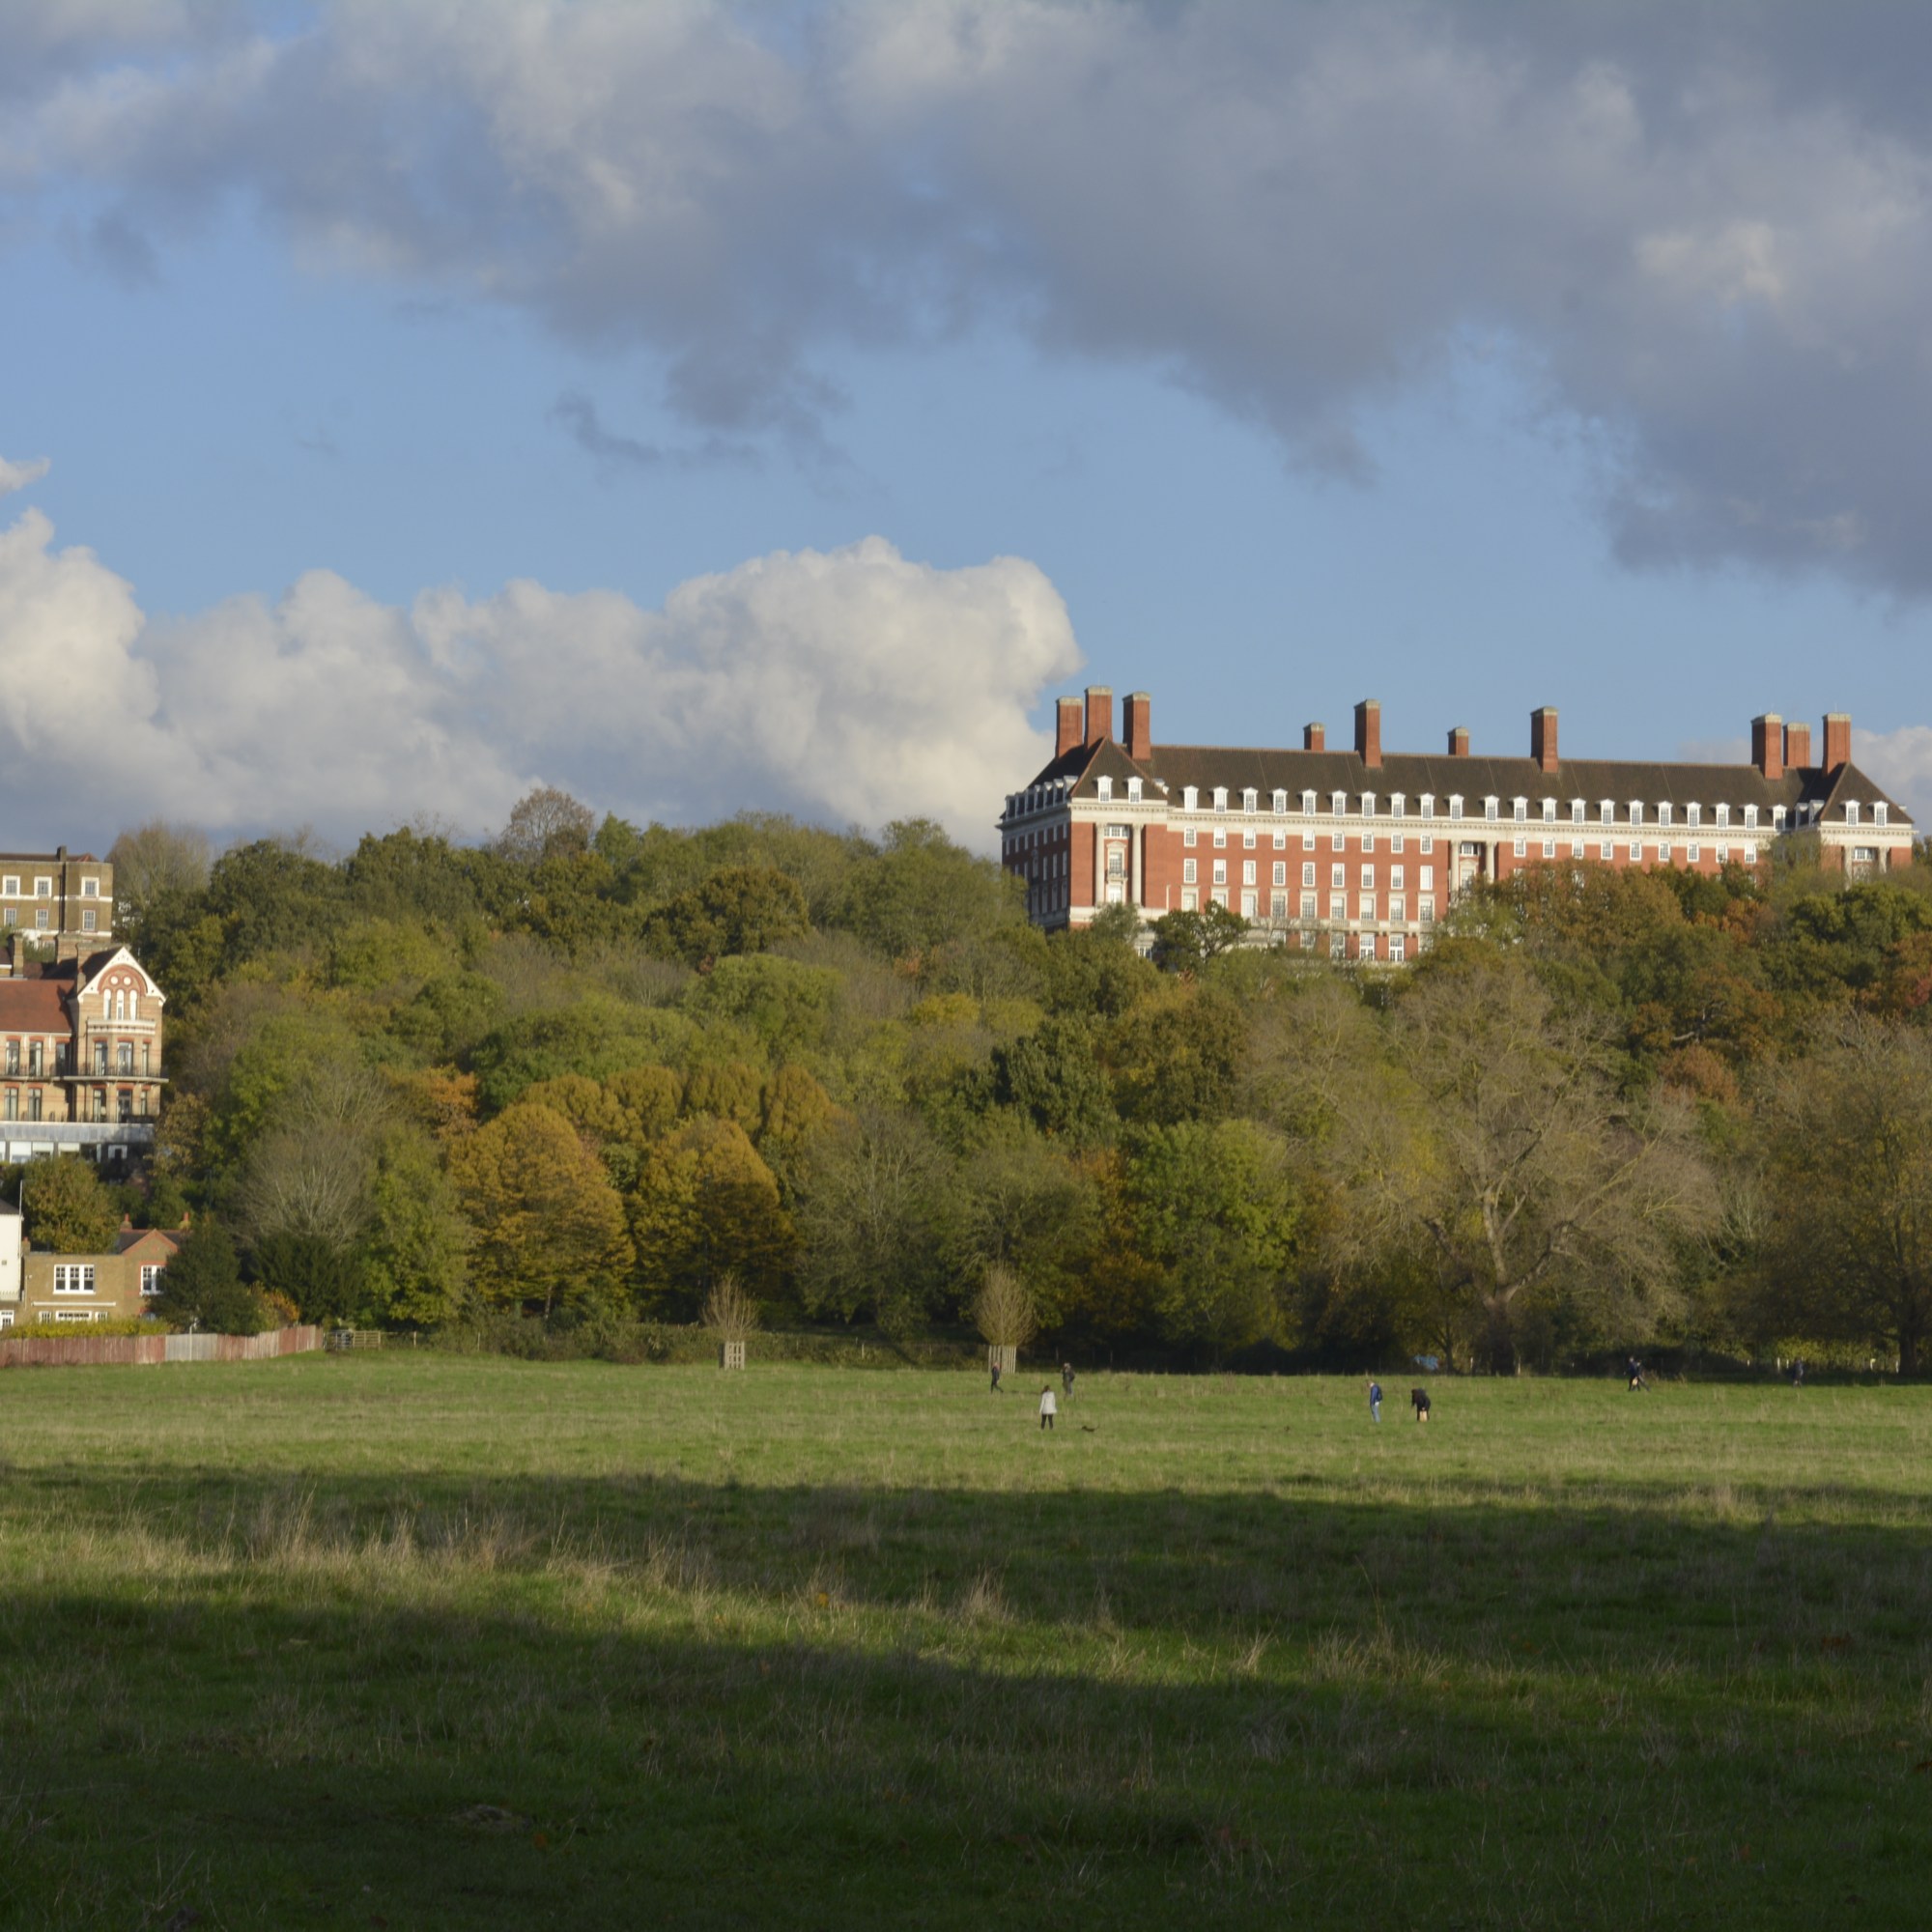

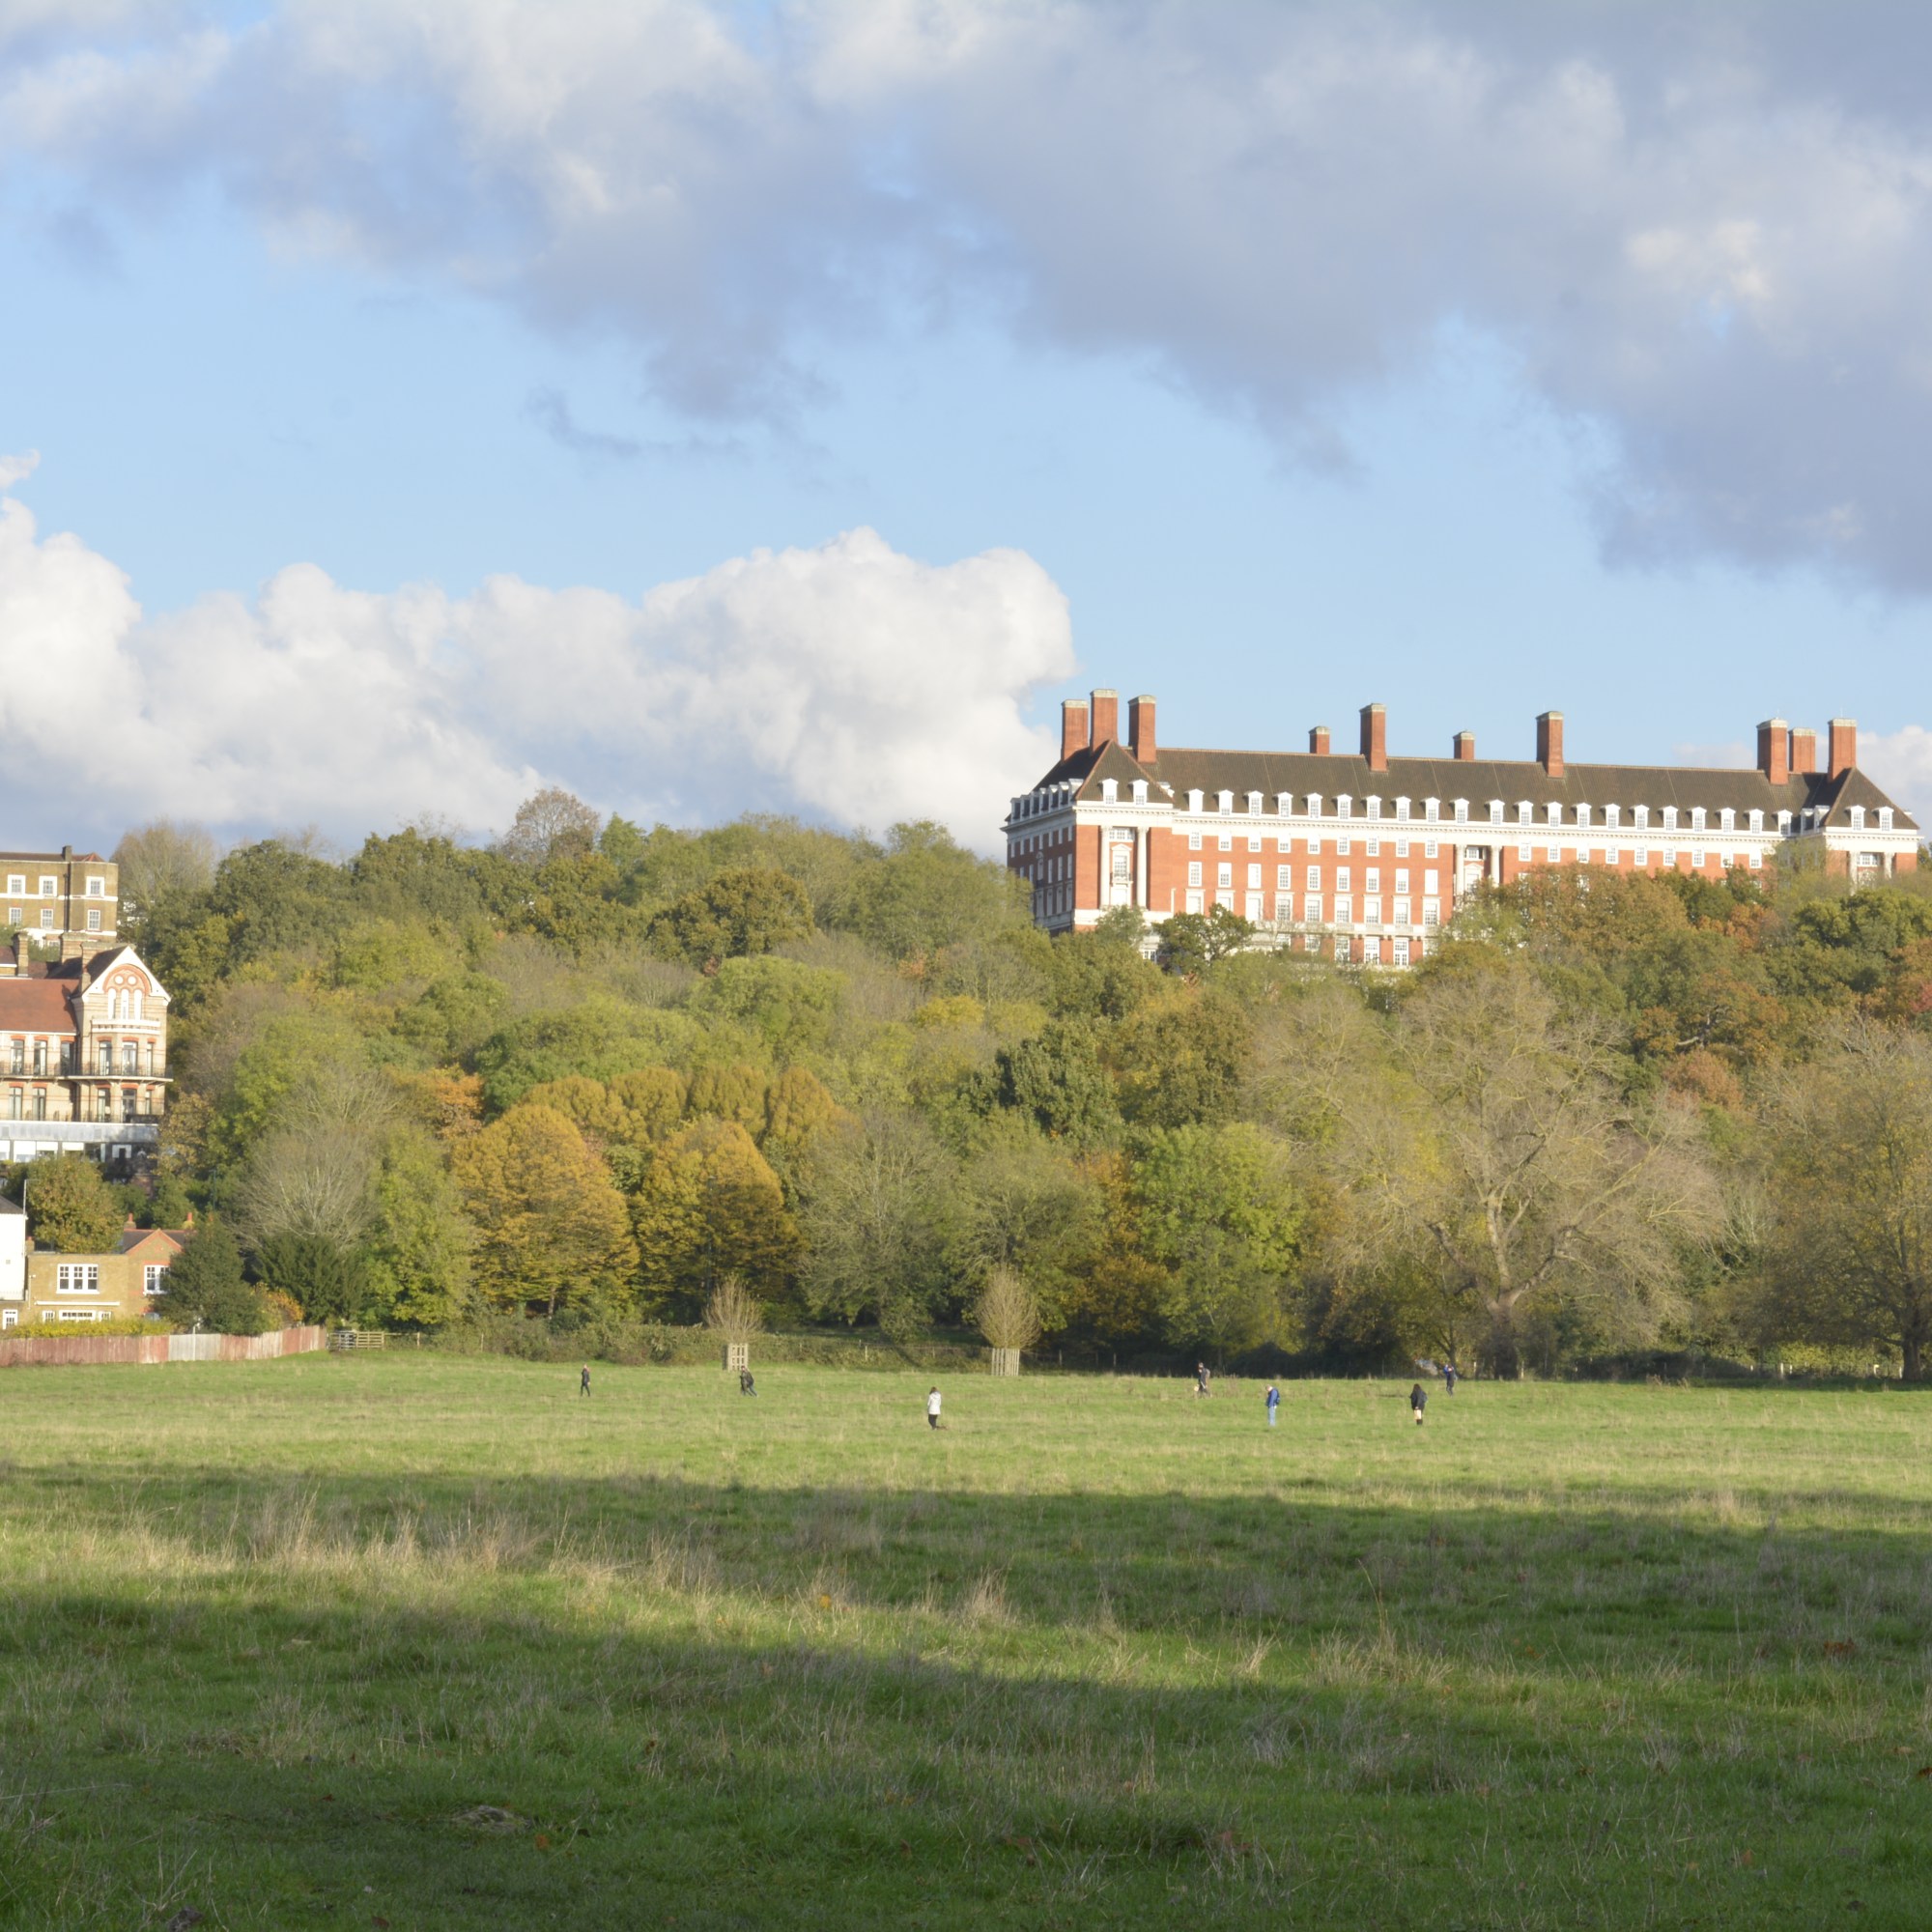
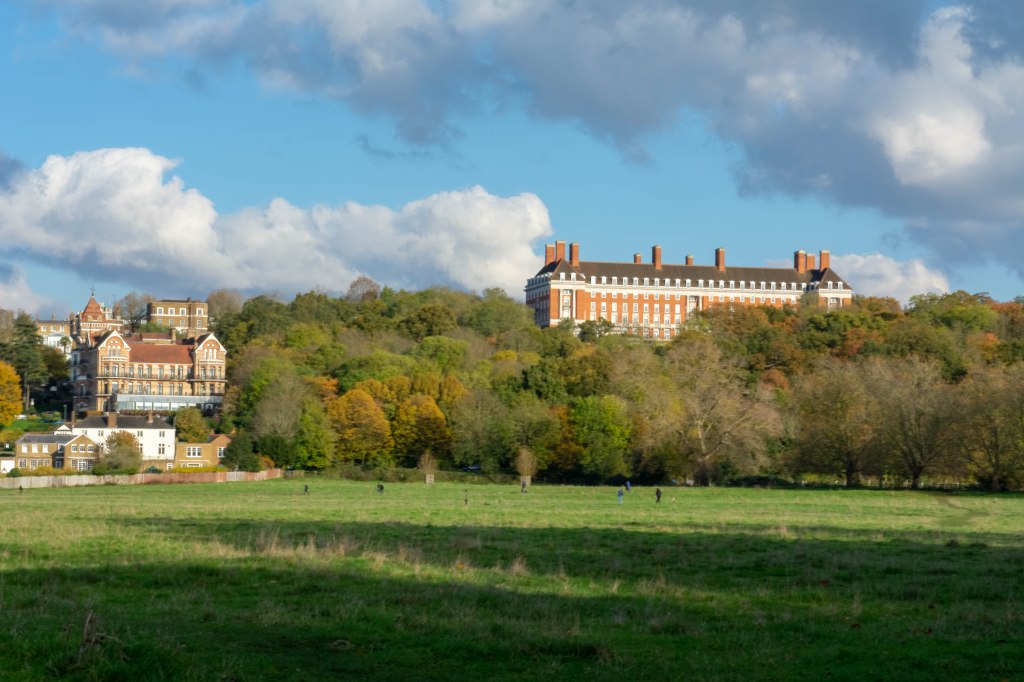
On the same day as shooting Marble Hill I took photographs across Petersham Meadow, of Petersham Hotel. It was a bright day, so needed to take lots of different exposure shots to capture tall the colours from the sky and trees.
HDR Image of Petersham Hotel

Leave a comment